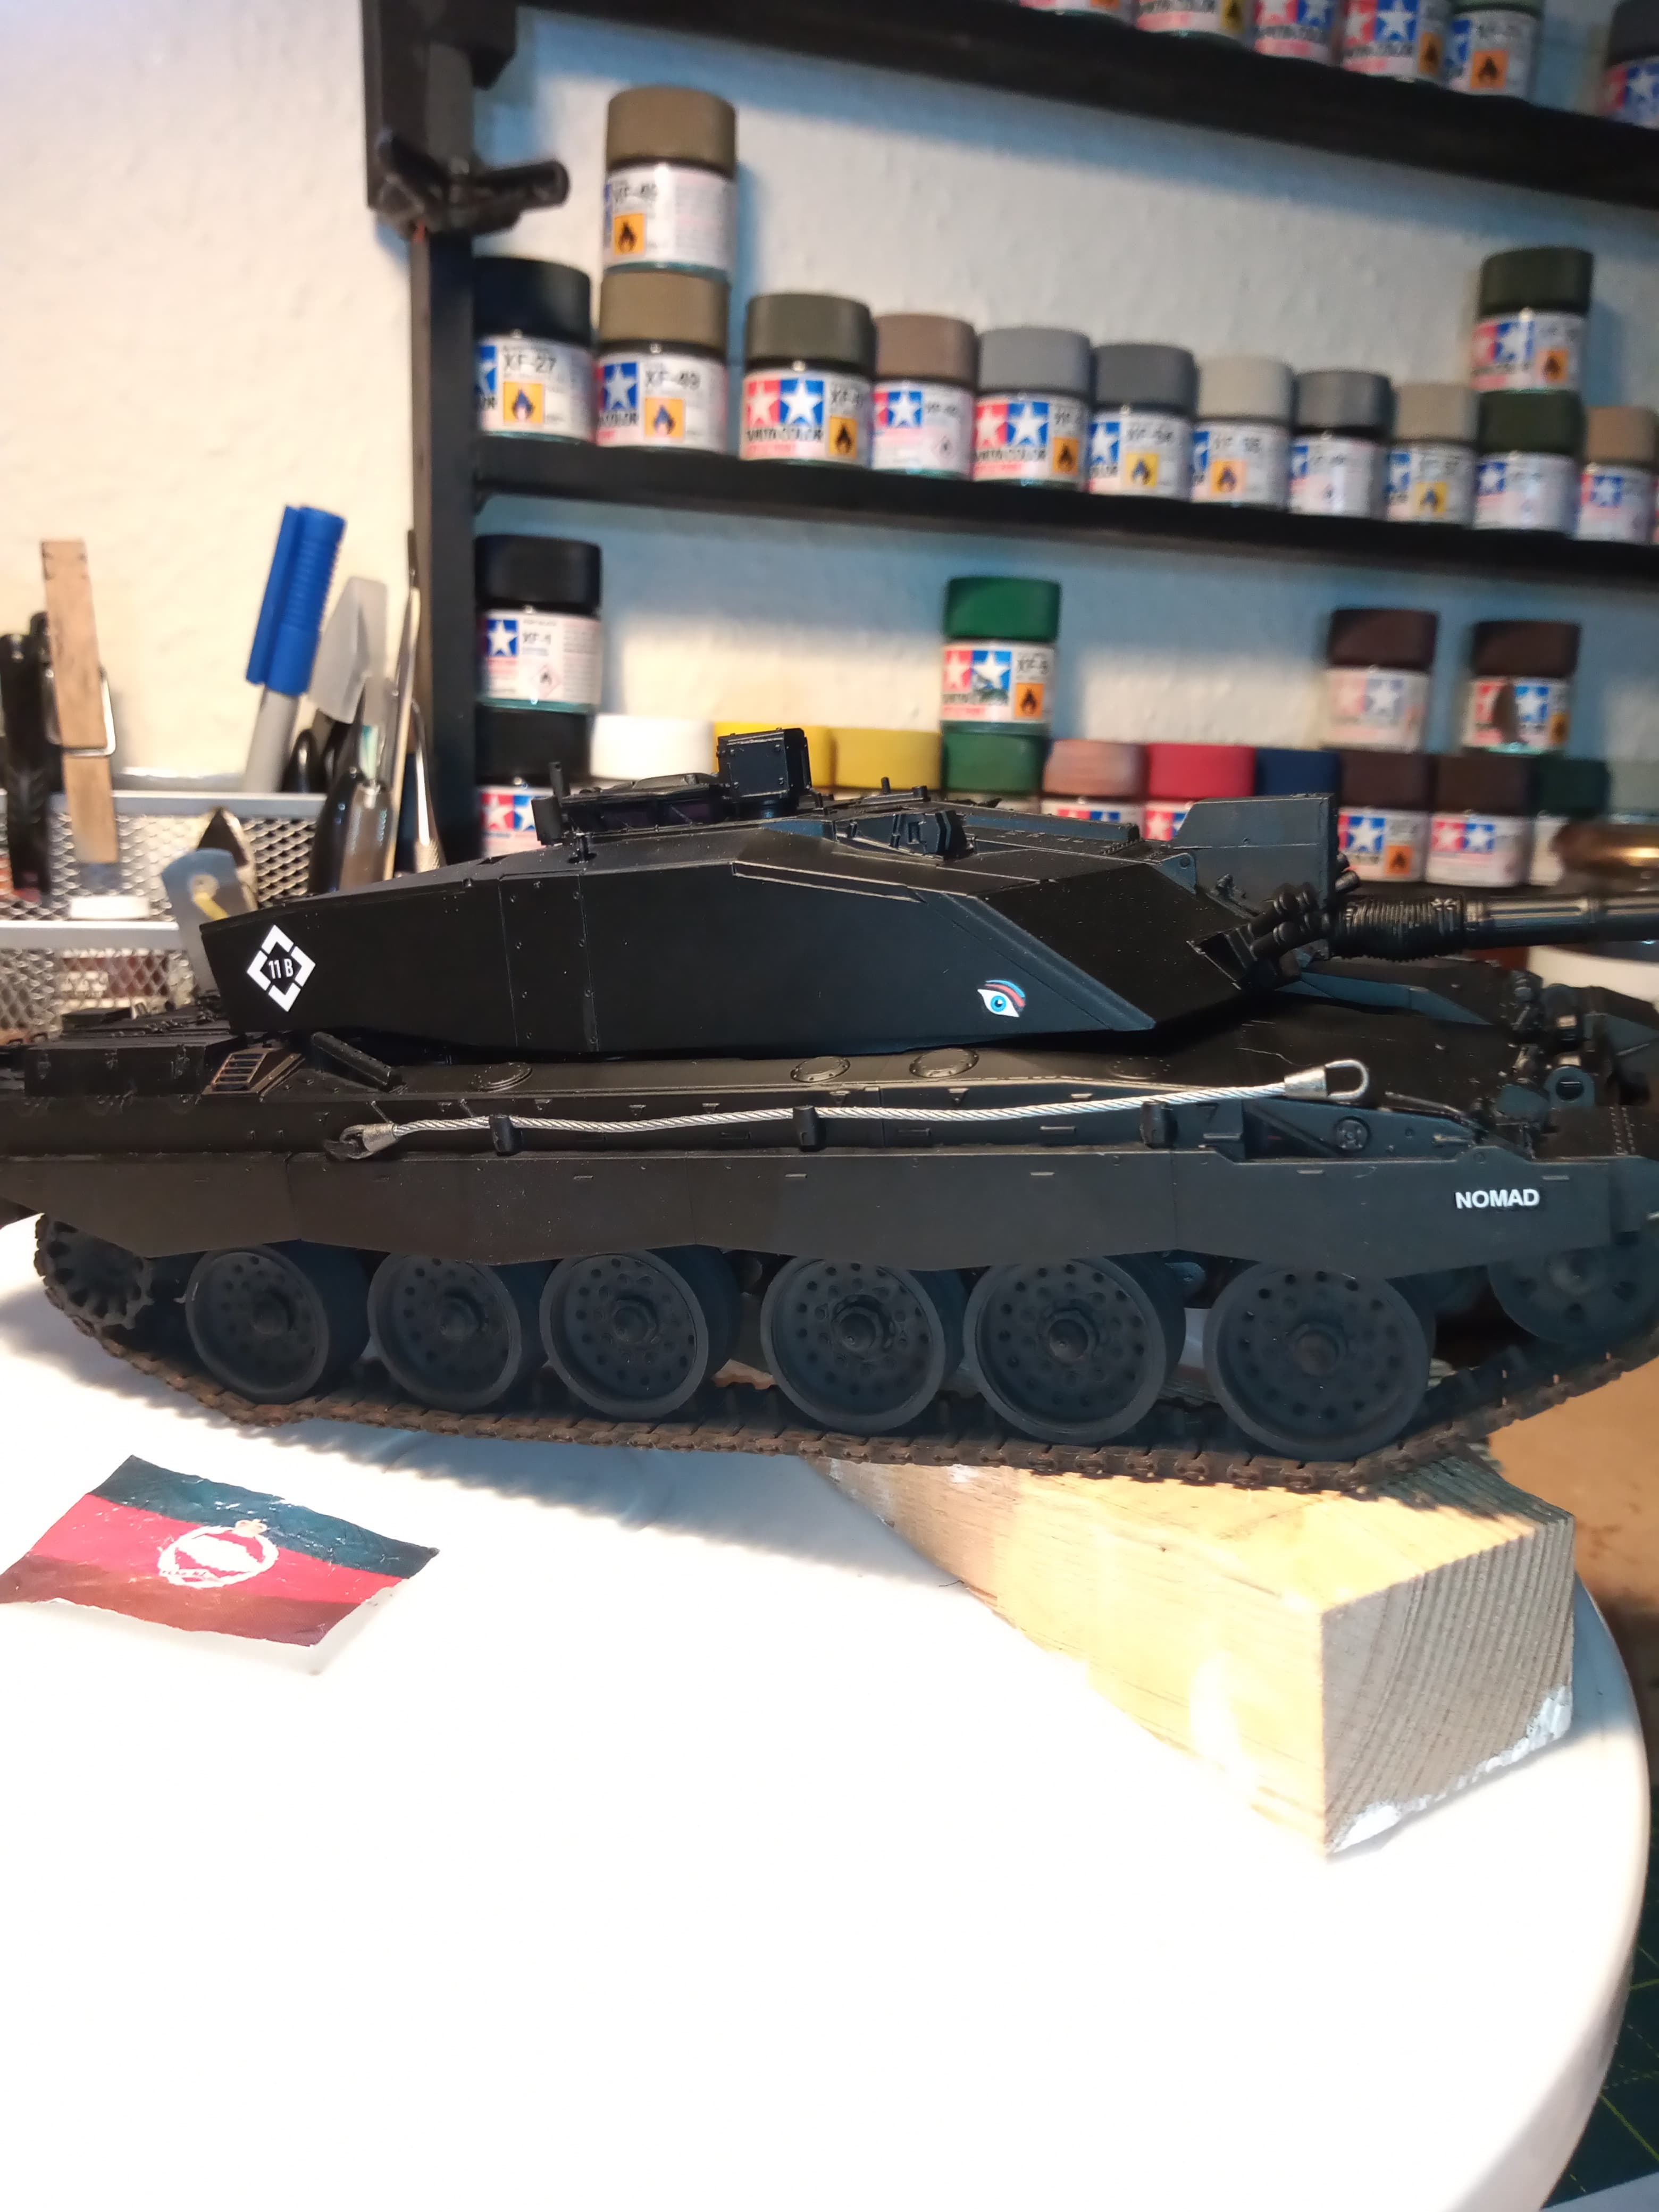
Although it’s pretty much out the box, I have had to get or do a few extras. I was able to get the custom decals done through a good friend, I had to convert the front LH road wheel back onto the plain dish type.
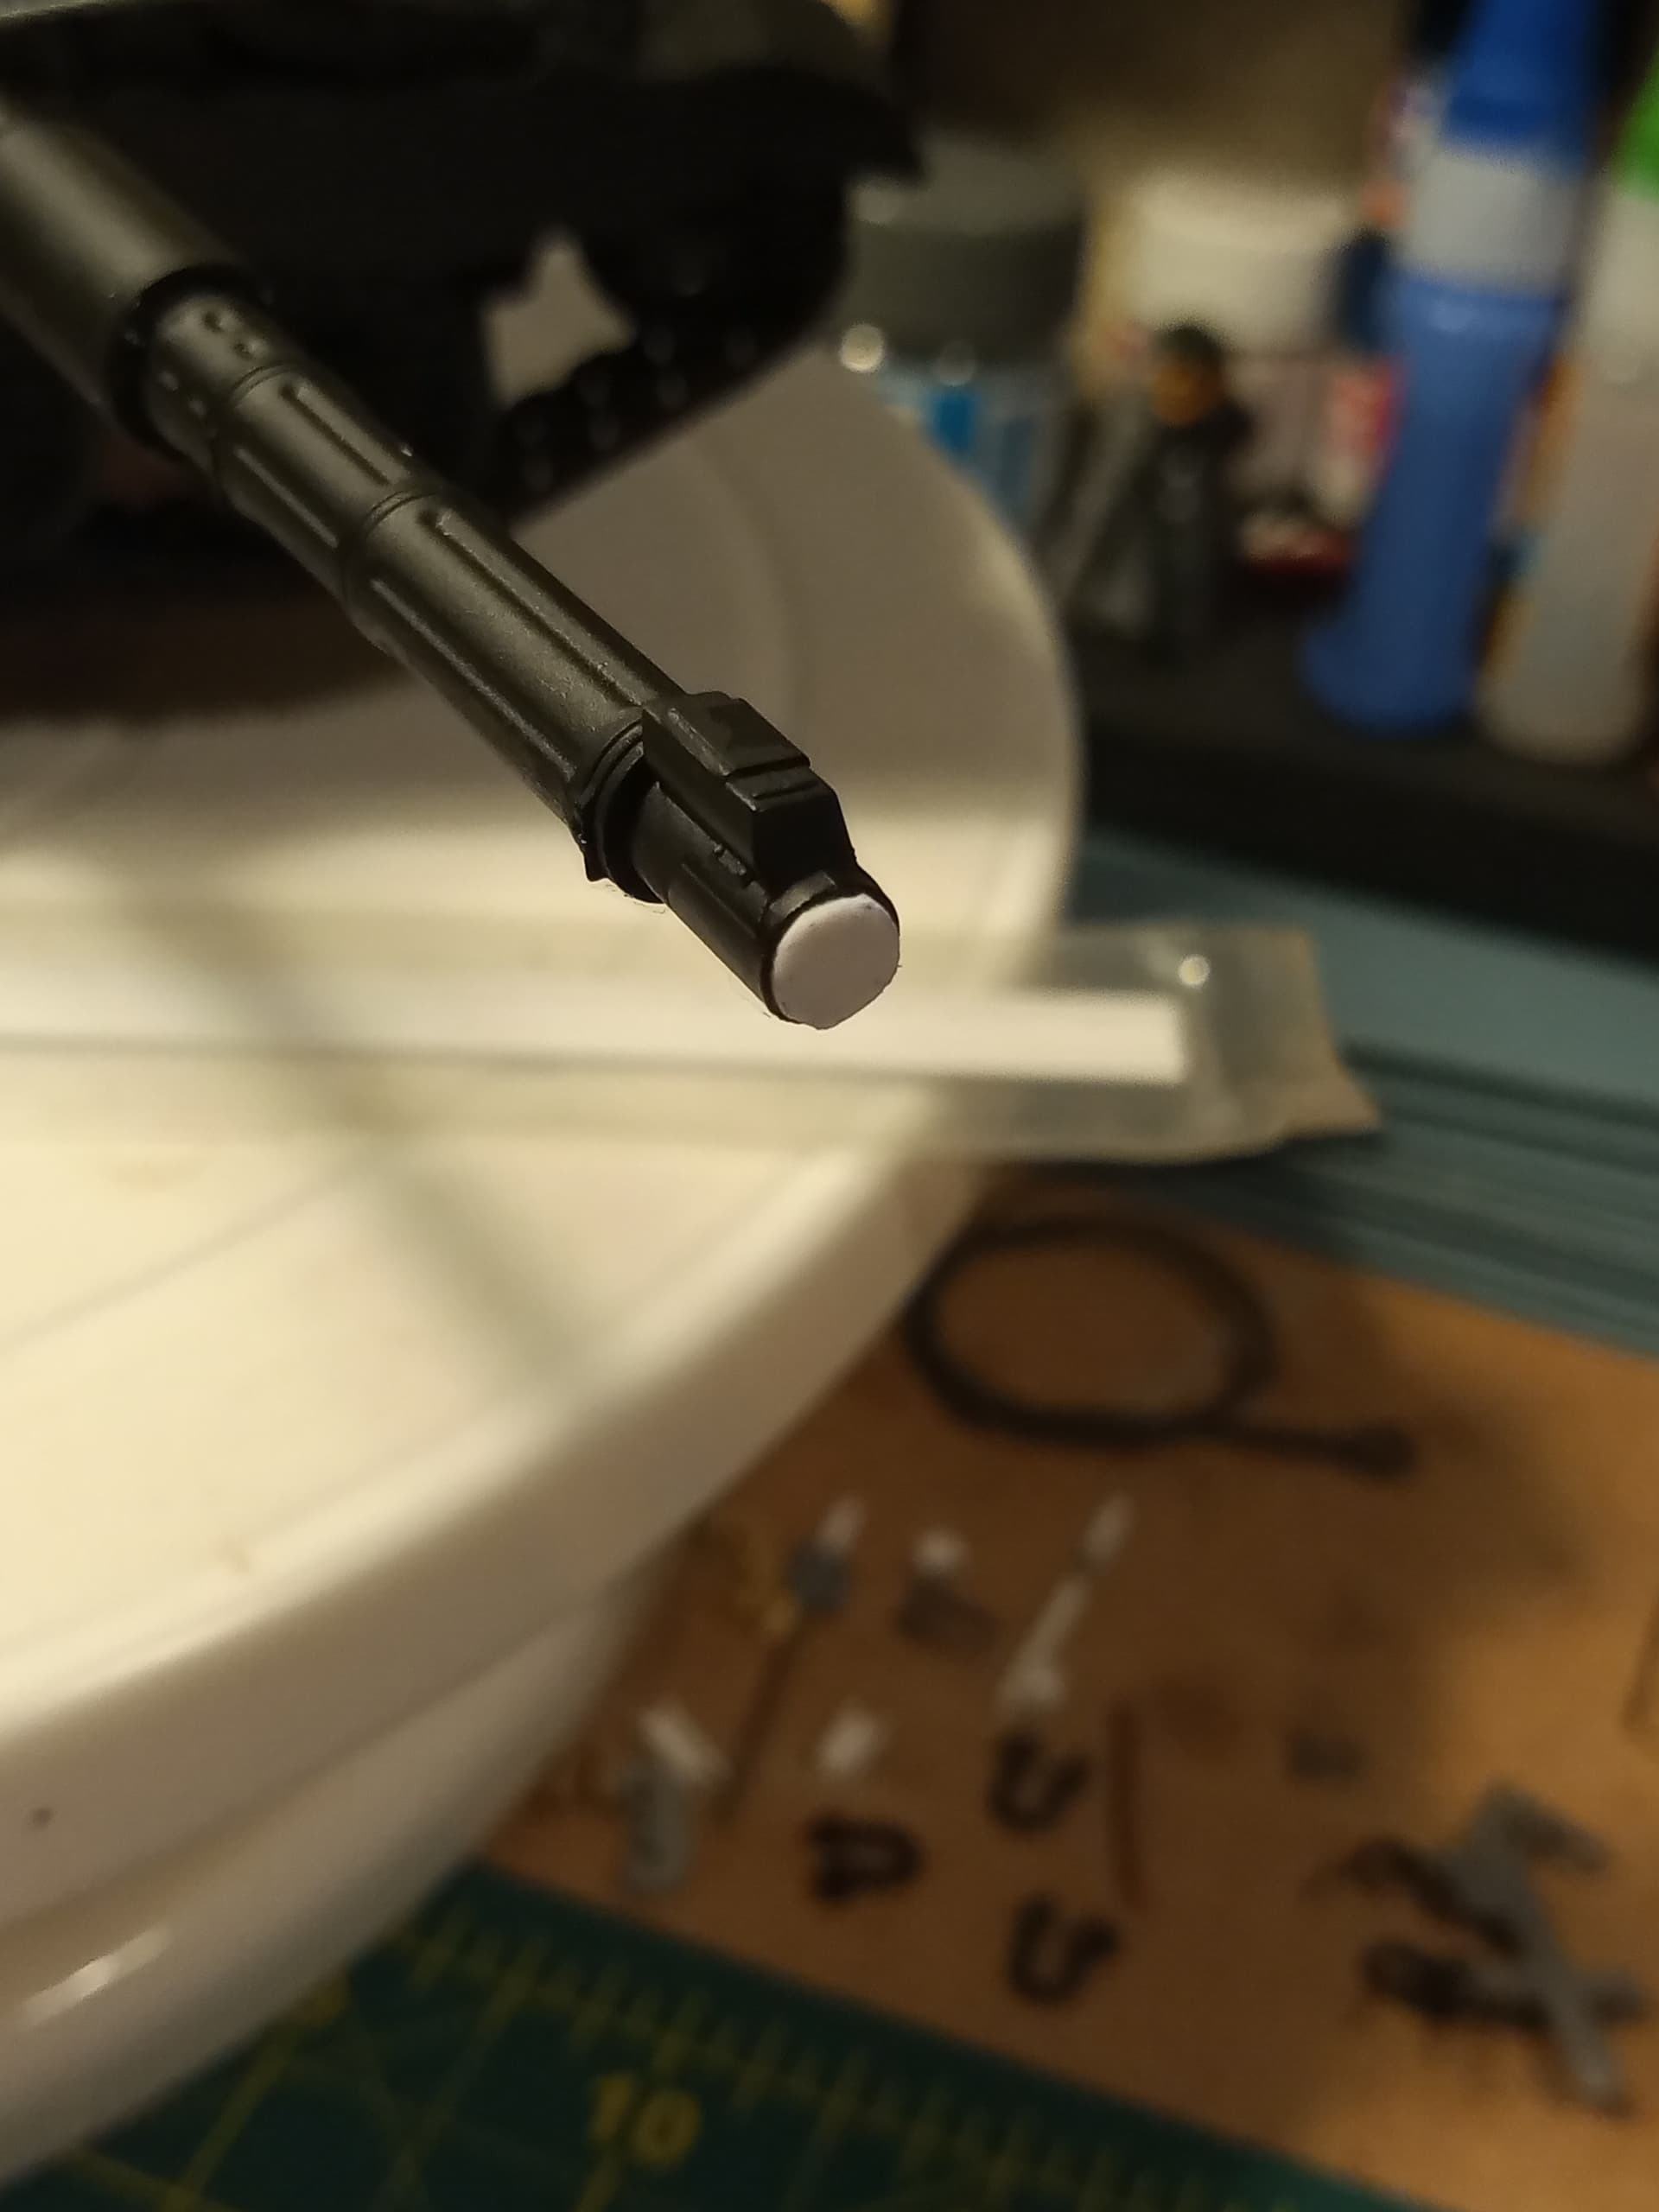
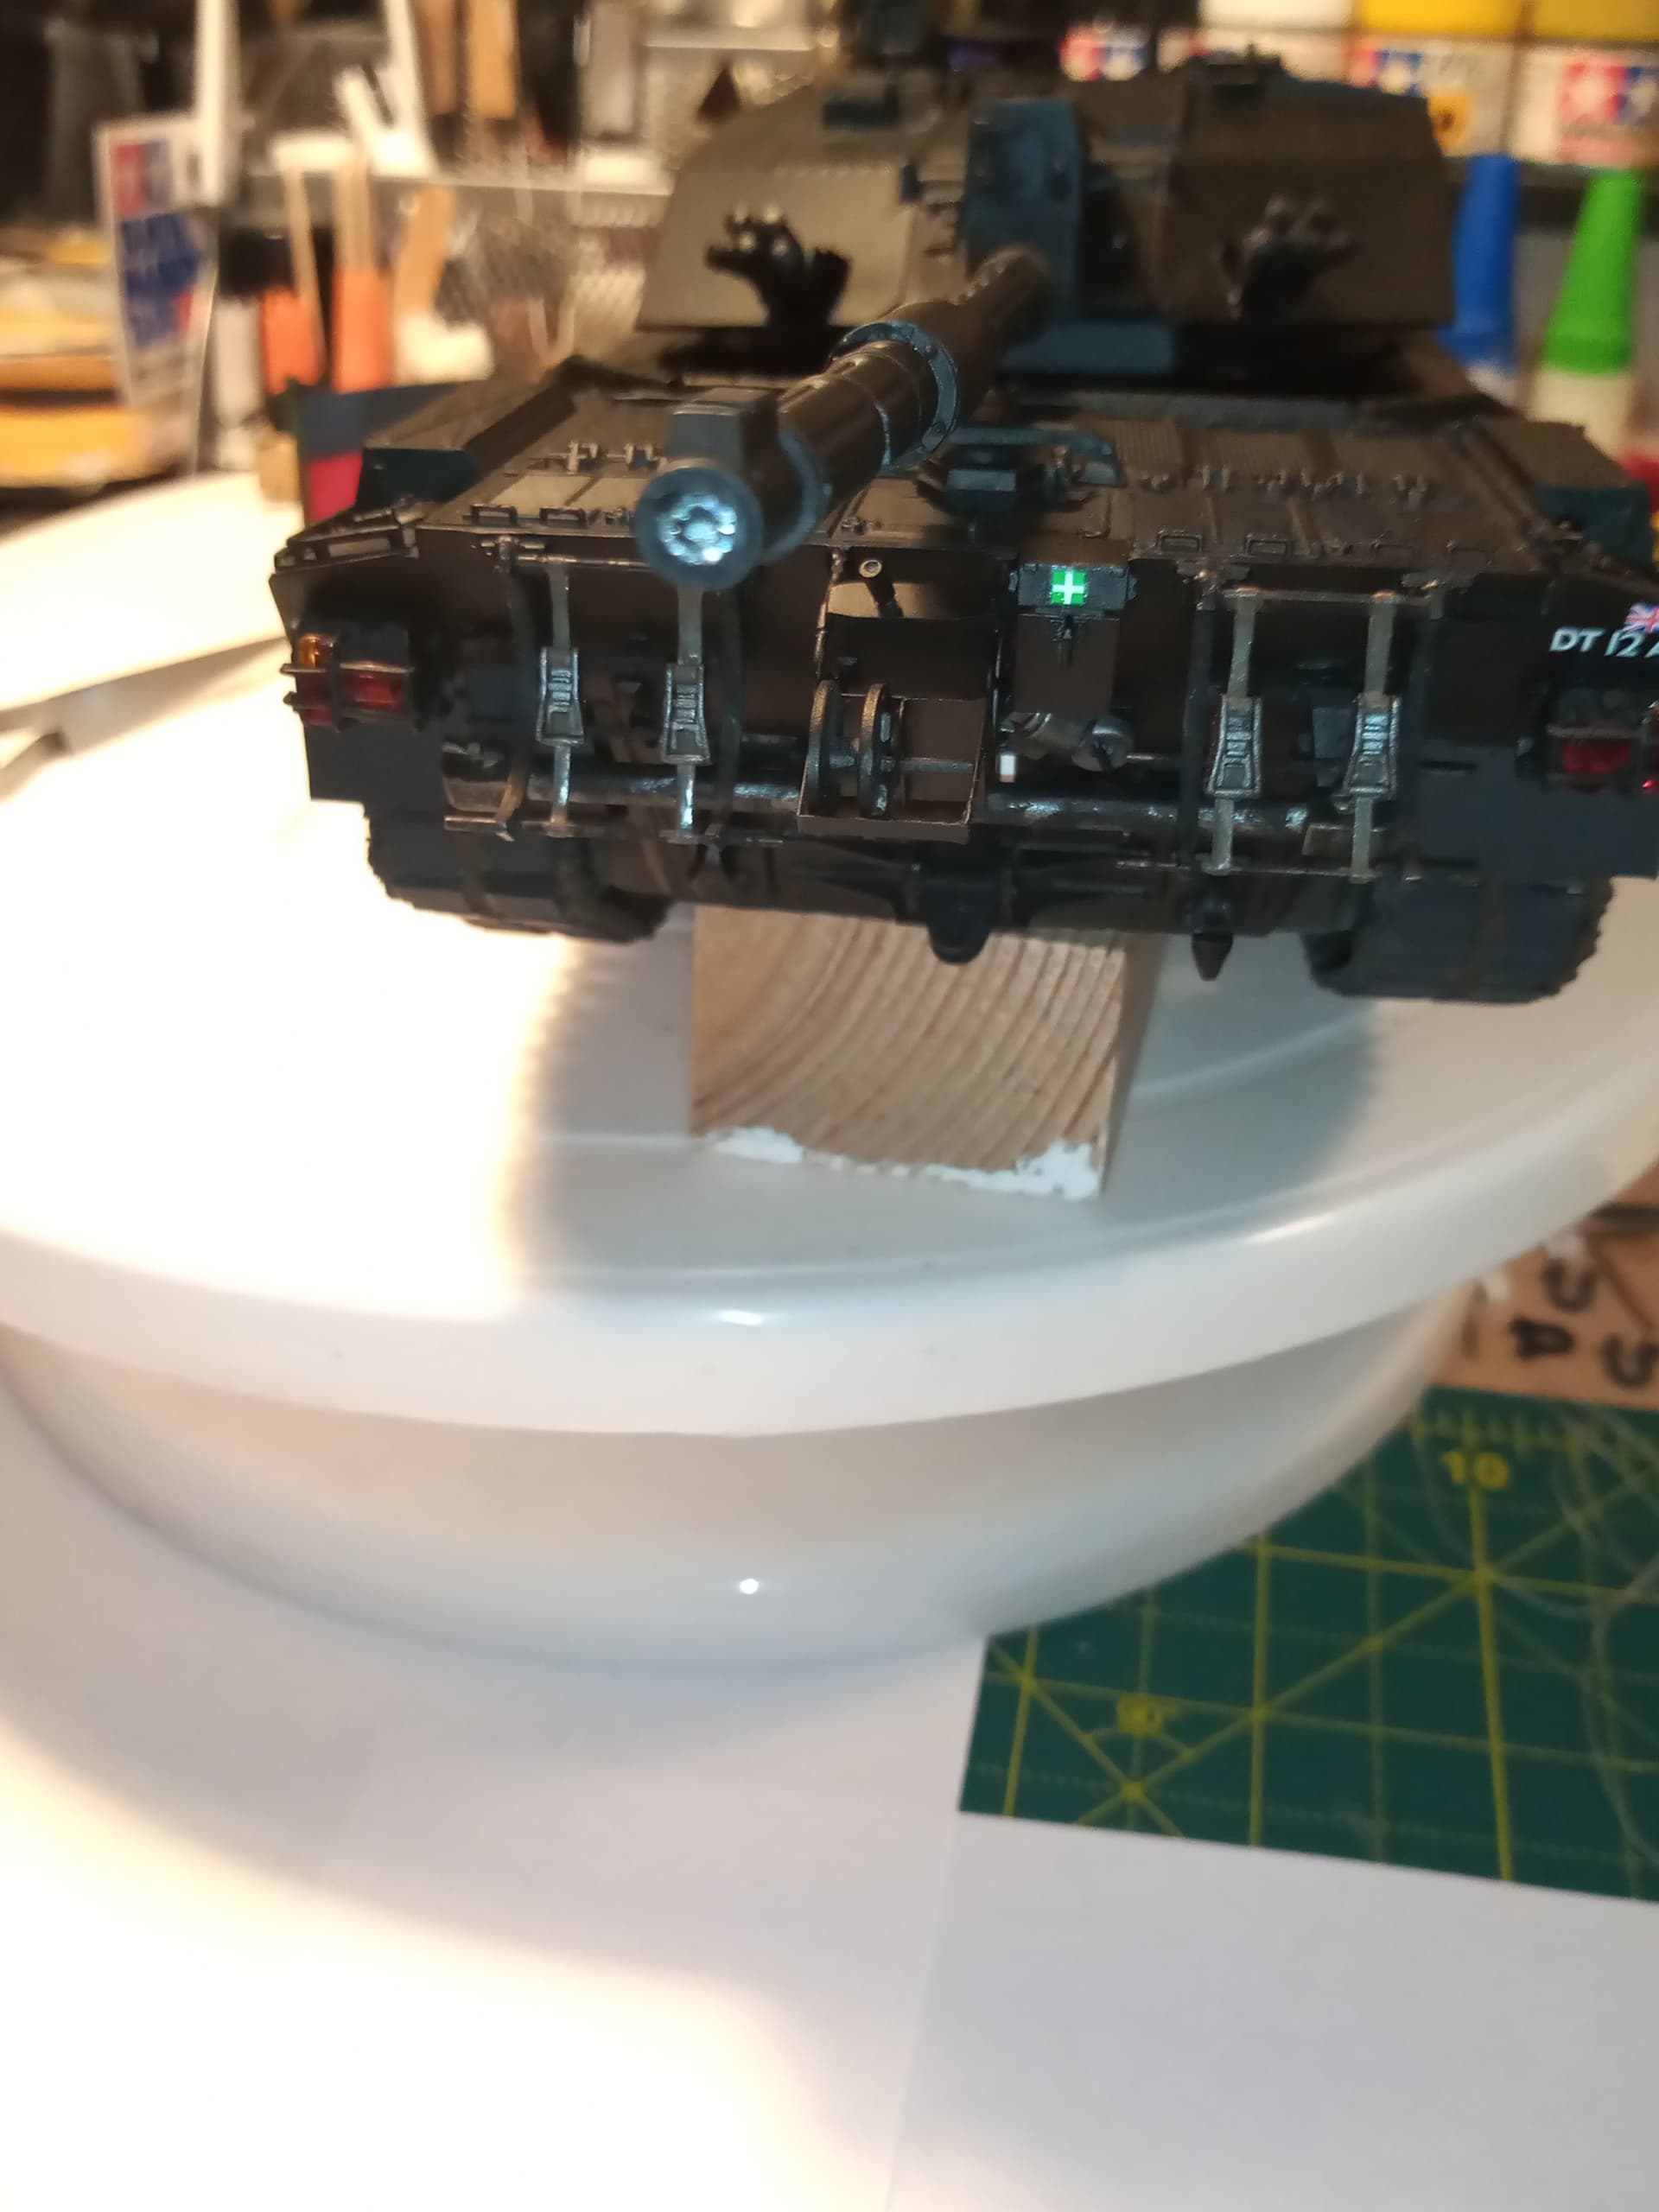
Have also started to make the muzzle cap which Nomad has fitted
Bit more to do on it yet, 1mm masking tape will go around the outer edge of the white disk and I need to try and make a very small representation of the RTR cap badge for the middle of it.
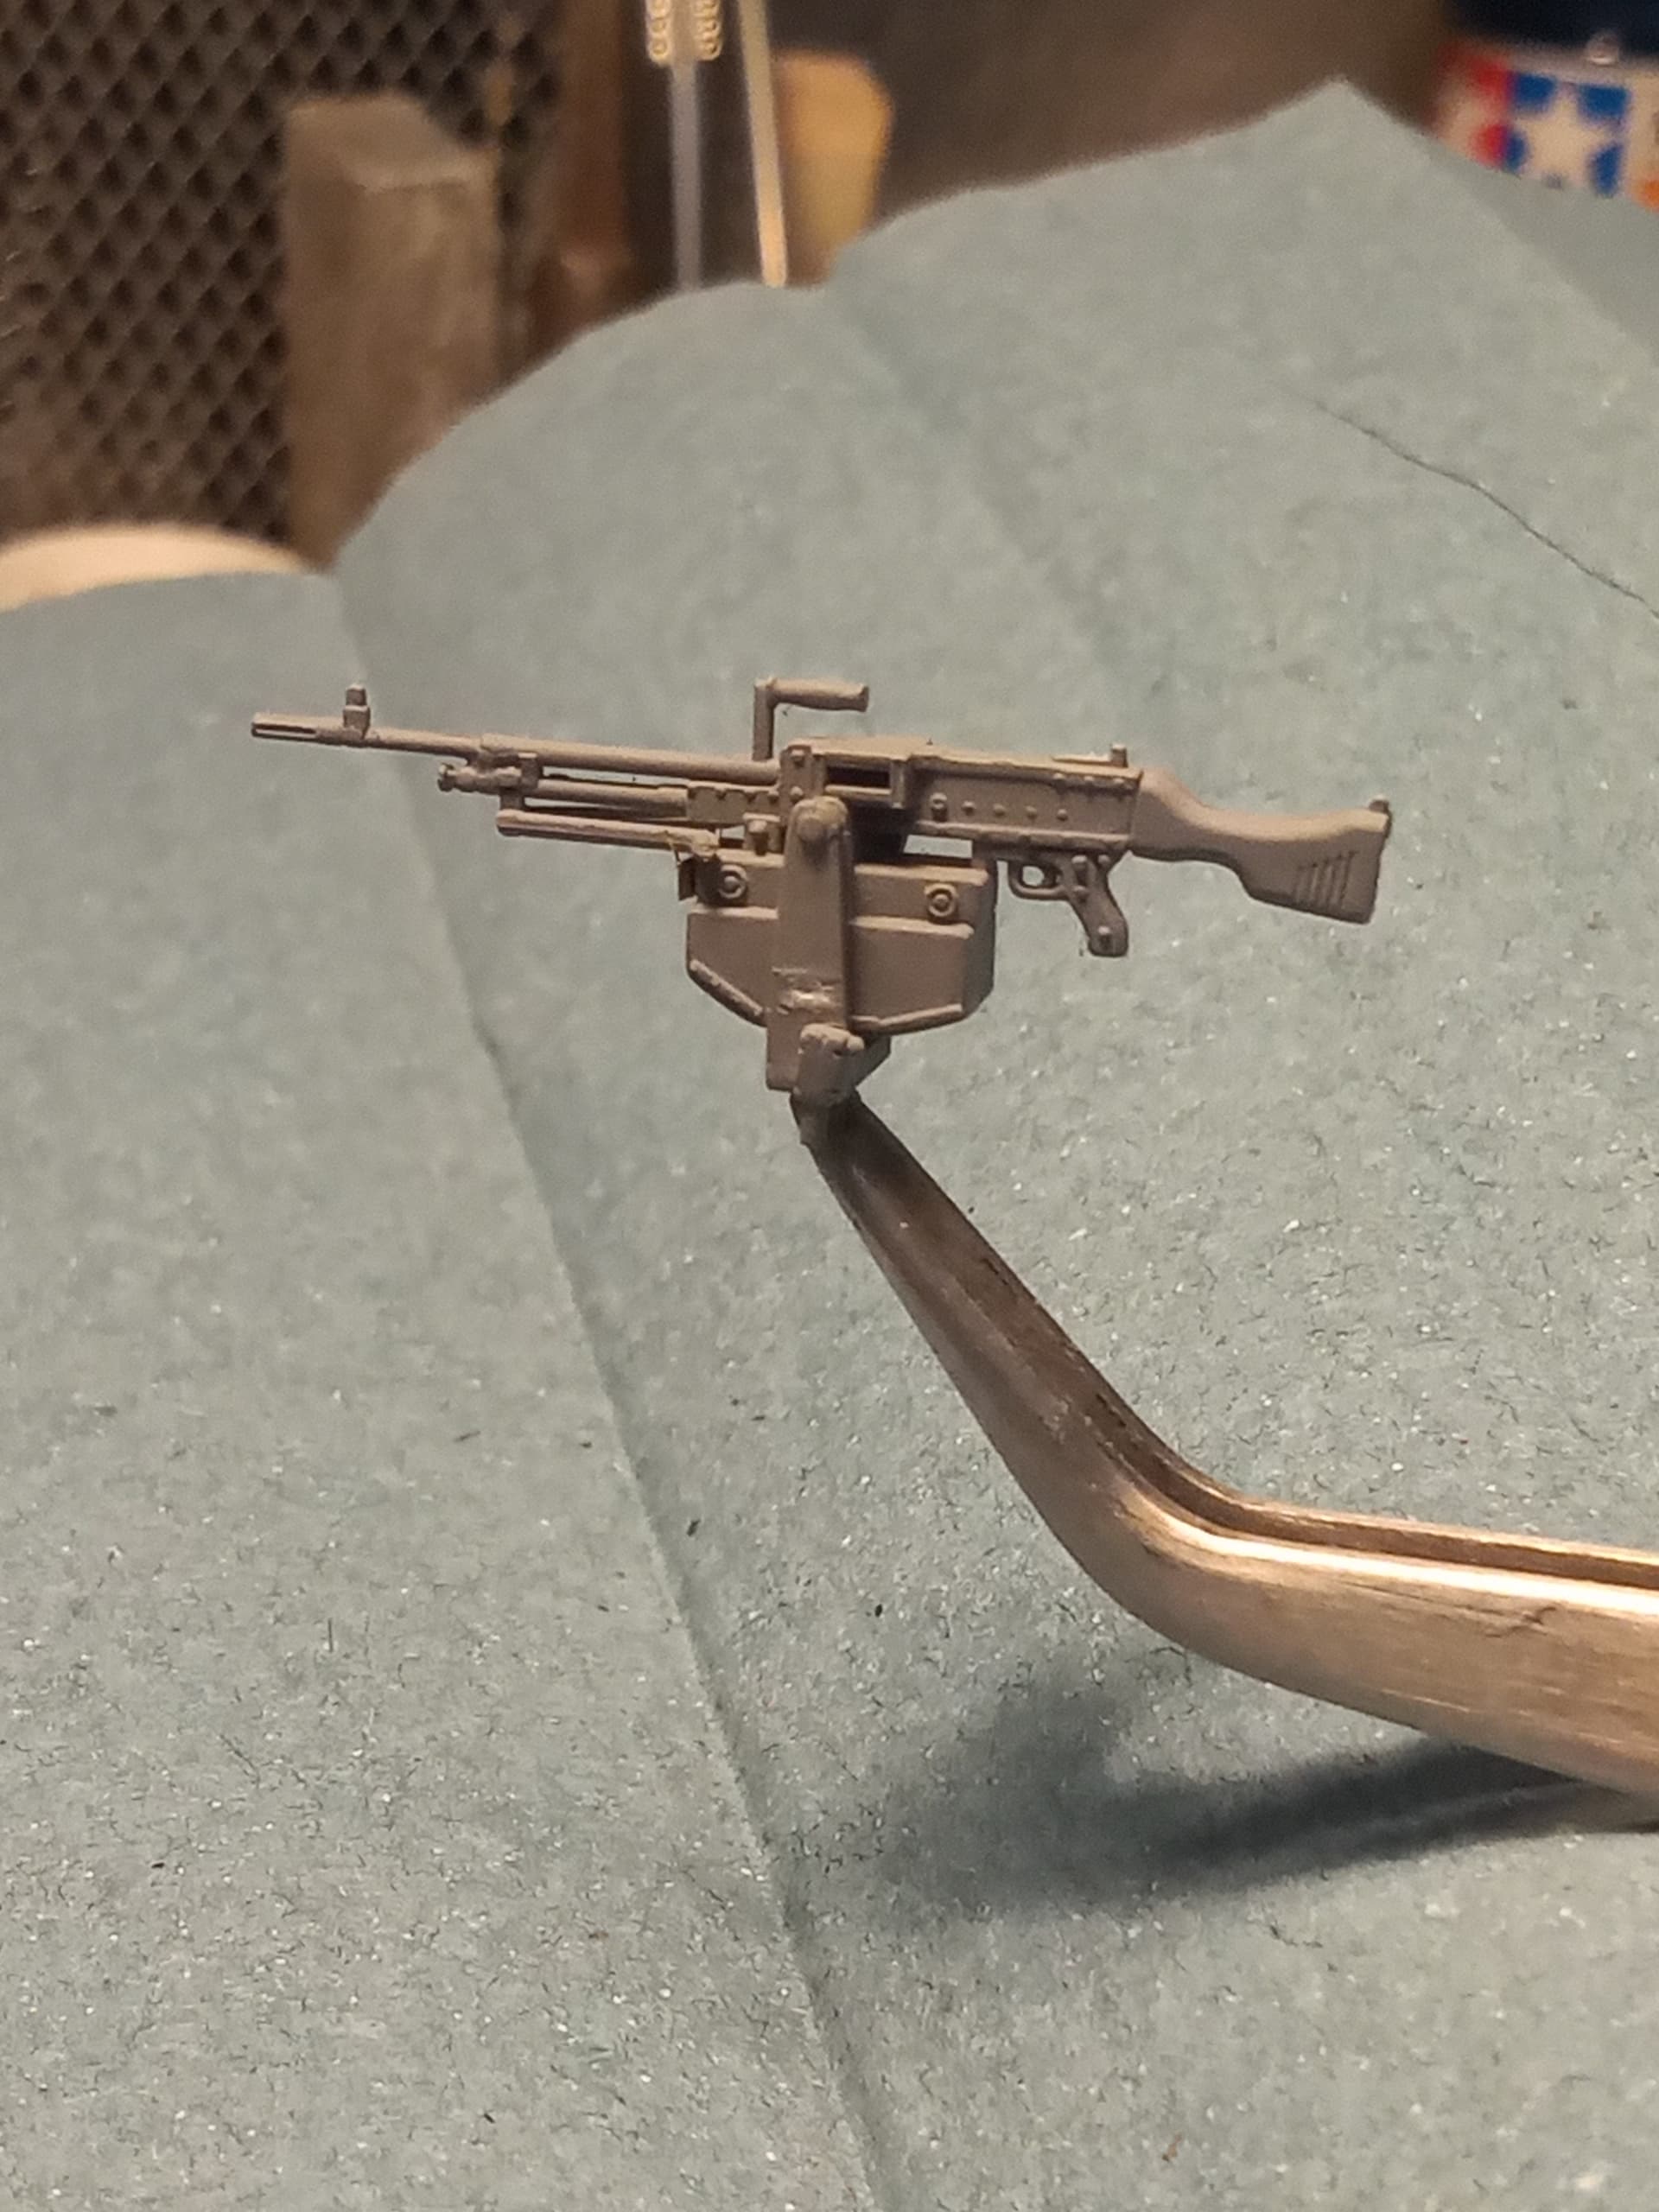
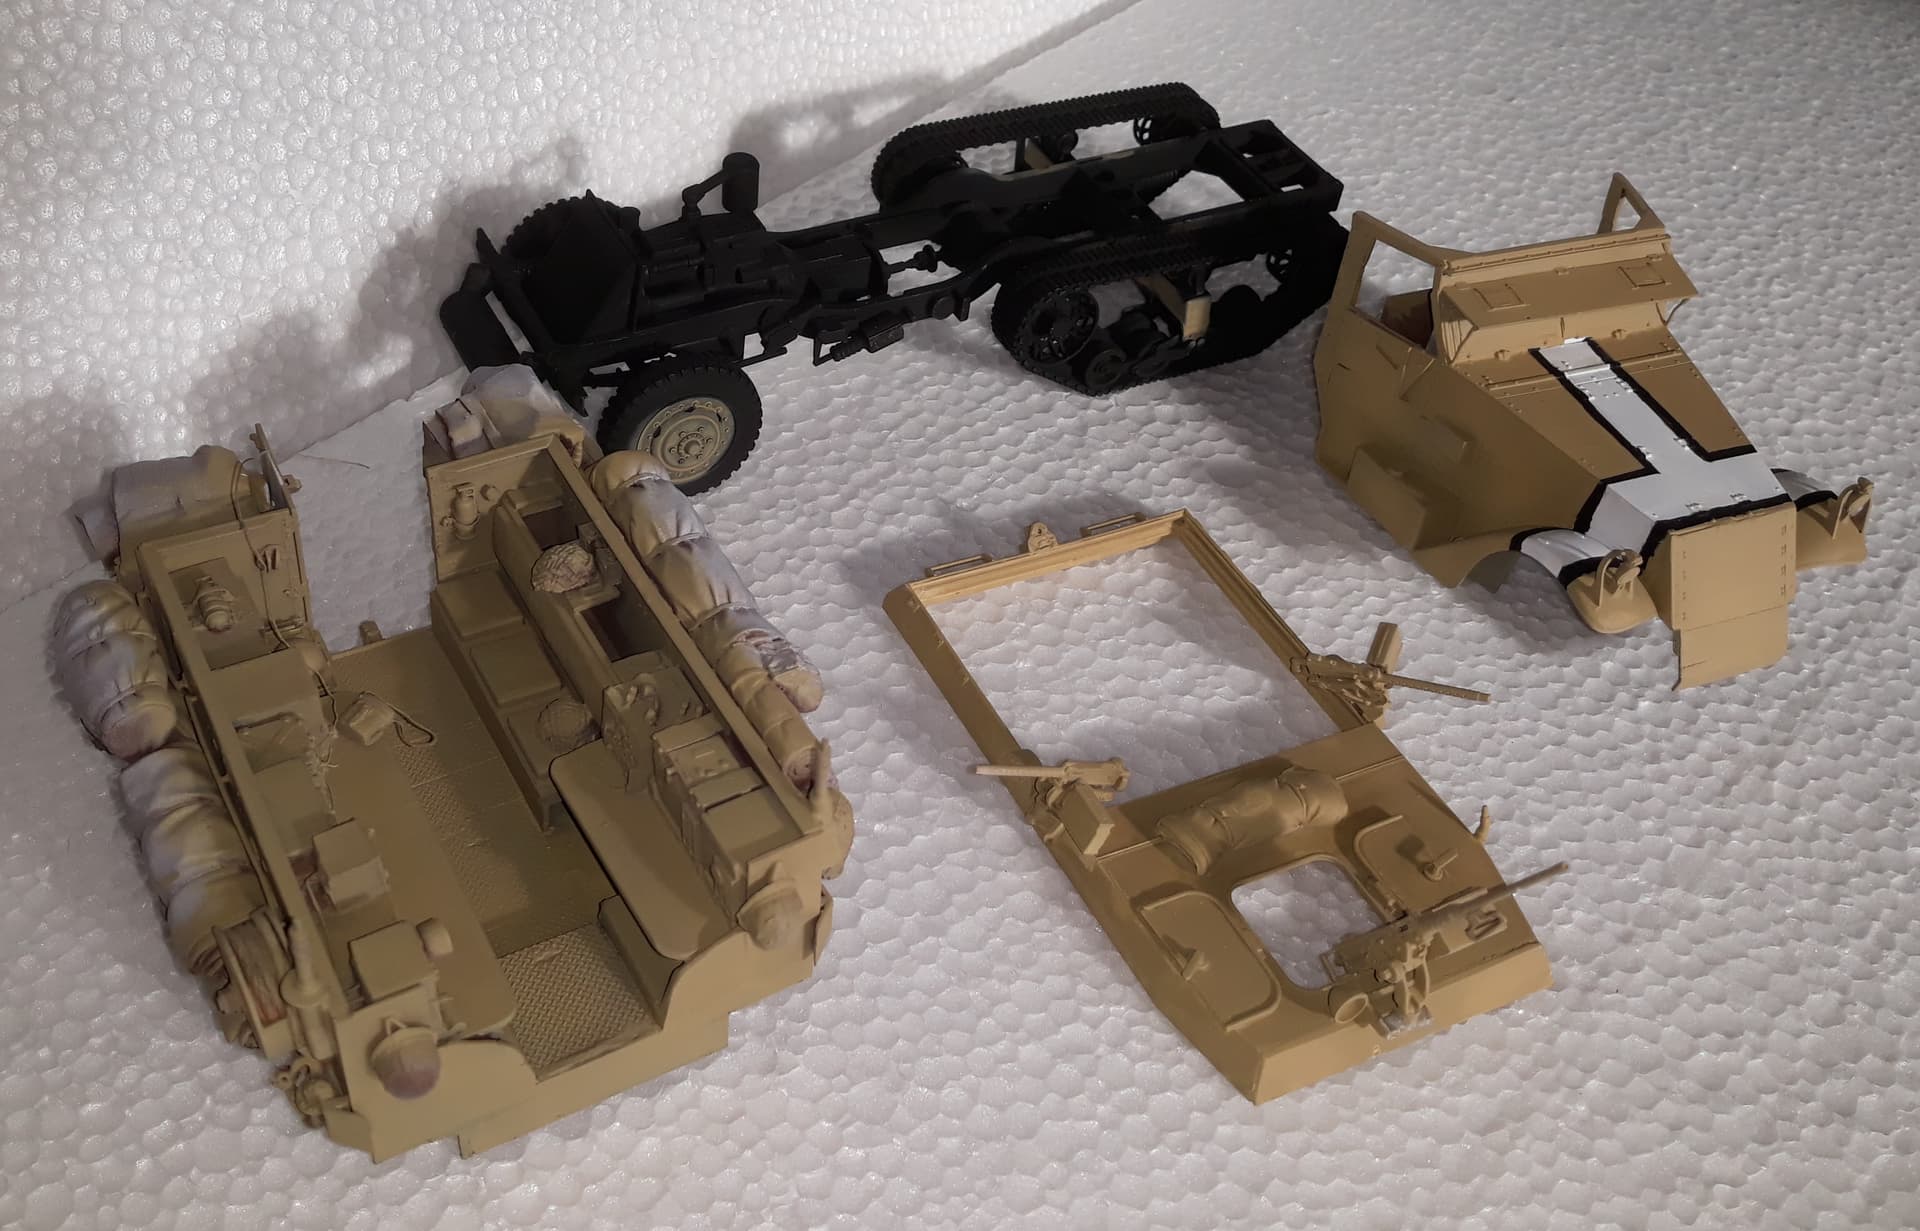
Also had to scratch up the empty ammo box holder for the loaders GPMG. For the parade, Nomad only had a GPMG fitted, no ammo box.
Sadly I need to order the echelon set of Chally 2 Gulf decals as I need the 1 exhaust warning sign for the RH side rear, and the 2 FFE warning signs that go next to the handles… Will order those in the next few days
My first real moment of panic…
I decided to put on the decals that I have … started off with the Union flag on the rear above the VRN, then did that one from the custom set I had done via a friend.
As I slid it off the backing paper the 12 part immediately scrunched up … Luckily the DT was still on the paper and as I was holding the AA end that stayed taught… I managed to get the decal back on the backing paper but the 12 part was screwed beyond fixing…
After searching through my old leftover decal sheets, I found a 12 which was almost perfectly sized from of all things, an old Sherman sheet. So I cut that 12 out, then the DT part and applied that, then the 12 and lastly the AA… That took 55 minutes lol… Anyway… The result …
I think I can get away with it
Carried on with the rest after that with no issues. Used Micro Set and Sol on all of them.
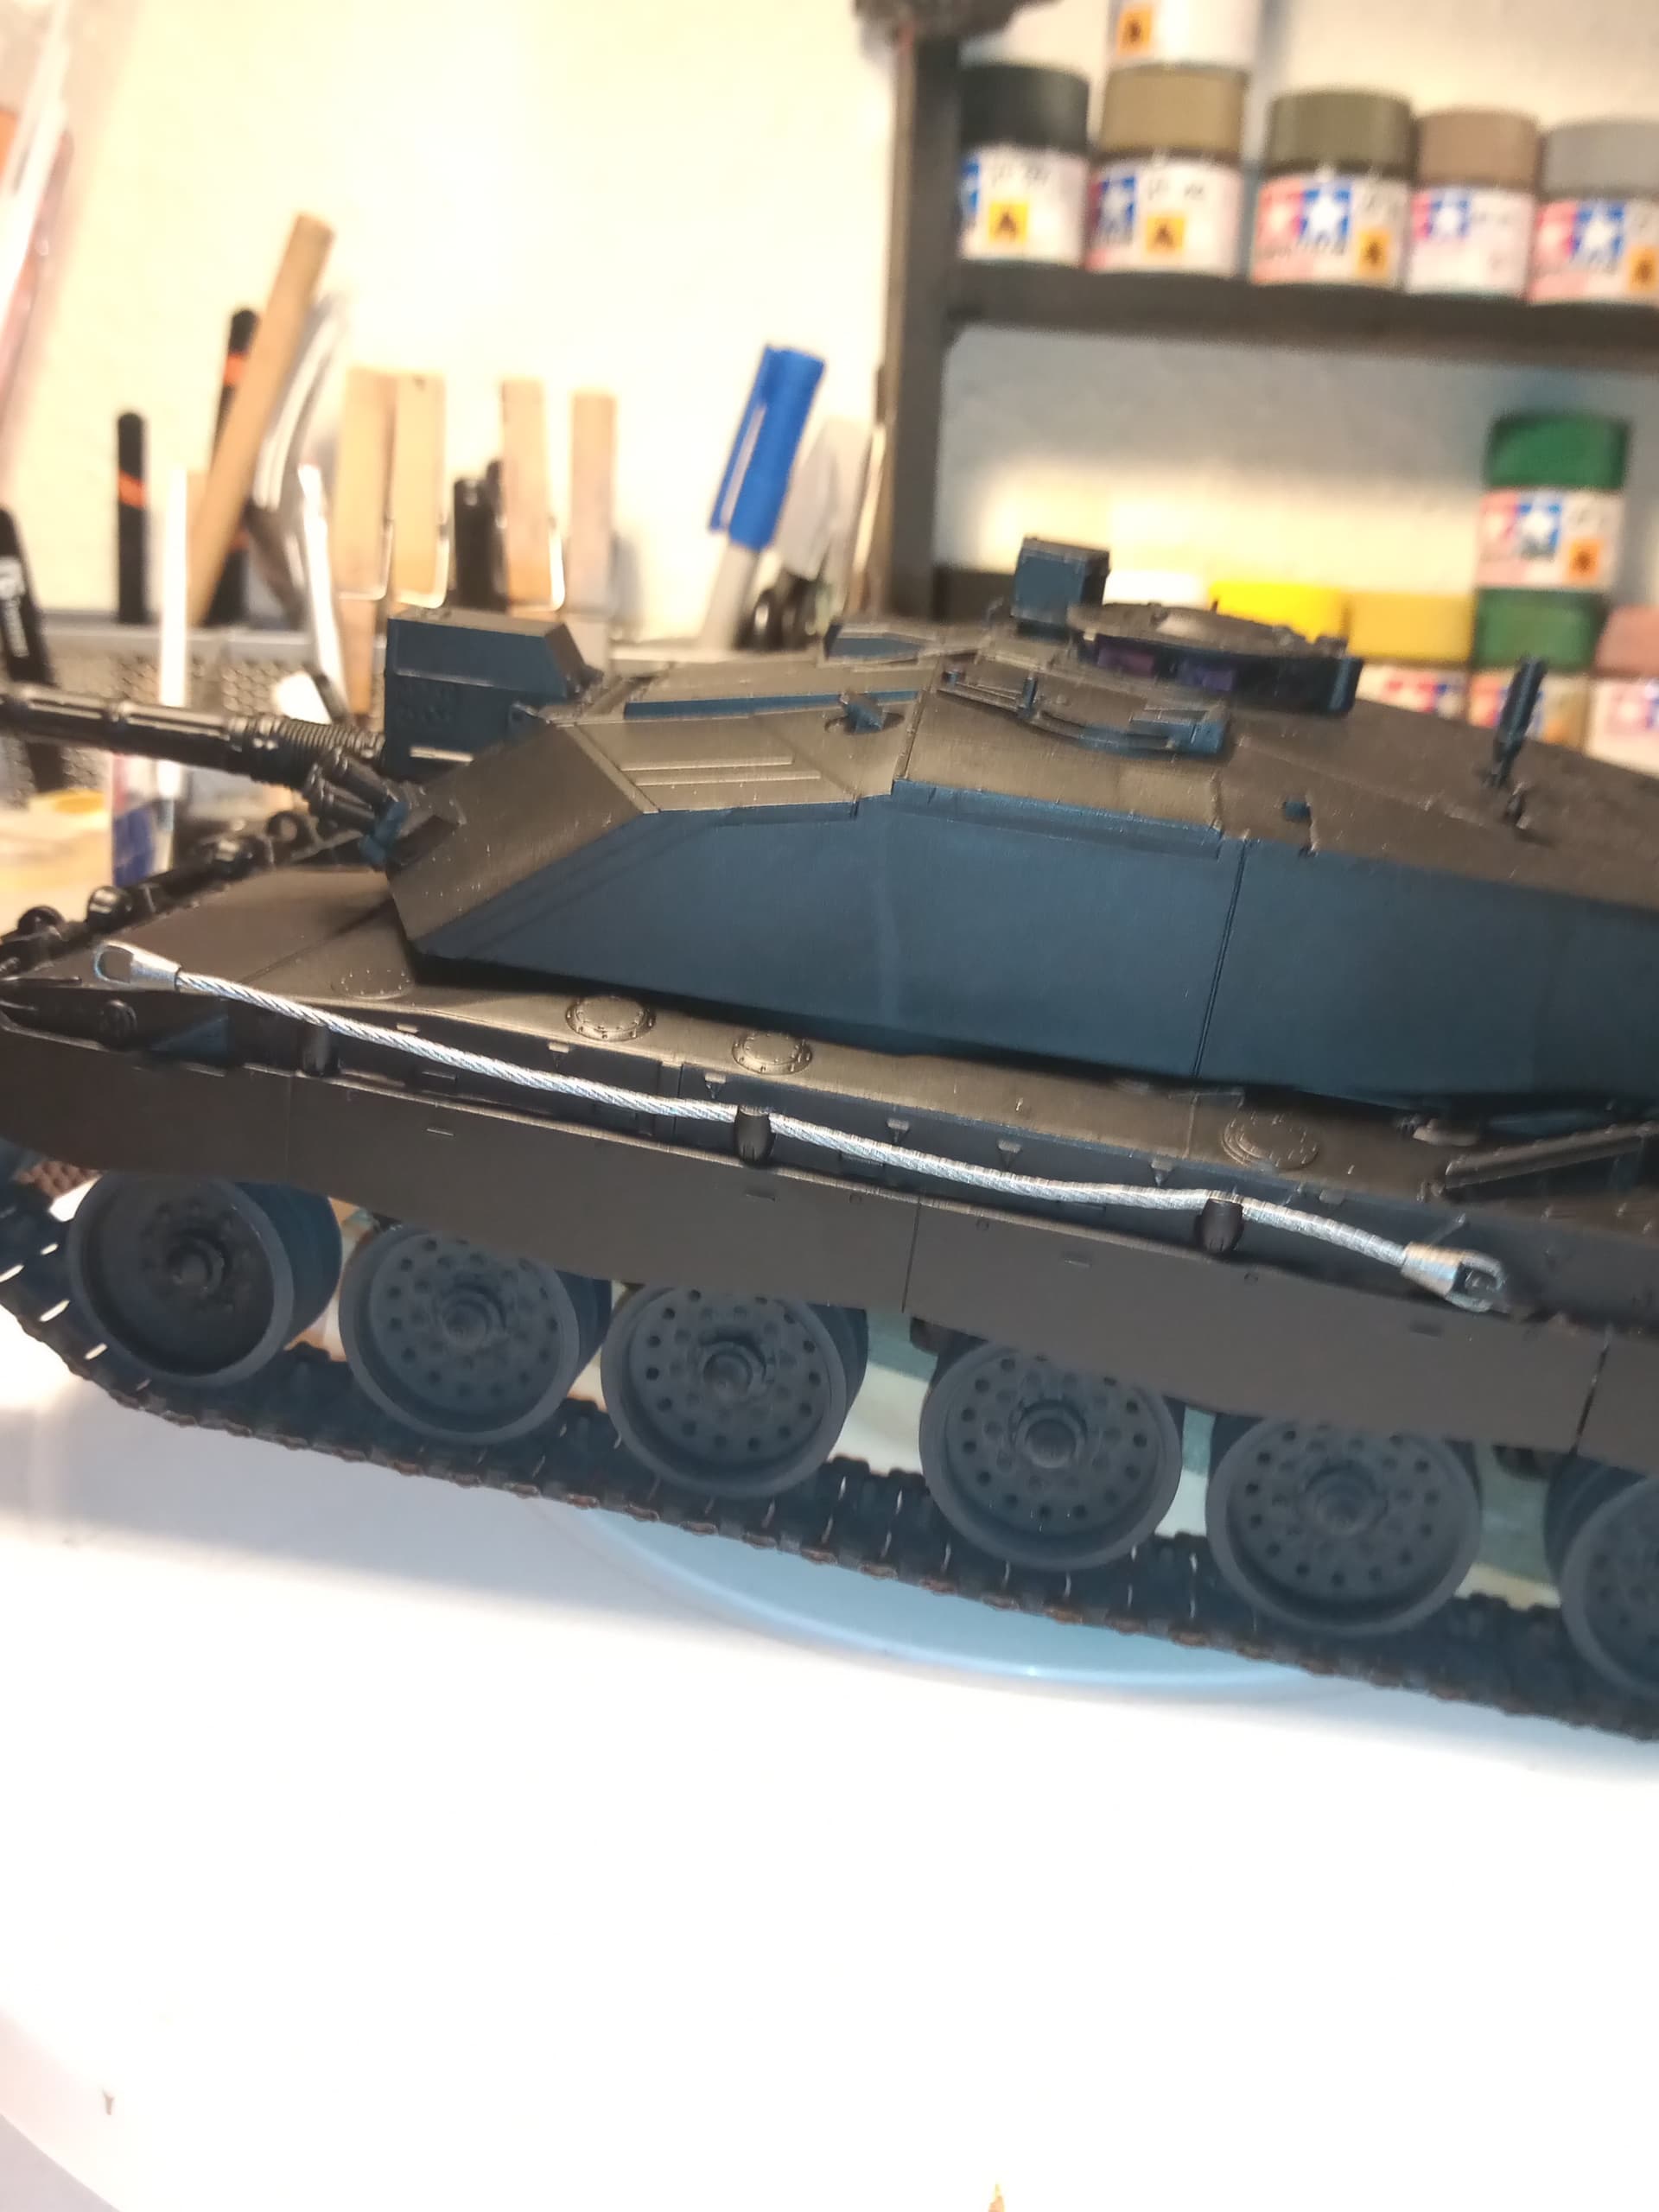
The side view and Nomad comes to life.
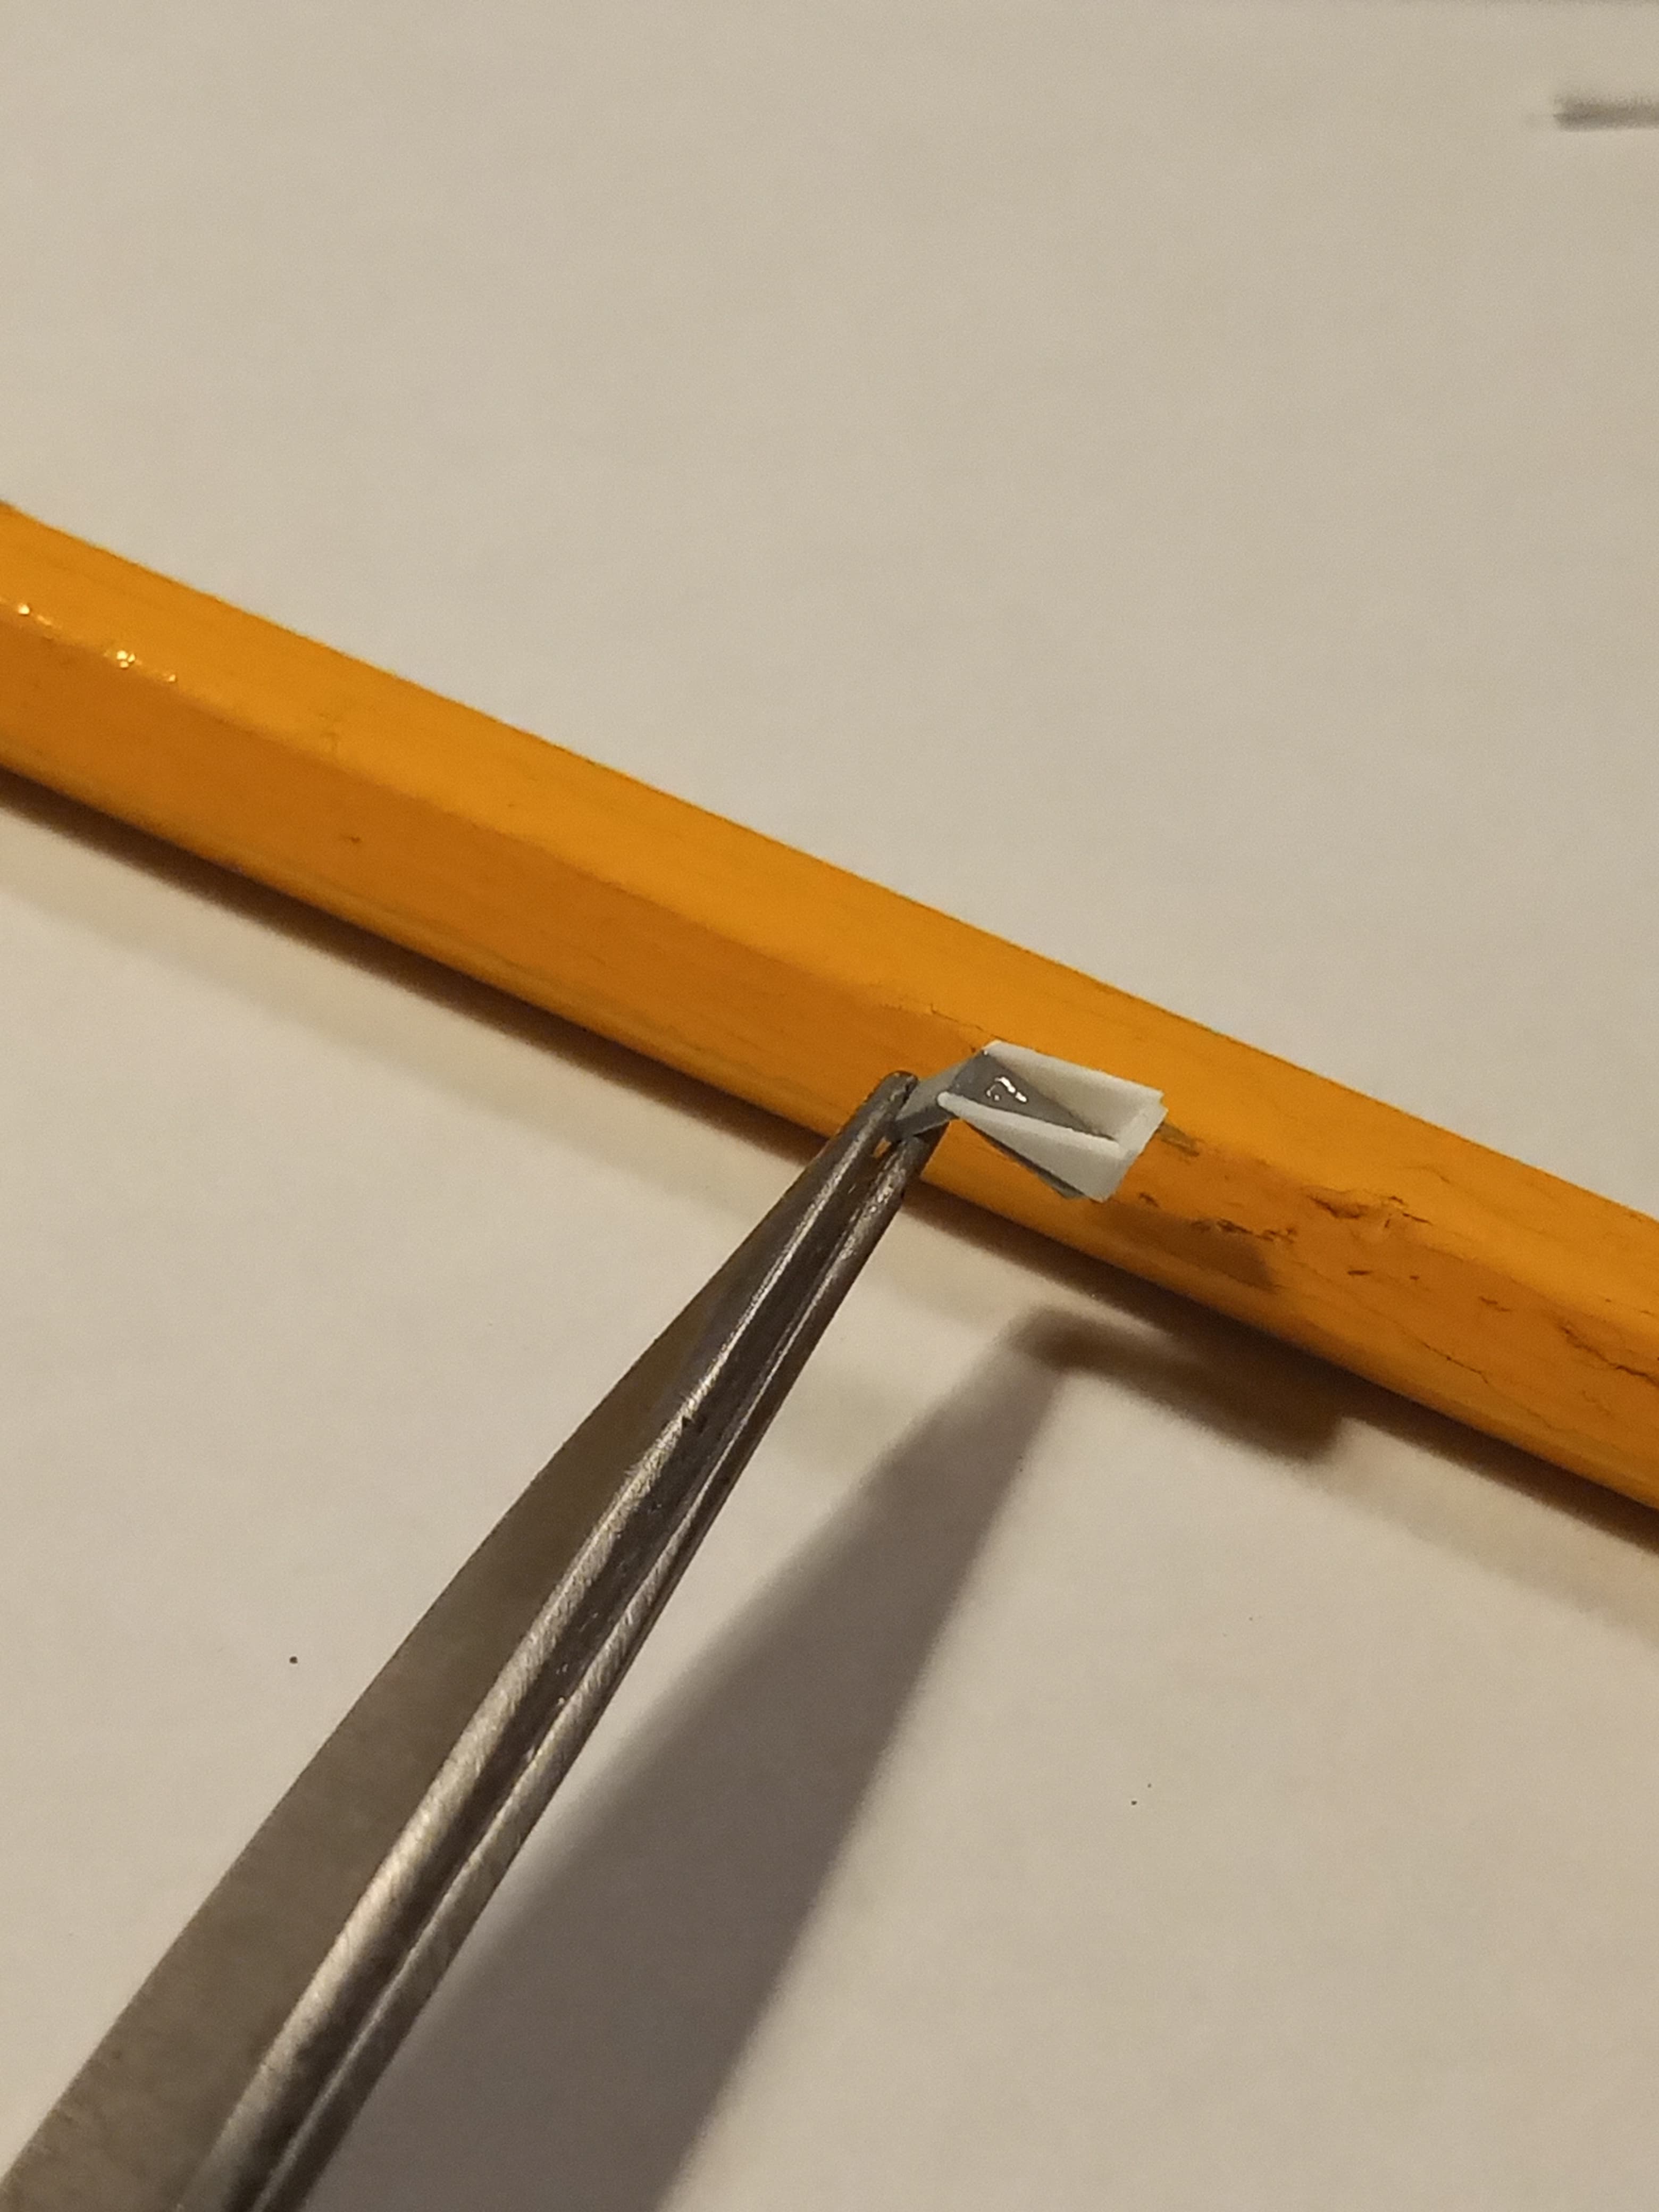
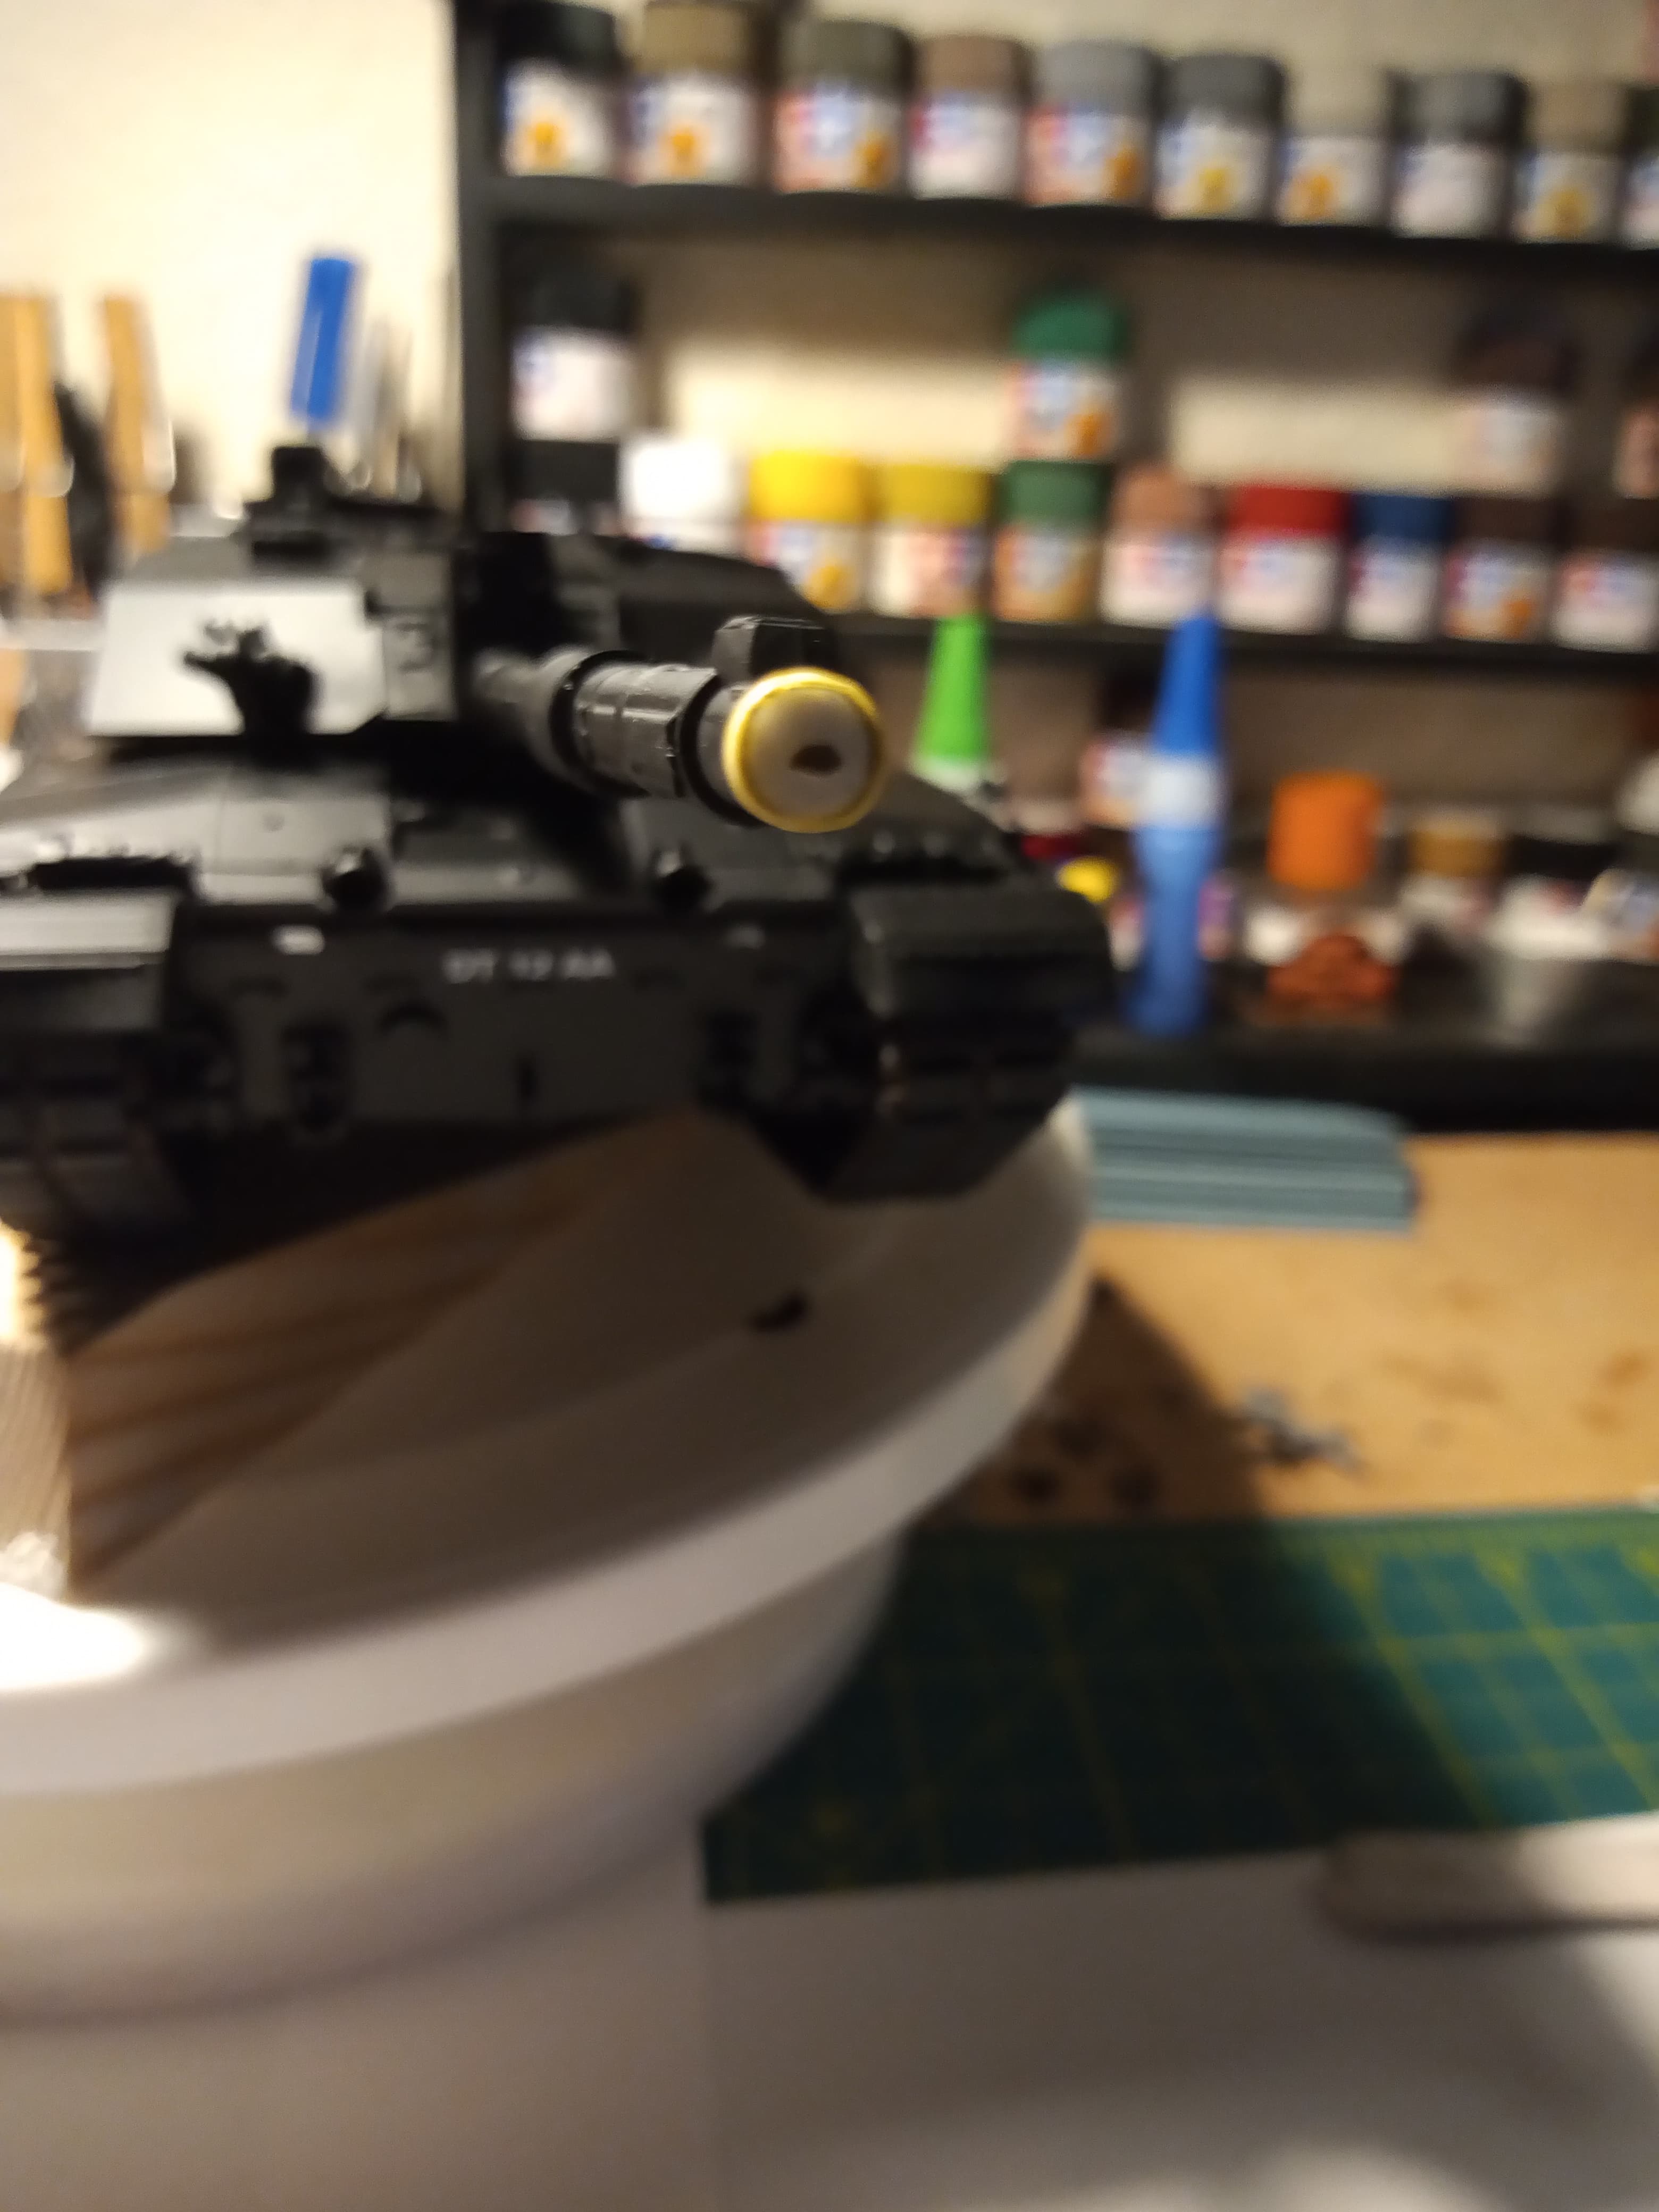
And I also finished the muzzle cap, 1mm masking tape around the outer edge and then Cyno to fill the gaps … Have also cut down a bit of PE fret to sort of look like the RTR badge which will be obviously silver at the end with a laurel around it…
All in all, quite happy wth the nights work…
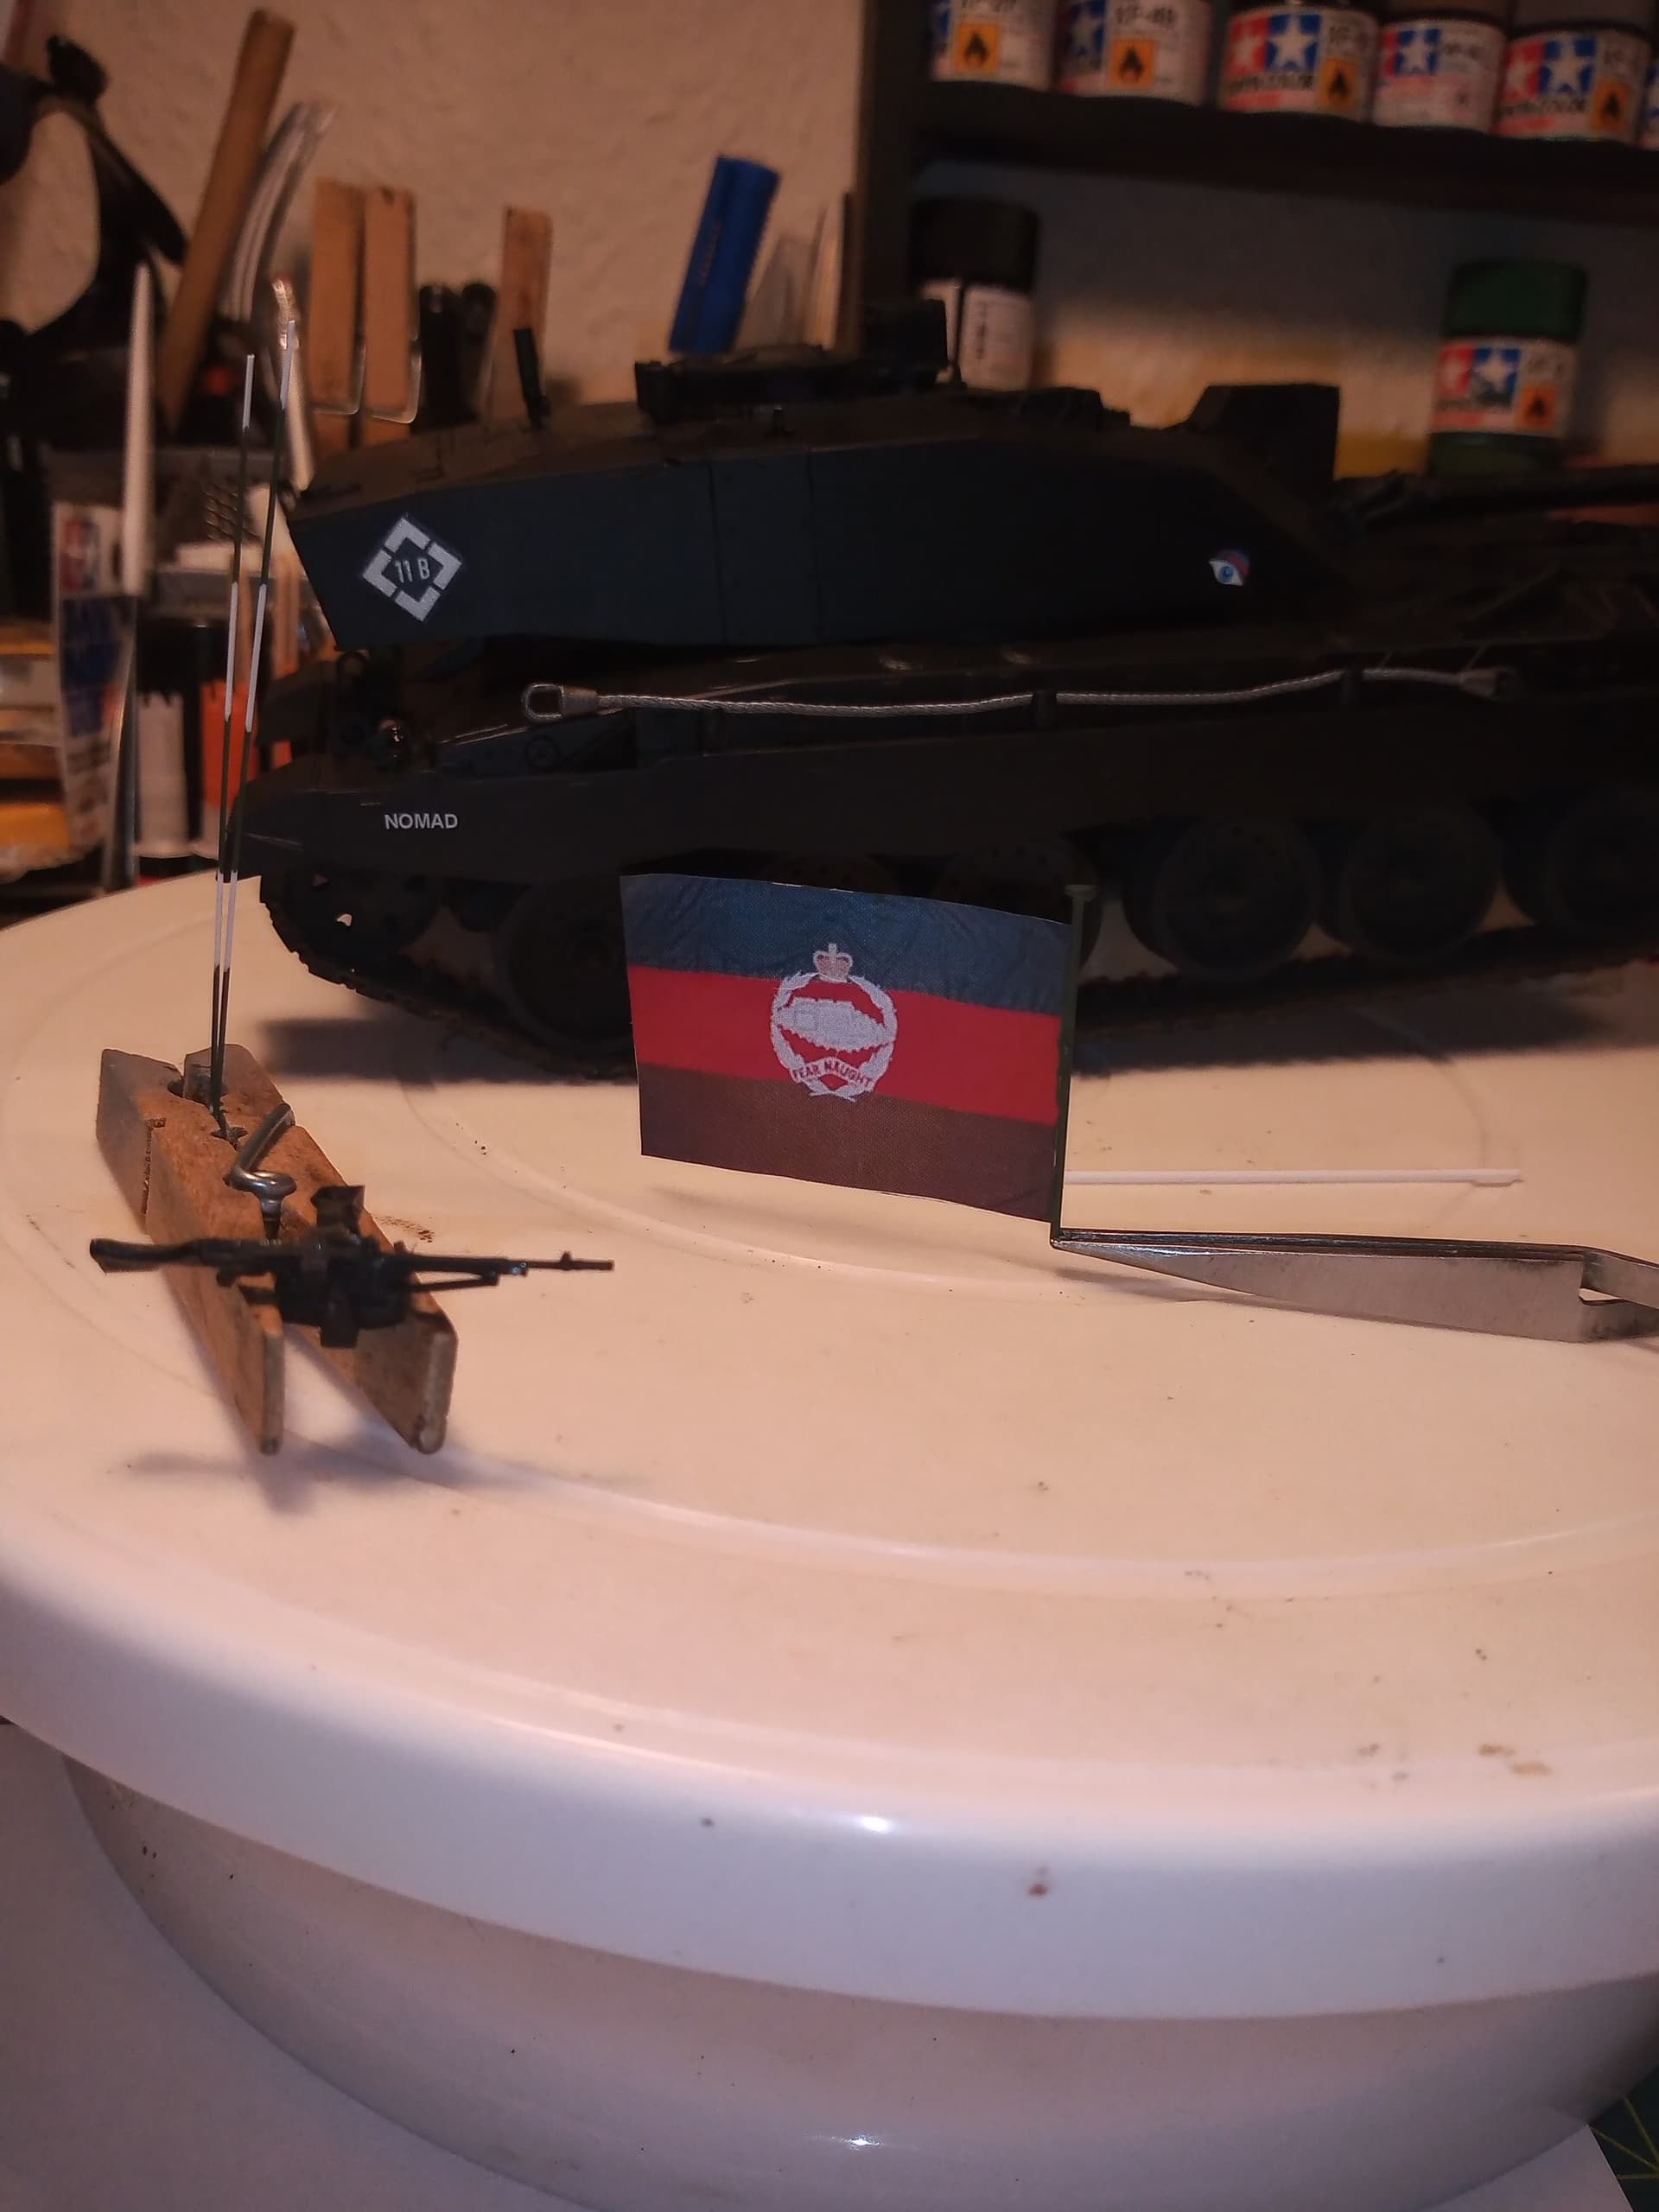
Have also drilled out the Bowman ABAs ready for the 2 antennas… used a .4 bit micro bit which I promptly broke, and finished up using a .6. On the parade it only had one antenna fitted for a chat net, but as this is for the Command and Control build, I wanted as many out the normal 3 fitted as I could do … .
It will be for me… It’s super easy. I got the flag image from online, rescaled it on windows Paint, then printed off a test one on normal paper and then decal paper once I was happy with it. Of that size, I think I printed 12 but could probably got another 4 to 8 on the sheet, so you could easily do multiple flags from different countries if you wanted. And you have seen how hard wearing they are.
Will do Mike. It’s at work so will do it when I go in tomorrow on duty. It’s nothing fancy though. Just basic white backed decal paper from Mr Bezos good site… I think it was about £6 or £8 for about the same number of sheets, but will confirm it all tomorrow
The algorithm in MSpaint is pretty naff for resizing. If you want a better free program for image manipulation, especially resizing images, try ‘IrfanView’.
Just ordered the @scorpion miniature models decal sheet T35010 Ch2 so once that arrives, I can use the 3 small decals of it … At least I will have panty of spare UK callsigns for the future …
And apologies Mike @justsendit , I was swamped today as it was first day back and it took me ages to catch-up with training paperwork I had to sort out … Will look at the decal paper tomorrow for you
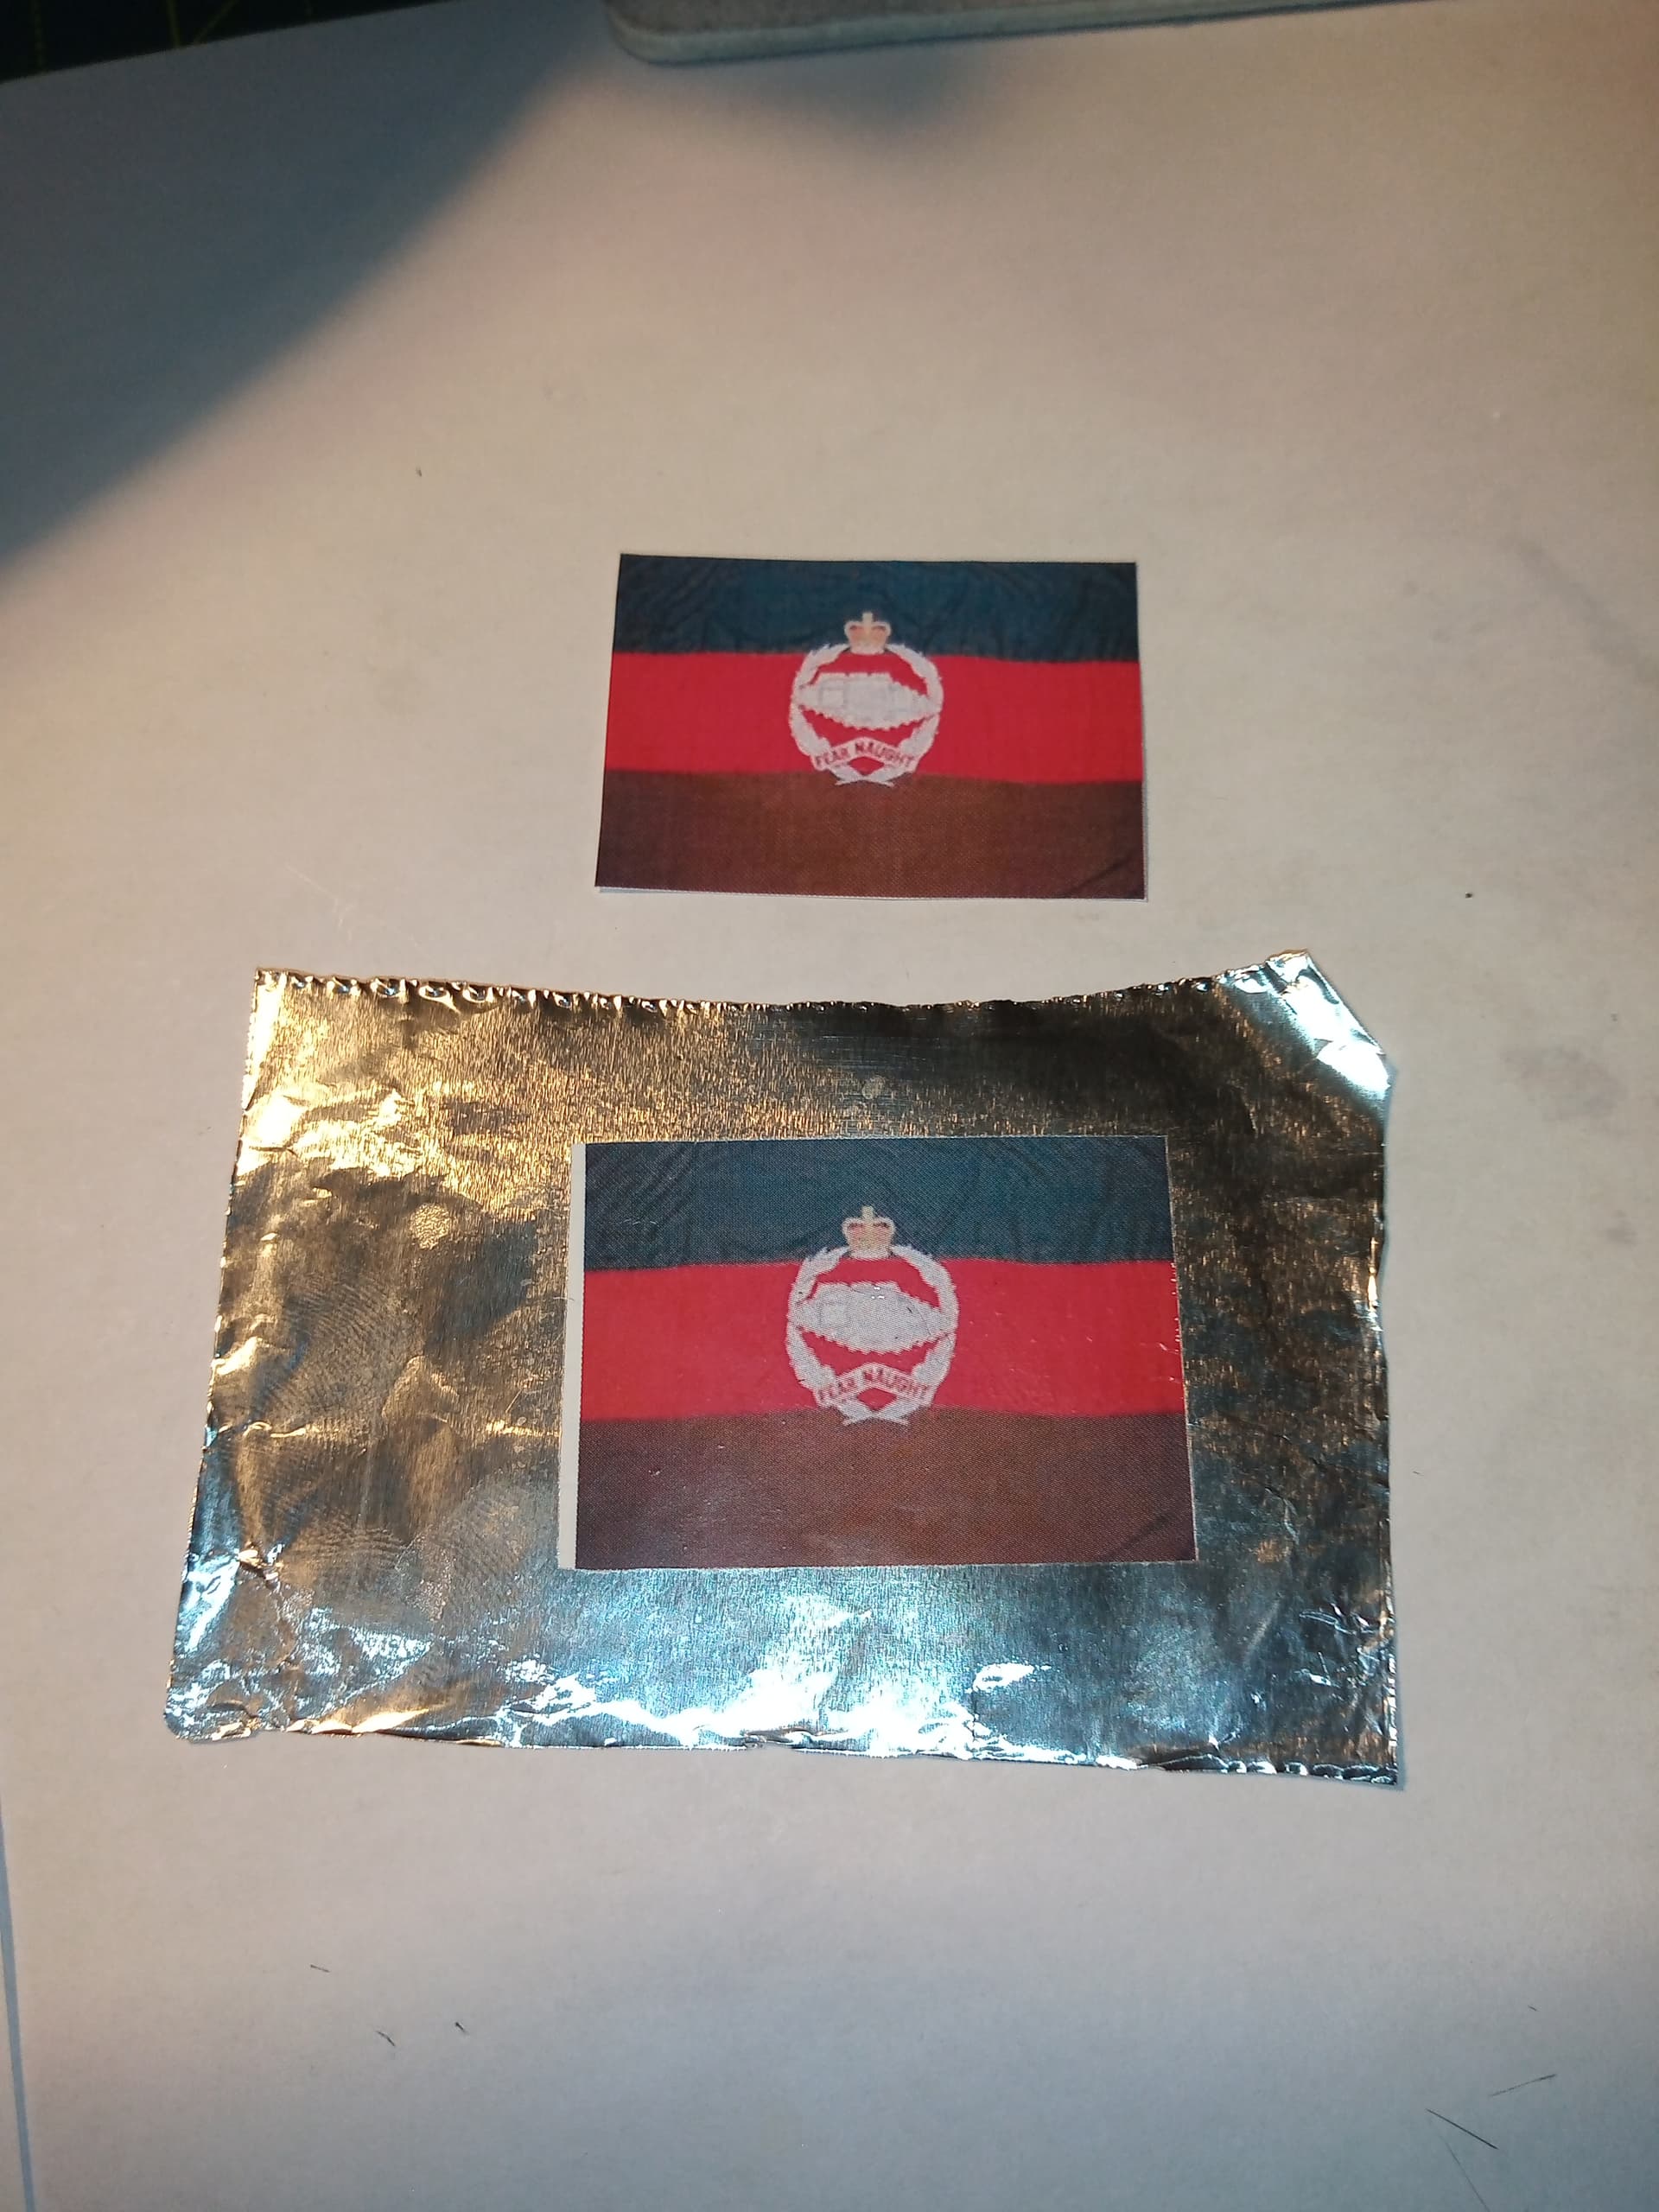
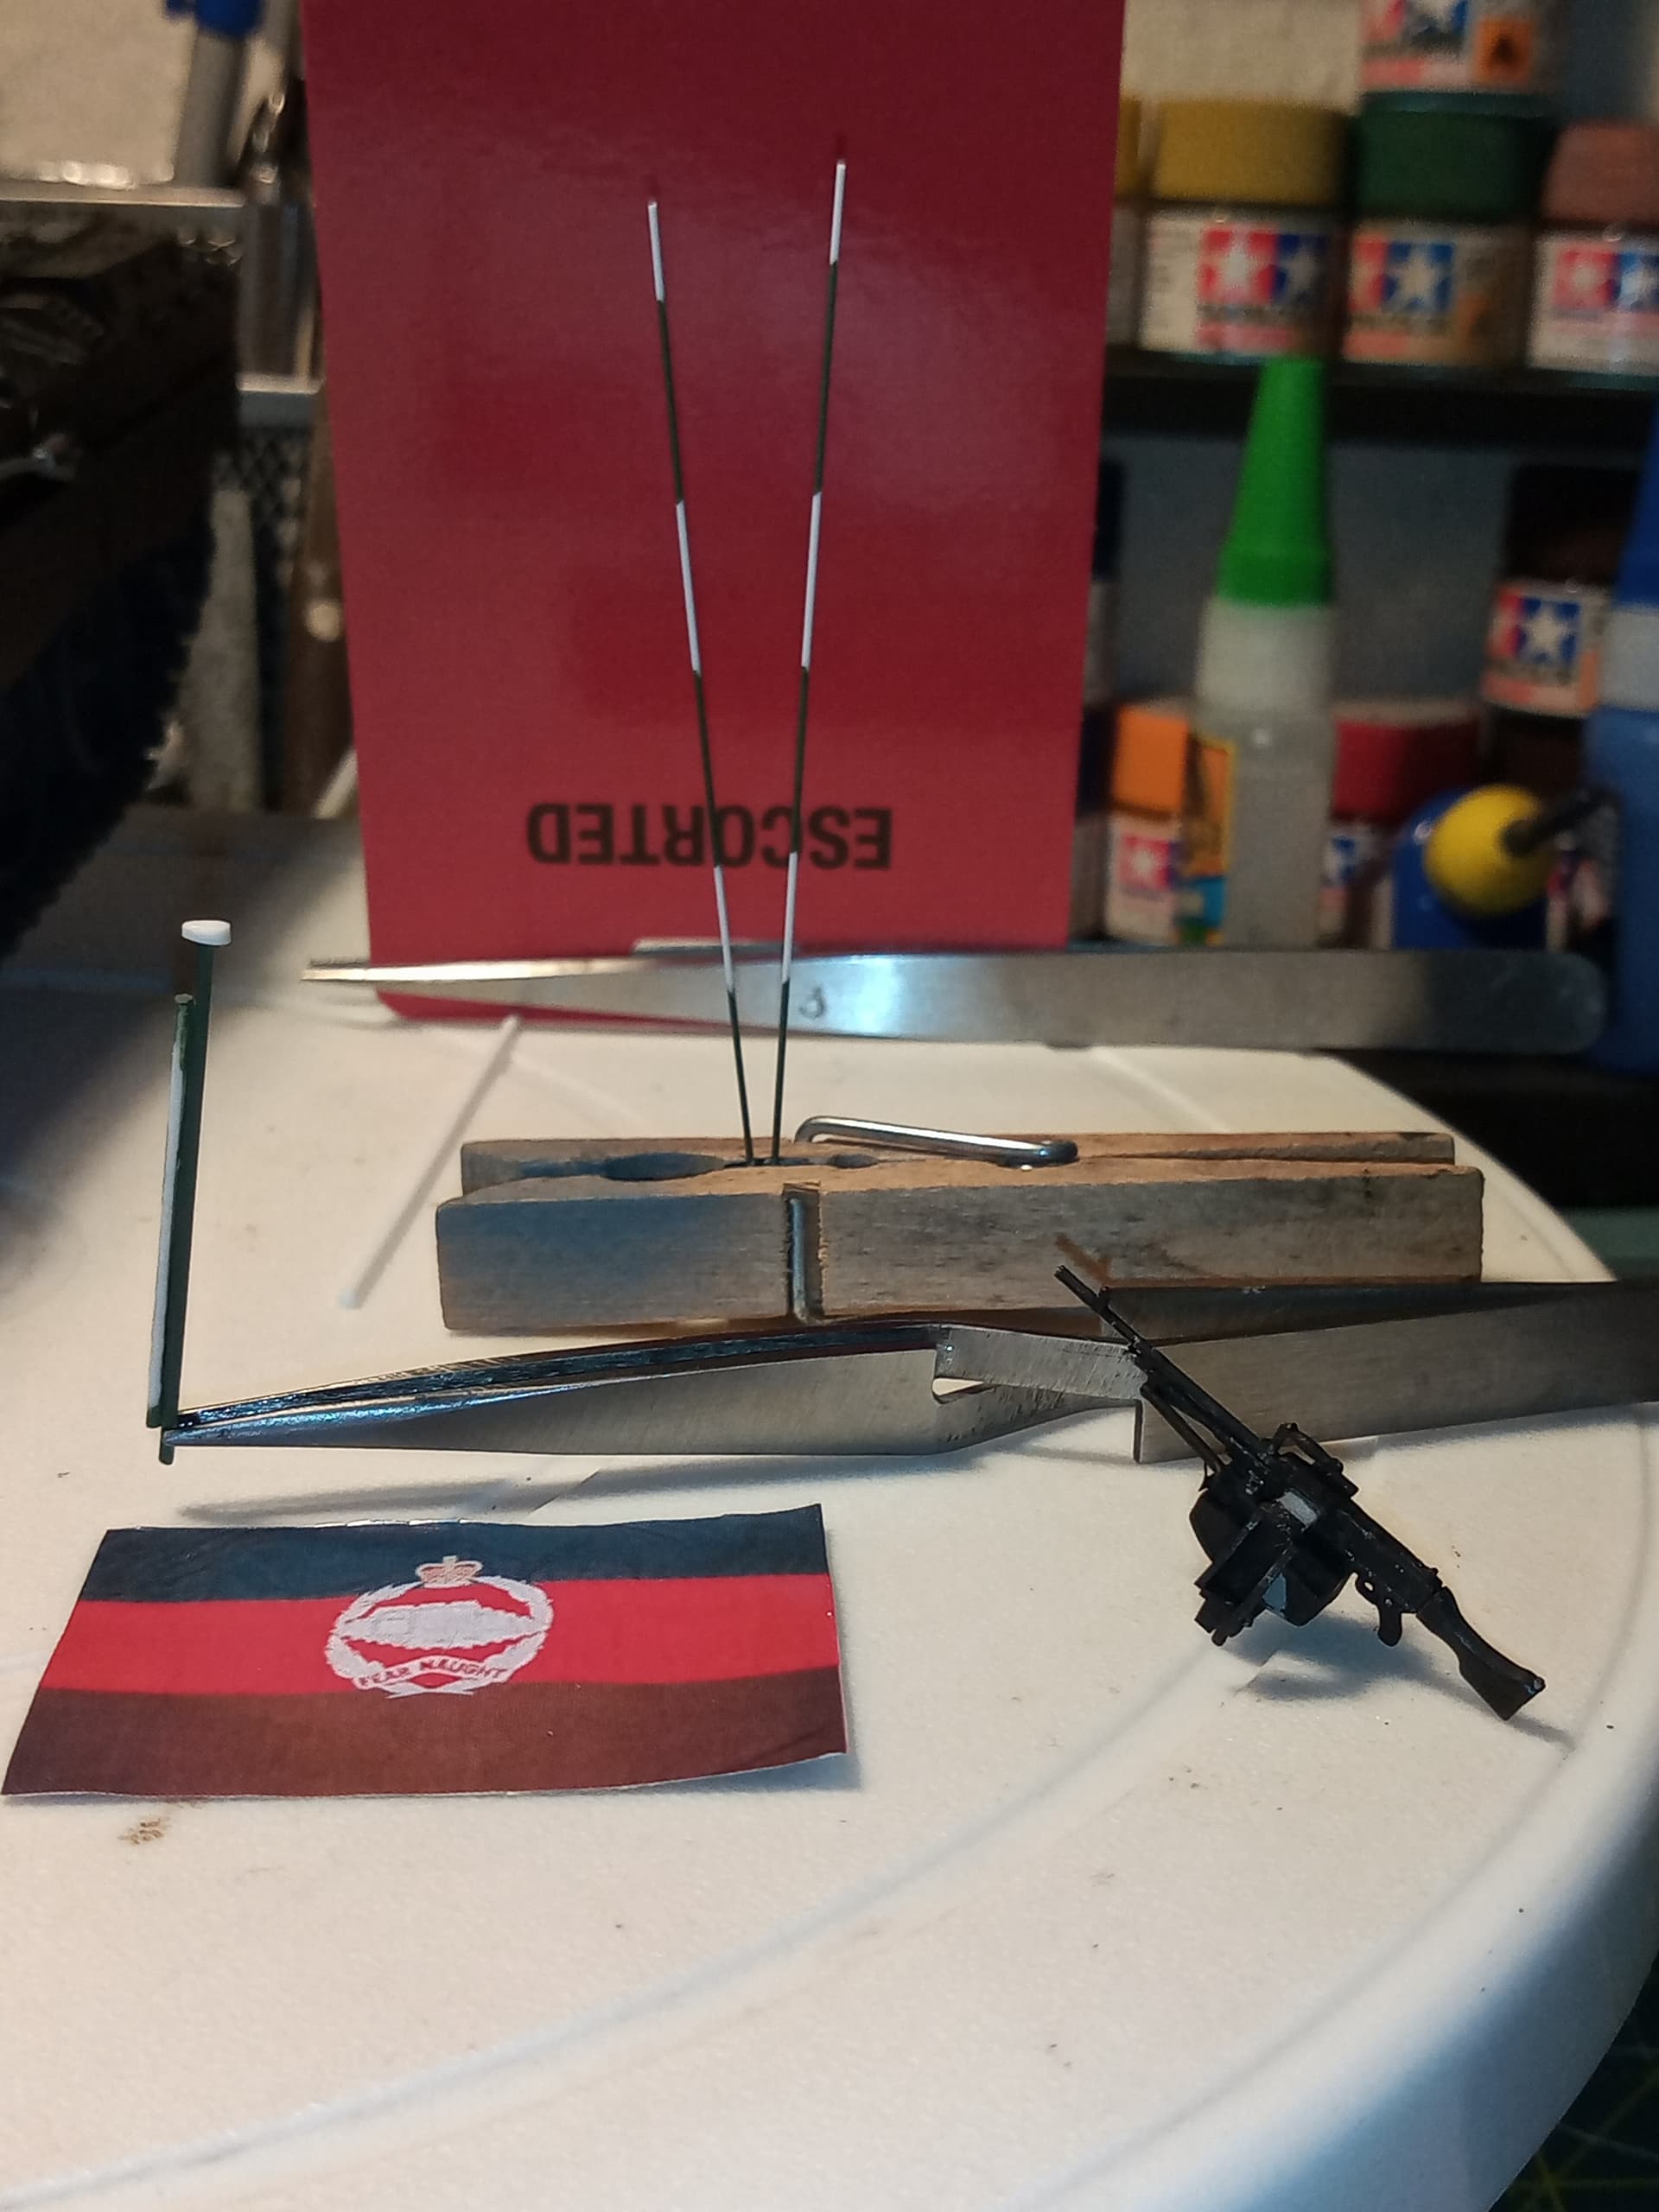
Well, they proved their toughness … and I have done the double sided one, its ready for the pole which will go into the rear ABA mount. Just need to figure out the best way to fold it so it looks like its hanging naturally
Did the antennas, NATO green and white segments. Pole for the flag is more NATO green, the white plastirod in front is the piece the flag will attach to. And the completed flags with kitchen foil sandwiched between the two.
Will go over the edges in the various green, brown and red to hide the silver from the foil that shows in a few places
Just waiting on the decals from Scorpion miniature models which should come this week, then they will go on, and I can start the wash, and panel lines with the AK bits I got especially for it.
Also did the (or tried) to do the RTR cap badge on the muzzle cap… I may need to do it again or tidy it up …
Still waiting on the decals which will hopefully be here this week … Started on the very basic base. It will be a flat concrete slab surrounded by a grass edge. Using the DAS clay rolled flat, which is now drying out.
It’s a pretty comprehensive sheet… Shame I only need 3 and they are the smallest ones on it… Will be good to have in reserve though as there is lots on there