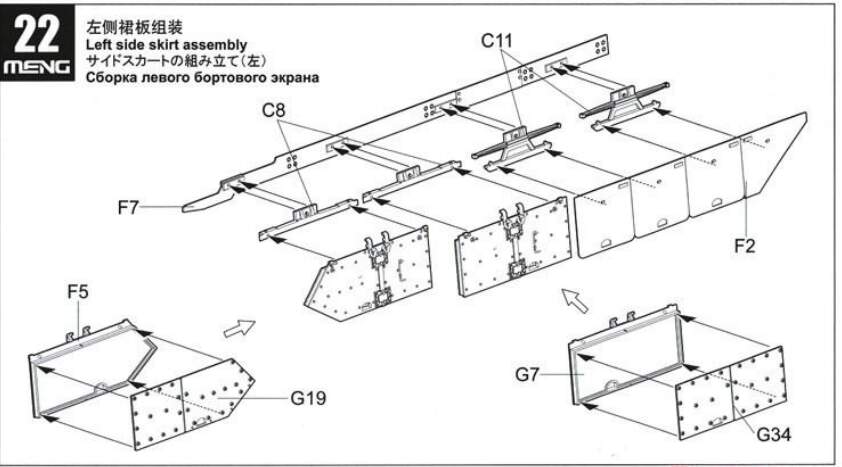
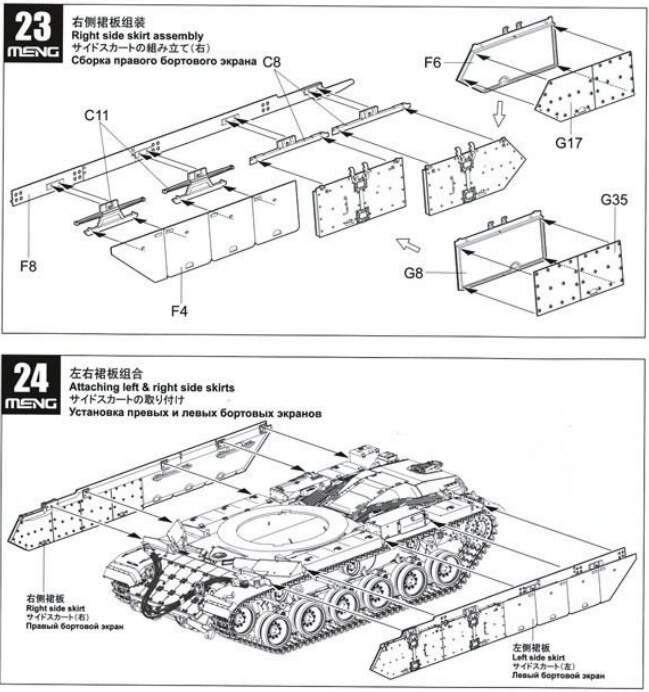
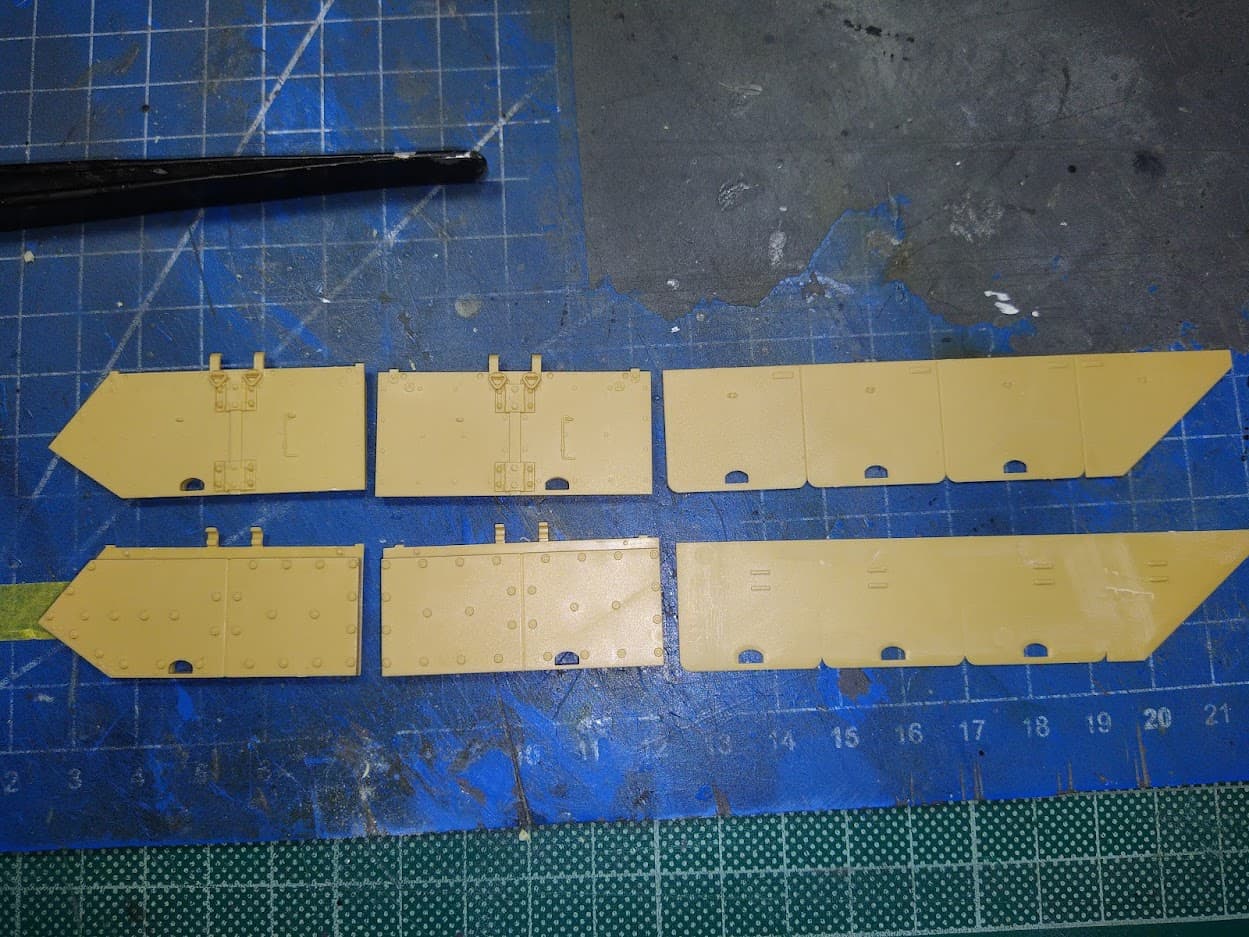
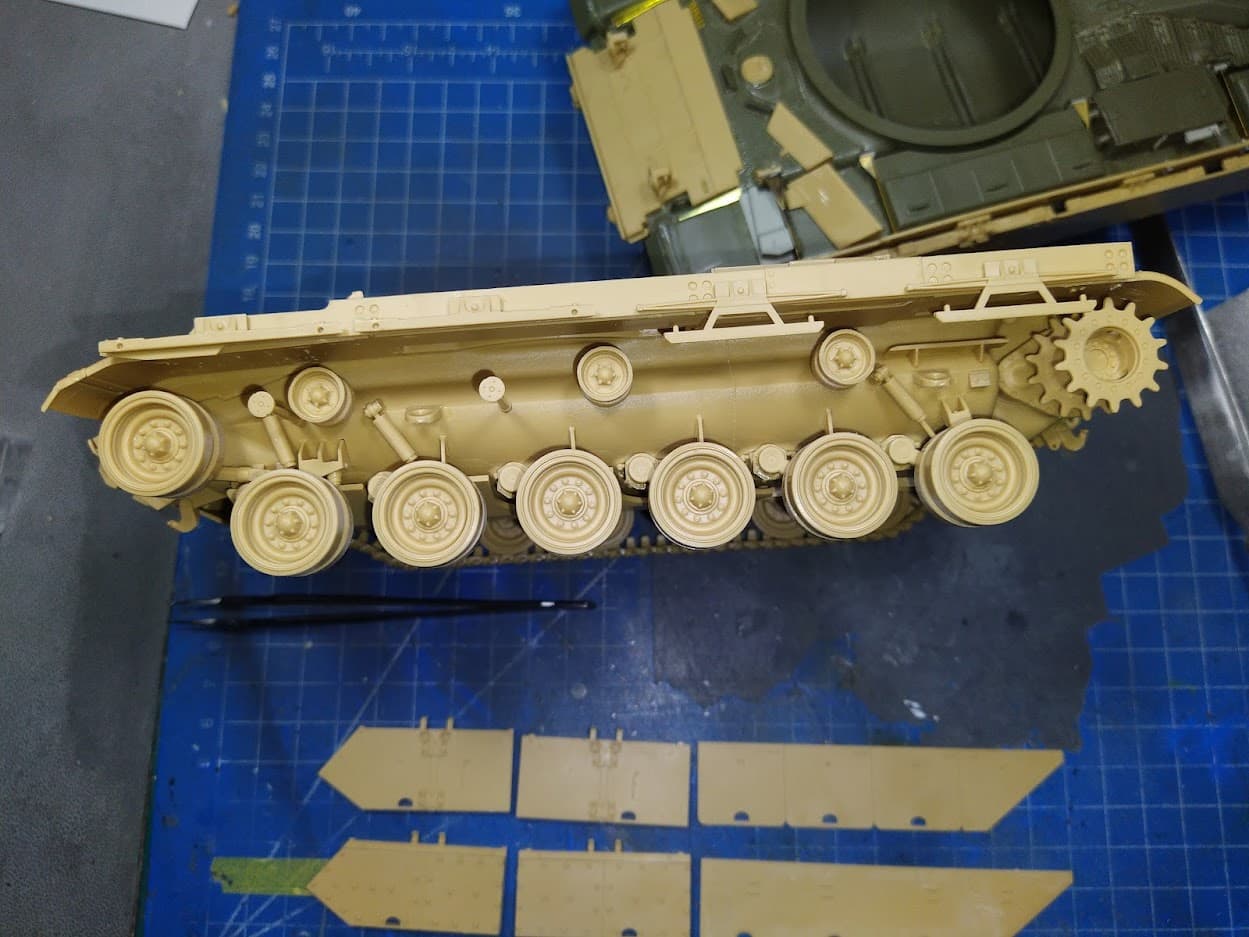
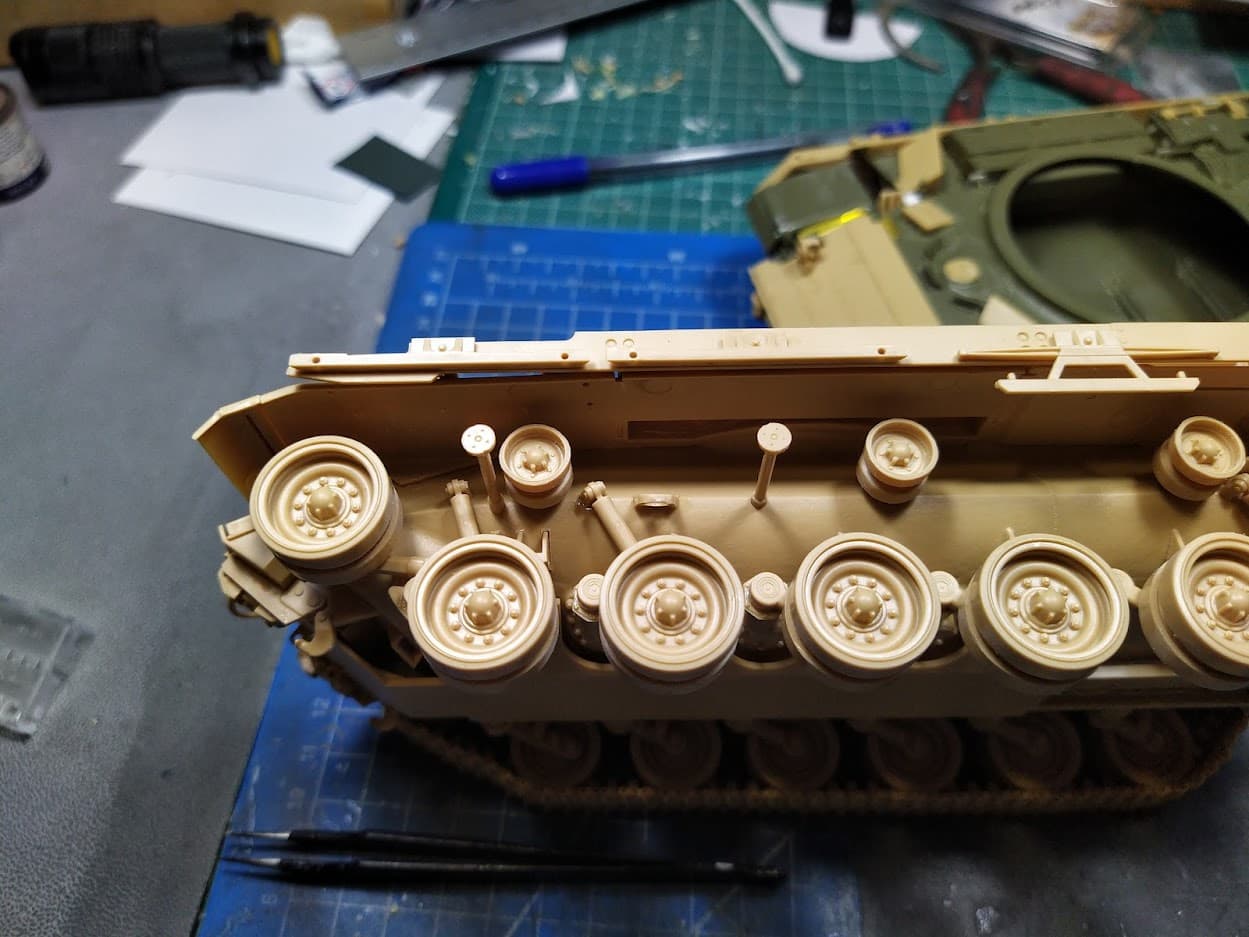
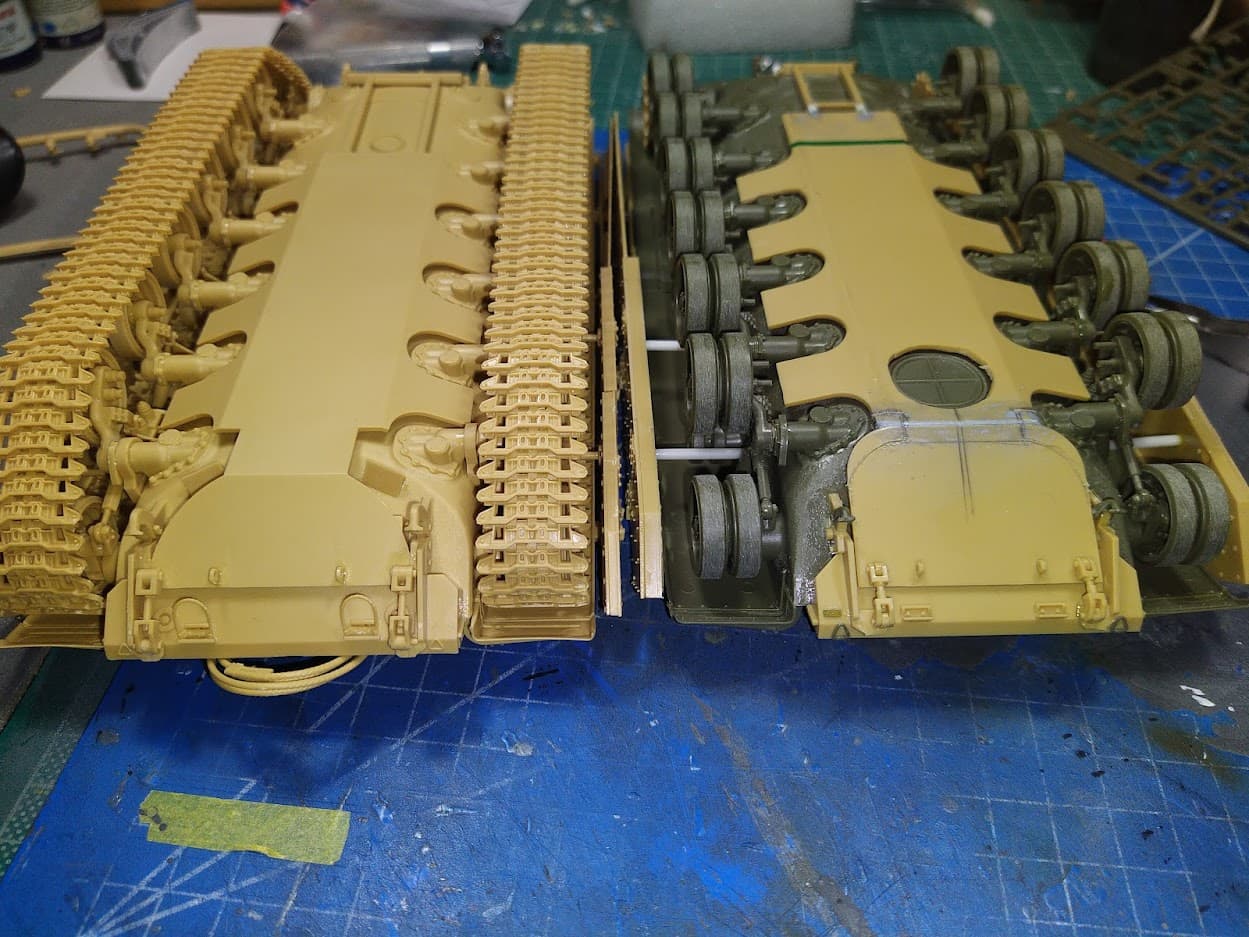
Moving on with the side skirts. Easy assembly and nice detail, the mounting brackets are also easy to align. These will be left off until painted and weathered.
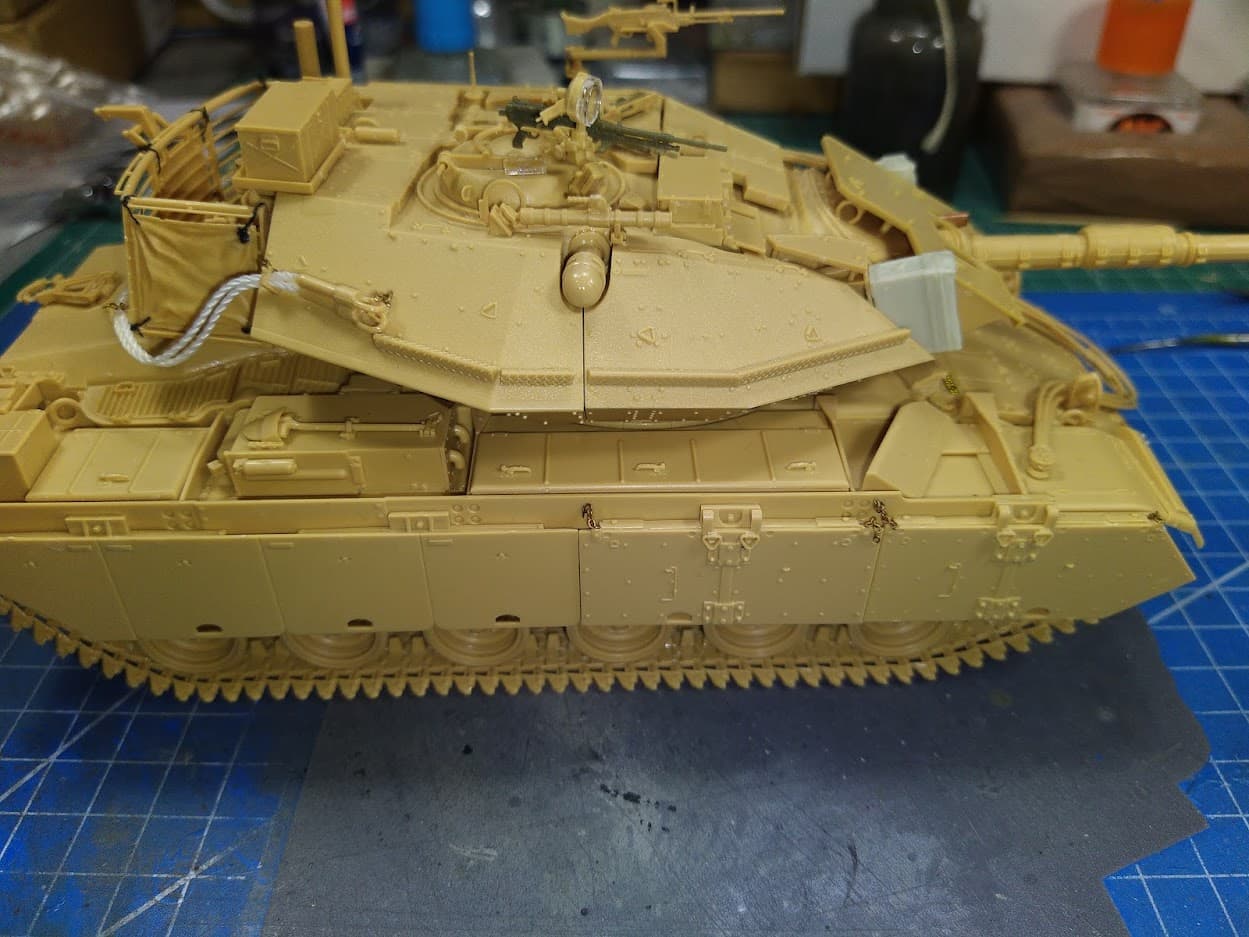
Continuing with the turret, as I was building the Meng turret I noticed some variations in details. I will cover them in this post and then proceed to show the work on the Meng turret.
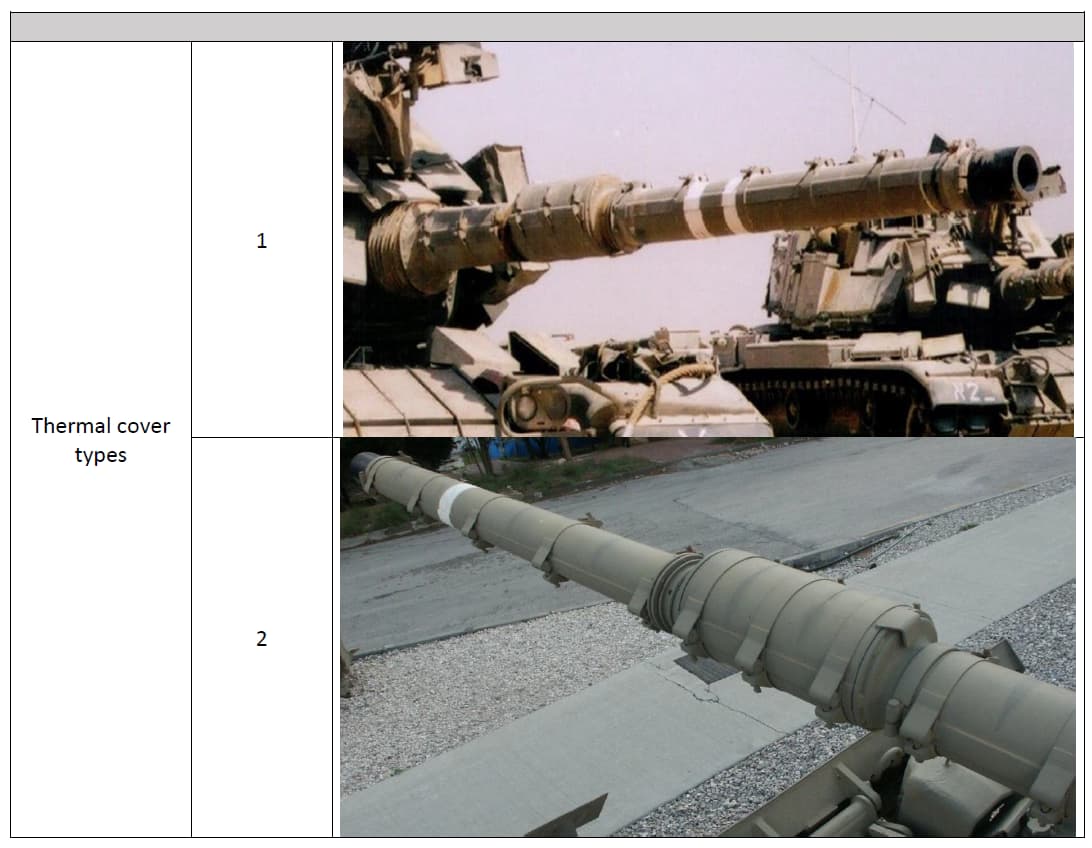
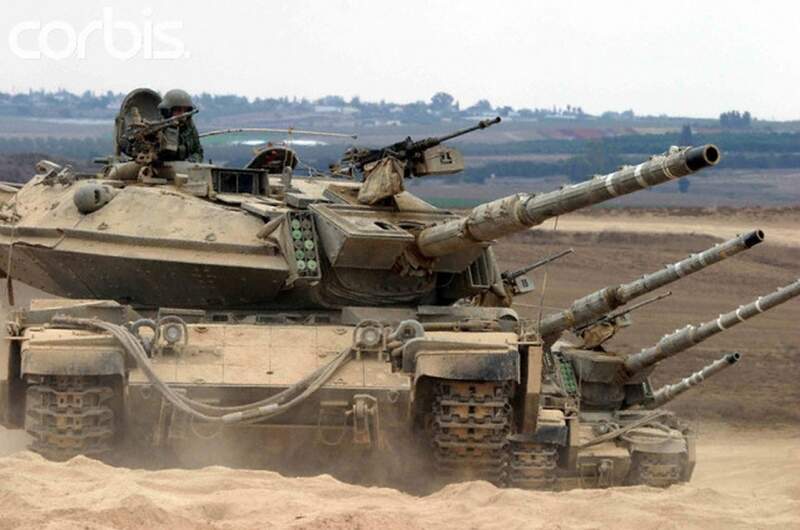
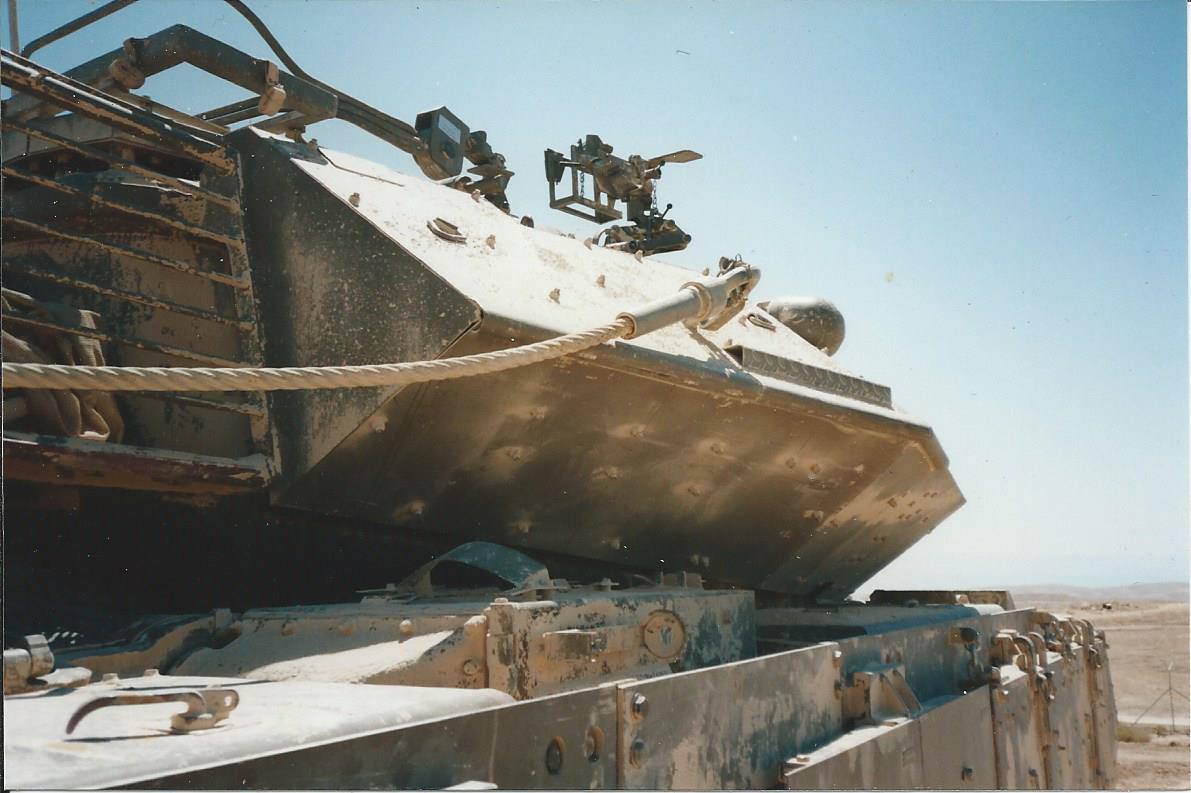
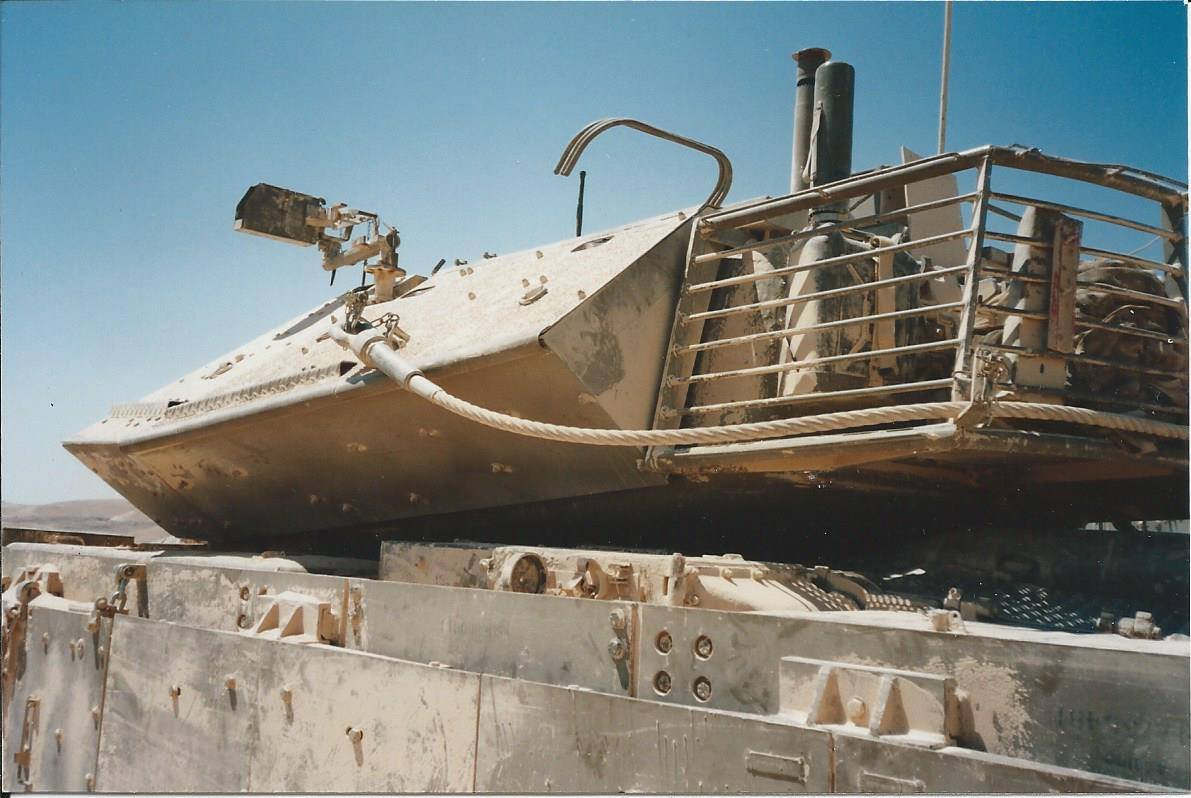
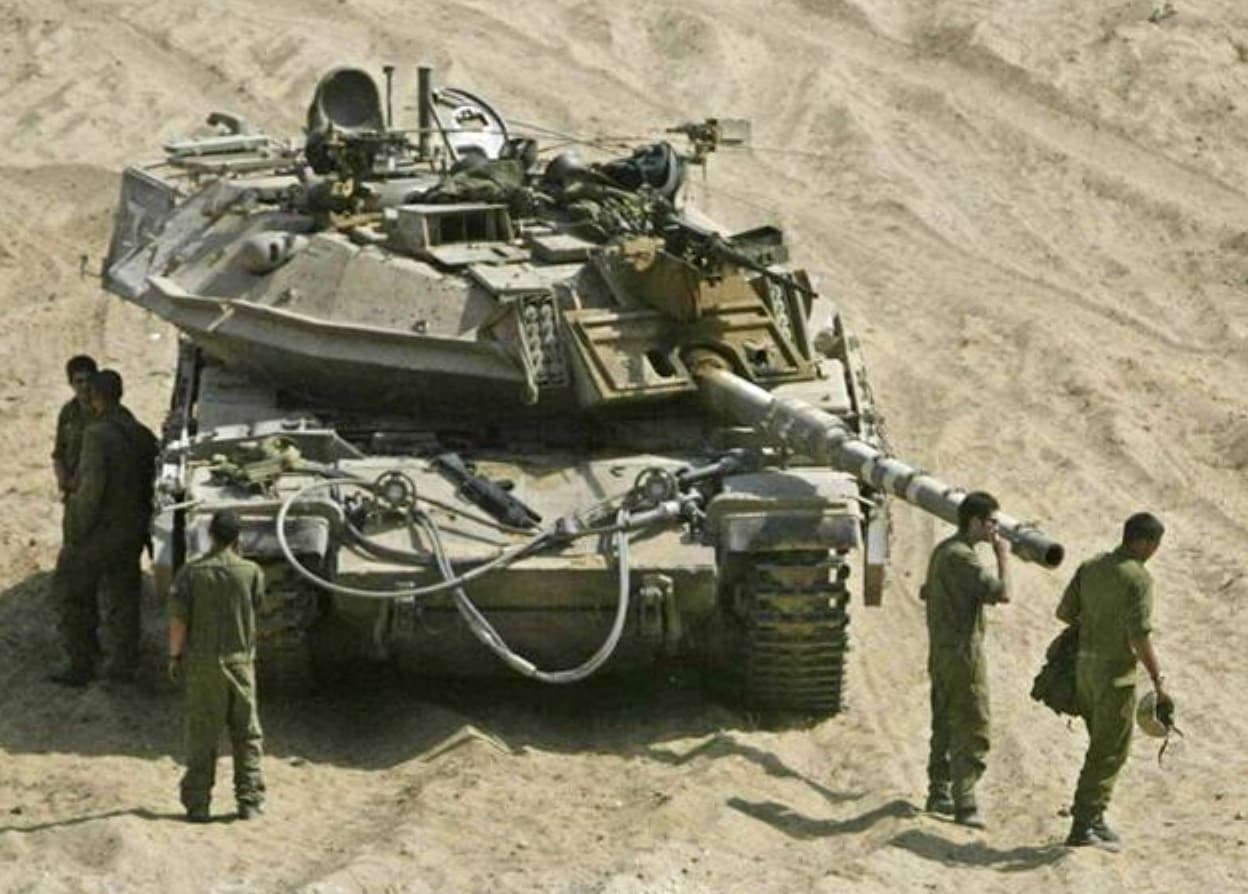
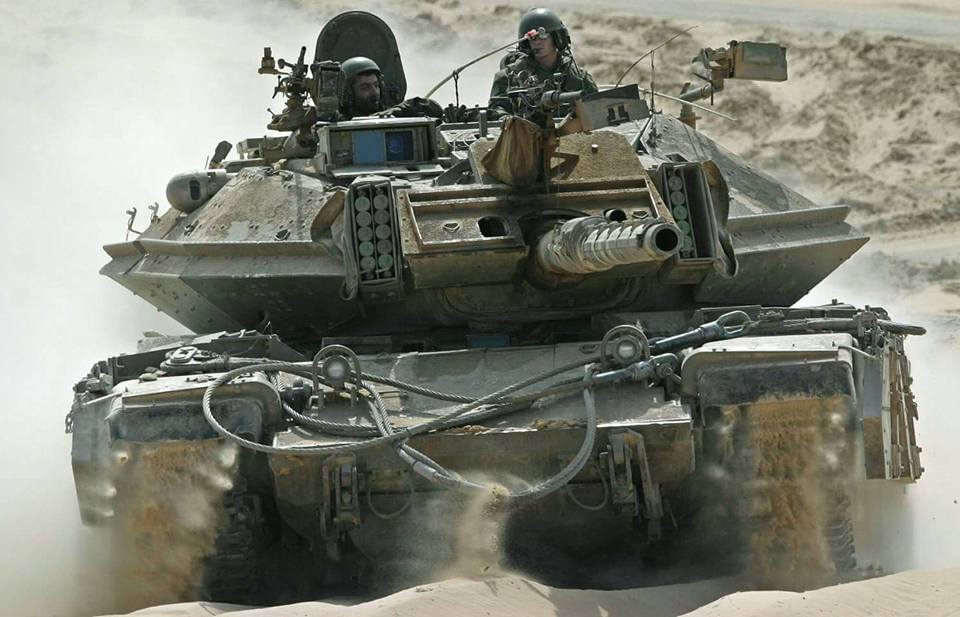
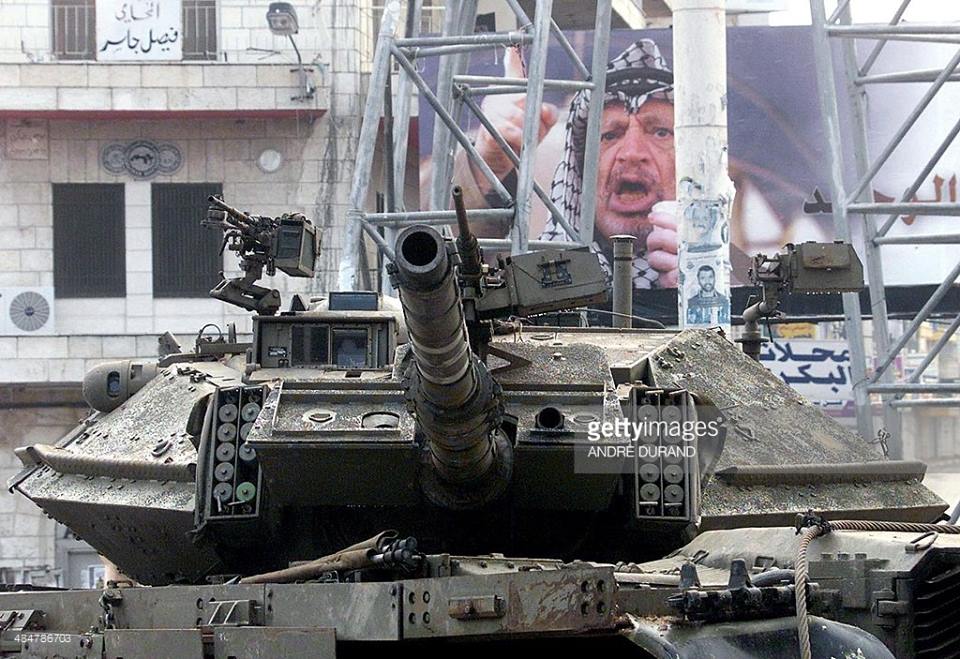
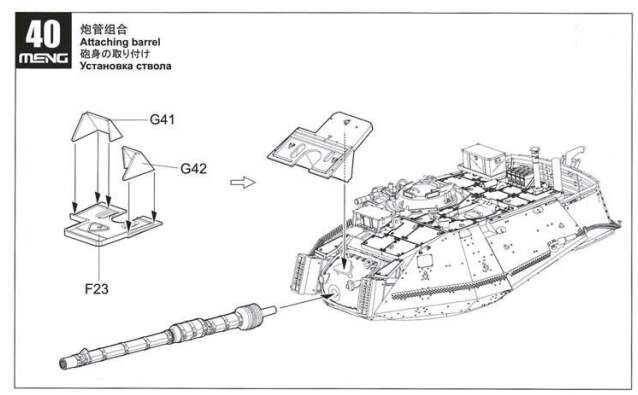
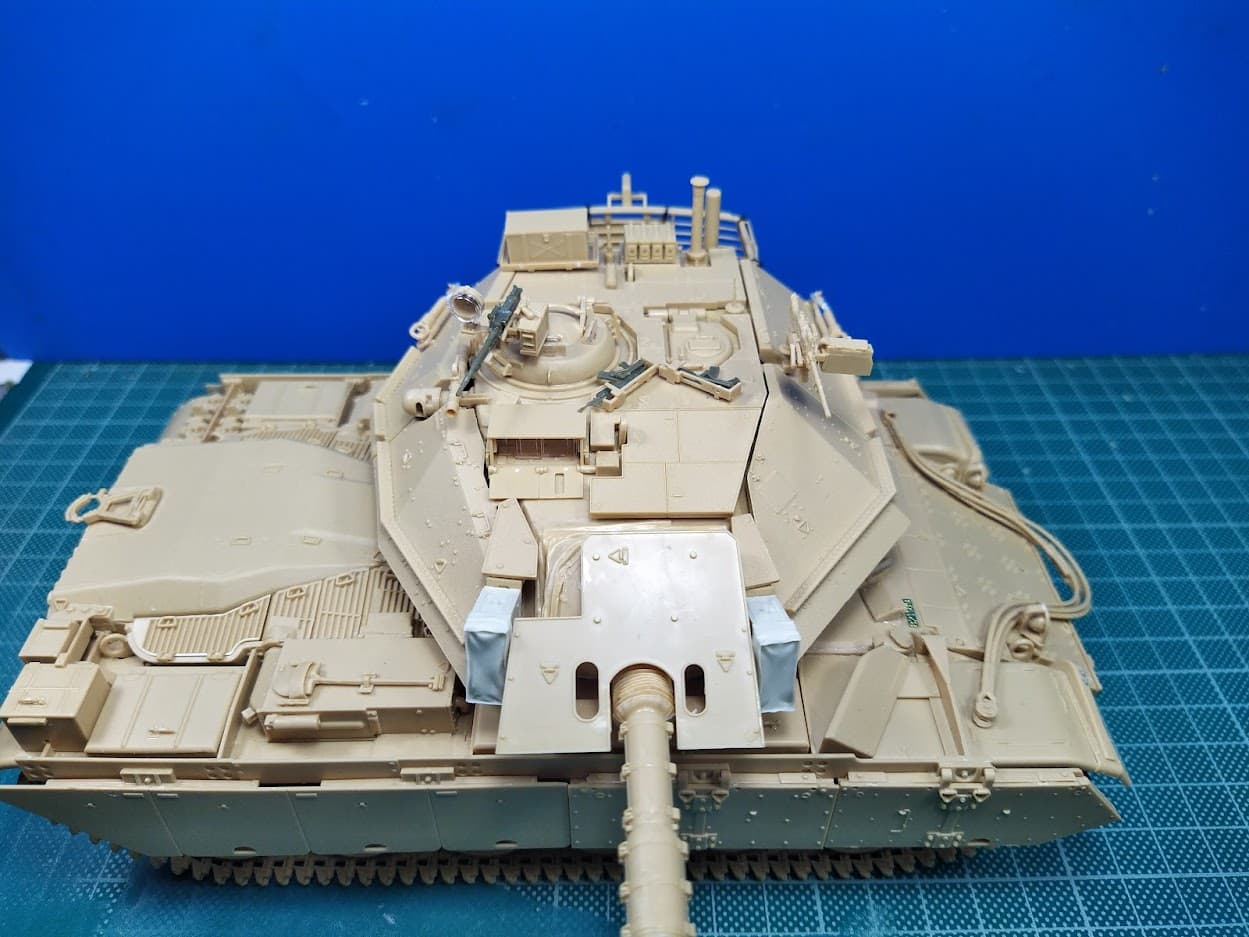
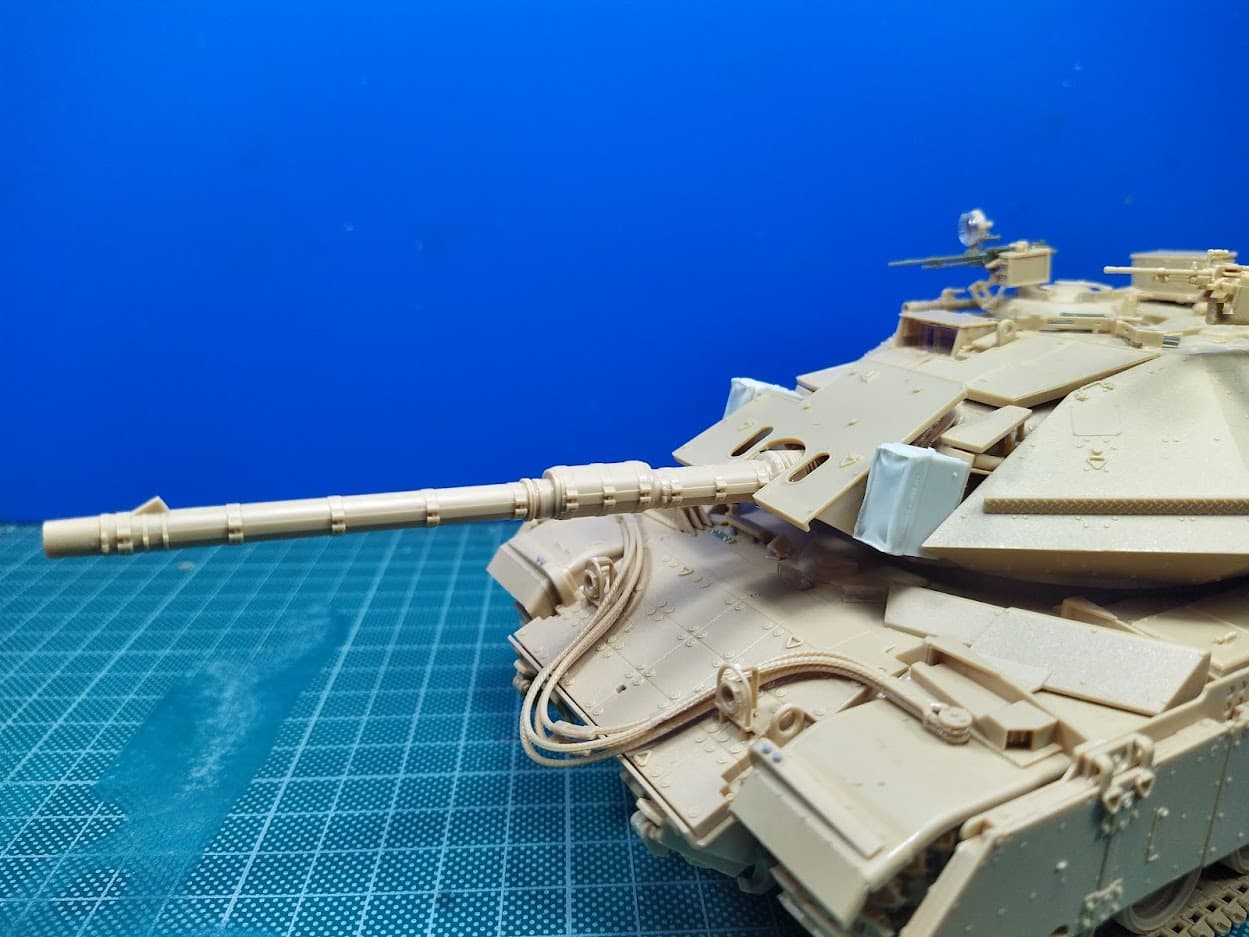
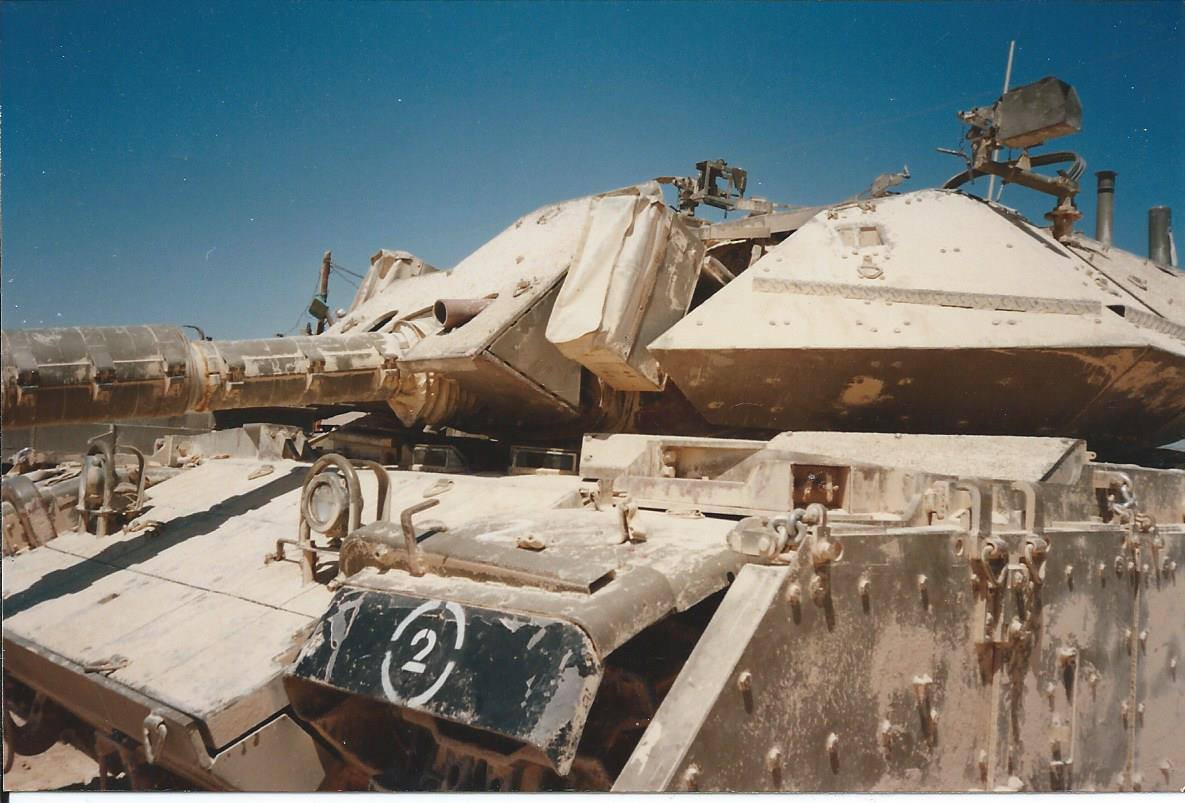
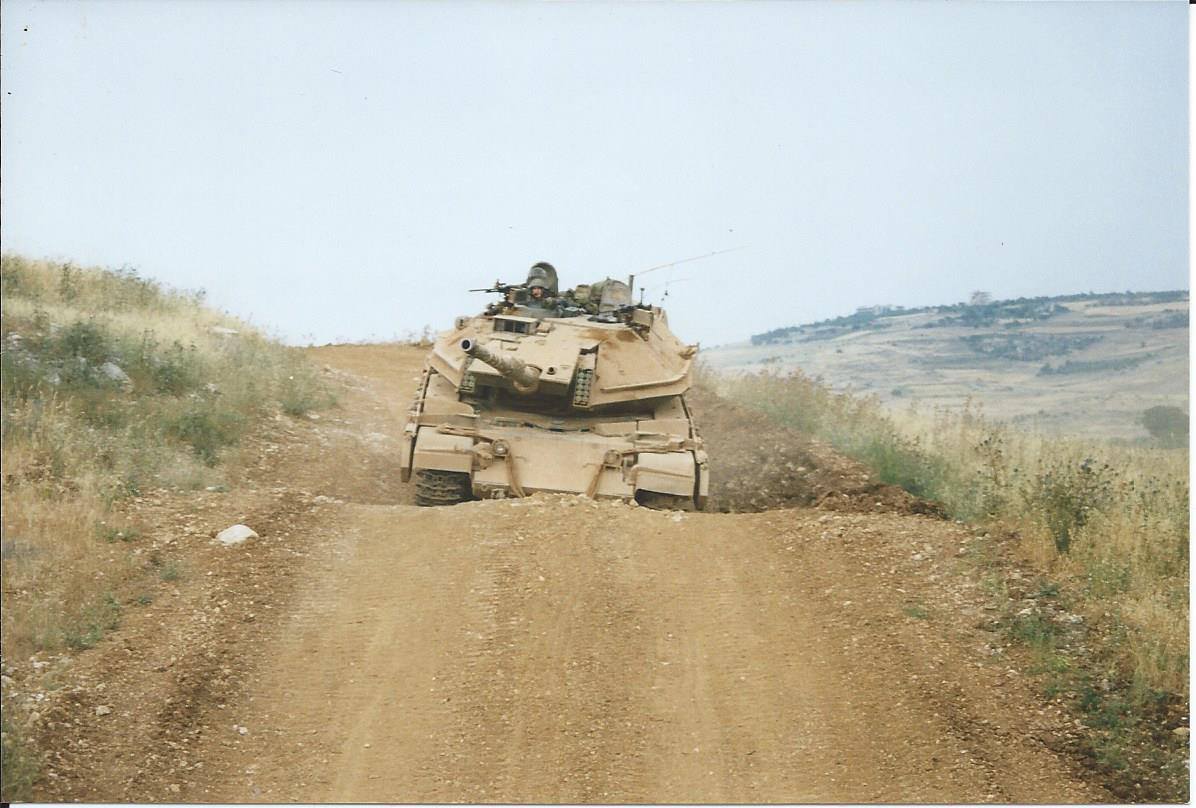
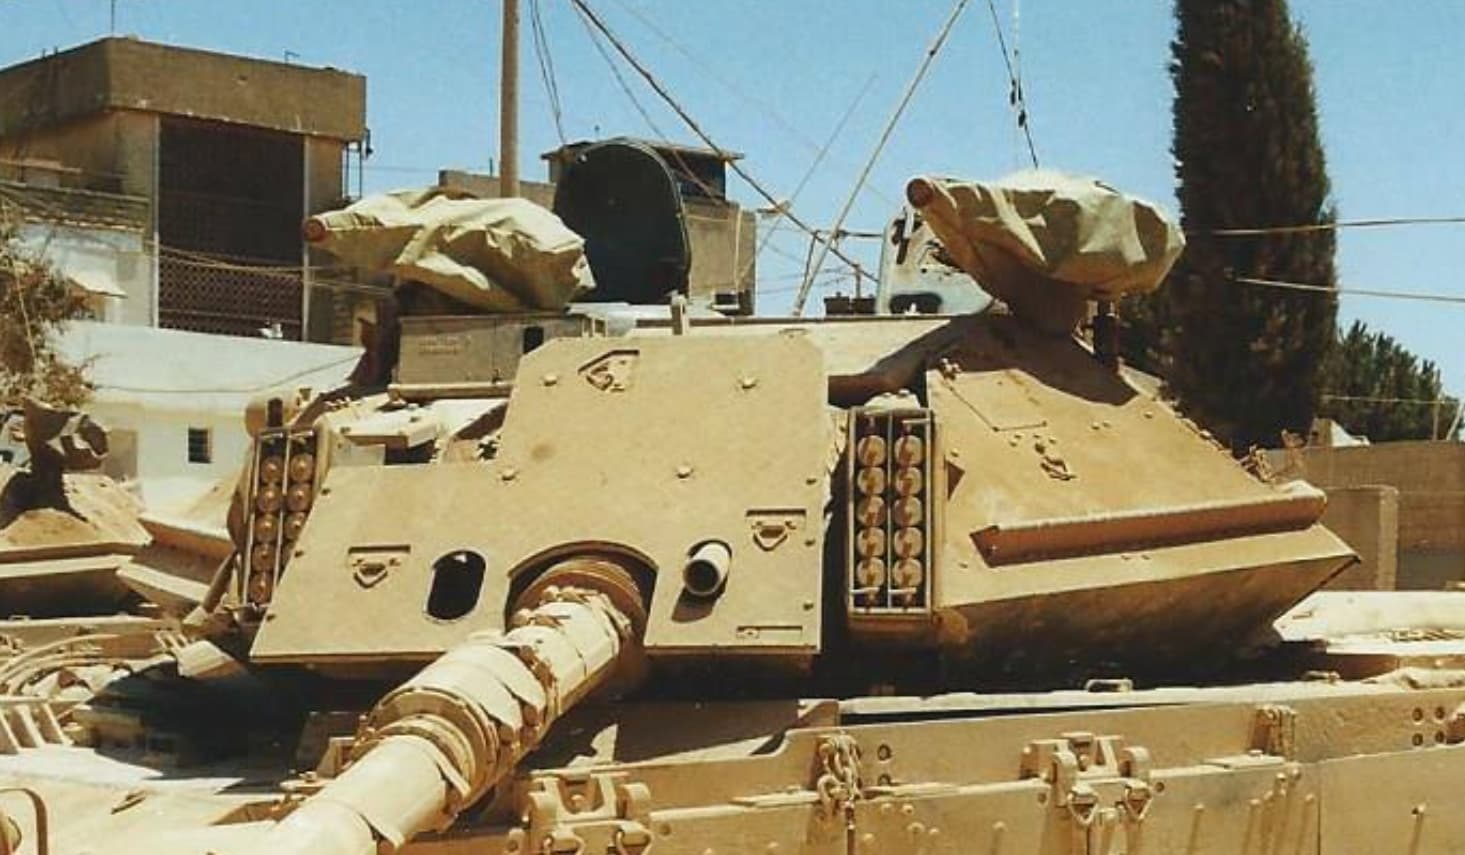
Mantlet armor shield.
At first the vehicles did not have the .50 cal mount. At some time there was a sheet of metal bolted on the shield and then the final modification was the mg mount
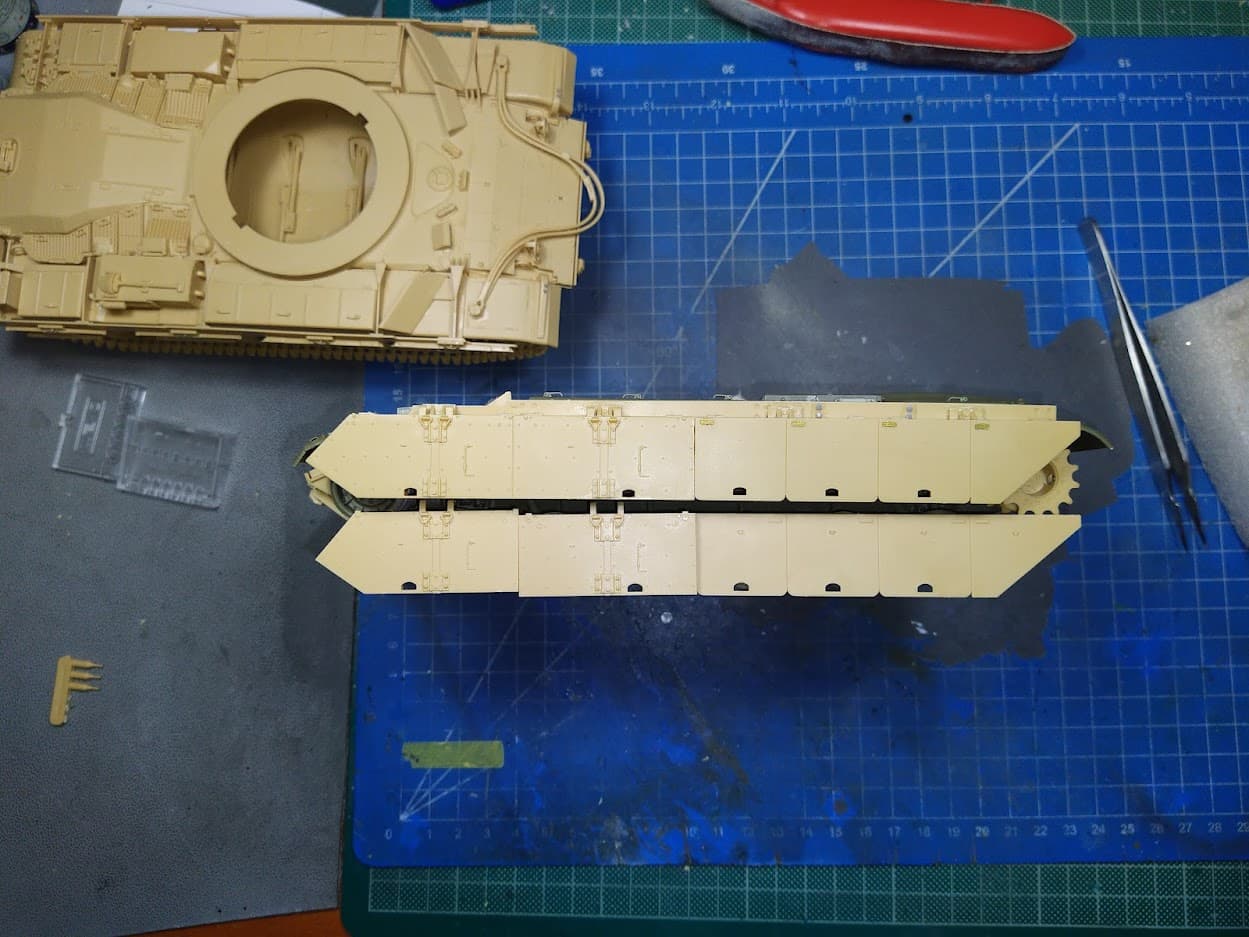
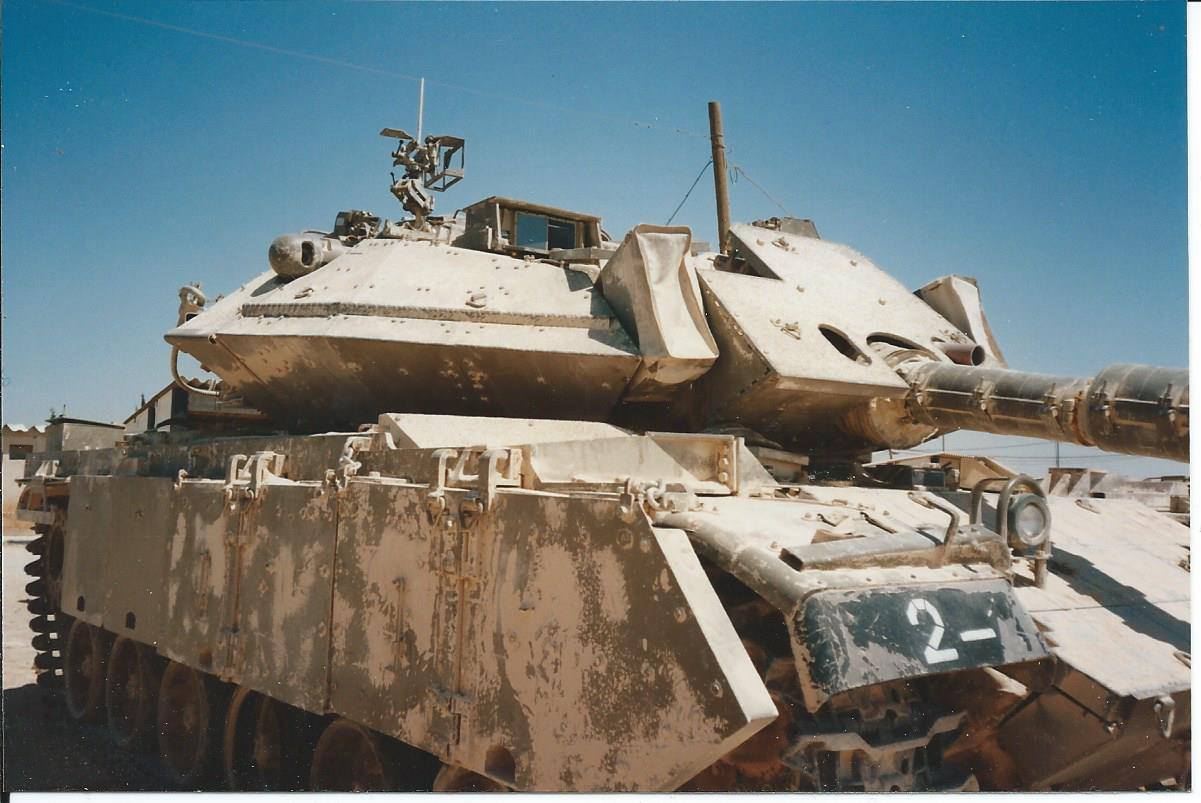
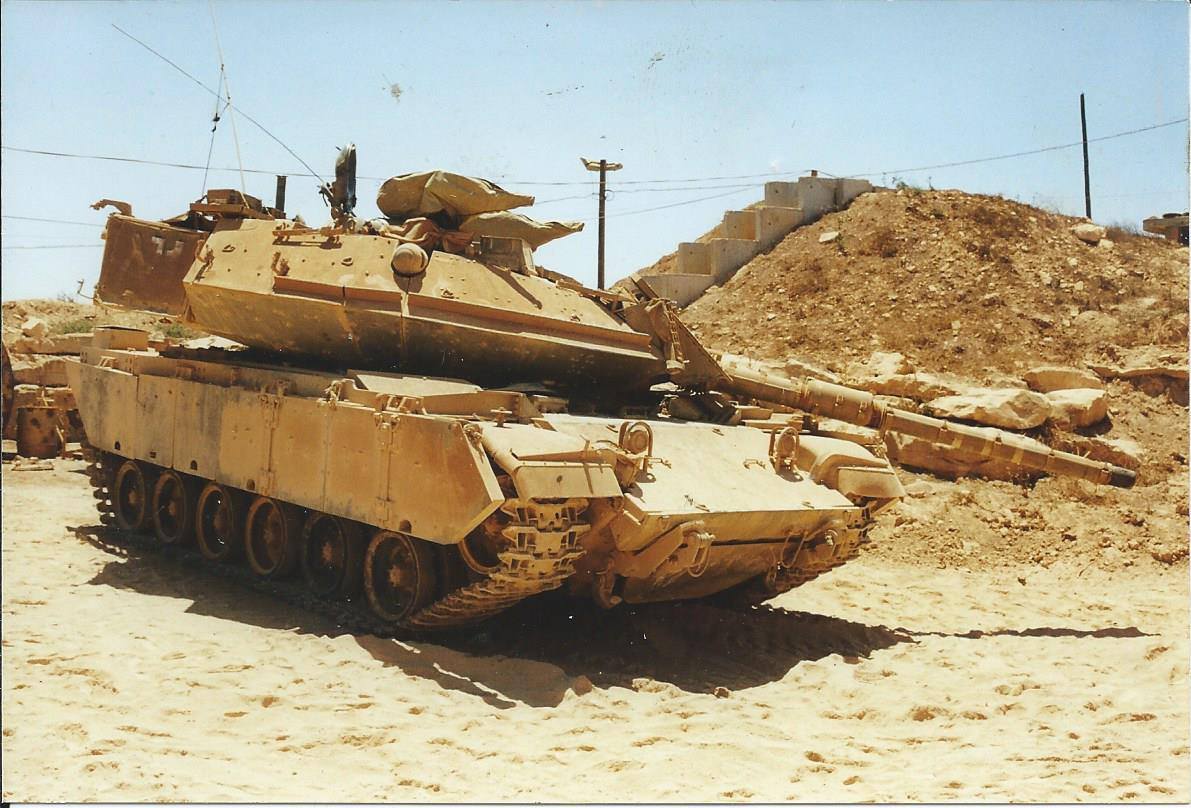
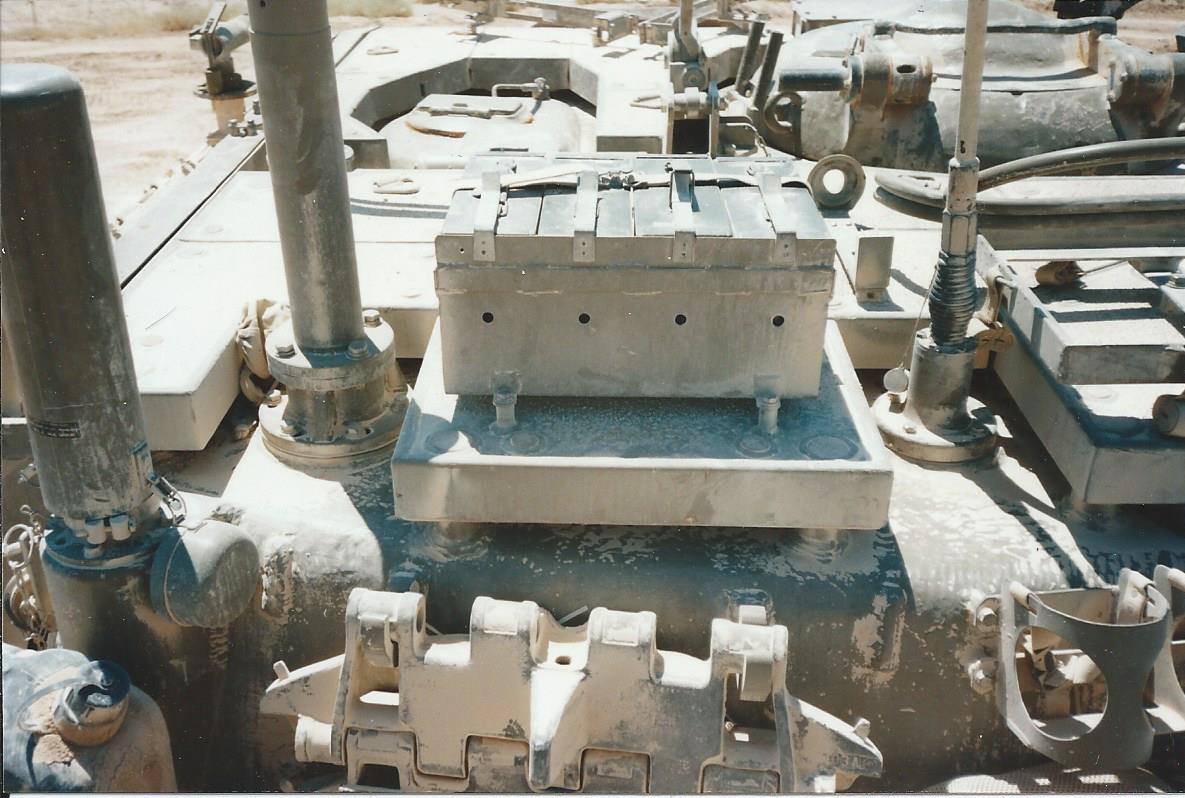
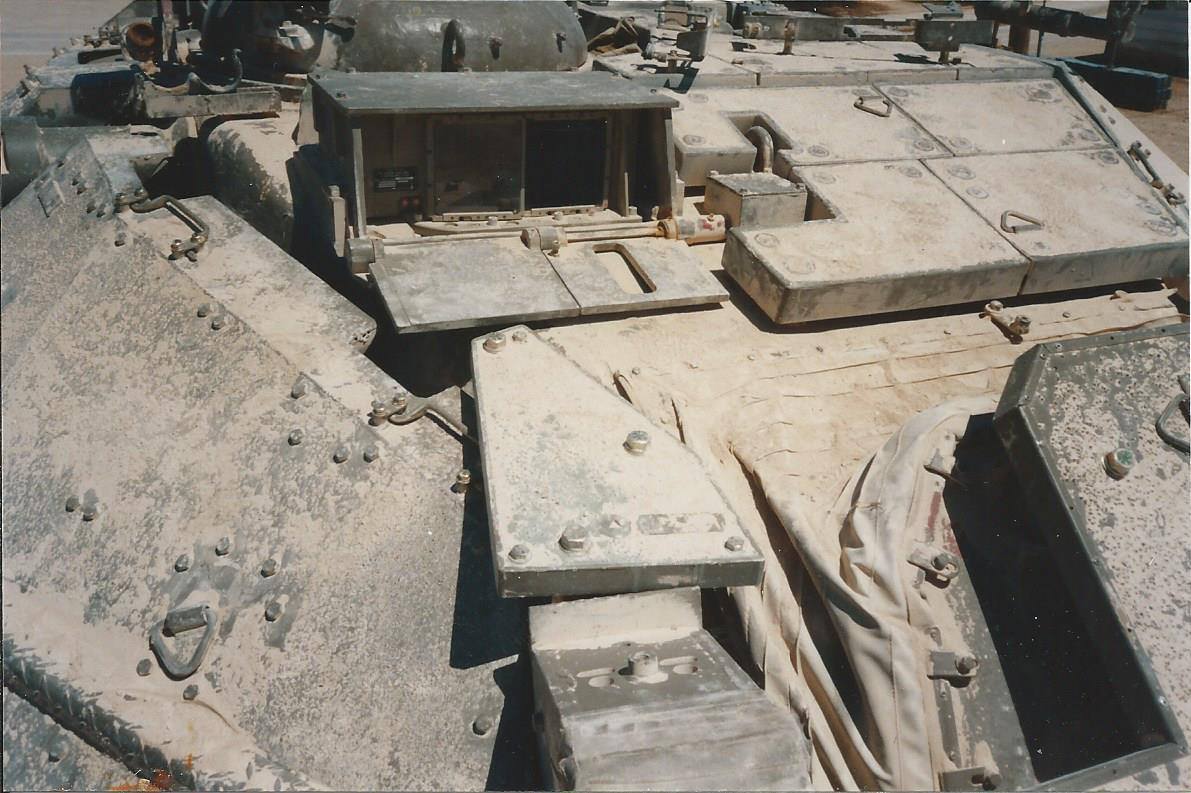
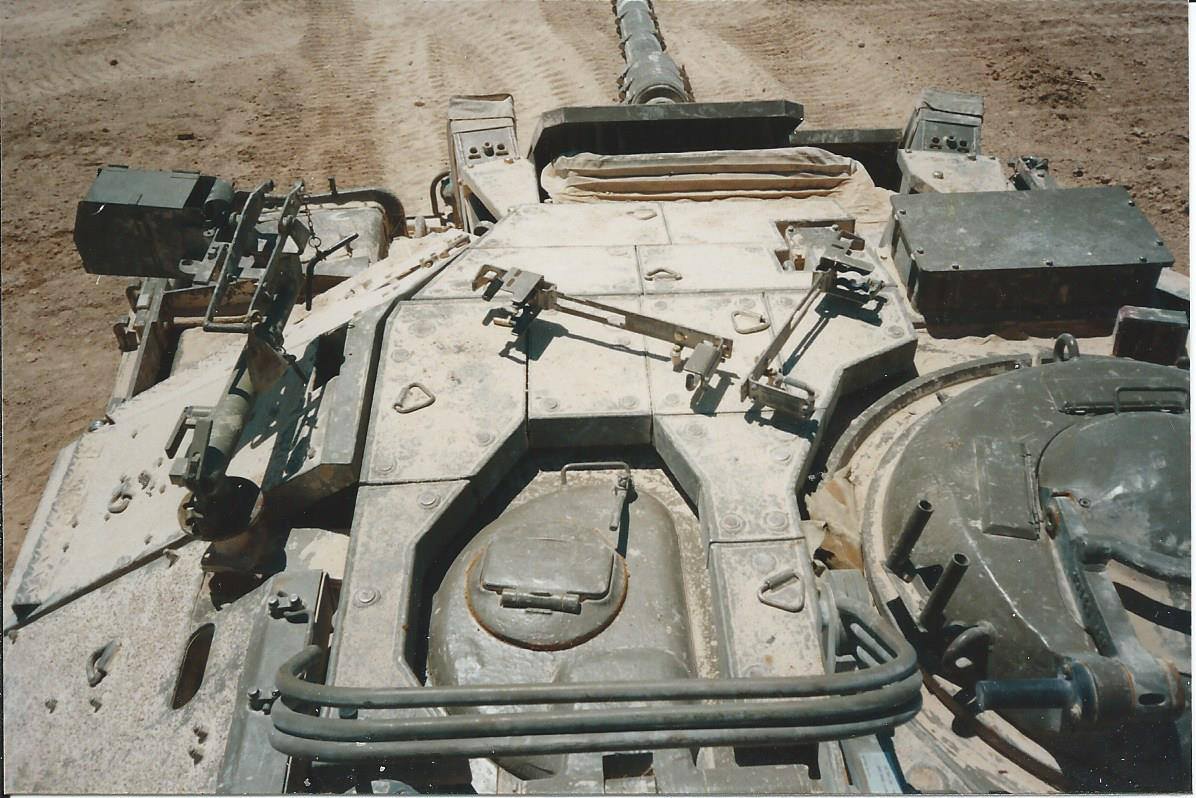
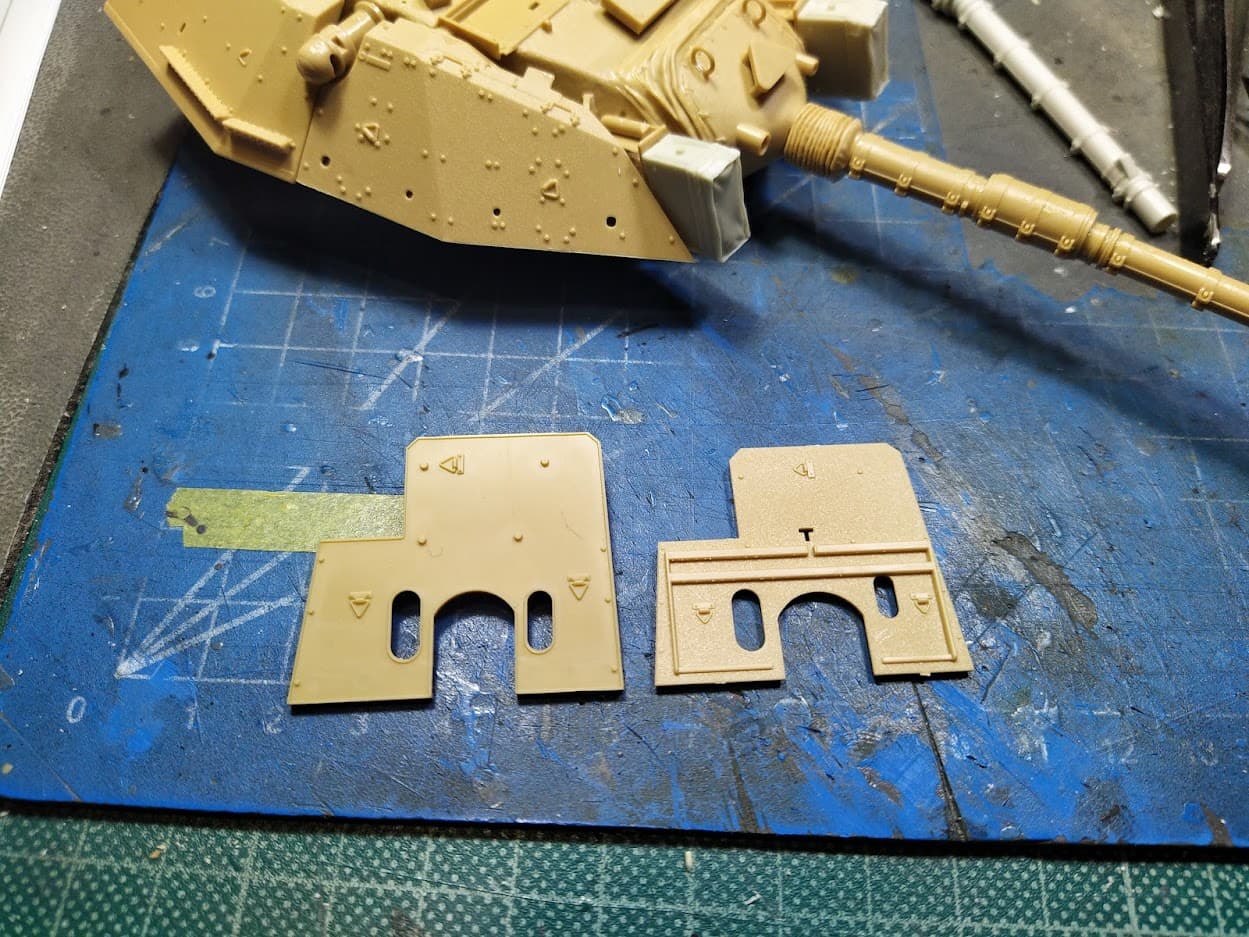
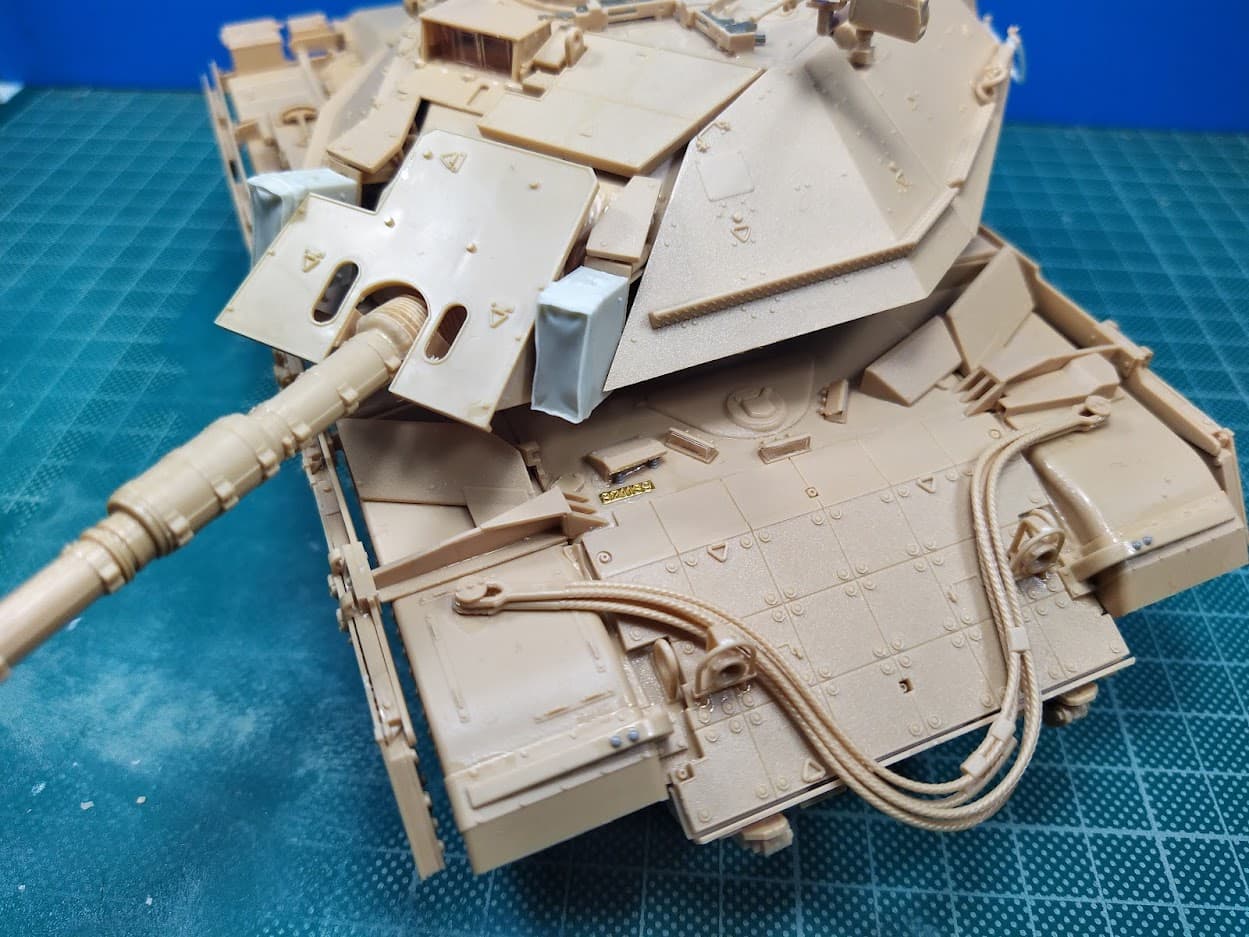
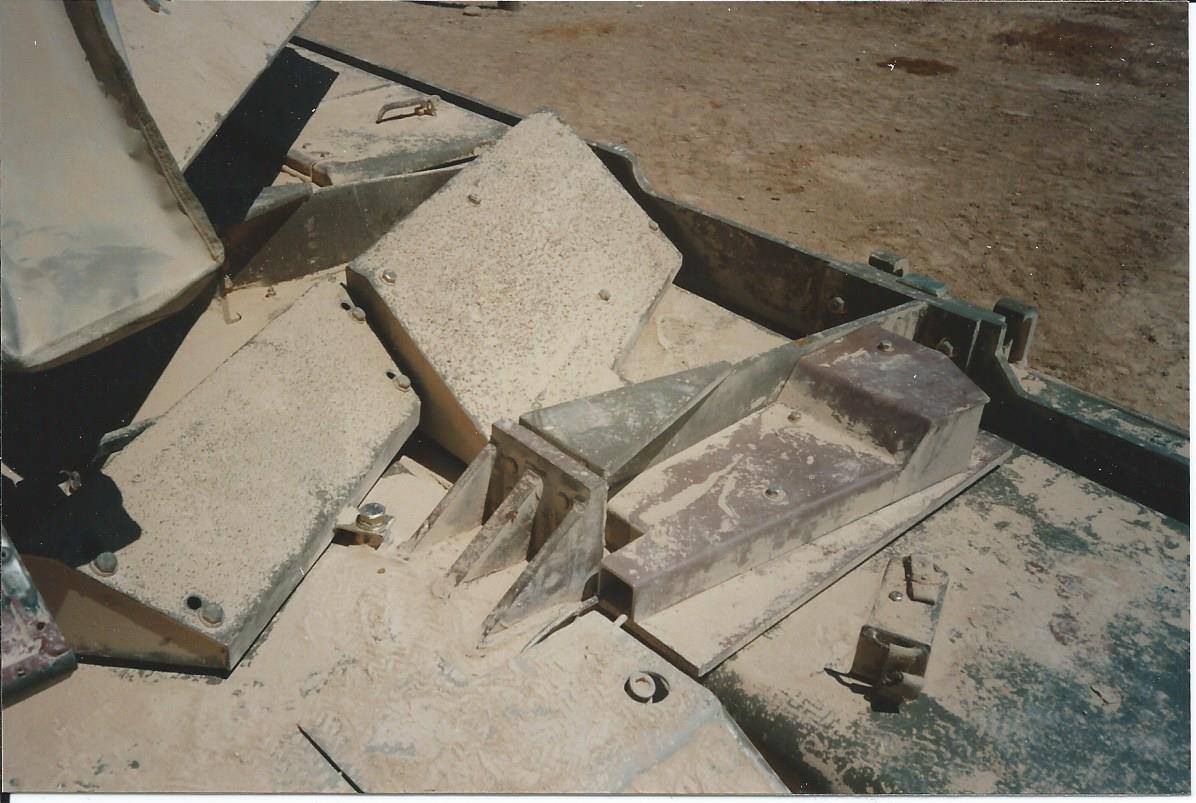
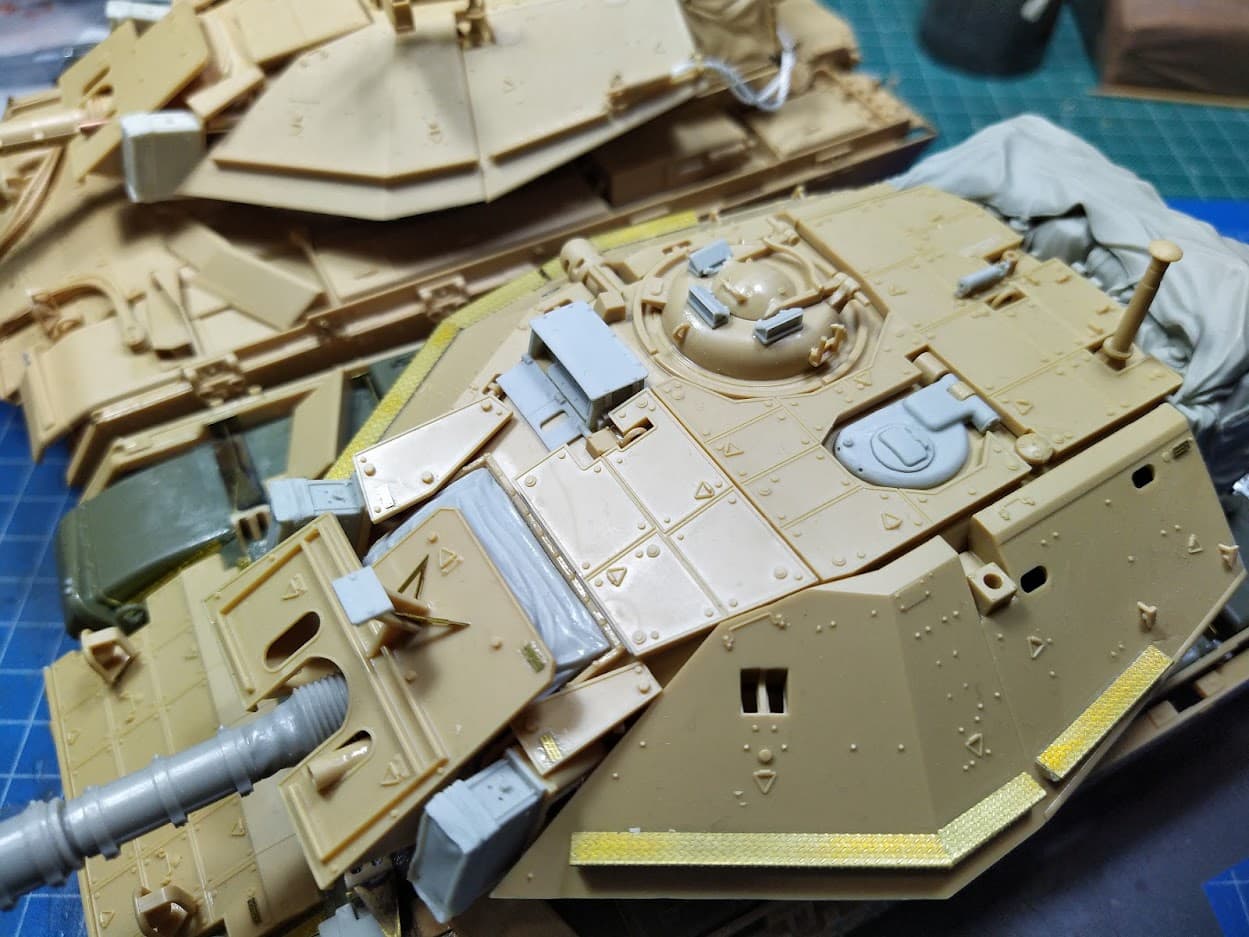
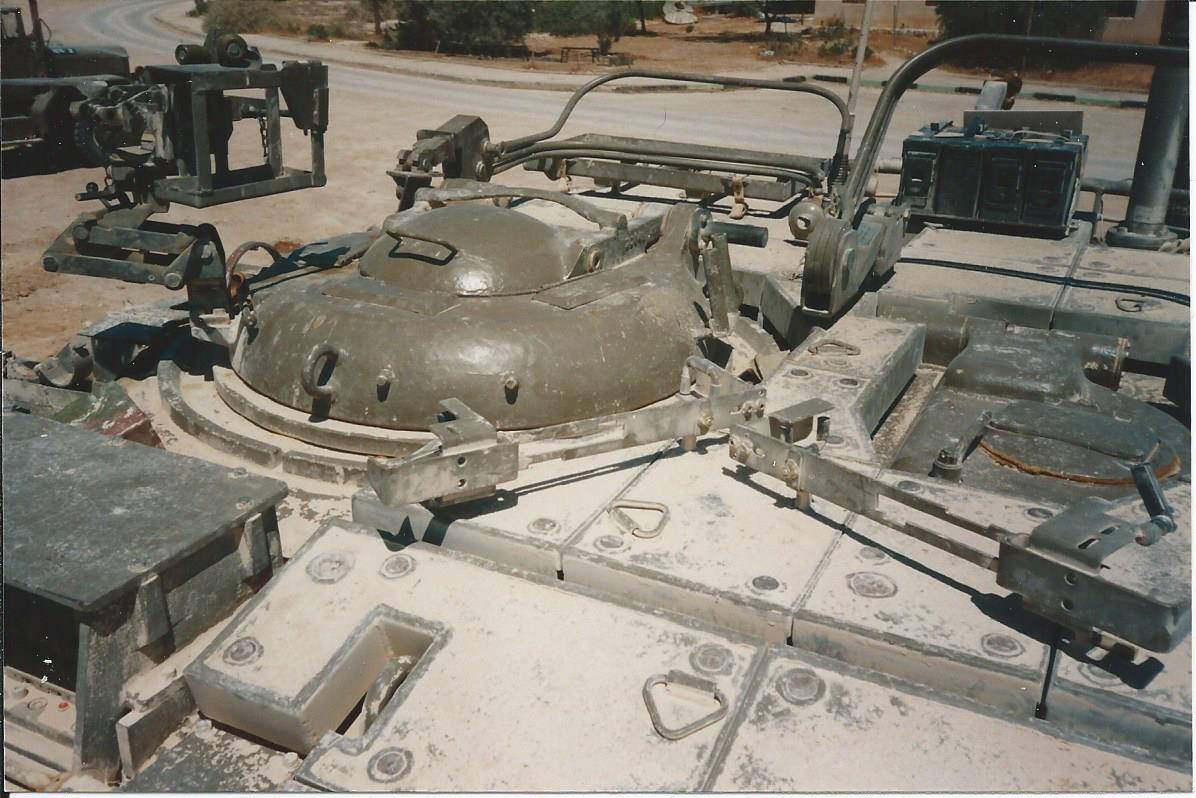
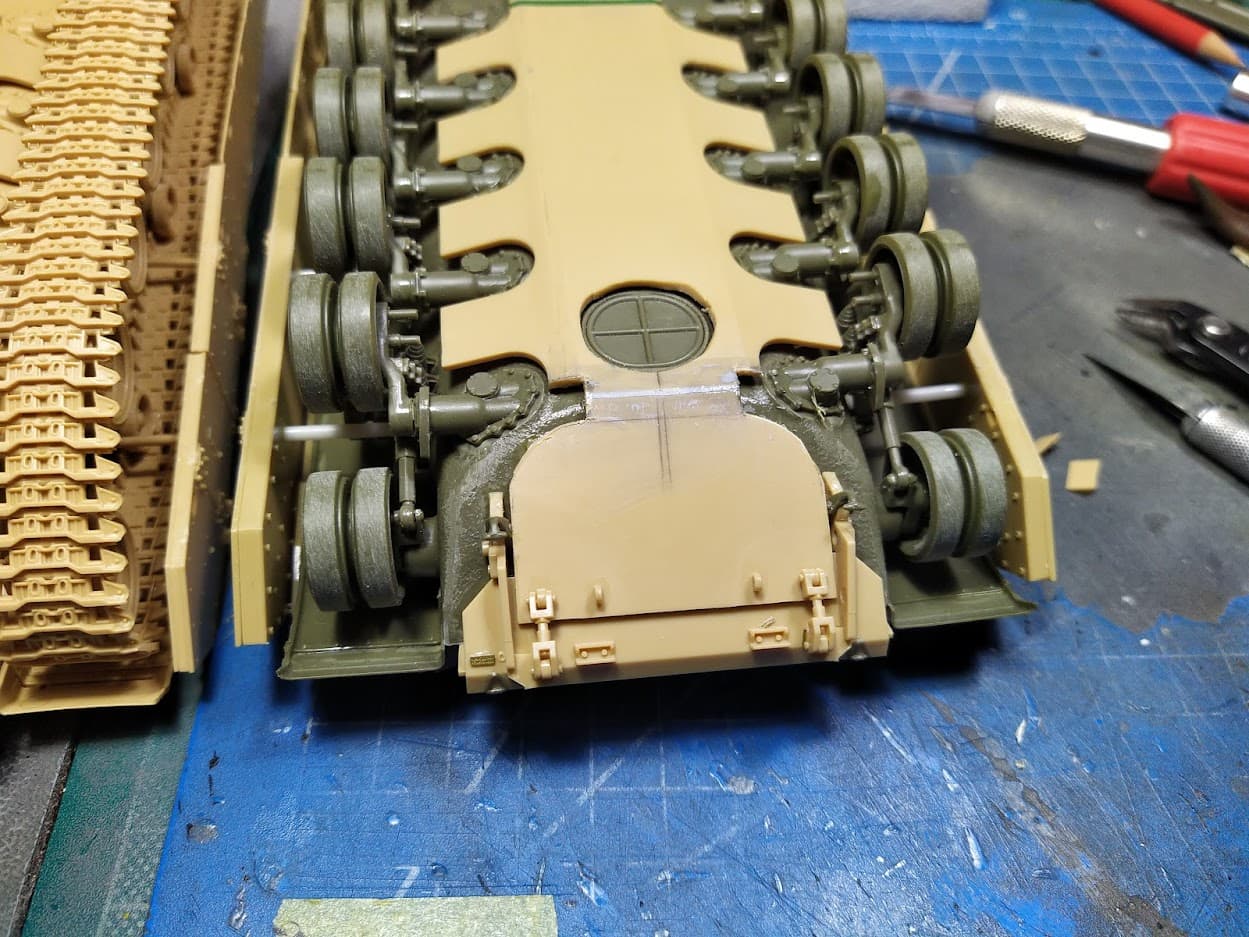
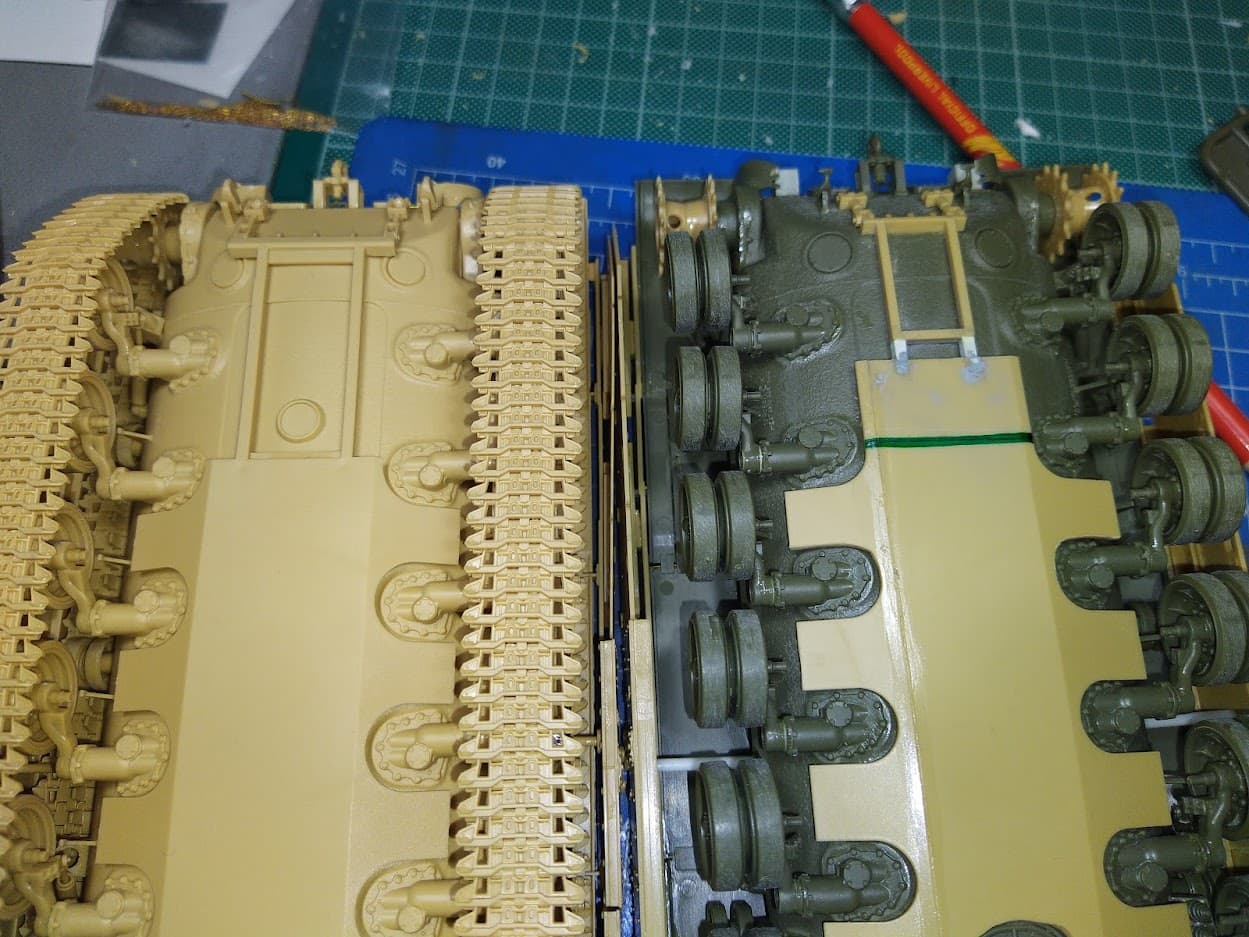
Armor modules
The steps on the modules got bigger and more robust over time. One can also notice gaps between the step of each module at first. Over time the steps got bigger.
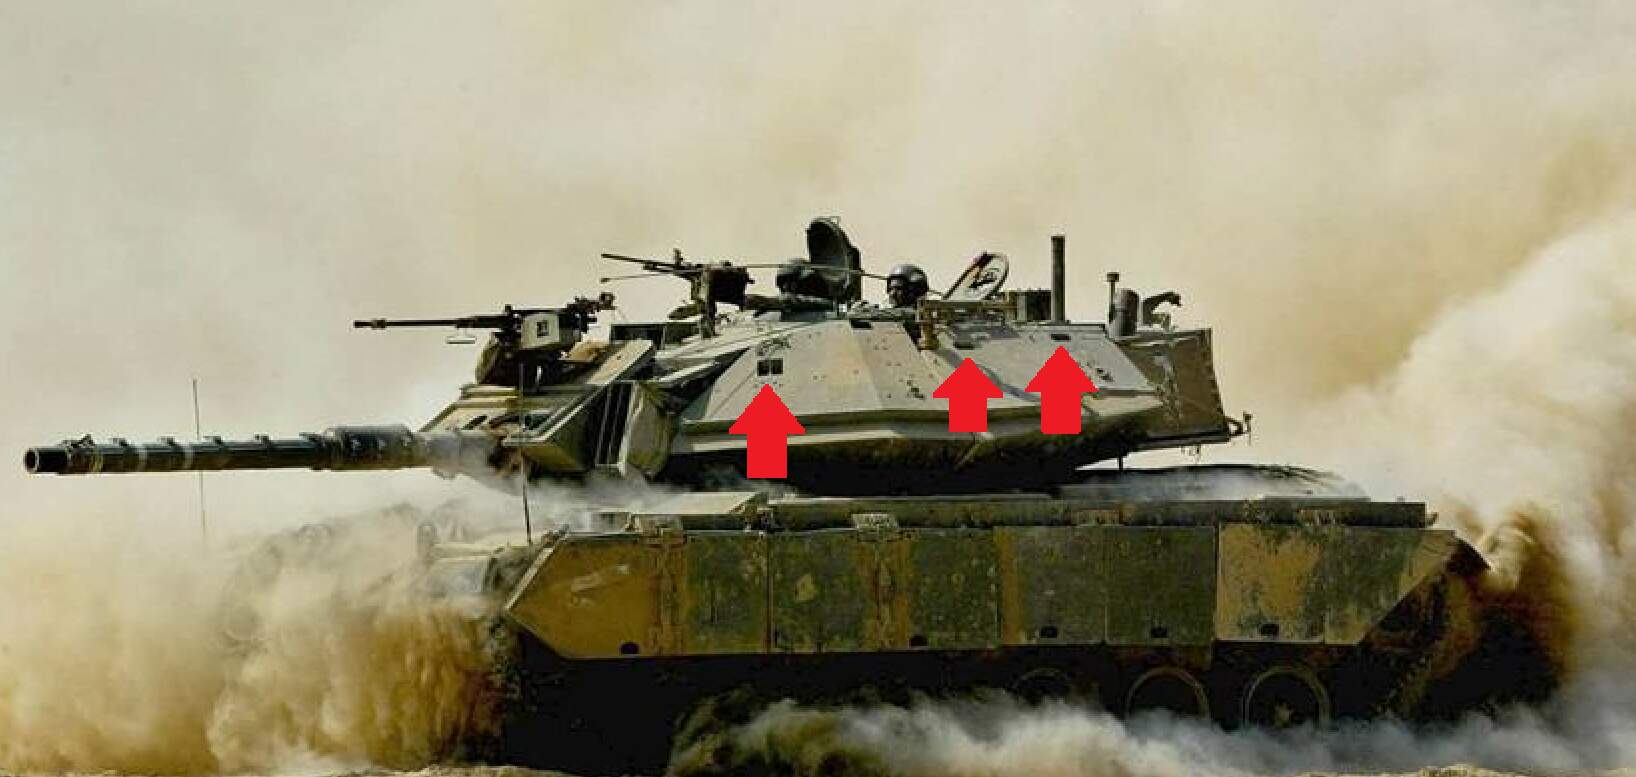
On the left side armor module there are three openings, one square at the front armor piece and two oval shaped at the back pieces (I am guessing to provide access to the mounting bolts securing the module in place) that at some point in time are closed off with bolted on caps.
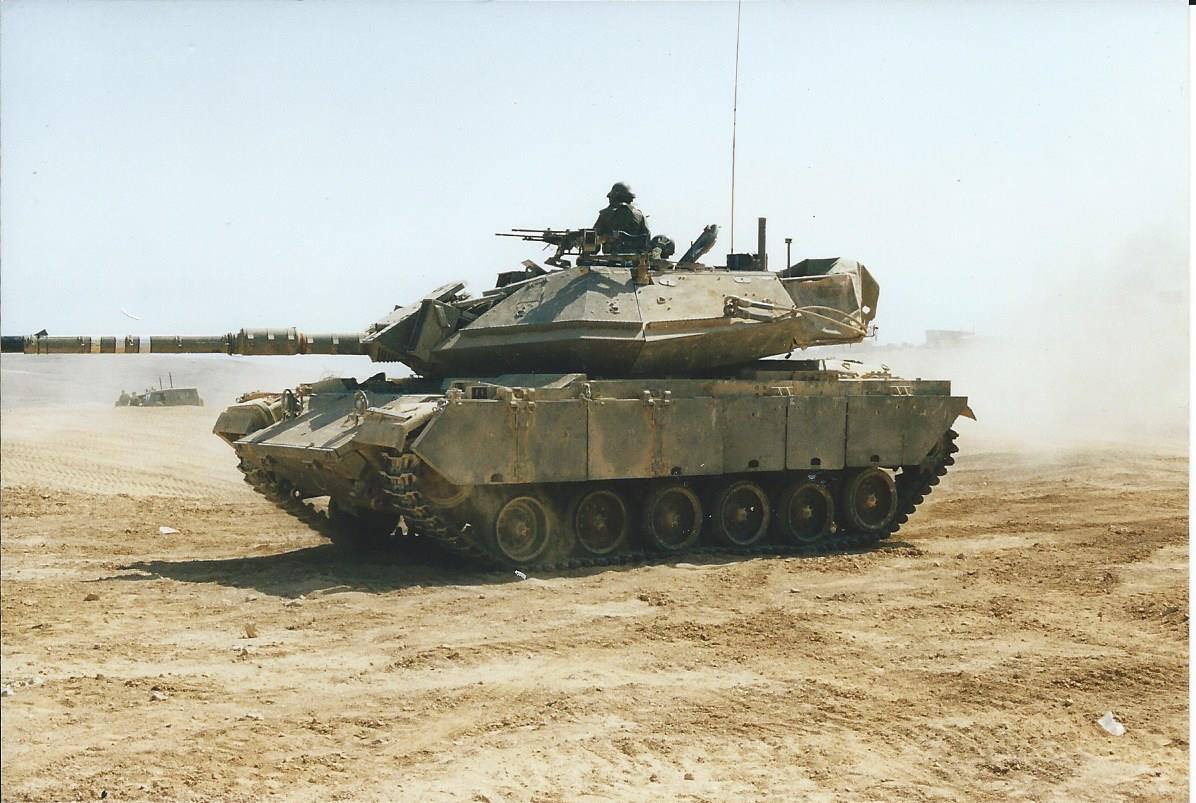
Finally, the antiskid and the areas they covered with it varies from vehicle to vehicle and I think it was not added at first, especially on the armor modules at the sides and on the gun shield.
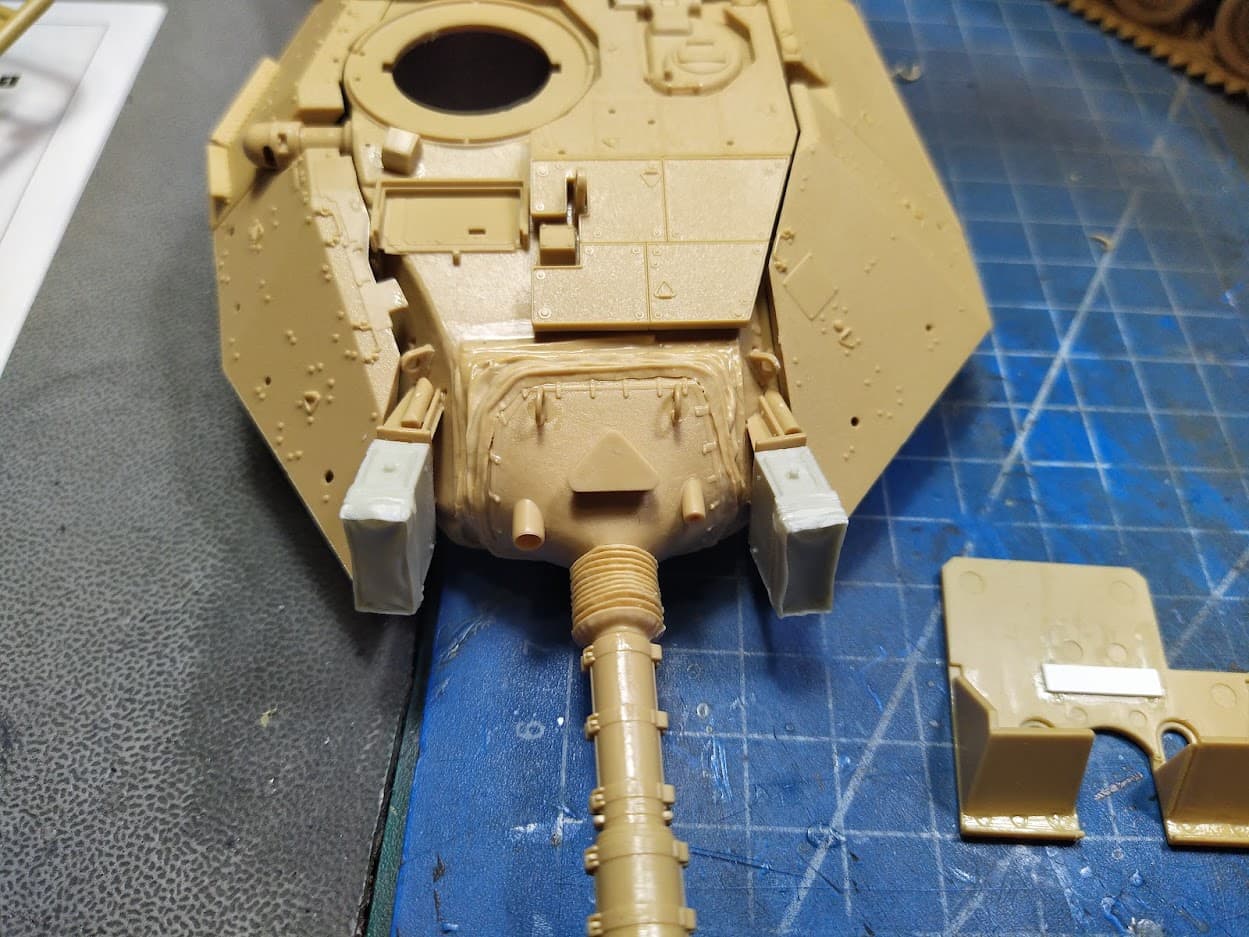
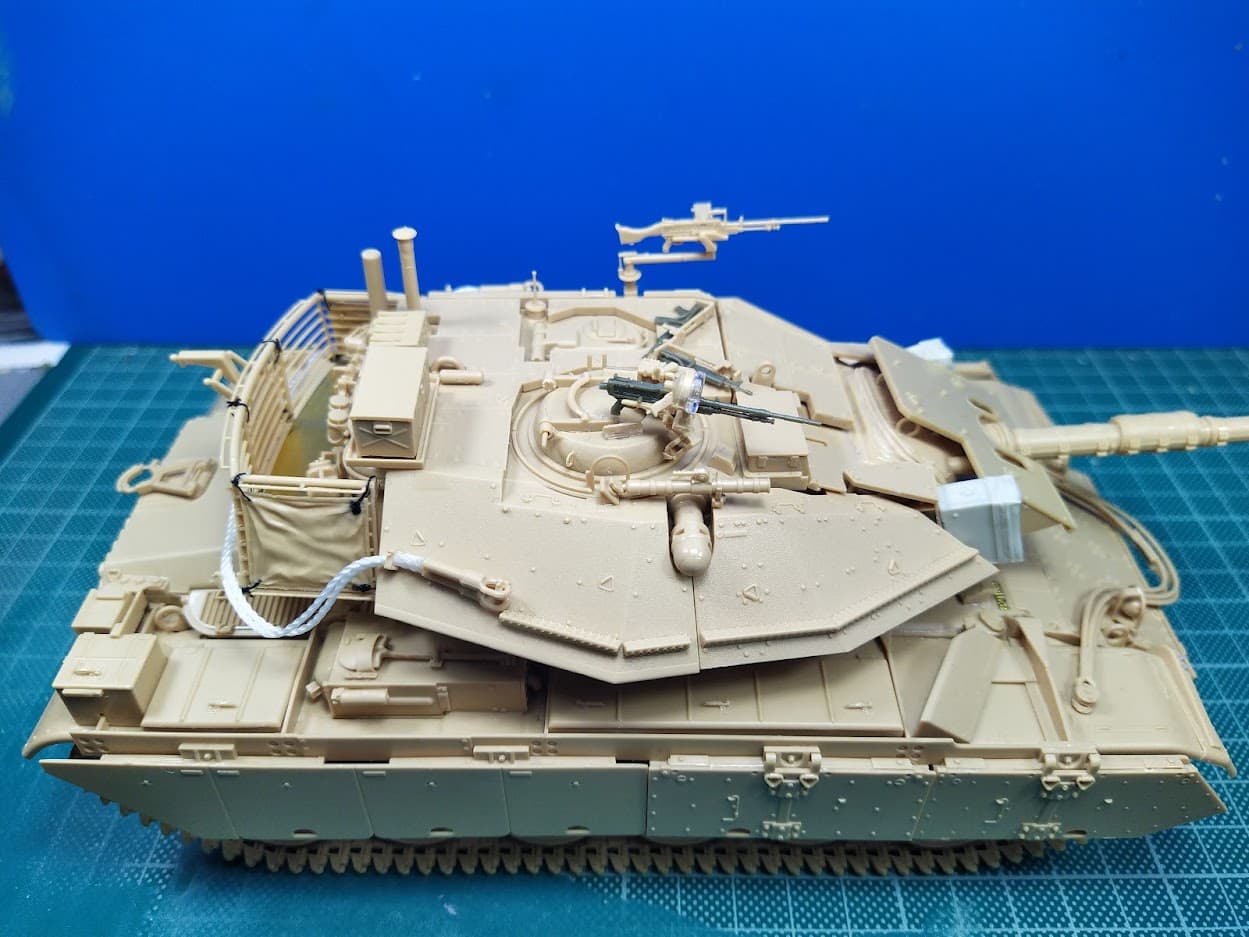
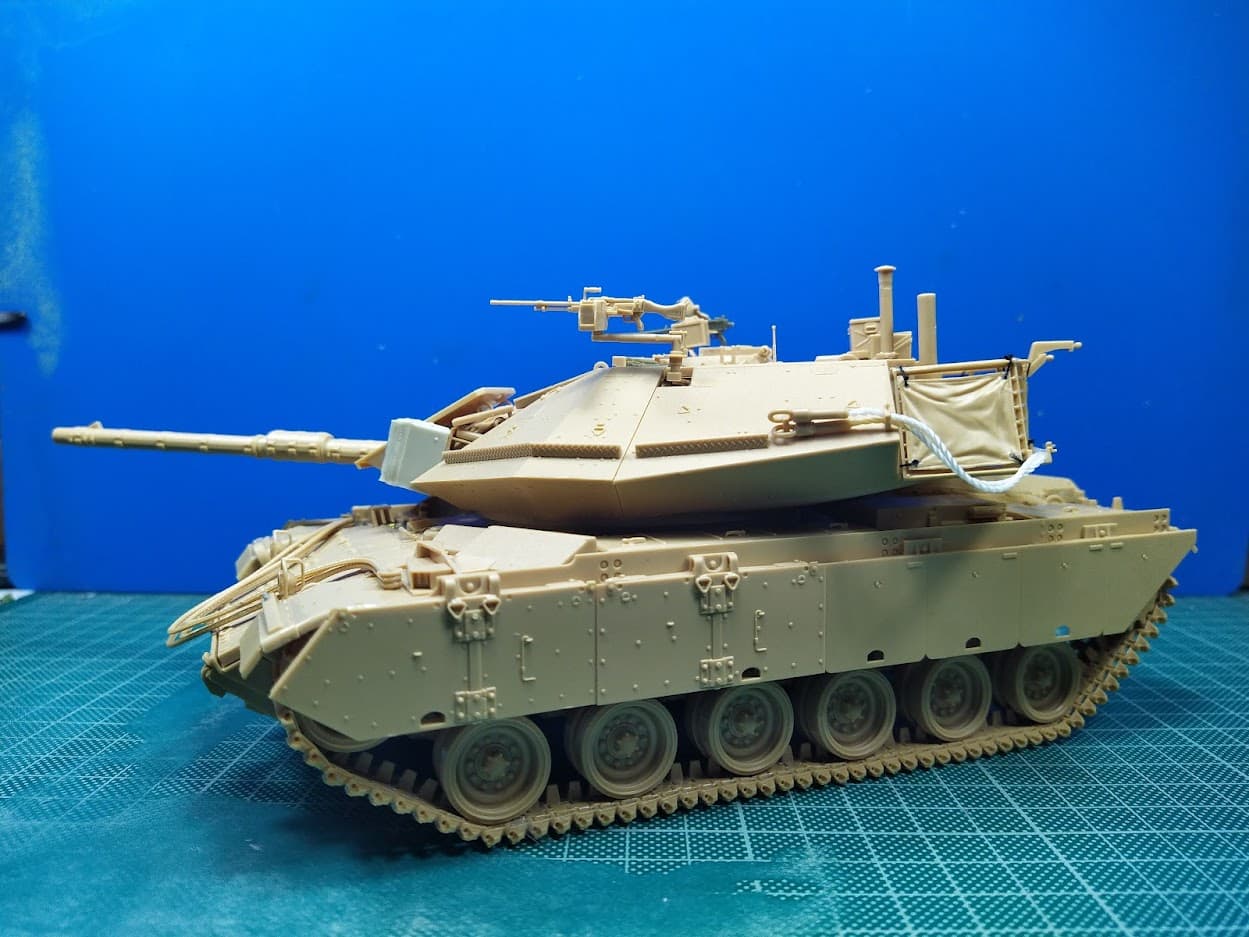
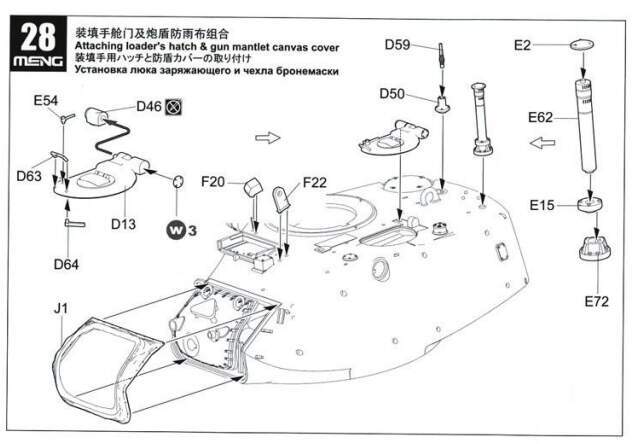
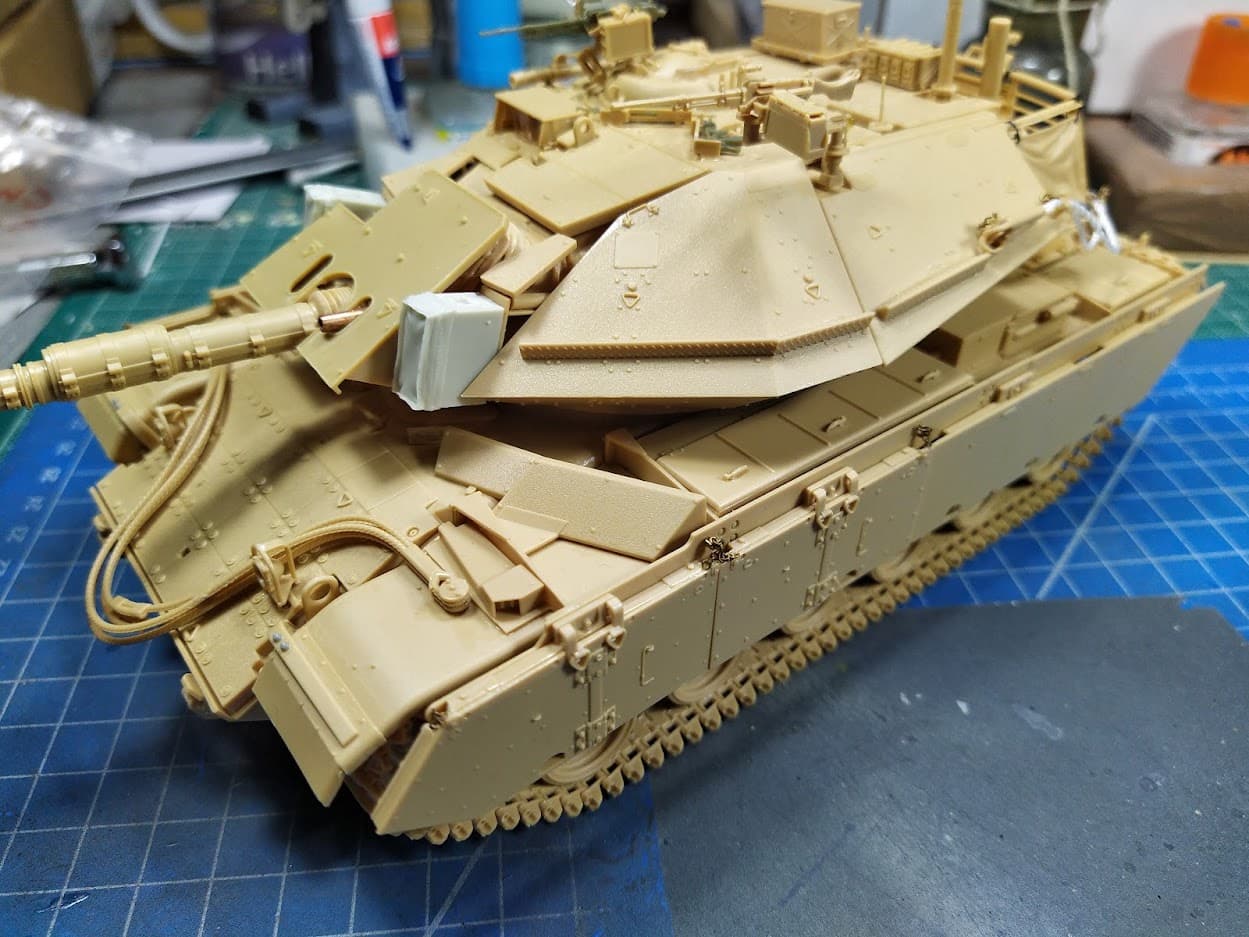
The Meng turret is a pretty straightforward build and the fit of the parts is exceptional. The level of detail is satisfactory and I found no obvious details missing.
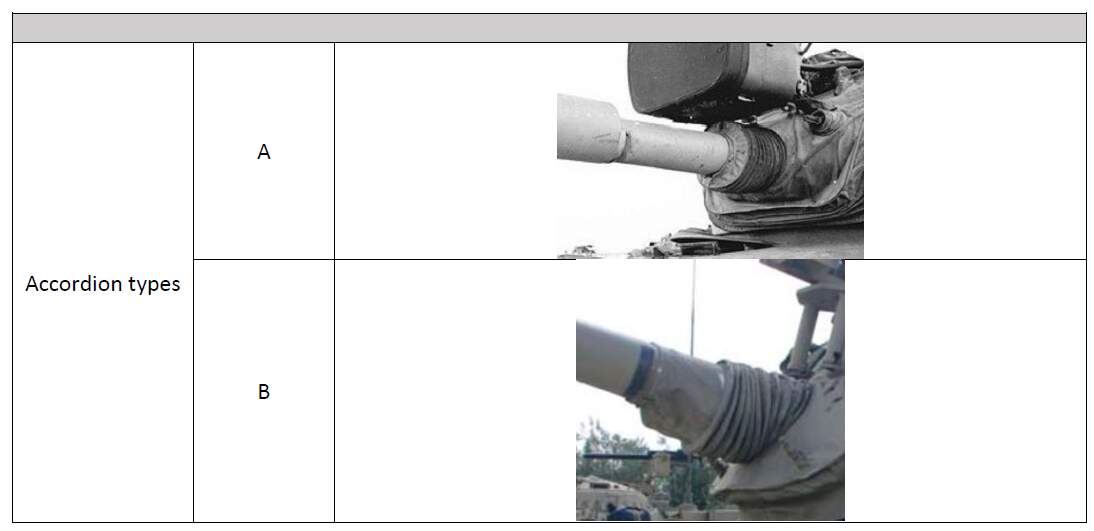
The accordion for the mantlet is provided in soft DS like plastic and it was warped in my kit but it is very easy to soften with glue and fit it perfectly into place.
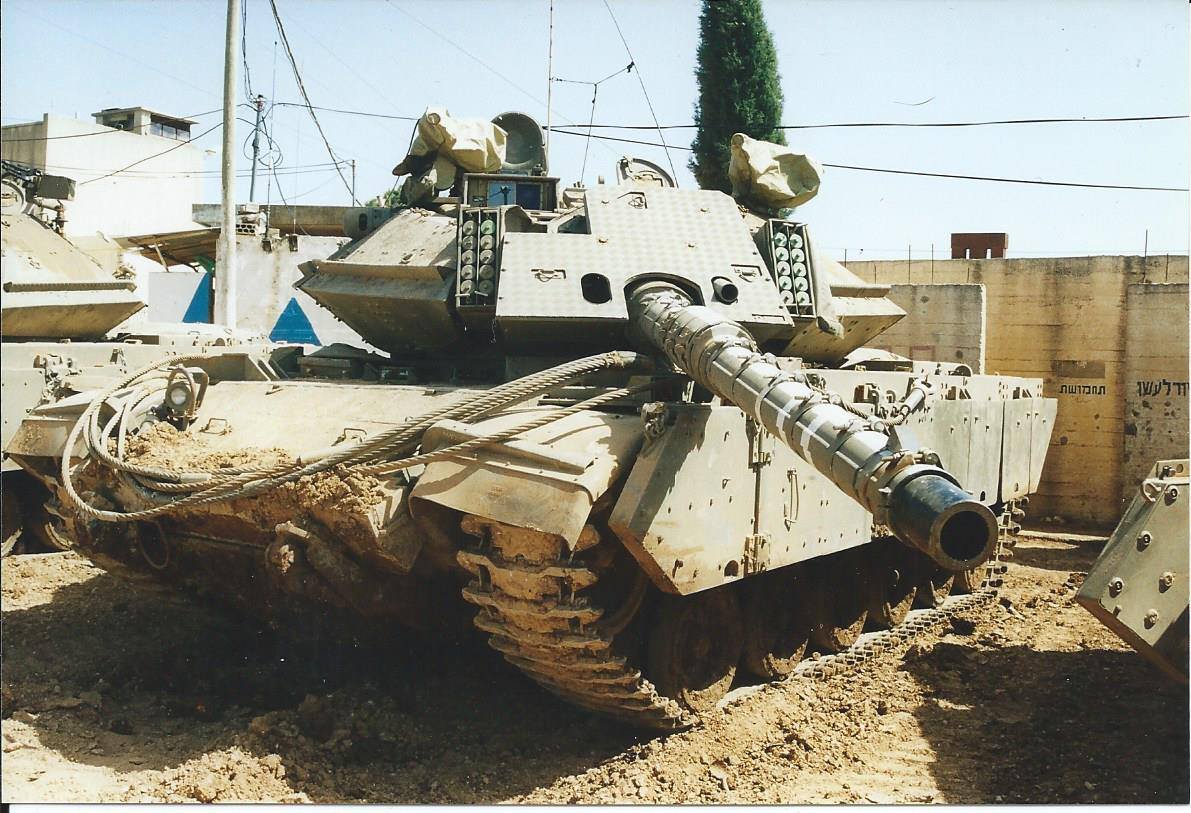
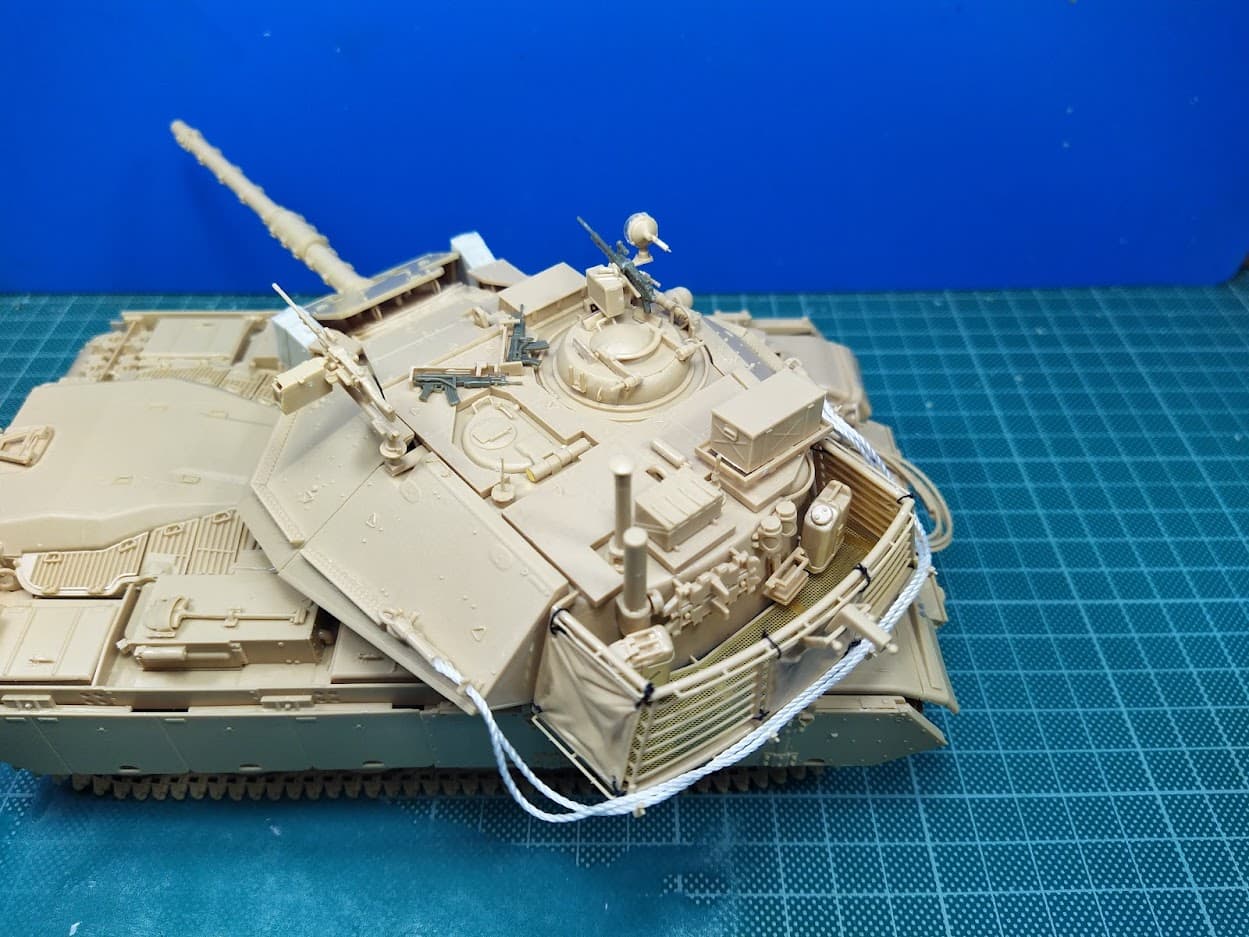
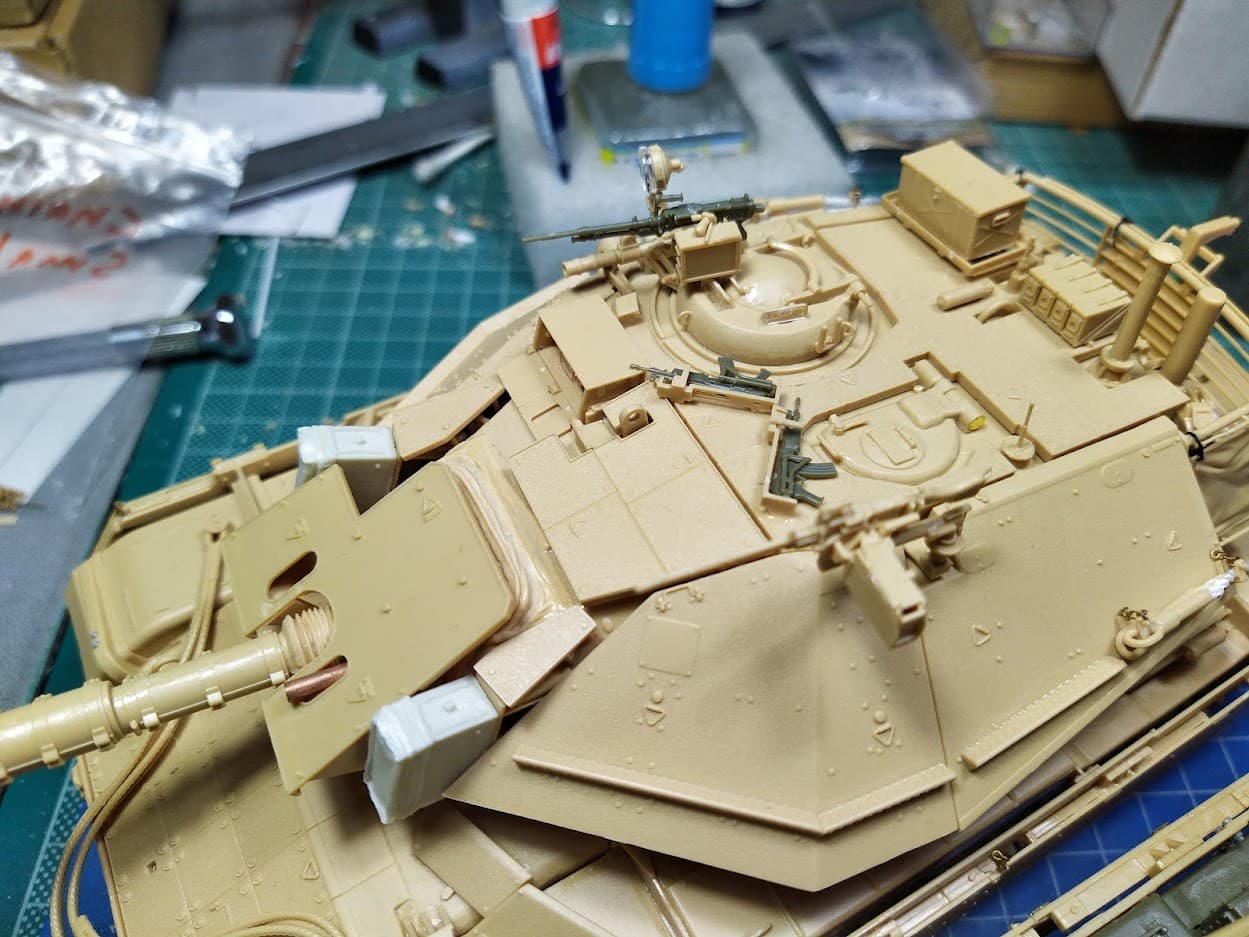
I chose to depict the Meng kit without the mg on the mantlet, so I adapted the Academy part to fit the Meng kit (Academy provides both options for the mantlet shield, so I decided do use the excellent Meng .50 cal to the the other build). I also added some Legend resin smoke launcher modules, since I prefer them covered with canvas and Meng supplies them open.
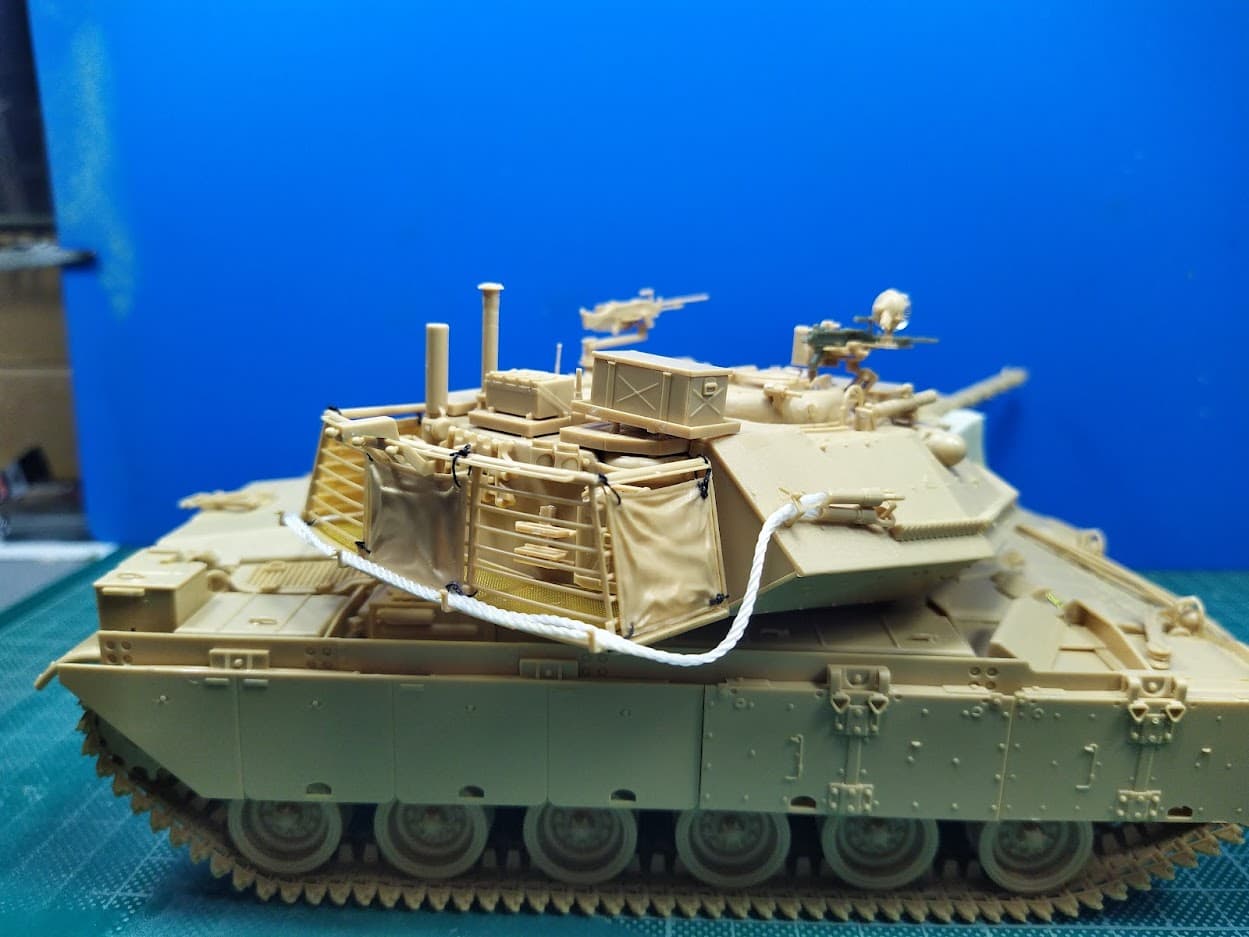
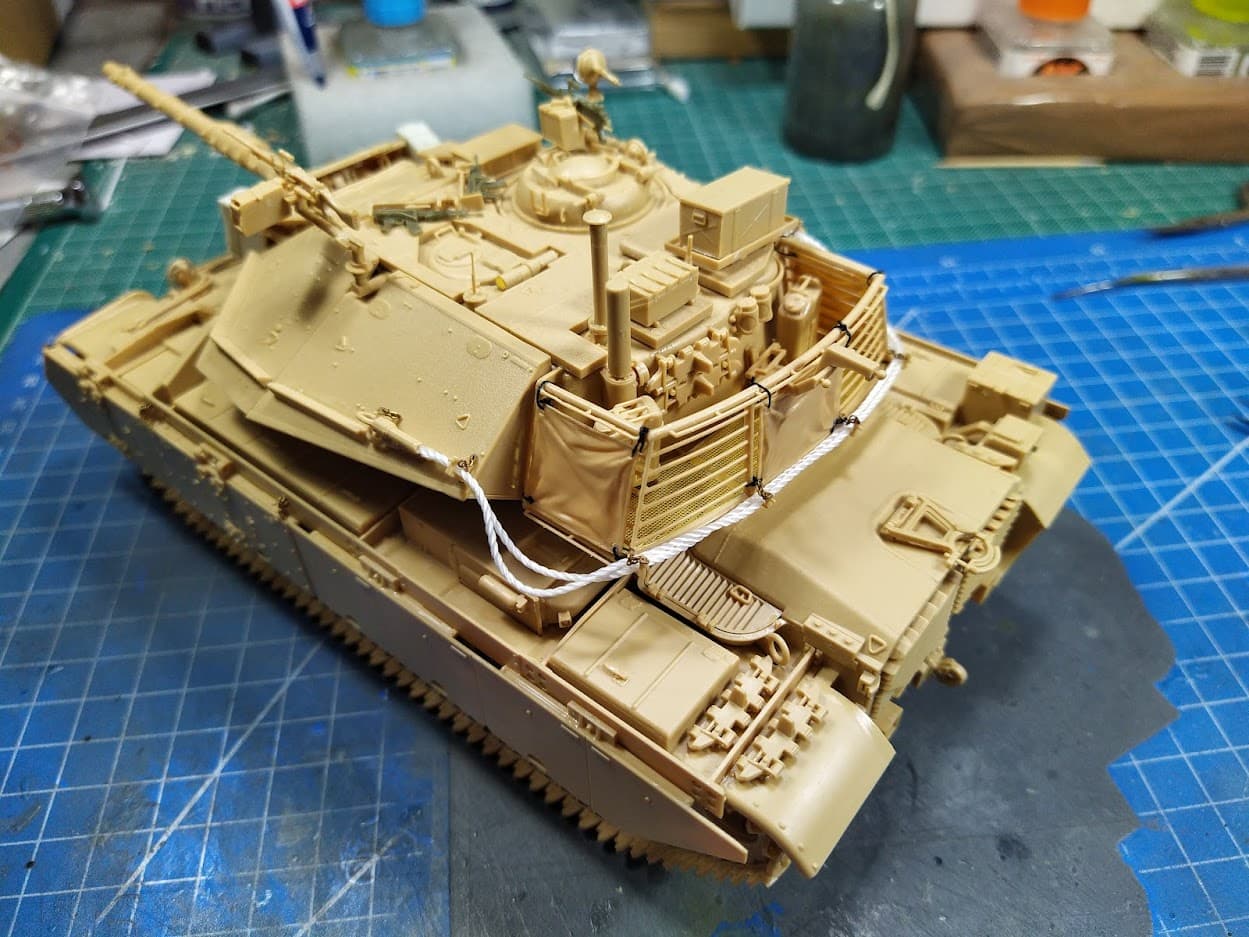
I did not use the provided cablewire, wirecable, wirerope, cablerope (which is the correct word I am confused). I used the synthetic thread Legend provides in their sets, I find it looks much better once painted and weathered. I will use Eureka wirecables for the other build.
I used the pe number plates from the Meng 6B Gal kit and left the kit supplied ones for the Gal, since I need only two for this one and three for the Gal build. As I posted previously, Meng provided two plates in the Gal kit and three in the 6BGB kit, whilst it should be the other way around.
Overall I am pretty pleased with the Meng kit and it provided some useful guidelines and details in order to complete the much more complicated build of the Academy/AFV Club/Legend project.
Thank you. I agree on the price but I guess we should be getting used to seeing new kits priced over 70$ from now on. A price around 55-60$ is the top money I am willing to spend on an armor kit (I bought mine for 45 euros). With what is included in the kit (not much PE or decals or other extra stuff) the price should be around 55$.
It is 75-80 euros in shops here. I am lucky that I know the importer and can get them at a discounted price and I always wait to see if a kit is for sale at the various second hand groups on FB. For example I scored 5 AFV Club M60A1 kits for 30 euros each last year.
I need to add this details, plus some chains holding the cables, ropes, wires
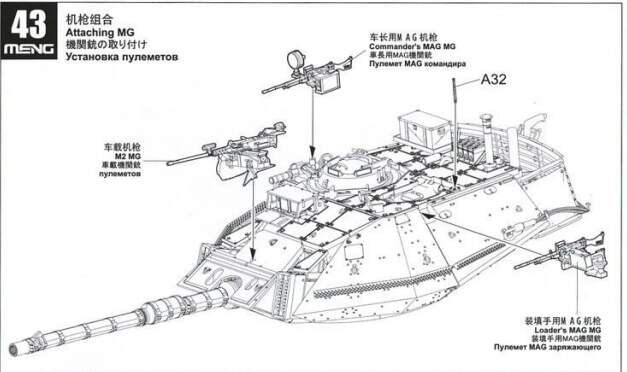
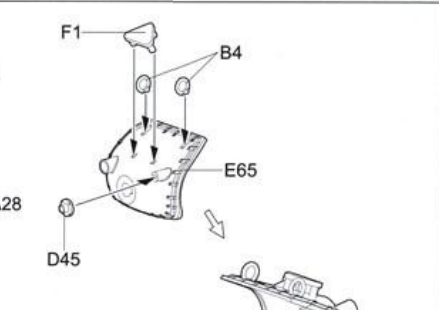
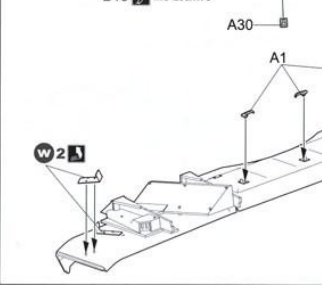
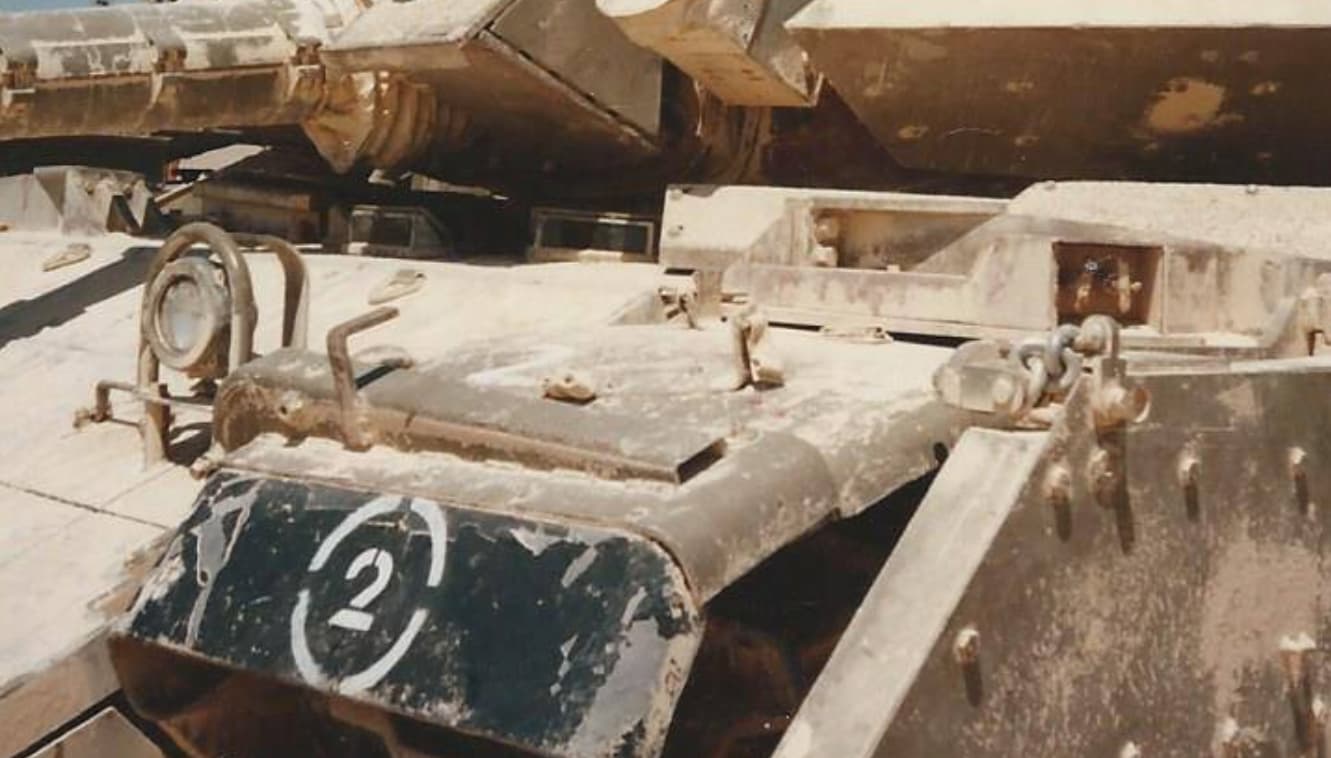
Also Meng supplies photoetch parts W2
which are supposed to be two straps for a stretcher. I have seen those in a couple of reference photos but they were on vehicles that did not have the front wire cables and their mounting points.
I want to see how the model surfaces look after priming before adding any kind of antiskid to the model because the detail is a bit on the shallow side and I am afraid that if I apply the antiskid with the usual method it will look odd and I might need to try something different with a finer grain.
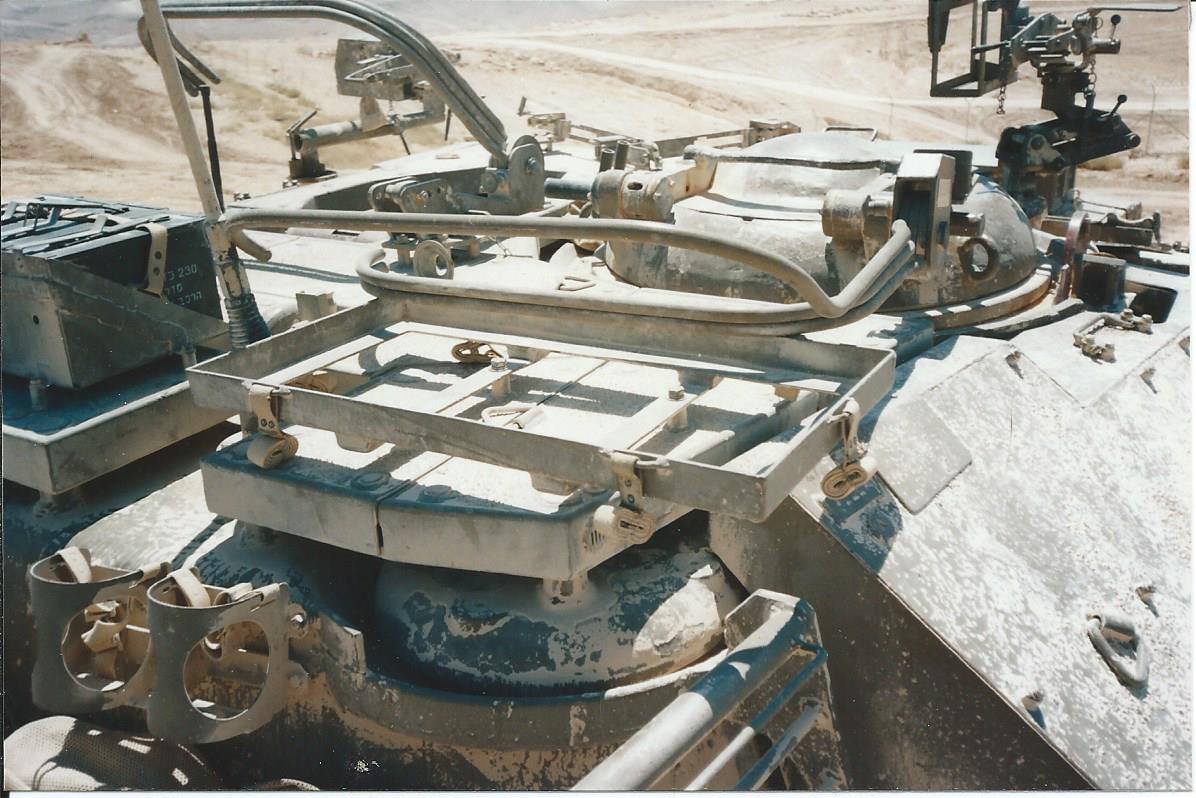
That lifting eye is not on the original M60A1 turret, the IDF must have added it when the redid the armor on the tank. Then later made it longer to clear the add on armor.
Ken
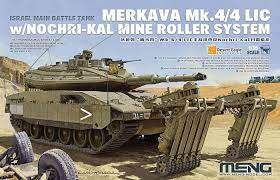
It is a pretty straightfoward build with options for adding the mineroller or doing a LIC version. It depicts an early version vehicle without a loader’s hatch. The tracks and suspension might prove a time consuming task. I also do not like the black plastic for the tracks, it is a bit brittle and does not take glue well. For under 60$ I would buy it. All the details are there, it has no major issues and the fit is superb.