Now you point it out you can definitely see the difference… However, the detailing you are putting into this one is just great … Looks amazing ![]()
1 Like
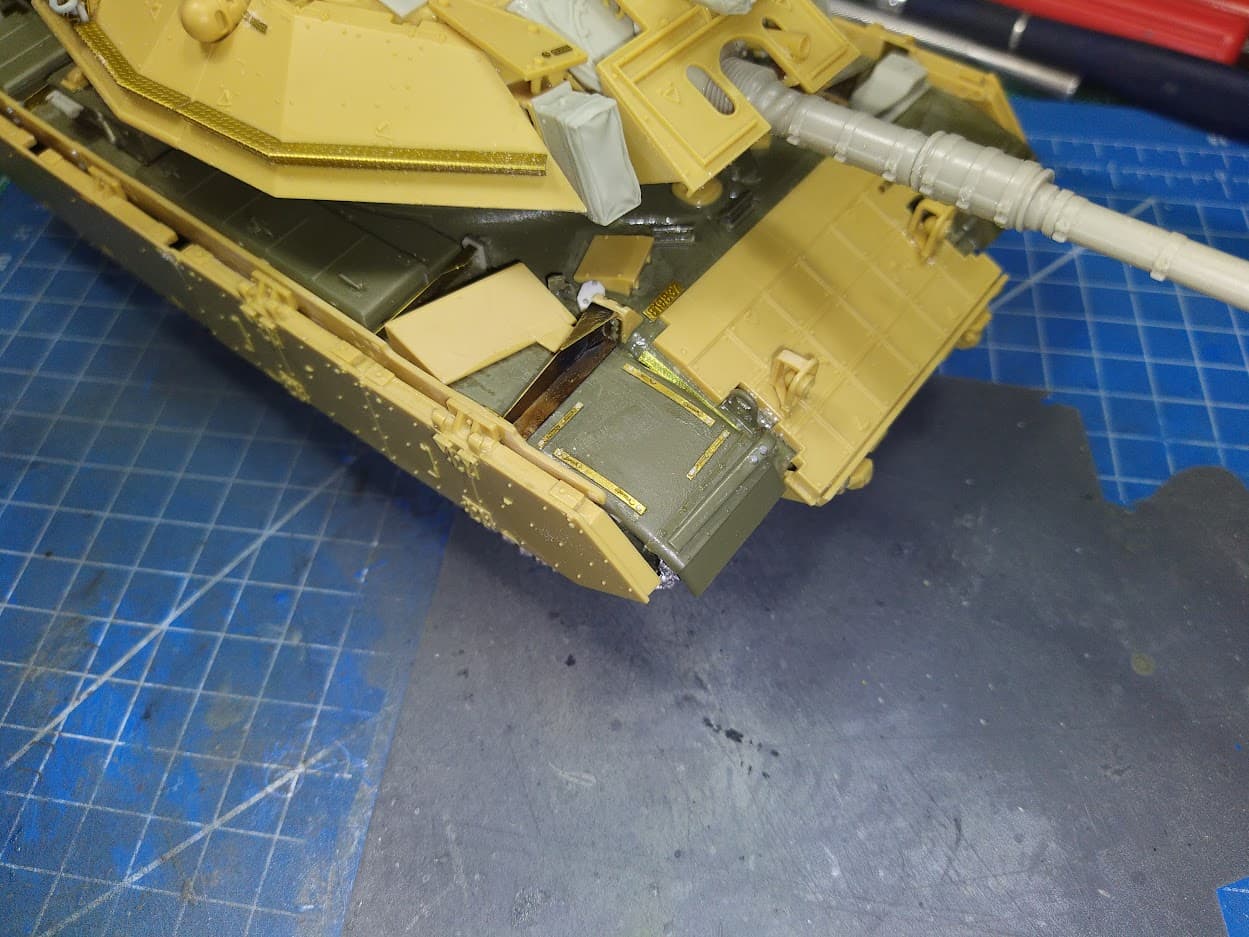
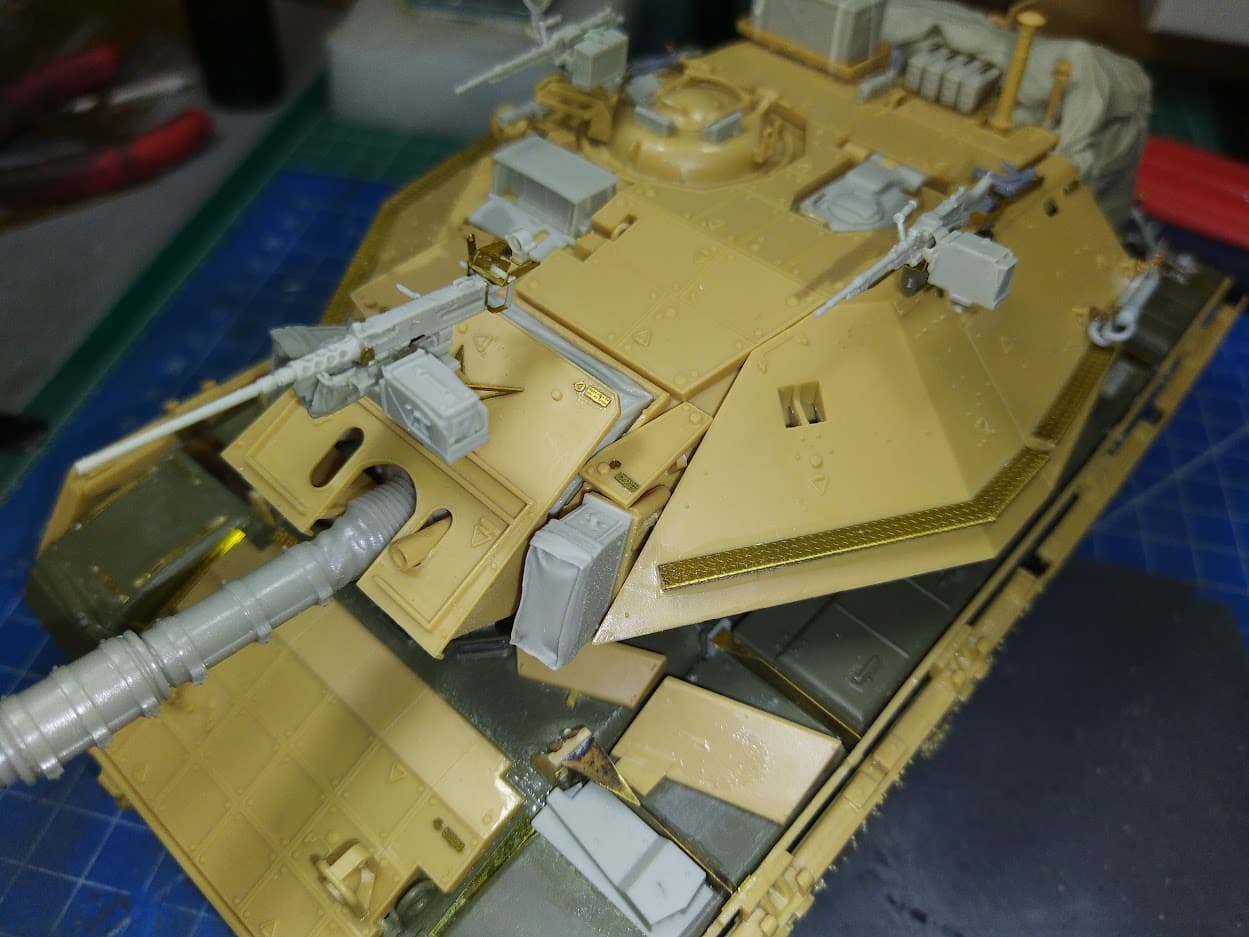
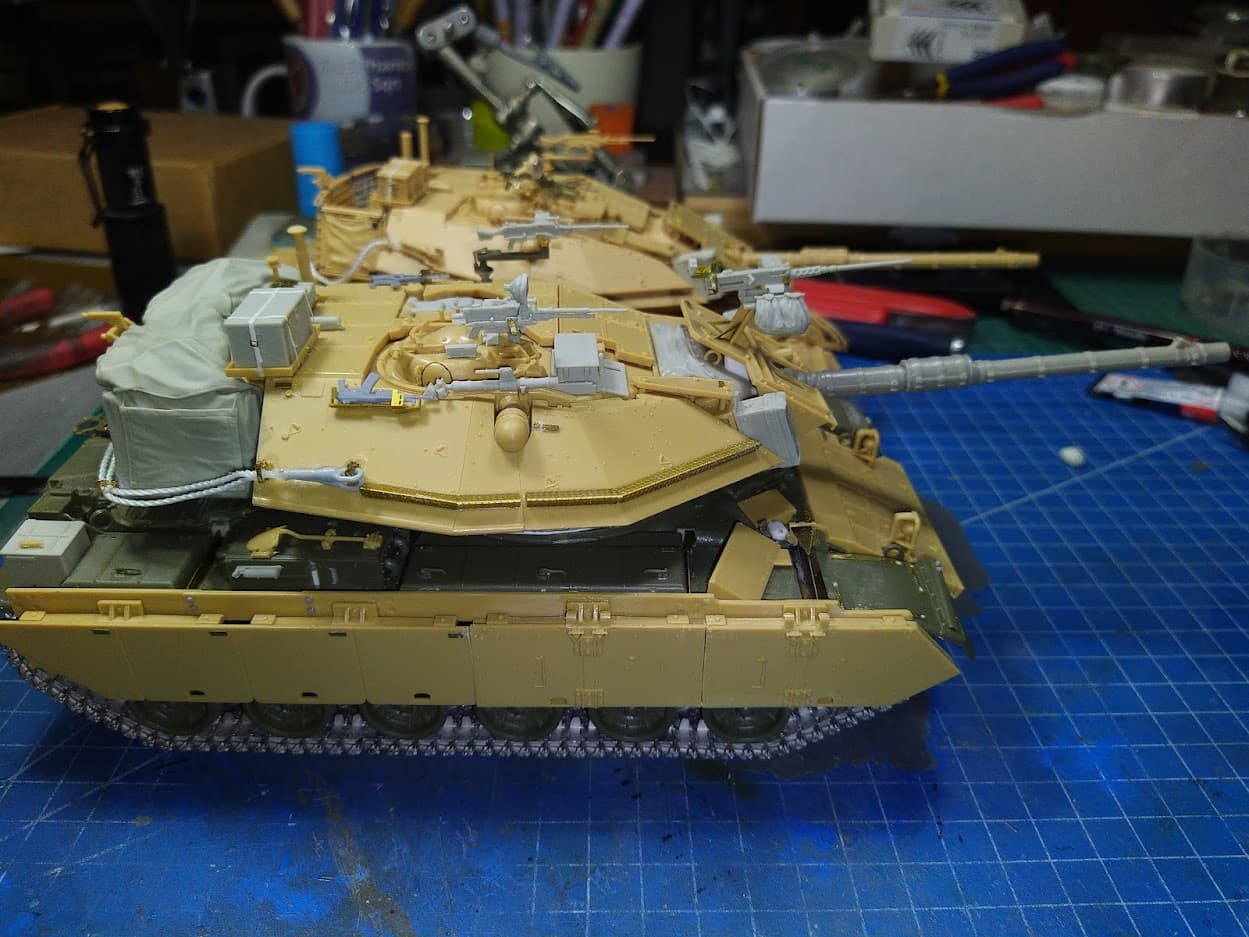
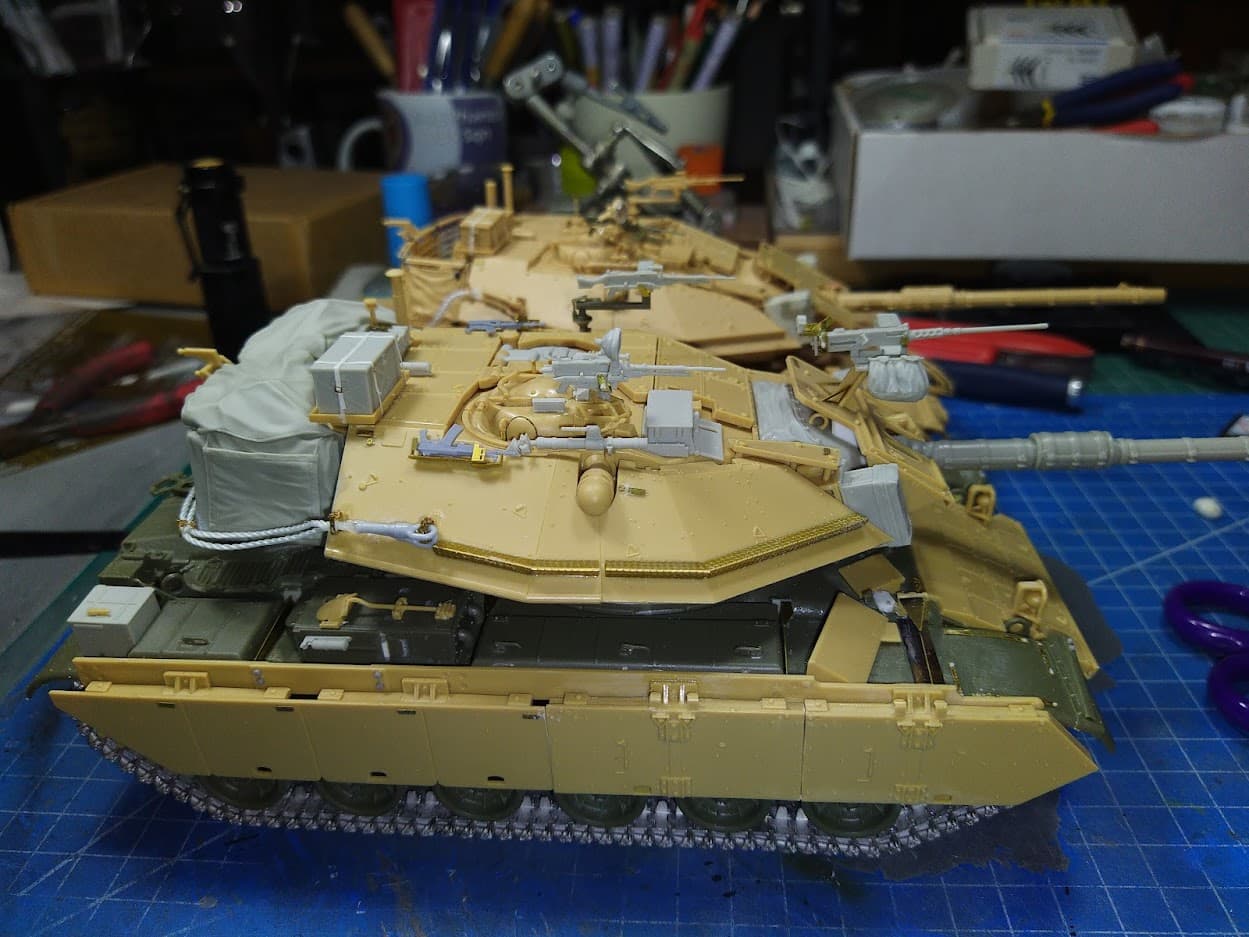
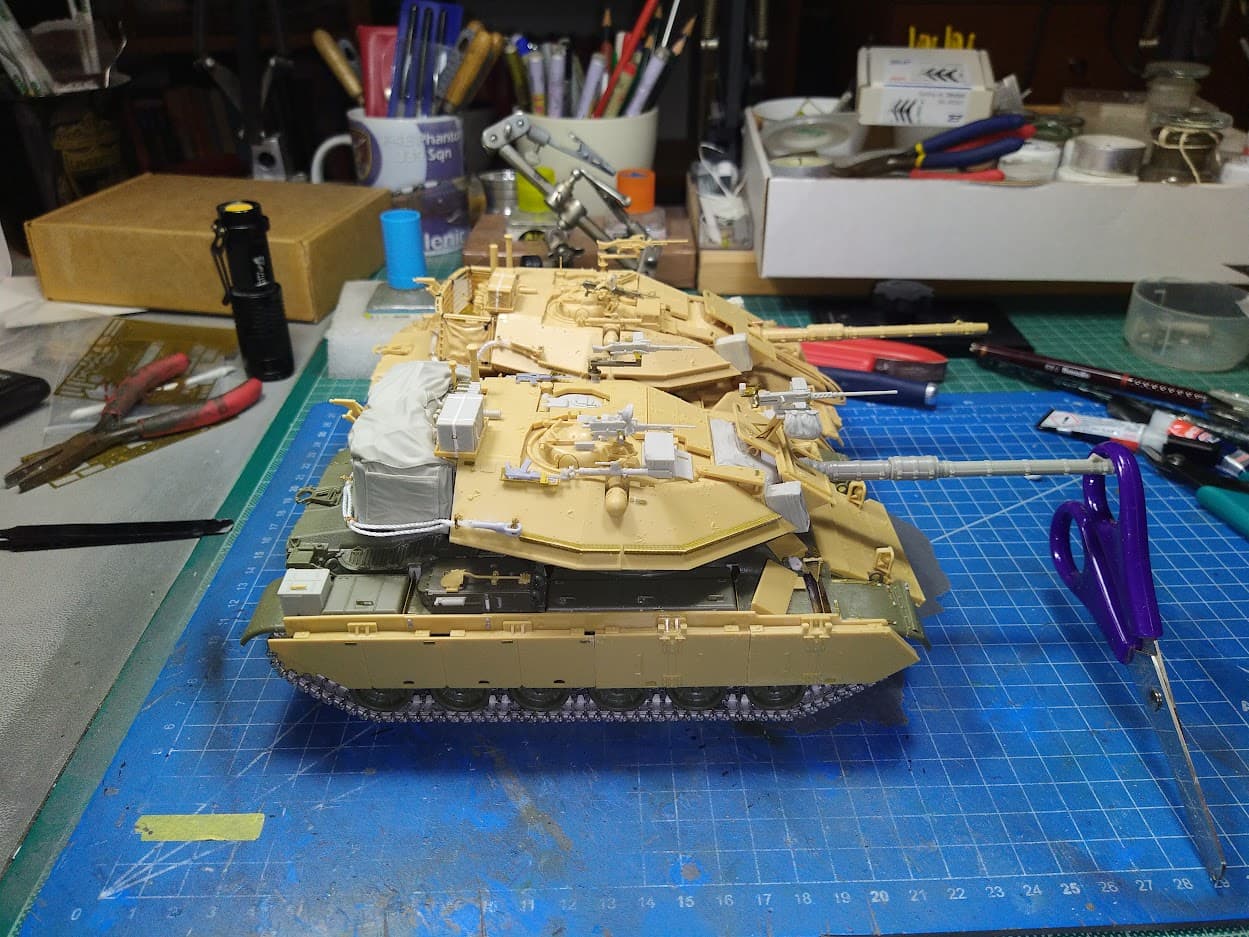
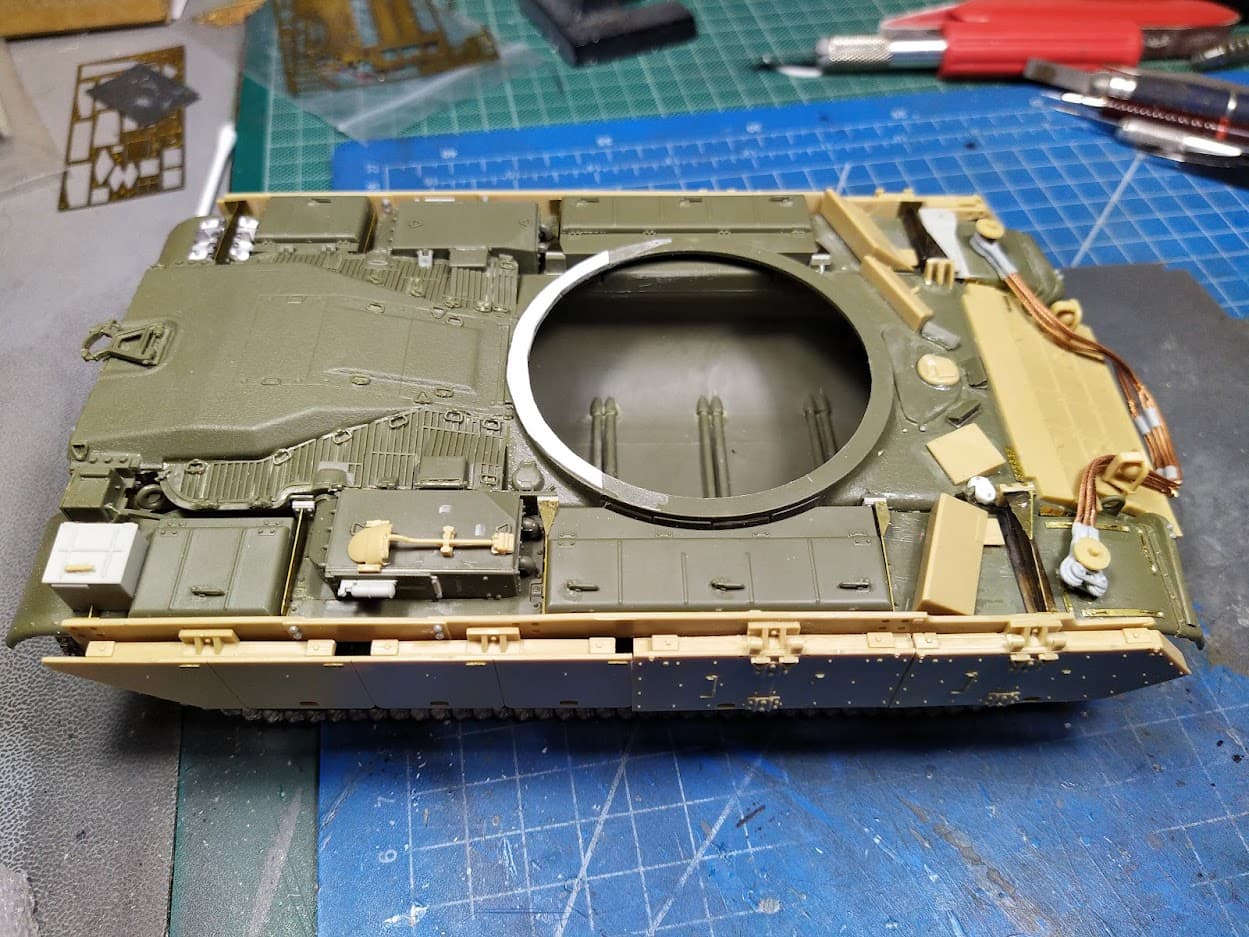
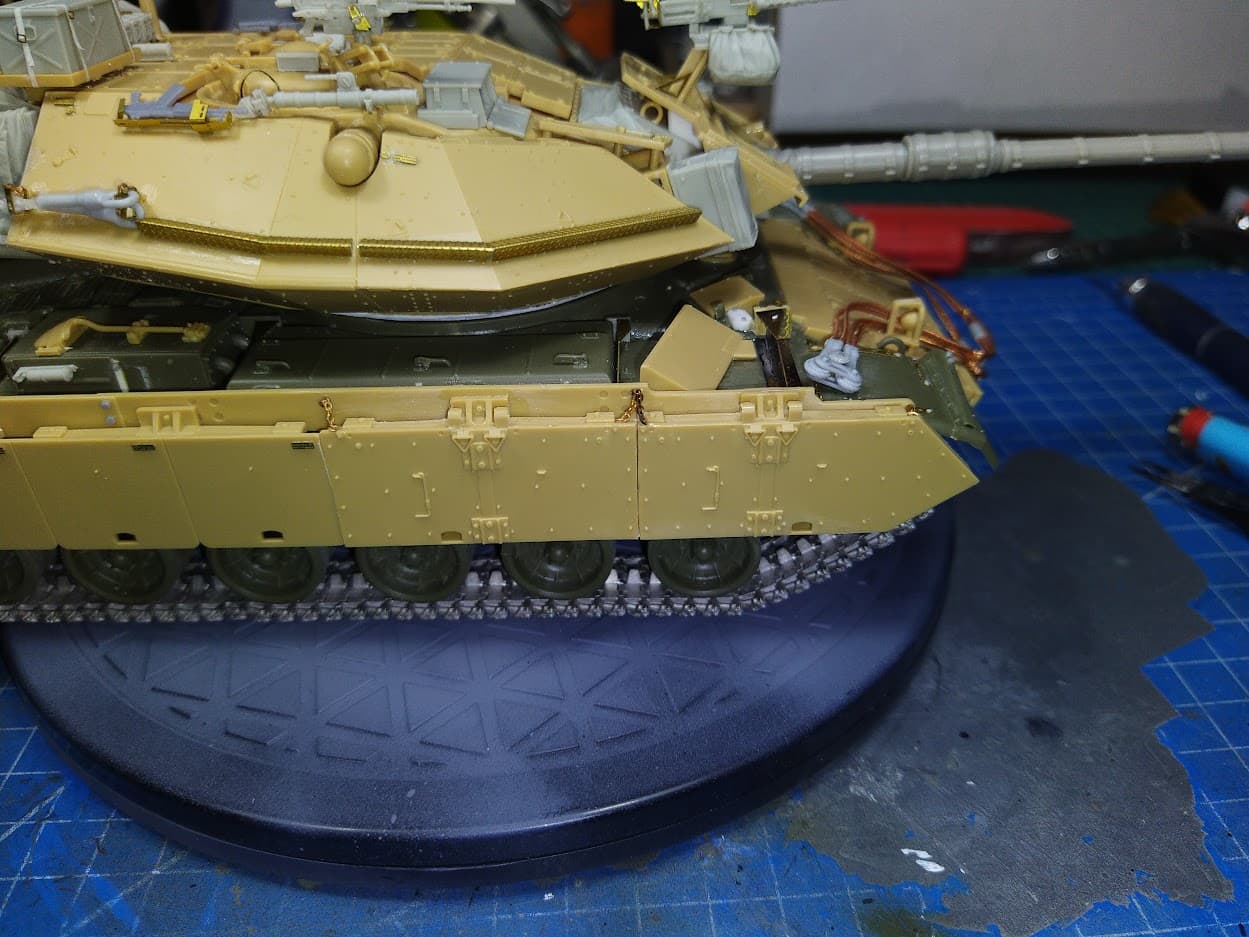
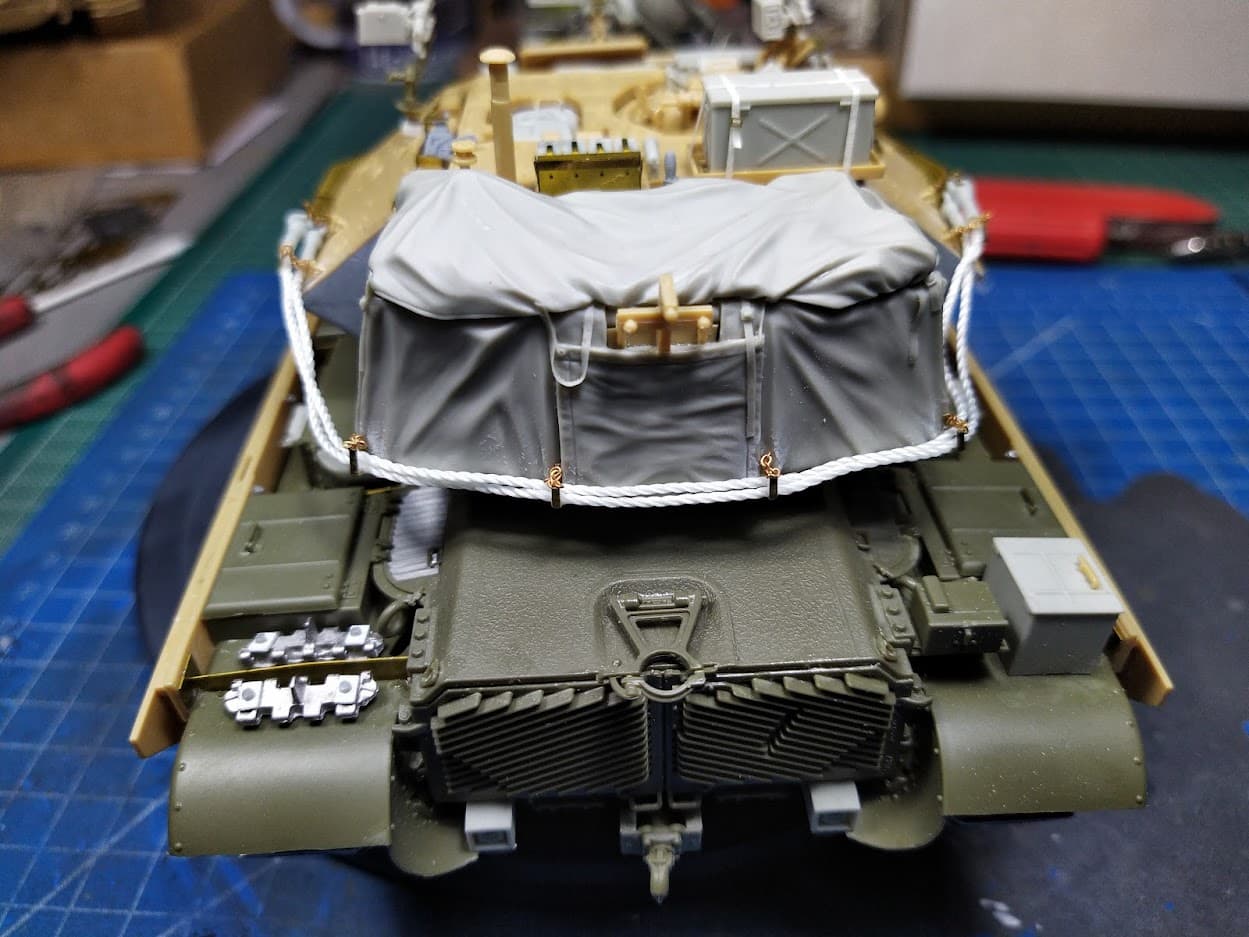
Some more details on both models added (I used the left over pe from the Legend set to add some to the Meng kit)
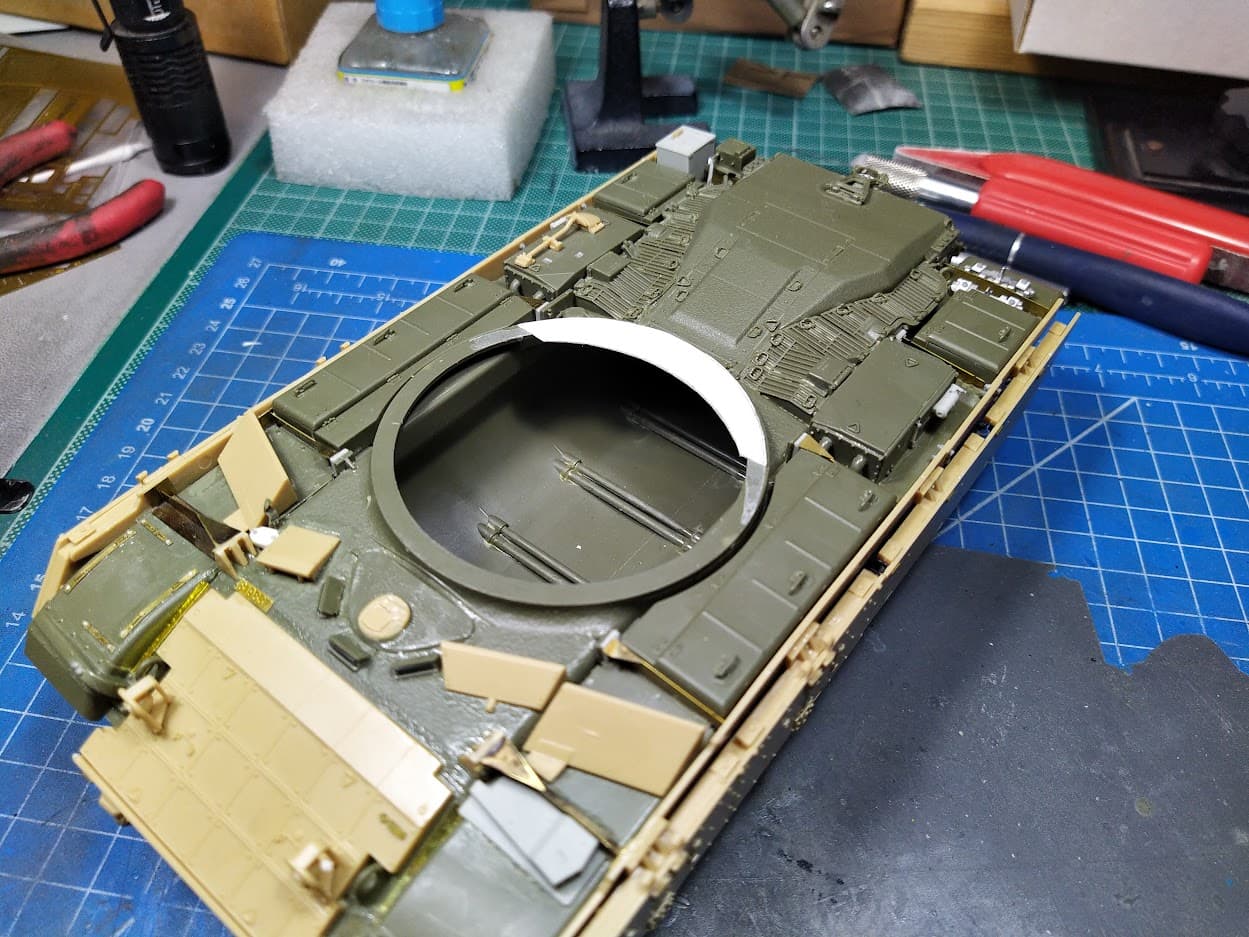
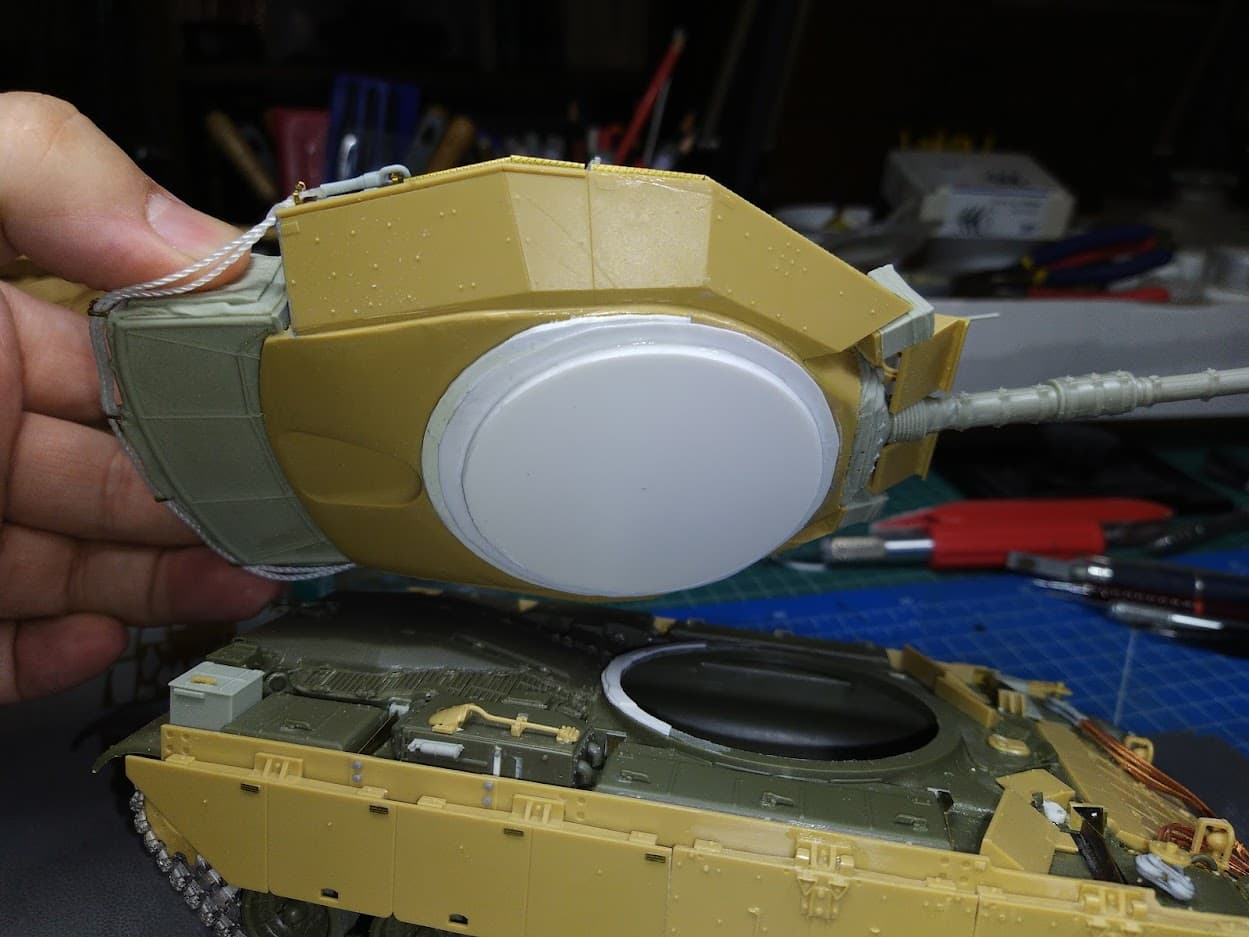
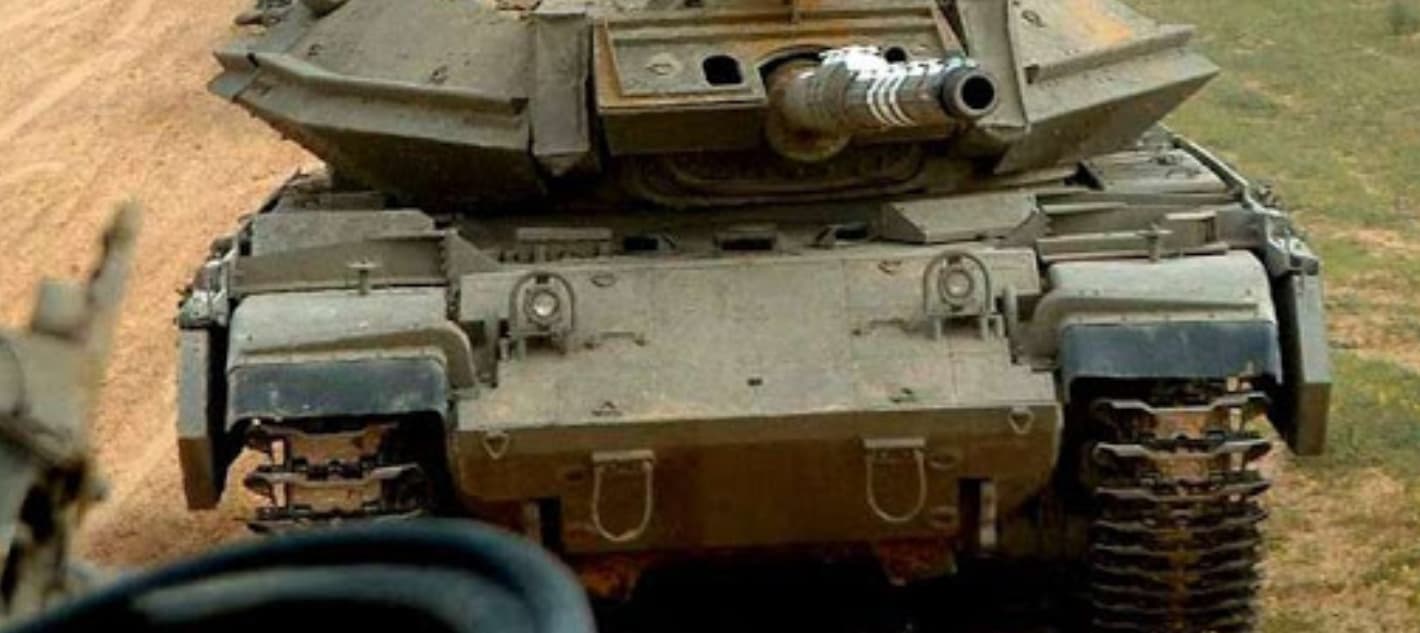
One thing that was puzzling me was the inclination of the Academy turret from back to front. It was too flat whilst it had to be a bit towards the front.
I removed half of the ring that I had added at the bottom
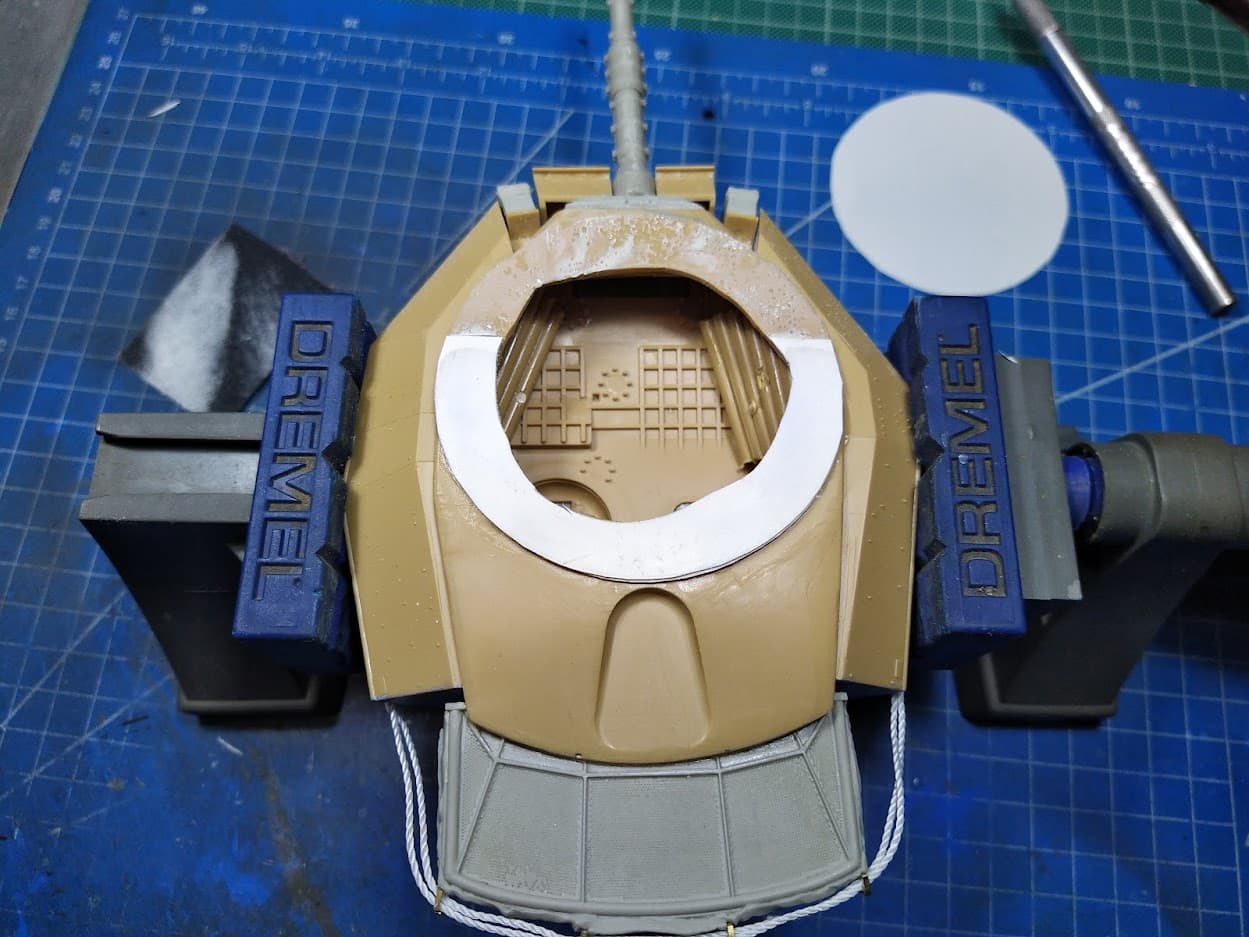
I added a thin plastic circle to close the opening similar in diameter to the hull turret ring and test fitted the turret. It needed a bit more so I added some to the rear of the turret ring of the hull
How it was at first
How it looks now, more close to the Meng and the real thing

8 Likes
Very neat clean work Nikos… Both are looking terrific… Really good stuff mate
1 Like
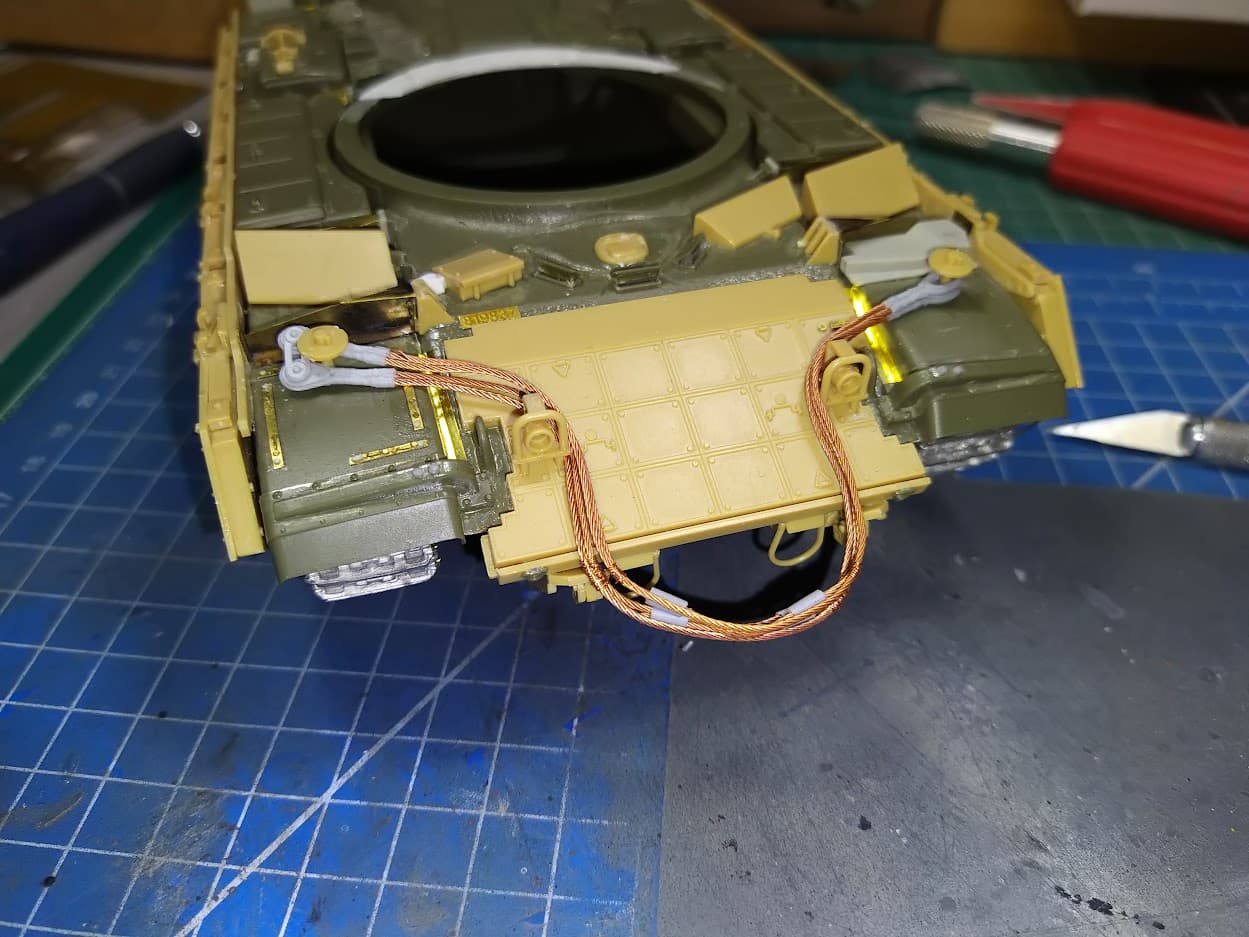
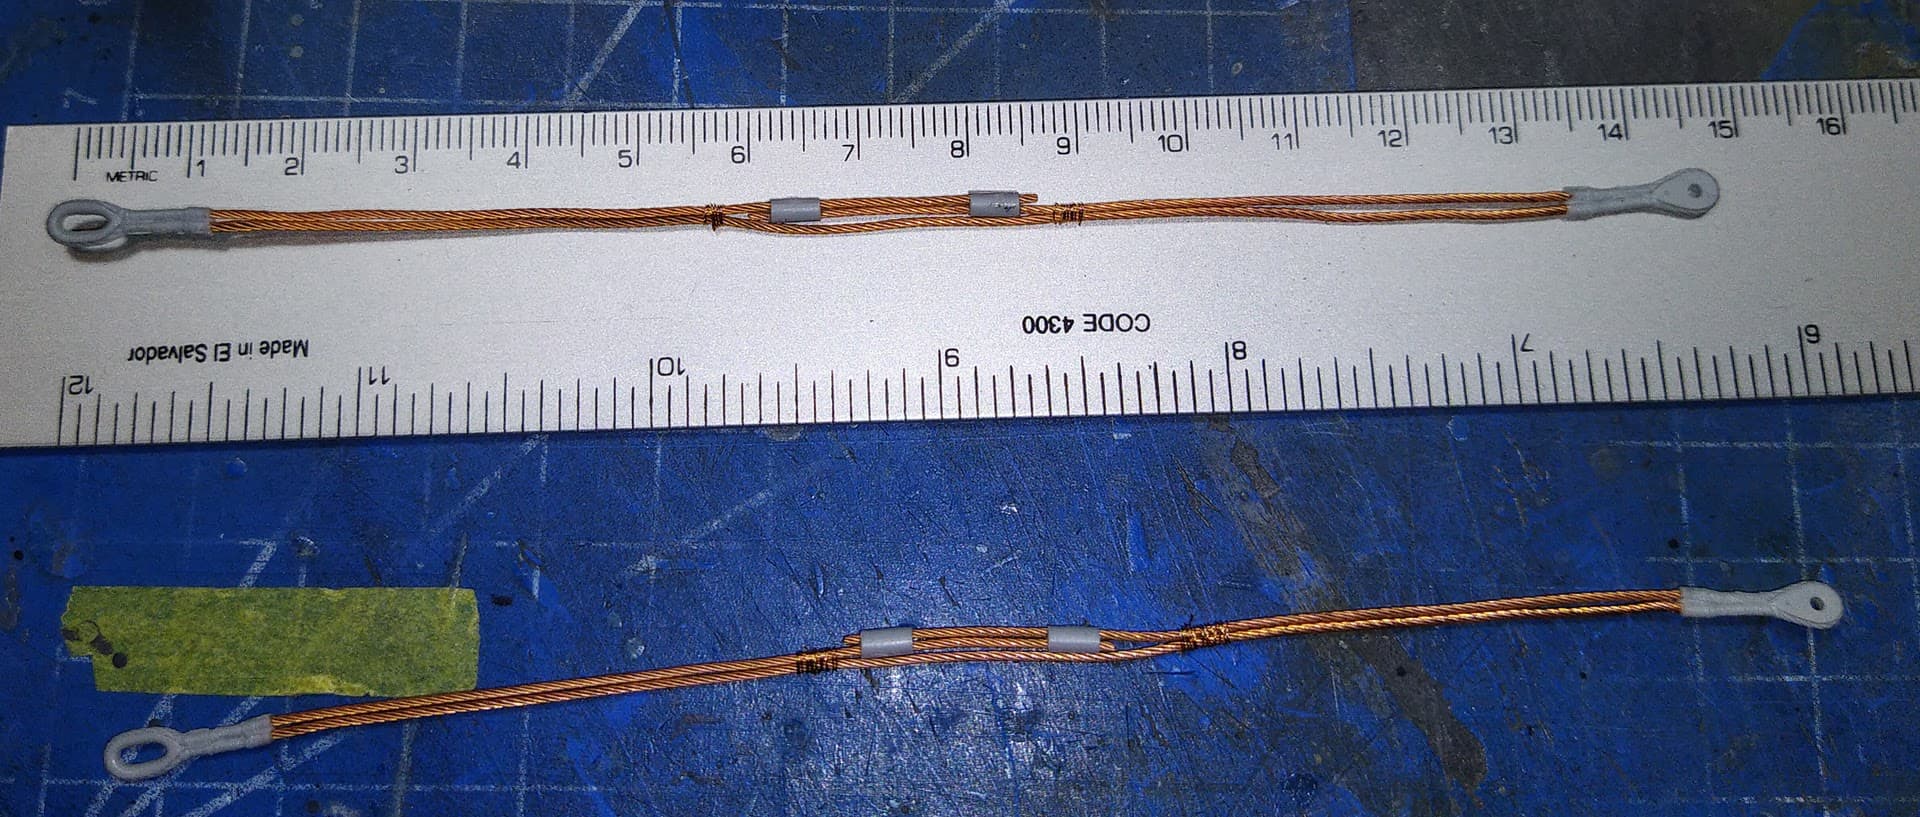
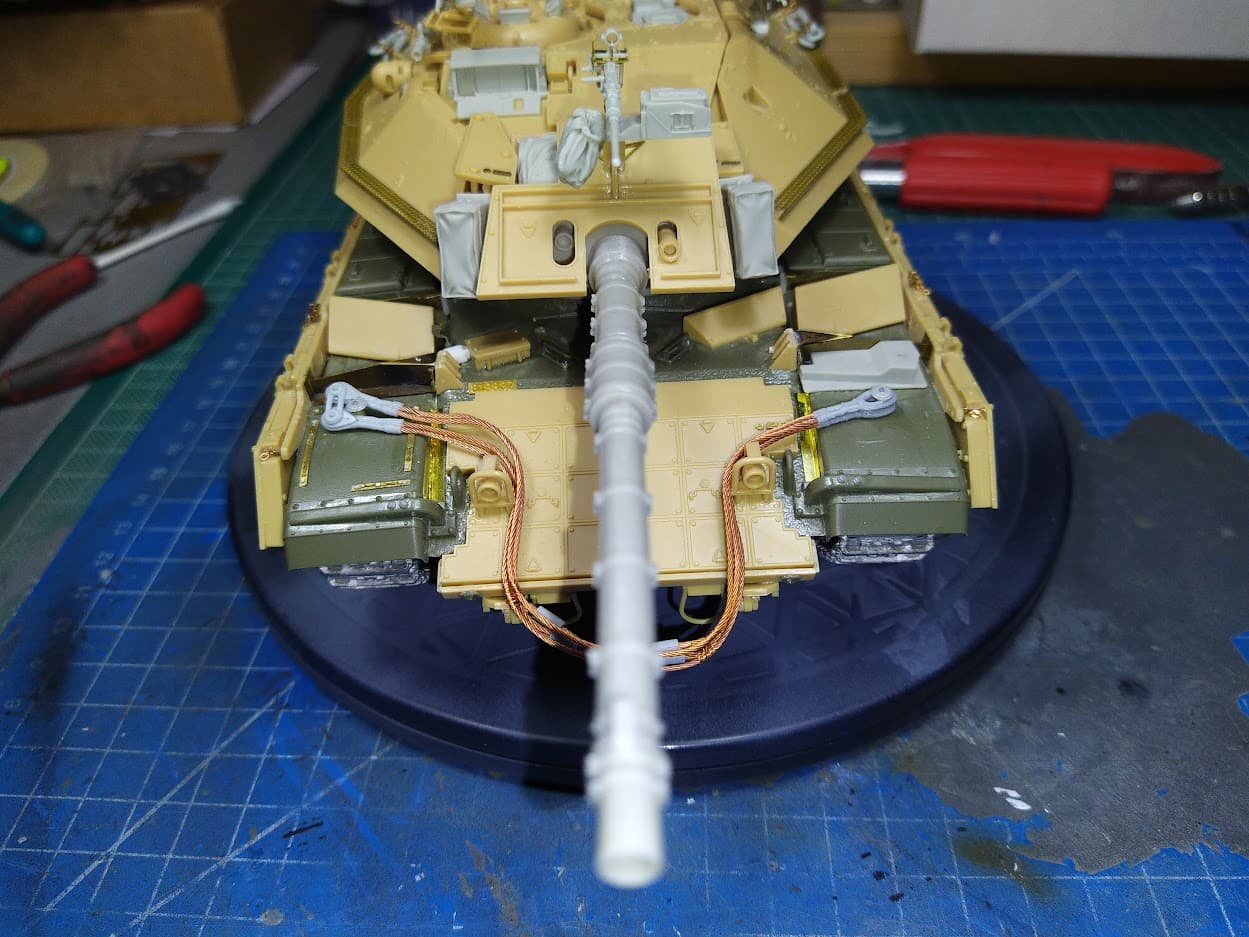
Steel Wire Ropes added, this time Eureka wires were great to work with.
Thank you, really appreciate your comments mate. ![]()
![]()
3 Likes
If I could think of more superlatives I would… Your knowledge of these is exceptional ![]()
1 Like
I finished working on the tower and how it sits on the hull. I will probably add a pin or screw or something so that I can hold it when working on it. And I will also add some filler so that the added layers of plastic around the turret ring do not show as individual layers.
The thick plastic circle at the bottom acts is what aligns the turret to the hull and holds it from tipping towards the rear.

All measurements when compared to the Meng are pretty close (within 1mm) and the real one (compared to measurements from photos).
Overall I need to add the sideskirt chains on the AFV/Academy build and the antiskid.
I will leave the Meng kit as is, with the molded on antiskid and will figure out if I am happy with the look after the primer has been sprayed on.
And I may have potaoted by adding the wire ropes at the front on both builds, because they will make things difficult for applying the antiskid, although I can lift them a bit since they are only fixed in place to the fenders and not on the hull.
5 Likes
Both are looking very nice… And the turret position fix was very smart …well done ![]()
1 Like
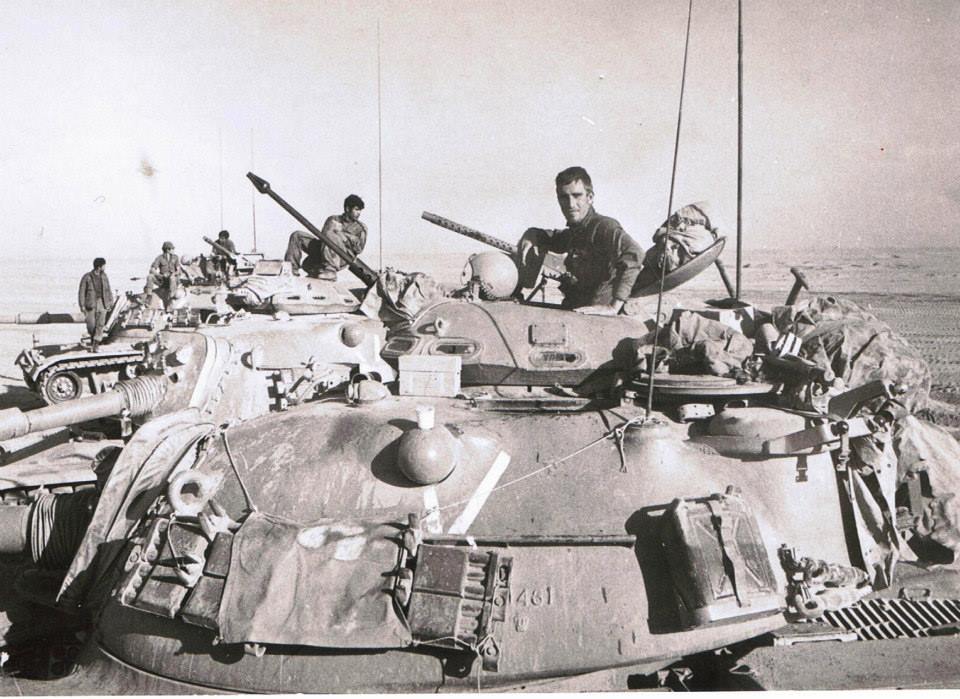
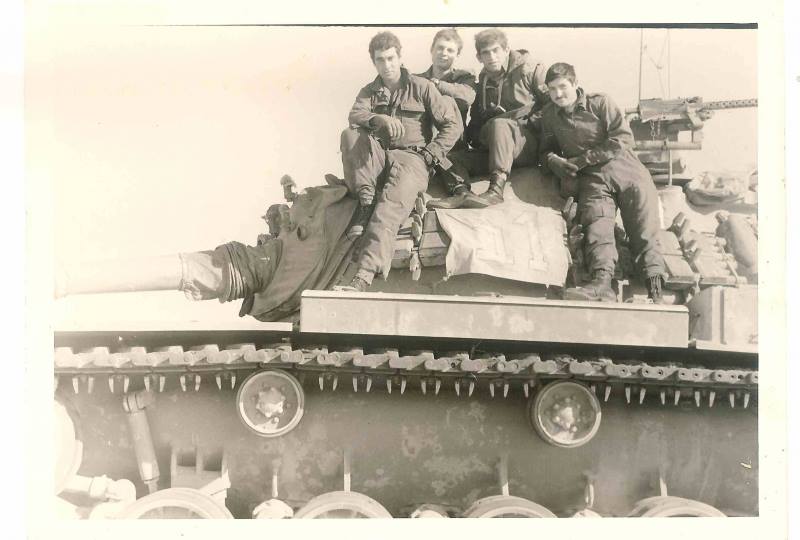
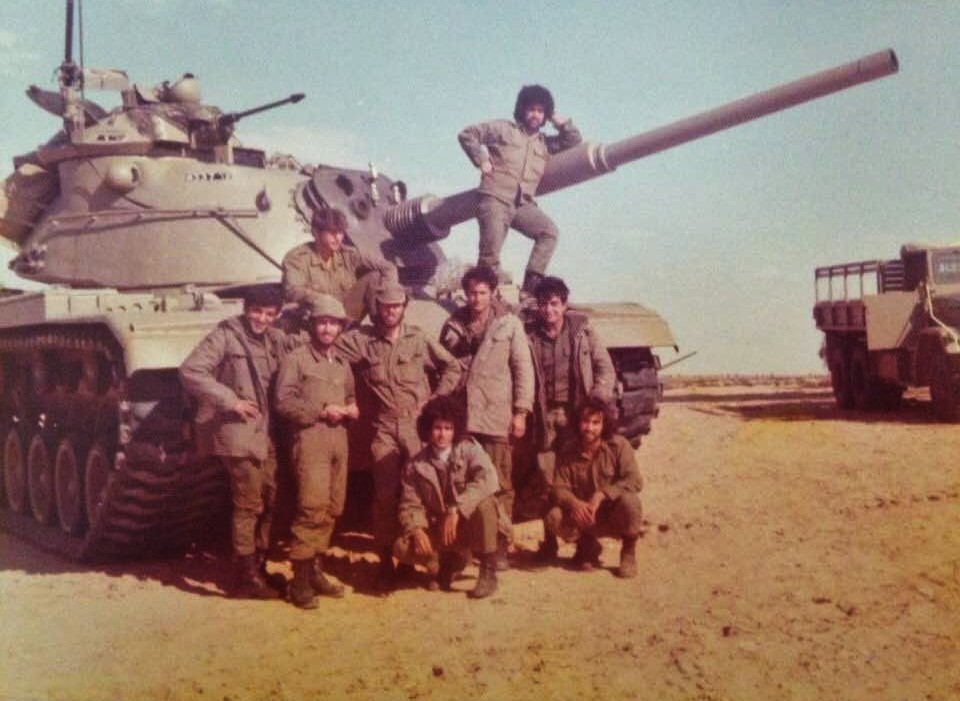
This thread continues to be a big inspiration for me. Decided to get this off the shelf and try and finish it. The old Tamiya model with modified idler position and much aftermarket and scratch for an early IDF machine.

5 Likes
Looking forward to seeing more of that ![]()
2 Likes
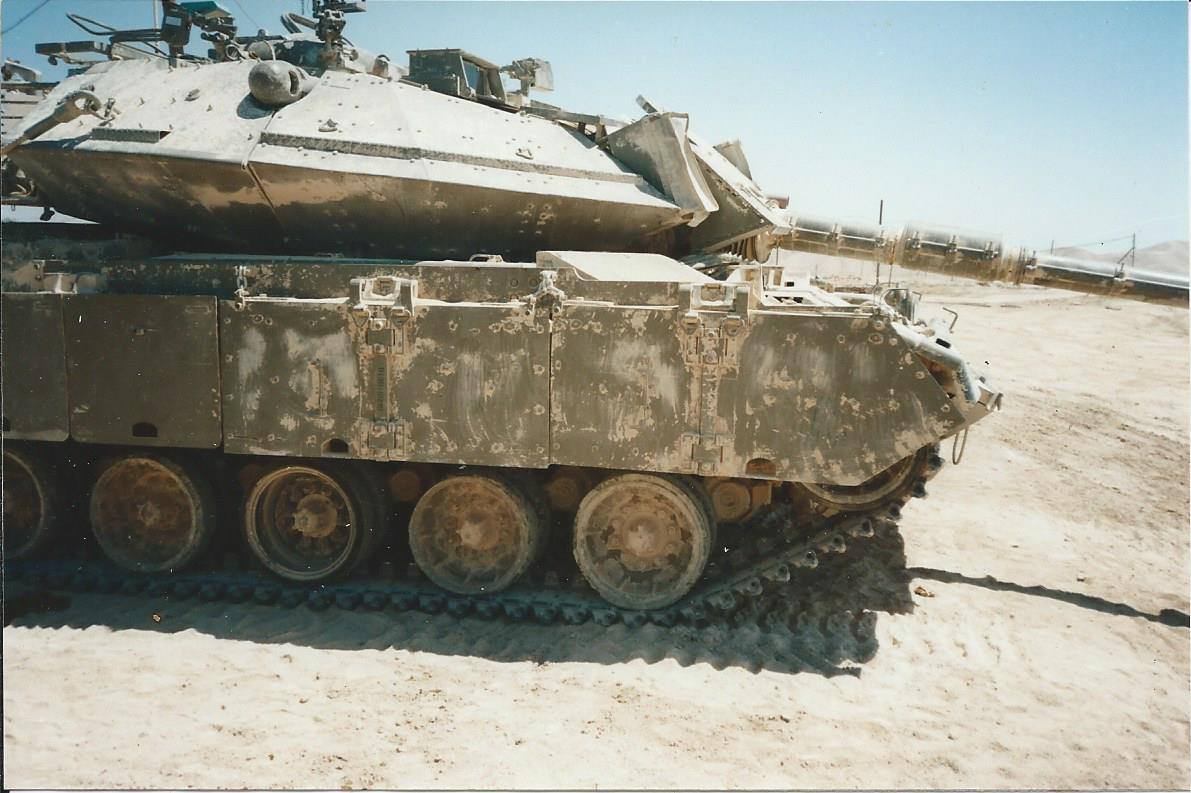
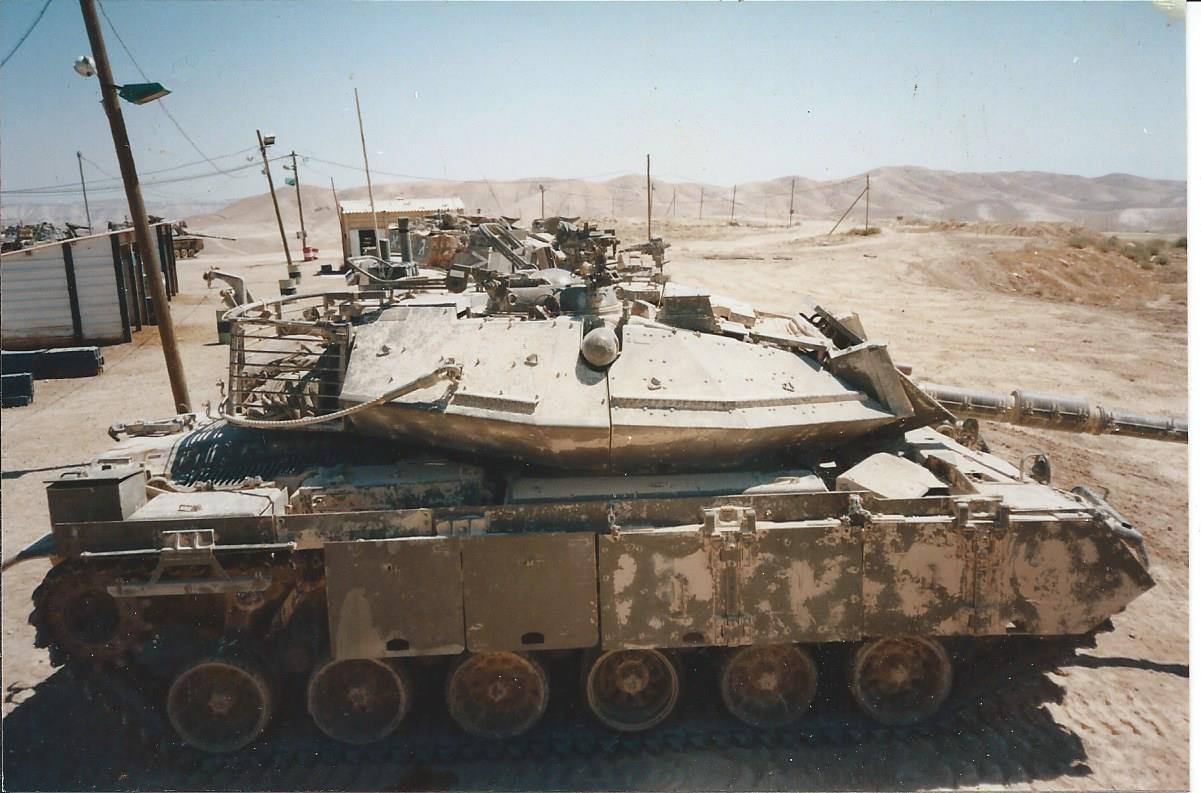
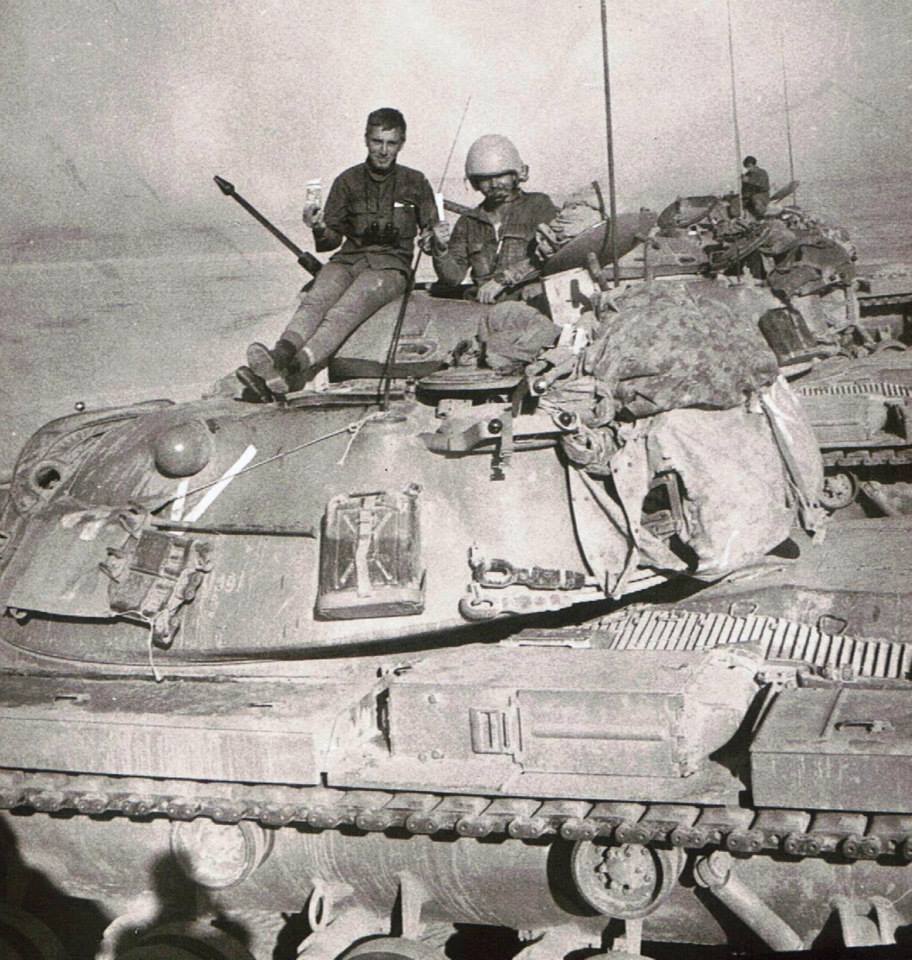
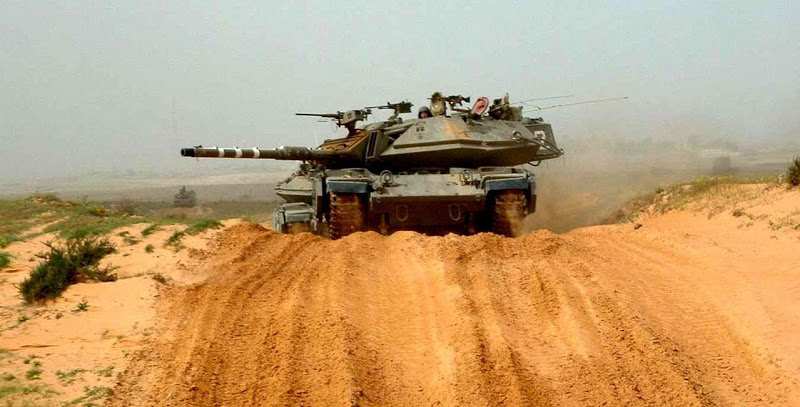
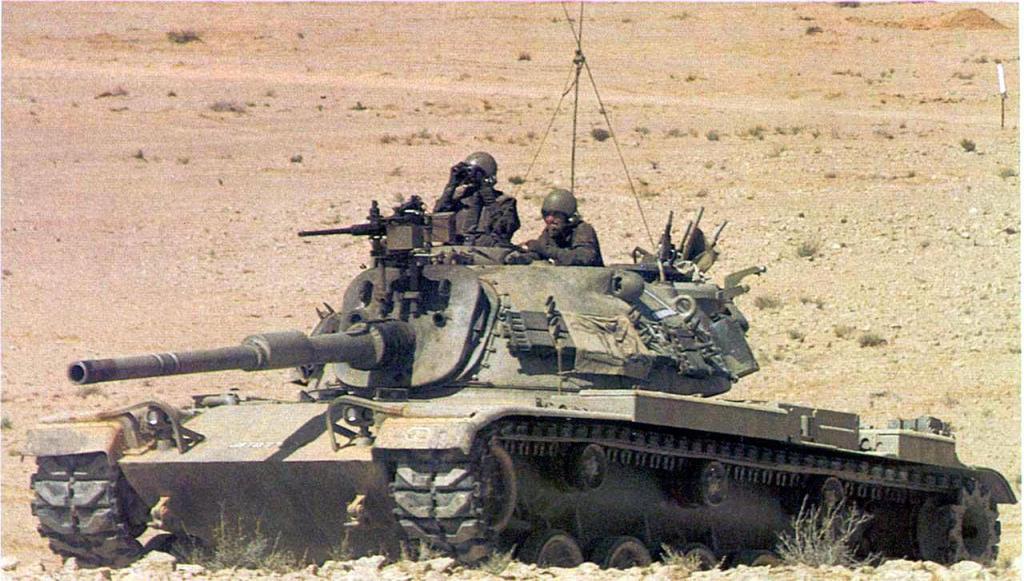
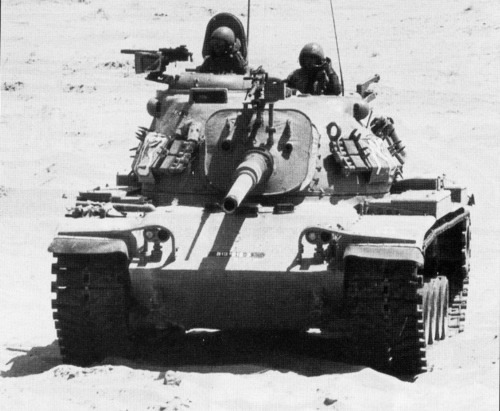
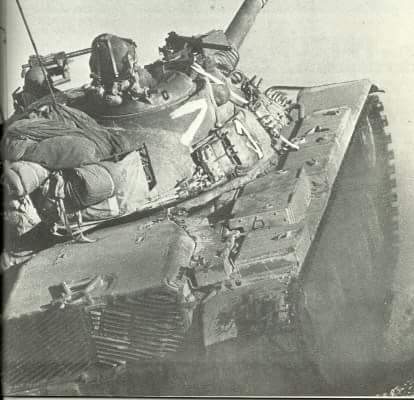
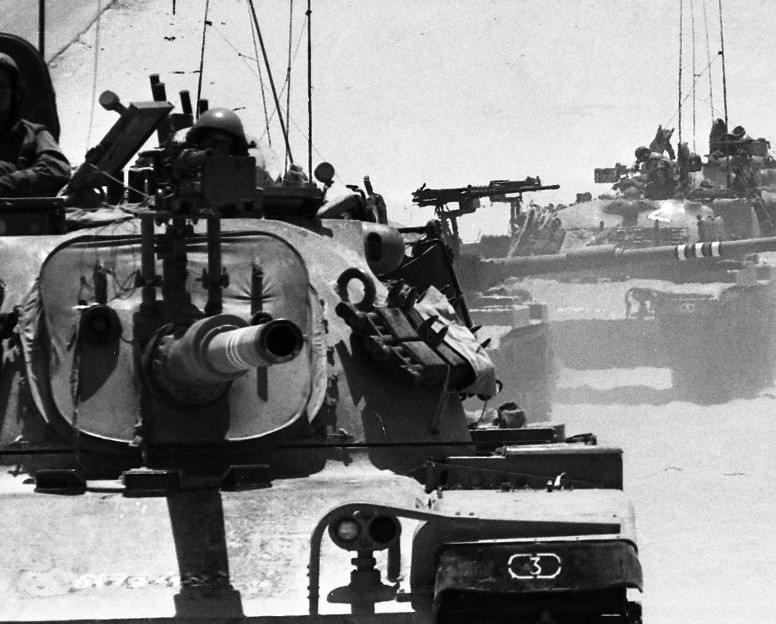
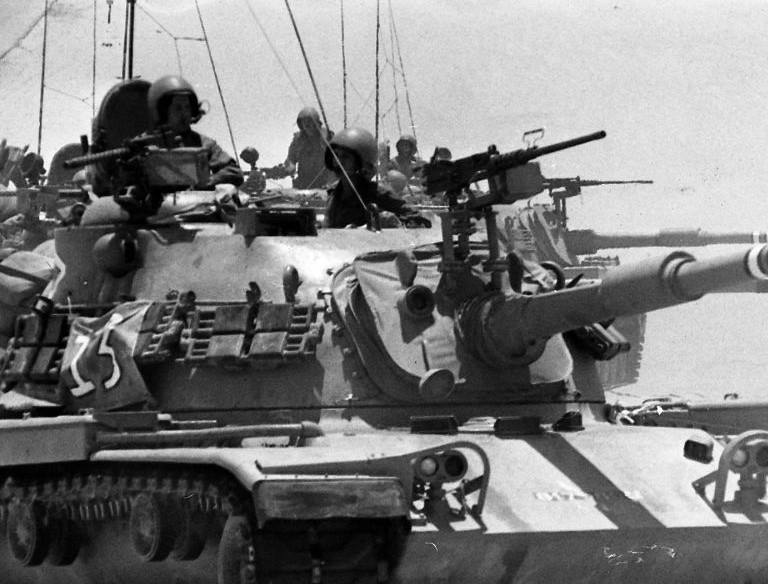
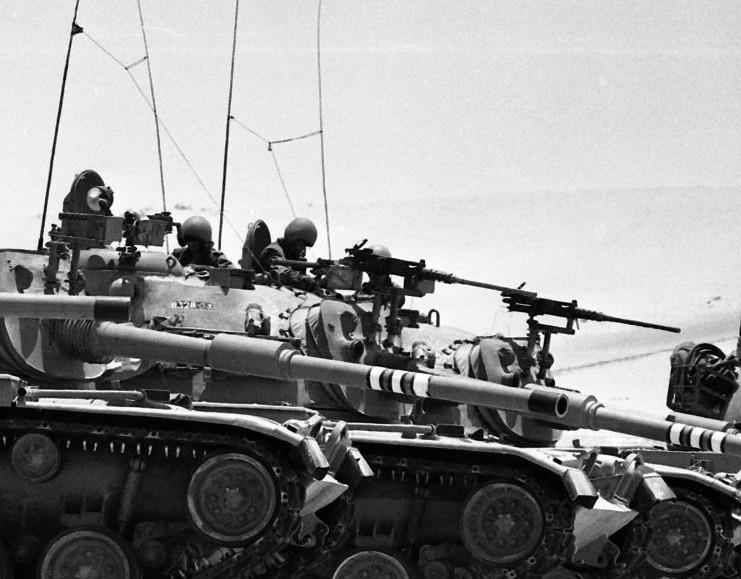
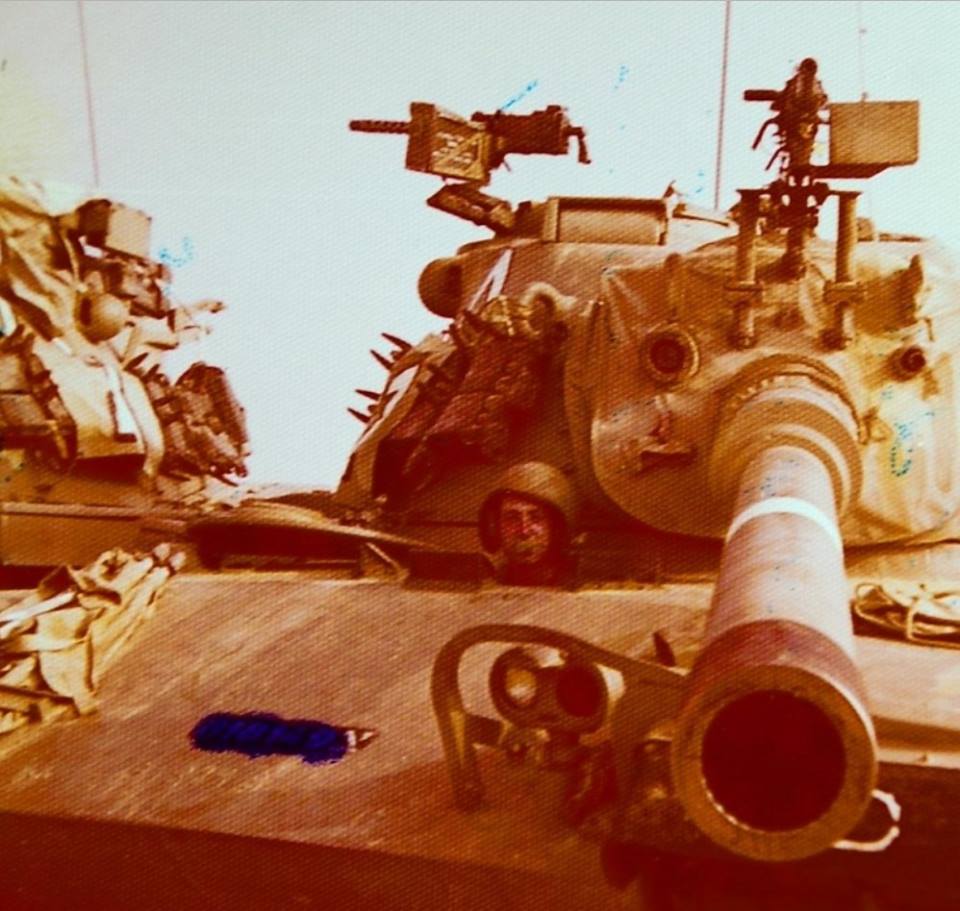
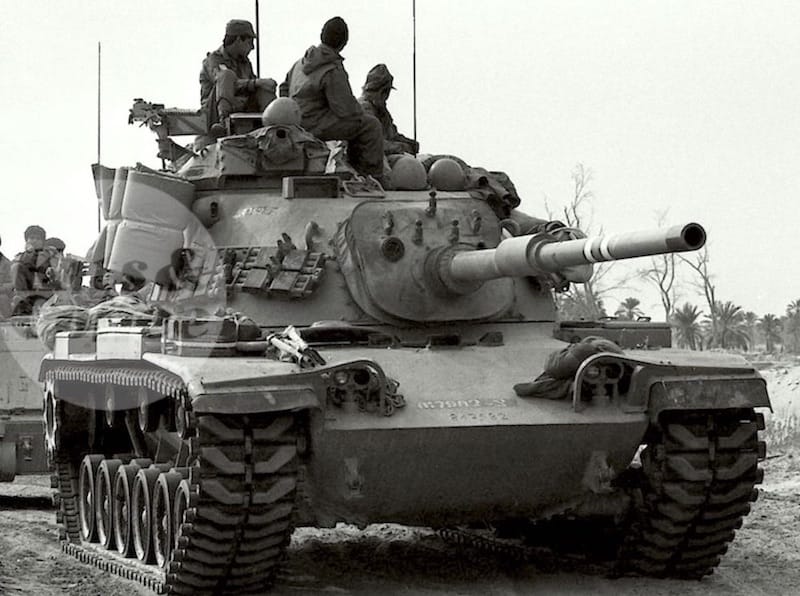
Check at the beginning of the thread for some “tweaks” in order to get a more accurate result. Ignore the comment on the latches for the aircleaners at the side, I found this photo
4 Likes
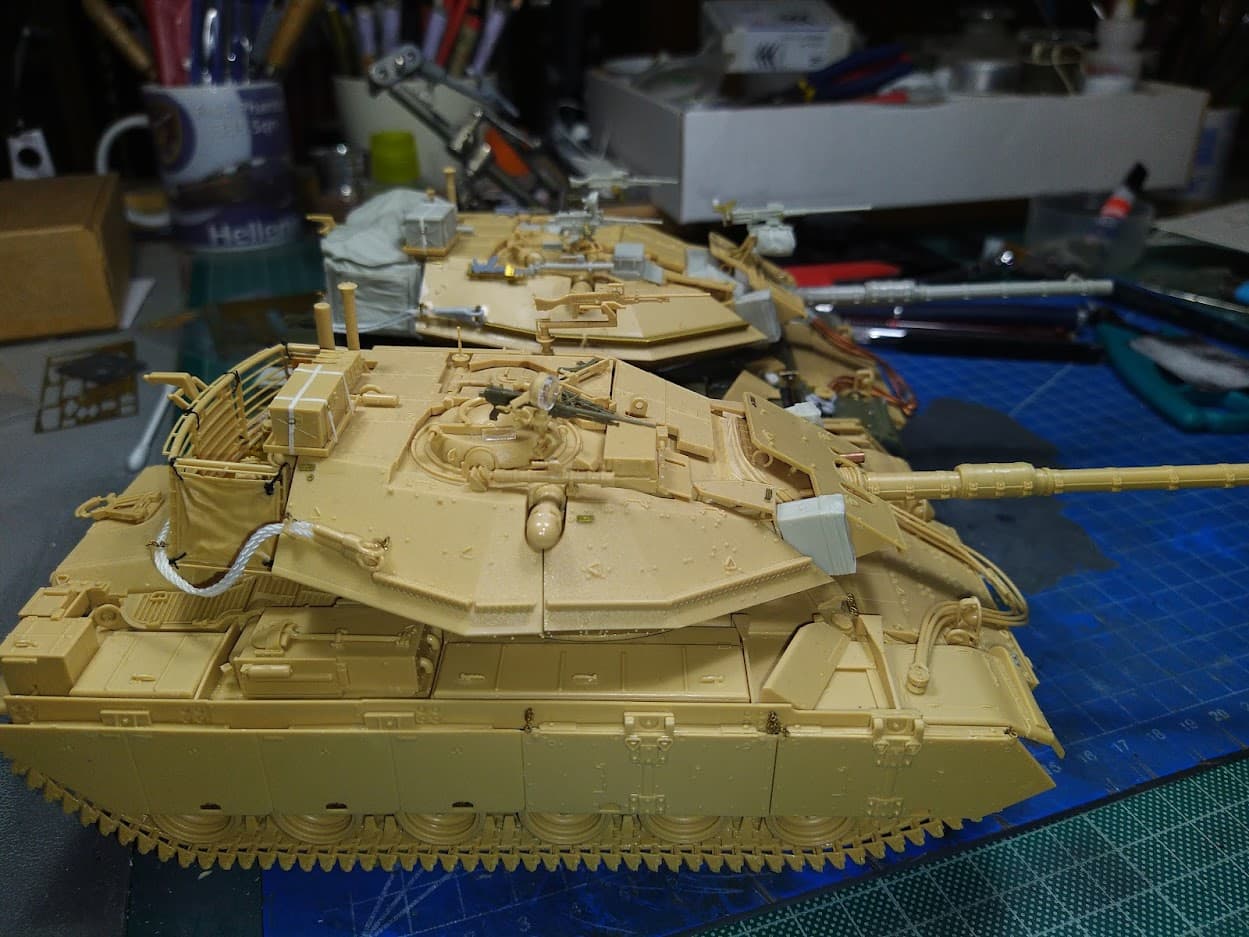
I cant get my mind off the difference in size of these details when looking at both builds:
-
The wire cable mounts on the fenders
-
The thickness of the sideskirts
-
The size/length of the foot steps on the front of the hull
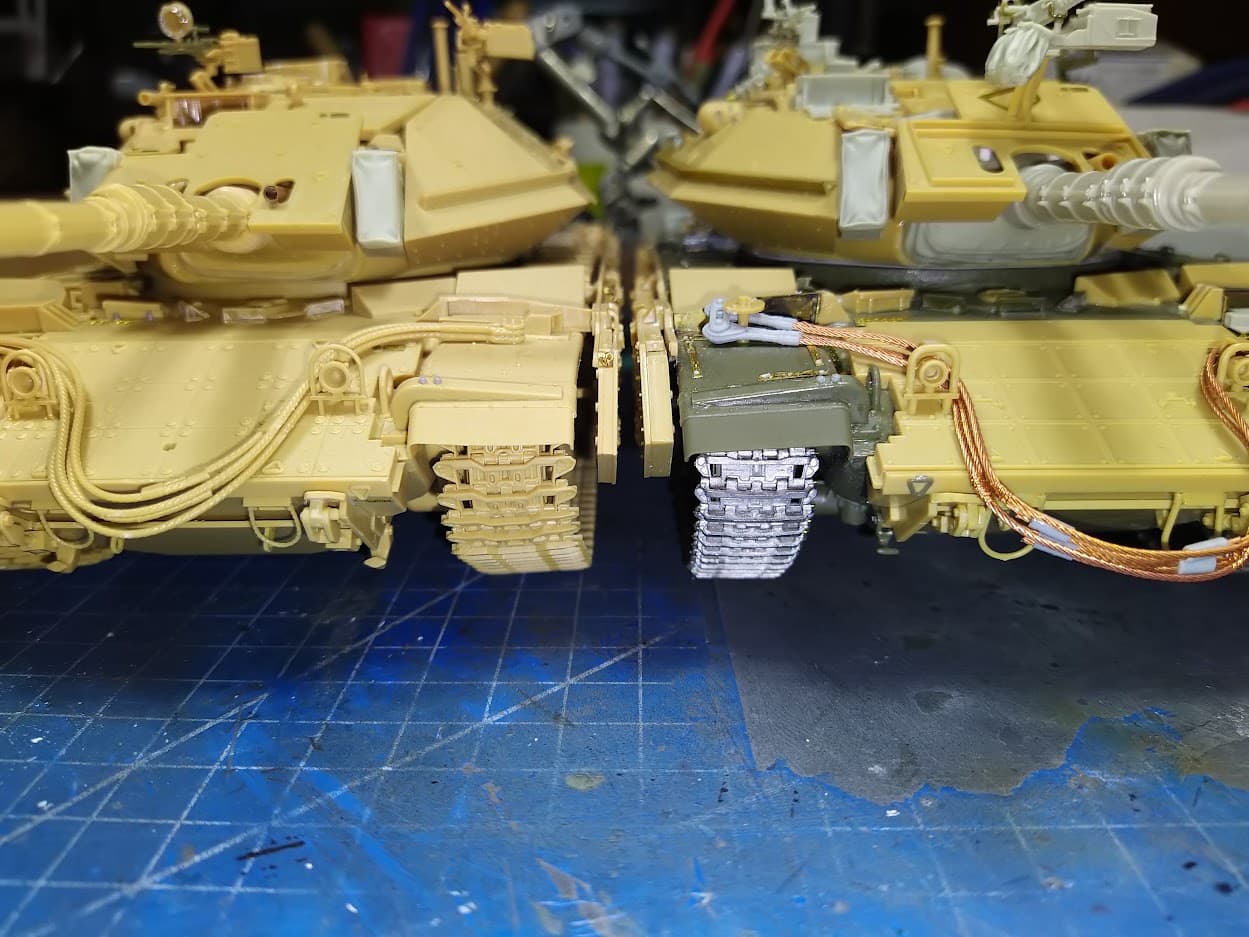
I think I will remove the Academy cable mounts and scratchbuild new ones and leave the side skirts and foot steps as is.
4 Likes
Good spot on the cable mounts, they do look excessively large …
The width of the tracks also looks quite different?


It looks like it but they are quite close in size.
The Batash tracks on the right are 17mm wide and the distance between the holes for the sprocket teeth is 11mm, the Merkava 2 style tracks are 18.5mm in width (mainly owed to the different design of the link ends) and the distance between the holes for the sprocket teeth is 11mm , same with the Batash ones.
I measured them lots of times
2 Likes
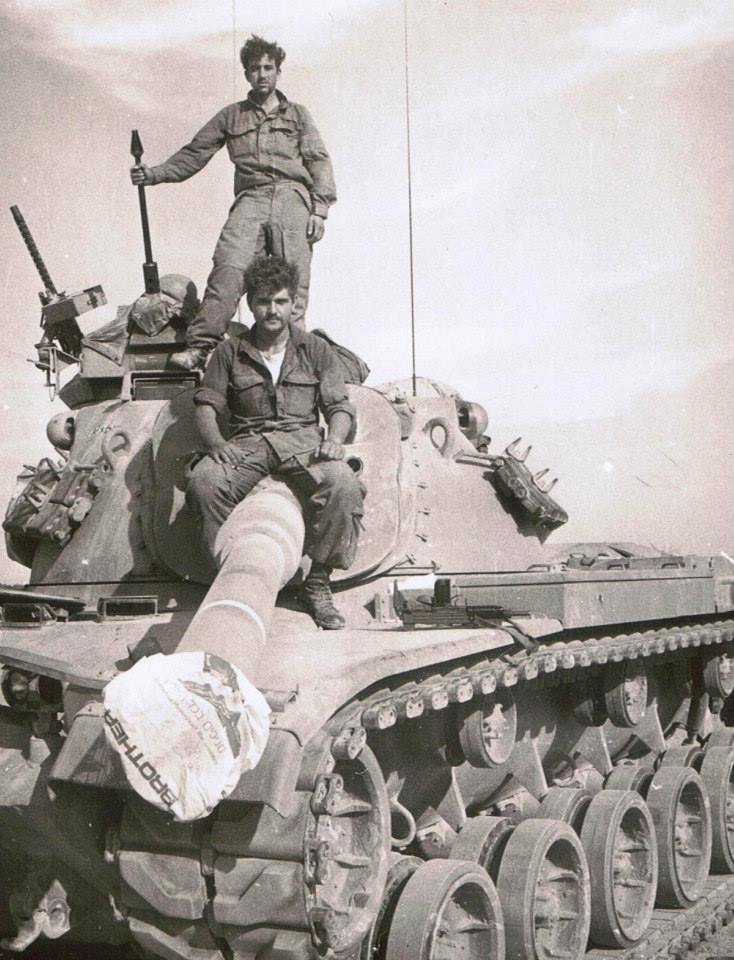
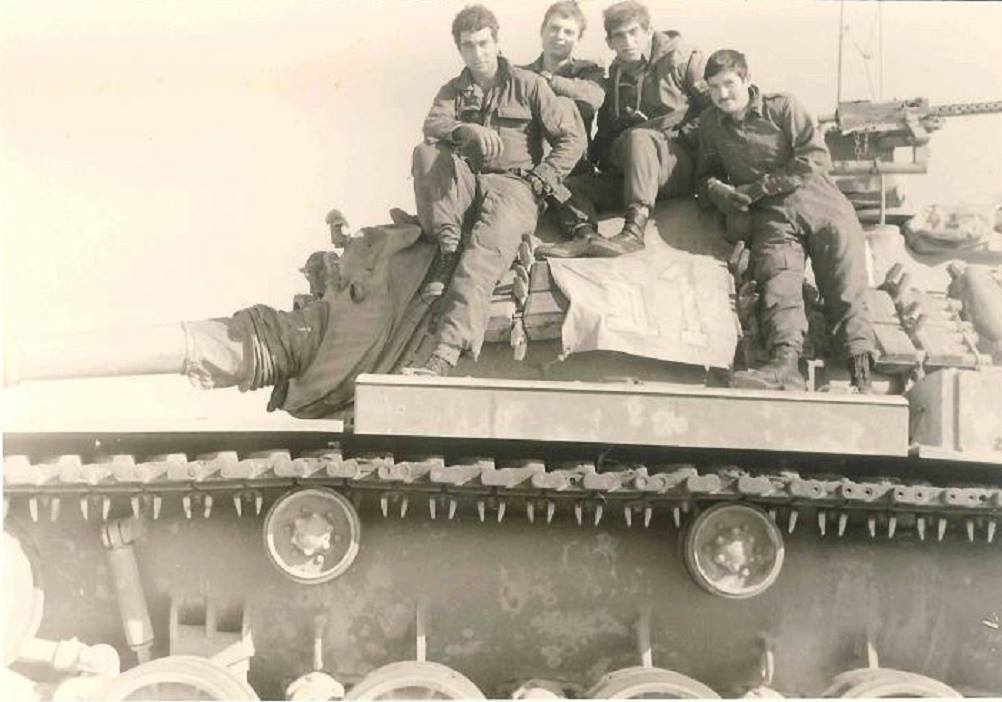
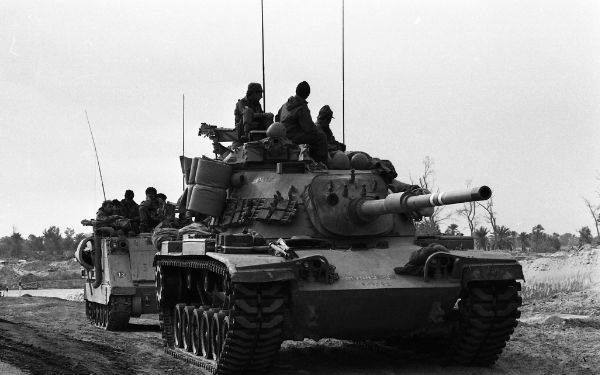
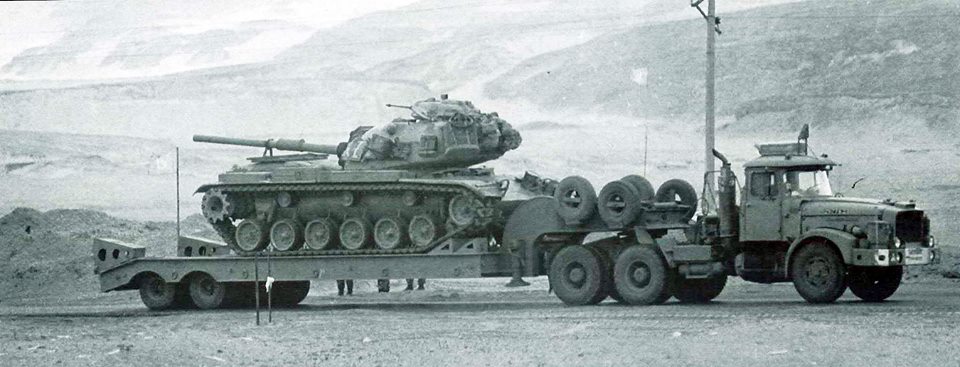
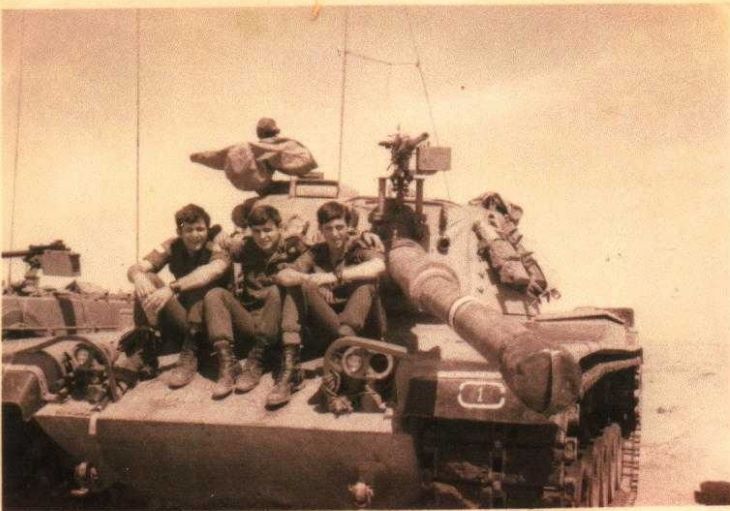
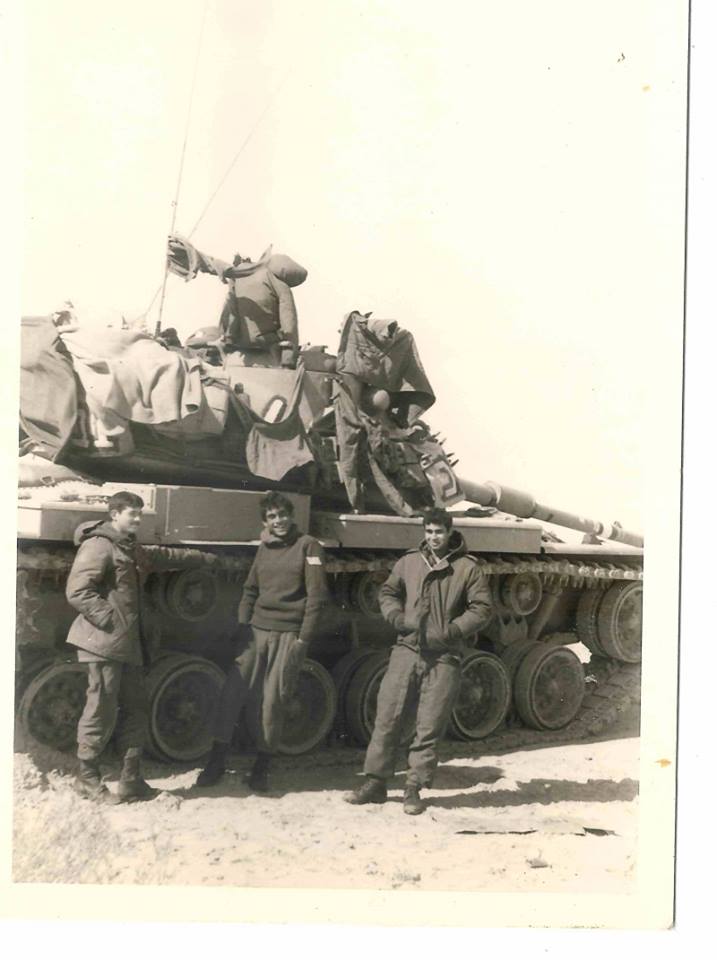
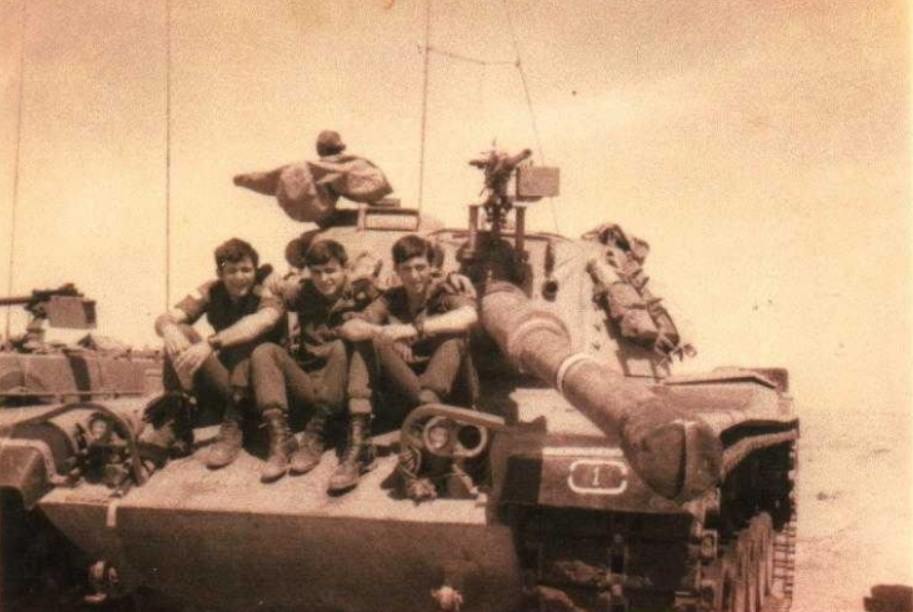
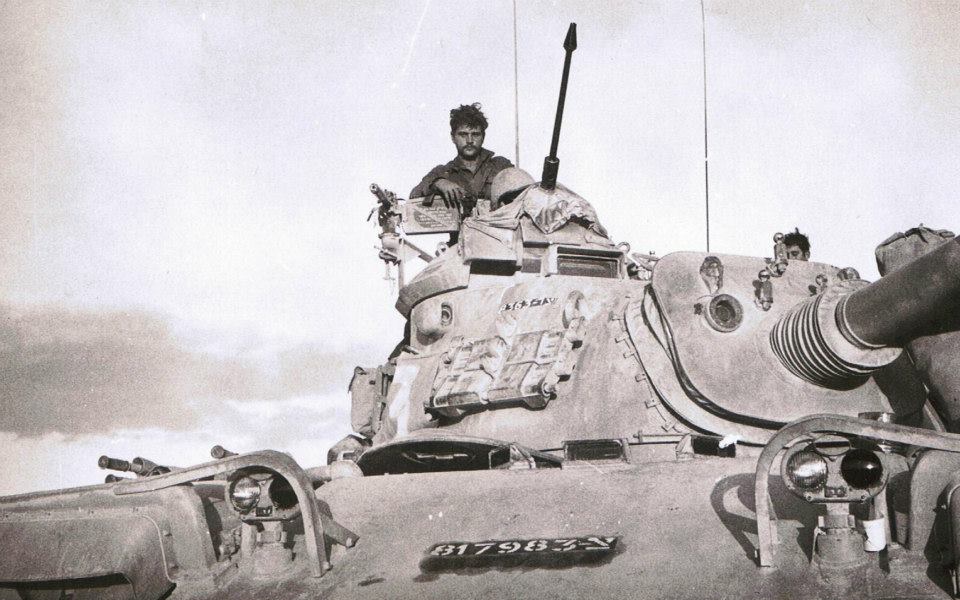
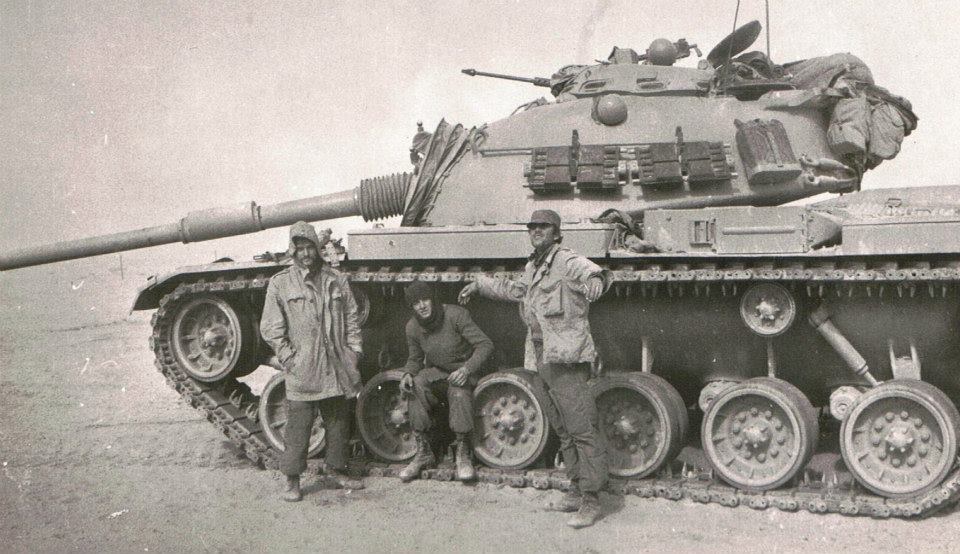
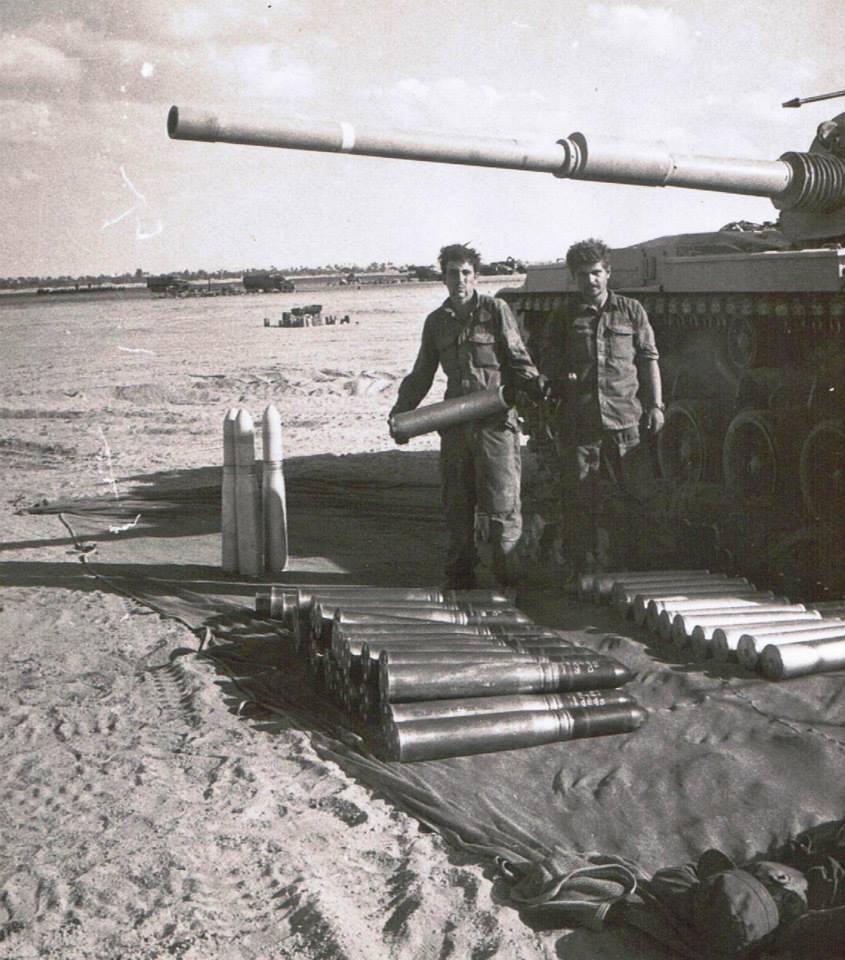
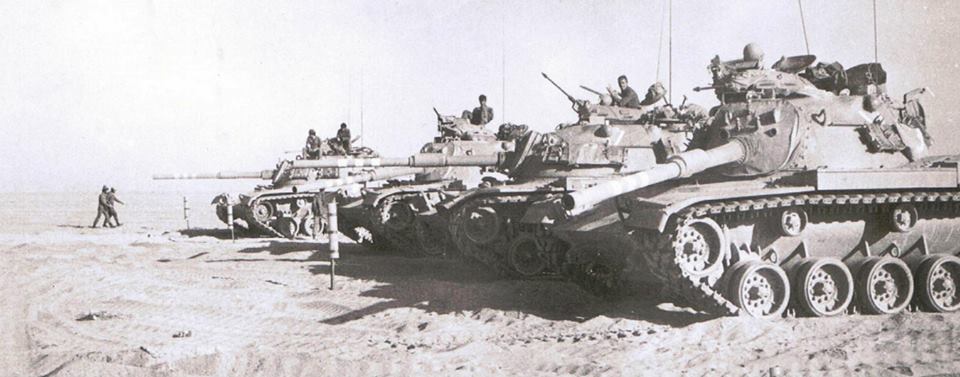
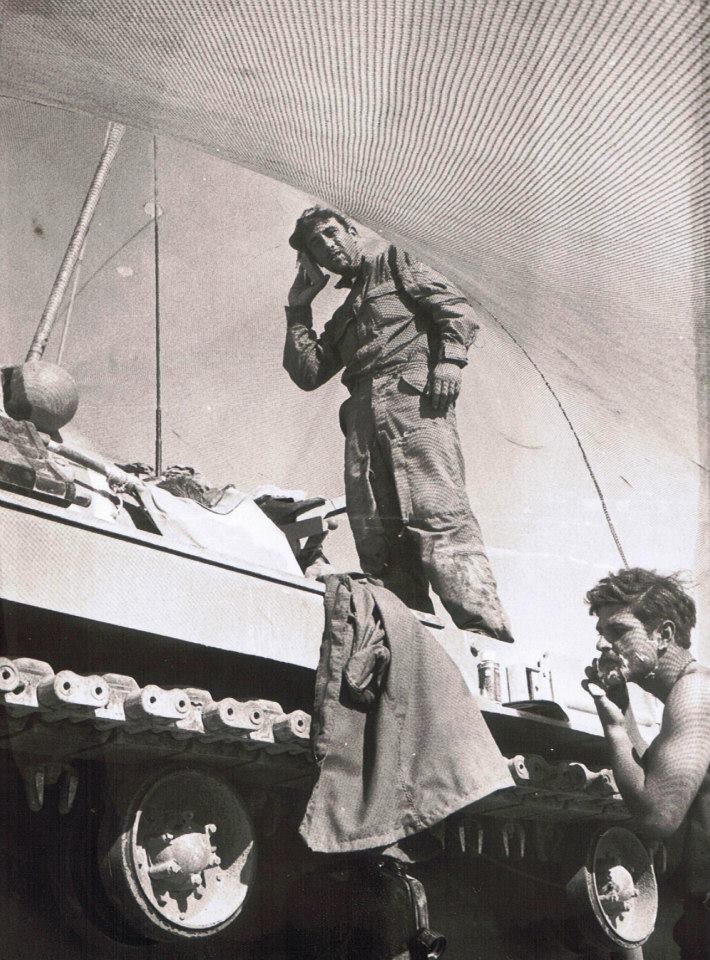
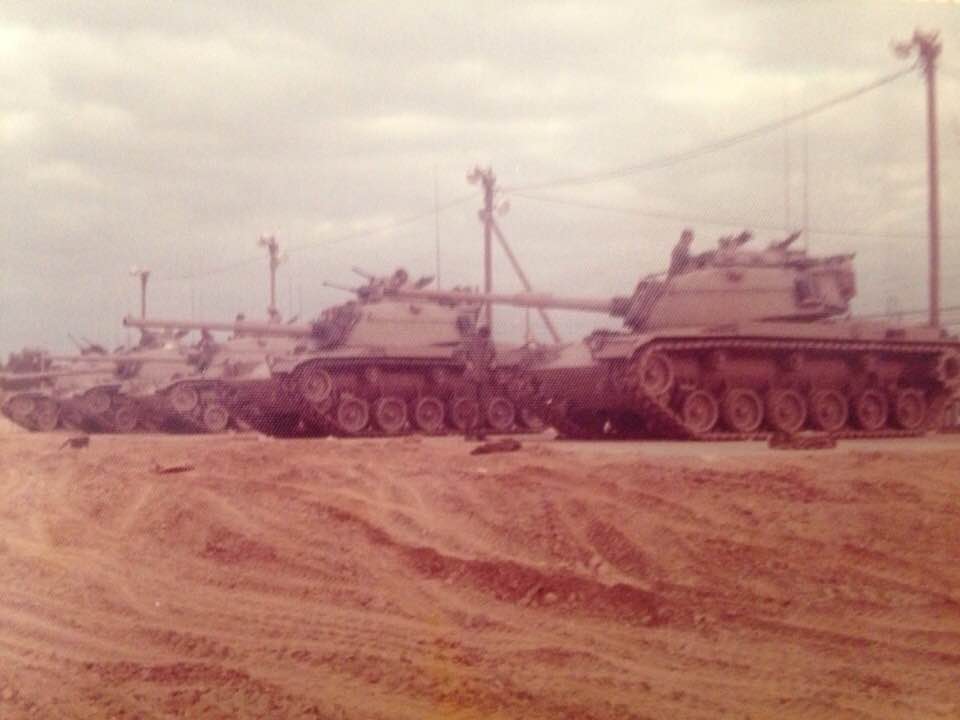
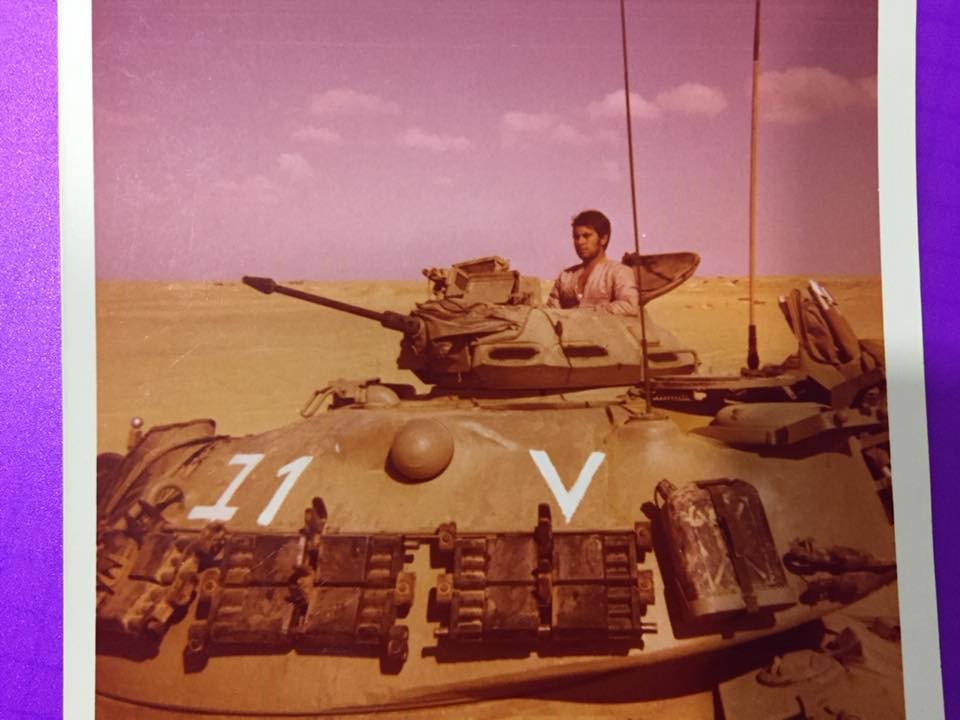
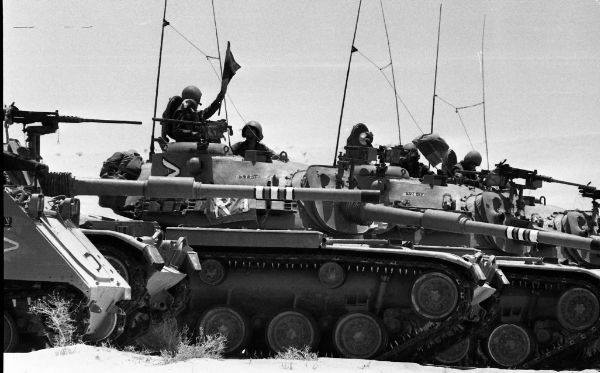
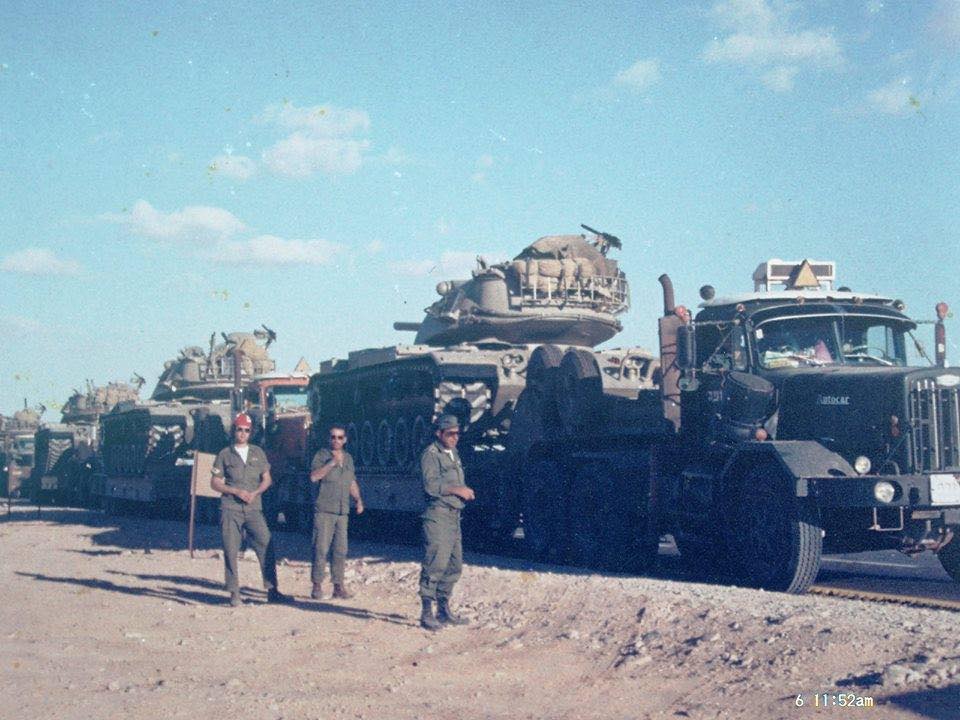
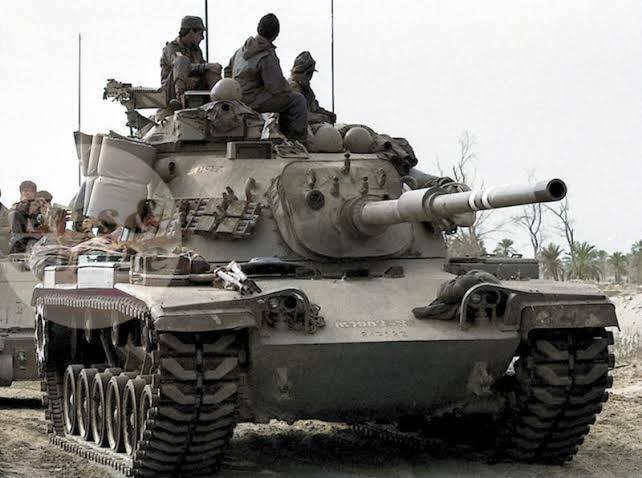
Many thanks for these Nikos. They are excellent references for my early IDF M60!
1 Like
Nikos, let me explain what " a few " actually means ![]()
![]()
![]()
![]()
![]()
![]()
2 Likes
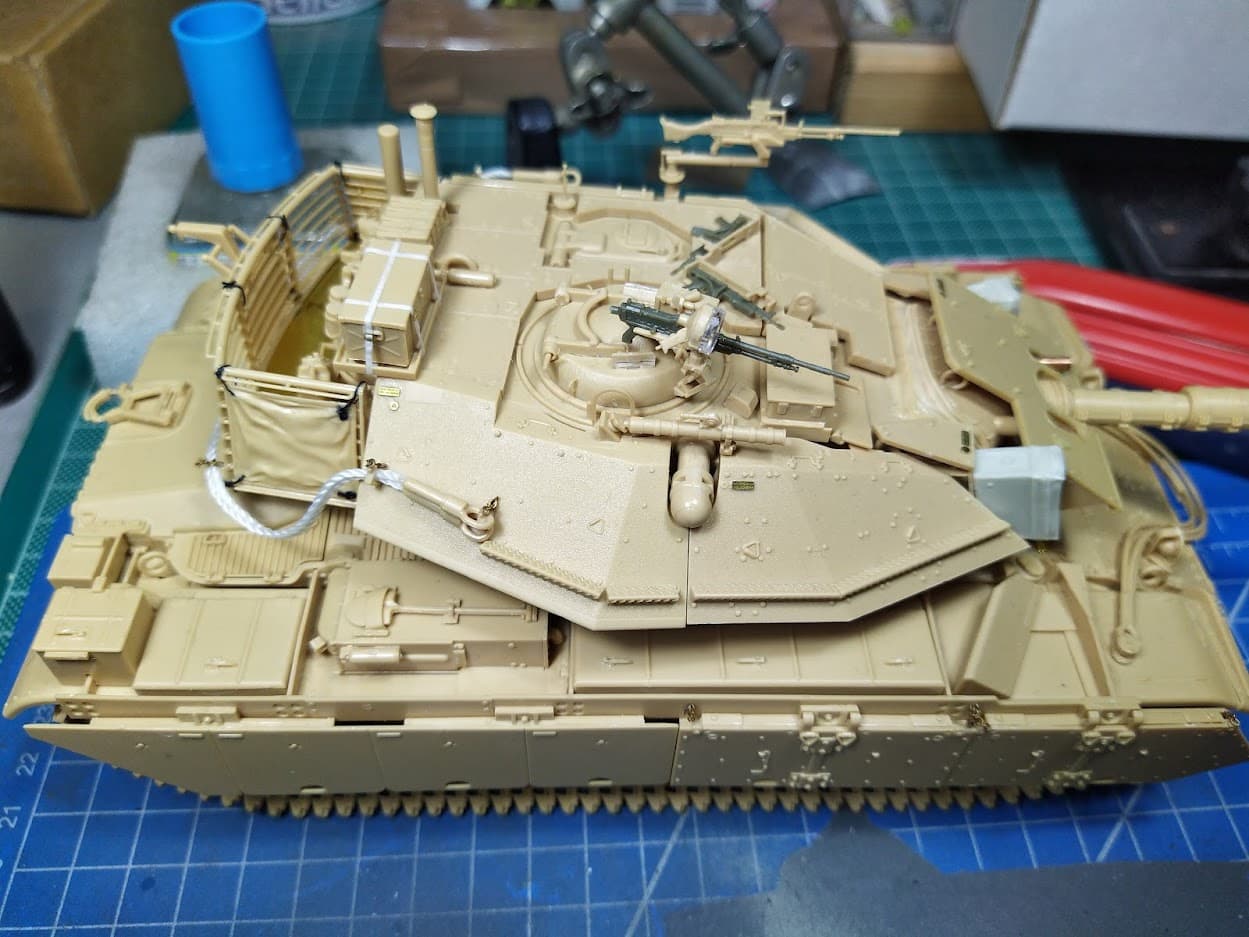
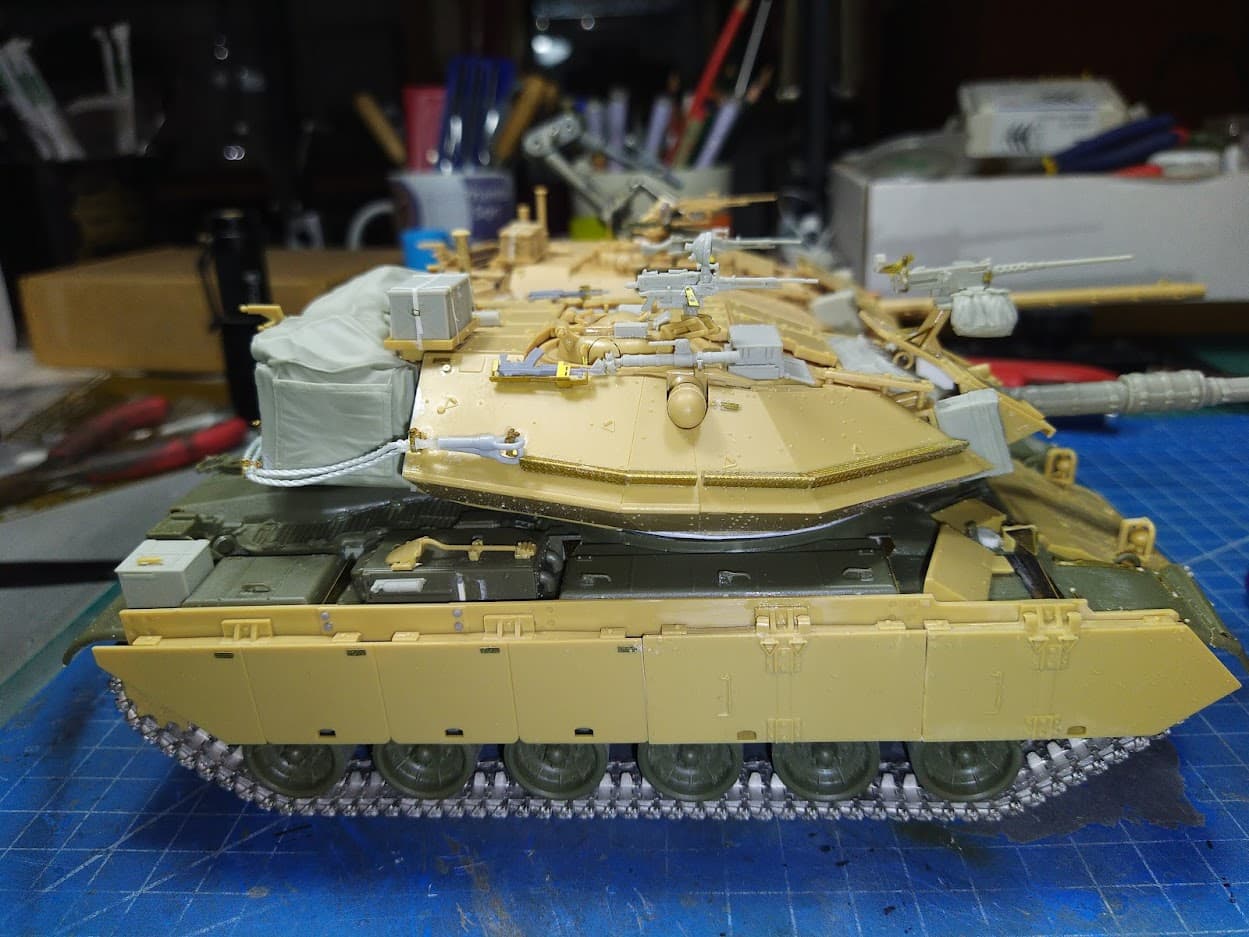
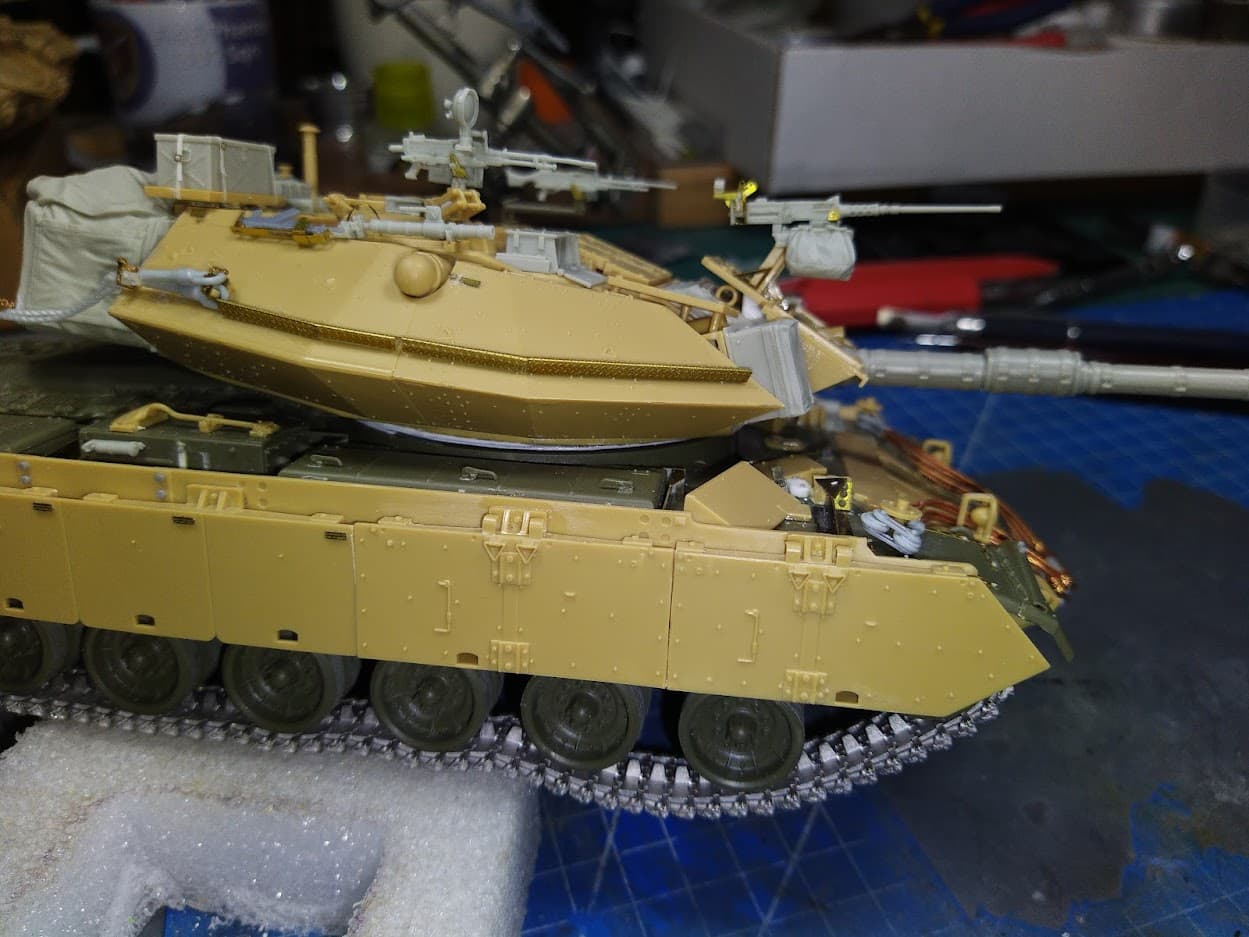
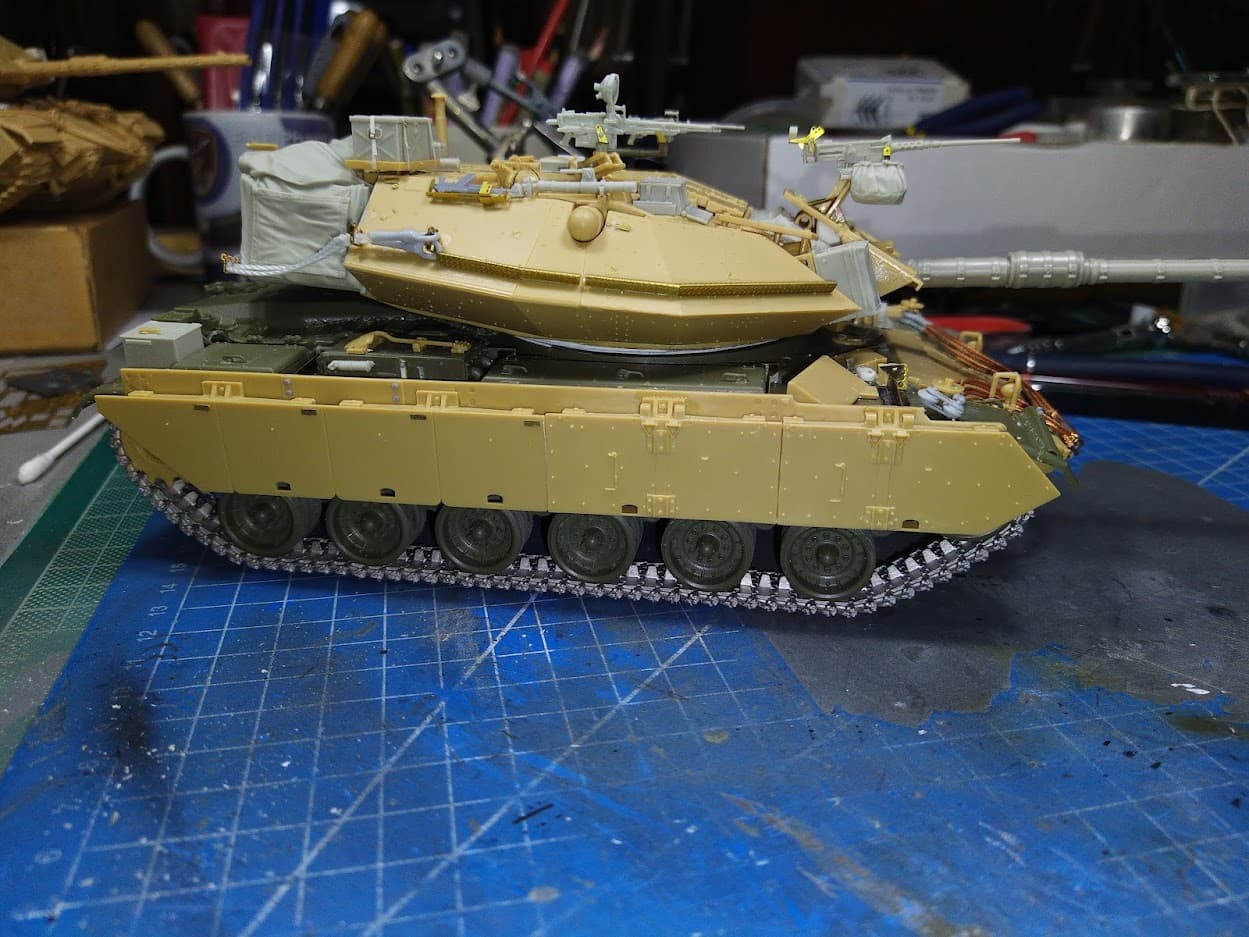
Added the chains for the side skirts and corrected the wire cable mounts on the fenders.

I also corrected the mount for the searchlight at the back
And a close up of the commander’s cupola with all the fiddly bits around it
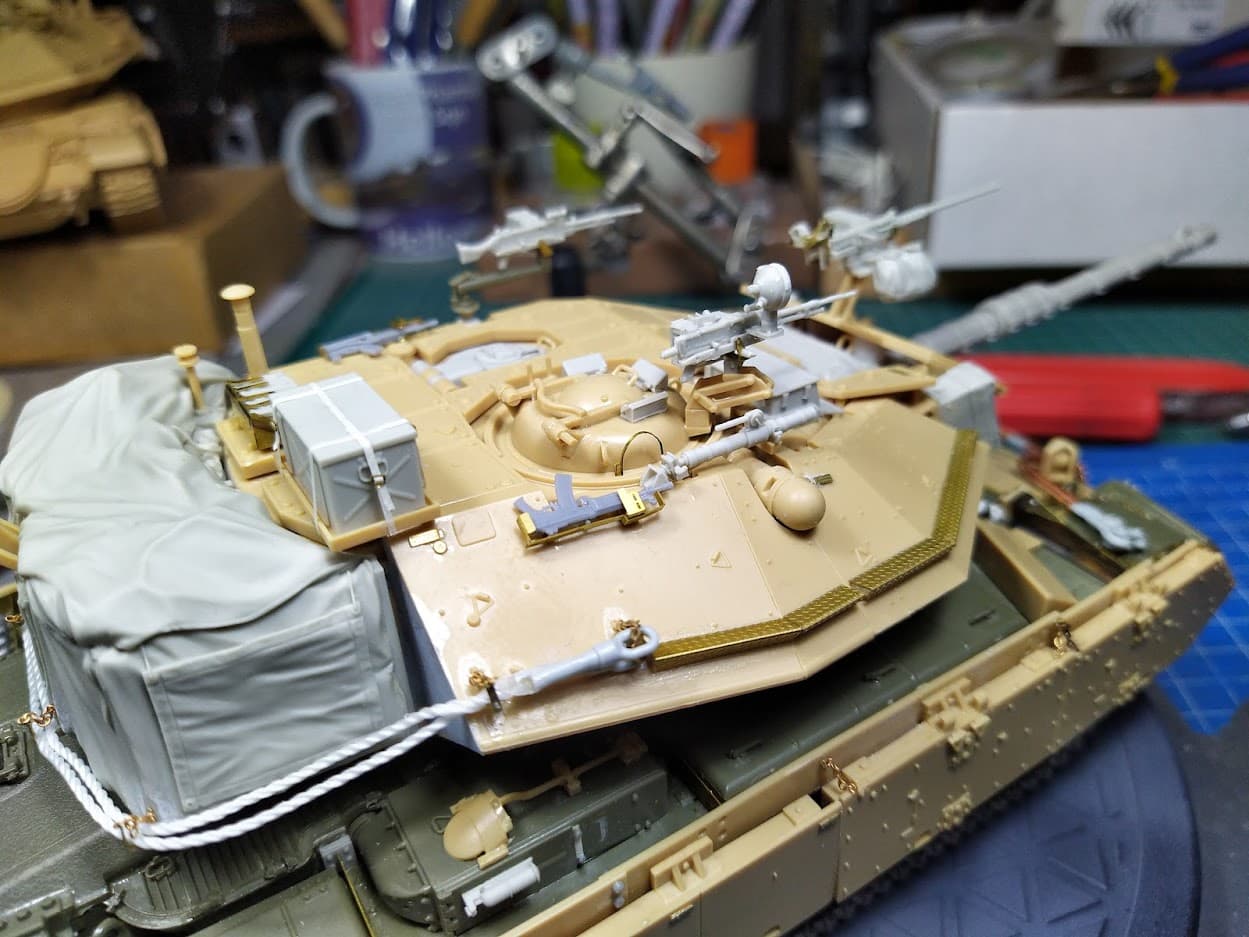
Next are the wires for the .50 cal on the mantlet and the antiskid.
6 Likes
Really lovely clean work Nikos…looking very very good ![]()
1 Like