Looks superb and will certainly be an eye grabber once they are hooked up together and again with the load… great work ![]()
![]()
1 Like
Thanks John.
Congrats on the new Granddaughter Gino!
Thanks Denis
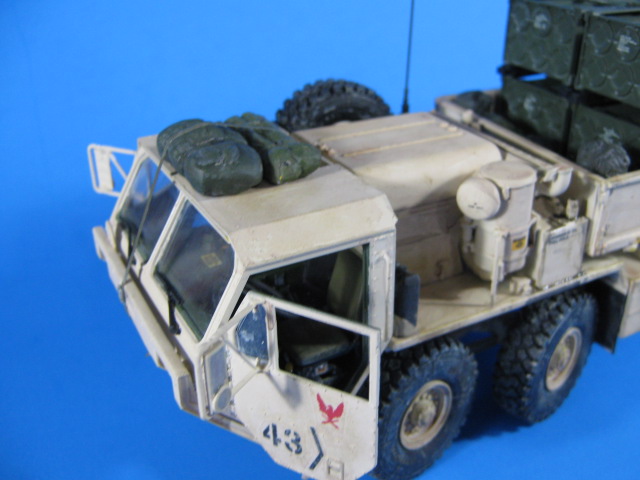
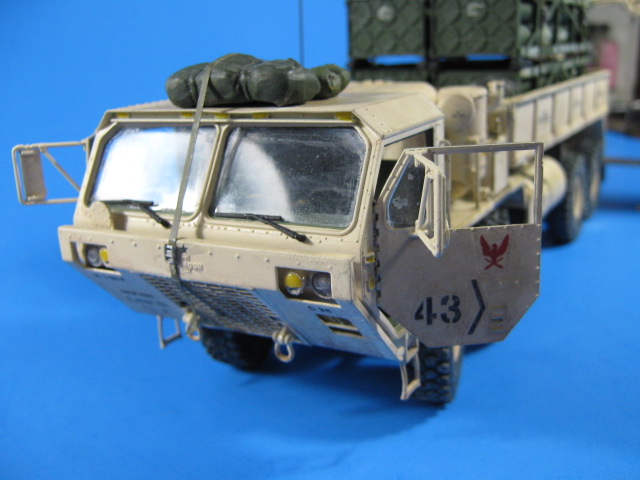
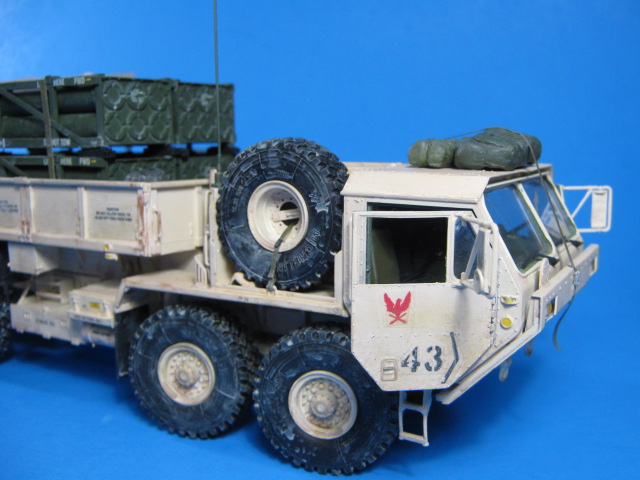
What´s the meaning of 43>?
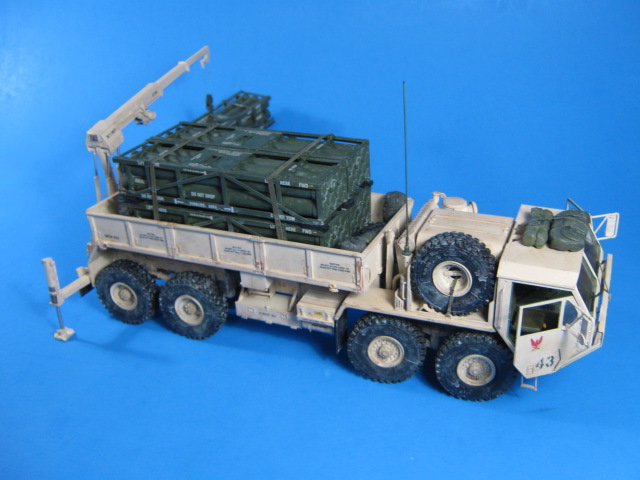
This was our Bn ID number. Each unit had a two-digit number. Our Bn was assigned the 40 series. Each Battery was one more number w/in the 40 series (HQ 40, A 41, B 42, etc…). 43 was C BTRY. The chevrons were used to denote platoons. 1st PLT was left <, 2nd PLT was up ^, 3rd PLT was right >, and 4th PLT was down v.
So, the vehicle belonged to 1-39 FA (40 series), C BTRY (43), 3rd PLT (>).
Thanks!
I can’t remember which company, but there is one company that does a rail road line of paints that has the Detroit Diesel blue. Testors might have done it as well with their automotive line of paints. I always thought it odd about all the bolts being cadium plated, but the gold color is an indentifier telling you it’s a metric bolt. Paint won’t stay on them. The same holds true for the Stryker assembly, but they are shipped unpainted, but impregged.
gary
Looking great!
Thanks Rick.
Really amazing, espcially your Hemat!
If you need more impressions, check out the Facebook page of the 41st FAB, they moved a lot of rocket pods to Poland.
Andreas
Thanks Andreas. Having the M1120 frame made it much easier.
It’s a pleasure.
Sometimes it’s worth keeping things, like an old kit, which of course my wife doesn’t like.
Agreed. I have boxes full of spare/left over parts.
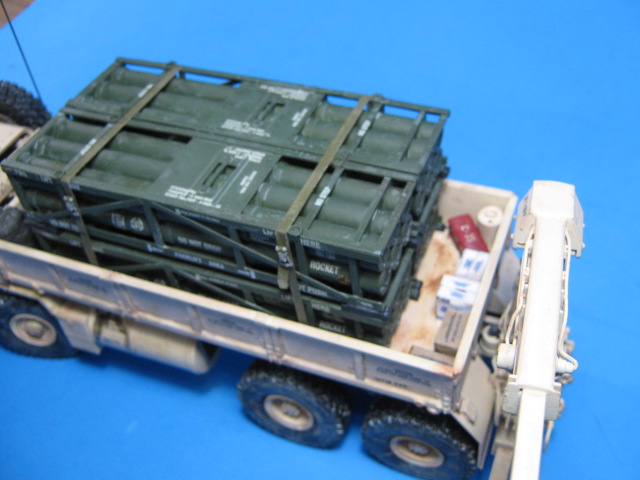
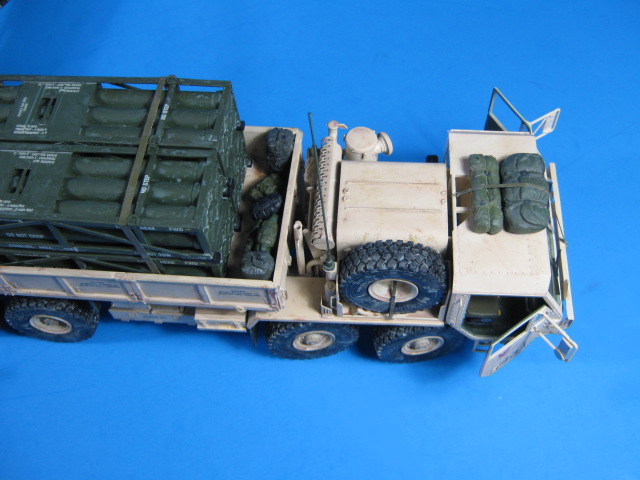
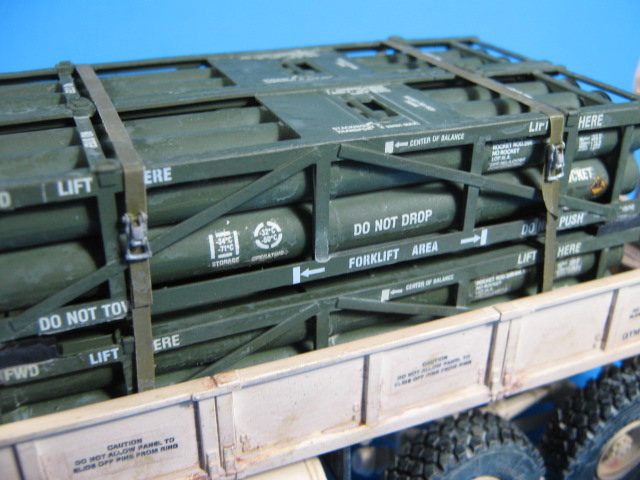
I got it finished up this weekend. I added a couple duffle bags and rucksacks in the front of the HEMTT bed. I also added a couple water bottle boxes and MRE cases, along with a tool box and an oil can at the back of the HEMTT bed. I dry-brushed selectively with some rust, mainly in the beds of the truck and the trailer. Then with a darker sandy color overall. Then I did a couple washes of first an earth brown color and then a sand color to give it some depth.
Here it is overall.

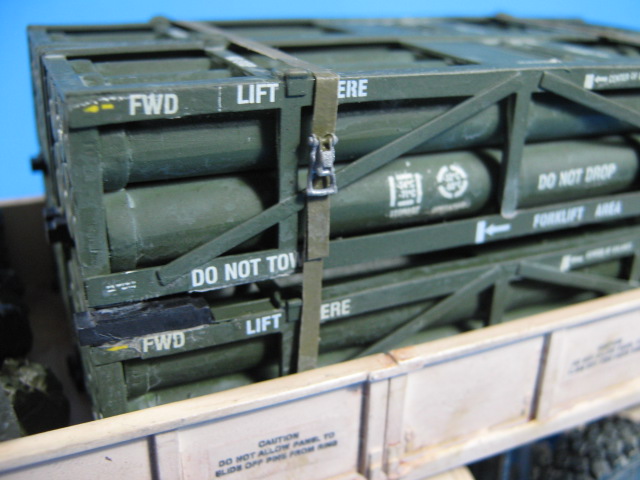
And some detail pics.

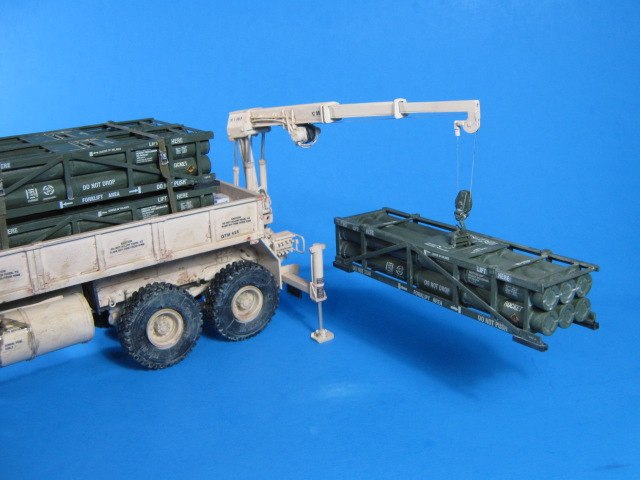
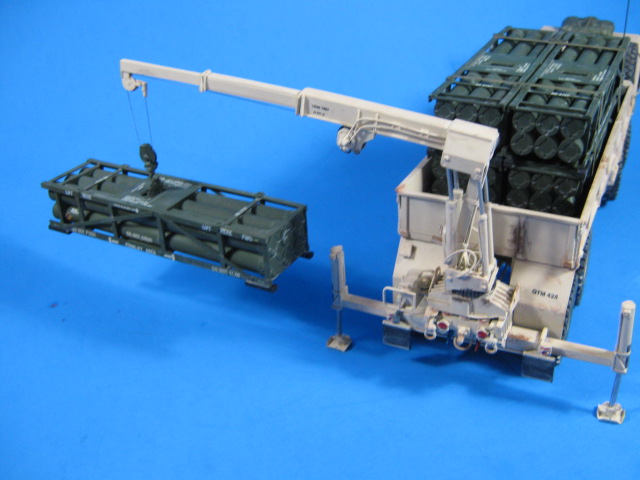
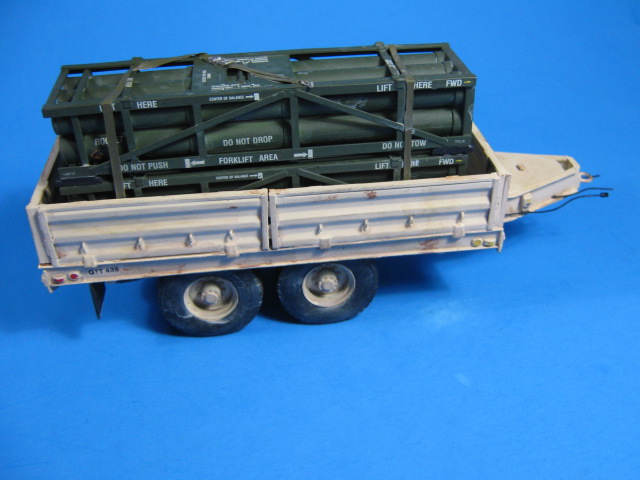
I added air lines and the electrical cable to the trailer. They are a stiff wire and disappear up under the truck along the air line gladhands and the trailer light connector.


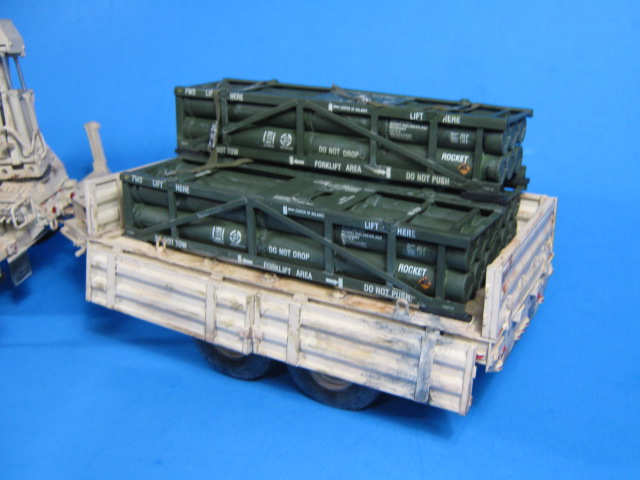
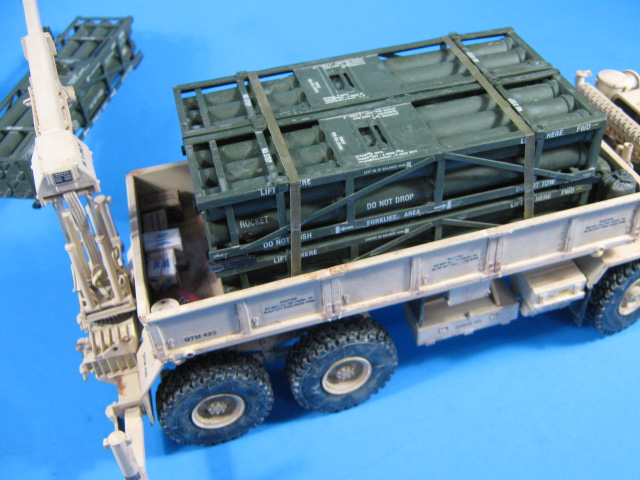
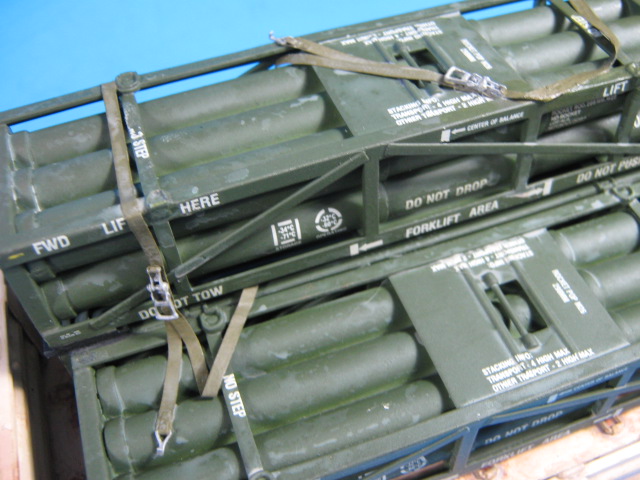
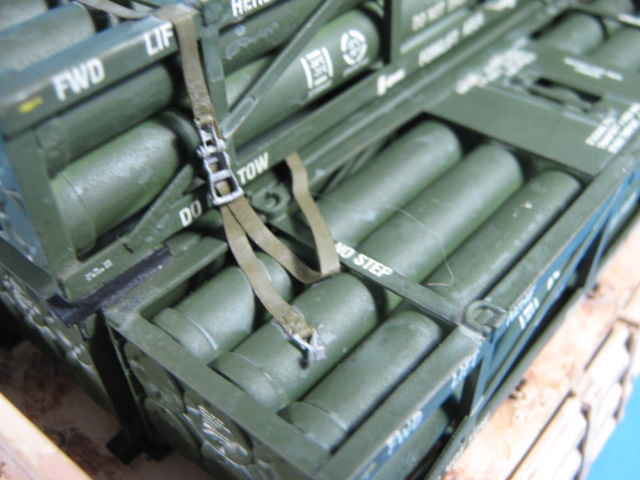
I secured the MLRS loads with masking tape straps and used resin ratchets from Djiti Productions Ratchet Strap set. There are both open and closed versions in the set, and the hooks on the end of the HEMAT straps.
This one was really rewarding and I am very happy with how it turned out.
13 Likes
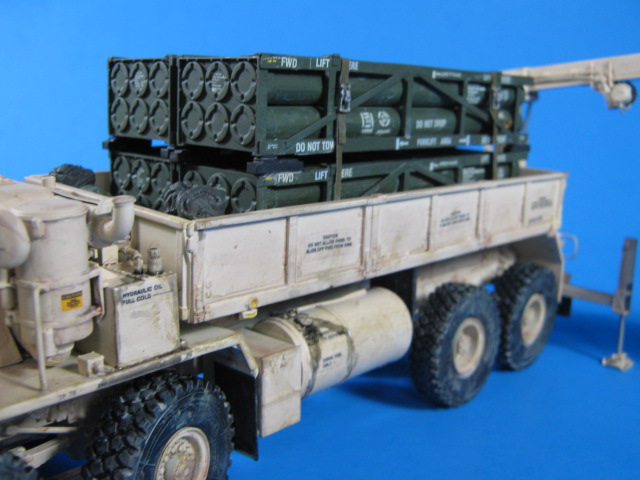
Rarely build wheeled vehicles myself. Turned out very well. The stenciling on the tubes and shipping crates are really nice. ![]()
![]()
Wow, that is turned out fantastic! Love the straps and ratchets, they look absolutely great! Also those cables on the trailer, great detail! And those decalls on the tubes/load, is that a certain set?
All that is missing is a base, an M270 and some figures ![]()
1 Like
Just out-freaking-standing Gino!
1 Like
Thank you gentlemen. It has been a fun build and I really like how it came out.
The rocket pods are all from Dragon’s old M270 MLRS w/M26 Rocket Pods kits (3523), which includes the decals for them.
Unfortunately, I don’t have the room for all that. I already have an MLRS reloading as a separate model.
2 Likes
Wow! That looks great, Gino!! ![]()
![]()
![]()