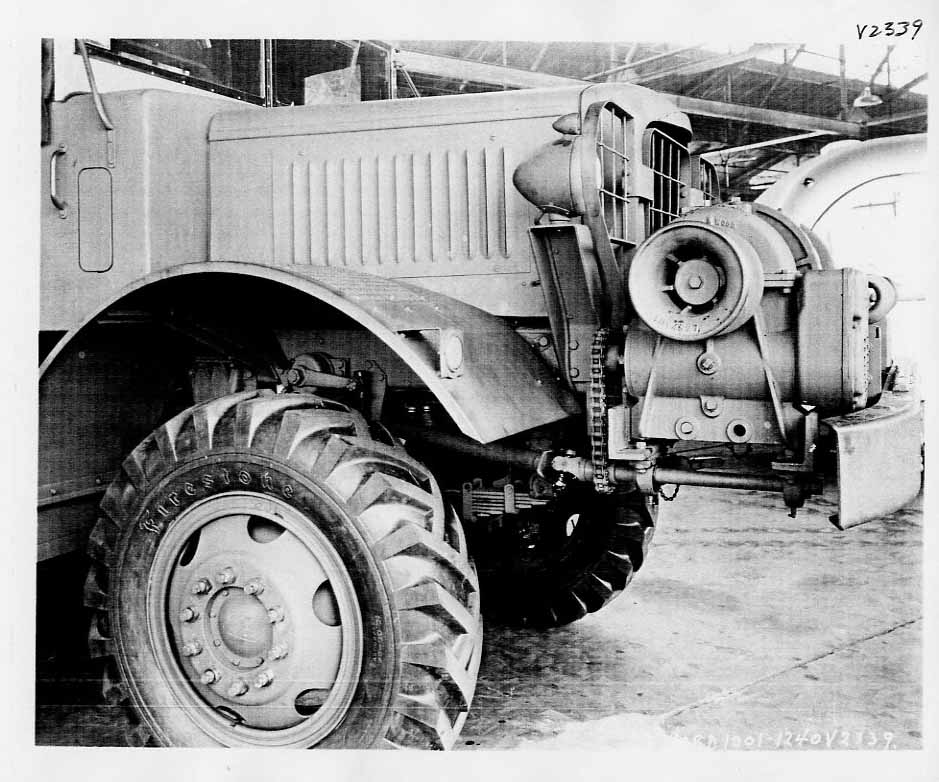
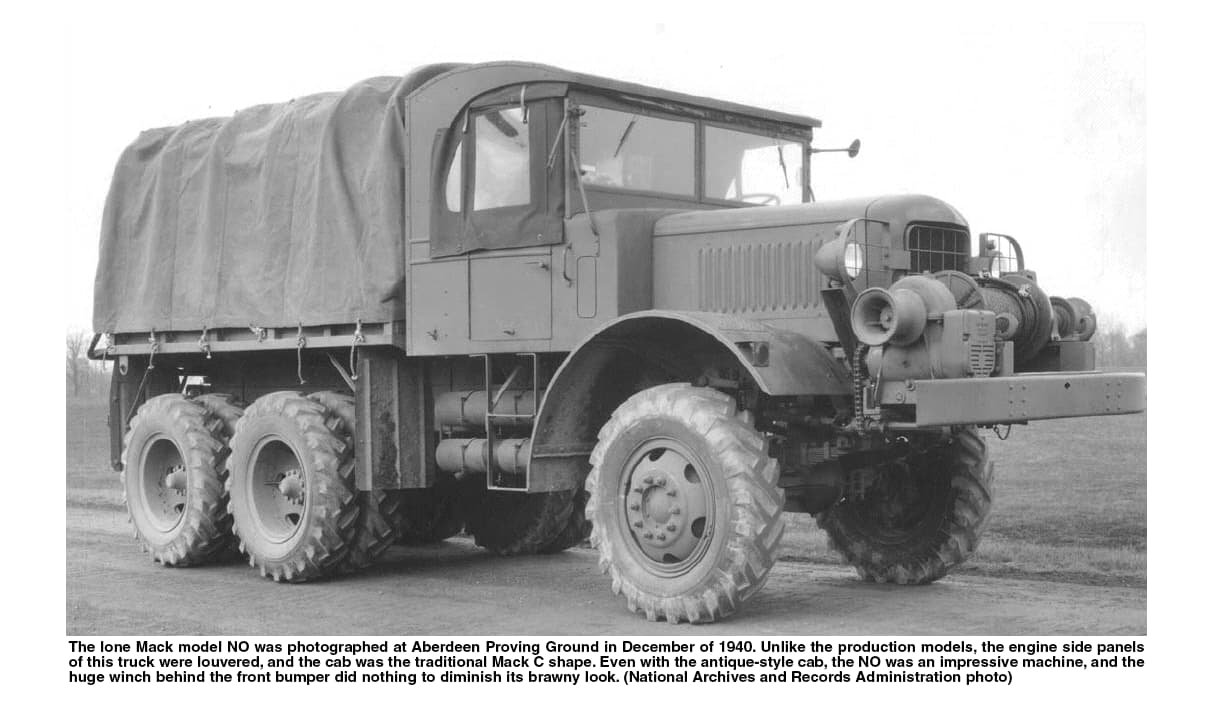
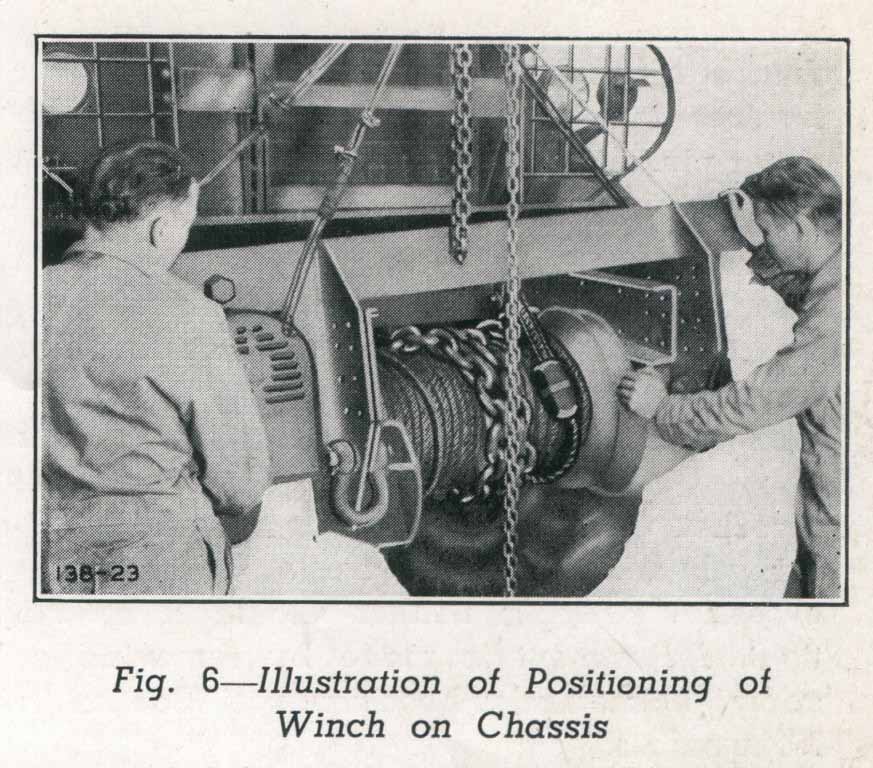
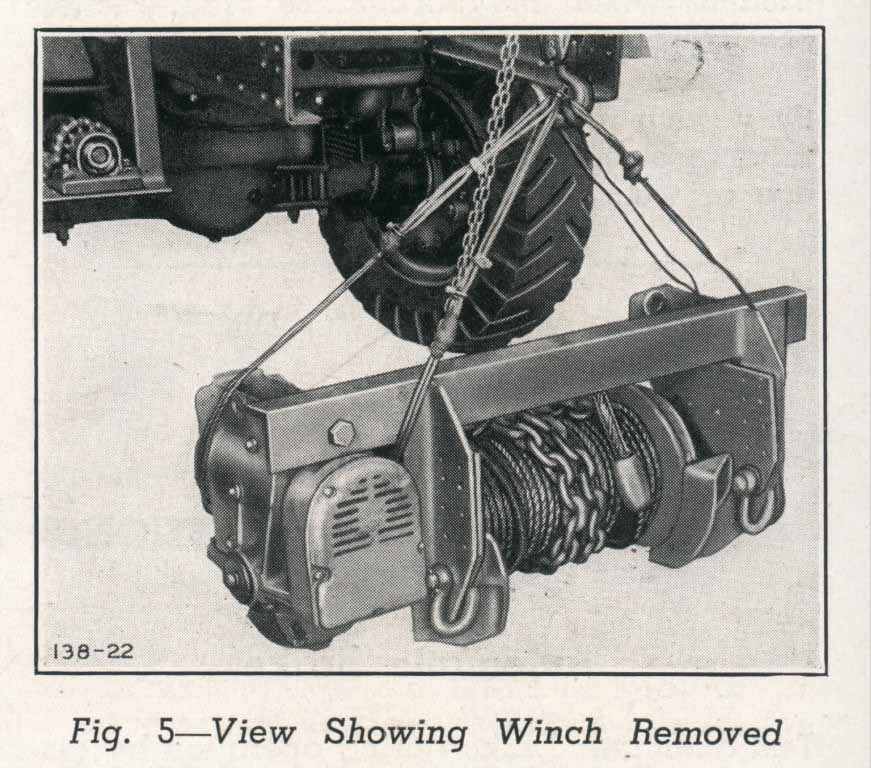
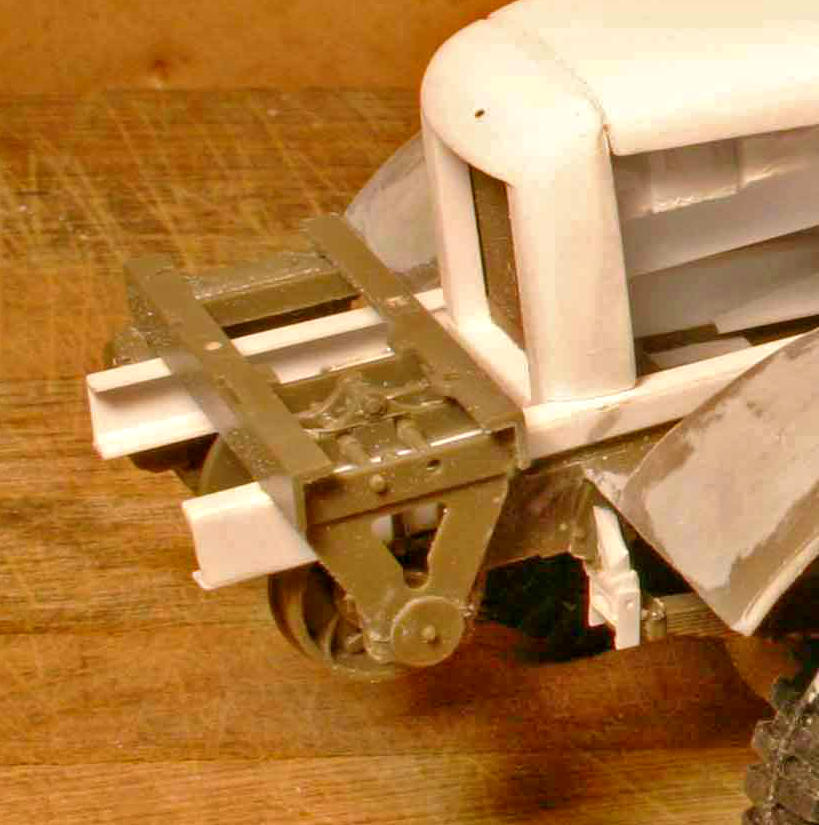
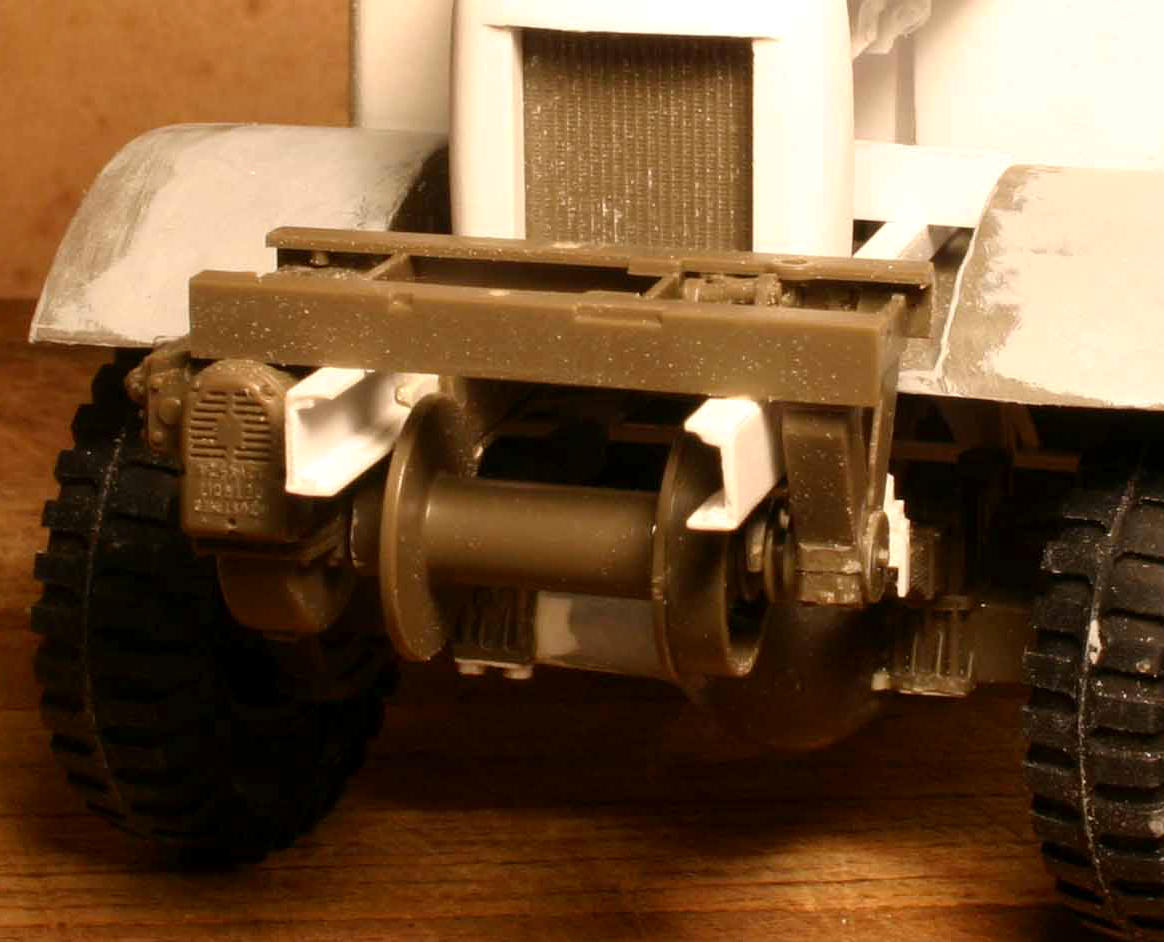
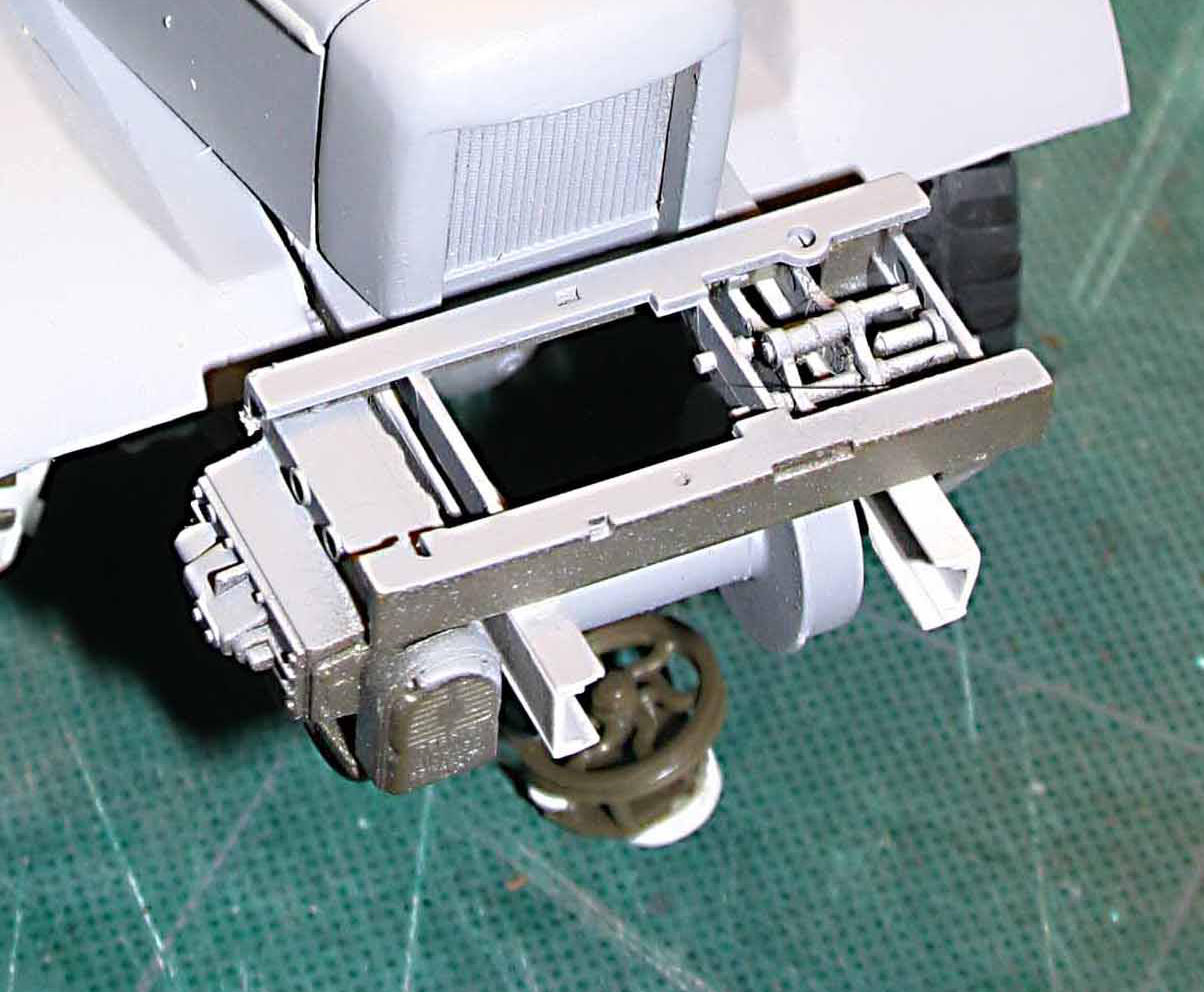
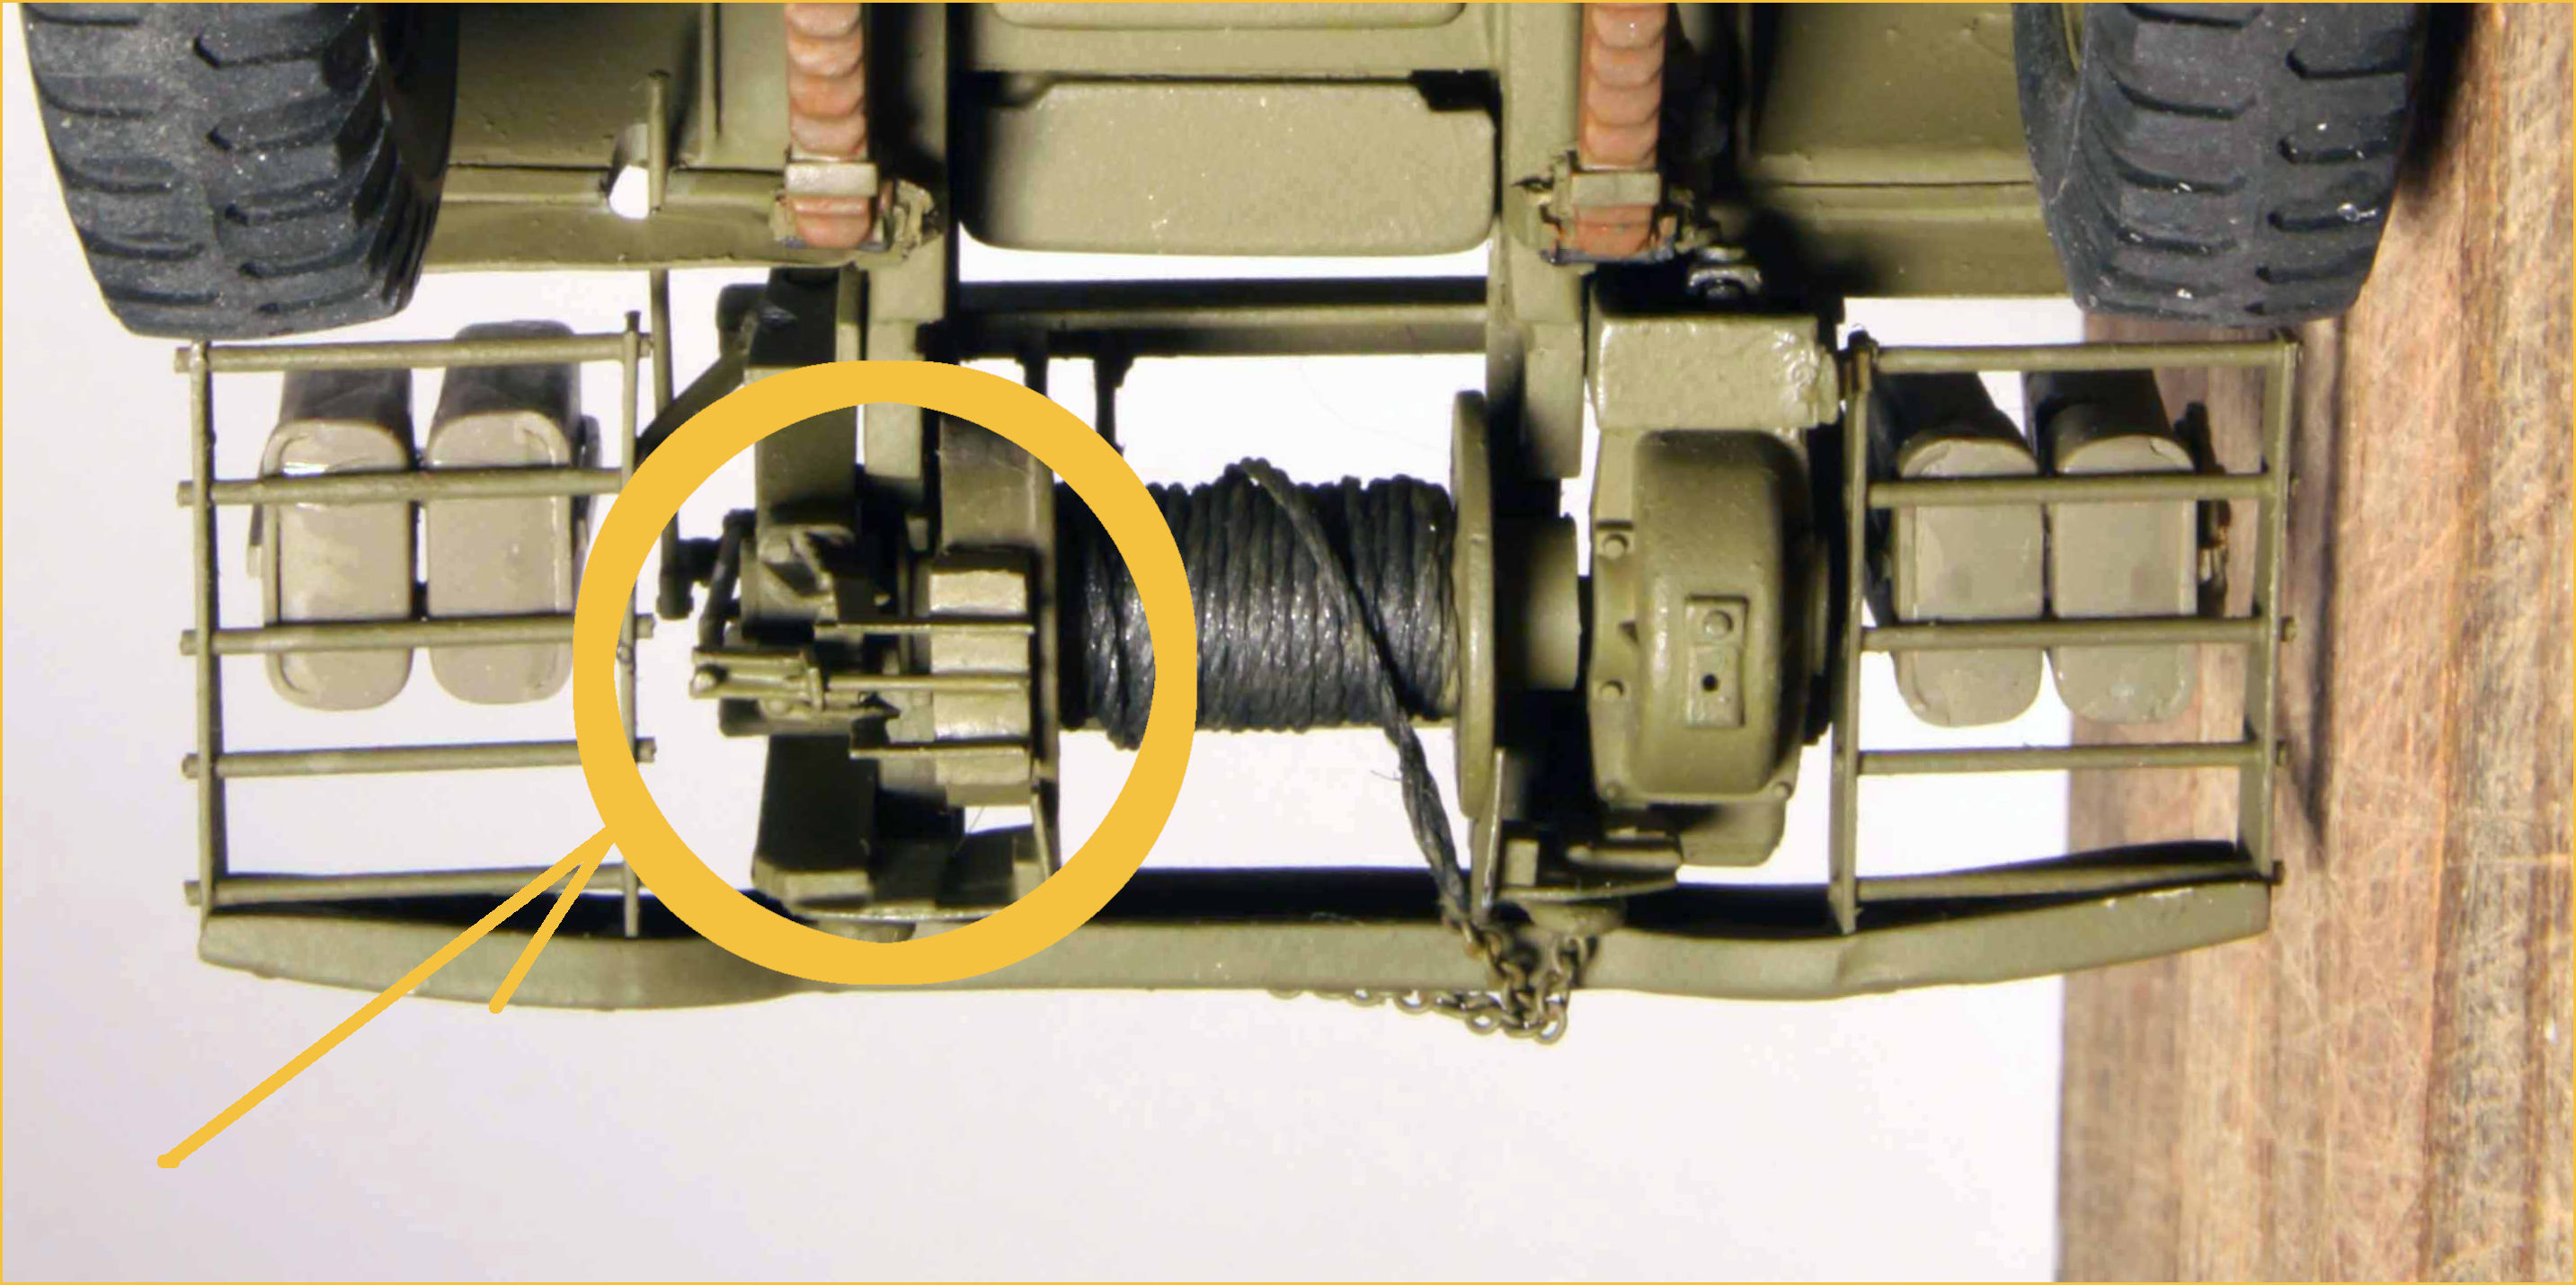
The winch on the Mack is essentially the same Gar-Wood design as that used on the Dragon Wagon. However the Mack employed a slightly earlier model and was modified for use on the NO.
The early Macks had an upright mounted 40 ton winch, very much like that of the DW. However when pulling at maximum load the winch was much too high off the frame (too far off axis) and this could cause the frame rails of the truck to deform (bend.)
Gar-Wood’s solution was to invert the winch and narrow the winch drum slightly so it would fit between the frame rails. This allowed the axis of pull to be much more in line with the frame producing much better results.
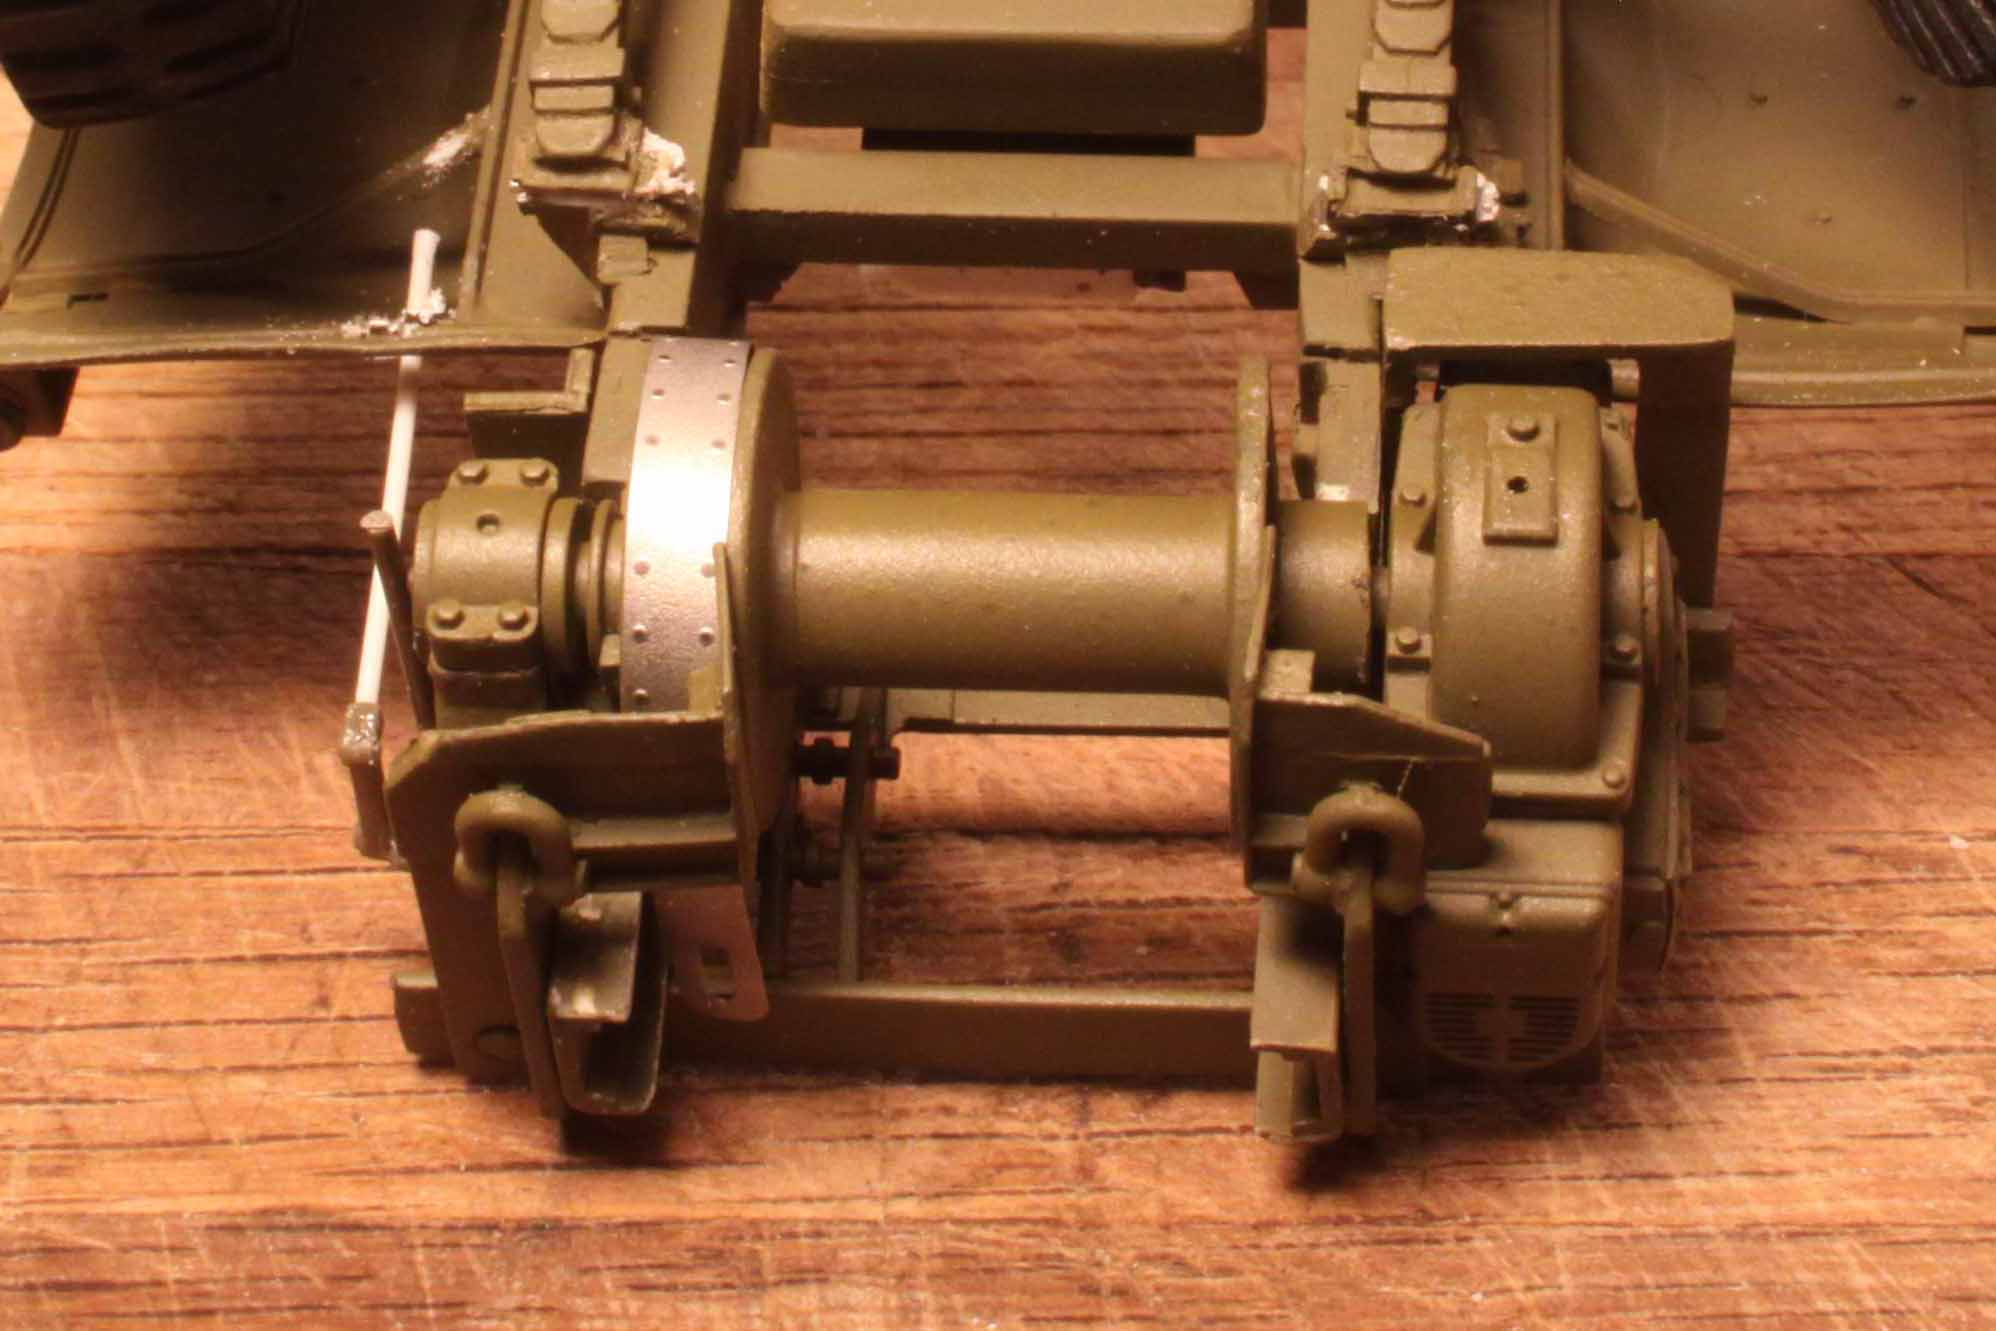
Besides the slight alterations to the width of the winch drum, the earlier designed winch on the Mack employed a single drag brake (brake shoe) on the winch drum rather than the later, more efficient band brake used on the Dragon Wagon.
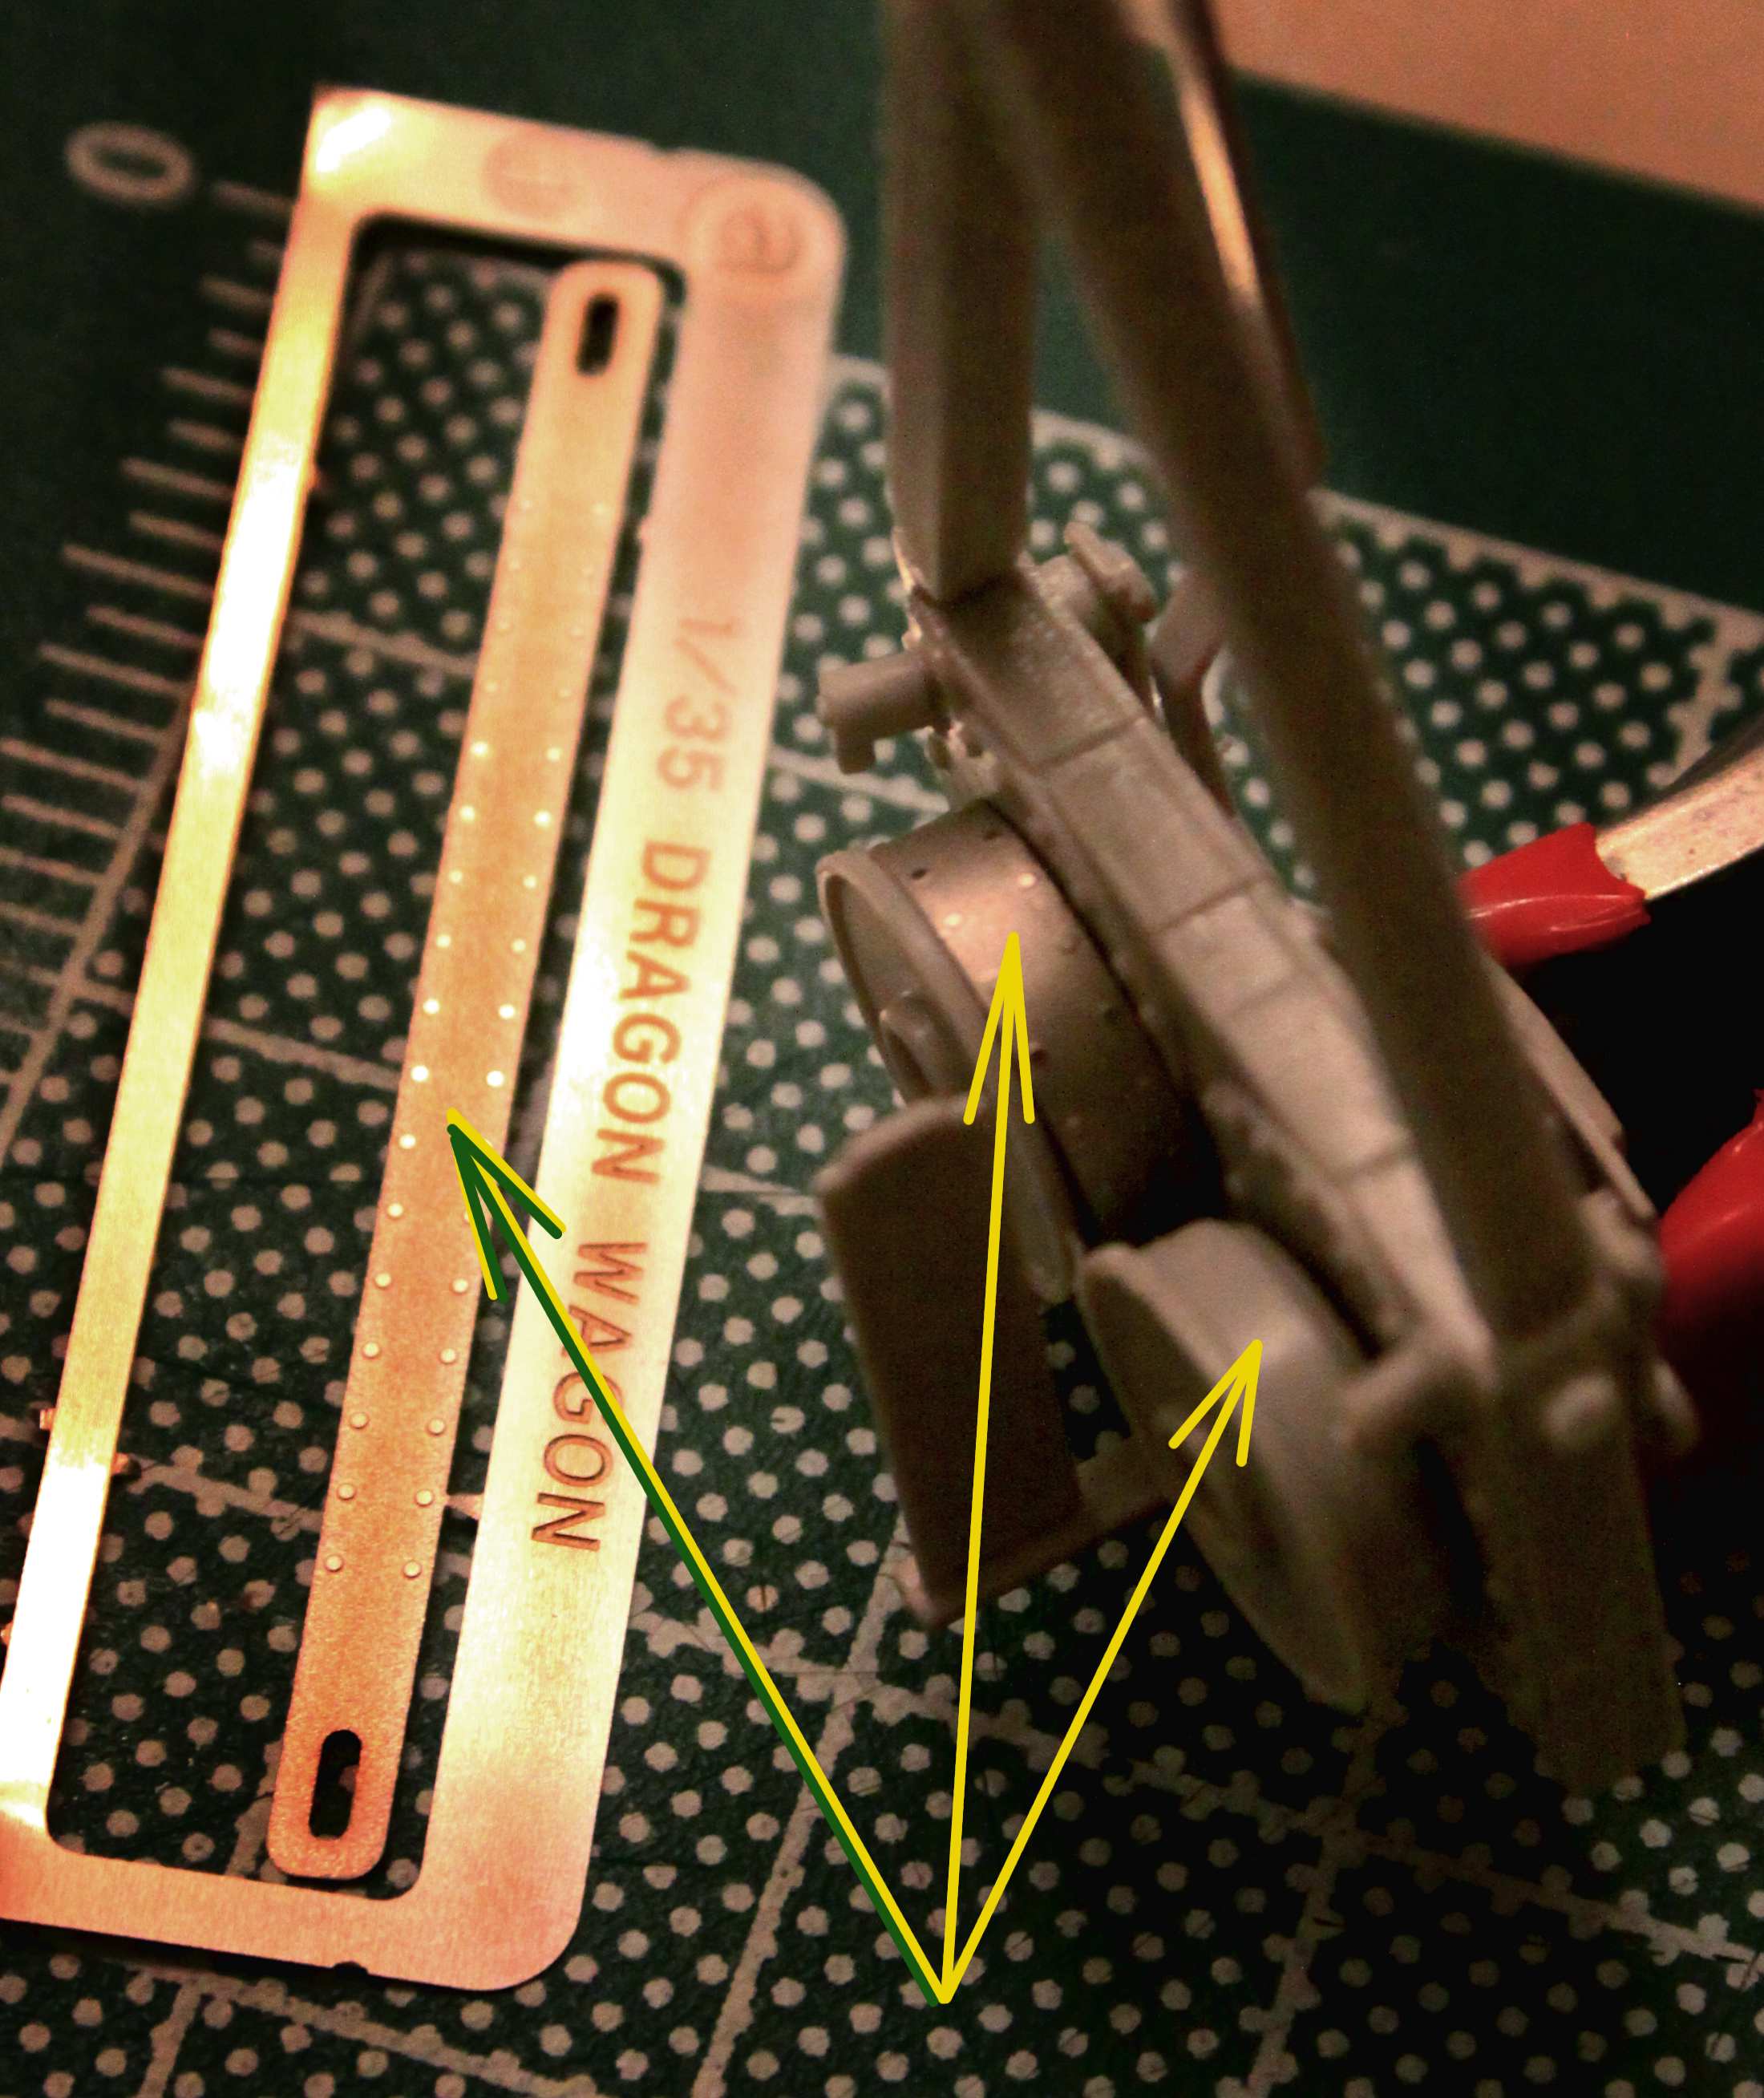
Seen below is my INCORRECT attempt to apply the etched metal brake bands from the Dragon Wagon to the Mack. WRONG!
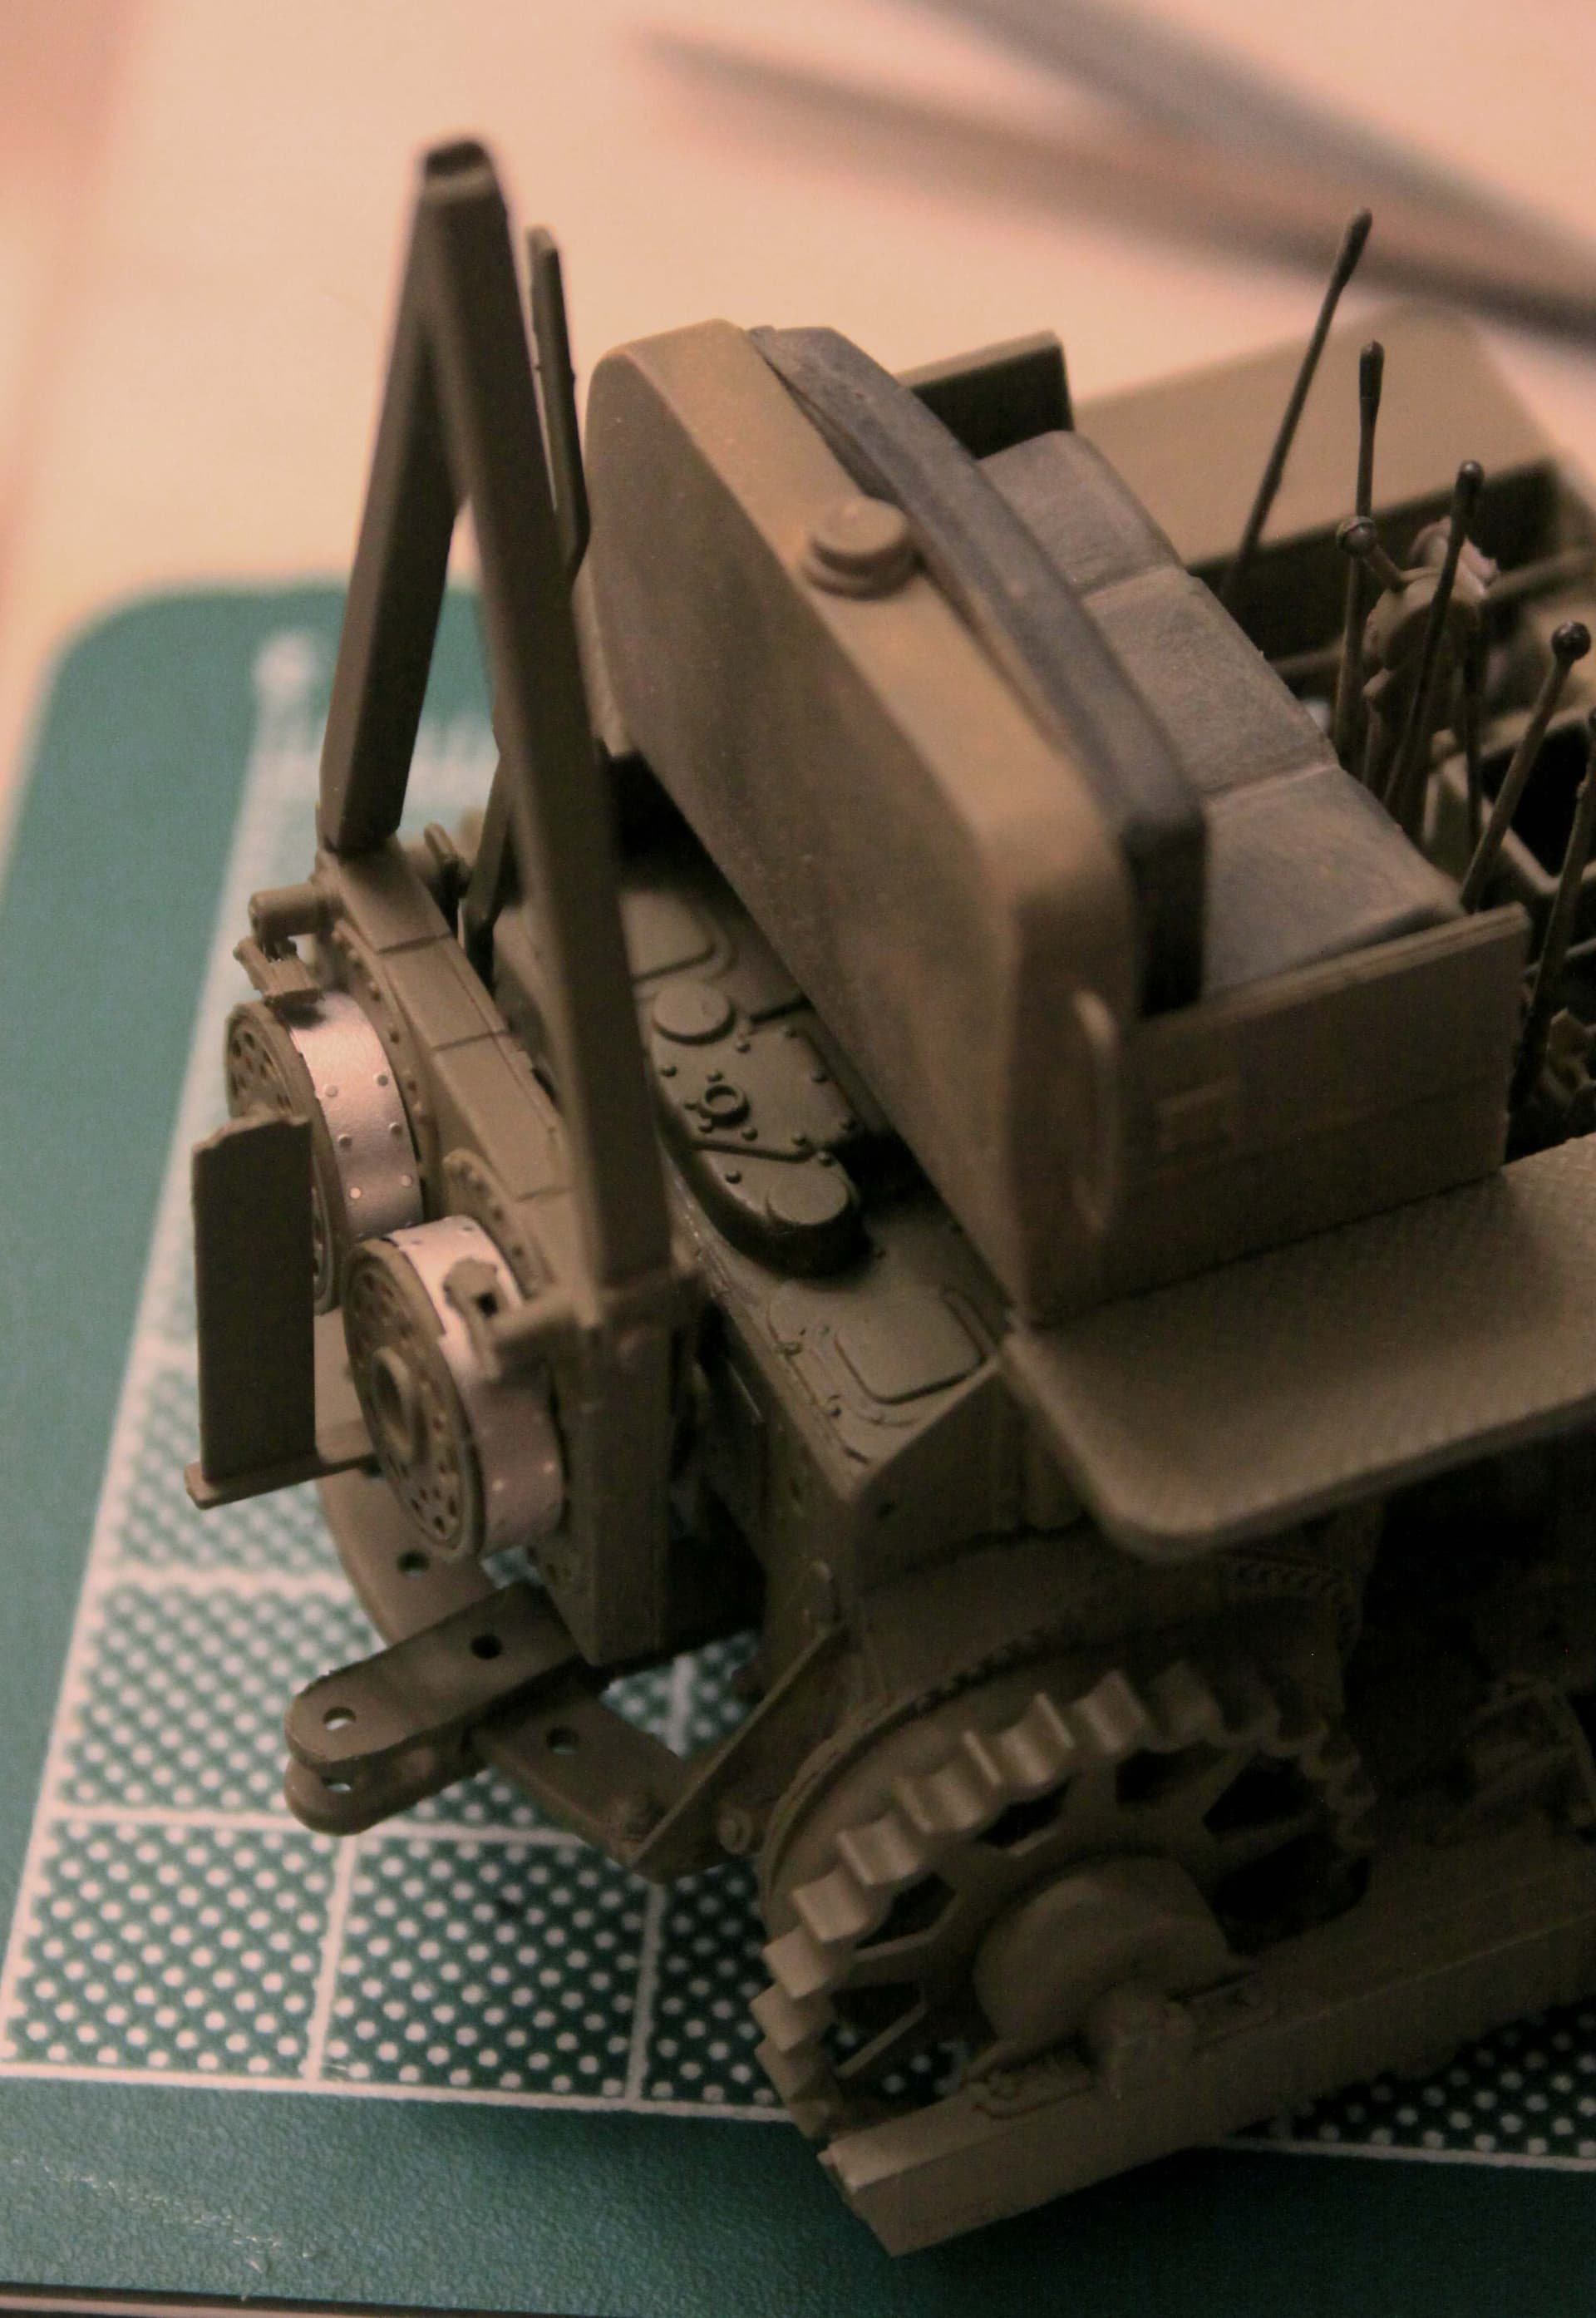
The yellow highlighted circle shows my more correct construction of the shoe brake to the Mack’s winch drum.
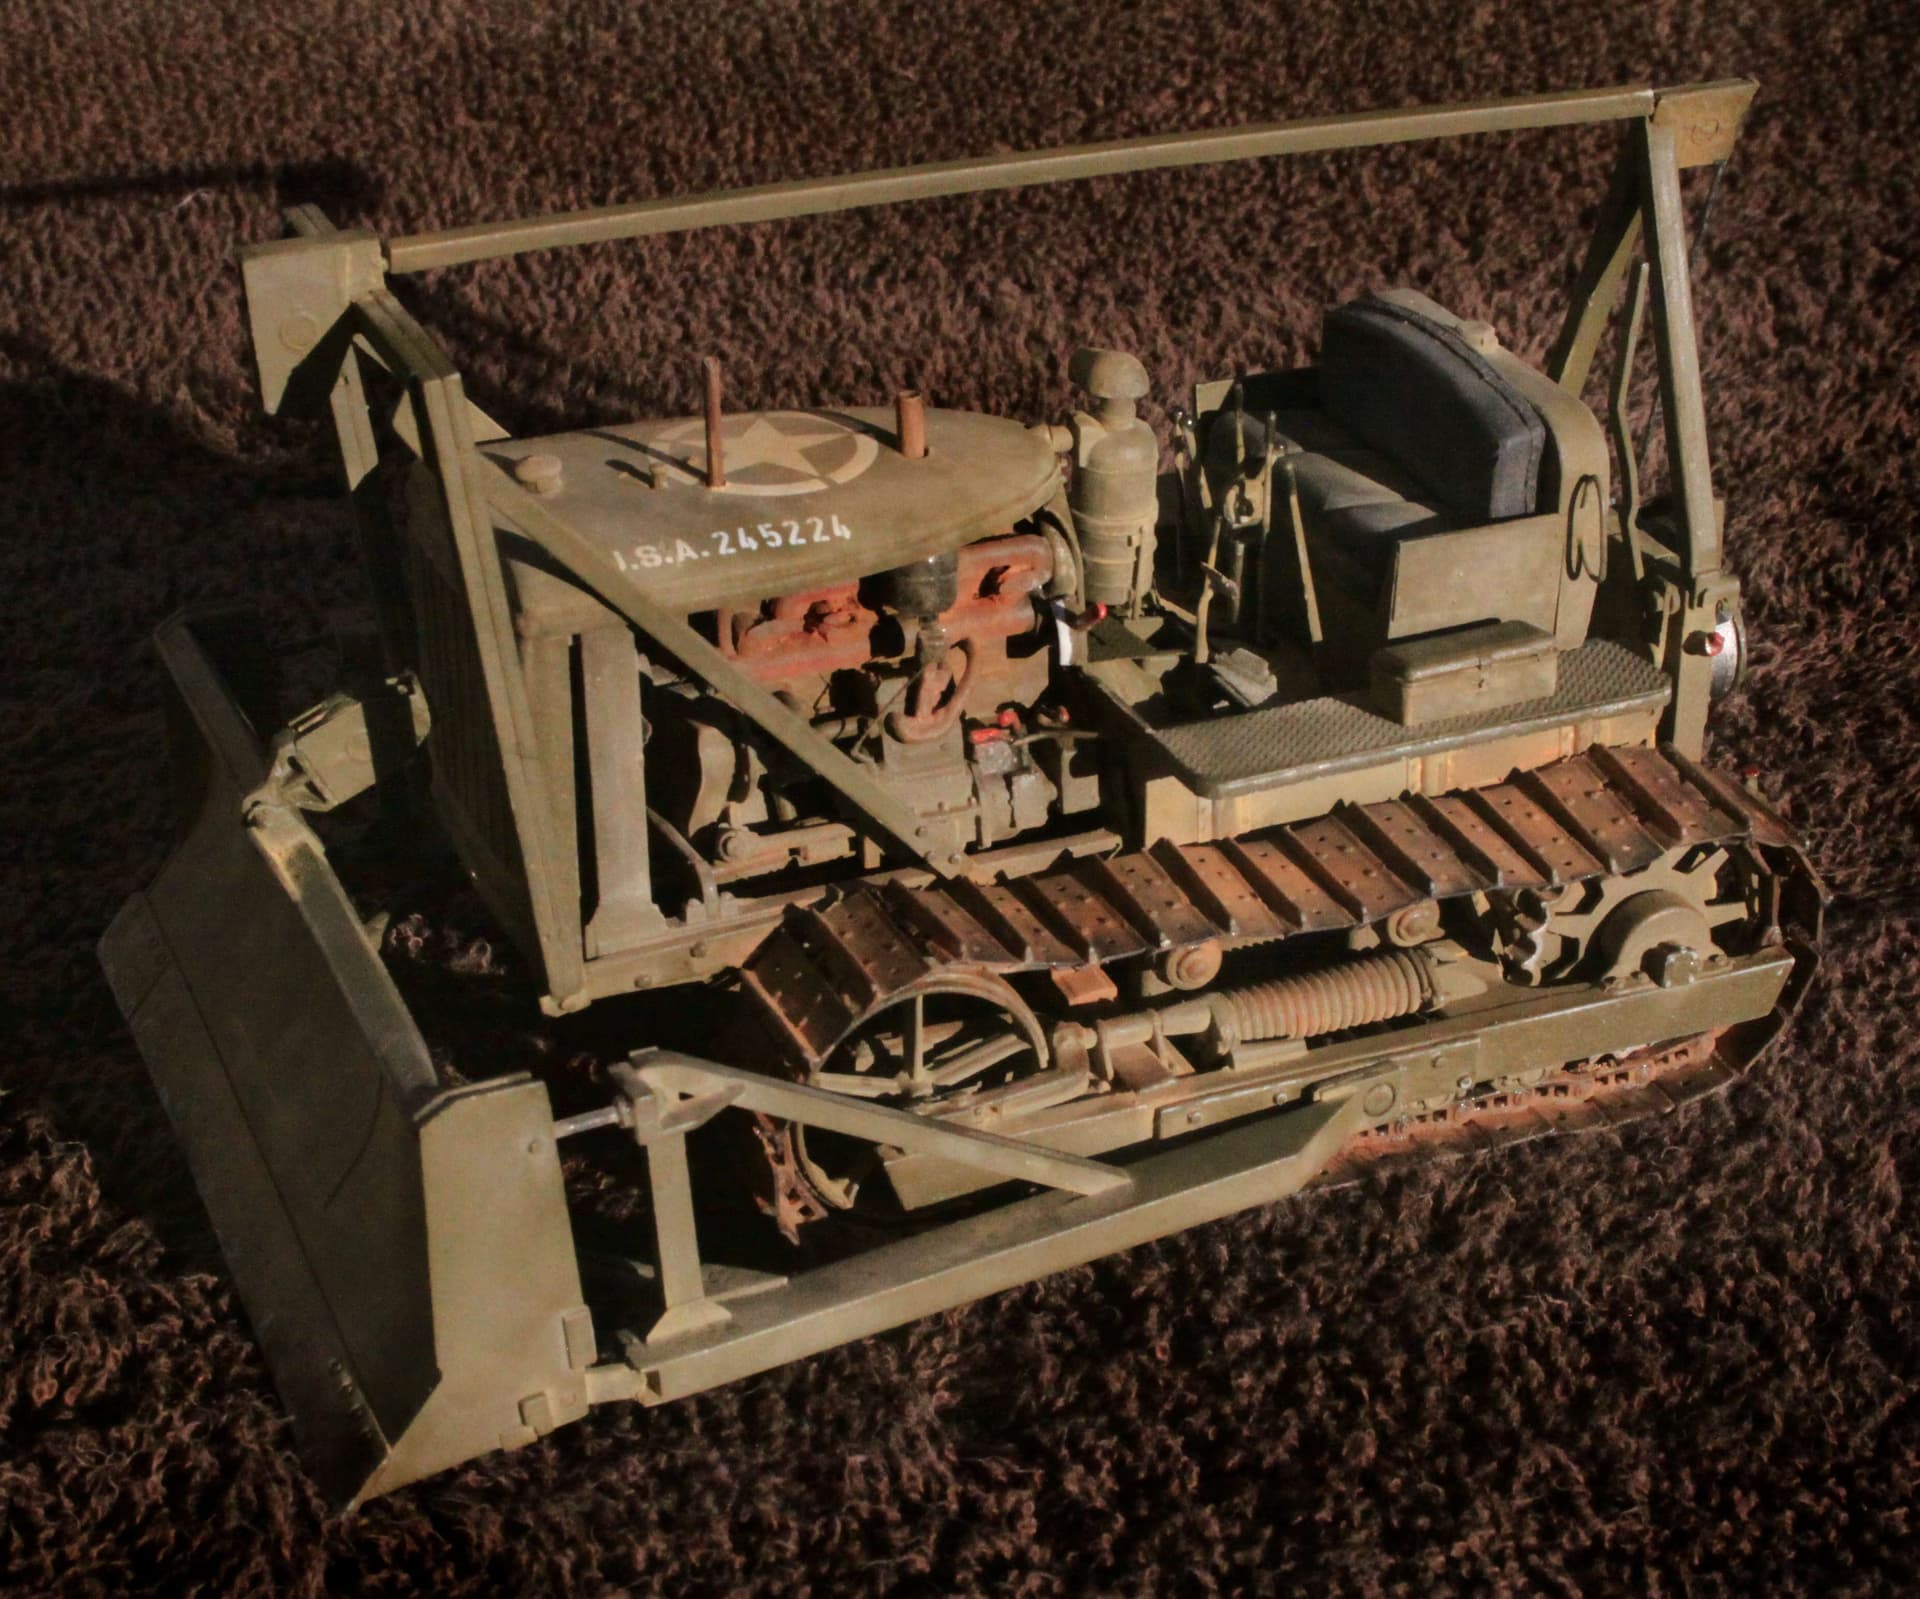
But no need to worry; those beautiful etched Tamiya brake bands did not go to waste. They work just fine as an added detail to my WWII Caterpillar D7 Bulldozer!
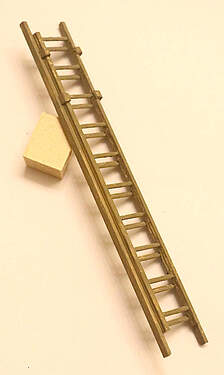
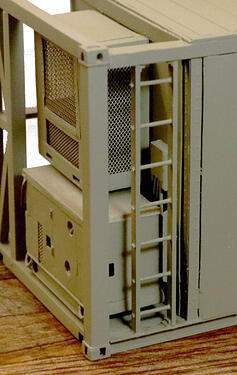
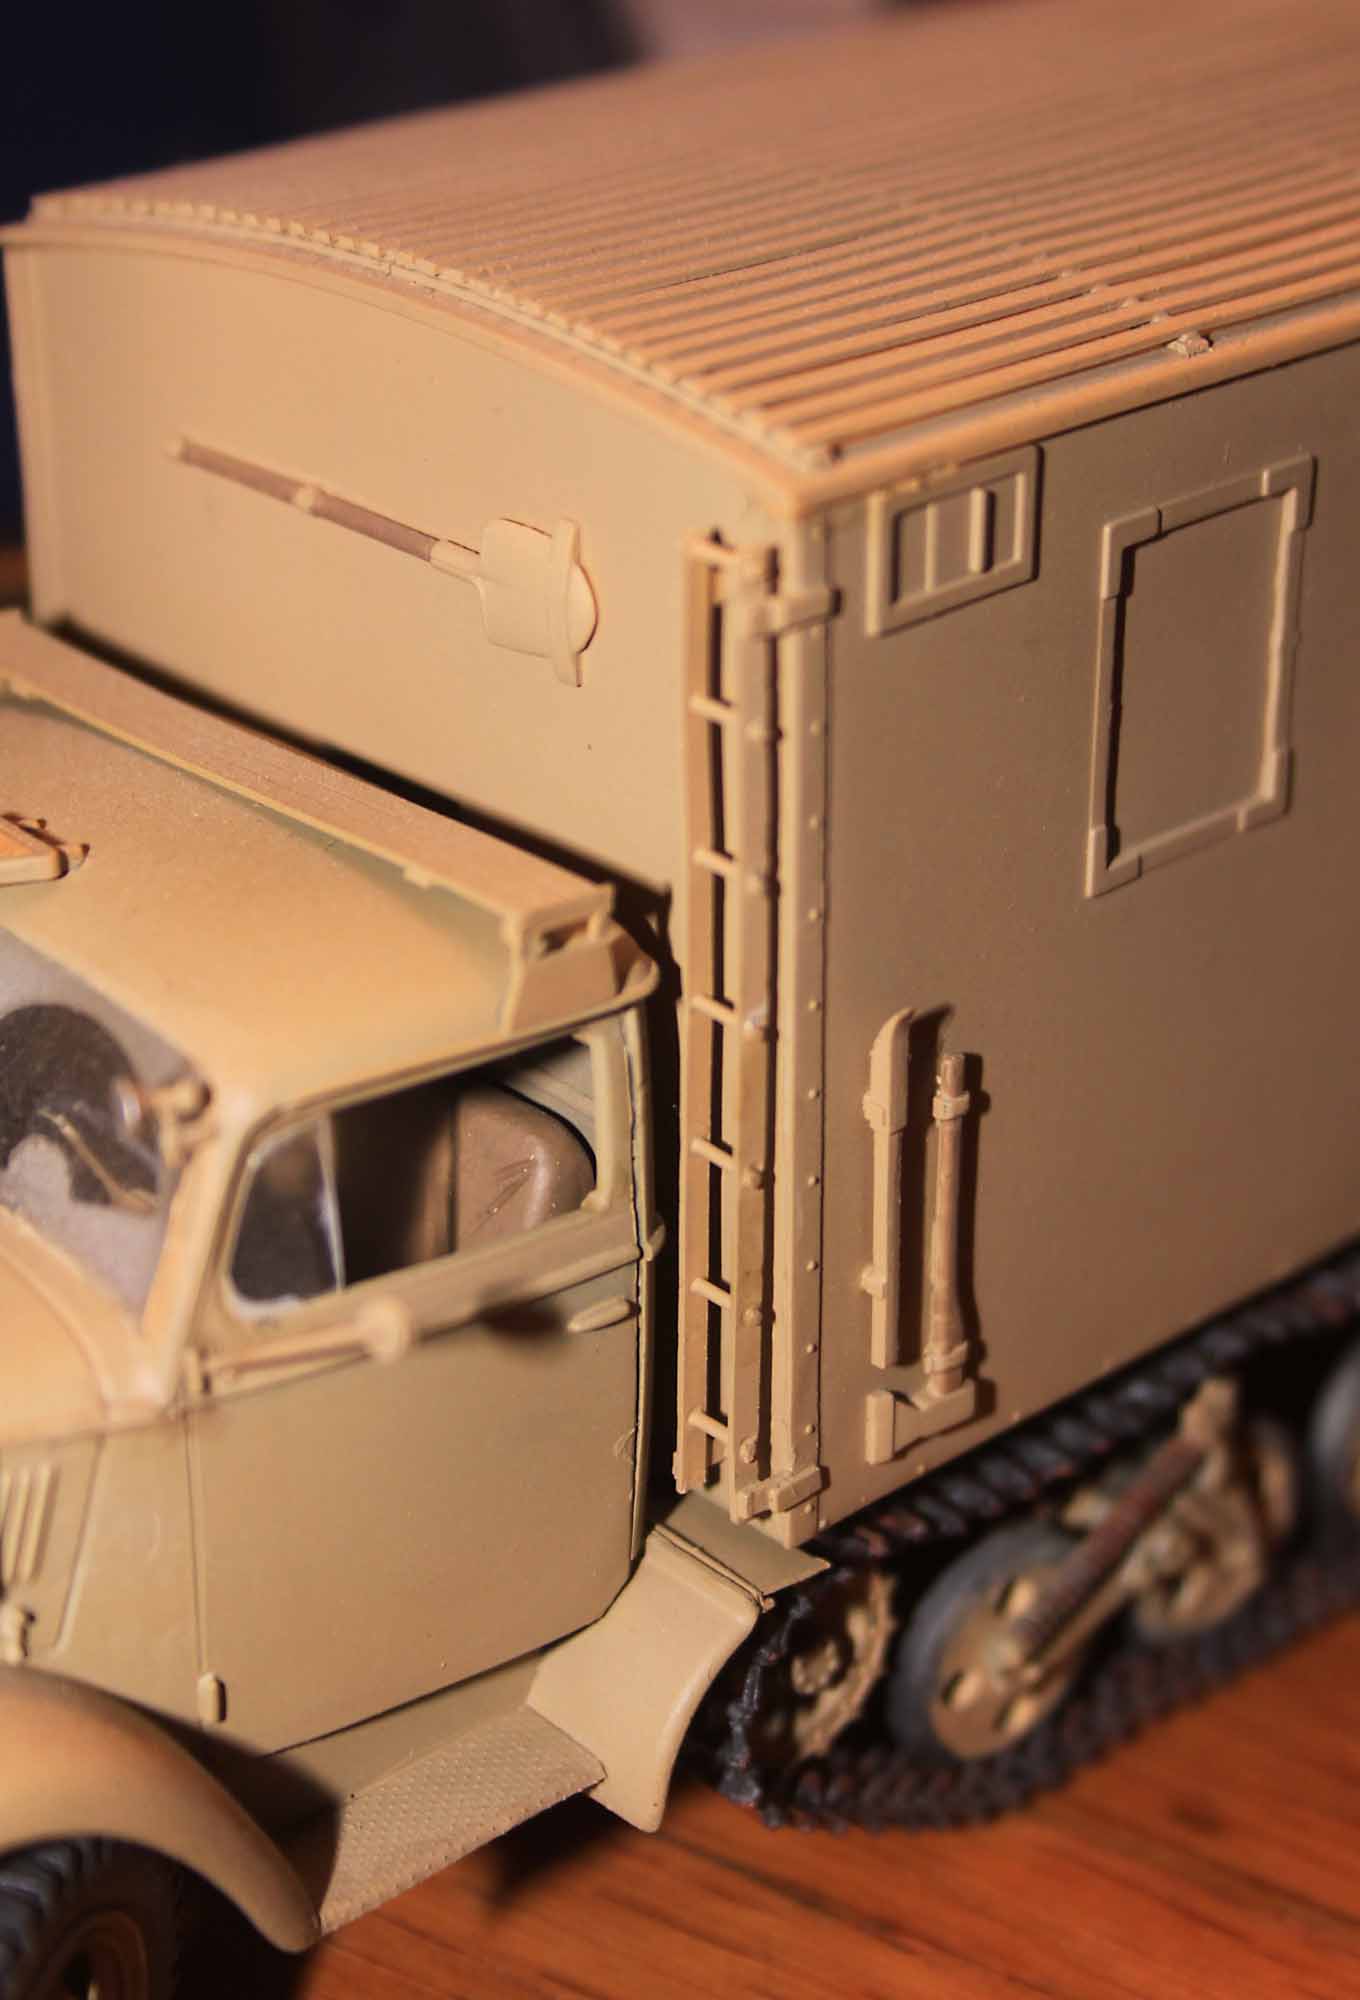
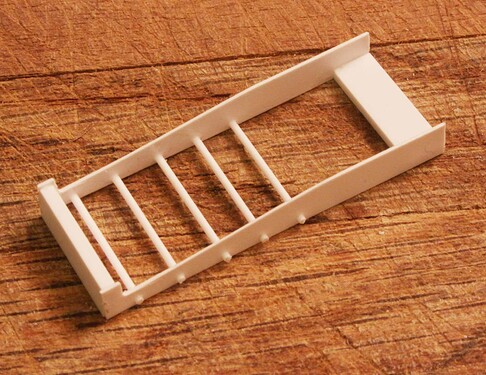
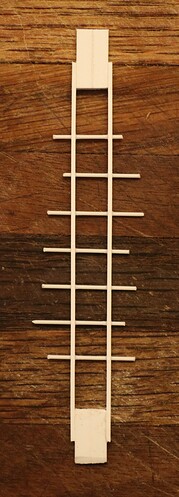
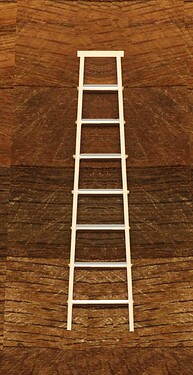
Here is a link to a dedicated thread showing techniques for building custom sized ladders, ladder racks, multiple repetitive parts, painter’s ladders and porch railings that I posted here some years ago…
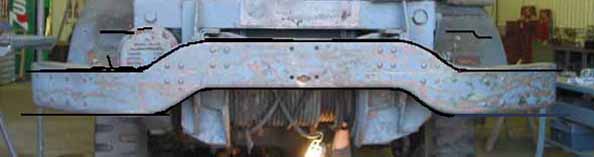
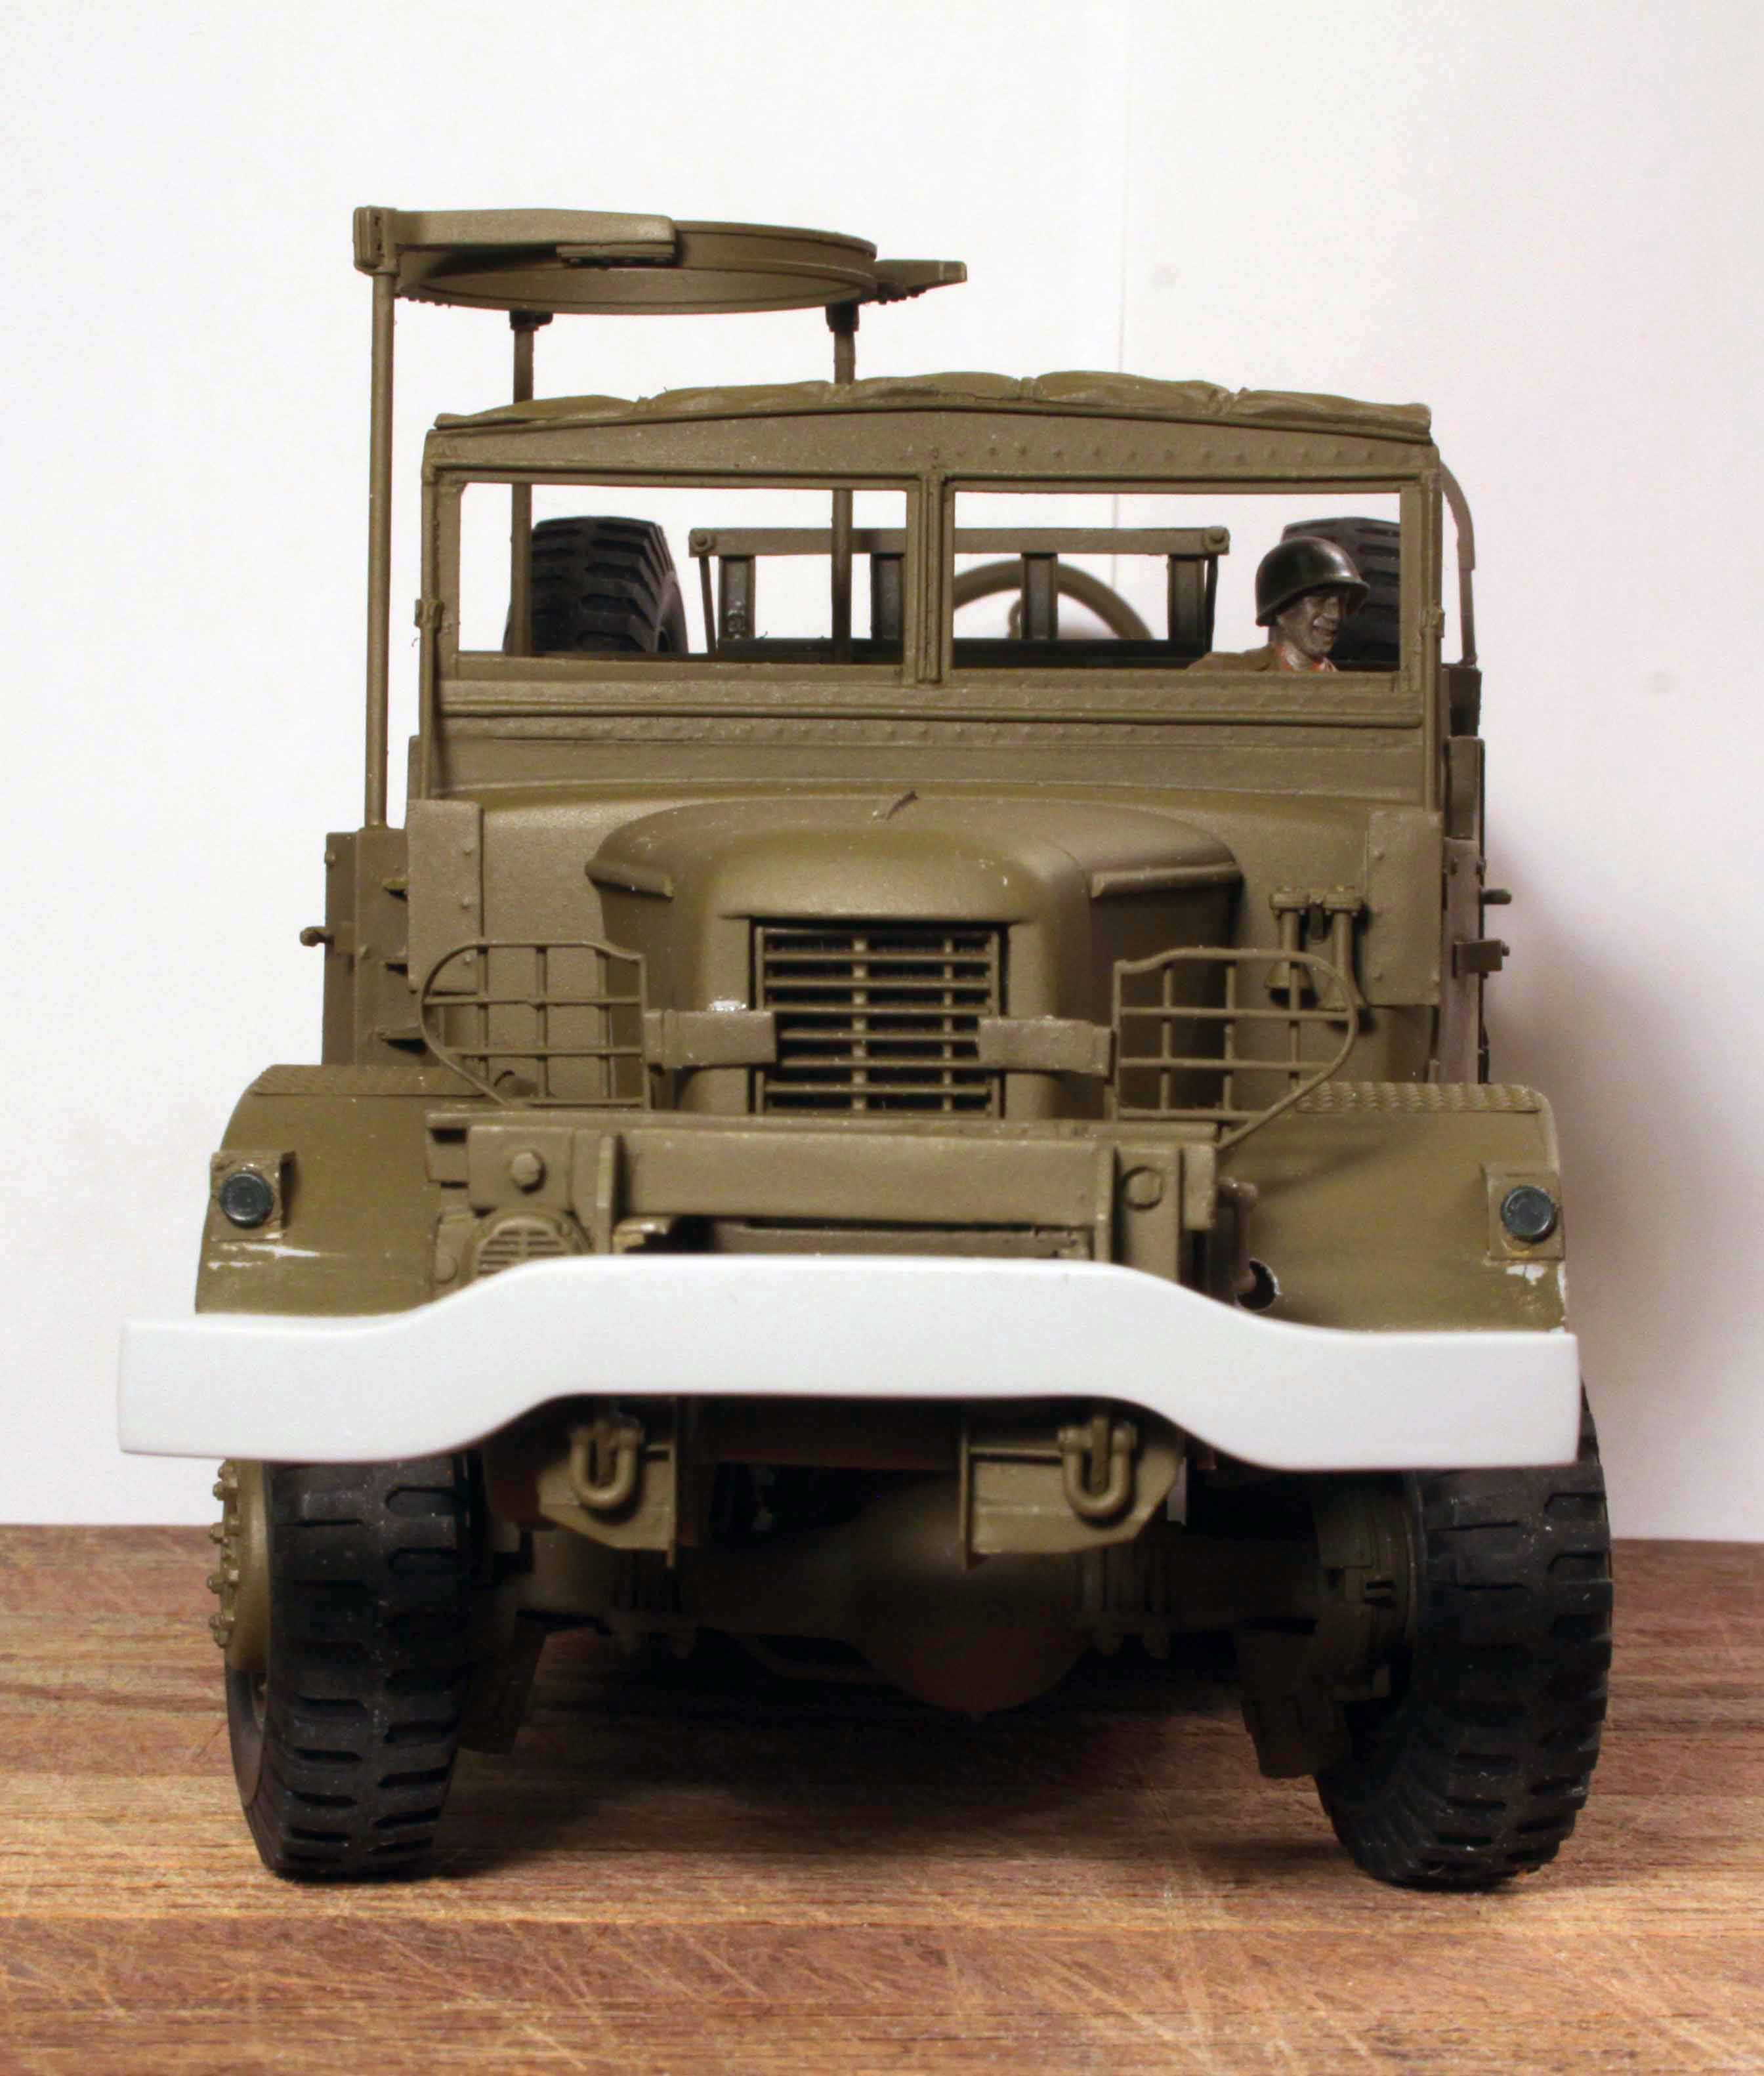
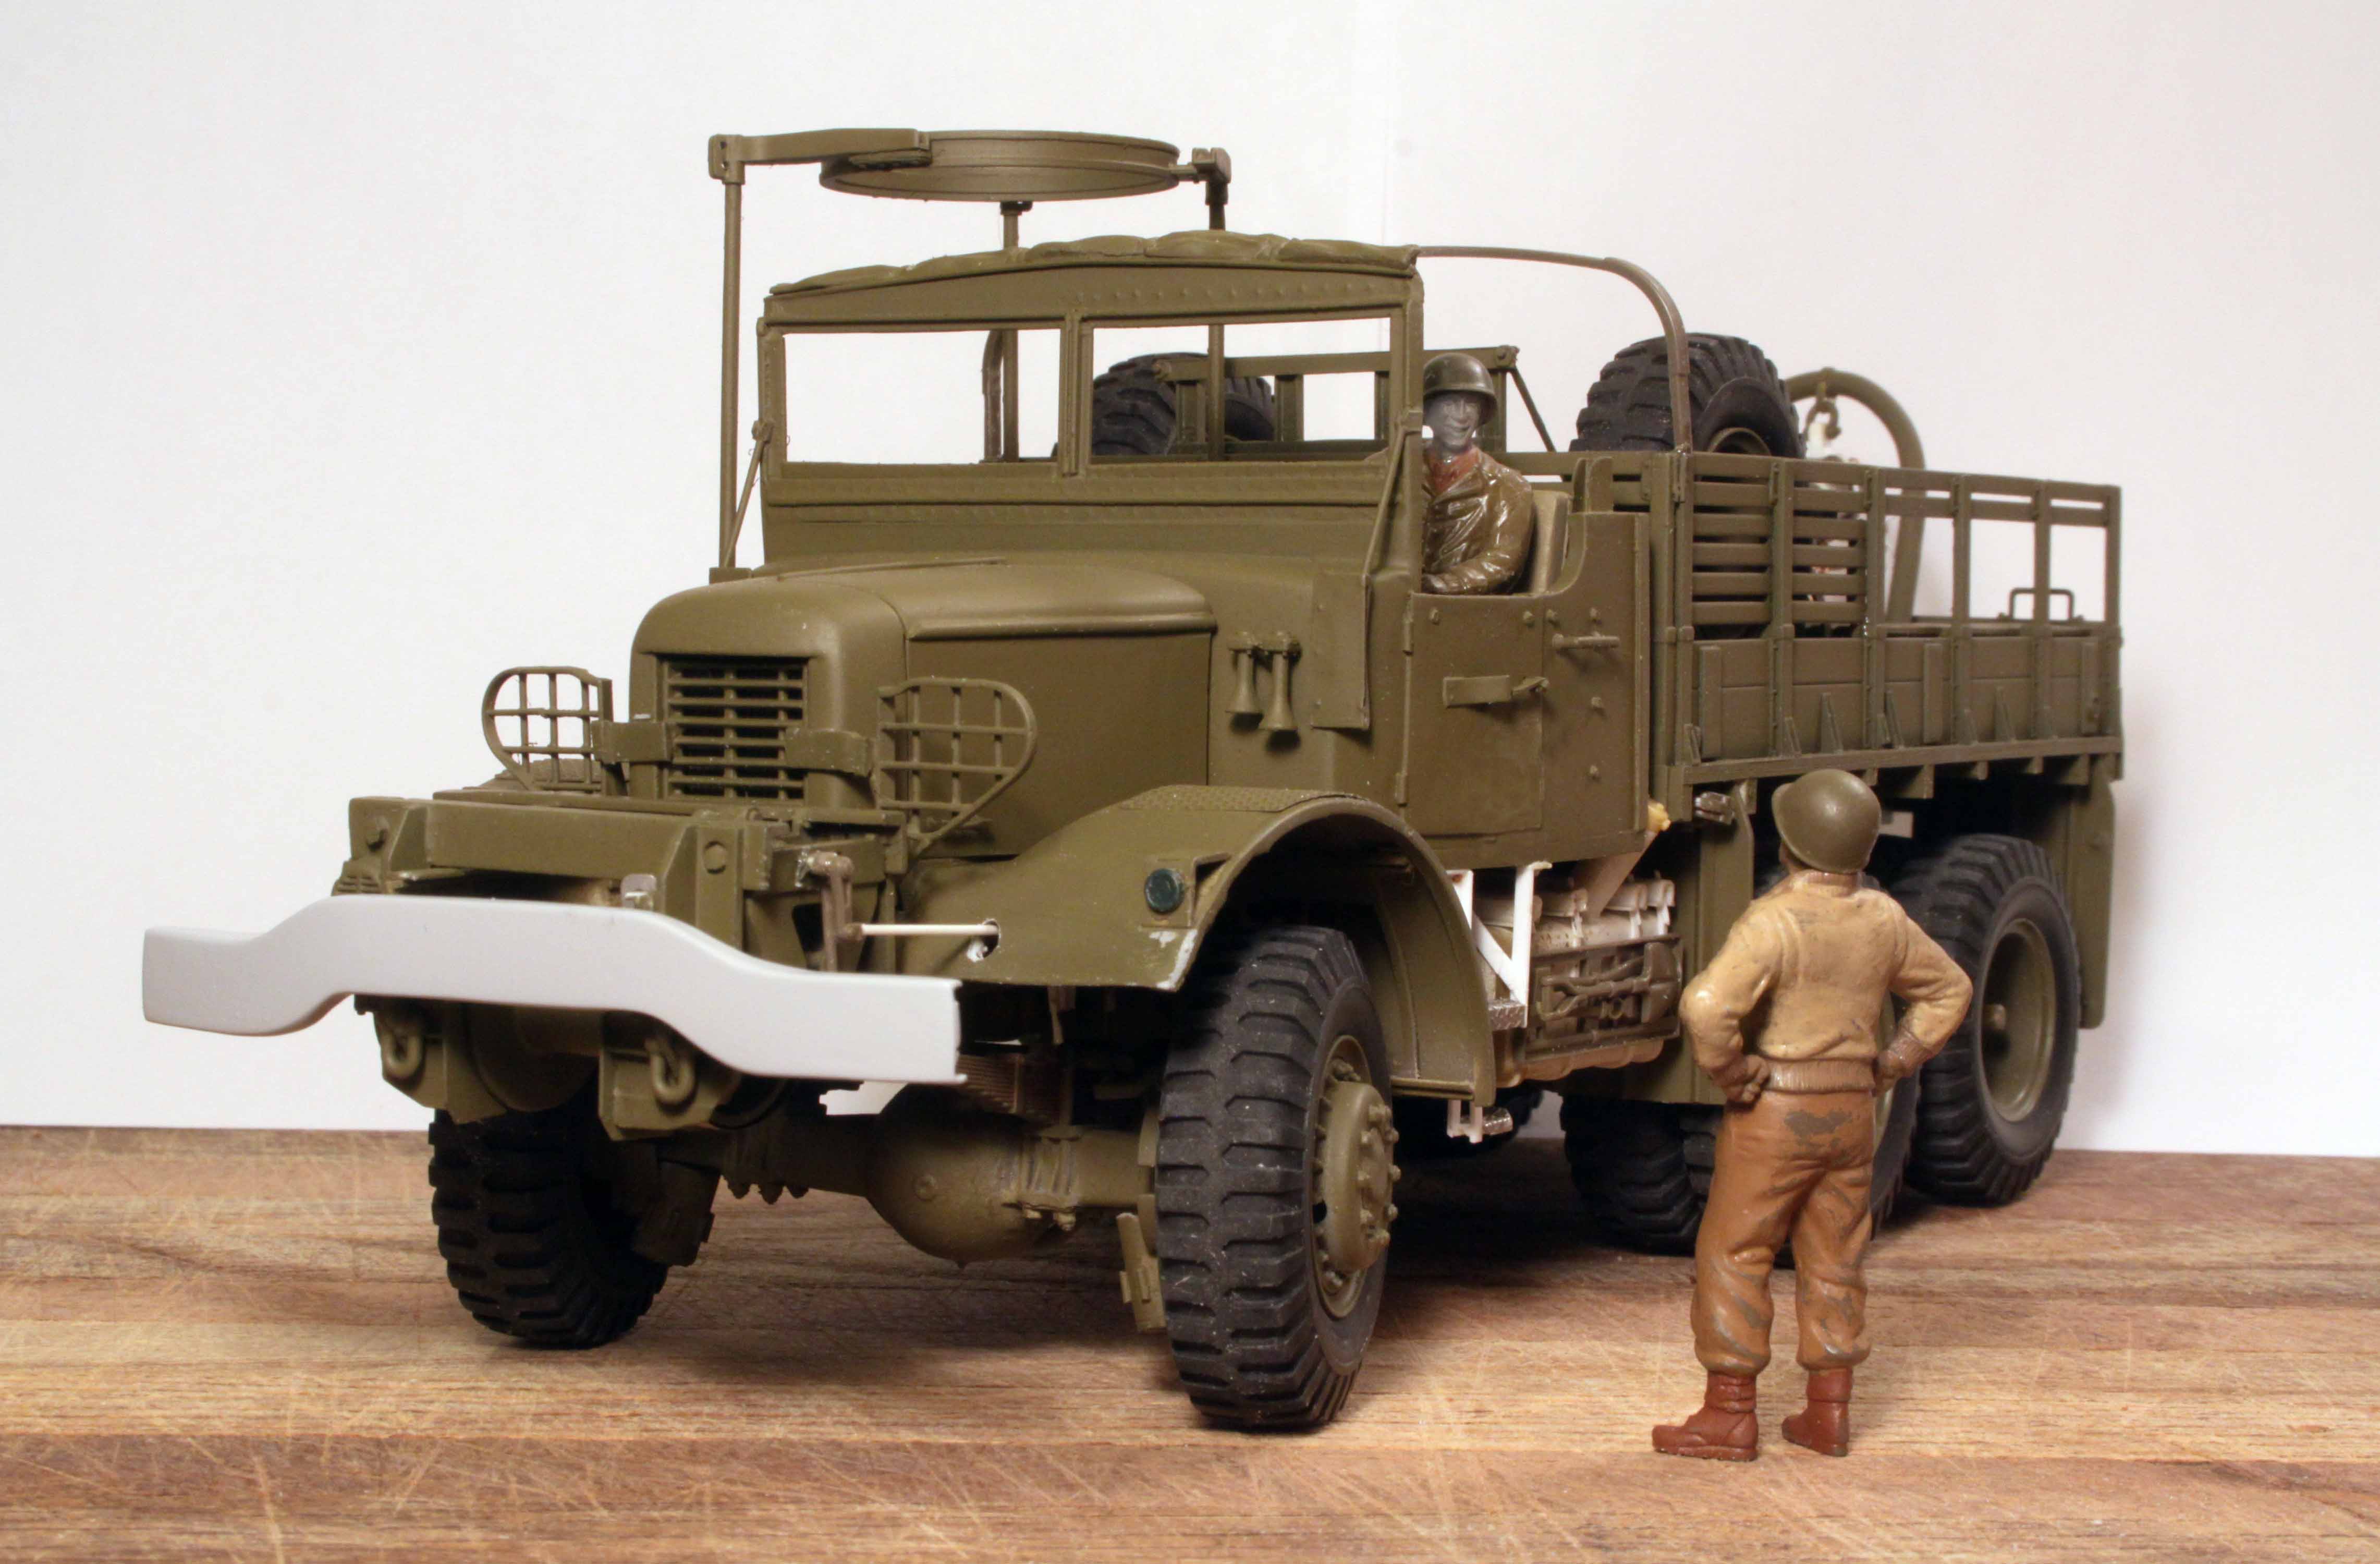
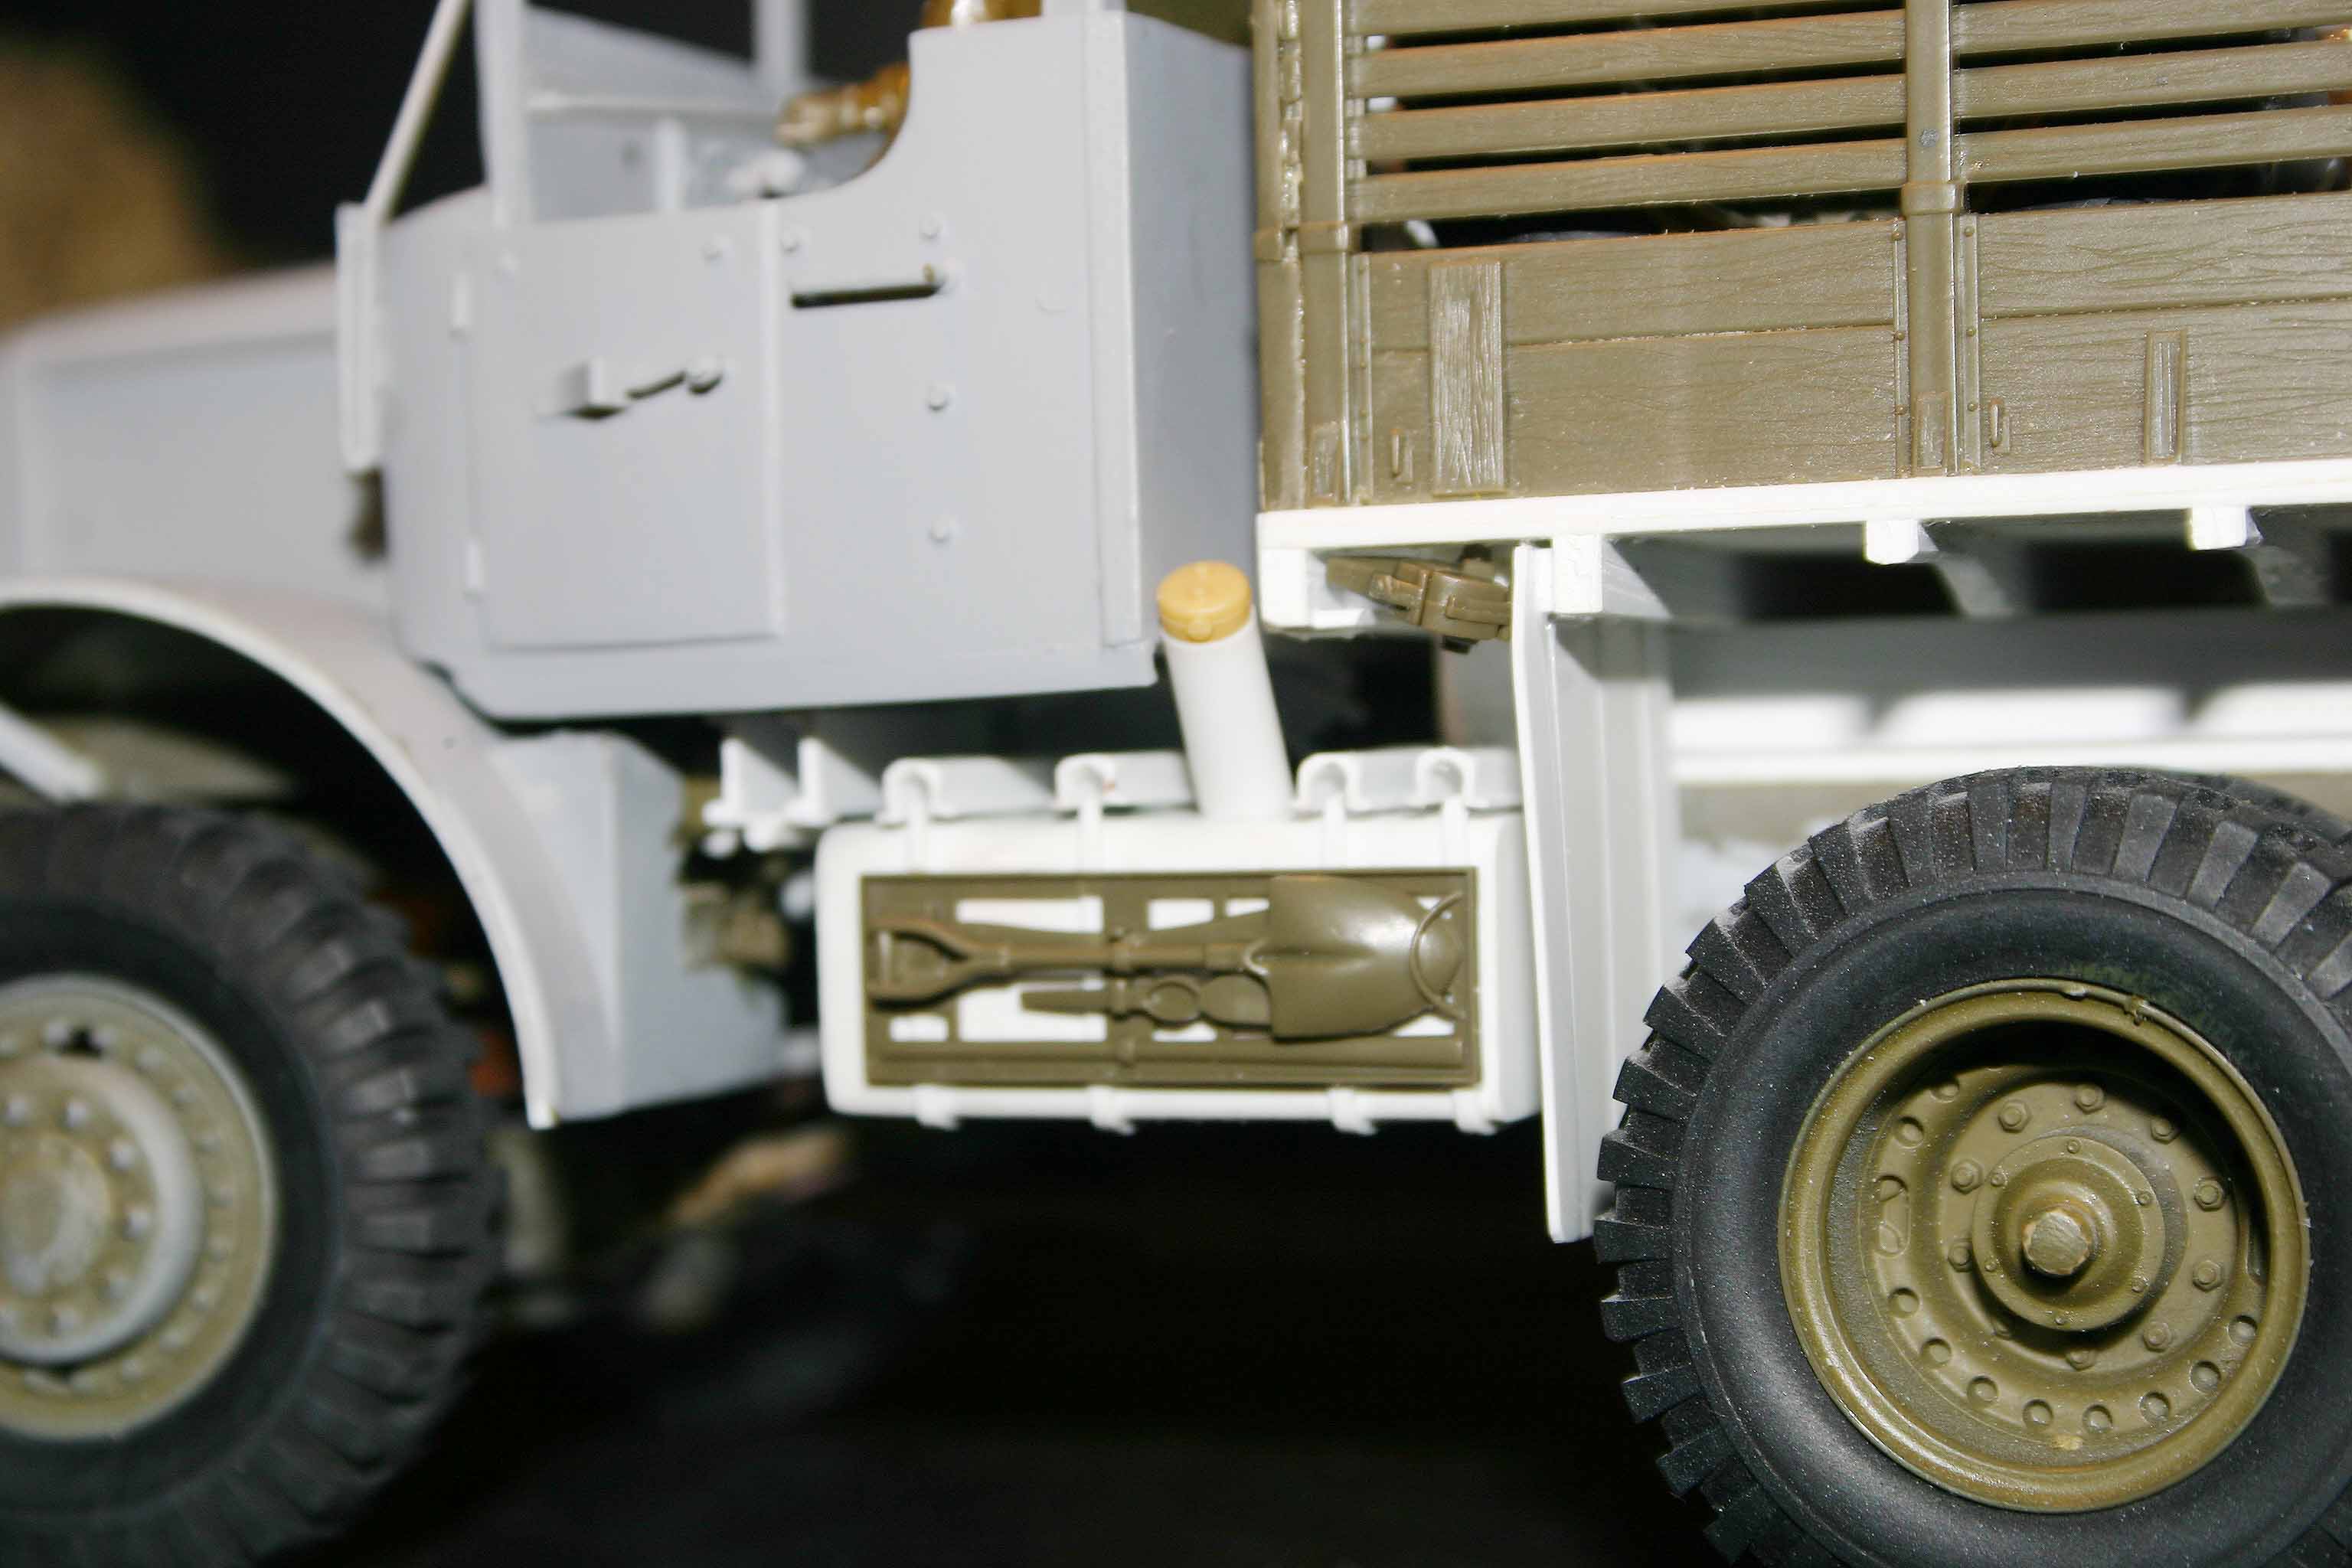
I carefully printed out this image on my home printer until the proper size (width) was reached to match my model, p.s. I added approximately 1/32 inch to each end knowing that the real bumper curved back slightly on each end, whereas my photo was being printed flat.
I then used this paper pattern to create the silhouette for the model bumper.
I slowly and carefully tortured some small Evergreen angle into following the top and bottom curves of this pattern to finally form a true “C” channel bumper as on the real Mack.
Forming the final rearward arch of the bumper on the left and right ends was just a little bit more torture using hot water and some manual persuasion.
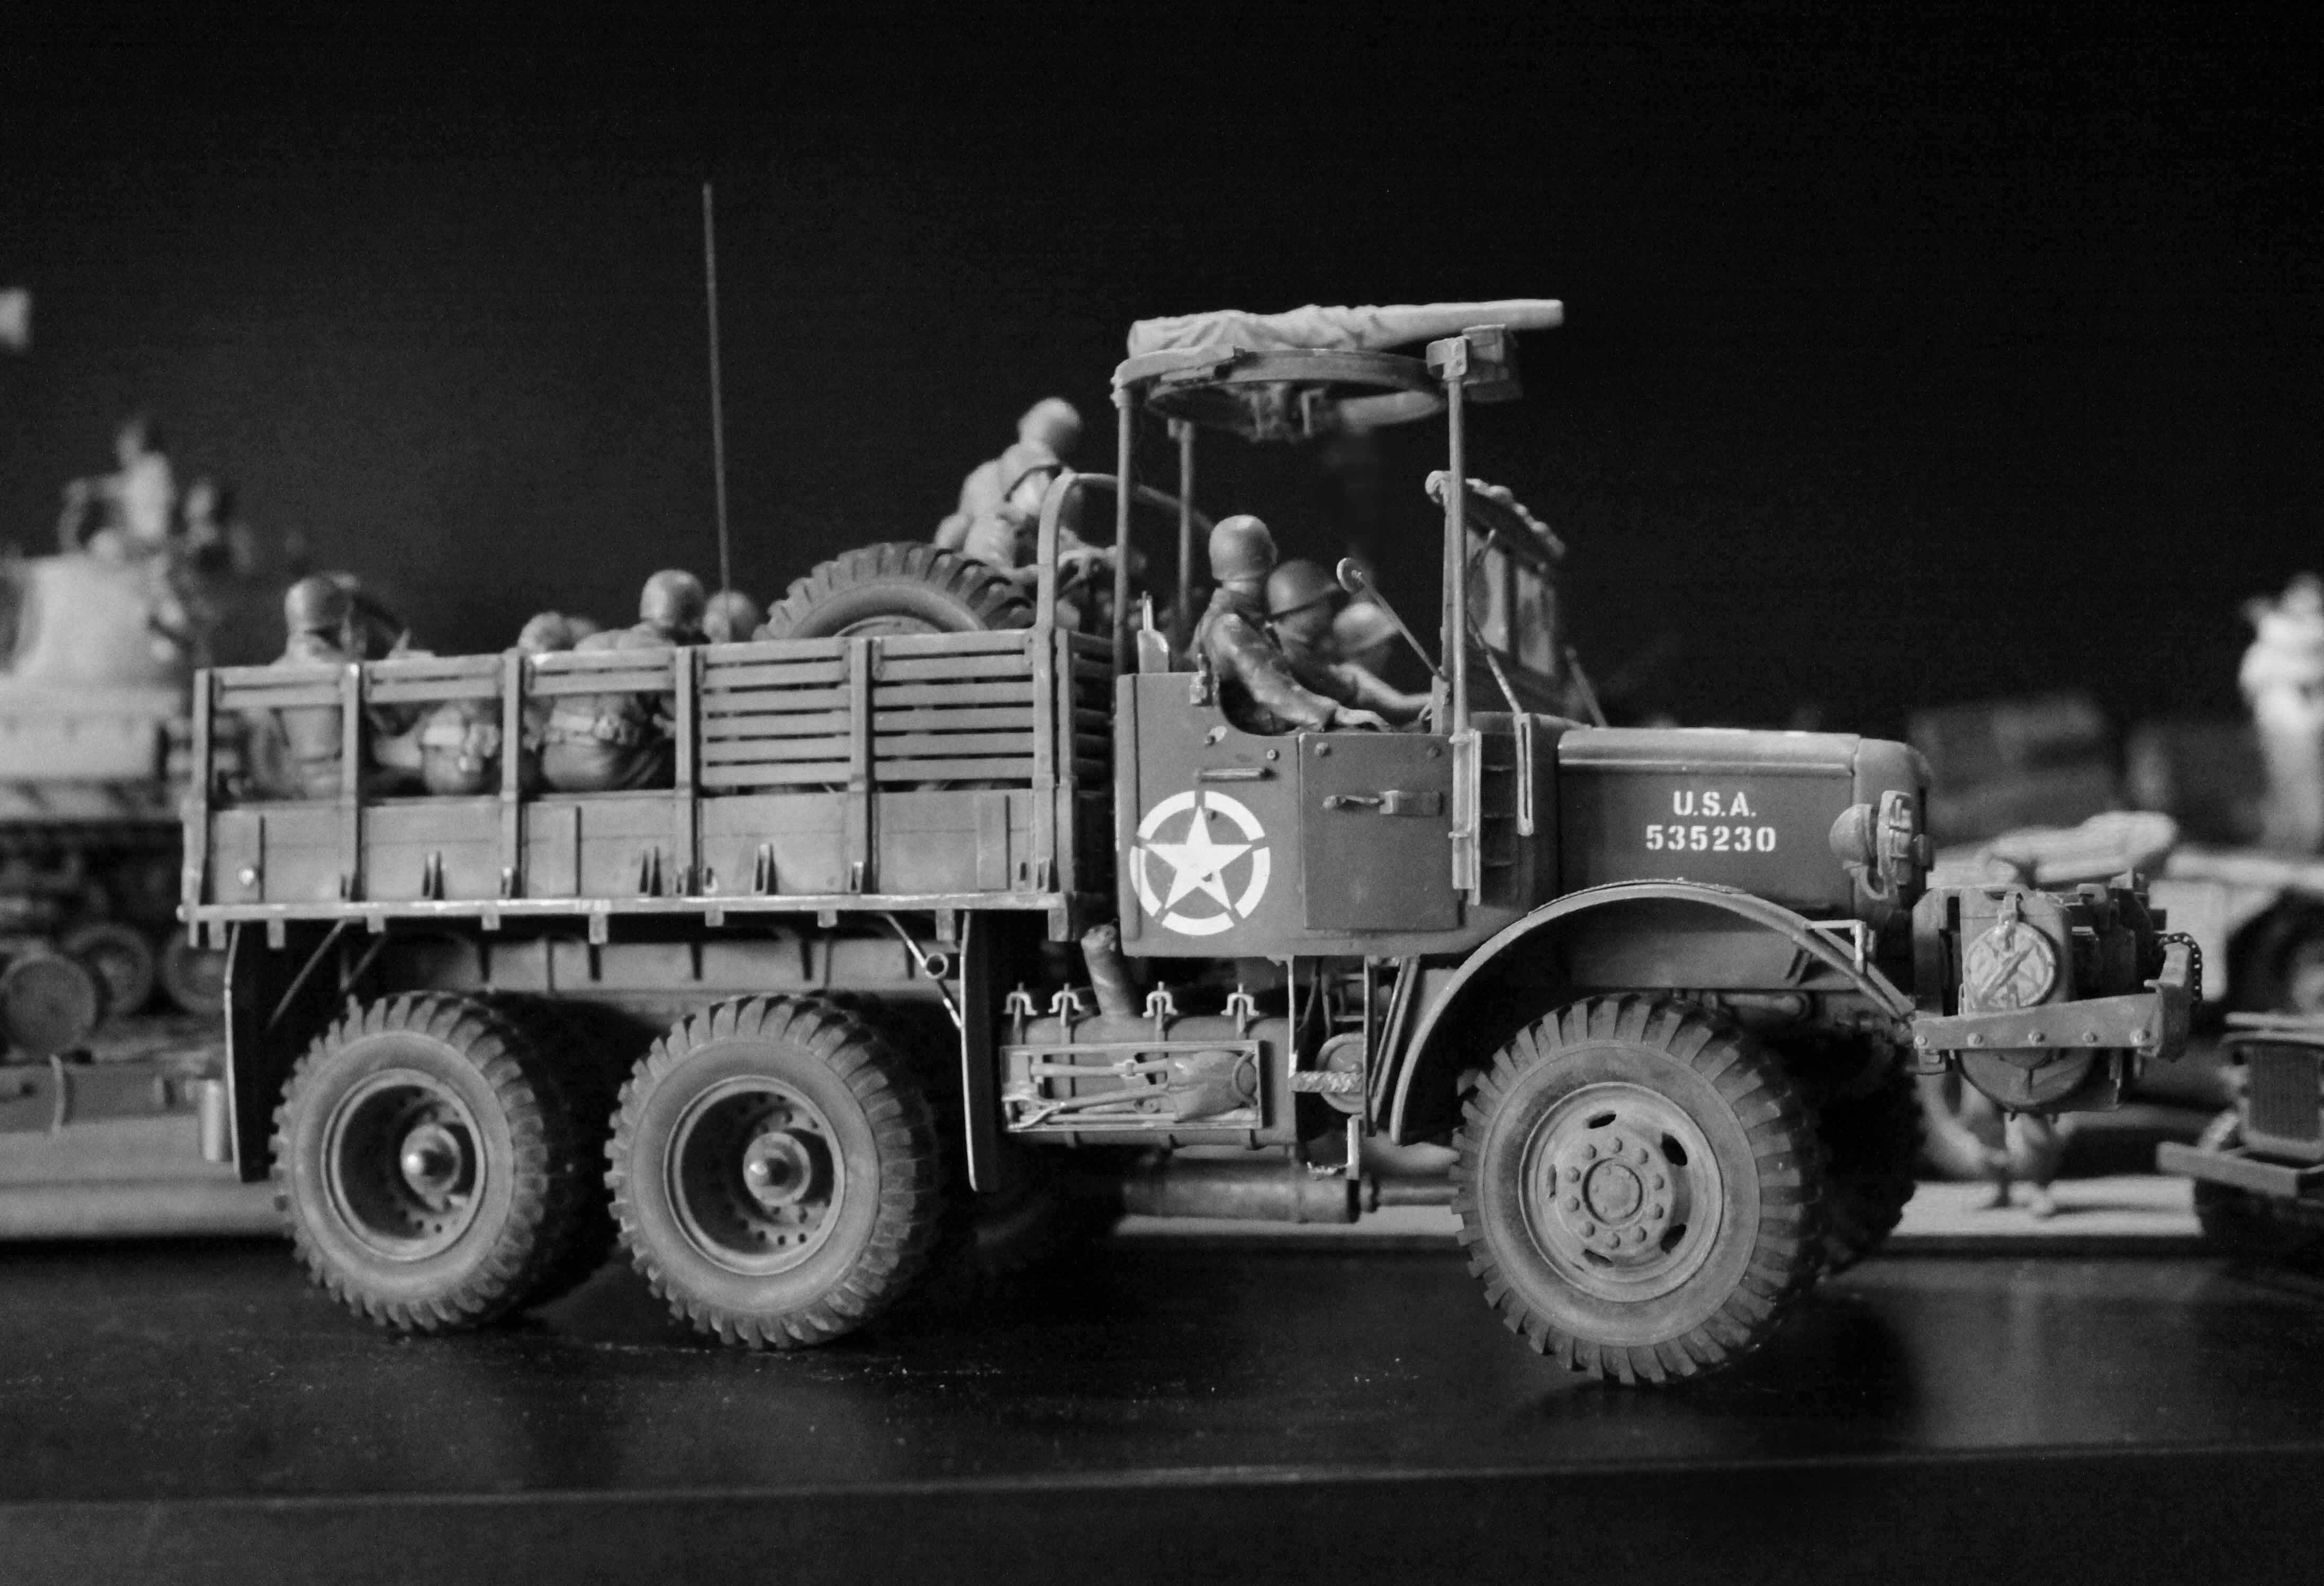
While it may seem that I am trying to encourage everyone to build a Mack NO.** In reality I am simply trying to encourage everyone to sometimes “think outside the box” in regards to scratch building in general and in making alterations (or corrections) to your current model builds.
** I do admit I AM TRYING to encourage some model manufacture to finally give us a Mack NO to pull all those now correctly back-dated WWII 155mm and 8 inch guns from AFV Club! (LZ Models are you listening???)
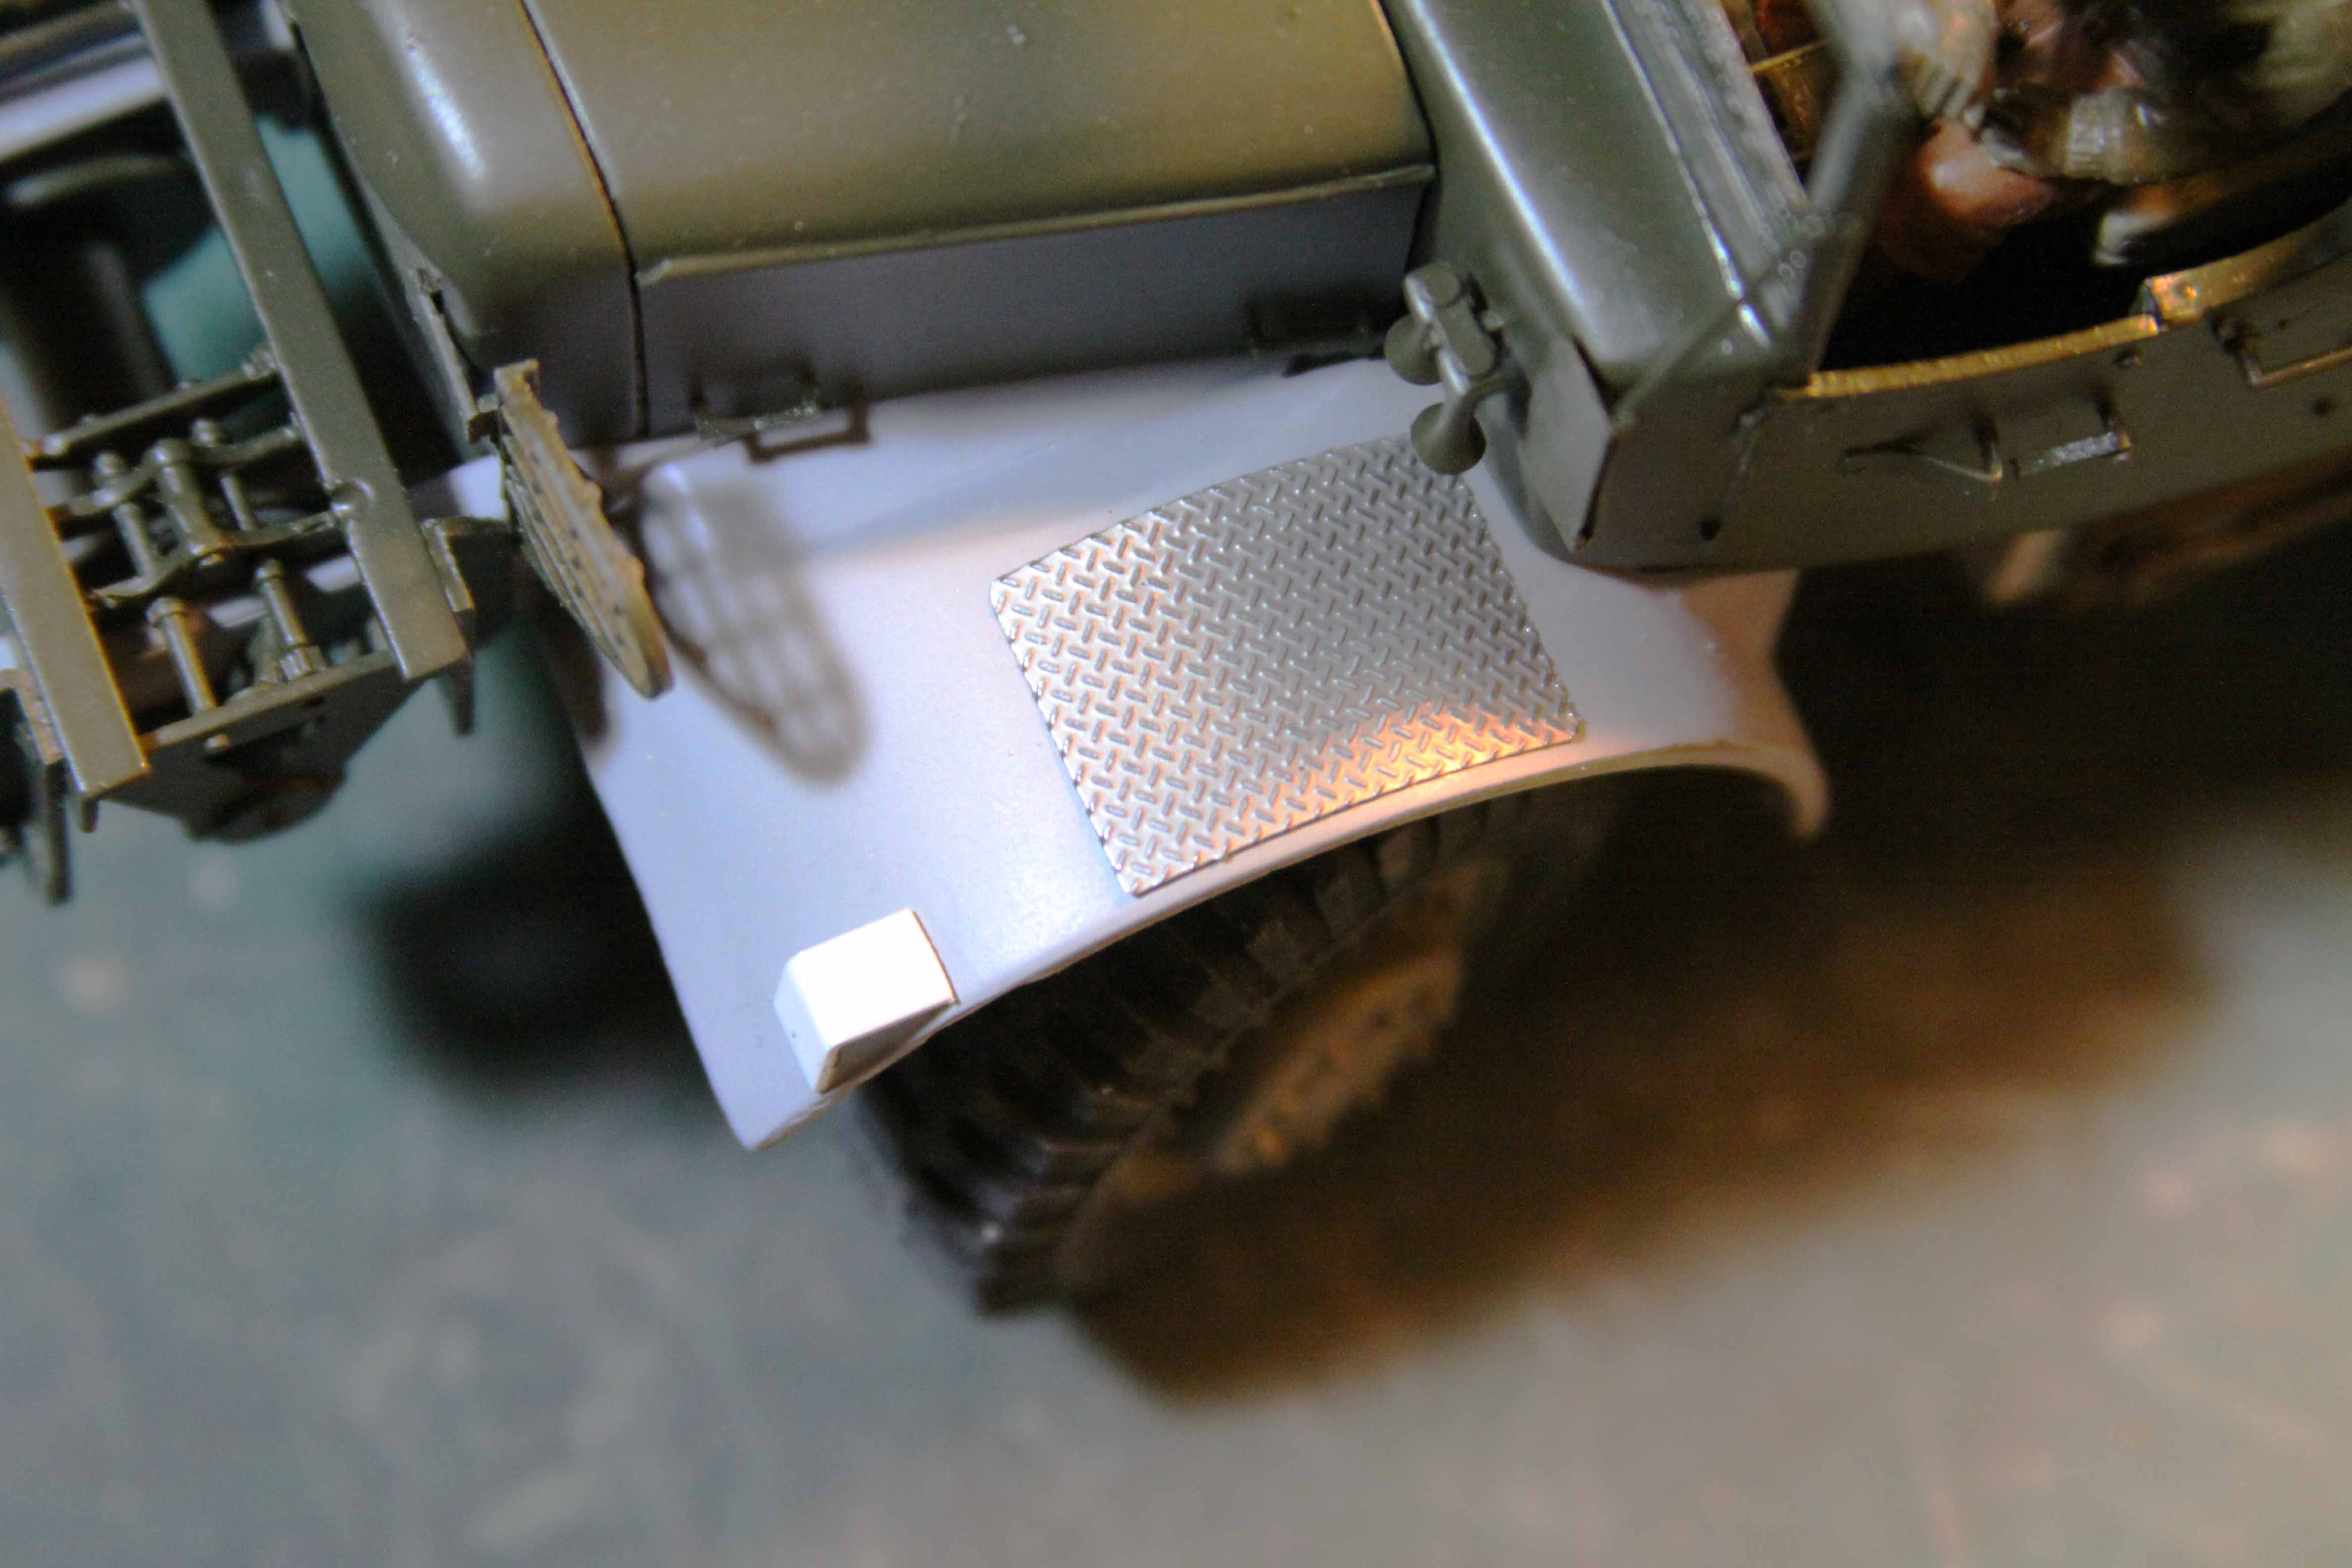
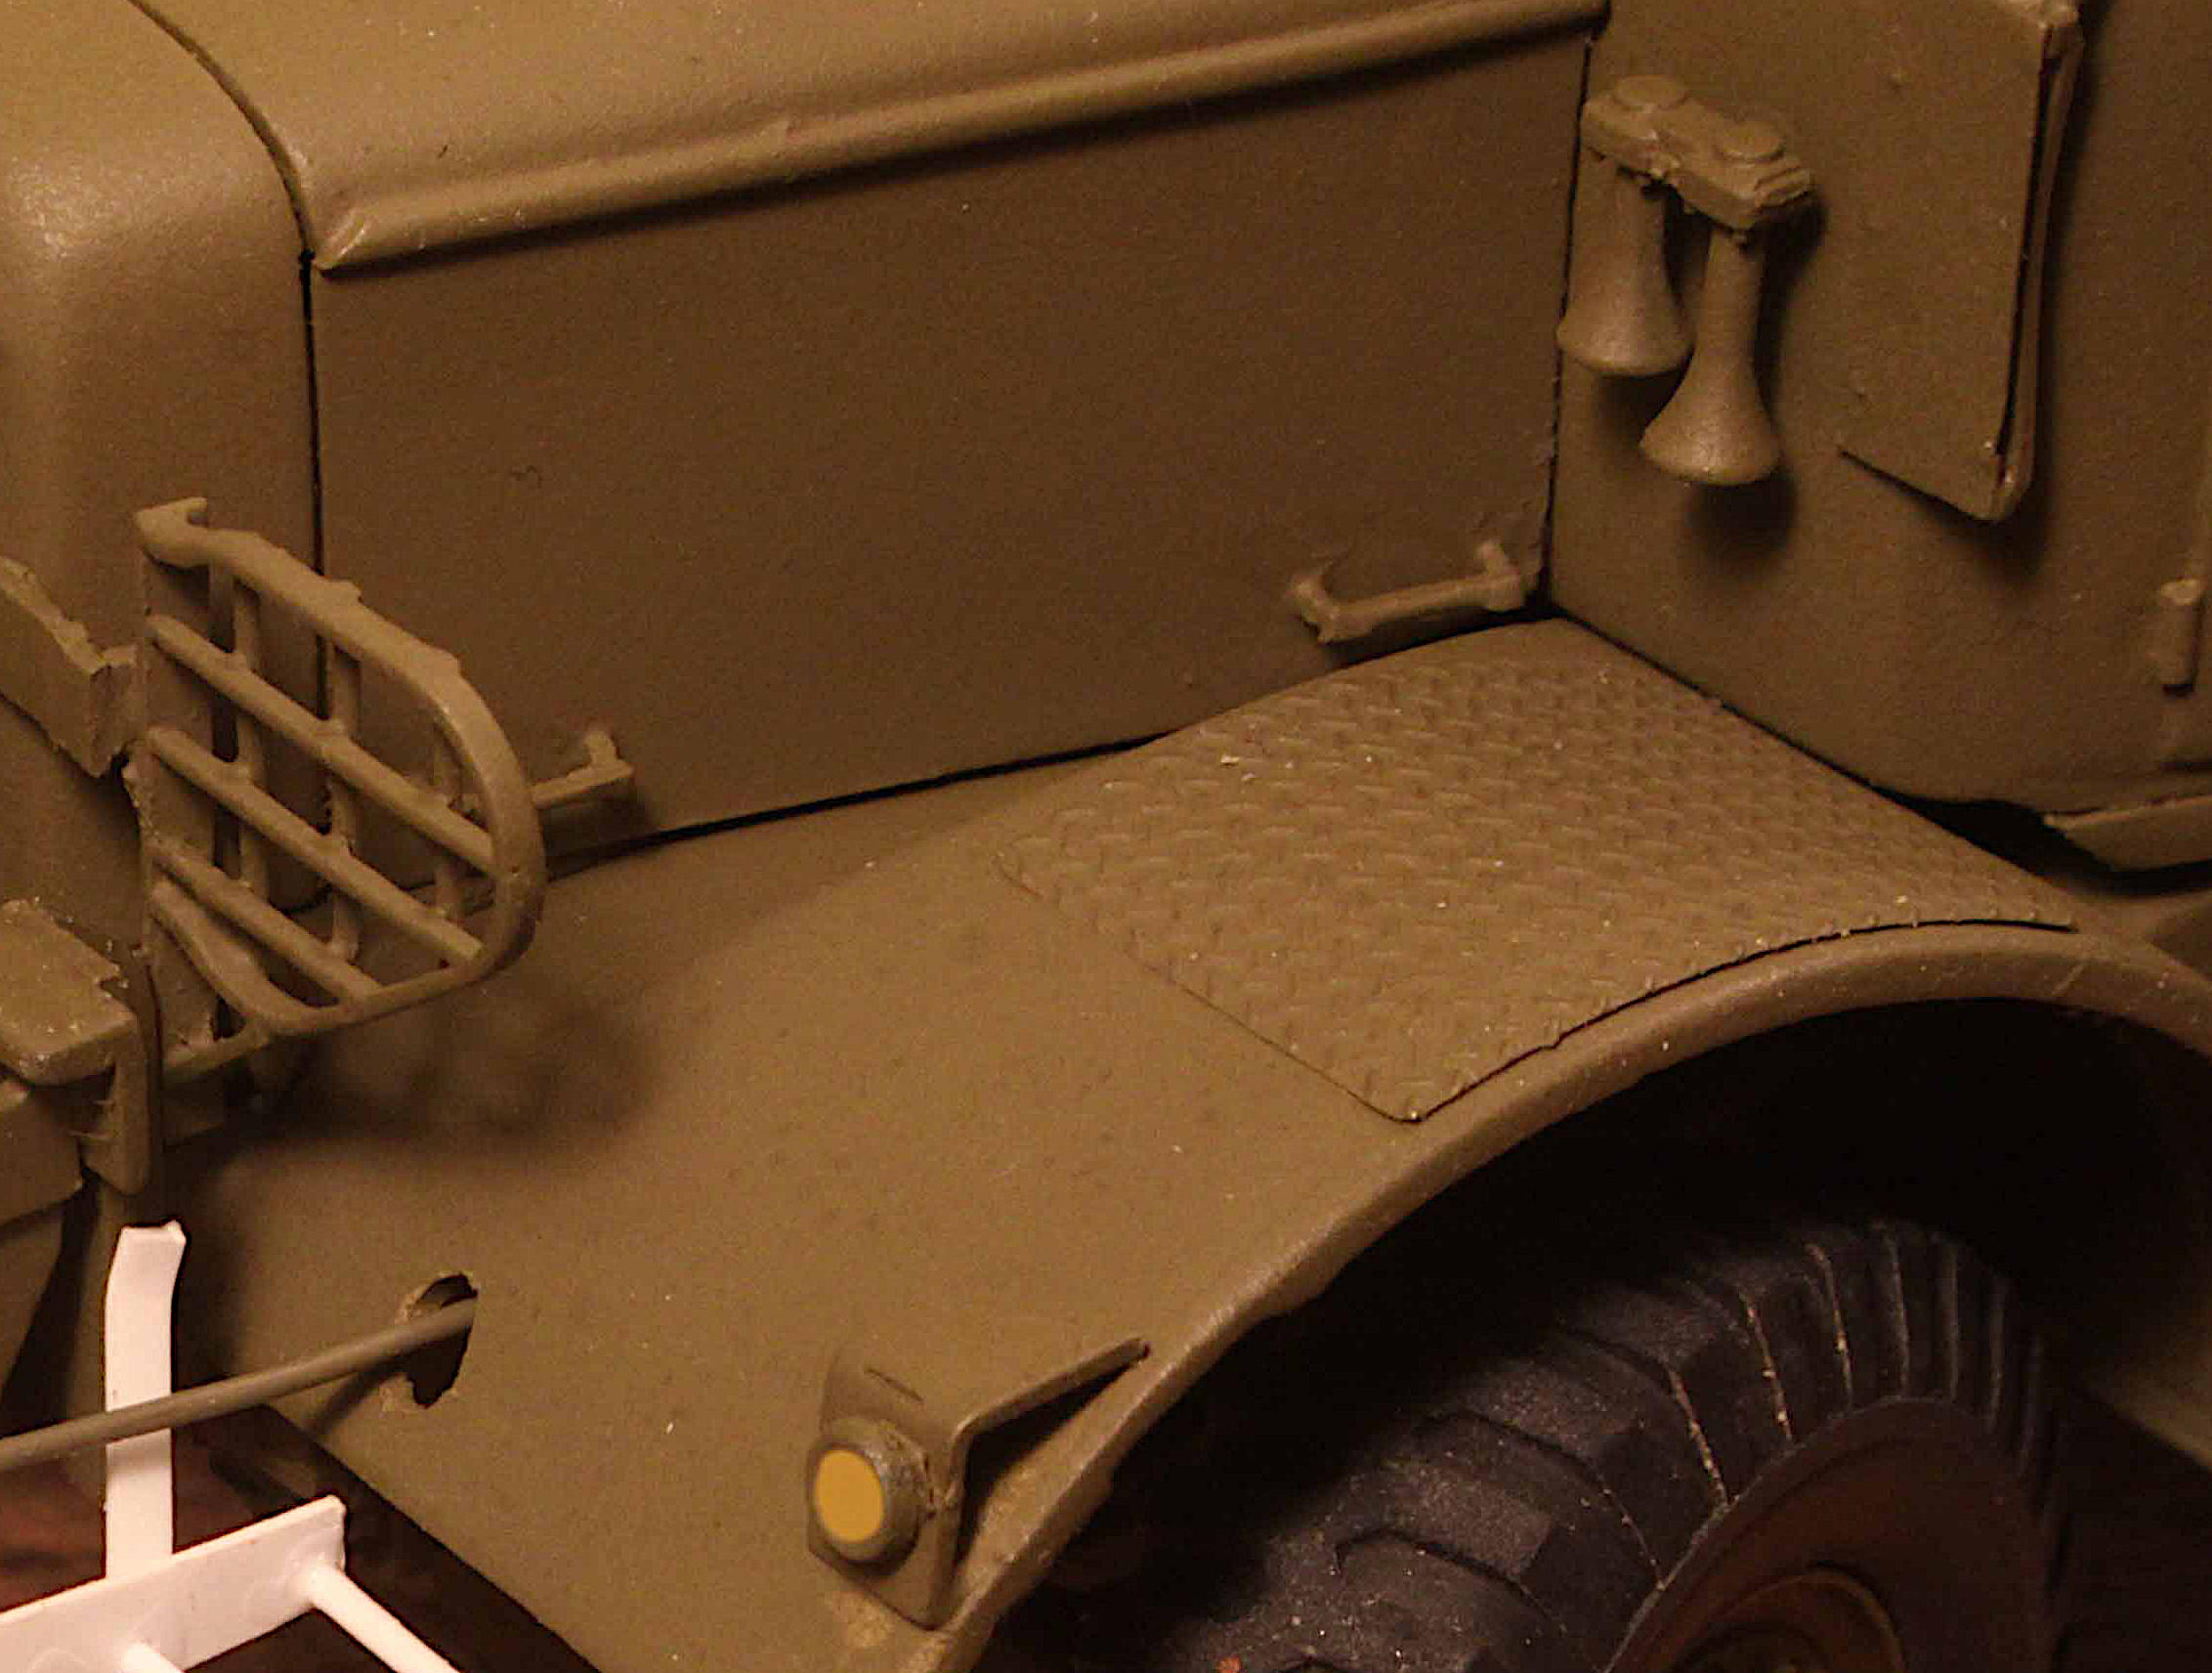
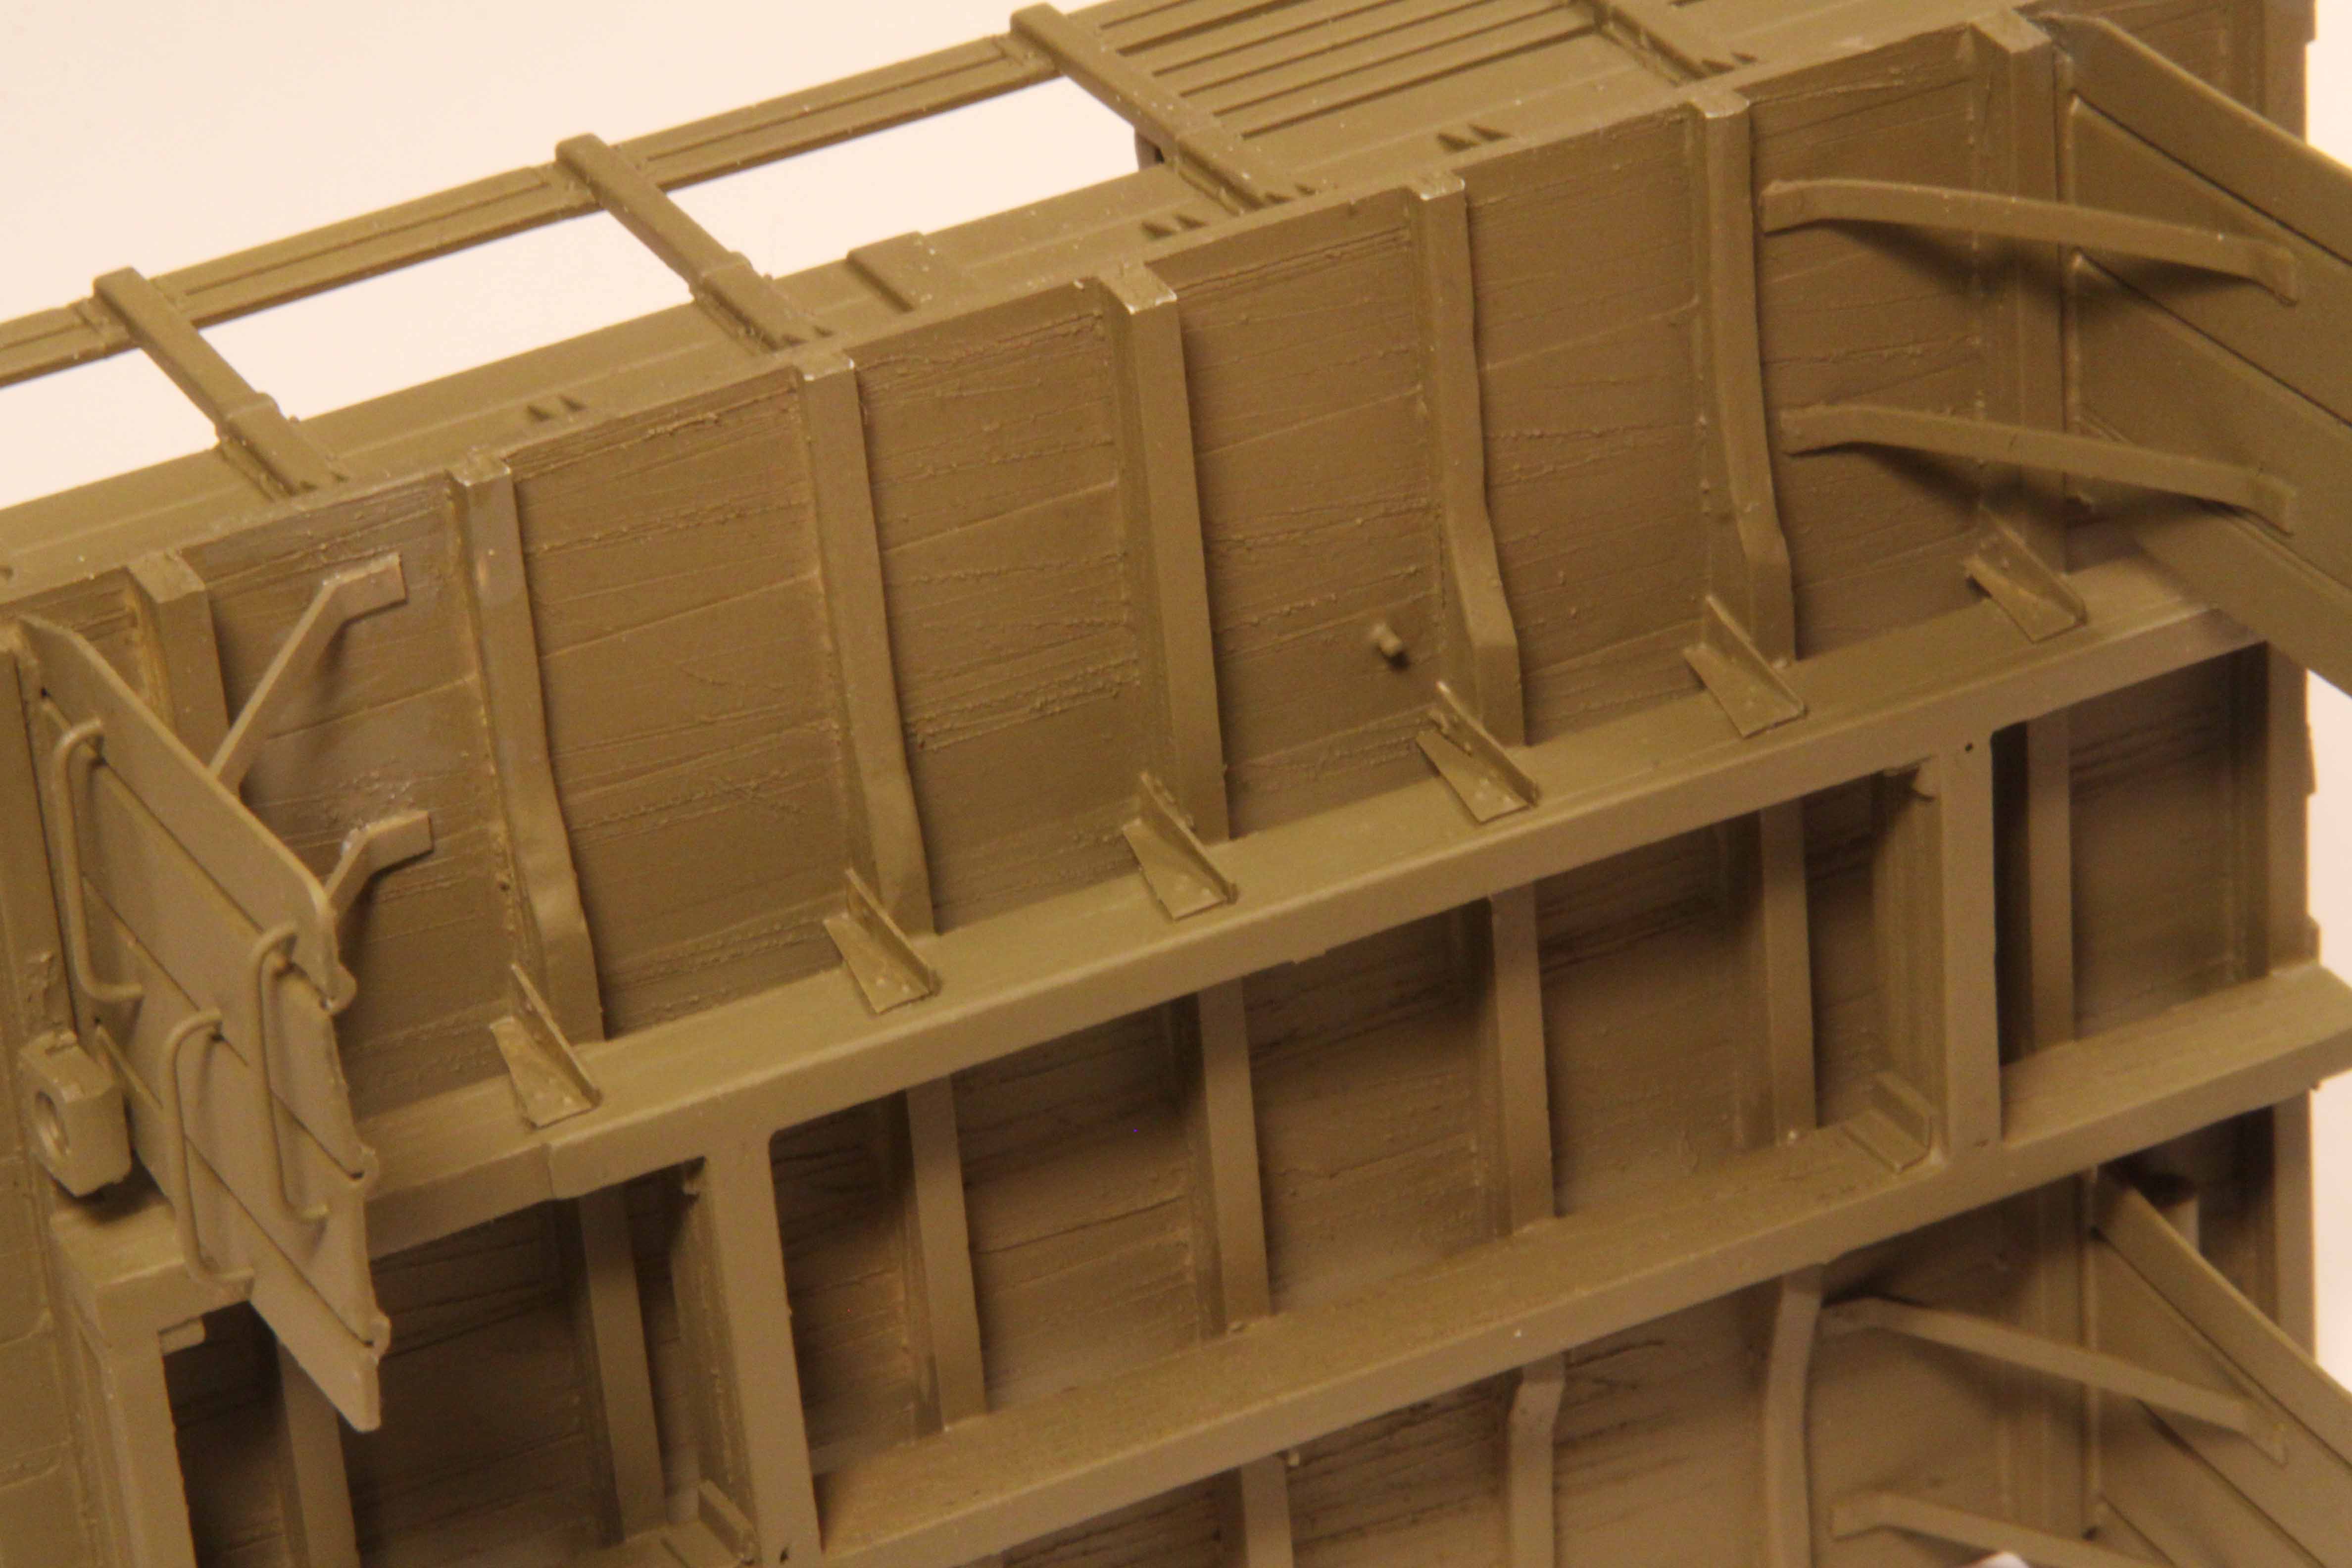
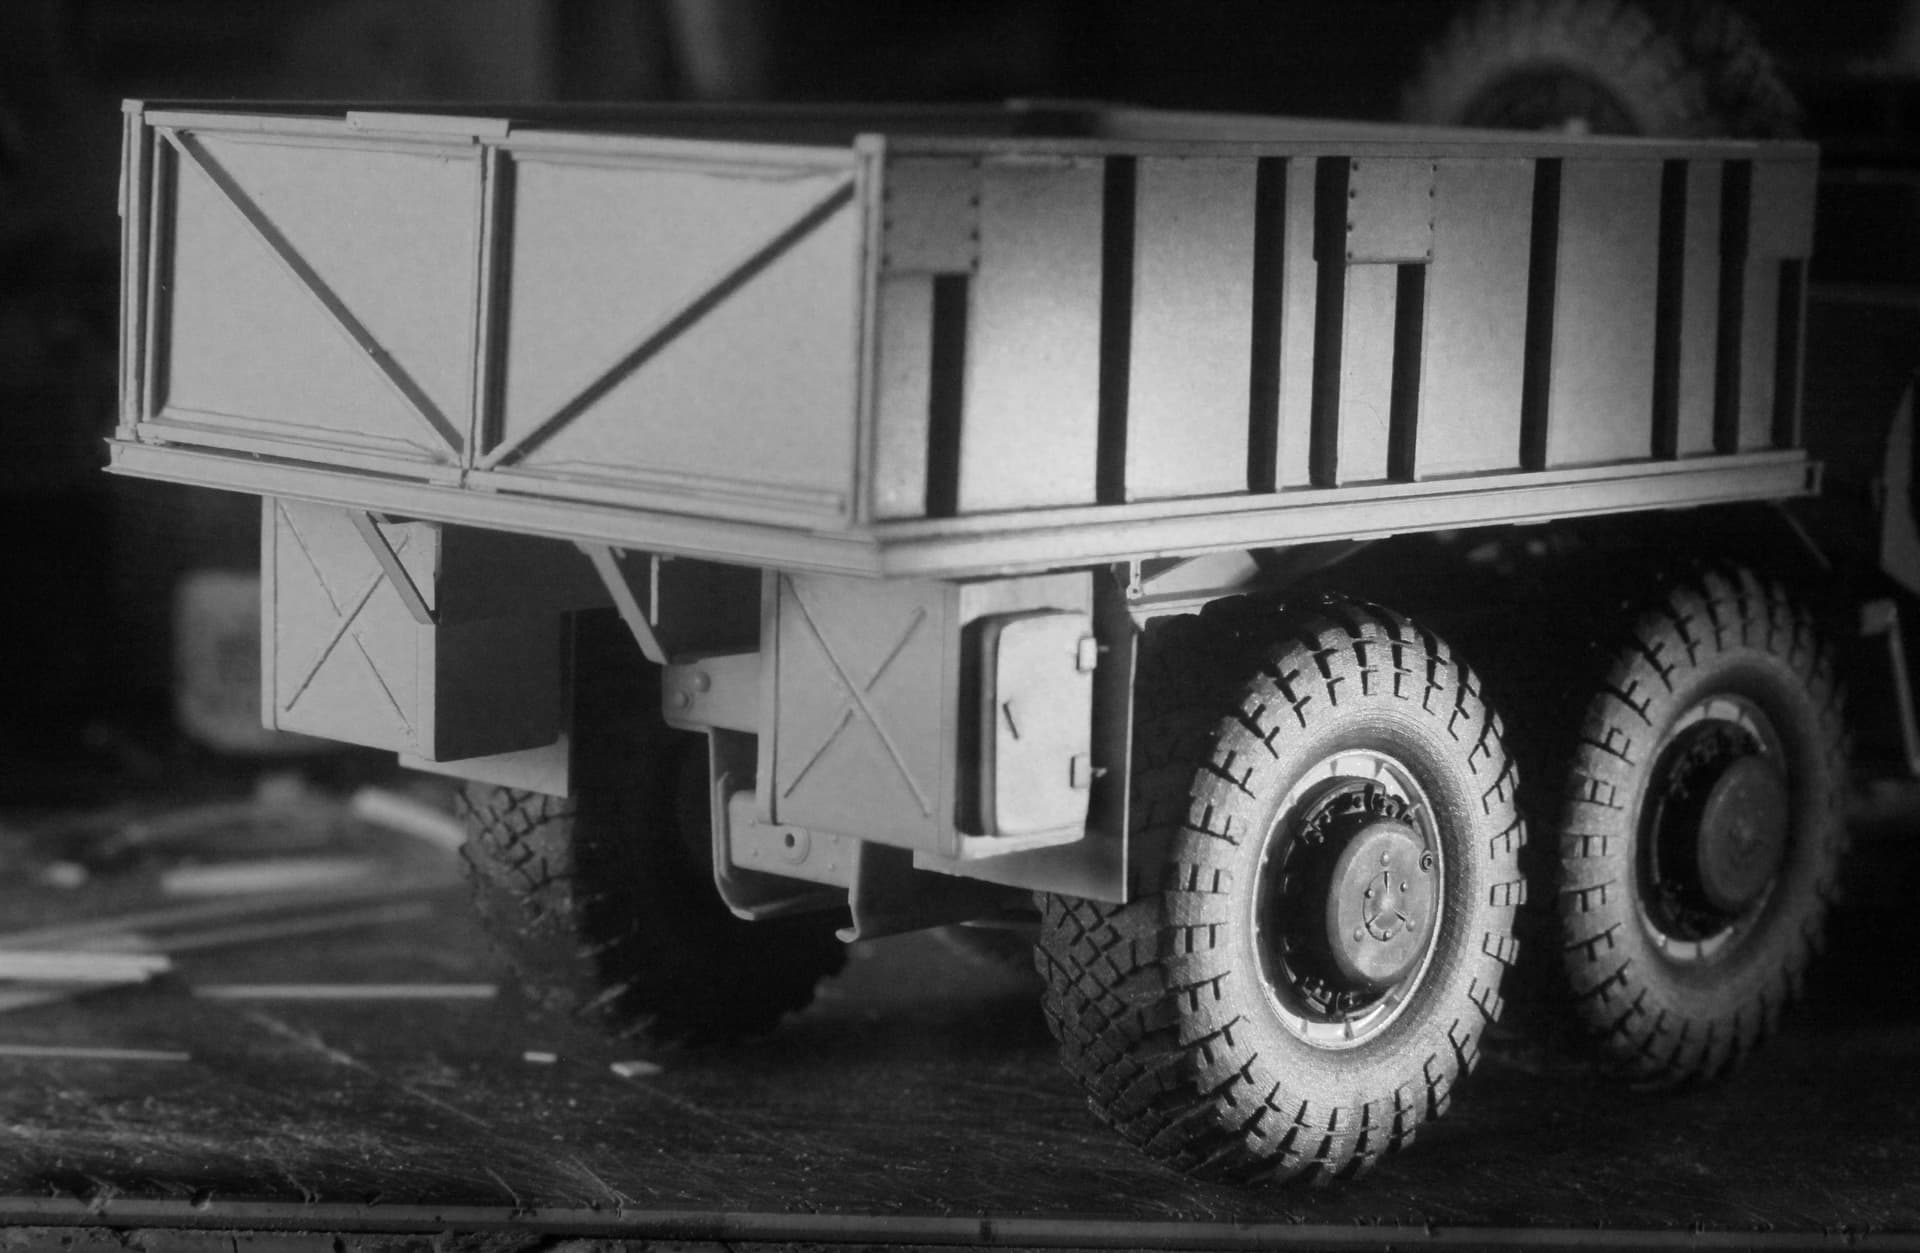
The tread plate that reenforces the top of the Mack fenders was an easy build. It only required recutting and shaping some of the many etched metal tread plates included with the Dragon Wagon Trailer.
I have a section of an old broom handle I roll the etched metal around when a gentle curve is required. Sometimes using the broom handle like a rolling pin on a soft surface such as a folded bath towel will usually get the job done.
Have not as yet had the chance to check out AFV Club’s big post-war M54 Cargo Truck. I suspect there might be many usuable parts there for building a Mack NO.
At the every least the cargo box should be near correct and this variant used (I think) the same tires and wheel rims as the Mack so there might be a major savings in time and effort right there.
These monsters where actually stamped metal and not just heavy fibre like we are used to today. For a long time I considered actually trying to make them out of stamped thin brass sheet but as I was considering how I might make a plastic stamping die I hit upon an alternate answer.
I decided to do something similar, construction wise, to my ladder building techniques.
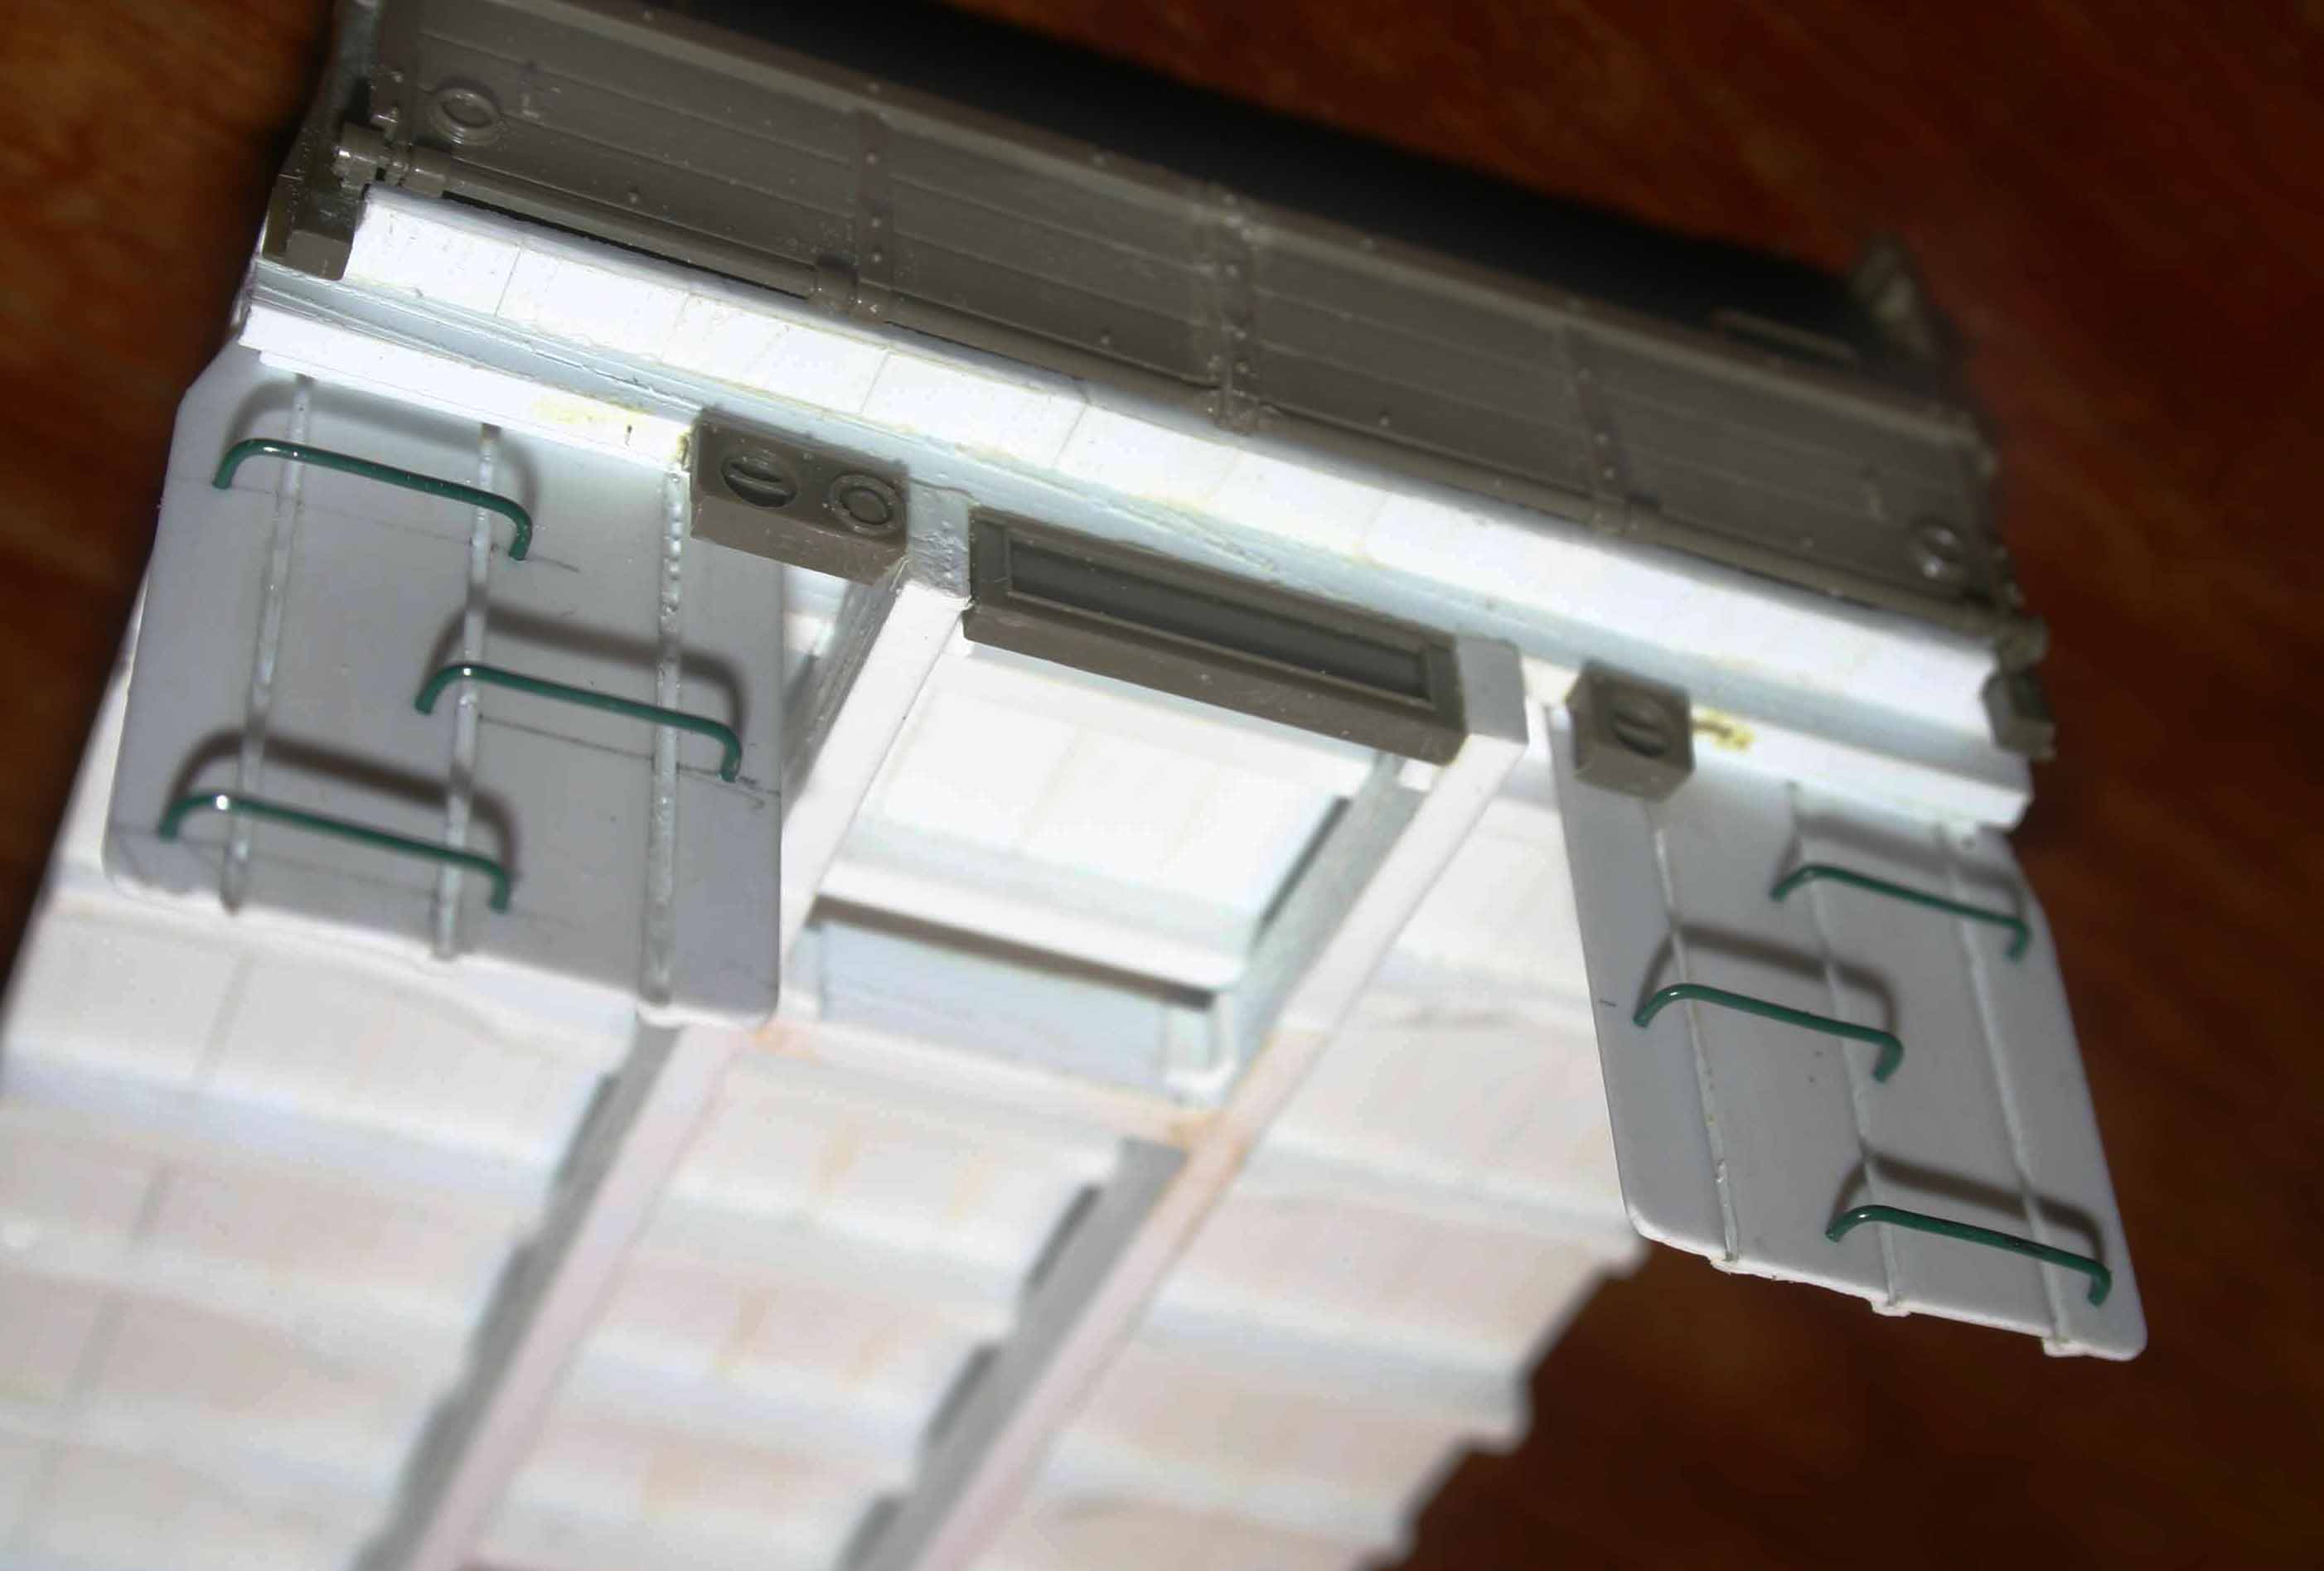
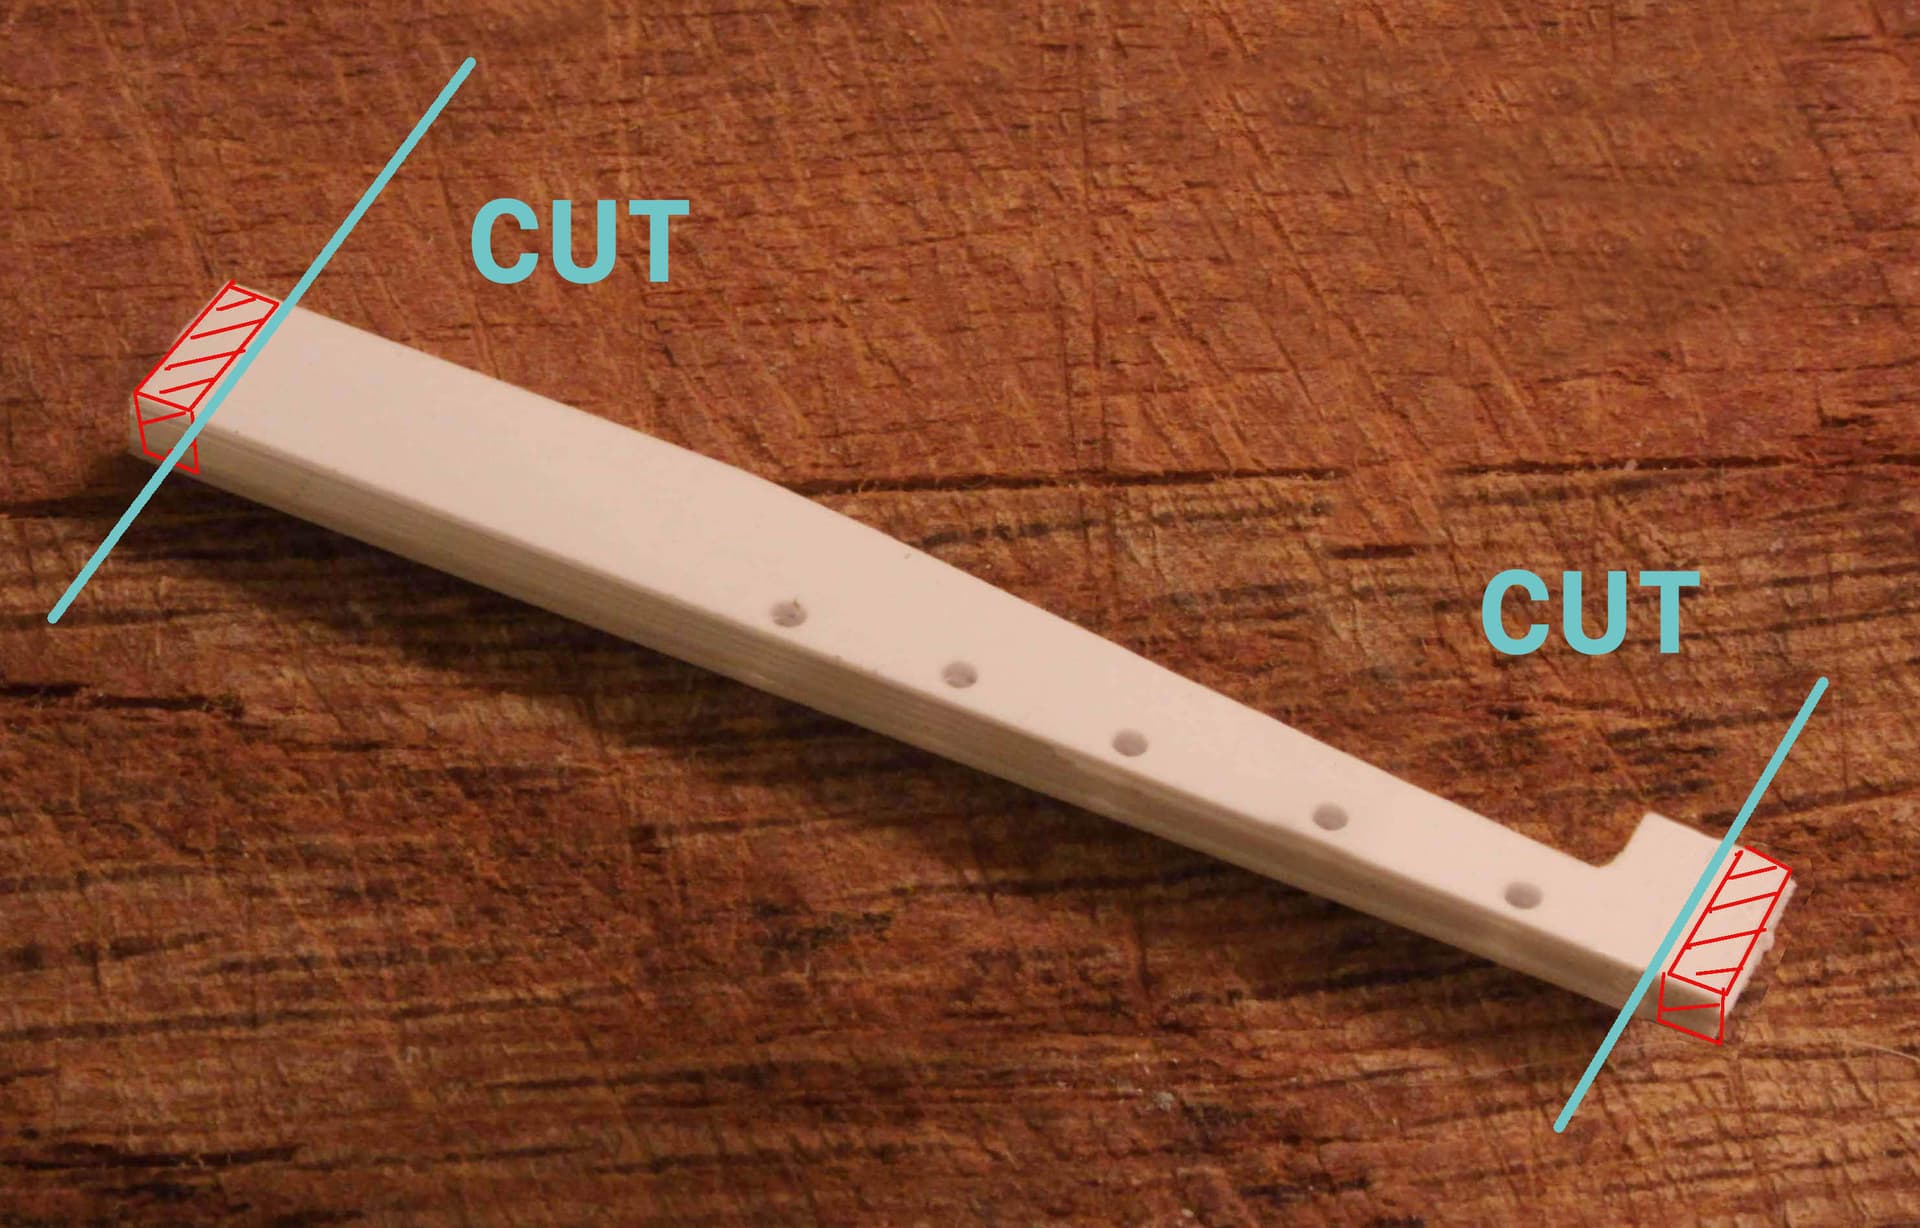
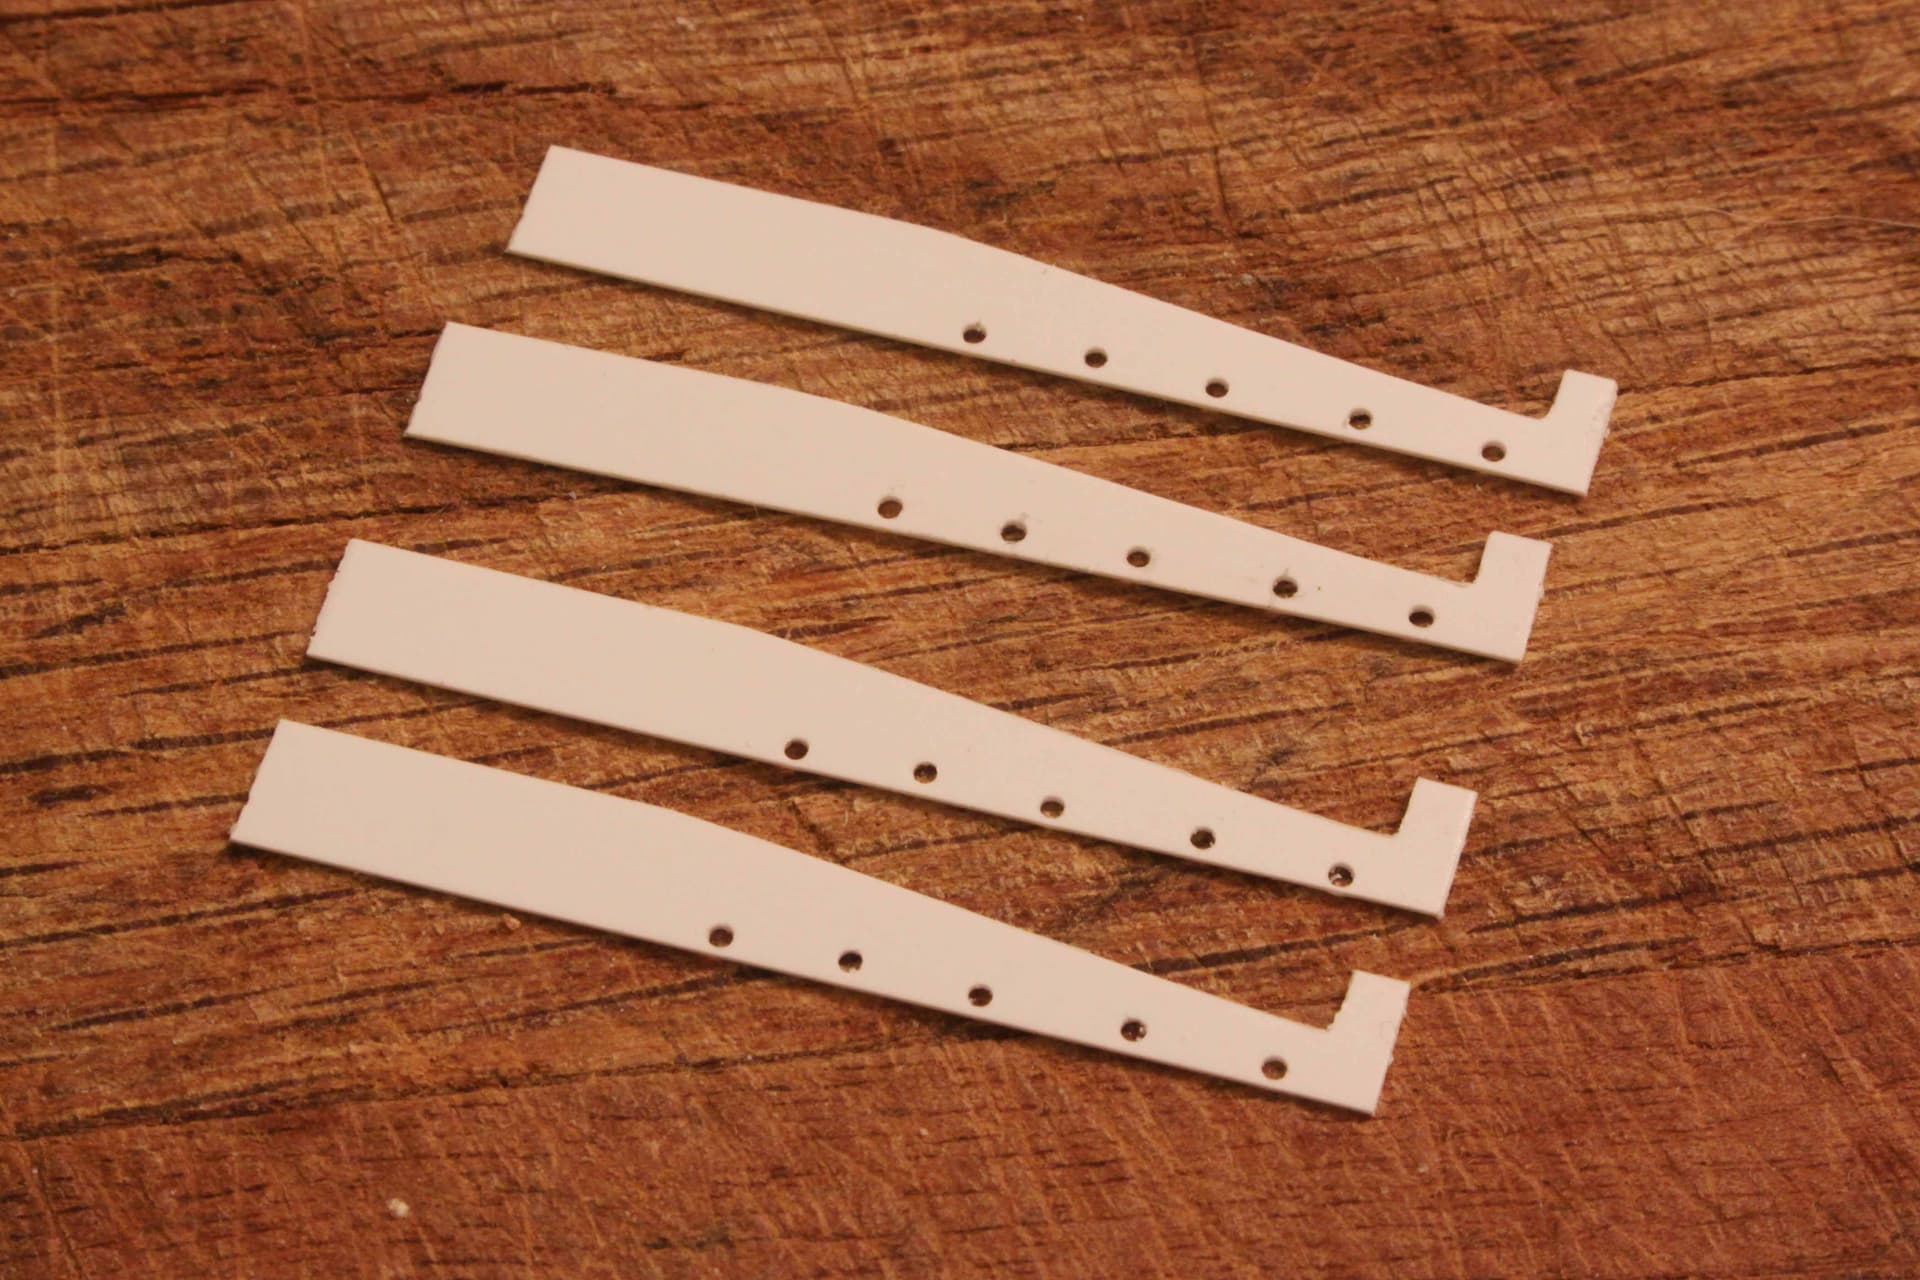
I took four long pieces of Evergreen plastic stock (long enought to cut all four guards out of) and glued a crossbar to each end to maintain the proper spacing between the flat surfaces and what would soon become the stamped and raised reenforcing ribs.
I then took some small Evergreen “V” stock and glued those onto the flat stock to form the raised ribs. I was very generous with the glue/solvent on these ribs as I certainly did not want them separating later.
I laid glue down each side of these “V” ribs as well as into the groove on the reverse side. I then sanded the top ridge of these “V” ribs to give them a more rounded profile. Finally I cut each individual mud flap* * out of this long assembly, (after allowing much time for the solvent to work its’ magic and hopefully make this whole assemblage one solid piece.)
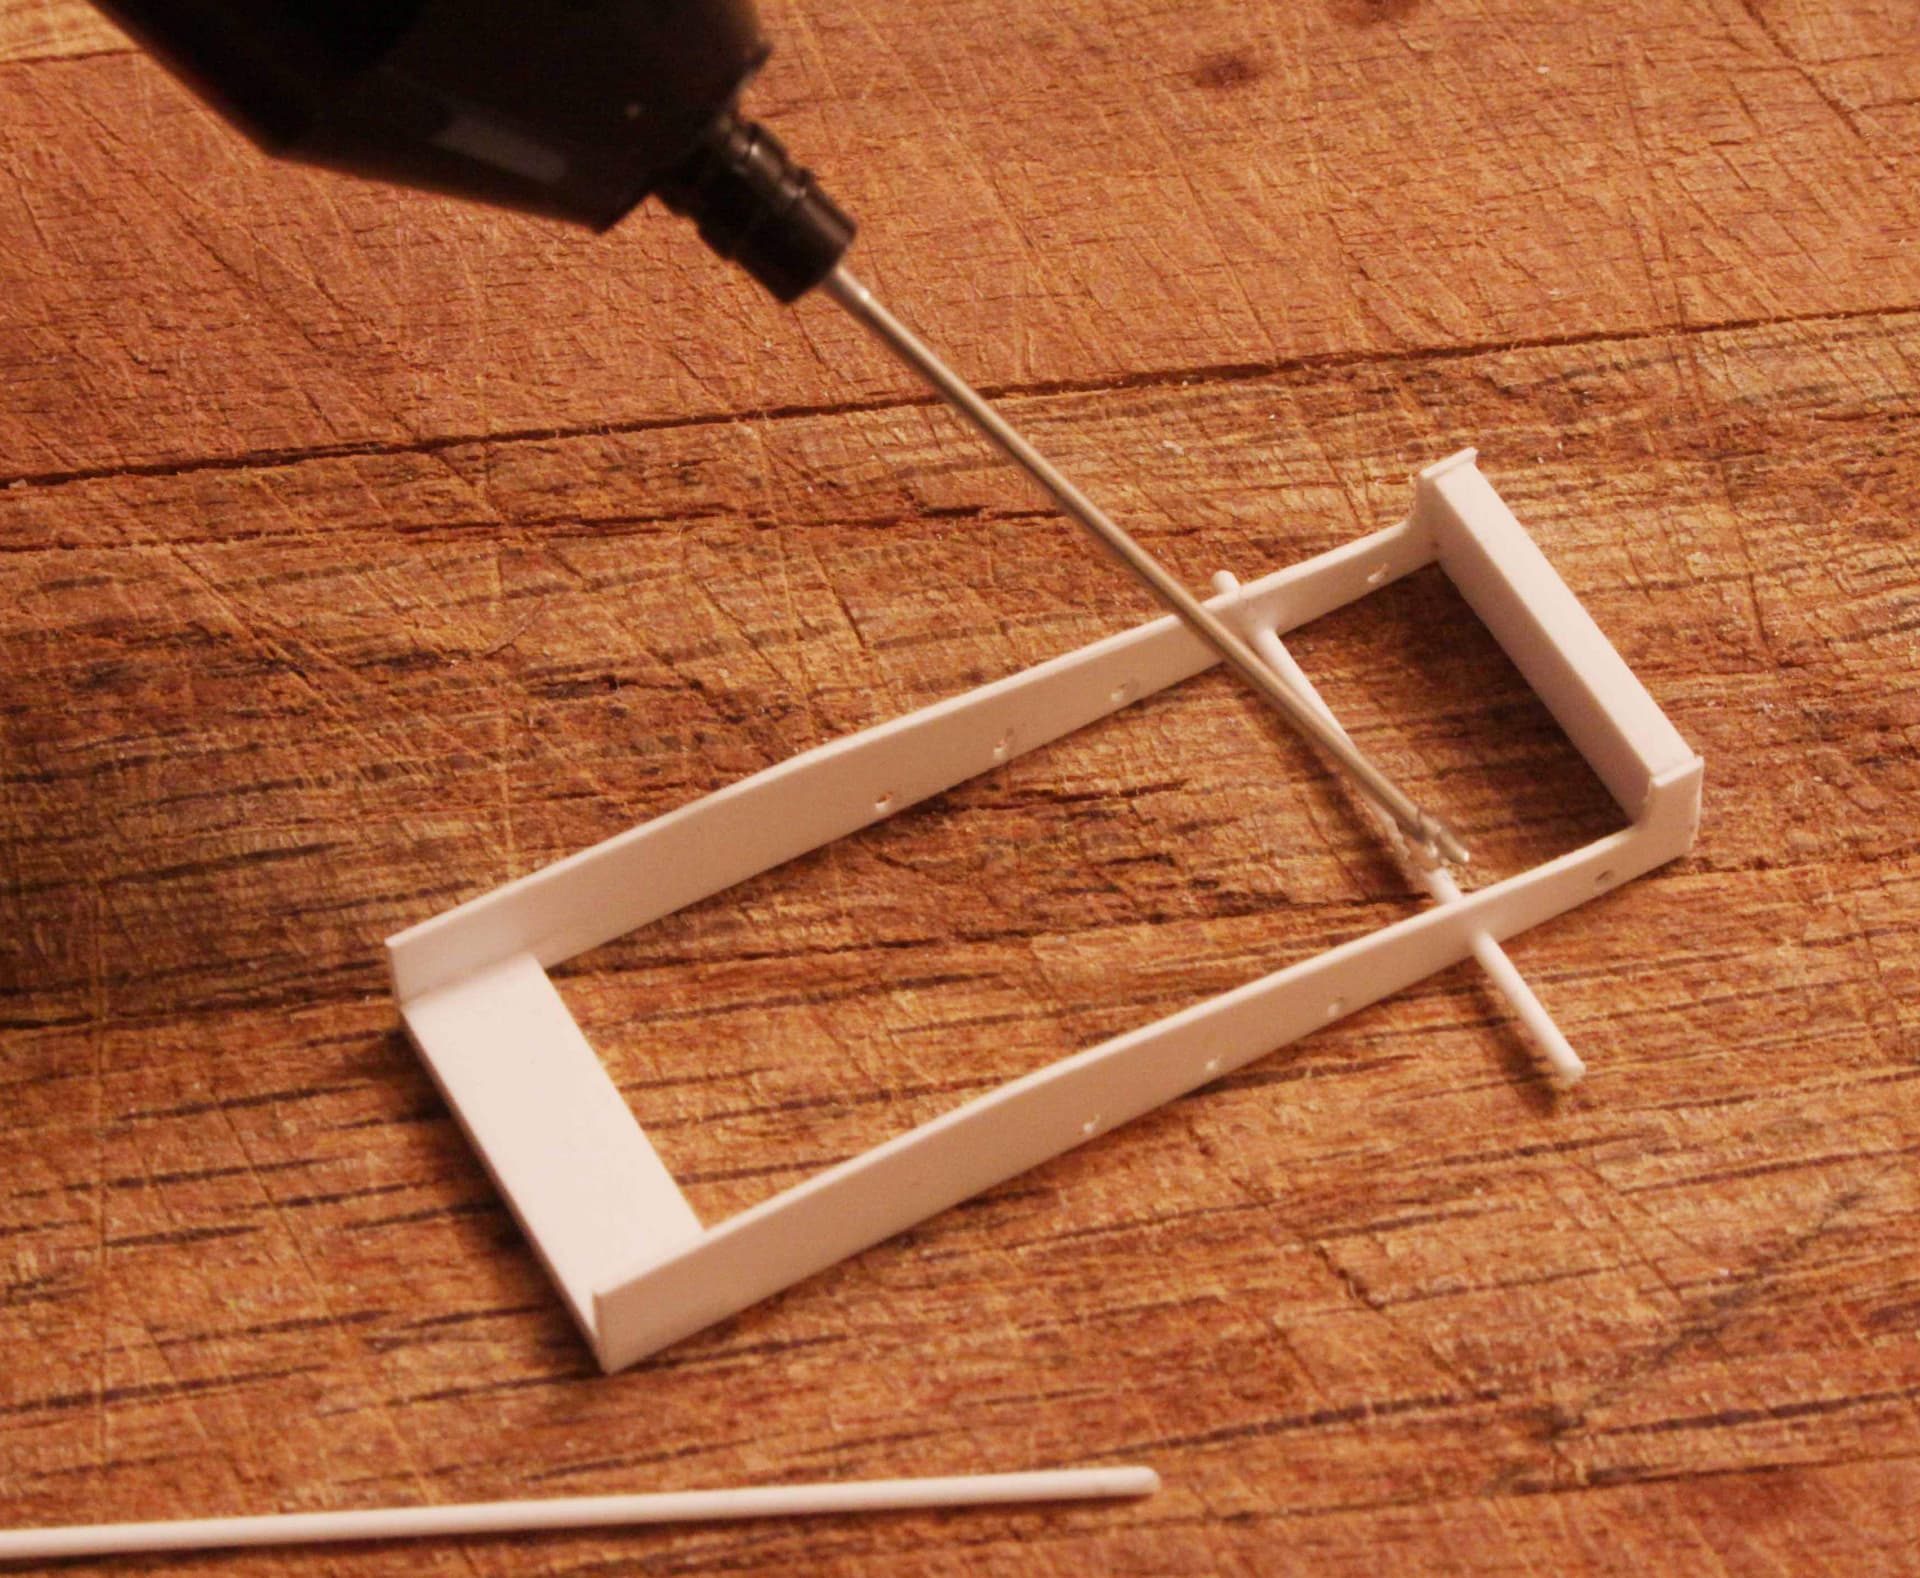
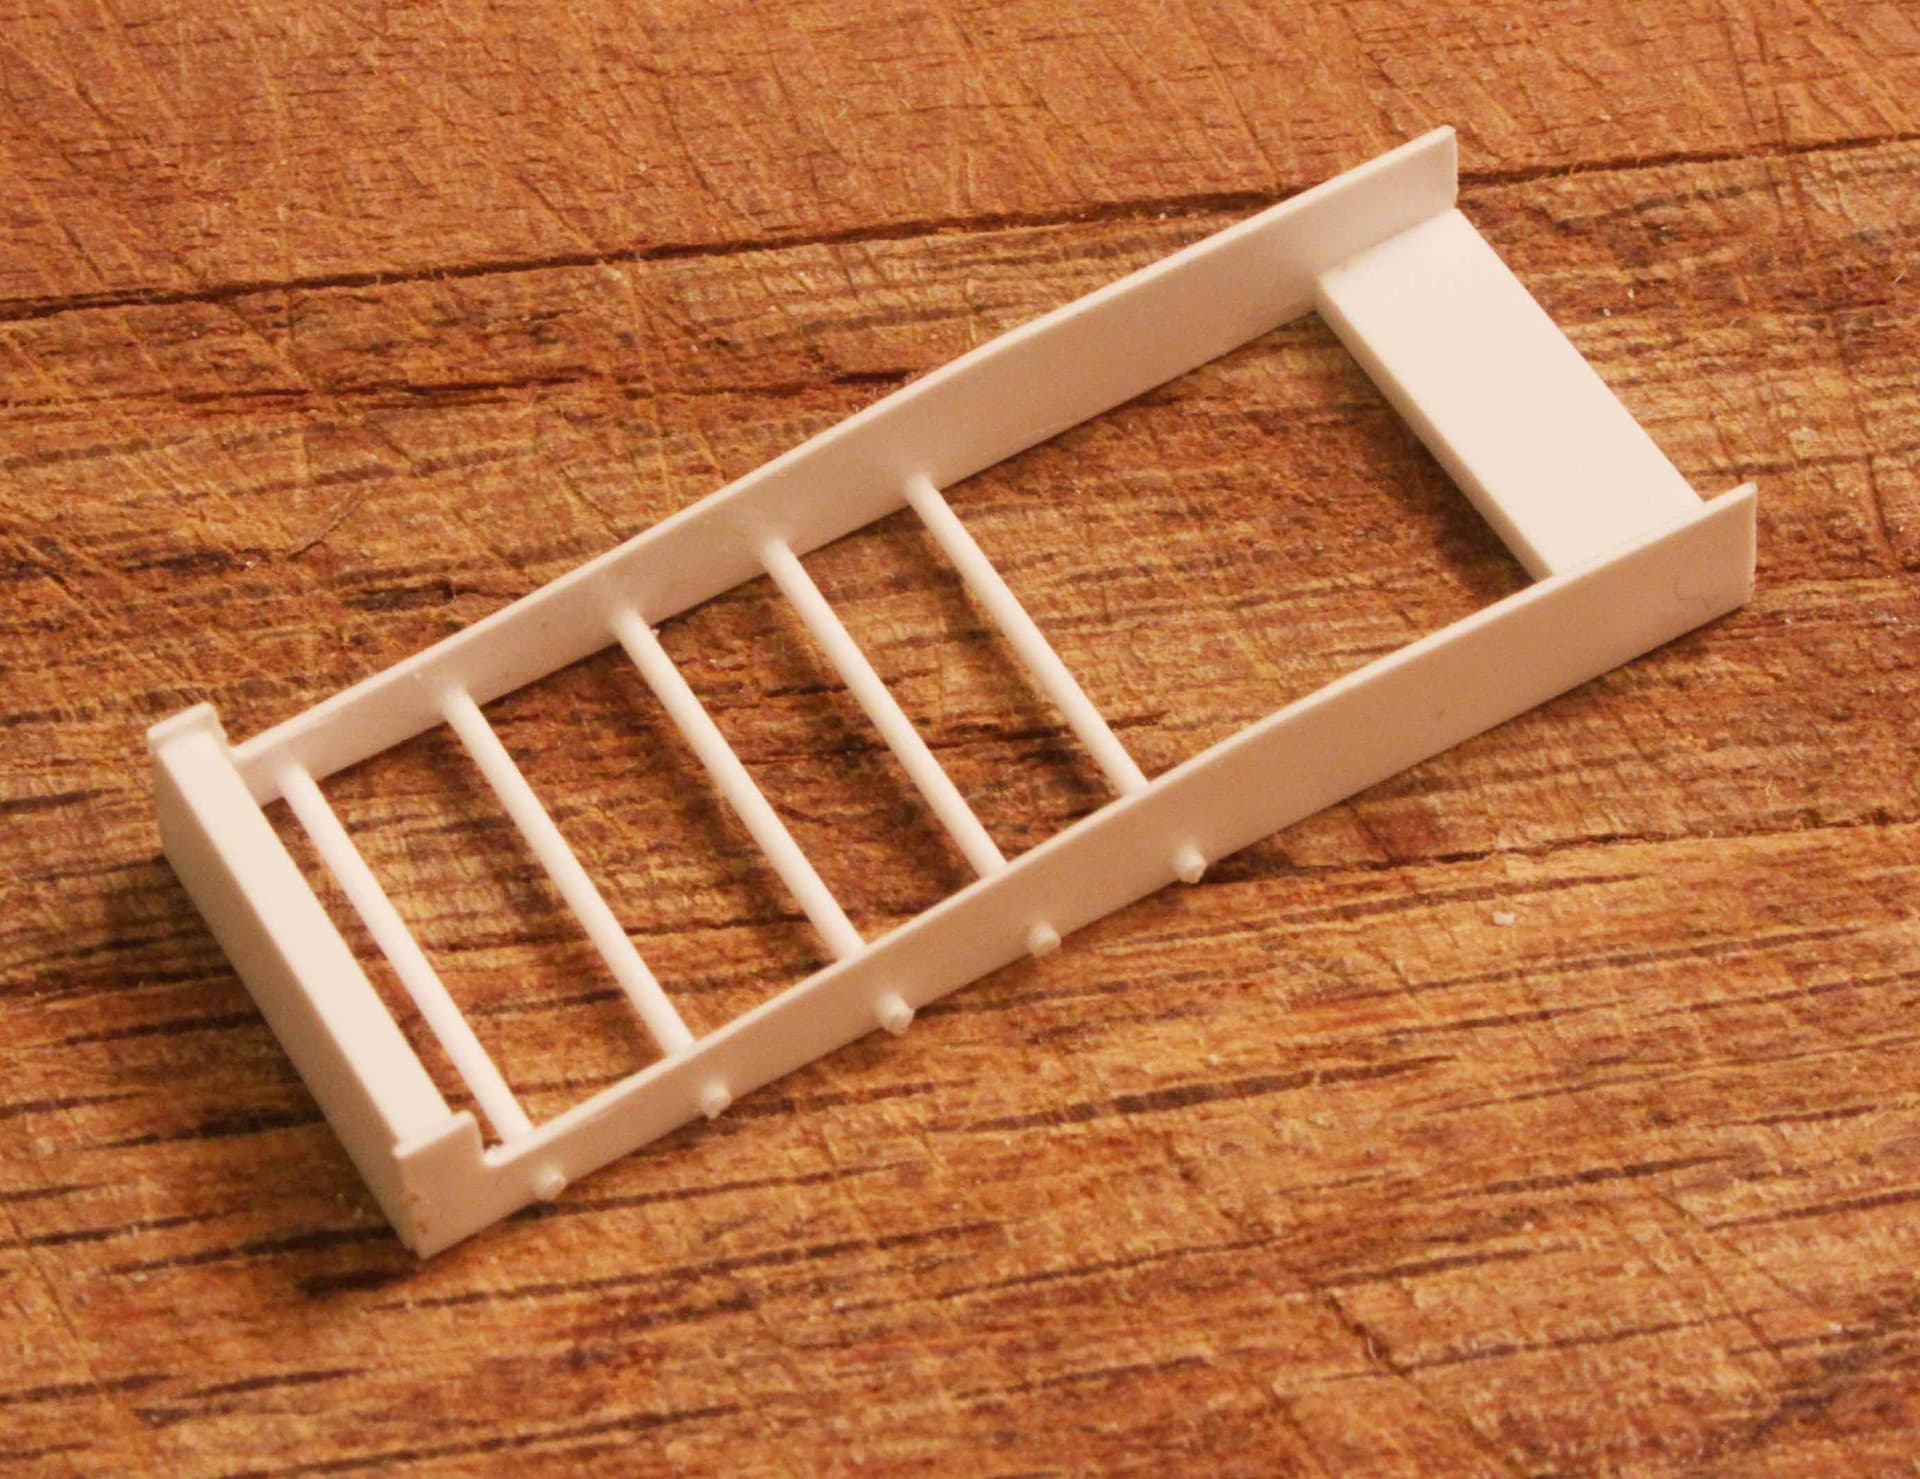
The ladder rungs were soft floral wire bent to shape and inserted into pre-drilled holes and super glued. After drying use a wire cutter to trim off the excess wire on the back side, leaving just enough stub to look like a bolt head once painted.
A bit of an interesting Sidebar to the Mack NO story:
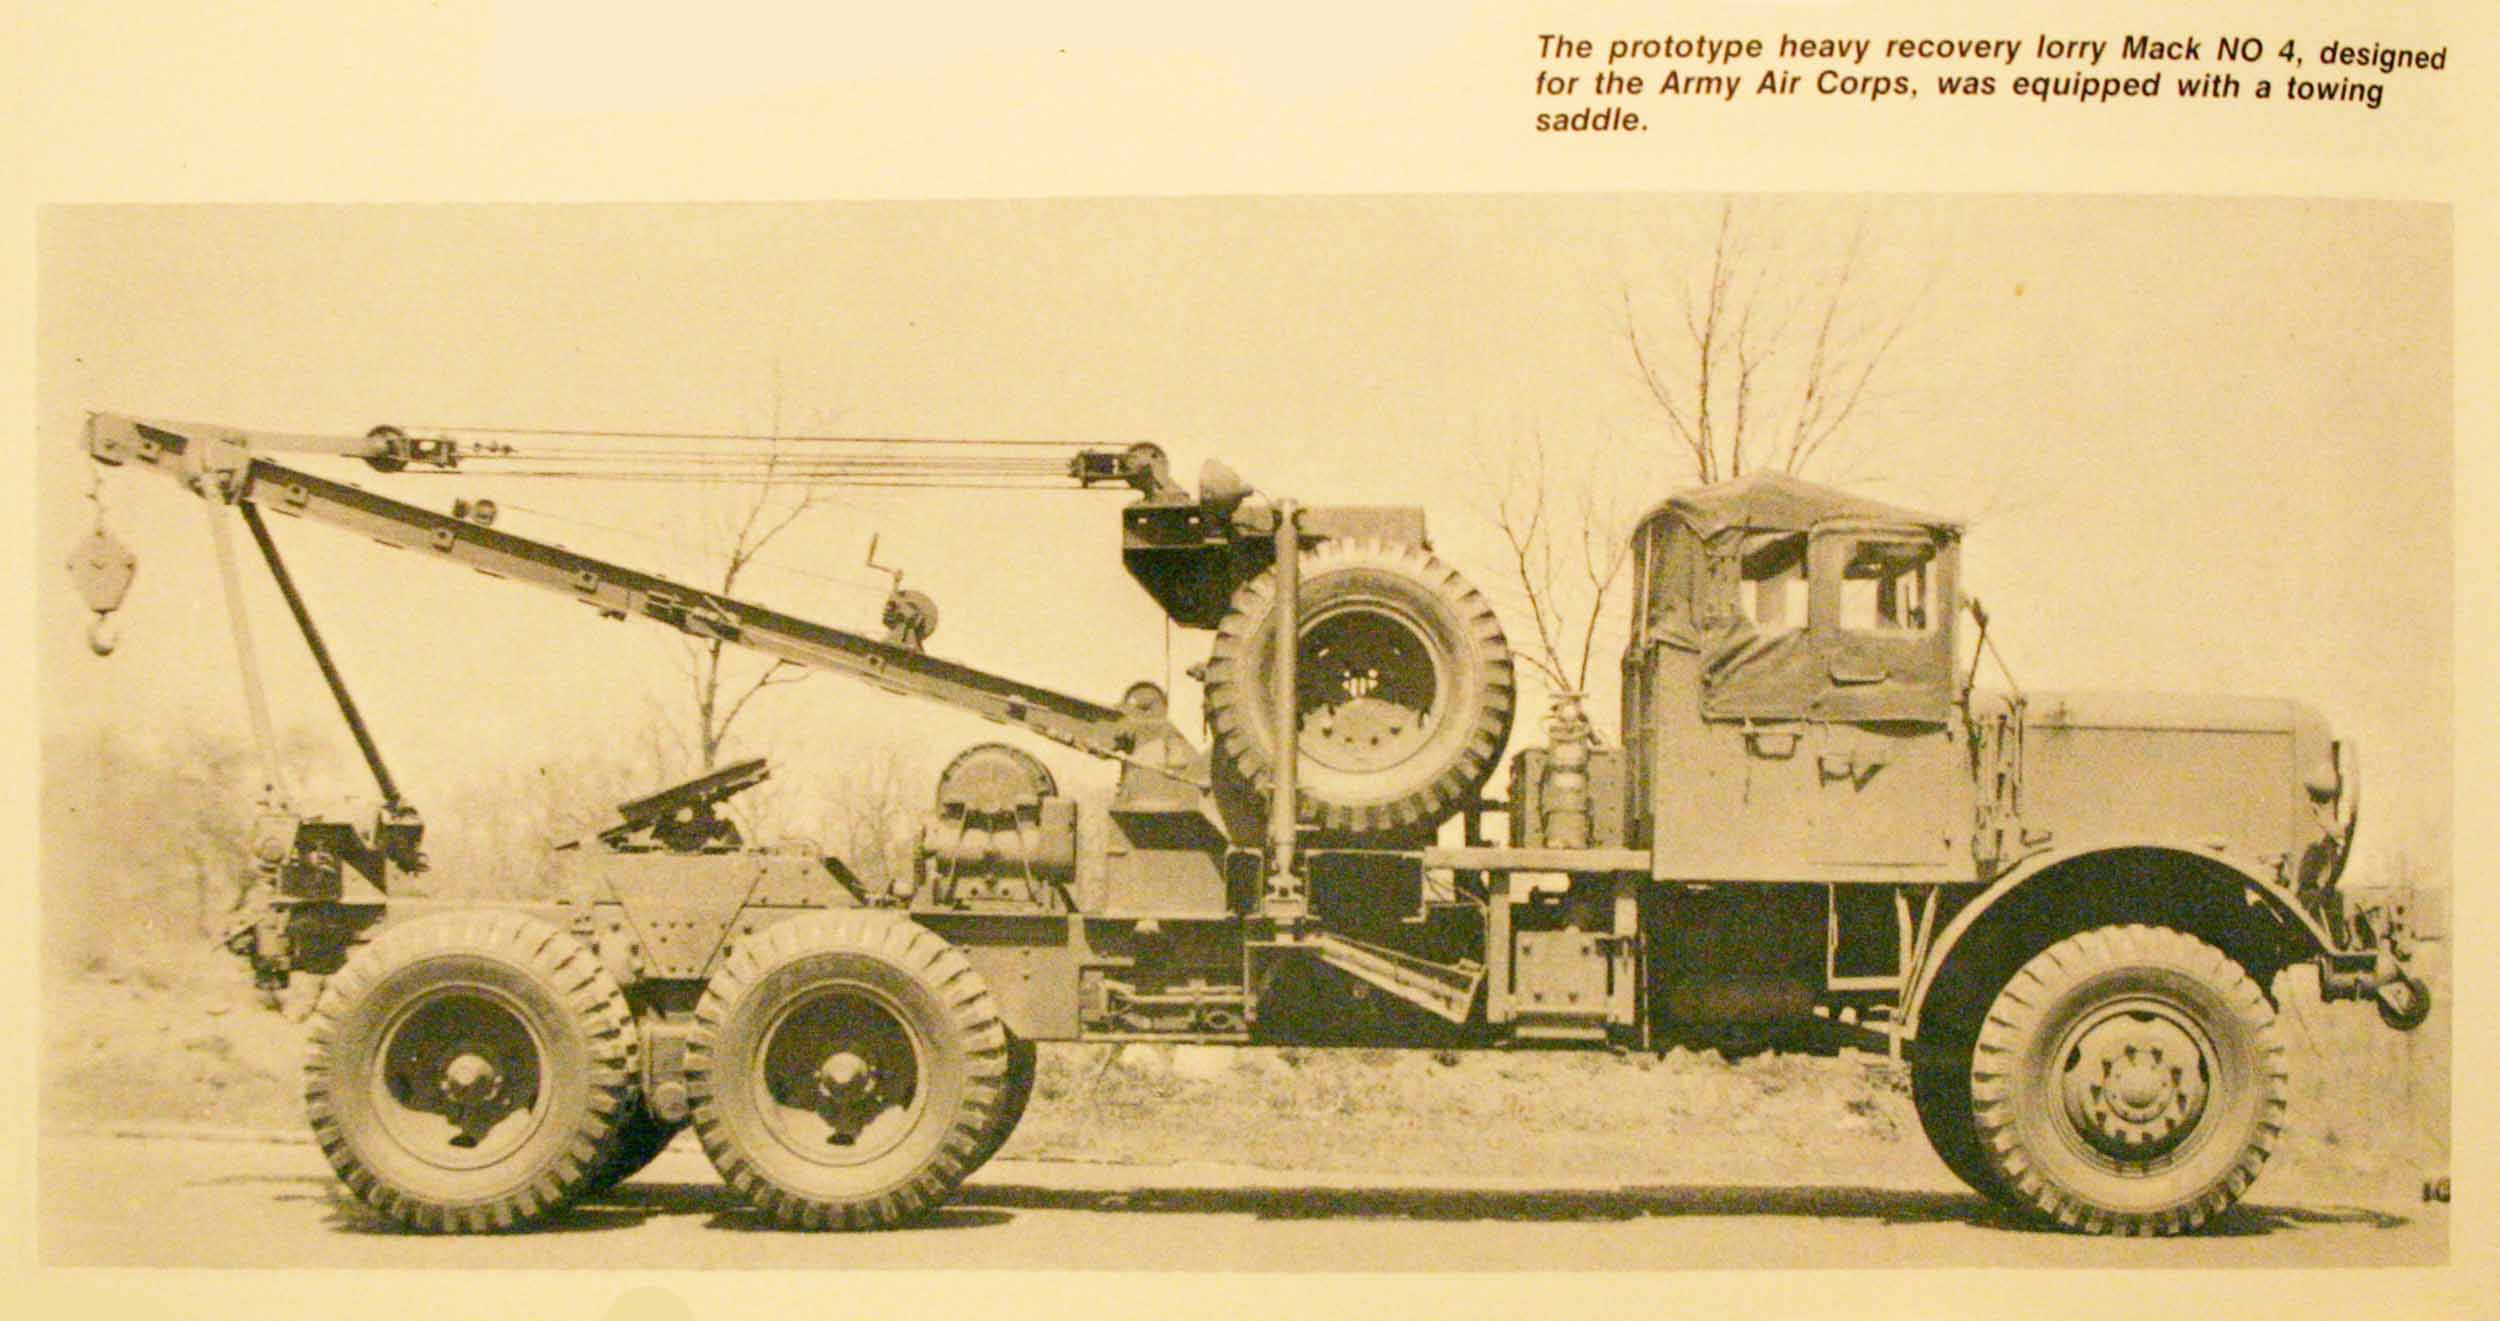
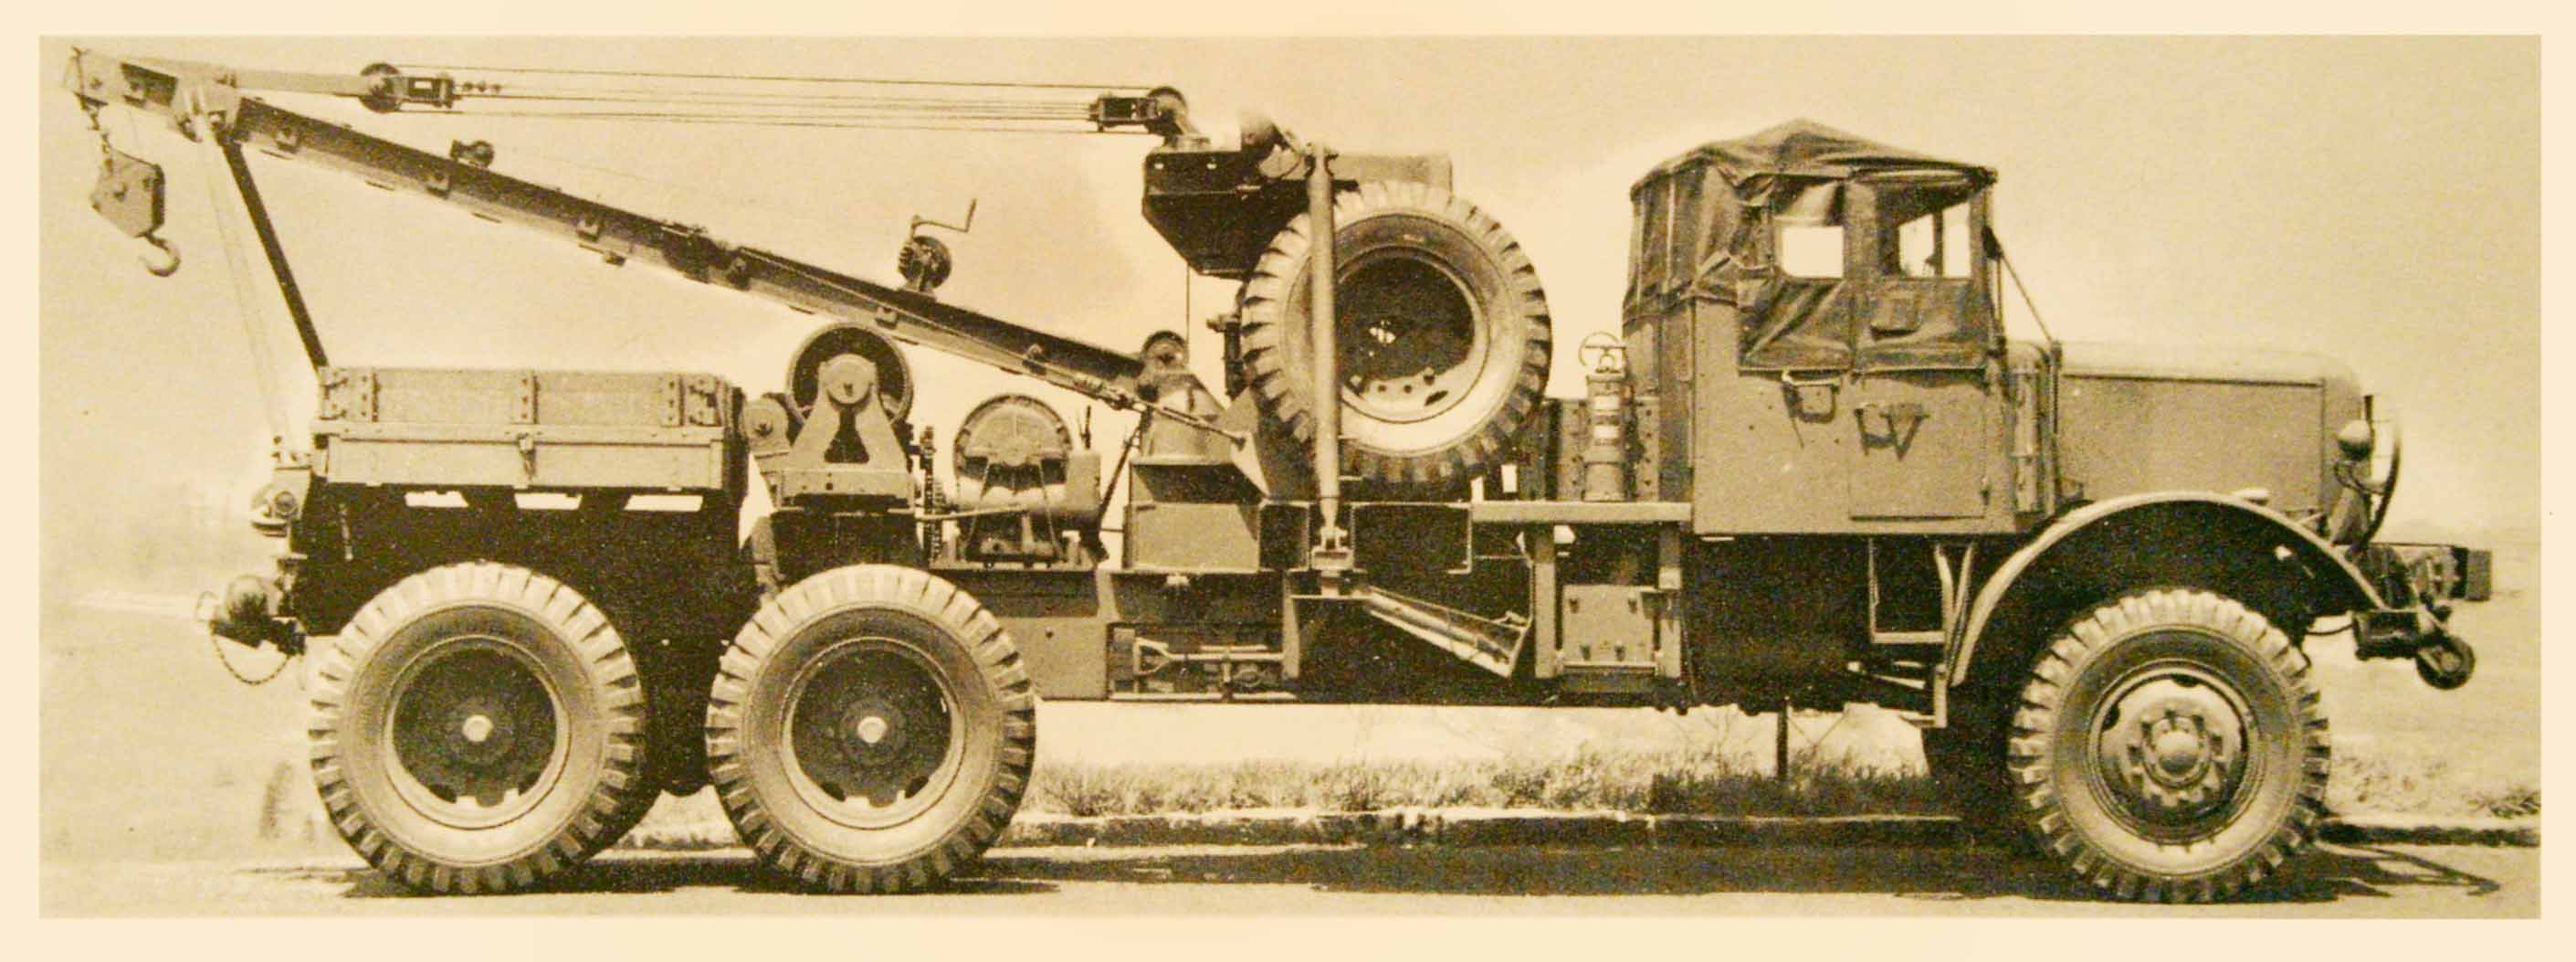
The Mack NO4 and NO5 were designed as long frame wreckers. One for the Army Air Corps which had a fifth wheel for towing a long aircraft recovery trailer and the other for the Regular Army that had a small wooden load box instead of the fifth wheel plus an additional recovery winch.
I continue to hope some hobby manufacture will bring out the Mack NO6 as a plastic model. One reason is that I would like to build at least one of these wreckers. However I don’t cherish the idea of building yet another complete Mark NO from scratch. I would like to at least start this new project by converting a yet to be released model of this Mack.
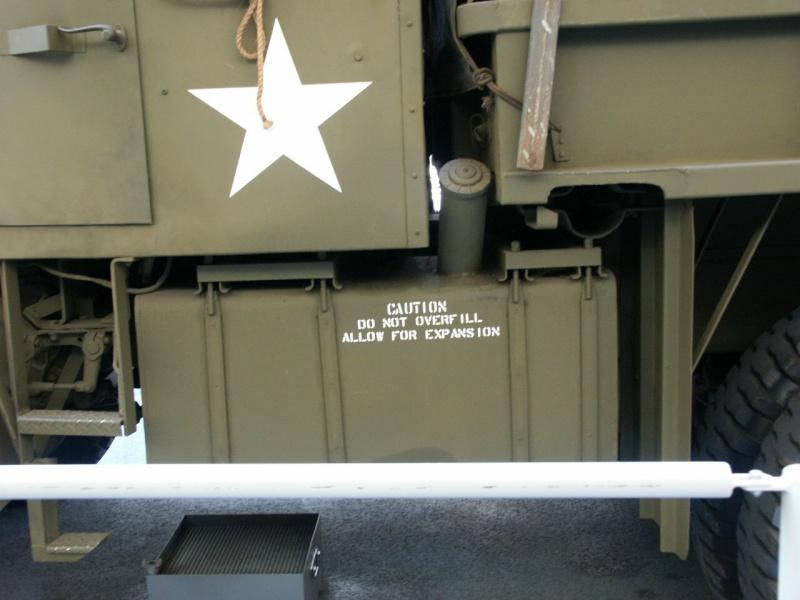
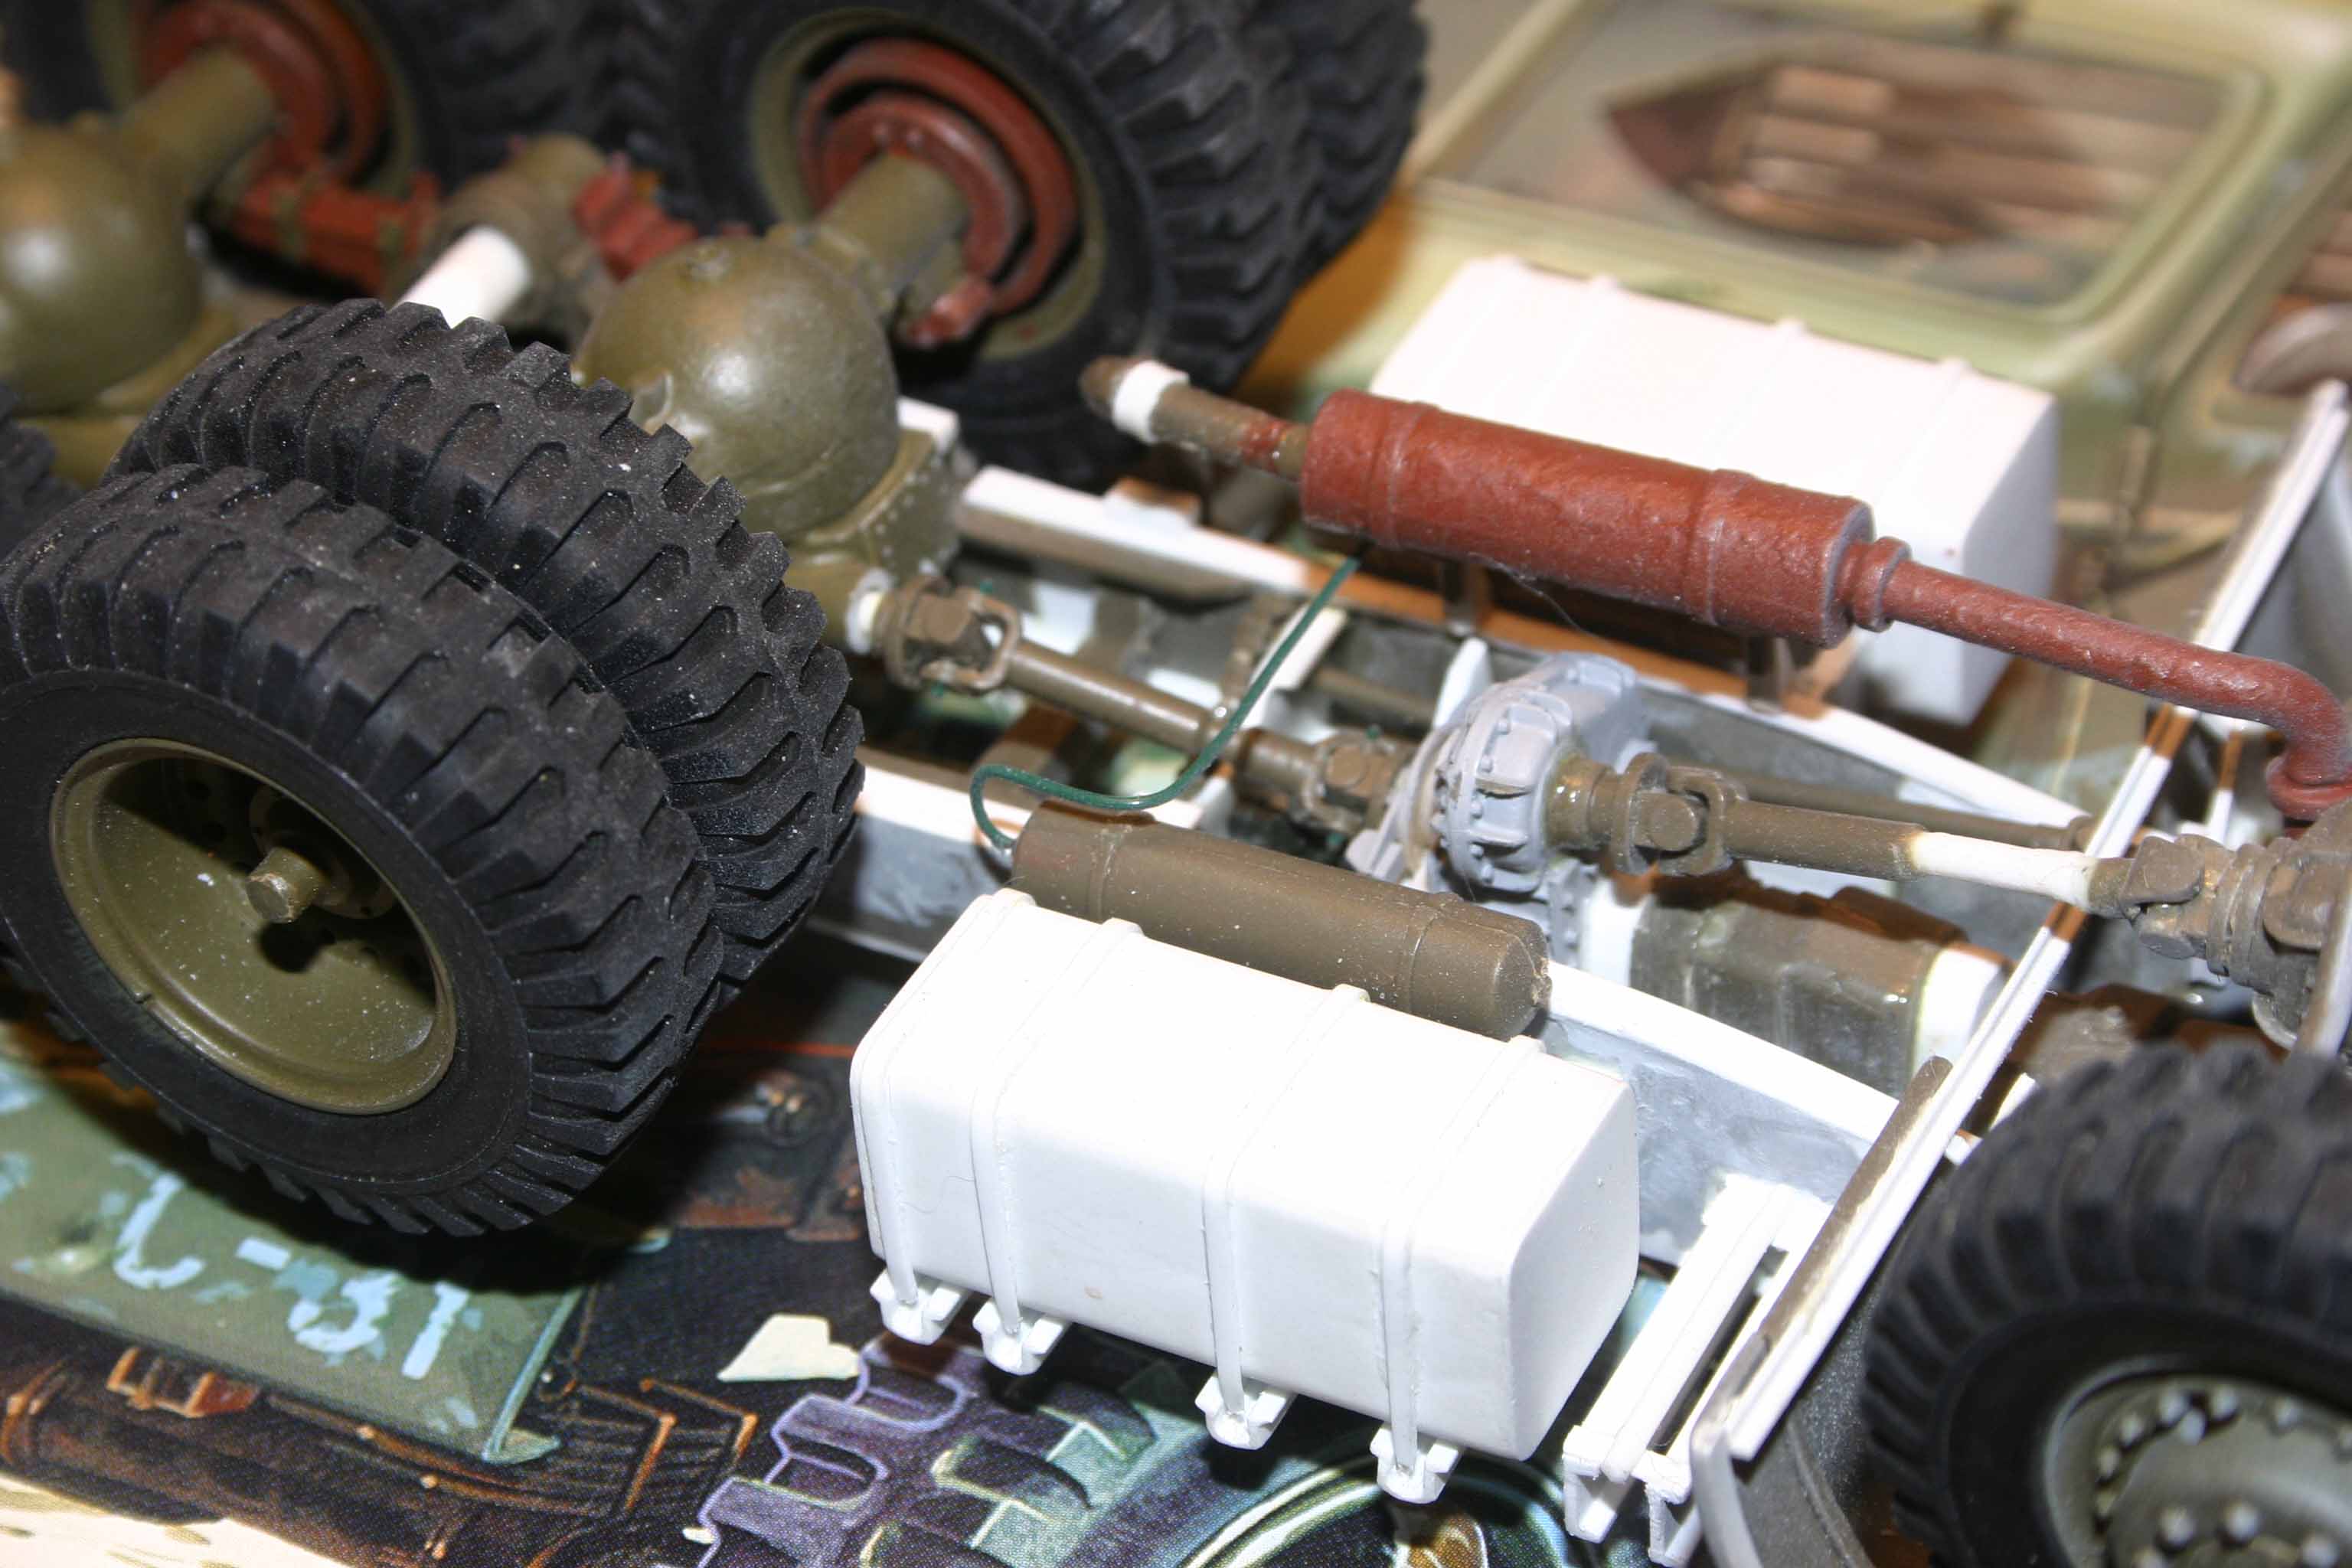
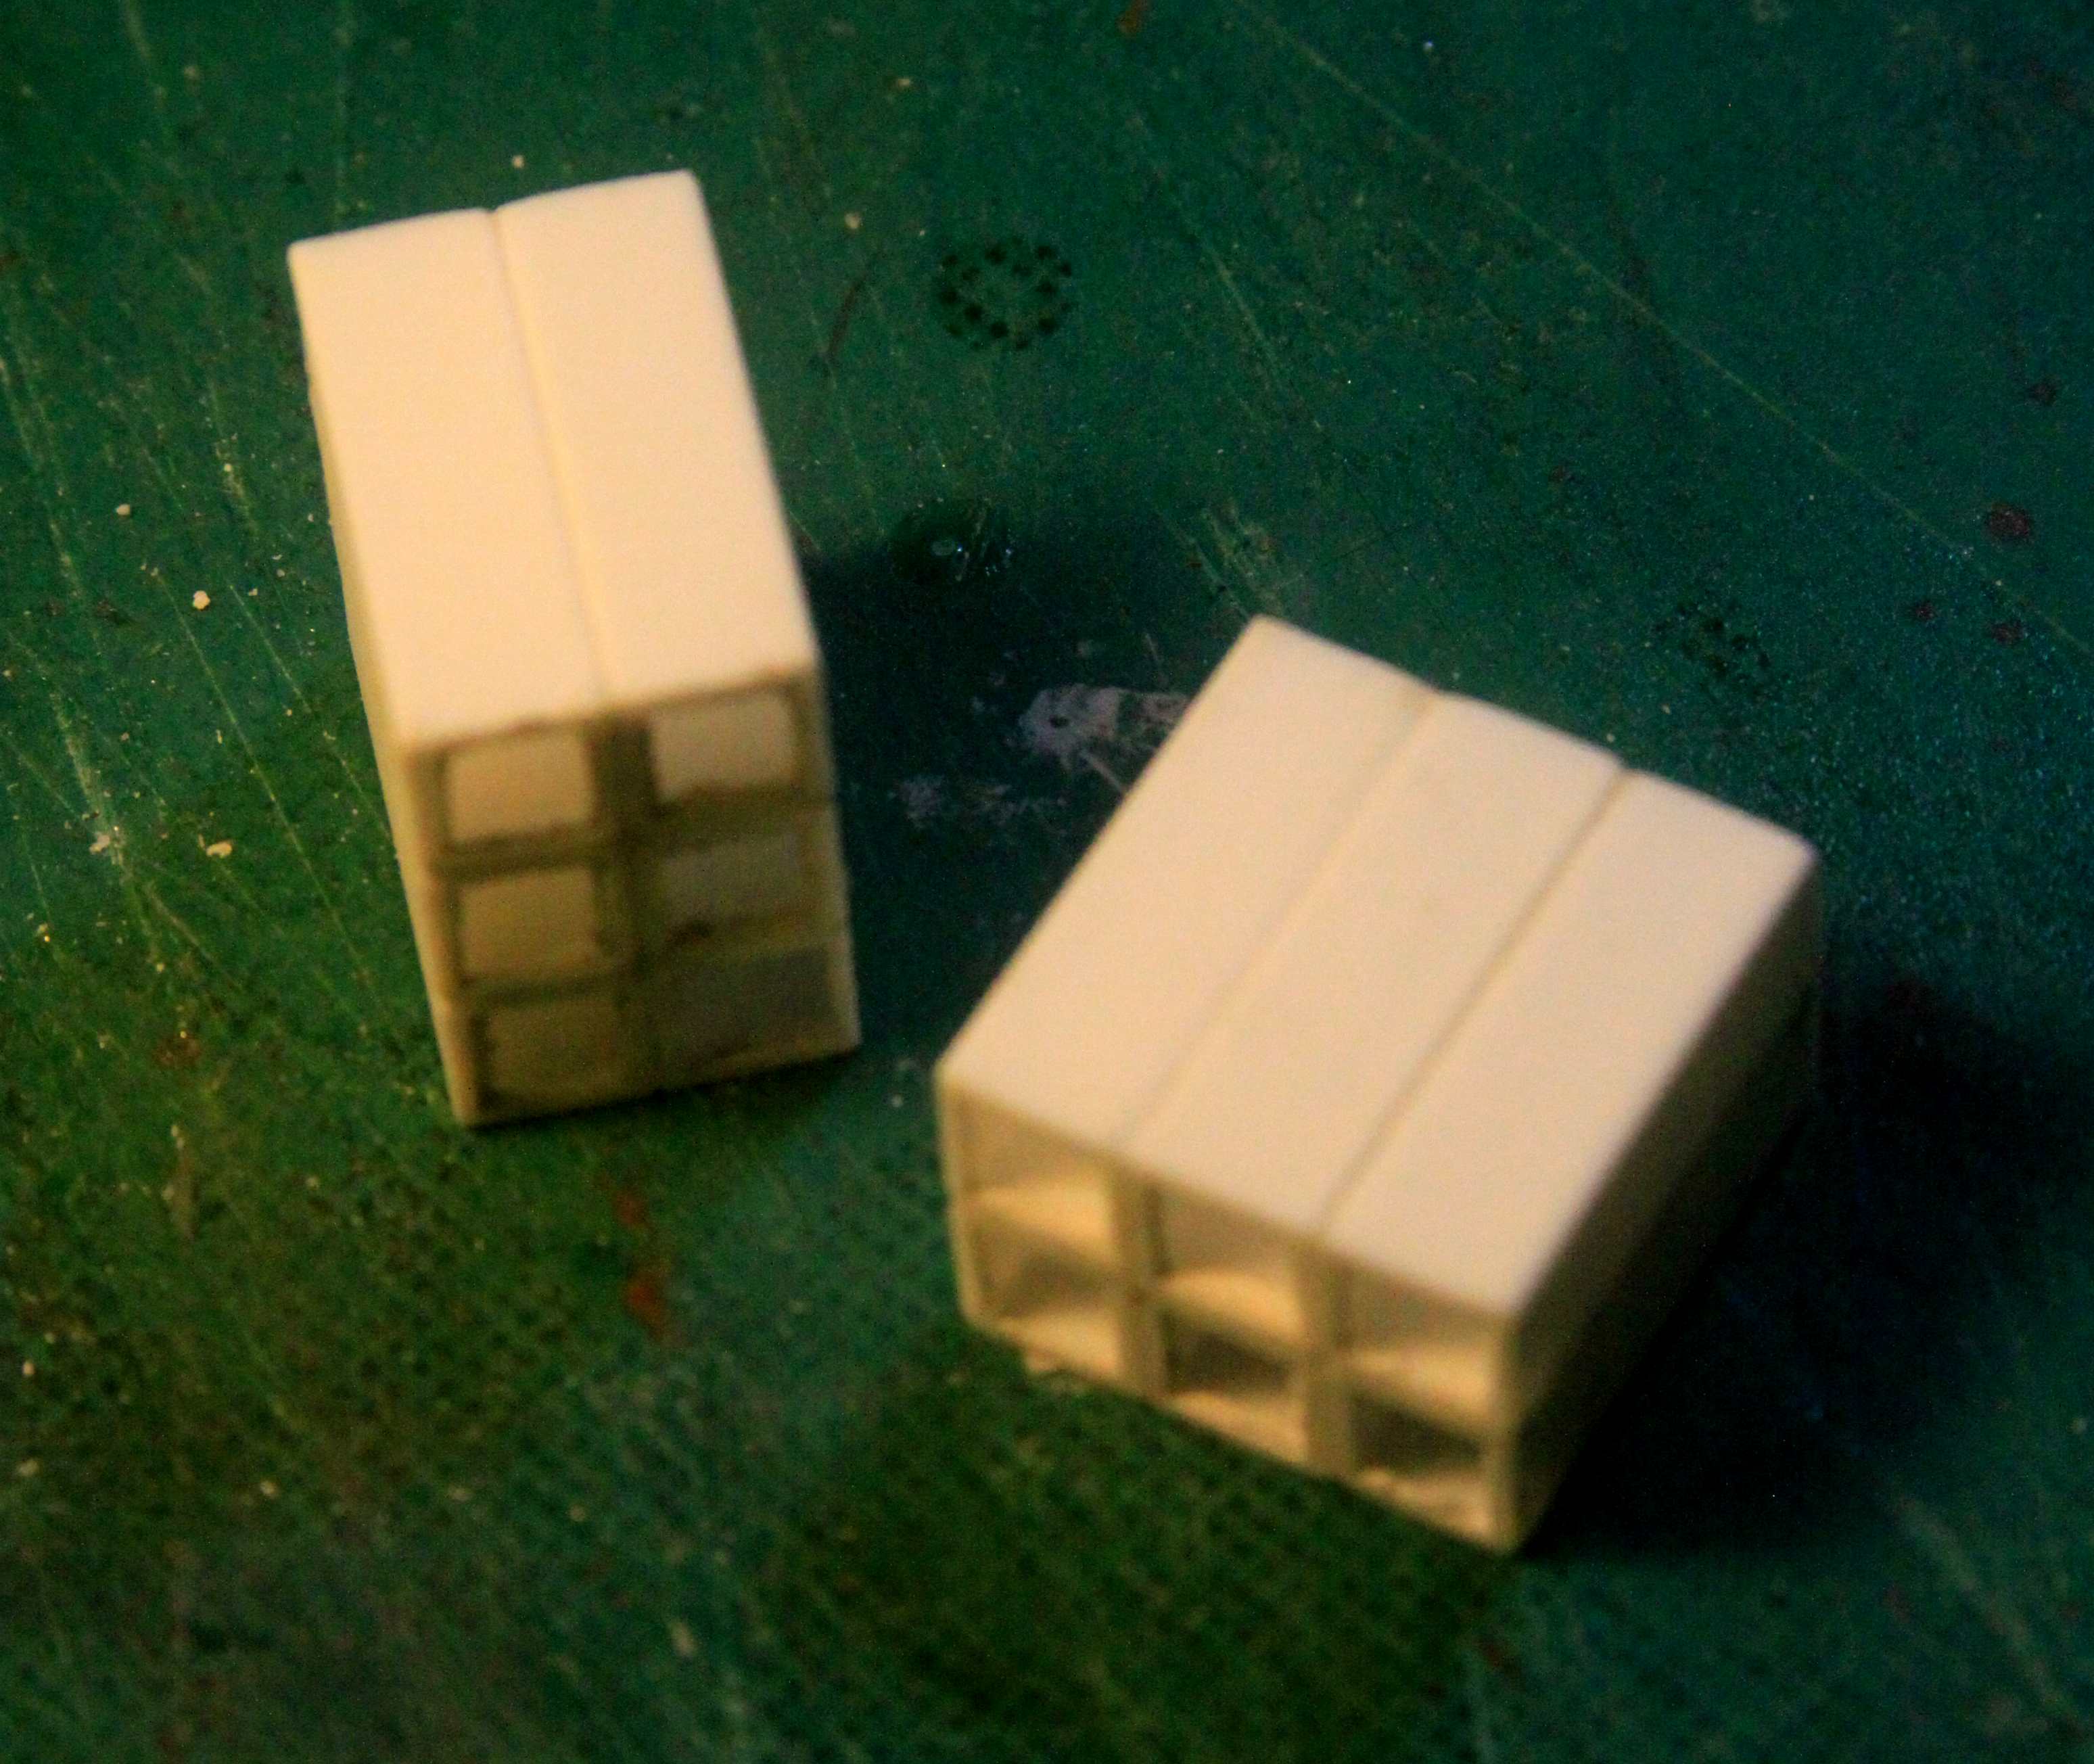
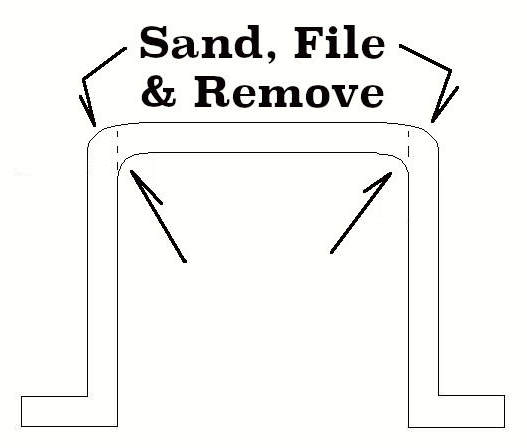
I have just never been able to make a proper small rectangular box out of sheet stock. It always seems to coms out crooked and funky looking. I therefore settled on first making a solid block of plastic out of Evergreen stock, then wrapping that with thin sheet to form that continous surface.
I am sorry but I don’t seem to have any good photos
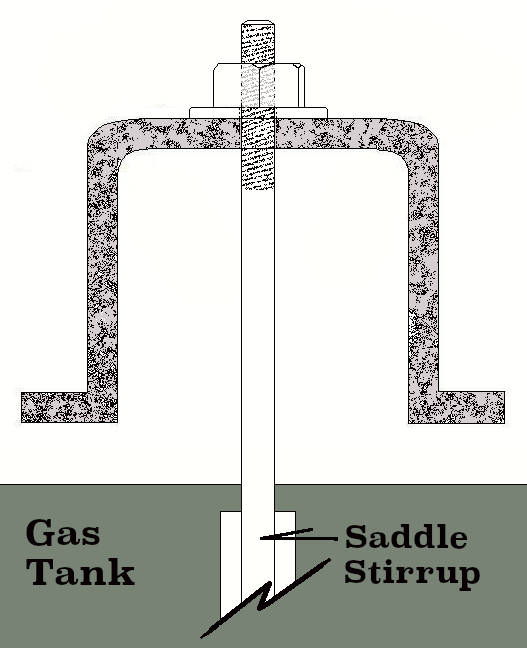
of the tank building process. Just four sticks of appropriately sized Evergreen stock glued together to make a solid, Now round the edges along the long axis. Cover this solid with thin plastic sheet that extends slightly past each end of the block then sand the ends flat later.
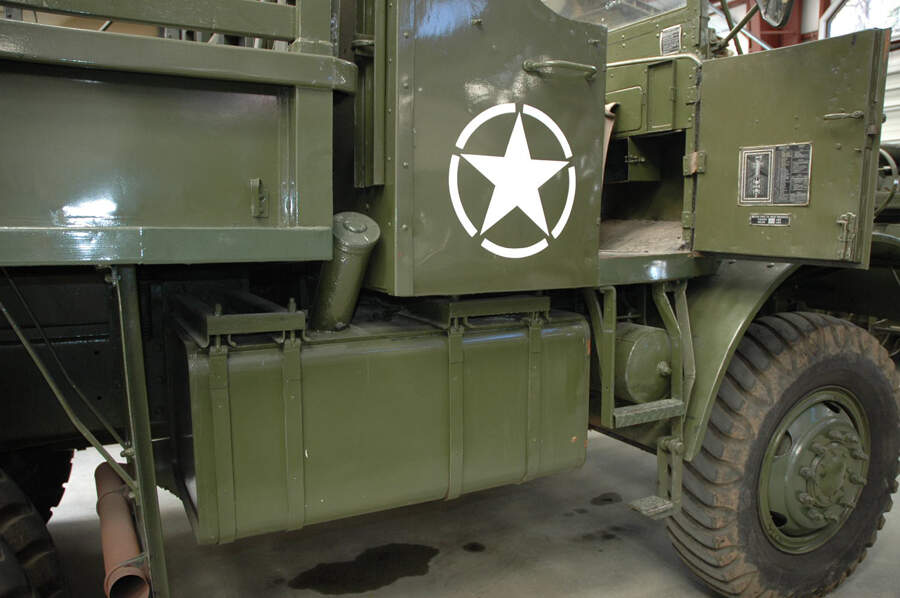
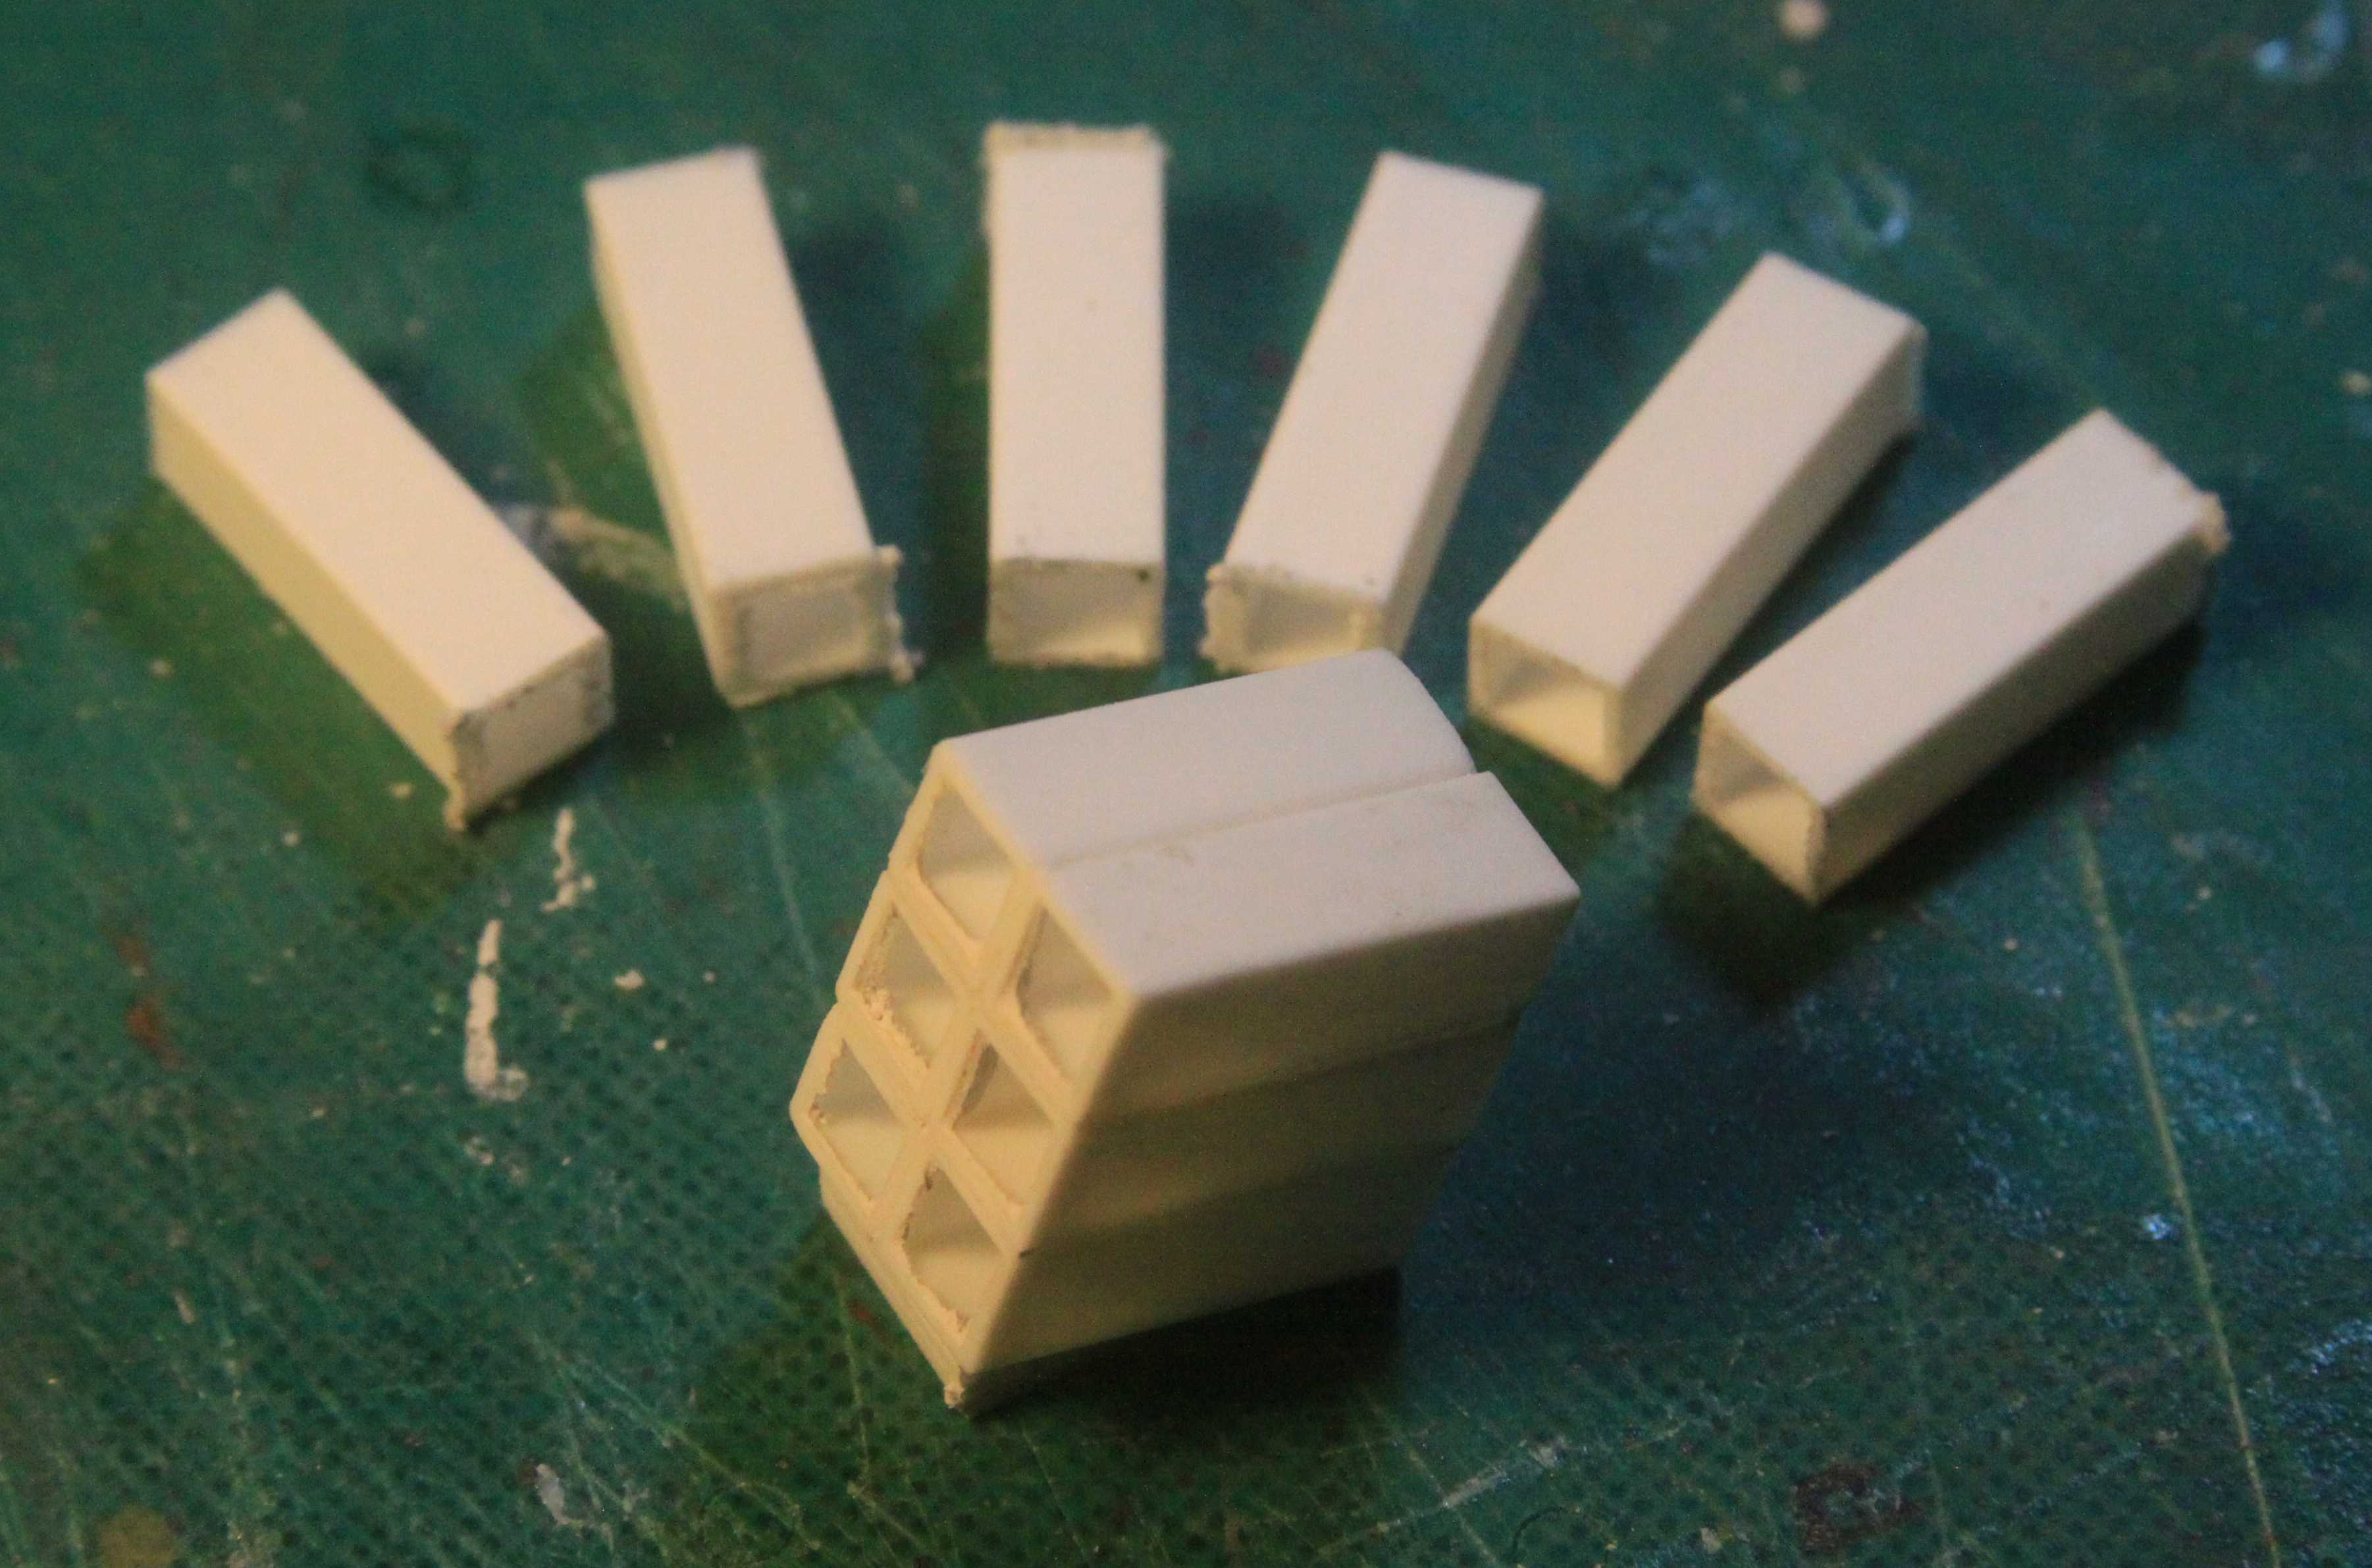
Here is a process similar to that used in building the Mack gas tanks. Here I am building some rectangular tool boxes for a MAZ-537 F/A Tractor conversion:
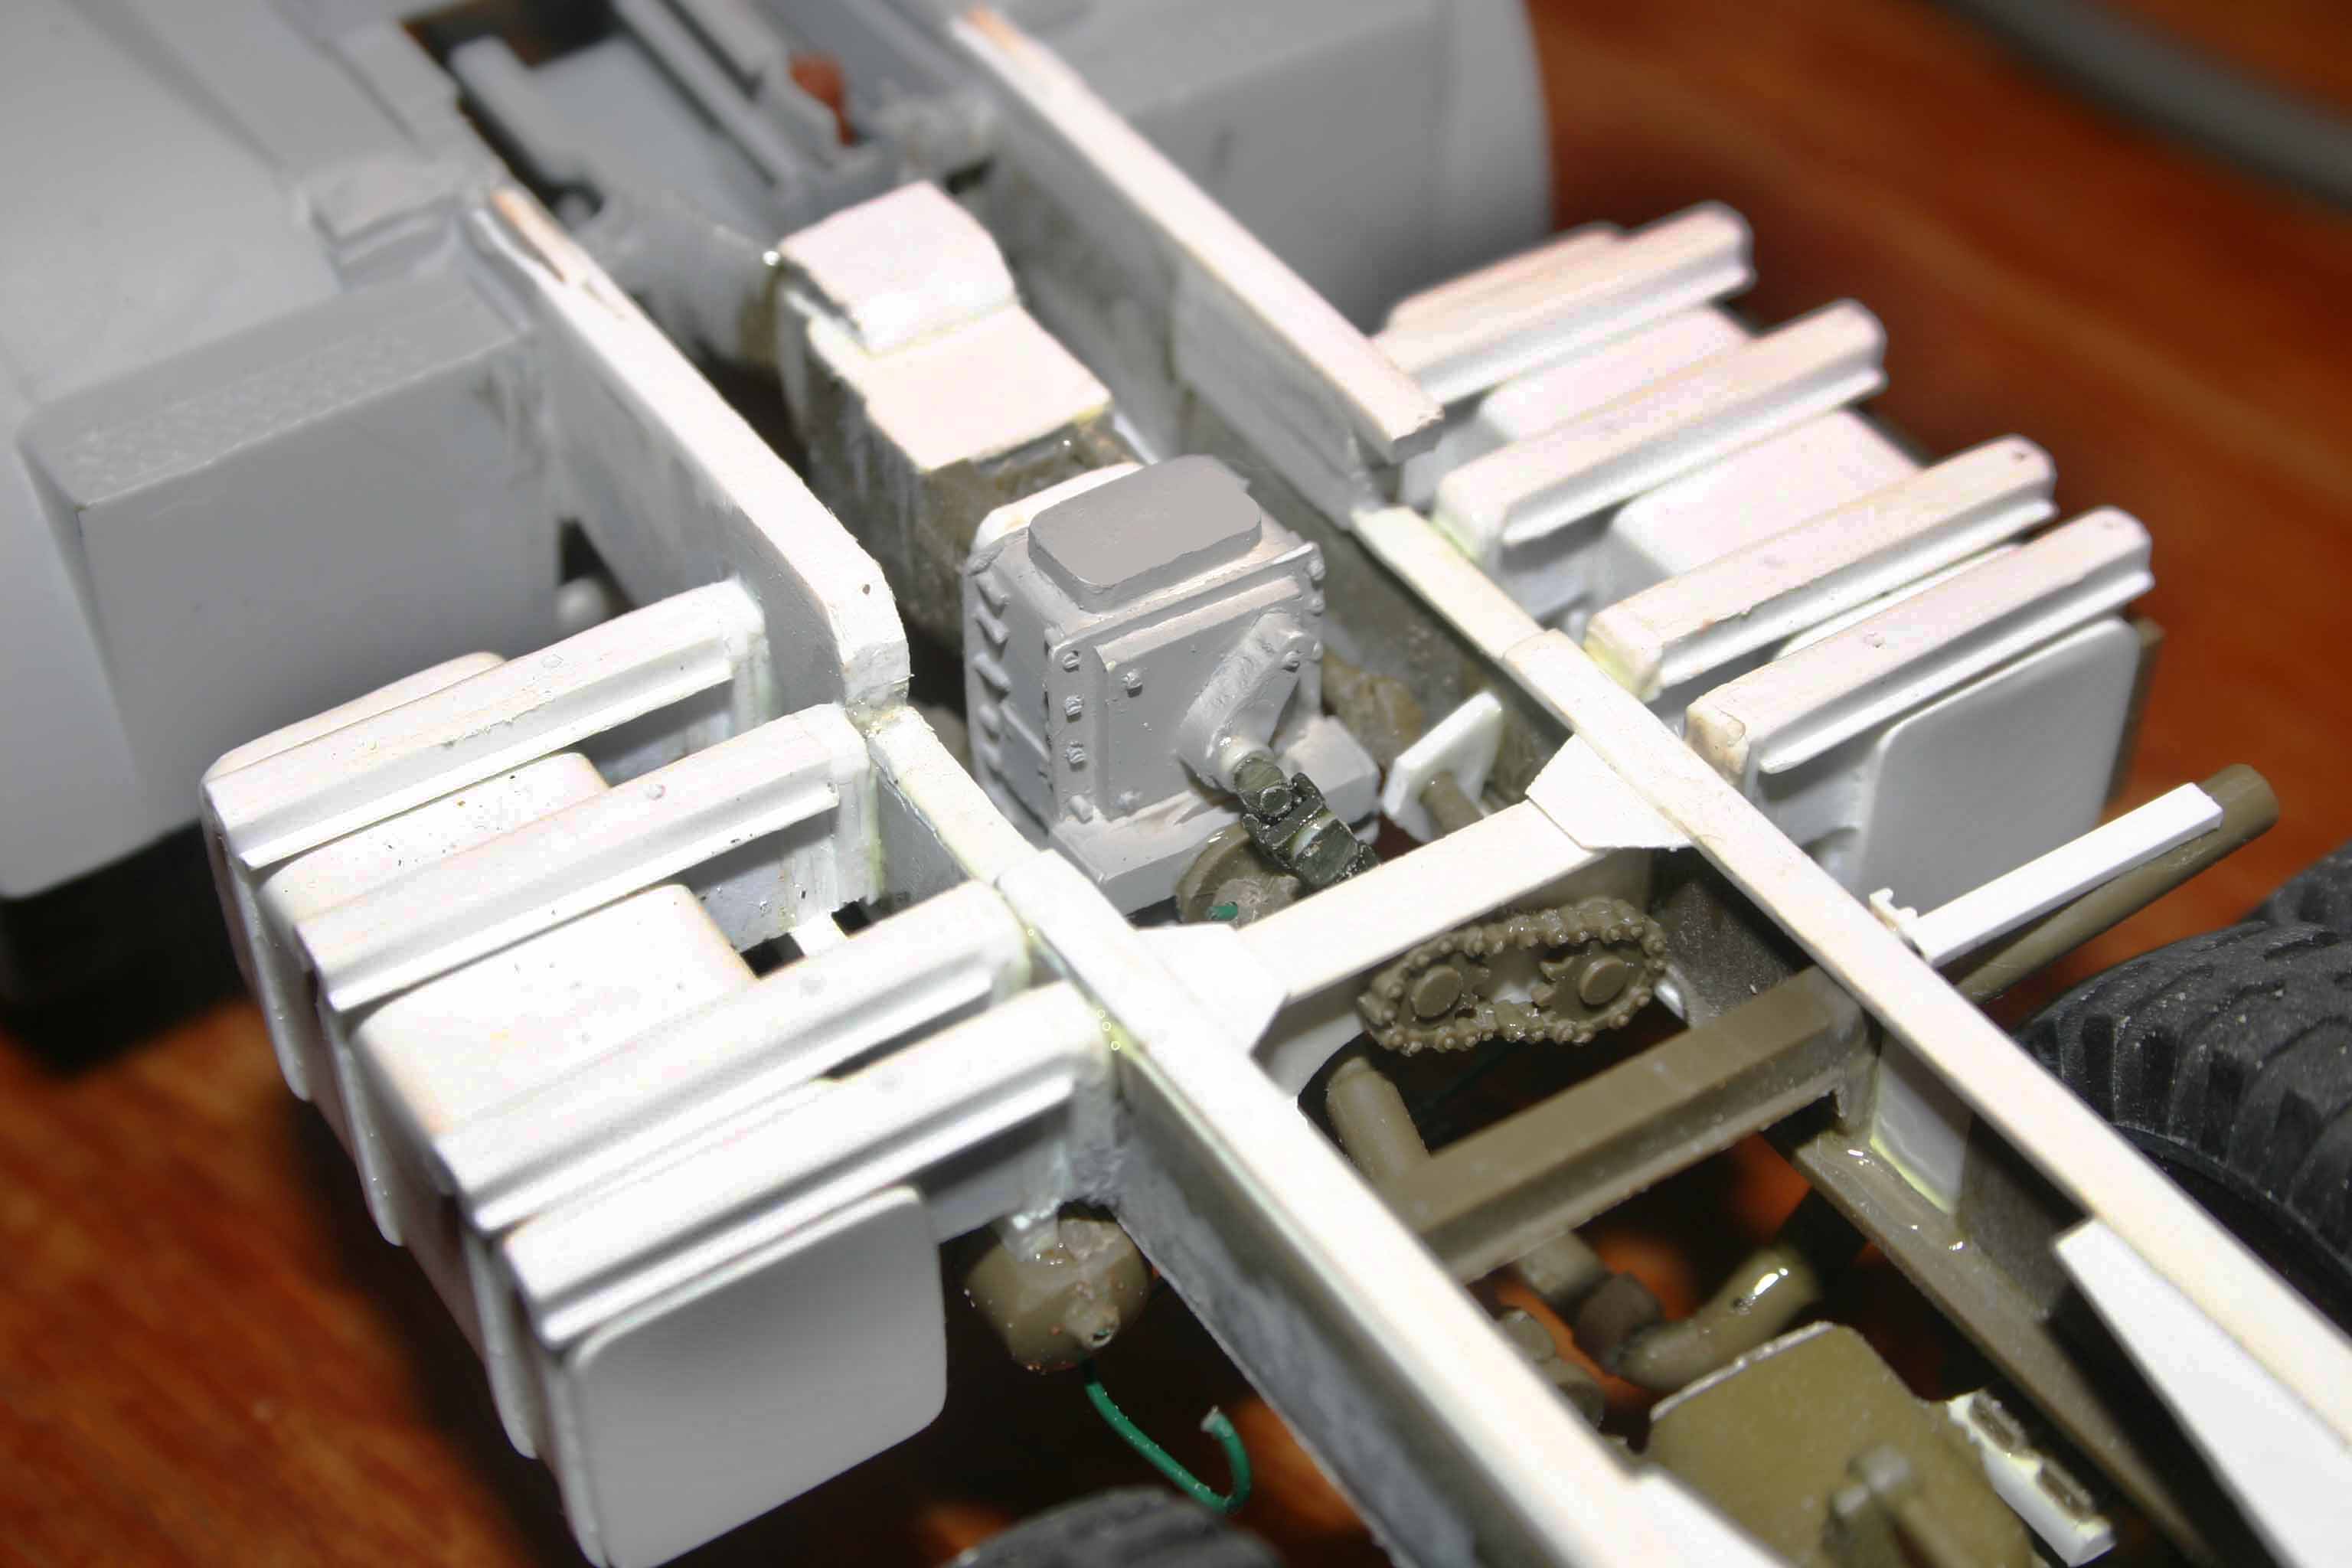
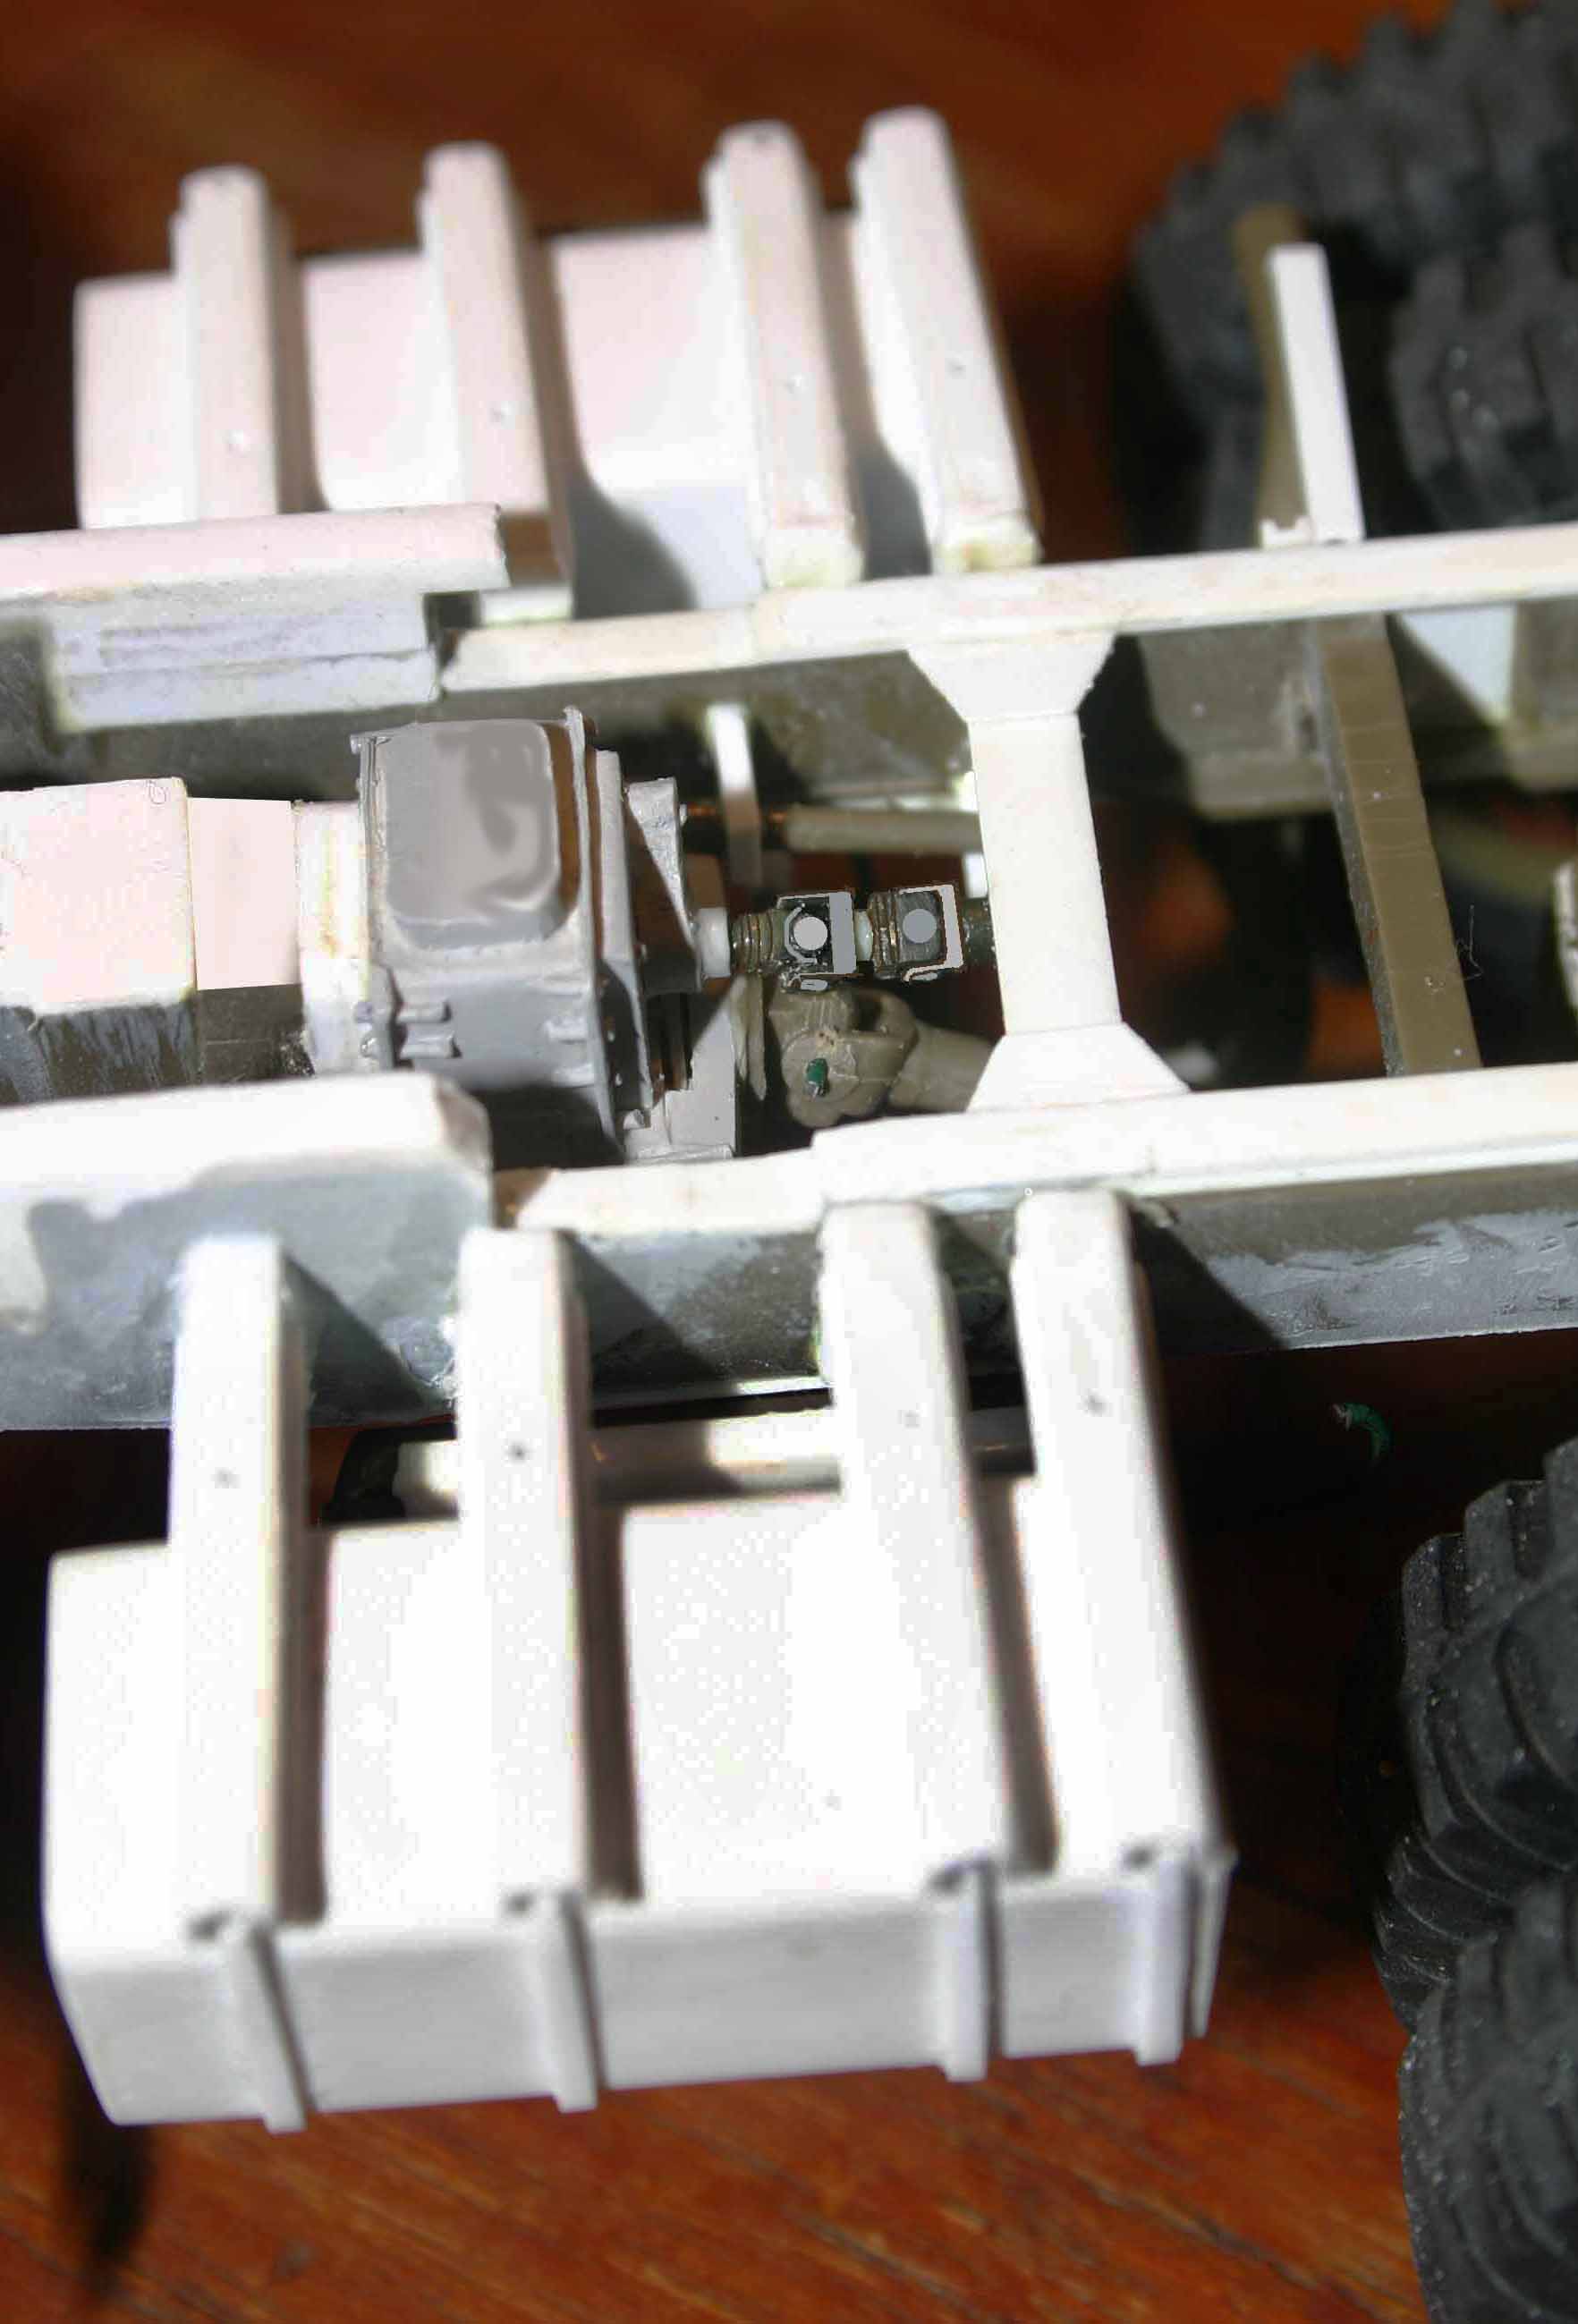
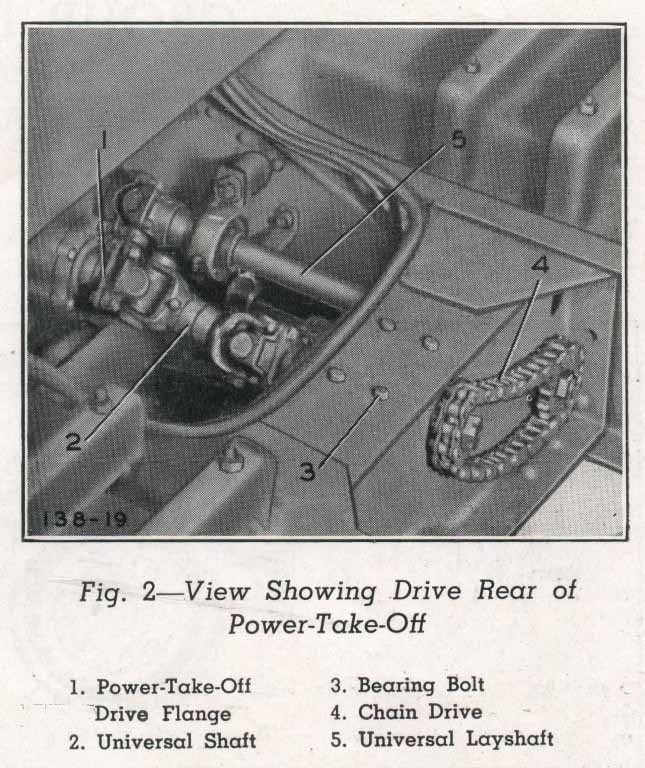
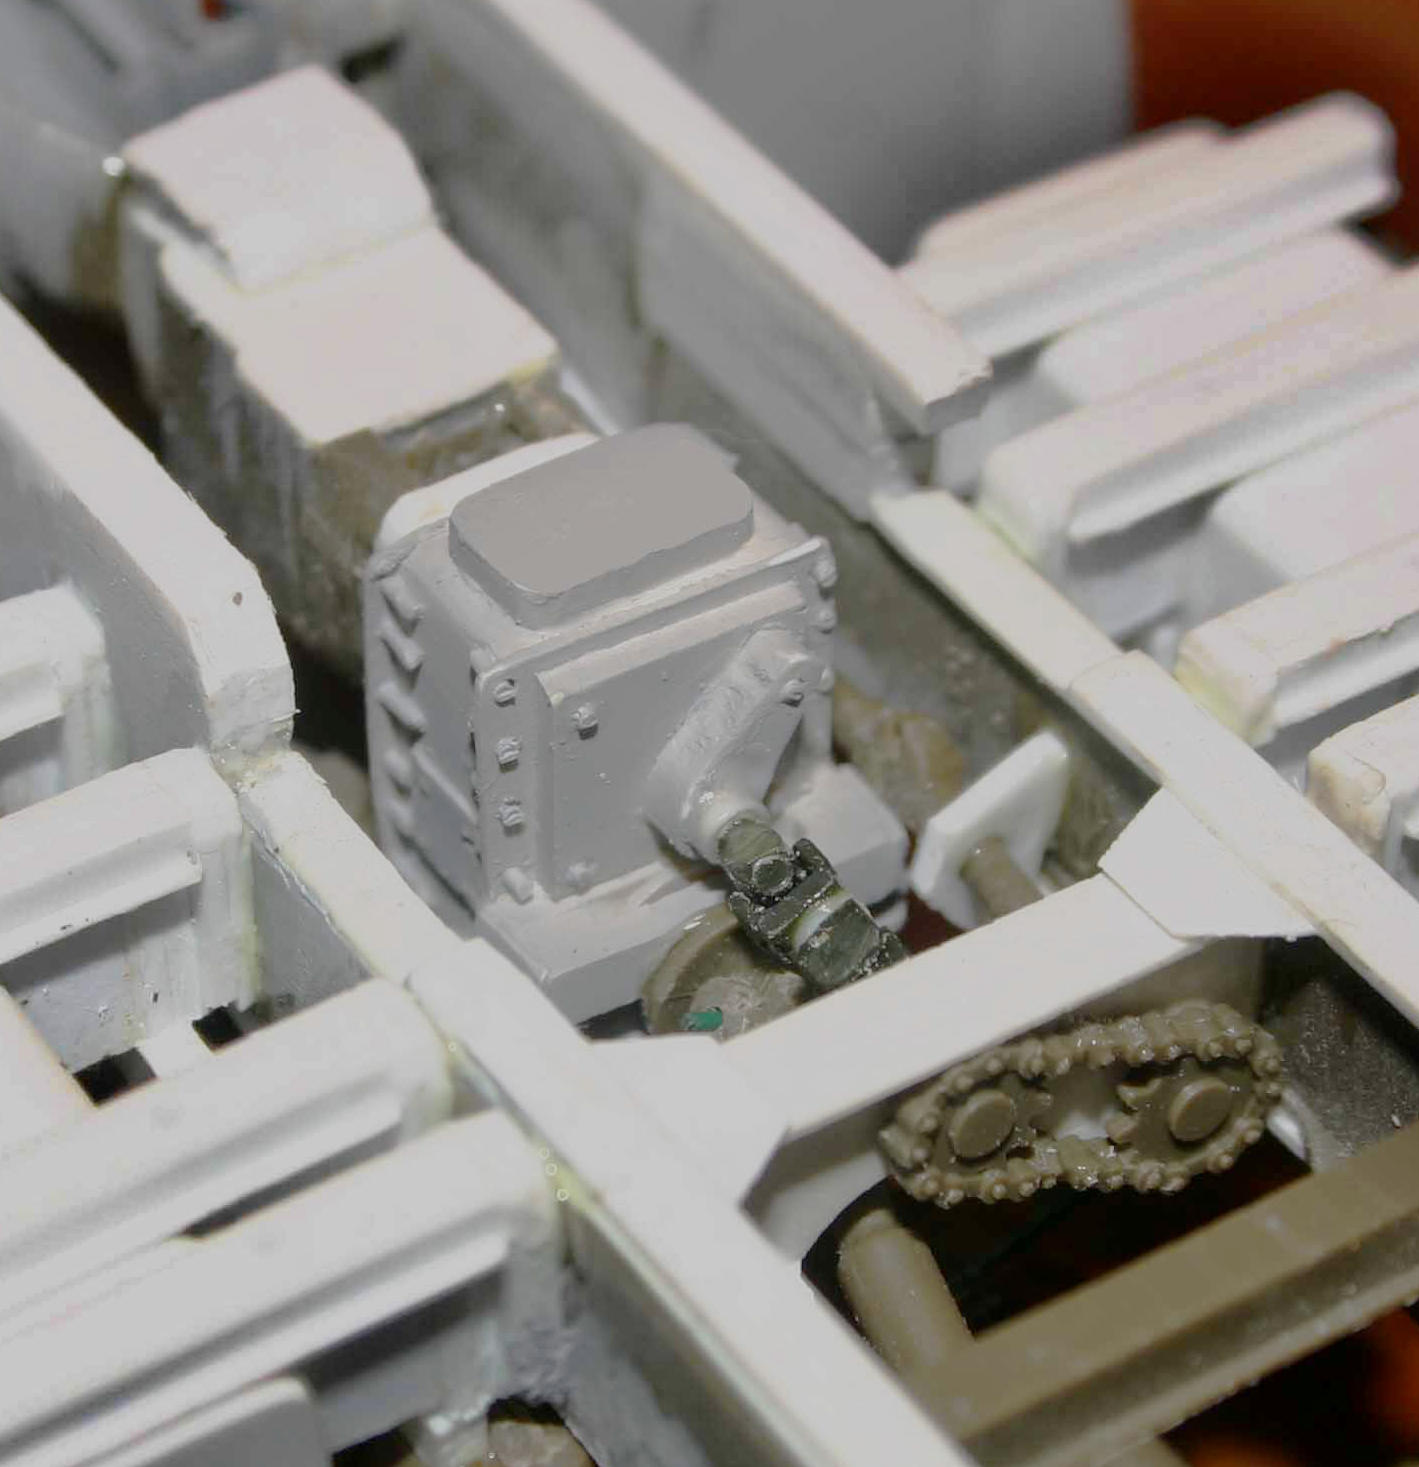
Mack built their own Transfer Case and Power Take Off. (PTO)
Interesting that the PTO for the forward winch comes off the rear of the transfer box. With Mack then using a complex arrangement of sprockets, chain drives, universal joints and drive shafts to finally get this power to the forward winch.
This rear facing design may have been a direct pickup from Mack’s heavy dump truck expertise, in that often a dump truck will have a hydraulic pump located here to power the truck’s dump mechanism.
I have to admit I could not find any good reference for just how the lower portion of the Transfer Case was constructed so what you see here is a bit of a mash-up of what I did know for the upper 2/3rds with then the bottom half of the Dragon Wagon T Case added on to fill the bill..


 .
. 
 ,
,  .
.