Nicely done Peter, I think it looks great in the grey color. Love the tones on the exhaust too.
1 Like
Really good looking !
1 Like
Thank you gentlemen.
The main color on the interior of the Alpine is what I would call ‘Tired ol’ brown’. With a chunk of dark grey hard plastic for everything else. To be honest the Alpine probably looked quite good when new with the electric blue on the outside and light brown on the inside. Some of the Esci kit interior looks smart too, just not accurate.
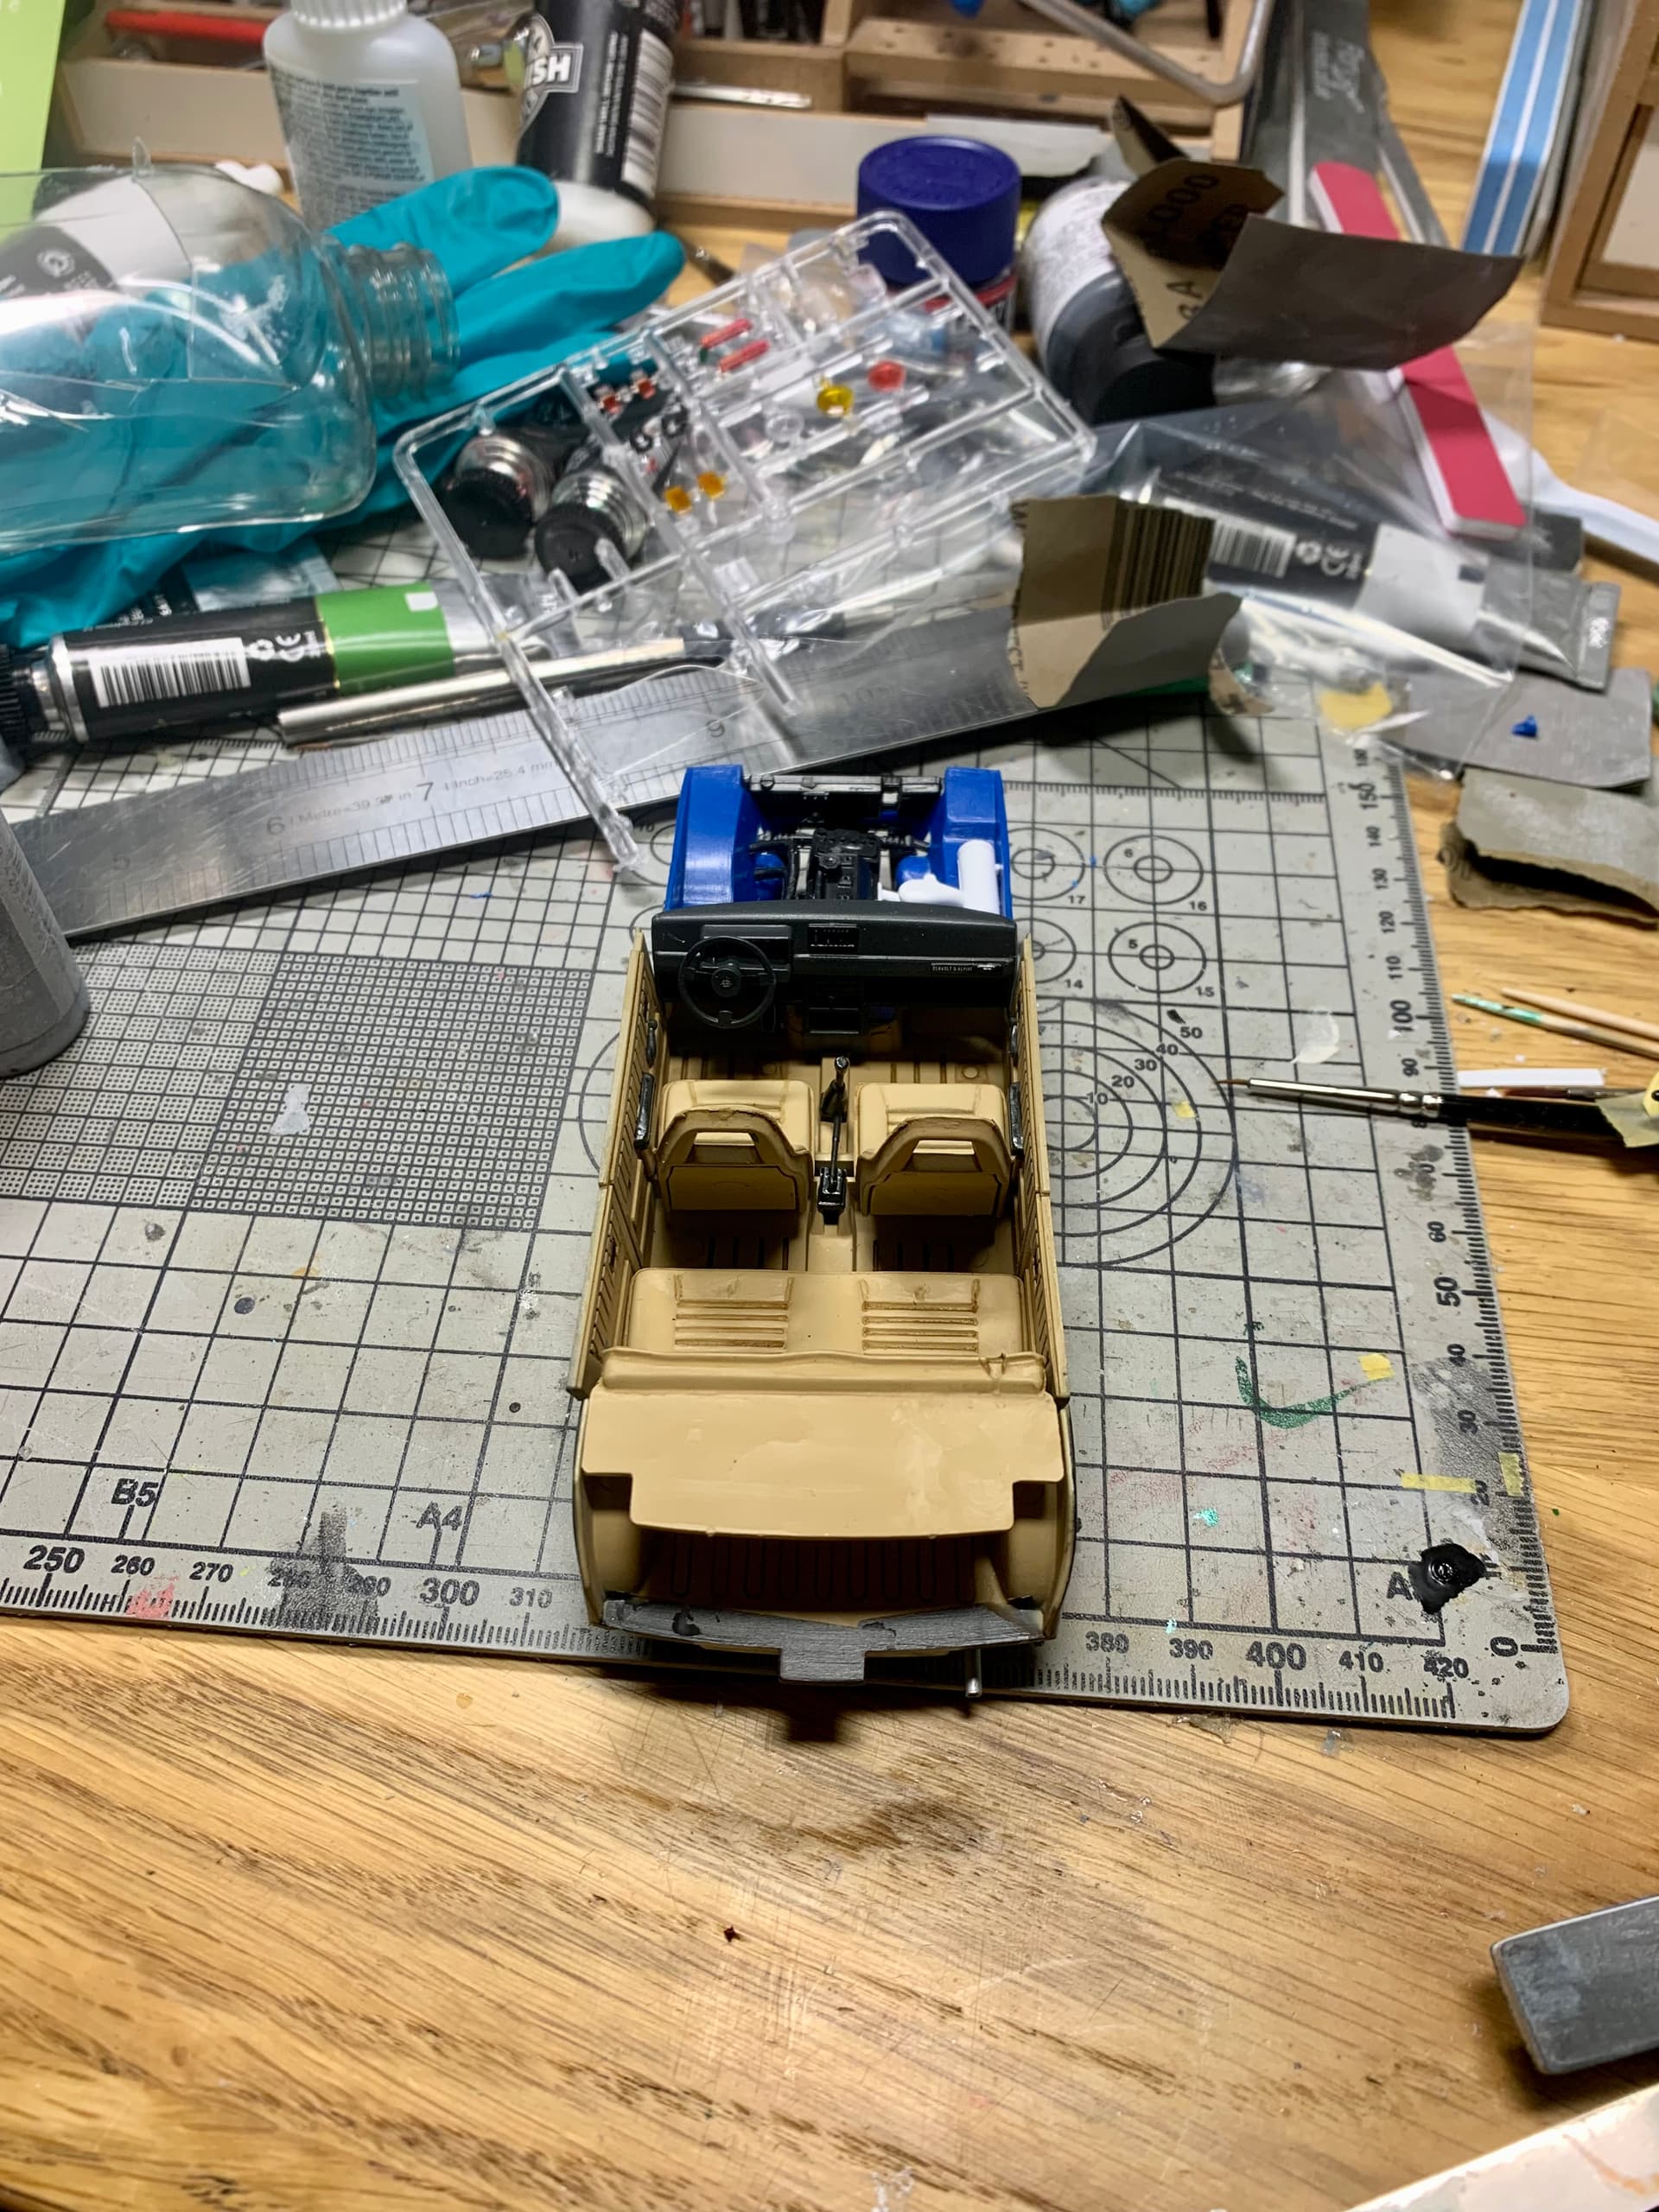
It was a fairly straightforward painting job with the seats, floor and door cards. I used Vallejo Air Light Brown with a Vallejo European Dust wash afterward to give the detail some definition. For the dash I went with Panzer Dark Grey, also from Vallejo Air.
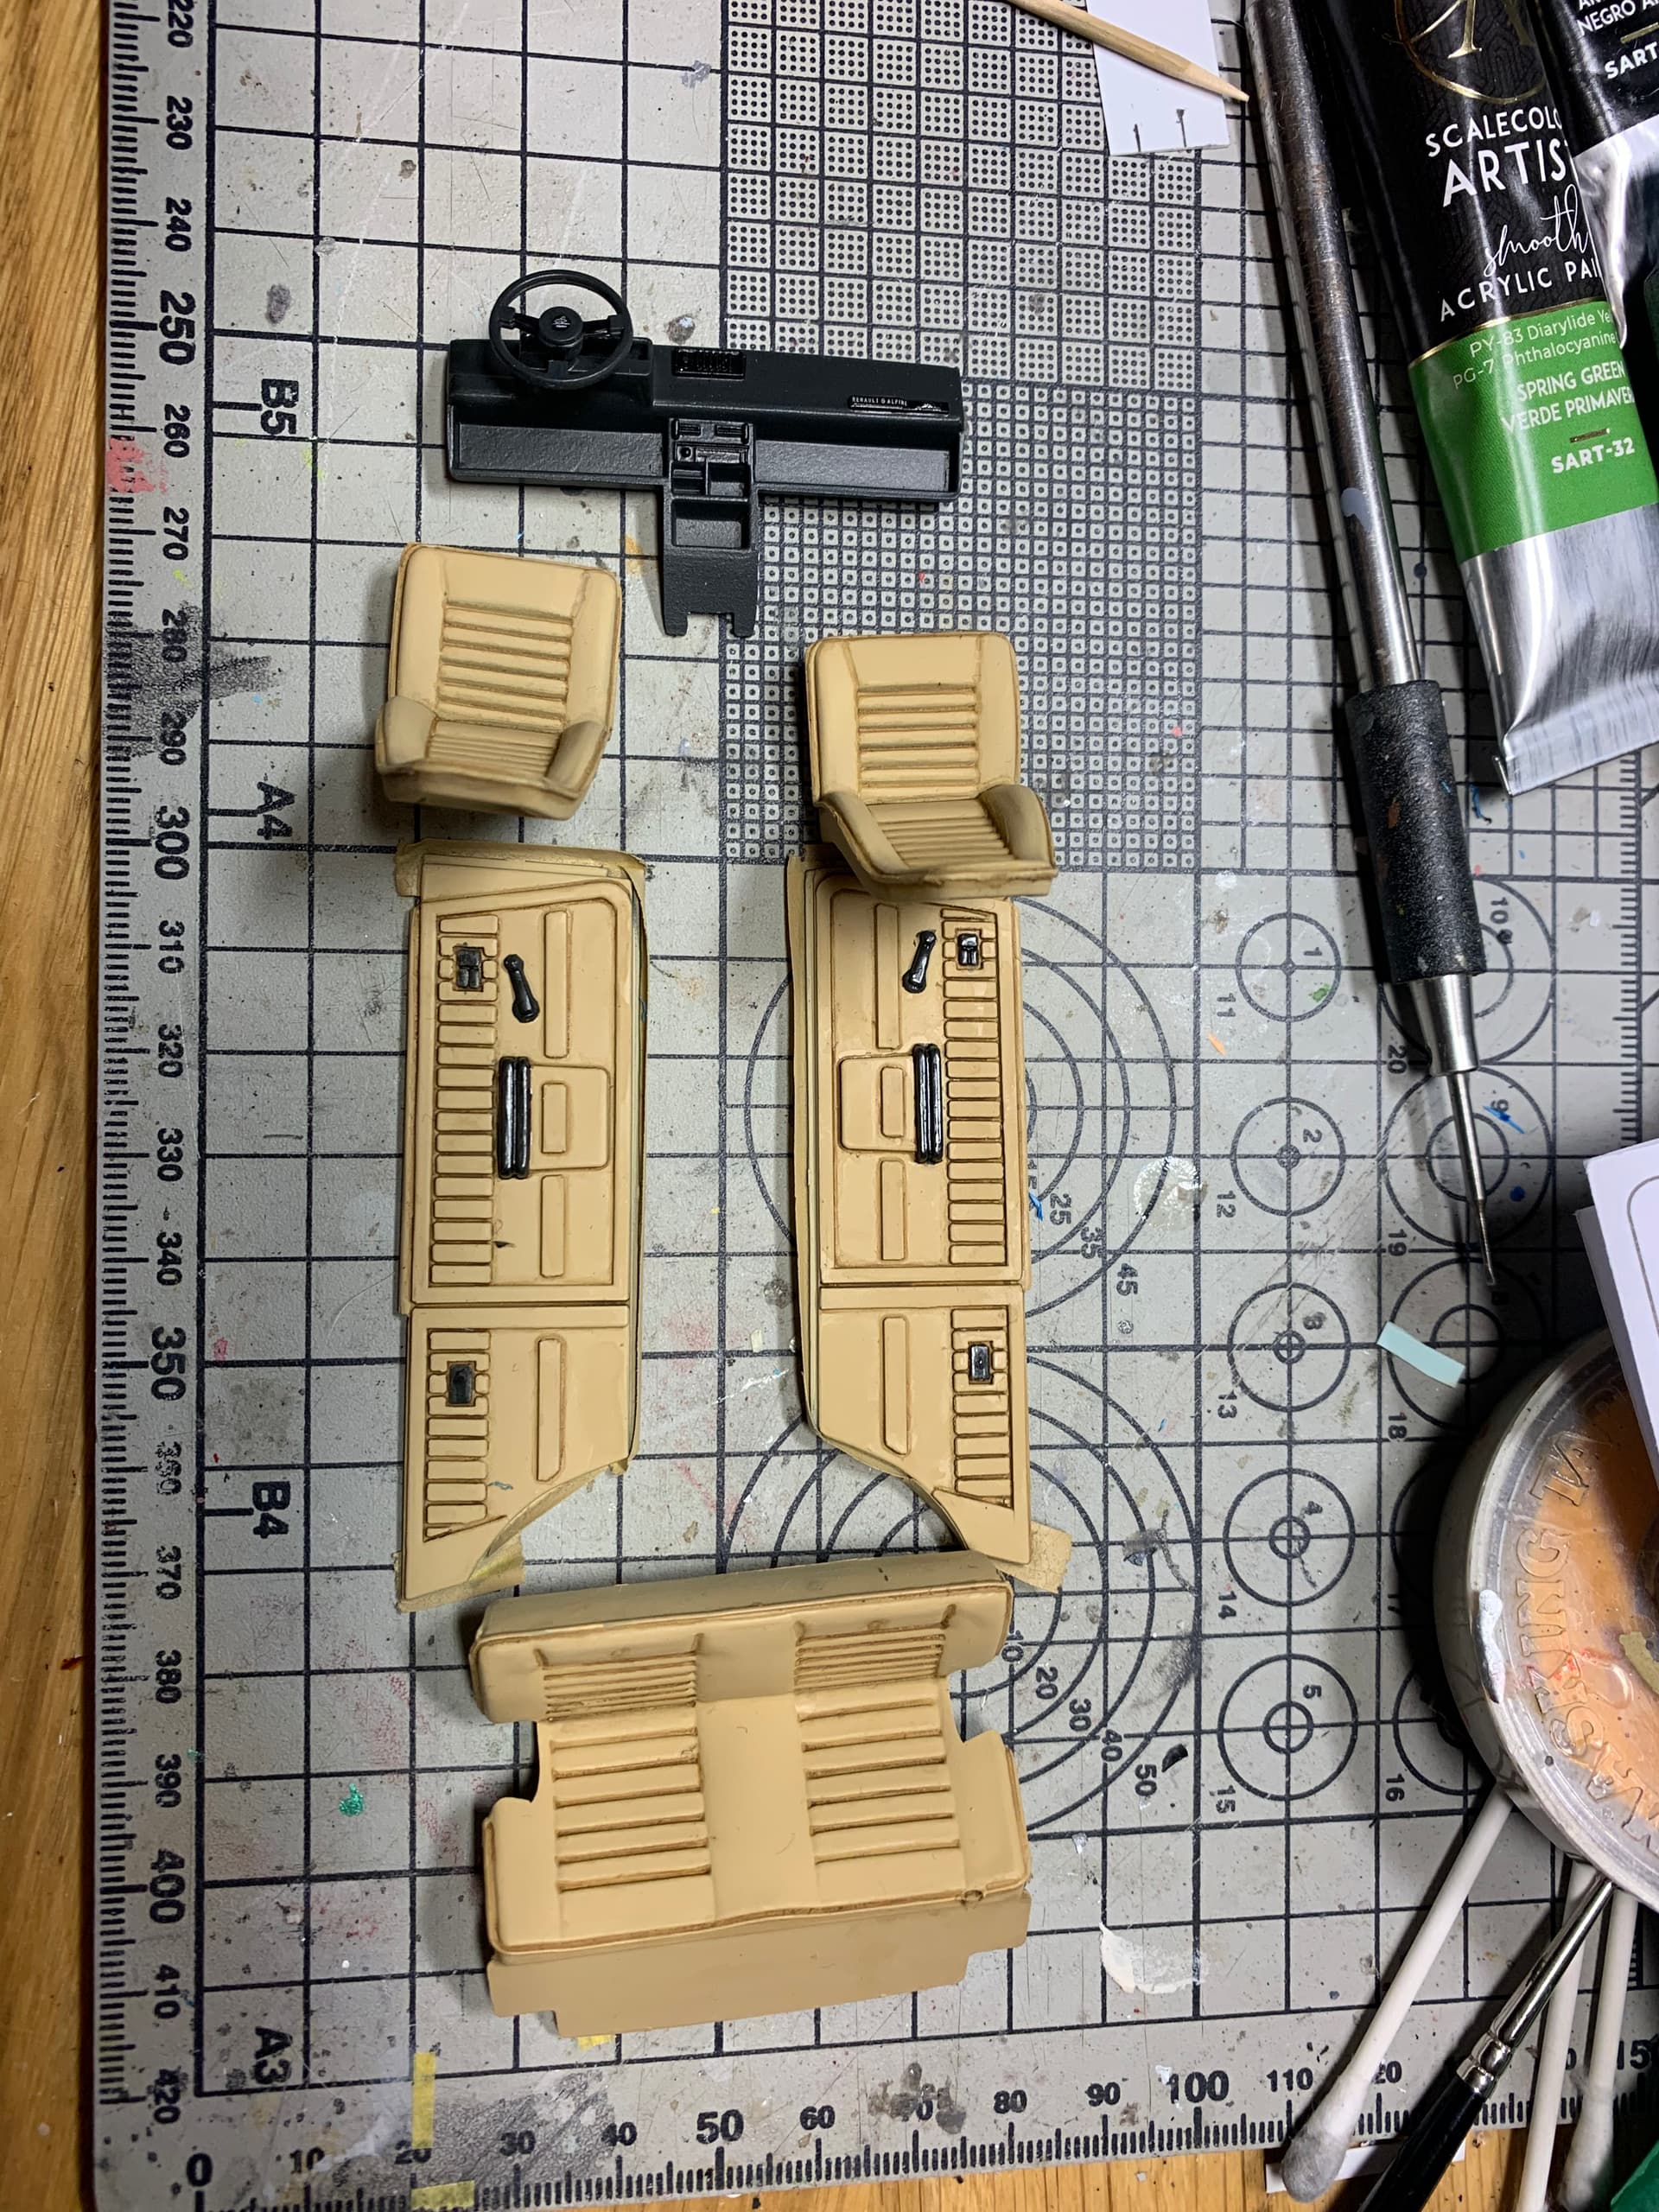
Assembly was easy enough but the dash seems to be too wide and forces the door cards out at the forward ends. It’s not a major issue though as the body shell still fits fine.
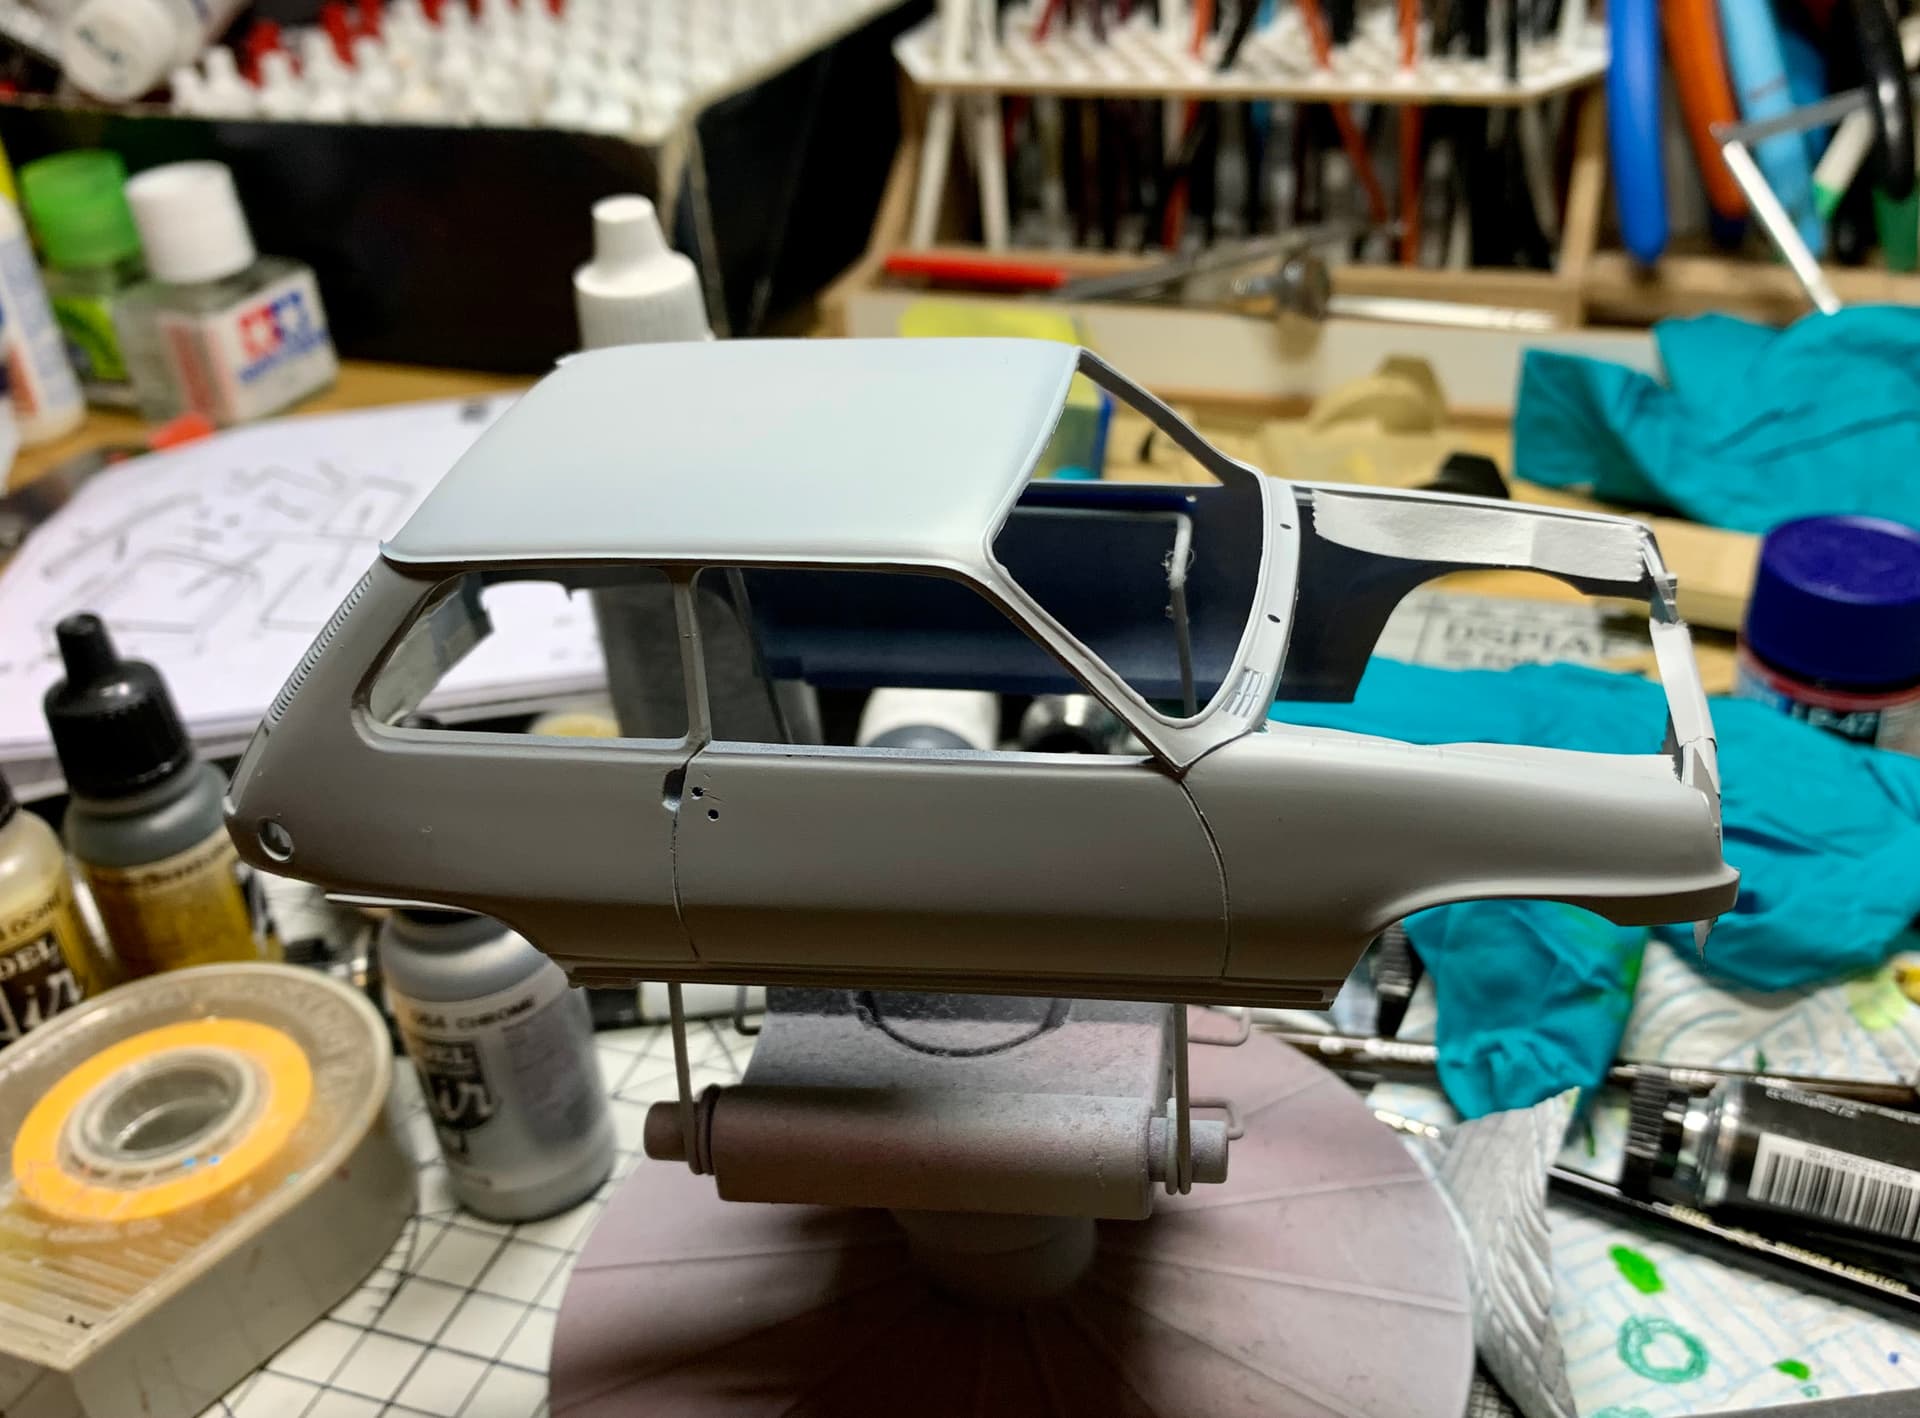
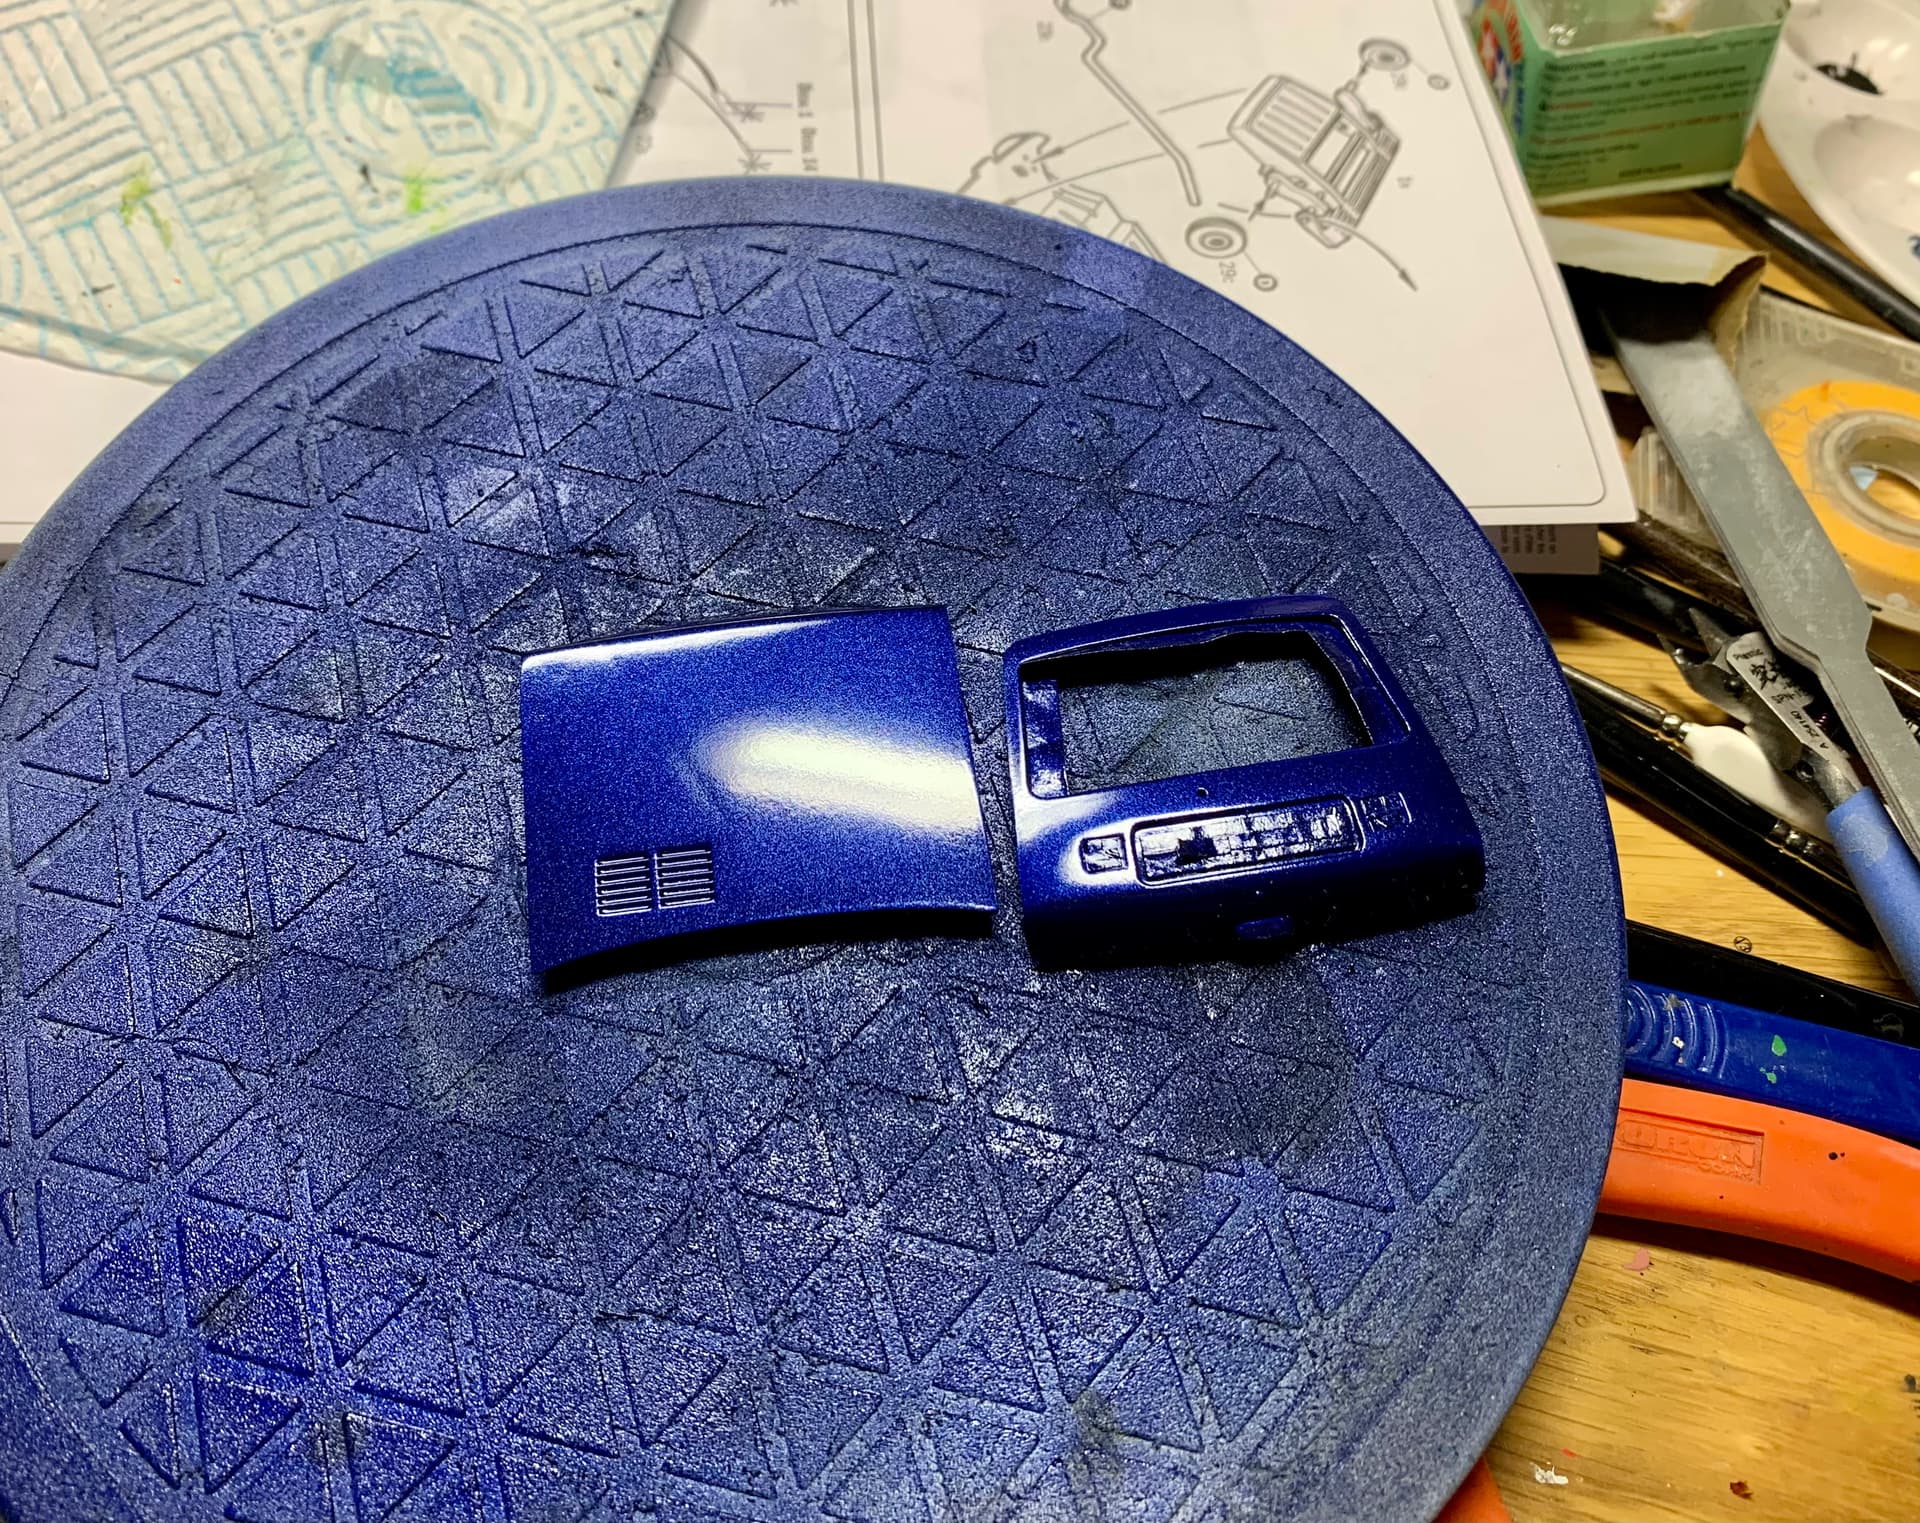
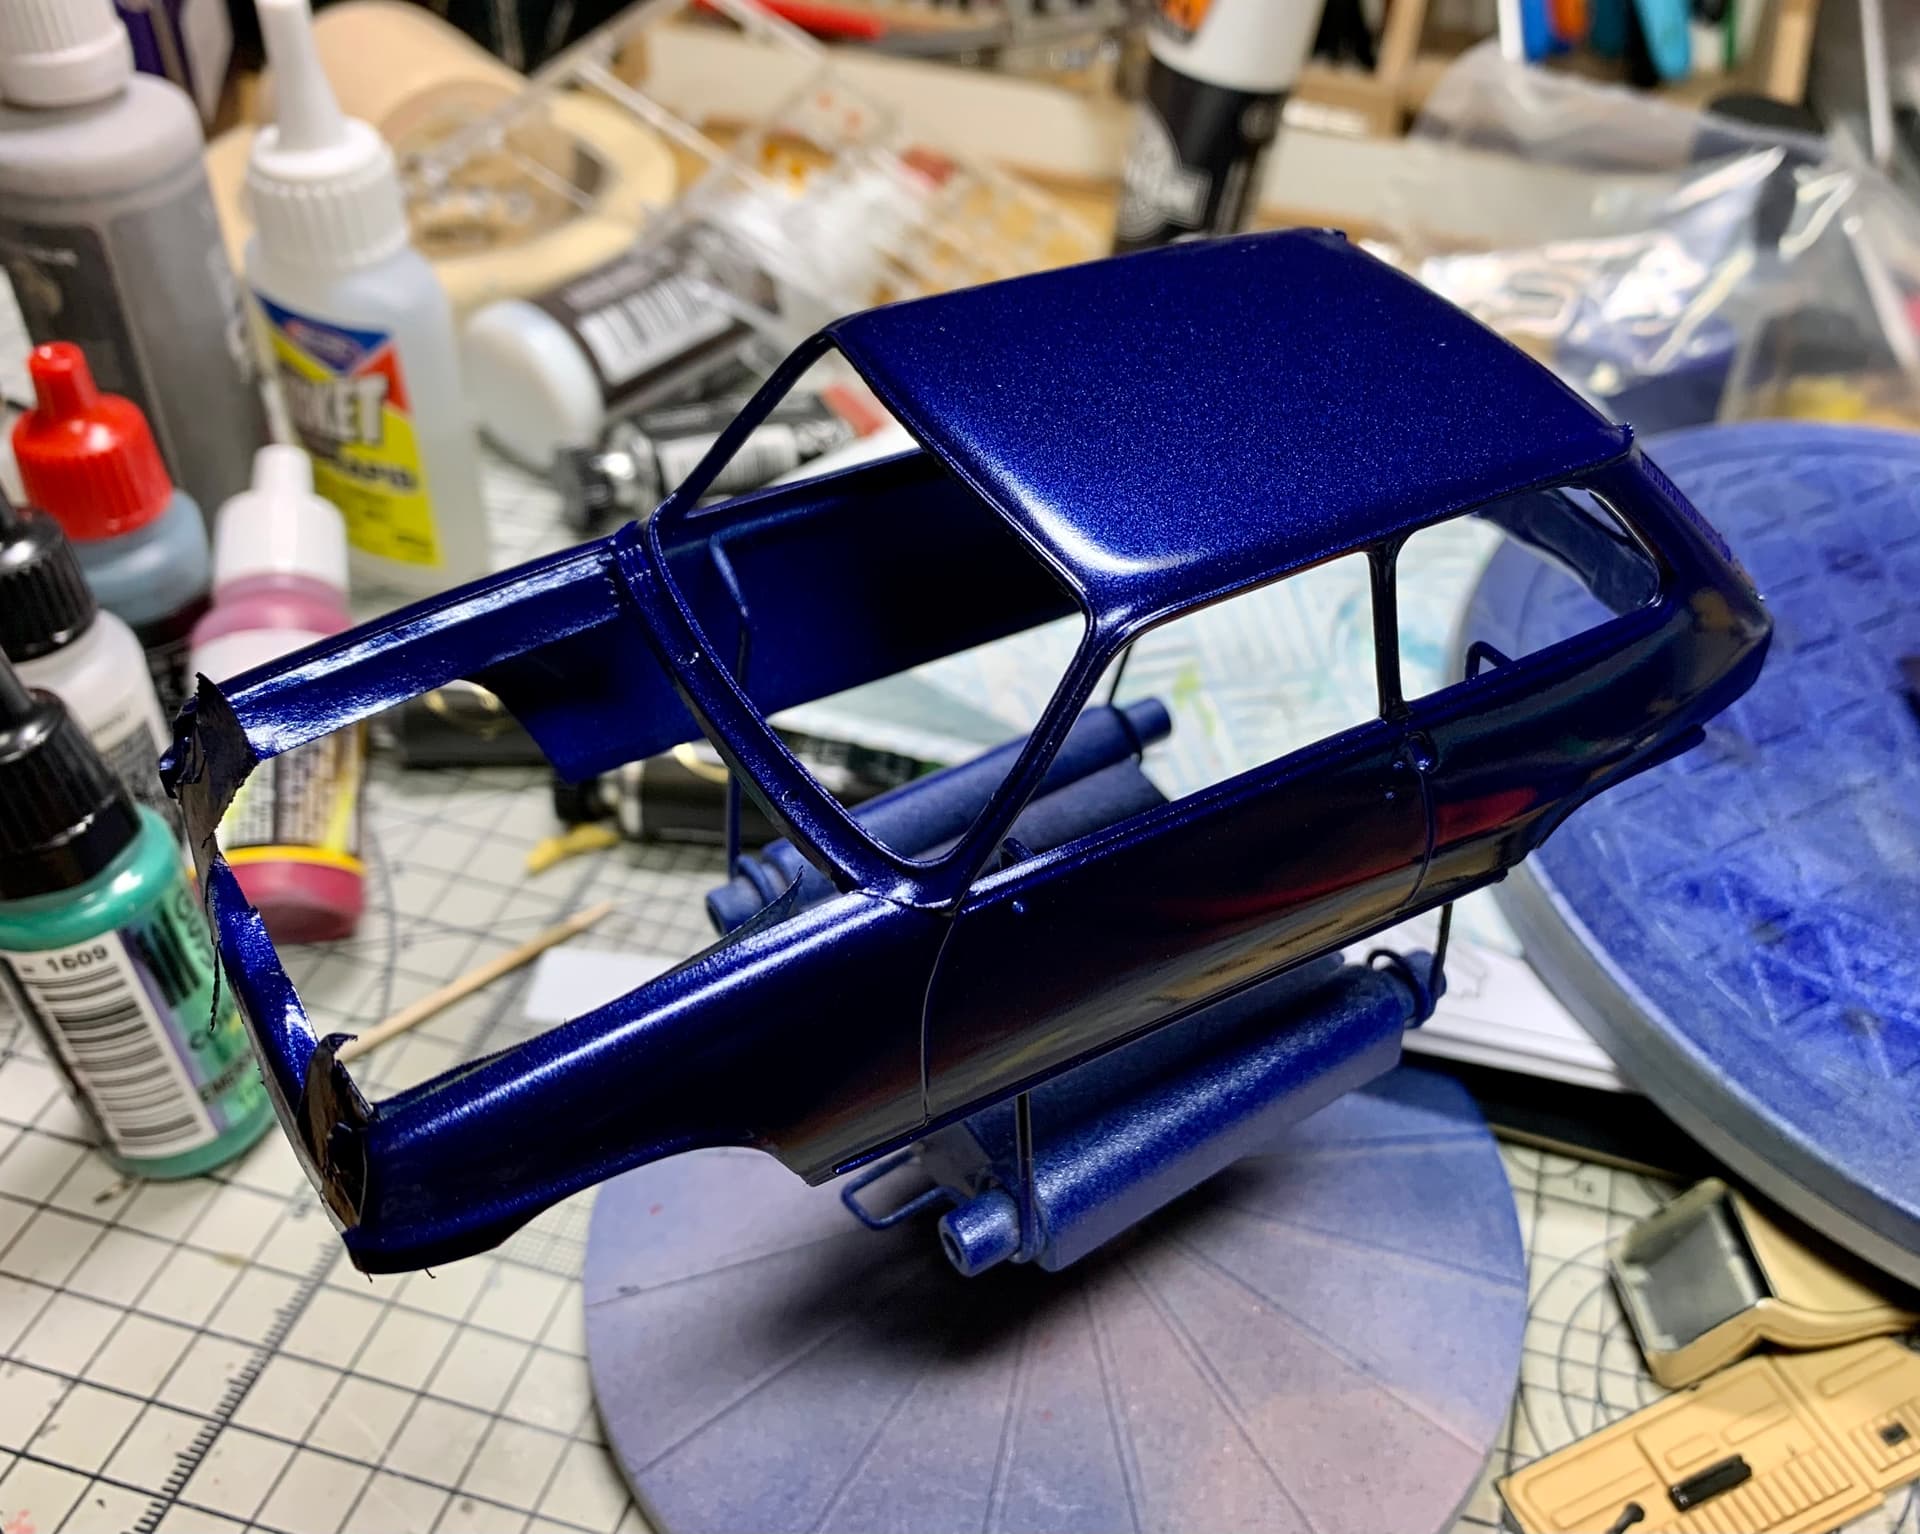
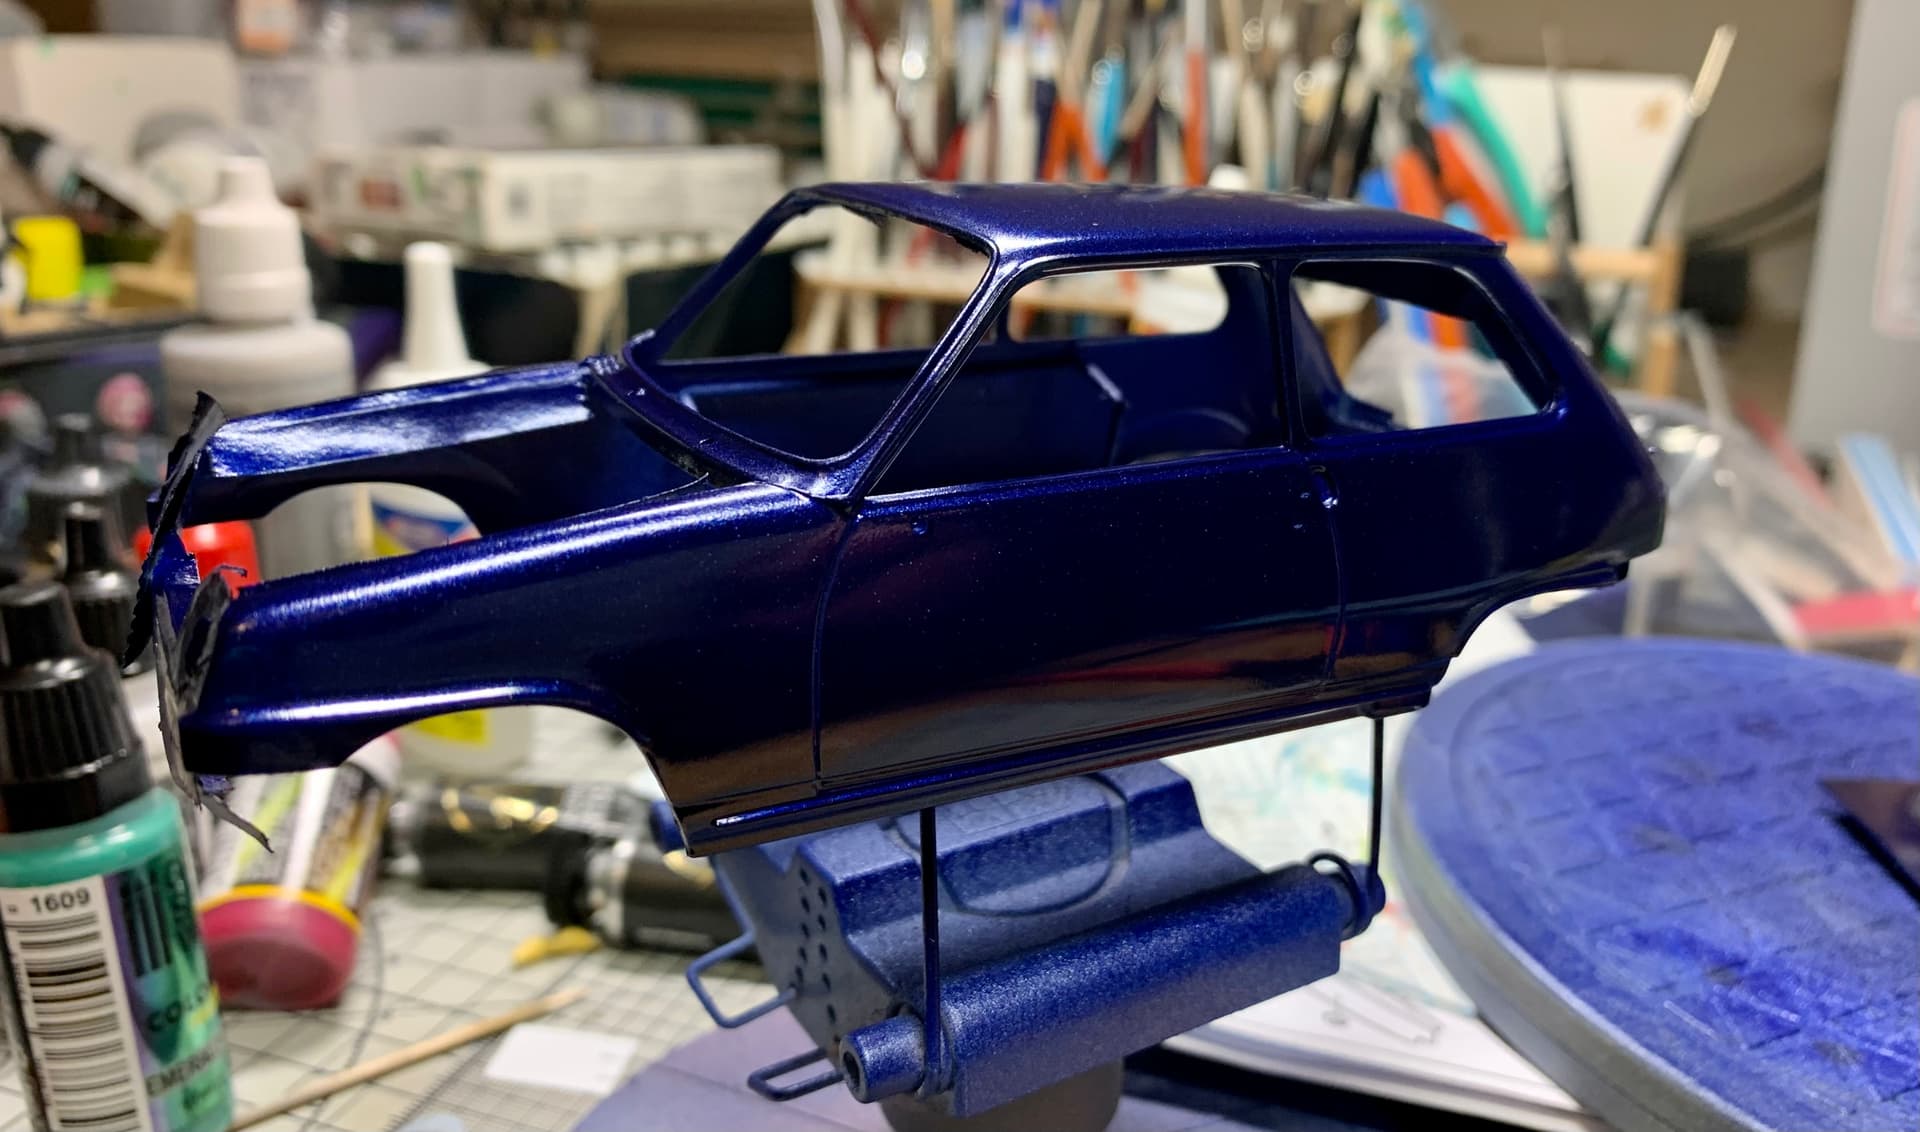
For the actual body I primed it with Tamiya Light Grey and then used Tamiya TS-51 Racing Blue. It is a bit too dark for Renault’s actual Alpine Blue but it is quite a nice, deep metallic shade. I like to let the paint cure for a few days, usually five or so.
While that is drying I started giving the glass parts their gauzy coats. Unfortunately the front windscreen fell over while still tacky and as I was cleaning the coating off to re-do managed to break it in half!
I bet I’m not the only one that sees red when they break a big clear part. And, let me tell you, I wouldn’t blame you for binning it right there. I know I have in the past- and let’s face it we all mess up a kit or two here and there!
Still, despite my annoyance at this I resolved to sort it out since the shape was simple enough. I ended up gluing the windscreen back together to use as a template on a disposable clear food tray which was of a similar thickness and took the gauzy coat well enough.
So with that problem sorted I am just now getting the lights sorted and will be starting to clear coat the body soon.
Thanks for reading.
5 Likes
That dark grey contrasts nicely with the white numbers. The rust on the exhaust is very convincing, it has the old topped with fresh rust as if it had been rained on look. Very nice.
What tracks did you use? They look great.
Overall, a very nice build, one I would be happy to have in my display case.
Paul
I love that dark blue on your Alpine. What is the rig you are using to hold the main body for painting? It looks better than my usual bent coat hanger wire.
Paul
Paul- that’s a Tamiya Spray Work paint set. You get that and a round platform stand in it. The stand you see there is fantastic for car bodies and it adjusts easily to hold them nicely.
They are just the link and length tracks that come with the kit Paul. They really are that good. Build this kit with the tools and tow cable in place and you will not need to replace or scratchbuild anything.
The interior is really nice !
2 Likes
Thanks Gil!
Thanks Karl, the holder looks useful enough that I ordered one for future builds.
Paul
1 Like
Very nice! I built the Zvezda T-35 with the link & length tracks & found they fit perfectly & look great. I had bought a set of metal tracks but didn’t even bother to build them. Its great to see Tamiya up to speed on these.
Paul
My Char 2 build continues. It got a couple of greenish washes and is now waiting for a clear gloss coat to dry to start some washes to bring out the detail. Pics later.
Paul
1 Like
Today I finally got some time to get some primer on my Mirage.
Was all going well until I knocked the exhaust off the table.
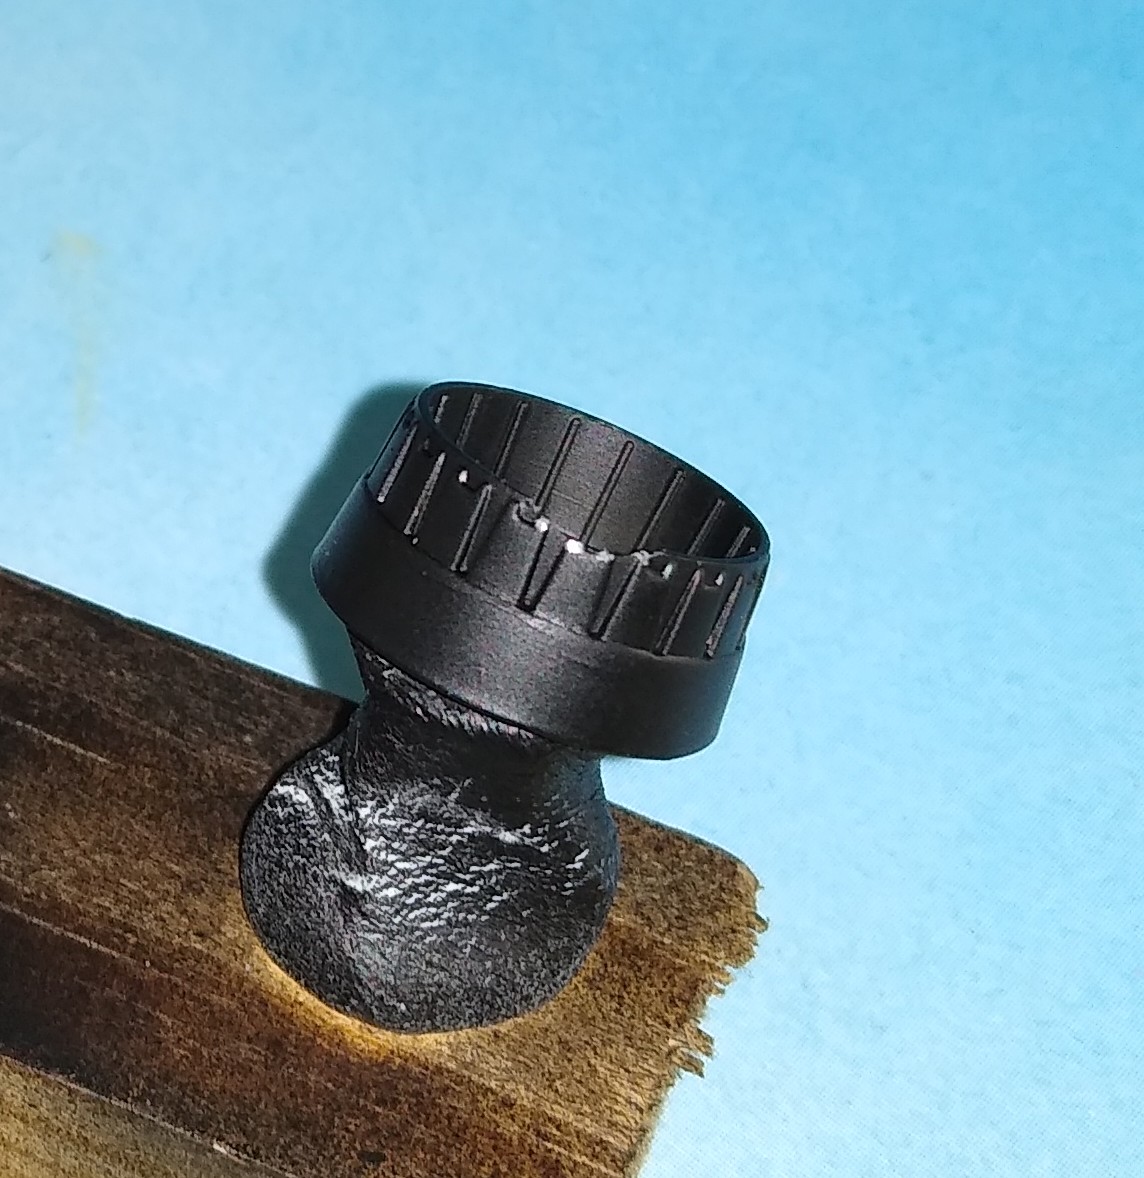
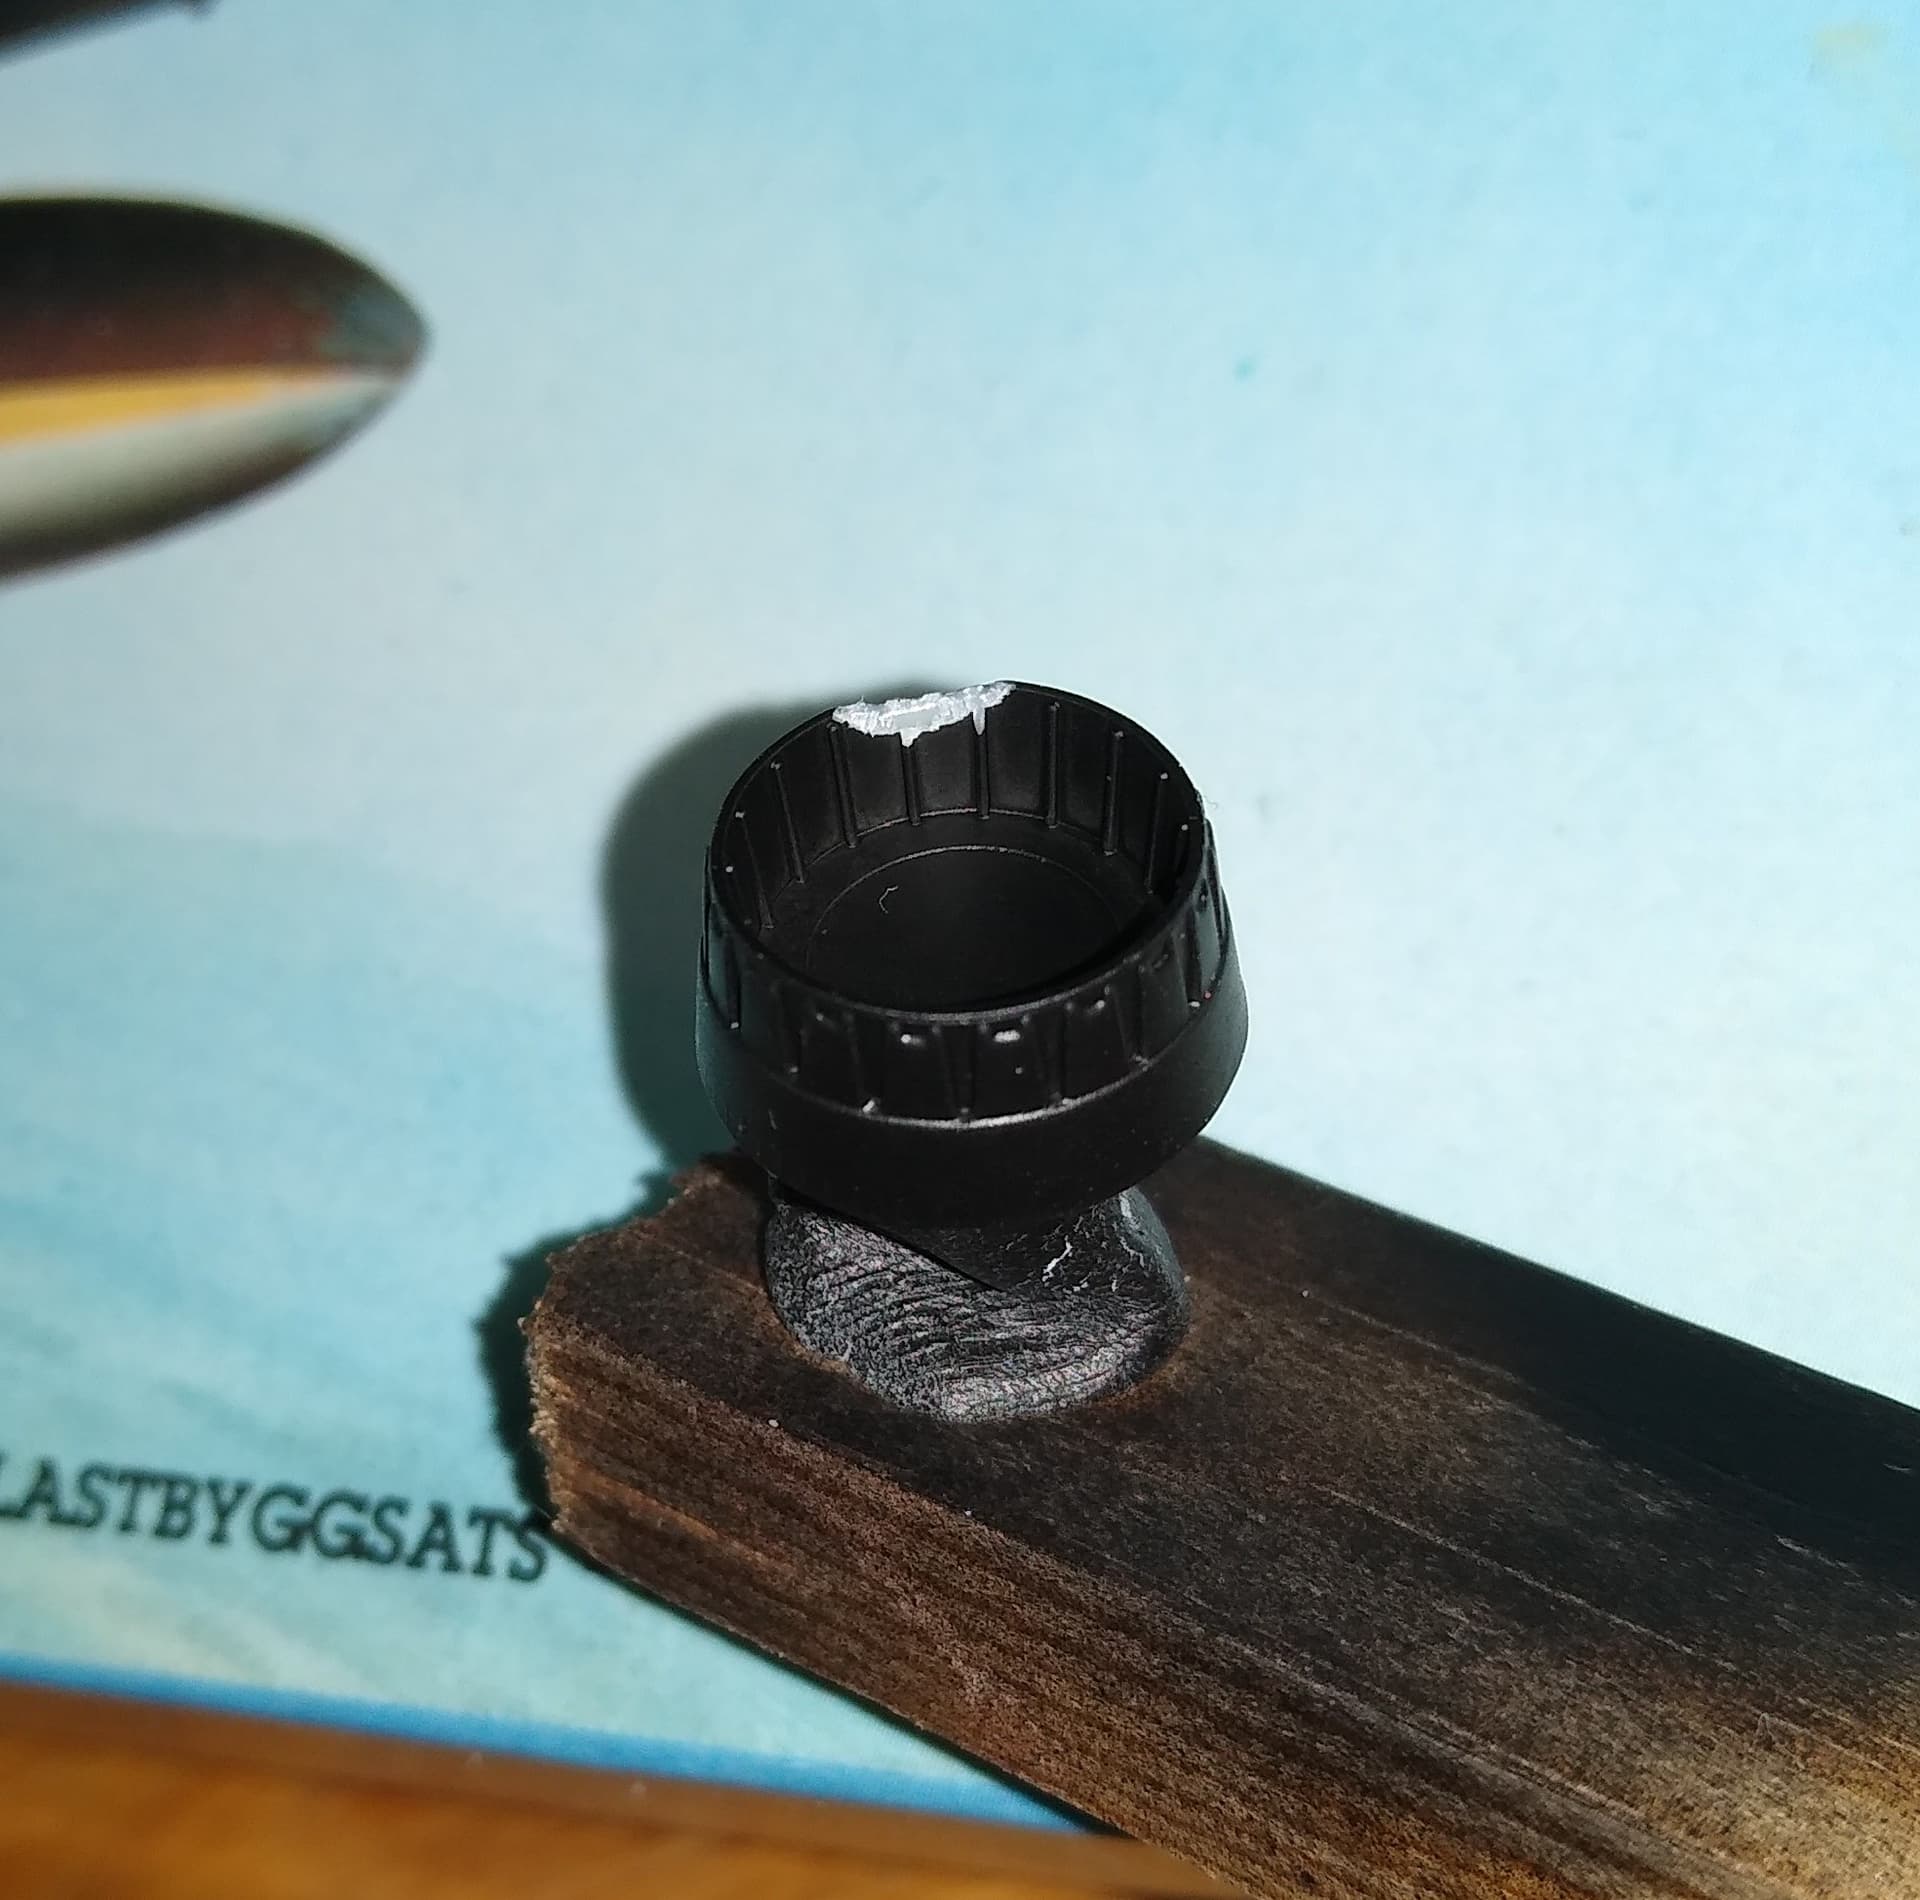
Quite the chunk has been knocked off. Try as hard I might, I could not find the missing section.
So, can only think of three options:
- find a junker I can salvage for spare.
- resin exhaust and hope it fits.
- make up an FOD cover. This is probably the easiest and least expensive.
Why does nothing ever go to plan?
Why does nothing ever go to plan?
Because as every good engineer knows,“Murphy rules”
2 Likes
And it’s always going to be a campaign build too.
I spent an hour or so scouring Google images and I found a couple of photos showing FOD covers over the burner can. Seems to be a single piece flexible tarp style. Should be easy to make from PVA soaked tissue or milliput.
Intake covers should be easy too.
Probably for the best, as the piece is too shallow with no depth or detail.
The new Special Hobby F1 is looking a lot more attractive every day.
2 Likes
So today I’m going to do a bit of experimenting to make sure I get a good solid yellow on the tail.
Last time I airbrushed yellow, it didn’t go well and dried far too translucent. I think was probably due to the paint I used, Vallejo’s Modelair, having very weak colour density.
Instead, I’m going to try Revell’s, which looks like it has more pigment in it. I’m also going to try spraying over another colour. In this case Vallejo’s Modelair Beige and Tan Yellow, rather than directly onto white.
I’m going to try this out on an old plastic cup before committing to the model. It might work, it might not!
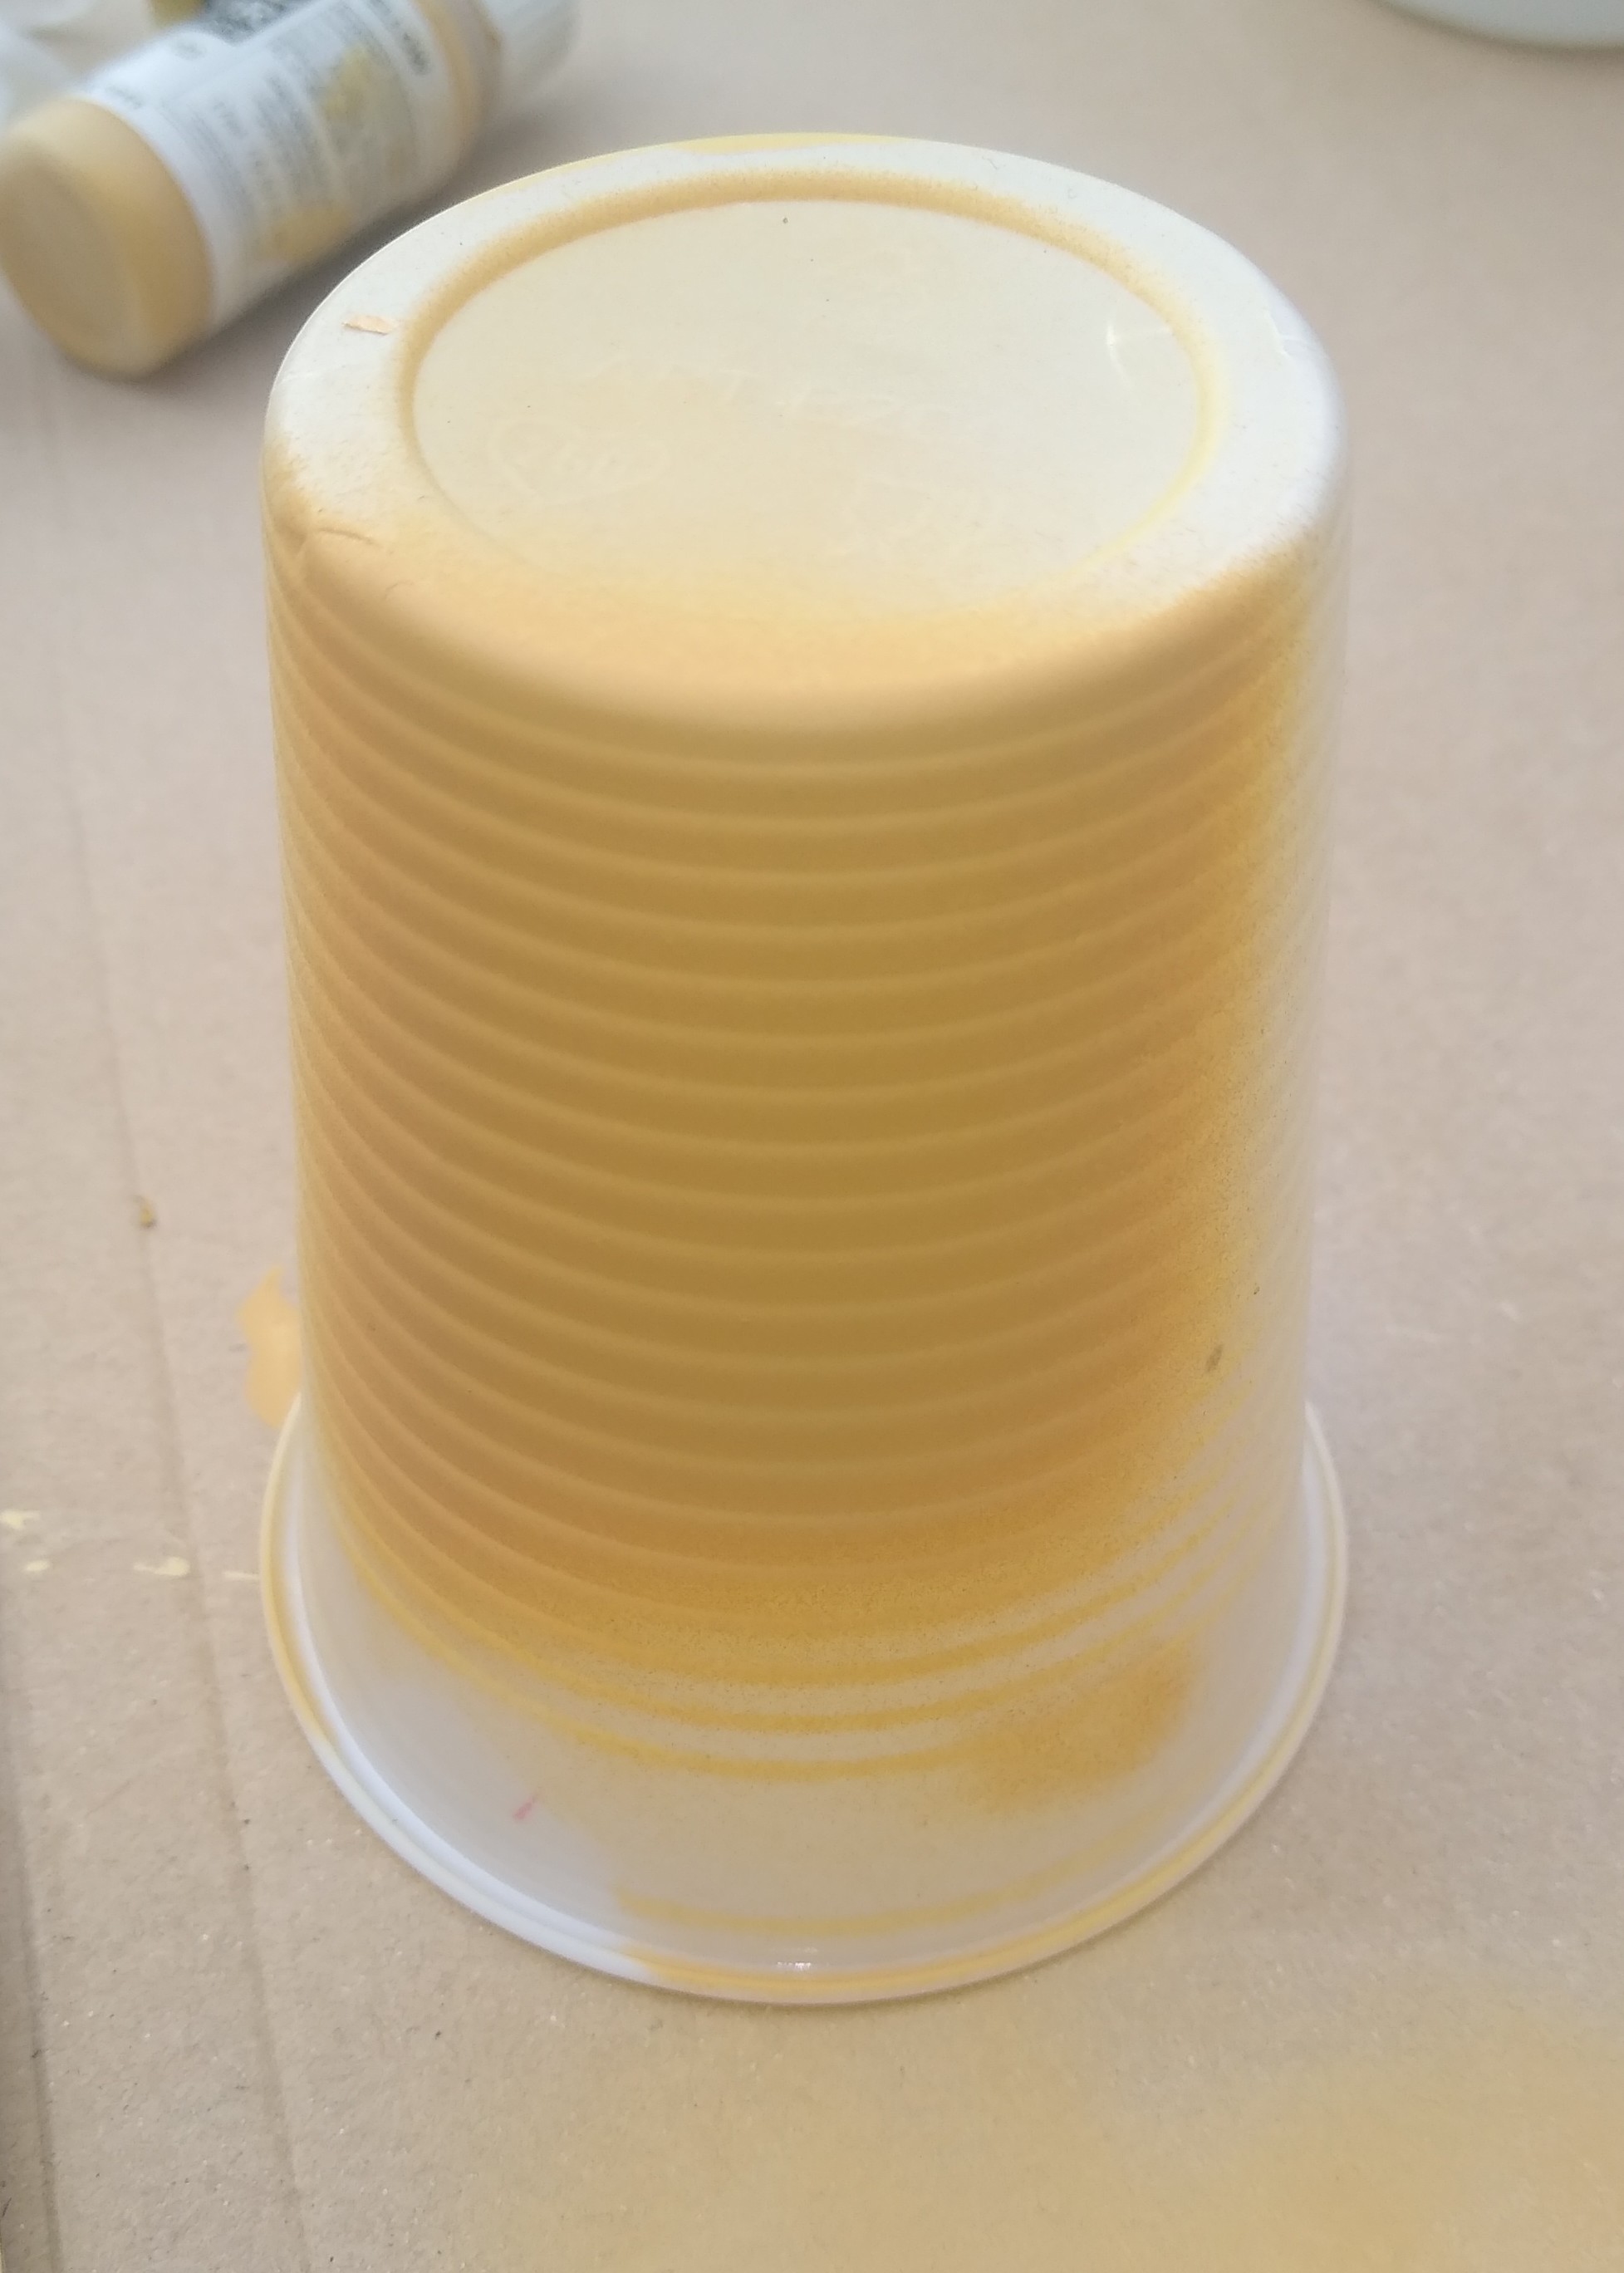
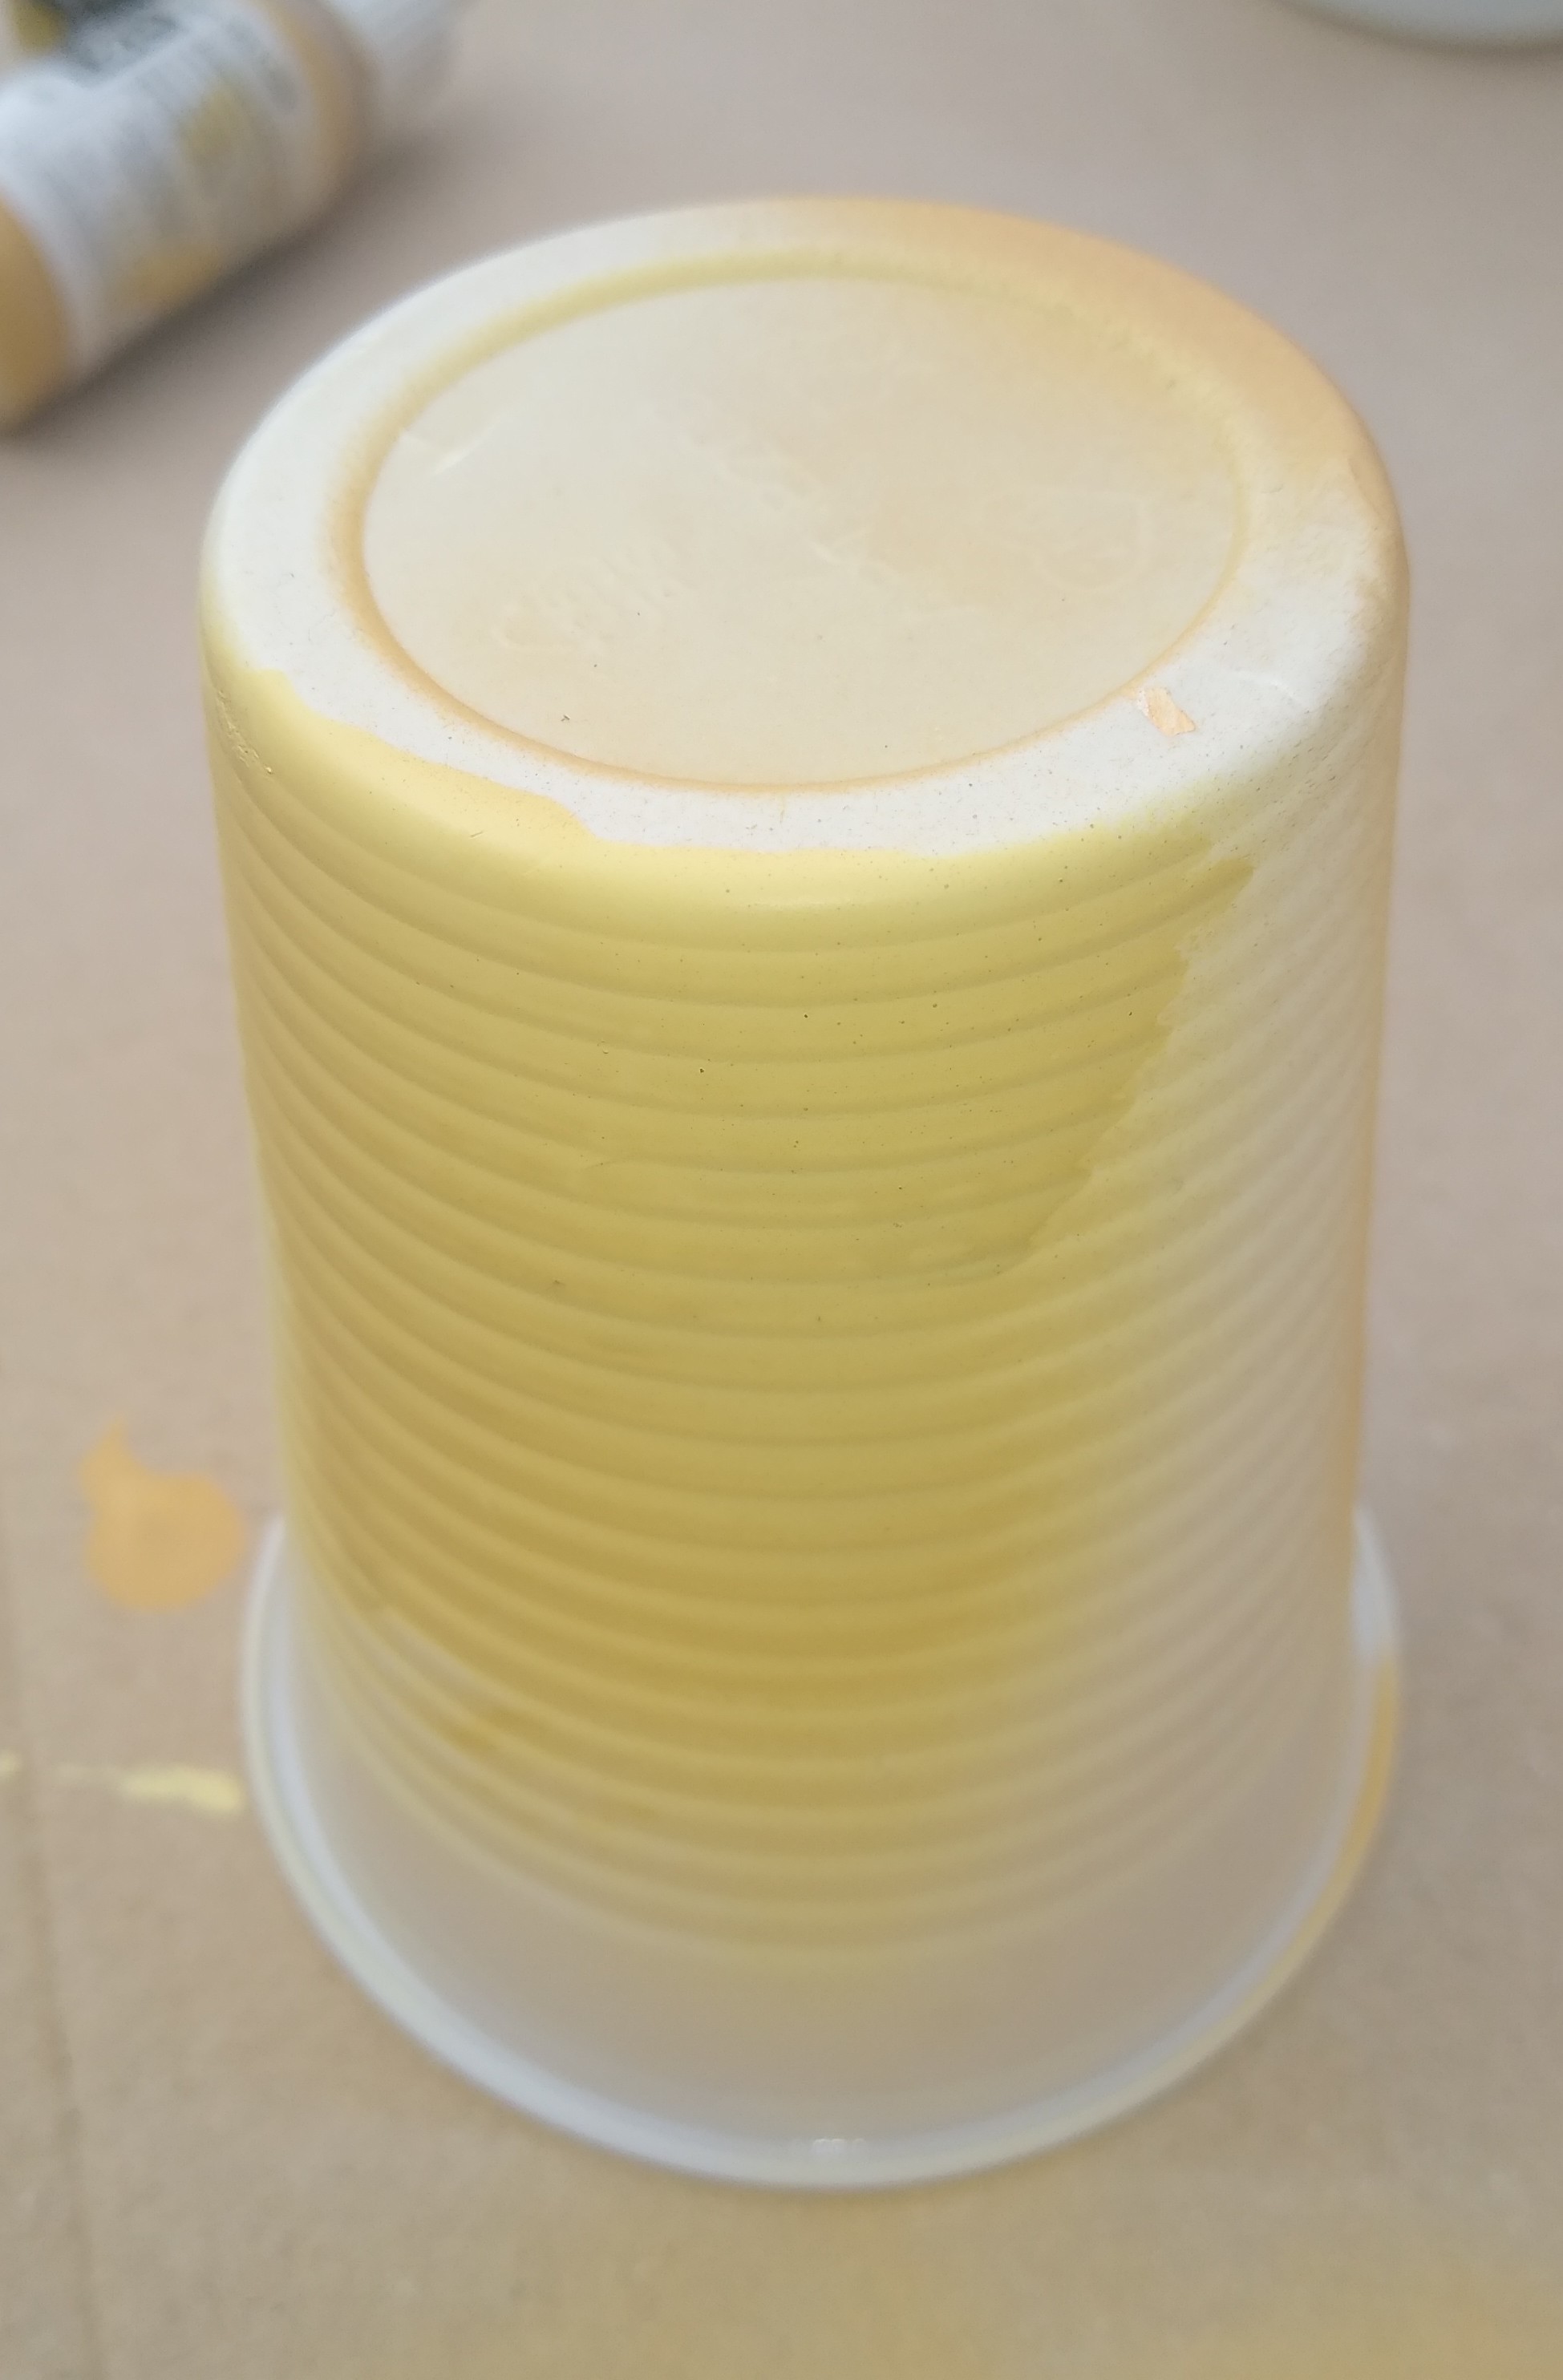
I’ll give them an hour or so to dry, then spray some yellow over.
2 Likes
I always find with the strong, bright colors of Vallejo Air (red, yellow, bright green, tan etc) that you have to build them up in several layers- up to three or four depending on how it goes. Like yourself, I prefer to airbrush these bright colors over a nice light base like white or light grey.
1 Like
That’s what I try. Yellow is always the most difficult!
Well this little experiment was successful.
I think the lighter beige gave me the best result. The Tan Yellow had a slightly green tinge. The Revell had a good strong colour, even after thinning with acrylic flow improver and a spot of water.
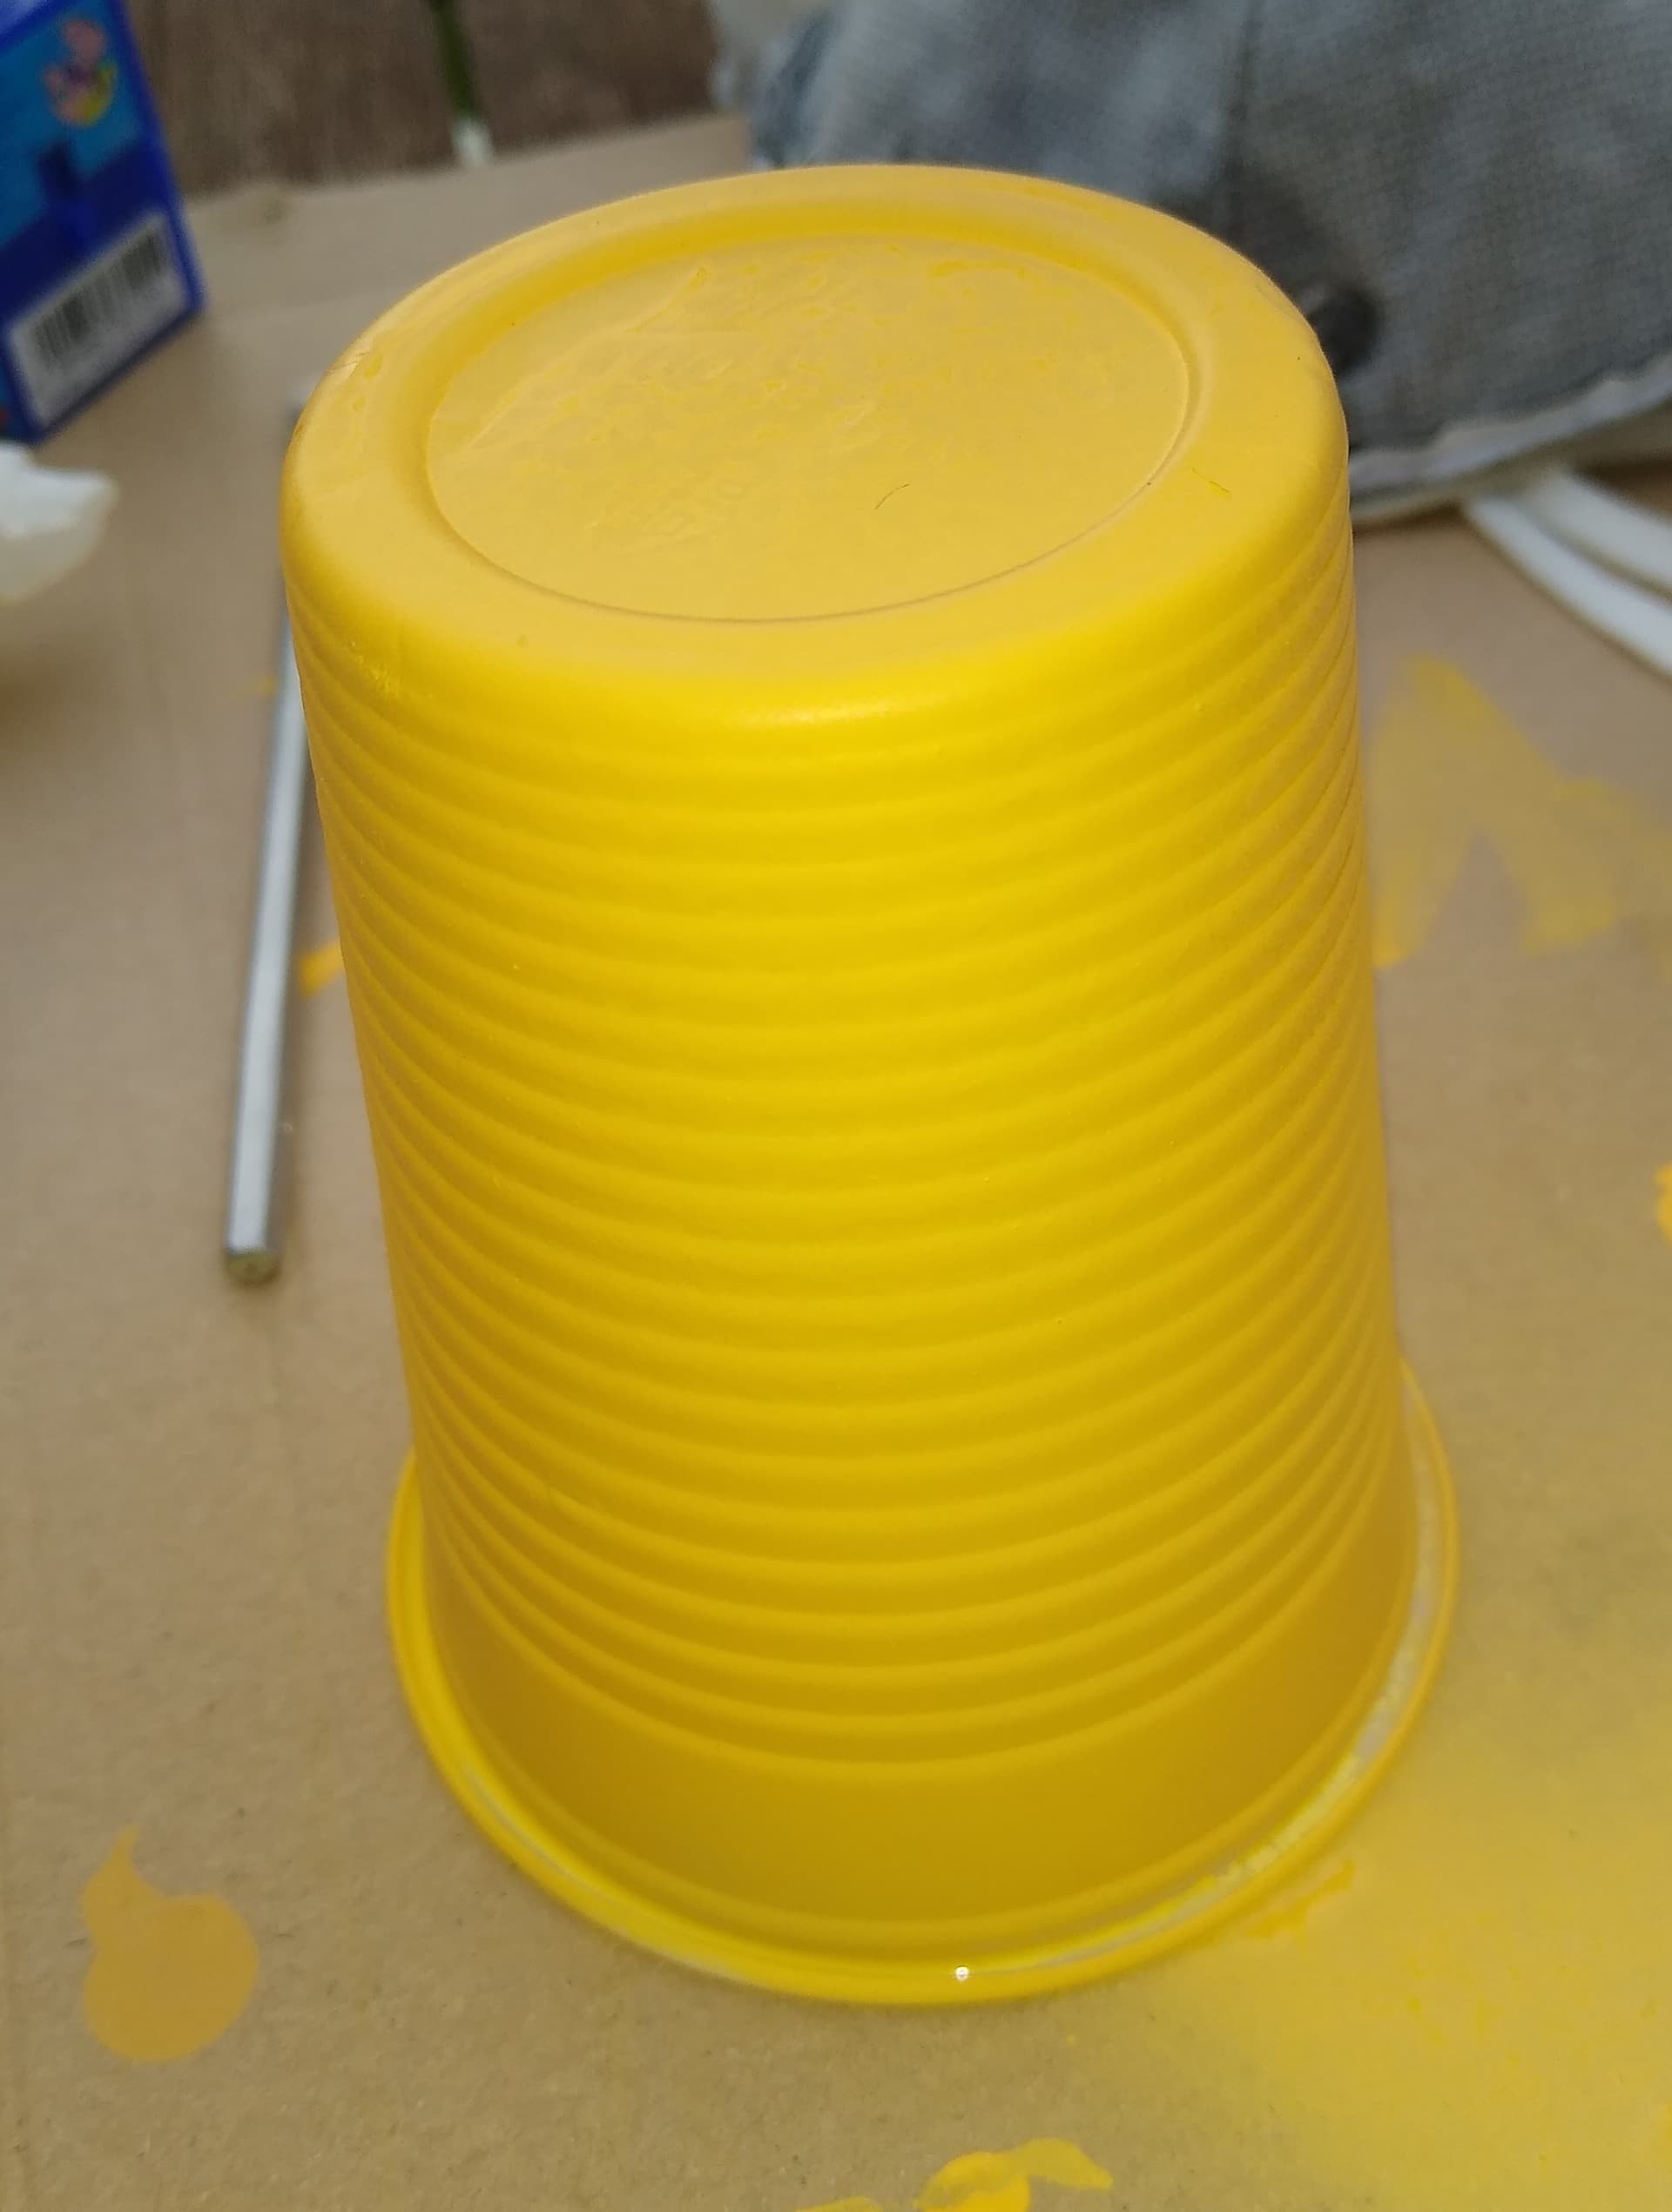
I probably sprayed it with a bit too much pressure, for convenience I did use my el cheapo single action brush. Definitely use the better brush with the final model.
Overall though, very happy with how it turned out.
3 Likes
Too bad about your burner can. Was this a resin part or plastic?
I like the pale yellow on your first trial. That might be a good color for other projects.
1 Like