Carpet Monsters are low-tier, Grass Gods are high-tier, and as such, demand bigger tributes of plastic parts.
3 Likes

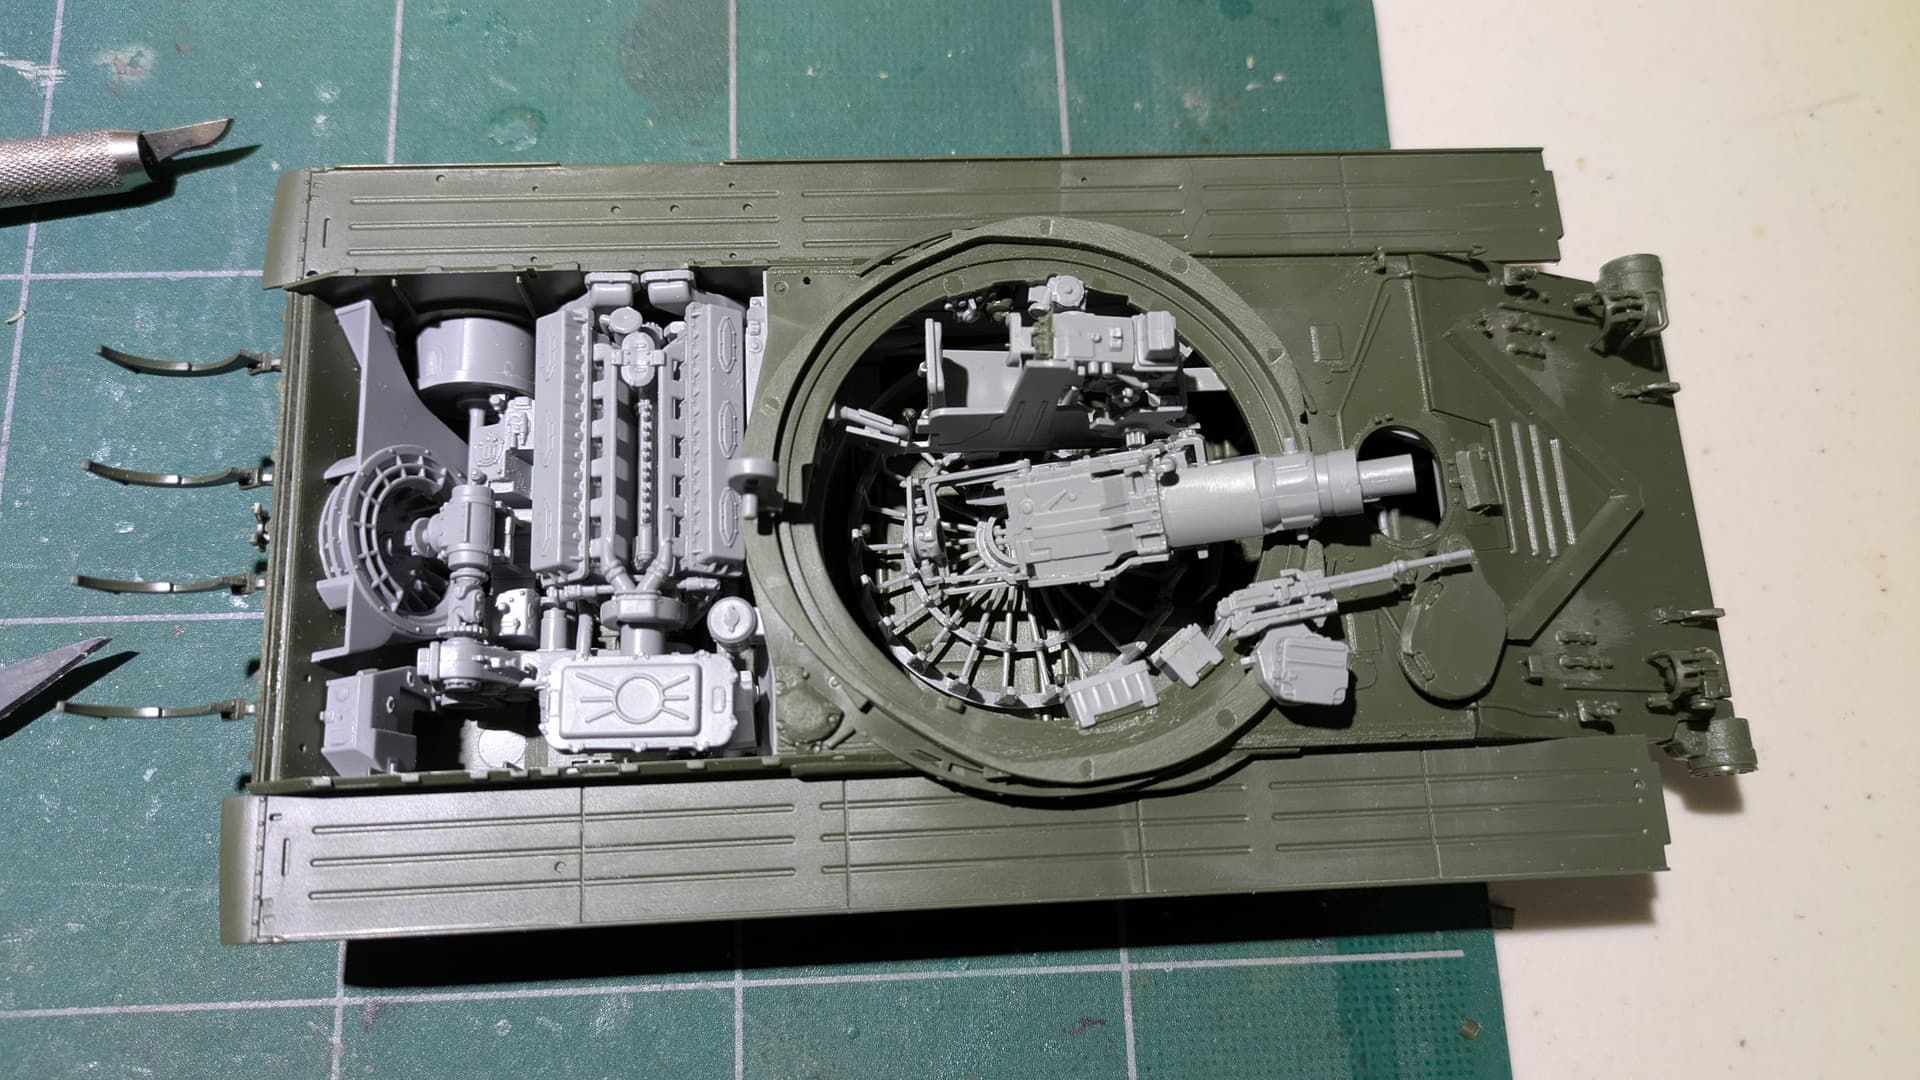
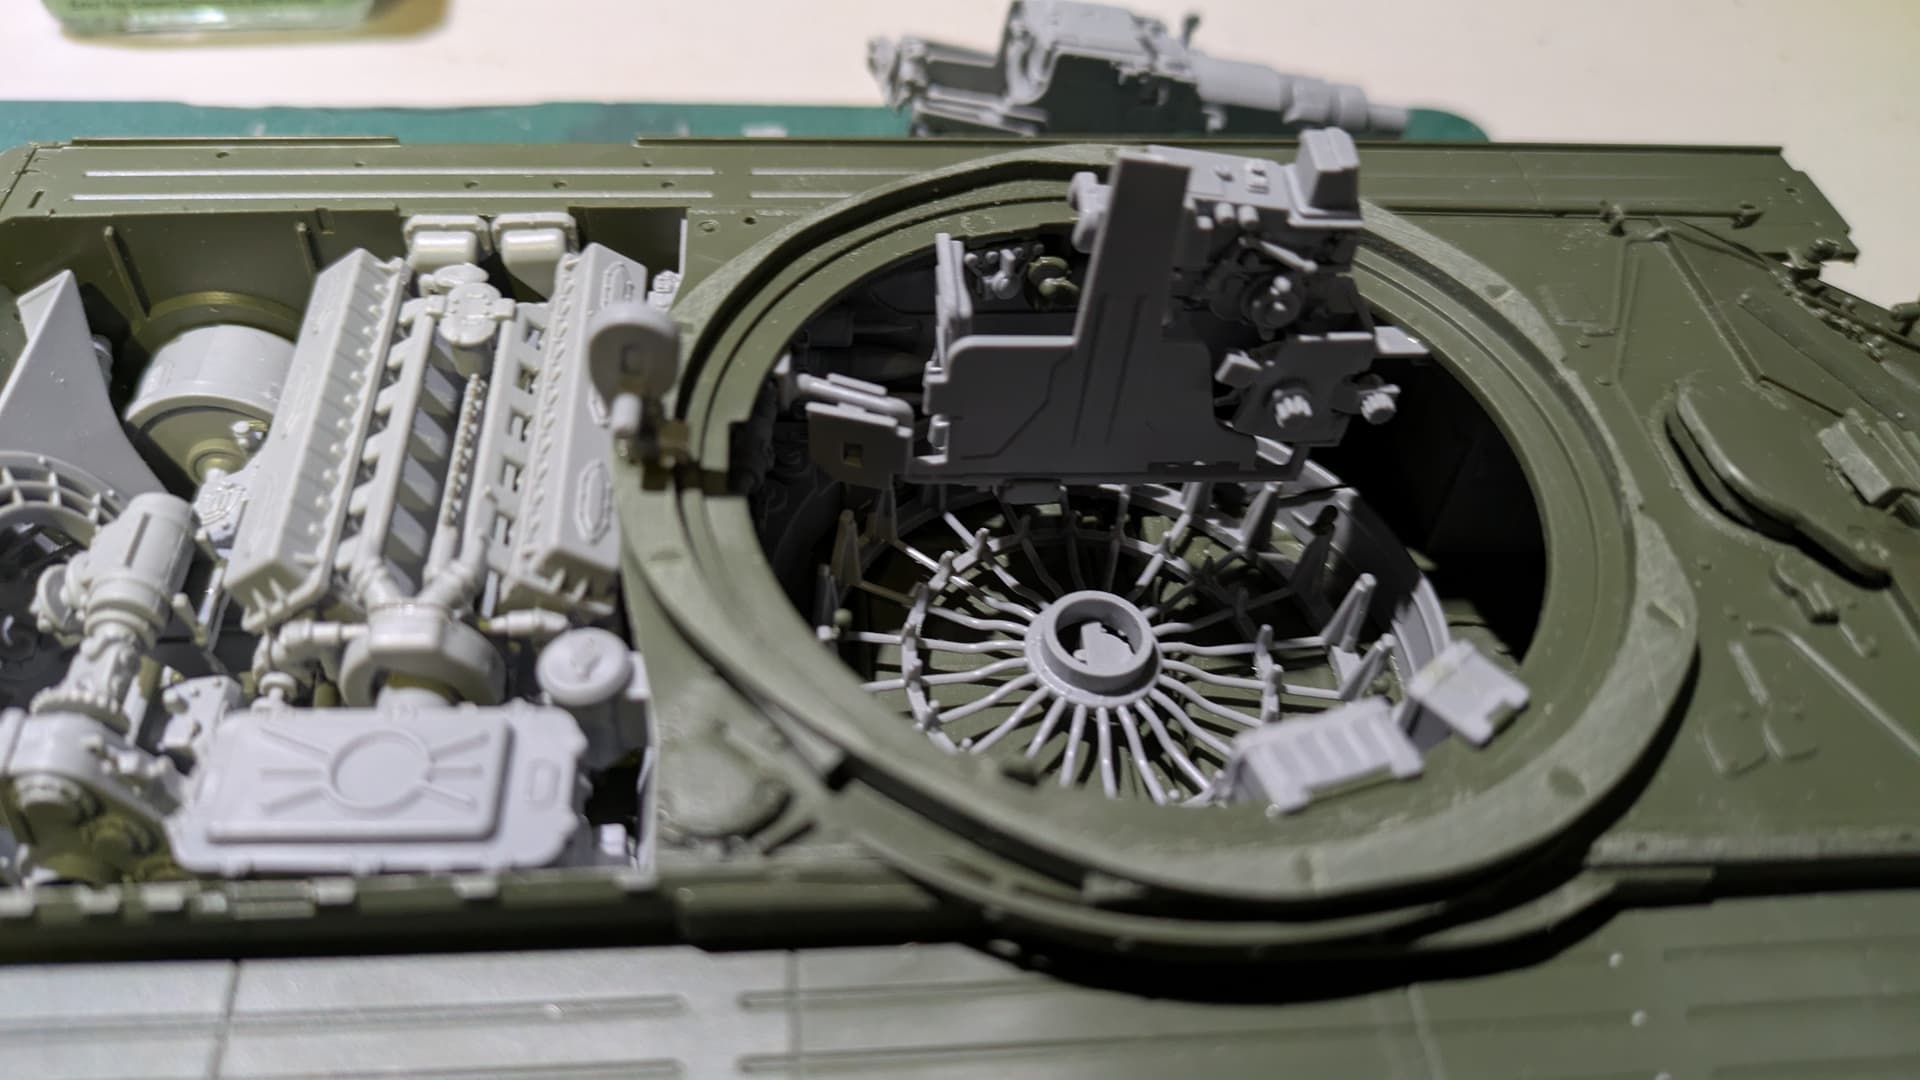
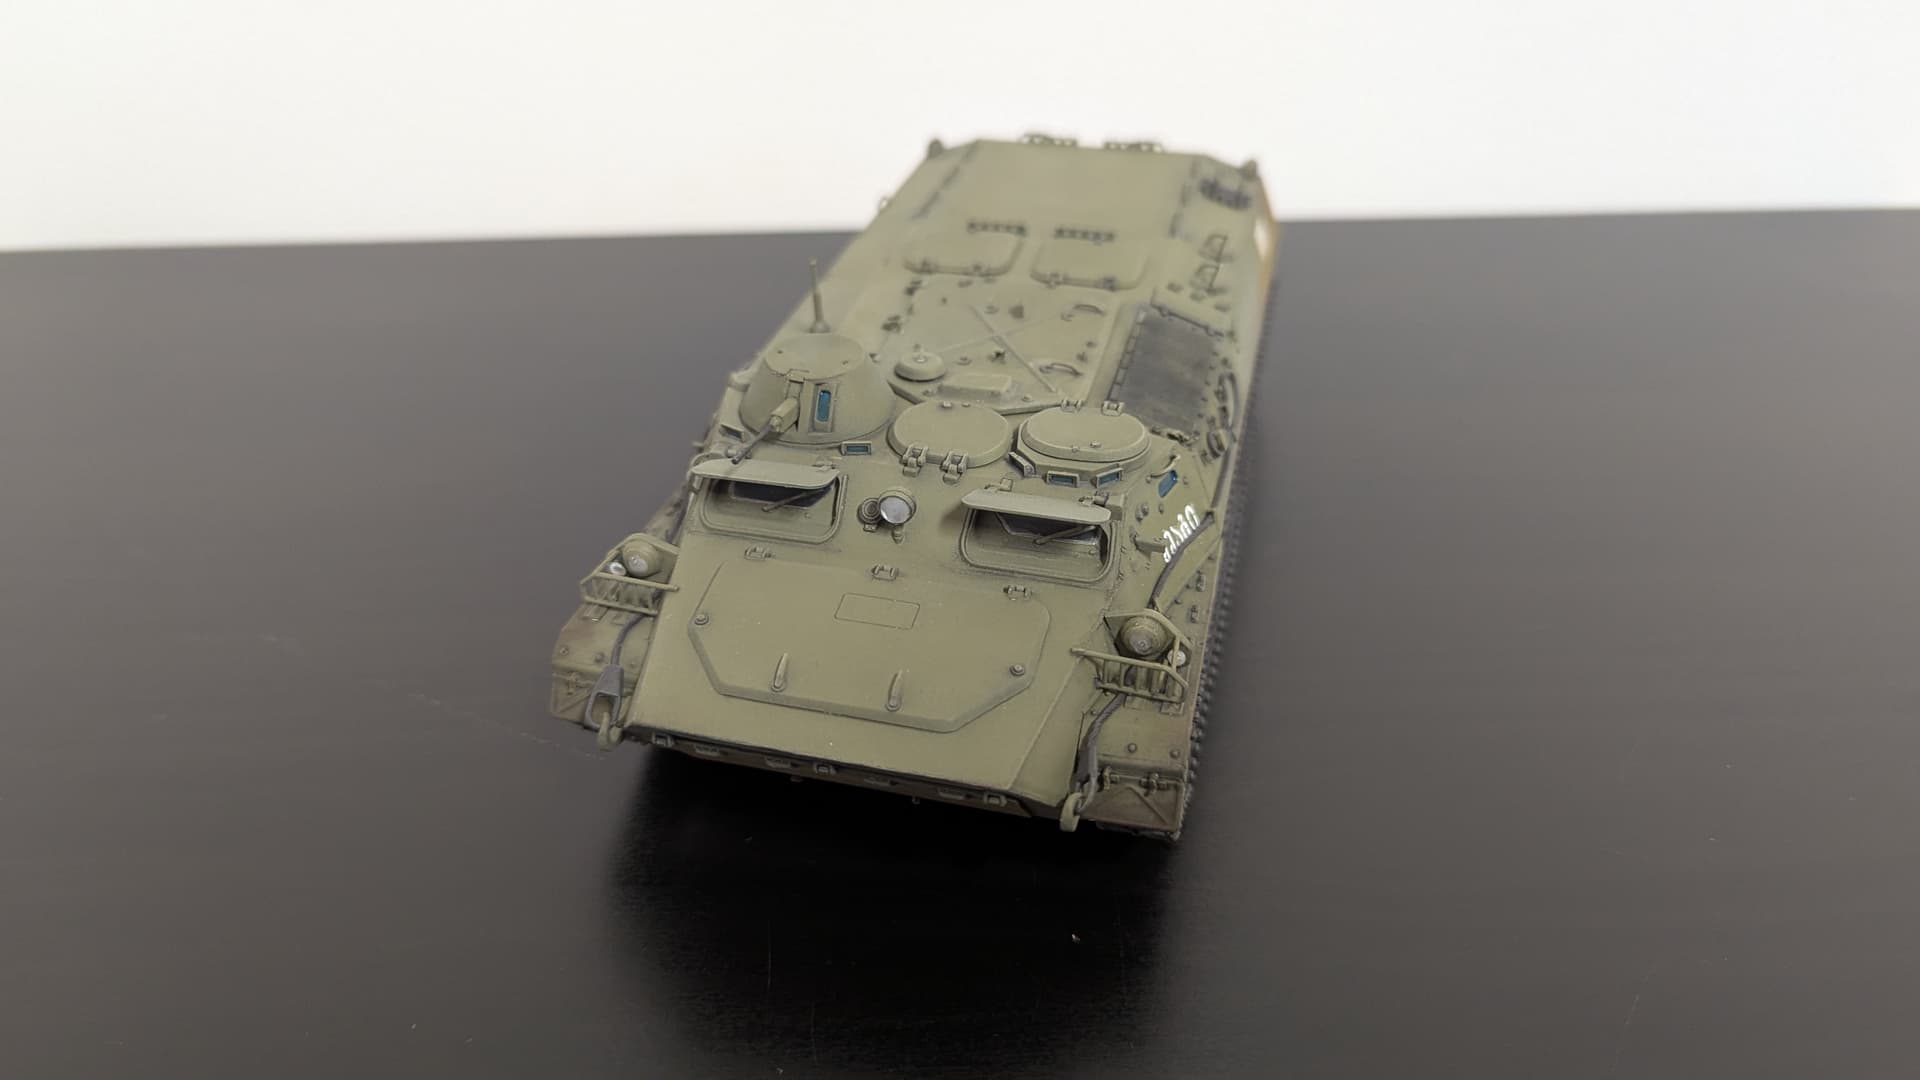
Plodding away on the BT-7 most of the main construction is complete. I’ve left the turret roof loose as I think some of the small bits will be easier to glue from the inside.
Just some small parts left
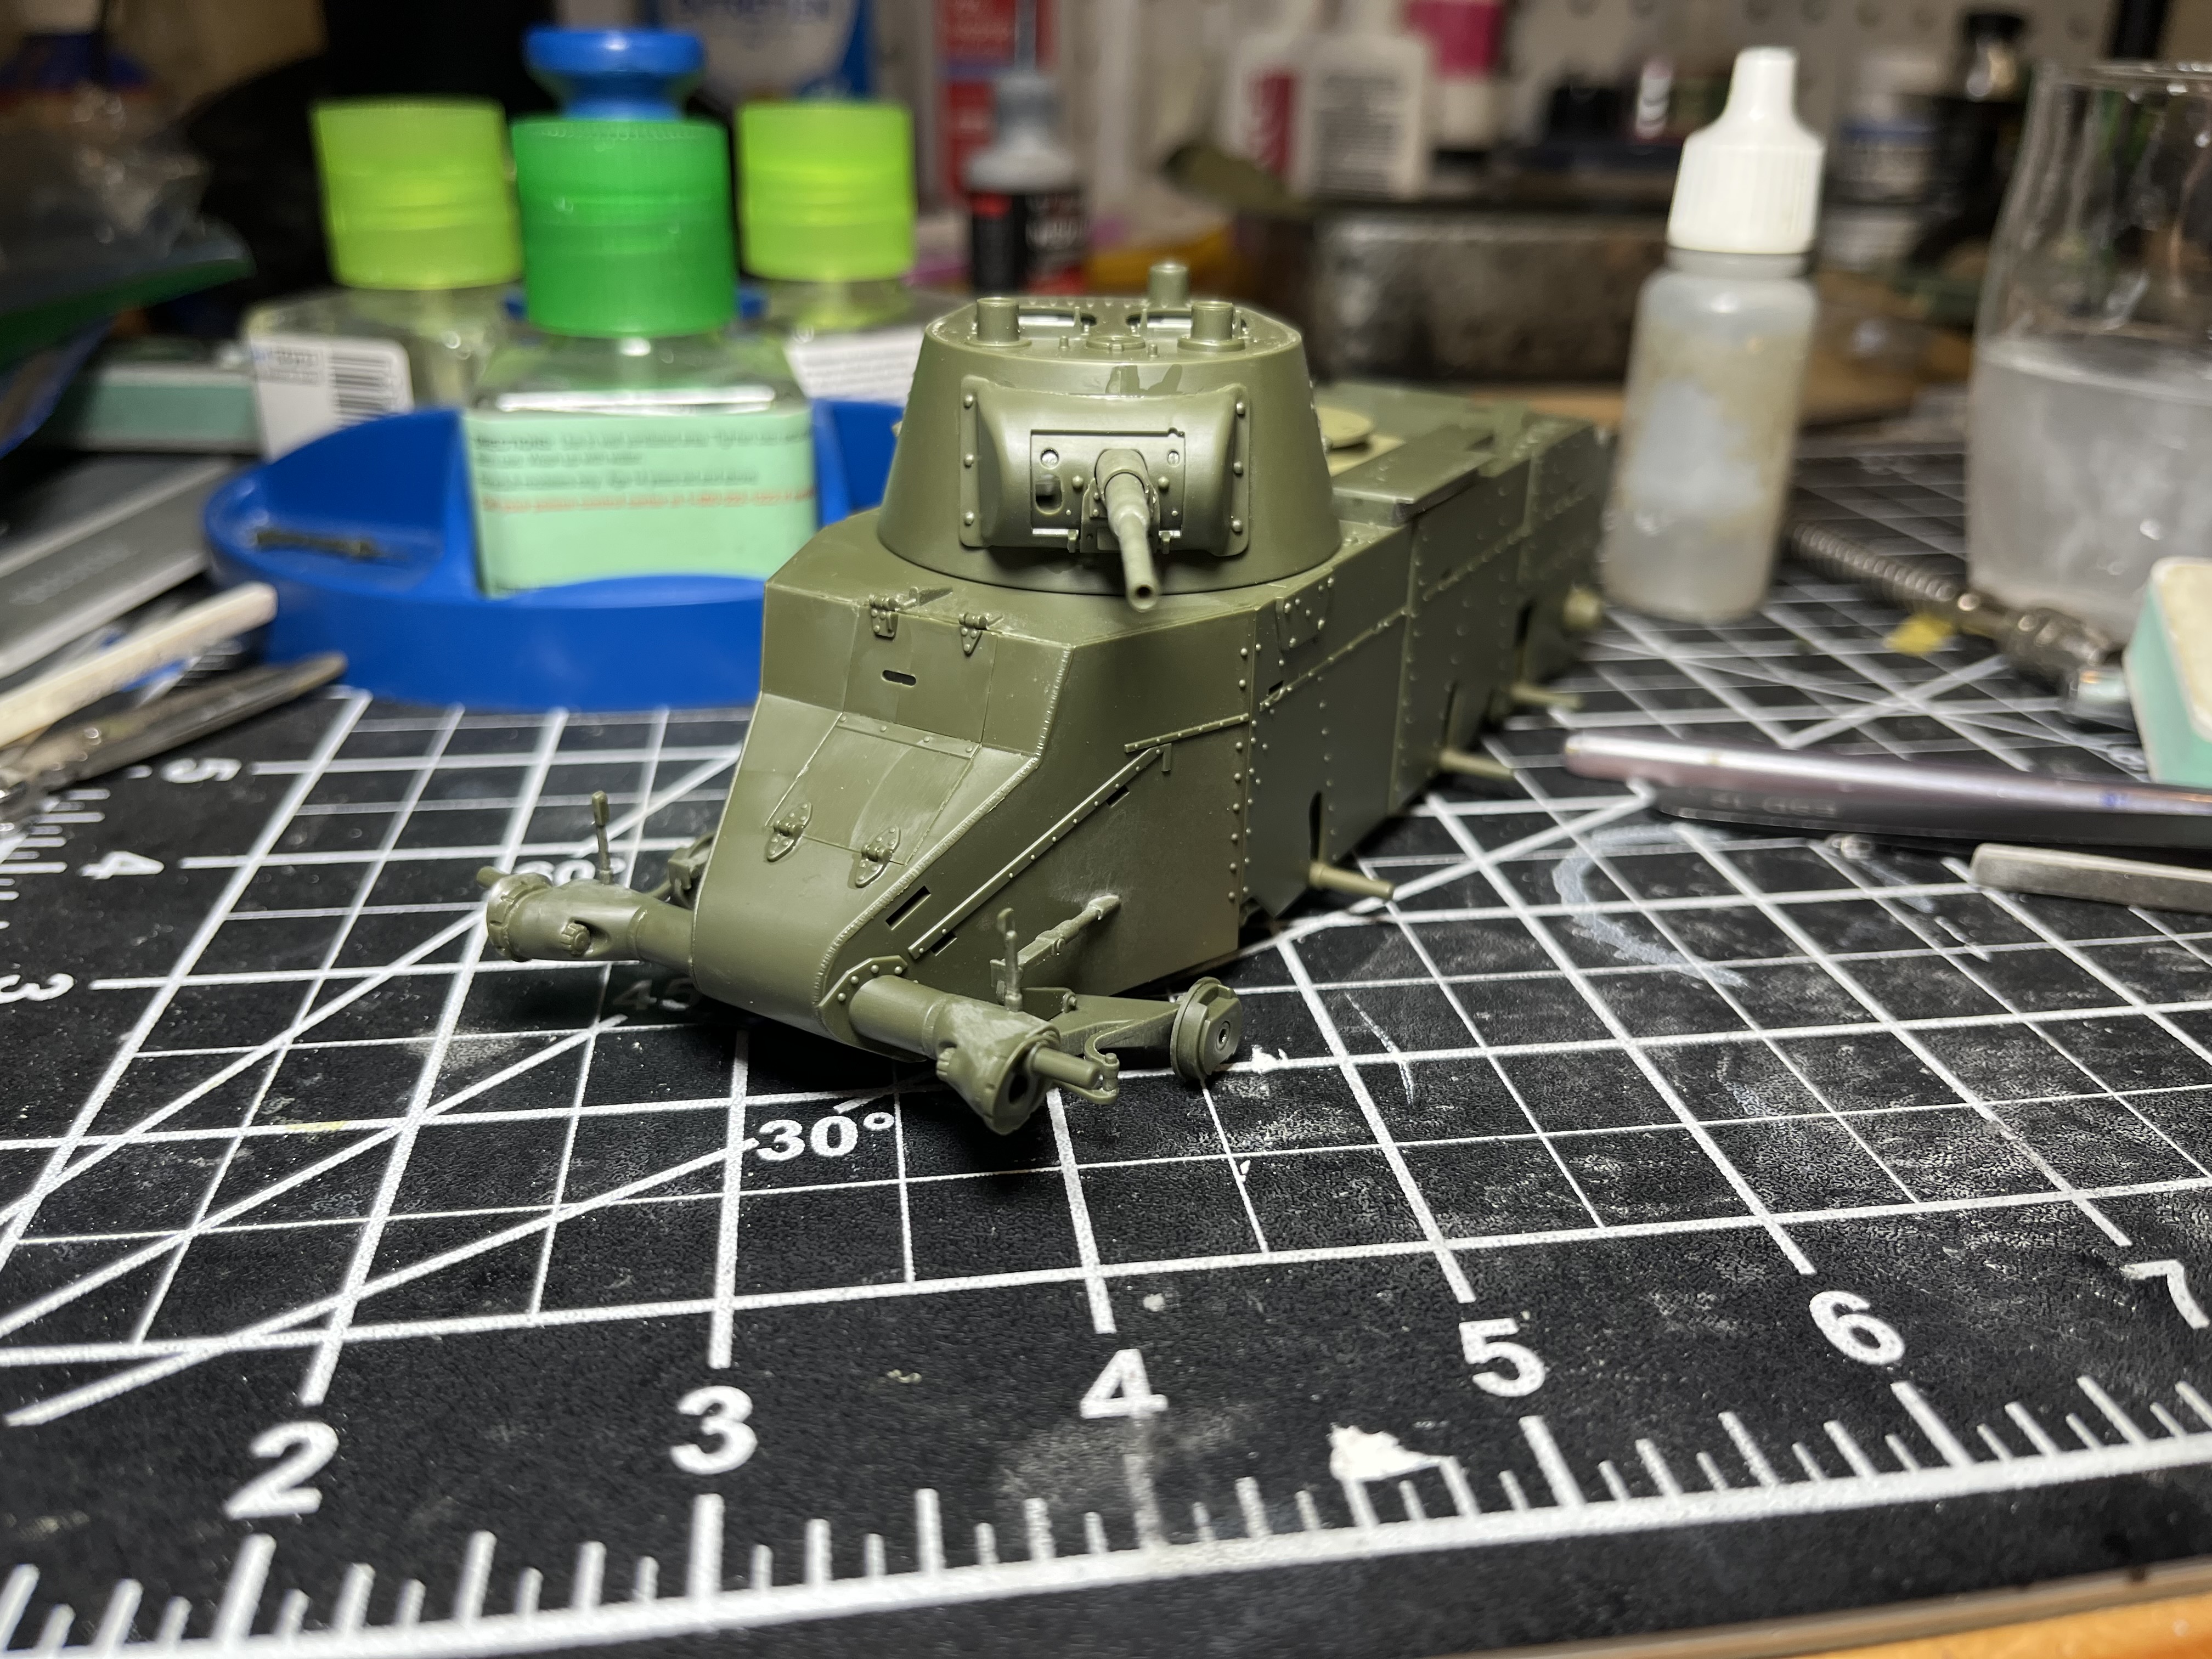


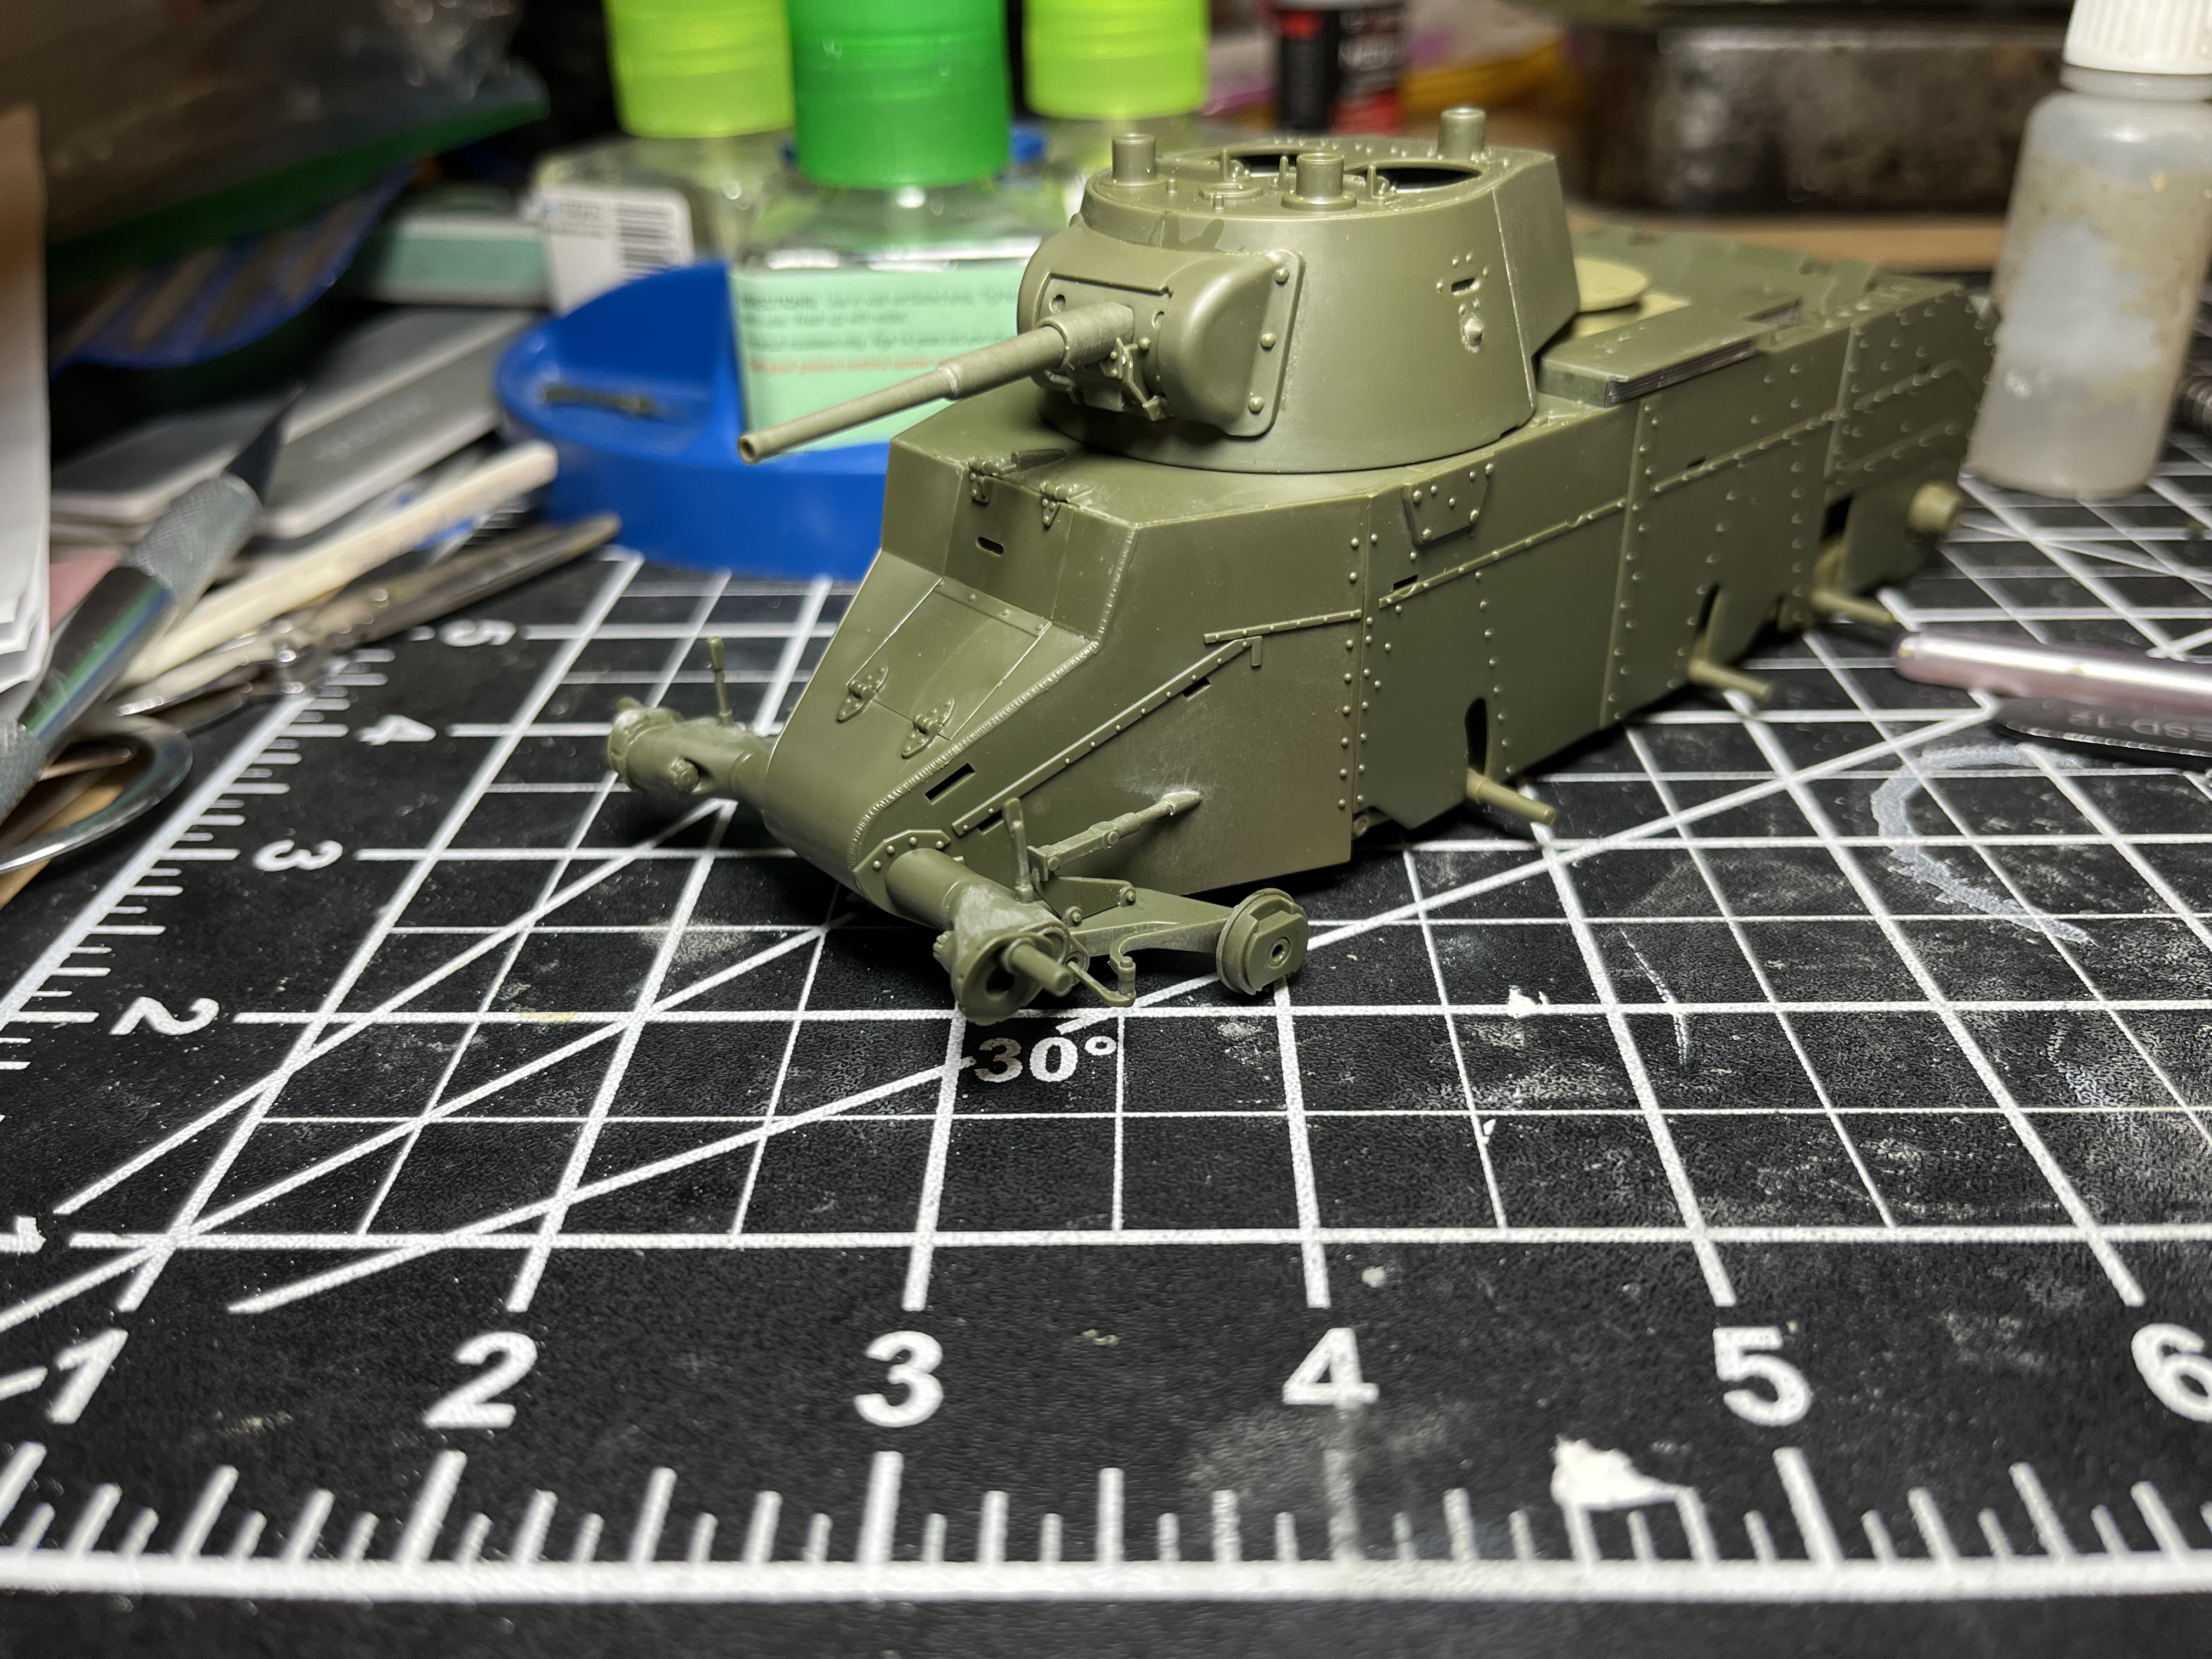

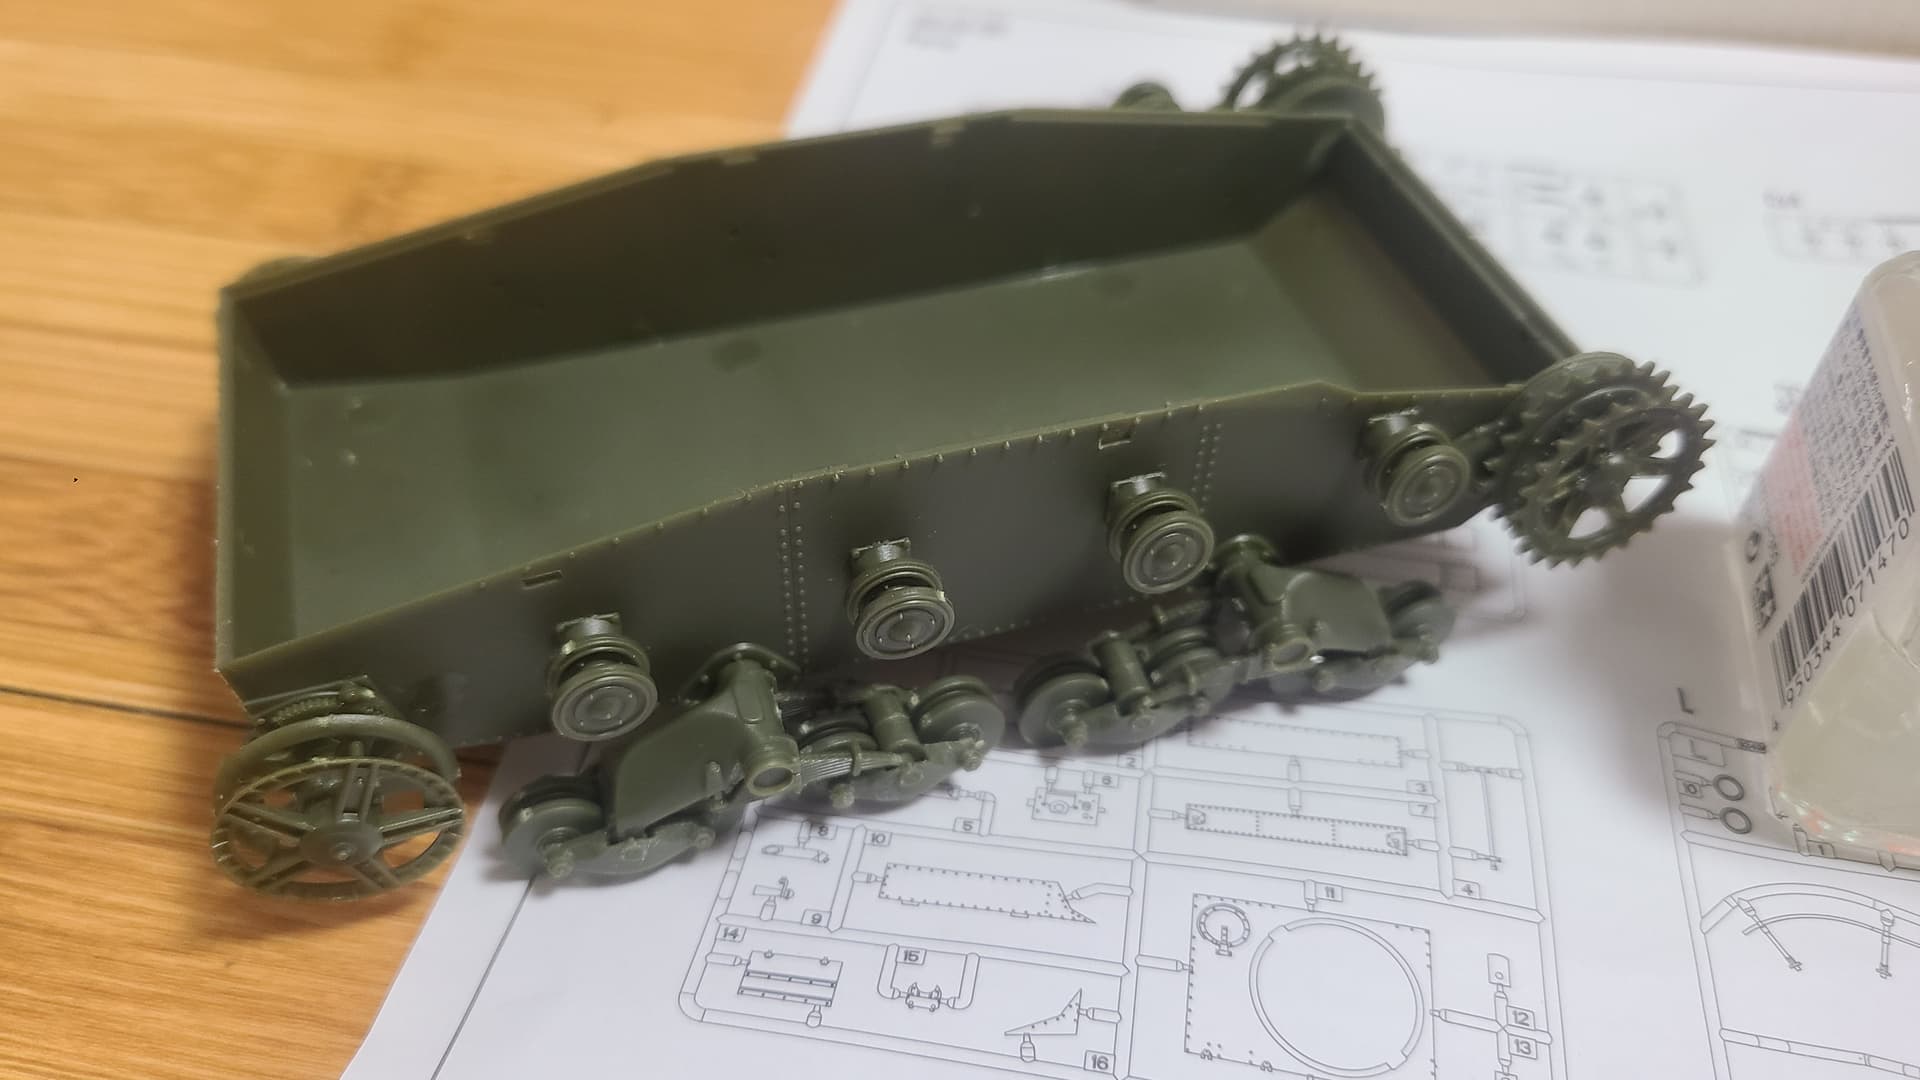
Kit has been a joy. The front road wheel suspension was a bit fiddly, but no major fit issues at all. Road wheels and fenders are cleaned up too but will be left unassembled while I paint the lower hull
8 Likes
Lots of nice work here!
I have had an idea (uh oh!). How about a dual/duel build. An Eduard MiG-21 PFM for this campaign and an Eduard Mirage IIICJ for the IDF 77 Campaign?
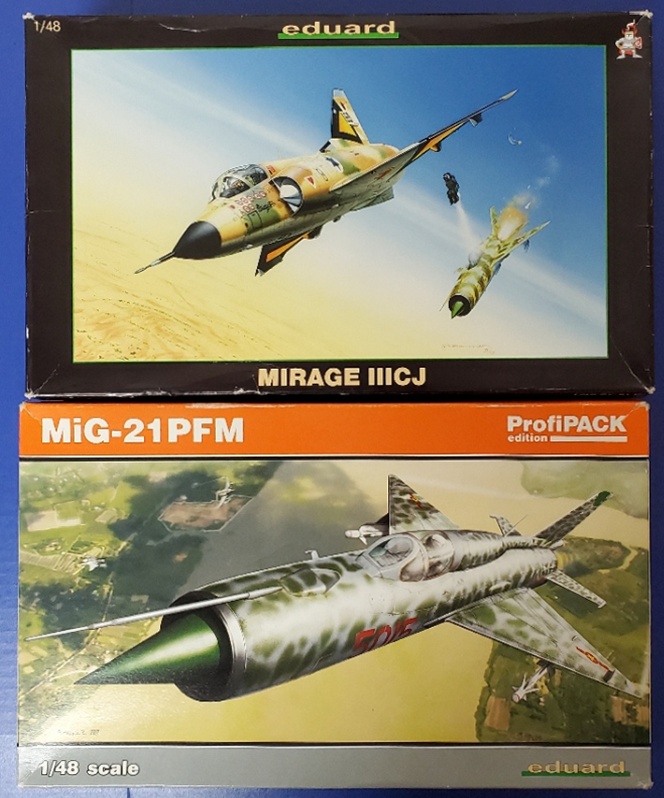
I’ve had each of these kits since they were released, the Mirage in 2004 and the MiG in 2013. The Mirage, though the box is a bit battered, is untouched. The MiG has the bright green areas painted as I had the color mixed up and in my airbrush when I built one of the other kits and figured I’d kill a few birds with one stone. Othewise unstarted.

Looking at doing them both in the 1973 time frame, the MiG as an Egyptian aircraft (assuming the MiG looked the same then as the markings in the box show.) Should be fun, if I can stick with them!
Michael ![]()
![]()
5 Likes
I have built a different version of the Eduard MIG-21 and it was a great build. I like your idea a lot!
1 Like


Very nice!
2 Likes
That looks great. Congratulations.
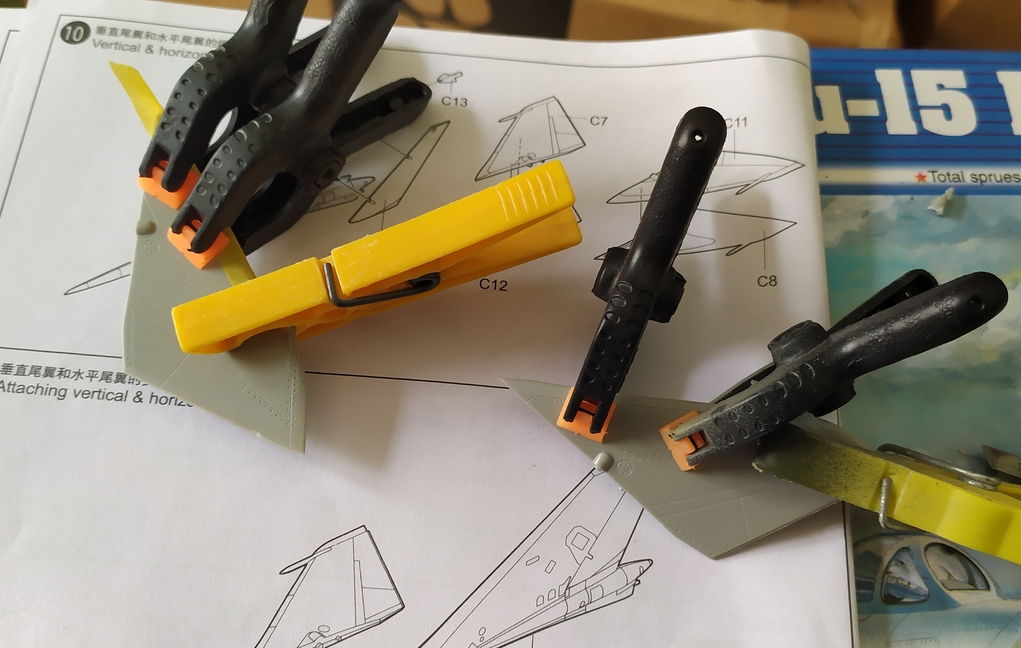
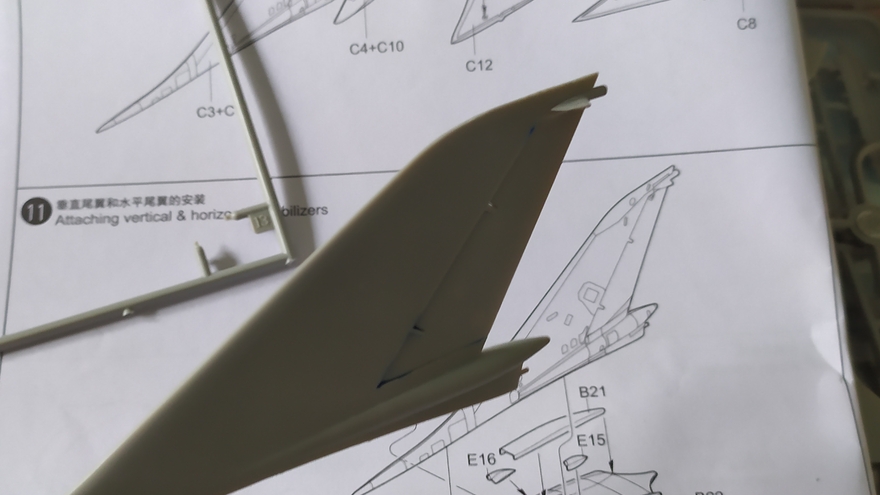
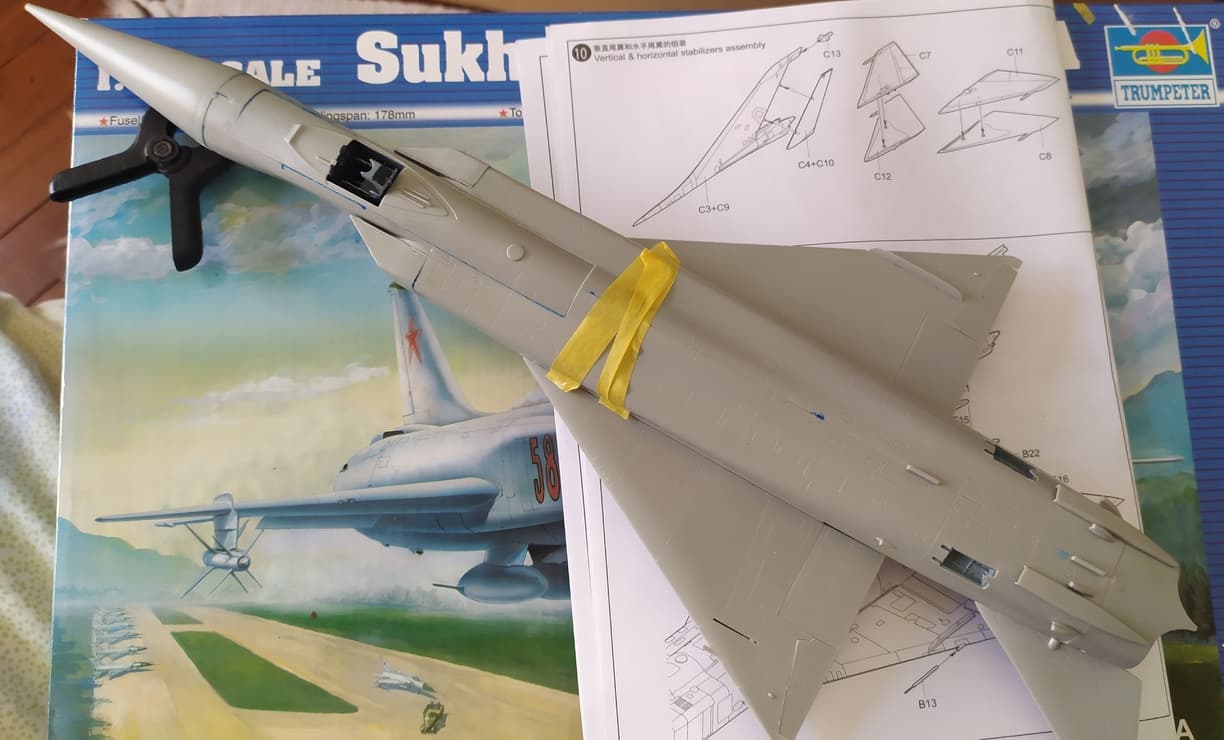
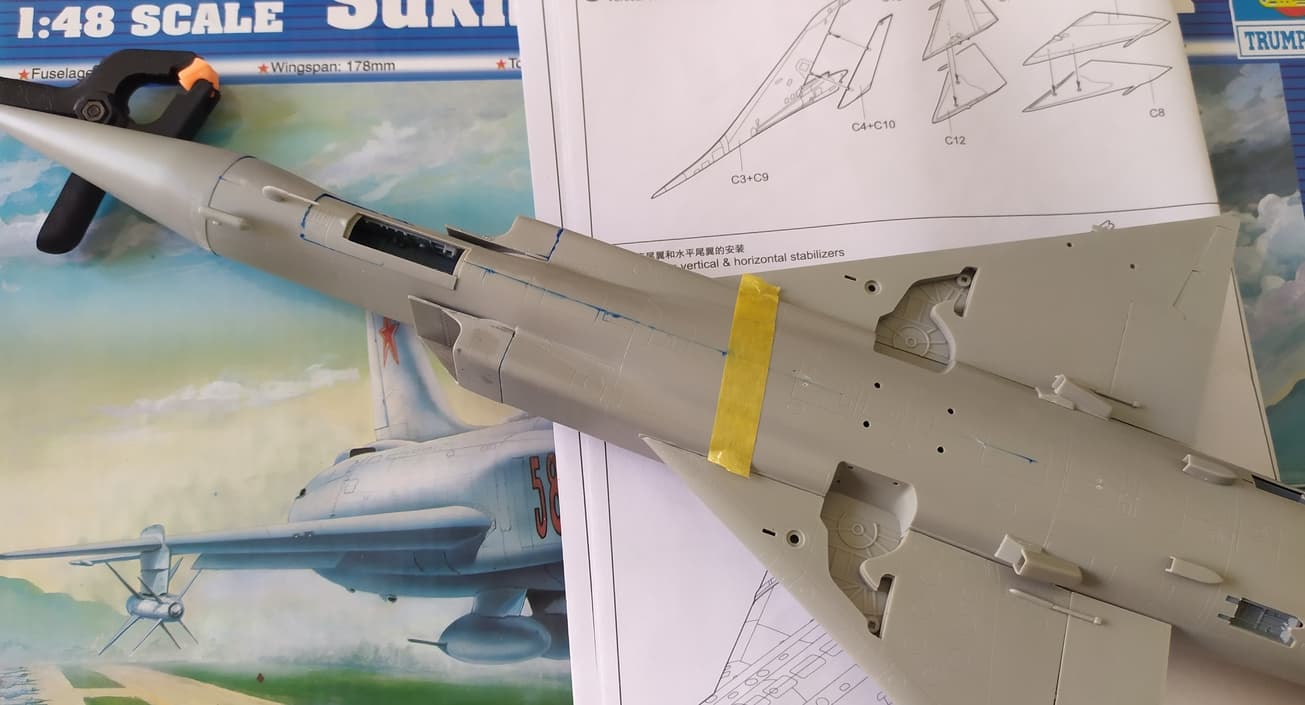
I got back onto my Mig-21 today. Just easing into it after leaving it for a couple of months.
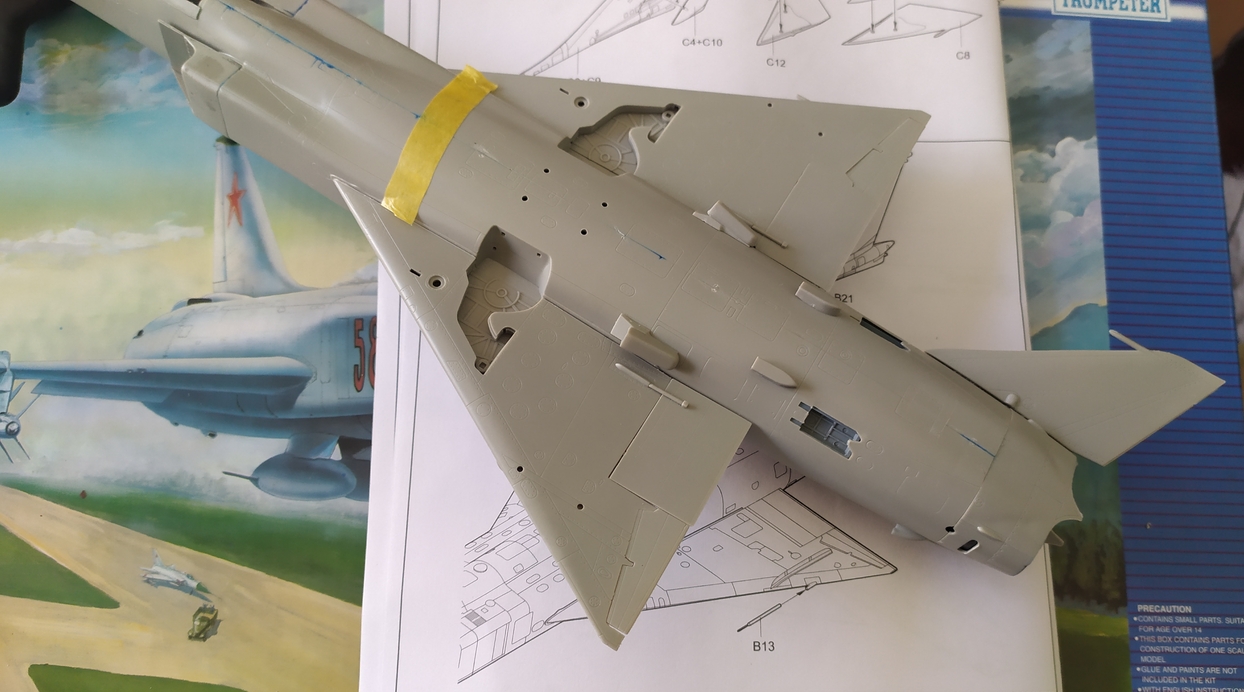
Got wings cleaned up and ready for assembly, wash in the cockpit to bring details out a bit more.
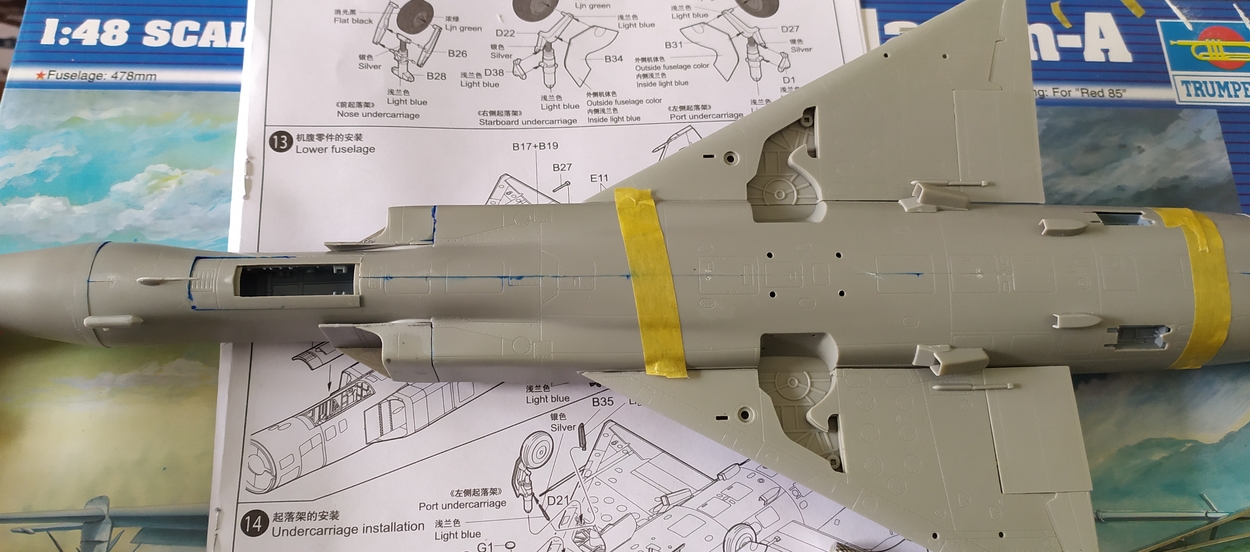
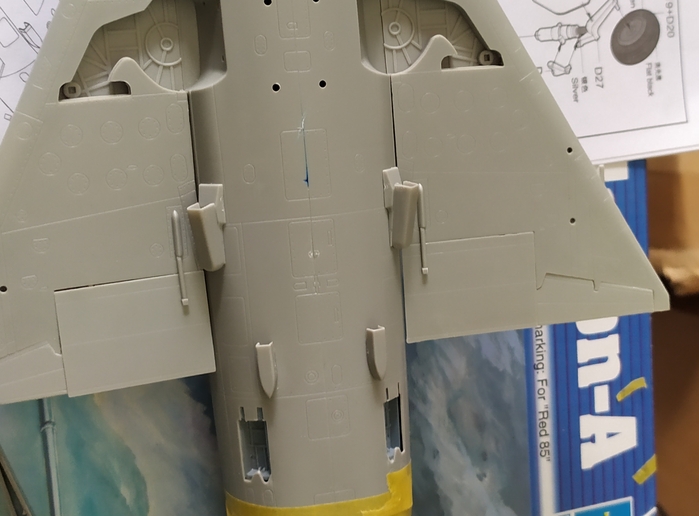
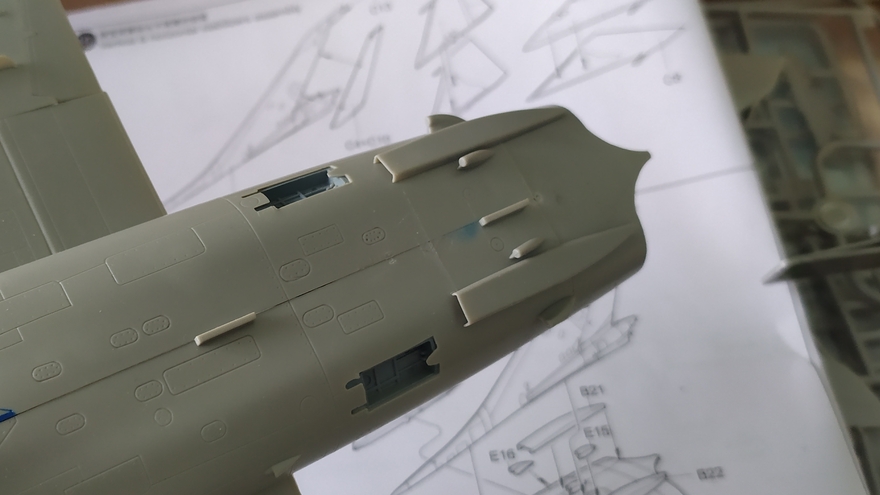
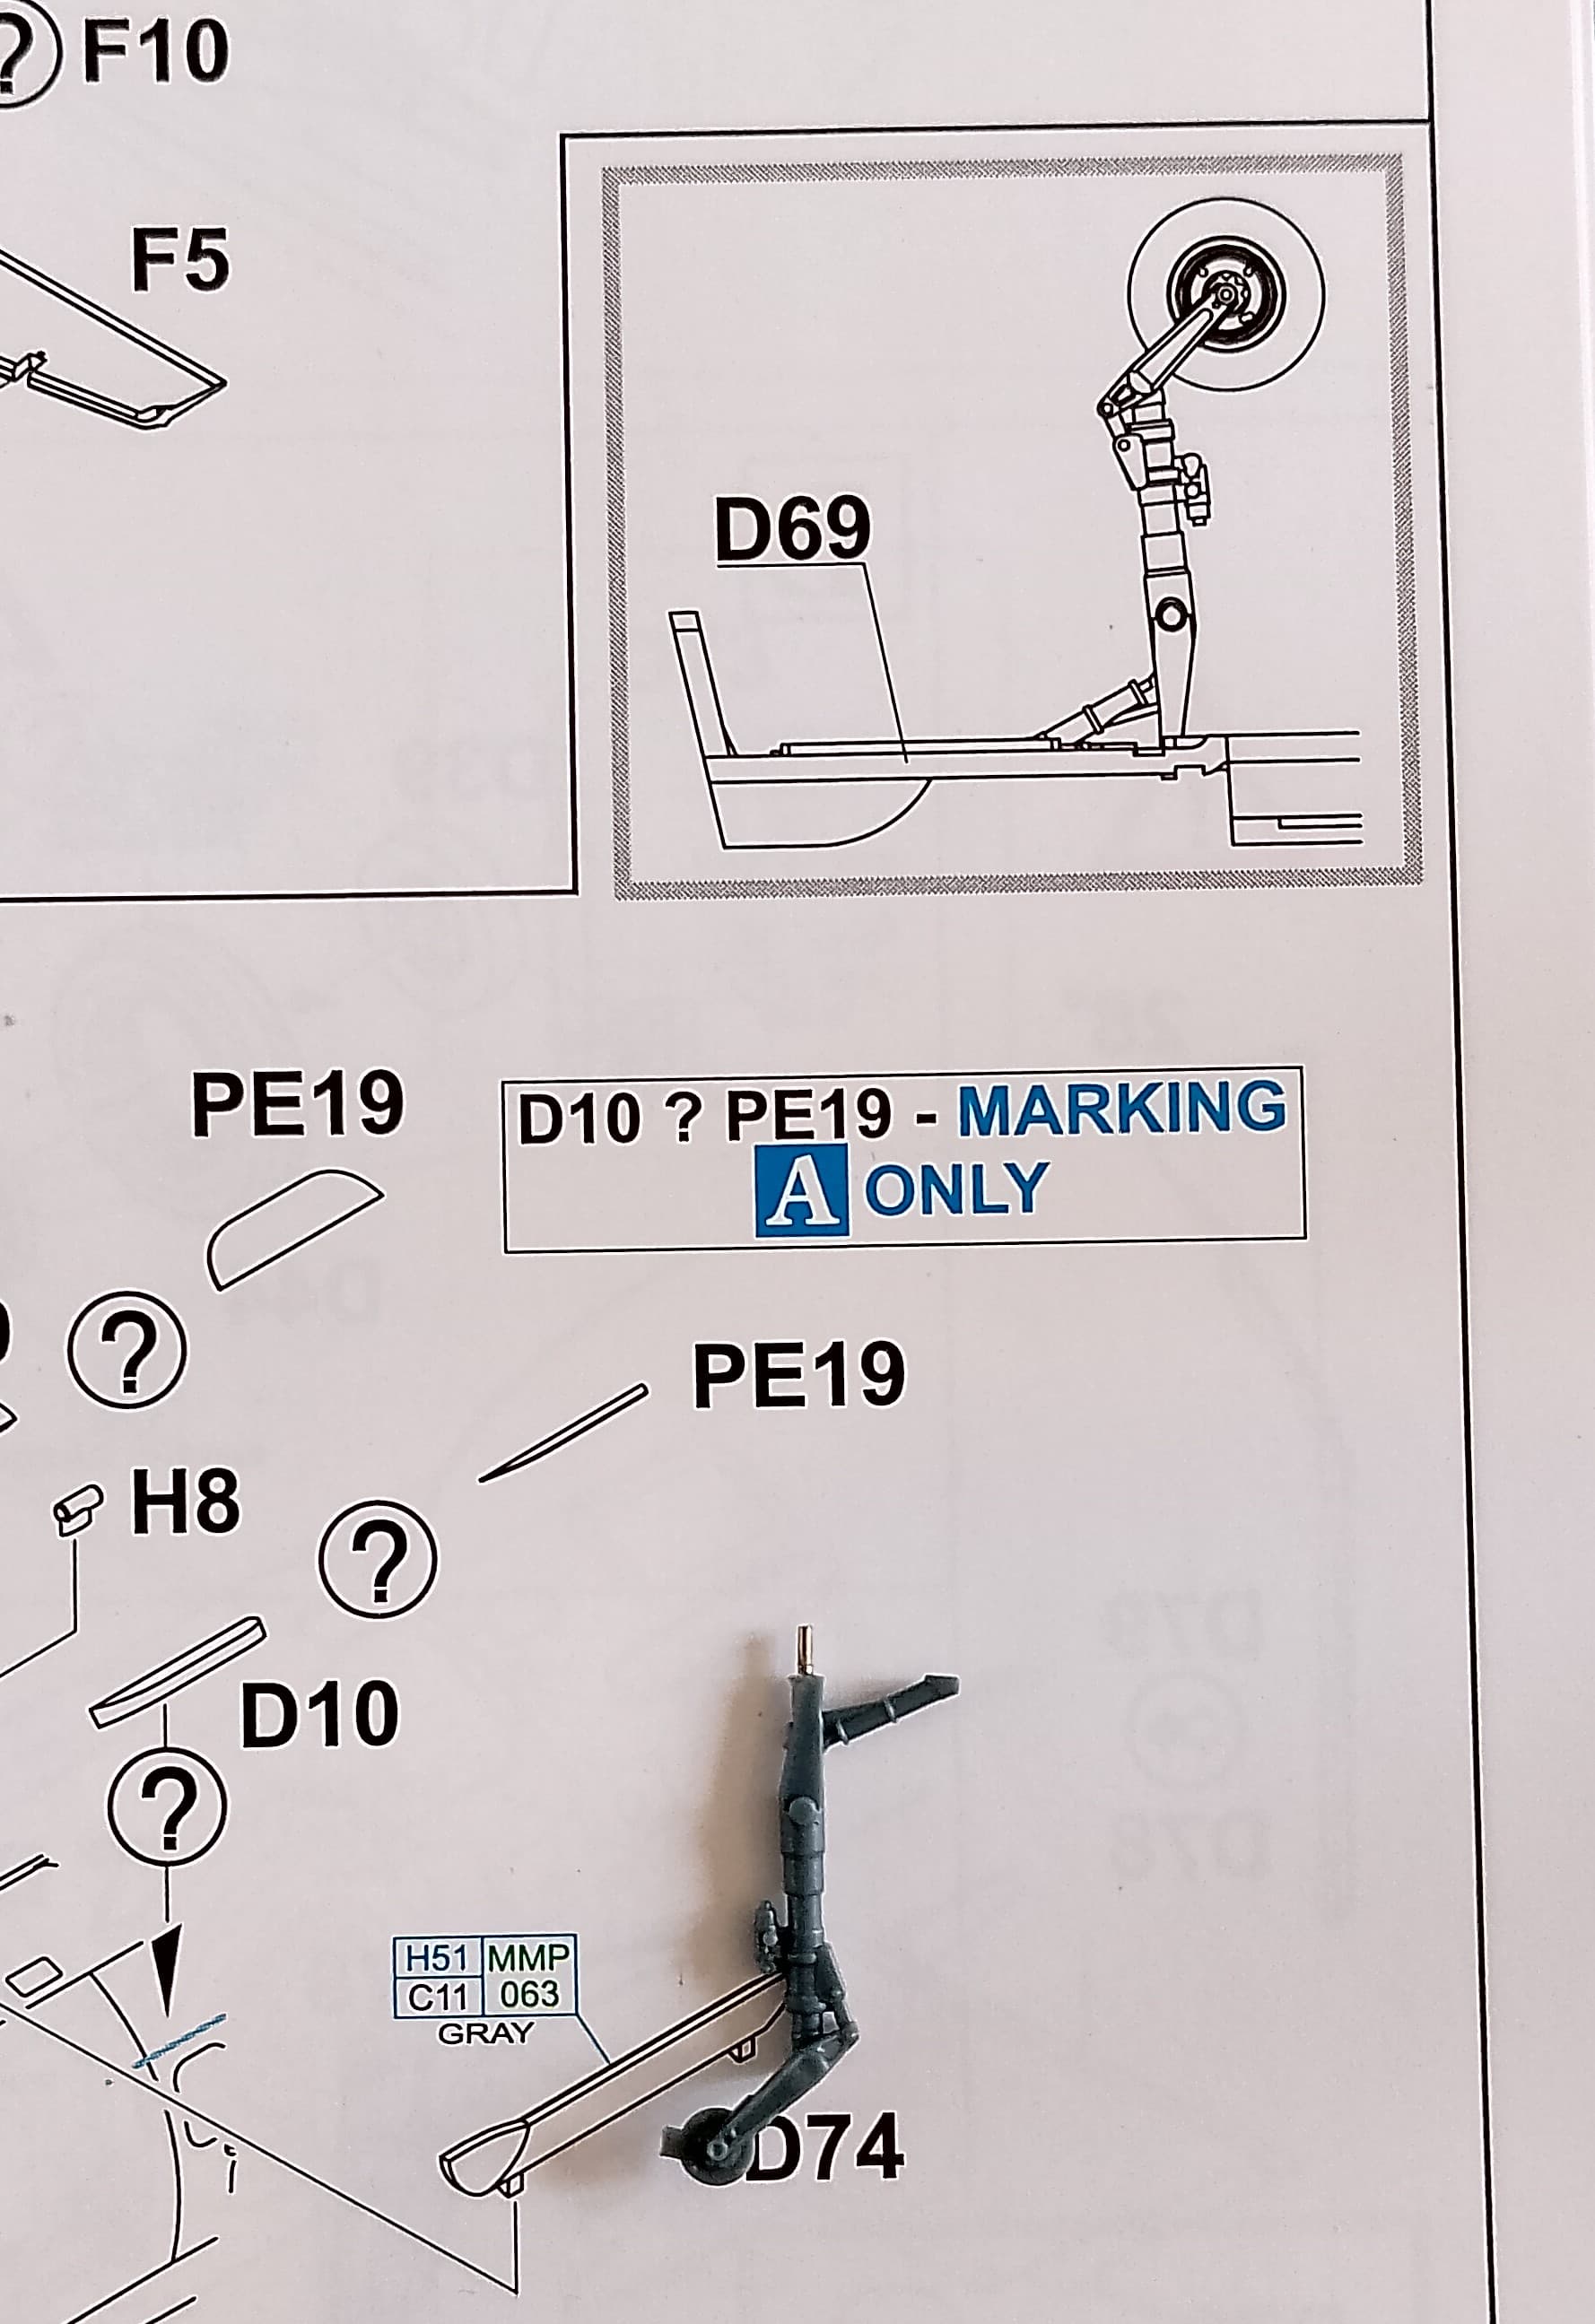
One thing I did do, and something I think anyone else who has Eduard’s 21 should look out for, is reinforce the nose-gear leg. Eduard would have you butt joint it to a vague location in the bay, this looks like a recipe for disaster to me. So I drilled out and super glued a short length of .5mm tube into the top. A small hole in its location point and it’s a much stronger join.
Another little job before closing up the wings is to paint the compressed air bottle inserts. Eduard state black and blue, I assume this is accurate. Blue sounds about right for an O2 bottle. Take note of which in the instructions as a couple of alternatives are on the clear sprue.
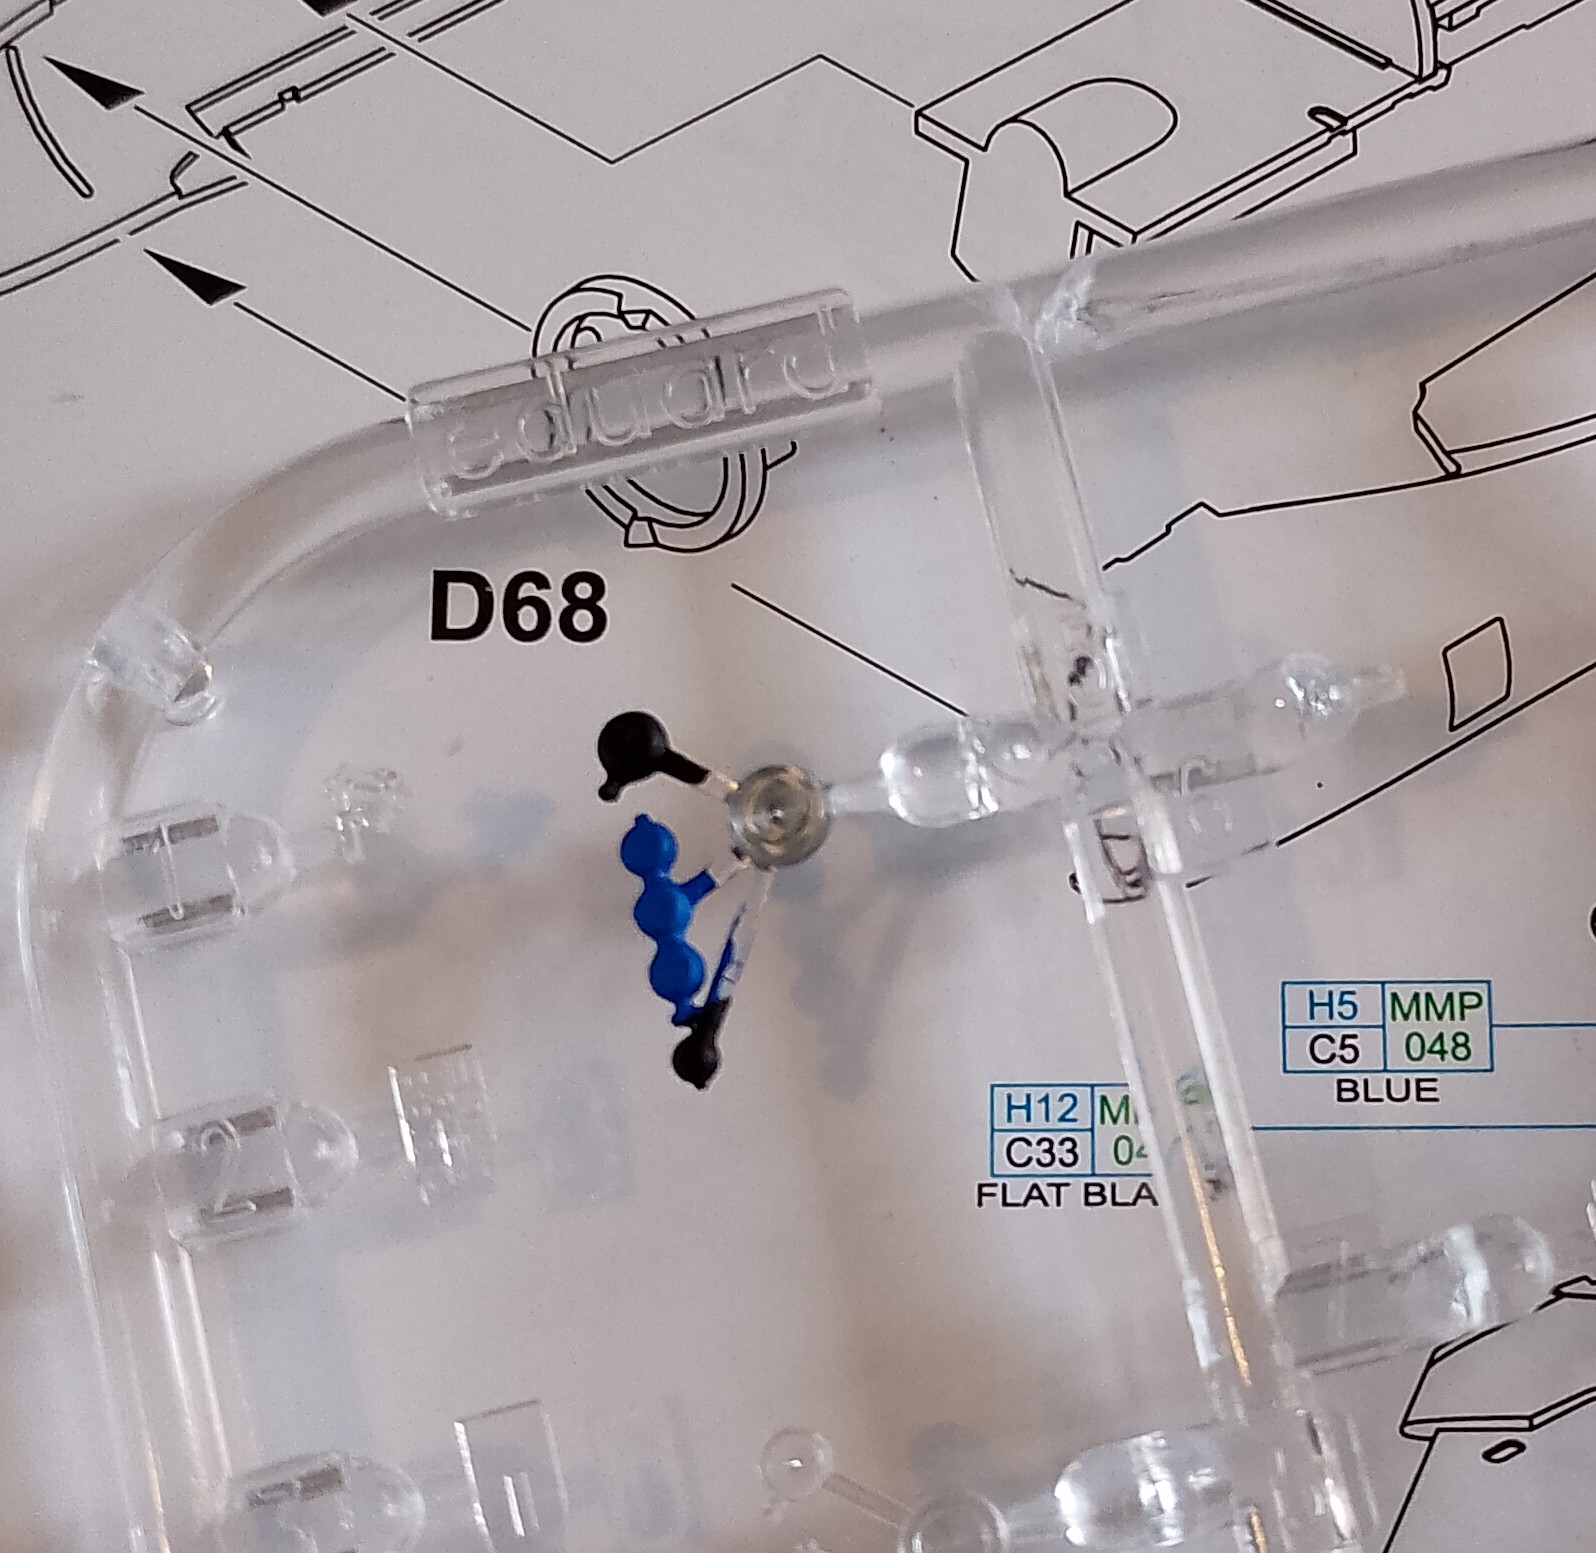
This was apparently one of the weak points on the 21. The IDF found out after examining captured aircraft, that a hit here would rupture the tanks and rip the wings off!
7 Likes
Great work so far !
2 Likes
Thanks. It’s small steps but gets me closer.
I’ve also ordered one of those AK paint pens that I’m going to experiment with for the green mottle. Hopefully should give me a nice neat finish.
5 Likes
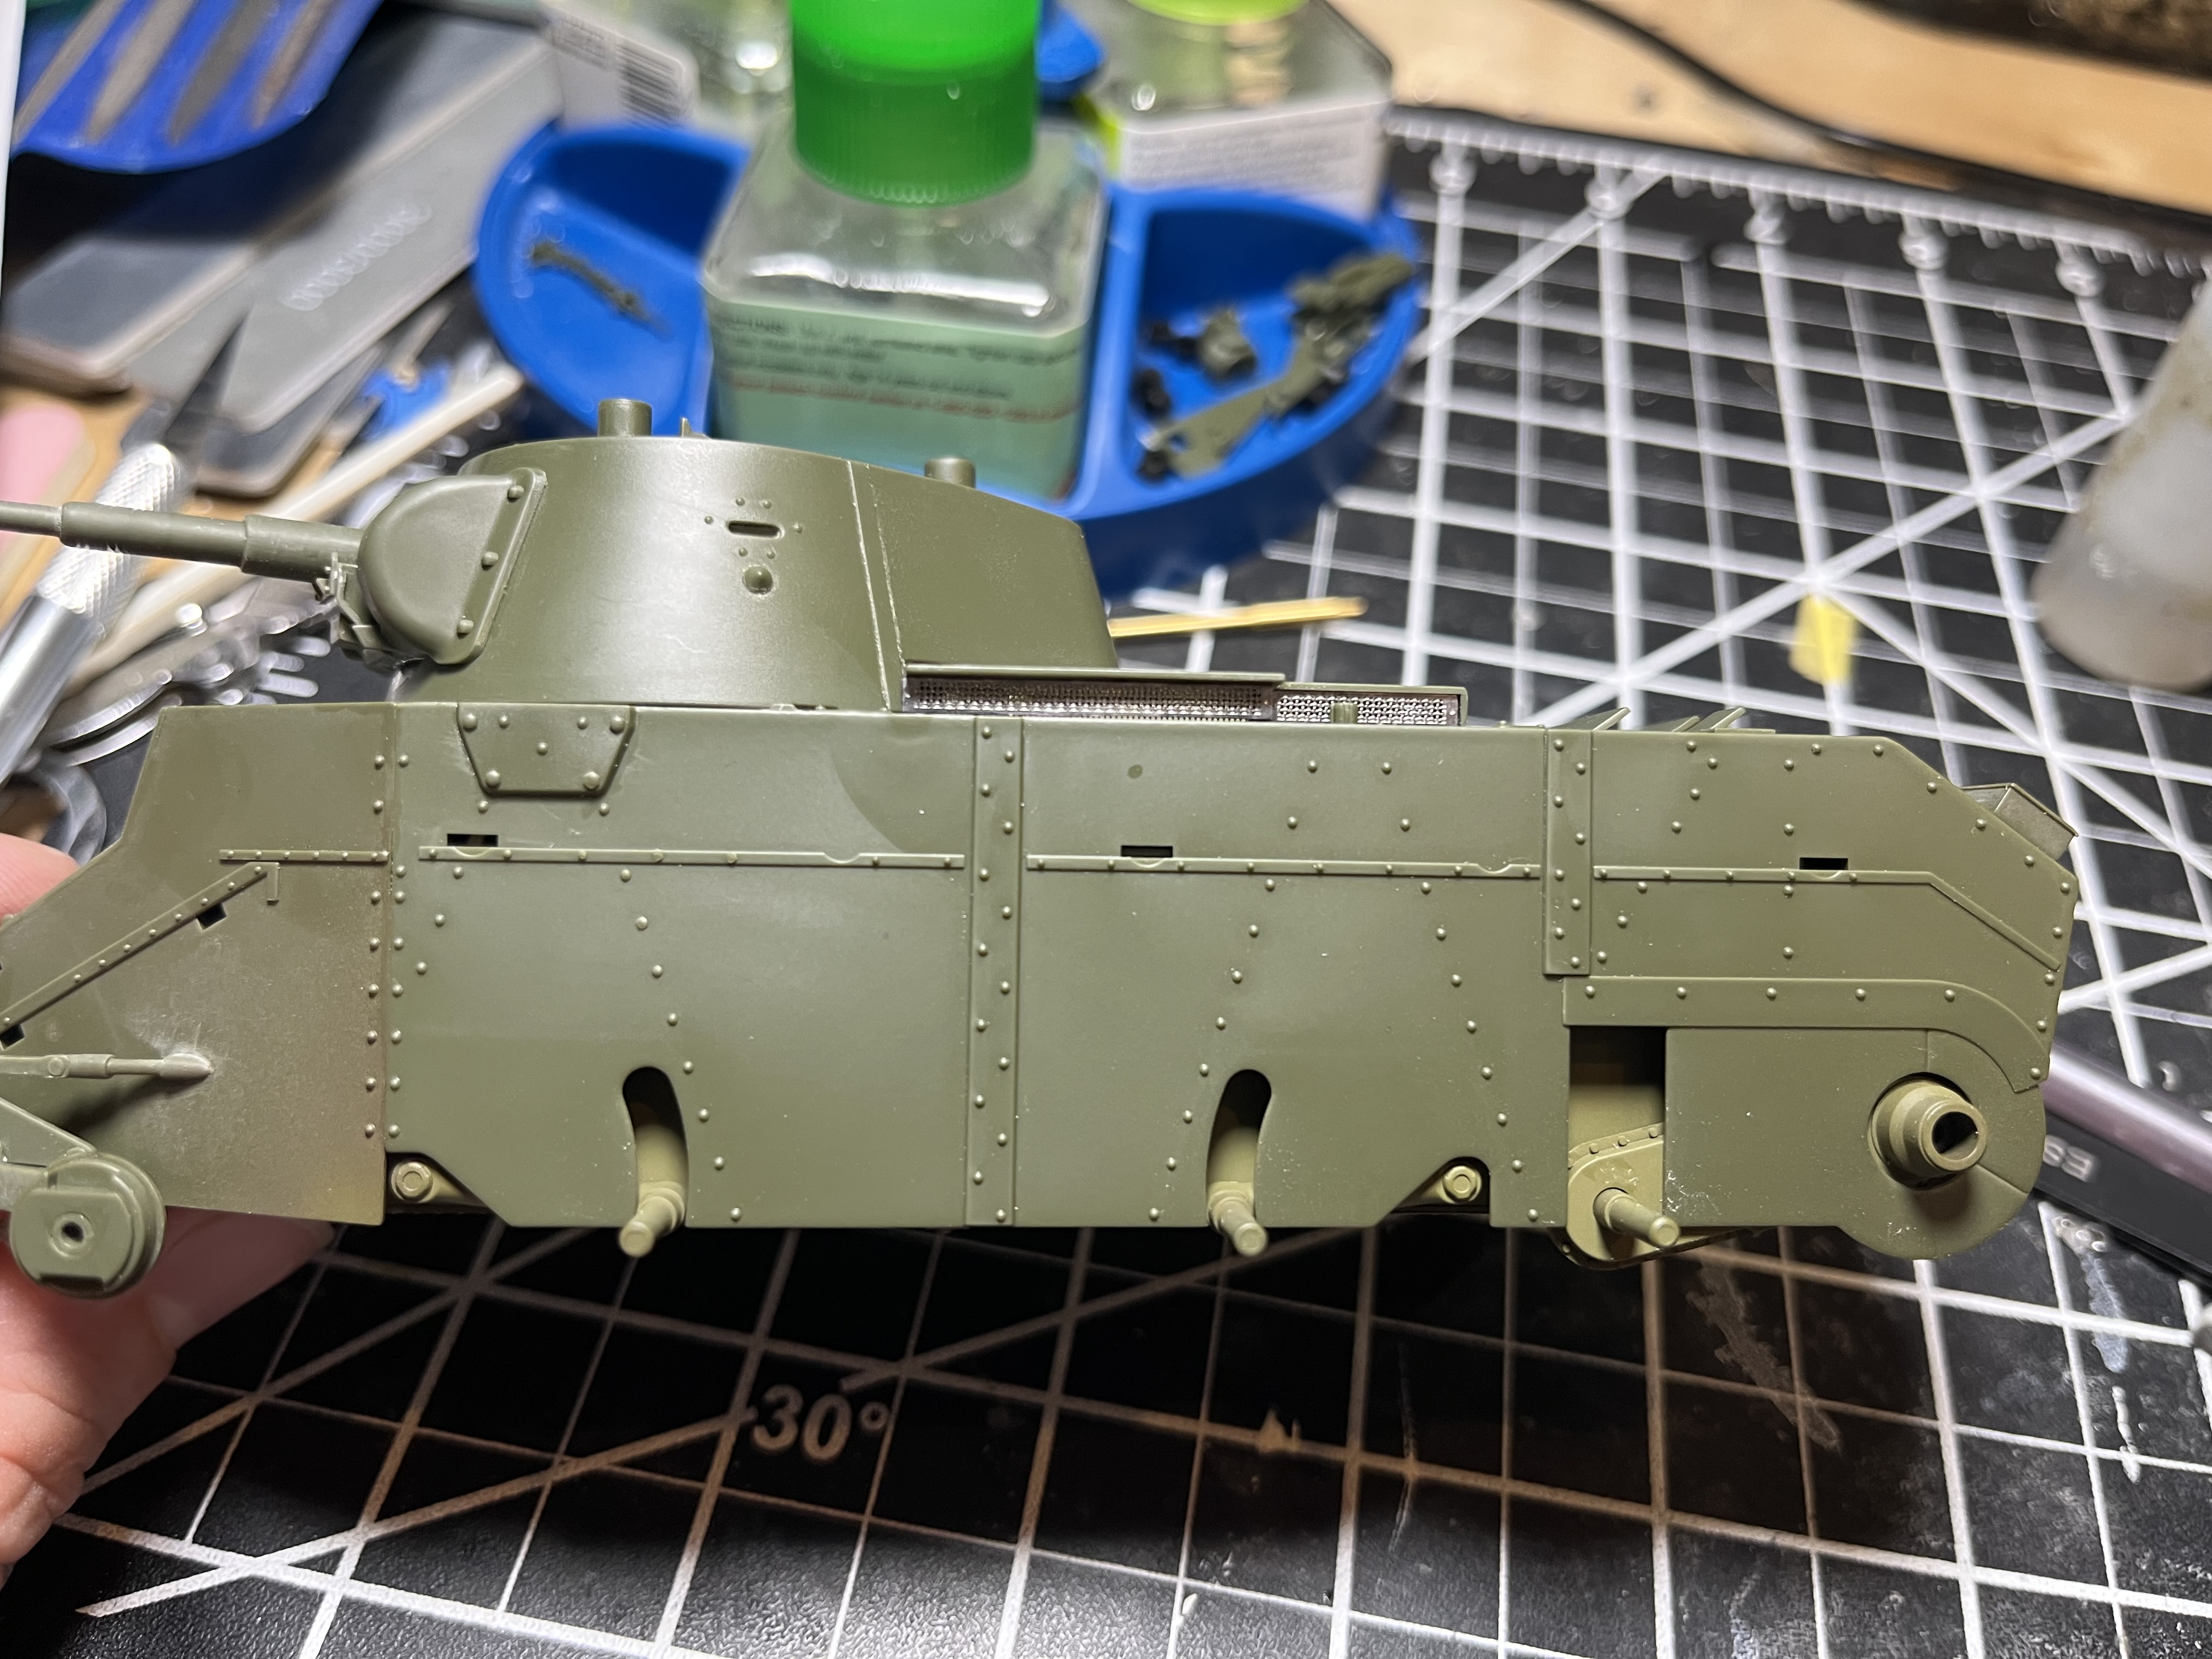
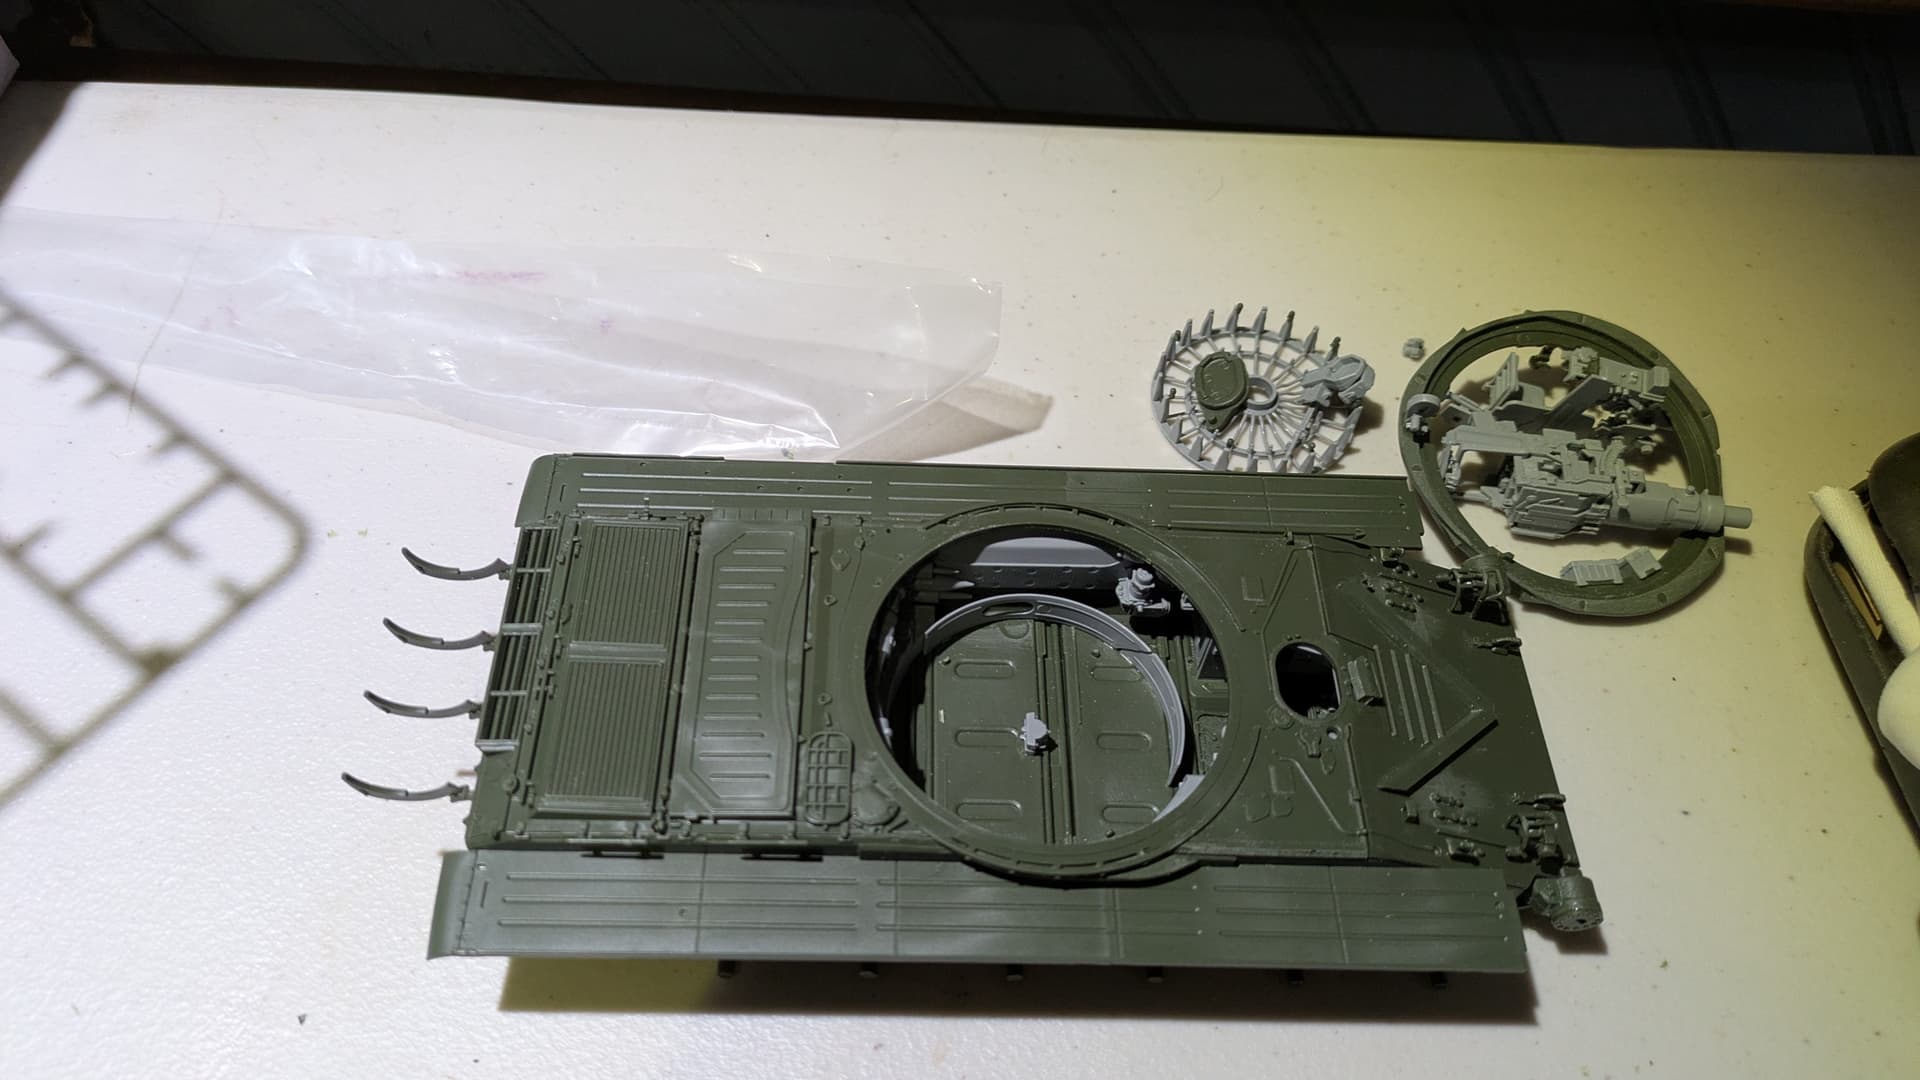
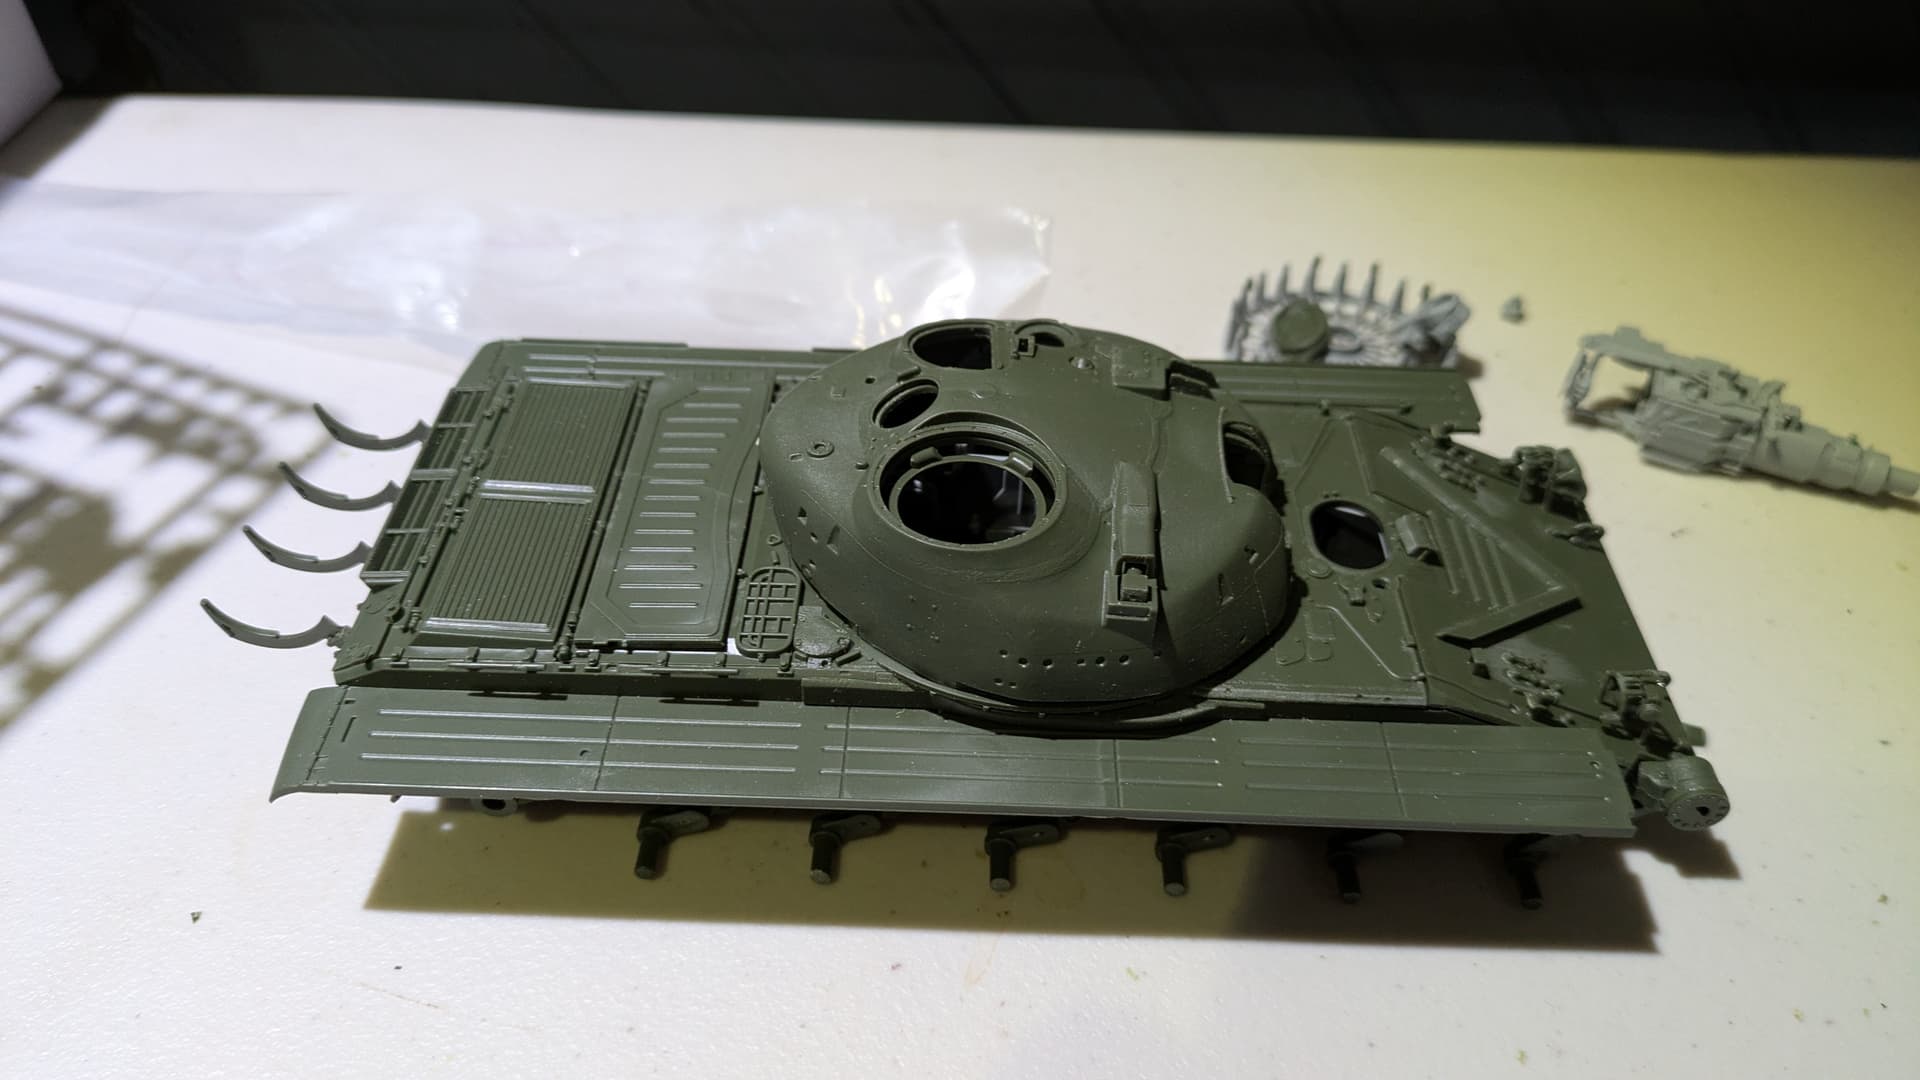
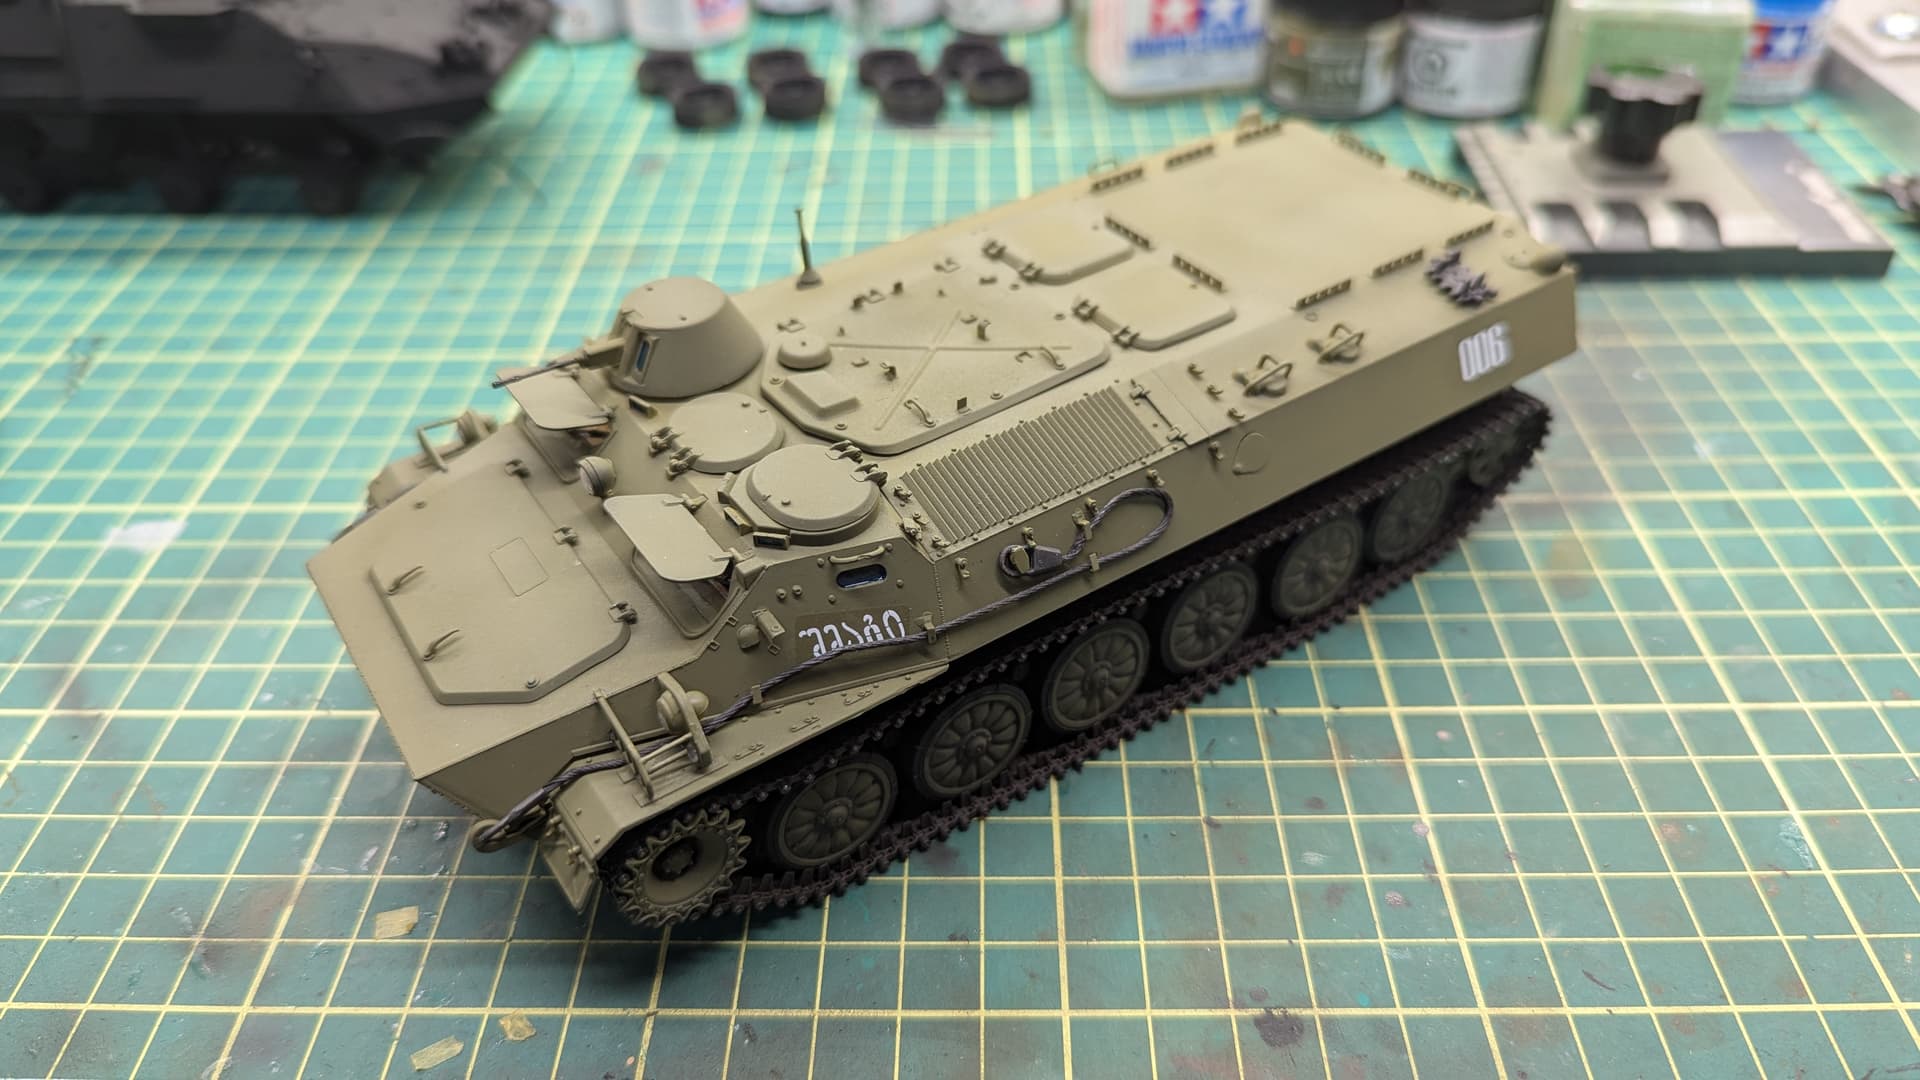
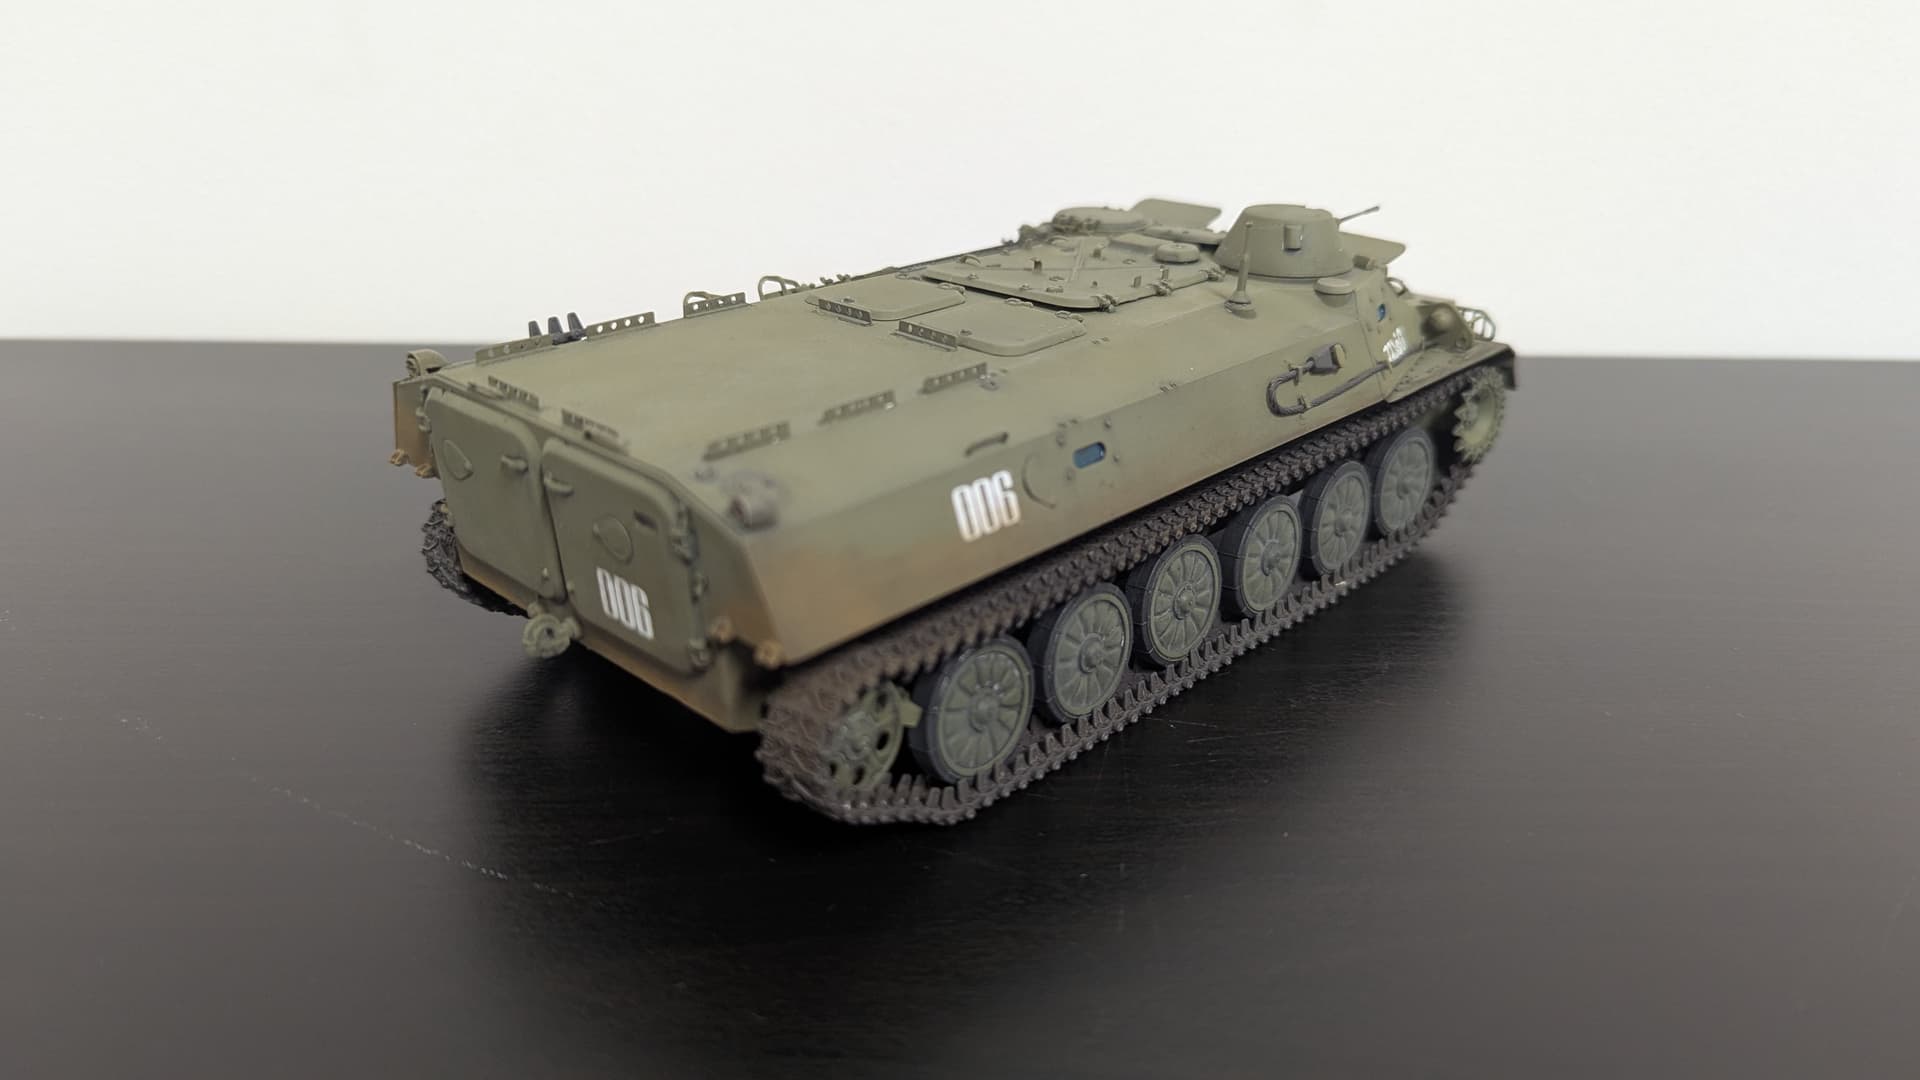
Got the BT-7 more or less ready for paint.
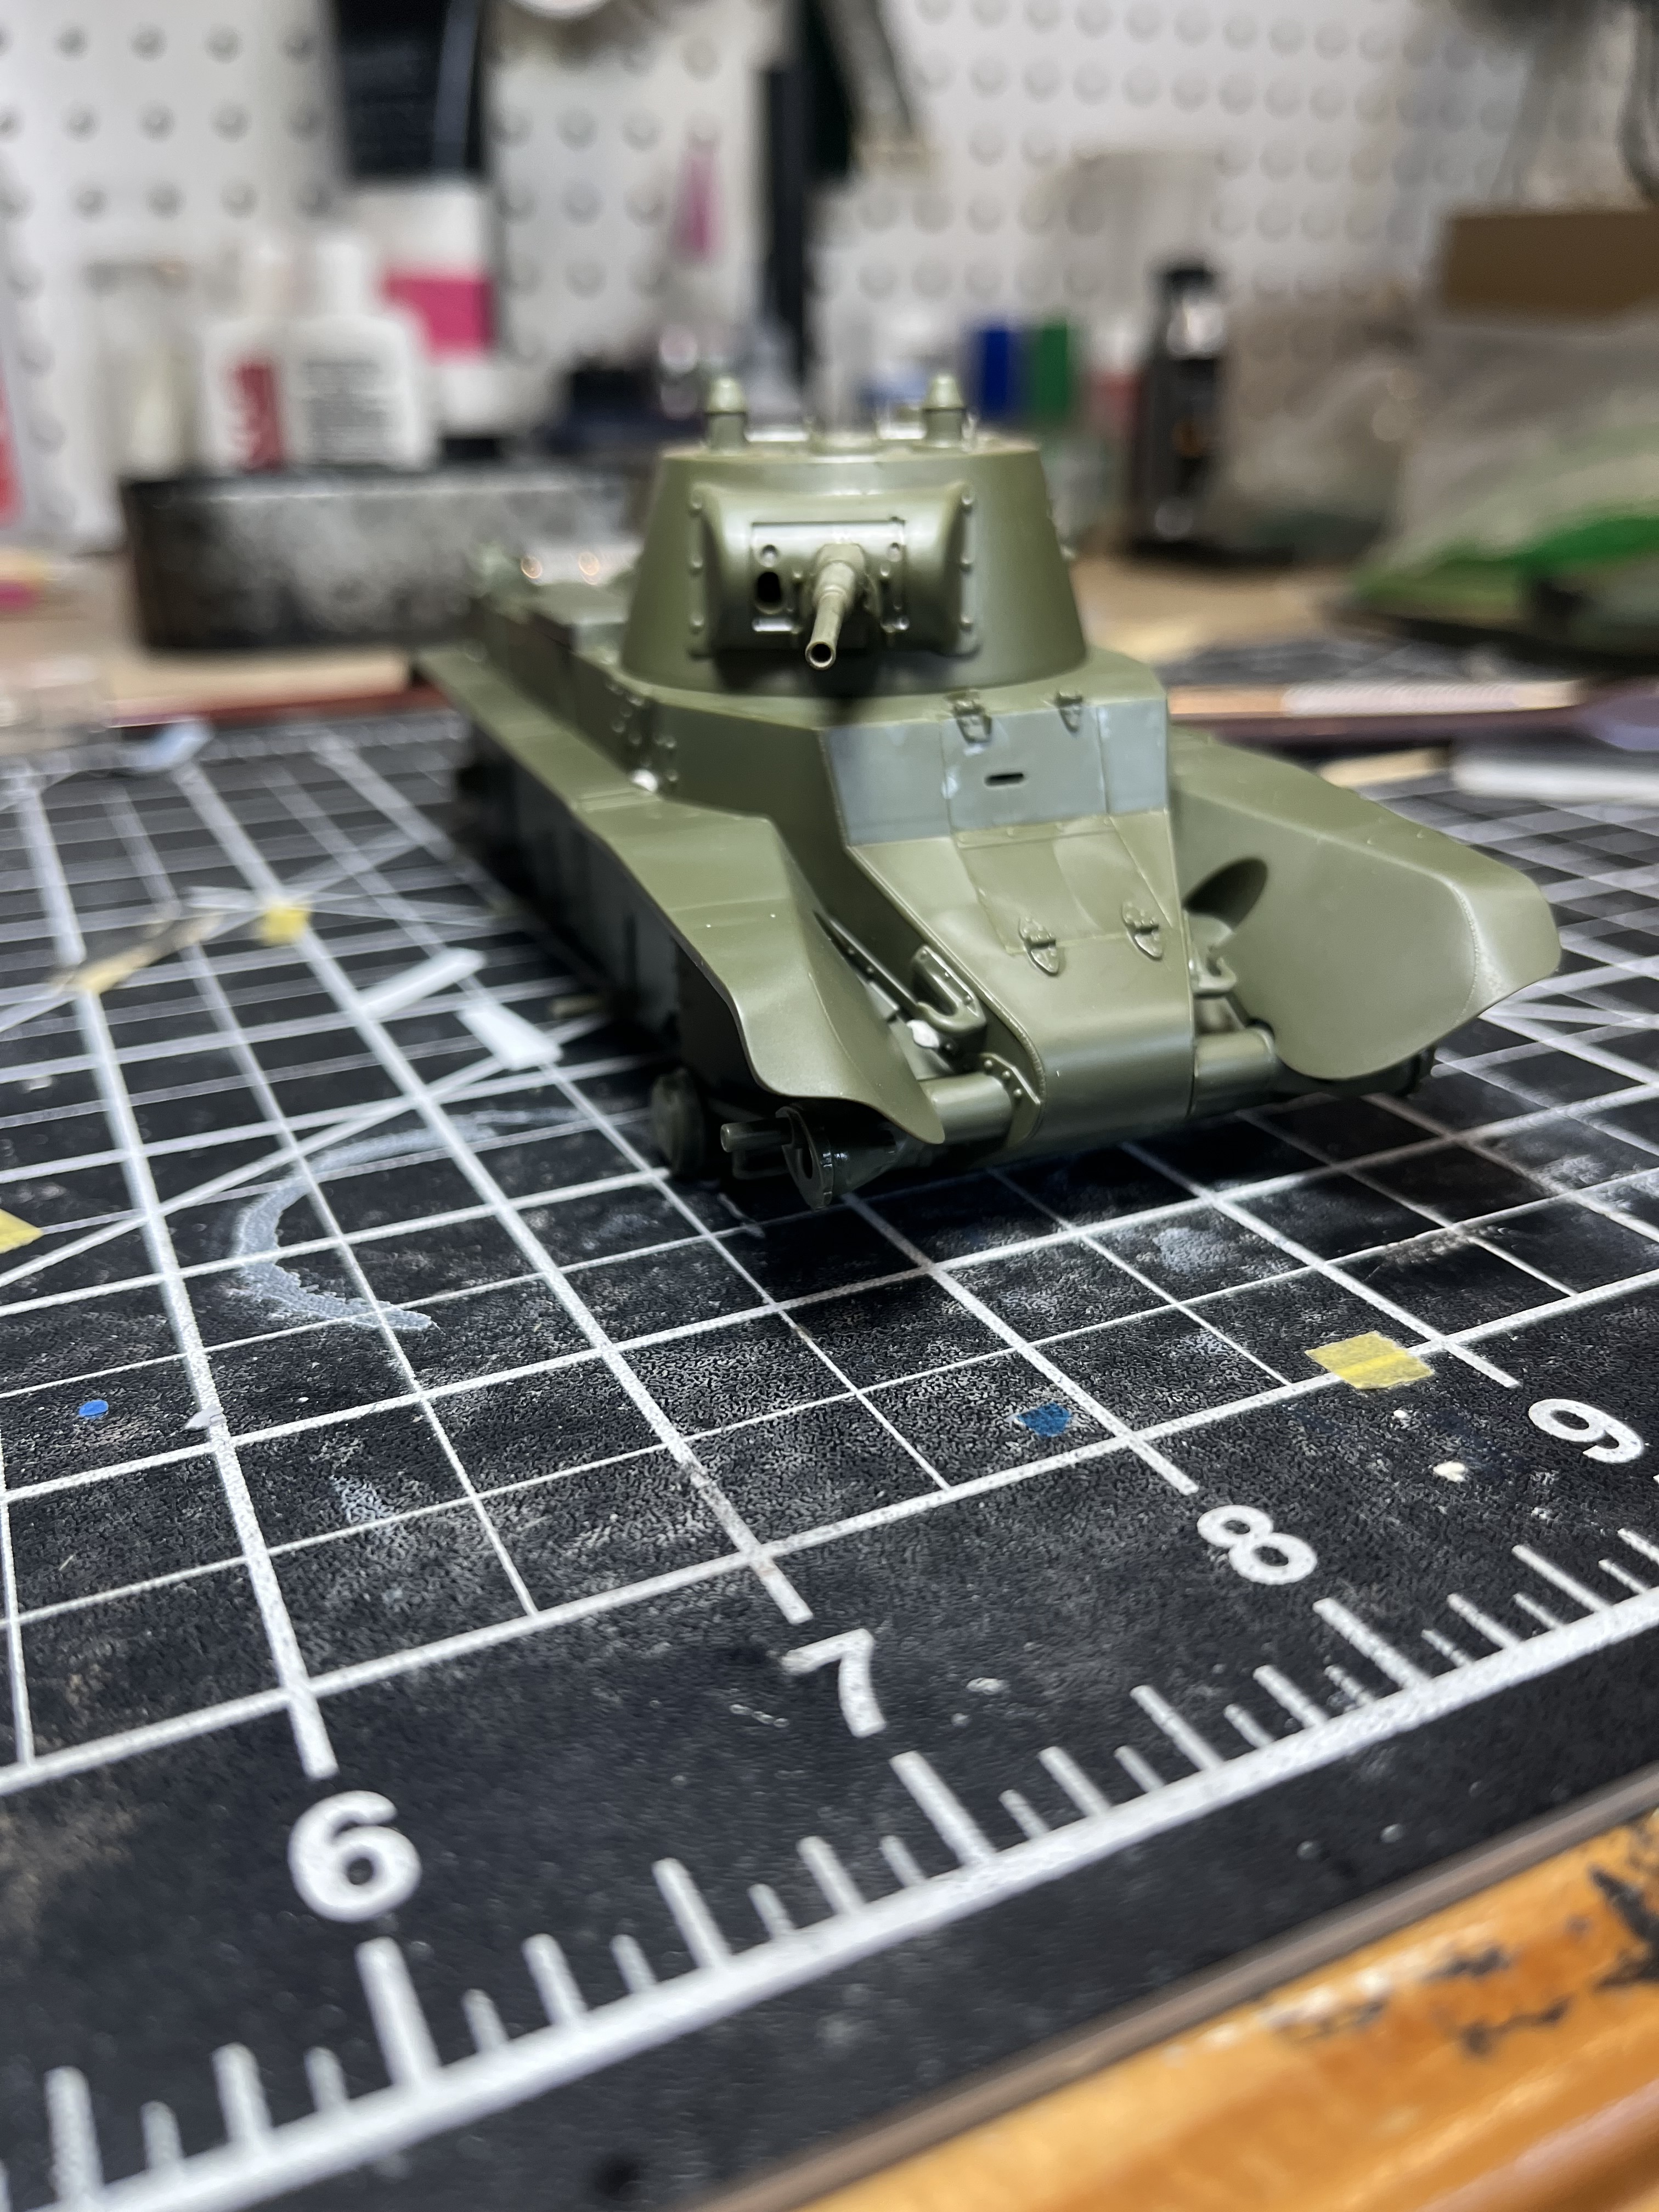
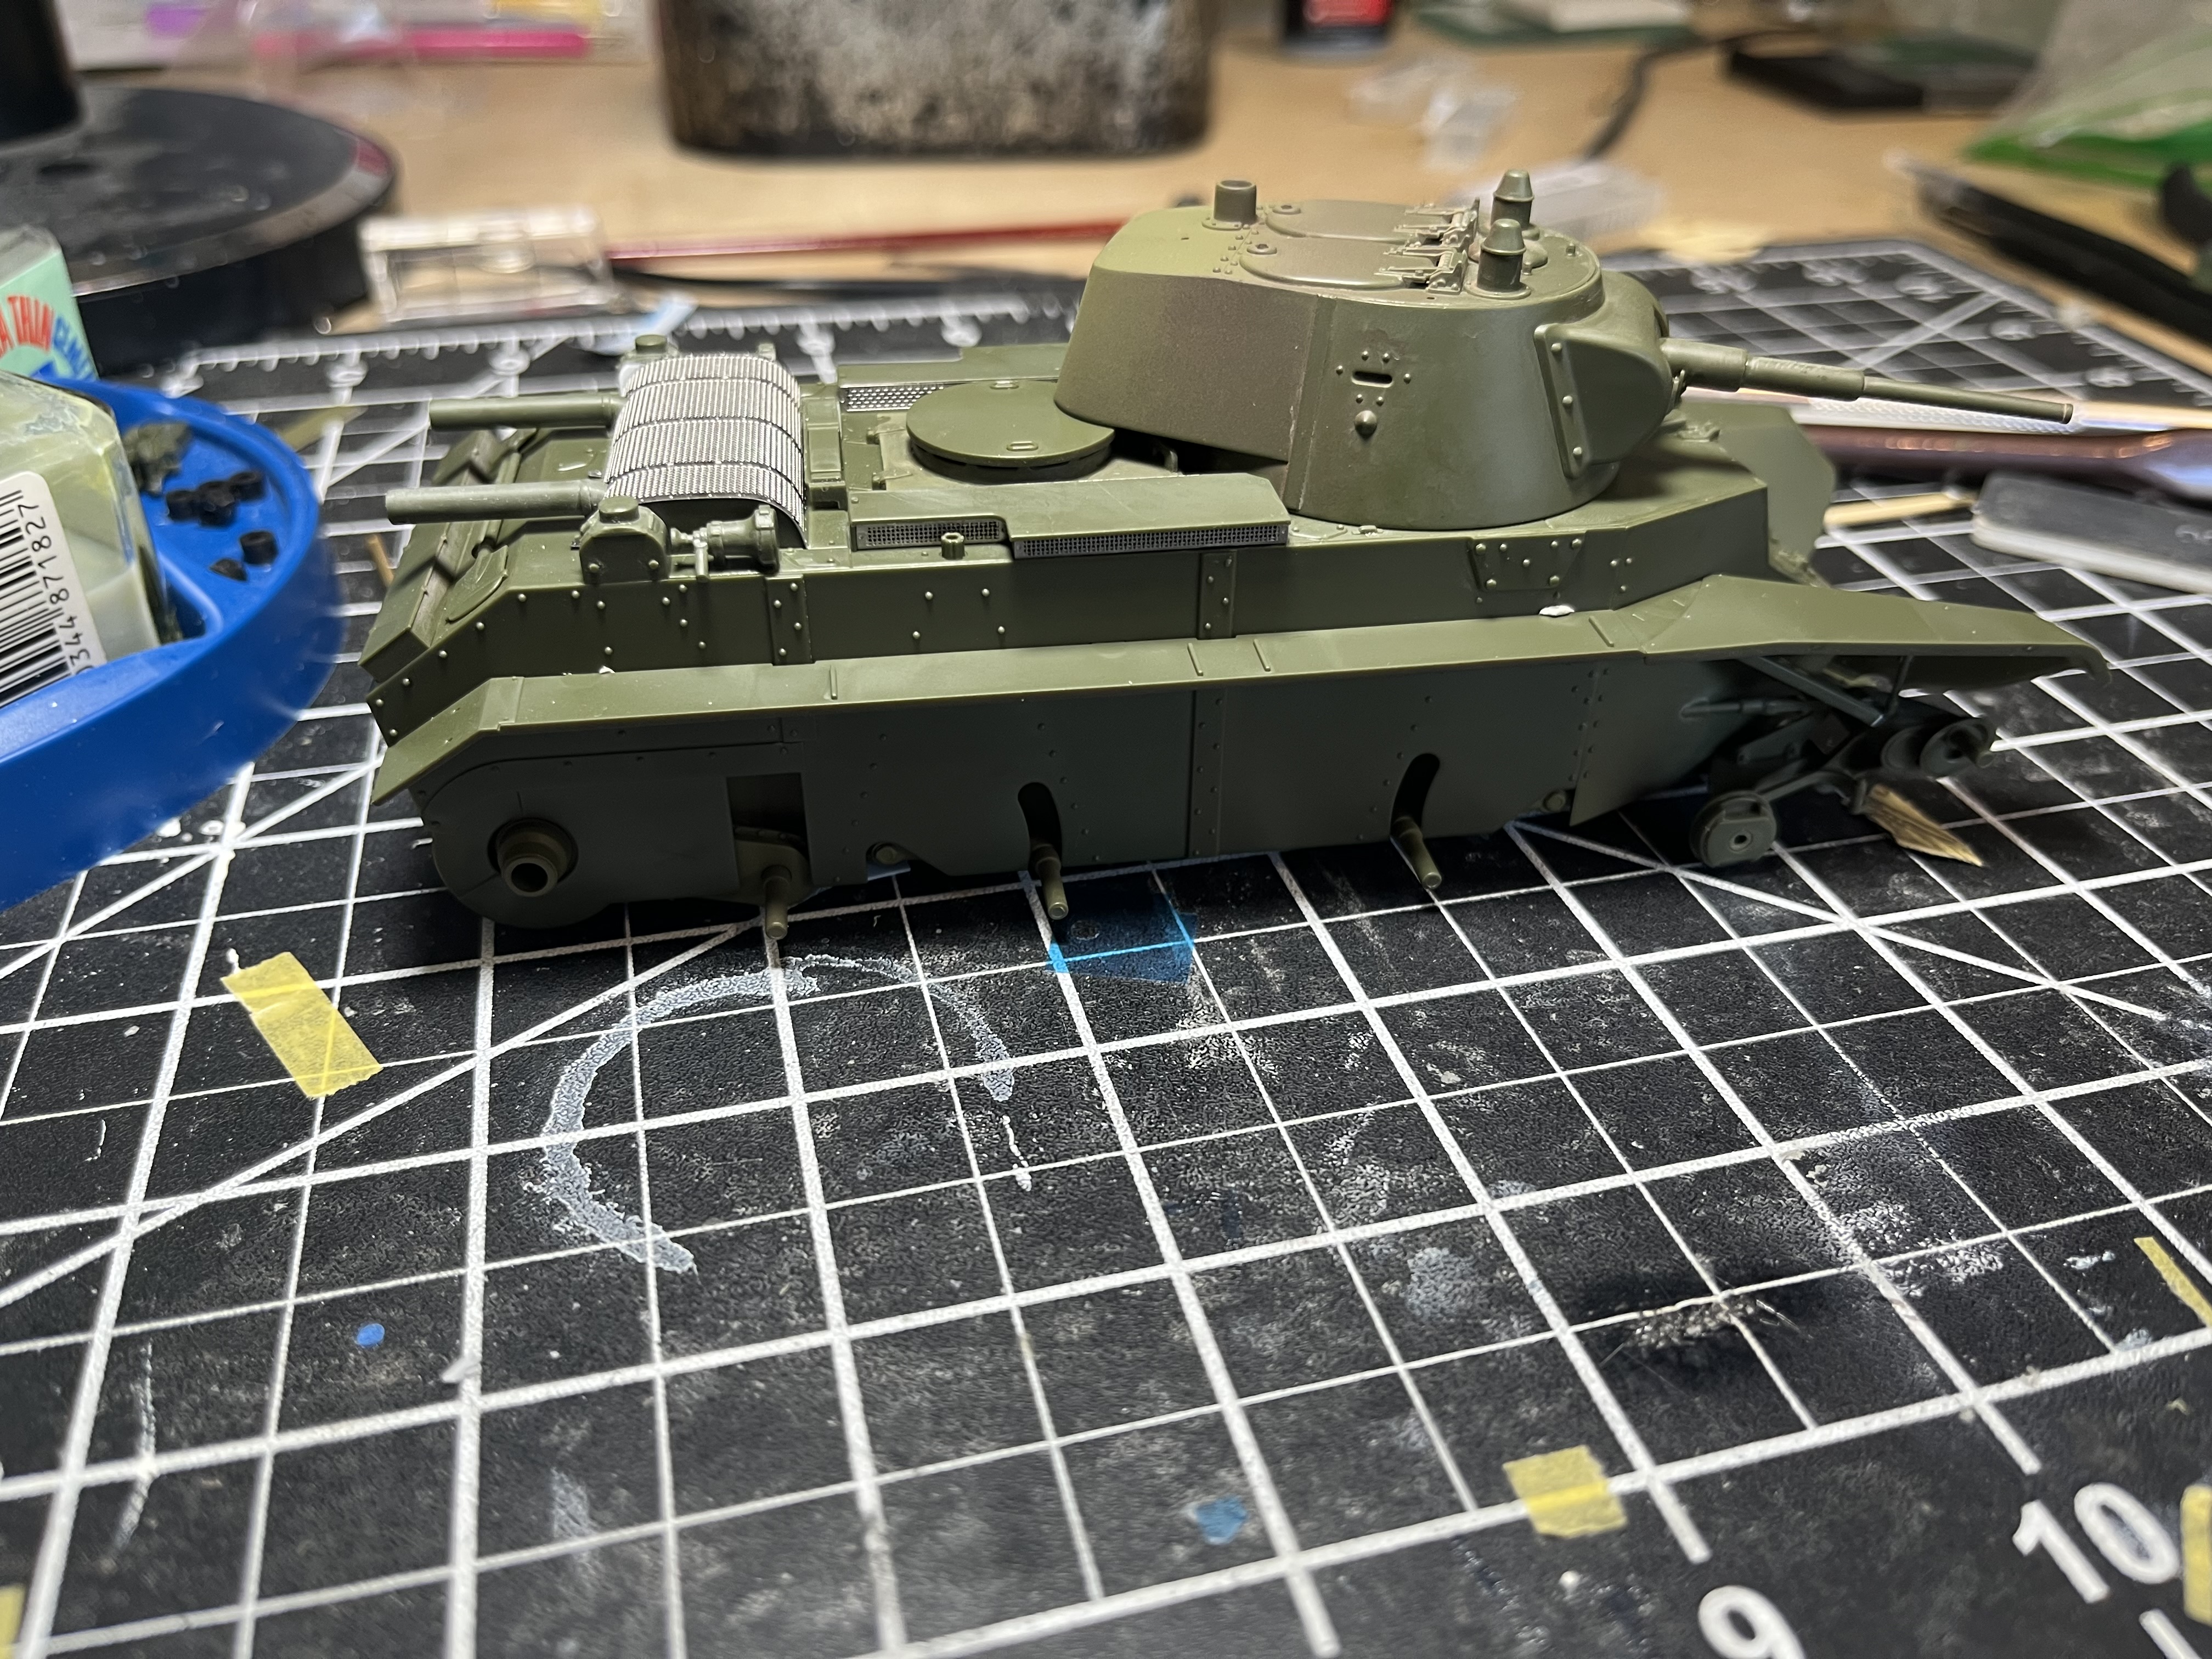
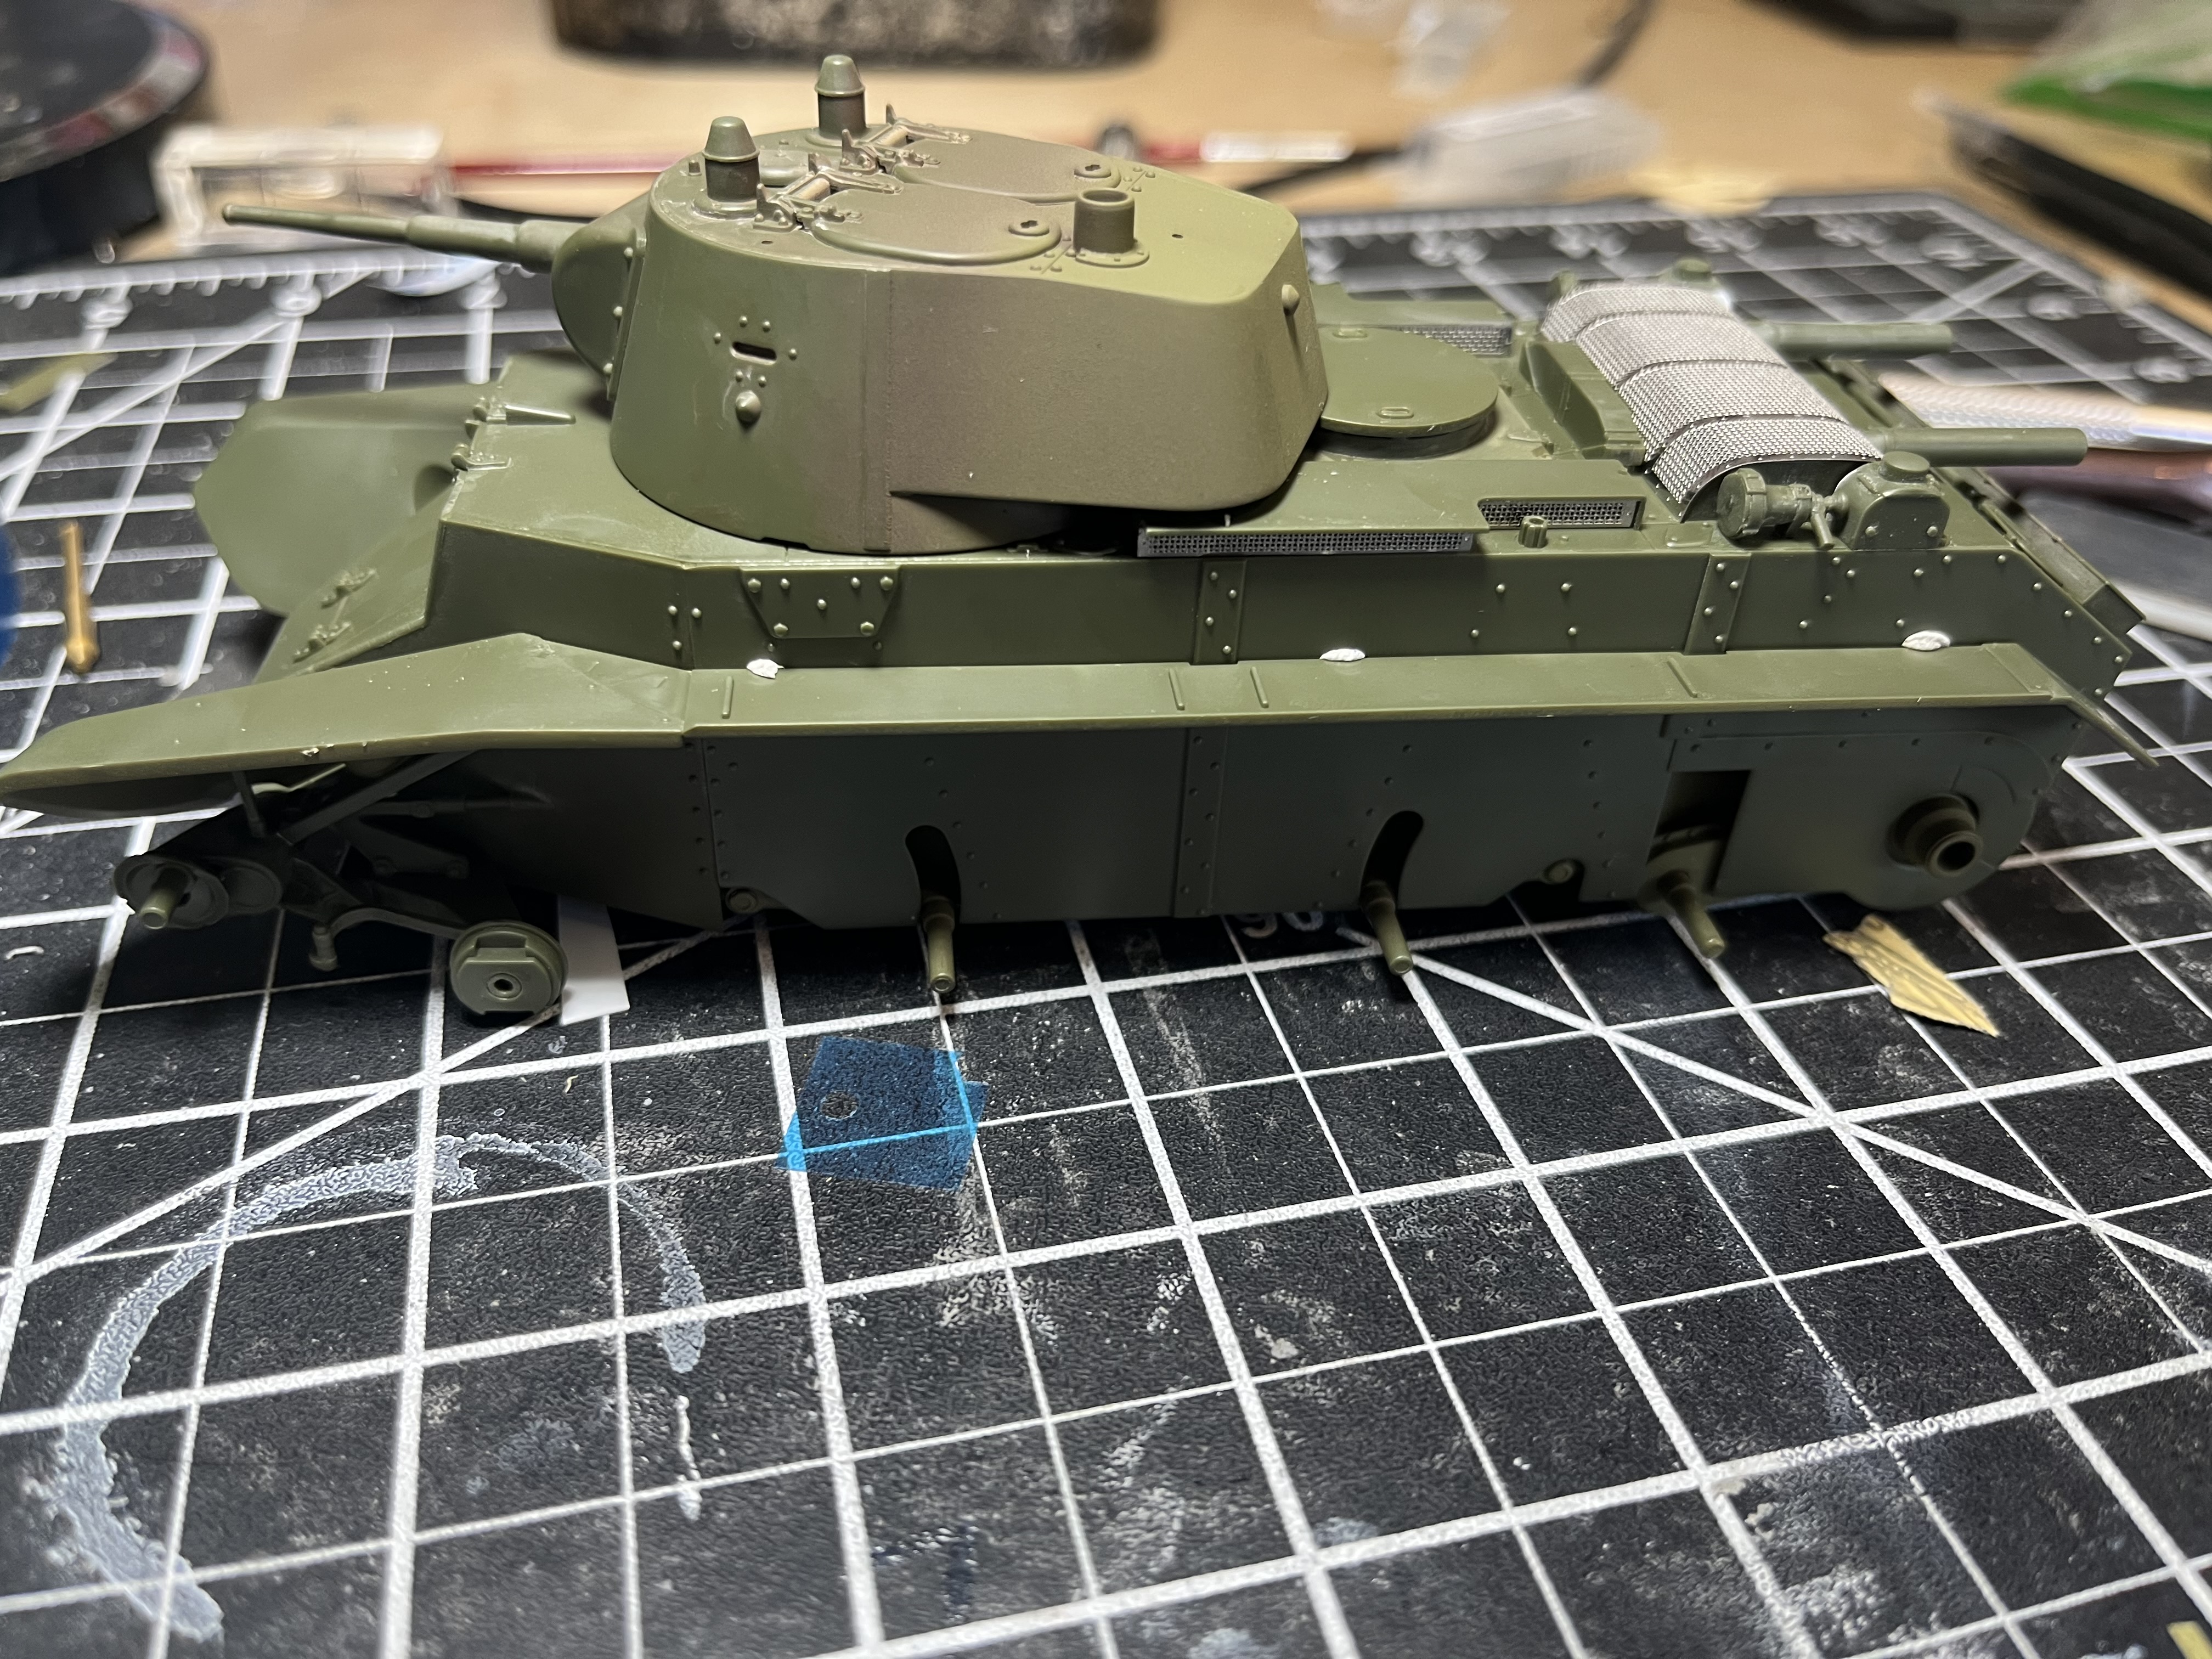
Fenders are dry fit since painting the complicated suspension with them attached wouldn’t be fun
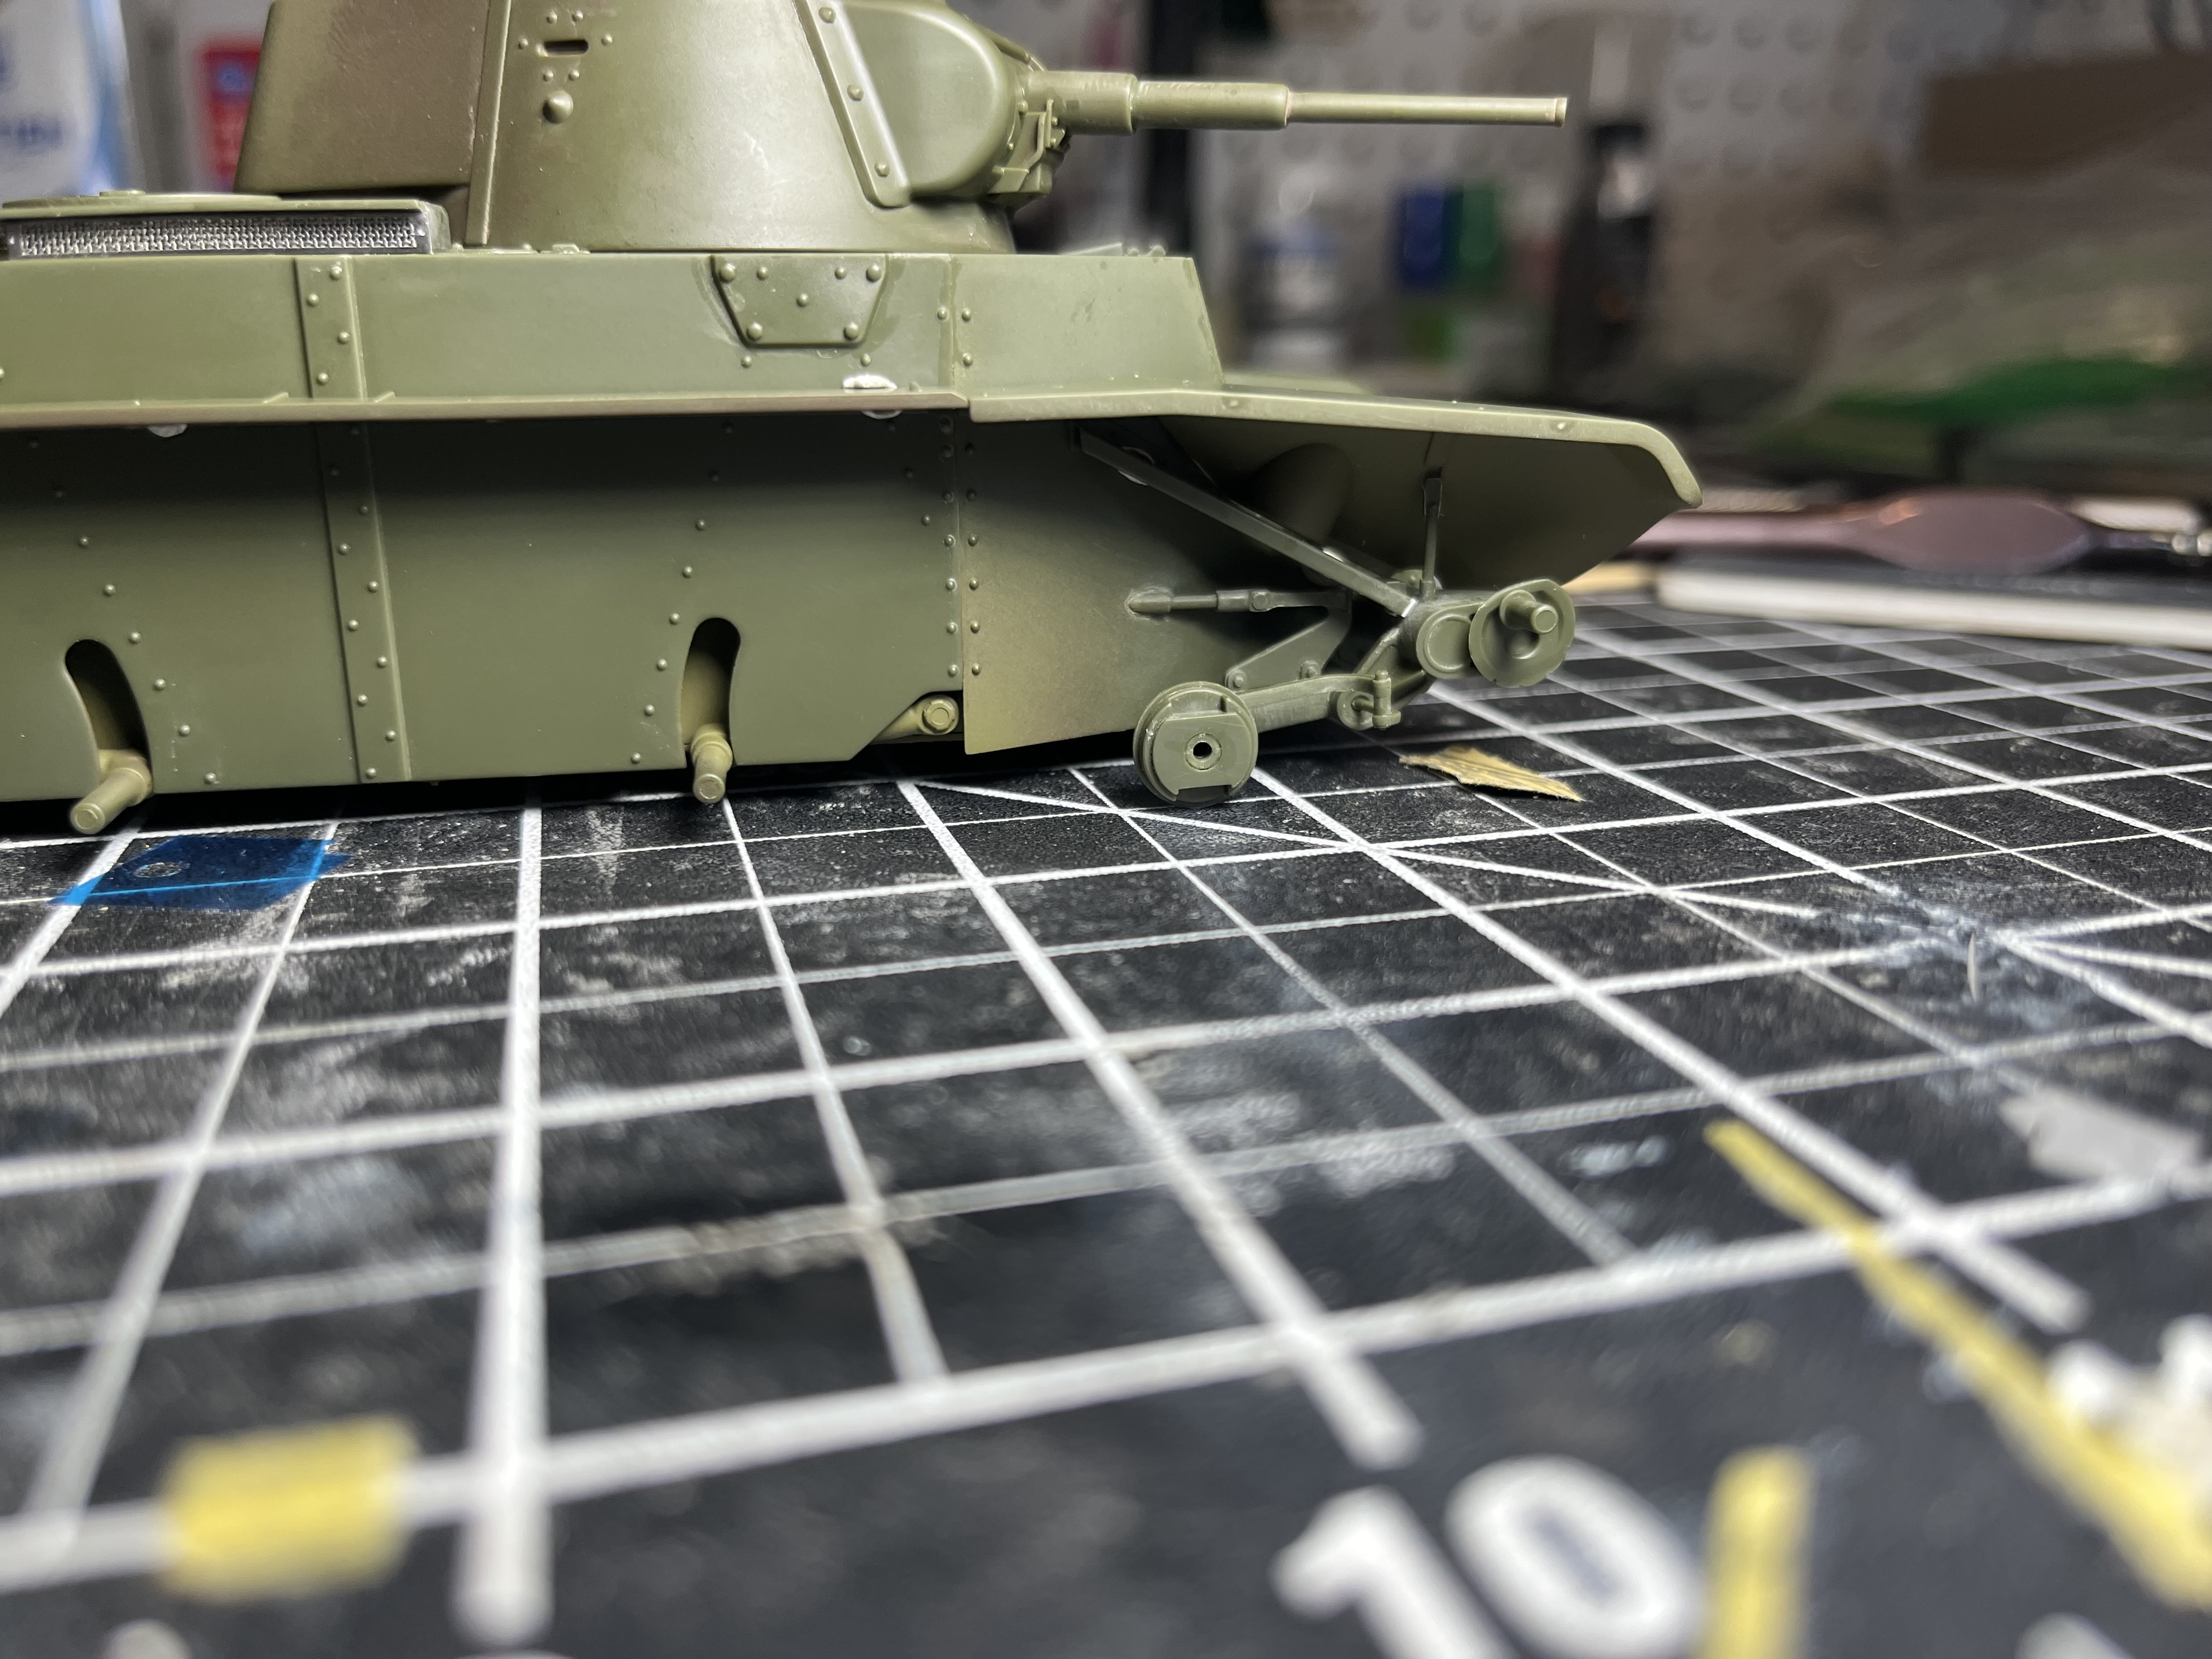
I made a couple modifications to the kit too.
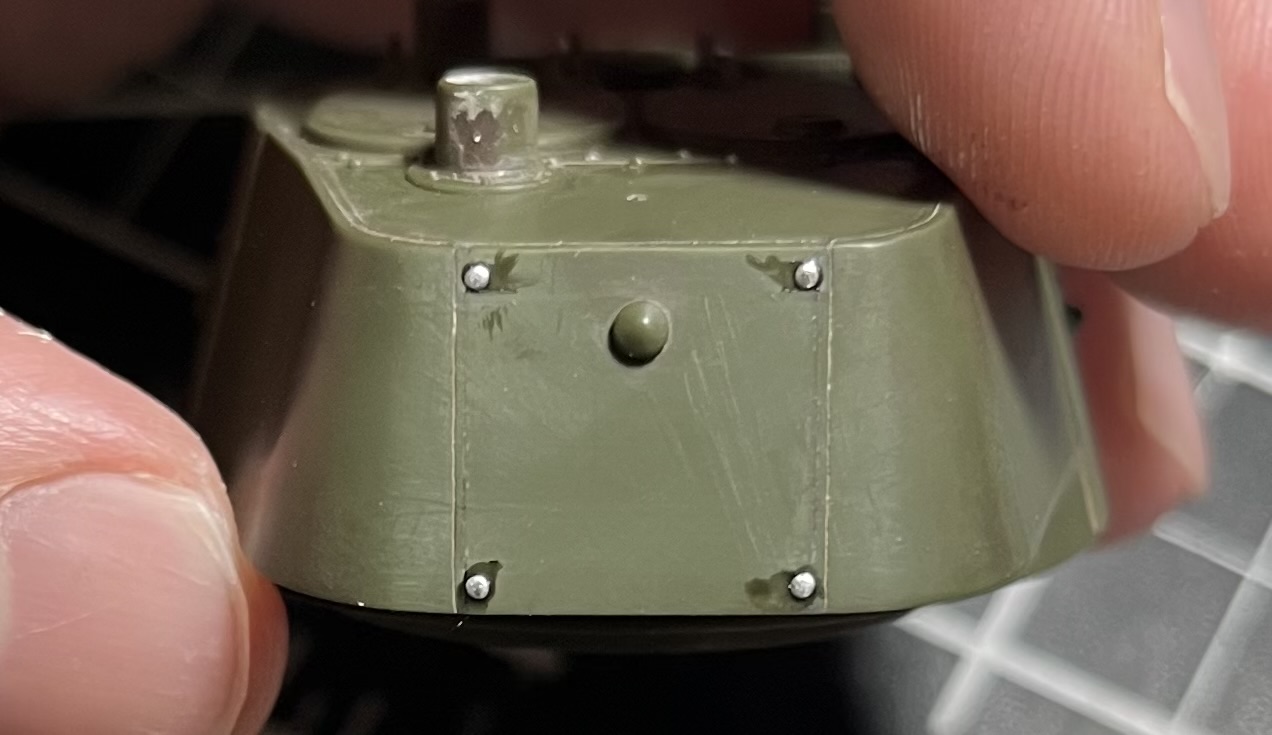
- I wasn’t happy with the seam line of the rear turret plate. It was bit sloppy and wide (user error here). I filled with stretched sprue and scribed. Much happier. I need to add back the bolt heads which I will do with punched out tin.
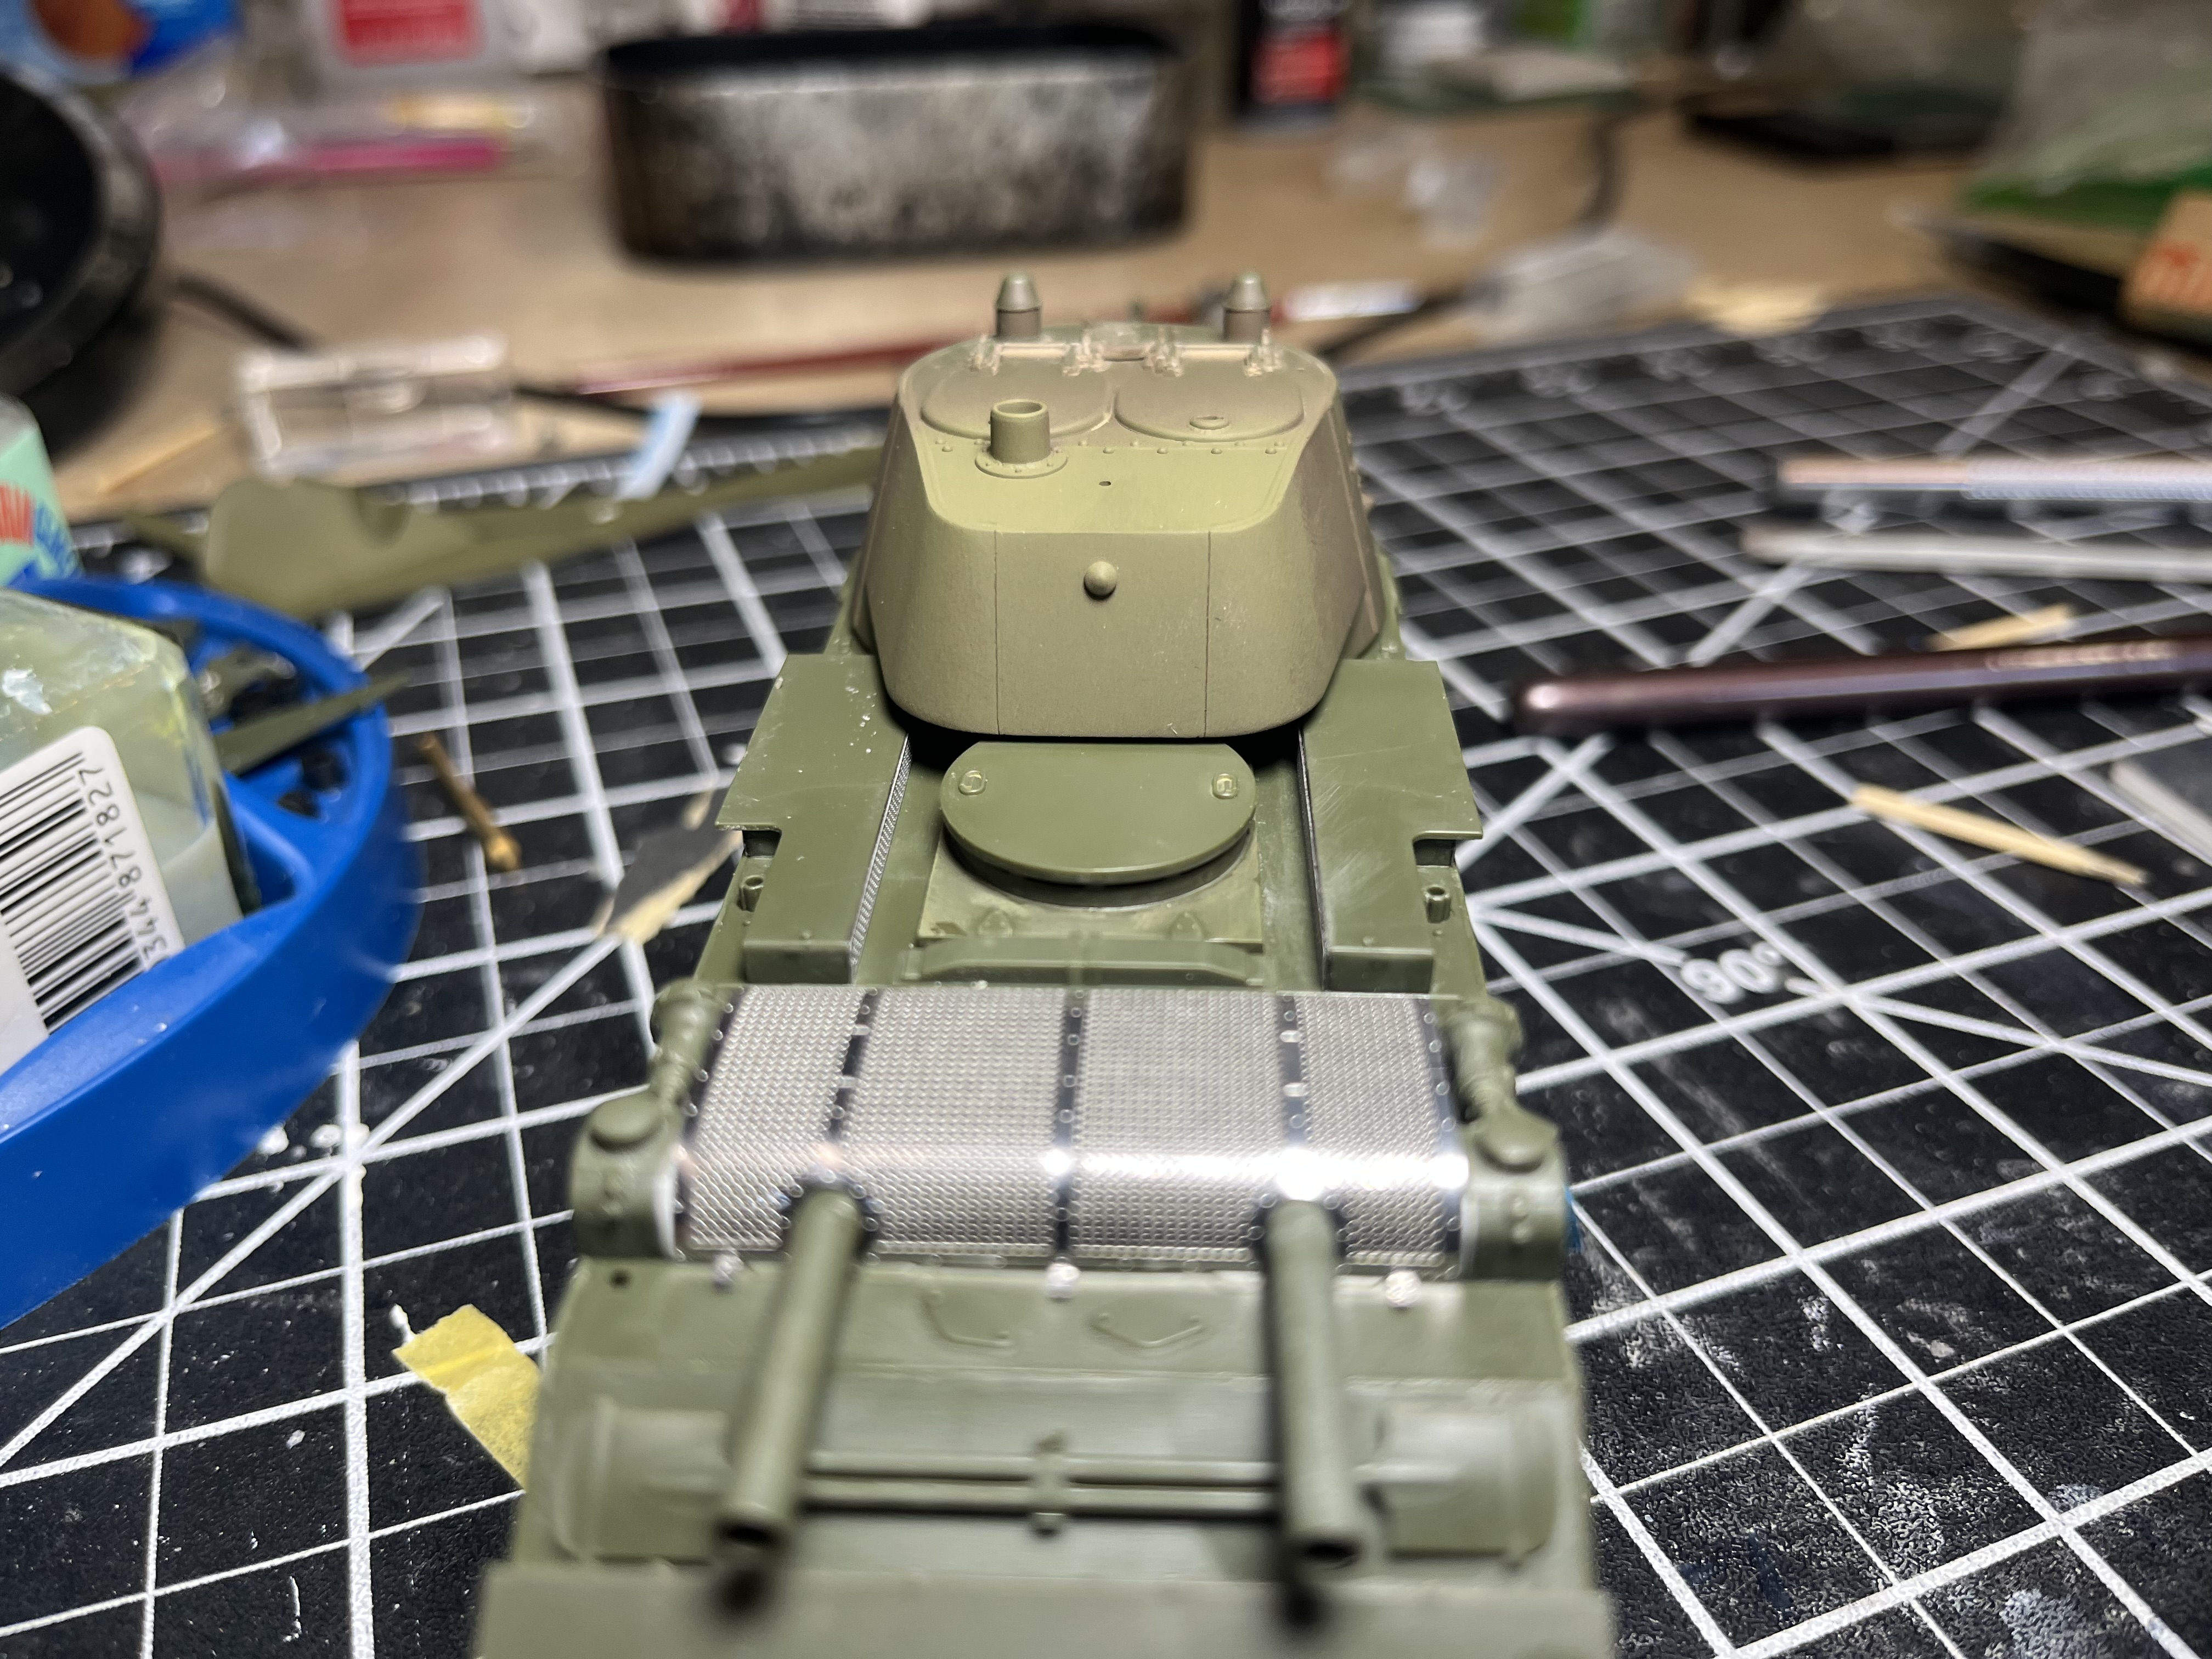
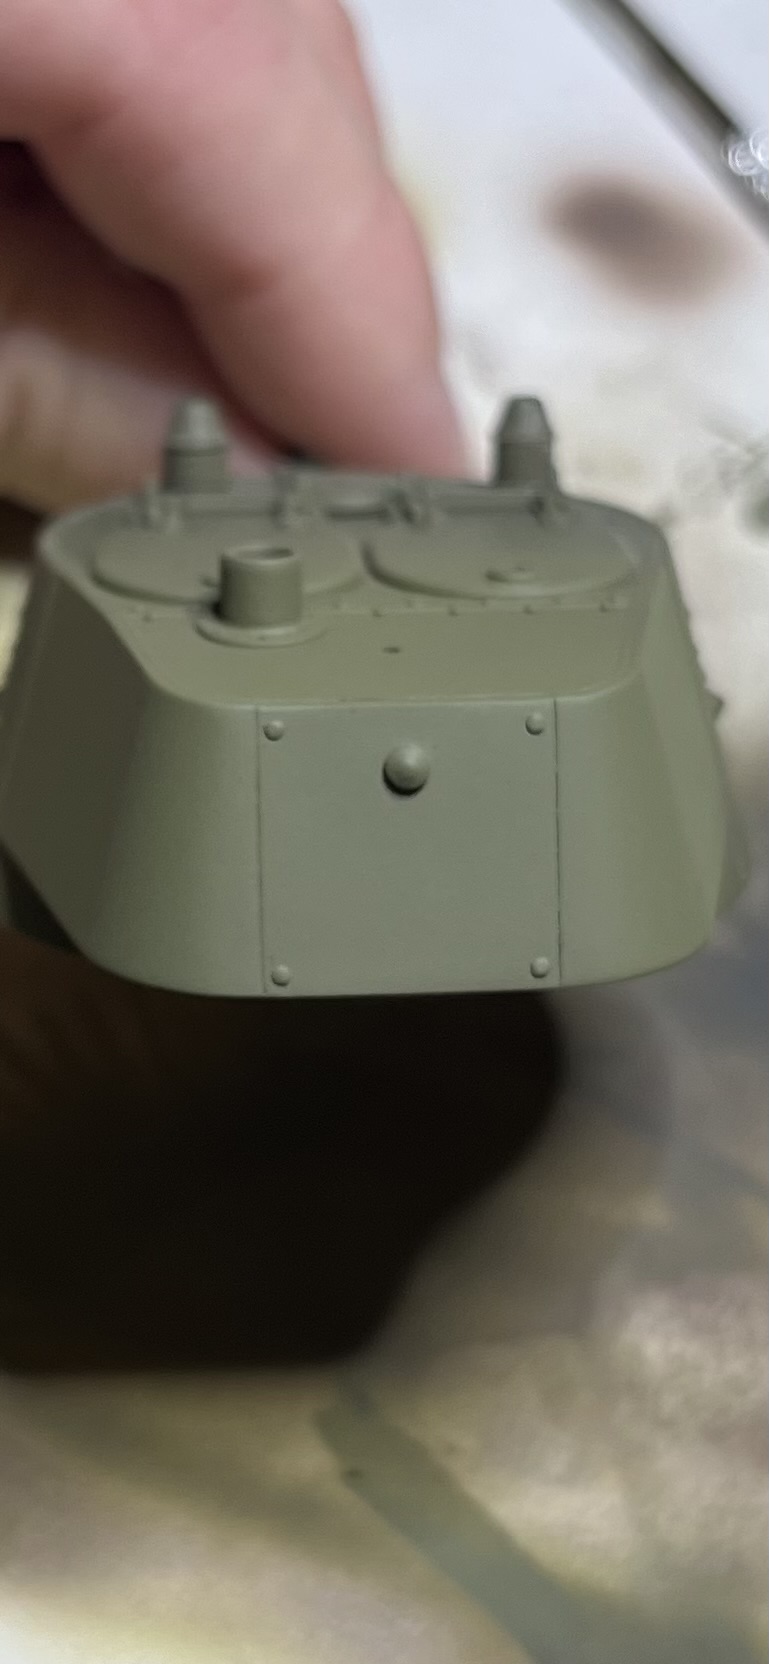
The weld seam tamiya put on the turret roof also has an error. It shouldn’t go all the way around. Instead where the rear plate is there should be a panel line with no weld, as shown here
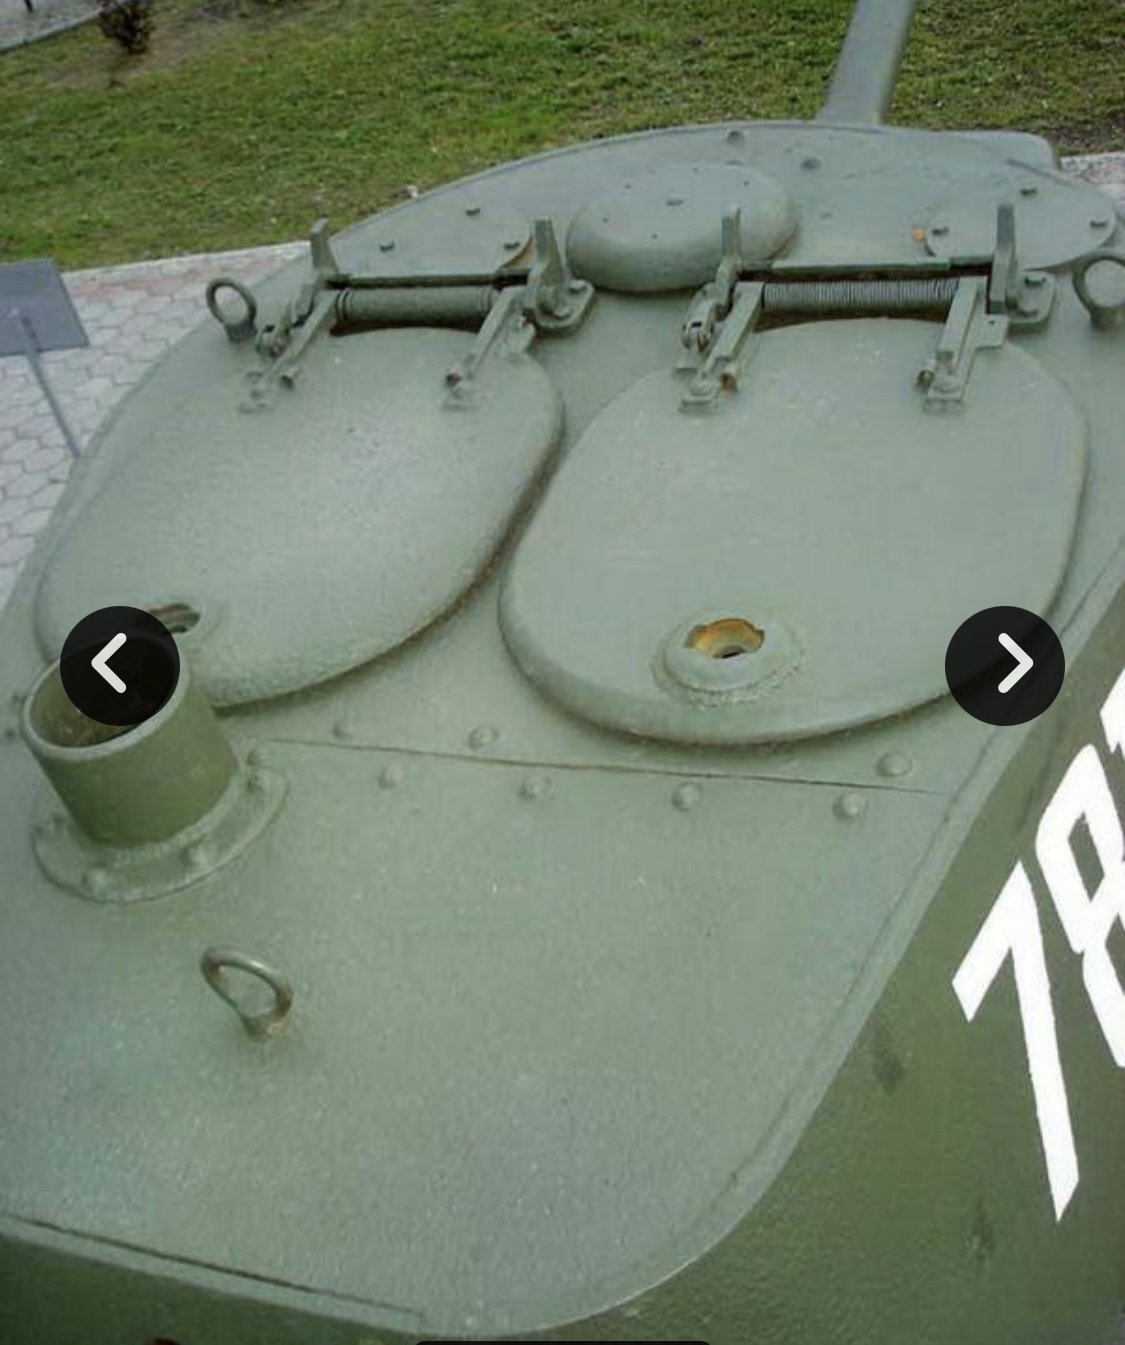
So I sanded off the weld, and need to scribe the panel line. The Green pain on top was to make sure the weld was gone and to test my 4BO mix! Just need to scribe the line
- the two shovels are molded together. This is no bueno, so I scribed away the attachement and then sanded now leaving two separate shovels

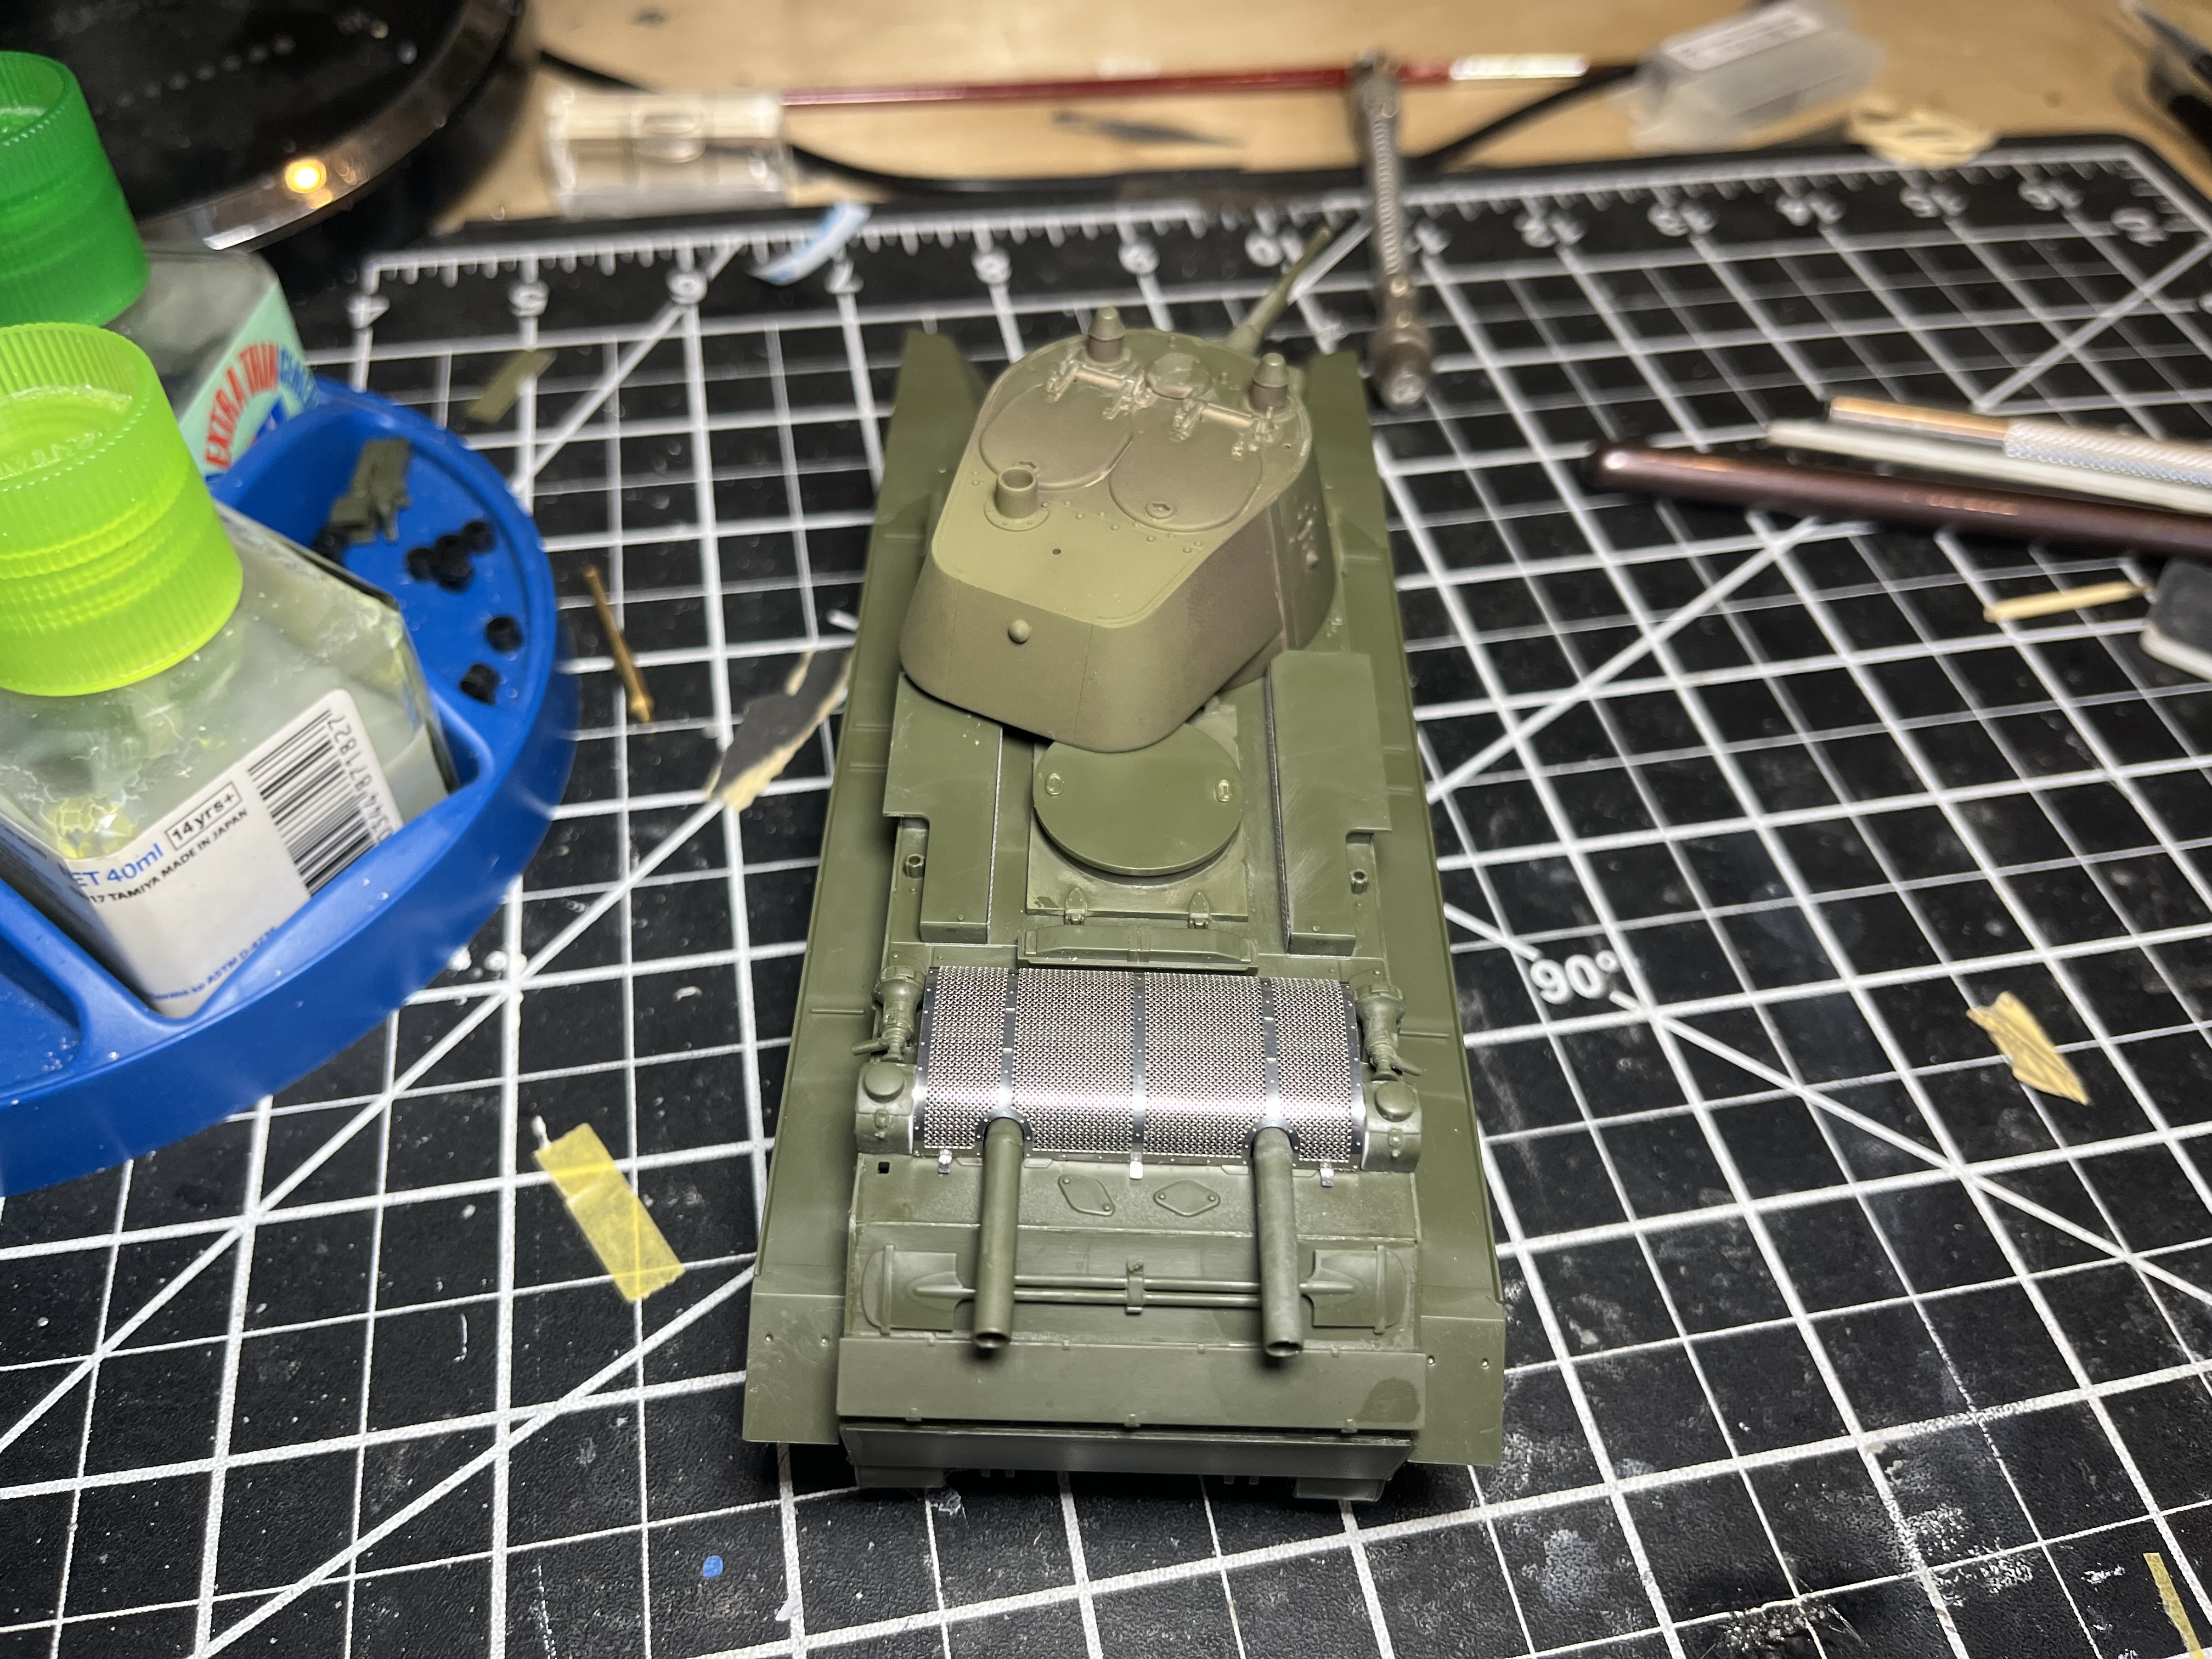
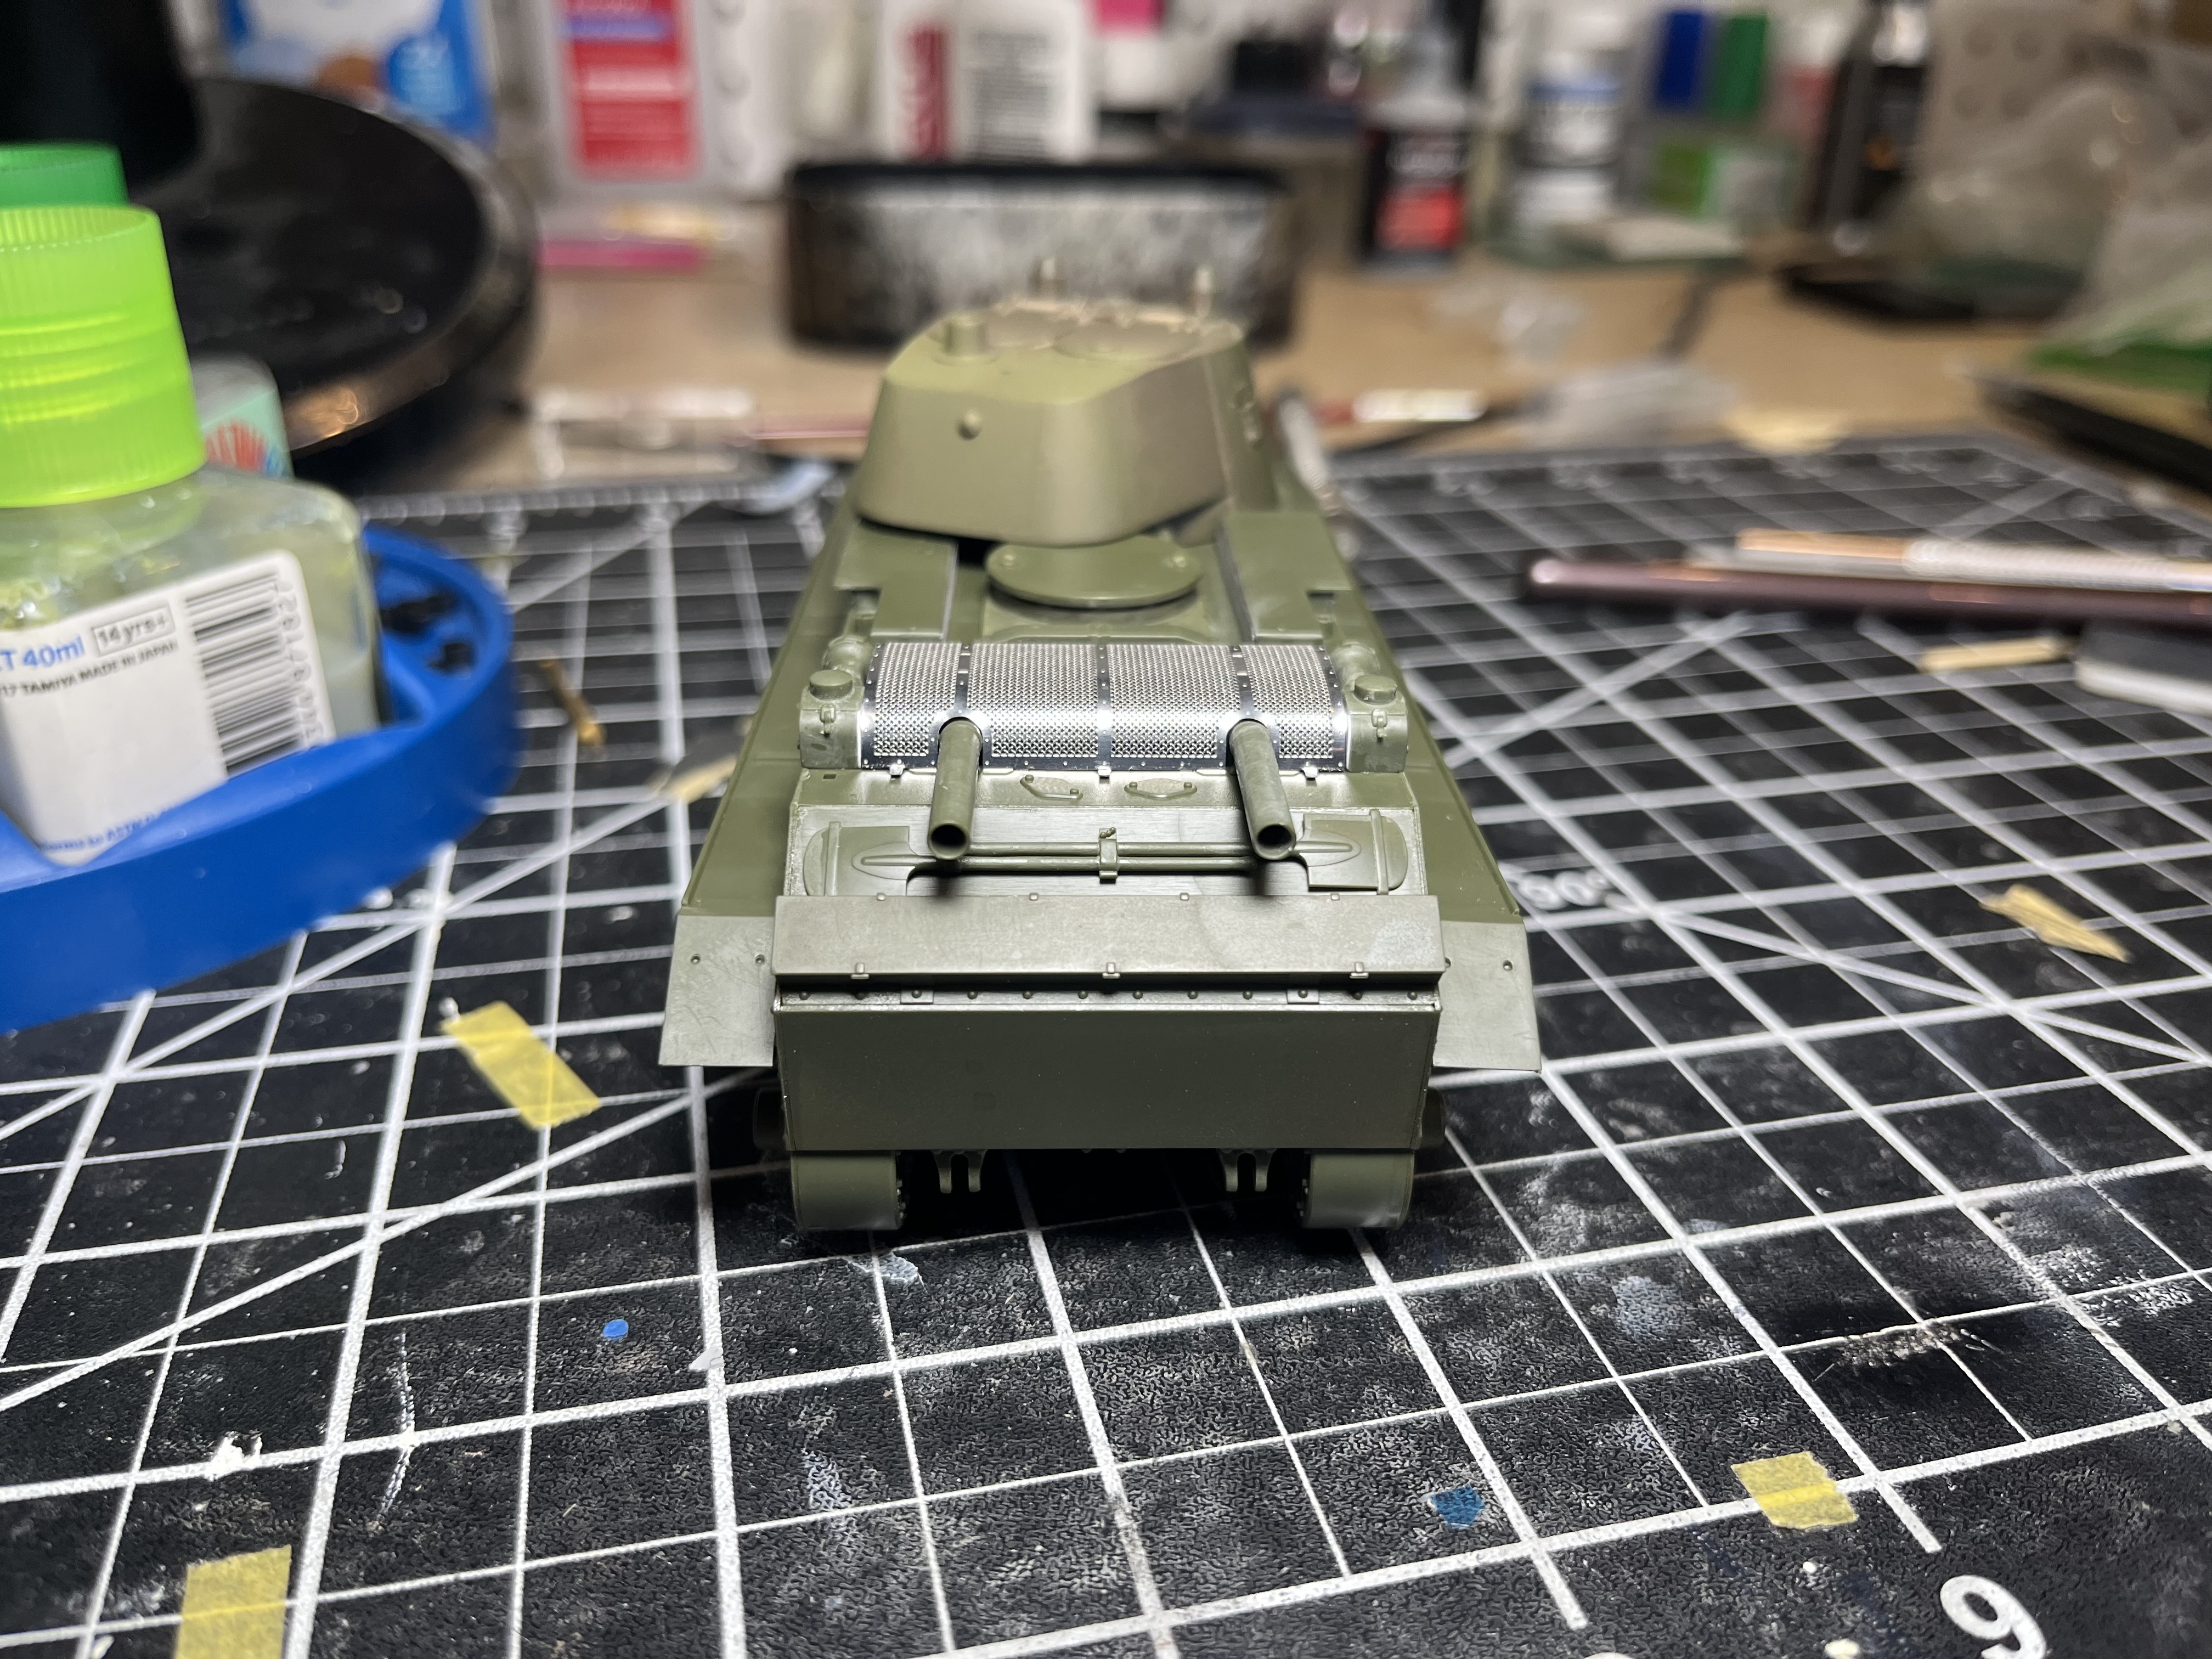
- finally, what I believe are refueling stations for the engine were hollow on the back side. This is mostly hidden on the finished kit, it I can understand why kit manufactures do this. Just make it a full part. Anyway, I filled them with some plasticard. I make a small error as I should have used thinner stock so that the top had a small lip. Oh well, this much better than a hollow part
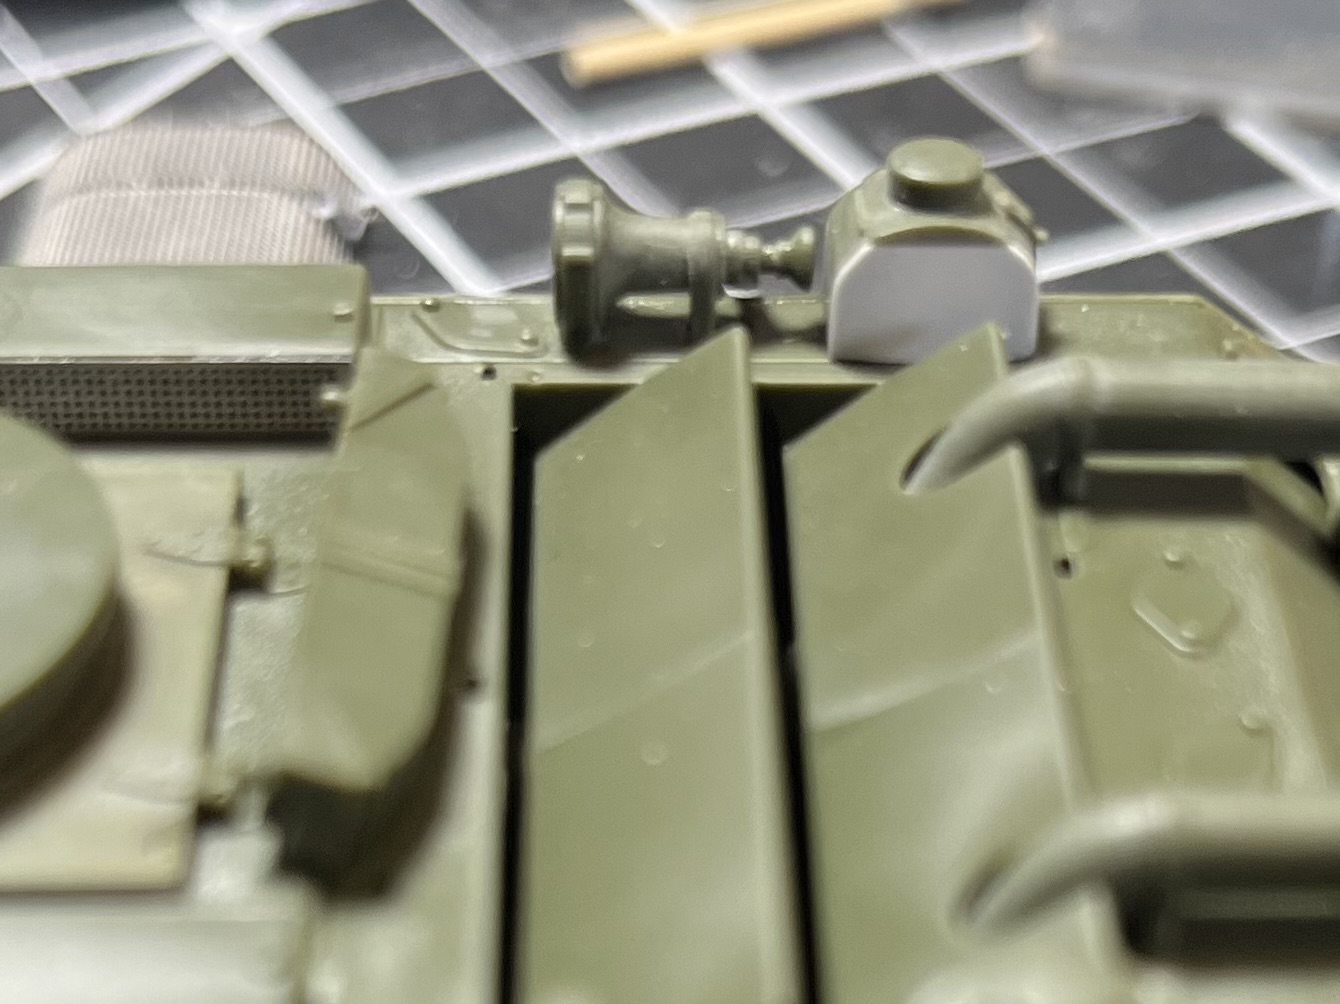
A lot of dry fitted parts like the mesh screen and exhausts for easier painting
7 Likes
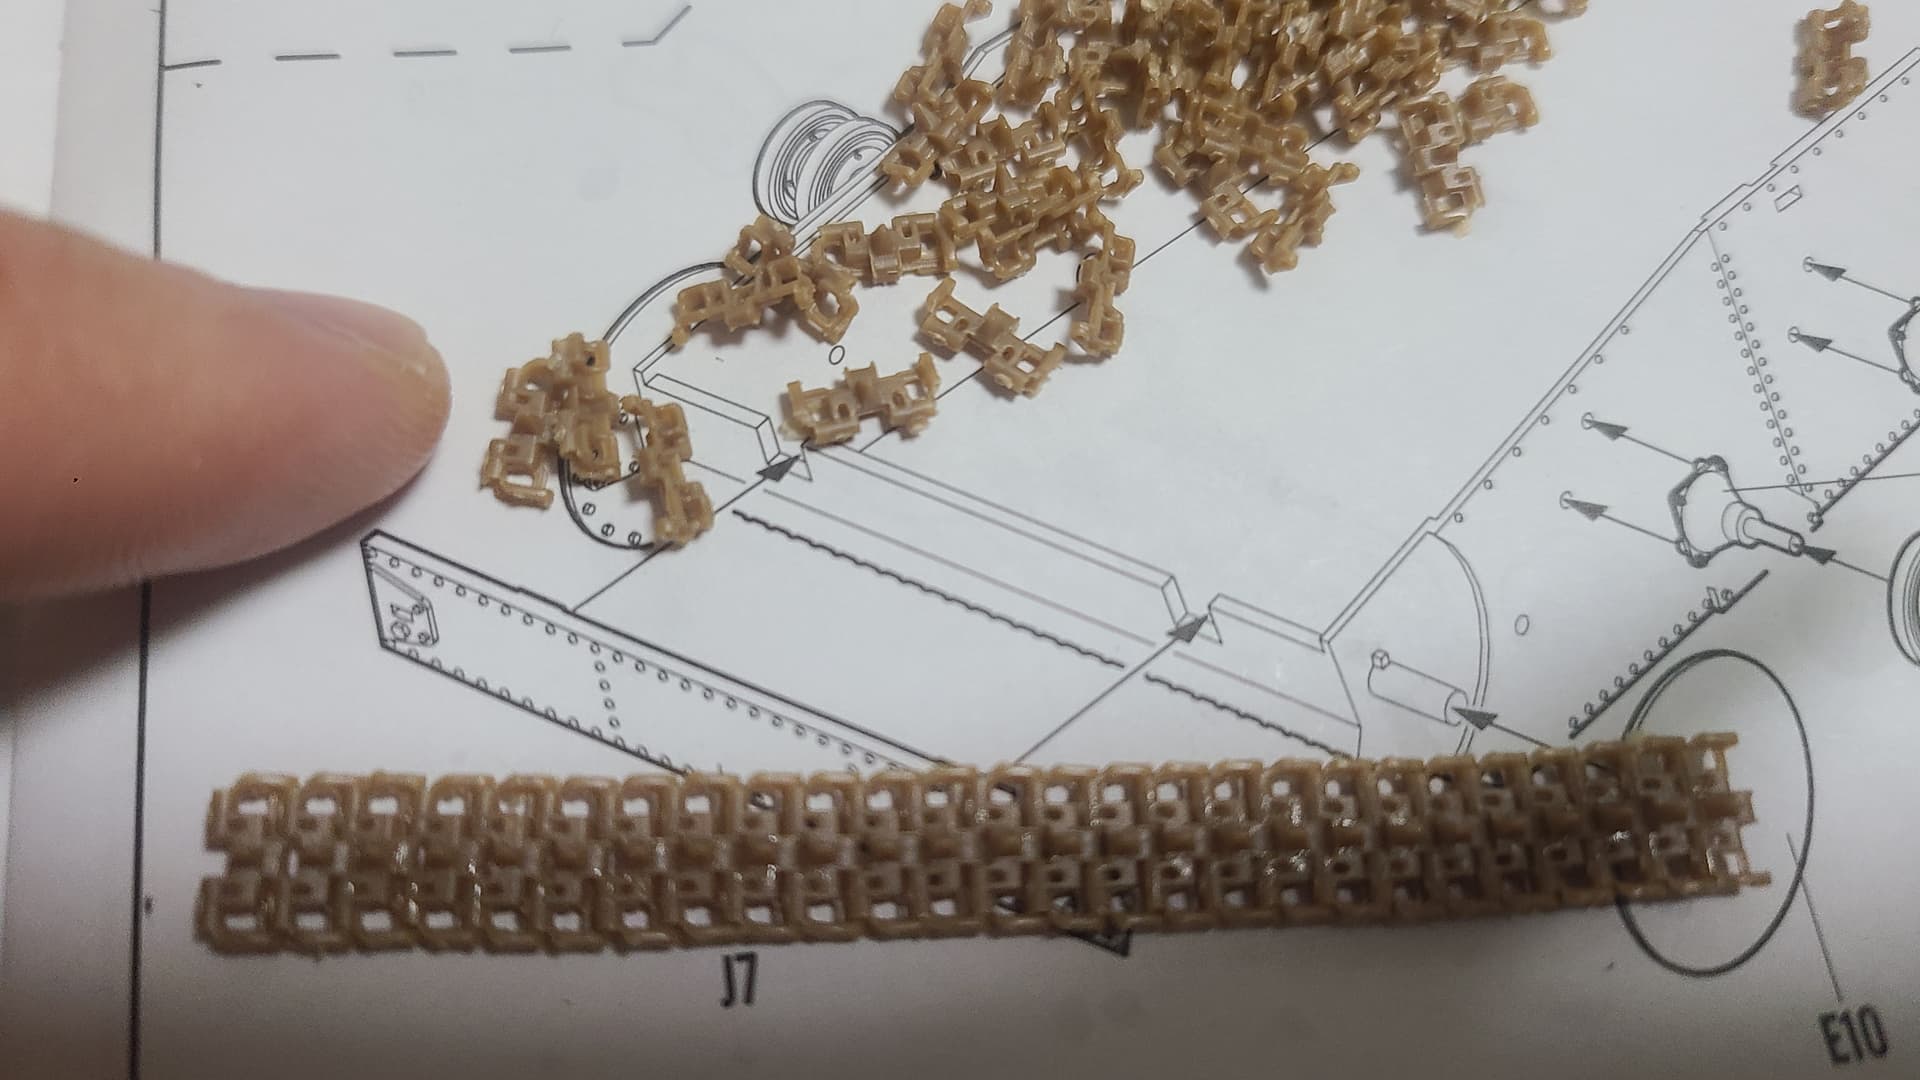
I have built the tetrarch , on the shelf of doom now , as tracks have been terrible with my shakes and eyes, with how small they are.
2 Likes
Replaced the bolt detail on the rear turret with a method I got from night shifts YouTube
Step 1:
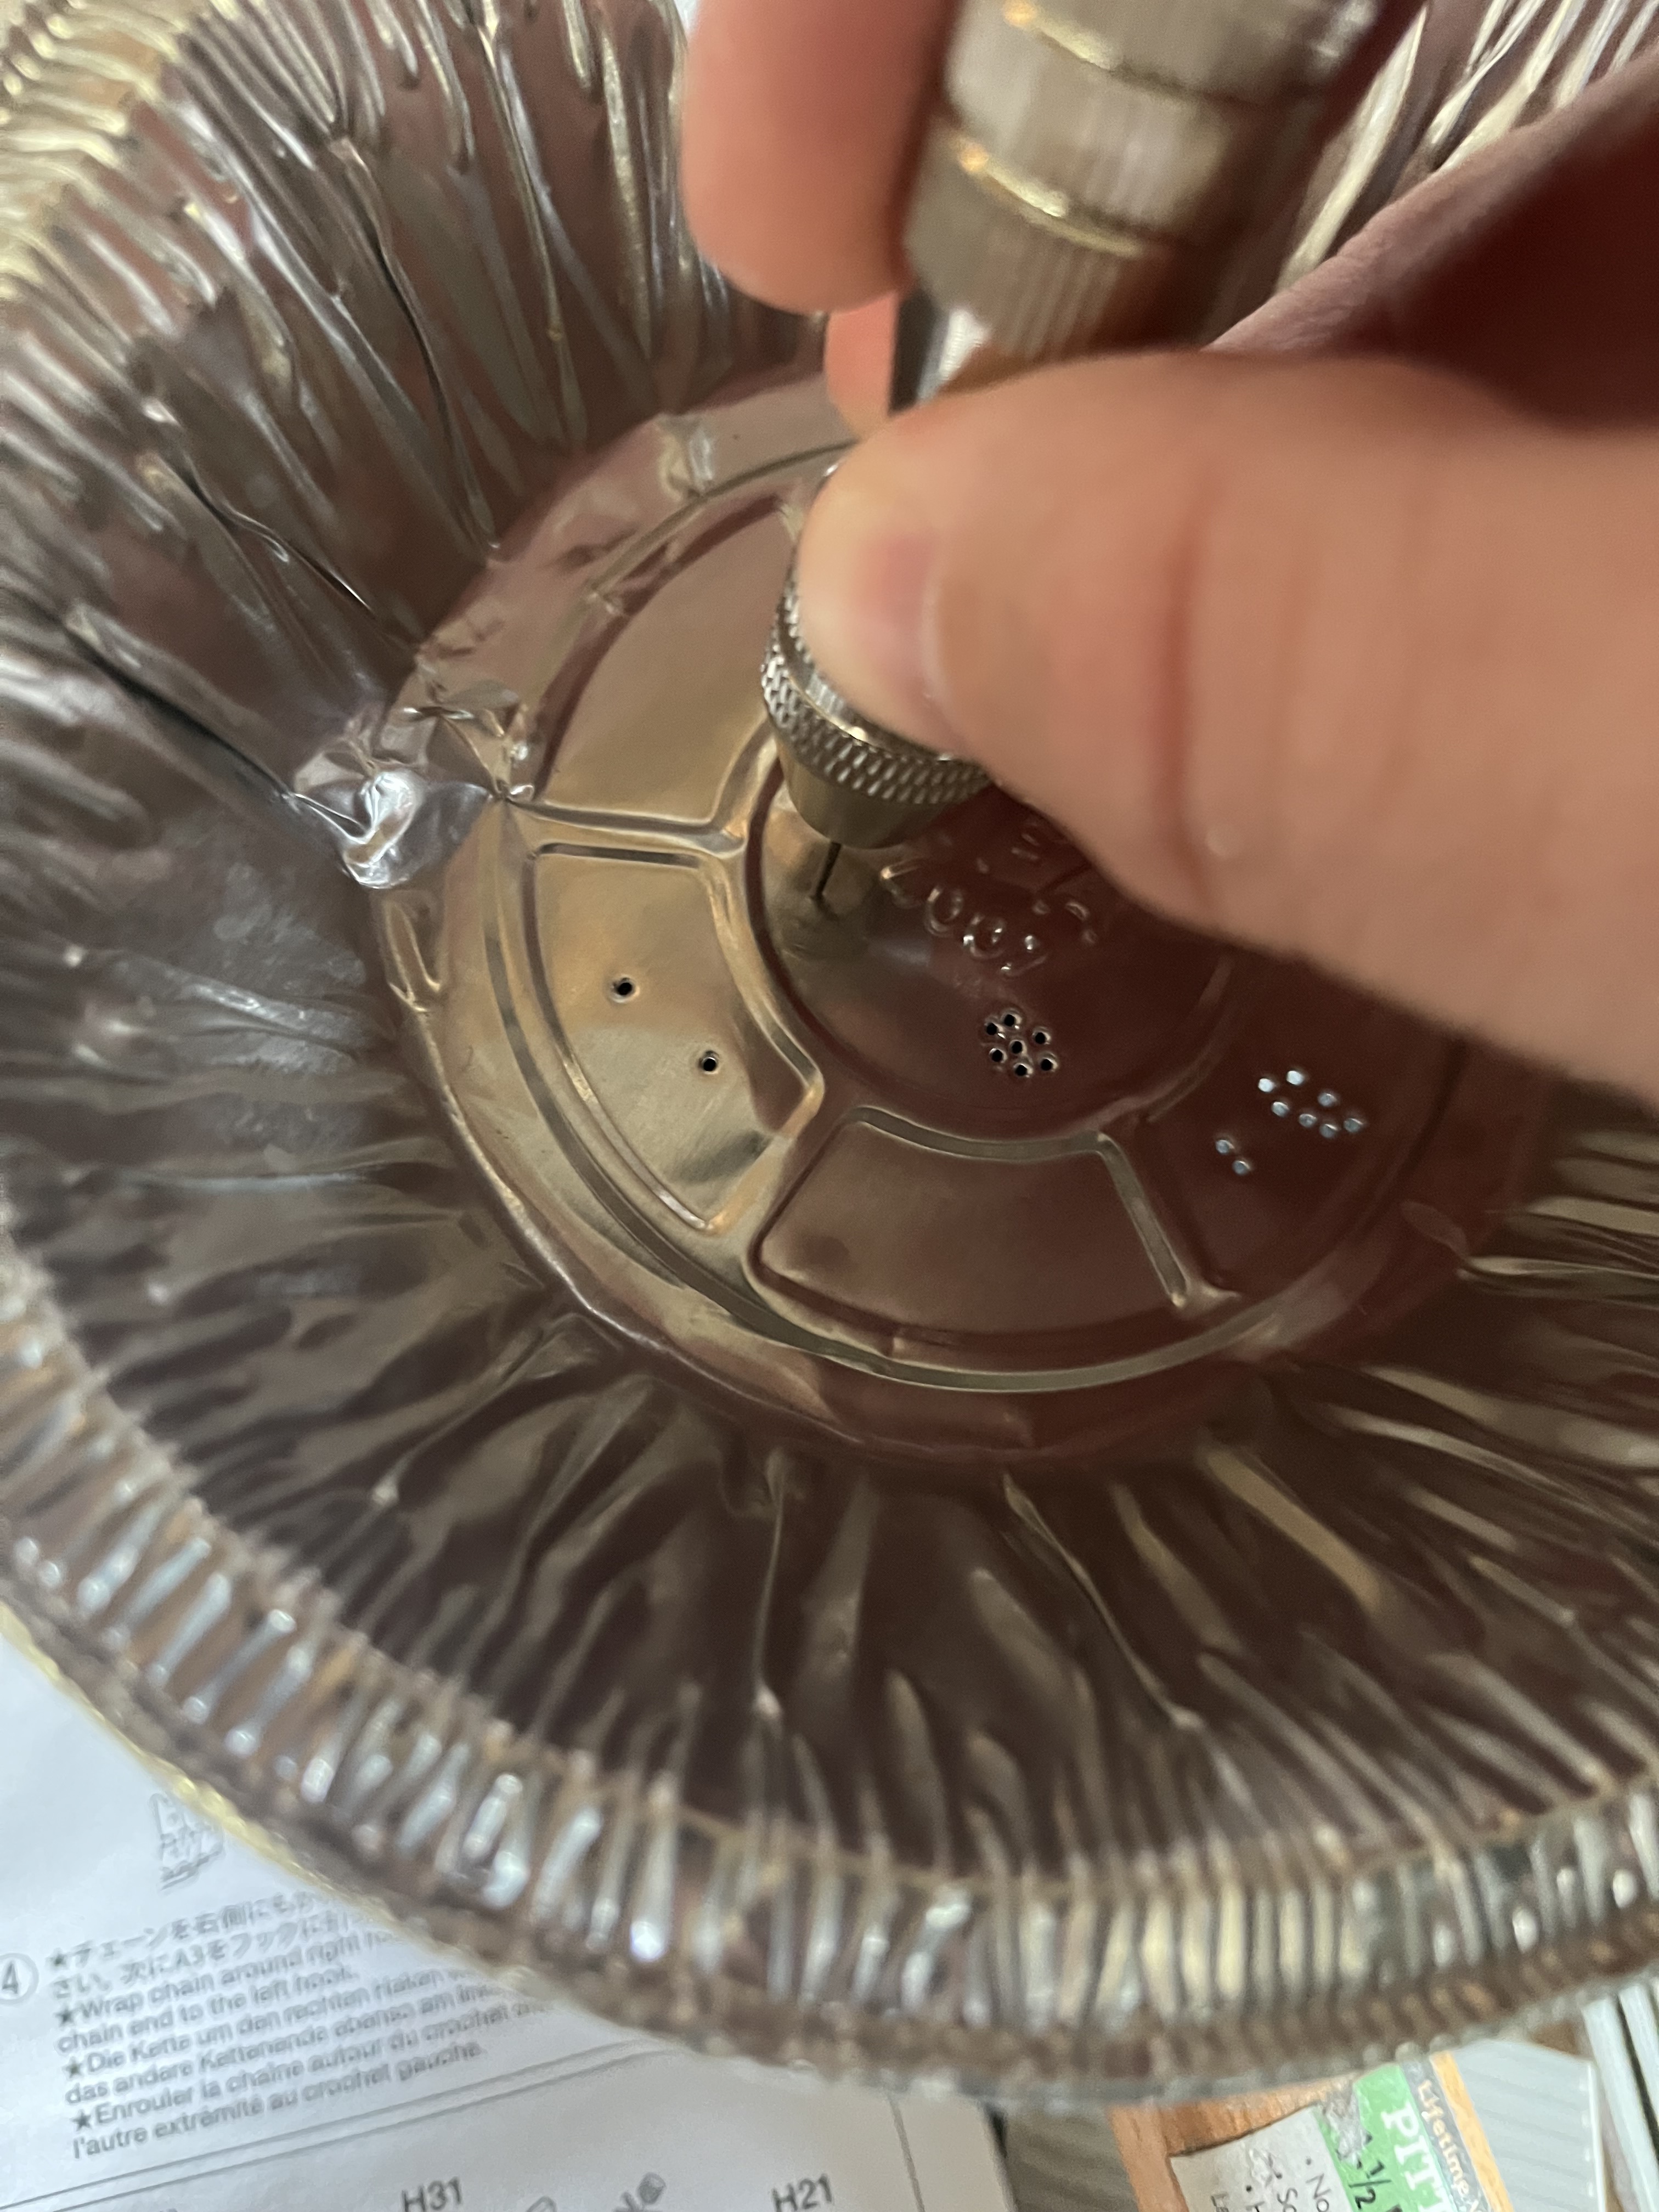
Gather something rubber that is hard, I used a rubber mallet in my case, some thicker tin like a pie plate and a drill bit

Step 2:
Place the tin on the rubber and push the back side of the drill bit through the tin until it just pokes through. In my case the drill bit had a concave base so I sanded it rounded to the a bolt shape
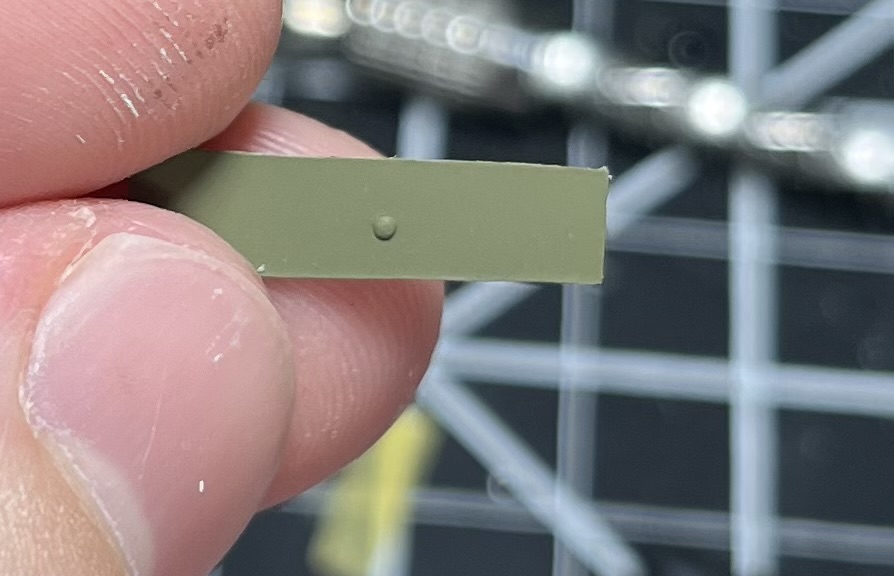
Step 3:
Fix the bolts in place with super glue (I used starbond)
Step 4:
Remove excess CA with debonder once dry
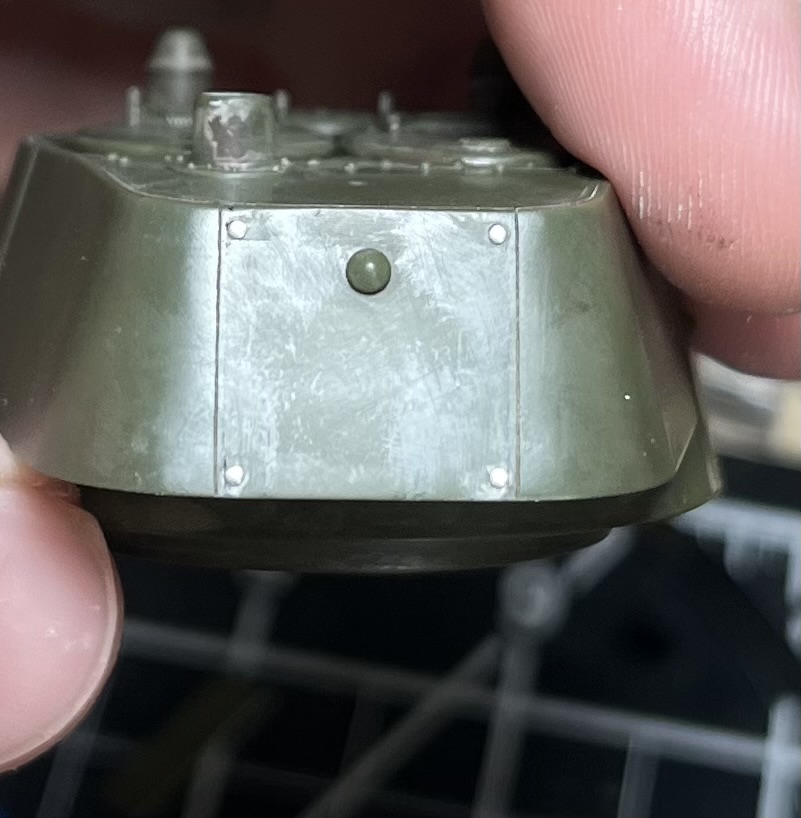
Here is a test I did with some paint
These really look the part!
I also scribed the seam line for the rear turret plate, not my best worn (I suck at scribing clean lines, but it will do

EDIT
Got a coat of paint down just to check the bolts and scribing. Think I am pretty happy

15 Likes
