So unfortunately it’s time to announce another problem. It’s been long enough that I have to admit it won’t be fixed easily or quickly.
For the past 6 days I’ve been having the same consistent problem with my printer. The printer will only print to a certain height and then it seems it misses a layer and the print fails. It would be no big deal if it only did that once but it’s been occuring on every. Single. Print. What’s more, it’s been occuring at the exact same height on every print and it has me stumped. I’ve ruled out my USB thumb drives, my print times, the LCD screen, the bed levelling, temperatures… A whole bunch of stuff.
Unfortunately it seems the only things left to consider is the program that I use and a mechanical problem within the printer. If it’s the program that’s no problem. I’ll just reinstall and use a different one. If it’s a mechanical problem… That could be an expensive fix.
I’m not sure what else I can do about this. I’ve contacted the manufacturer about it to see what they say but it might be a few days before they get back to me. It’s not the end but it’s not looking too great at the moment. I’m going to continue CADing until I can get this fixed. On the bright side, if there is one I suppose, it could force me to purchase a second printer just to finish the remaining unfinished orders.
NOOOOOOOooooooooo! So sorry my friend
I’m running another print now. This is to test the program I’m using. I also changed the dwell time just to see if maybe it helps.
2 Likes
Well it’s not the printer. Probably not the dwell time either. So that leads me to believe it’s the printer itself. I ran the platform all the way down the z-axis lead screw and then all the way up and there was no stuttering or stopping. Didn’t hear any squeaks or noises outside of the ordinary either. So I don’t think it’s the stepper motor. I still don’t know what the problem is at all but I may have a solution. I may have to replace the motherboard. It’s relatively cheap, and easily doable. I just want to try to confirm this with the manufacturer before I go futzing around spending money and replacing things.
4 Likes
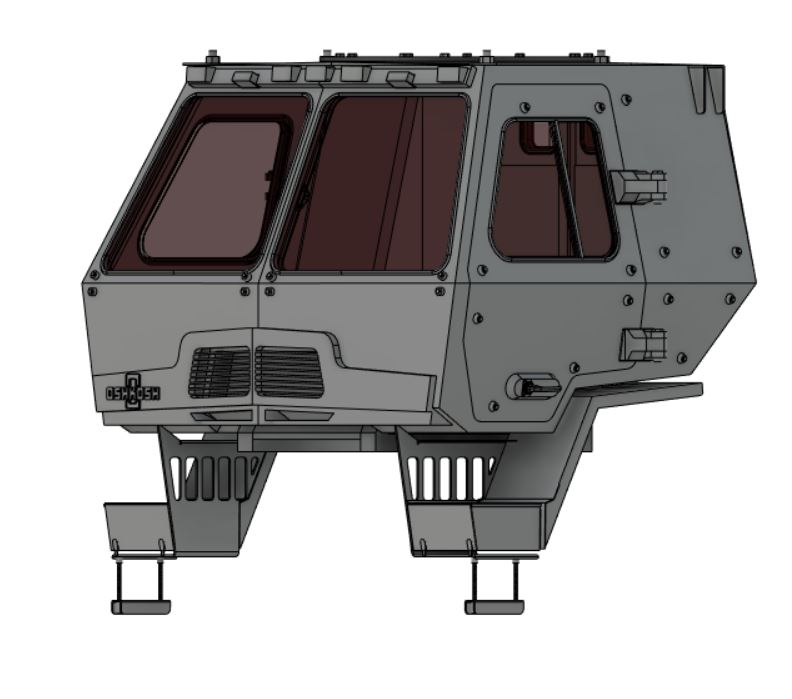
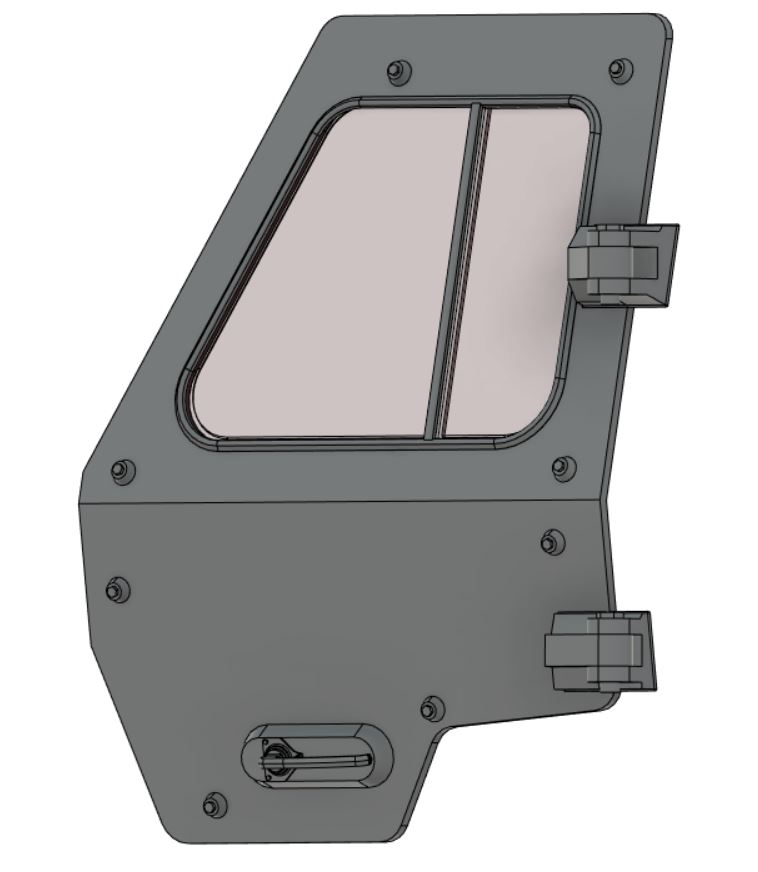
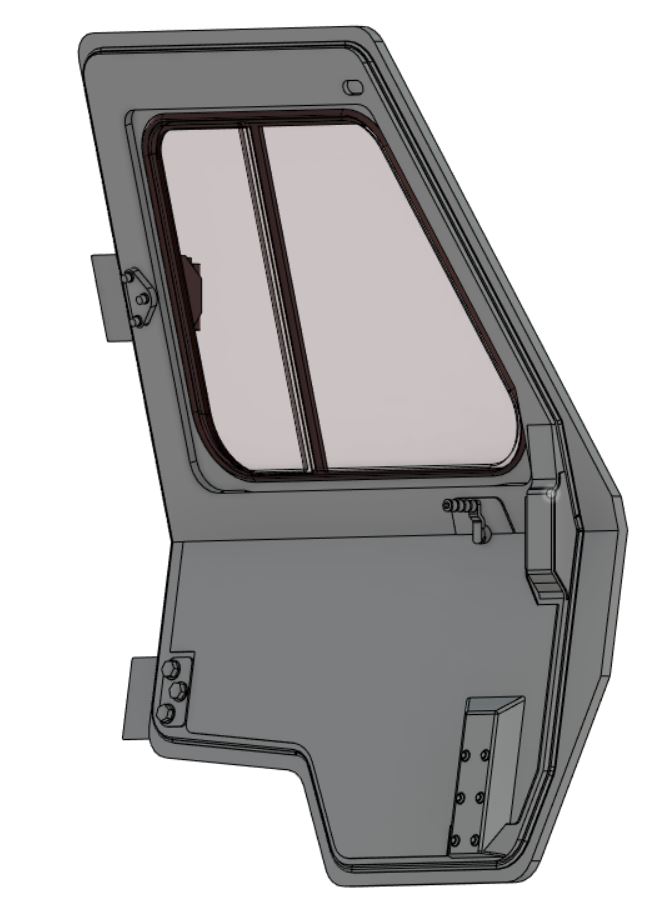
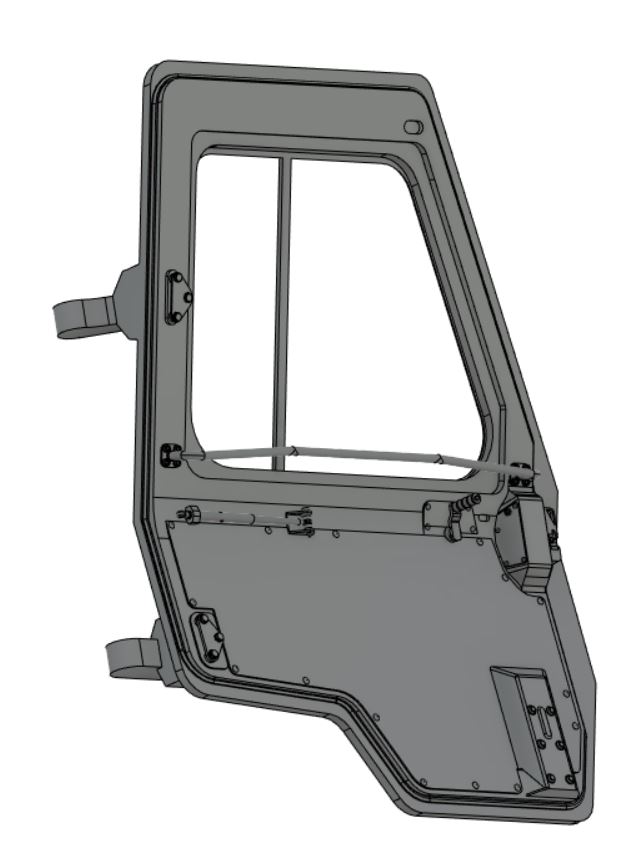
A little update from last night: a few more things finished on the LTAS. Interior door handle is done, the hinge brackets are finished, the windows have been inset on the interior as opposed to flush with the rest of the door, and the window pane separators have been added. Next up for the doors is the grab handle, hydraulic cylinder, and latch mechanism.
6 Likes
Very nice. I can’t wait for this to be done and get my hands on a couple.
Looks really good. When do you think you’ll be done with this?
Andreas
What are the chances of getting some correct M103 drive sprockets in the near future? Need something to correct the wrong DML parts in their M103A1 & A2 kits…
I’m not sure. Within the month depending on how my printer is doing and how much I have to adjust when test fitting everything. If I can get my printer back up and running then I can test fit sooner.
I think I saw that Slingshot Models has them. I don’t know if they’re still active but I also haven’t found any good drawings of the sprockets to CAD off of.
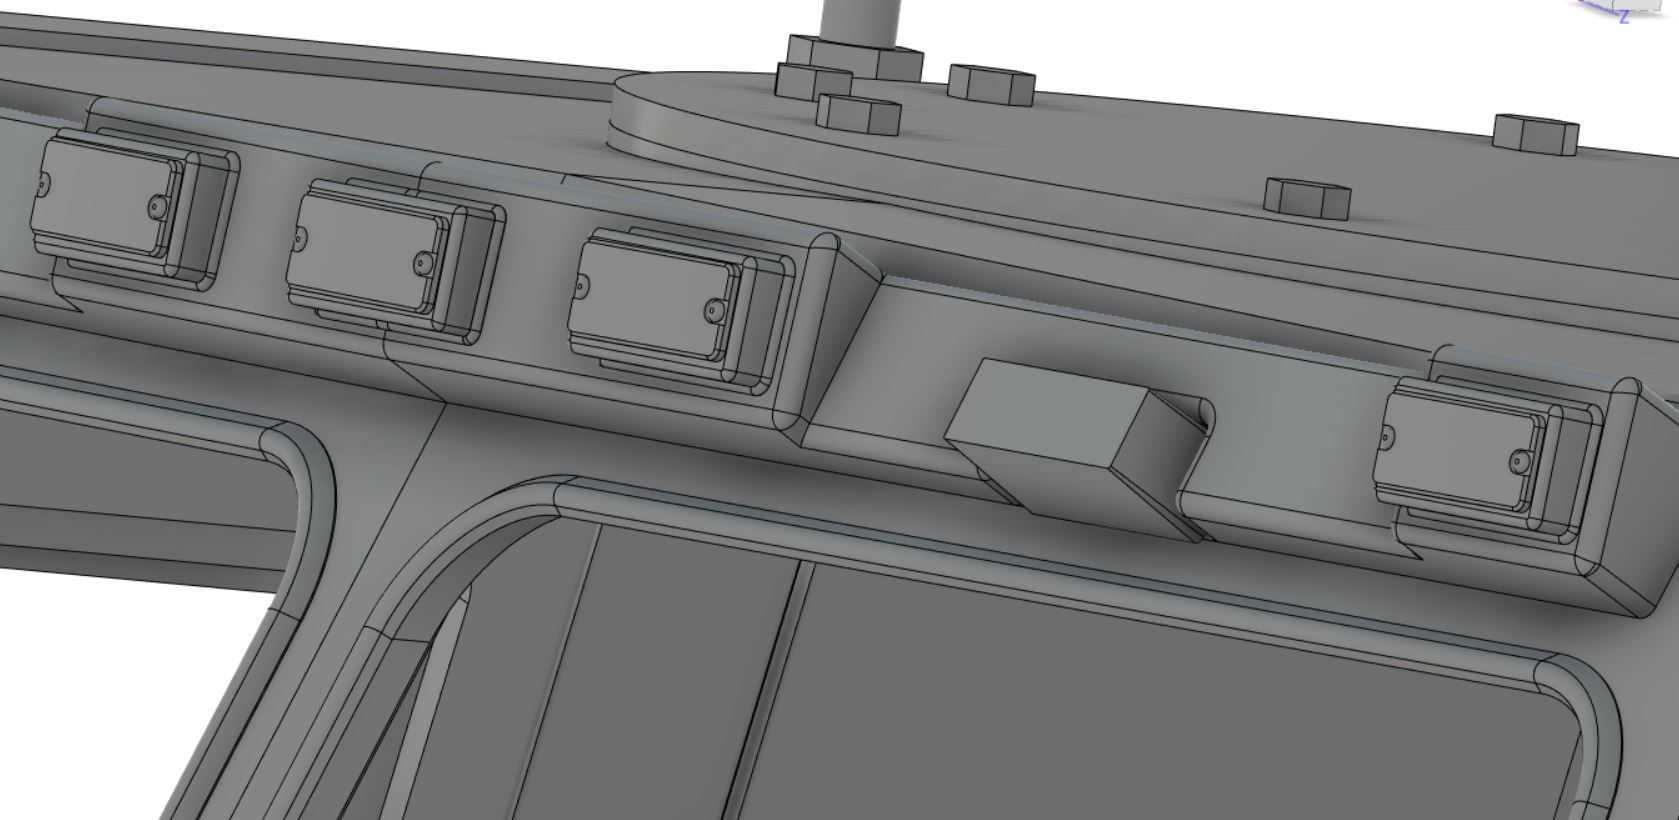
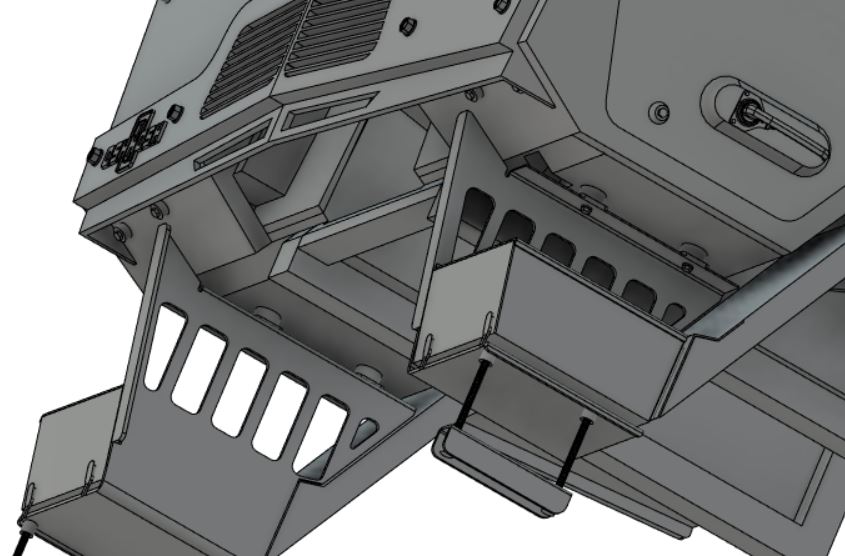
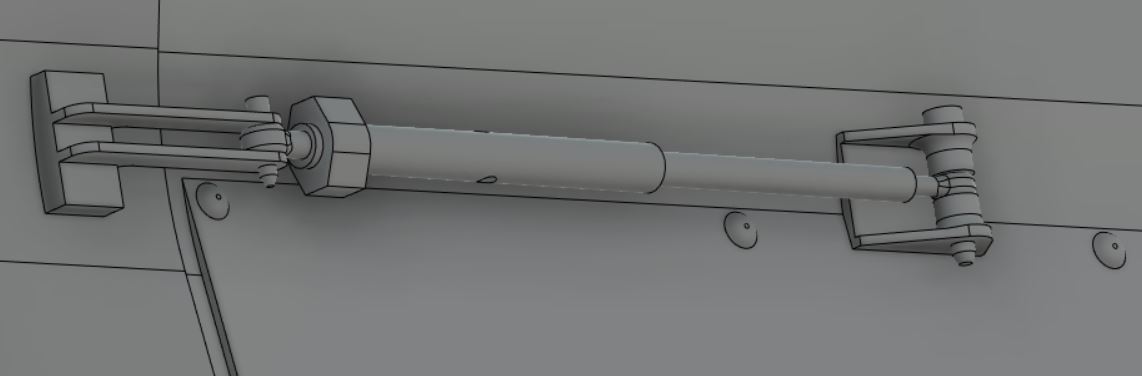
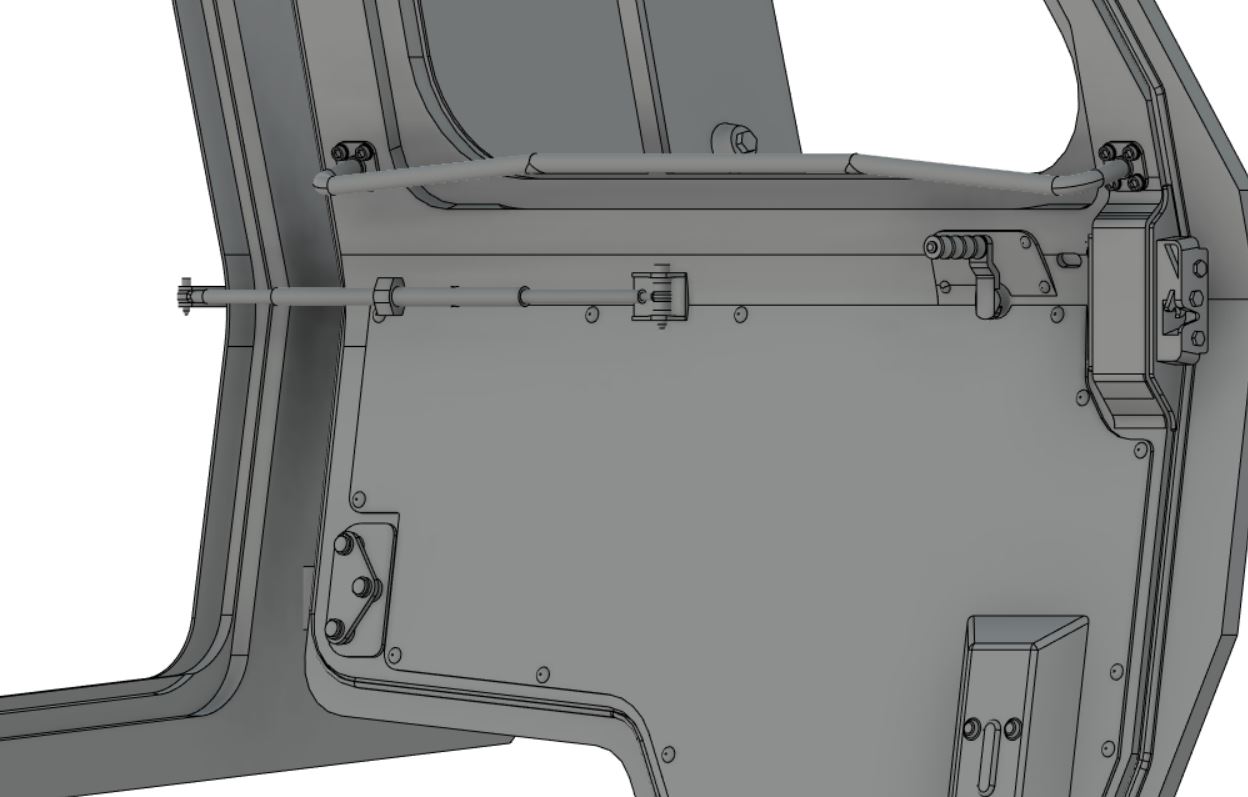
But it’s update time. A pretty good list of stuff too. I finished off the overhead orange lights so all that’s left to the light/wiper cluster are the details for the wipers. I won’t be including the wipers at this time. Next, I worked a bit more on the underbody. Based on some pictures I finally paid attention to, I decreased the thickness of that lower grill strake. It used to go out all the way to the end of those triangular ridges that it’s connected to. I also added some bolt detail next to it. The step is now actually connected to the rest of the body. I was always wondering how it did and I finally looked at pictures that displayed it right out in the open. The steps, storage box, and fenders are separate pieces. I updated the Oshkosh logo to look more in line with how the pictures of the vehicles have it. I also added 6 of those bolts to the front of the body. The doors are now finished. The grab handle, hydraulic cylinder, panel bolts and a few other details have been added. The cylinder is shown alongside the connection point on the cab body. The cylinder is intended to be a separate part but I’ll have to see how well everything prints. Also showing the door open to 95° and the extended cylinder. And that’s the end of the update for a marathon session of CADing. Off the top of my head, I just need to finish the wiper details, and work on the radio rack. I’ll also be scanning the seats so I can get a better idea of the placement. I feel like the seat location is too far back at the moment.
4 Likes
It looks awesome. It is looking better every time you show it.
1 Like
Hey Mikey don’t know if anyones brought this up yet but what’s the possibility of doing some conversions for Tamiya’s M-1025 kits? I’m mainly looking for the m-998 troop carrier set if that would be possible. Also it would be an excellent base for the ambulance version and an up to date Avenger set…also an open cab conversion like the one Caliber 35 used to offer would be awesome!
1 Like
I don’t like to make conversions without having the actual model in front of me. This way I can be sure it will fit the model in the end. That being said, I’m more inclined to do the M996 and M997 ambulance versions.
Otherwise, I still haven’t been able to find and fix the problem with my printer. At this point, I’m not sure what’s wrong but I bought a new motherboard and a new printer. Right now I have an Anycubic Photon Mono X 6K and the one I bought is an Anycubic Photon D2. It’s slightly smaller but I figure I have a big printer already so I don’t need another huge one. It should be here between the 16th and 18th so hopefully I can get back to printing orders again, knock those out of the way, and then test print the LTAS cab to make sure it actually fits the kit I’m designing it for. No end date for it yet, though it’s getting close.
1 Like
One thing I’d love to see is a conversion kit to turn the Tamiya M1025 into an M998 4-door command or troop carrier.
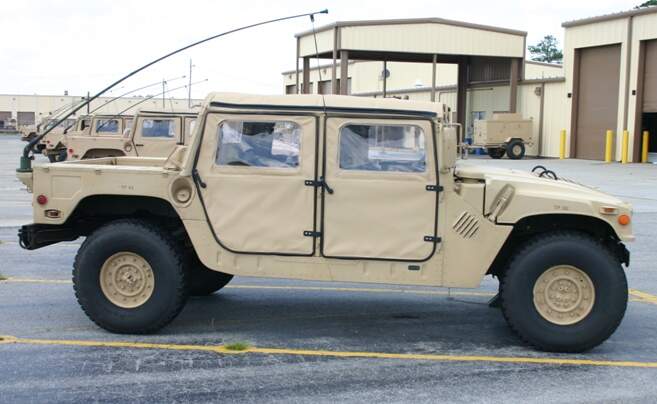
Italeri made these two variants yeas ago and would love to get the soft top on the more “updated” Tamiya chassis.
2 Likes
I can attempt it, but I can’t guarantee I can pull off the canvas. I still don’t really have the skill necessary to really pull it off but I can see if I can model it up and put it into Blender to try to get a fabric texture. I’m not sure it would come out well but it’s something to be tried I suppose.
Back on the LTAS, I don’t like how Trumpeter did the M1078 seats and they look nothing like what I’ve seen in the LTAS so I’m trying to make them myself.
3 Likes
Current progress on the seats.
4 Likes
Seats look great. Its coming along nicely.
1 Like
The new printer just came in today but unfortunately I didn’t have time to really test it and run one a print that I really want to. So I’m just running the test print that came with the printer that I pretty much expect to fail but in this case it’s because I didn’t check for the right exposure settings before running it. I had to run to work right after I set it up but it’s up and running and I can start printing again.
On that note, I think I found the cause of all my main printer problems. I changed out the vat film and I got a failed, but still more successful, print. After tightening it a bit I got a better print. I think if I adjust it just a little more I’ll be back in business with the big printer.
2 Likes
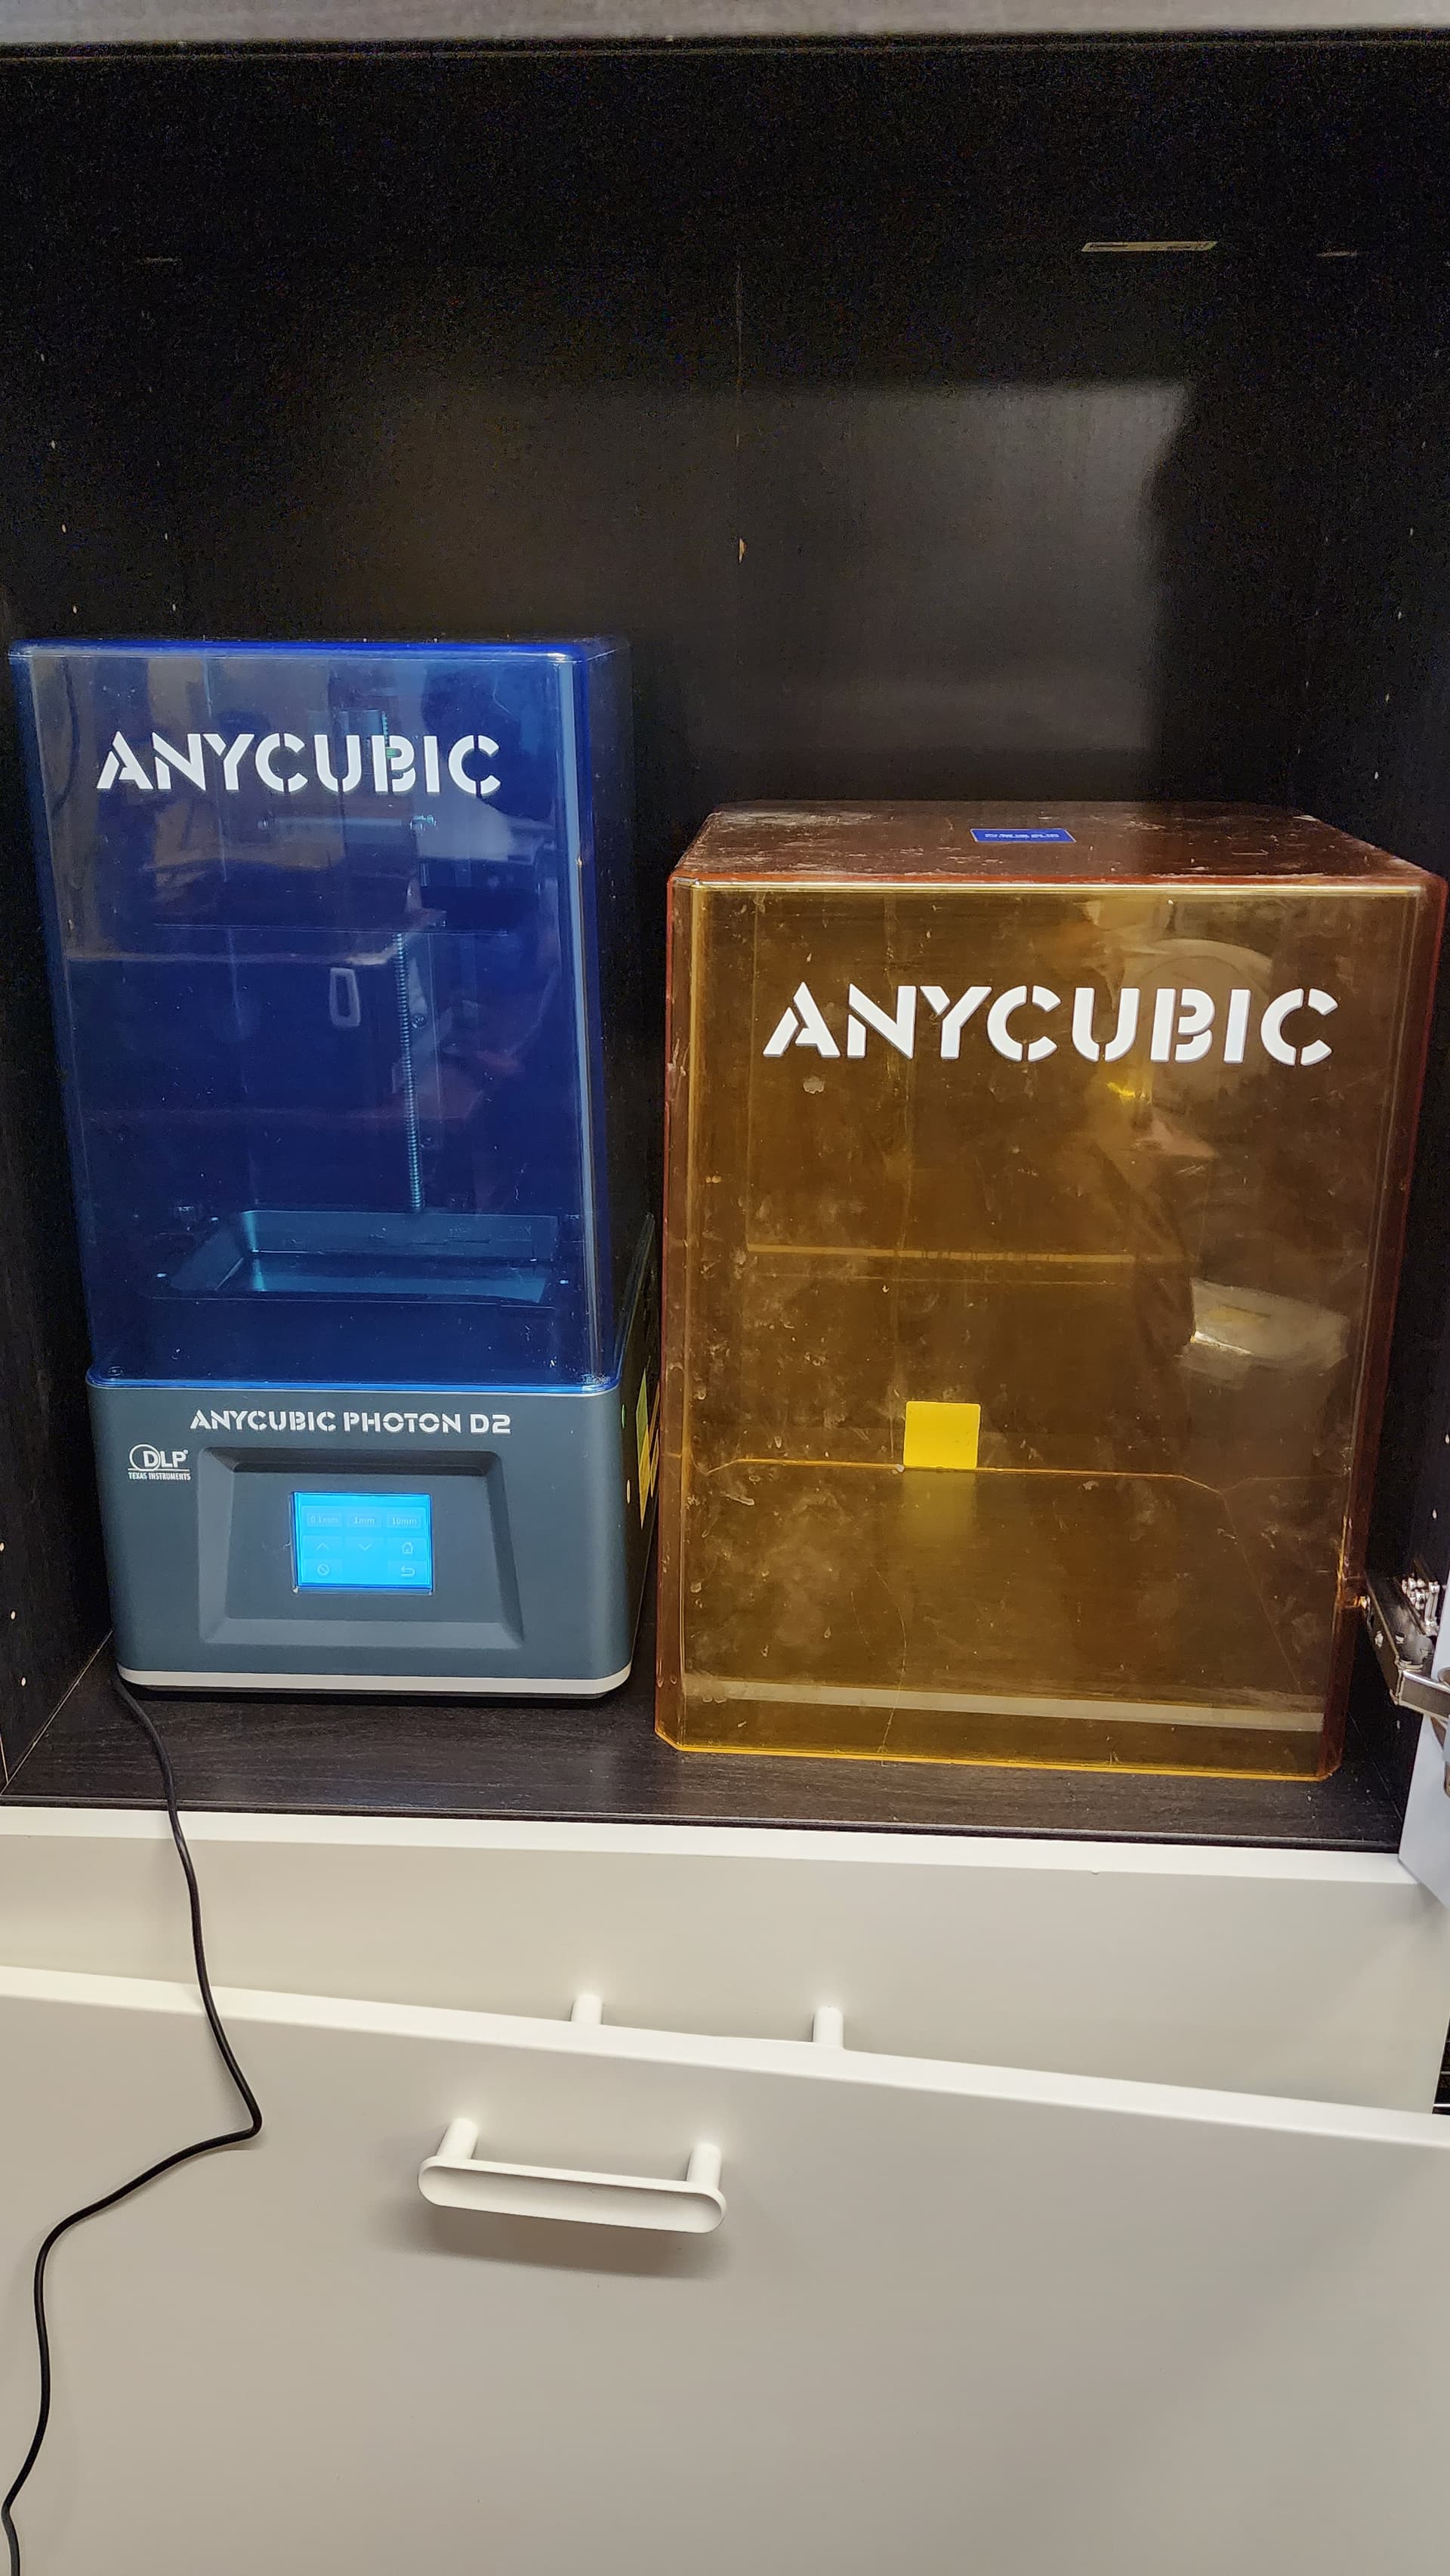
Say hello to the new member of the family! When I bought this printer I knew it was small but I didn’t realize it was THIS small. On the right is just the hood of my other printed, an Anycubic Photon Mono X 6k. This printer can nearly fit completely inside my bigger one.
But for some unknown reason, I decided to fill the resin vat with clear resin instead of gray. I want to start printing some stuff that I need to ship out but I don’t want to have to clean up the whole vat and build plate just yet so what to do? I think I’ll start printing a bunch of bottles while I have the clear resin in! I’m also going to consolidate the soda and water bottle sets. I’ll combine them and keep the overall number of bottles the same, 64 or so, but the amount of individual types of bottles will go down. I feel like you guys would rather have sets that include variety instead of just one set of huge number of bottles.
3 Likes
Do you have link for either/combo set? I think a set could be useful for 1/35 and 1/24-25 scales. I am sure some would say 1/16 also.
At the moment they’re still the separate 3 bottles sets and 1 cans set. I haven’t gotten to doing anything yet because I’m fixing the cabinet that I want to put my printing stuff in. It’s a bit wobbly and not entirely level.
2 Likes