If they are similar to the T-54 tracks they should got together well but cleaning them up due to where the attachment points are was a headache
Ugh. MasterClub tracks are starting to look better already. 
1 Like
Really good kit aside from that! The smoke canisters in the back take a bit of care thigh. I’ve battled with mine all day
Yeah, I’ve done 2 MiniArt kits so far. Not thrilled with them as they tend to be overengineered and fiddly. After I built the Polish production T55A T55 Polish Production I felt like I built the actual tank. Tedious. Were it not for the subject matter not available elsewhere I would probably pass.
I agree there are for sure lots of parts where I think, really you could have molded this on?!
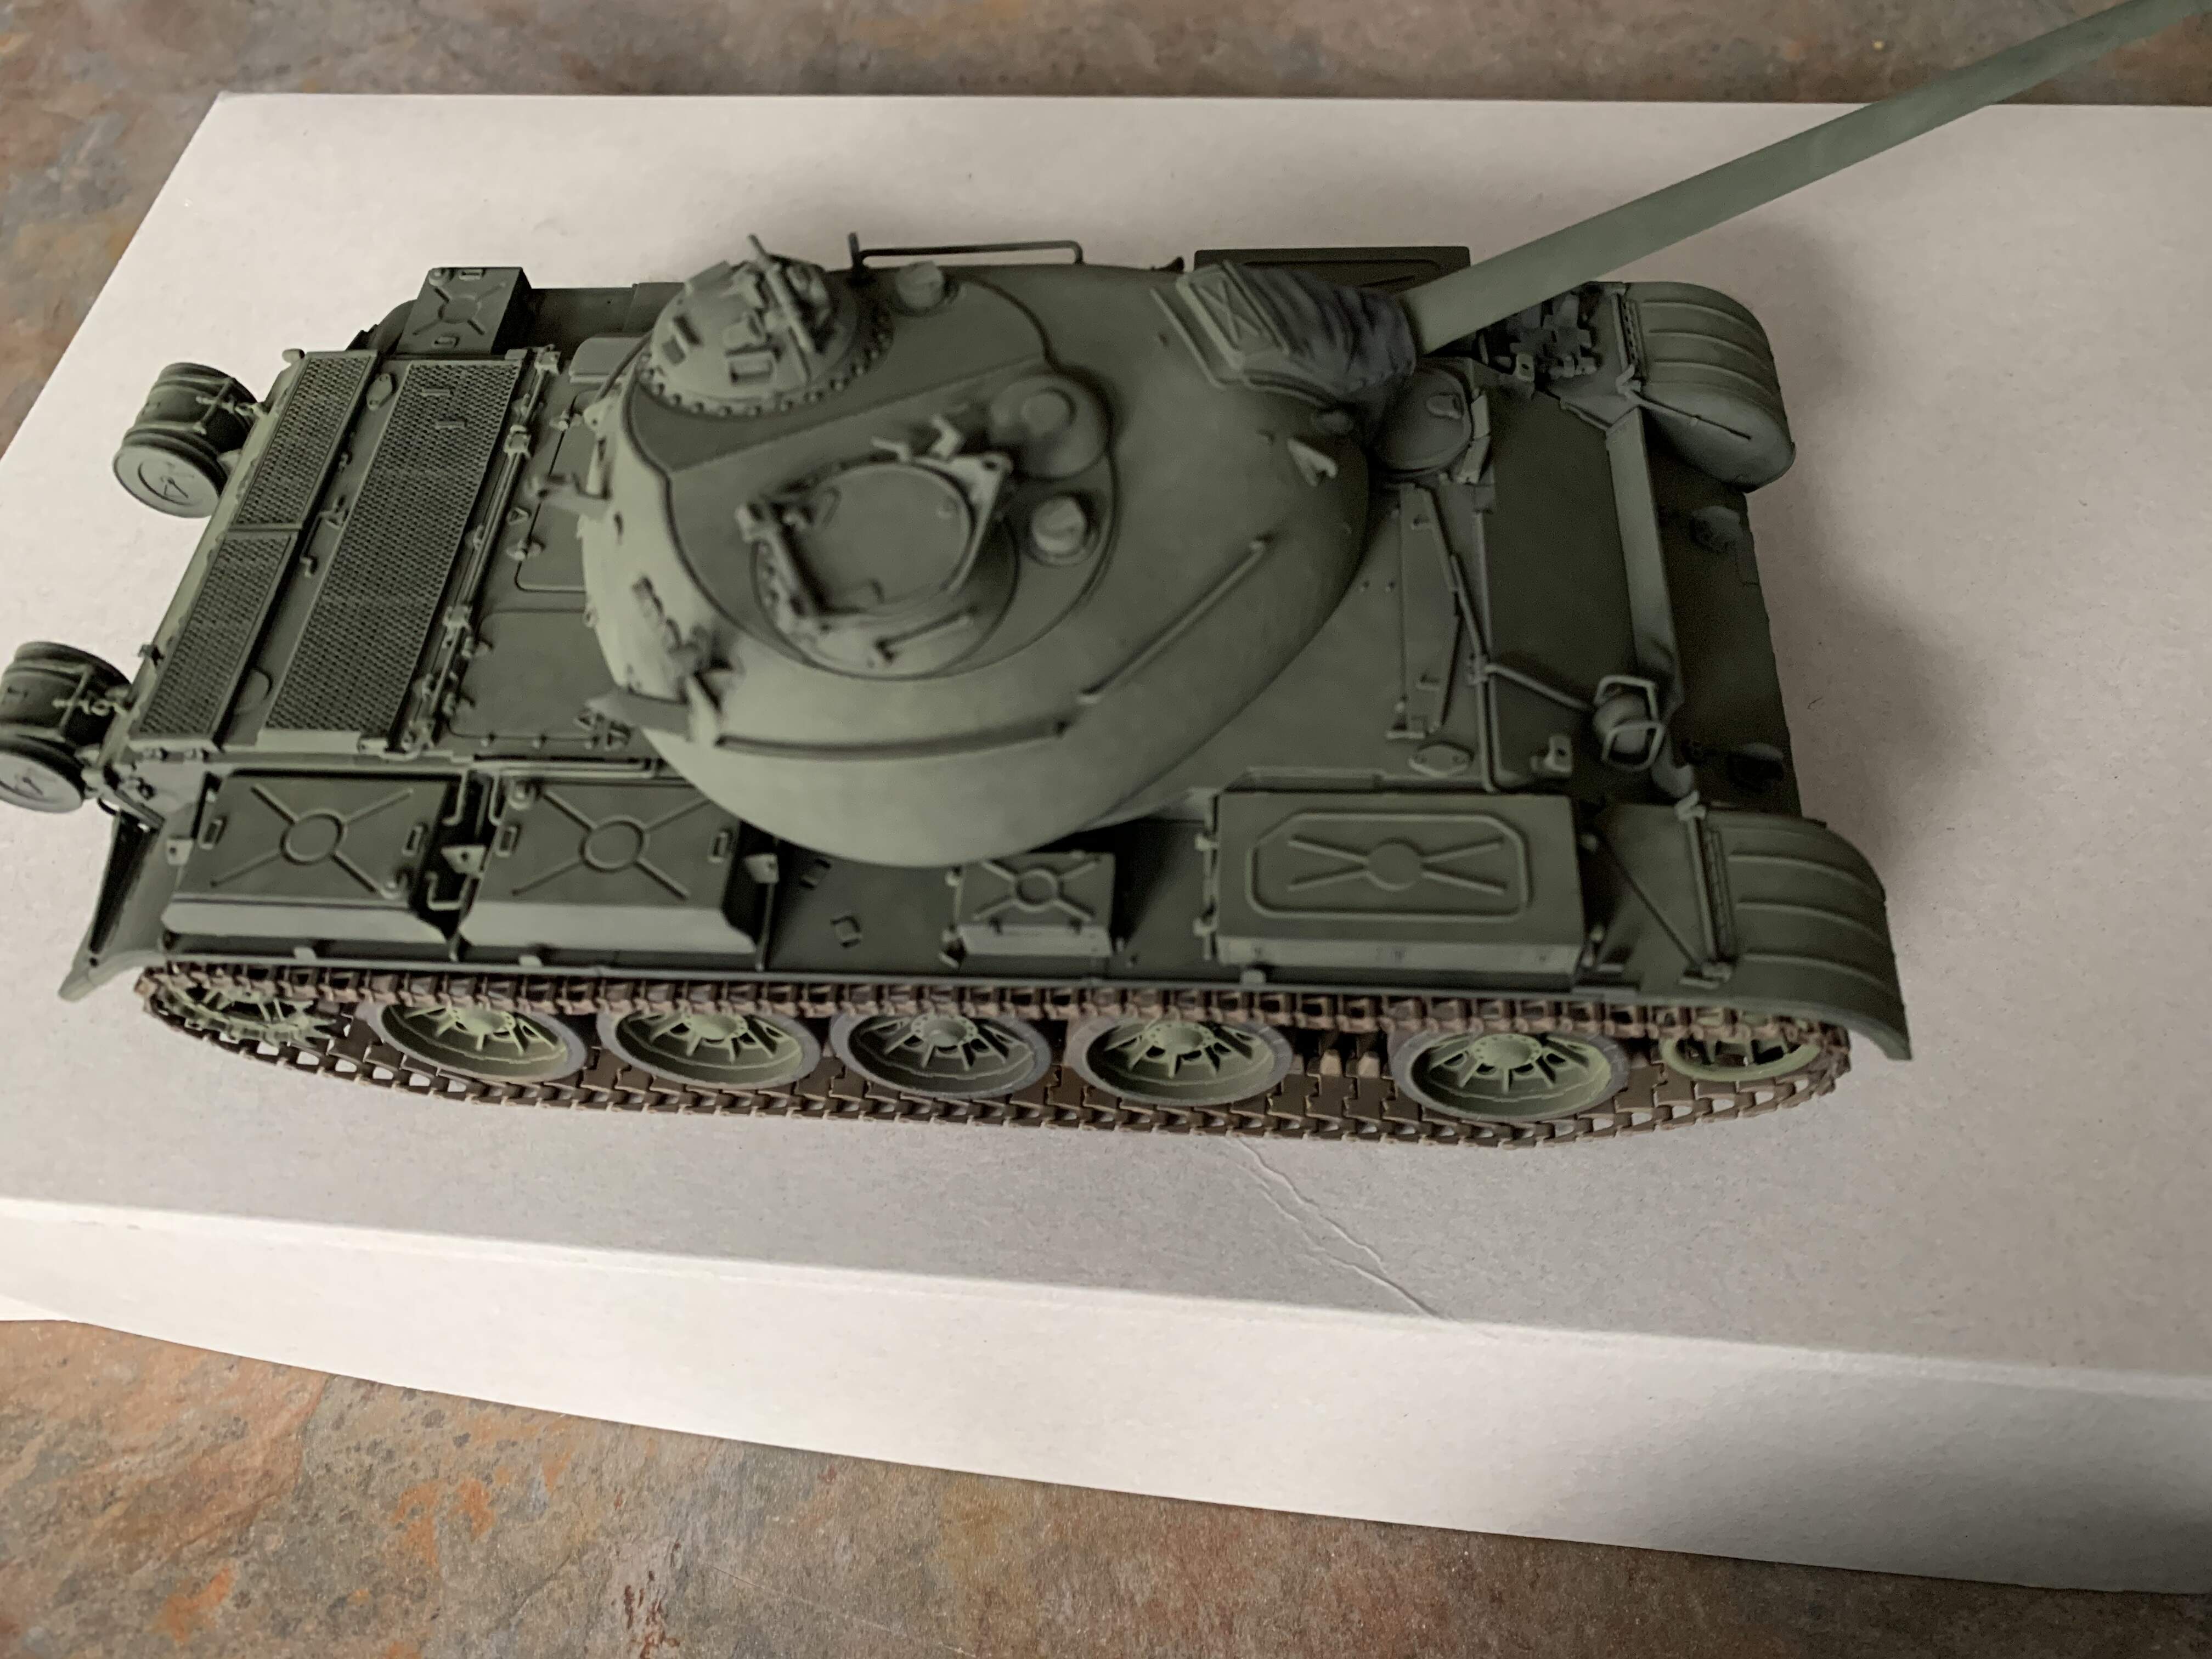
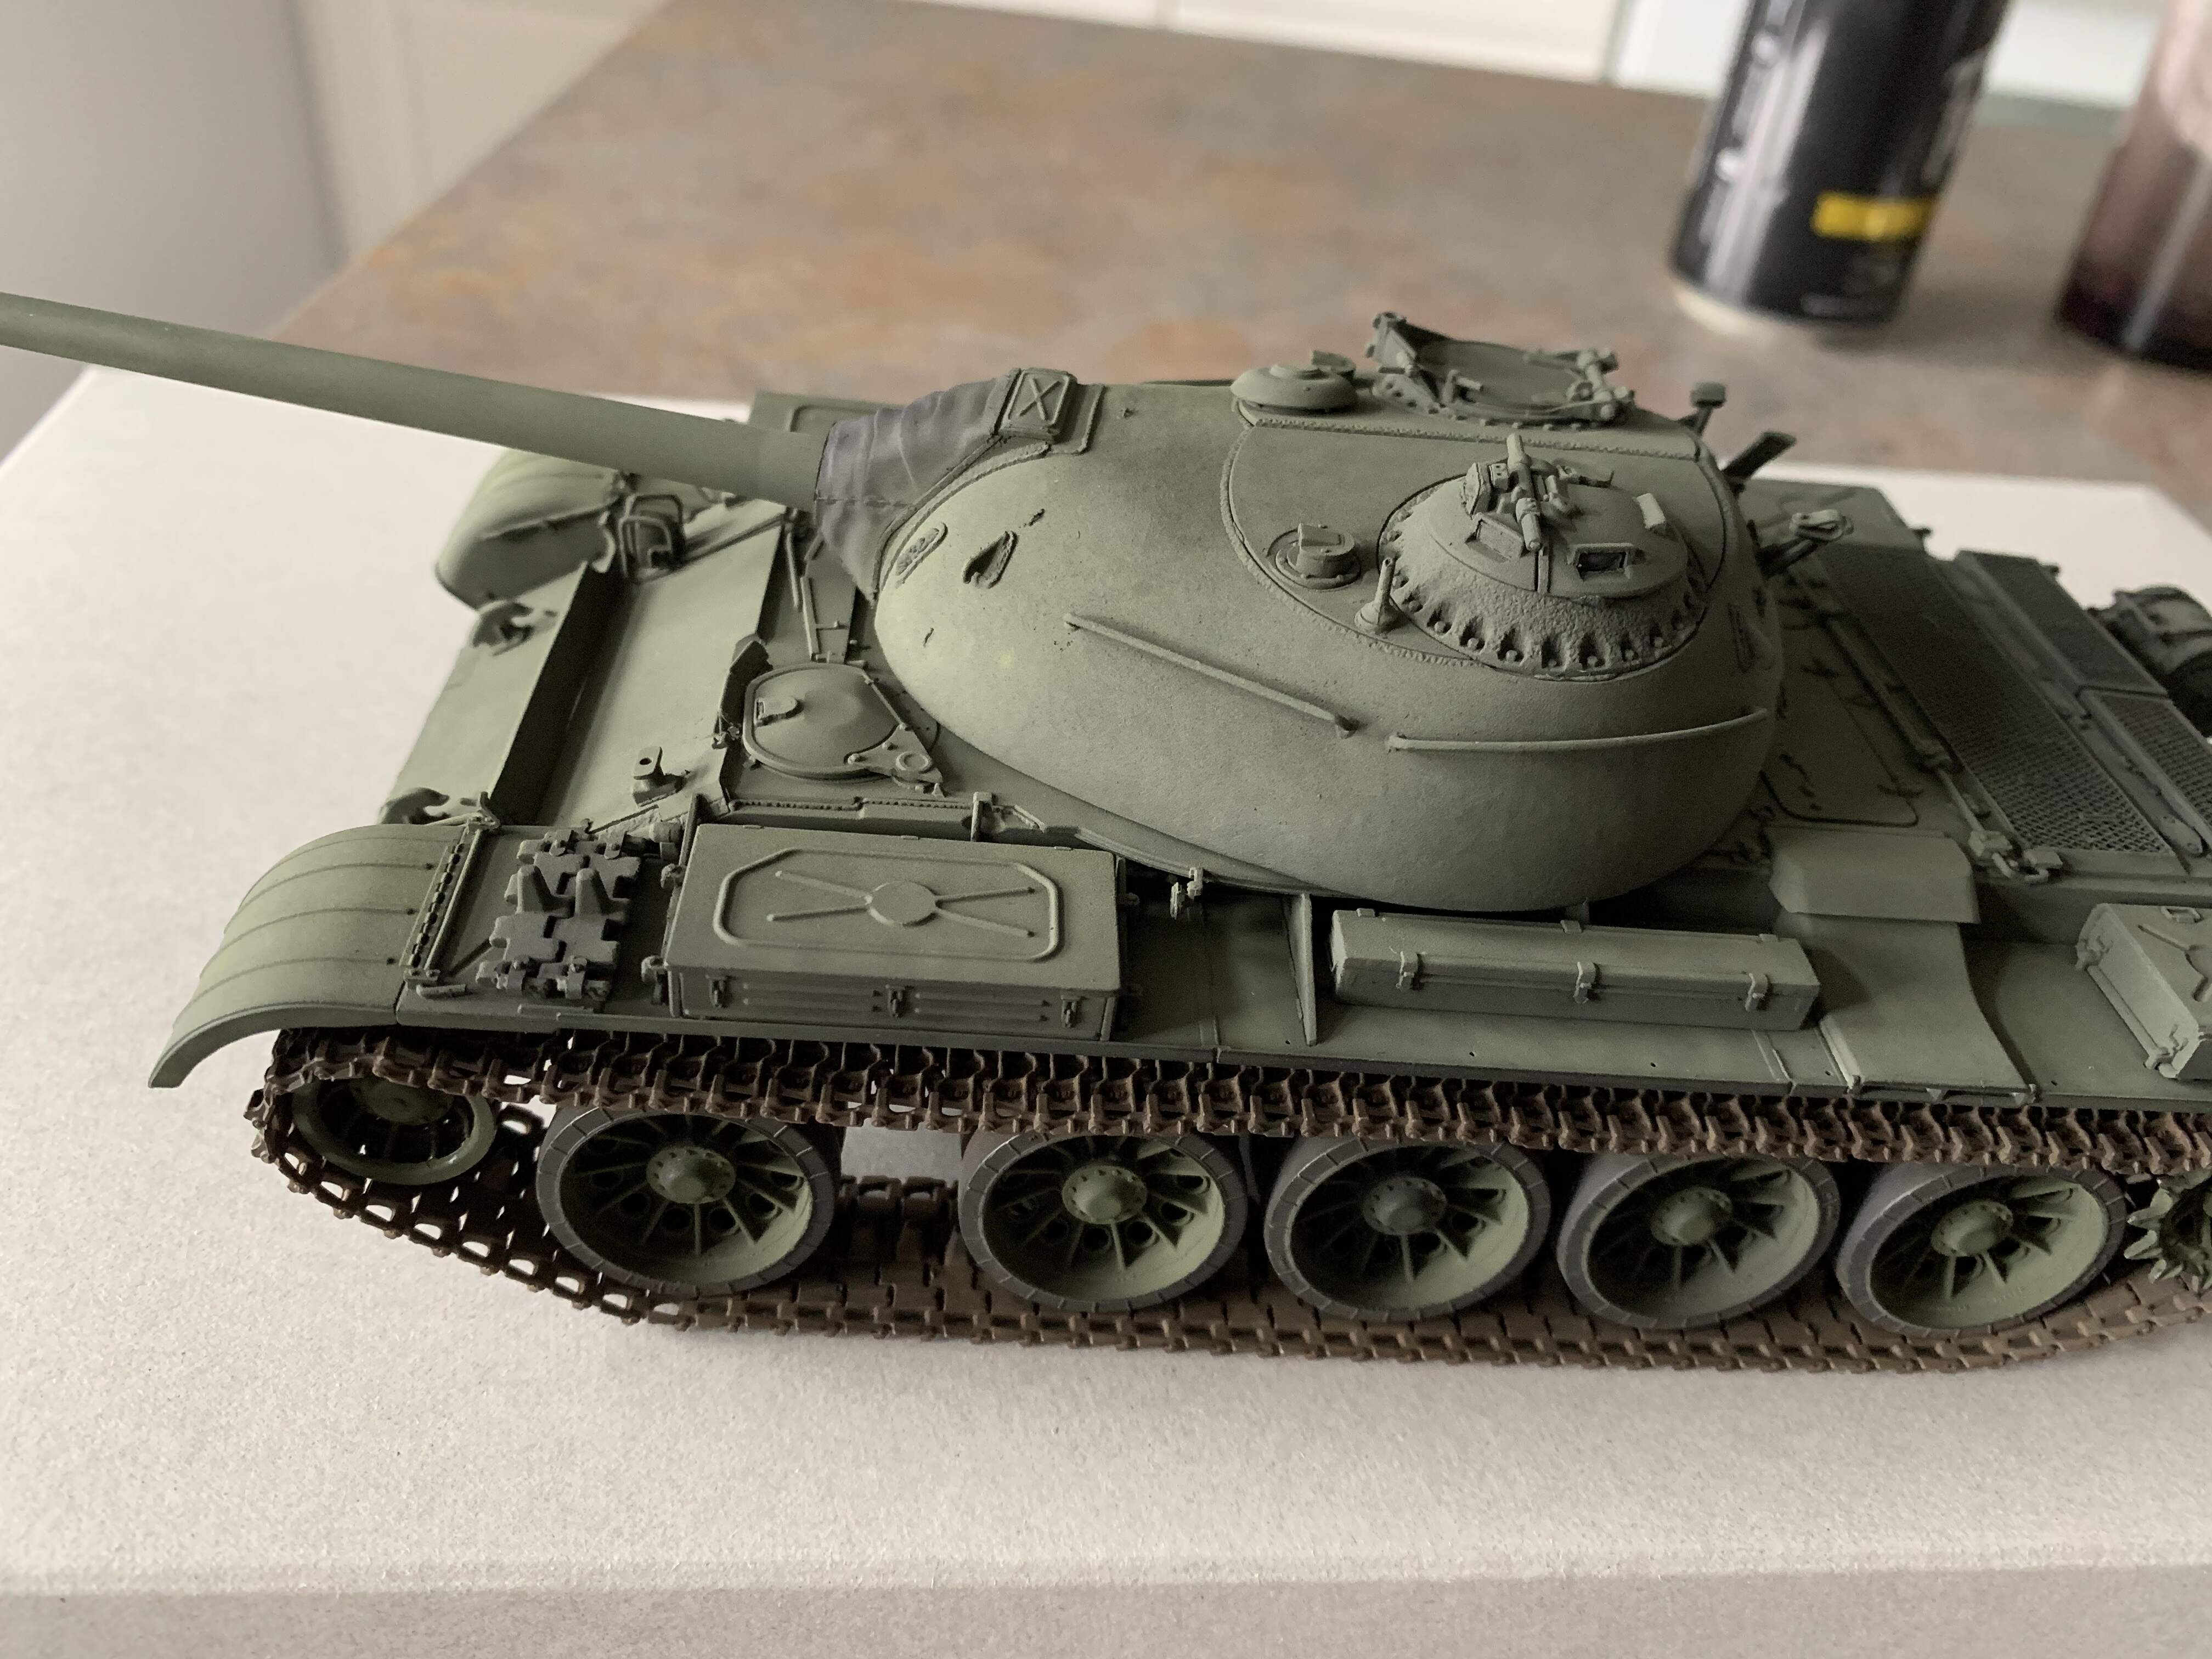
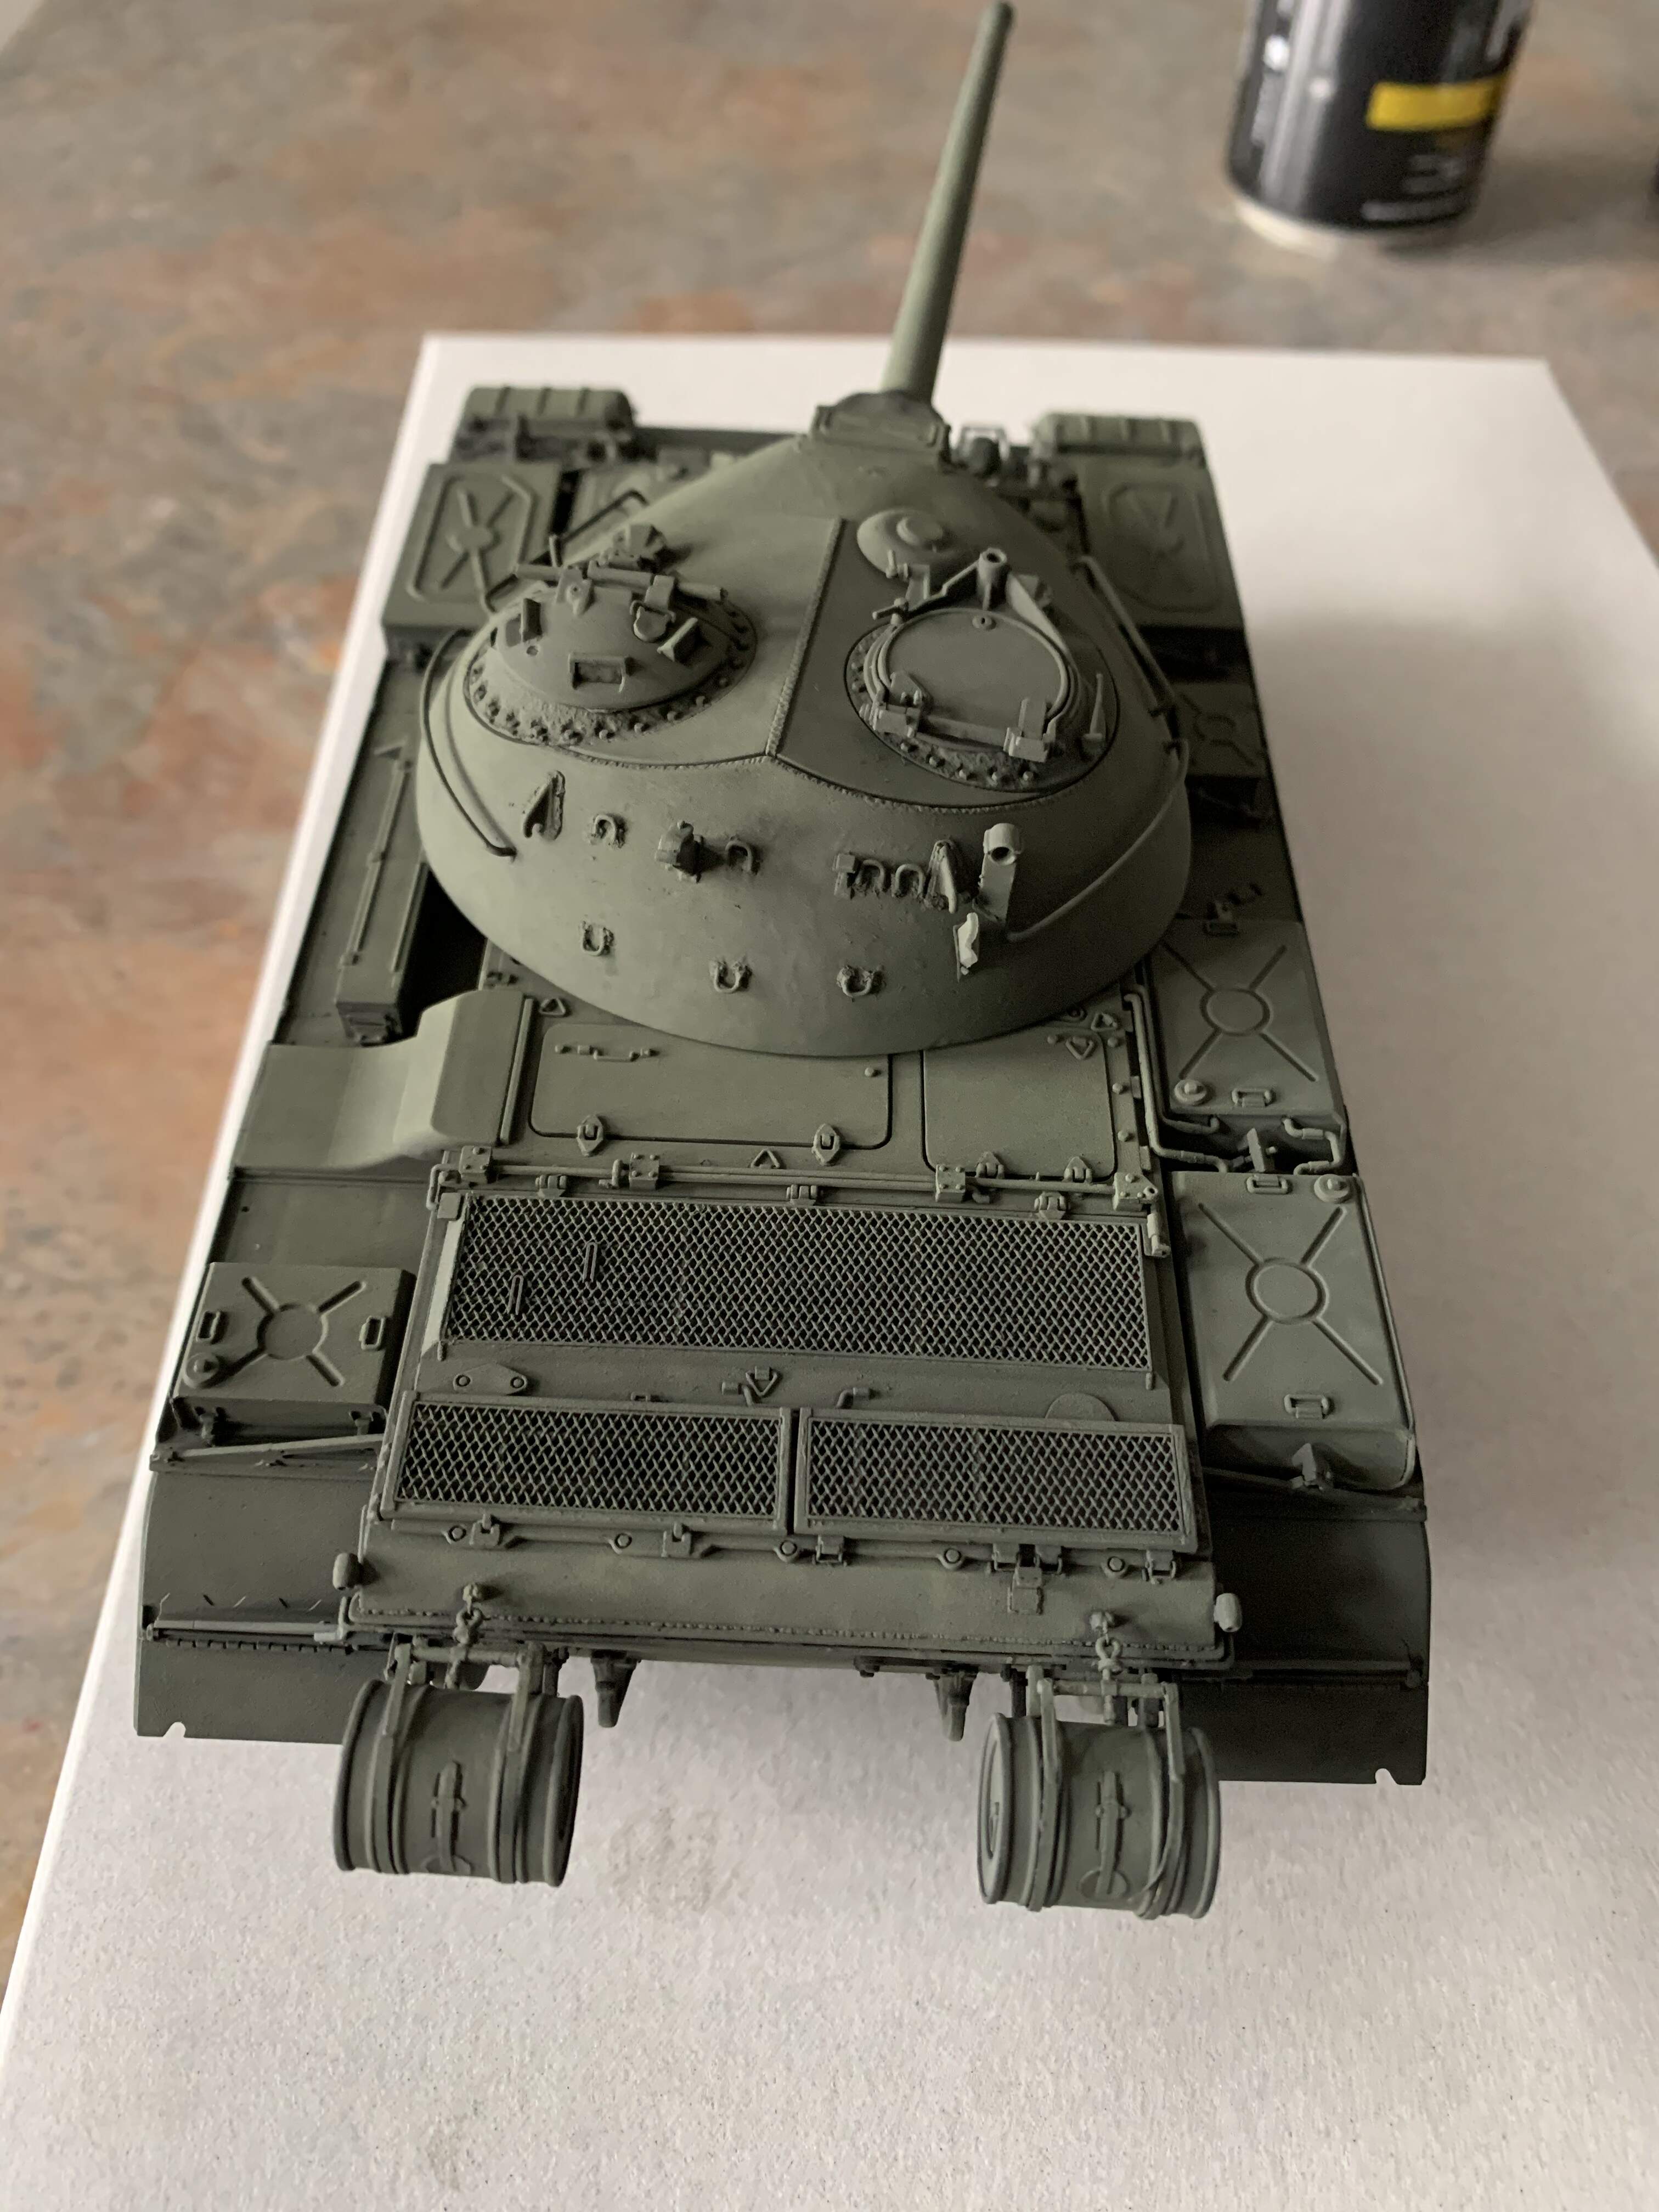
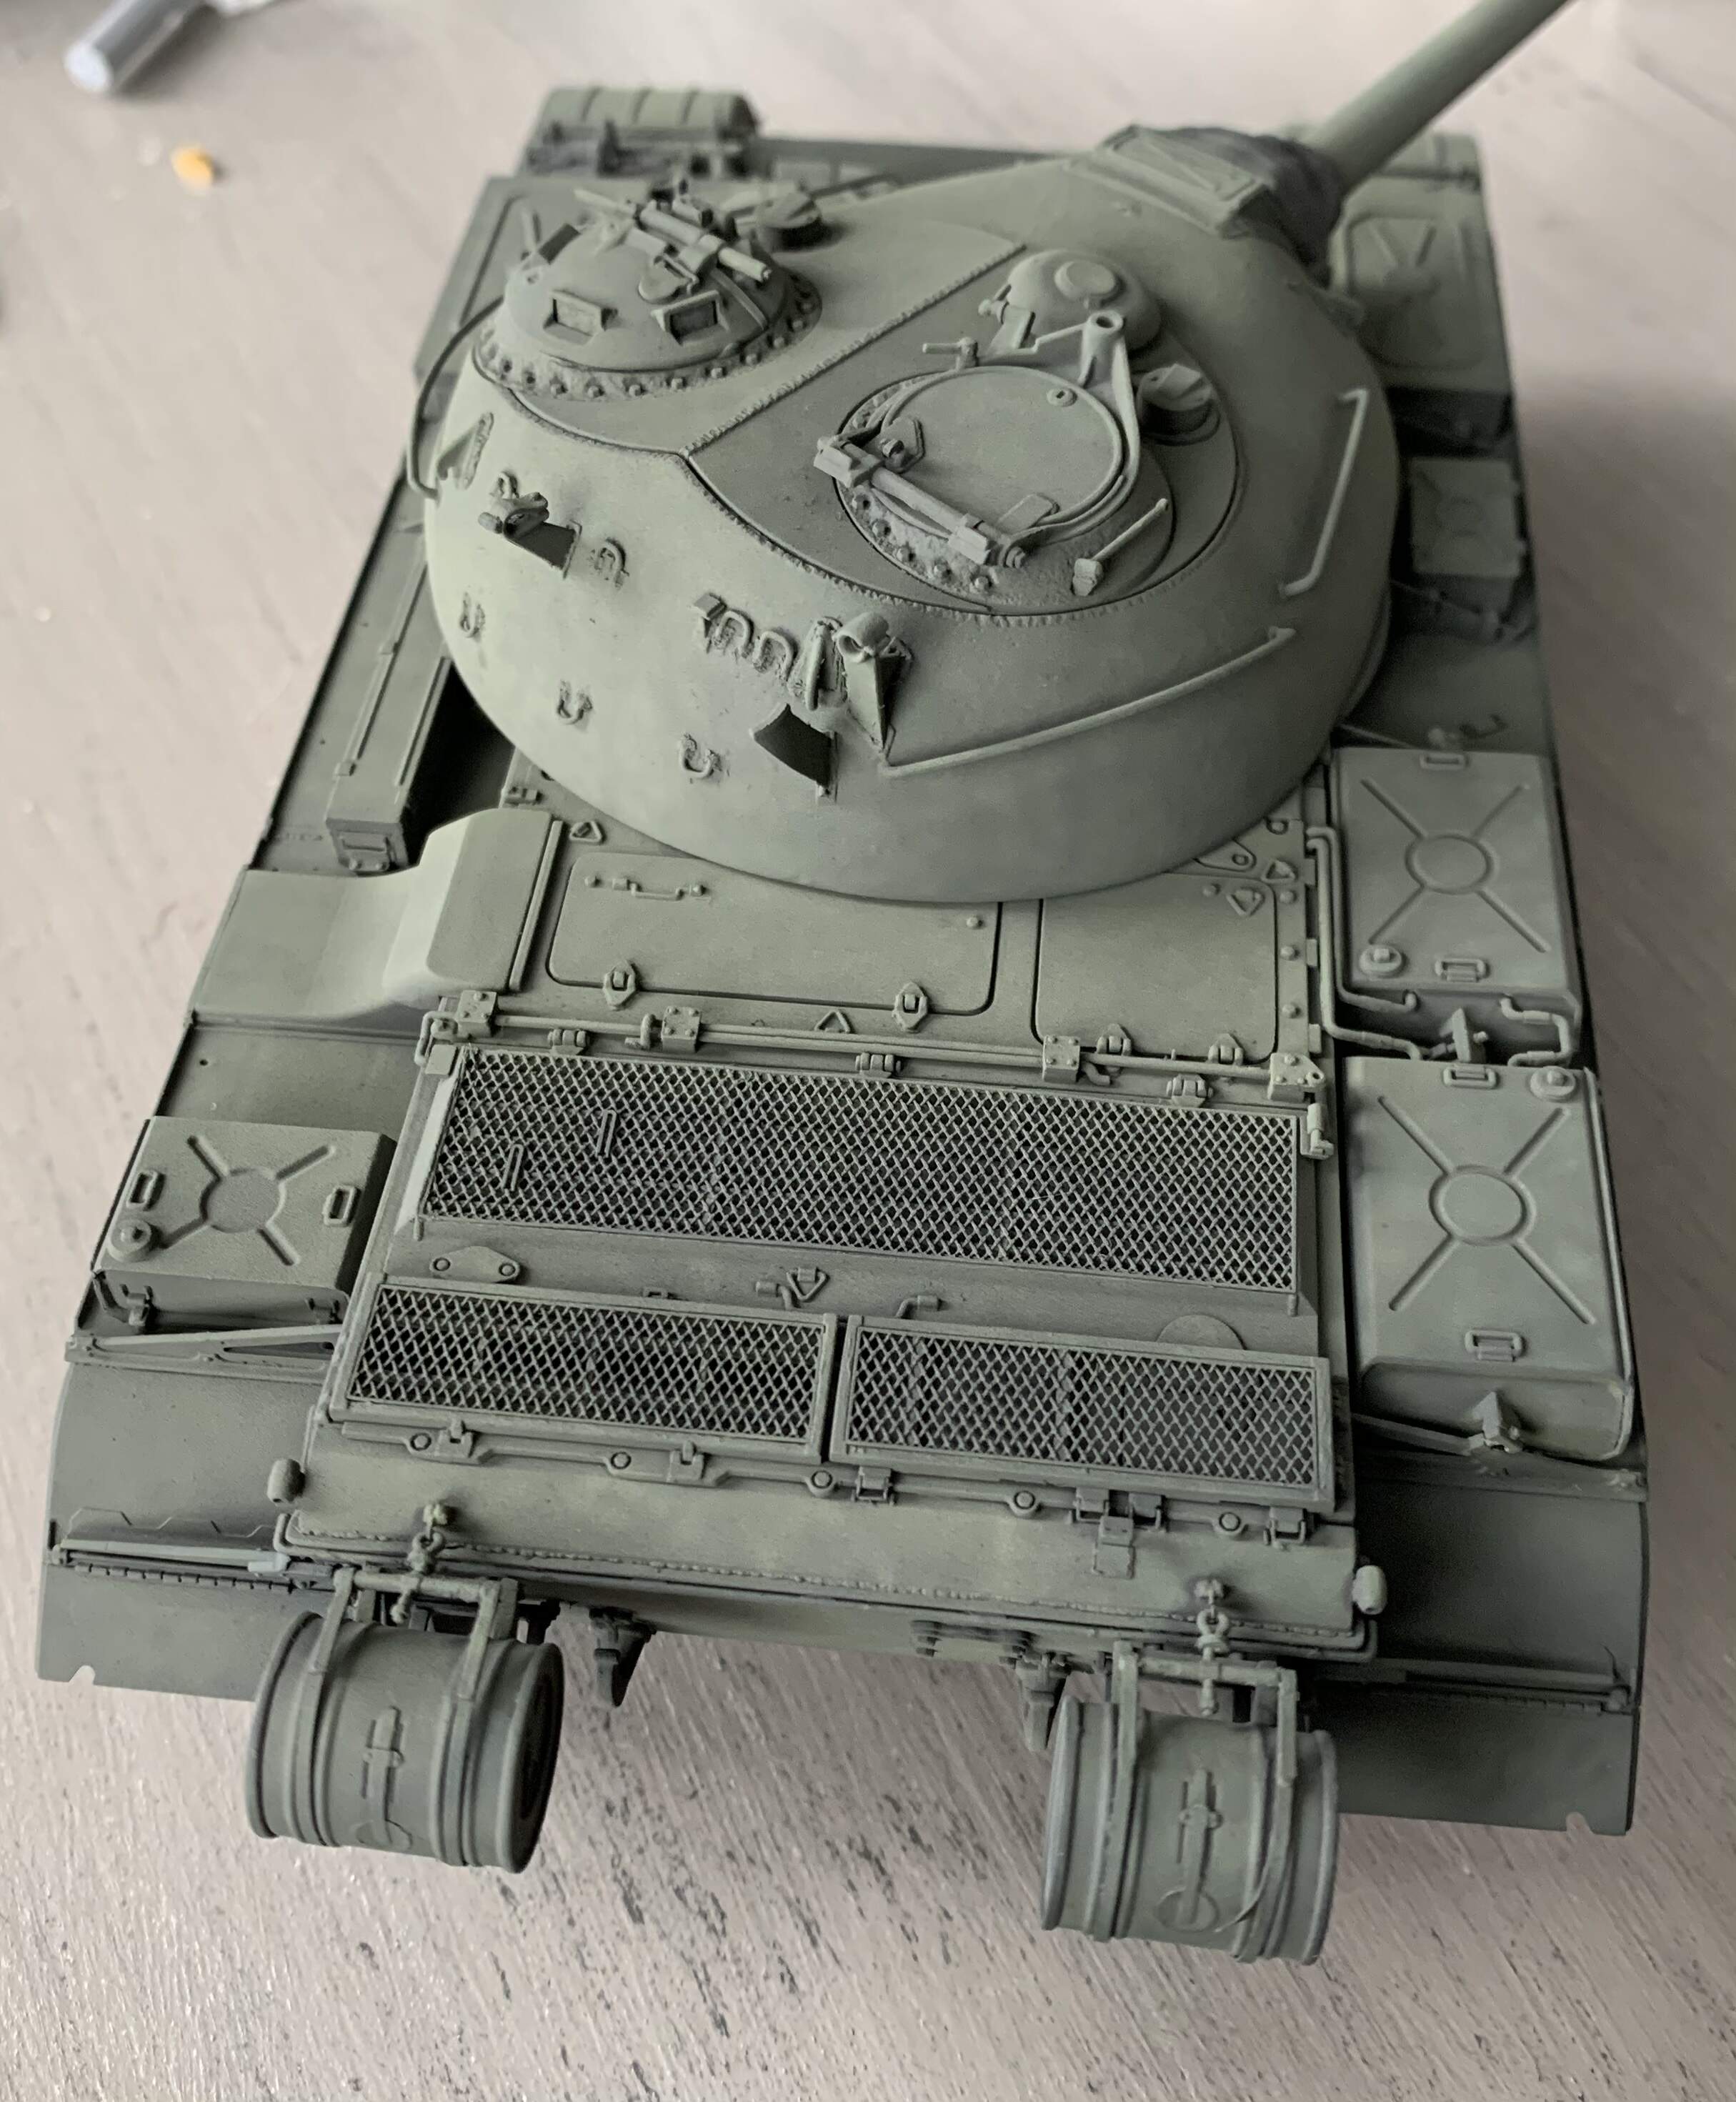
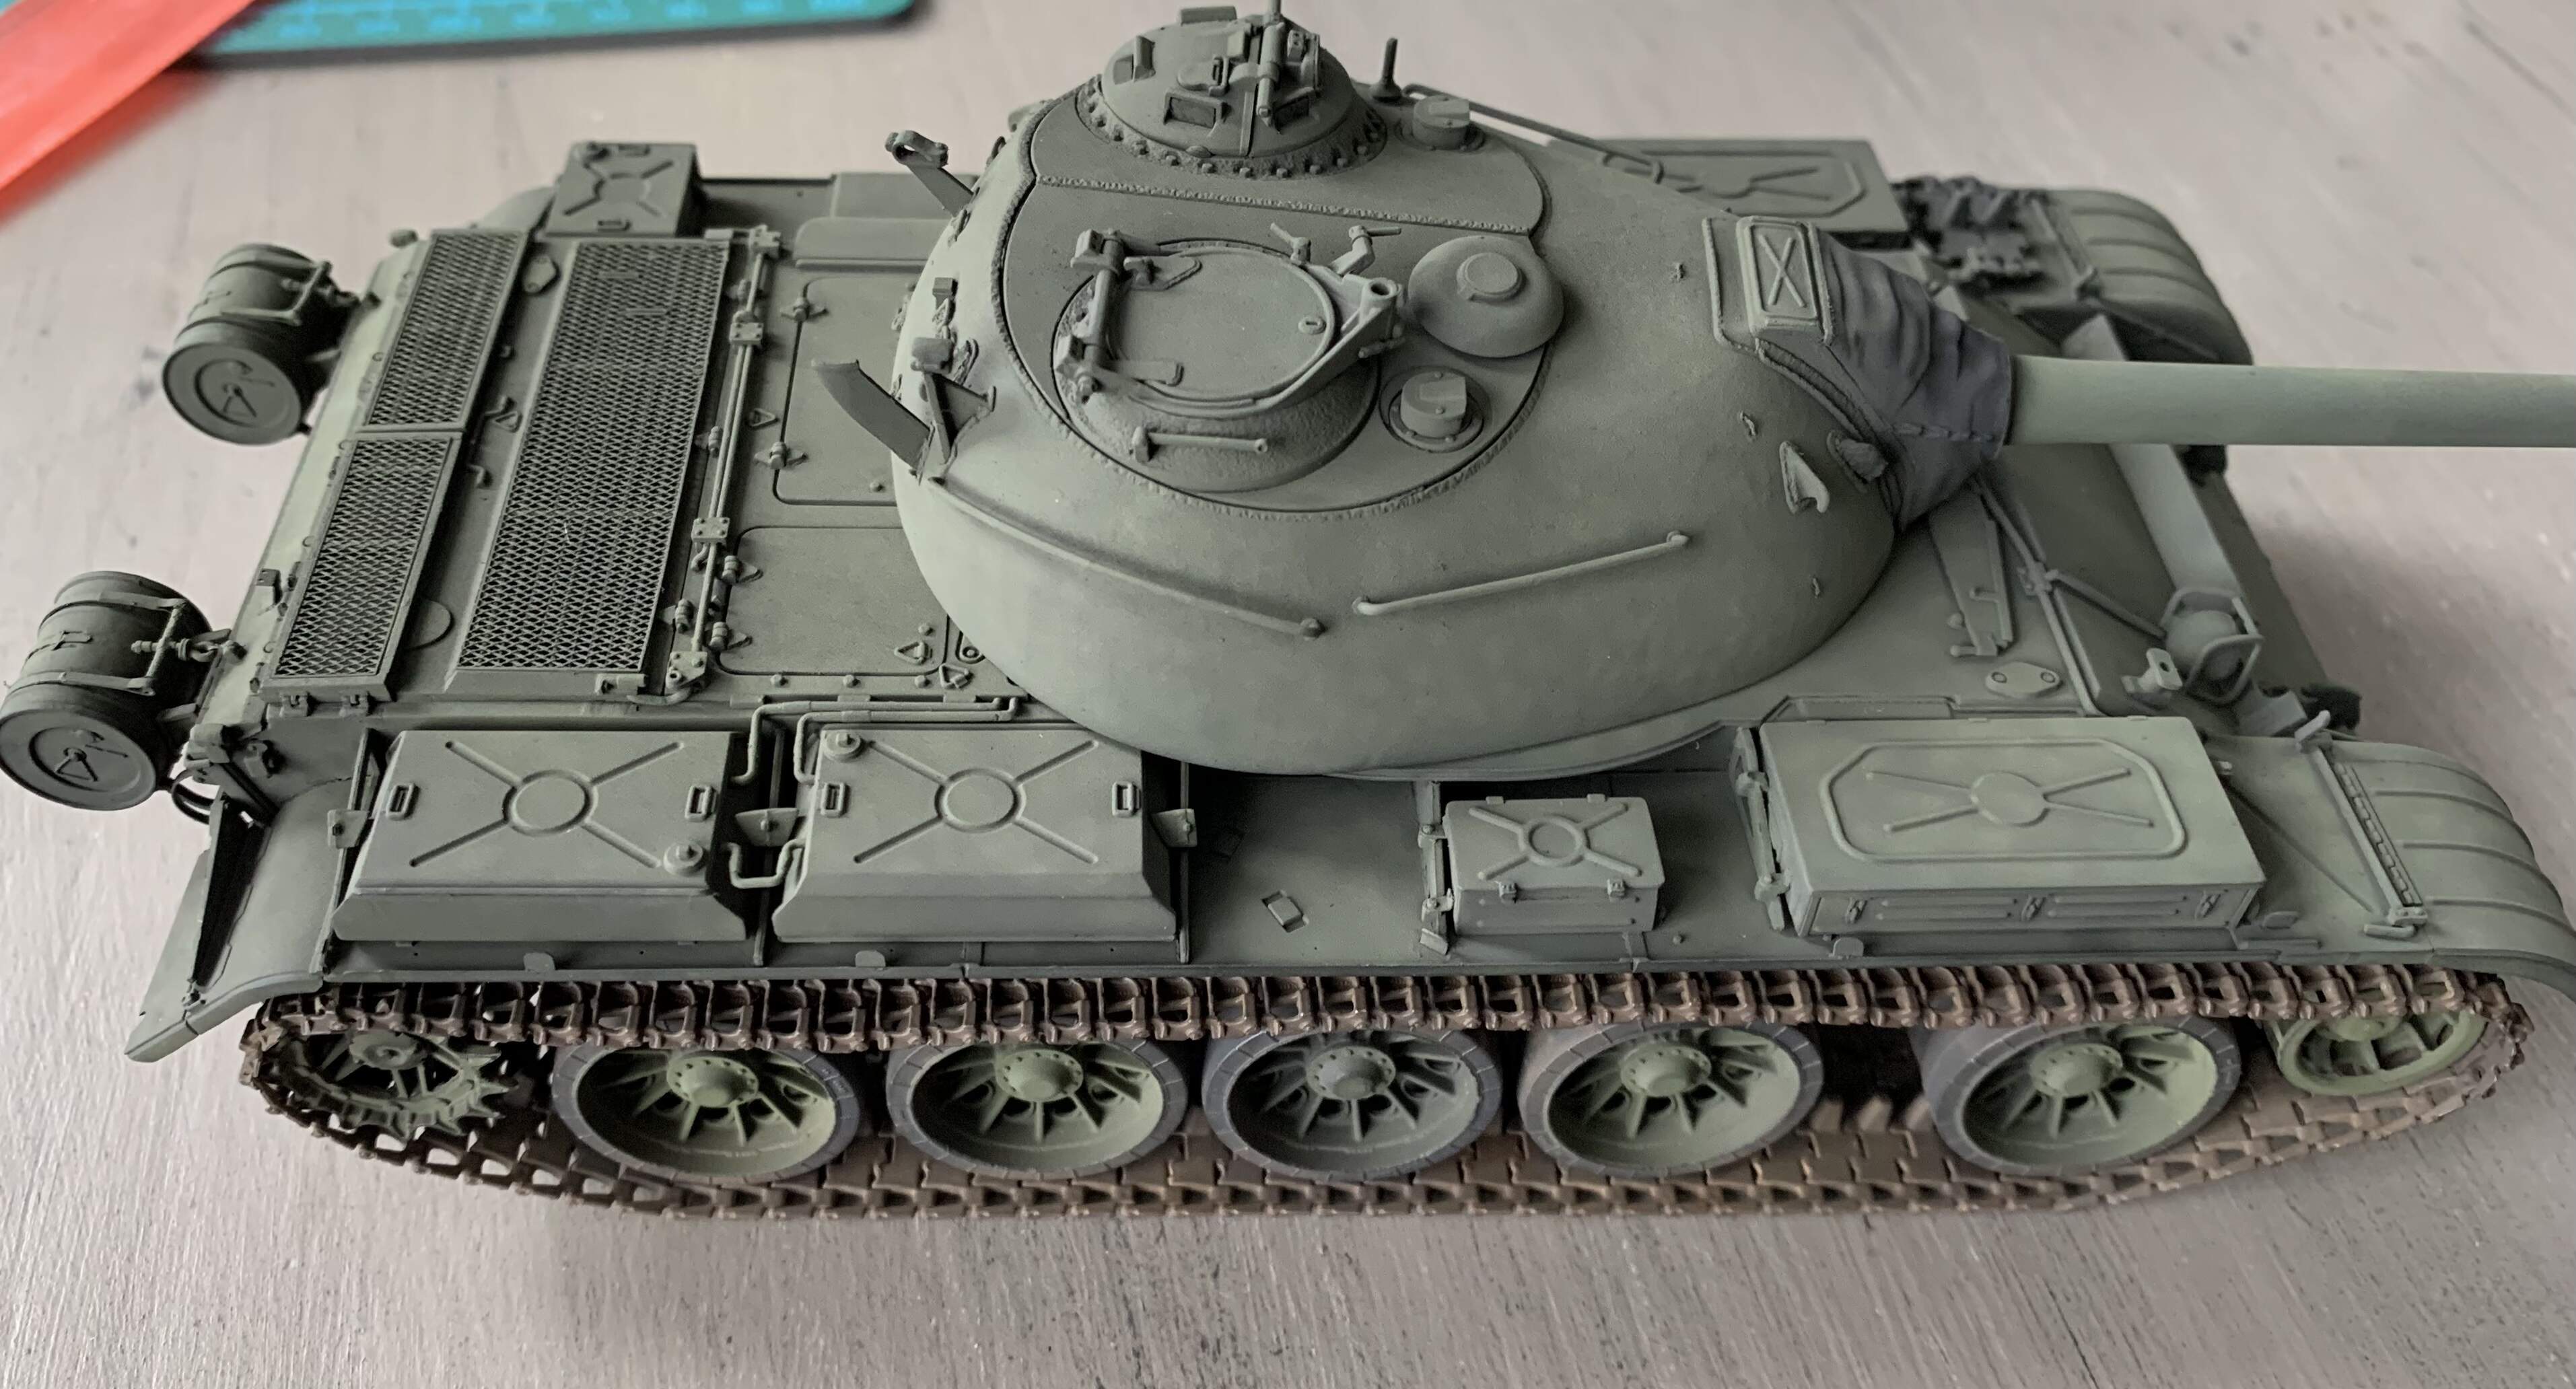
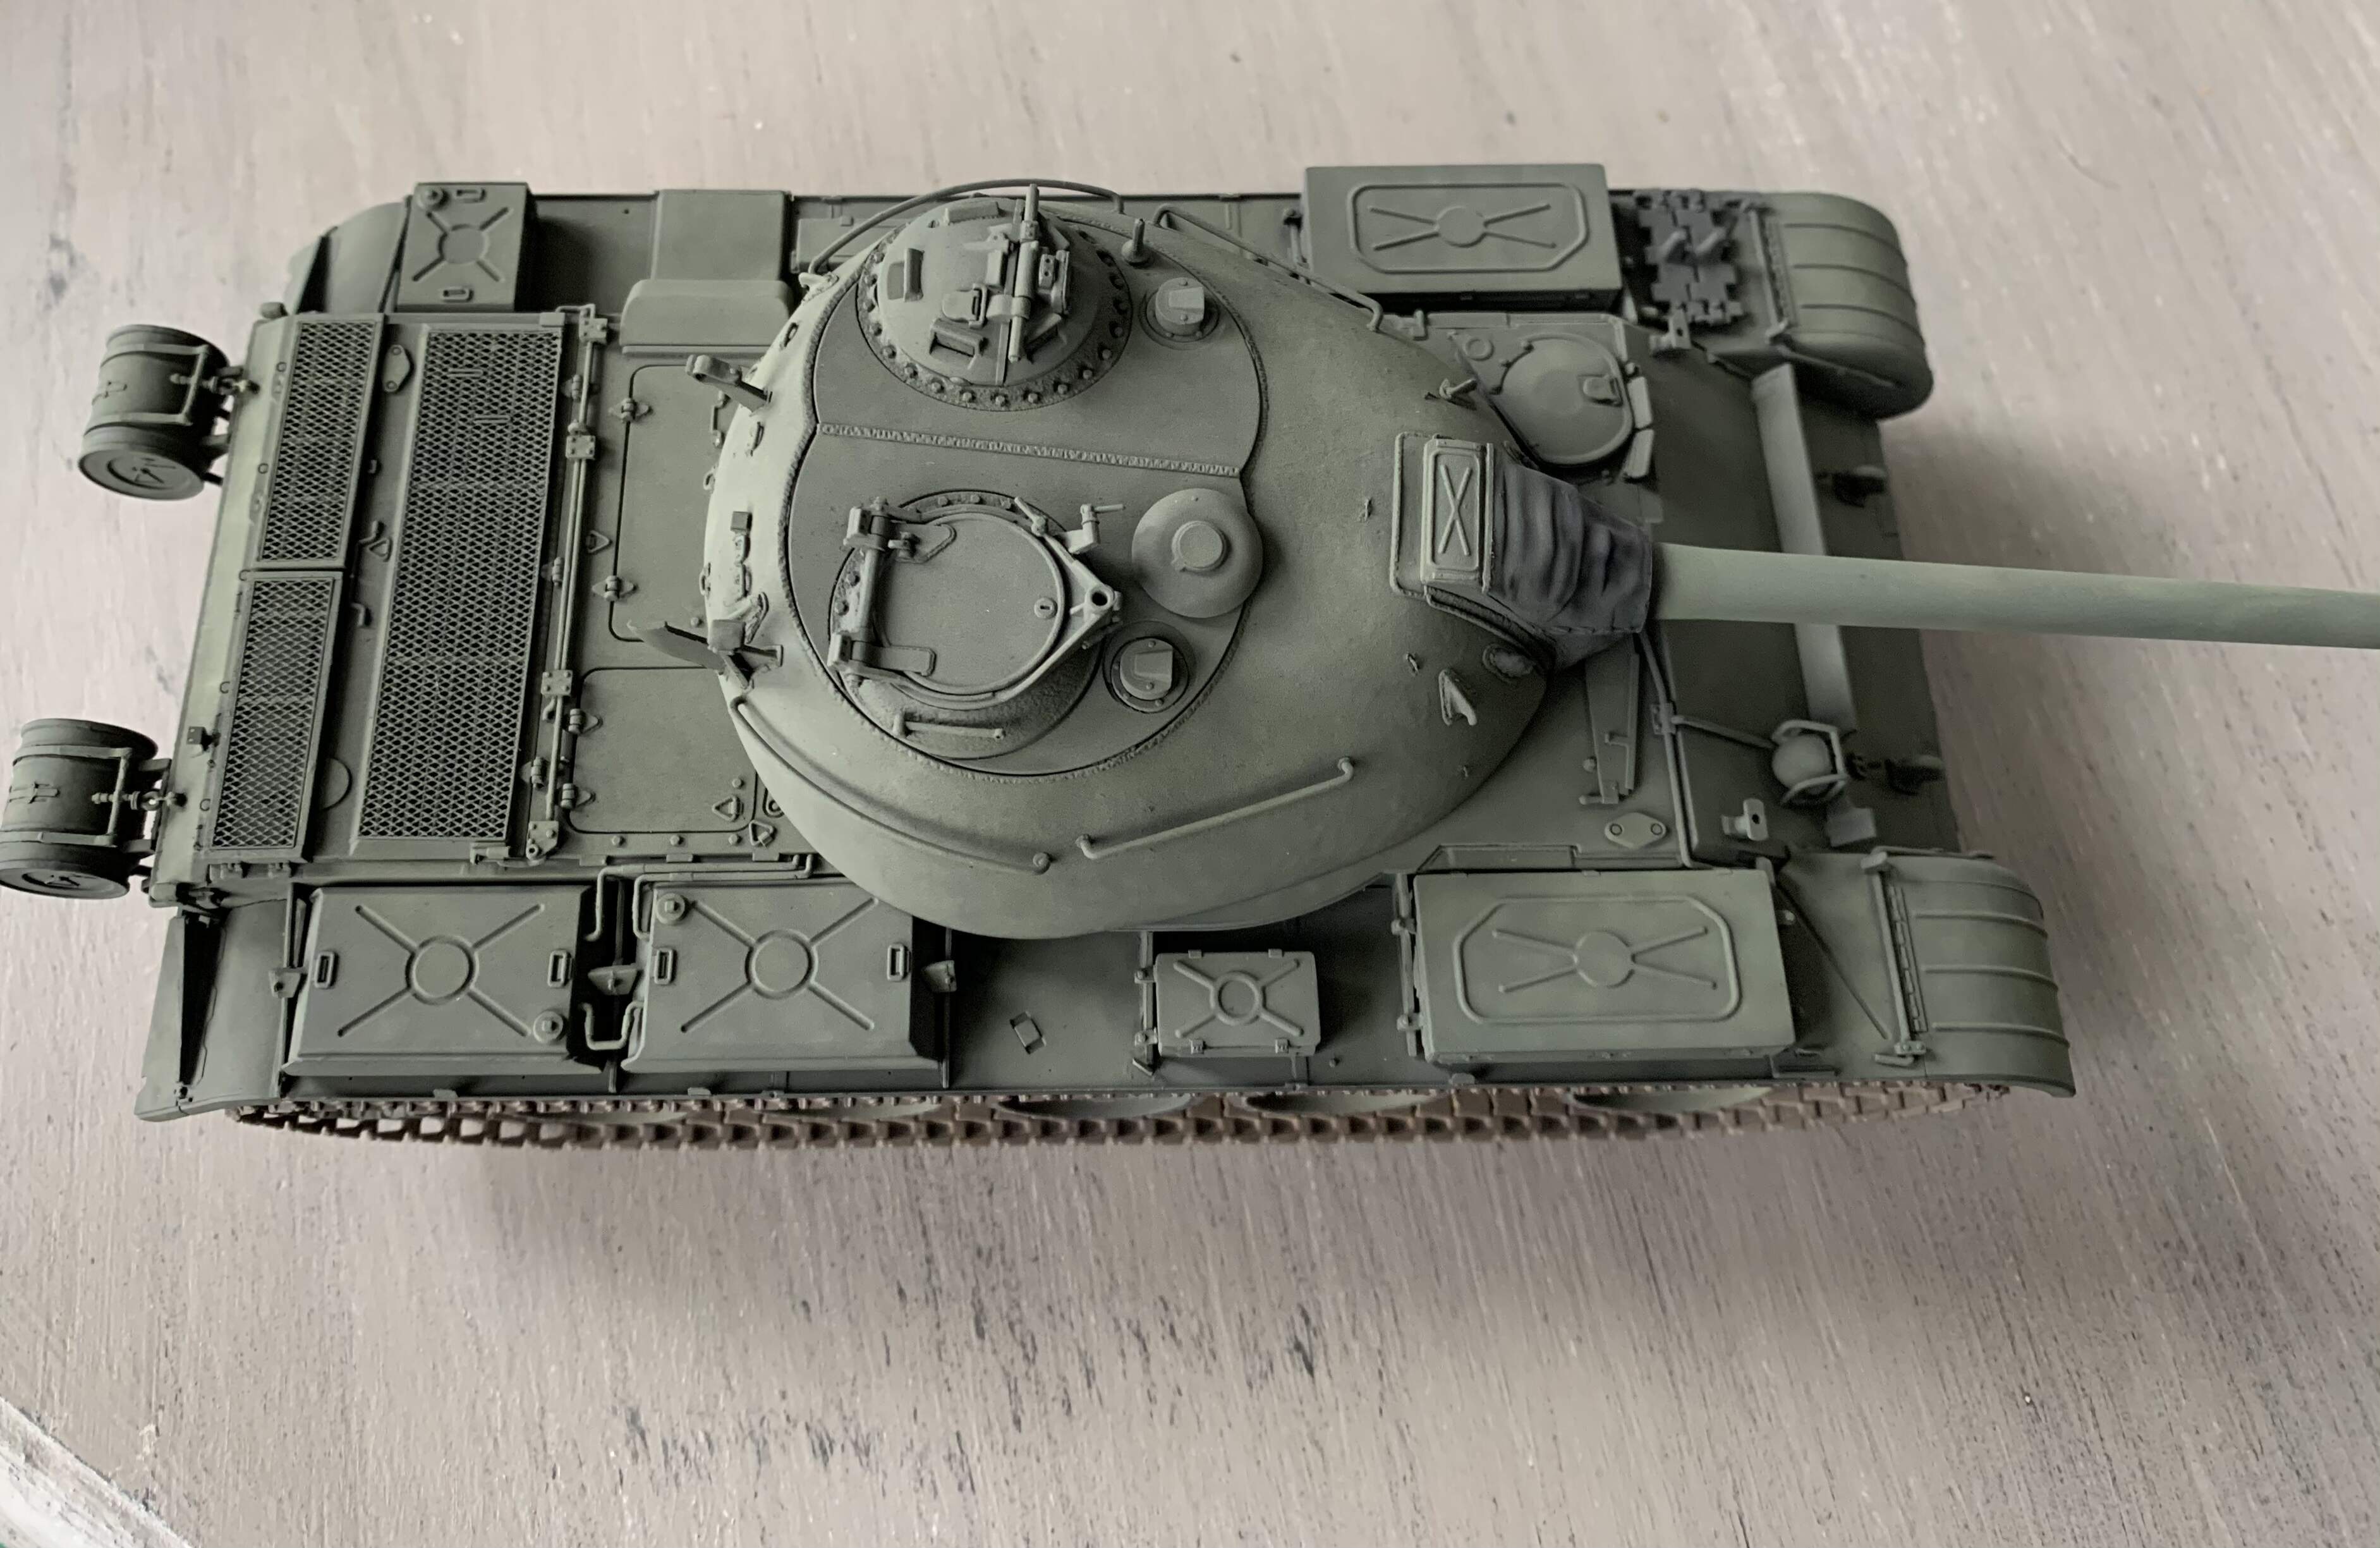
Got a start on the Type 59. Deviated from the kit instructions and built the lower hull. This makes the bottom pan more rigid and helps ensure that the running gear will be installed squared up. The kit would have you start assembling the running gear before having the lower hull complete but I have learned from experience that the bottom pan is too flimsy and as such it is difficult to ensure that things line up properly. Nothing too exciting to see.
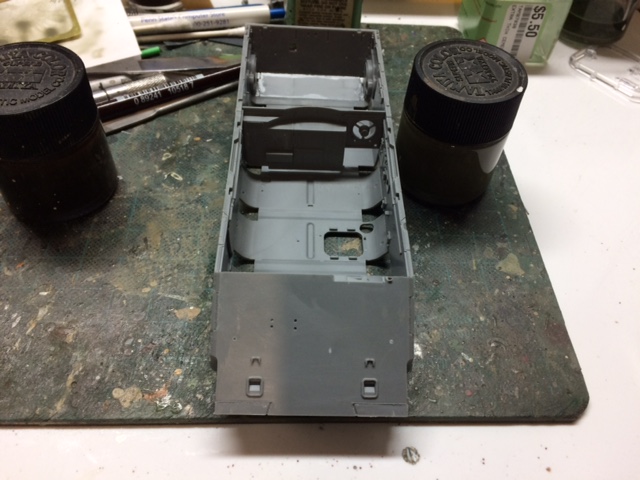
Probably won’t update until the running running gear and tracks are fitted.
Thanks for checking in.
3 Likes
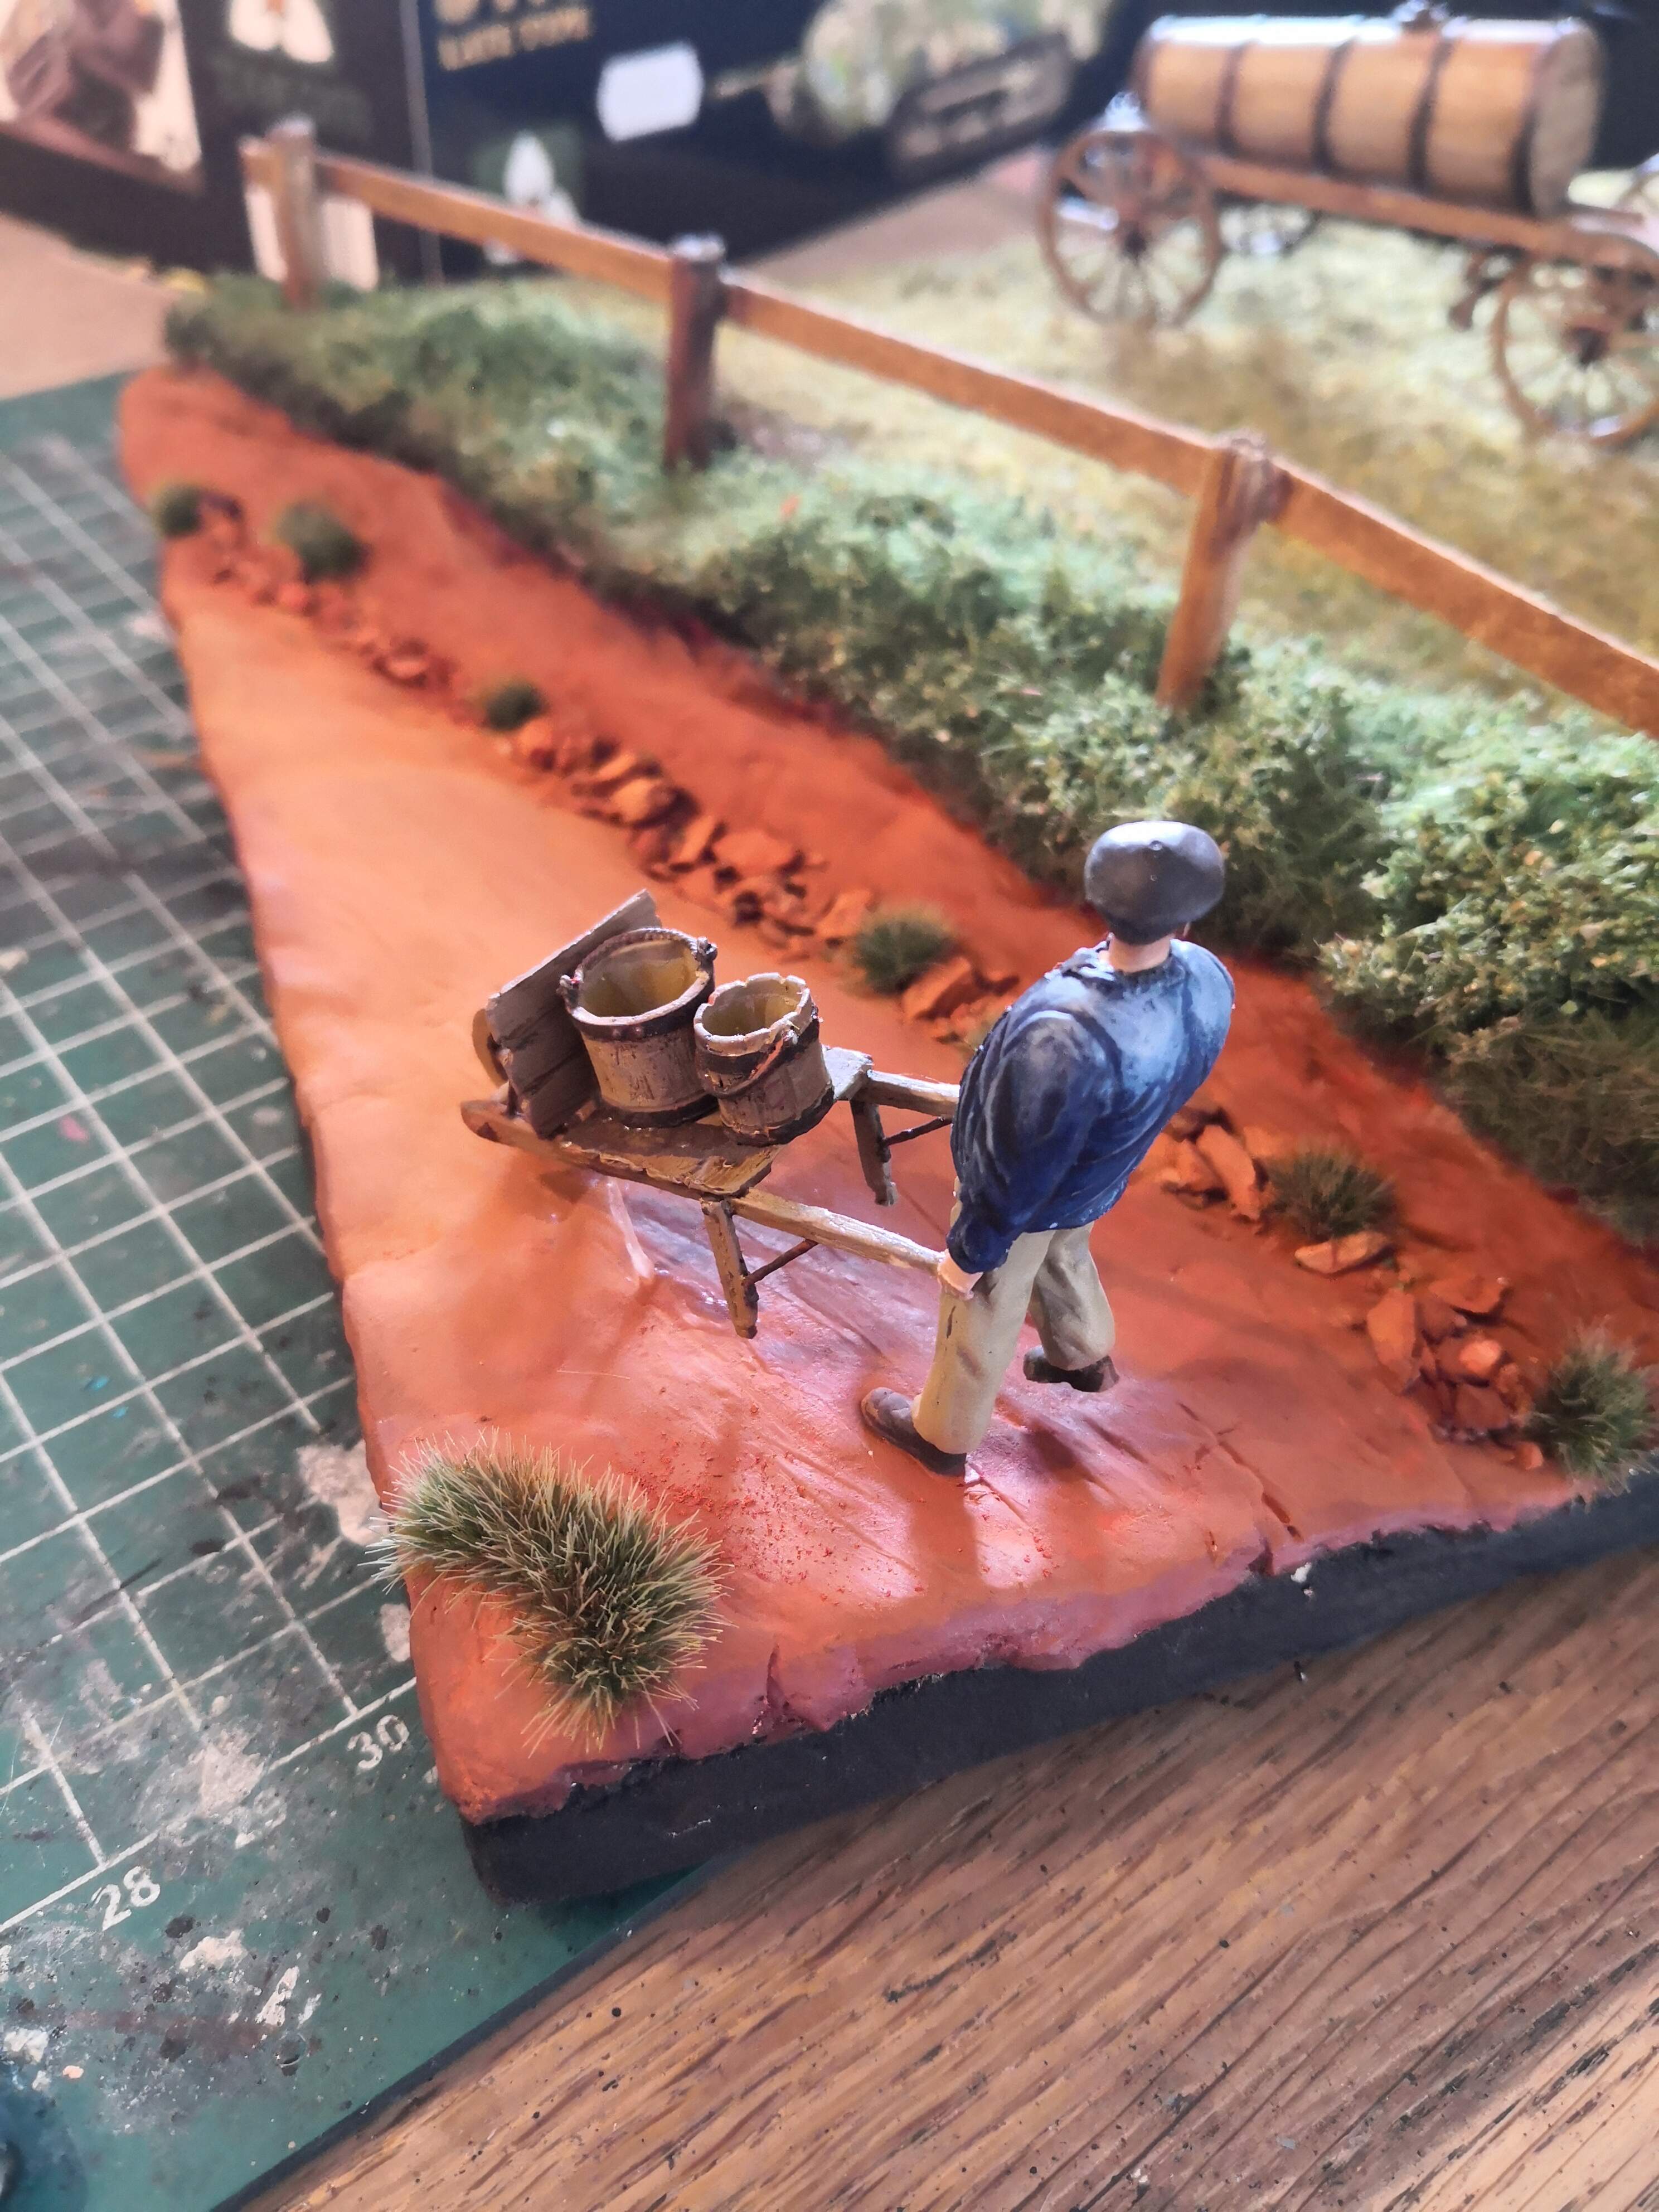
They break up the big expanse of soil nicely Erwin.
Thanks. I thank you for the advice. It was very valuable…
1 Like
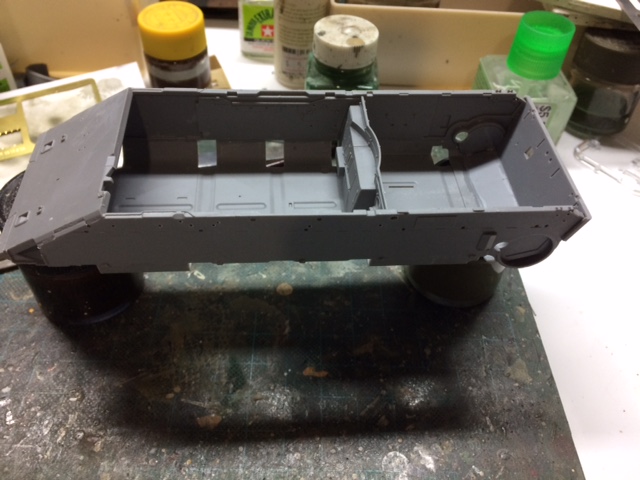
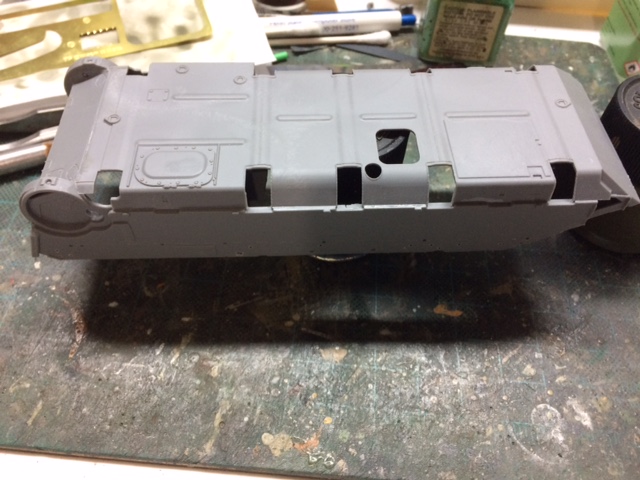
So I’ve taken a bit of time away from this build as I was running into fit issues and getting a little frustrated.
This wasn’t down to the kit, more my lack of experience with interior kits and the modular nature of building-paint-build. The engineering on the kit is good, but with so many parts the fit tolerance is very fine. The main issue now is getting the engine deck to sit over the engine compartment correctly.
The radiators on one side are sitting a little proud. I think I’ve worked out the issue though. When inserting the axles, one part slots into the bottom of the Christie springs which the other slots into ‘mounts’ two of which sit under the radiator stands. I suspect poor build by me has pushed one up slightly, so after a break and a bit of head scratching, I think I’ll have to lift out the engine and correct.
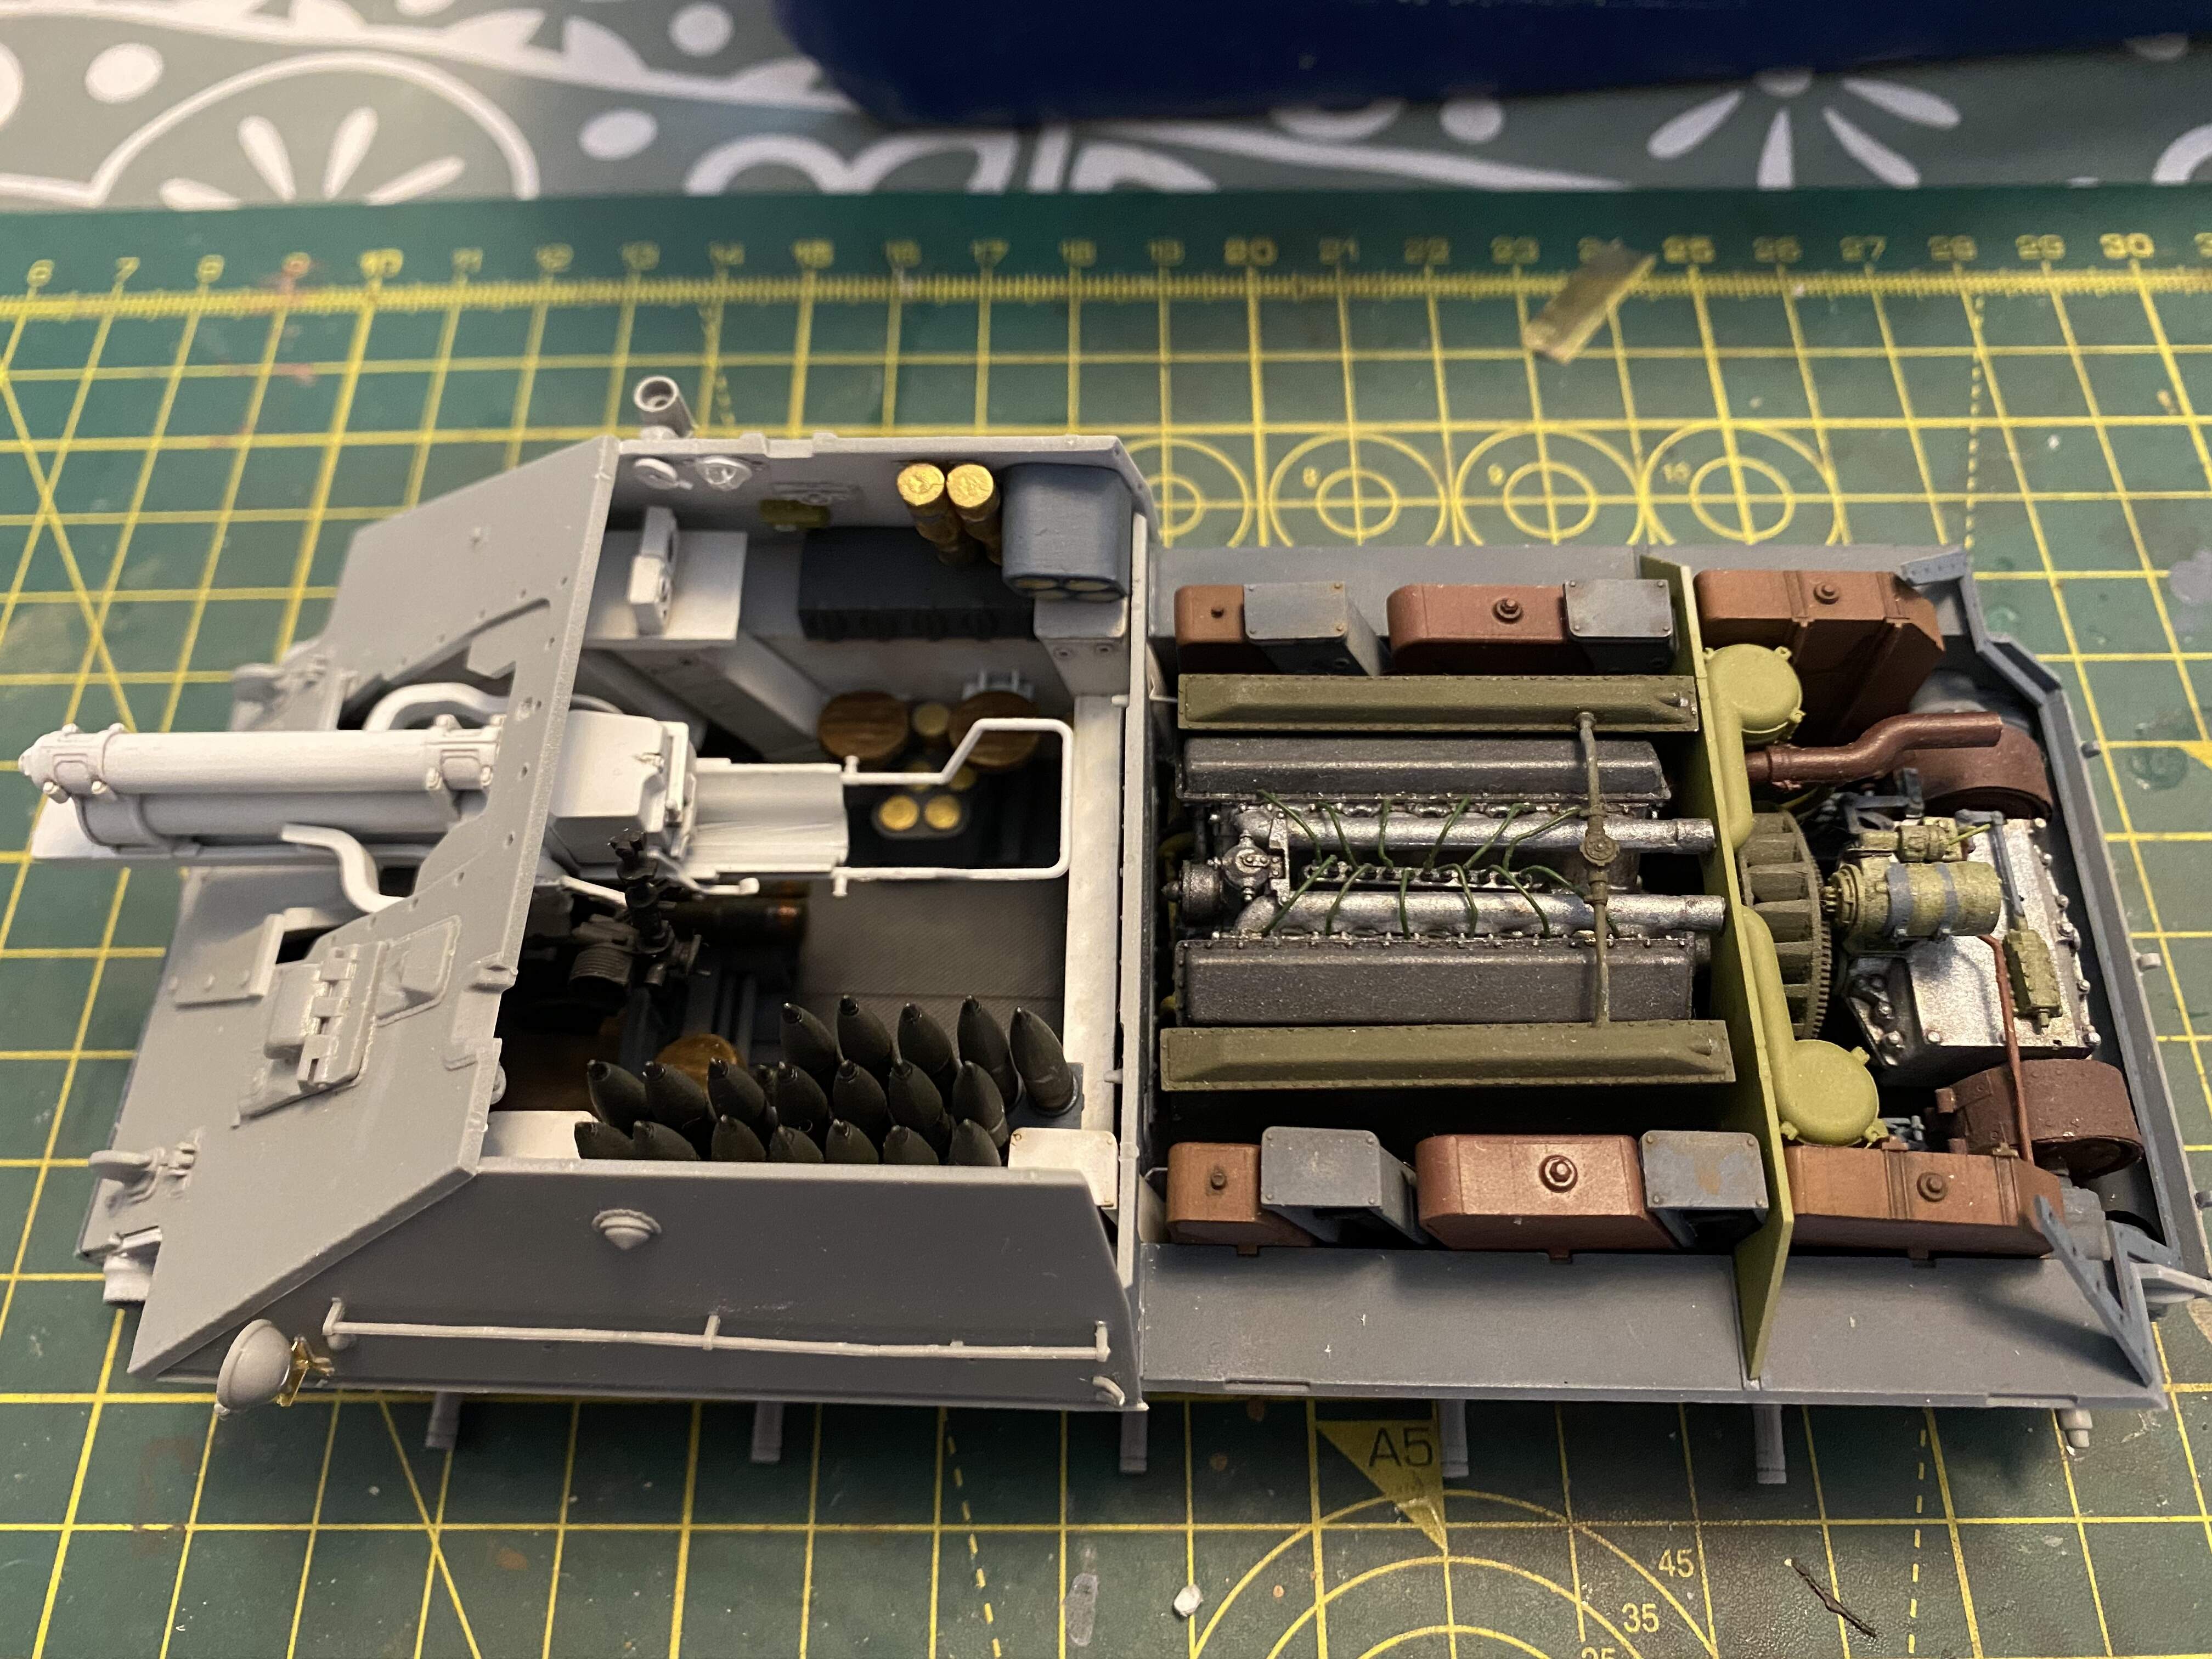
In the meantime I’ve finished up some of the other parts and started on the road wheels.

6 Likes
It looks nice. It makes me want to do one of them also!
Looking good Digger. You are a game man adding the searchlight at this stage…
Thanks both. It’s a good kit Phil. If you really fancy a challenge the early production version has a really interesting winter camp scheme.
That searchlight is currently playing a part time attached role if I’m honest though 
1 Like
I confirm that your approach is much better than mine was strictly following the assy instructions. I faced quite a number of line-up issues due to the hull-bottom structure made by Miniart. Do not misunderstand me: the kit will look superb, details are top-notch but the assy steps are not supporting the average modeler and easy-to-mid level build.
If I would do a second model, I would definitely follow your approach!
1 Like
Hi Mead93,
The black-basing effect is nicely done but looks strange to my eyes. I had a chance now to sit in a Type-59 tank in Hungary recently (it is a “live driving show” which my company rented for a special GSR field test) and I did look all around the vehicle to collect impressions for my T-55 Hungarian tank model being built here. The black-basing patches did not occur on the real vehicle at all. That is why it looks strange to my eyes CURRENTLY.
However if you will add filters, dirt and all other cosmetic effects in later steps, your approach may result something outstanding so I will surely follow your posts with high interest and would use in my process. Pls do post pics regularly!
Cheers and I hope it does not sound offensive,
Tamás
1 Like
Thanks for the information an comments. I sat on it for a while and came to very much the same conclusion you did. While interesting it looked odd. I’ve since repainted it and toned down the look significantly. I’ll post pictures later today
I think the only approach I would change in future to any similar build is:
rather than the build subassembly-paint-attach-repeat approach, is where possible build all subassemblies first and then paint before attaching as many as possible in one go. By doing so it would allow me to adjust parts whilst glue is yet to set.
I have to agree, same with other of their builds I have done. Fitting all the easily broken parts to the major pieces, then assemble the major pieces afterwards just does not make sense. The parts broken on the sprues are bad enough without breaking parts off trying to assemble as per the instructions.
1 Like
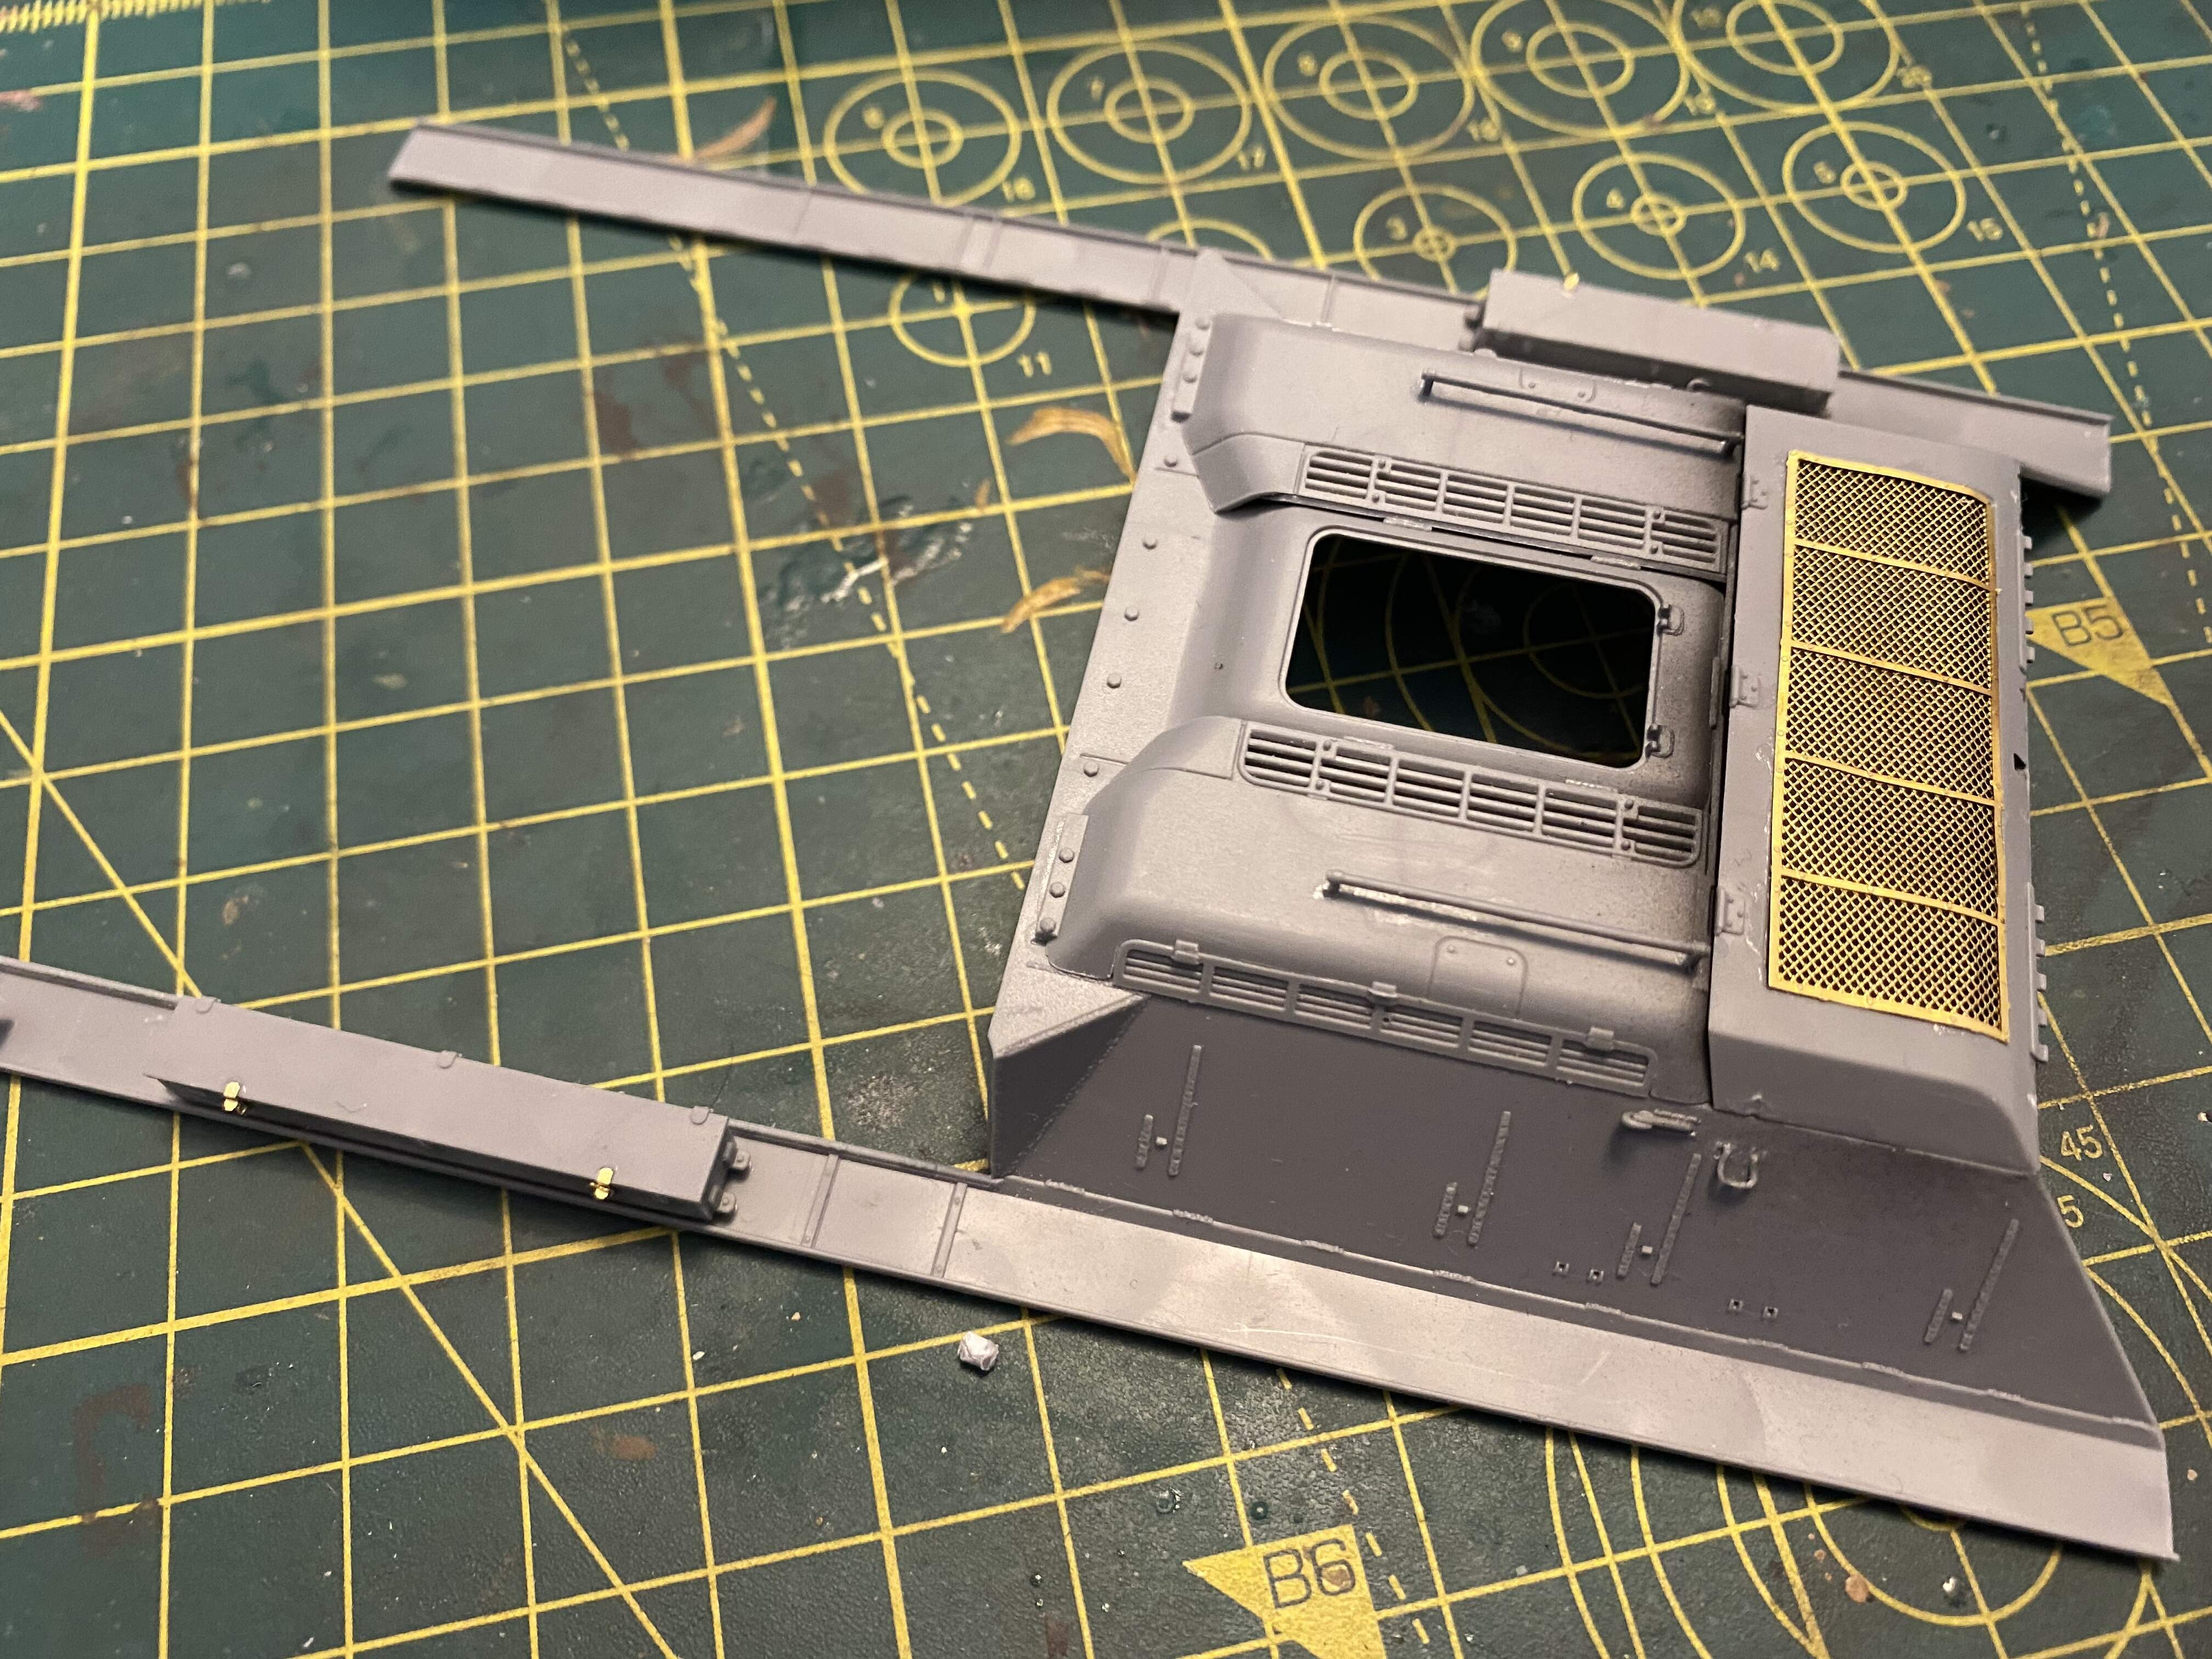
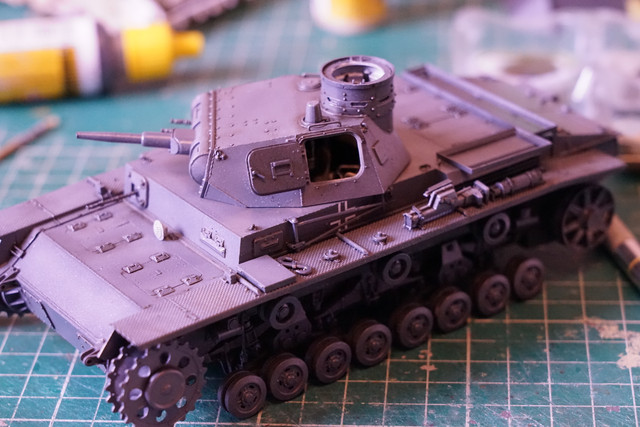
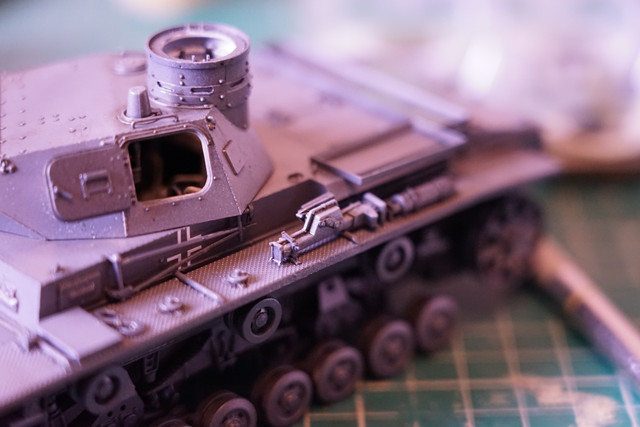
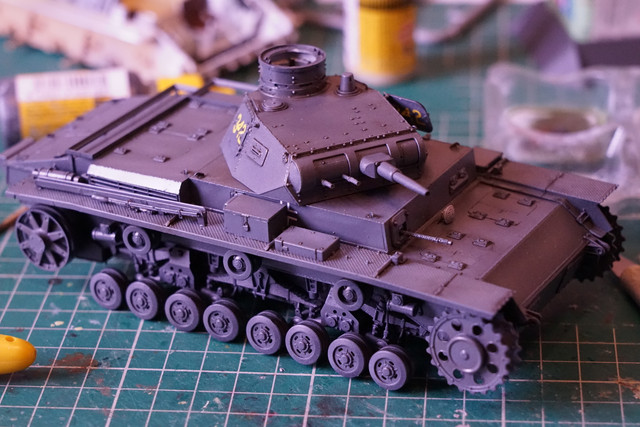
so finally got some time to do pin wash on the Pz III Ausf D and add fender furniture… next up some smaller parts and the front track armour as well as painting the wooden boxes for the rear
6 Likes