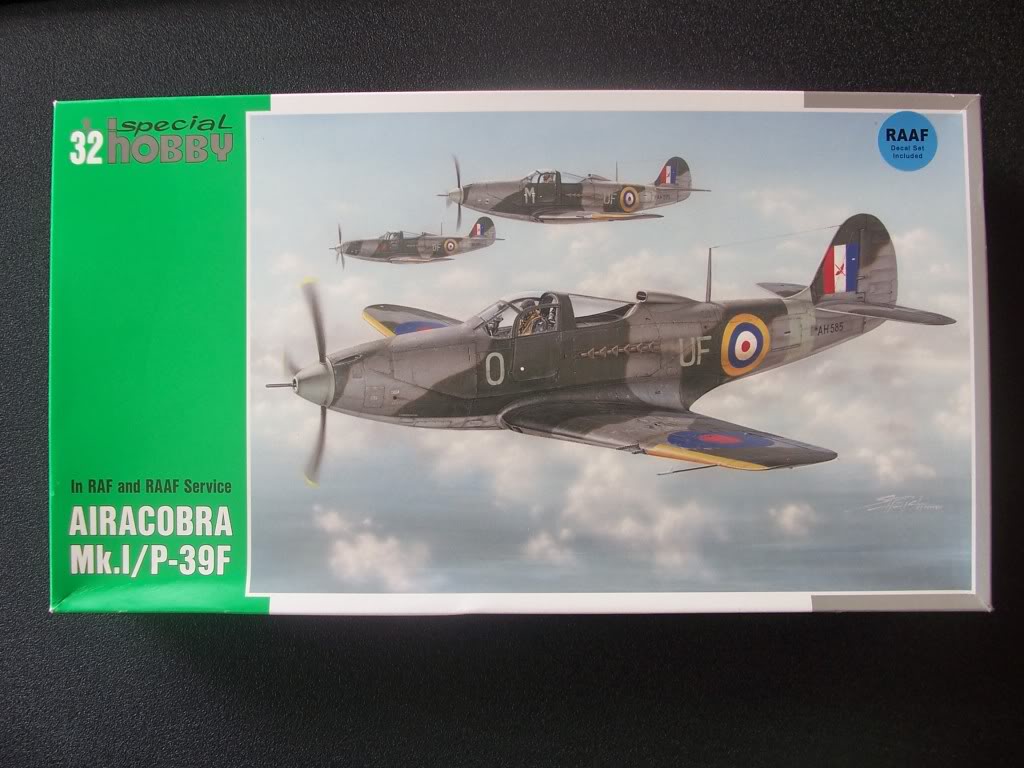
What better way to celebrate a new site than to start a big new build! I’ve had this one in the stash for many years and just needed a little shove to drag it out into the daylight. The “Bella Red - Bella White” thread by Torsten (BlackWidow) did just that!
This won’t be a quick build, I have a few Group Build kits in-progress to take priority, and being a 1/32 kit I want to really focus on the finer detail and weathering techniques as I move along.
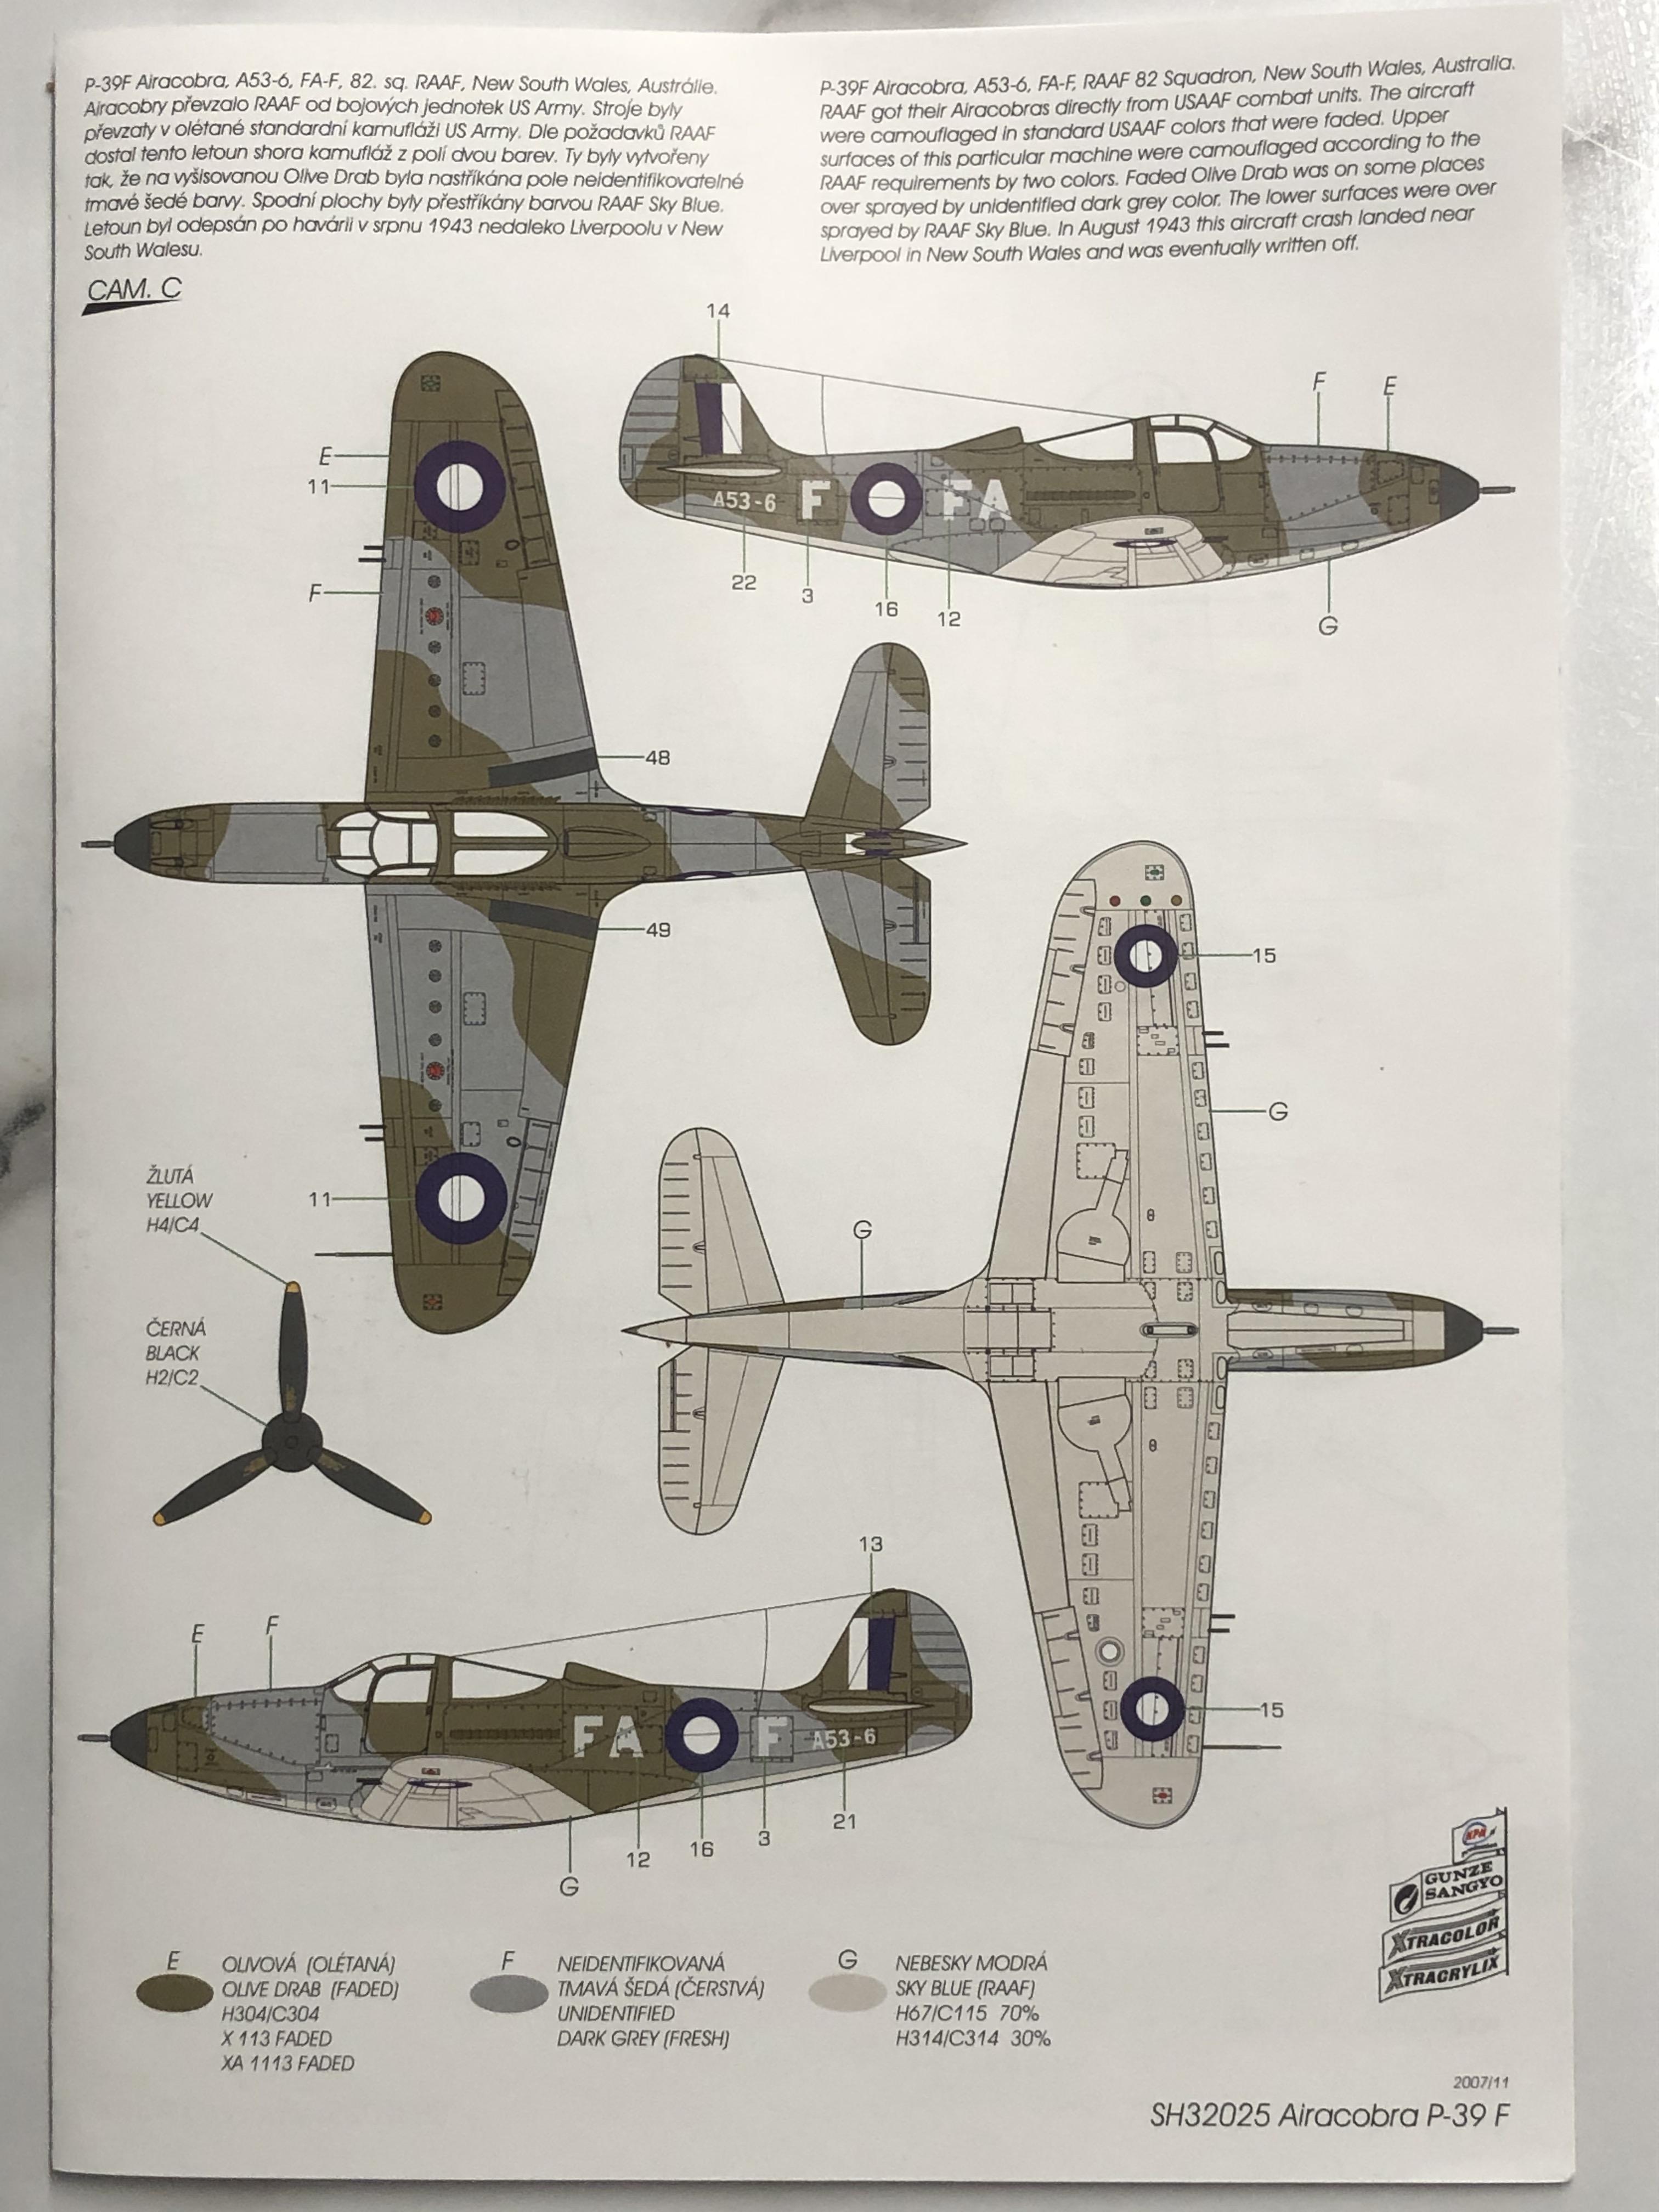
The RAAF option is listed as CAM C in the instruction book, so I will be following these sections in the process.
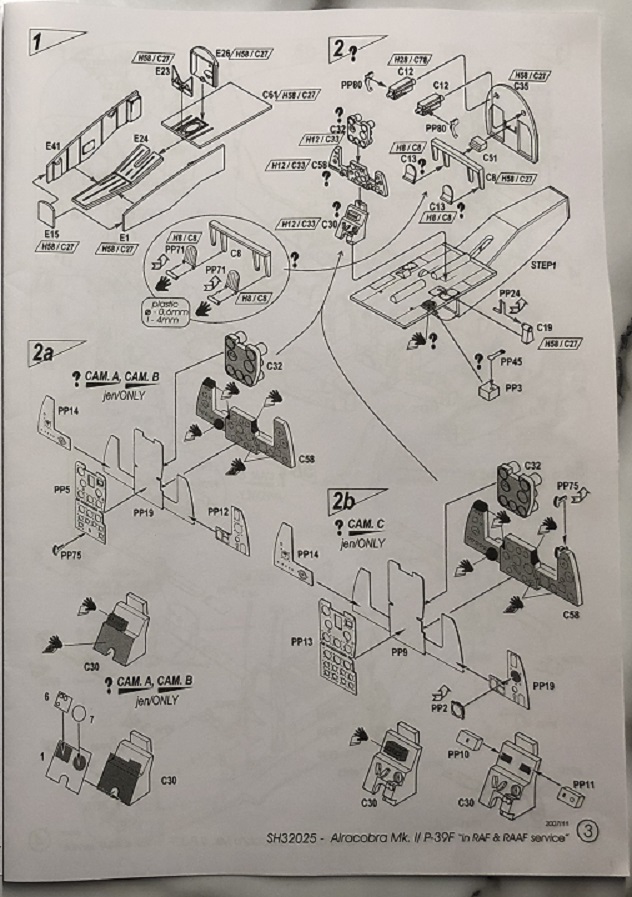
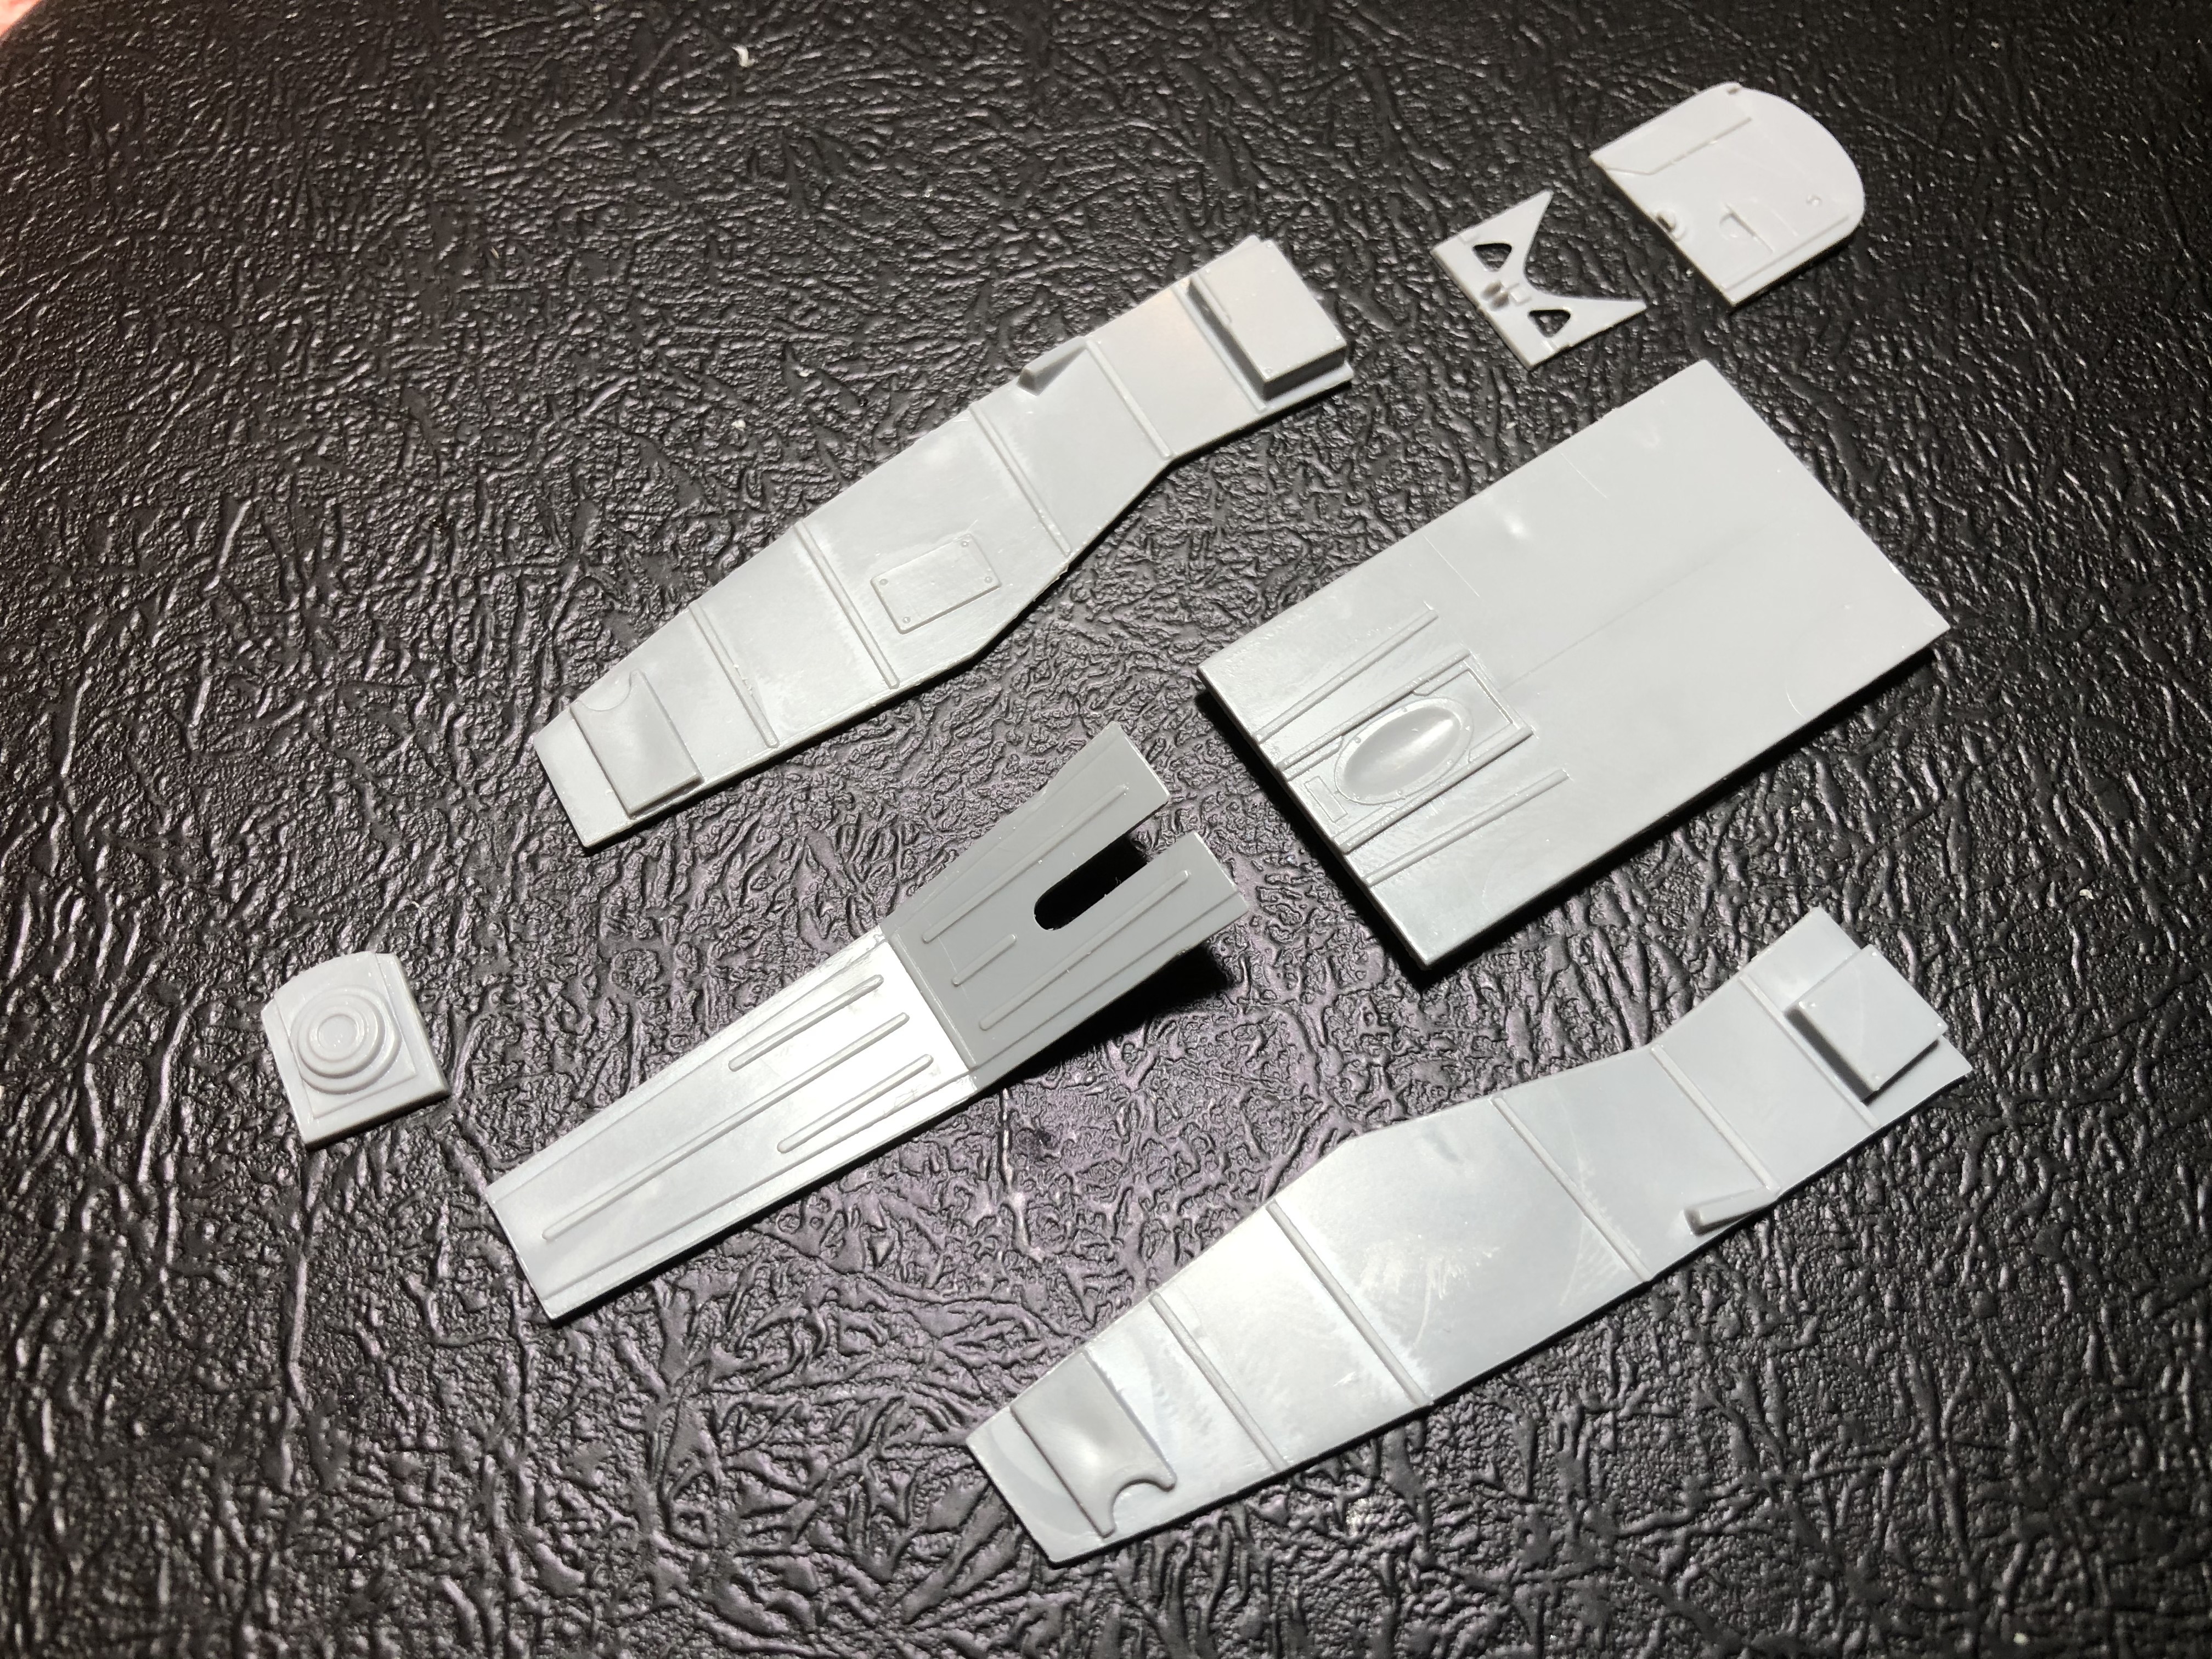
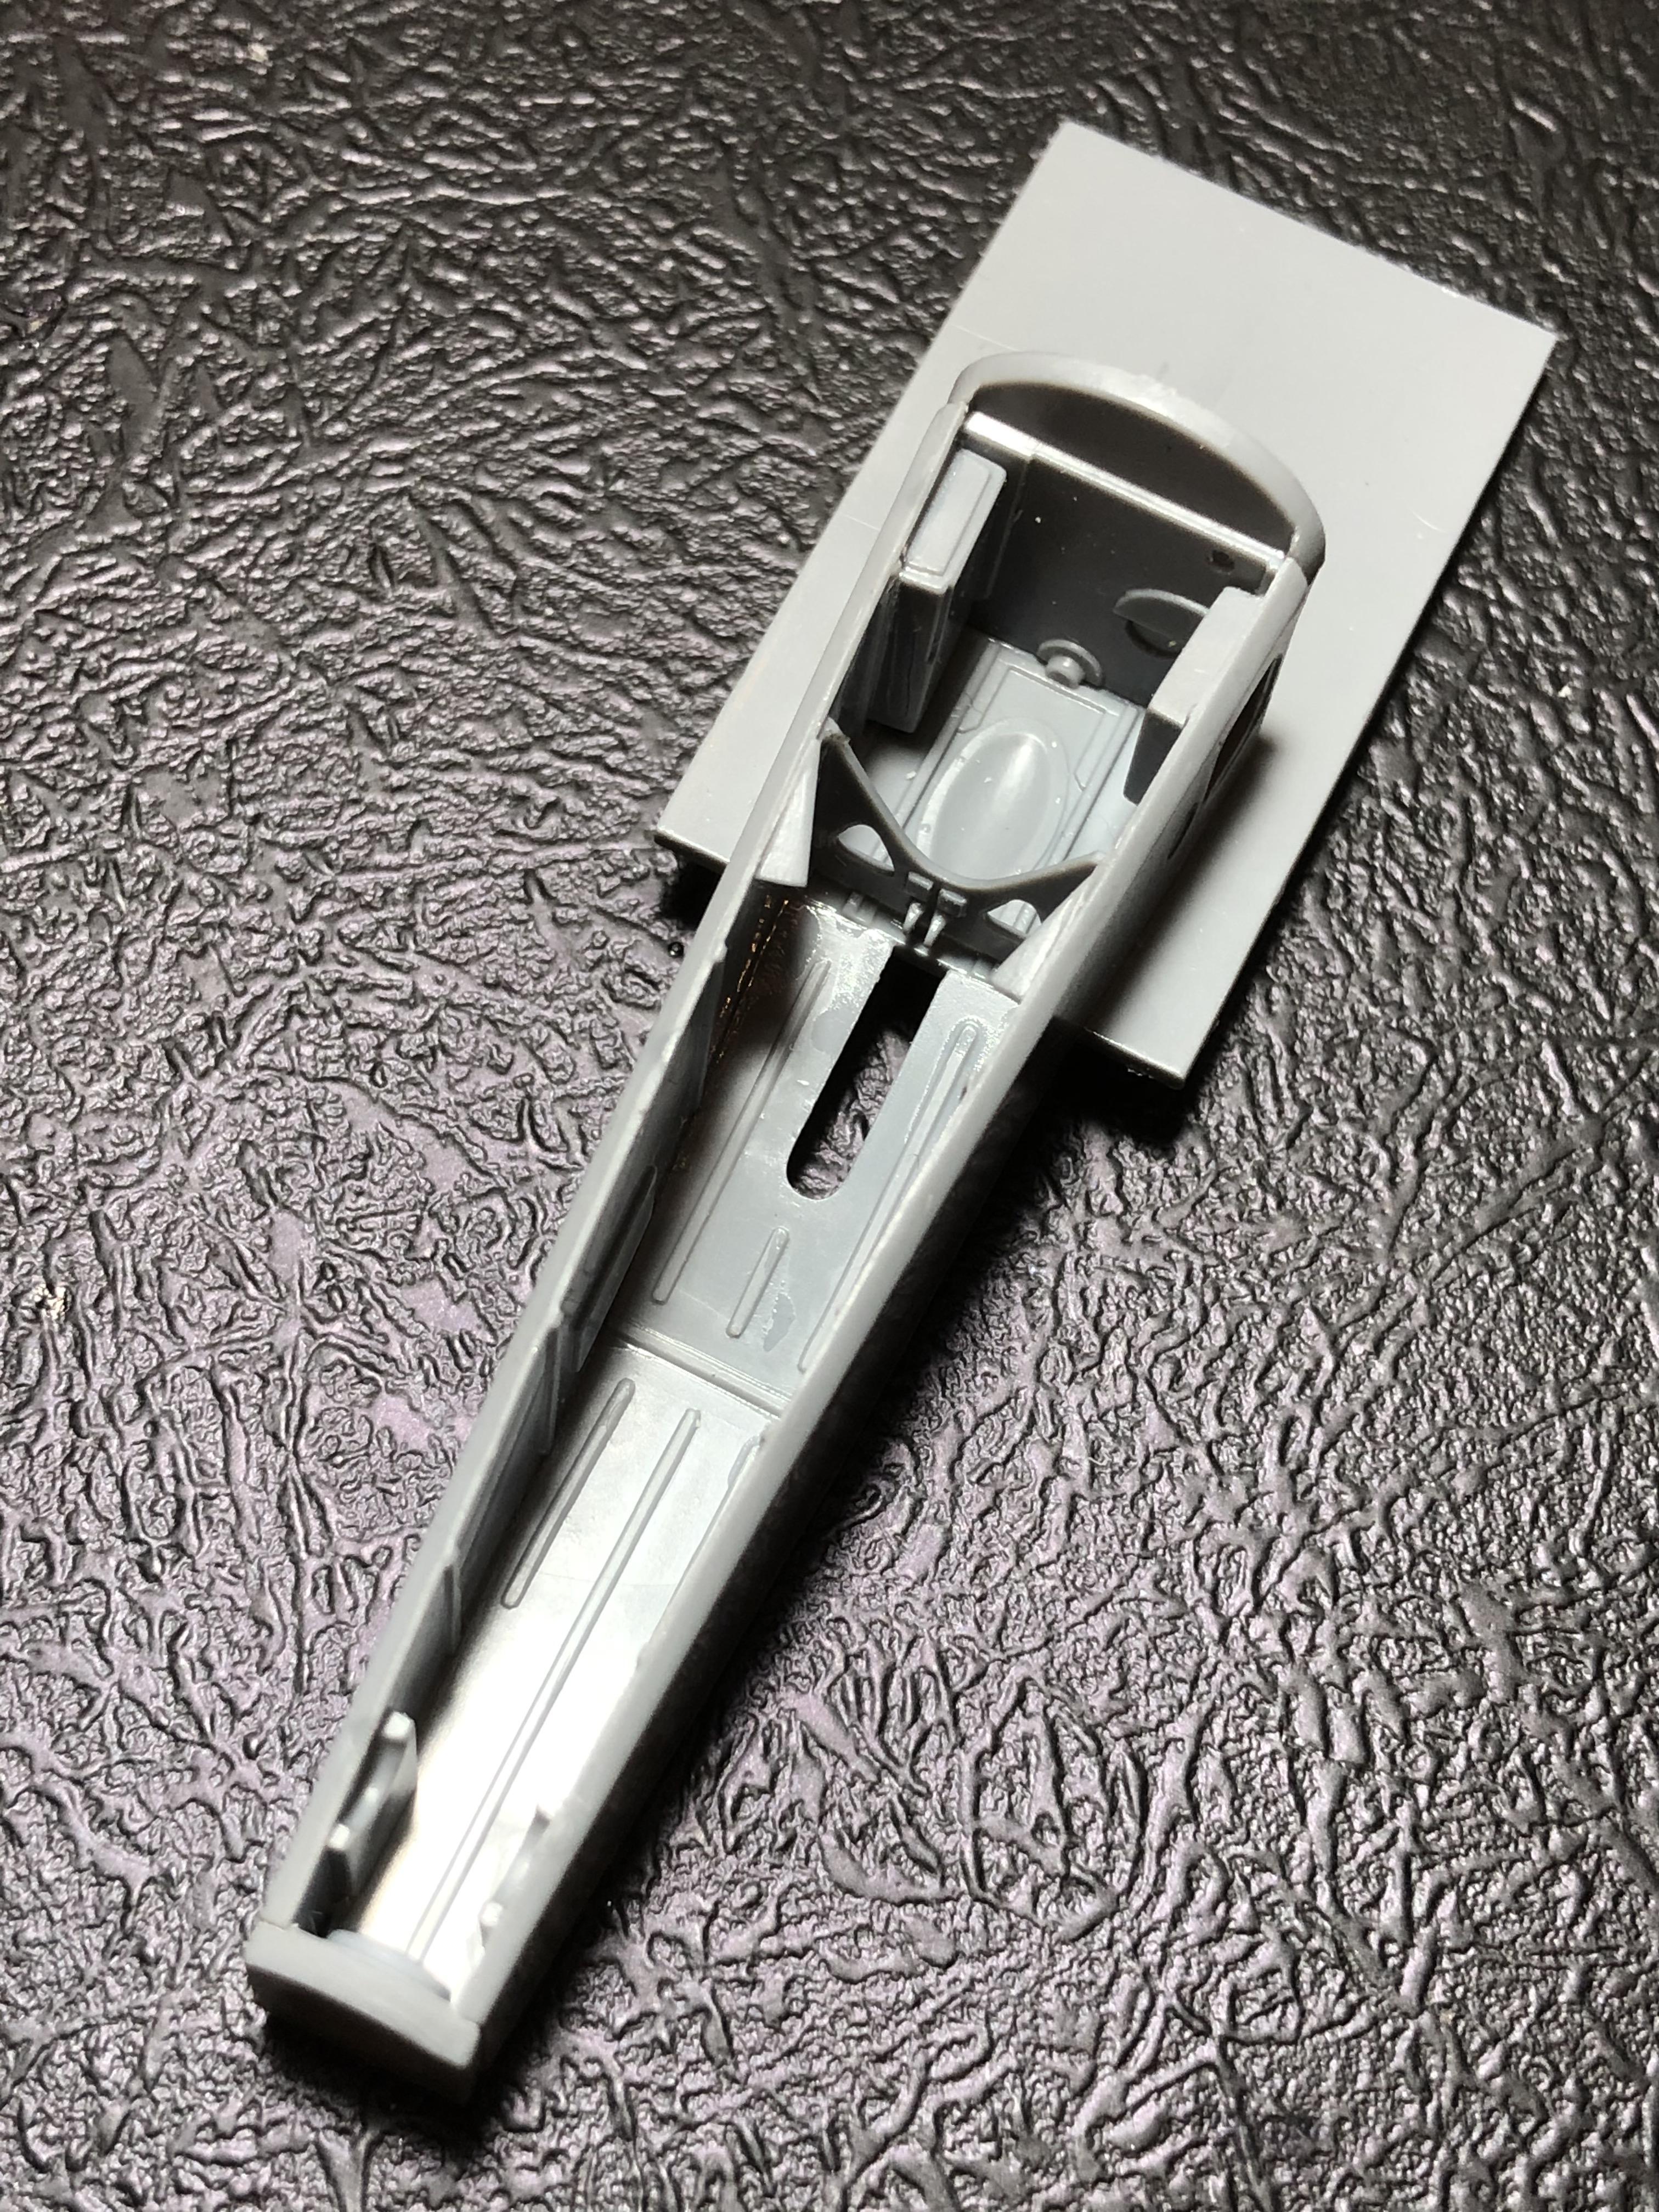
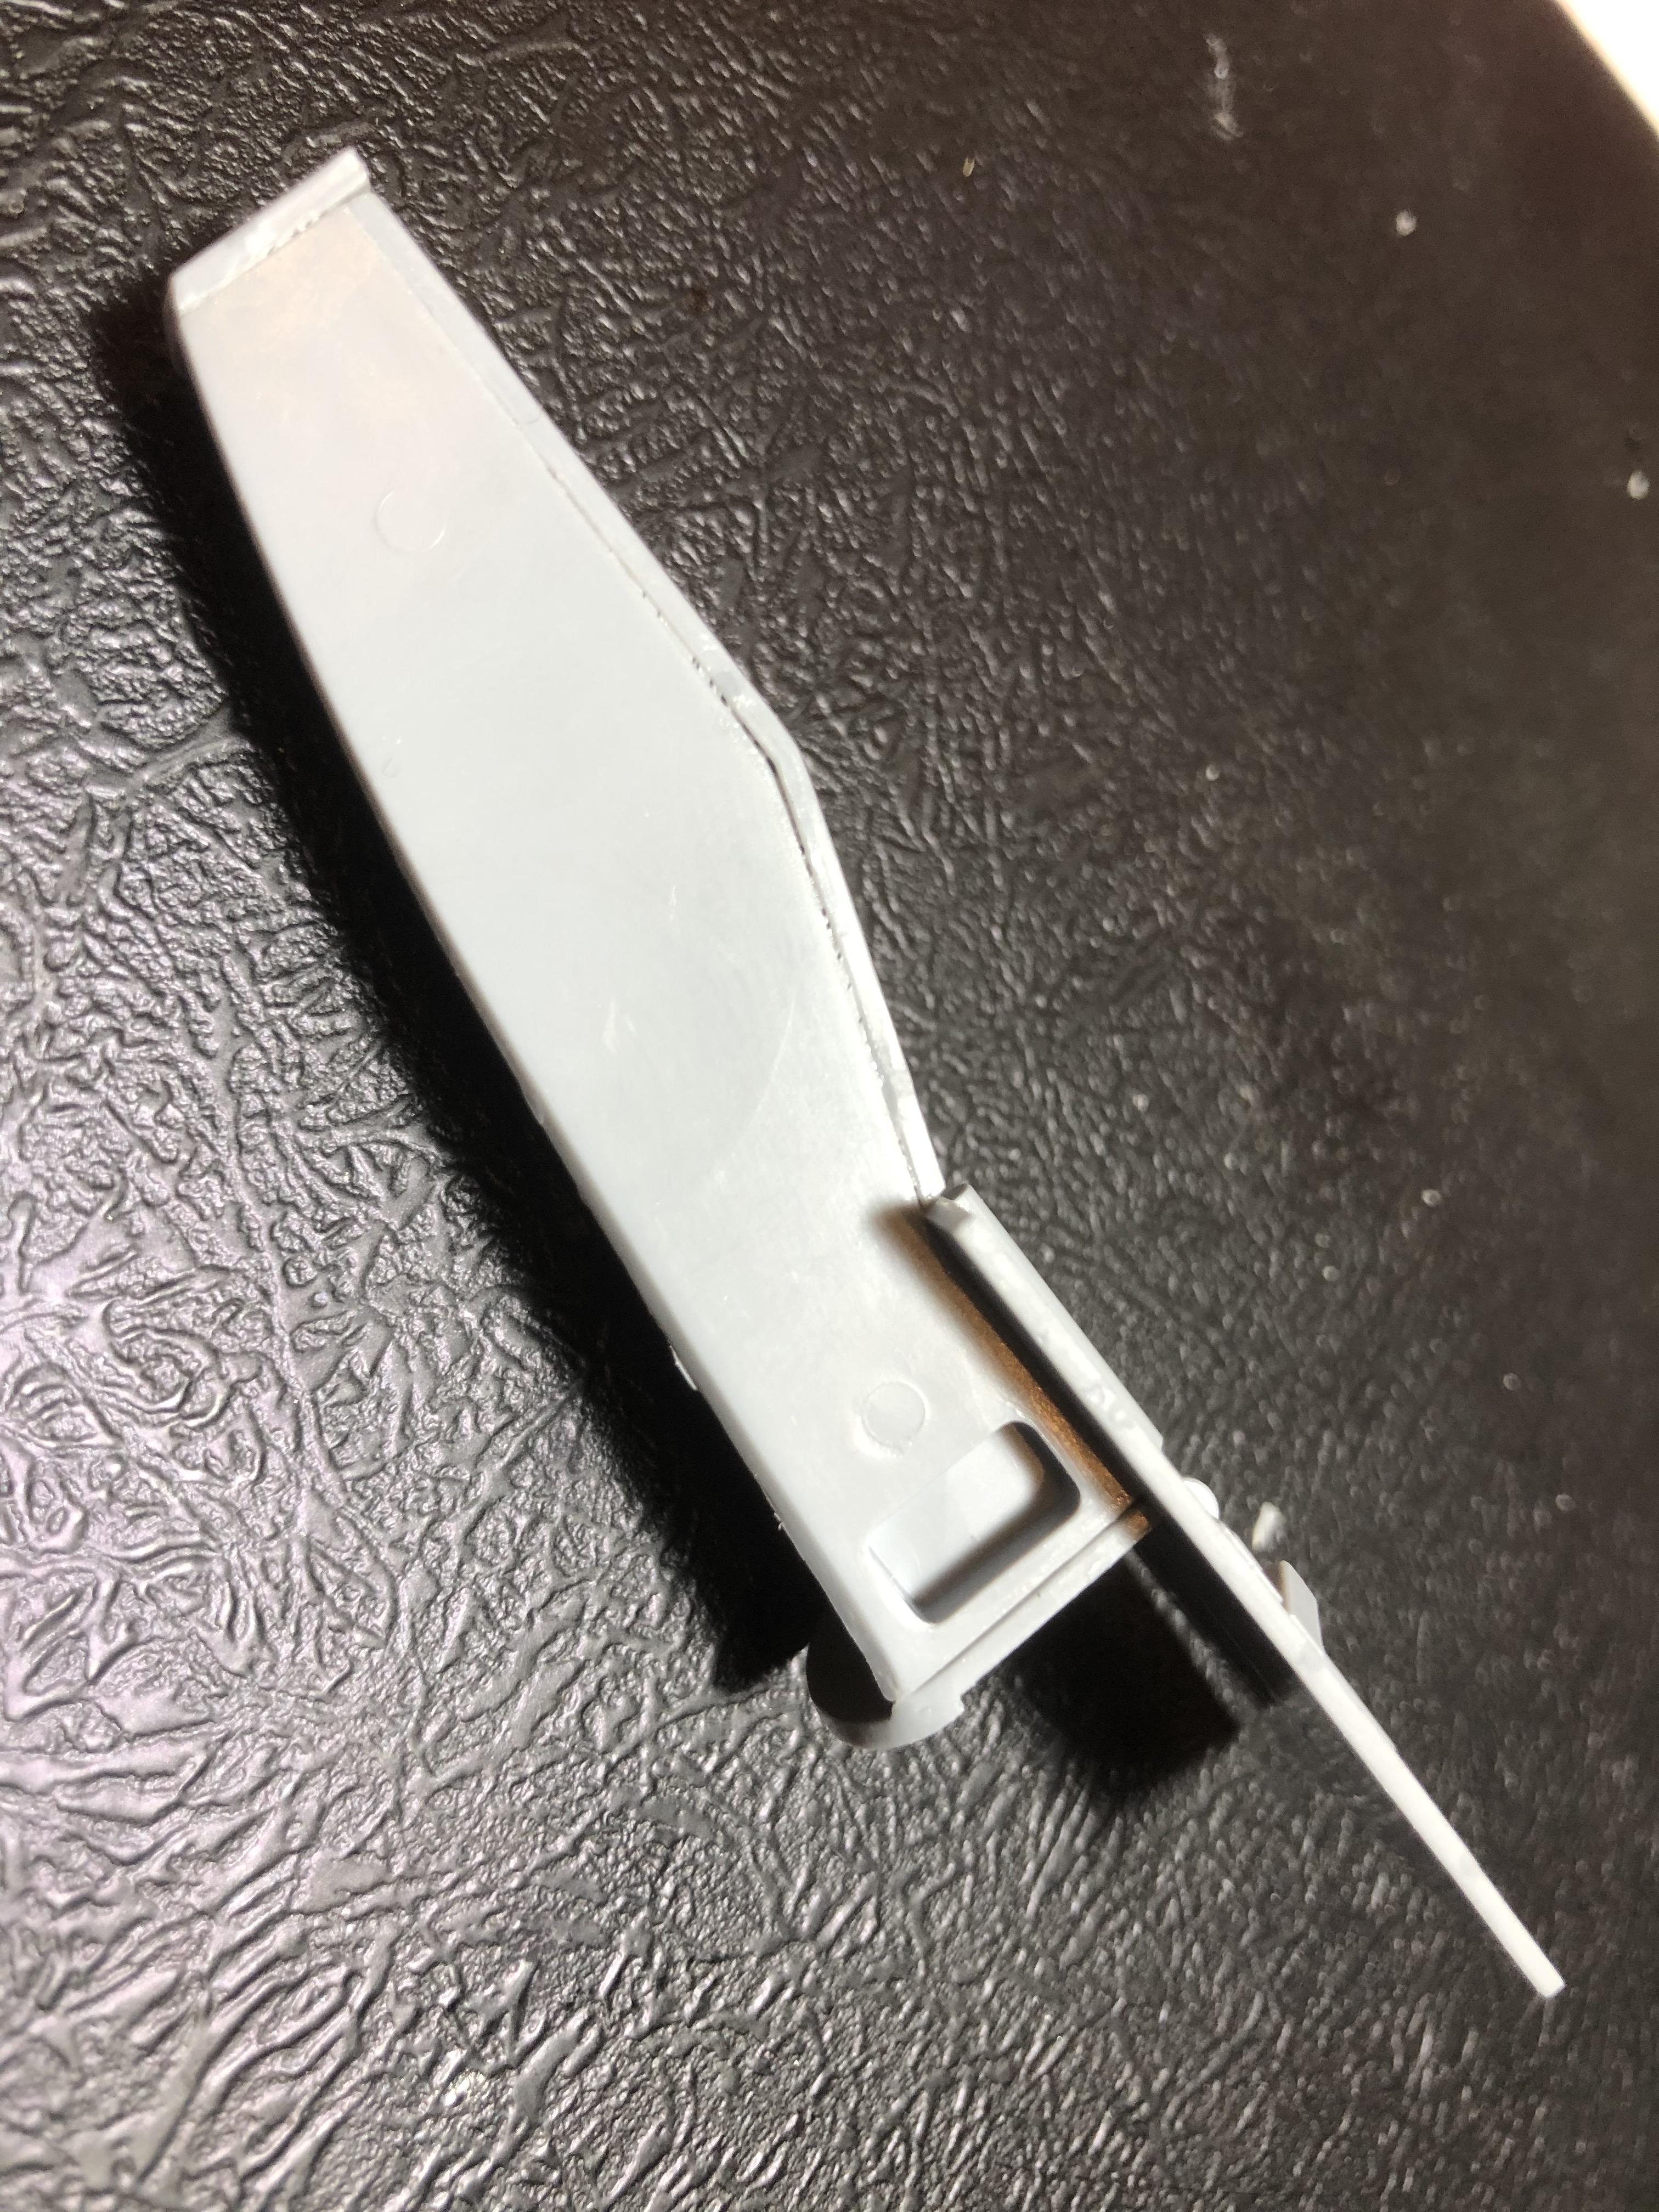
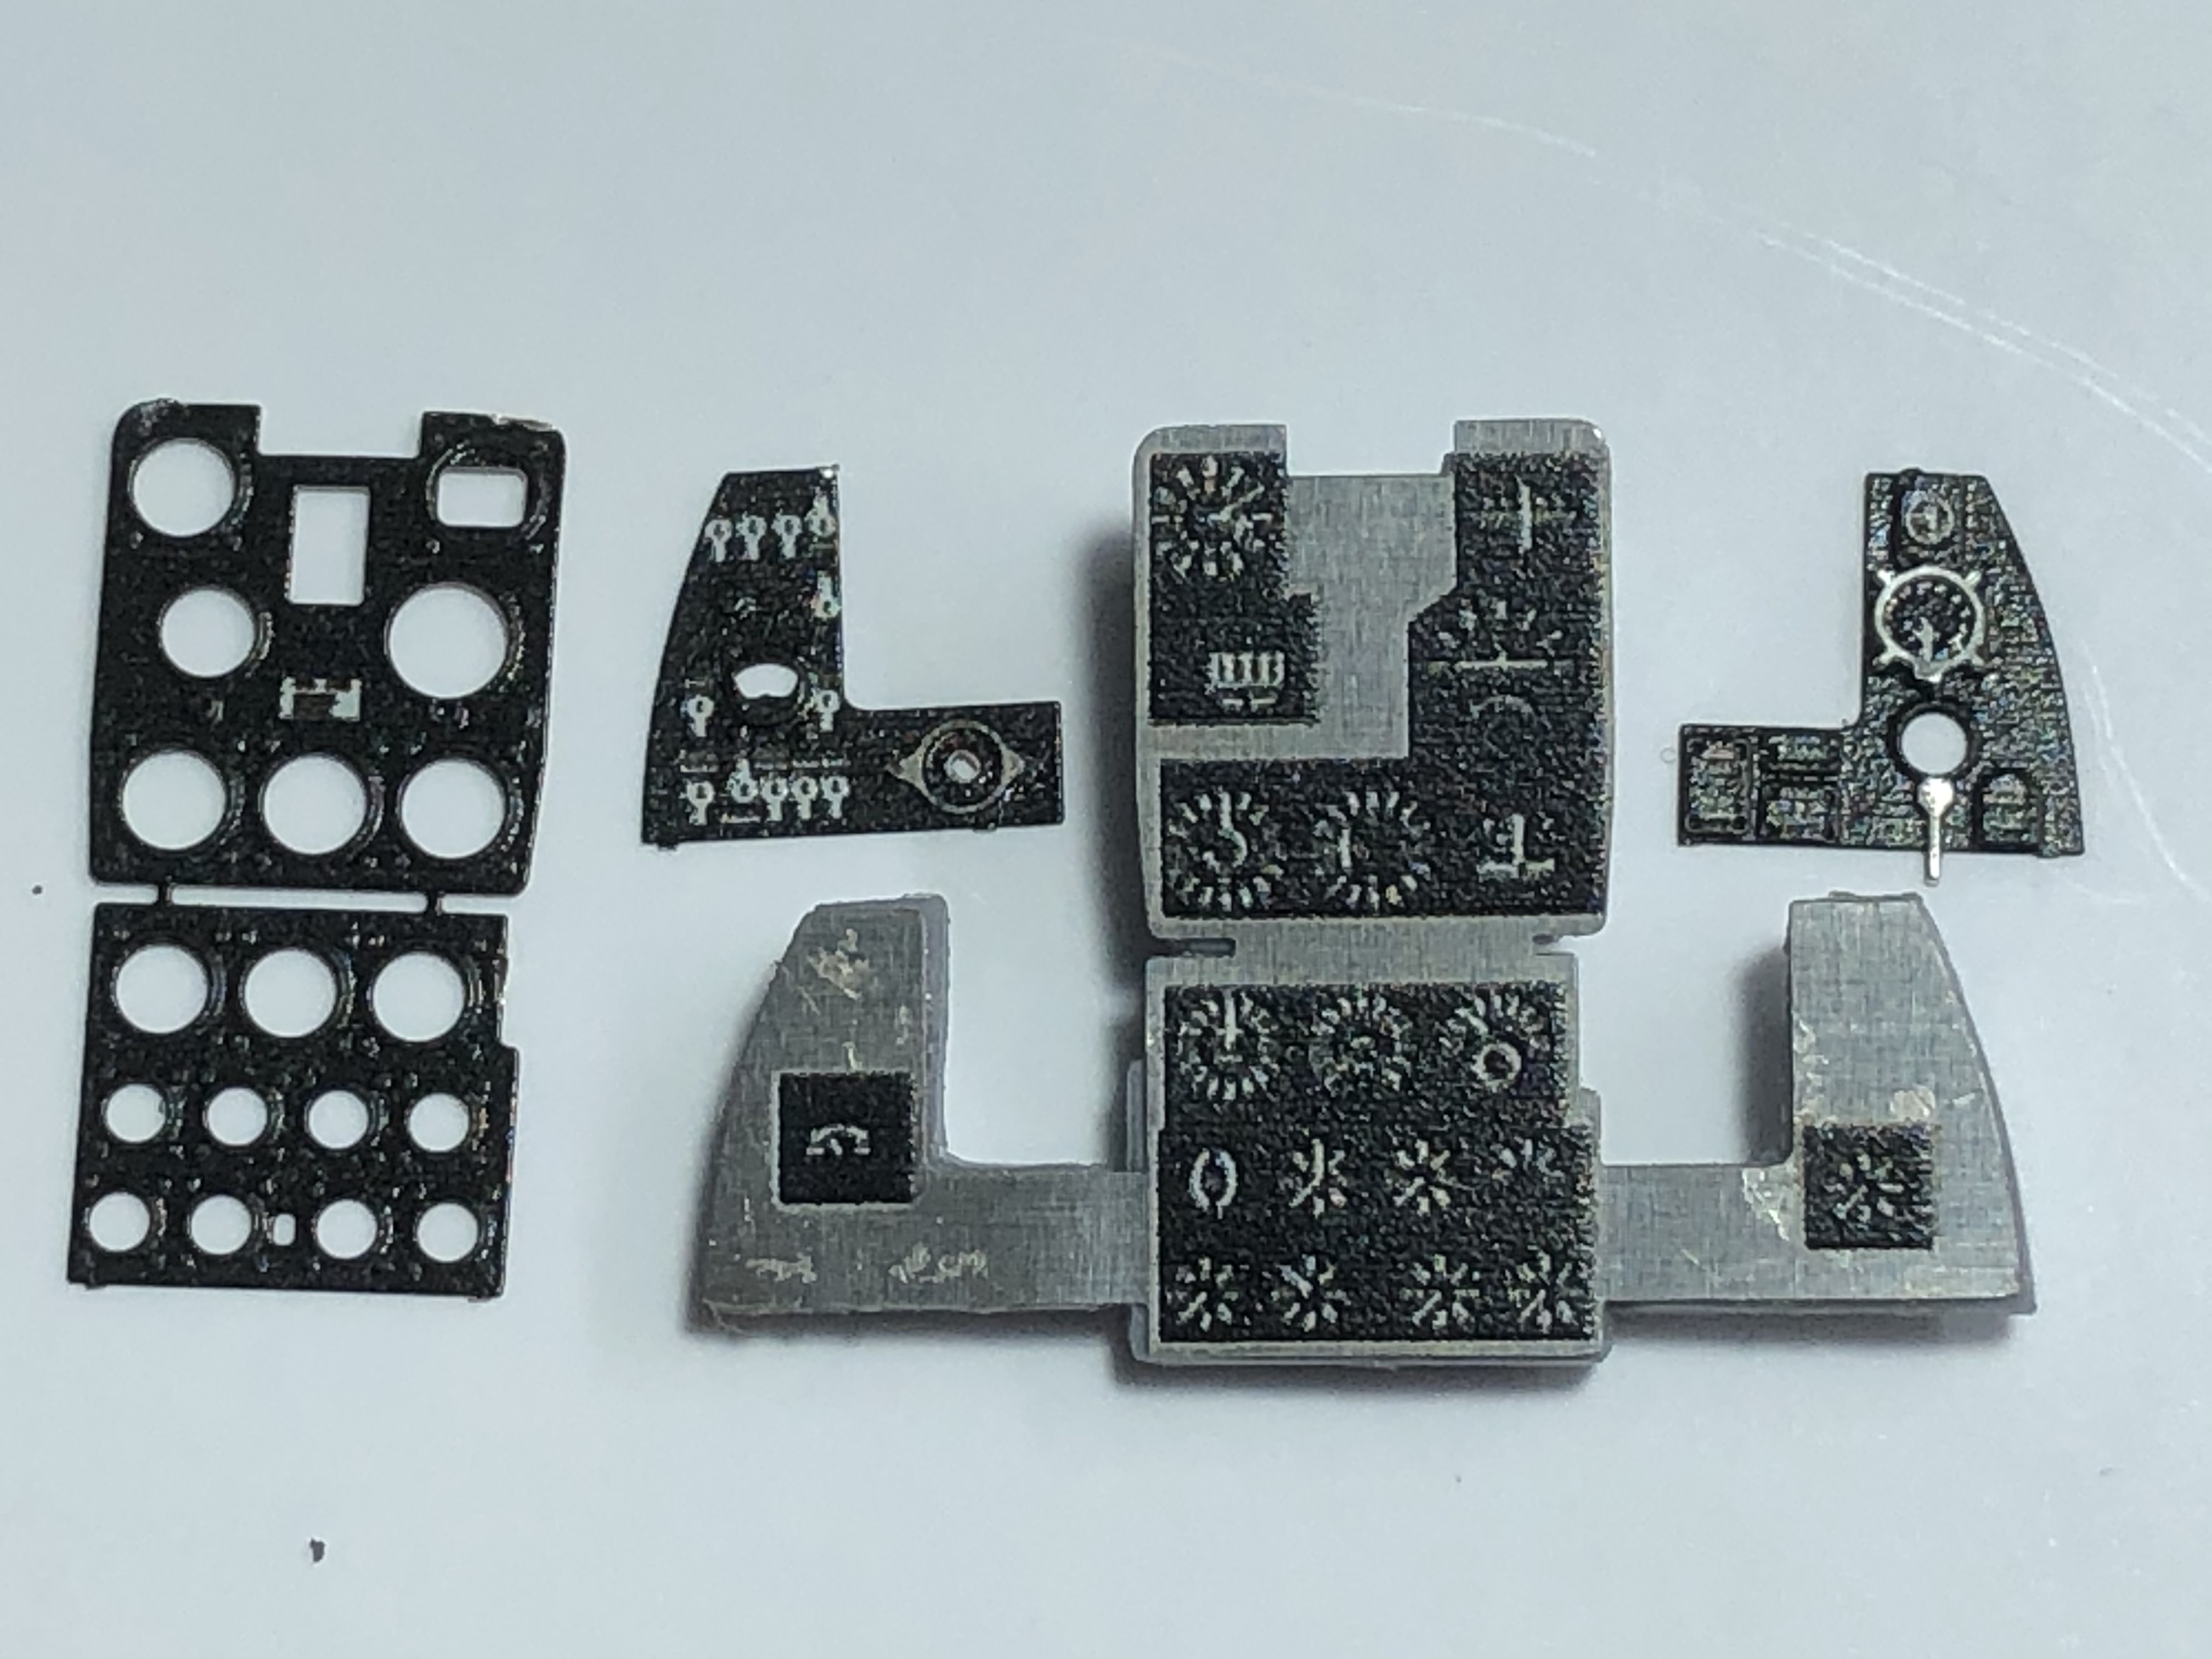
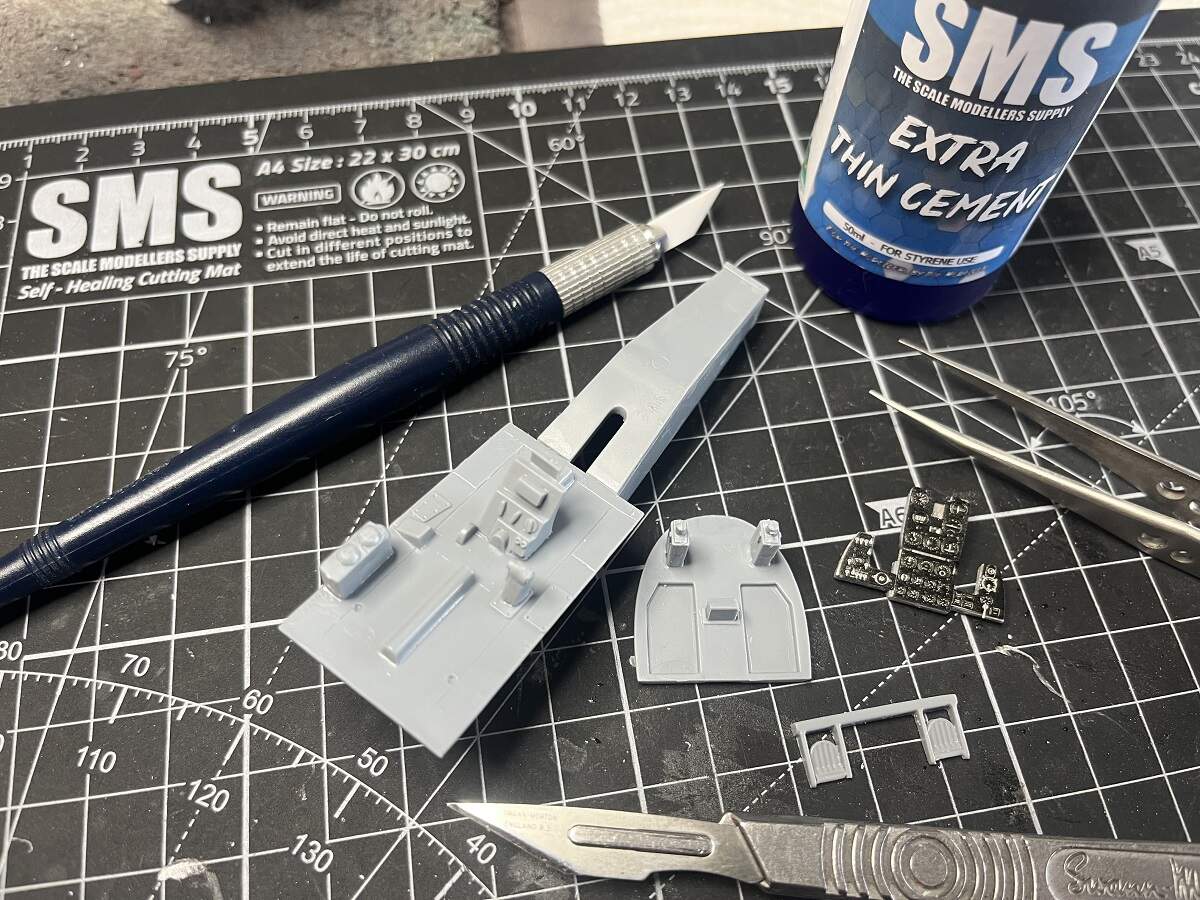
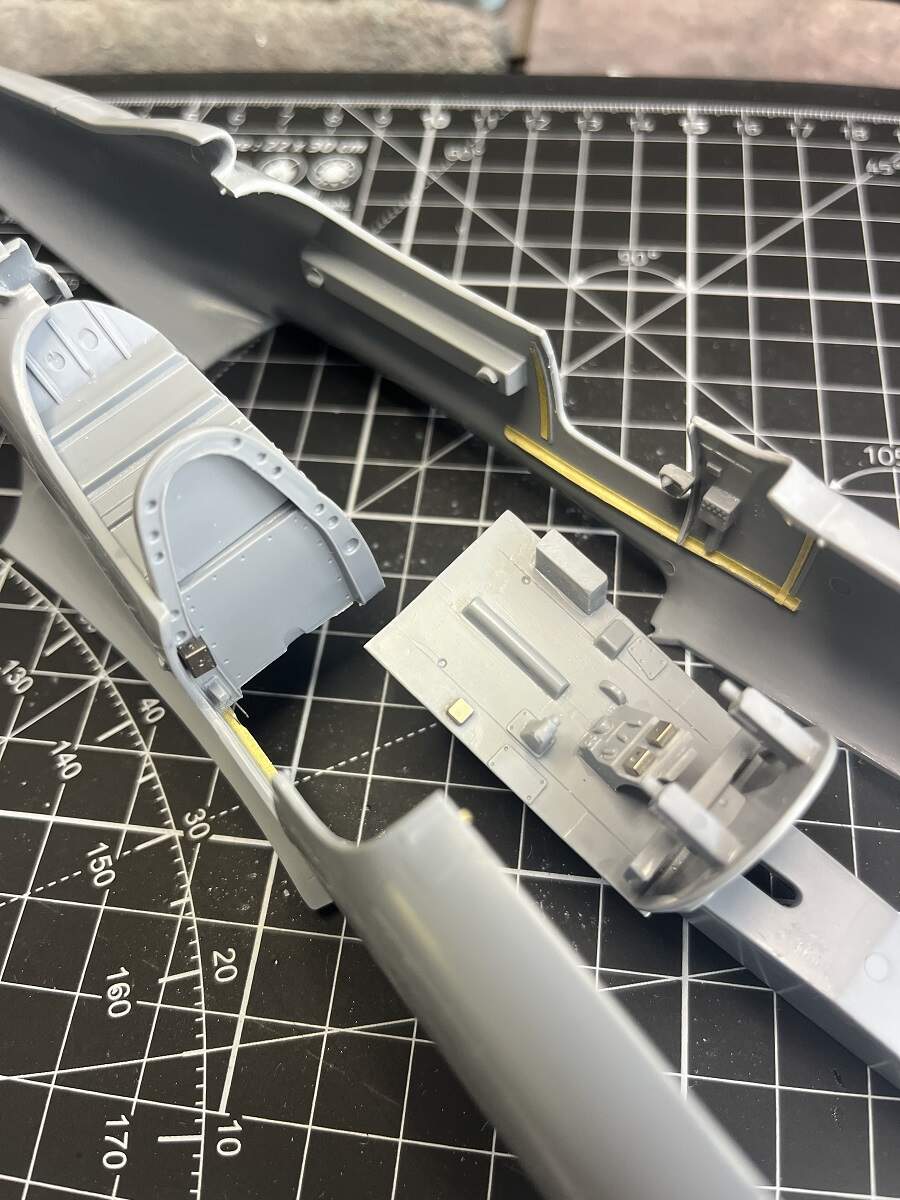
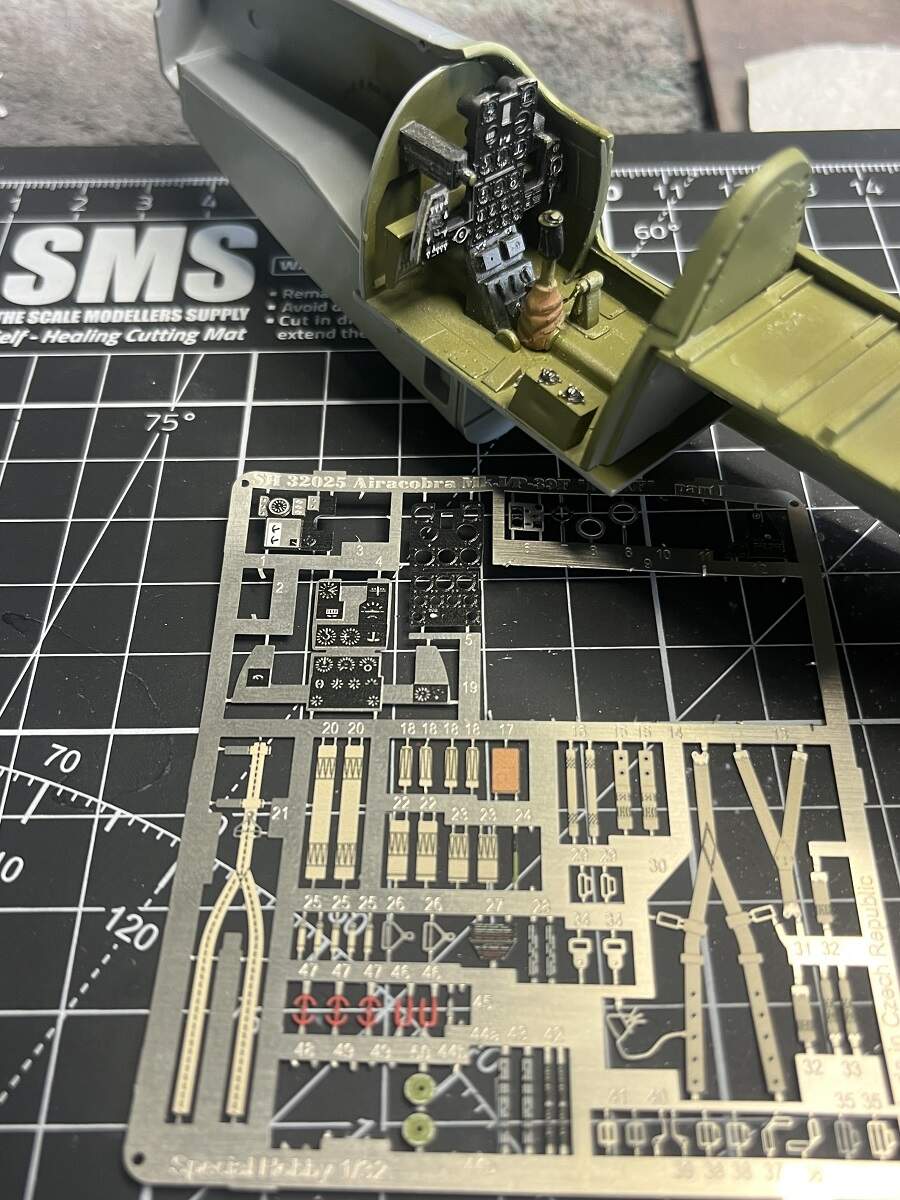
Steps 1 and 2 involve the nose wheel bay and cockpit sub assemblies including removing the raised details on the IP in preparation for the PE parts provided in the kit. The wheel bay went together ok but you need to pay attention to the alignment of the parts as there are no locating pins or tabs, just butt-joins.
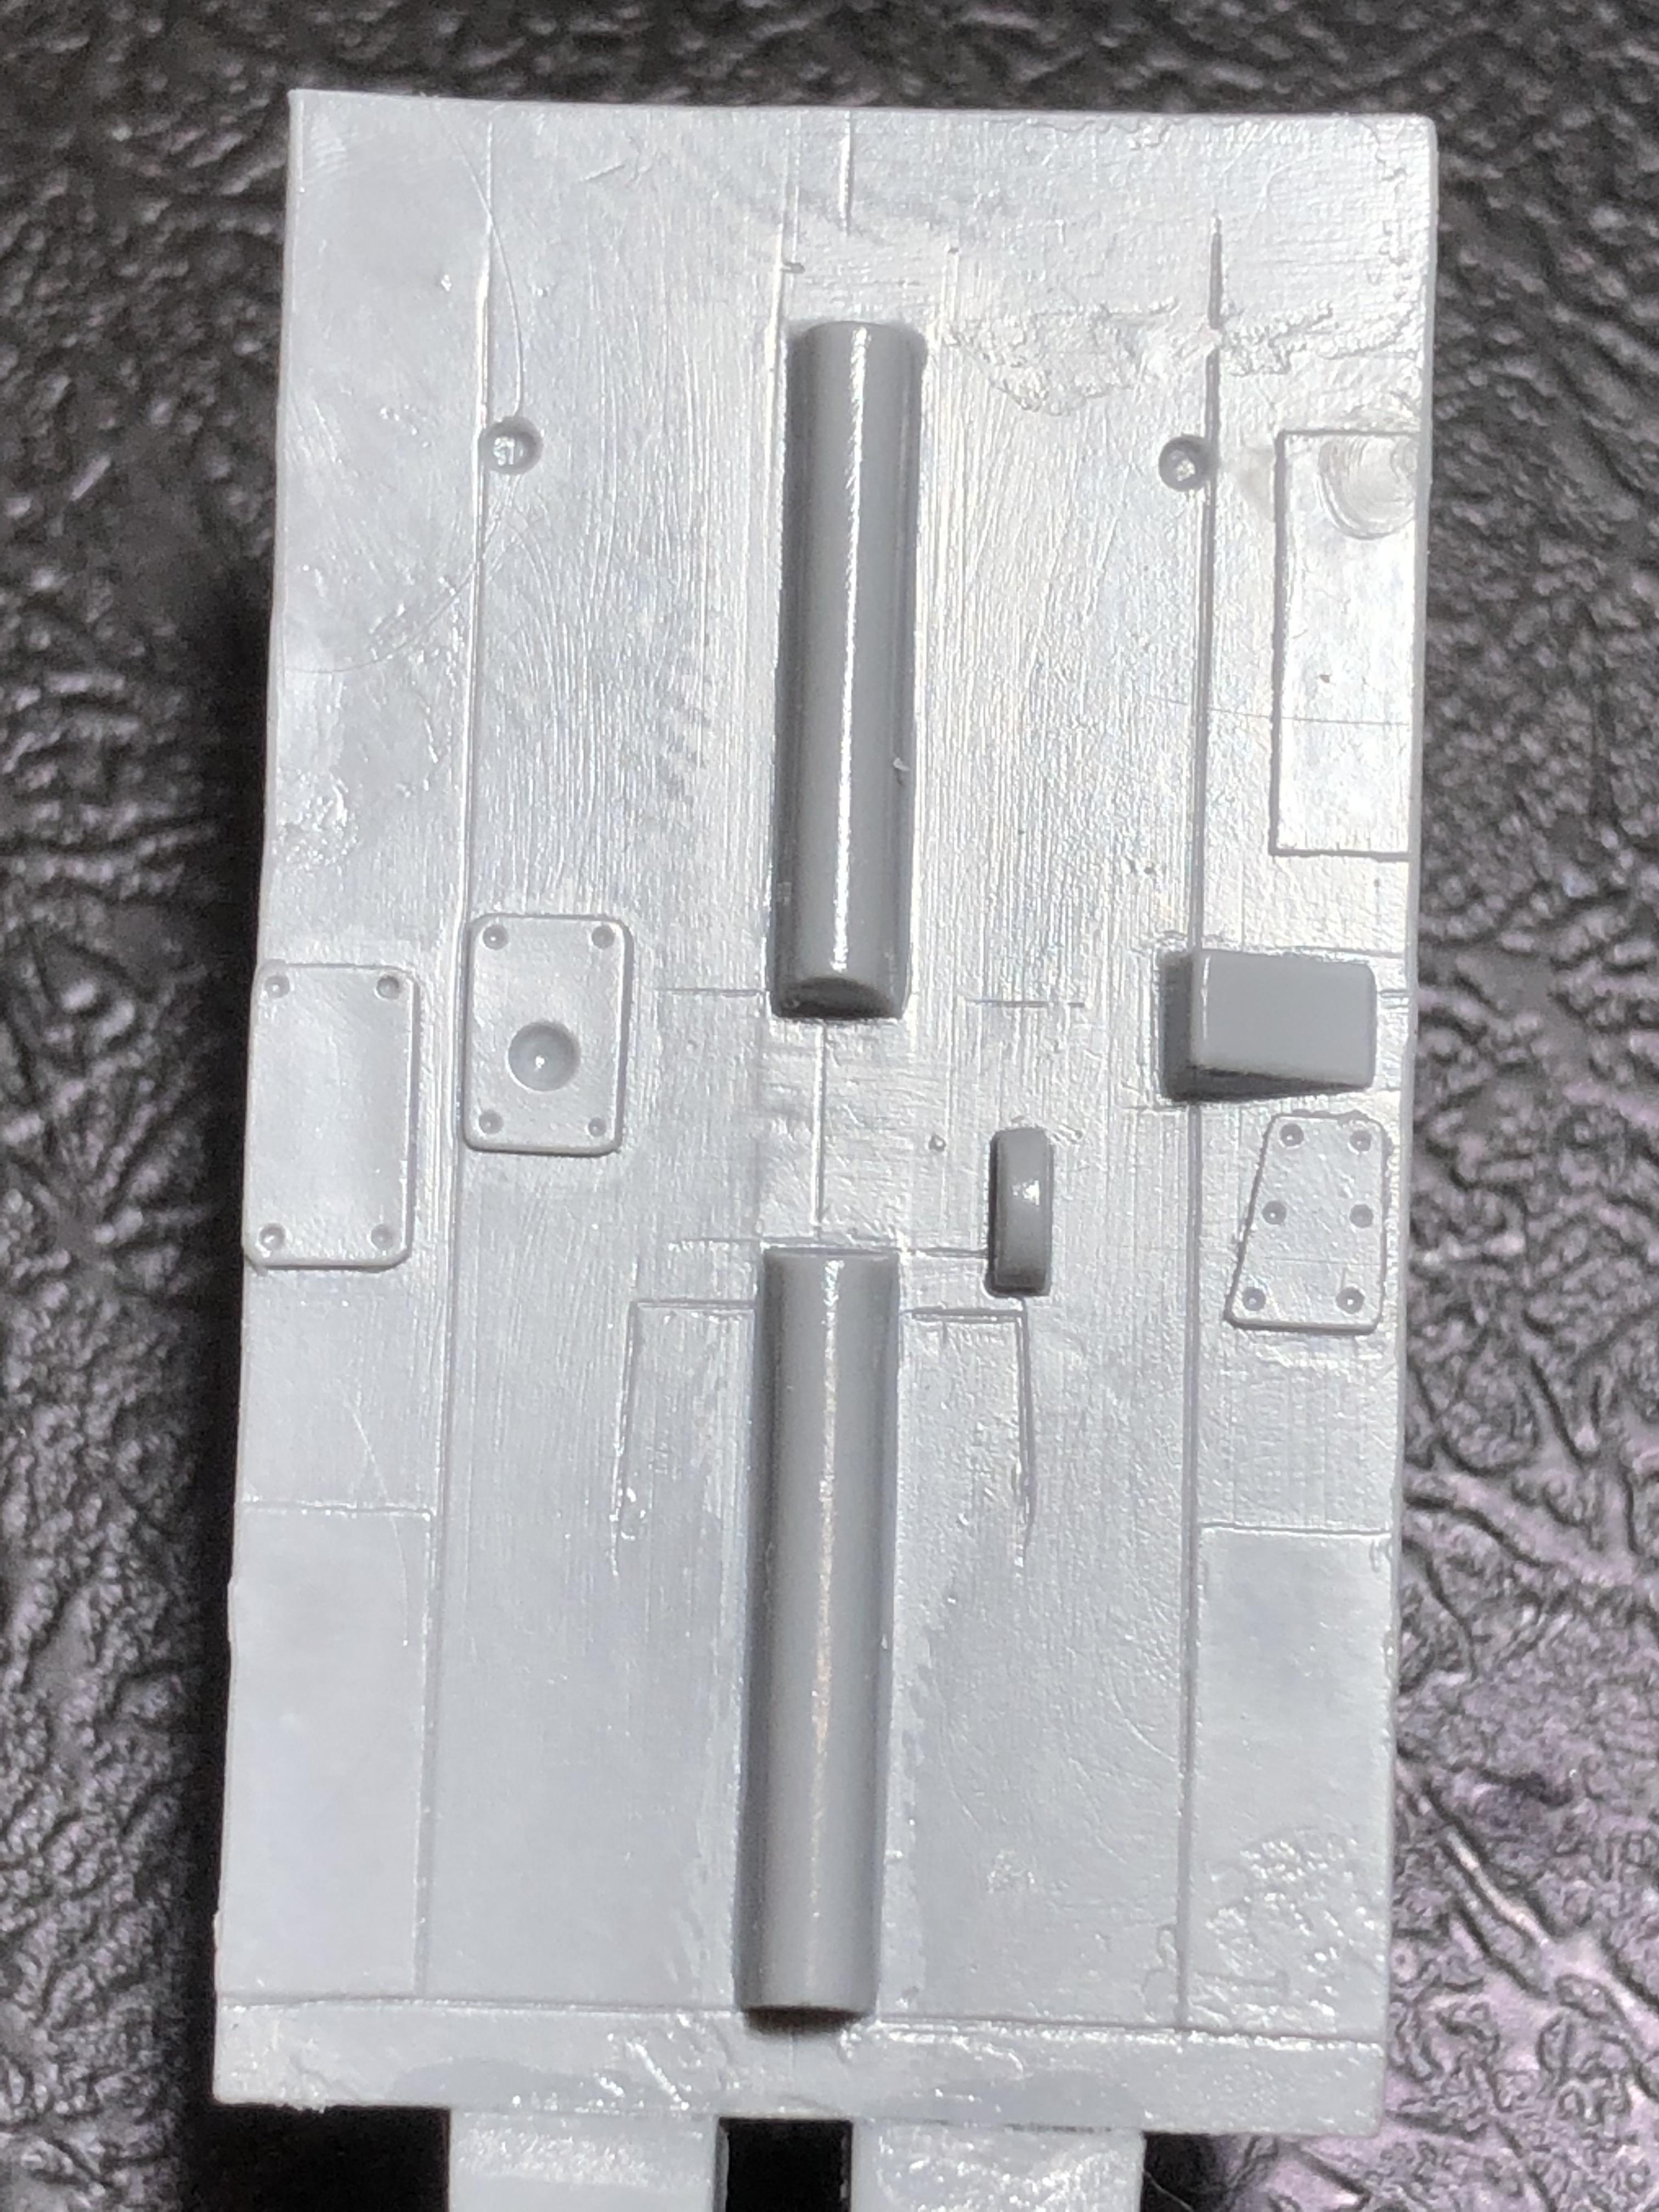
Surface detail is nice, but a bit soft. I will use a ceramic blade scraper to fine-tune it a bit prior to paint.
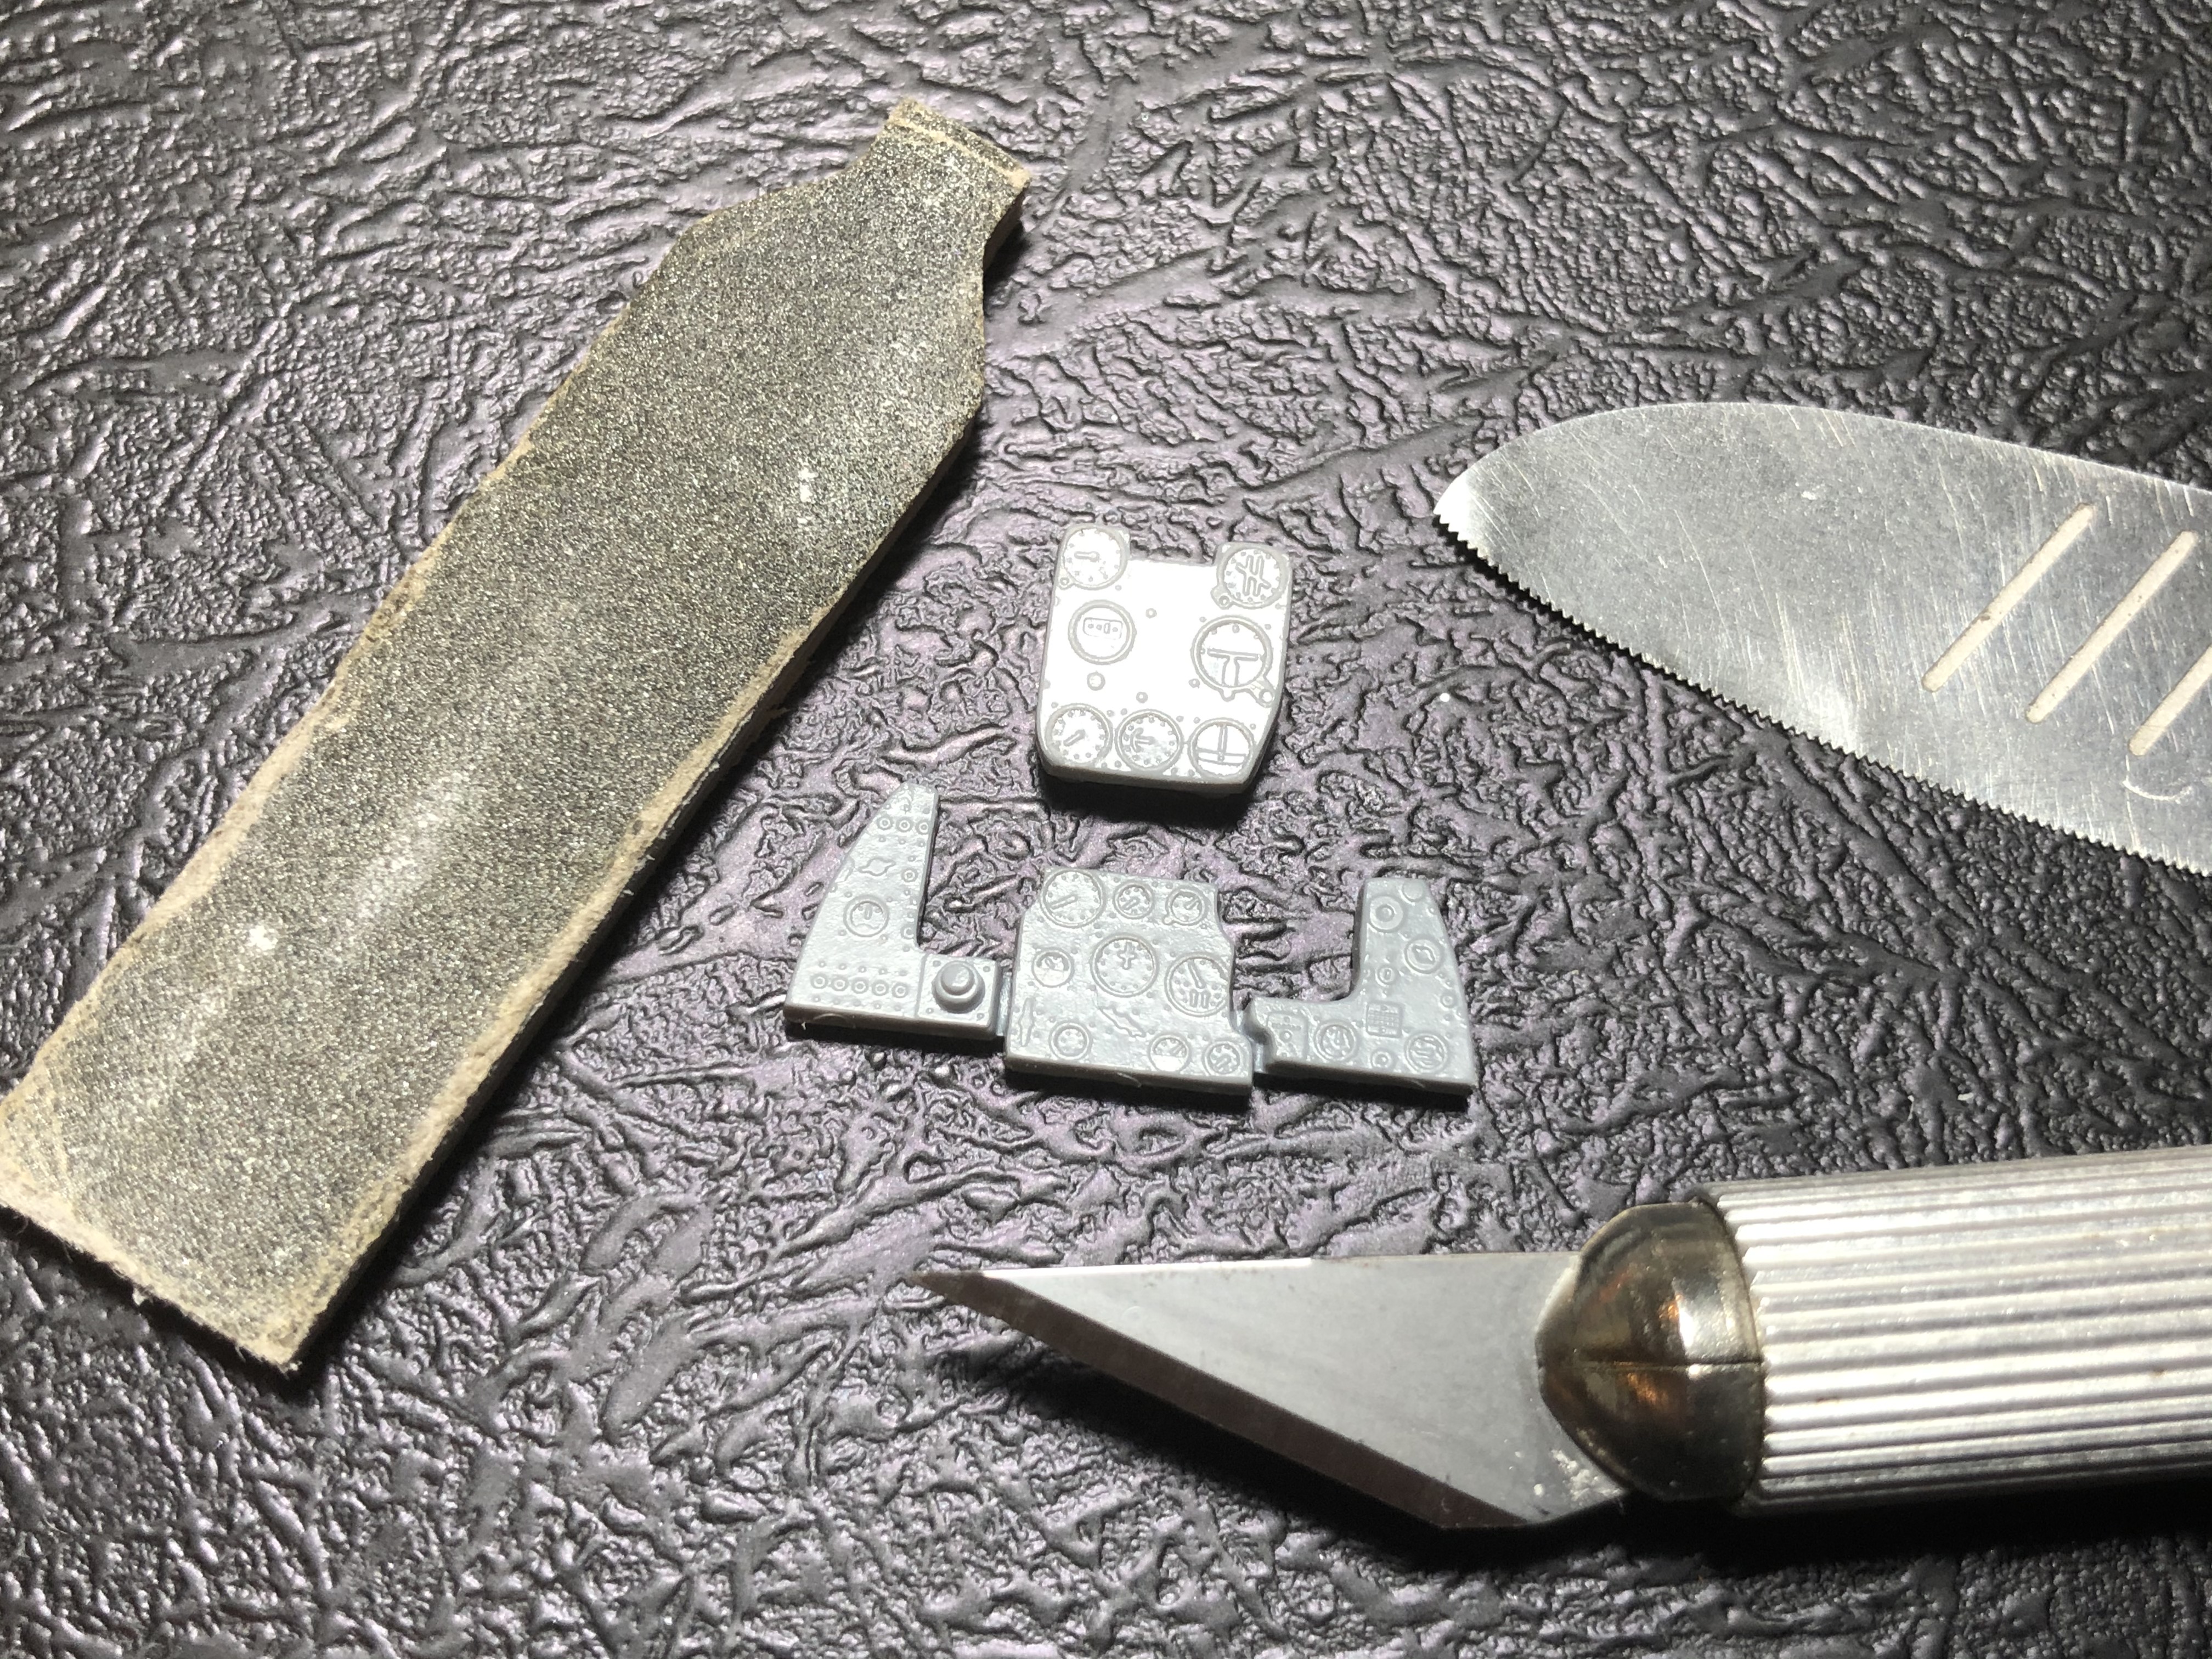
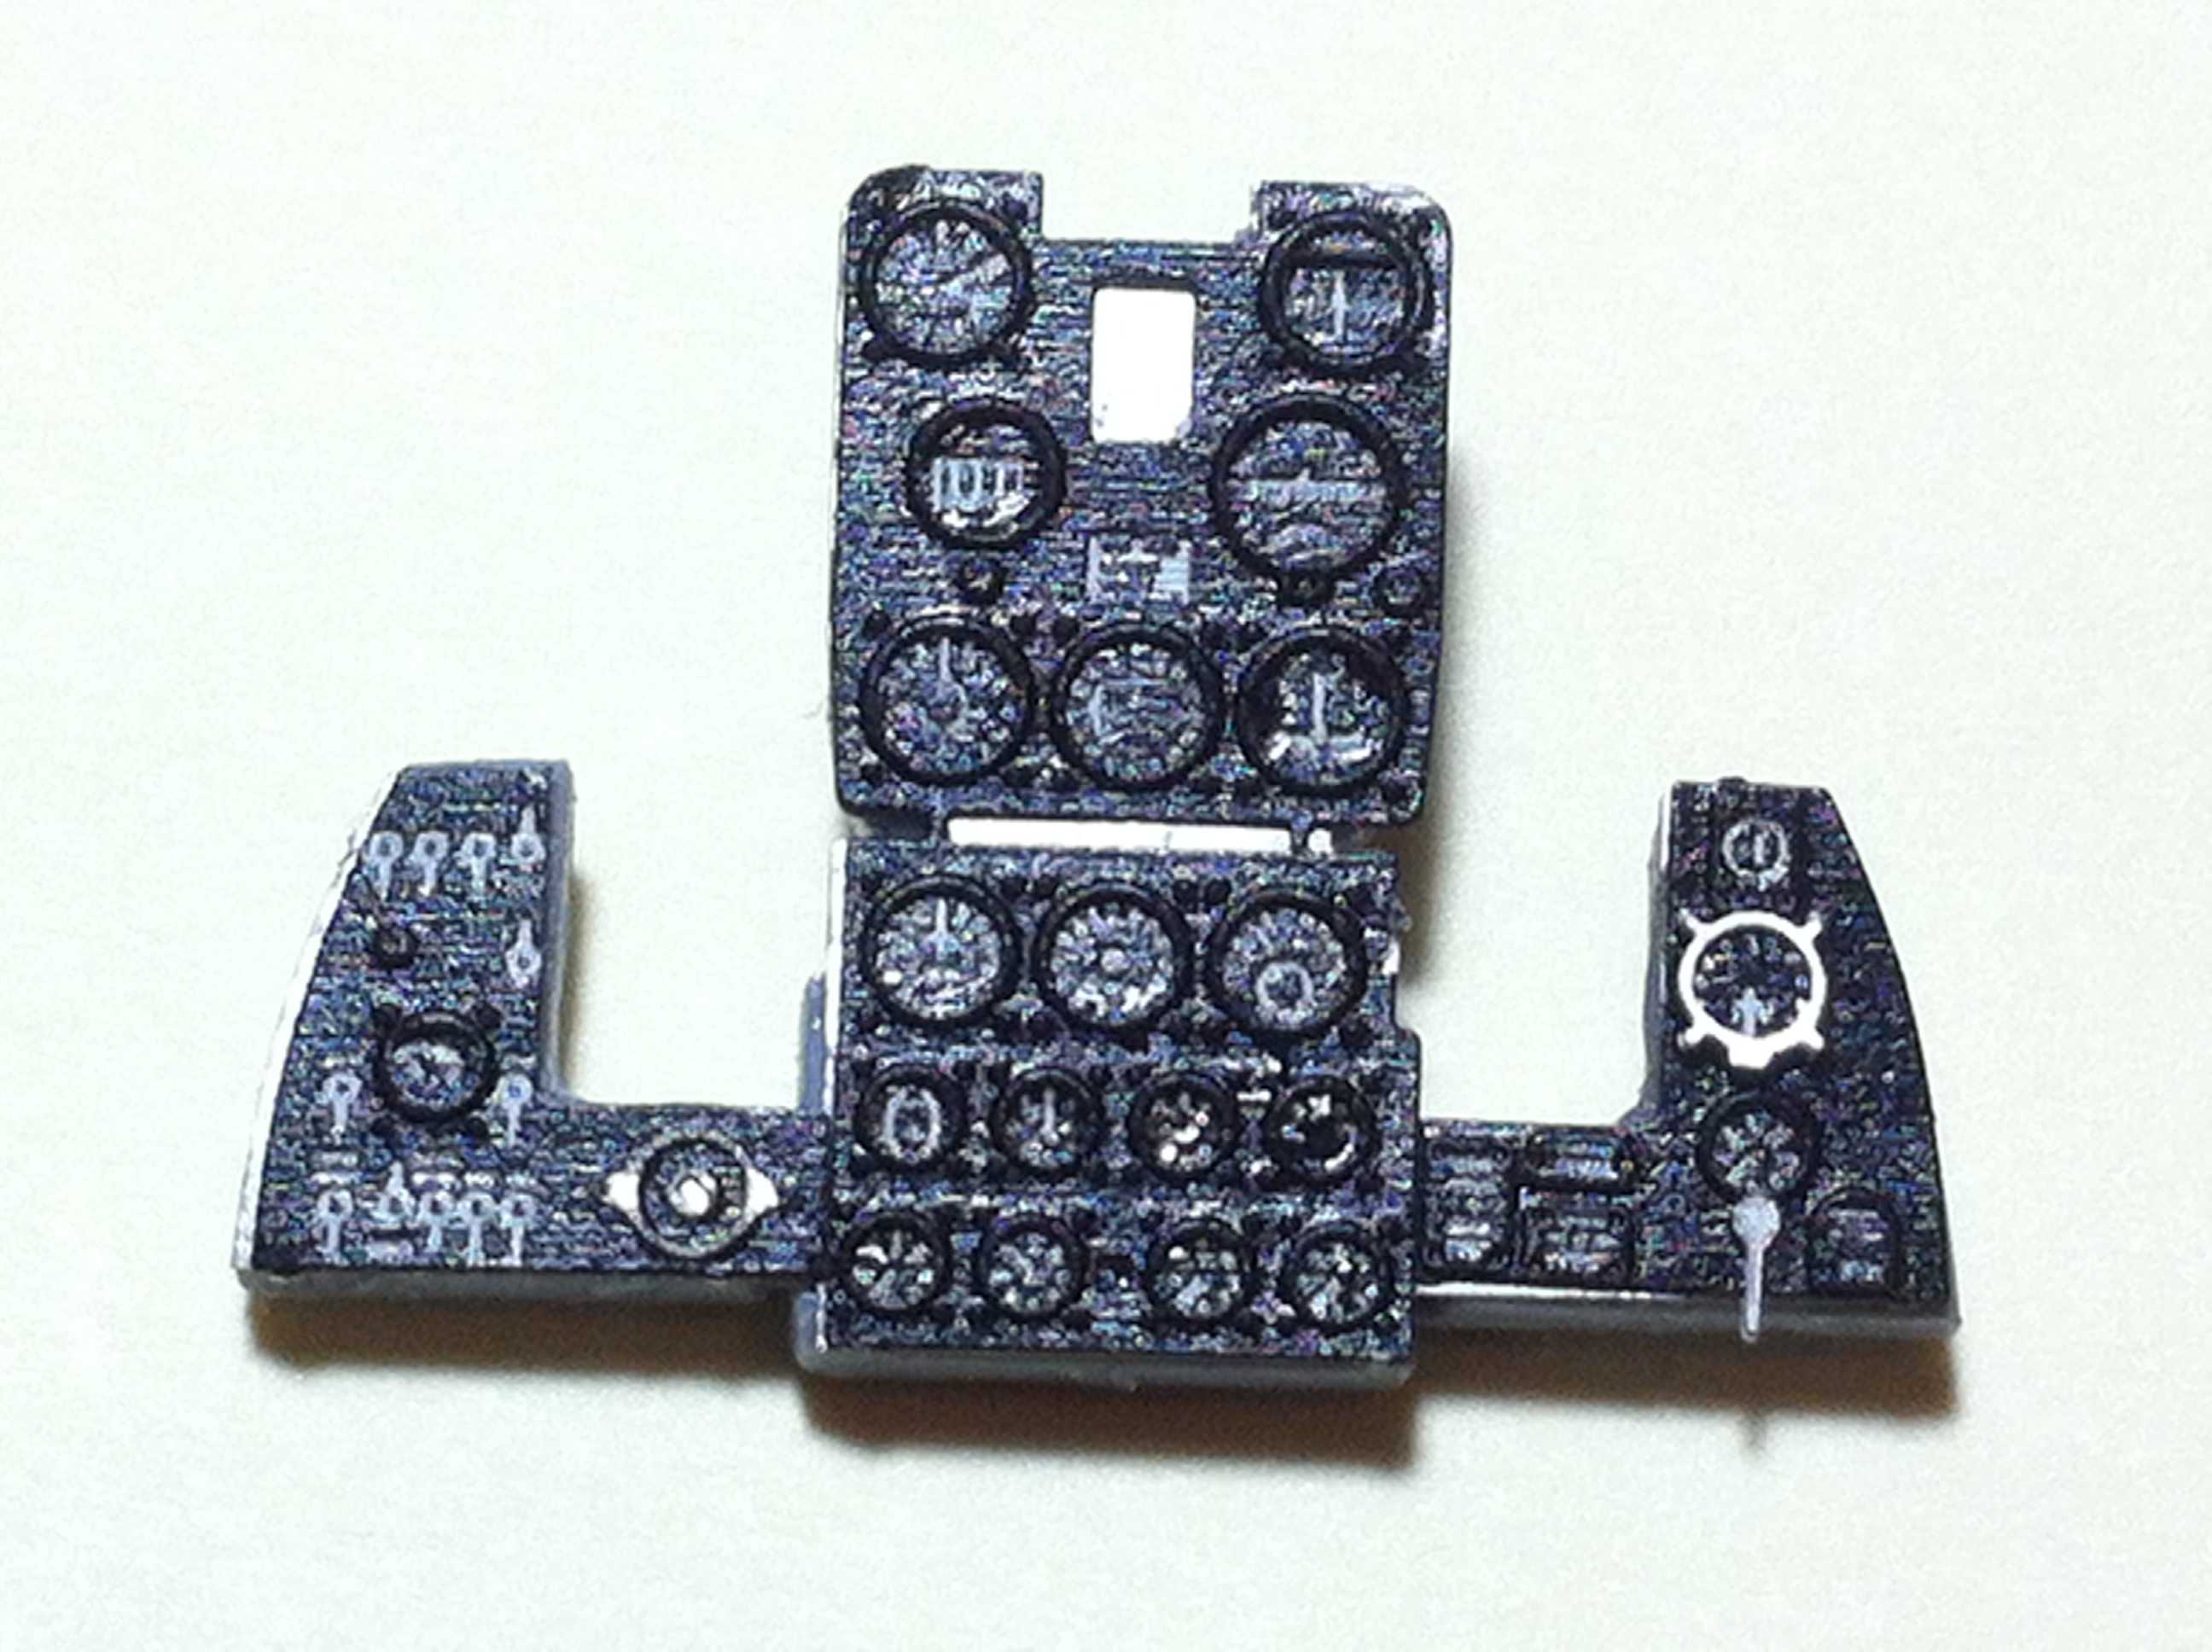
On to the Instrument Panel. The plastic is quite soft so not problems removing the raised details. The PE parts fit neatly and are a big improvement on the styrene kit part. I glued them in place with MIG Acrylic Ultra Glue which I found very simple to use instead of the usual go-to of medium CA. It allowed extra working time, easier clean-up and less fingers stuck to parts.
That’s it for now. As always, I am open to all suggestions and advice, comments and constructive critique!
Cheers, D
12 Likes
You will be watched, D! 
Good start on your “Bella Kangaroo”. At the first glance I thought it would be an RAF Airacobra Mk. I with RAAF markings but at a closer look I noticed that it has australian paints on.
I’m decaling Bella Red first to complete the Land-Lease Campaign in Armorama. It feels like 1000 stencils … 
Enjoy your build!
Torsten 
2 Likes
Nice work so far D!!! The kit parts look quite sturdy and nicely detailed so far.
2 Likes
I was in a construction mood tonight so I jumped forward to Page 6 (Steps 9 to 16) on this build and put together a bunch of sub assemblies.
In general things went together quite well on the smaller assemblies, after a few days to fully cure I will go over them and clean them up and do whatever filling/sanding/adjustment is needed to get them ready for dry-fitting.
The wheels are disappointing. There is absolutely zero tread detail on the rubber tyre sections. I have ordered a set of resin replacements, but will work with the kit parts for the moment as I don’t know how long the shipping will take. There is no stock here in Australia that I can find.
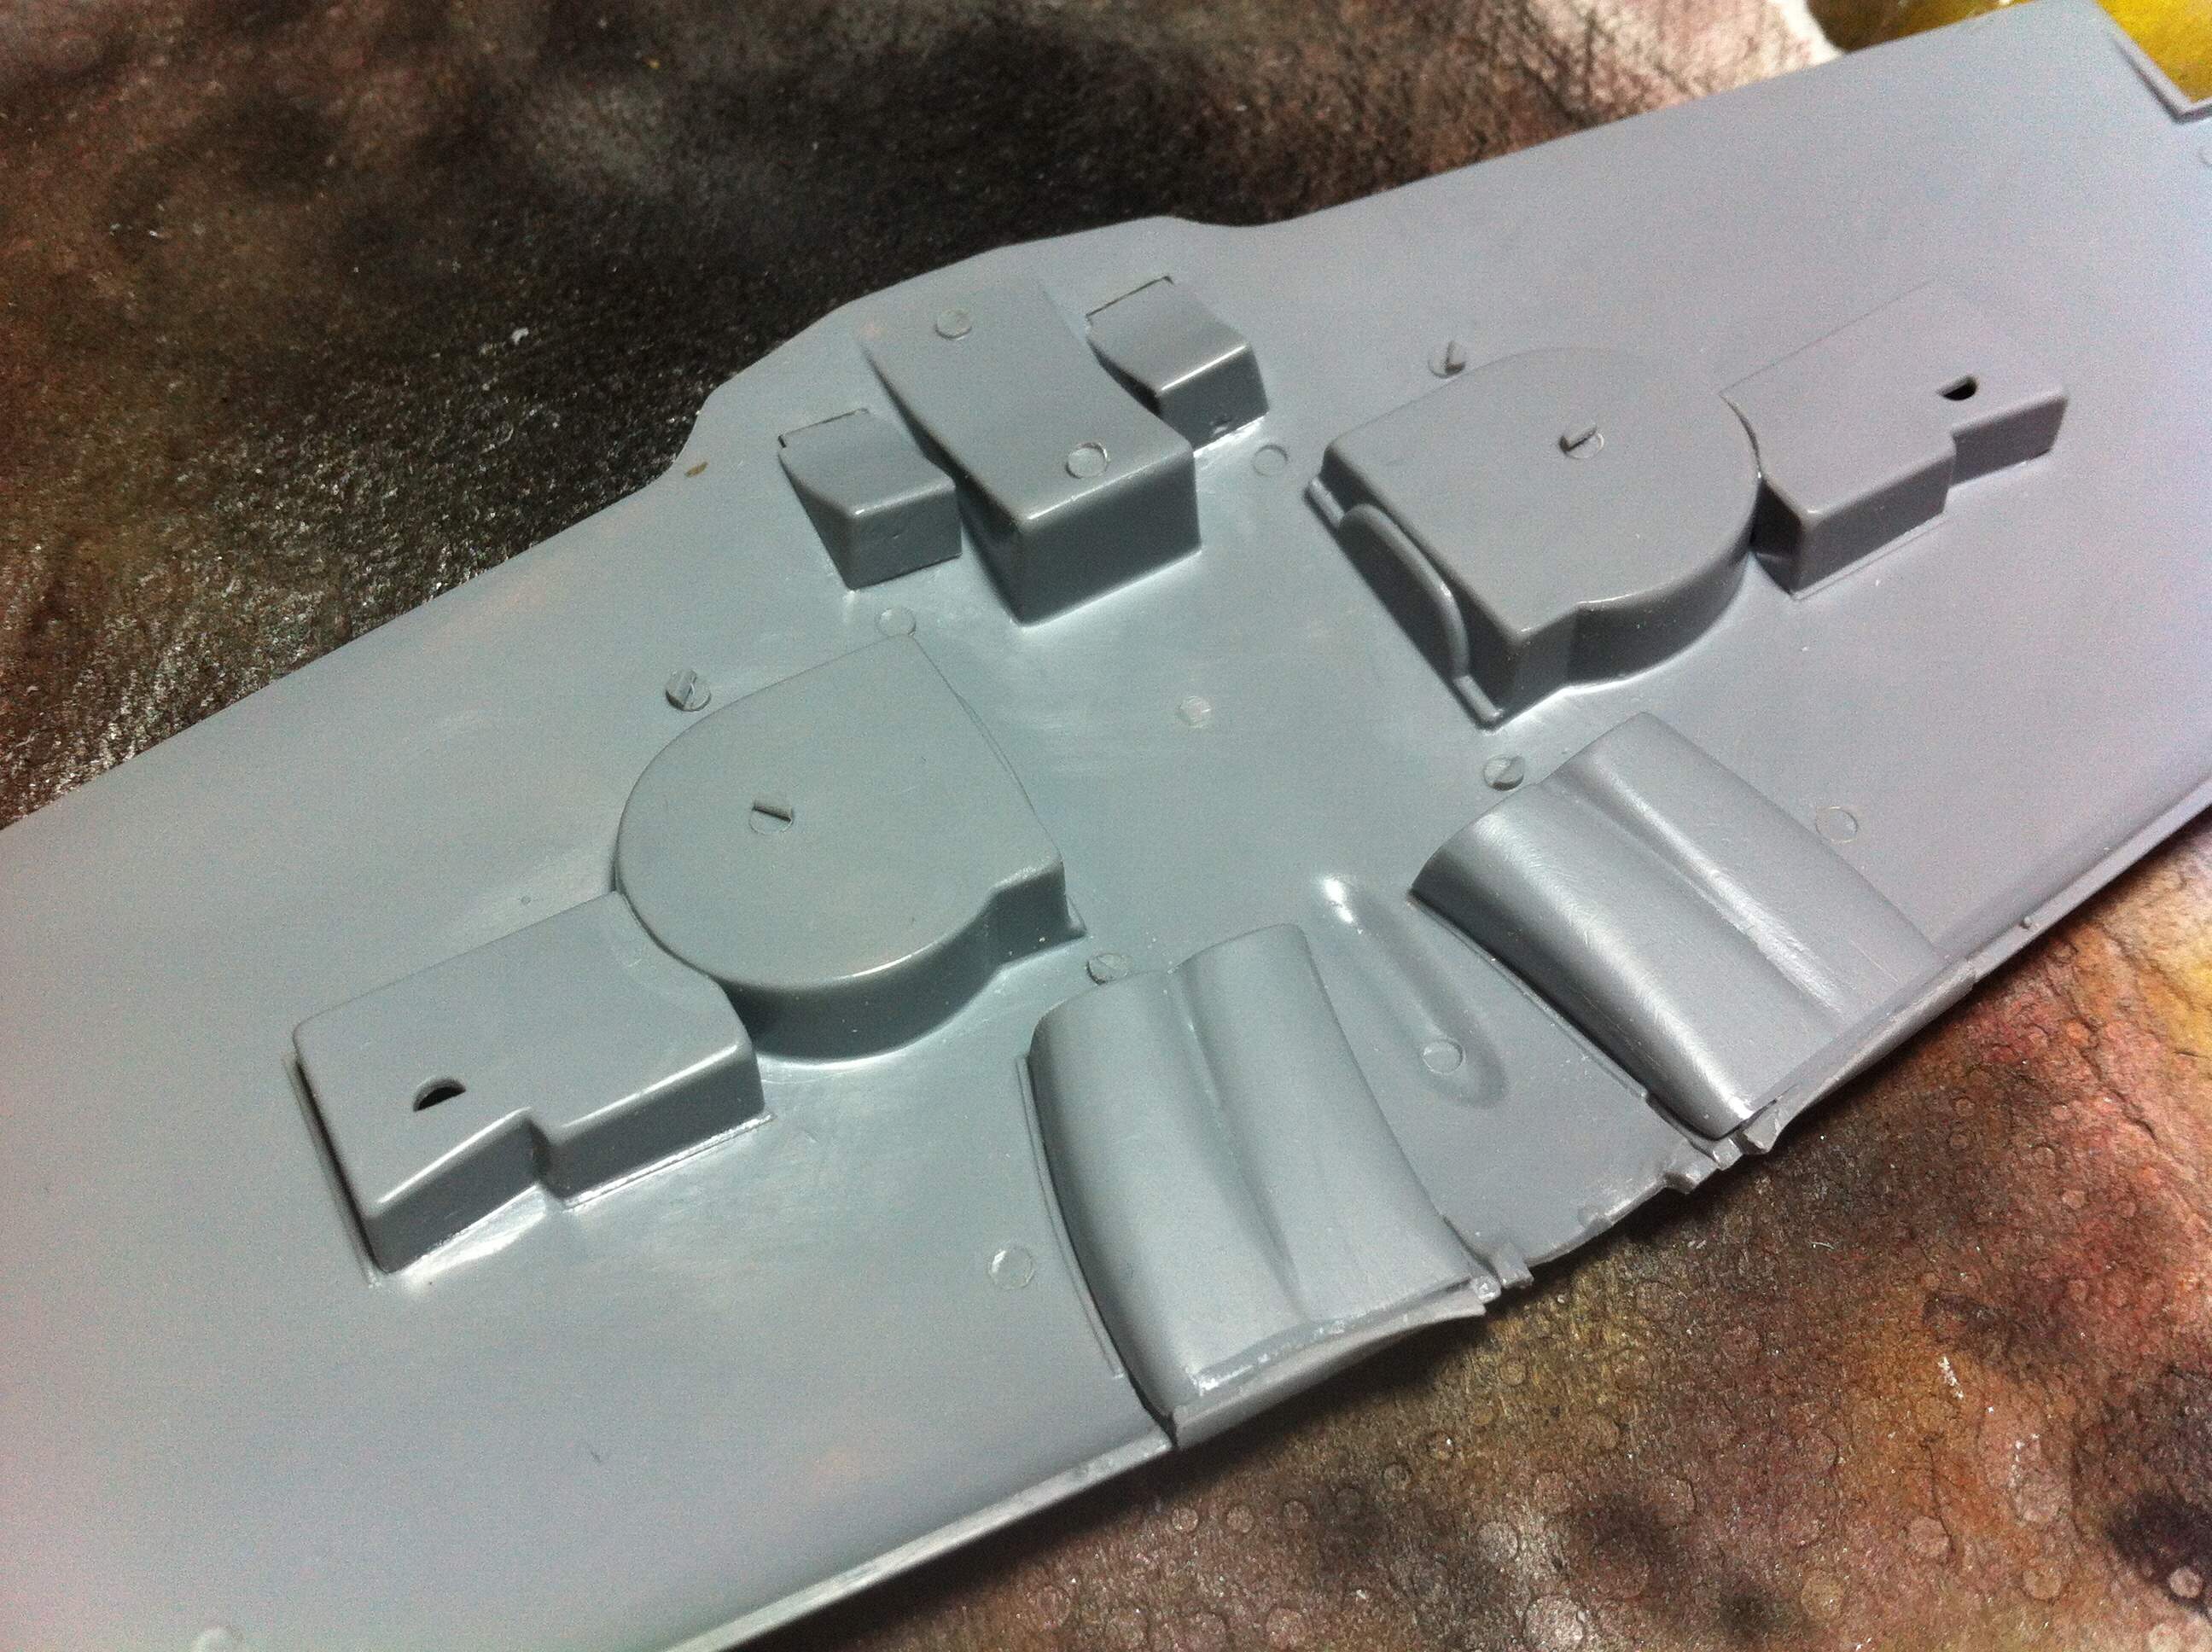
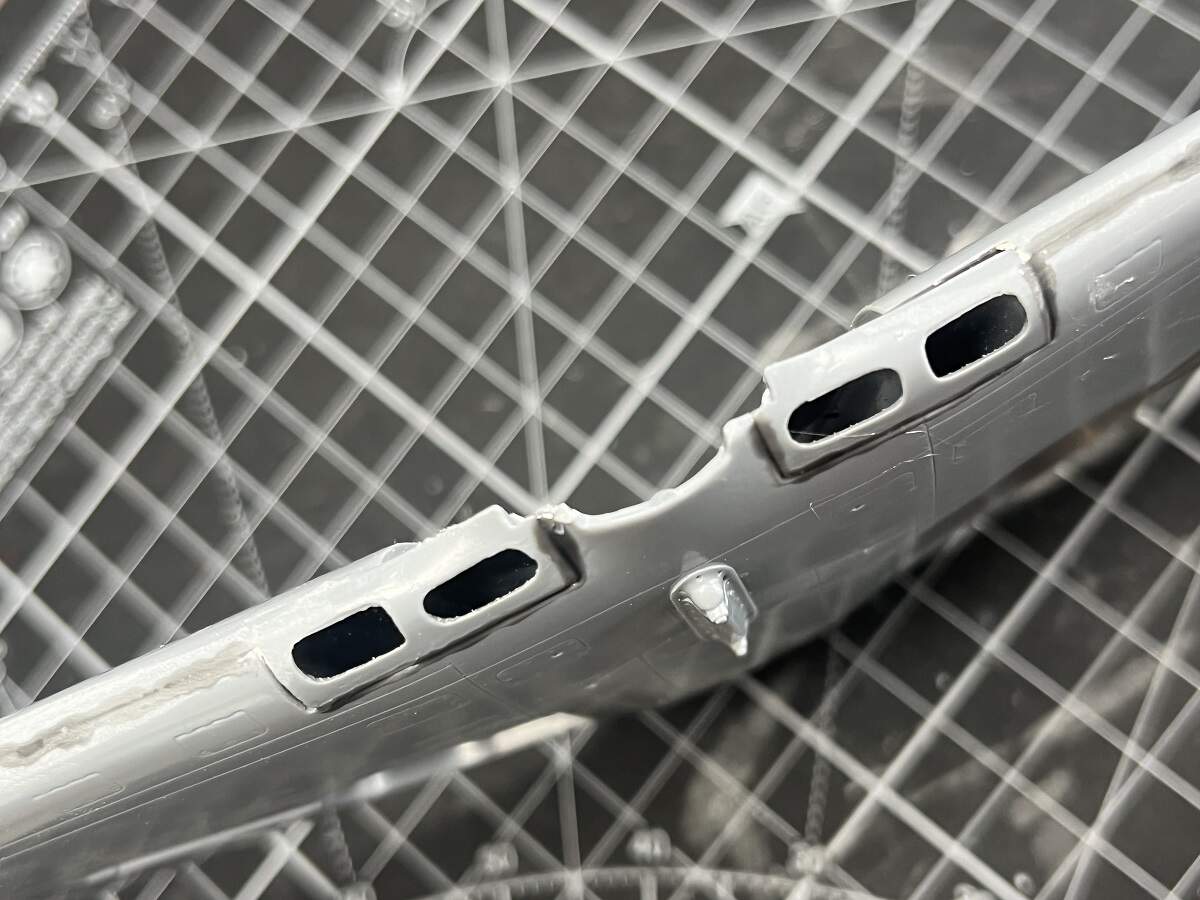
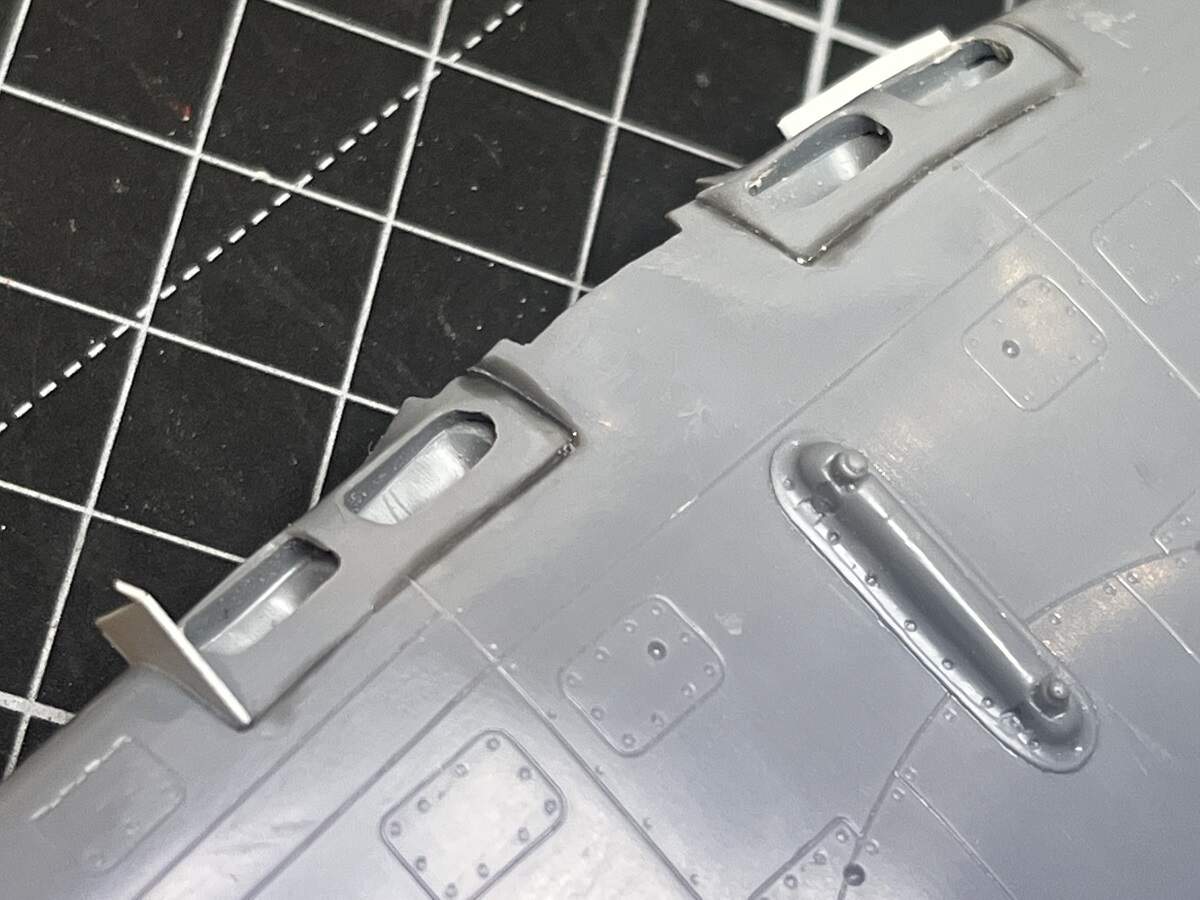
The parts that make up the wheel wells and air intakes, fitting to the bottom main wing part, needed a bit more attention and tweaking due to the flash, soft moulding and curved shapes, but once again went together with minimum fuss.
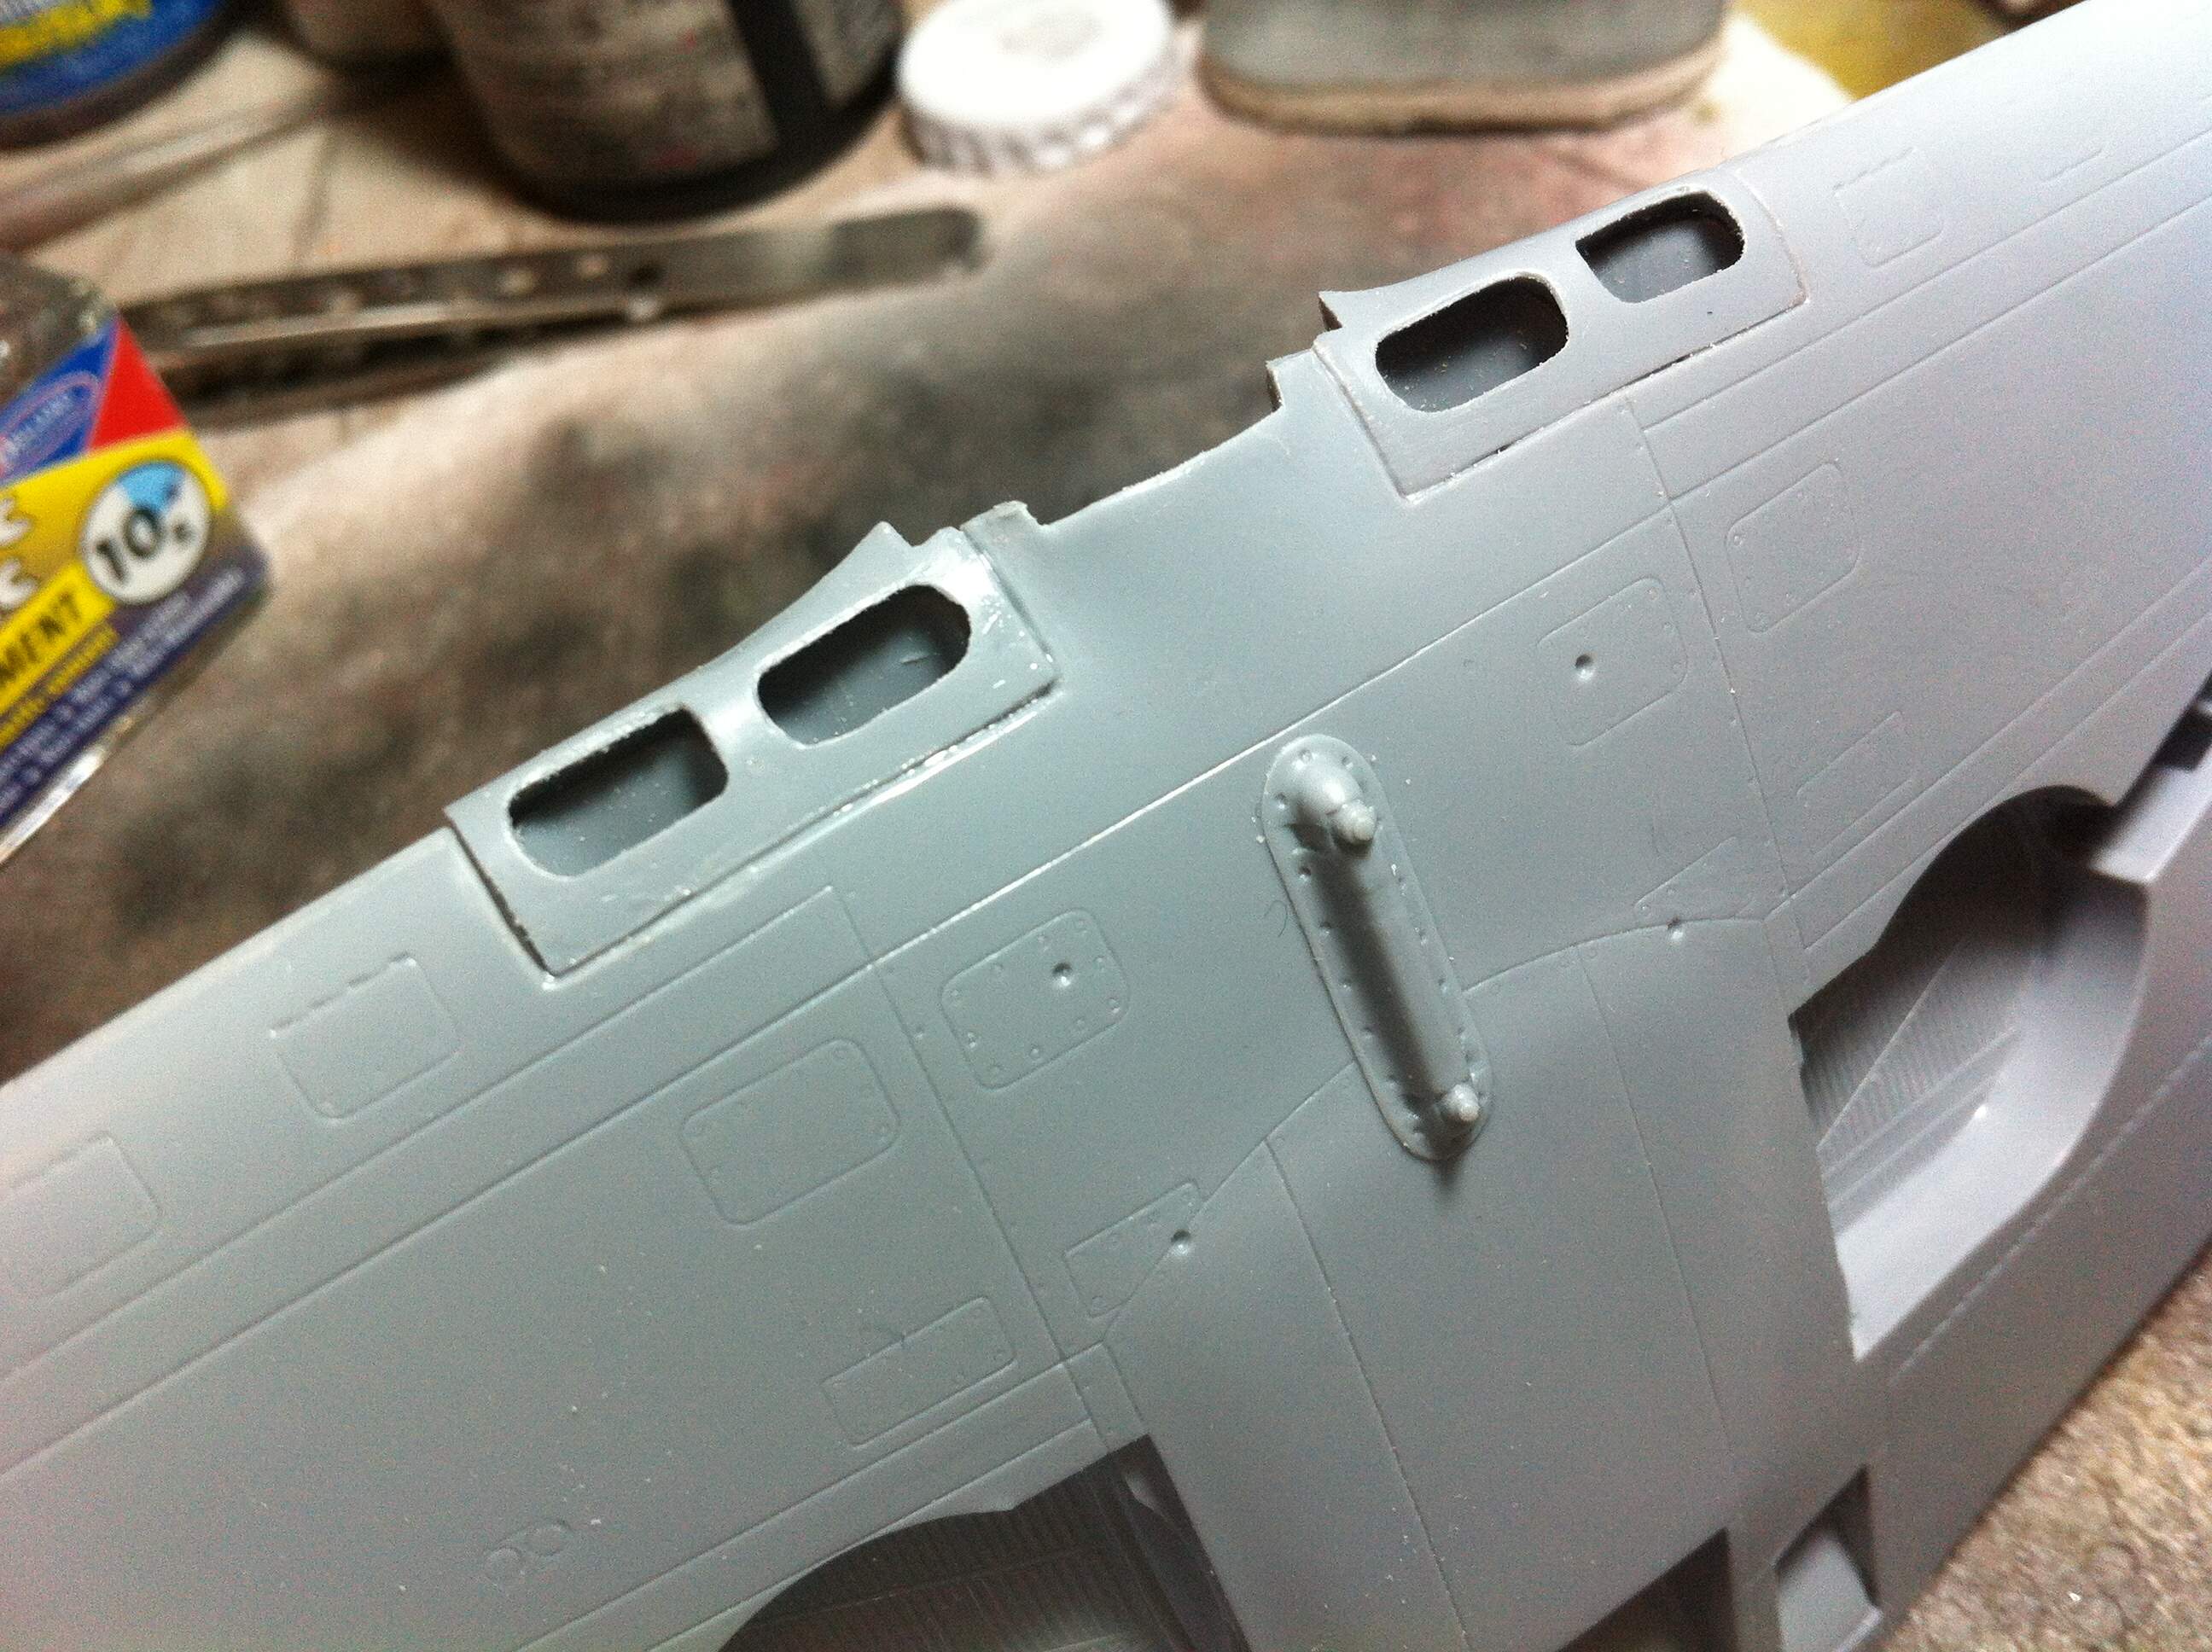
The air intake insert parts that fit to the inboard leading edge are a bit scarier, I have some work to do here to tidy up the joins, and a thin shim will be required to fill the outside edge gap on the right wing.
I could have done some more sanding on the trailing edge of the inserts to get them to fit more neatly with the main wing, but that would have reduced the overall dimension and resulted in a step on the leading edge curved profile. I decided that it would be easier to clean up a relatively flat mating join on the underside where it is less conspicuous.
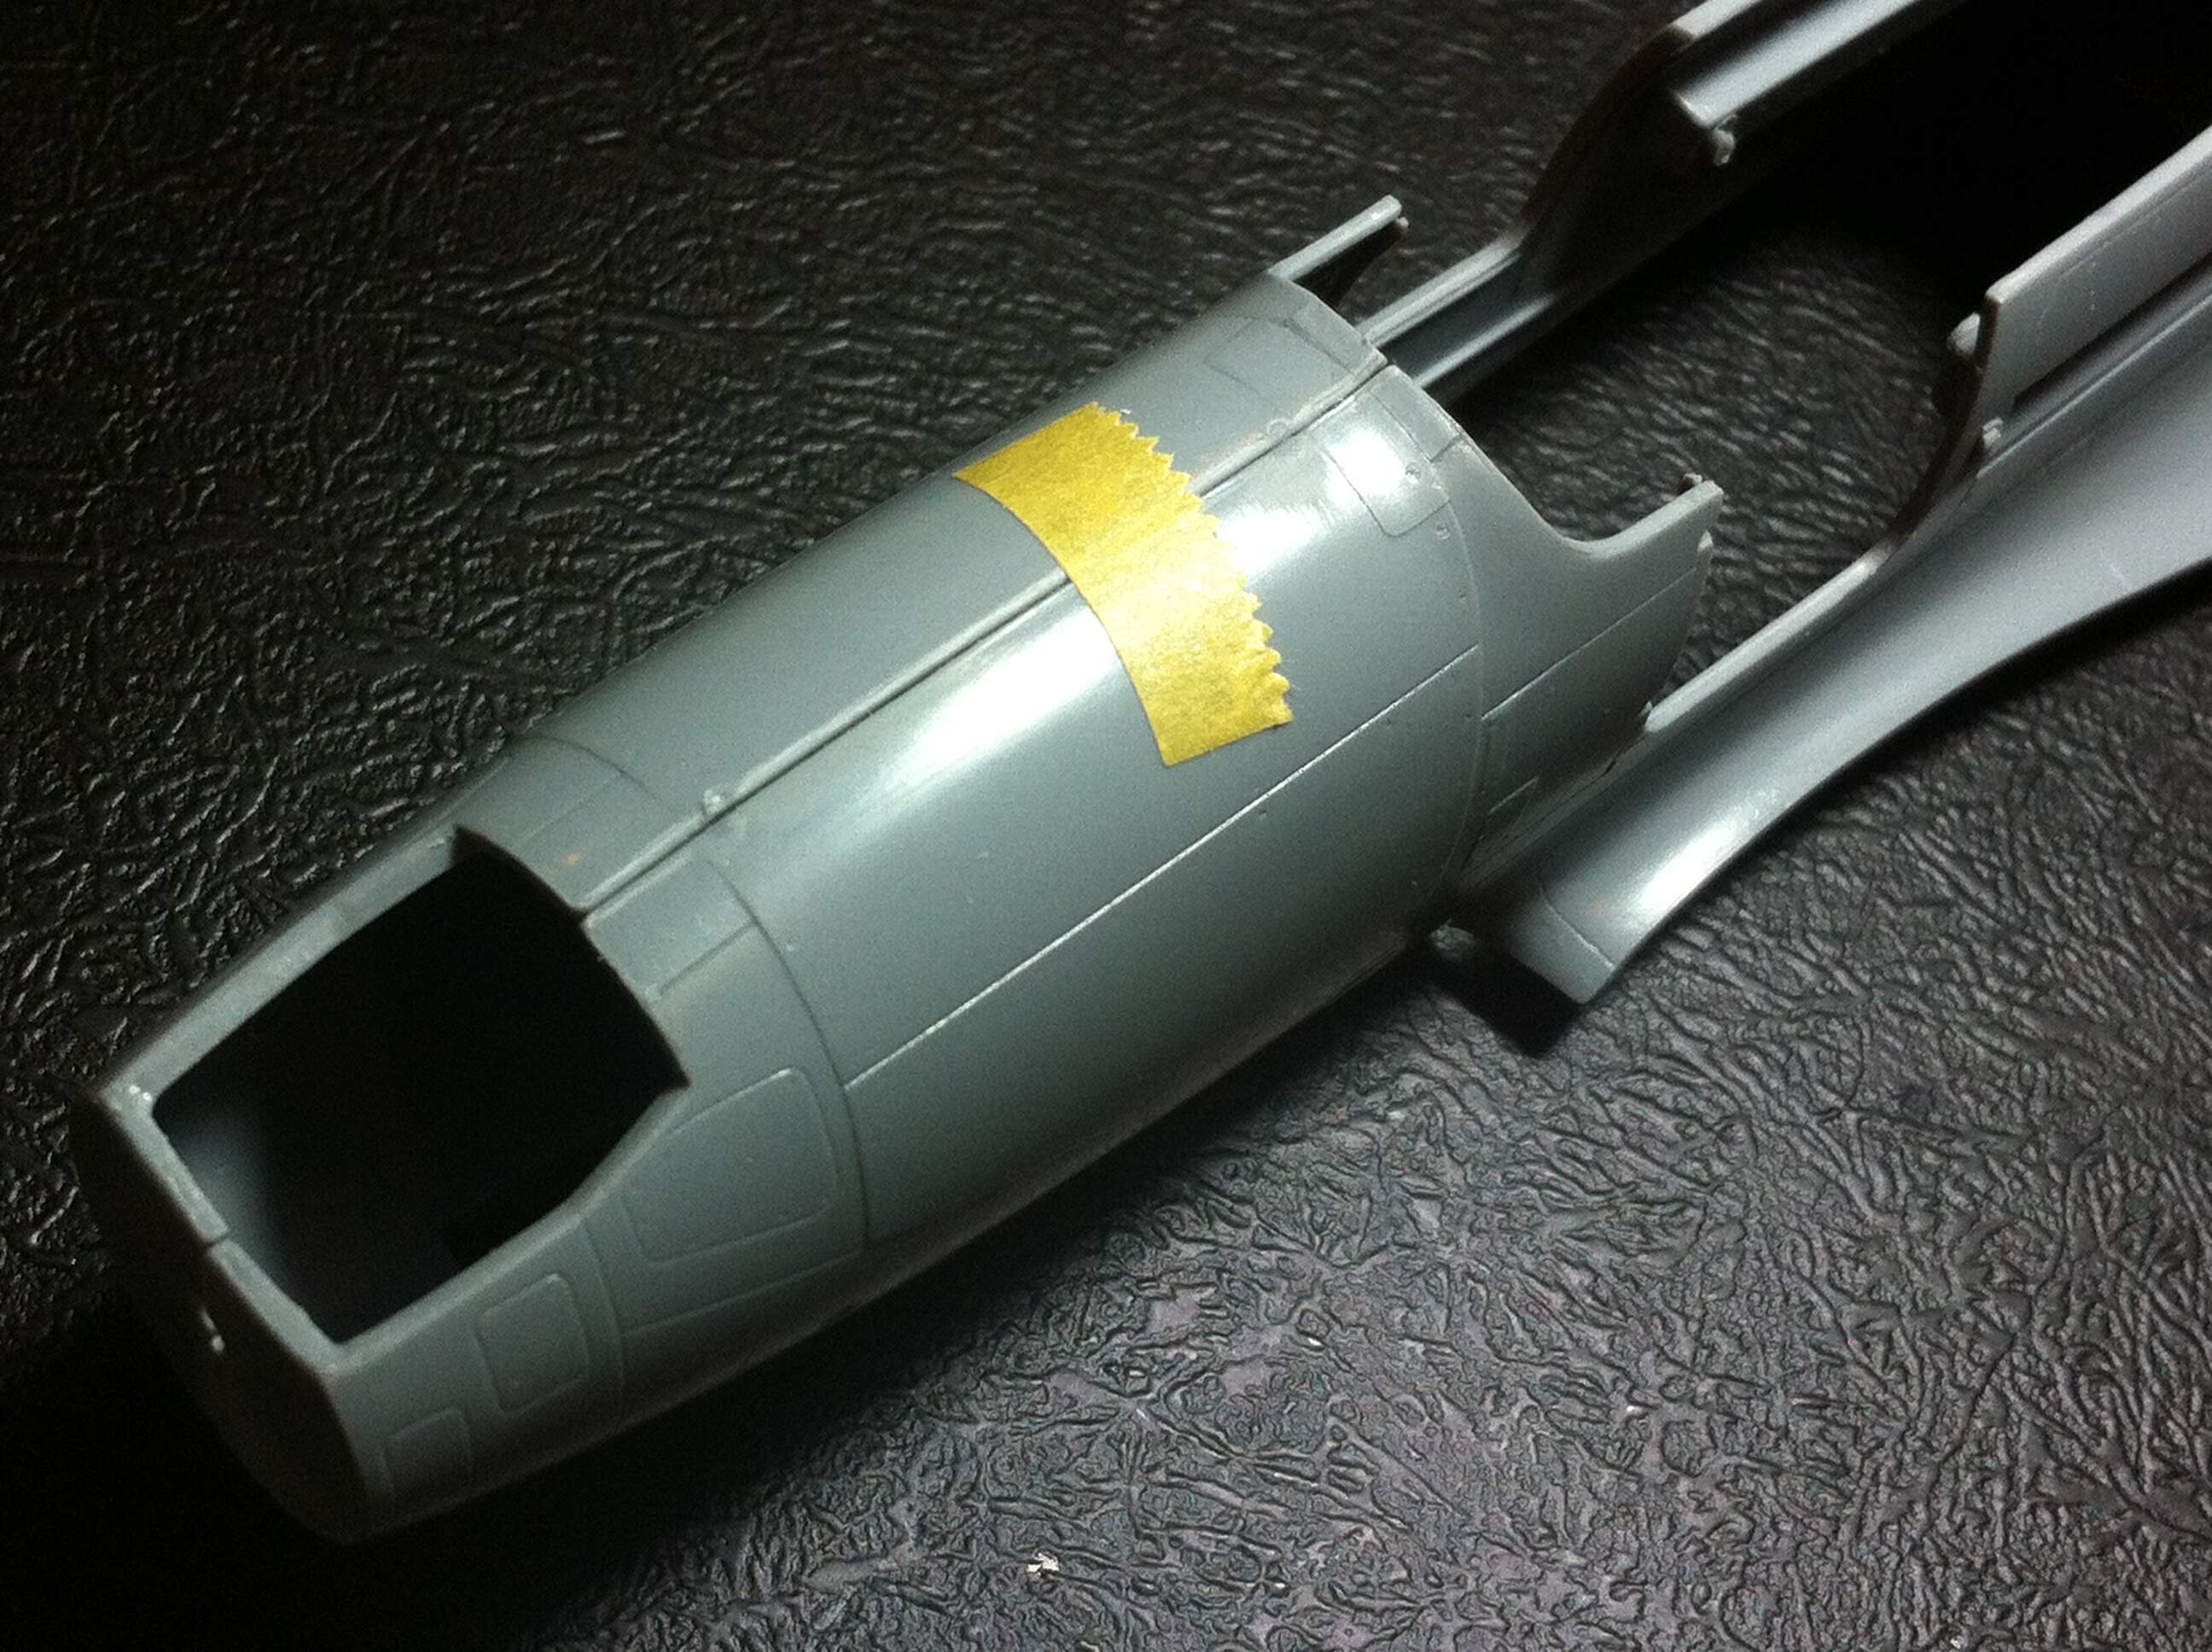
A quick clean-up and dry test fit of the fuselage halves show some ordinary joins and a few gaps, so I have some work in front of me there as well.
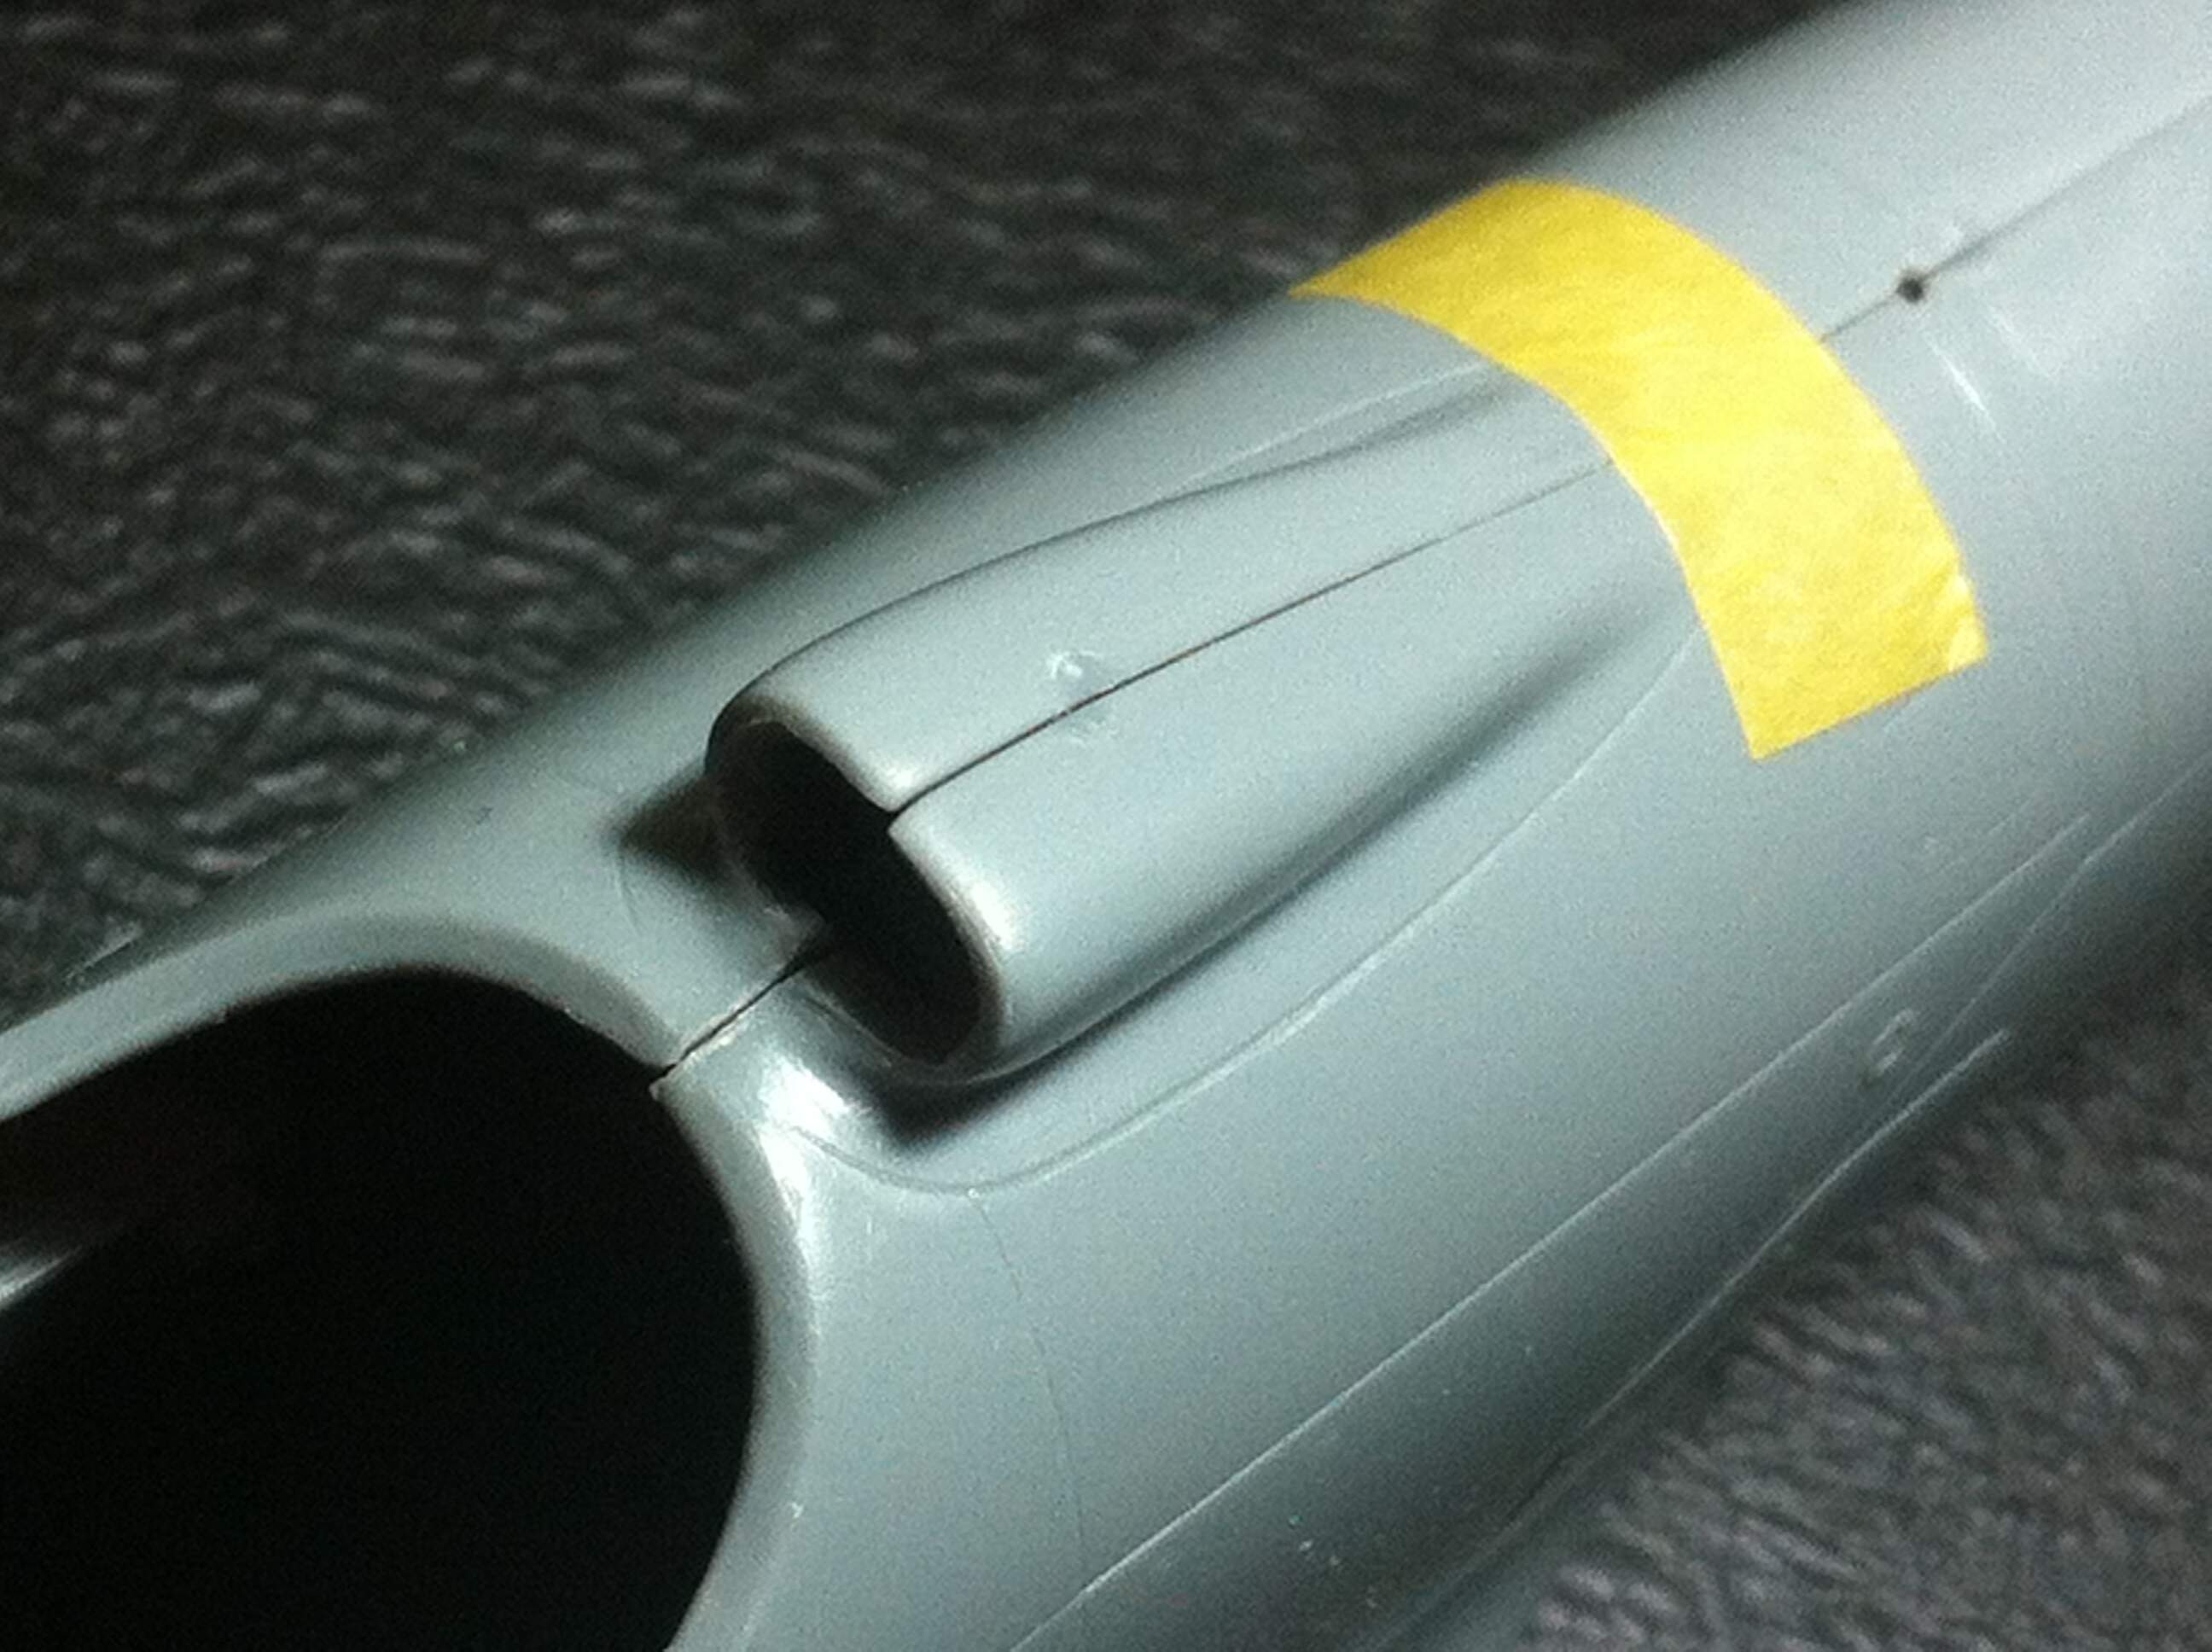
The back edge of the cockpit and the leading edge of the air intake are high visibility areas and will need special attention.
Cheers, D
4 Likes
I’m building this kit at the moment too. Mine is a Revell re-boxing. The “D” shaped pegs on the top of the undercarriage legs are supposed to be handed, in the same way that the “D” shaped cut outs in the undercarriage bays are, but on my kit they were the same way around. I did think that it was the undercarriage bay cutouts that were wrong (I’ve been building the kit for a while now trying to resolve this) but, looking at this they are handed so I’m assuming that it was the legs. I ended up using 2 part epoxy to fix them. 
1 Like
Time to get this one down from the shelf of doom!
The fine details (panel lines, rivets etc) are really nicely done, but Tamiya fit it certainly isn’t 
I can see some sheet stock shimming and putty shenanigans on the main wings in my near future.
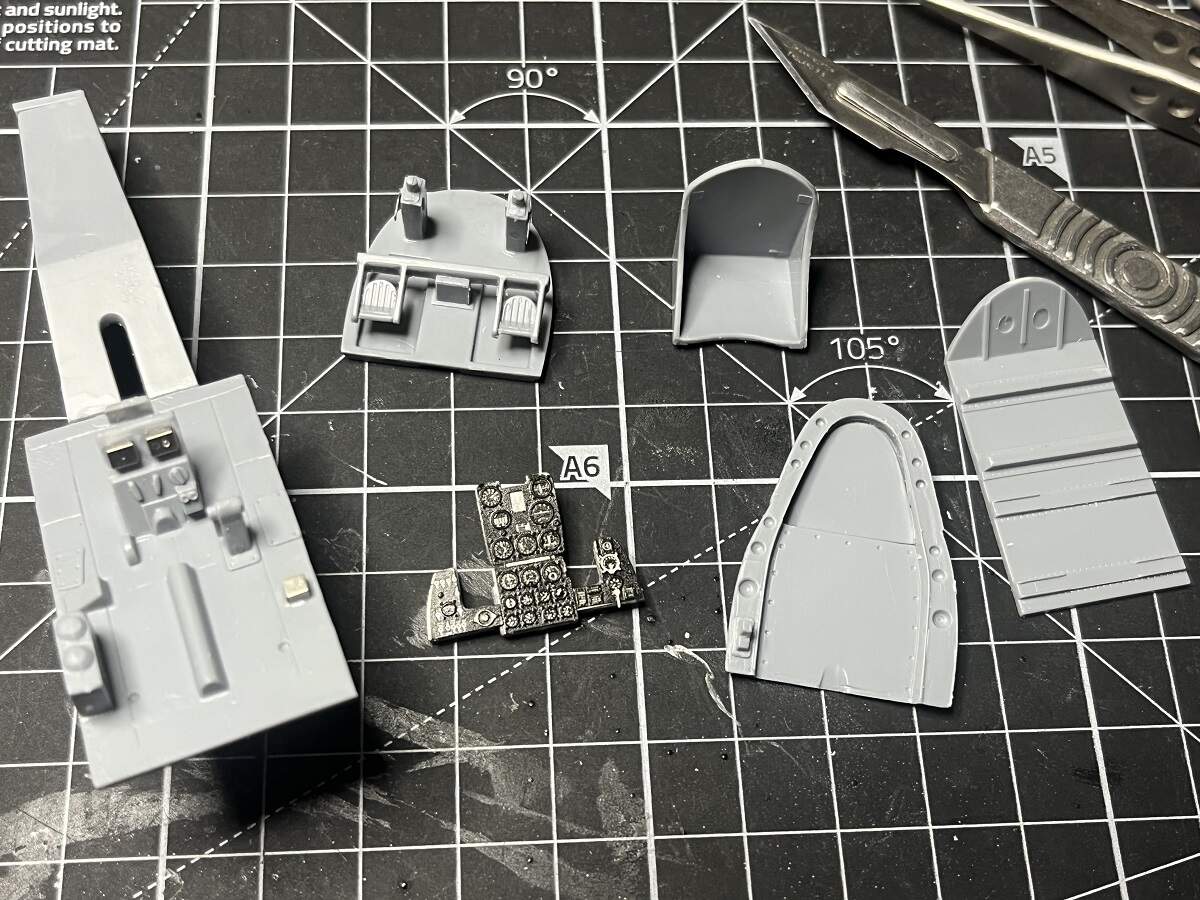
The front gear well and cockpit parts are a much better experience 
Cheers, D
8 Likes
Good to see you working on the Airacobra again Damian 
2 Likes
Thanks for checking in Tim, glad to have you following along here!
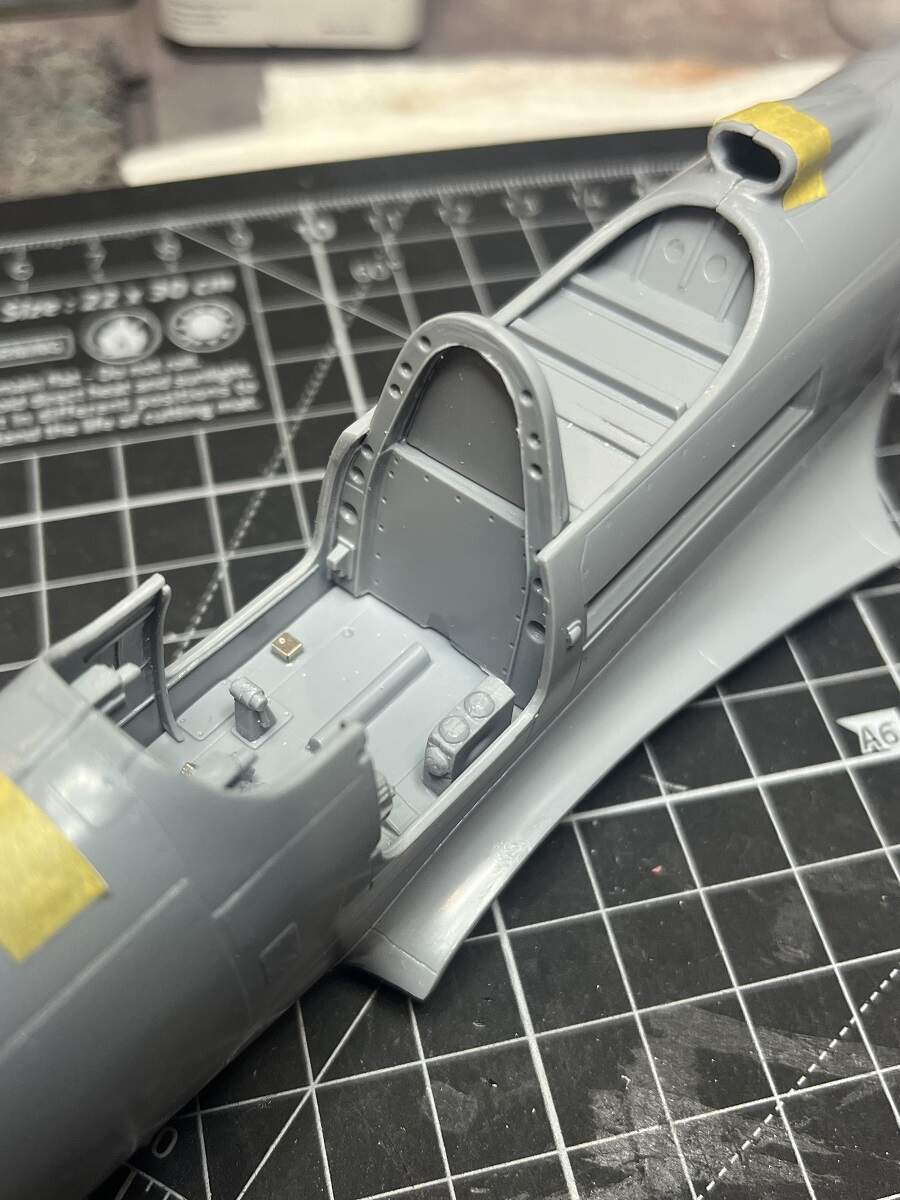
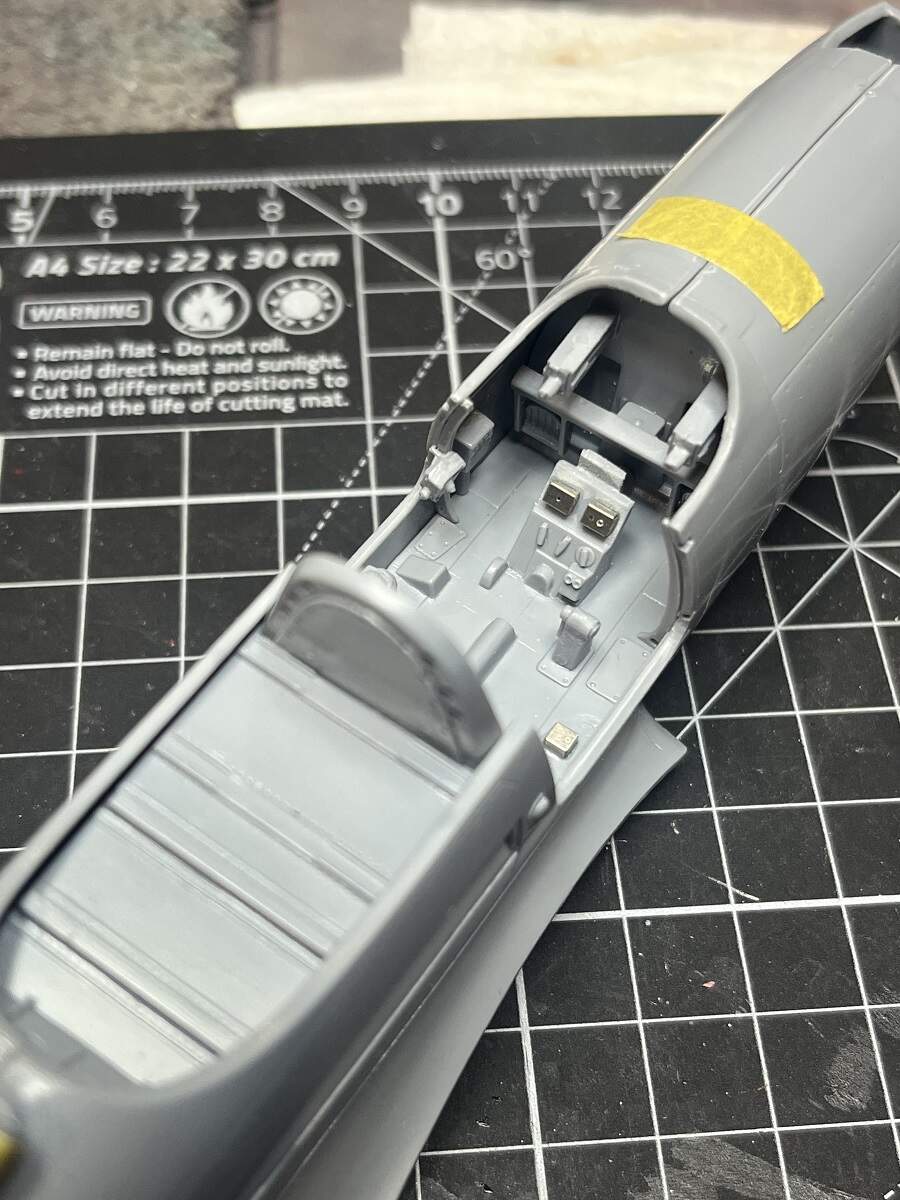
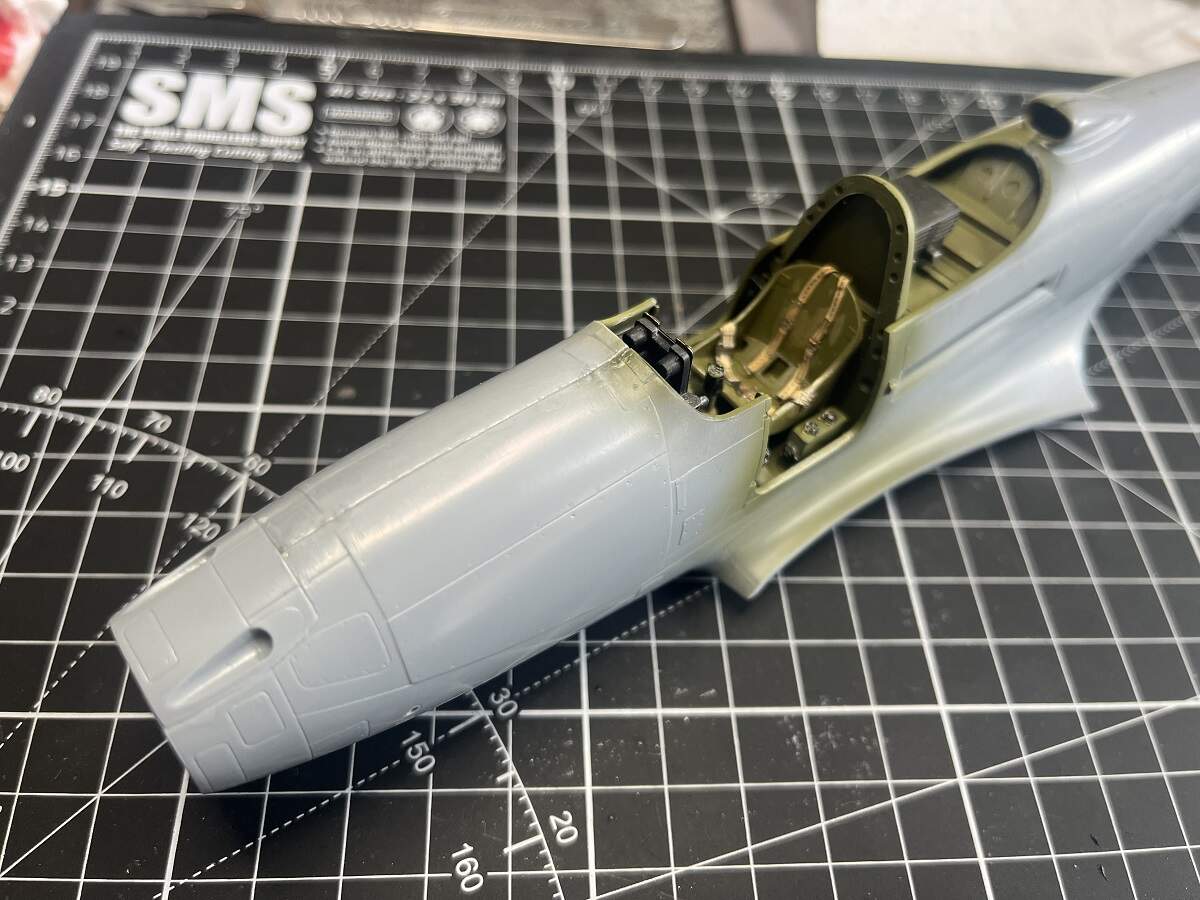
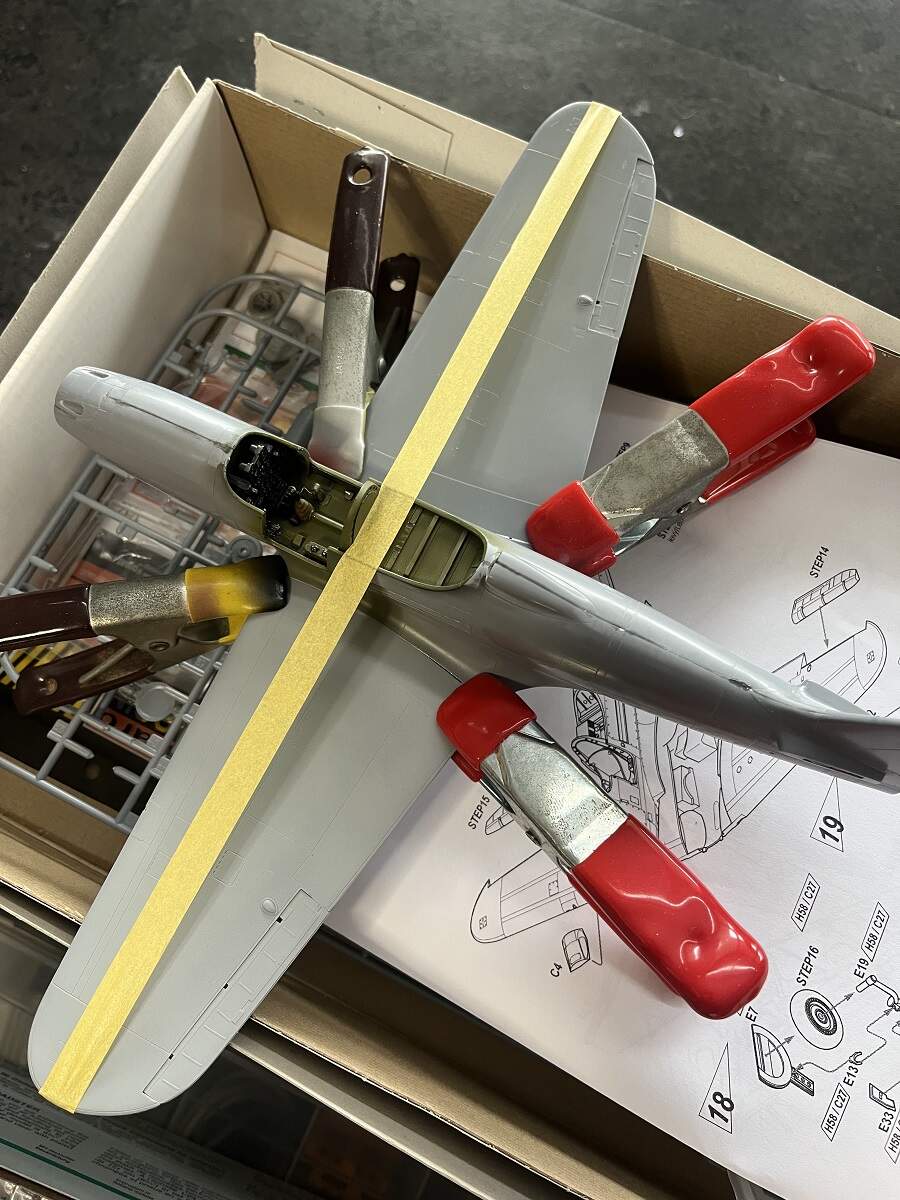
Test fitting the cockpit parts and rear deck into the fuselage halves ready for painting.
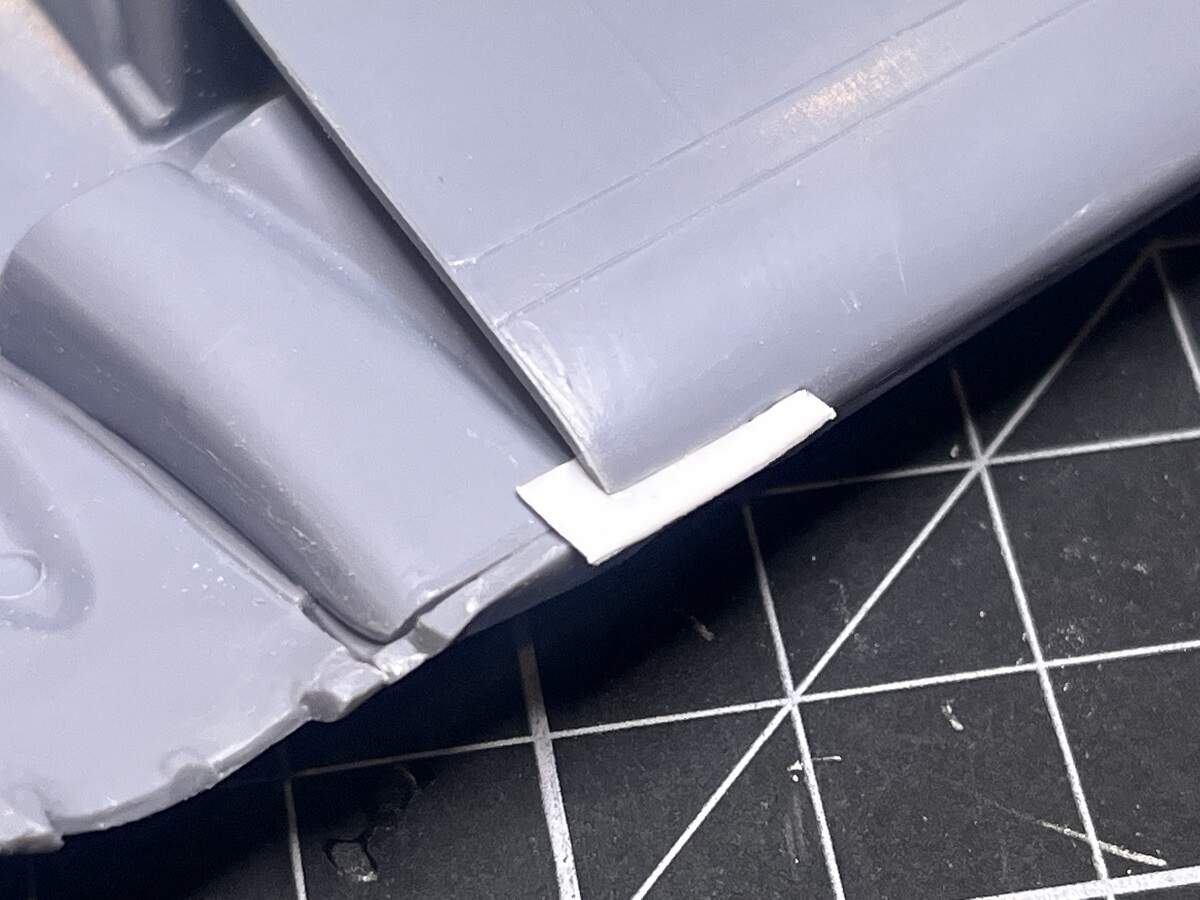
Some thin sheet stock shims to fill the gaps around the wing leading edge intakes.
Once cured, the shims were trimmed back, sanded, and the Sprue Goo applied once again. A day or two to fully cure then more sanding to prep for primer.
Cheers, D
9 Likes
Good looking cockpit D and good steady progress with the poor fitting parts. Despite the fit of some parts seriously tempted to acquire one
2 Likes
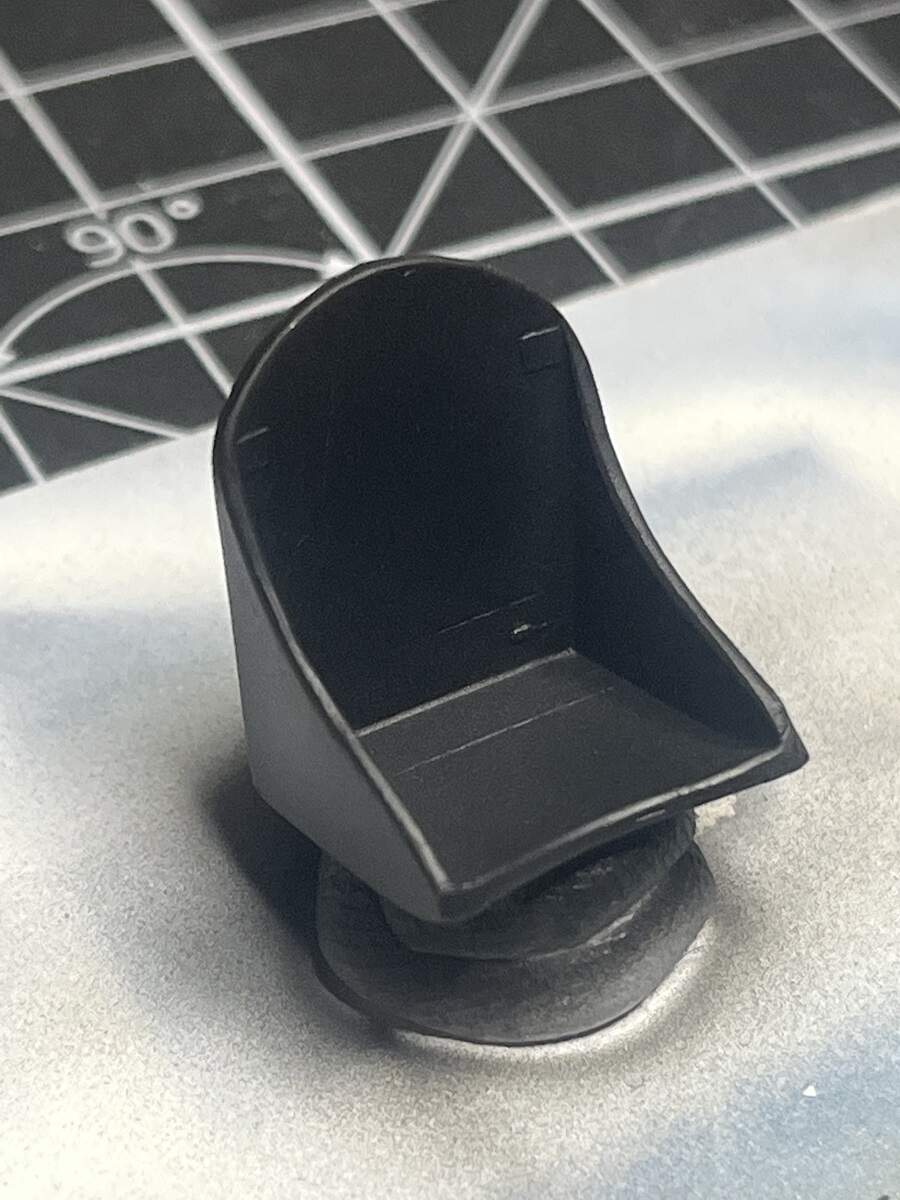
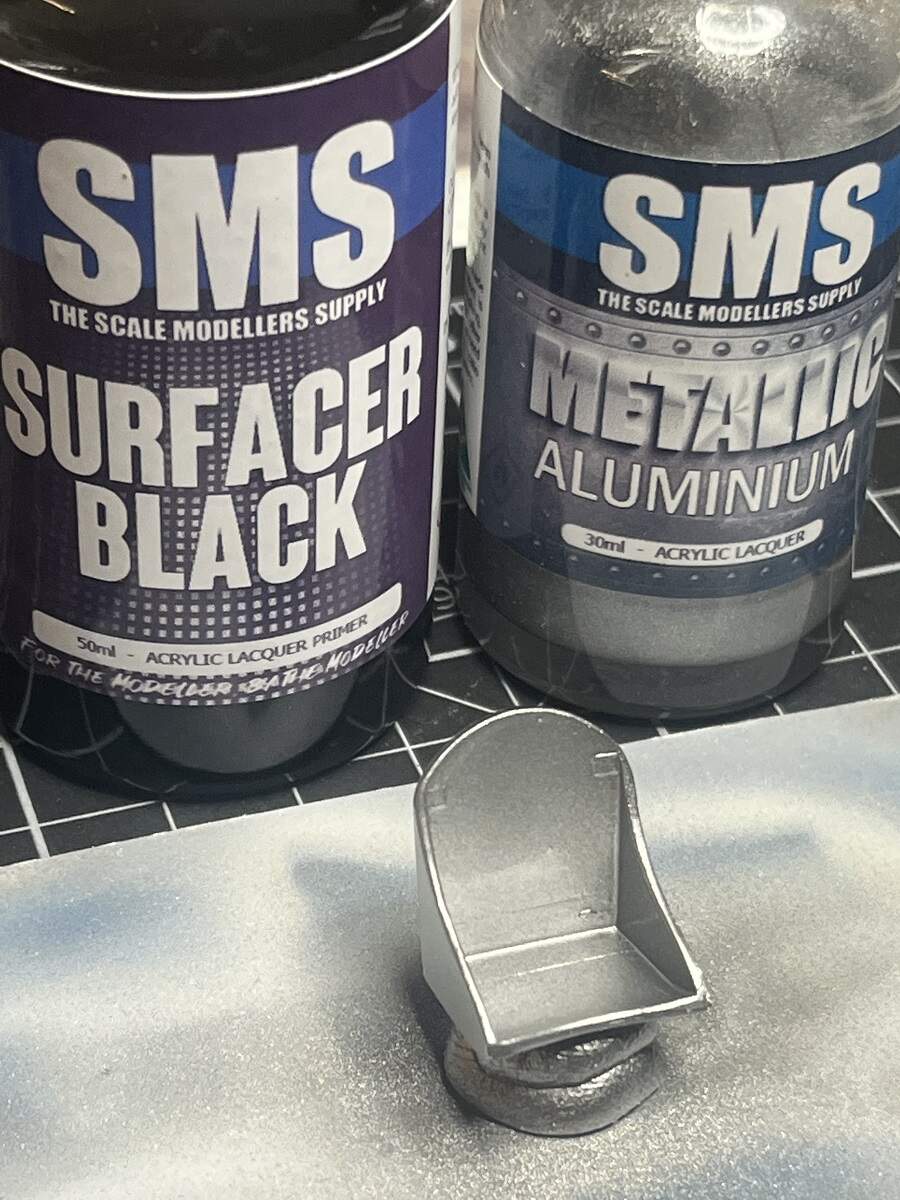
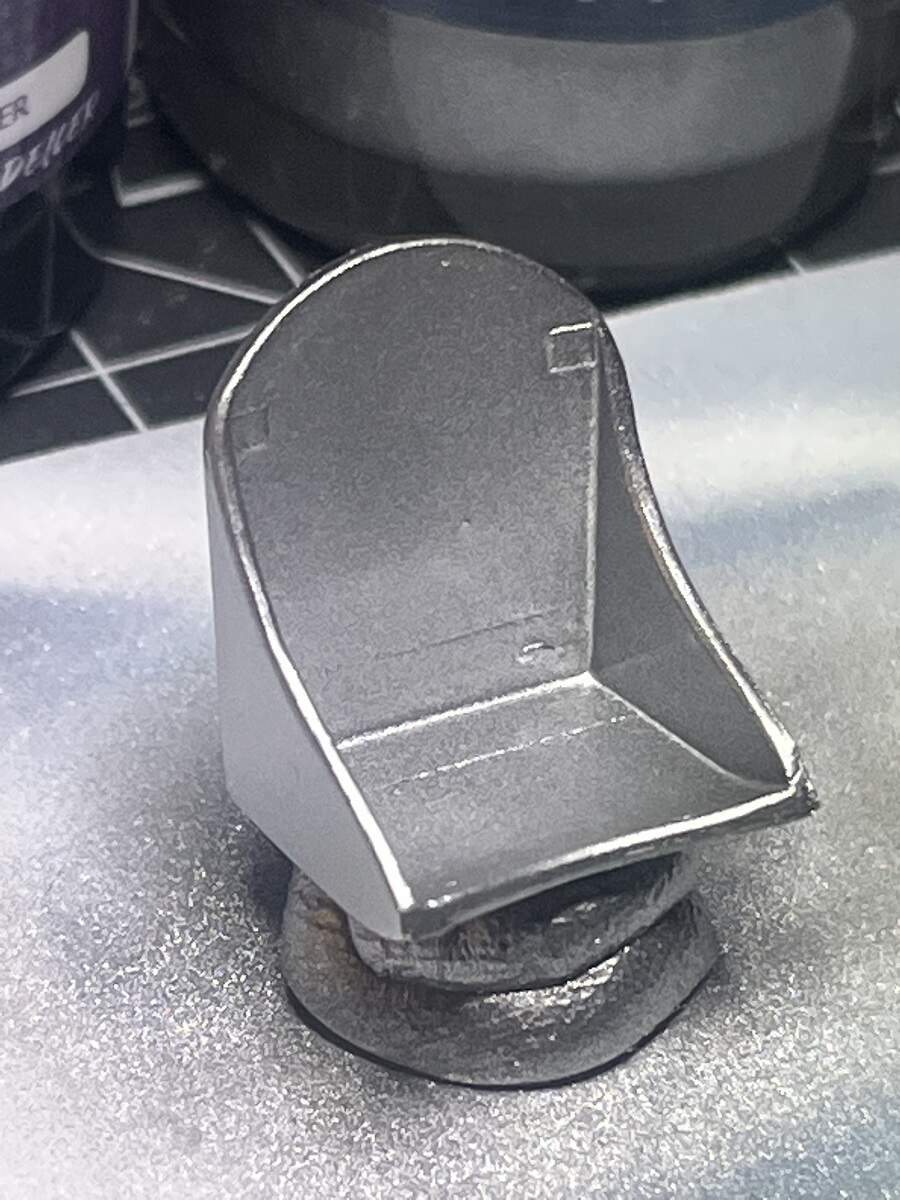
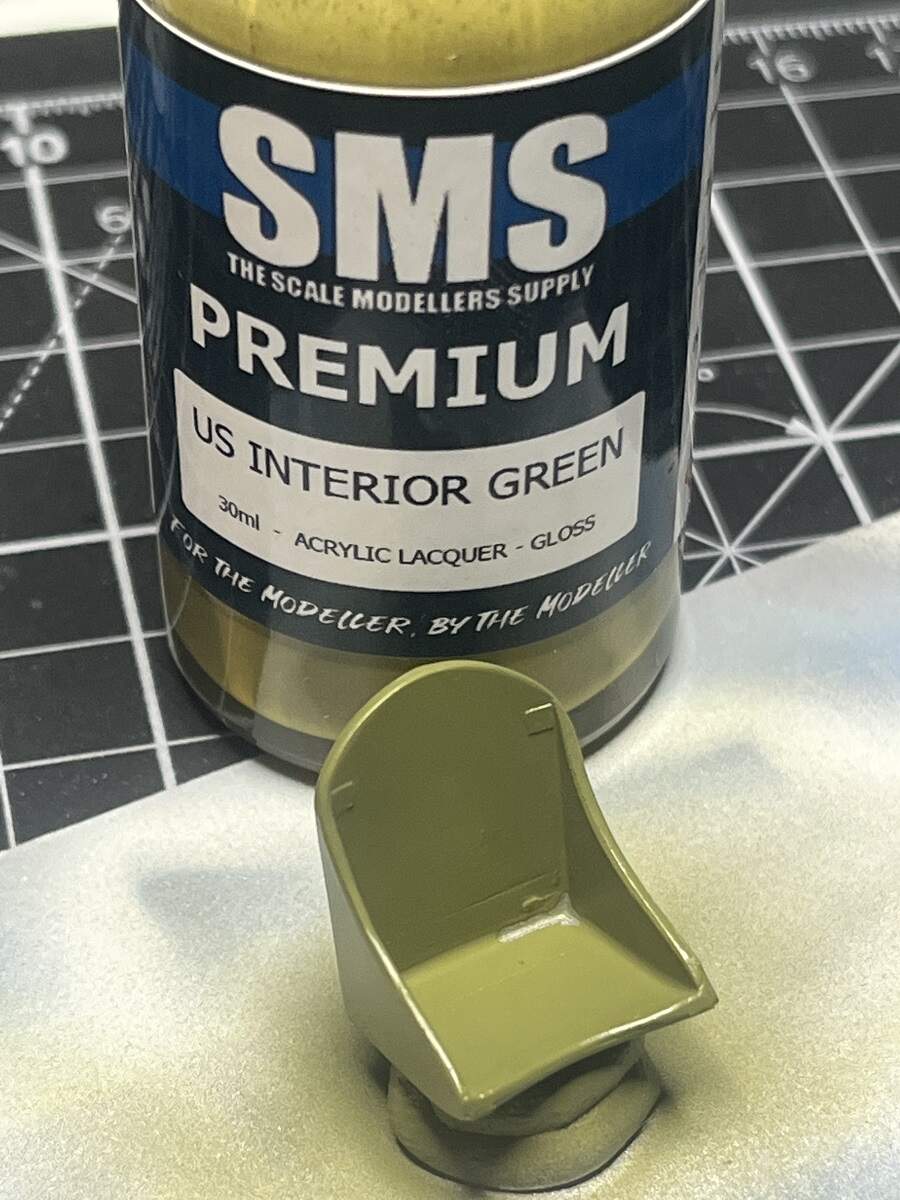
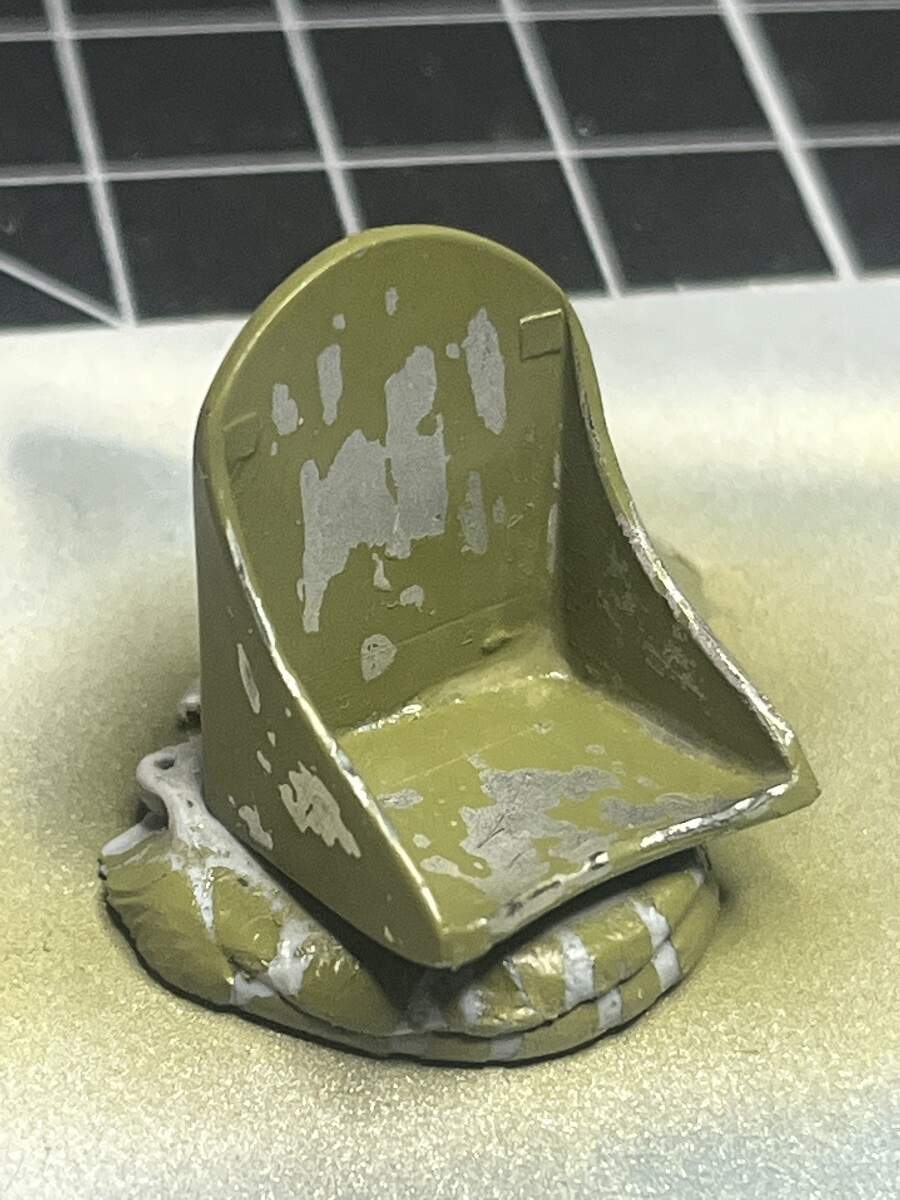
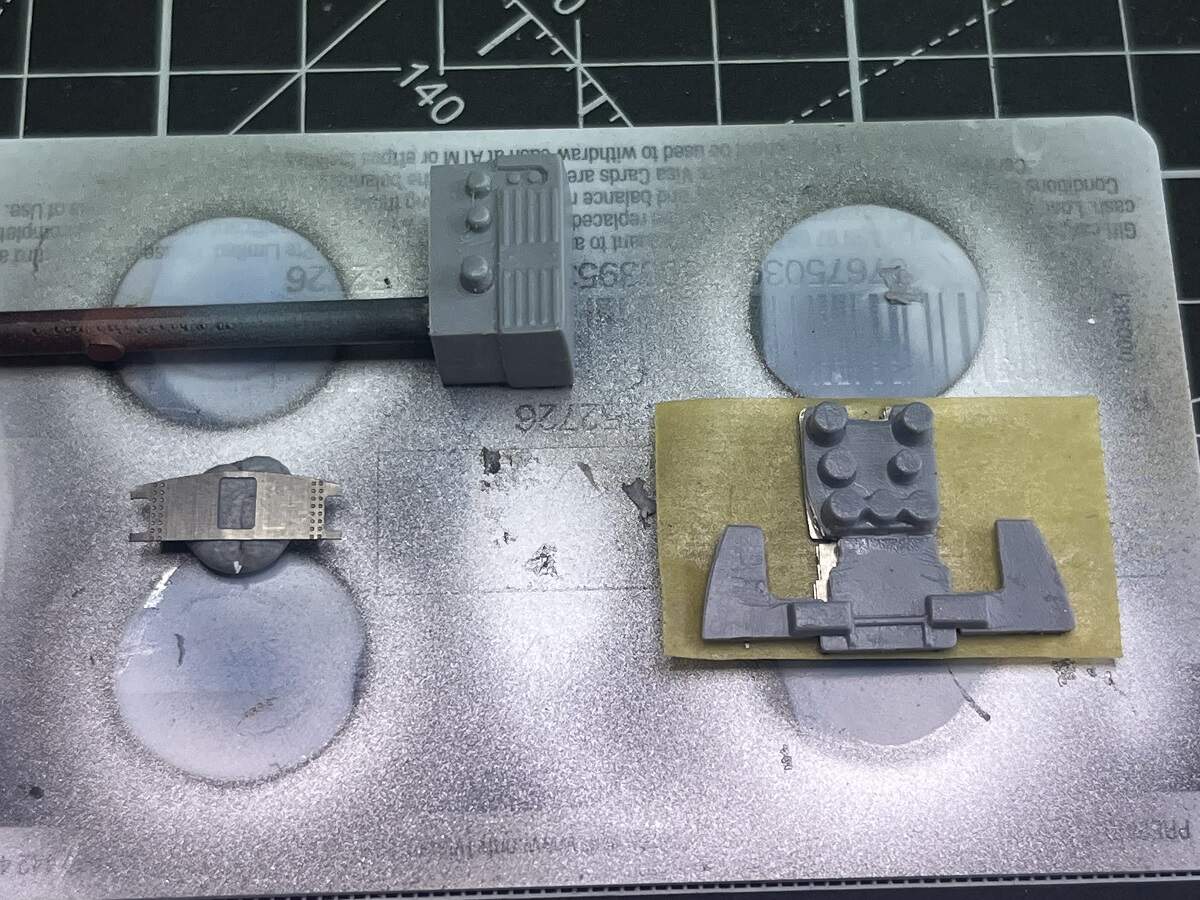
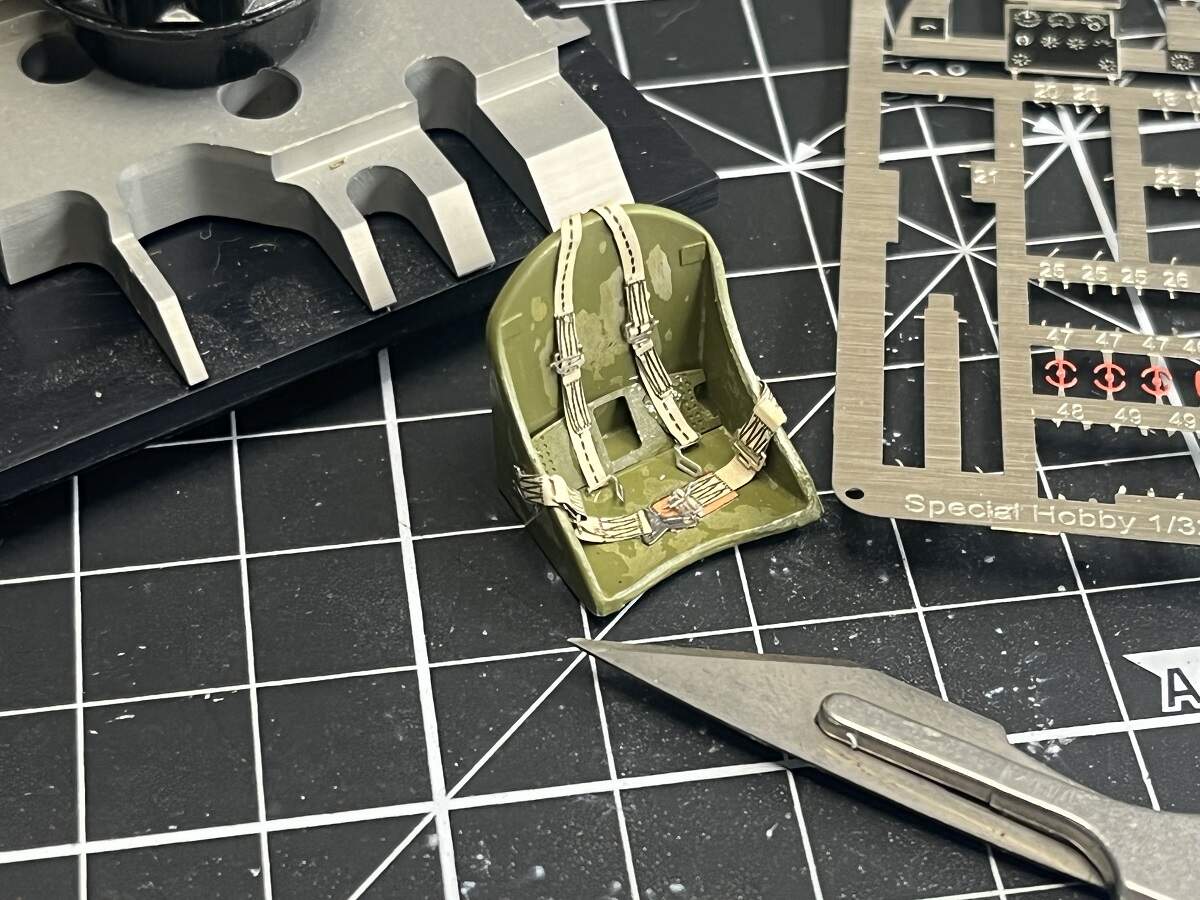
Working on the seat while other parts cure.
Black Primer/Surfacer, Aluminium, Hairspray, Interior Green, chipping.
There’s also a PE insert for the RAAF version which I will add in later, weathered to match the seat.
PE harness set to follow soon.
Cheers, D
9 Likes
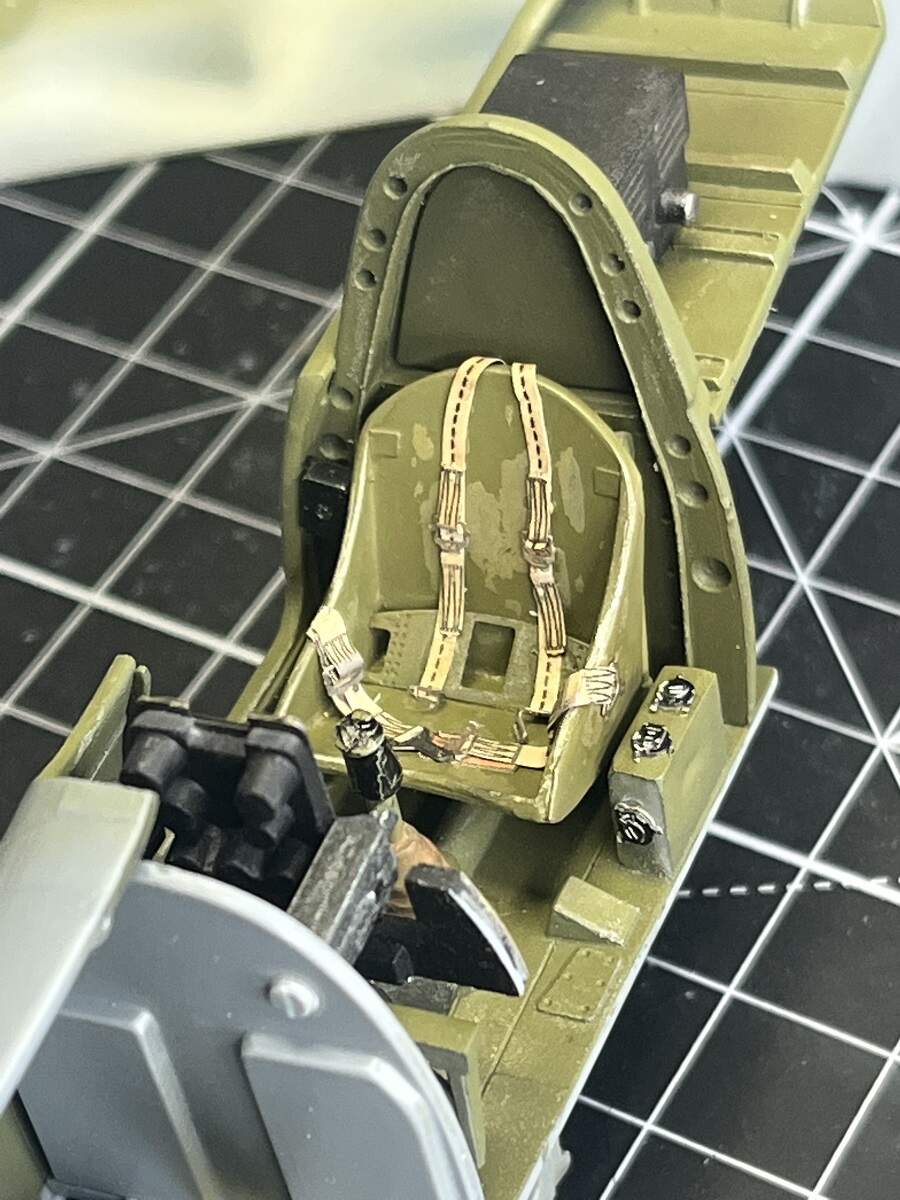
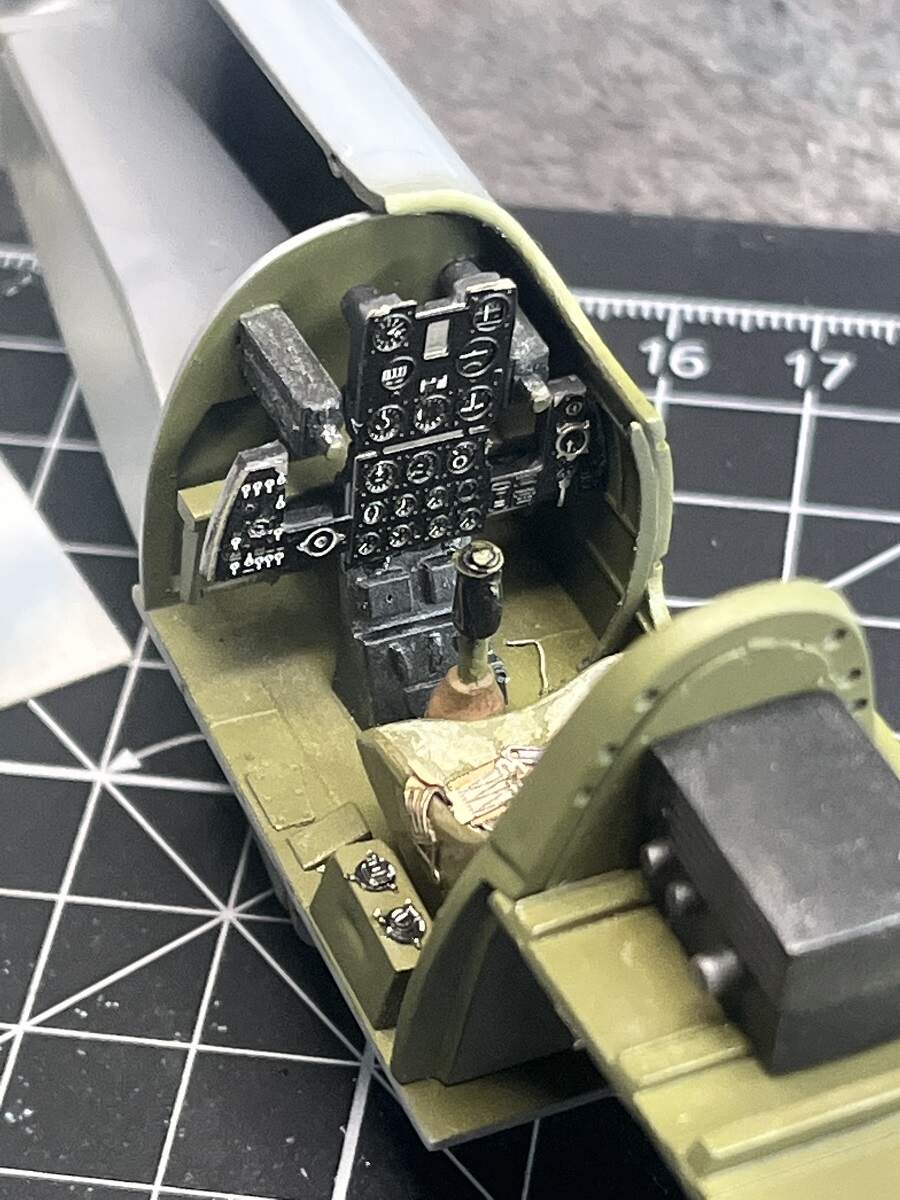
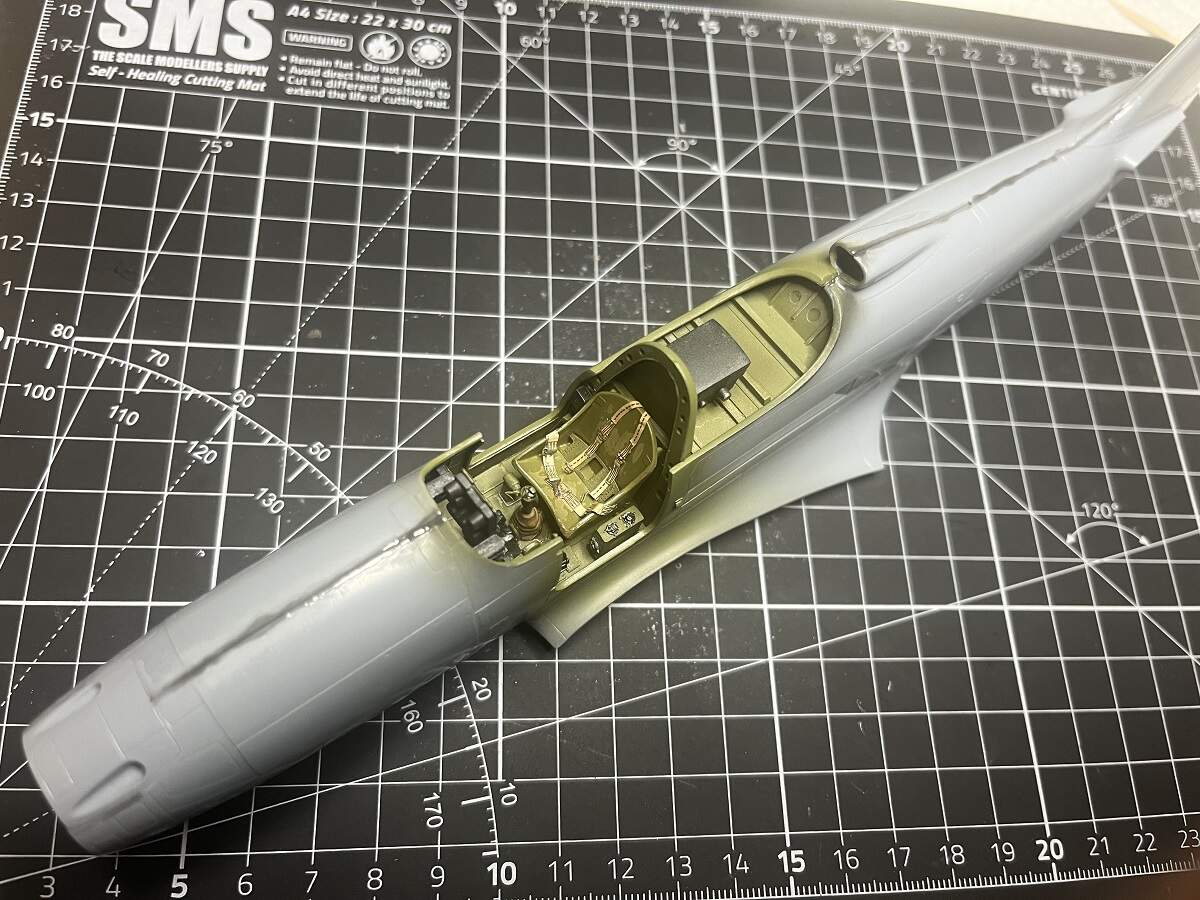
Progress has been made
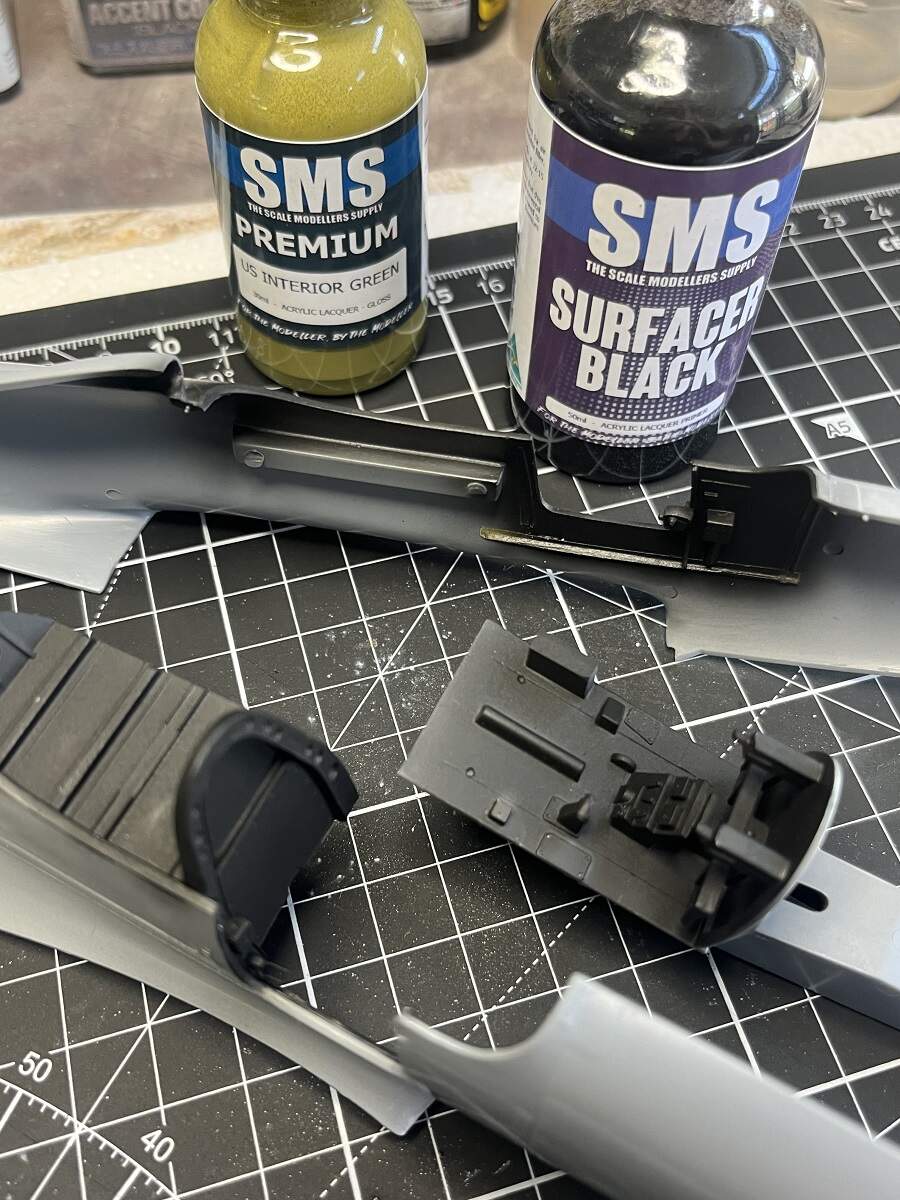
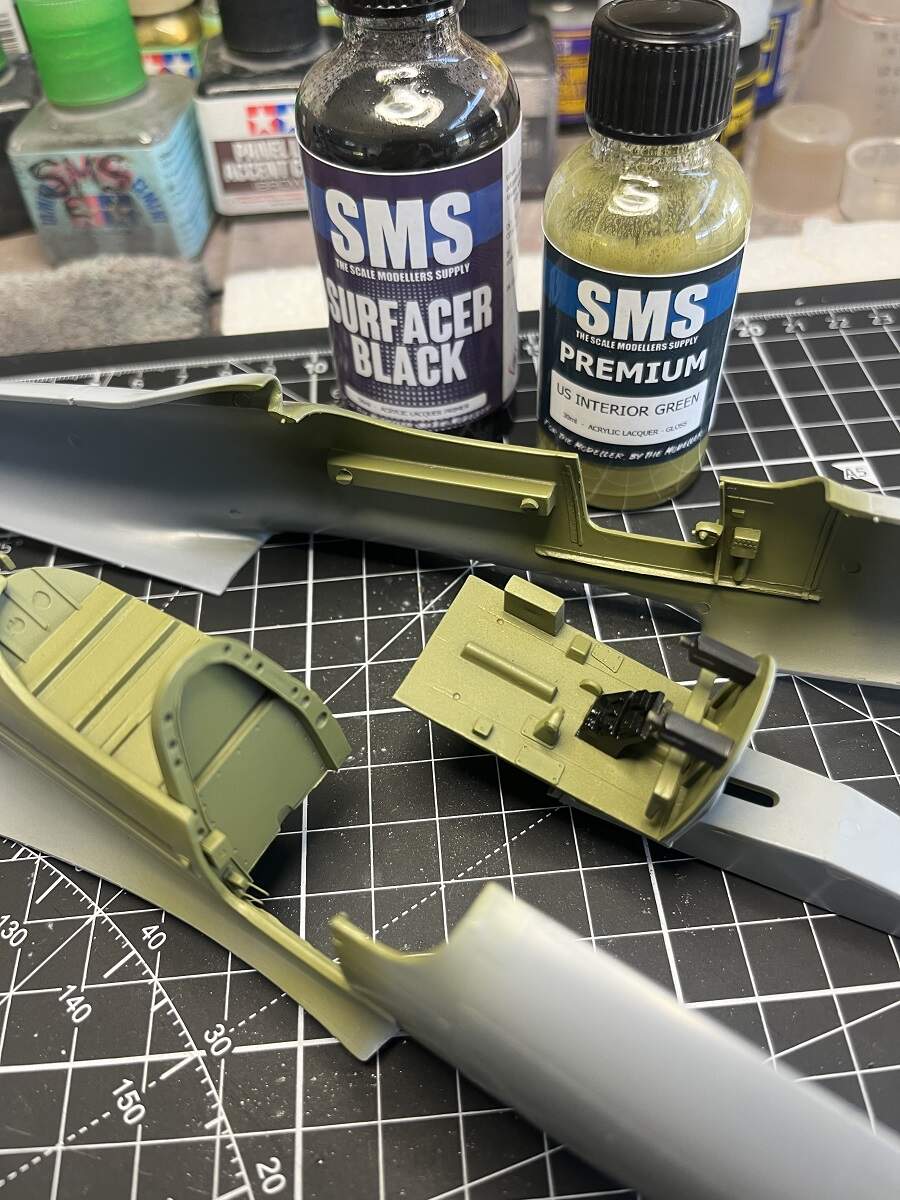
Prep, primer and paint on the office . . . . .
Battery, seat back and IP rear got blackened . . . . .
Wrestling with PE, swearing at the tweezers and carpet monster . . . . .
Assembly time . . . . . .
Cheers, D
12 Likes
Nice work on the cockpit, D! Will you open a door?

1 Like
Looking good Damian, like the ware and tear effect
2 Likes
Looking great D! Gotta say the level of detail in these 1/32 Special Hobby kits is outstanding though they do make you work for it lol!
2 Likes
Thanks for checking in Chris, great to see you back mate!
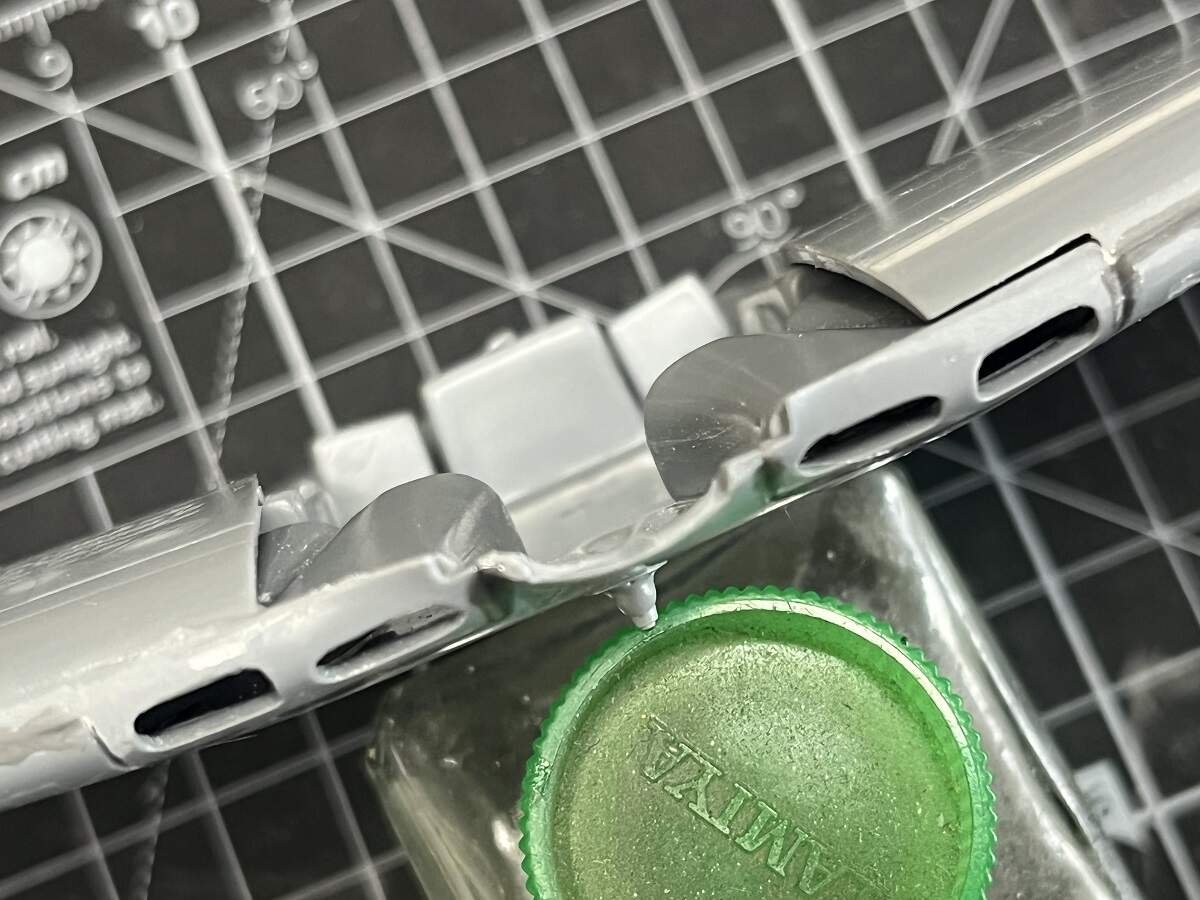
Nothing really to report here, just throwing some black Sprue-Goo along the seamlines on the top of the fuselage which will be left for a couple of days to fully cure.
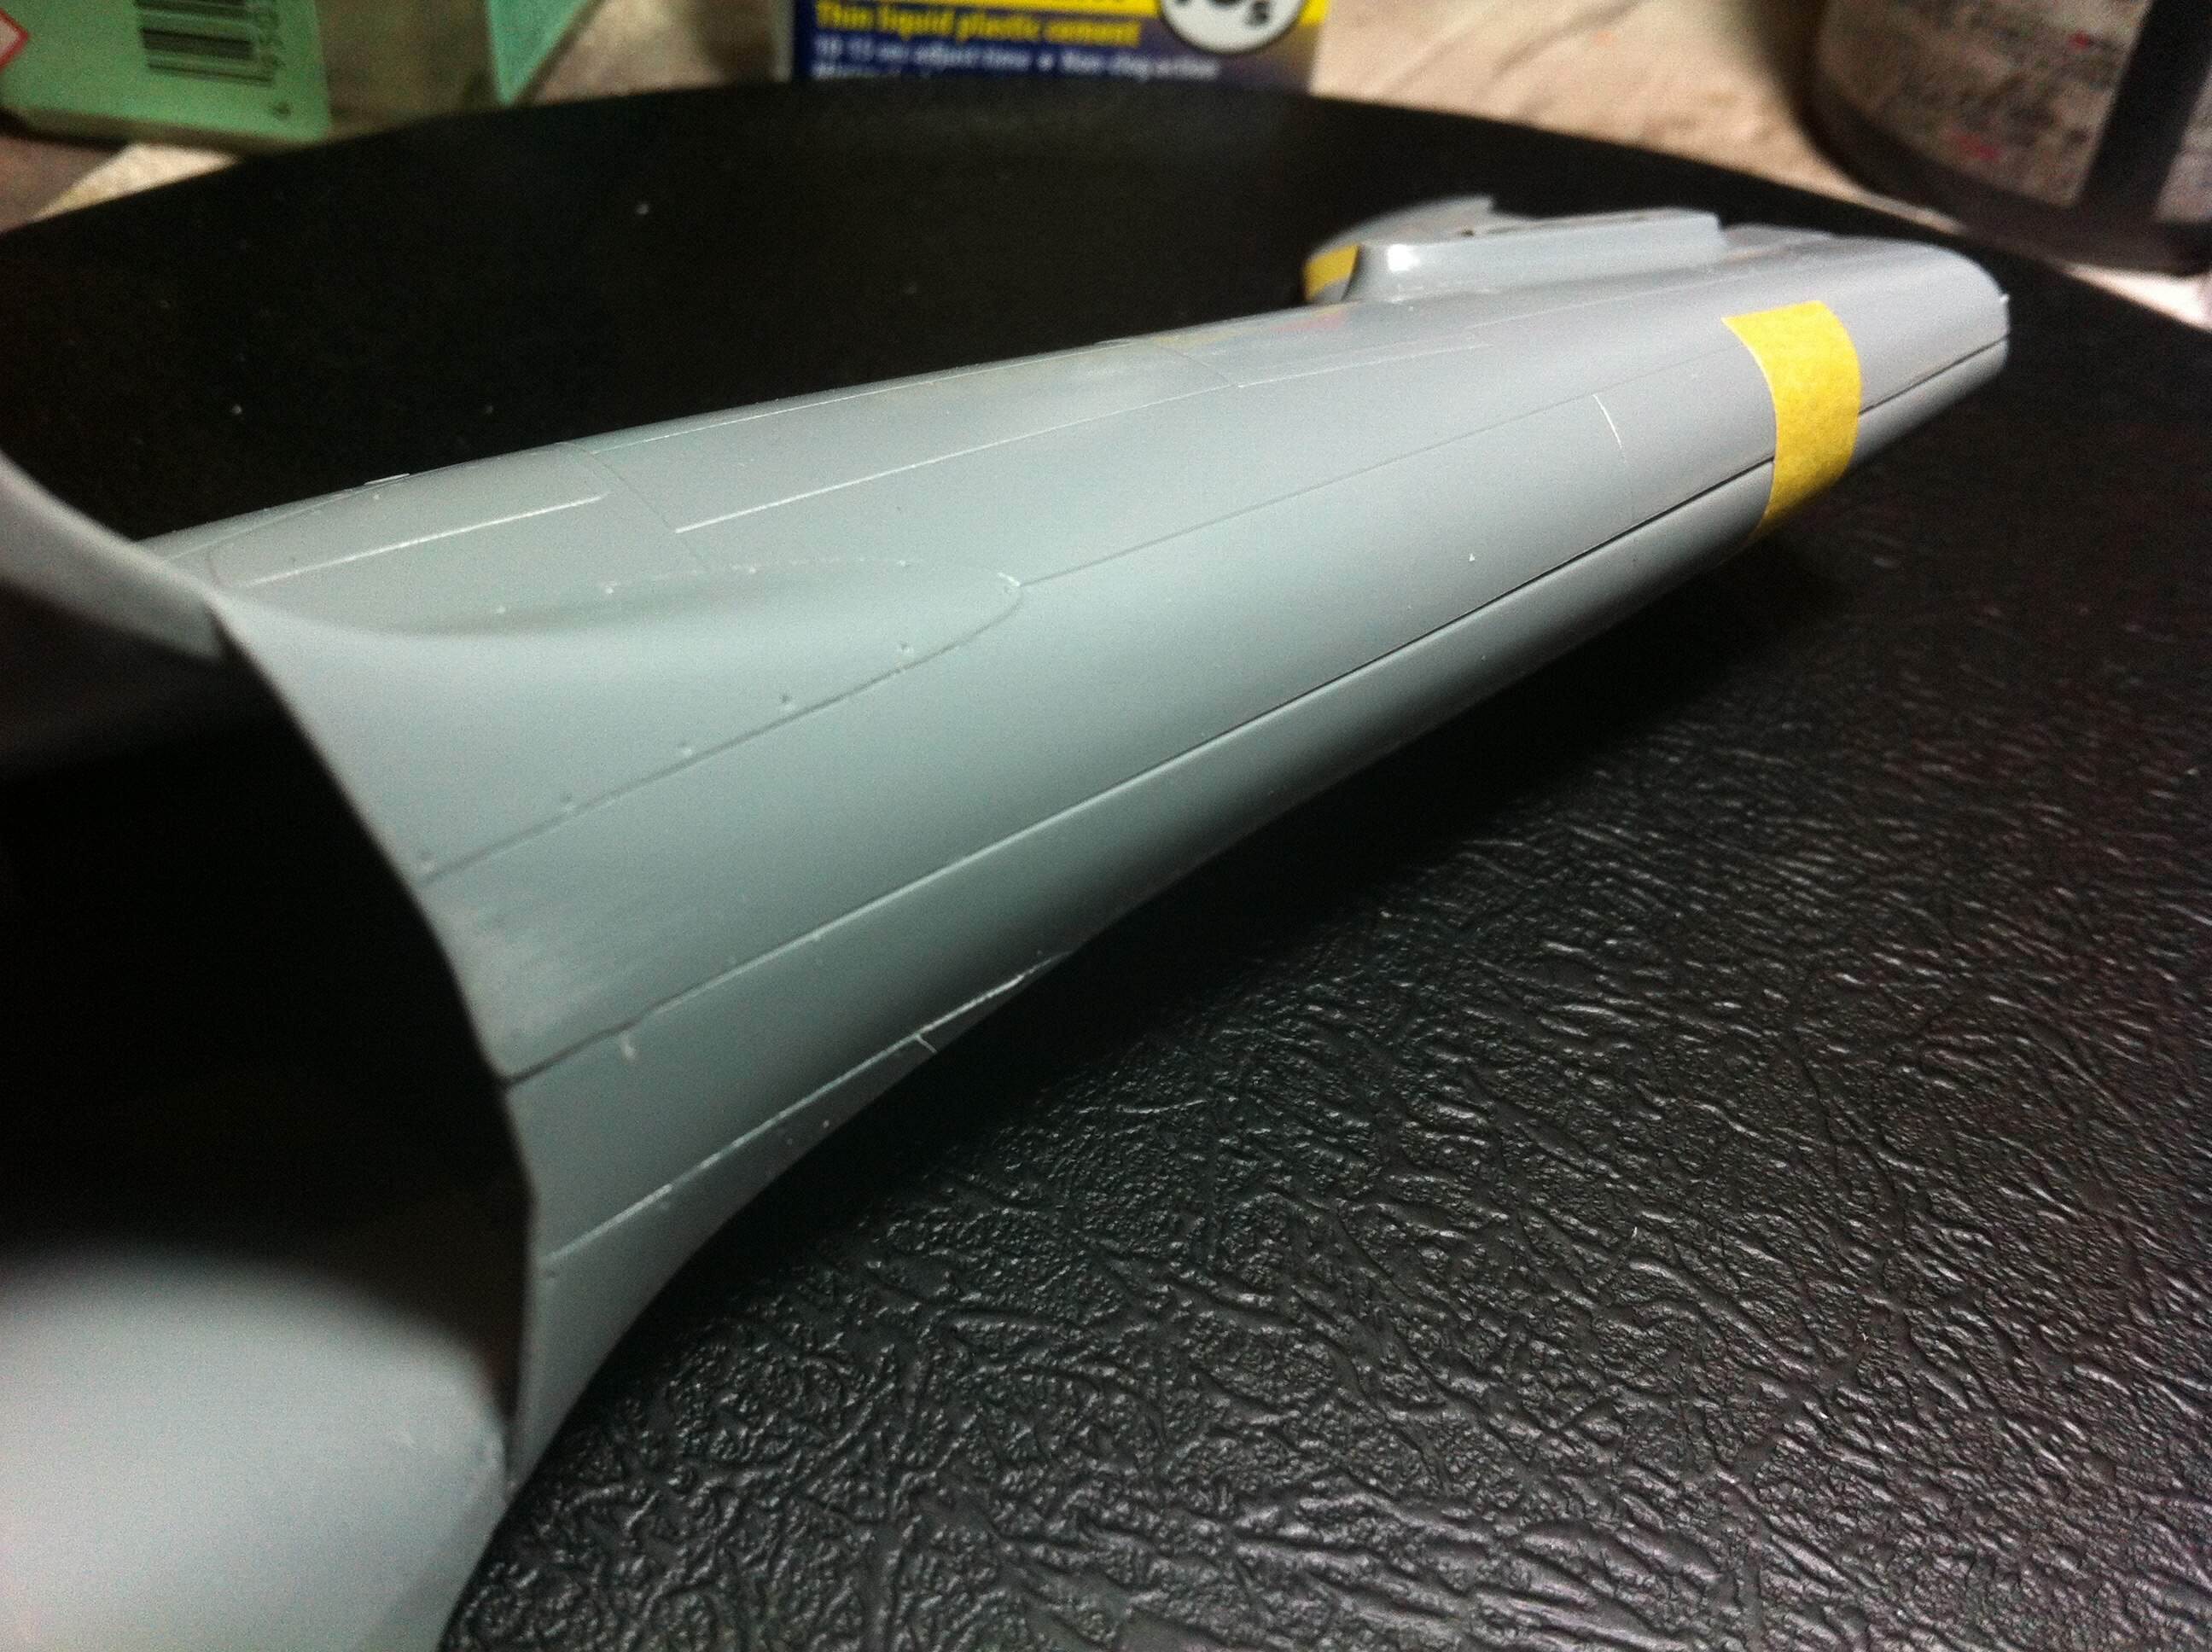
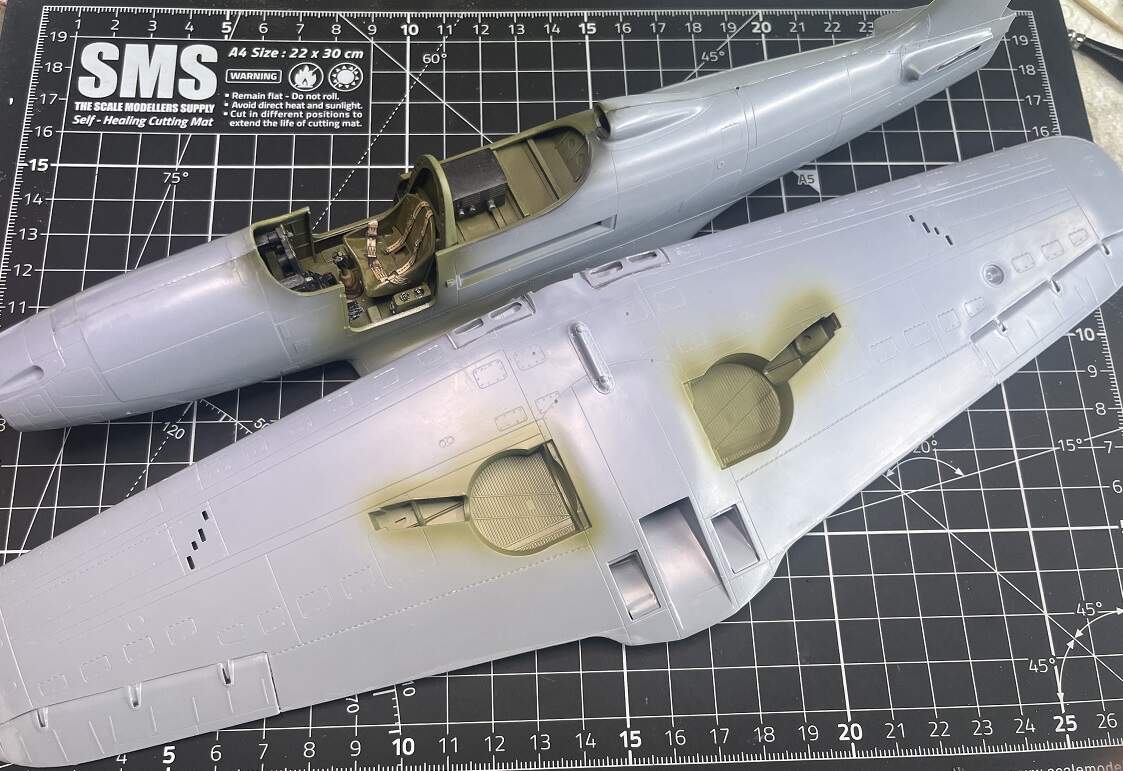
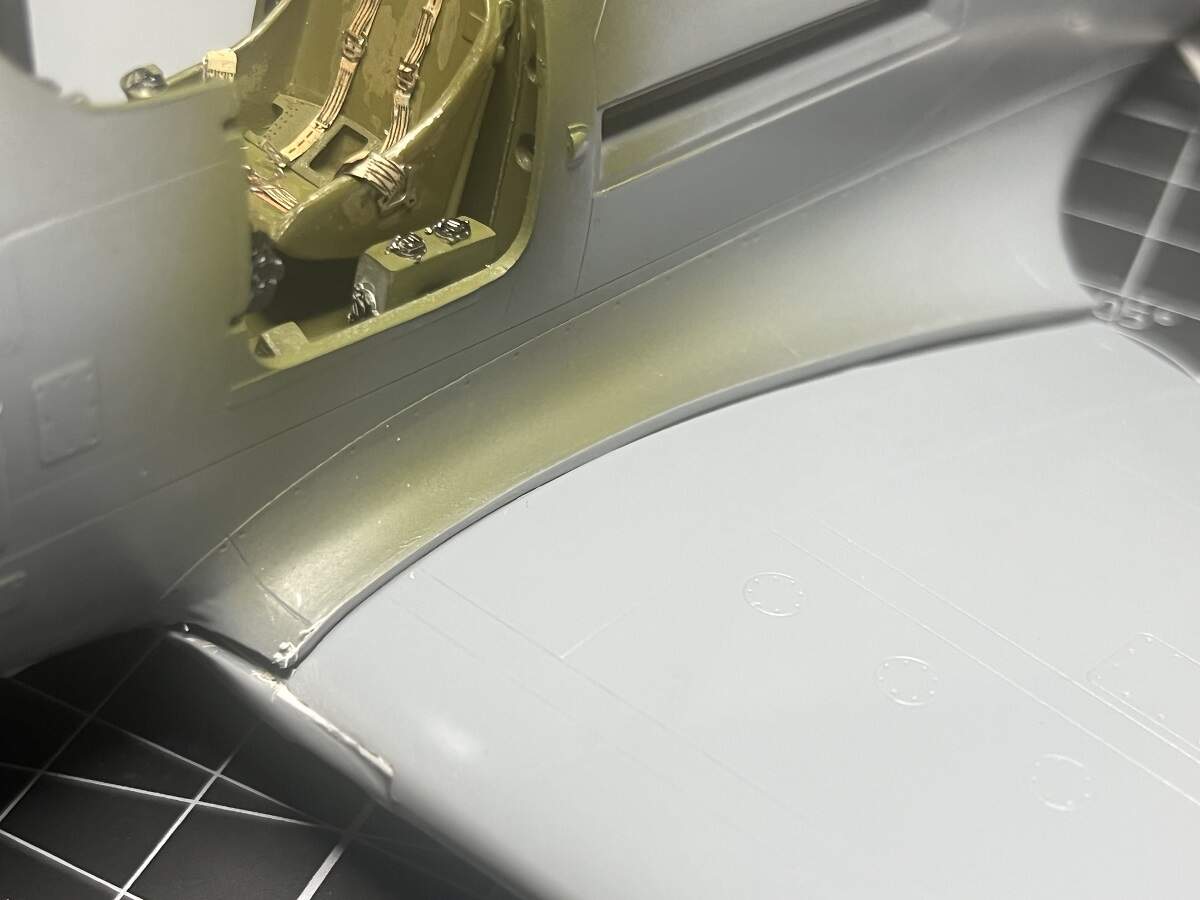
I’m also having a bit of a running battle with the fuselage-to-wing assembly. While the starboard wing root is quite a neat fit . . . . . . . .
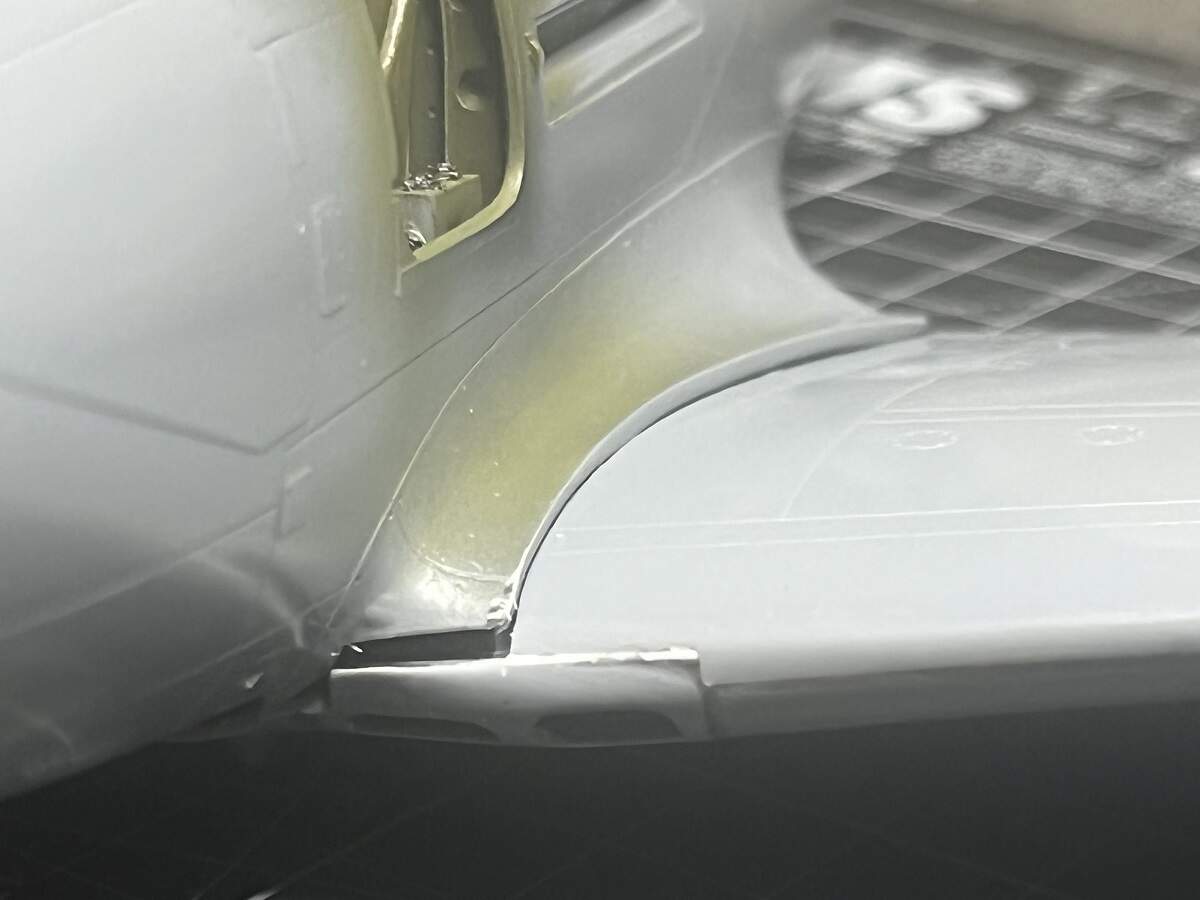
. . . . . the port side and leading edge isn’t 
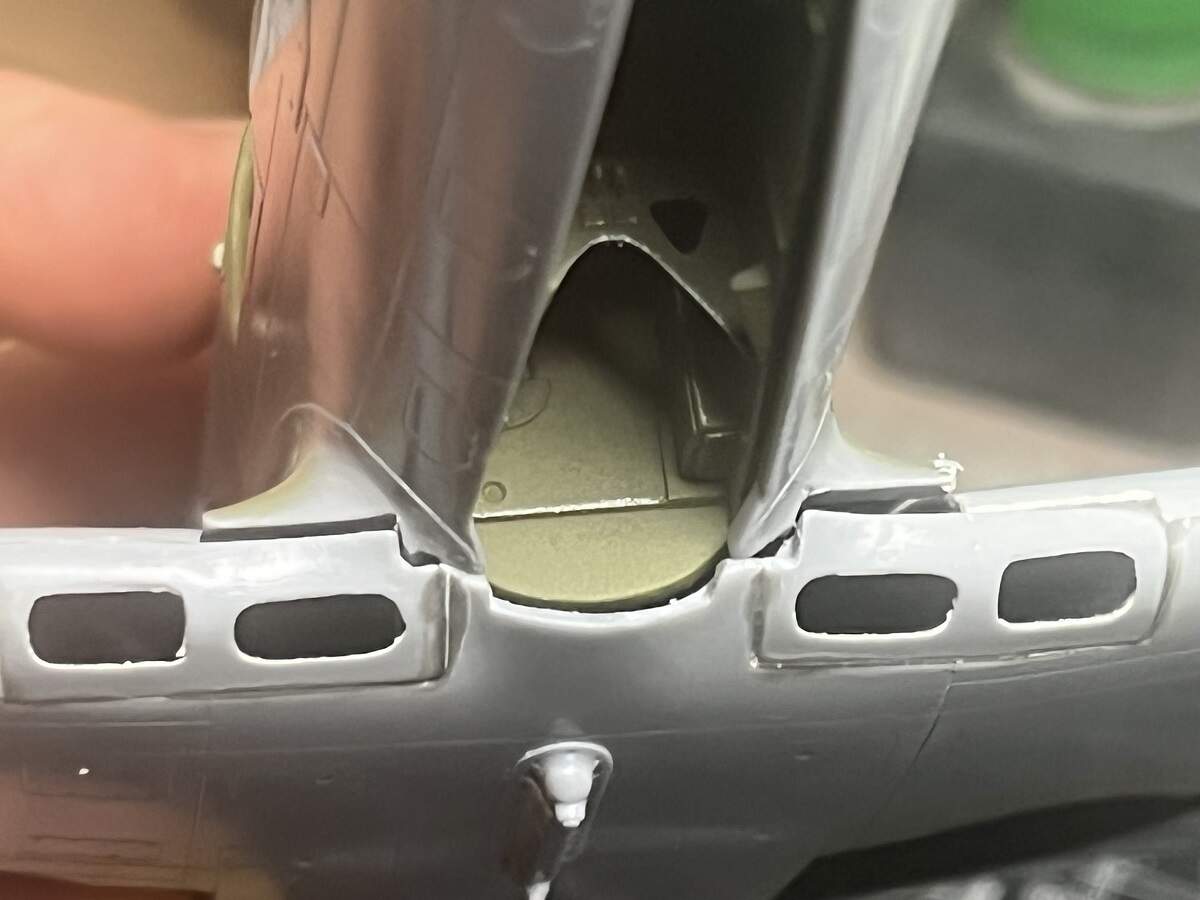
And the complex shape of the underside join will require quite a bit of fettling to sit in place, and probably quite a bit of filler 
Cheers, D
9 Likes
Wow that’s scary ugly. I don’t envy you for that challenge but you’ll be even more pleased when you shape it down.
Cajun 
2 Likes
Yep, that looks ugly indeed. I hope you don’t loose motivation to tackle these trenches, D. I’ll send you one of these, Had to use it with my Eduard Cobras in 2020 also …
5 Likes
D, so far this build has come along very nicely… 
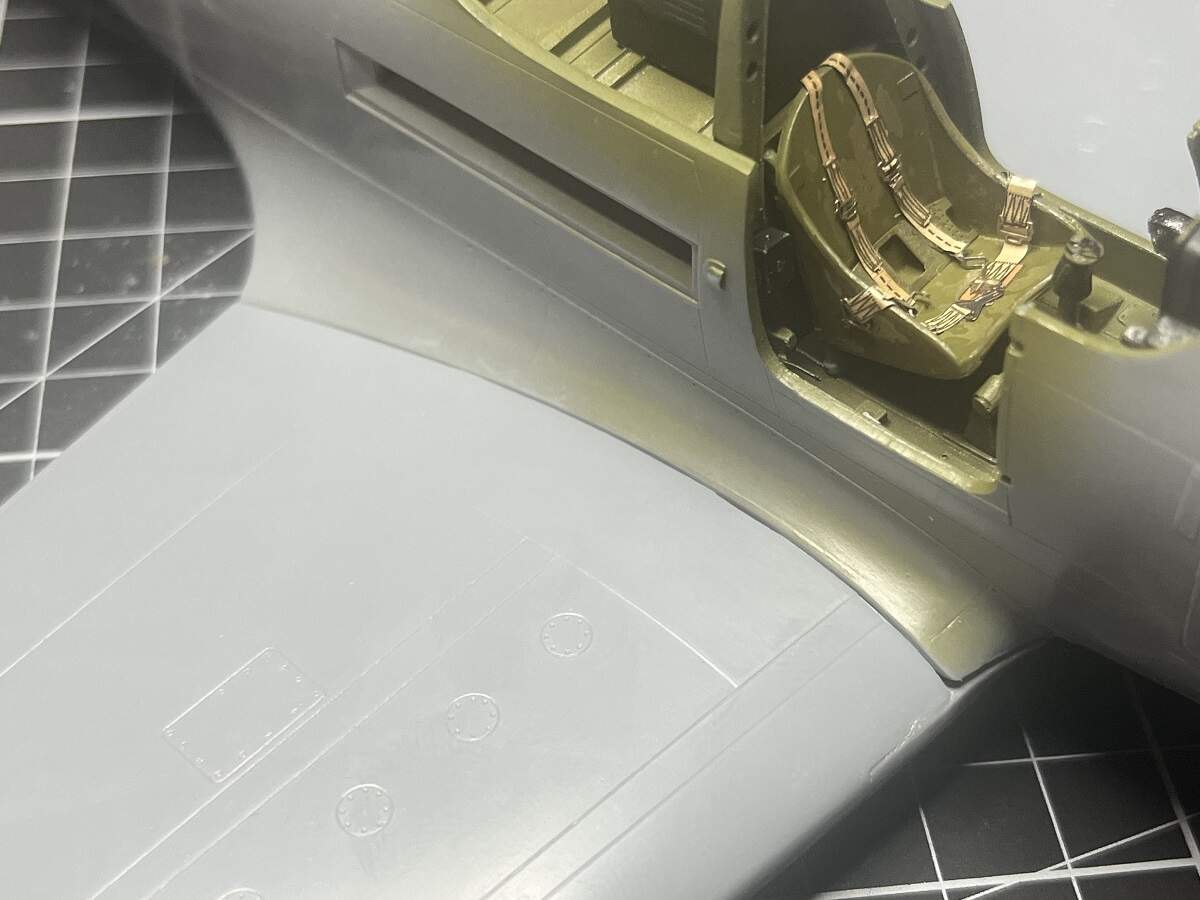
I see that you’re having trouble with the wing root on the port side though, and suggest that the issue is the wing dihedral.
The probable solution is to force the fuselage down, whilst lifting the outer areas of the wing-this will bring the wing root into alignment, all being well! 
Some fettling of the fuselage area may be required on the sides of any vertical seams, but don’t be too worried about the horizontal seams. The nature of plastics has probably meant the wings have relaxed into a flatter state than what the aircraft actually was in.
1 Like
Thanks Russ. It’s not just the dihedral, the profile of the flare on the fuselage doesn’t quite parallel the wing root, so I need to do a little bit of shaving to match them up. The dihedral will also take some work to get right once that’s done.
Cheers, D
2 Likes
Ok, let’s see if this works out for me 
Cheers, D
11 Likes