Painting tank tracks

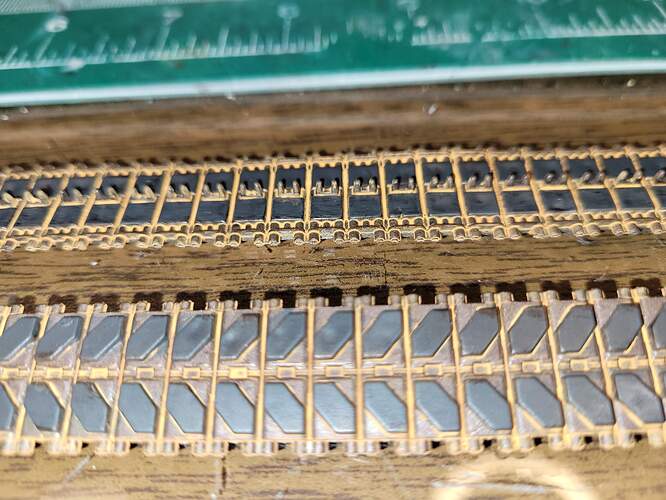
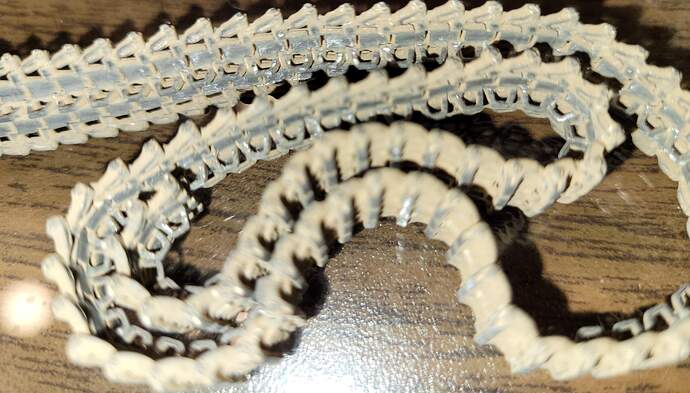
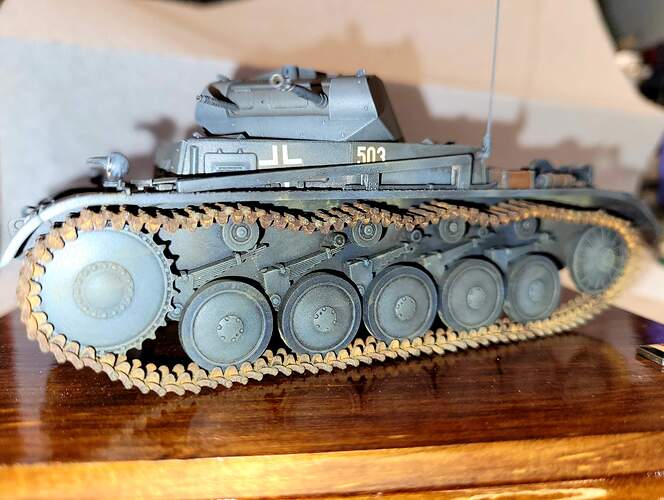
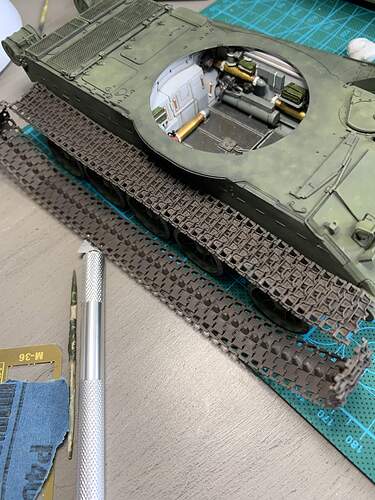
Anyone care to share their tips, tricks, and methods for painting tracks. I’ve often done older kits with the old style rubber band tracks that like to disintegrate if you touch them with anything harsher than Tamiya thinner. I’ve recently started doing Indy tracks and was curious if anyone wanted to share their technique. I’ve seen some amazing tracks on where so I know there must be some stellar methods.

So far I’ve base coated them in Tamiya dark iron, was thinking of doing a thin overspray of a rusty brown/red color, maybe a wash of something, a dusting of pigment and then a dry brush with graphite/a metallic color in the contact surfaces

Martin Kovac has some videos on tracks:

5 Likes

No doubt this will open up a can of worms but in my opinion, tracks can and are often weathered far to much with graphite and metallic silvering which really isnt the case in real life. Due to how most tracks were made in WW2 and up to the present, the materials (I think its a high content of manganese if I remember correctly) used wont offer a silvered effect when worn down past any protective covering the track was given. if anything, its a more goldeny brown when the track wears down. When you do see images of a "silvered or shiny metallic tone, this is usually down to the lighting. You will always get the dust and the mud which is fine and expected in a lot of vehicles when on exercise or deployed, but again, when in barracks you wont always get this as vehicles now are maintained to a very high degree.
And also without getting into all the science bits, they dont always rust the same as normal metals which is again down to the materials tracks are made from.
Anyway, thats my take on it, and as was mentioned above the Tamiya dark iron is a good base and also for showing wear coming through.

4 Likes

I have to disagree regarding the polished metal… at least for German WWII tanks. There are many images clearly showing the shiny tracks, and it can be seen also in preserved and running vehicles with enough use:

2 Likes

Tamiya dark iron with a thin coating of Vallejo 304 track primer from their panzer aces range gives in my opinion and good starting point.

I use the Dark Iron and weathering with pigments from there. As I have the track primer I will give that a go as well next time. :+1:

I use Friulmodel metal tracks almost exclusively. The best results there is in my opinion.

Prime with Tamiya fine surface primer. Spray all over with Mig One Shot Black. Countershade with Mig Dark Tracks (its a dark brown colour).

Then use a mixture of Vallejo Desert Dust Wash mixed with varying degrees of Vallejo pigments - Burnt Sienna, Light Sienna, European Earth.

Highlight grousers and treads with Vallejo Dark Steel pigment.

Depends on the tracks in terms of the way I go about it. For vinyl tracks I paint a dark steel color then use a couple of different earth colors followed by pigments to suit whatever the environment and situation is. I only use acrylics on vinyl tracks.

Its the same for plastic tracks- acrylic and water based paints are a good choice here as using, say, an enamel based weathering product, can destroy the plastic glue joins which will in turn destroy your carefully made tracks.

With metal tracks though you can throw everything and anything at them really from Blacken-It style products to enamel products, oils etc. You can also use acrylics but the durability of the metal tracks mean you can experiment a bit.

1 Like

I like to use Tamiya’s Lacquer Dark Iron as a sort of base, then I use a graphite pencil on the raised edges. Once that is done, I soak the silvered areas in any kind of enamel rust effect to tone the colour down, and then finally I splatter dirt, dust etc onto the tracks.

Thanks for all the tips. I too agree tracks often seem a little too weathered and that’s what I am trying my best to avoid!

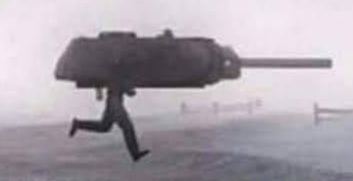
I’m pretty sure his track shoes are black or dark gray.
12f9de35a56dc99ce7649c8bbb1e781a

Isn’t silver the universally agreed color?

Joking of course:) On to the fun stuff.

@Johnnych01 John is :100:% On The Mark about realistic looking tracks from what I’ve seen & researched for the typical tank. That’s the driving philosophy for trying to get tracks to look great in my experience.

Since I haven’t witnessed a running WW2 German AFV to have first hand knowledge, I think the WW2 German AFV’s will pick up some metallic shine on their tracks on the contact points. My artist license favors sparingly used silver for that highlight.

Old Original Tamiya Rubber bands tracks. These old birds are tough turkeys to cook up. Floquil Rail Road Antique Bronze thinned with a Zippo lighter fluid or similar solvent (lacquer thinner if you wish) to BITE into the track. Have sets 30+ years old that were done this way and held up fine.

Antique Bronze, painted Rubber Black pads, wash of rust & dirt.

New Formula Tamiya Rubber band tracks. Floquil Military Color Bronze, dirt & Rust wash with faint metal highlight. Have one done 25+ years ago that have held up no issues, shot with Zippo lighter fluid & Floquil etc.

Both models above would probably benefit from a little more pastel chalk dust to blend etc.

I also use the same procedure on plastic link tracks.

I like Tamiya Dark Iron as it’s close to the Floquil Antique Bronze & Floquil Military Colors Bronze. I think the Tamiya Dark Iron could look even better with a little tweaking. I would probably test adding a bit of brown or earth tone to lighten it slightly.

White Metal Burnishing
Of course, Fruil (recent quality has slipped) & Sector35 (outstanding) make white metal that could be worth a look. Burnishing fluids and sanding can yield this sort of result pretty easily.

@SdAufKla Mike, kindly did a very nice write up on the old forum for working metal tracks. The Pz IV tracks above are based on following it

Armorama::Birchwood Casey Liquid Gun Blue 1

White Metal Painted
Without burnishing fluids or weak burnishing, the following results are easy on white metal tracks with Floquil
Antique Bronze or Floquil Military Color Bronze, dirt & Rust wash. Tweaked Tamiya Dark Iron should work similarly.

Starting with a fairly dark gray base coat etc and apply paints as washes etc.

This starting to drift towards too heavy in effect in my opinion. These will need to be lightly sanded on contact points to expose some silvery metal and then toned down and blended with a bit of pastel chalk dust with the model.

Painted white metal with chalk dust.

8 Likes

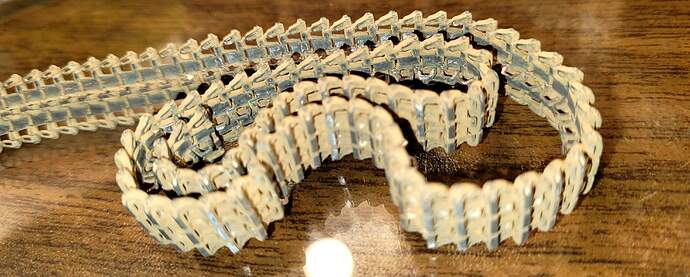
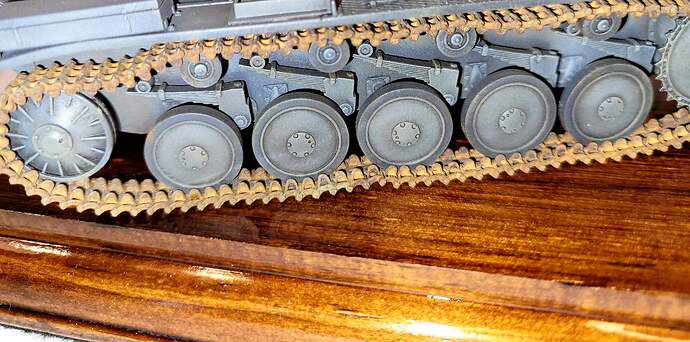
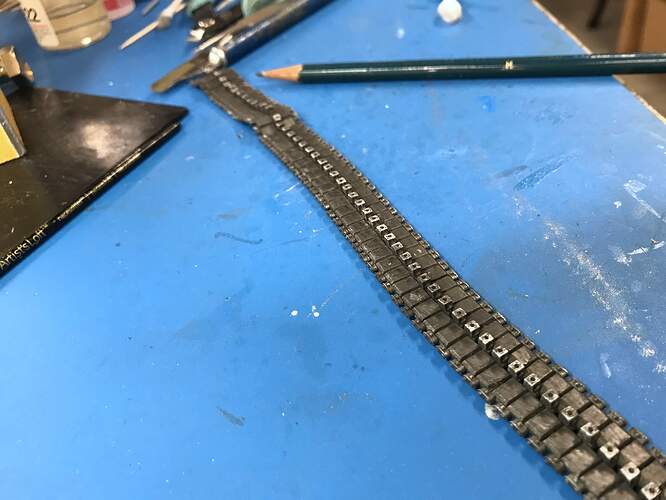
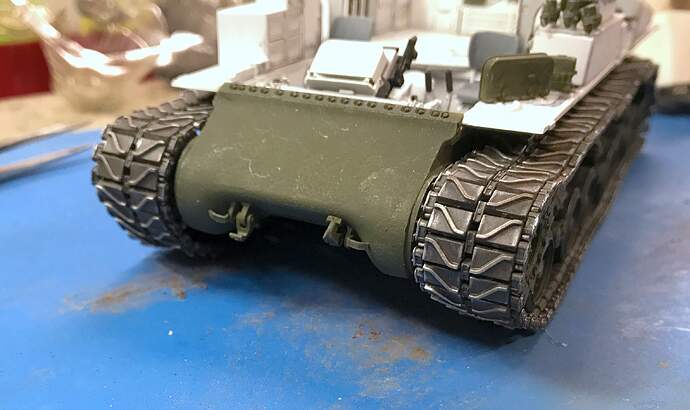
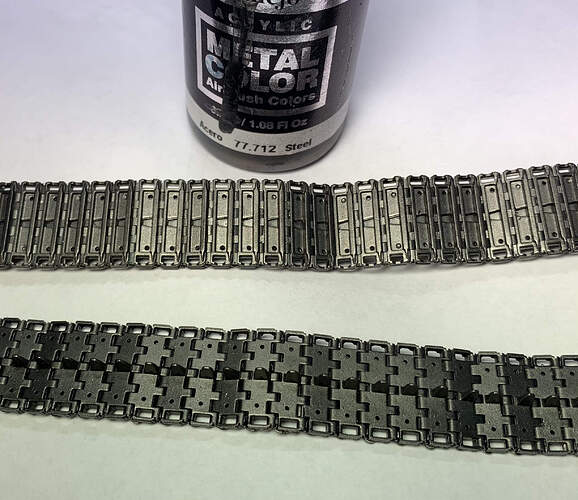
Here is what I have so far, just base coated Tamiya dark iron. I like this color for base coat.

Following plan:

  1. I’m gonna mix up a brownish-red rust color and do a thin overspray to tone down the “new” looking color to something like patined metal

  2. add some sort of pigment type wash to blend

  3. dust pigments

  4. graphite dry brush on very top contact points.

4 Likes

I’ll chime in with my penny’s worth. I generally start with a dark metallic color. I then use a heavy brown wash making sure it settles into all the nooks and crannies. After that a very light dark rust wash. Sometimes I will slightly burnish the contact points with the road surface with rub n buff.

2 Likes

I have a simple procedure
H-084 Mahogany - Mr. Color
and dry brush over of H38- Steel red and over a light dry brush of enamel silver

Continuing the discussion from Painting tank tracks:

For the Ryefield Sherman M3A4 76WS HVSS I used Tamiya Dark Iron, rust powders, pencil lead and AK Interactive Real Metal Silver Cream. These tracks were styrene assemblies with LOTS of parts.

The Dark Iron coat:

The pencil lead treatment on the surfaces polished by the road wheel tires.

The final install with the running ribs also treated with the silver paste.

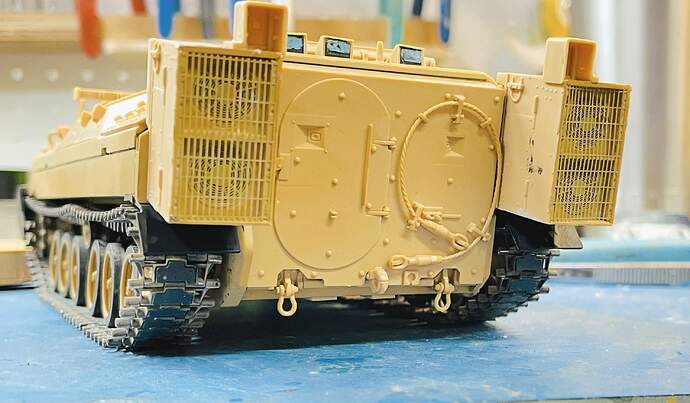
On my current project, the Meng Bradley BUSK III I’ve selected the Friulmodel metal tracks. This is an advantage since to create the worn metallic areas all you have to do is scrape off the paint.

Again, first coat is Tamiya Dark Iron, 2nd a rusty overspray with Vallejo Dark Flesh, then a light spray of Tamiya Buff, hand painting the tread blocks with Tamiya Rubber Black lightened a bit with flat white, scraping off the wear areas (guide lugs and contact bars on hinge points) and finally a dusting of light earth pastel powders.

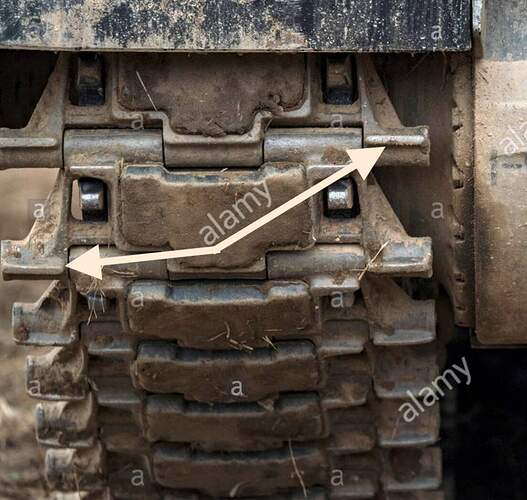
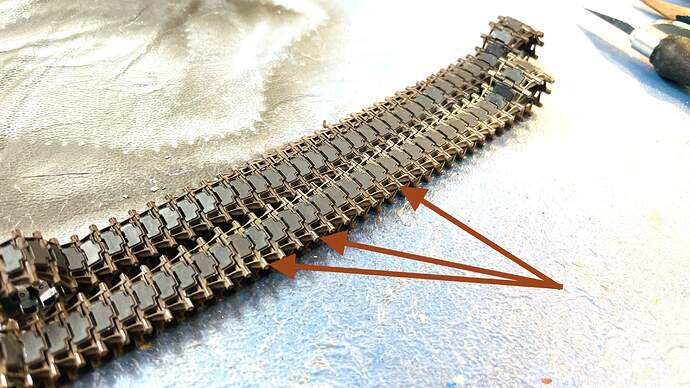
I based my track paint on this closeup of the late model Big Foot Bradley track. The arrows point out that wear area that I highlighted on the finished track.

Before painting the tread blocks I sealed the acrylic paint with Testor’s Dull Coat so the Dark Iron wouldn’t bleed into the black.

The arrows point out the track bars from where I scraped the paint. I had to be careful to not remove it from other areas. Can’t do this on rubber or plastic tracks.

When installed the track looks good to me. Generally tracked vehicles in use, especially in desert climates don’t rust very much. They get dirty, but they’re not caked with built up rust. I imagine in muddy European bogs, they’d get pretty muddy, but that’s not what I’m modeling here.

4 Likes

Perfect! This is generally what I plan to do. Nice to see steps and paint selection laid out.

Those tracks are really looking good!
Ken

Great topic, this kind of topics are the main reason I signed up for this site, to get information on how people paint, weather, build… to learn from others.

So the more different cans of worms are opened, the better. Anyone can then try out whichever method you find interesting, until you find the right way for yourself.

:+1: :+1:

4 Likes

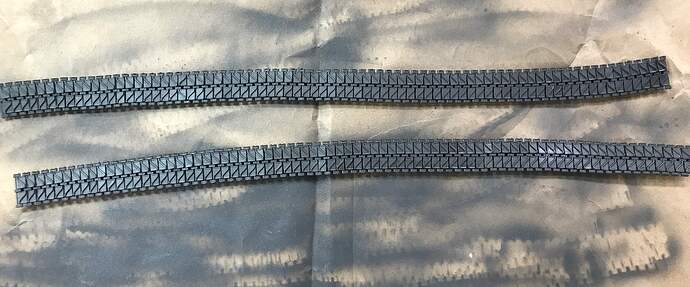
Since I’m at the track painting stage on the current build on my bench I thought I would post a picture. These are Merkava Mk4 tracks from the Meng 1/35 kit.

I primed them with Ammo One Shot. Next up I will give them a black wash followed by earthy acrylic paints. At this stage you could also just dry brush the tracks with a light metal color (after the wash) and head straight for pigments.

3 Likes

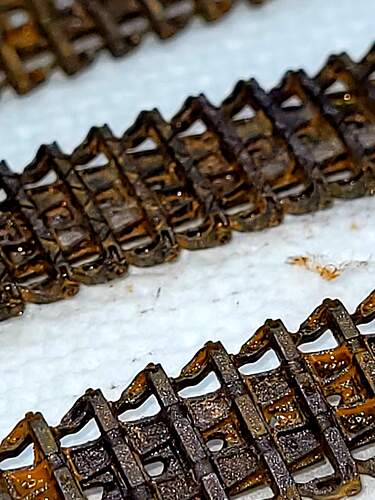
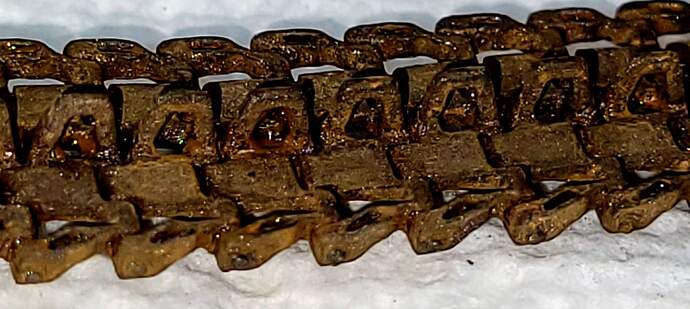
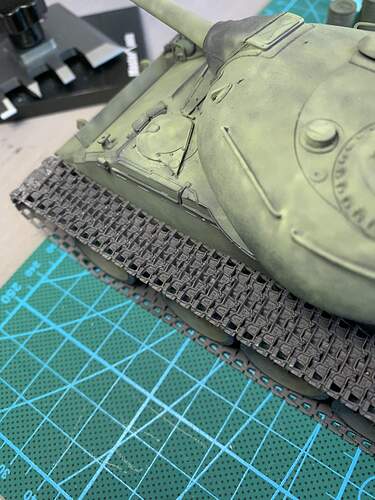
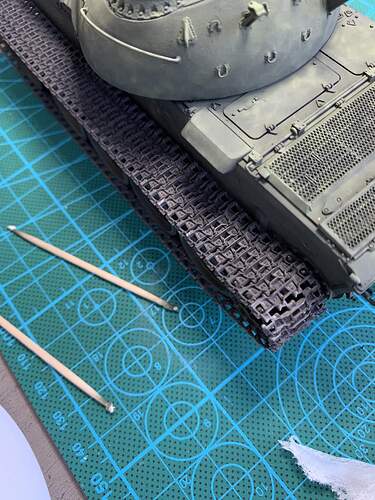
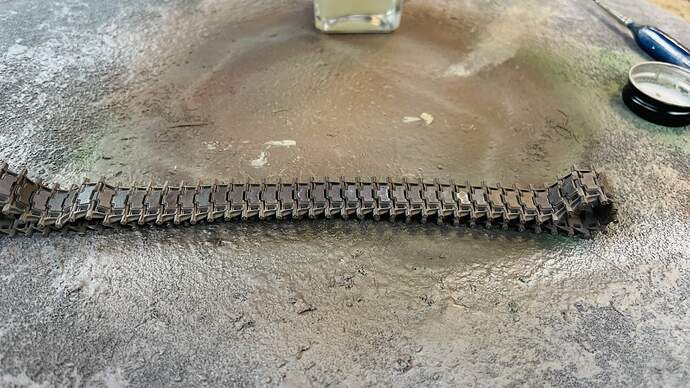
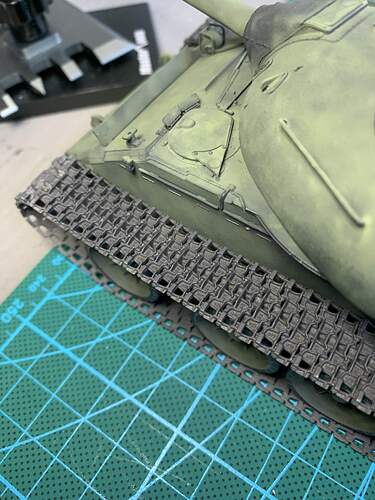
I’ve added a rusty brown over spray using Tamiya hull red mixed with red brown and black green. The intention here was to show patinaed metal and tone down the sheen and sparkle of the dark iron. Next I’m gonna seal with dullcote since I’ll be using acrylic mediums for the wash.

Before:

After:

3 Likes