It’s a great time to be a Phantom Phreak!
https://aeroscale.net/news/mcdonnell-douglas-tm-f-4b-phantom-ii-tm
Especially if you have fairly deep pockets ![]() .
.
Michael
It’s a great time to be a Phantom Phreak!
https://aeroscale.net/news/mcdonnell-douglas-tm-f-4b-phantom-ii-tm
Especially if you have fairly deep pockets ![]() .
.
Michael
My god, it is a beautiful airplane, isn’t it?!
I thought that Zoukei Mura made the unlitmate Phantom series? I wonder how this new Tamiya will compare to that 
Want!
jibberish to meet the minimum post size<
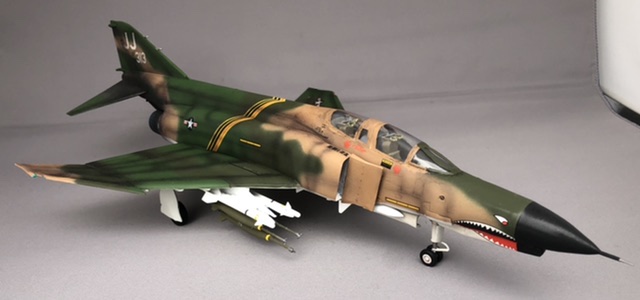
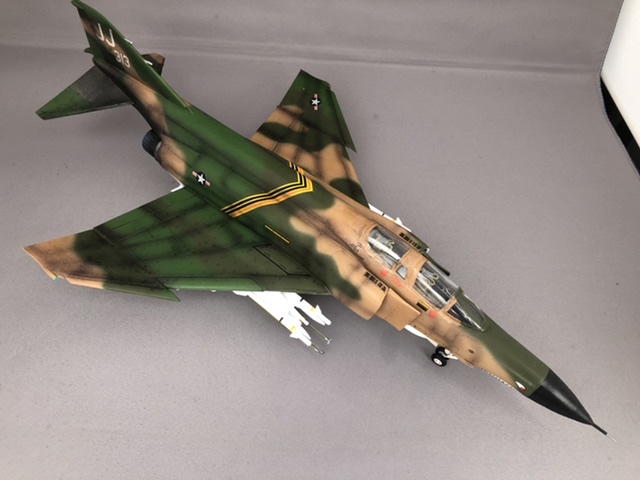
The decals are on. Next are a few touch ups on the paint work and some heavy weathering around the exhaust. I will try some new techniques and products, so fingers crossed
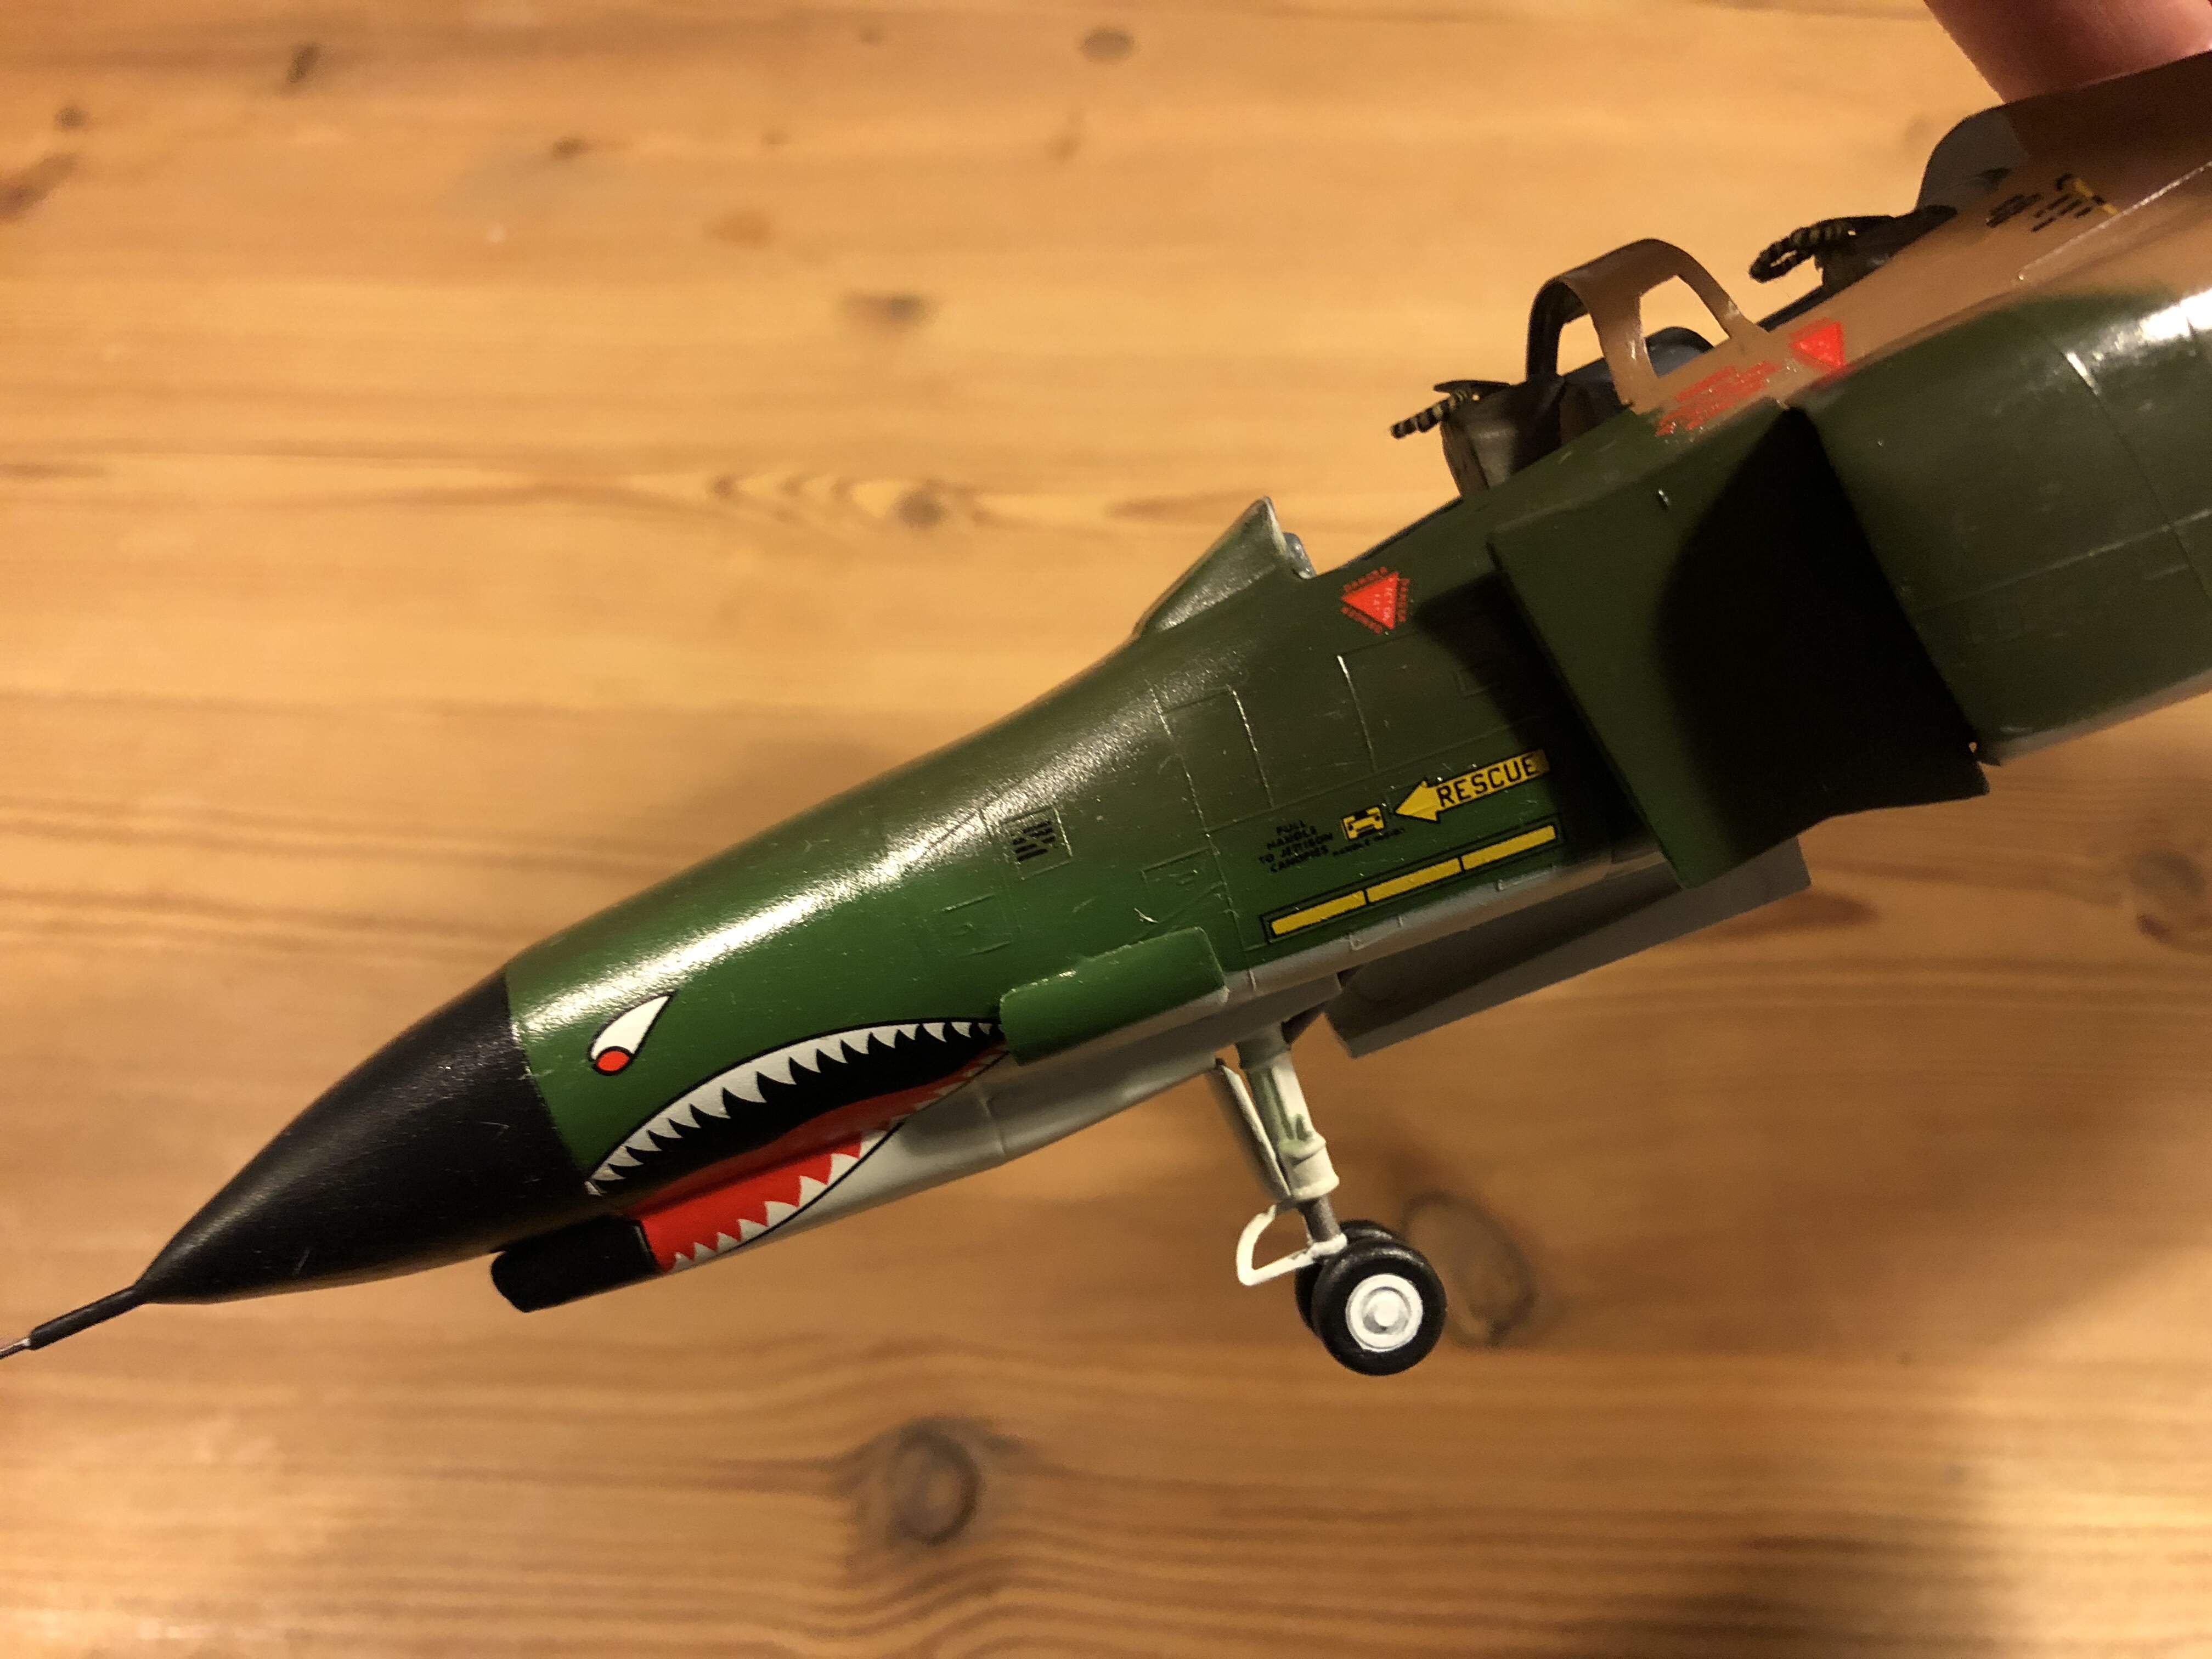
Love the shark mouth!
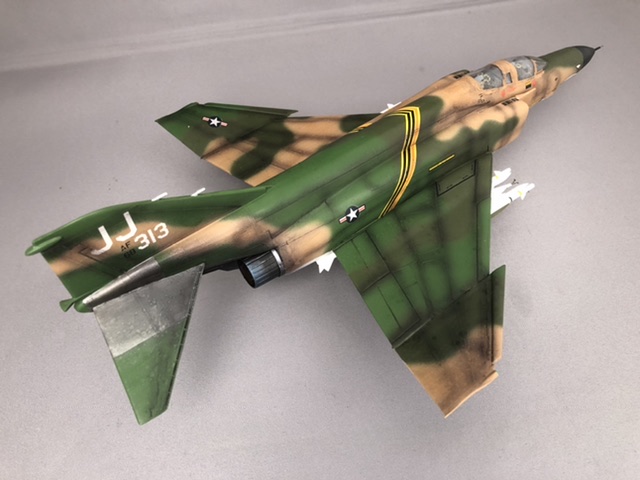
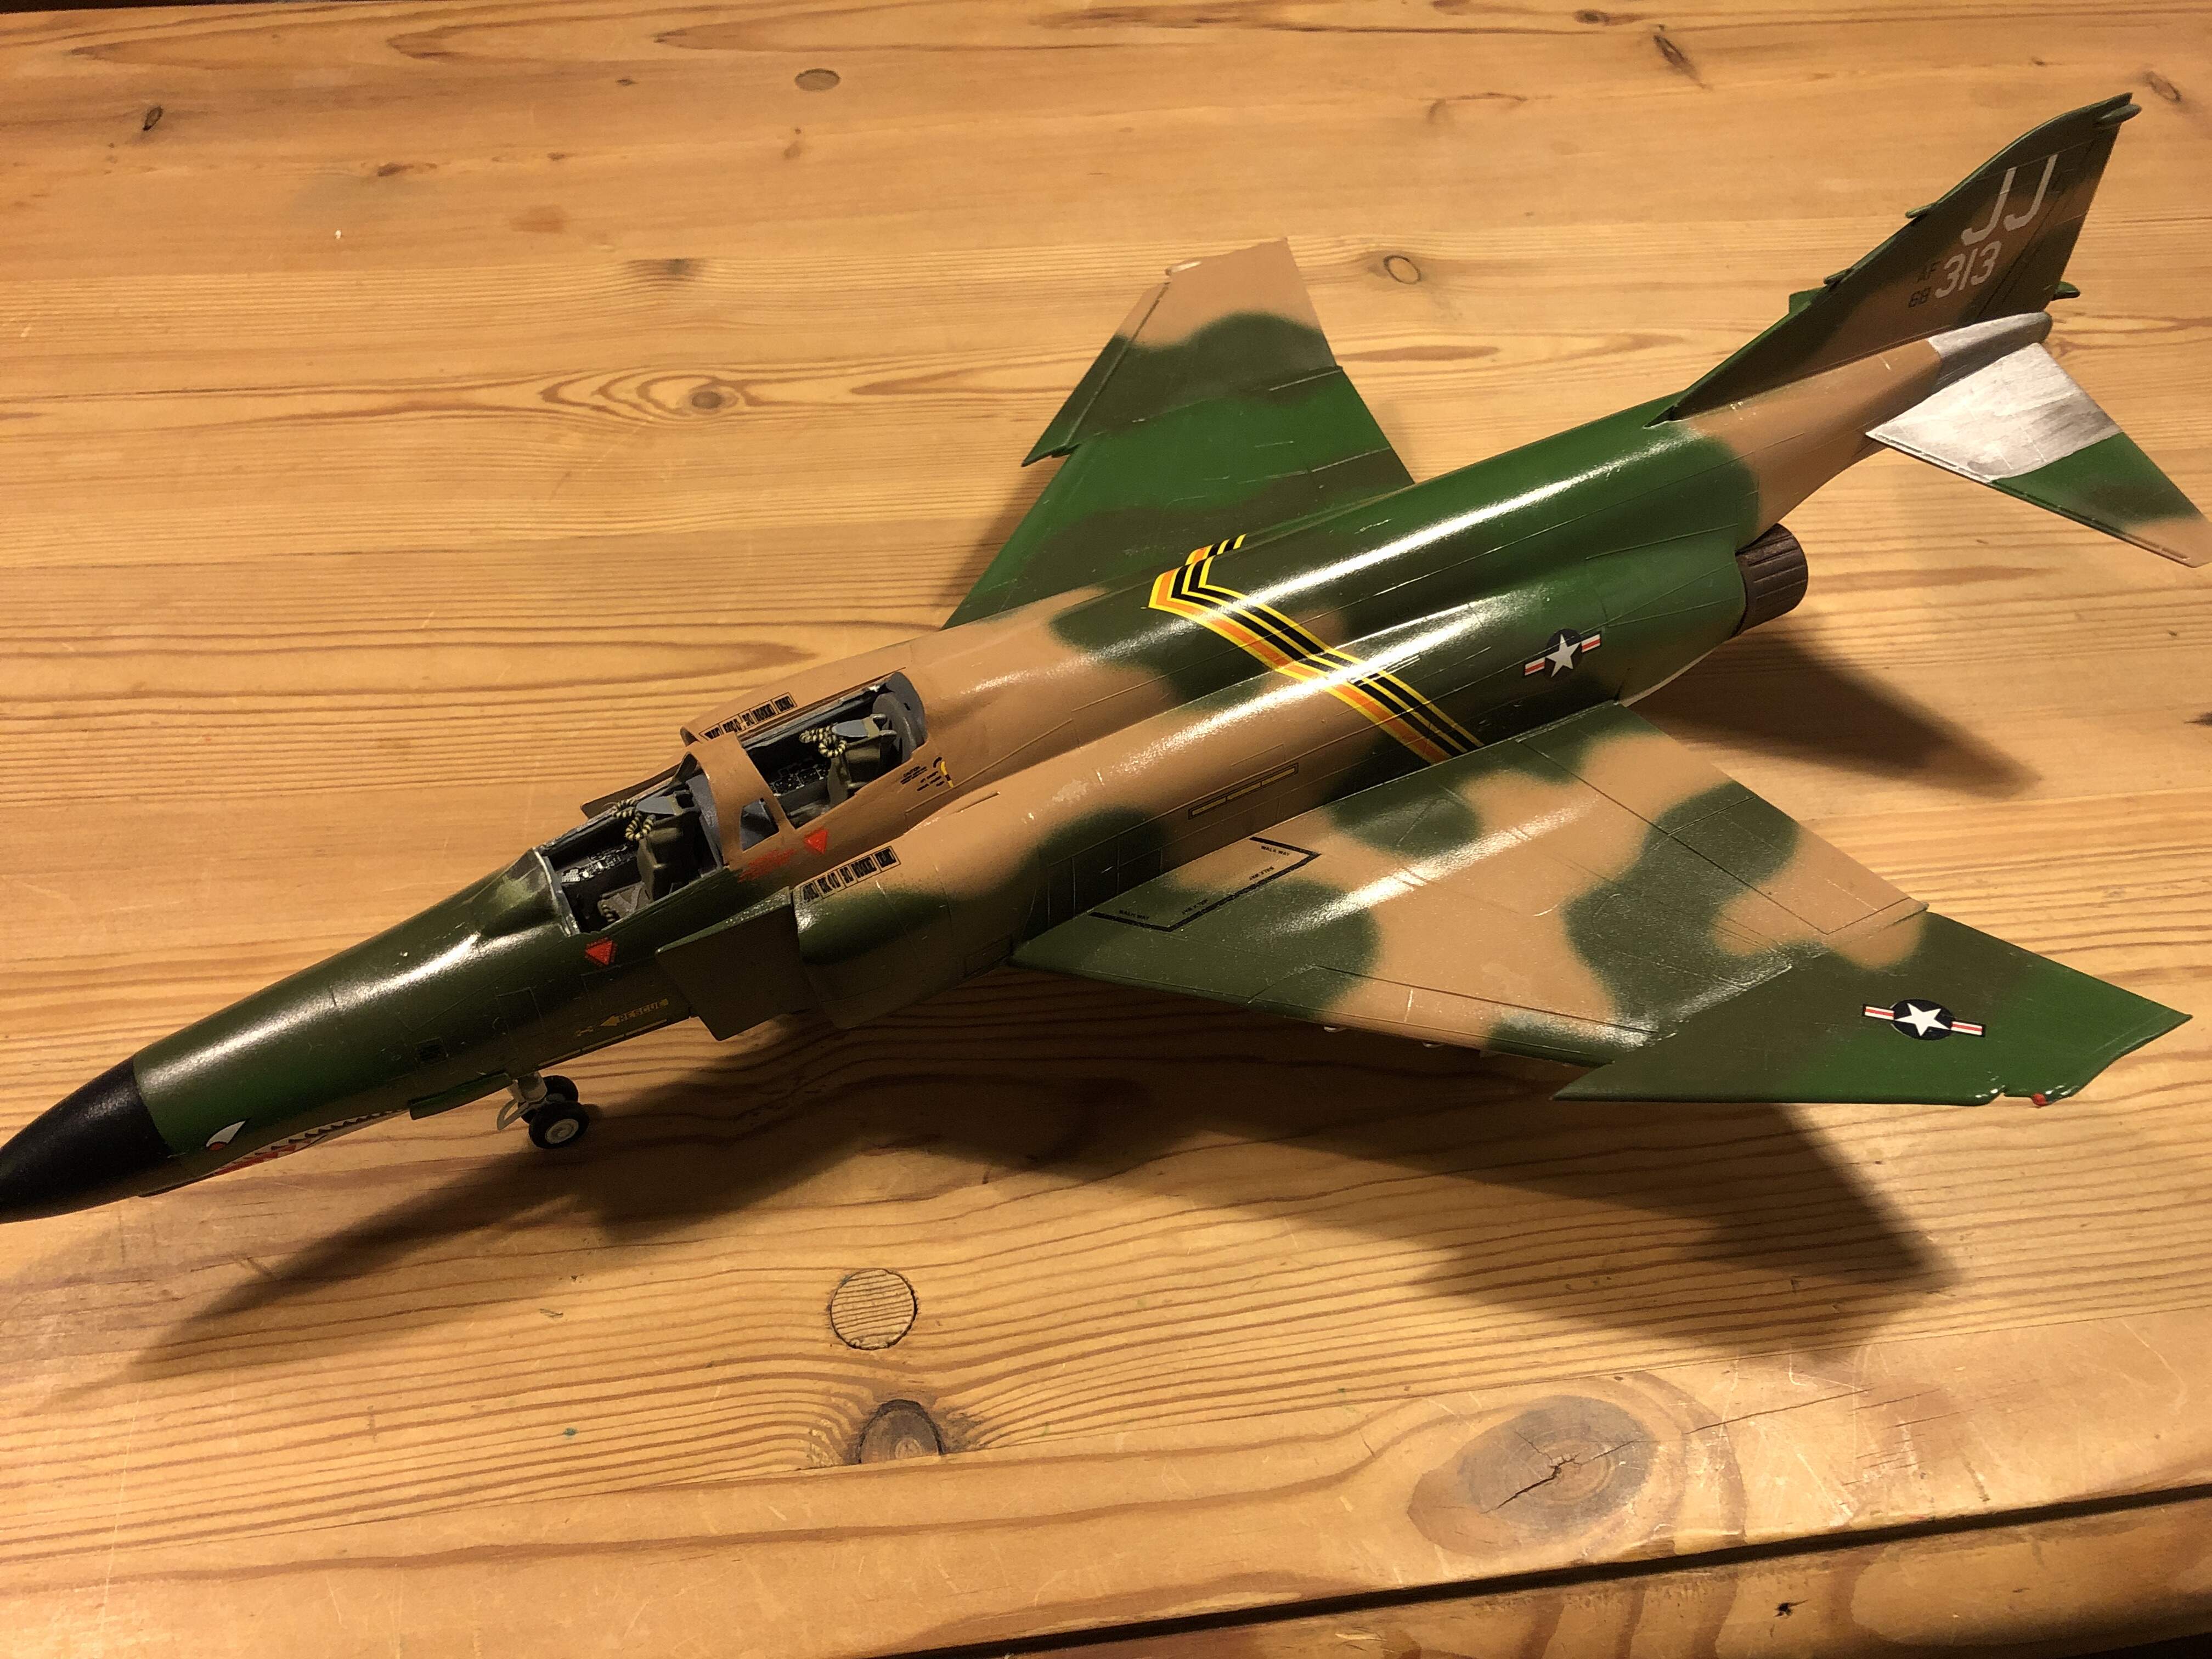
Looks great Jesper, the chevron on the centre line looks great and very neat. Nice job all over 
Yes, it’s looking really good!
Great job, Jesper! Good luck for the weathering 
I’m going to start my entry soon, deciding now which one…

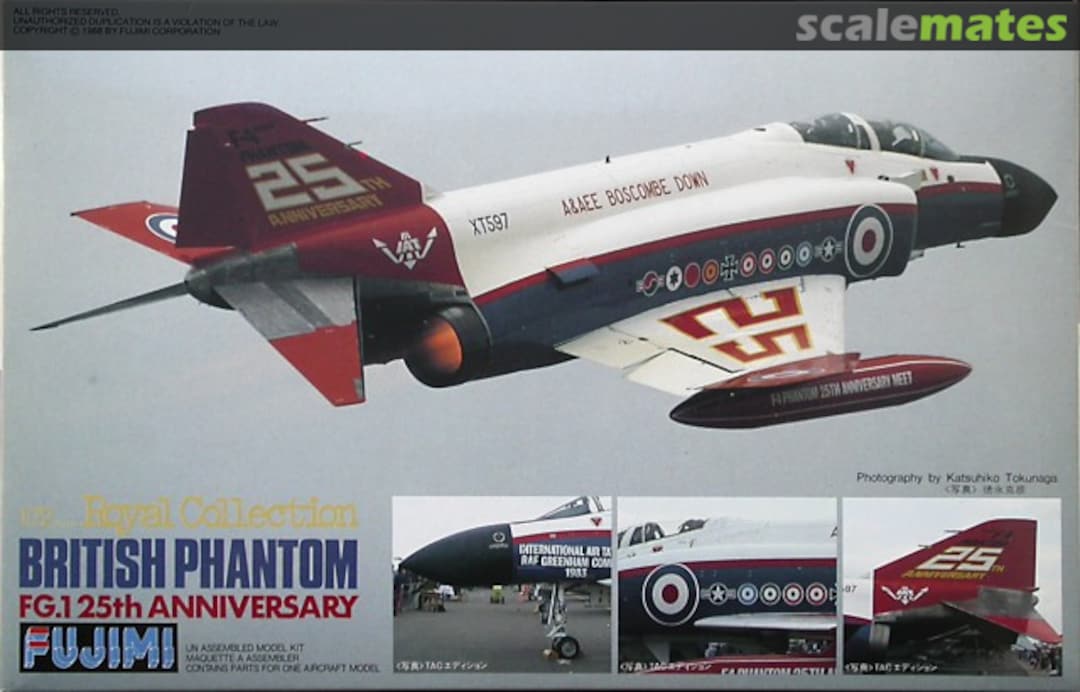
If it went to a vote Peter, mine would be for the 25th anniversary … That looks nice.
@Johnnych01 - You could persuade me, because it is the oldest kit now in my stash. The Fujimi decals should go on better than the over 40 years old ones of my Sea King for the Helicopter Campaign…
I bought this Phantom kit in 1991 at Fairford when I visited the IAT for the first time. The vendor made a mistake on the first day when he priced it out for 9,95 GBP as the other Fujimi Phantom kits. I politely asked, but when he confirmed the price I bought it at once 
Of course, the next day the price was corrected to 19,95 GBP or so I think. Lucky me!
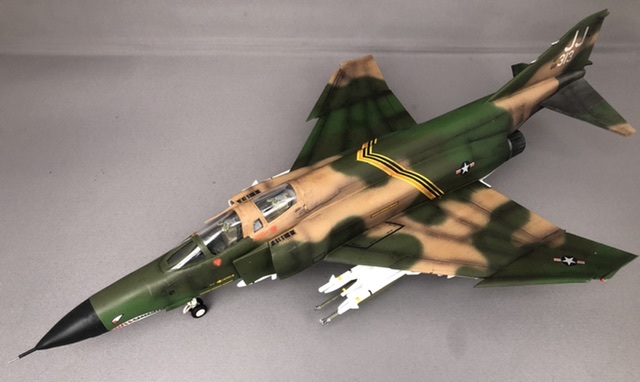
Jesper, the decals really make this build, well done!
Have fun modeling
Mike

One of the touches I like to add to my Phantom builds is the red beacon light on the leading edge of the tail. It is a pretty easy process to add the light and it does stand out on the finished model. The first sep is to file out the place where the light will go. In these photos, I then painted the cut out with Testor’s silver enamel to serve as a base for the light.

I then cut out a small block of clear acrylic plastic to fit into the cut out.
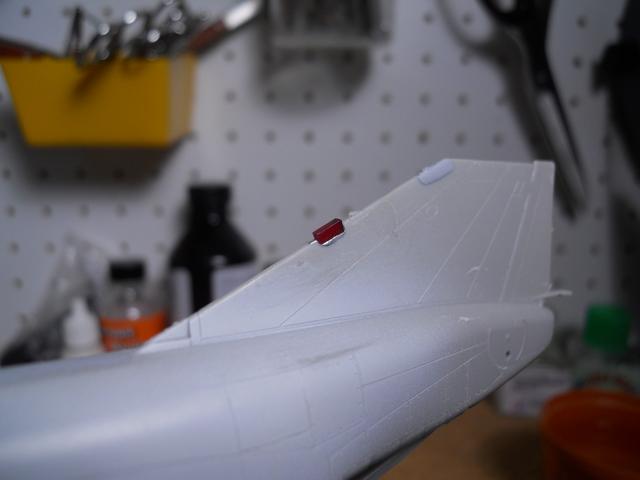
I’ll show the final result in a following post.
have fun modeling!
Mike
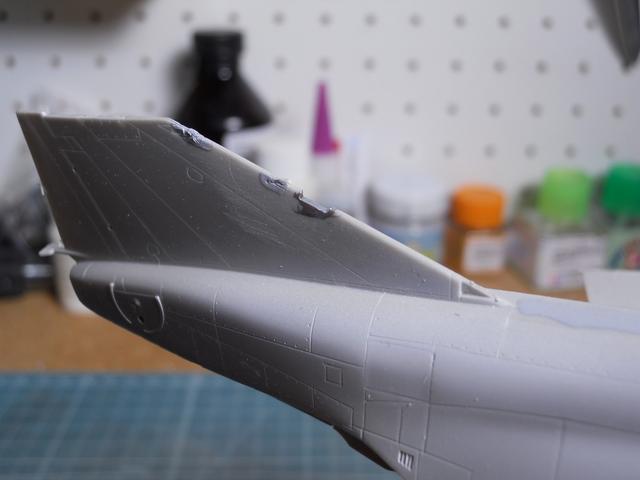
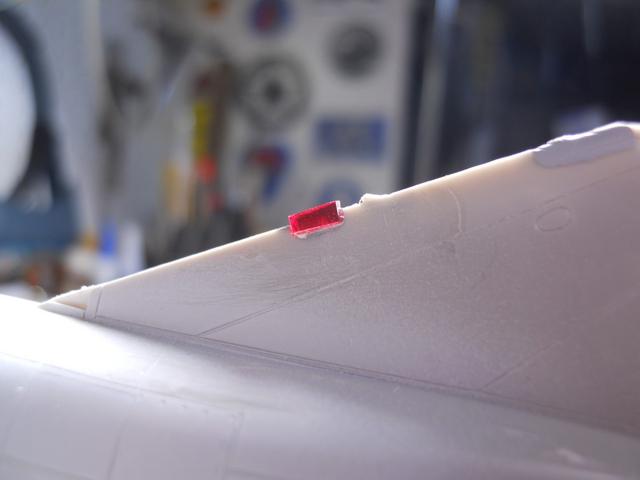
I use epoxy to firmly glue the clear red acrylic block into the cutout.After letting it sit for at least a day to fully cure, I sand the red block down to conform with the vertical stabilizer. This is a pretty quick process if you don’t knock out the acrylic piece and here is the result:
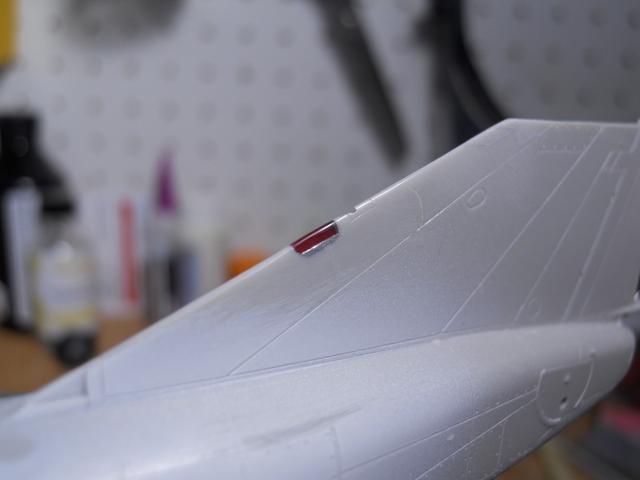

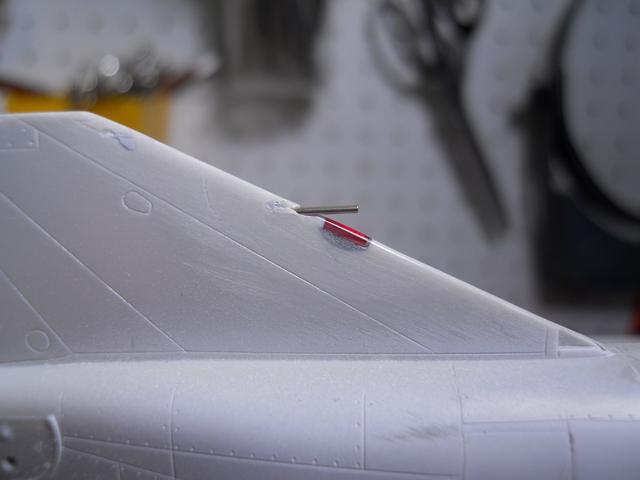
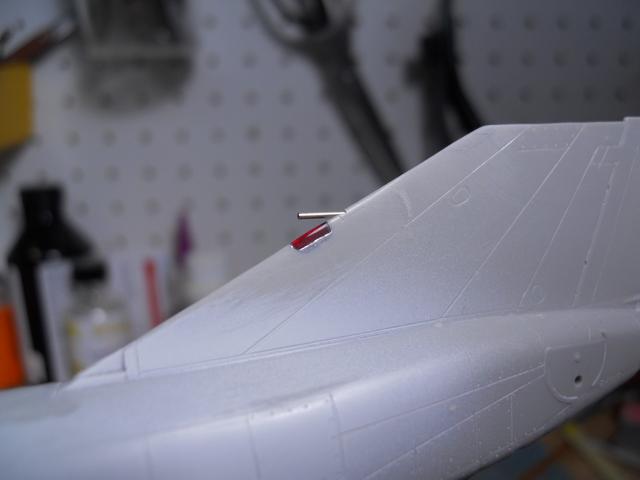
In the last two photos, I added a short piece of tubing to represent the stabilizer bellow ram air inlet (not a pitot tube). I have not faired this in yet as I wanted to see hw it would look.
Have fun modeling!
Mike
Very nice intricate attention to detail Mike… gives it a nice look
Well done, Mike
How did you you polish the clear part after sanding it down?
Cheers
Peter 
Very nice details, Mike! Especially the clear red part is a very nice detail.
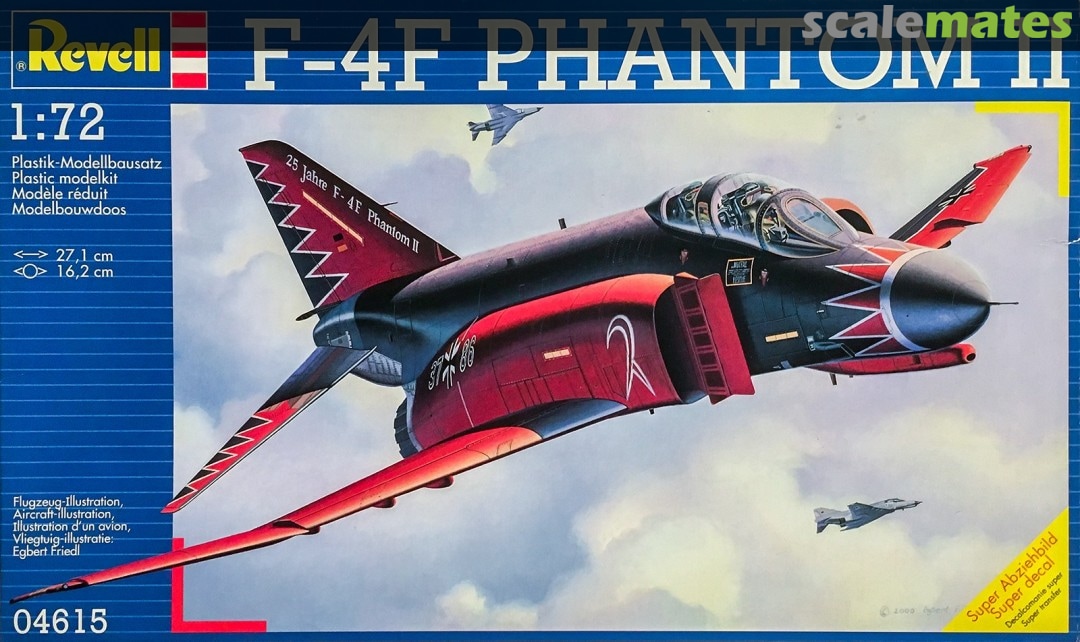
Peter, I would go for the black and red tulip scheme for the Phantom. I build that around a decade ago and it is a beautiful and striking scheme! 
Thanks for all the comments, guys. Much appreciated.
Next I will try the MIG productions shaders on this build. I have not tried them before. It will (hopefully) be a good way to shade around the panel lines. Most of the panel lines are raised, so the traditional wash might not work as well.
More to follow soon
Hi Peter! Thanks for the nice compliment. I first used several rough grit (200 and 300) sanding sticks to get the clear part into the correct shape. I then polished the clear light using fine grade flexible sanding sheets that I have. I believe I started with a 3200 grit sheet and went through successive finer sheets and ended up at 12000 grit sheet for the final polish. This only took a few minutes to do.The clear part will look even better after I brush some Future on it after painting and decalling the model.
Have fun modeling!
Mike
Well mates,
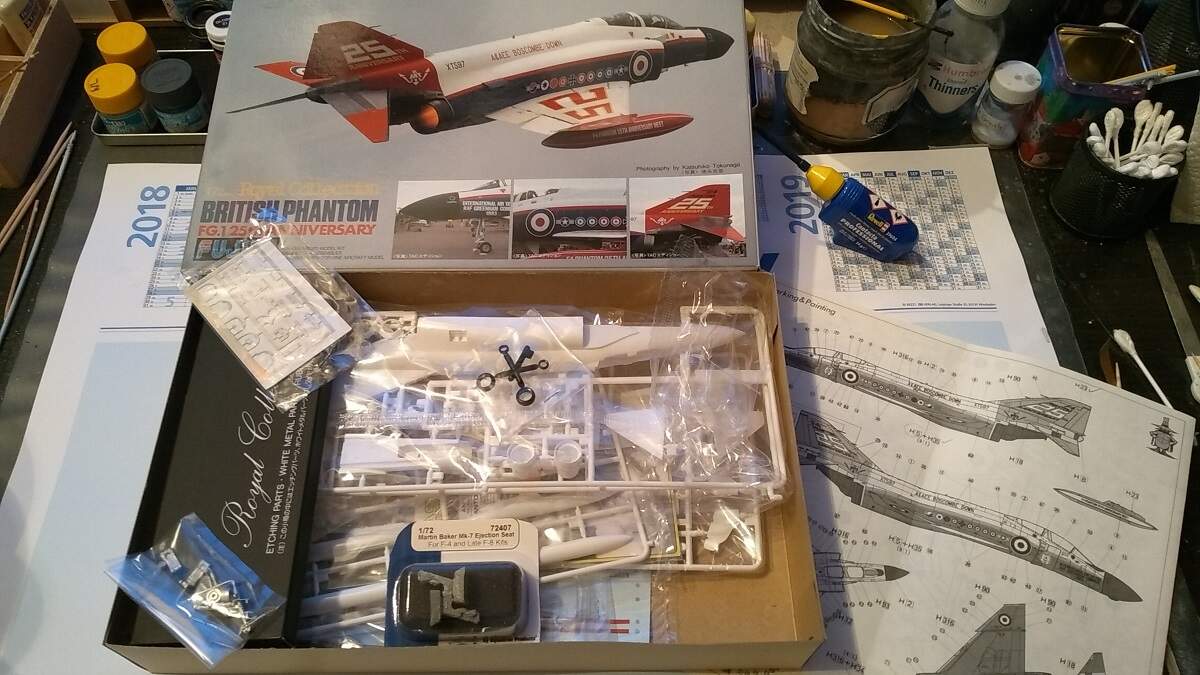
the Grand Jury has decided…and (after nearly 30 years in my stash) the entry is:

Excellent choice
As Peter starts his build, I will finish mine I pass the Phantom baton on to you, Peter 
I build a very old kit, that fought me hard all the way - especially the cockpit glazing that was so underscale it could fall into the cockpit itselves. I had to rebuild the frame around the cockpit.
In the end it was a very satisfying experience and I am satisfied with the end result.
Once again thanks to Calvin for sending me some spare decals allowing me to make a shark mouth Phantom.
Next build will be high quality like eduard, hasegawa or Tamiya