Hello all, Here’s another report from the ‘Stink Works.’ ![]()
‘KLAW’ outer brackets. ![]()

When it’s time to clip the brass rods (final step), I’ll cap them off with resin bolt heads. ![]()
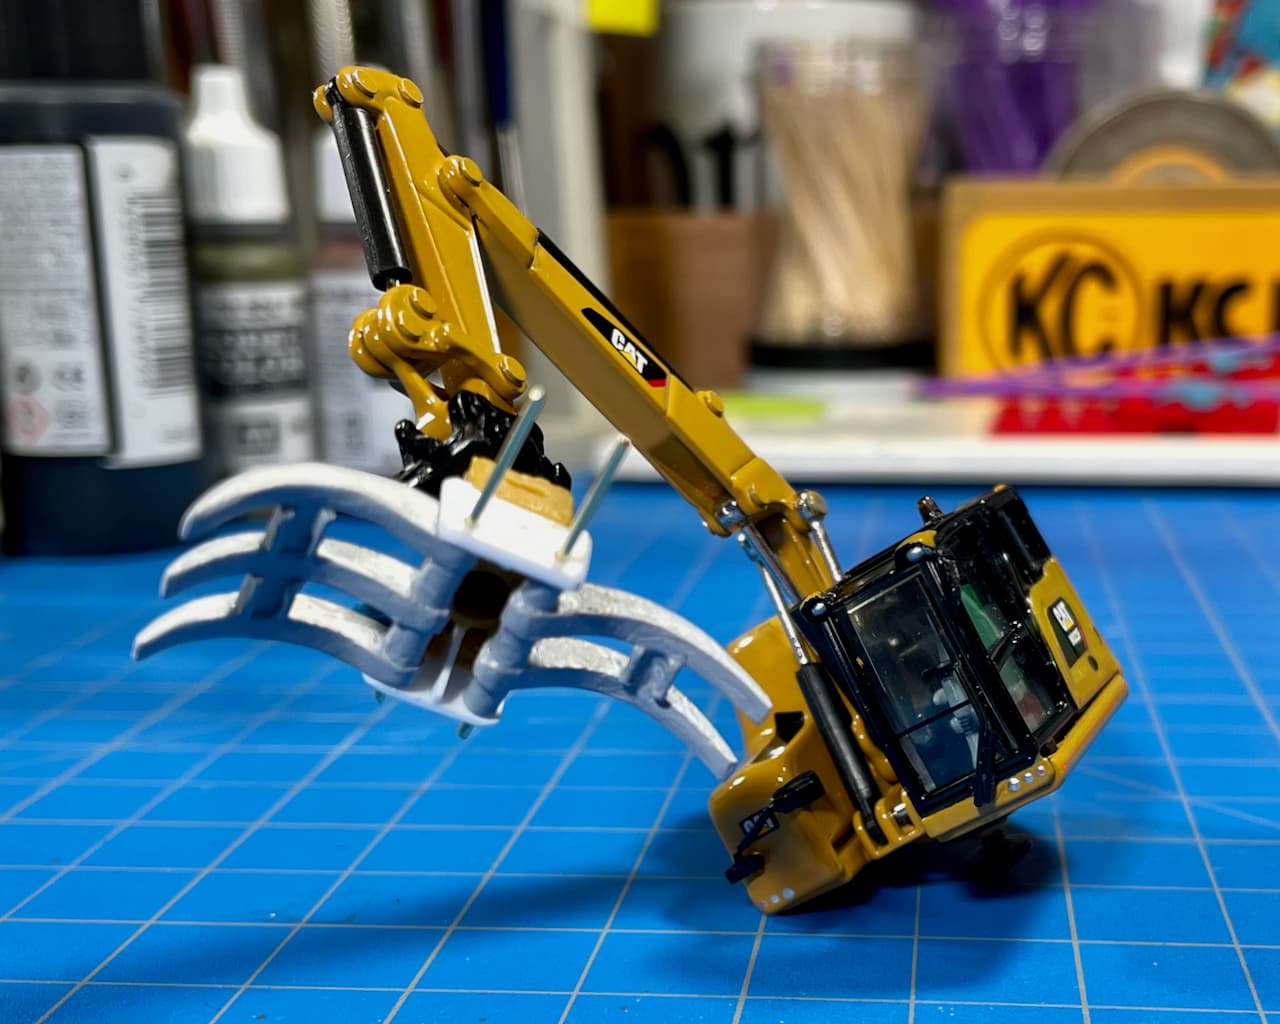
The entire assembly clamps-down and articulates rather nicely. ![]()
![]()
—mike …![]()
Hello all, Here’s another report from the ‘Stink Works.’ ![]()
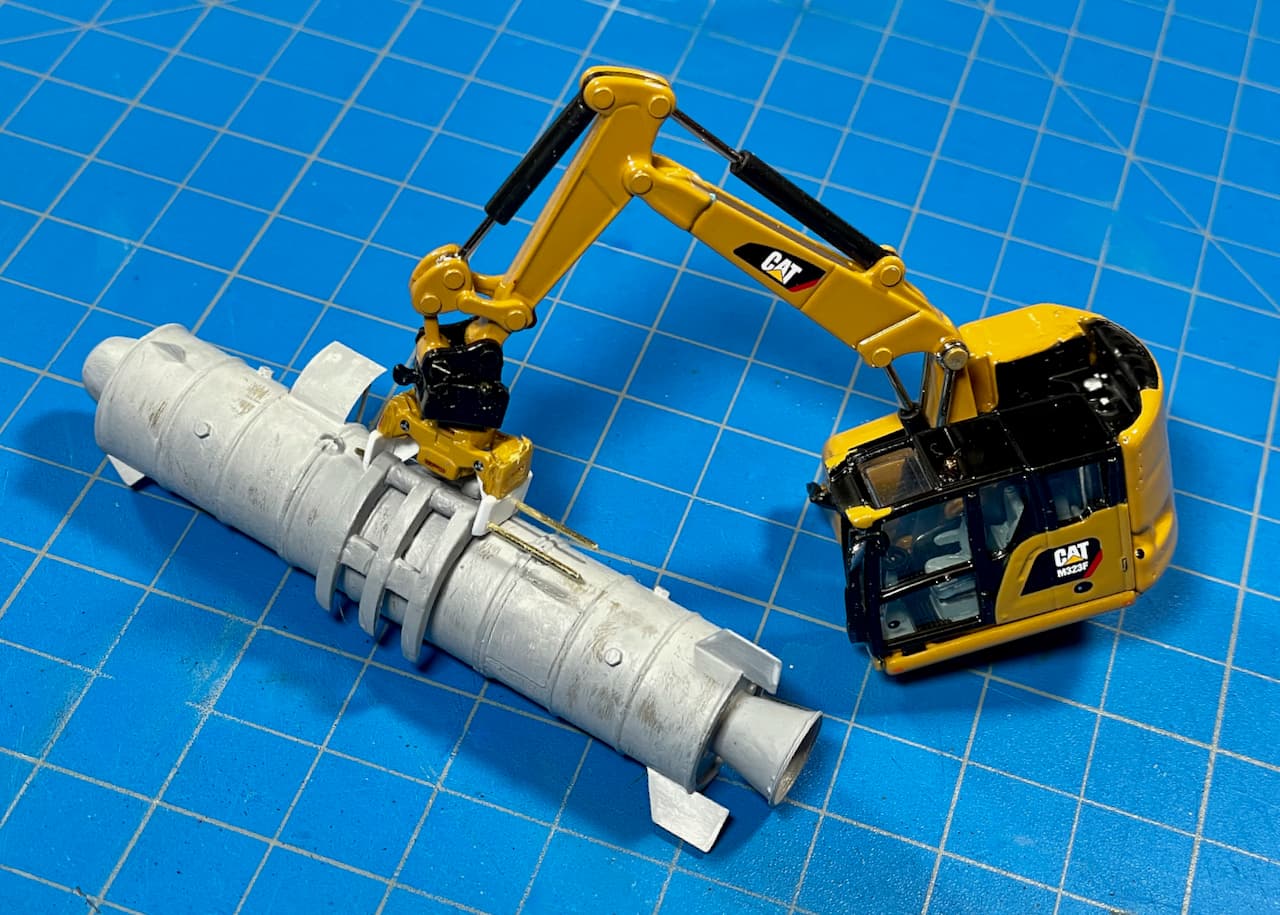
‘KLAW’ outer brackets. ![]()
When it’s time to clip the brass rods (final step), I’ll cap them off with resin bolt heads. ![]()
The entire assembly clamps-down and articulates rather nicely. ![]()
![]()
—mike …![]()
Wow - just, Wow! ![]()
Really awesome idea/work going on here
Love it, Mike! The is exactly in the spirit of this campaign!
You’ve got a fantastic imagination Mike. I love watching it work.
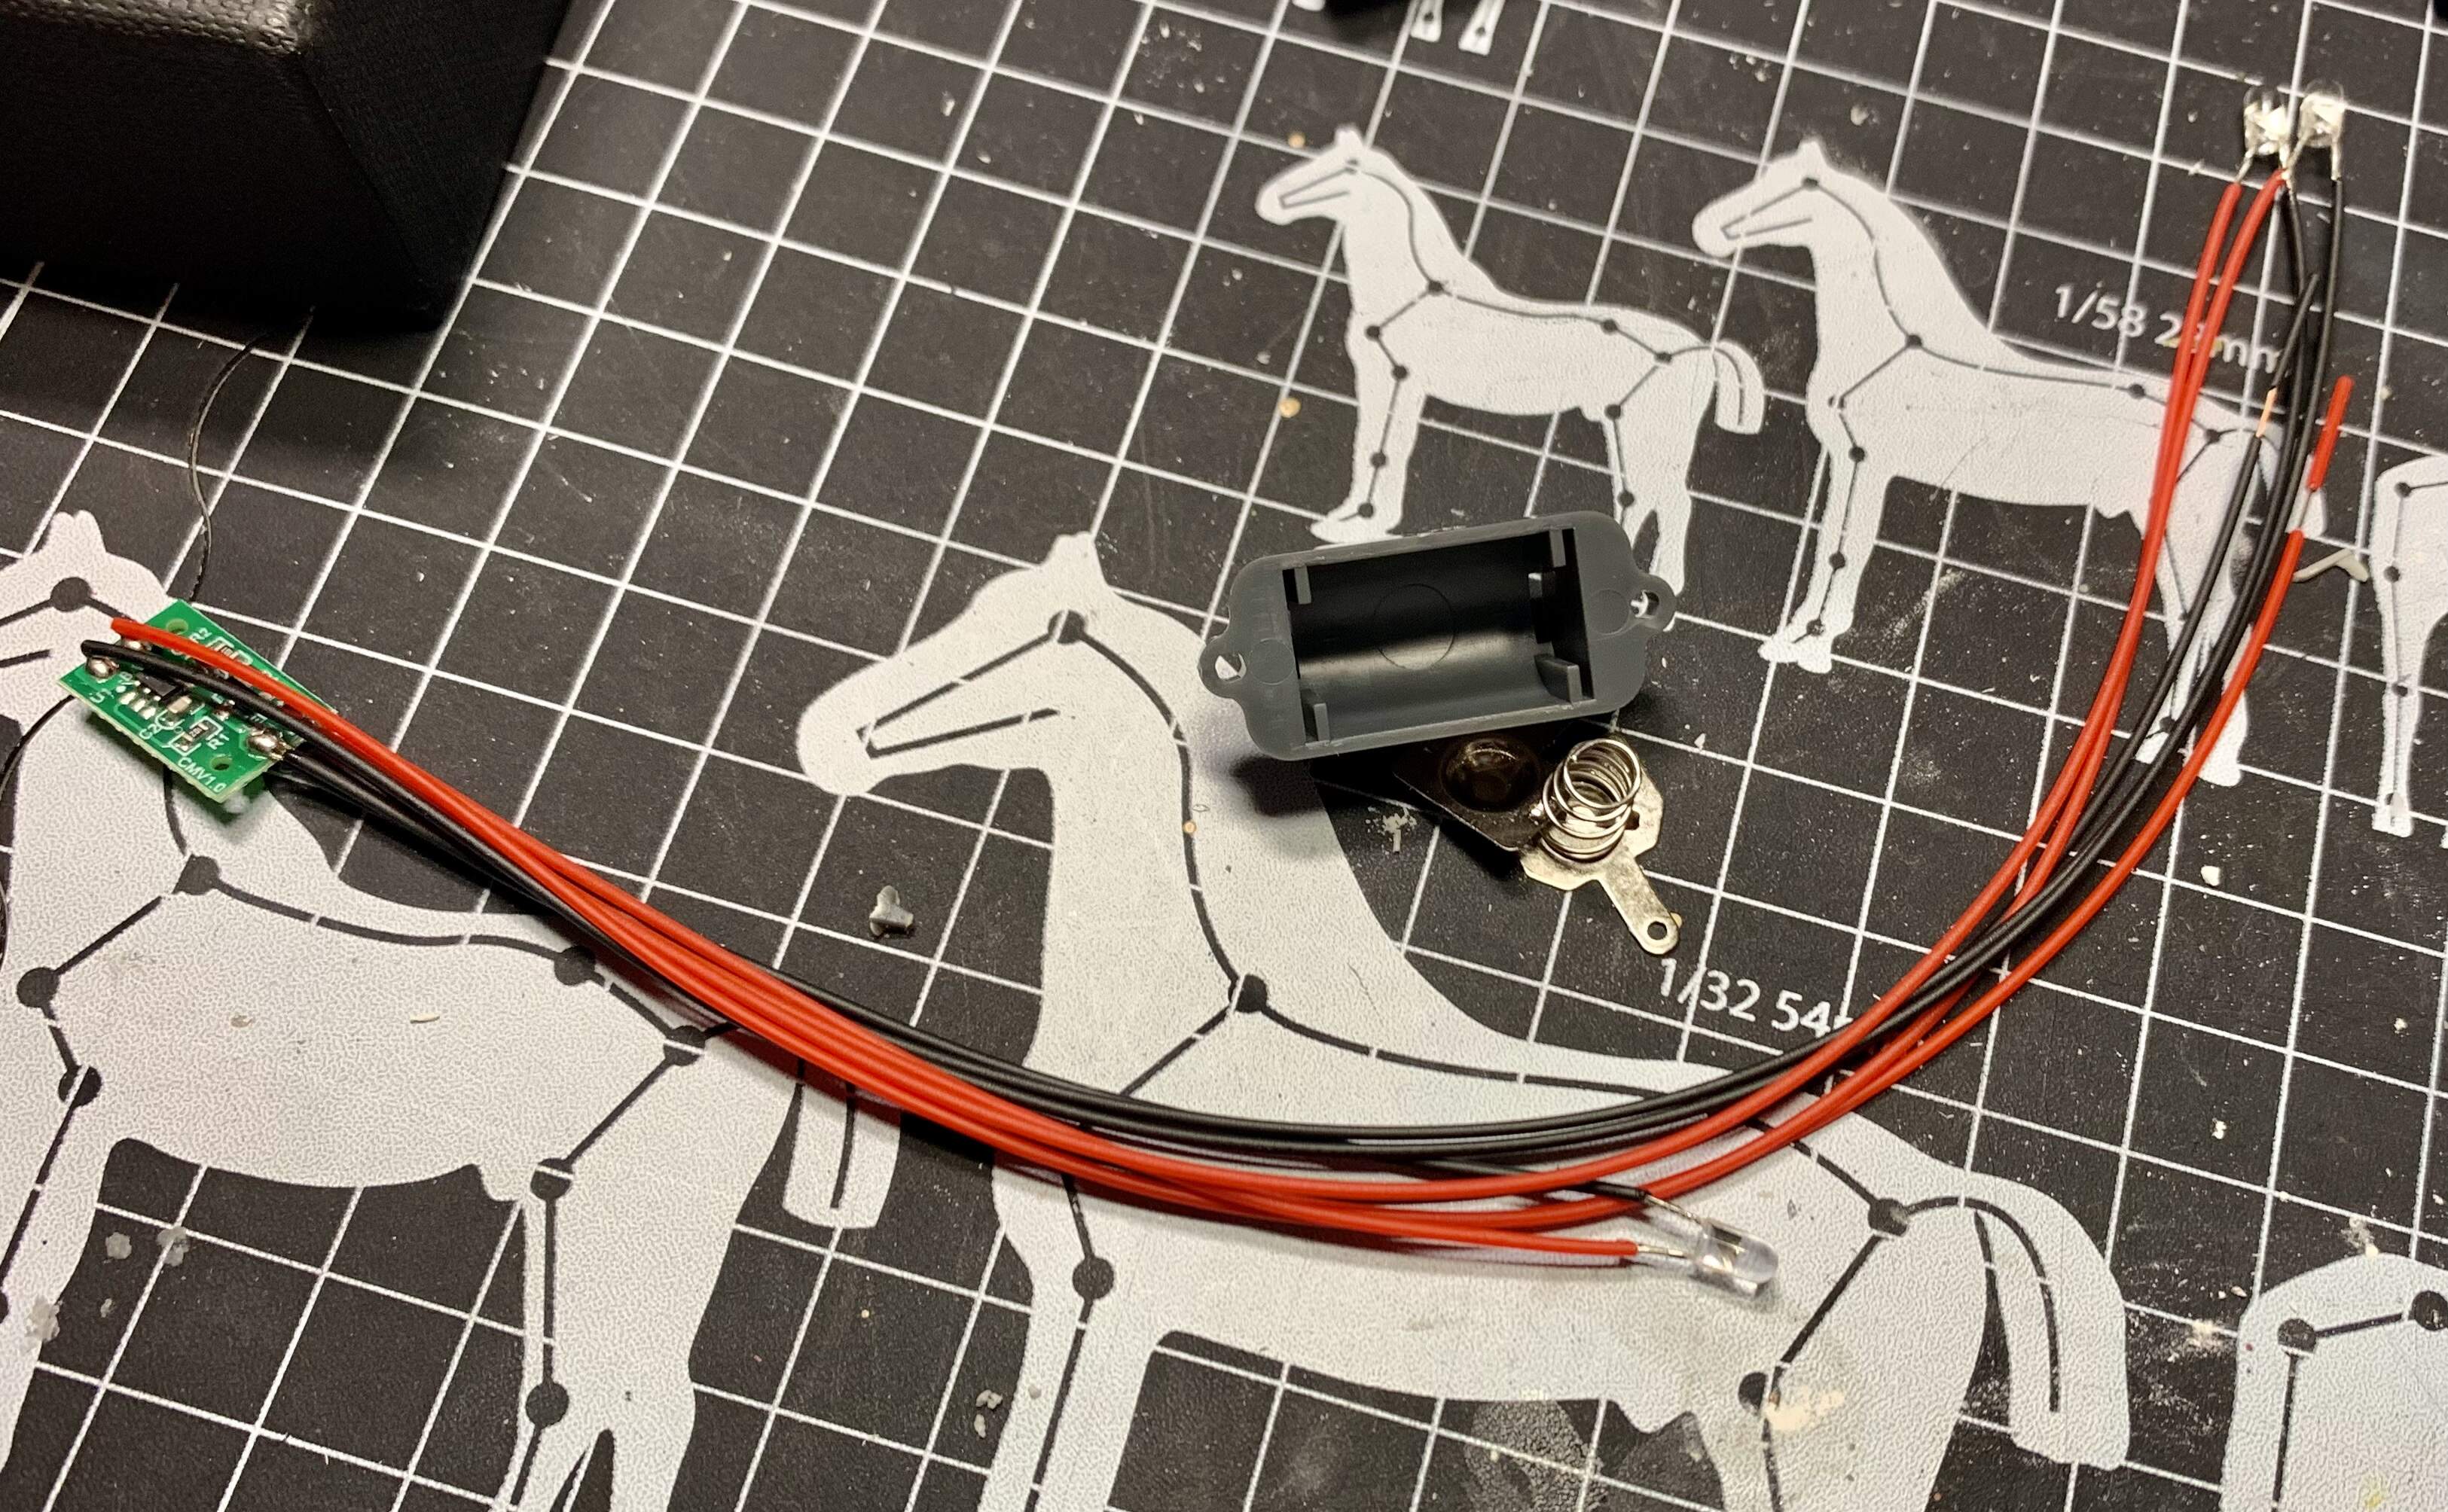
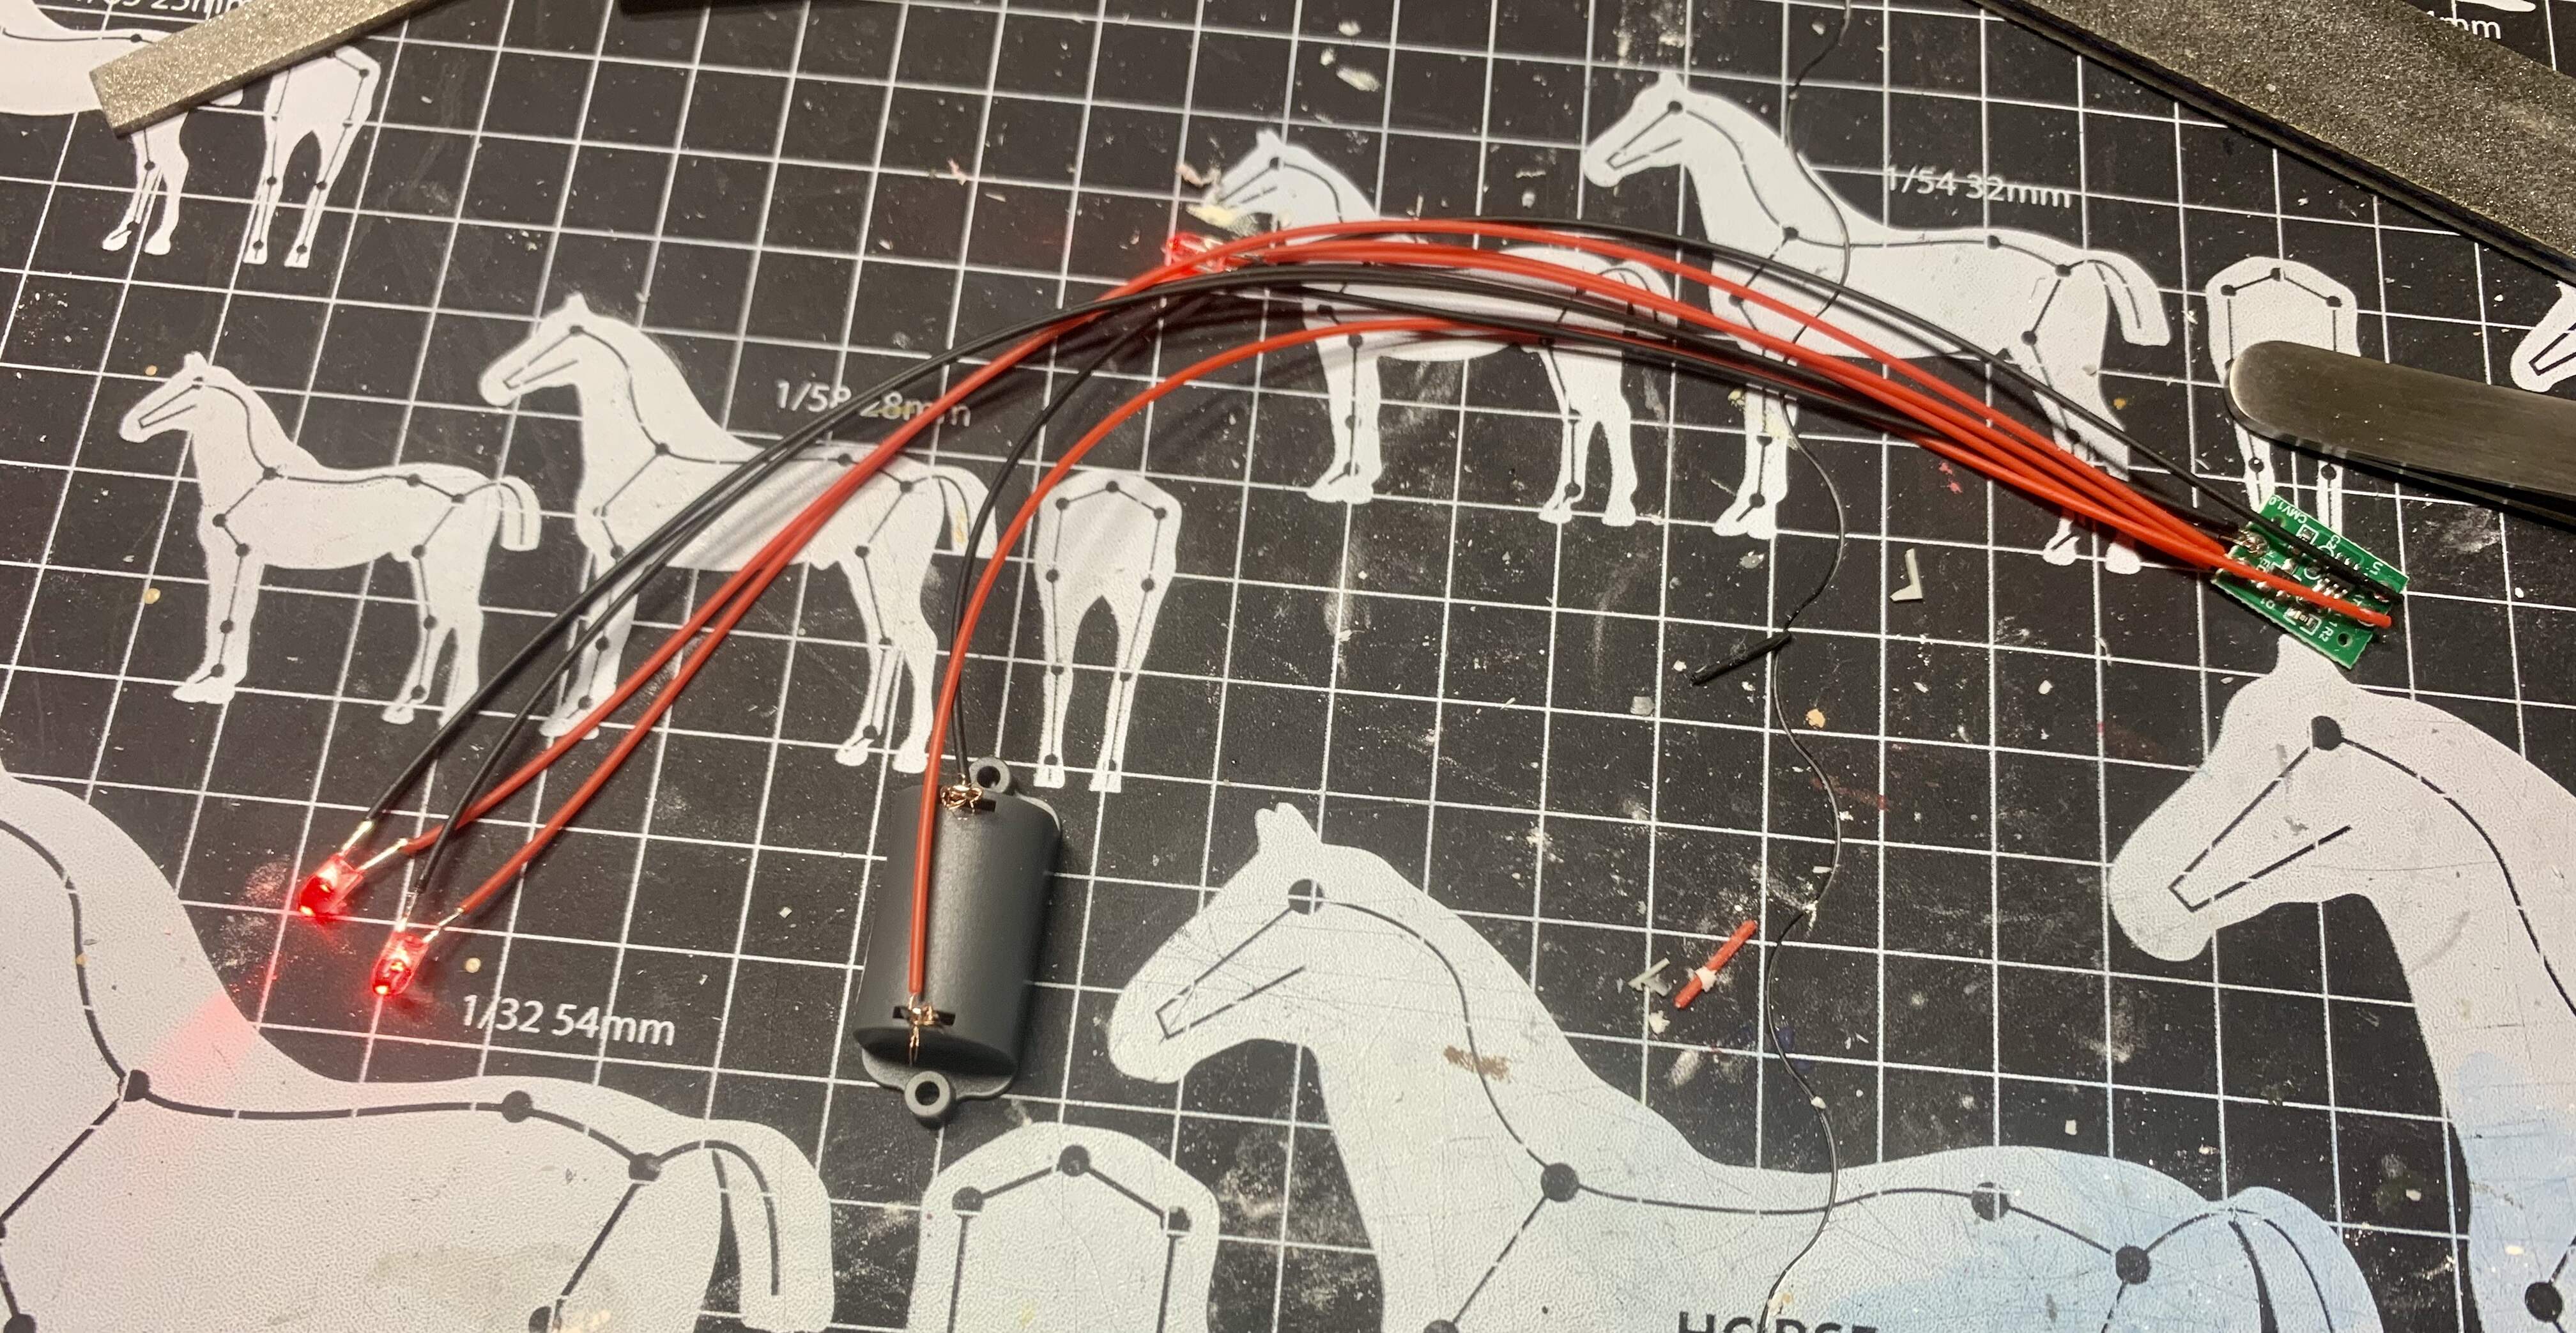
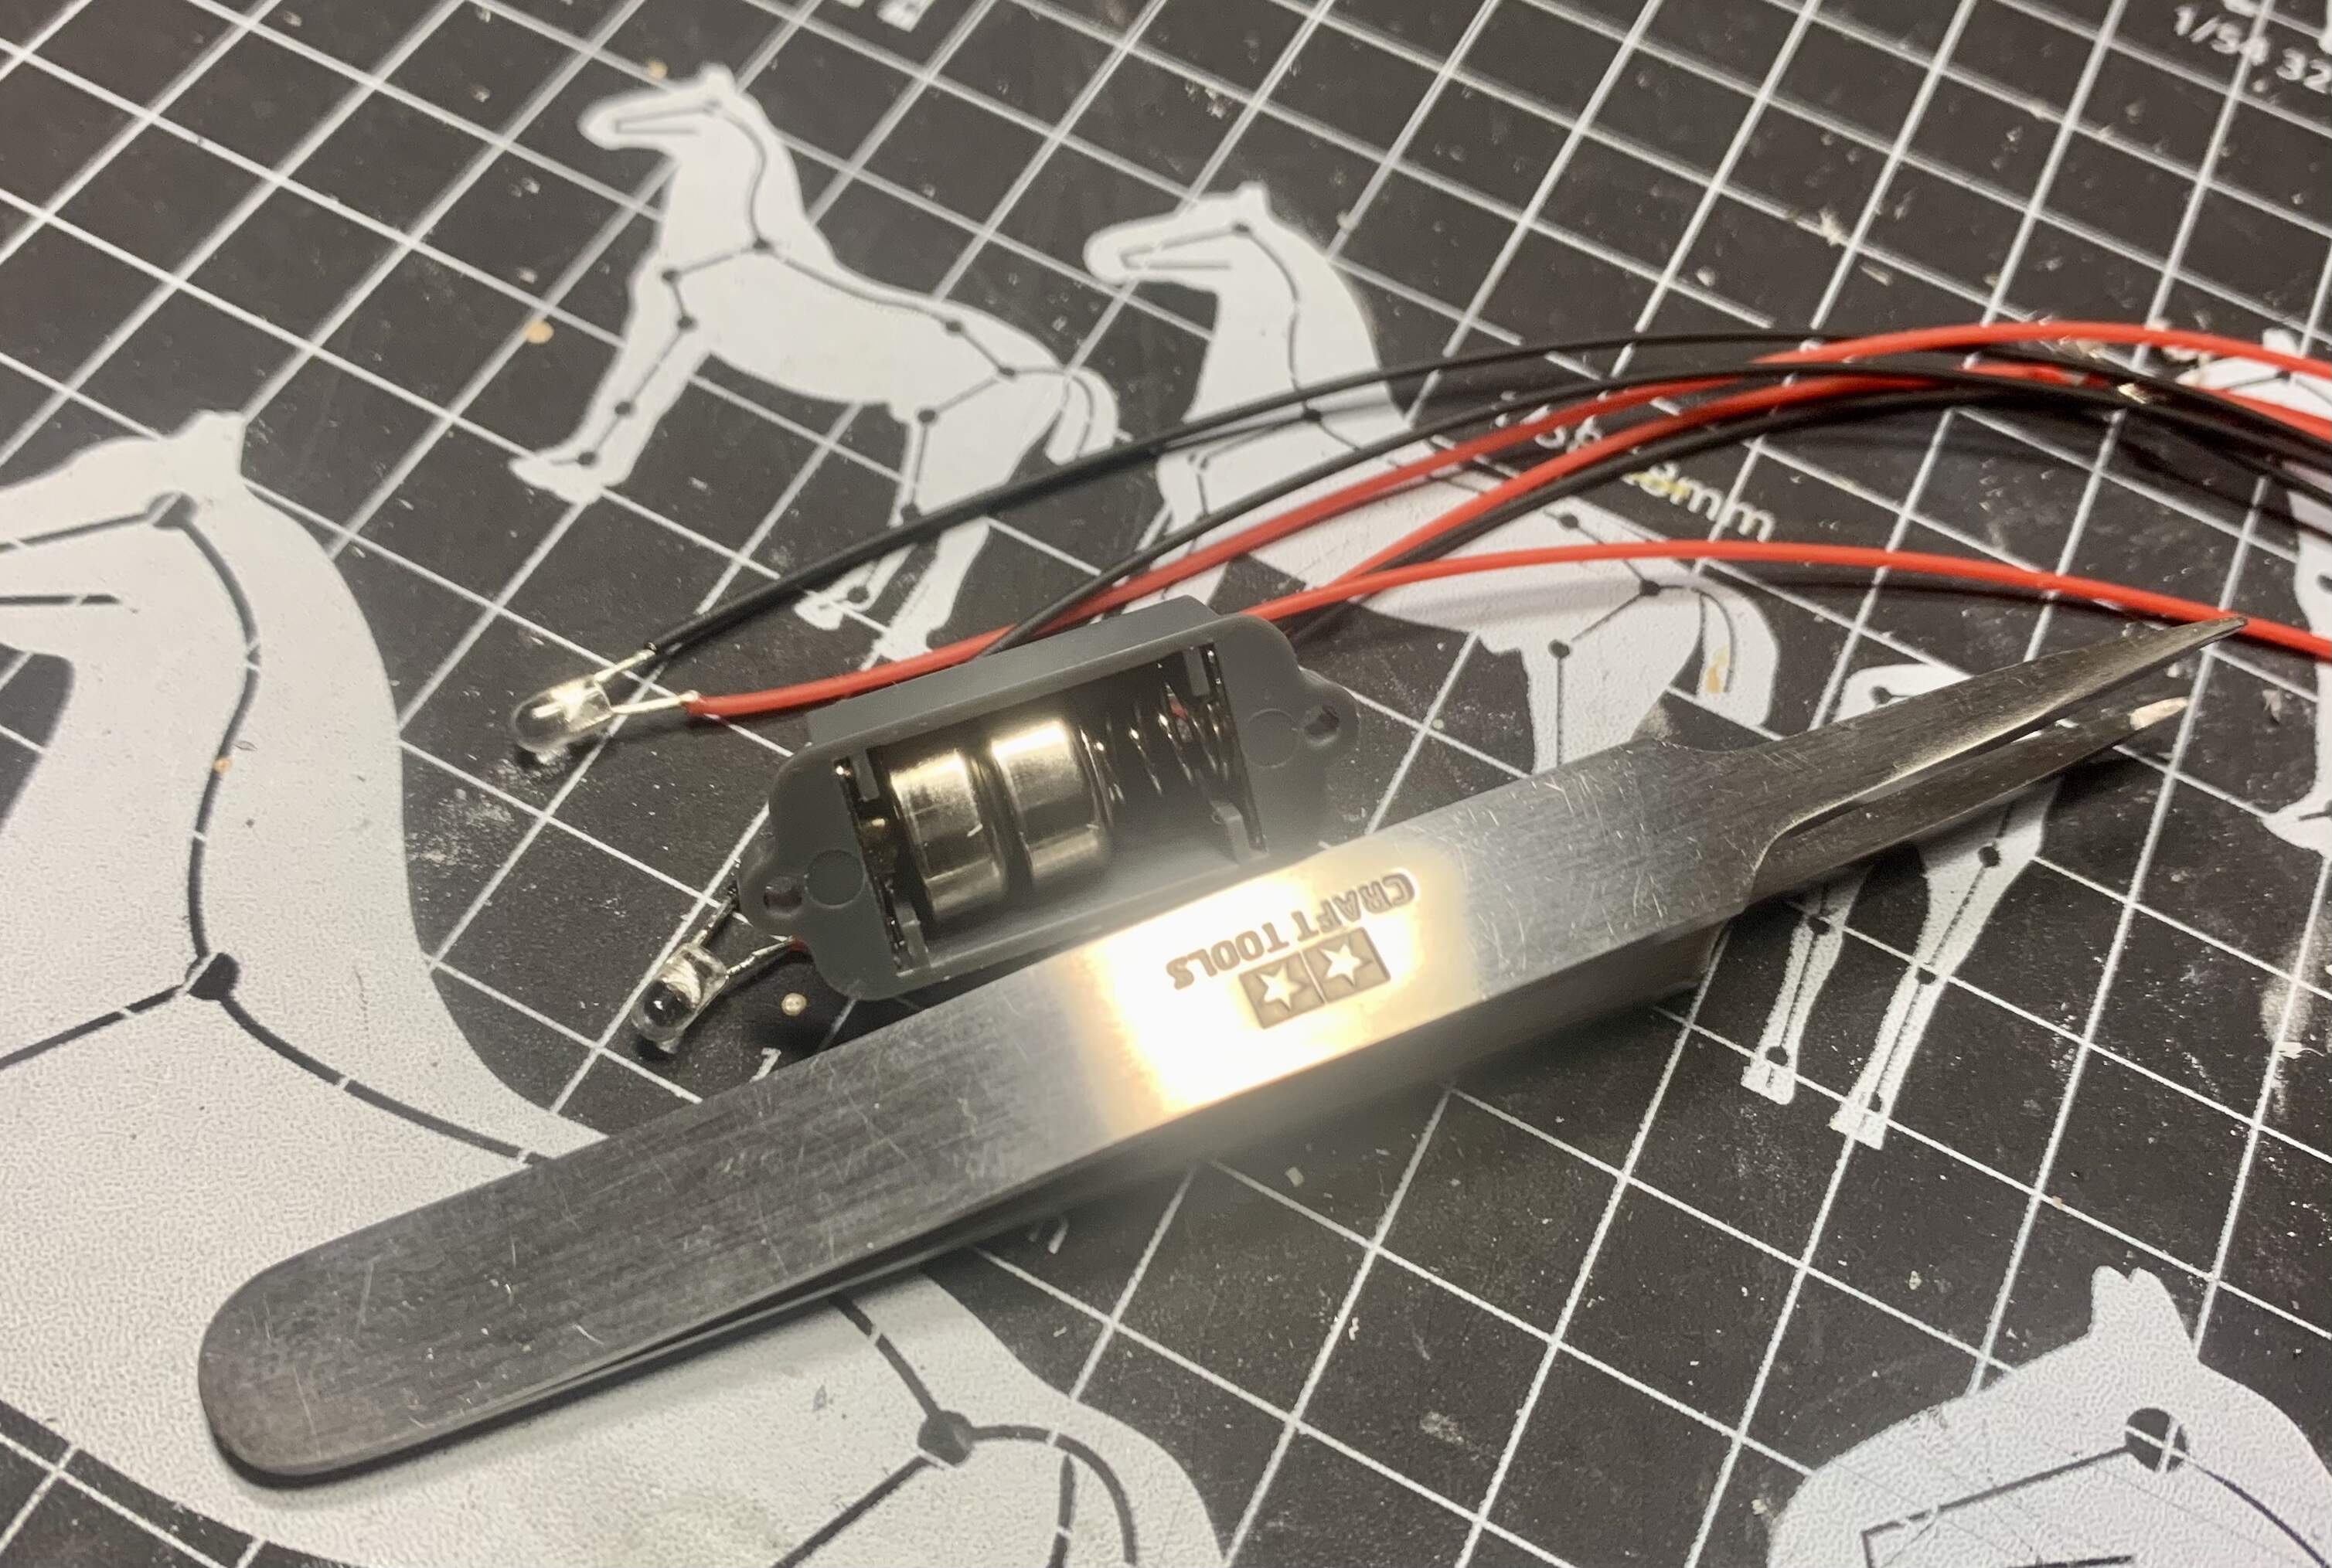
One of the first tasks of the kit is setting up the lighting circuit. Not much in the way of instructions but it’s straightforward.
The spring goes into the minus labelled side on the battery housing and the other metal part on the plus side. I just kind of wrapped the exposed wire ends around the corresponding terminal loops.
First batteries I tried were LR44 and they fitted perfectly.
You just touch the circuit board to turn the lights on or off. I did not glue the housing to the lower hull because I need to be able to remove it if I want to change the batteries.
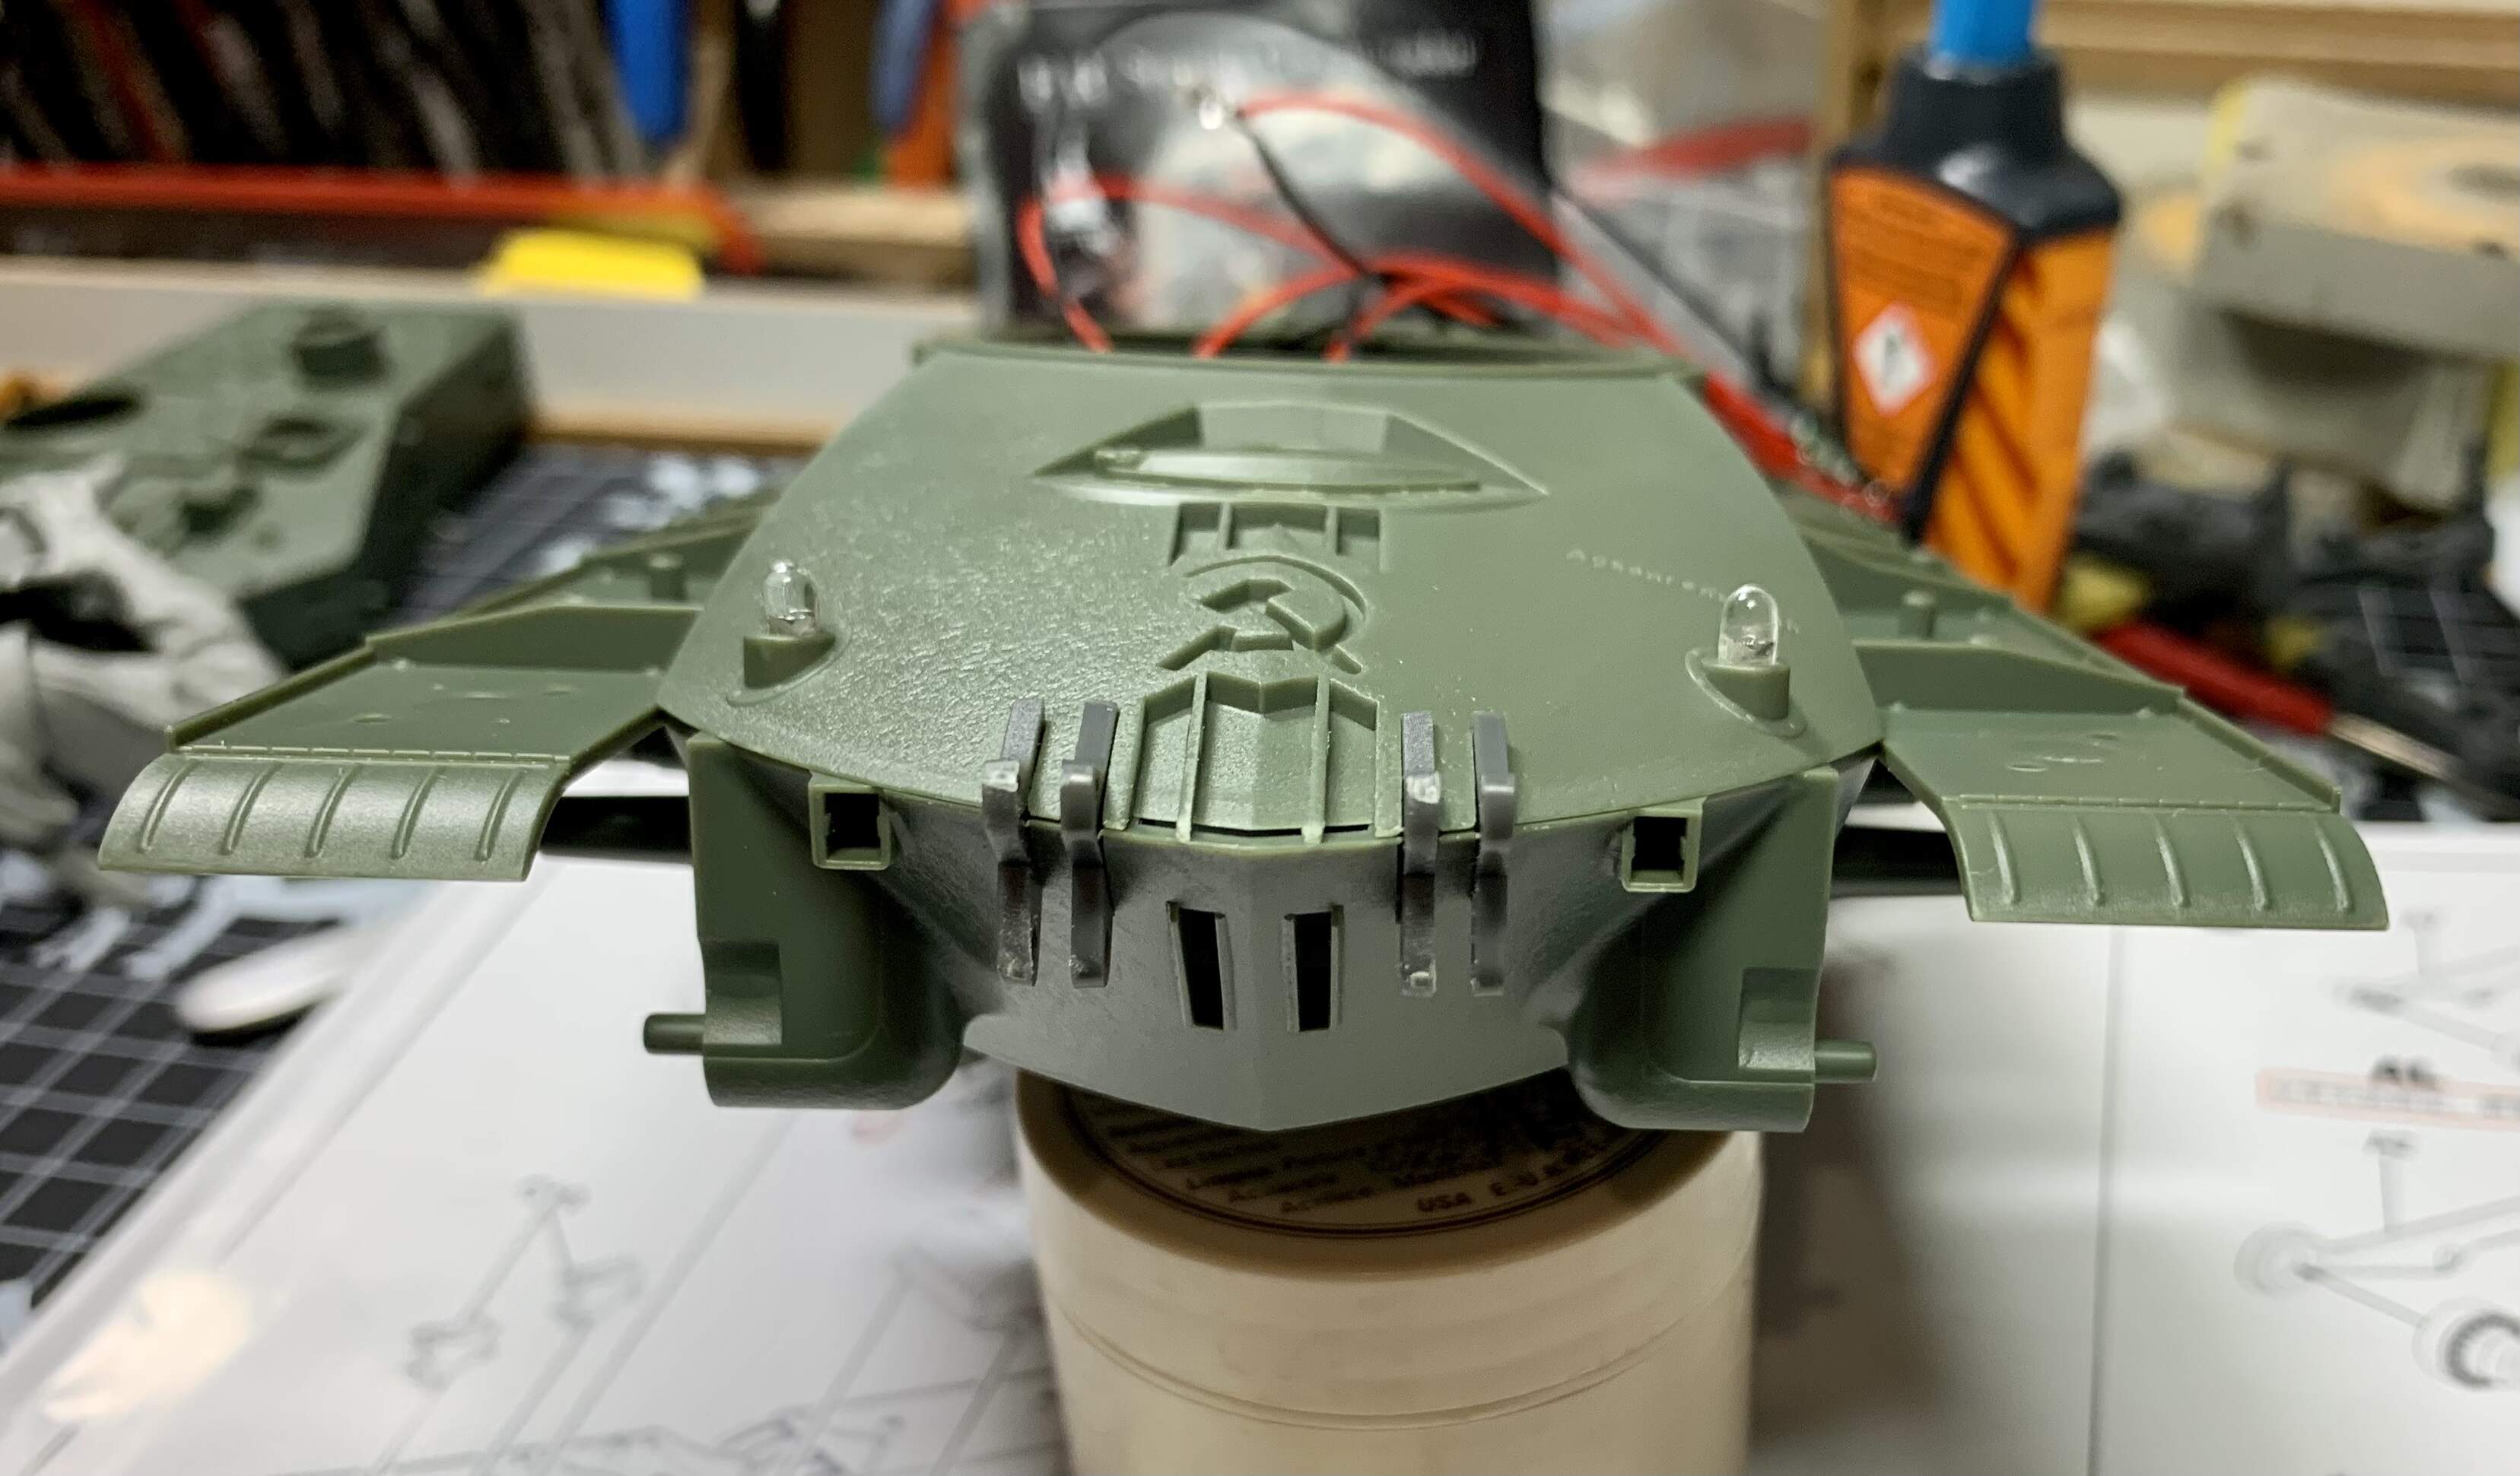
The LEDs fit very precisely in the front mounts- the remaining one is for the turret later in the build.
The whole ‘no glue necessary’ thing is just parts that are ‘push to fit’. Simple and easy to do. I just brush a bit of glue along the joins and move on.
The whole upper and lower goes together beautifully with no glue. Both pics below show the fit without glue- the join is about 2mm above the Tamiya tape on the rear bulkhead.
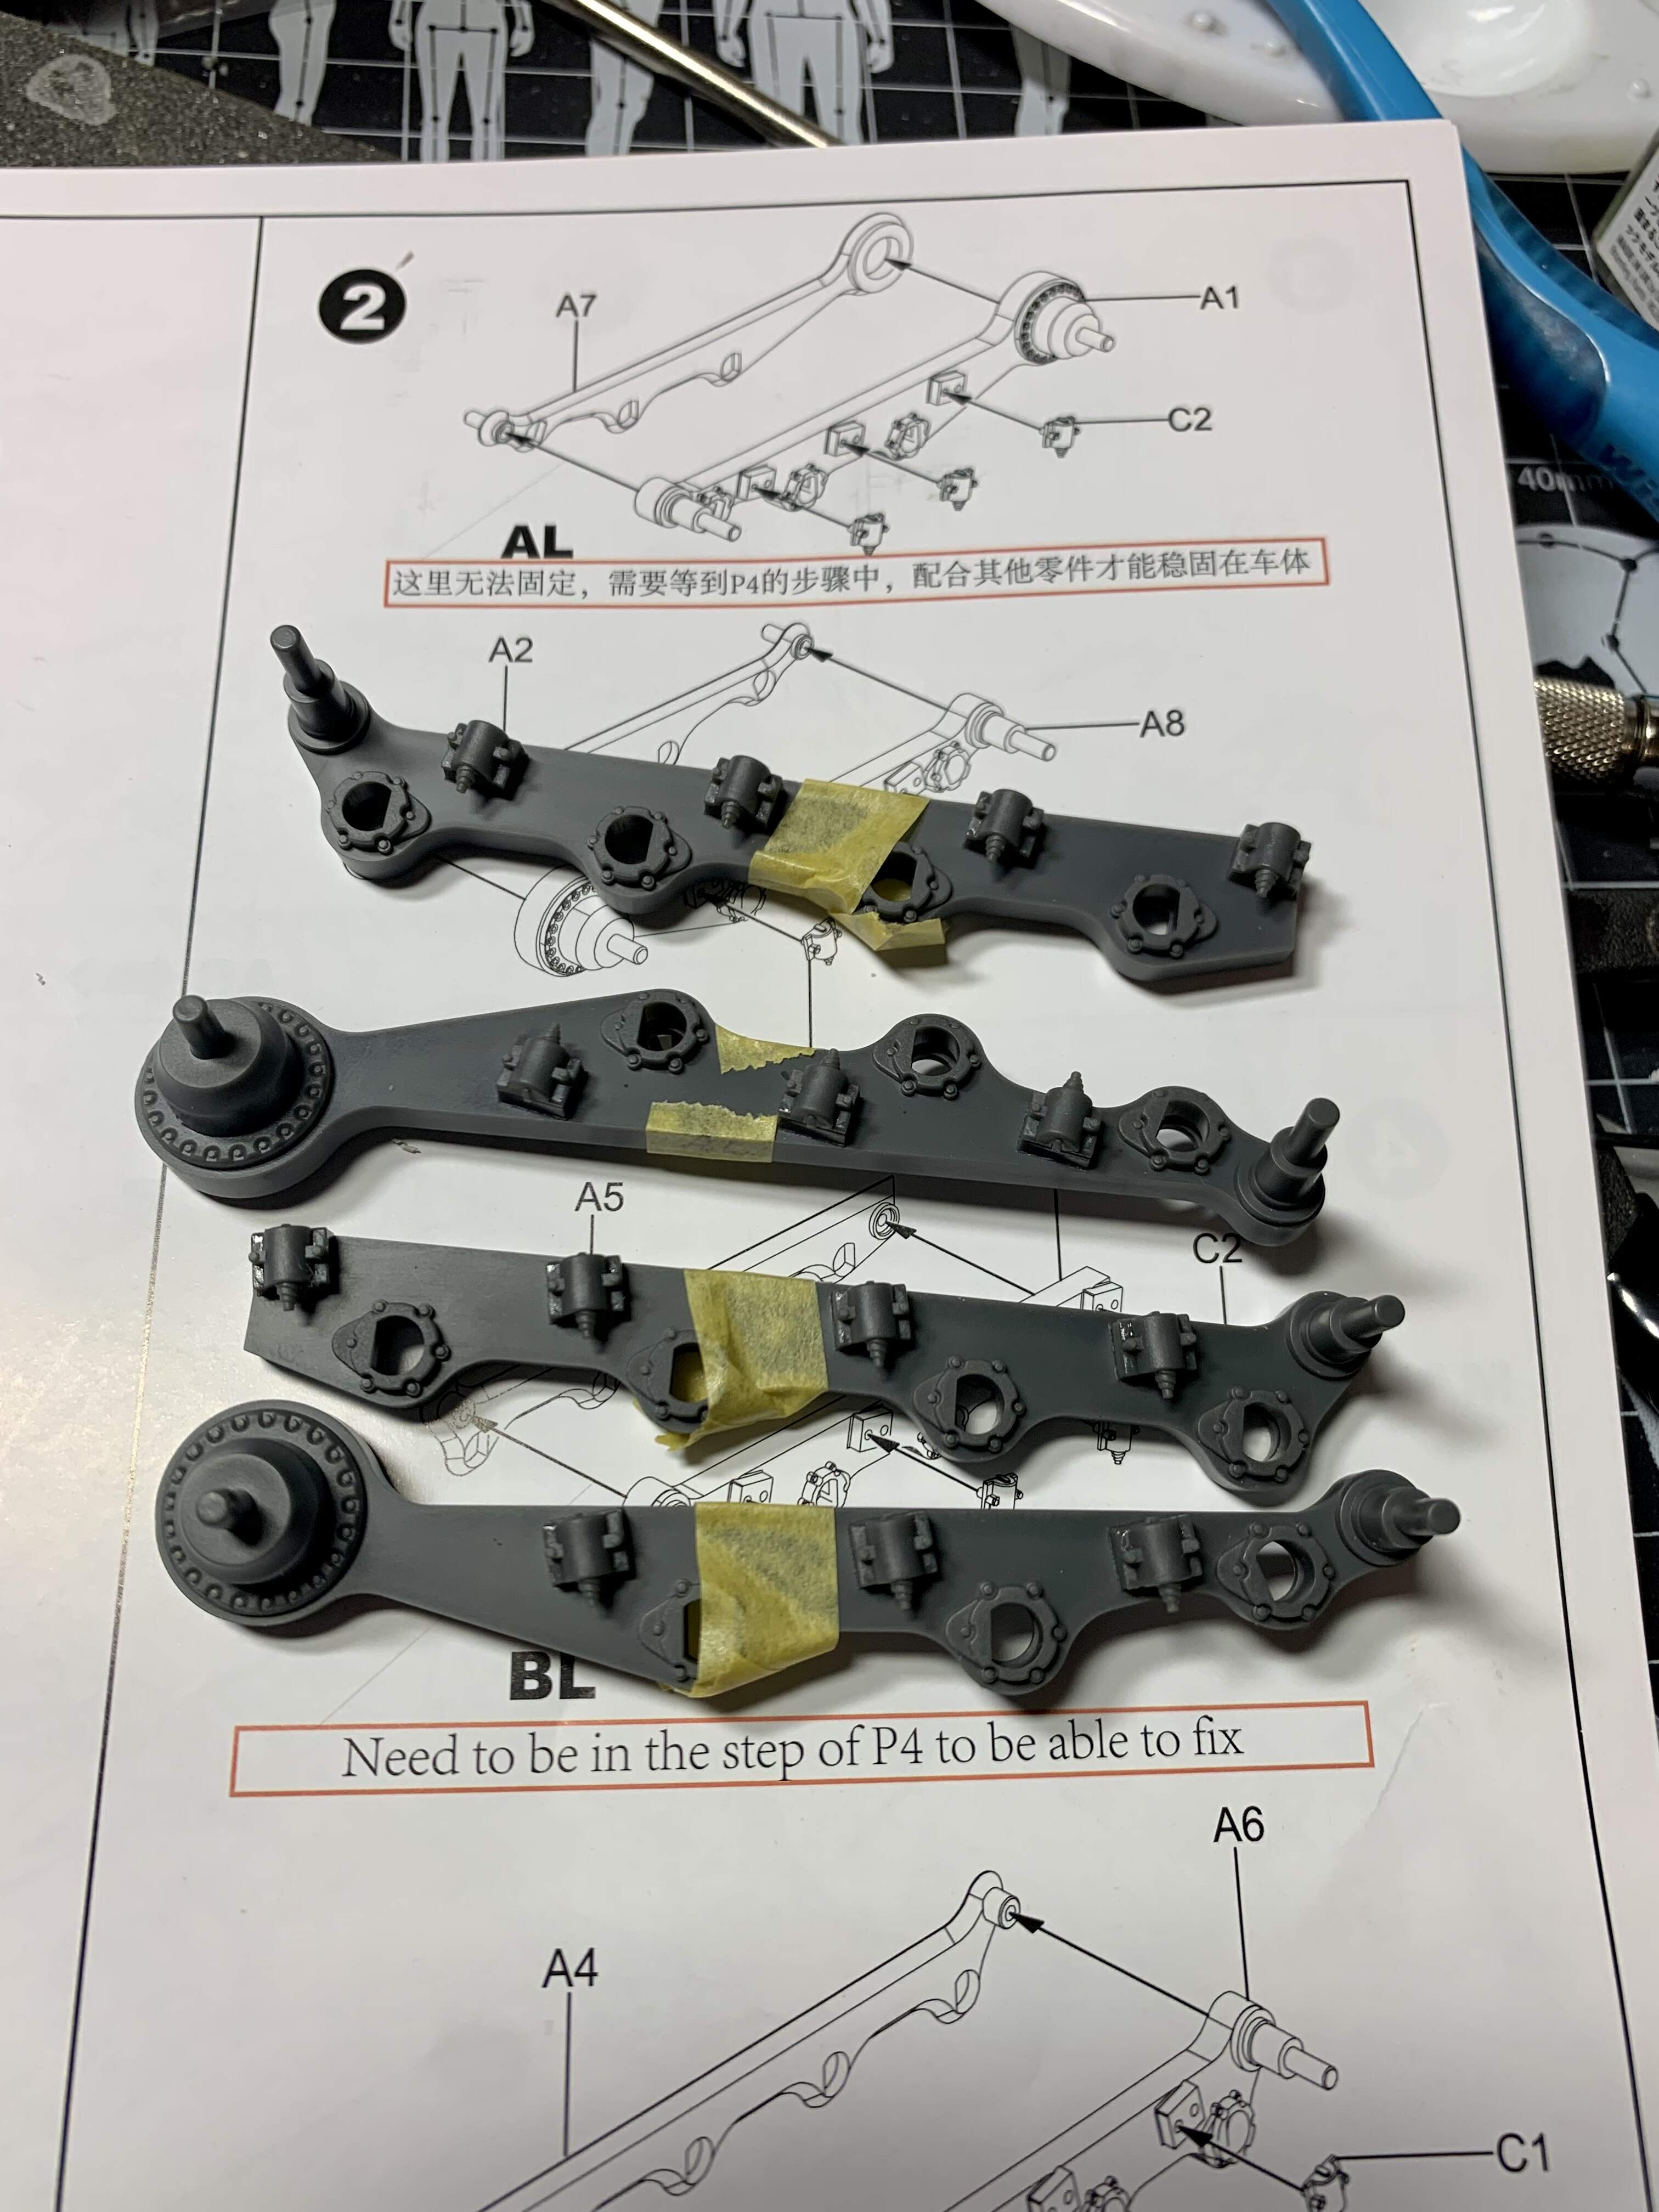
The suspension arm mounts in stage 2 have a notice that you can see below.
Not sure what this means since there is nothing in stage 4 that would merit fixing these parts at that point- stage 4 is about the road wheels.
The tape you see is holding the back of these parts on- they don’t push to fit until you mount them to the lower hull- though I fixed them with glue prior to doing that.
Next time I will be talking about the tracks and running gear which I am currently building.
Thanks for reading.
@ Karl (Karl187). Watching with interest. Wish there was a good electrician around here. ![]()
![]()
@ Tom (barkingdigger). Thank you! ![]()
@ kosprueone. Thank’s! You know, you are partly to blame for my screwy tendencies! ![]()
![]()
@ Jesper (SGTJKJ). Glad to be of spiritual service! ![]()
@ Mathew (SSGToms). Thank’s! someone once said to me: “Mike, you have an overactive imagination.” ![]()
@ Anyone I failed to mention. Thank’s for having a look and imagine your name here (xxxx)! ![]()
—mike …![]()
PS: I gain inspiration from you guys as well, and look forward to more of your works. Now get building and “Shoot to kill!” … @ Gavin (The_Snowman). I repeat: It just never gets old! ![]()
OSHA: “Before we can allow a test flight, your boarding ramp must have railings.” ![]()
![]()
“Okay. But they’re gonna’ be skinny to save weight.” ![]()
Having another go at the railings — this time with Styrene Rods. Currently waiting for glue to cure before trimming and pulling it up from the very sticky ‘XFasten Double-Sided Woodworking Tape.’ After which, I’ll harden the joints a bit with CA glue.
• Evergreen Styrene Rod (220) .035” (0.88mm).
• Evergreen Rod (218) .020” (0.50mm).
—mike ![]() GROUNDED
GROUNDED ![]()
This is funny, even funnier if you have ever been a person to have to file and deal with OSHA. Its quite a learn the ropes real fast group.
“Better, I think?” ![]()
OSHA Inspector: “I see only one railing and your craft has two boarding ramps which will require “zwei” such safety apparatus each.” … ![]() "That is four (4) “vier” railings!
"That is four (4) “vier” railings! ![]()
![]() … NO FLYING!
… NO FLYING! ![]()
Shhhhh, I’ll make one more and call it good. The other ramp will be in the closed position for this flight anyway. ![]()
OSHA Inspector: “I can hear you.” ![]()
—mike ![]() GROUNDED AGAIN
GROUNDED AGAIN ![]()
![]()
They look a lot better thinner … if you wanted to go all the way, a really simple rod type mechanism at the fuselage end that would lift them from the flat to the vertical as the ramp lowers ? And very neat (clean) work as well Mike
Mike, that’s fantastic work. They look really delicate!
I was having a quick look again at Airfix release schedule for this year and the 1/32 Bond Bug caught my eye. Usually I would skip over cars, but there’s something about this.
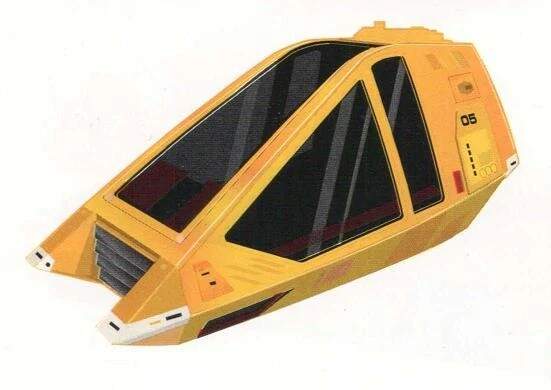
That is definitely the beginnings of a Star Trek Shuttle Pod or Workbee. The bigger brother of this I’m thinking.
And it’s so cheap it’s no big financial loss to chop up and alter.
Recognise the wheels?
The original kit moulds are 52 years old…I will be interested to see how they hold up!
Actually, I think that they look a lot more like the railings I’ve seen on airstairs at the airport. ![]()
Better than that guy’s camo suit I bet! ![]()
It’s not one they’ve continually churned out over the last couple of decades, so I’m hoping it should be in a good condition (assuming the tools were properly stored and cleaned up). It’s getting a lot of interest from car modellers here in the UK. I might have to be quick to grab one!
That guy in the middle really owns it … thats a look that says … " I AM R2D2 !!! lol
You’re jealous aren’t you. ![]()
so so much lol