Thank you John!
Yeah, once again, I just snuck under the wire — seems to be a thing around here! Temperatures are dropping again and snow is in the forecast.
——————————————————————————————————————————
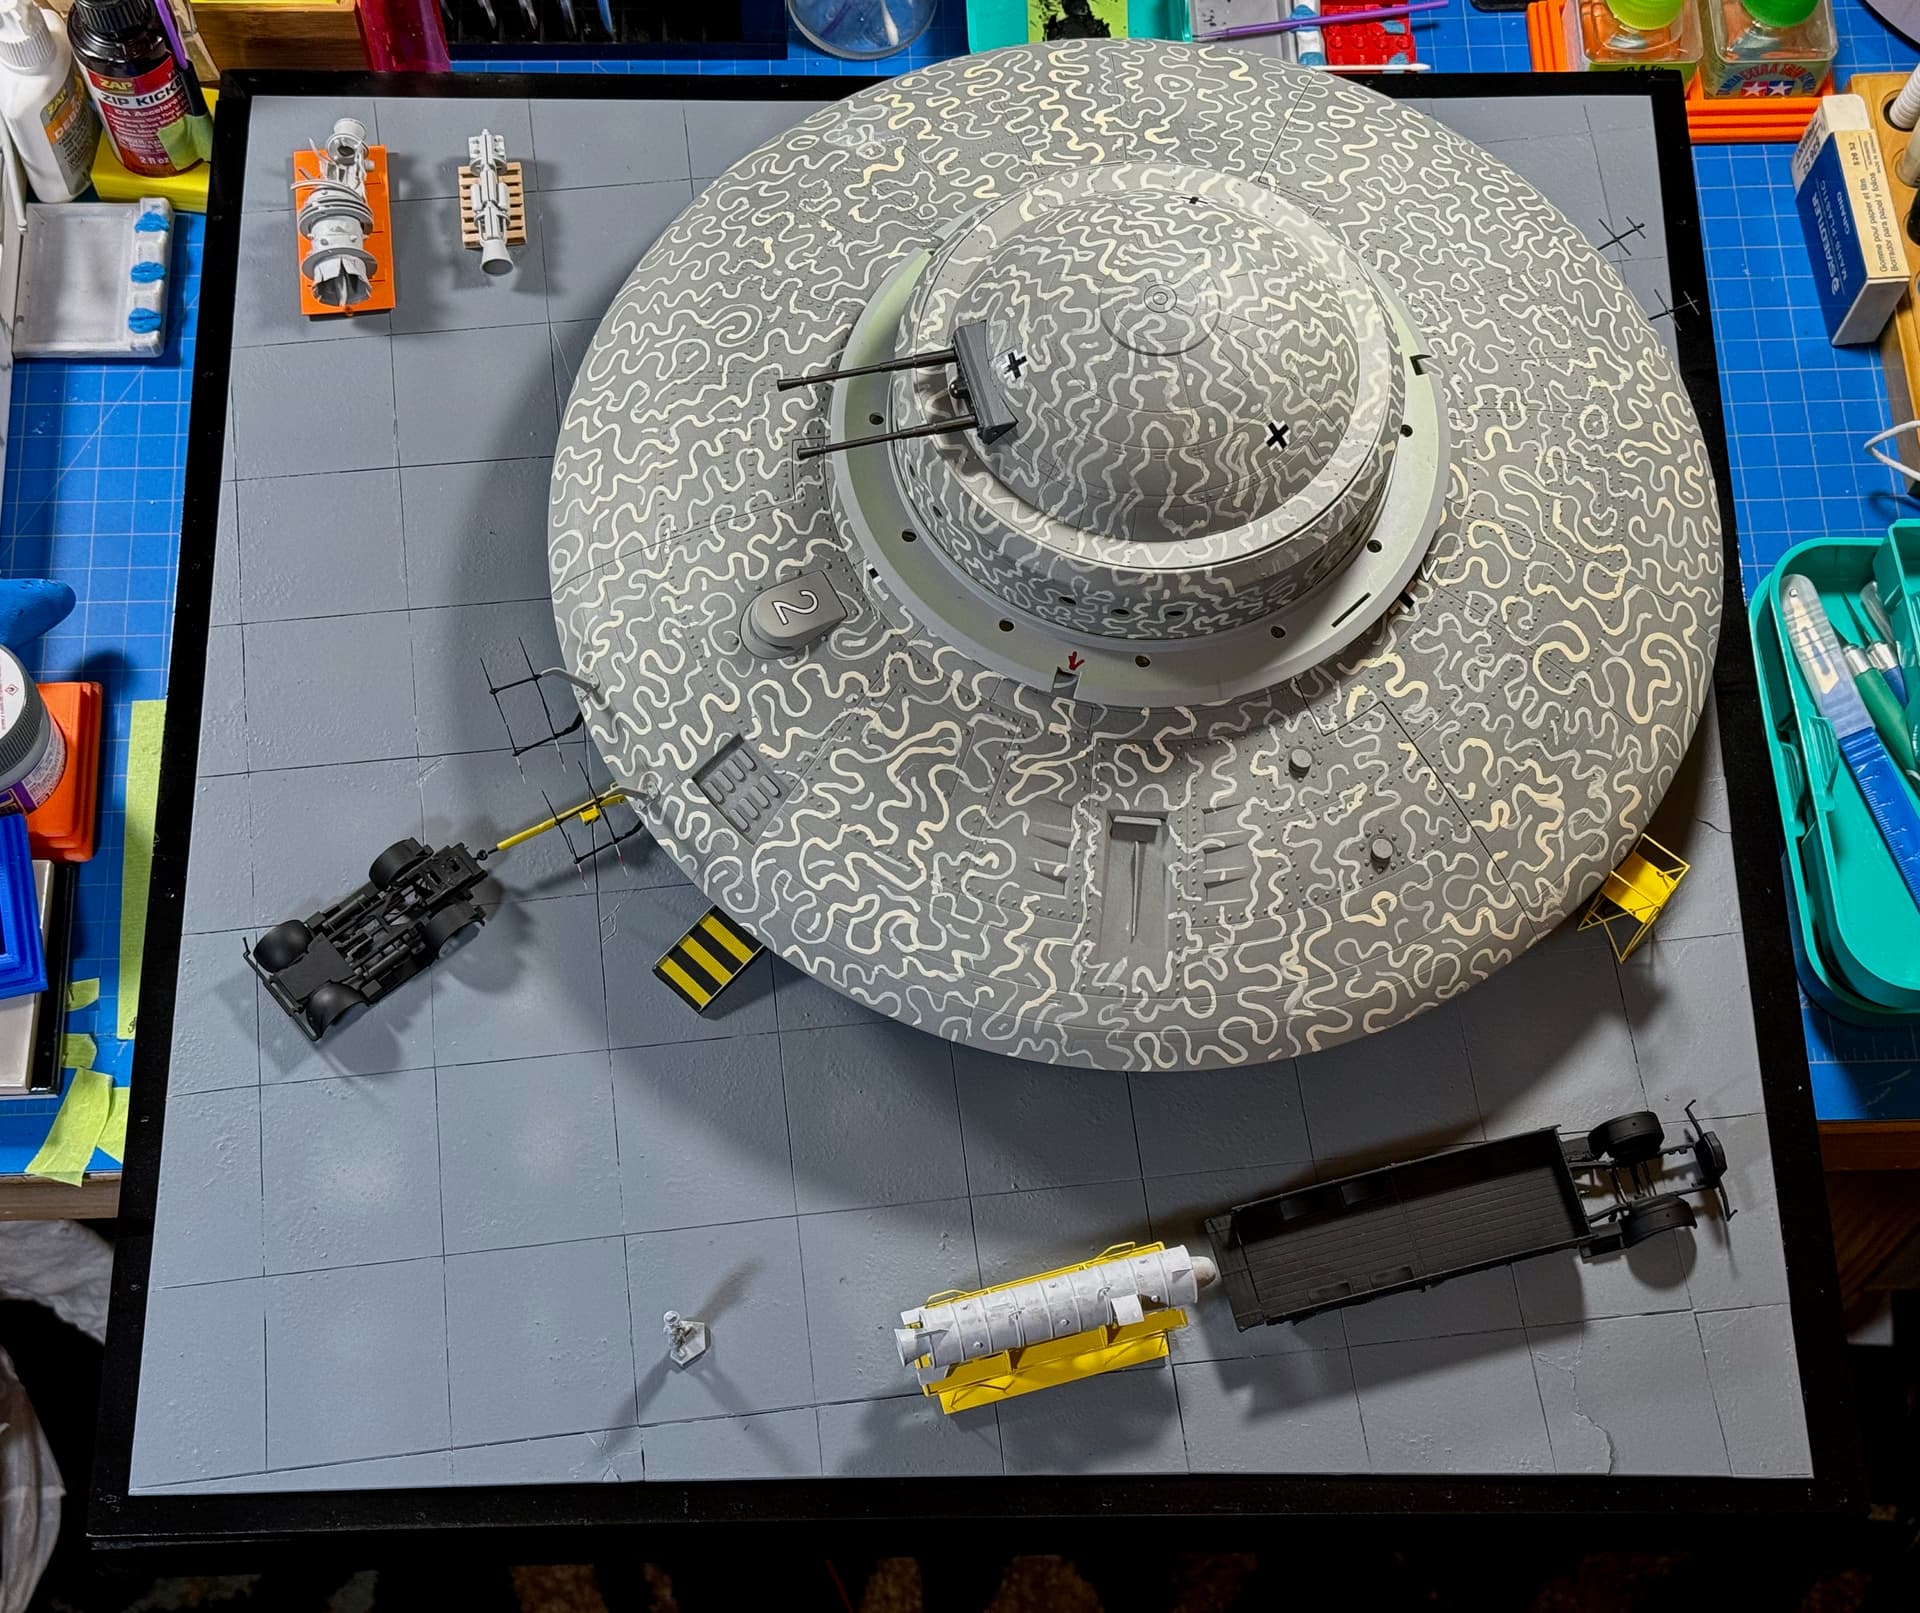
While taking a little break, I’ve been pondering what to do next with the concrete. Any thoughts from the Peanut Gallery?
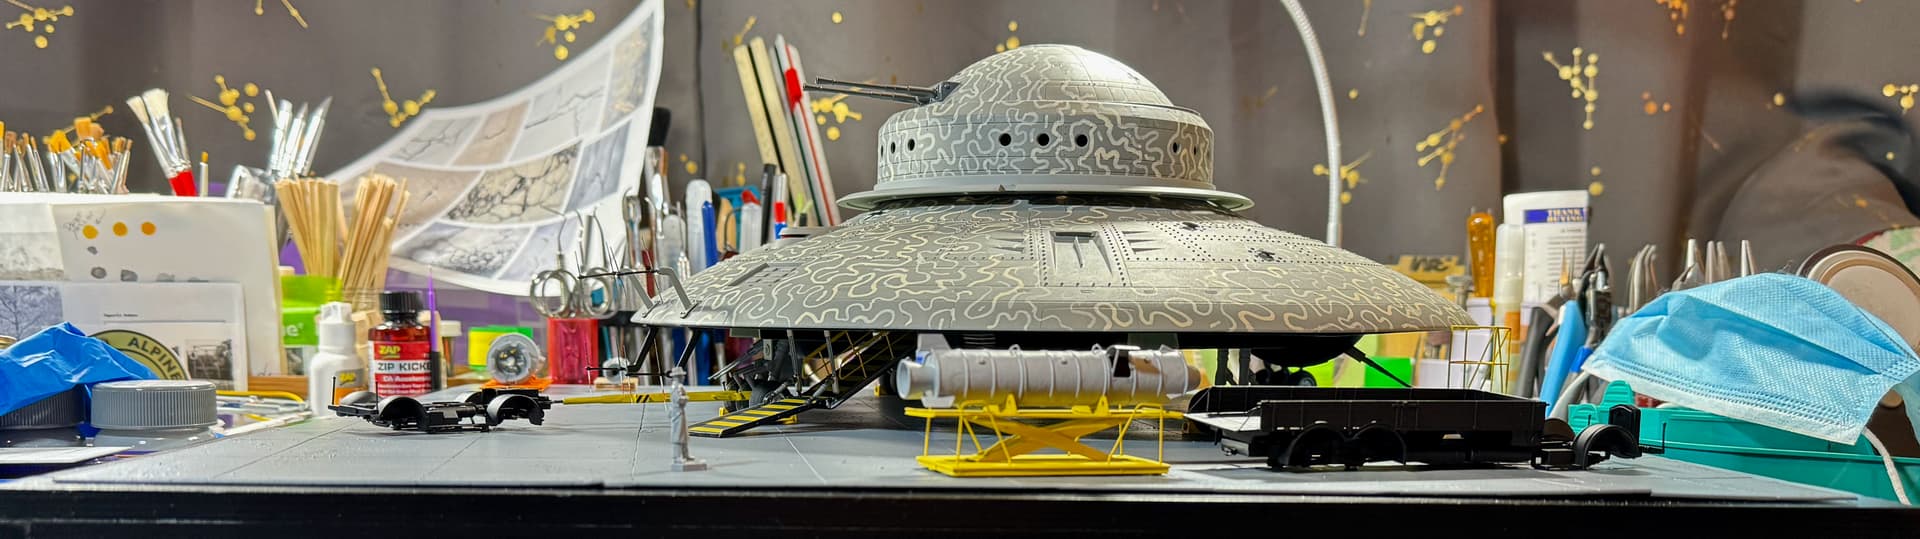
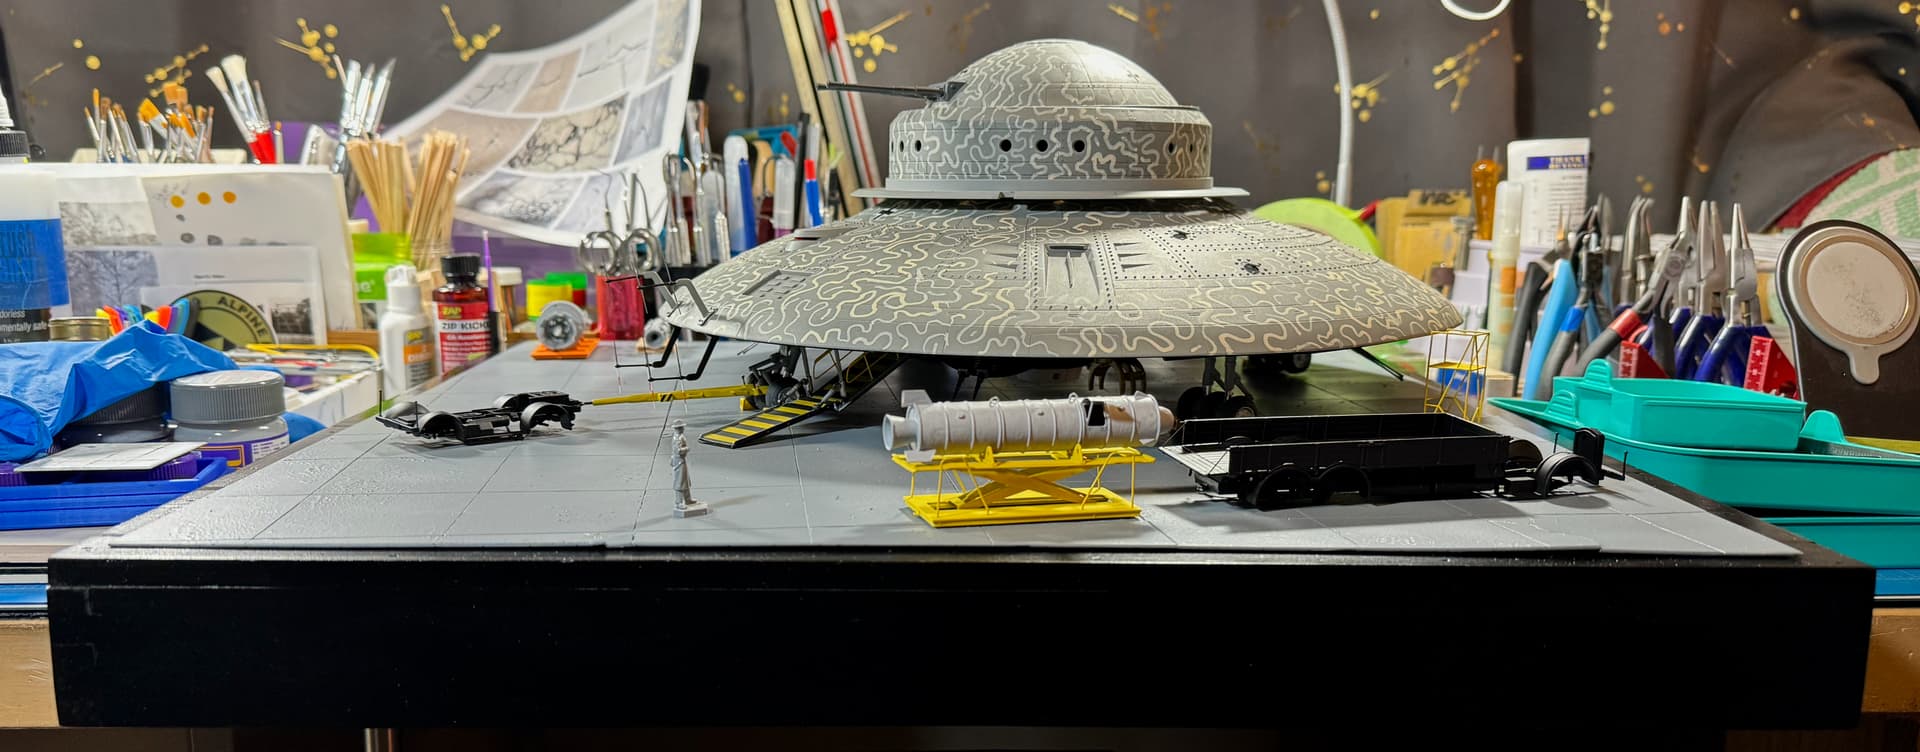
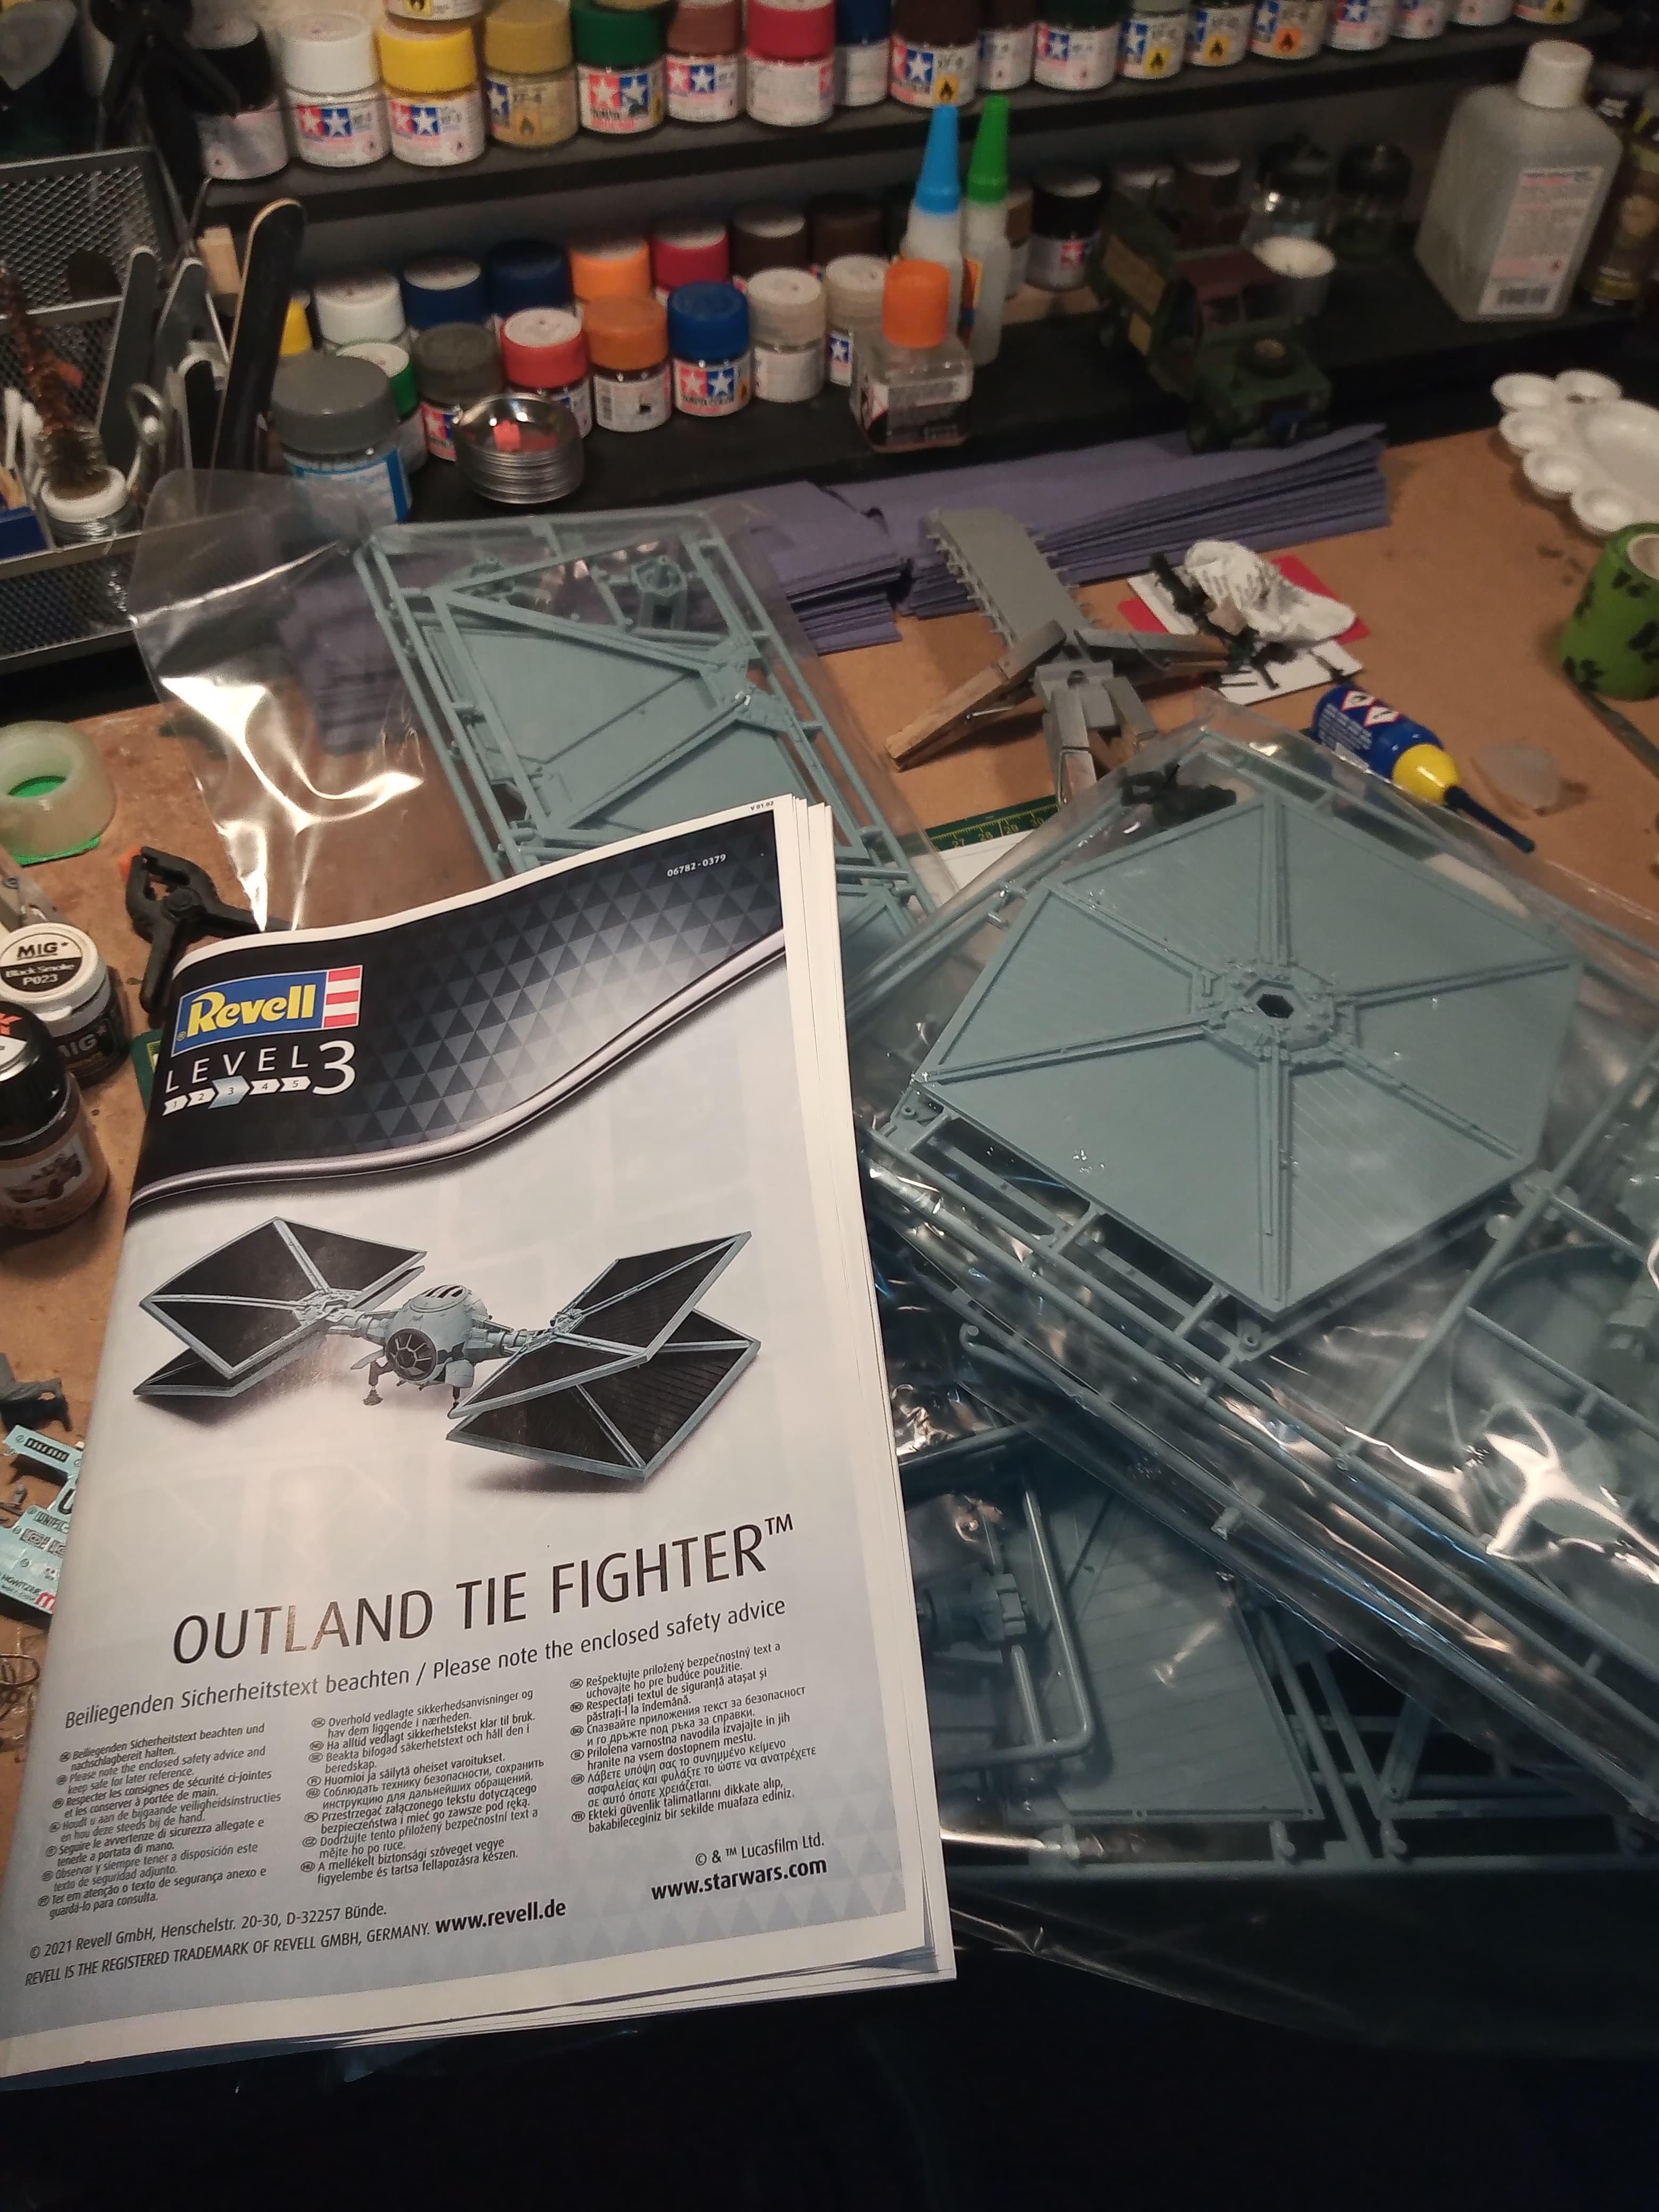
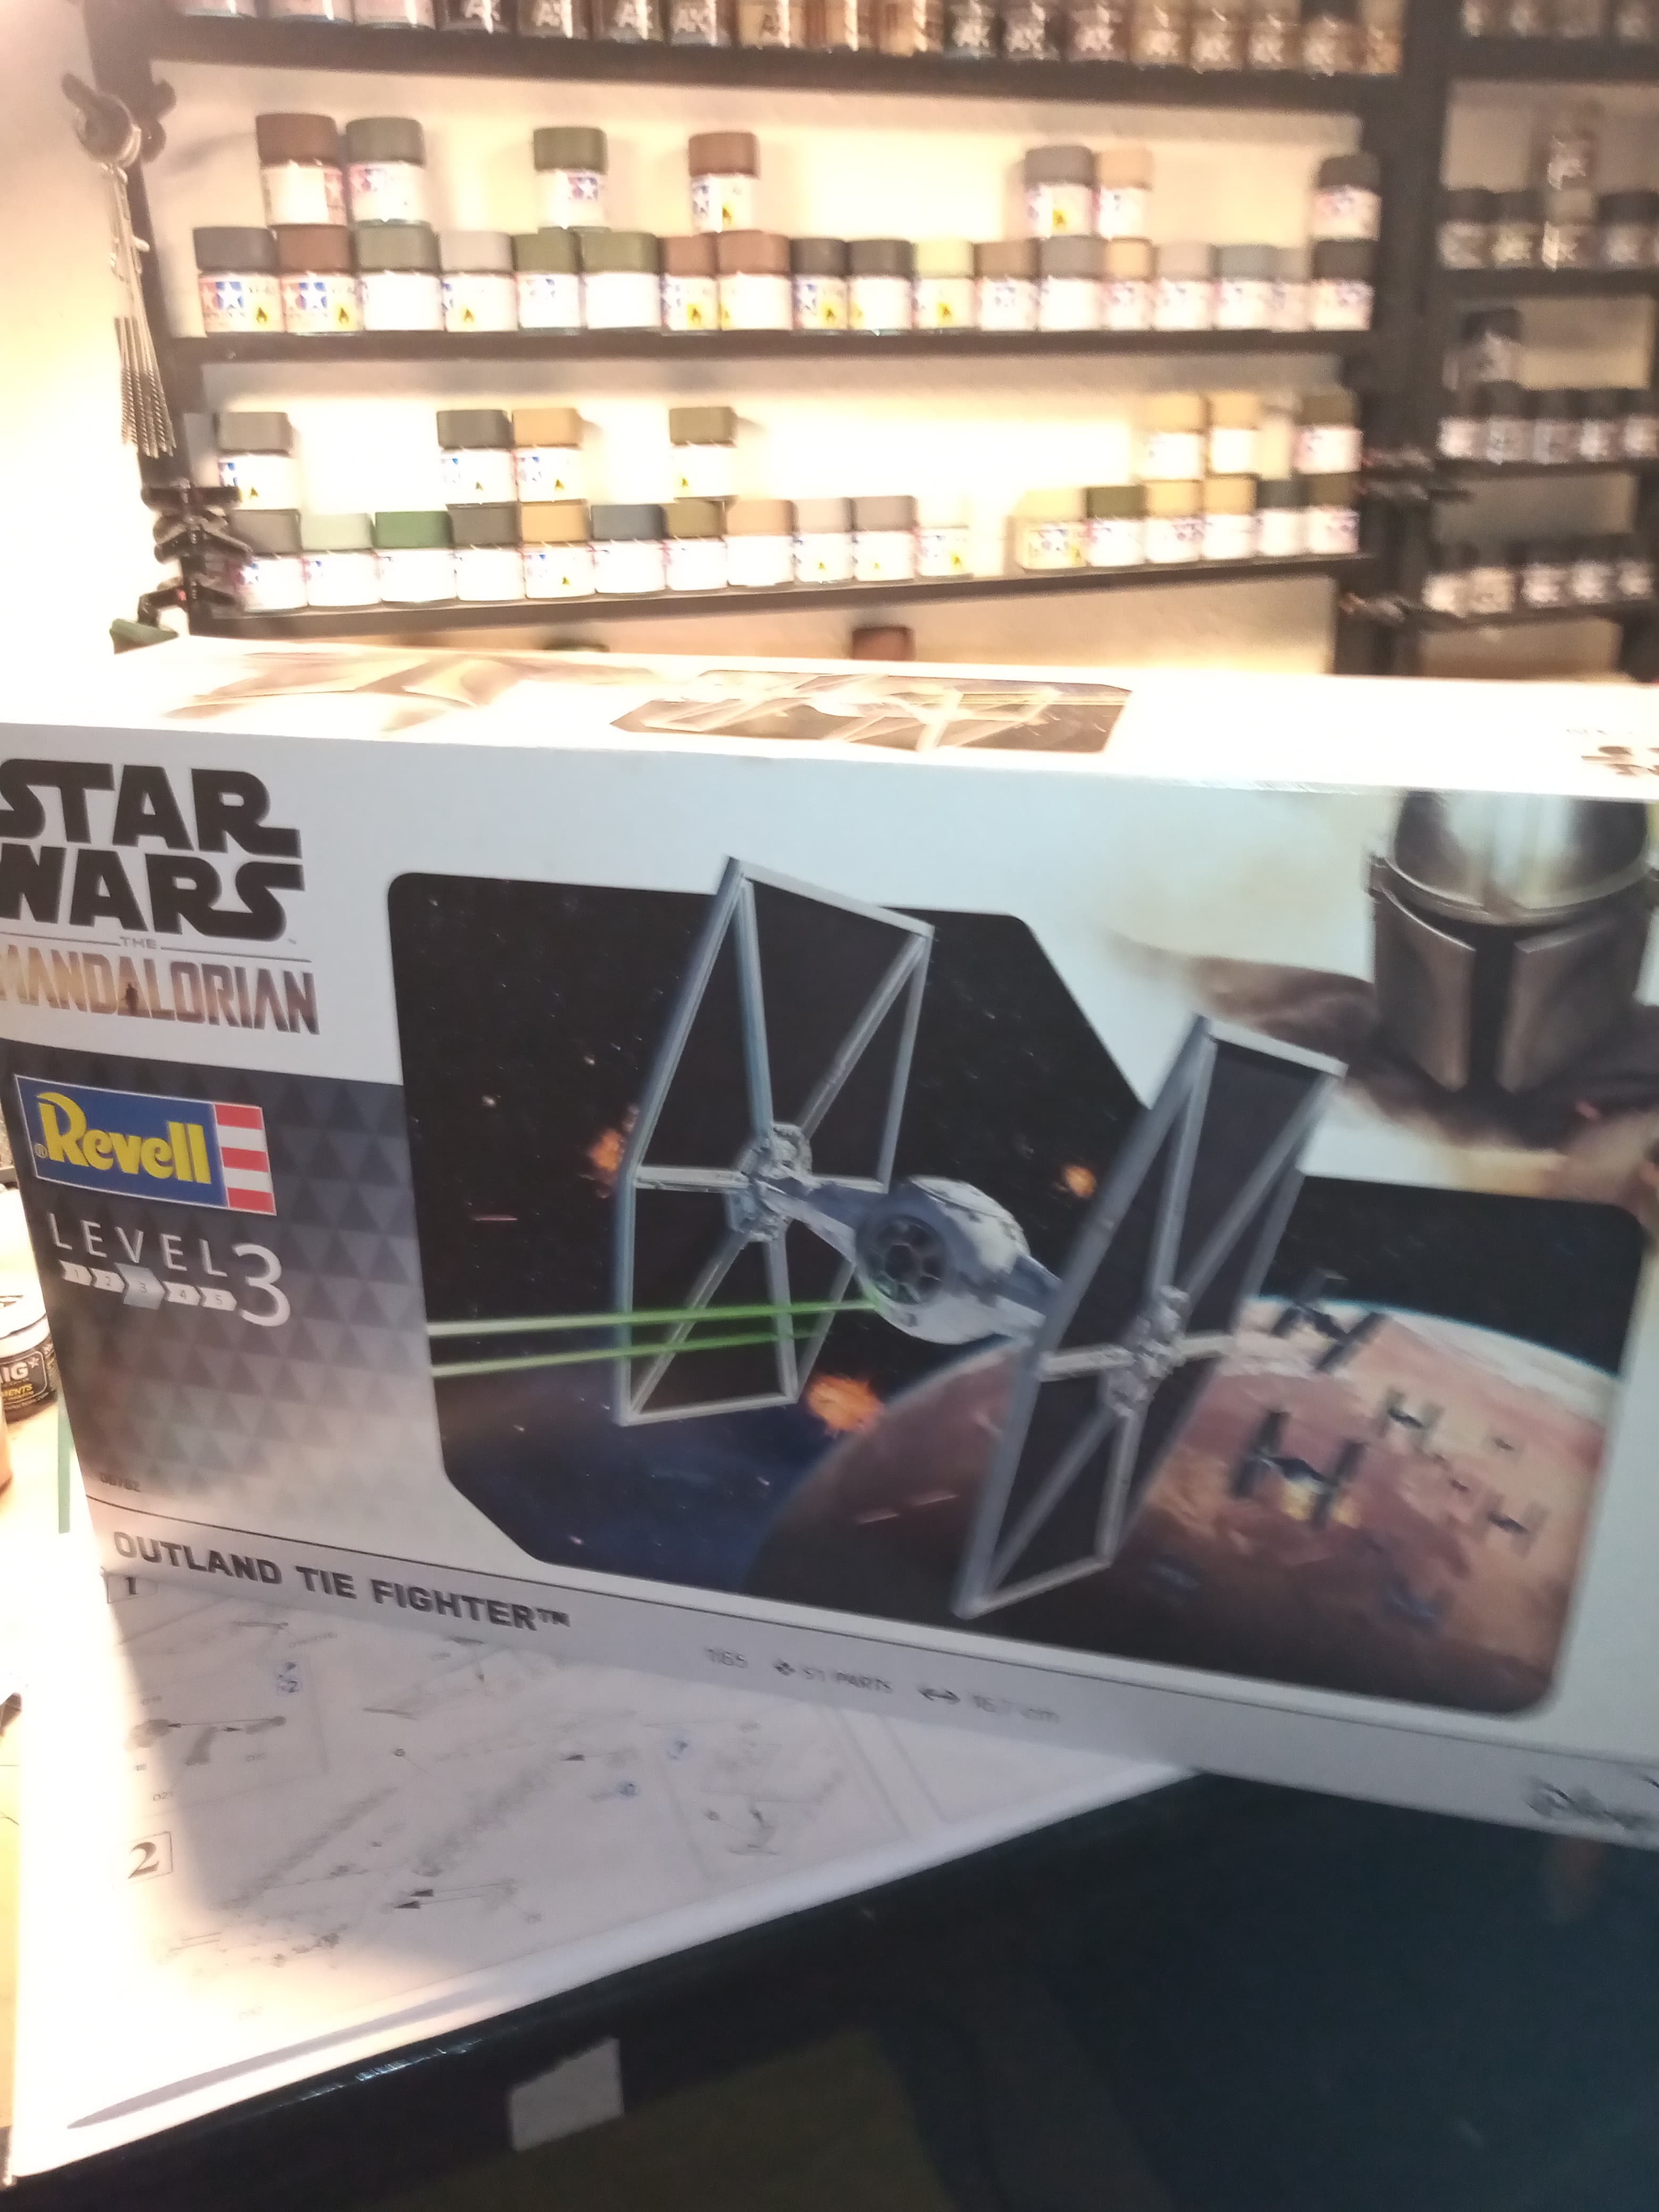
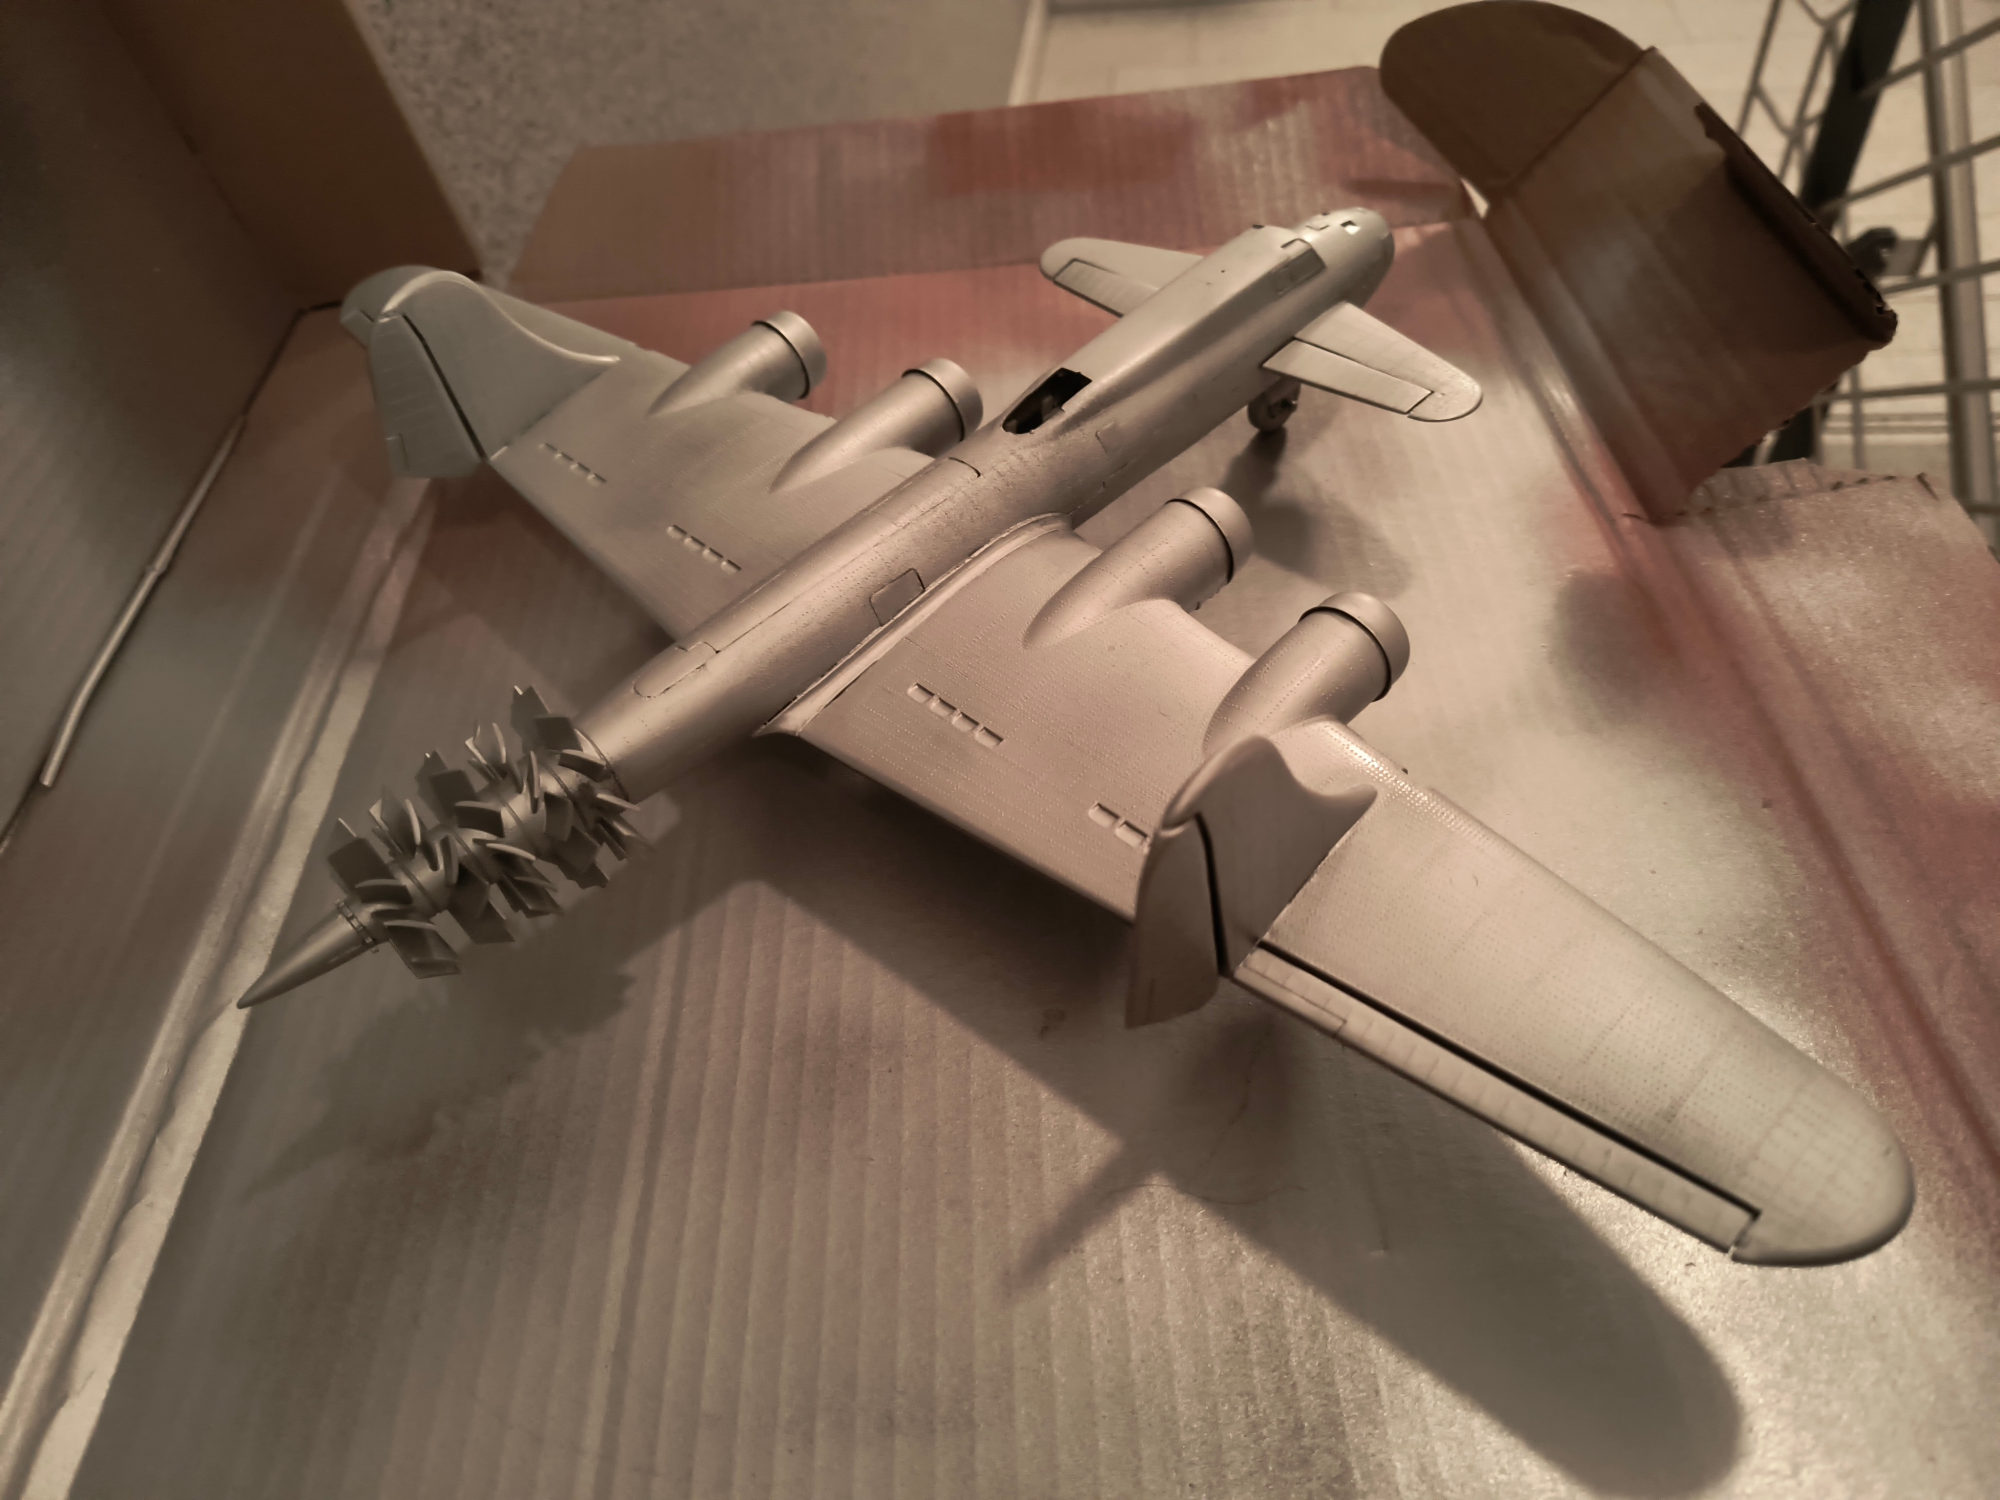
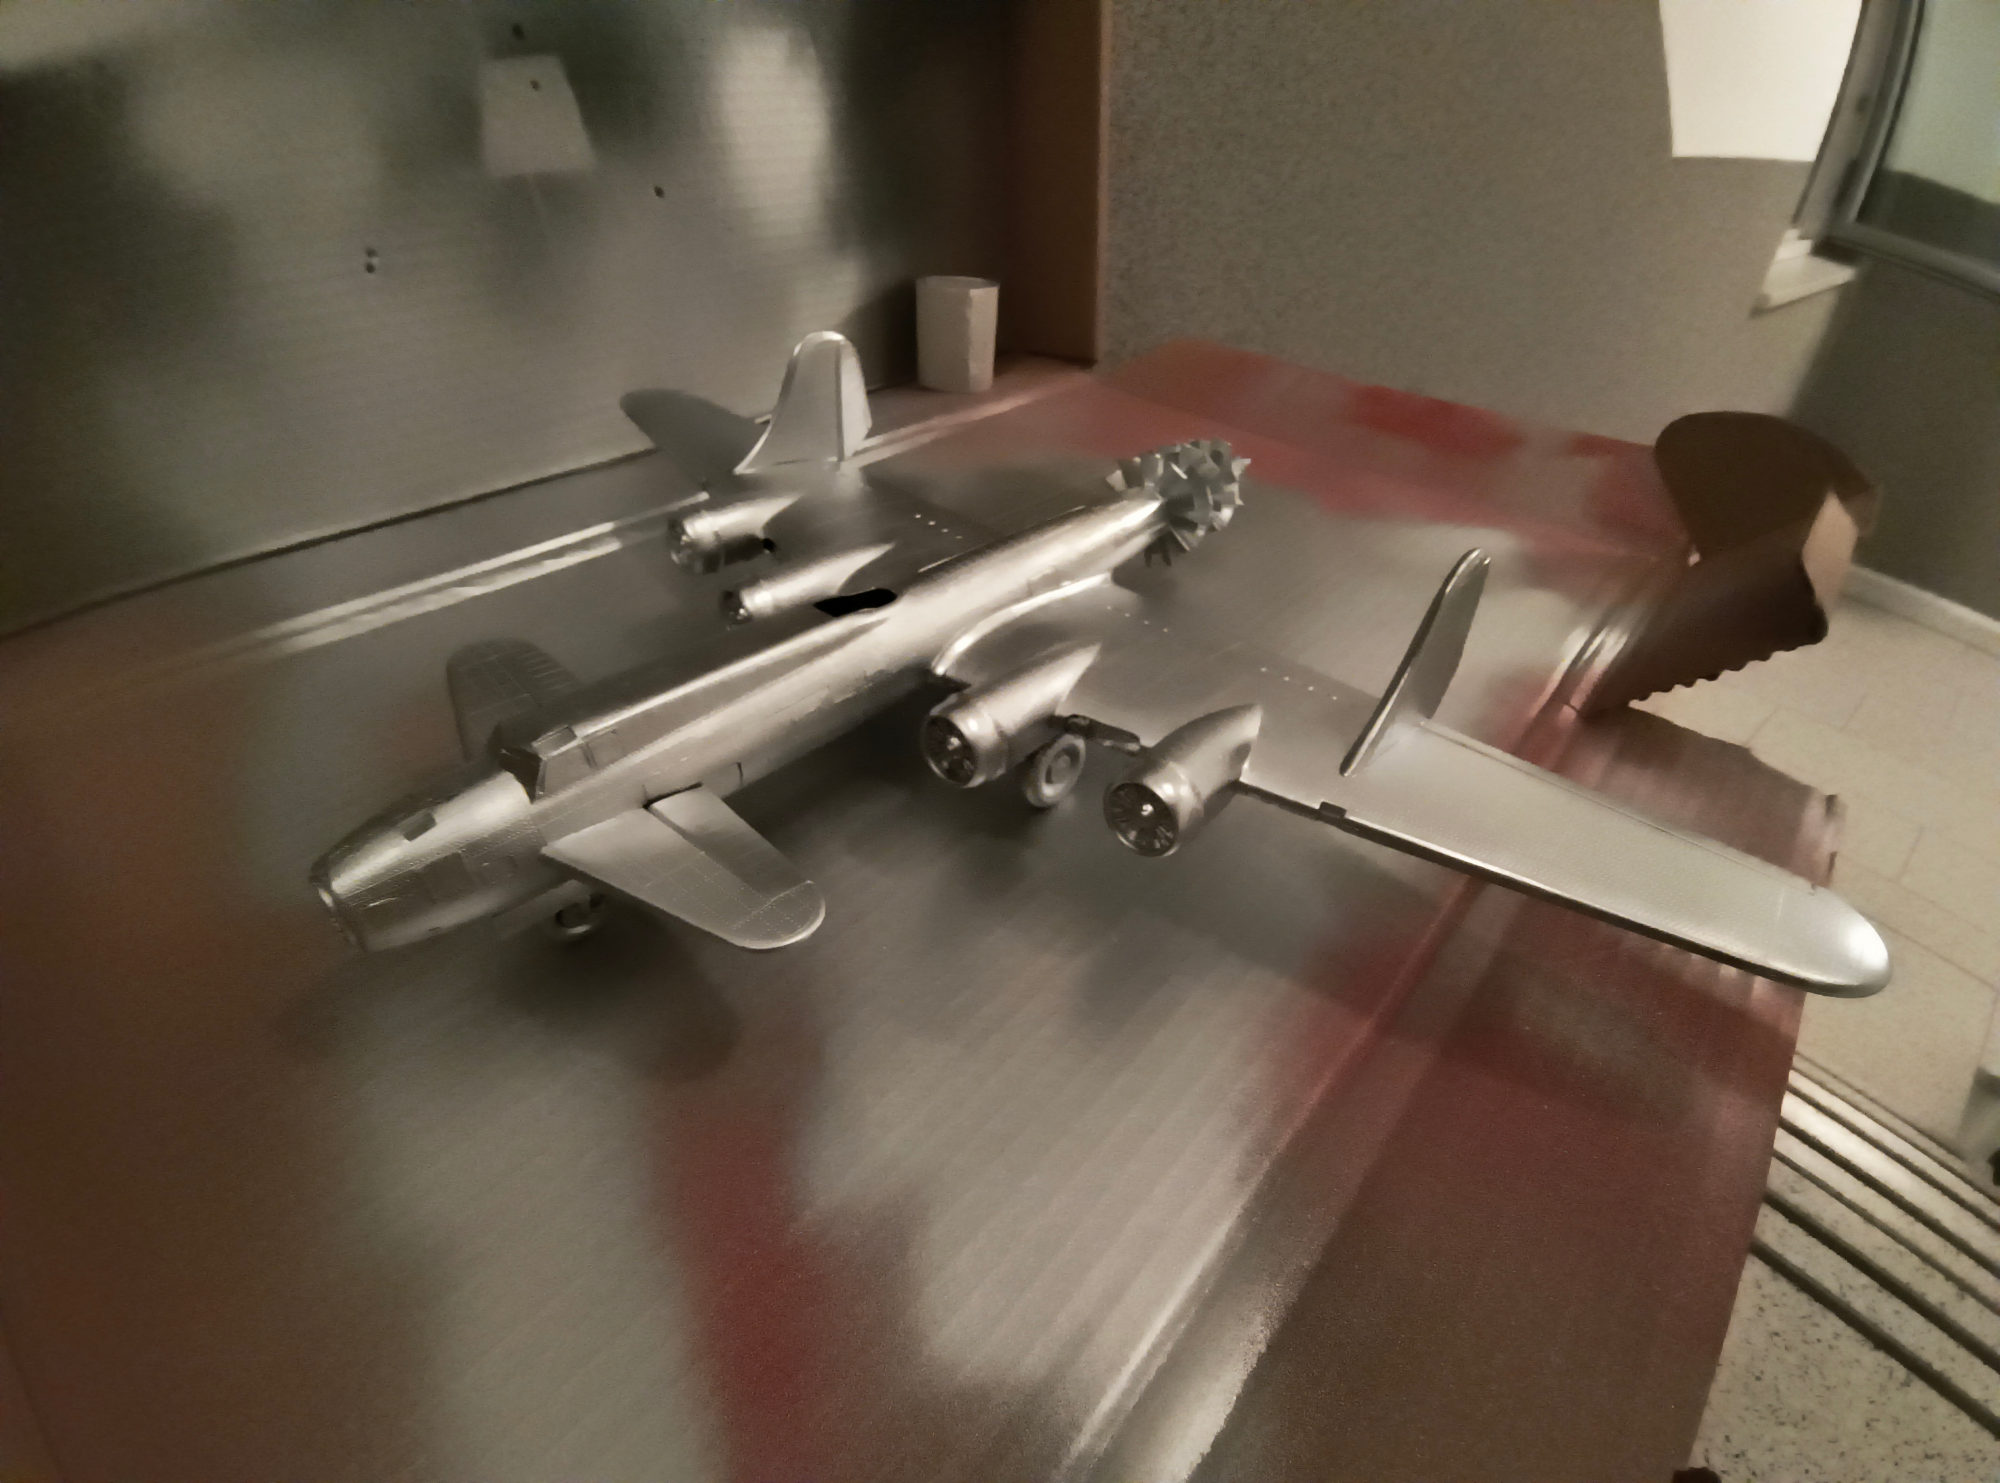
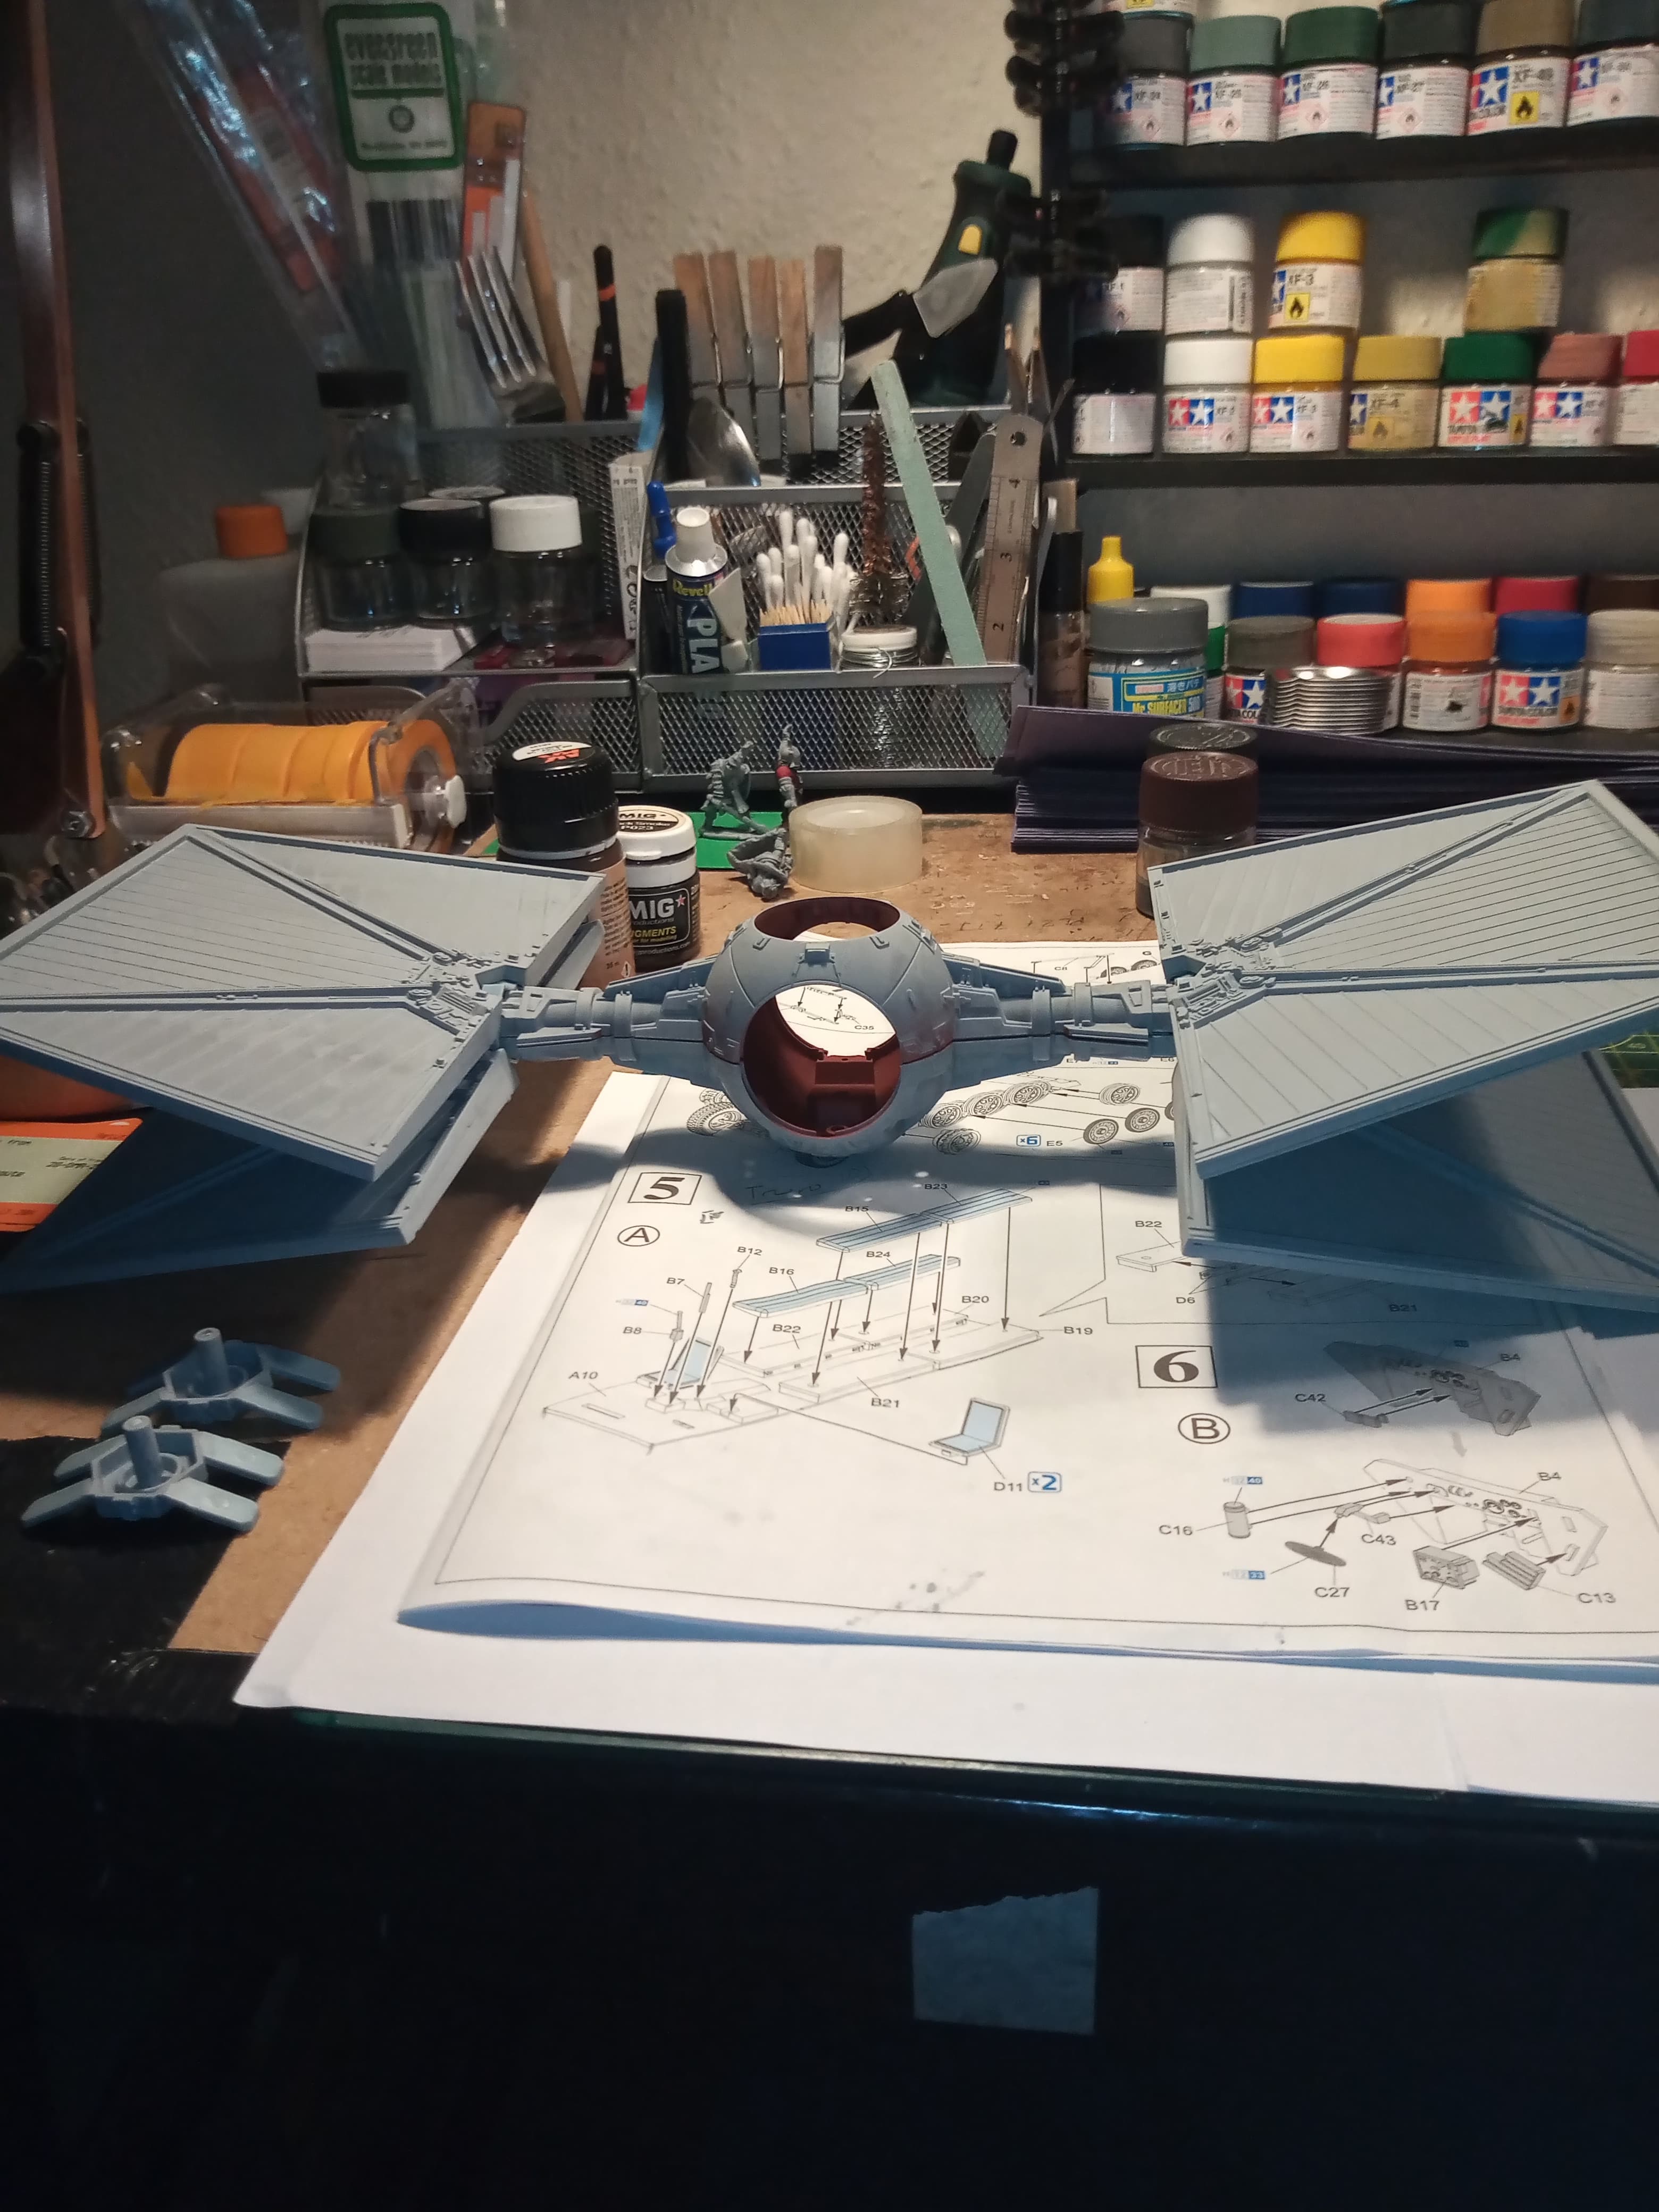
In the meantime, in order to get reacquainted with other elements of the build, I thought I’d throw-together a quick dry-fit.
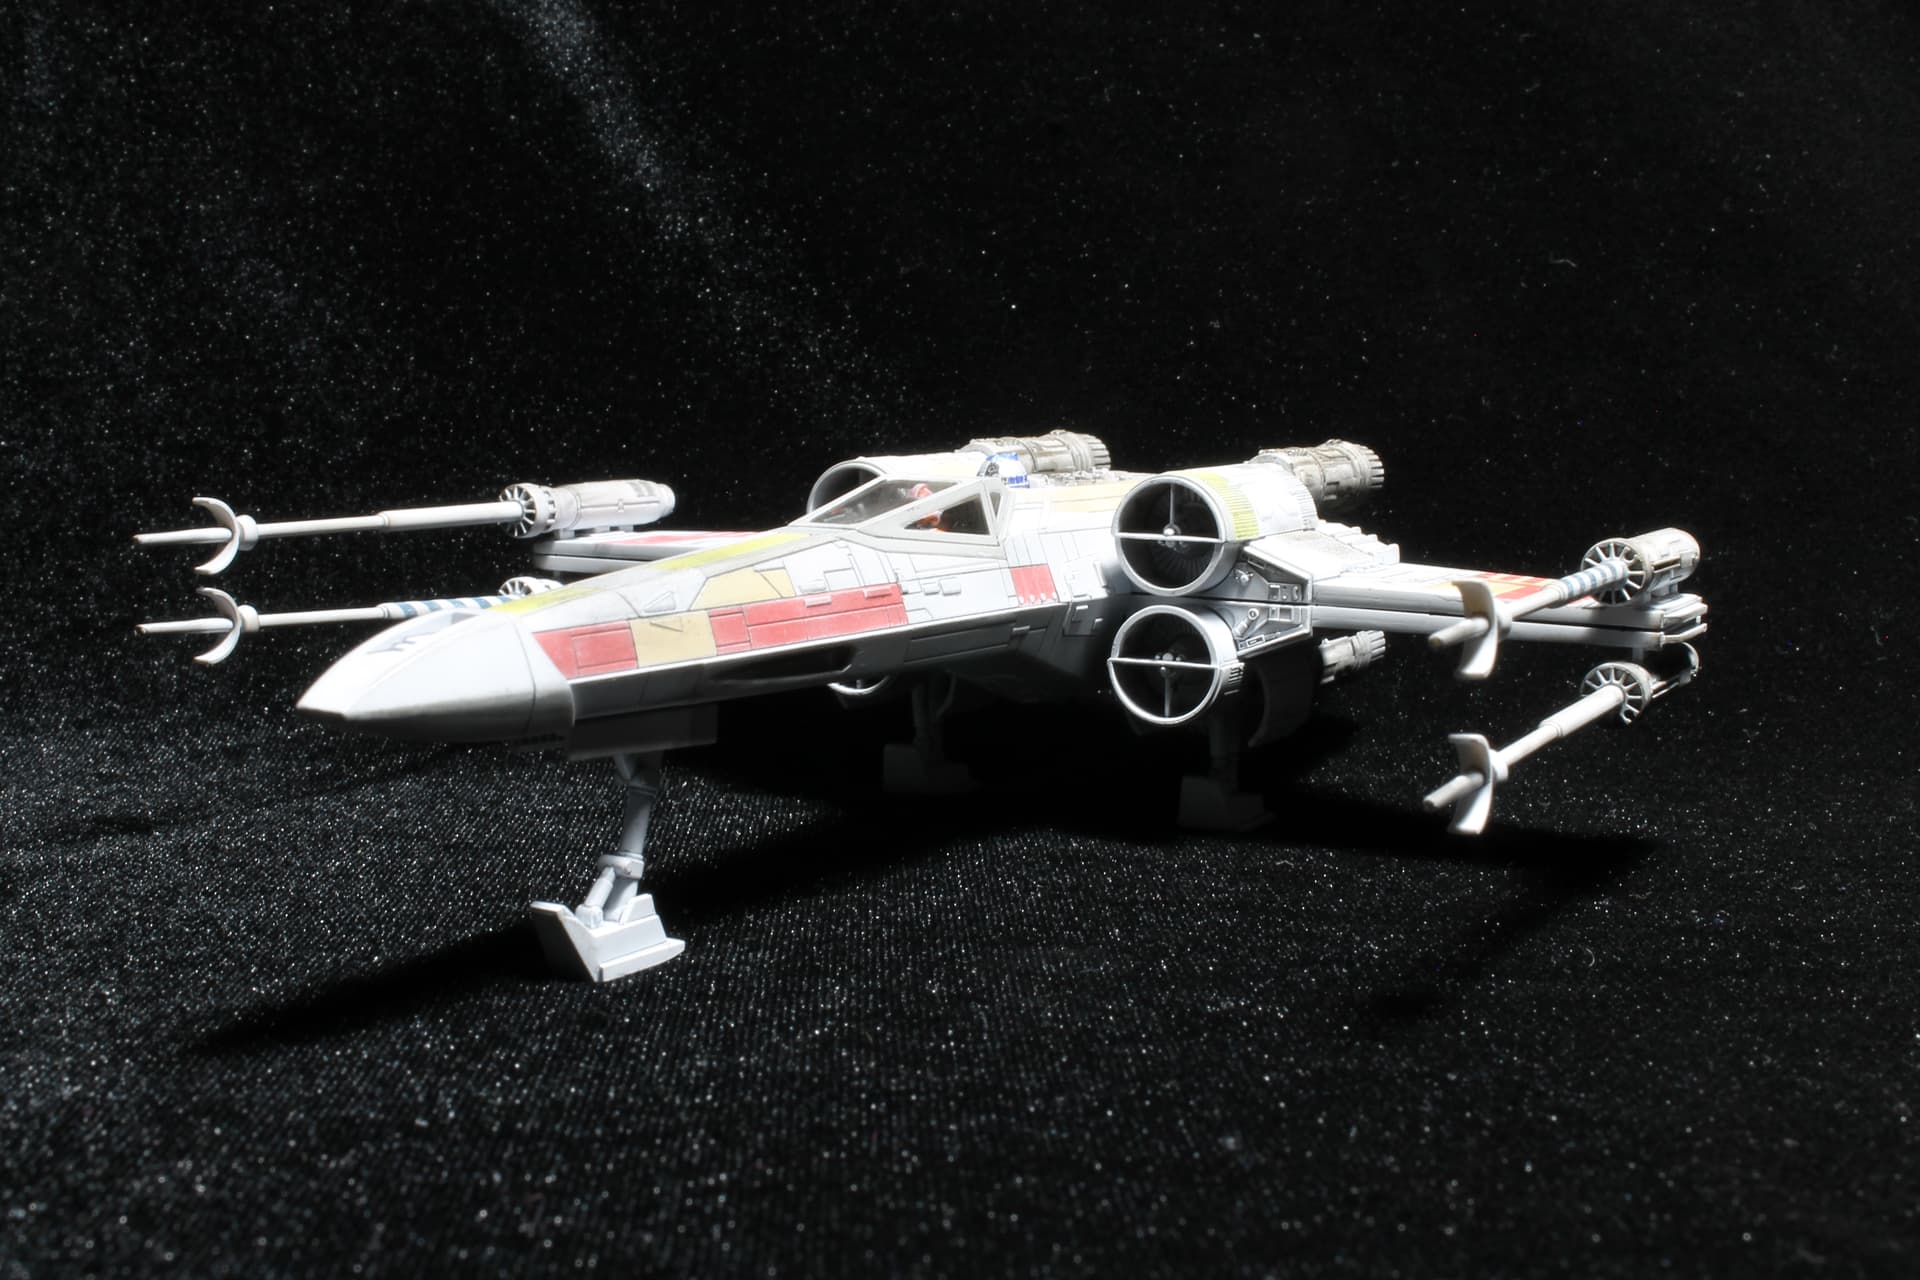
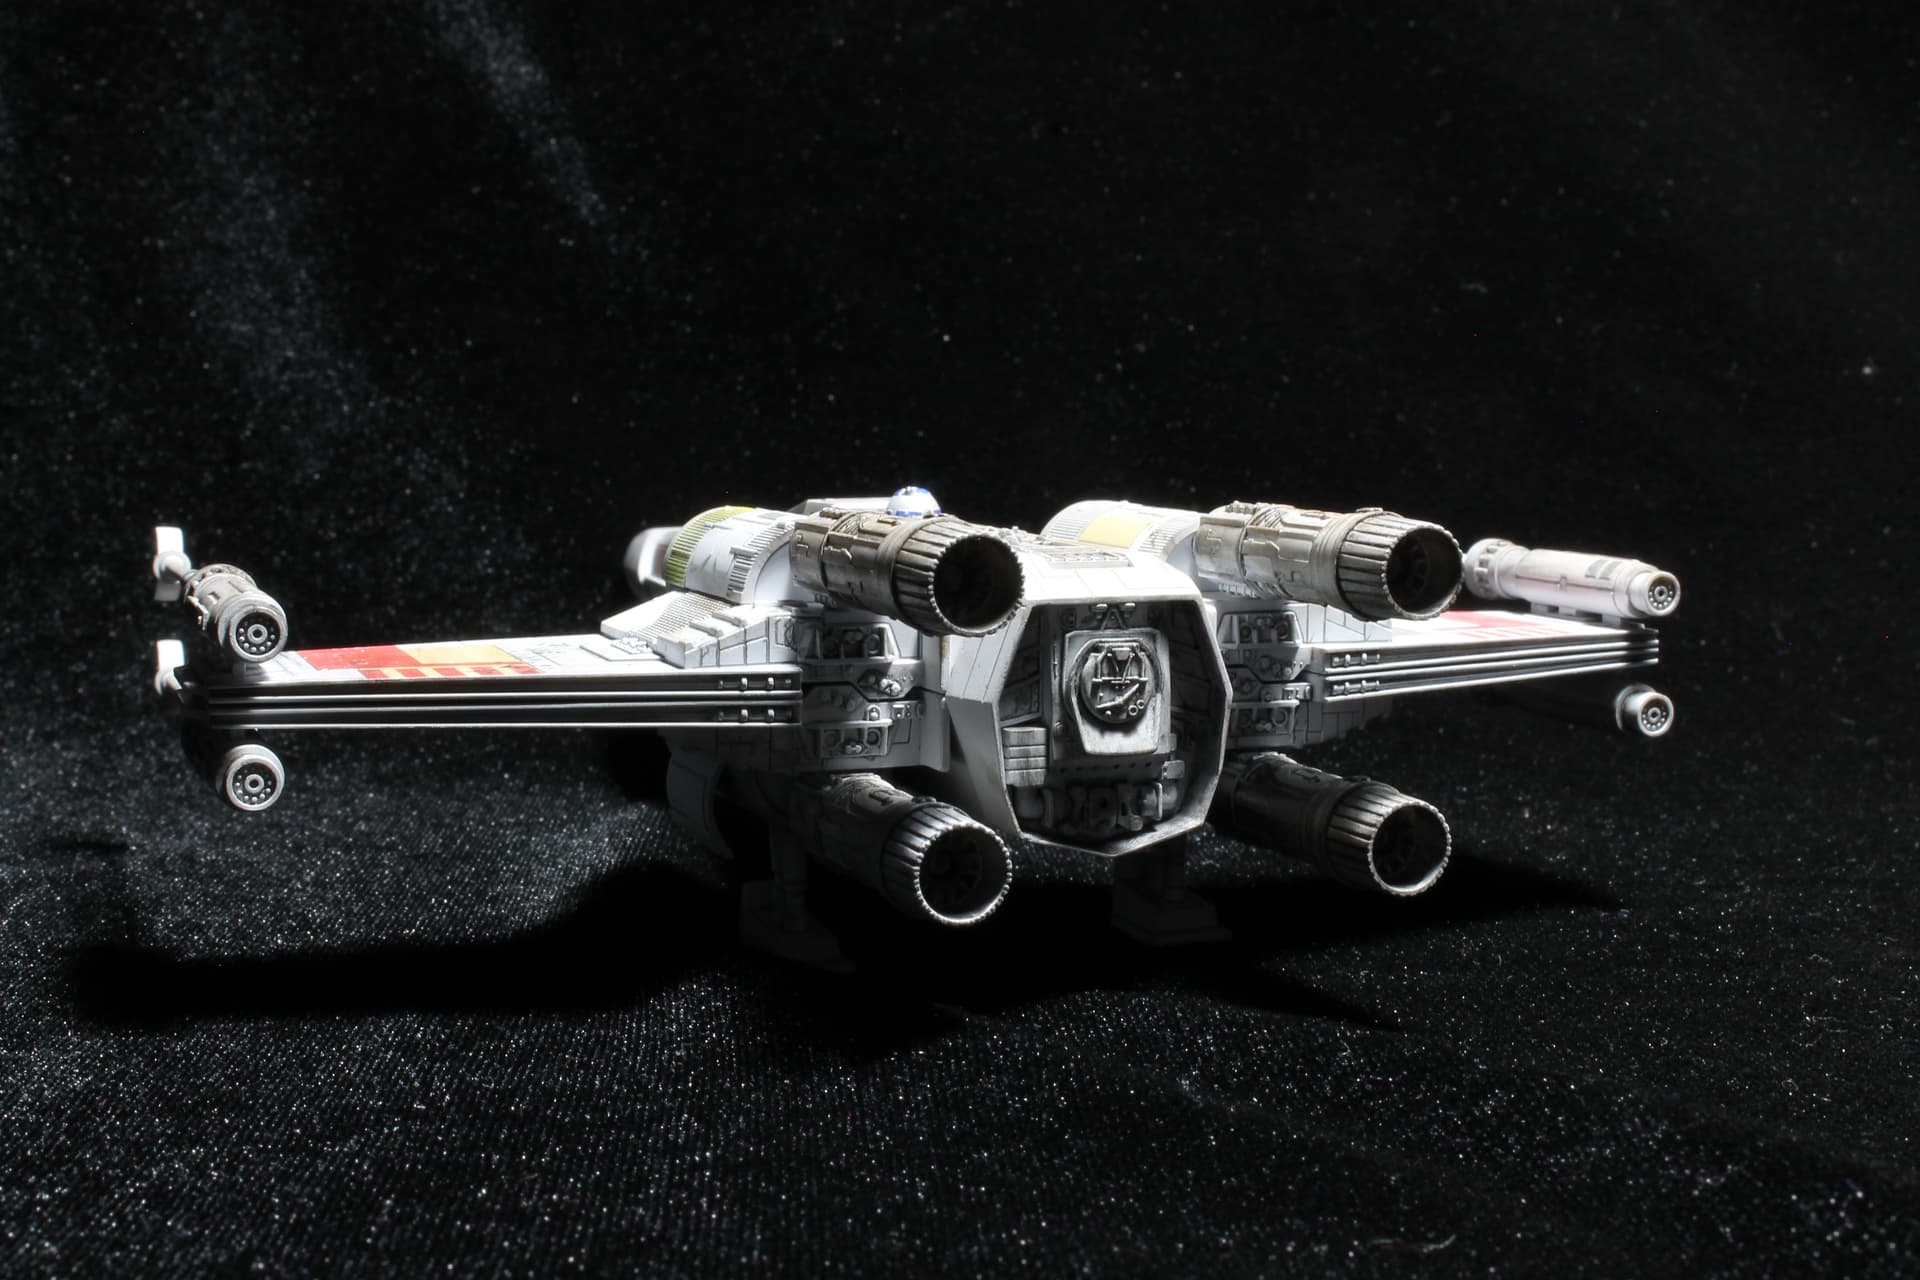
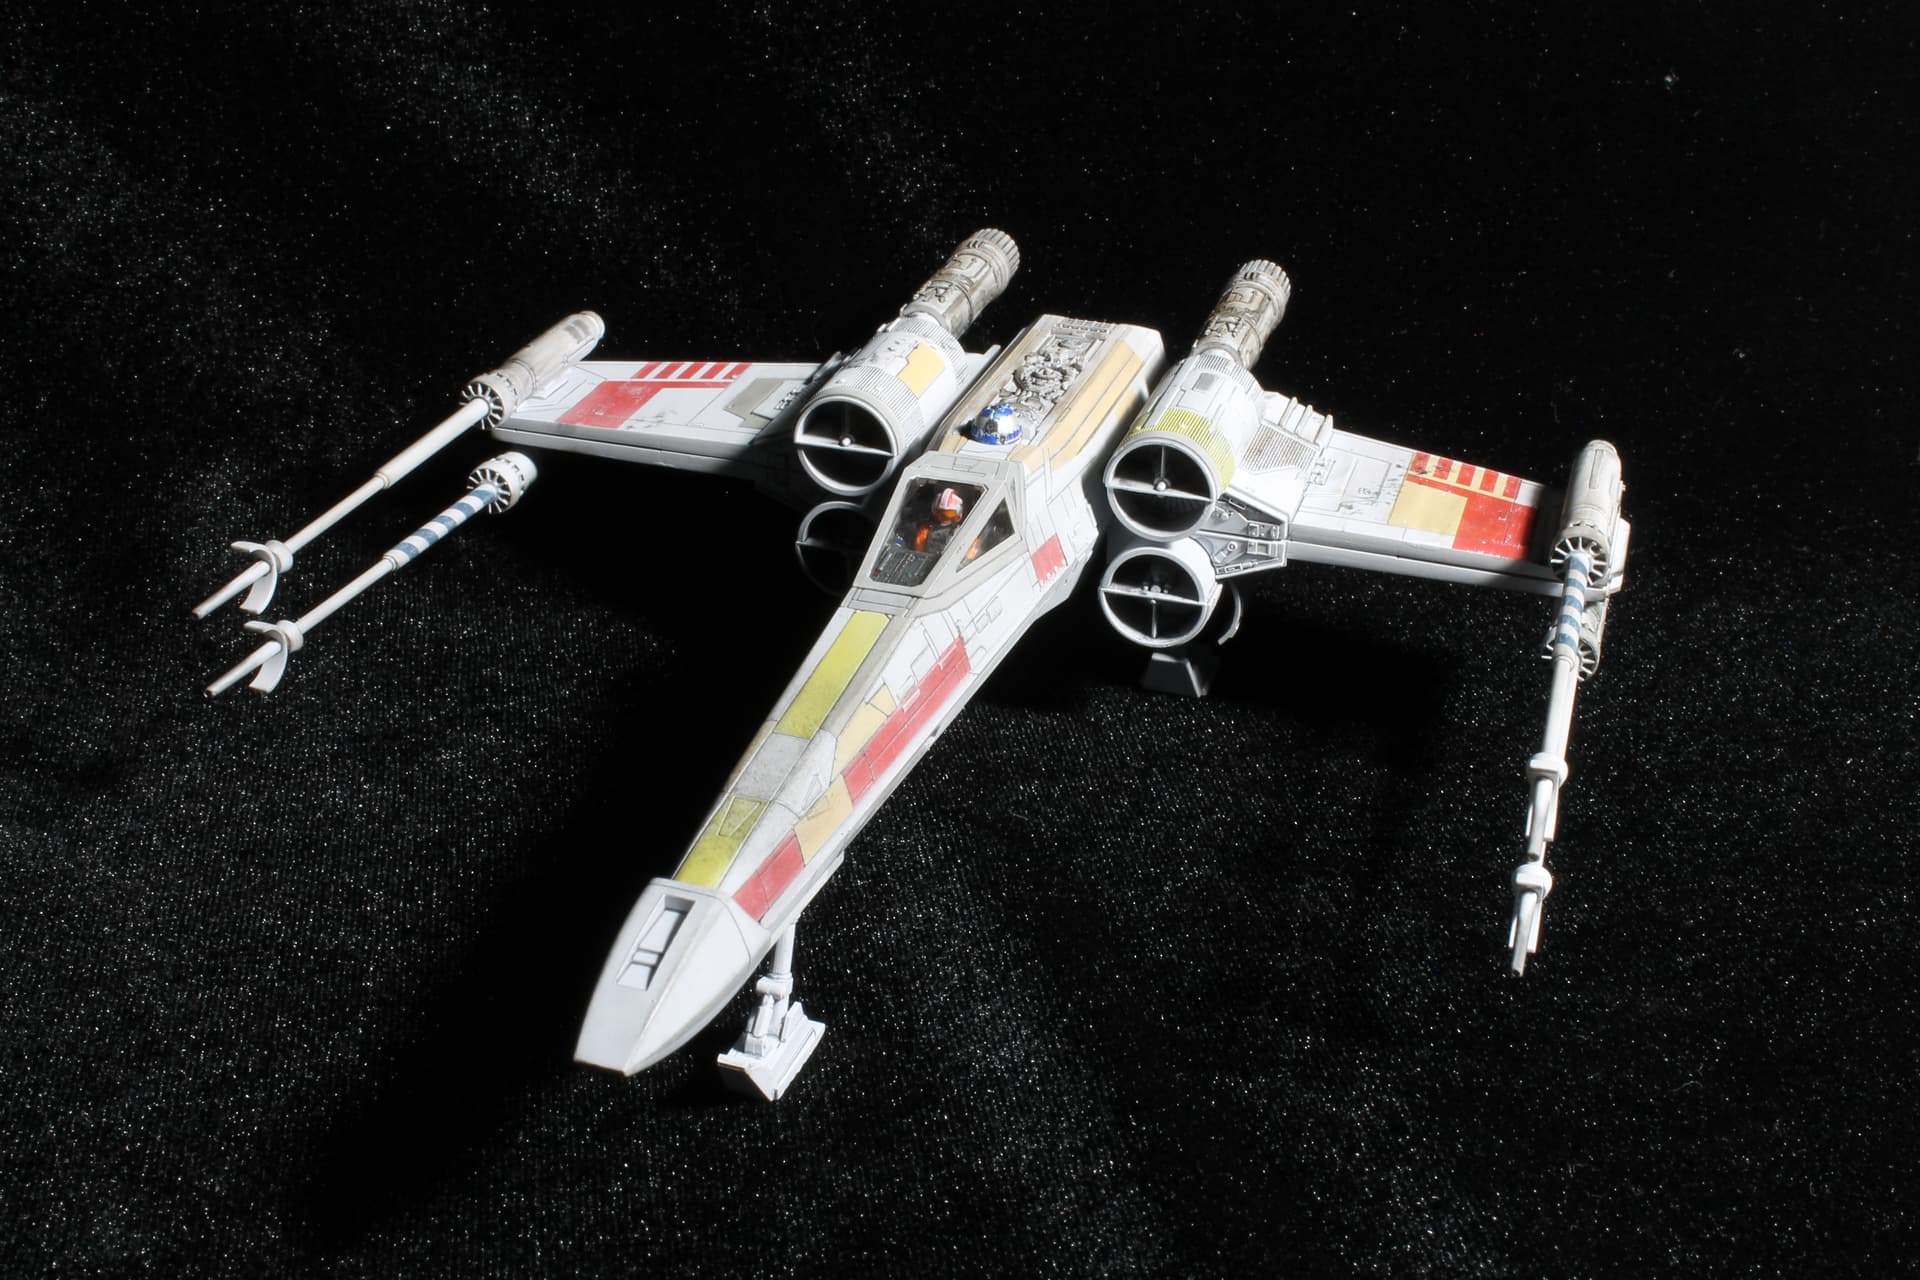
Red 5 Standing by.
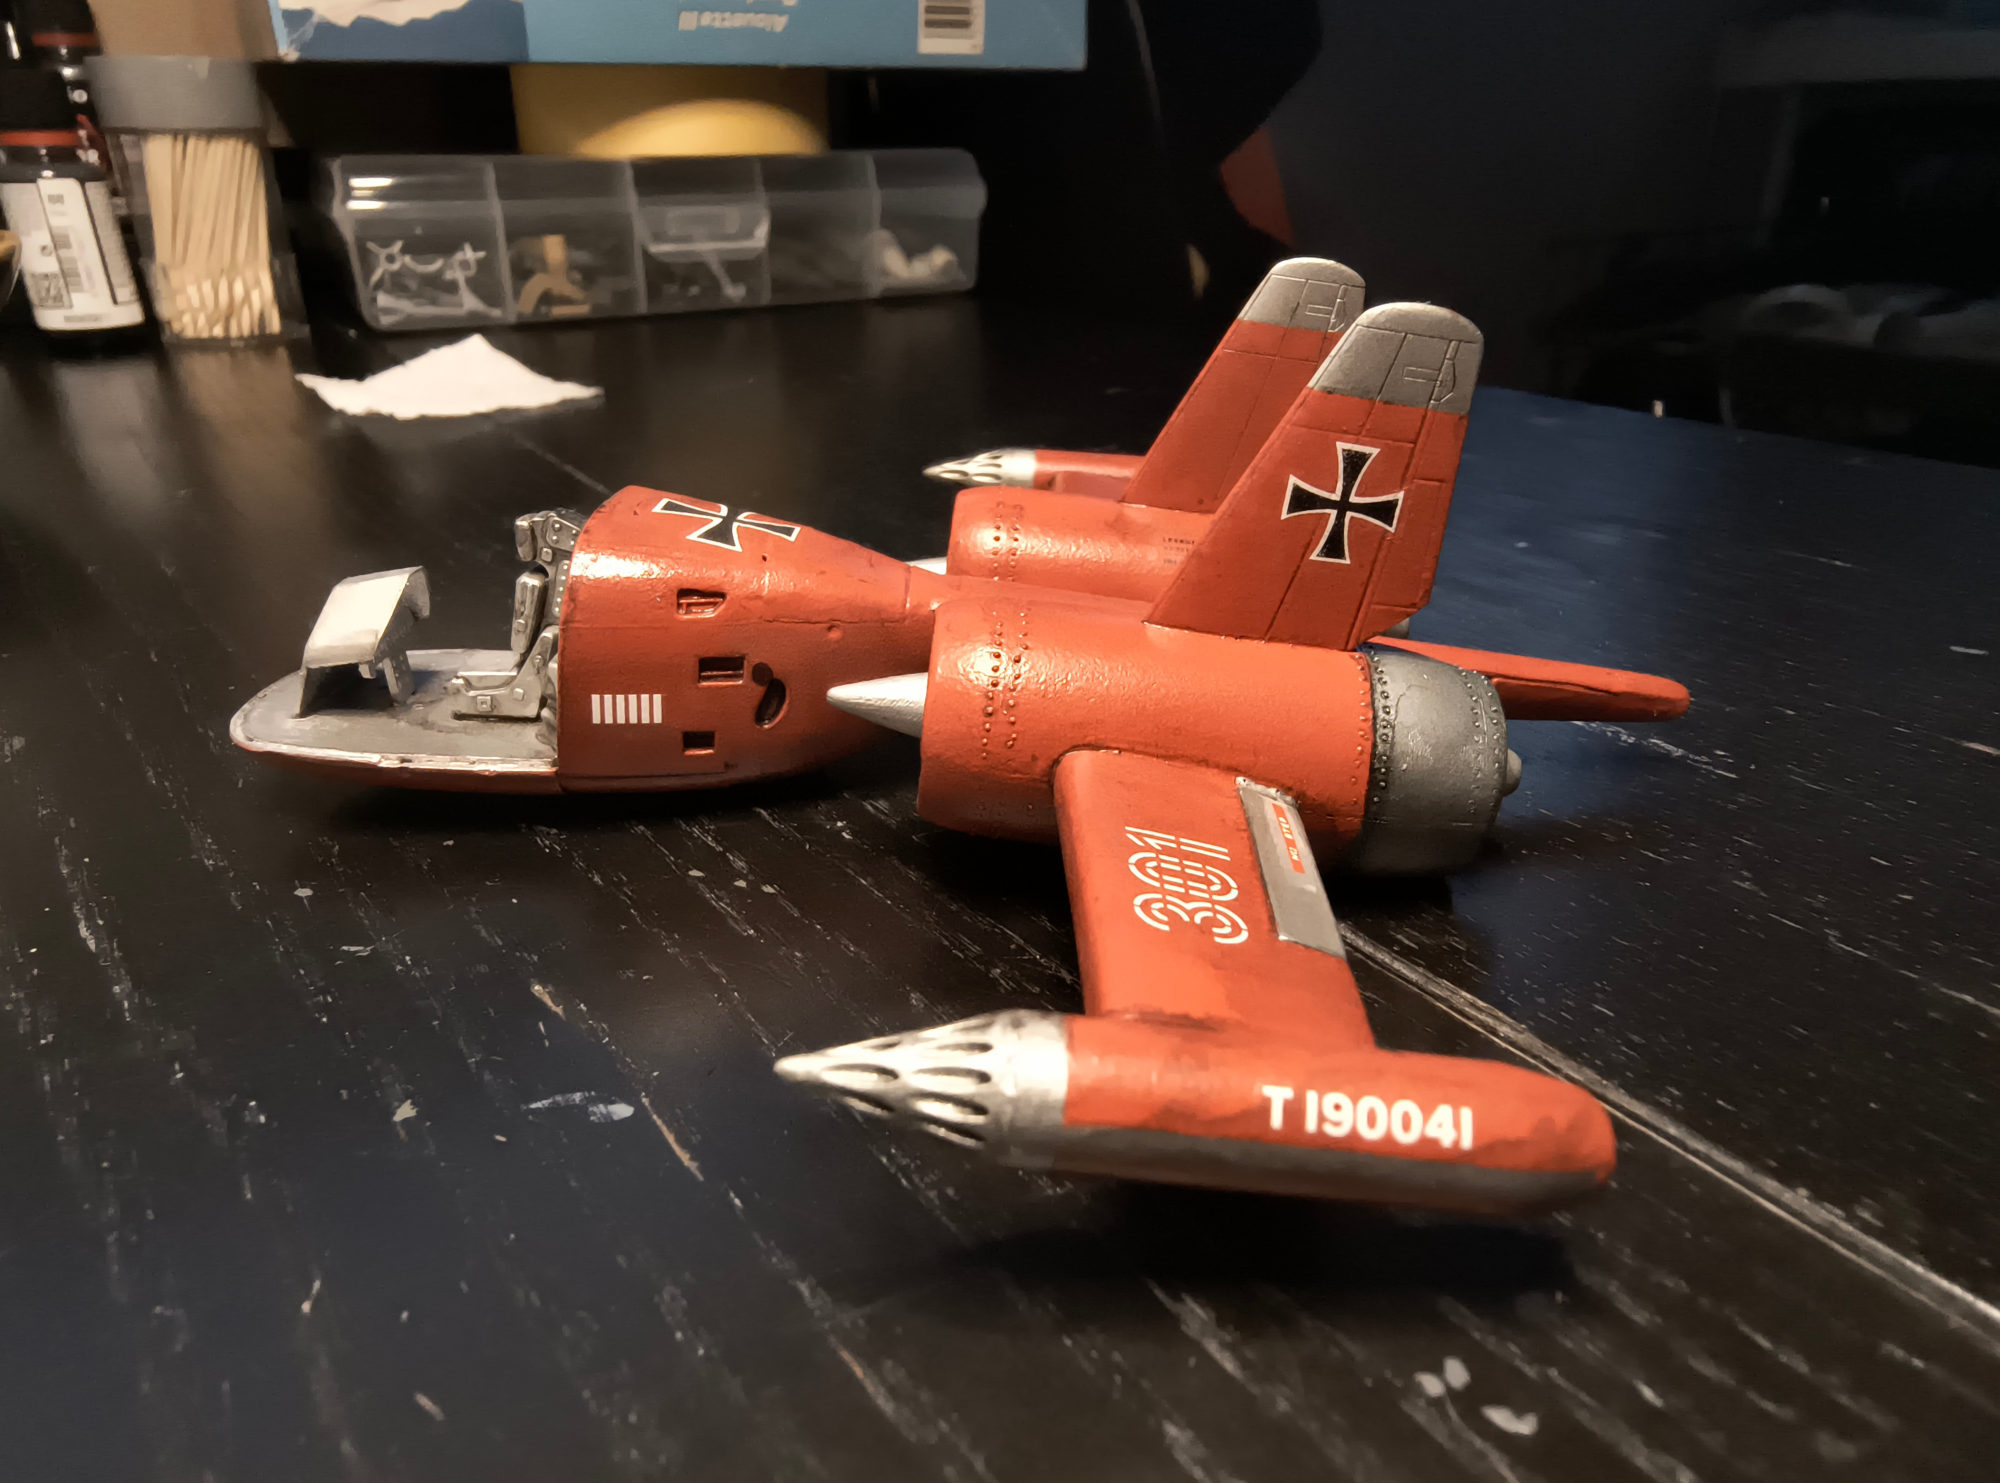
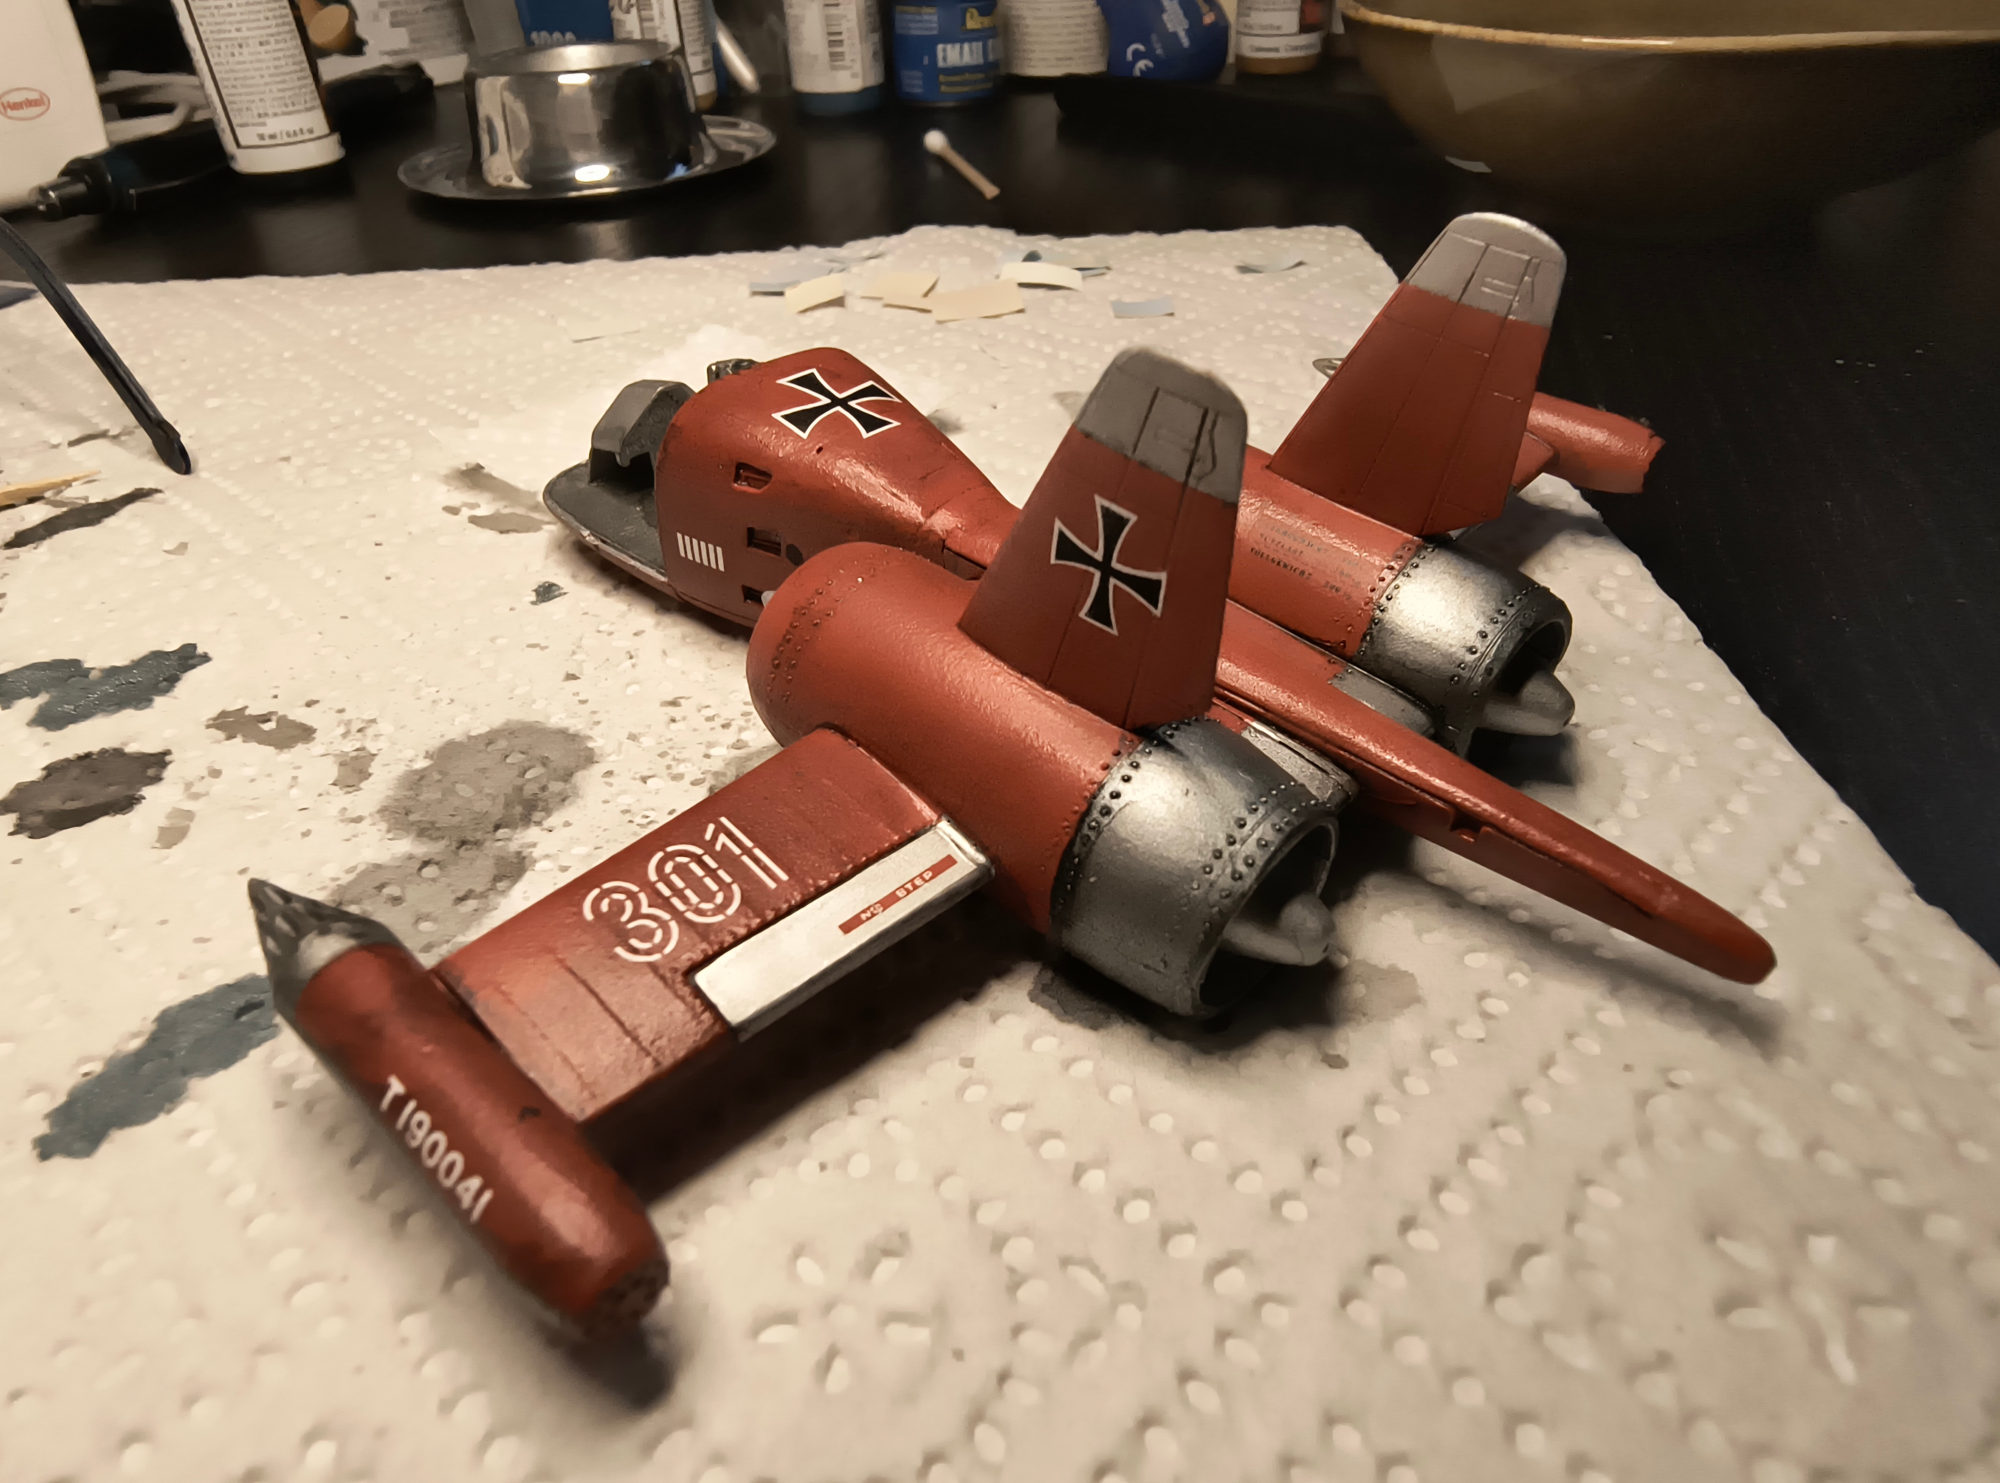
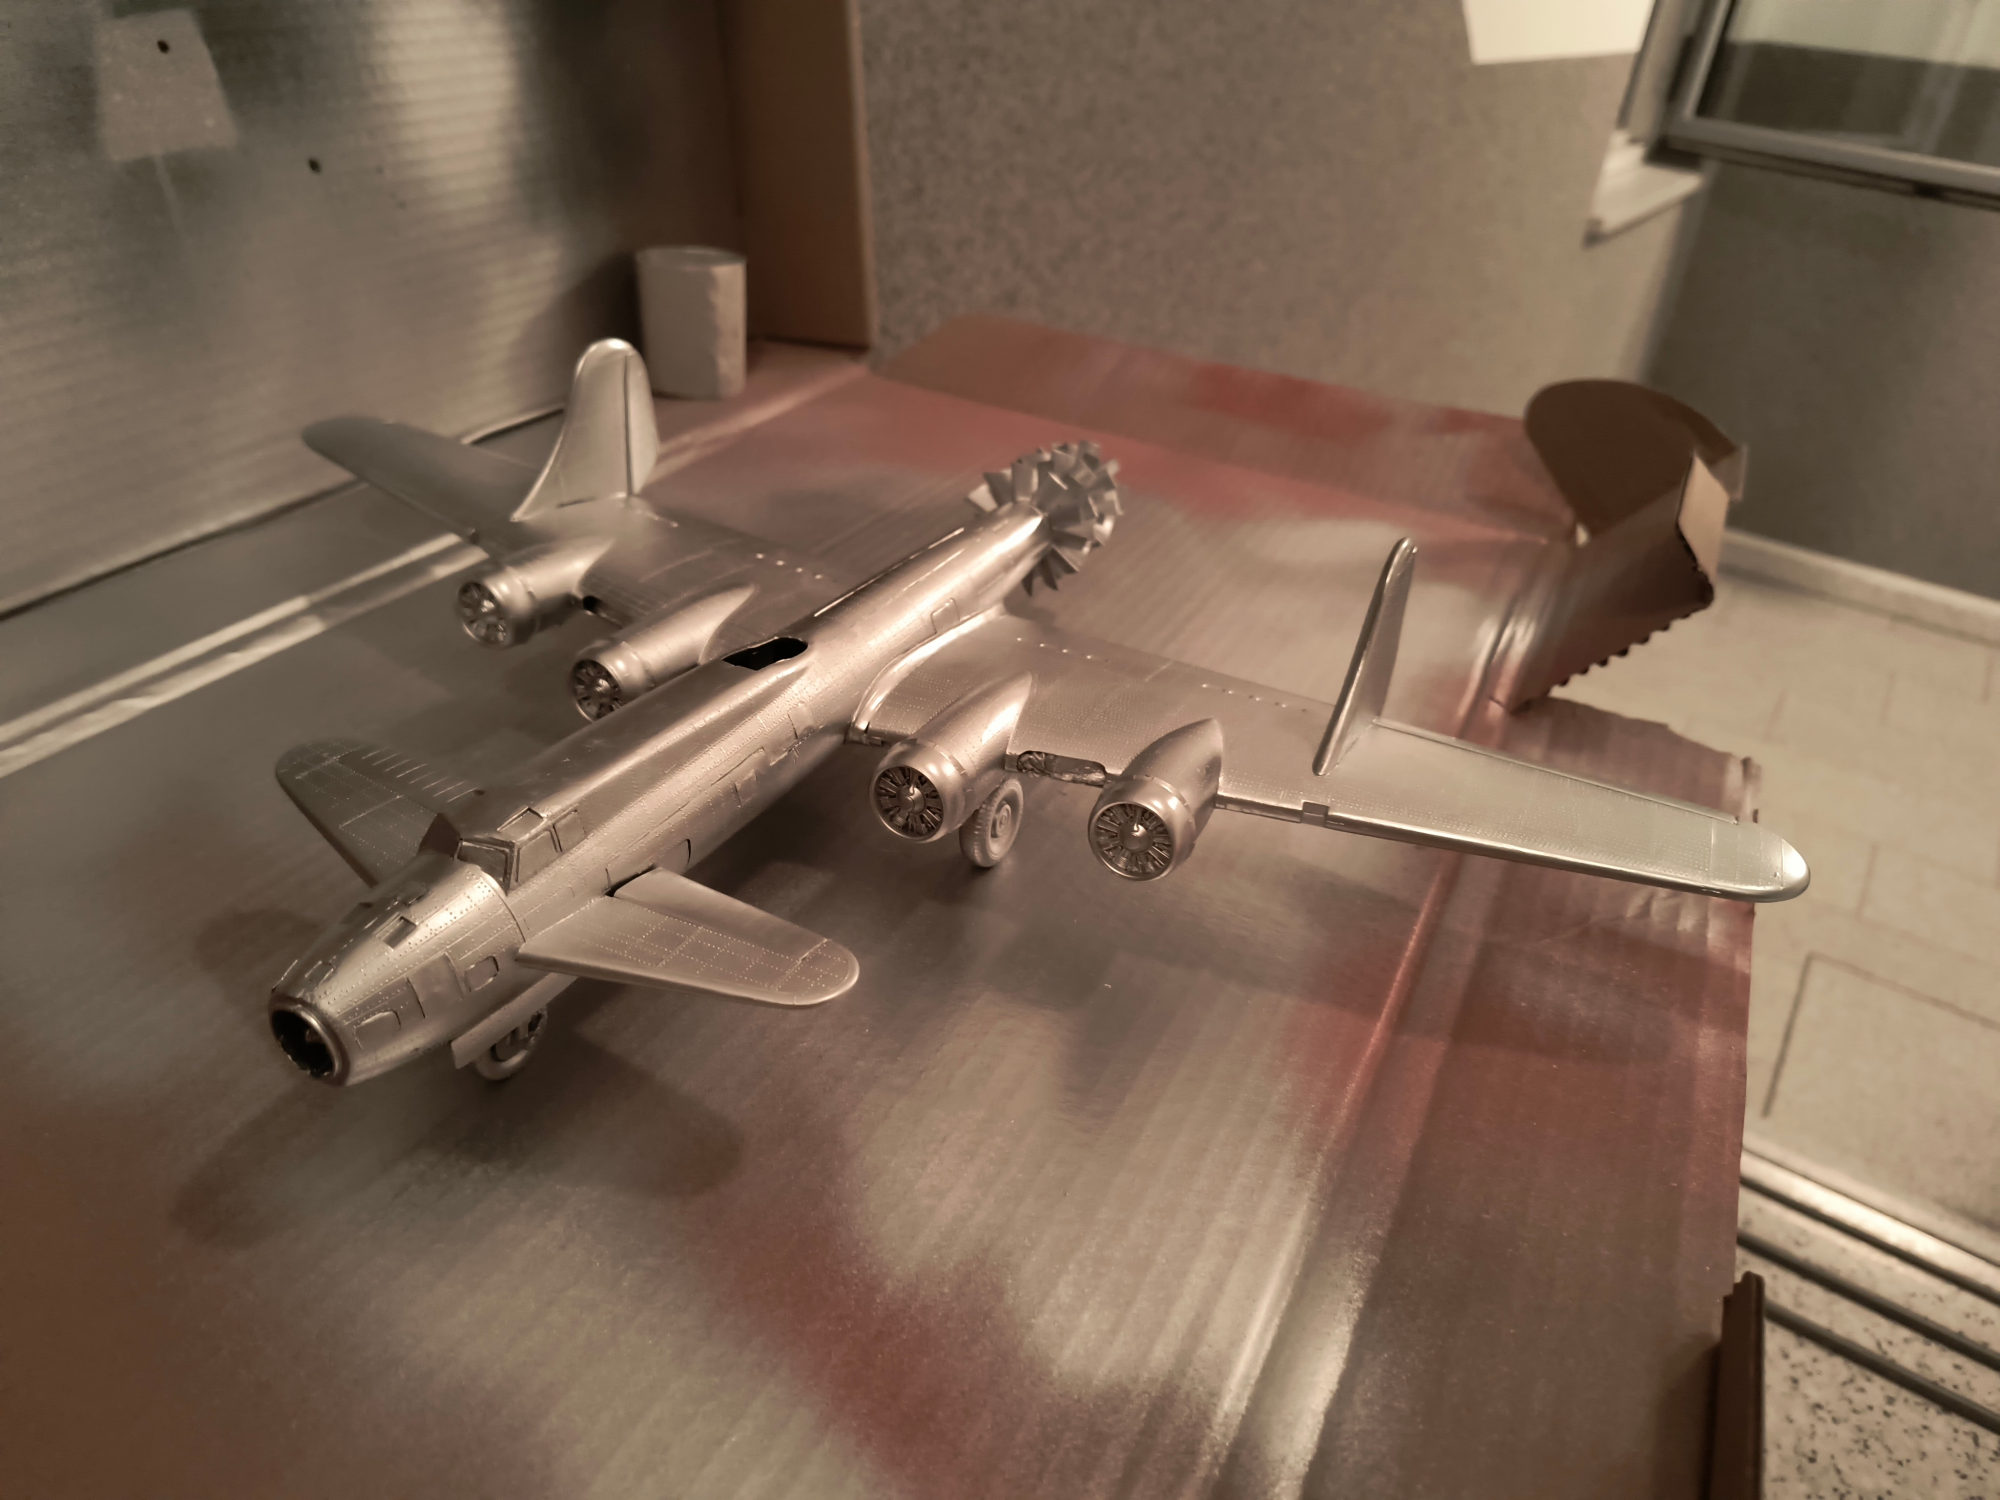
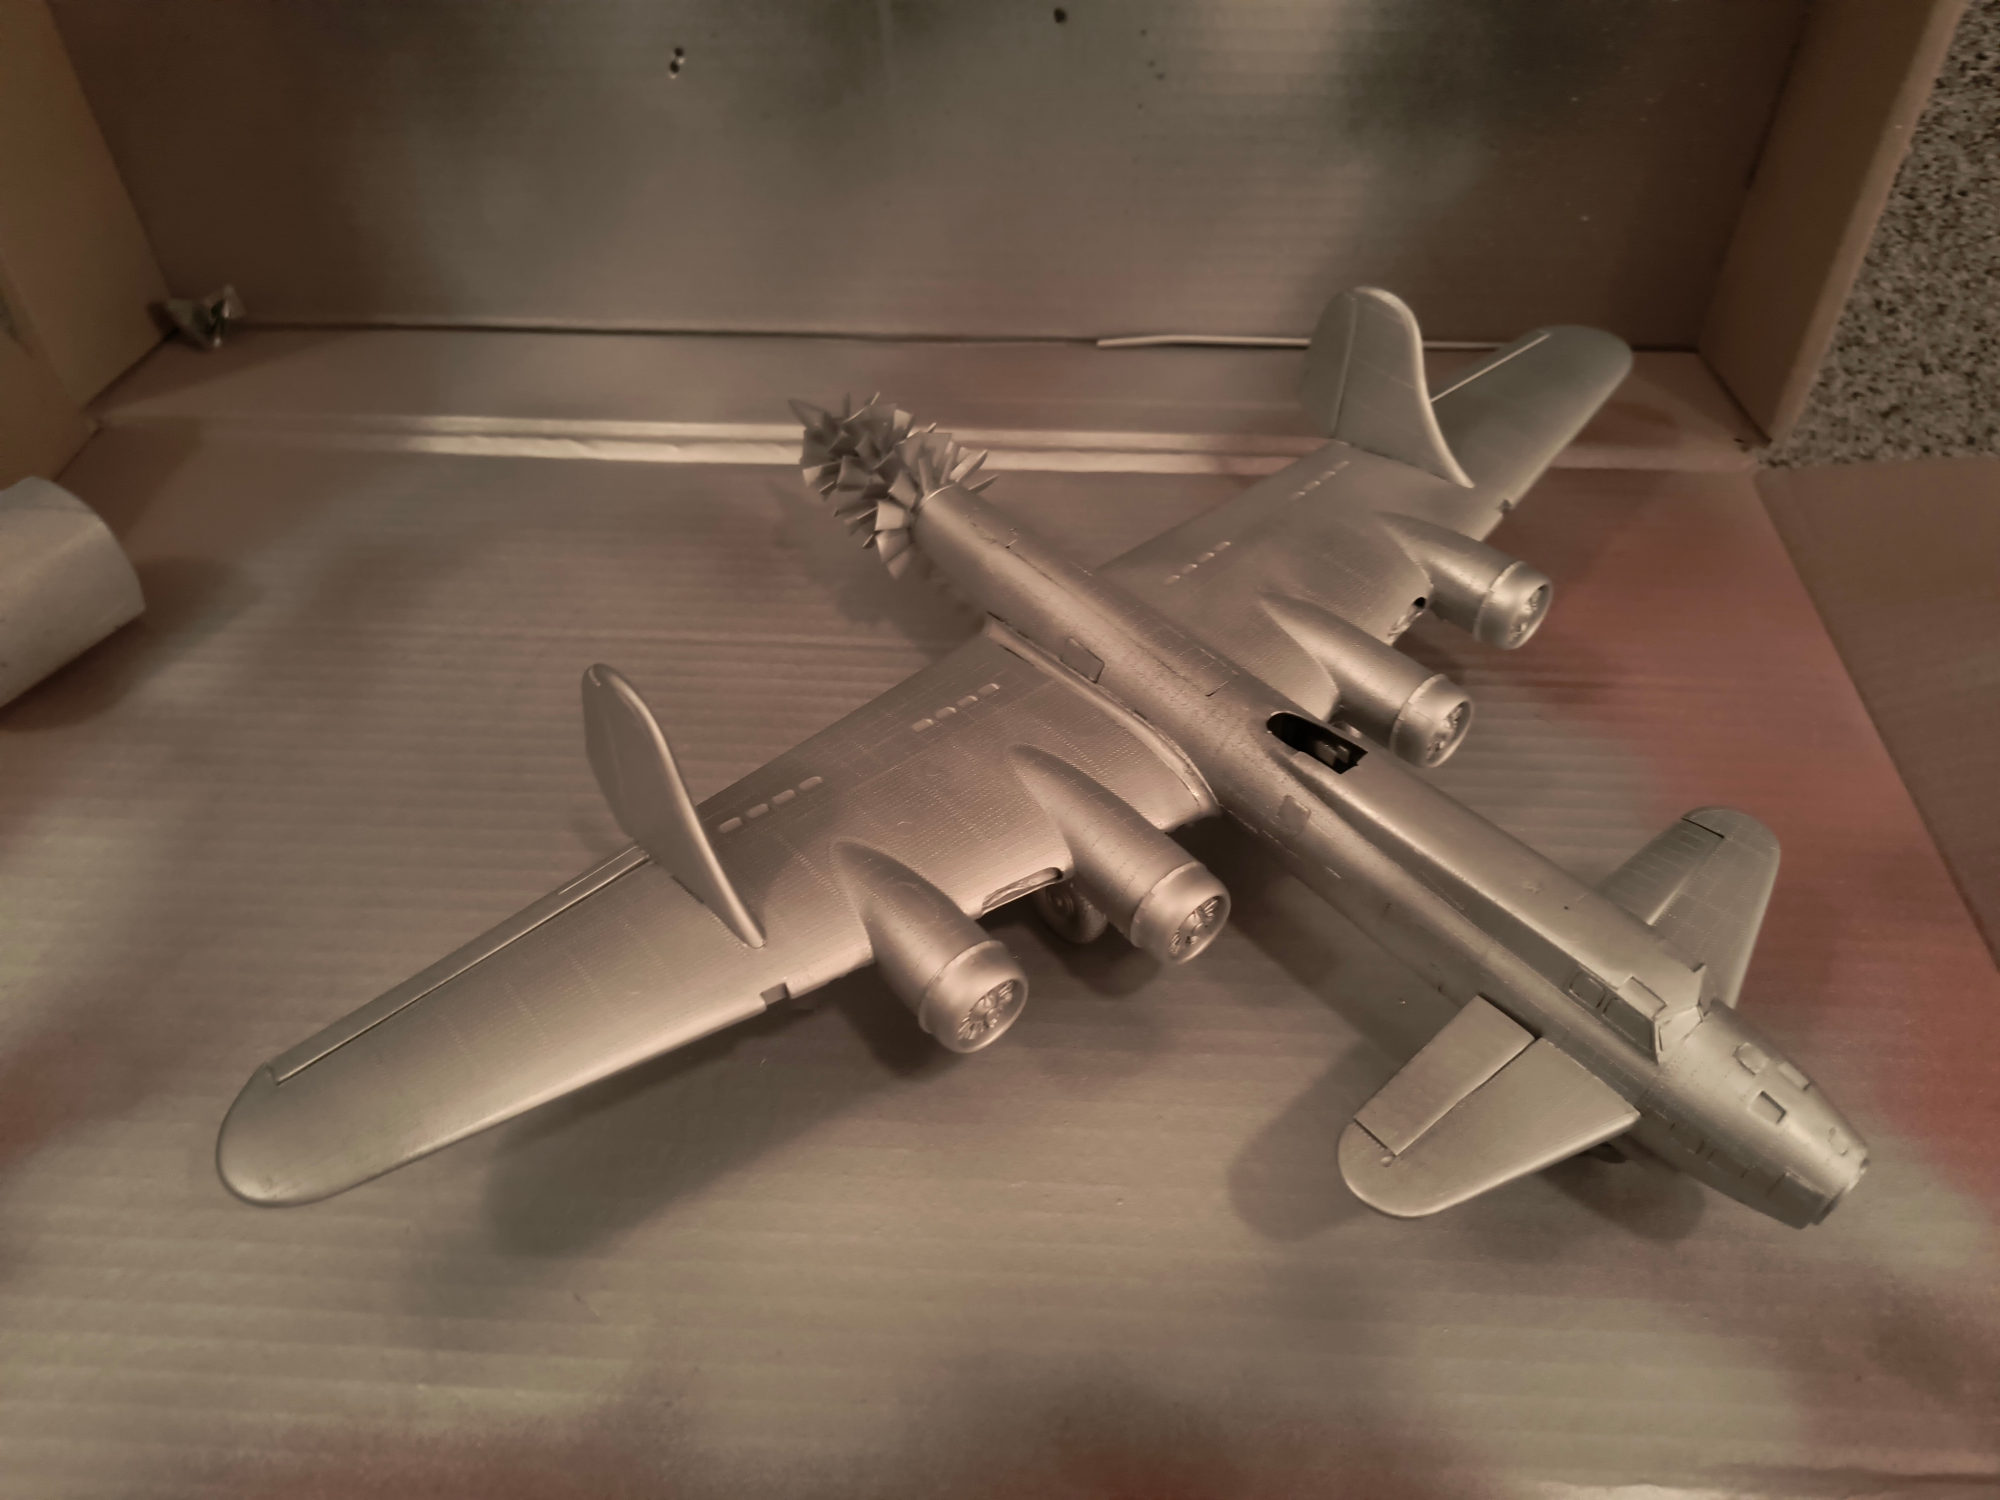
Luke is officially at the clown car stage, or as I call it, patchwork quilt. All markings were masked and airbrushed in various colors based on the Bandai decals and photos of the filming miniature.
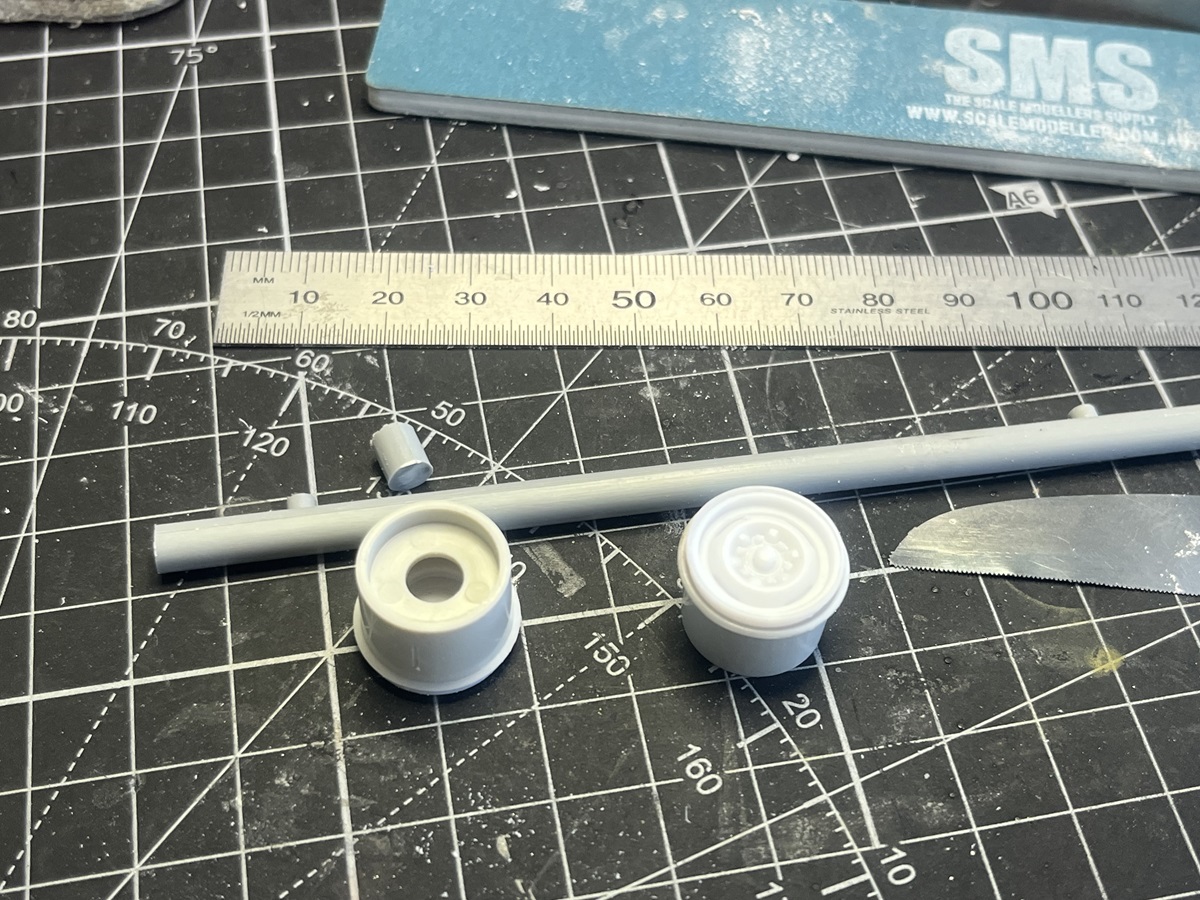
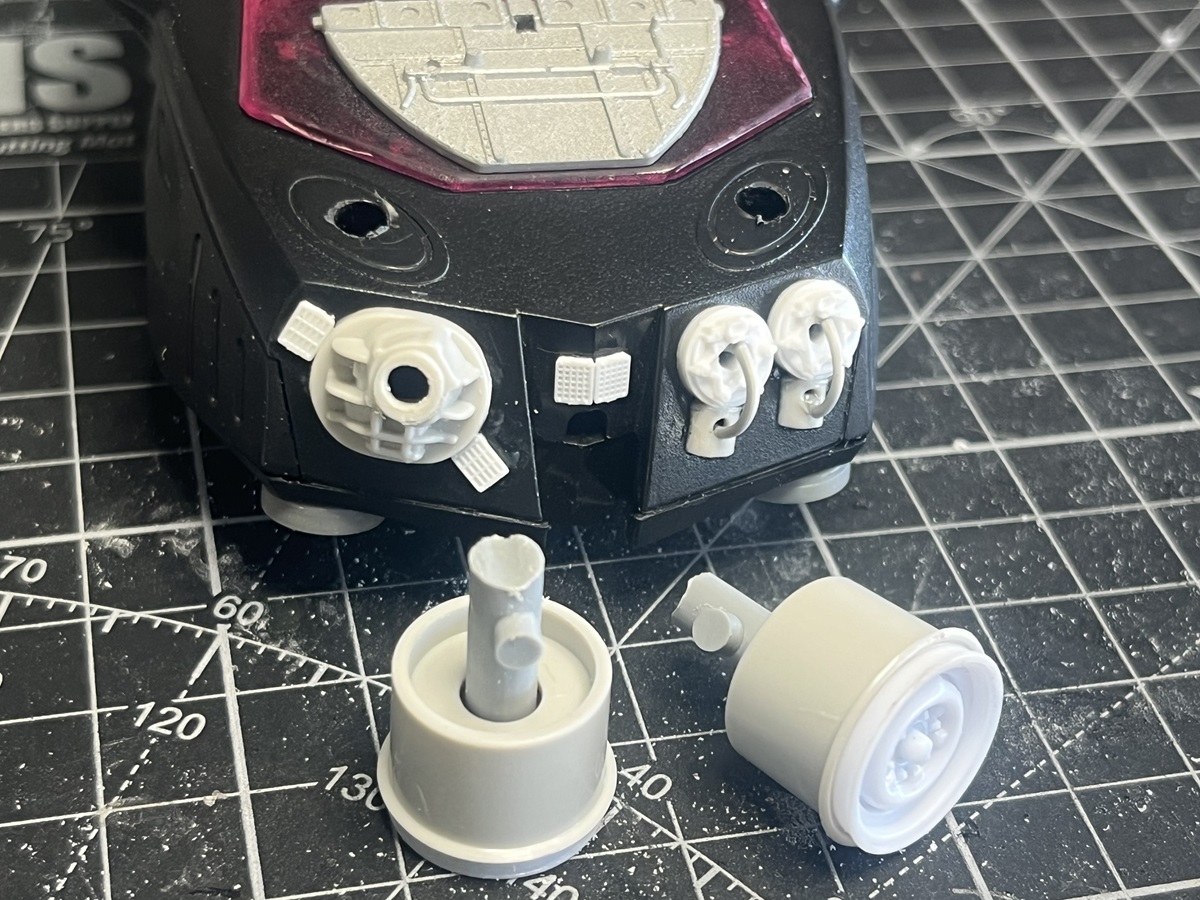
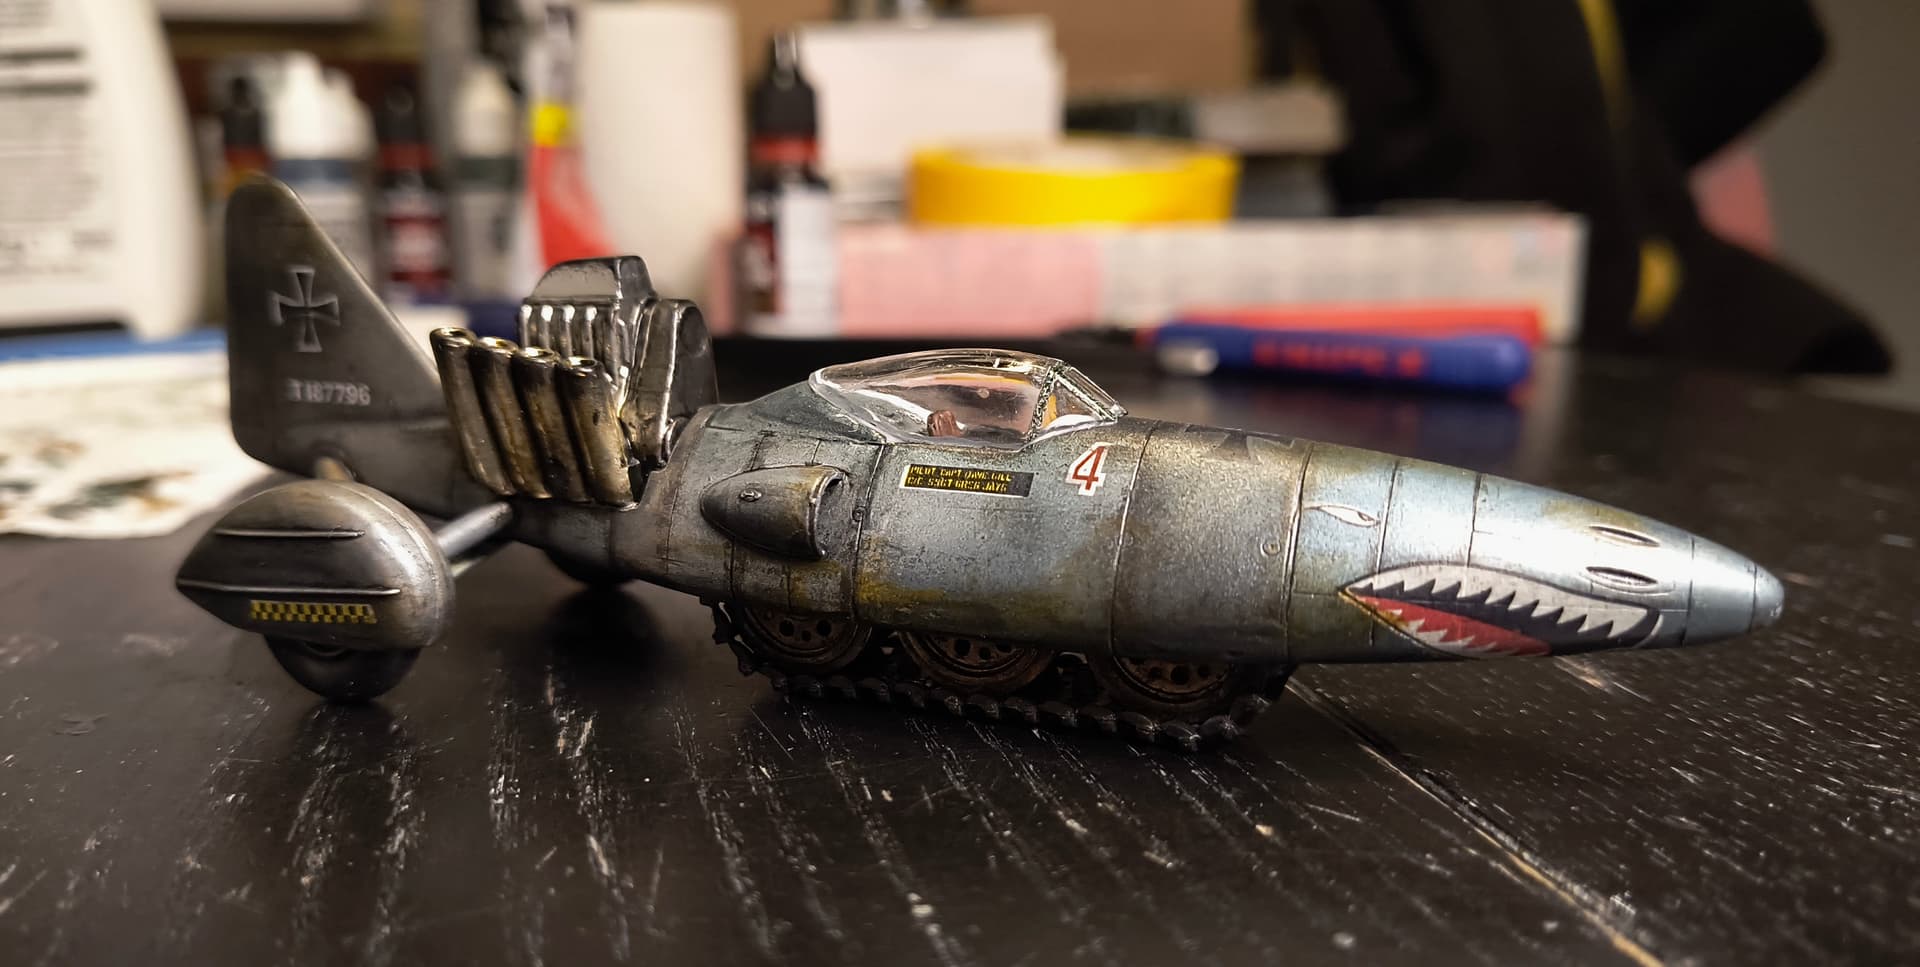
The rear thrusters will be mounted on hinged arms for directional control and stability. I used some sprue for the arms and an end mill on the Dremel to groove the end of the sprue to take the hinge joint.
The base of the unit has been drilled where they will be located. I will drill into the end of the little sprue nubs and add some wiring out onto the thruster heads.
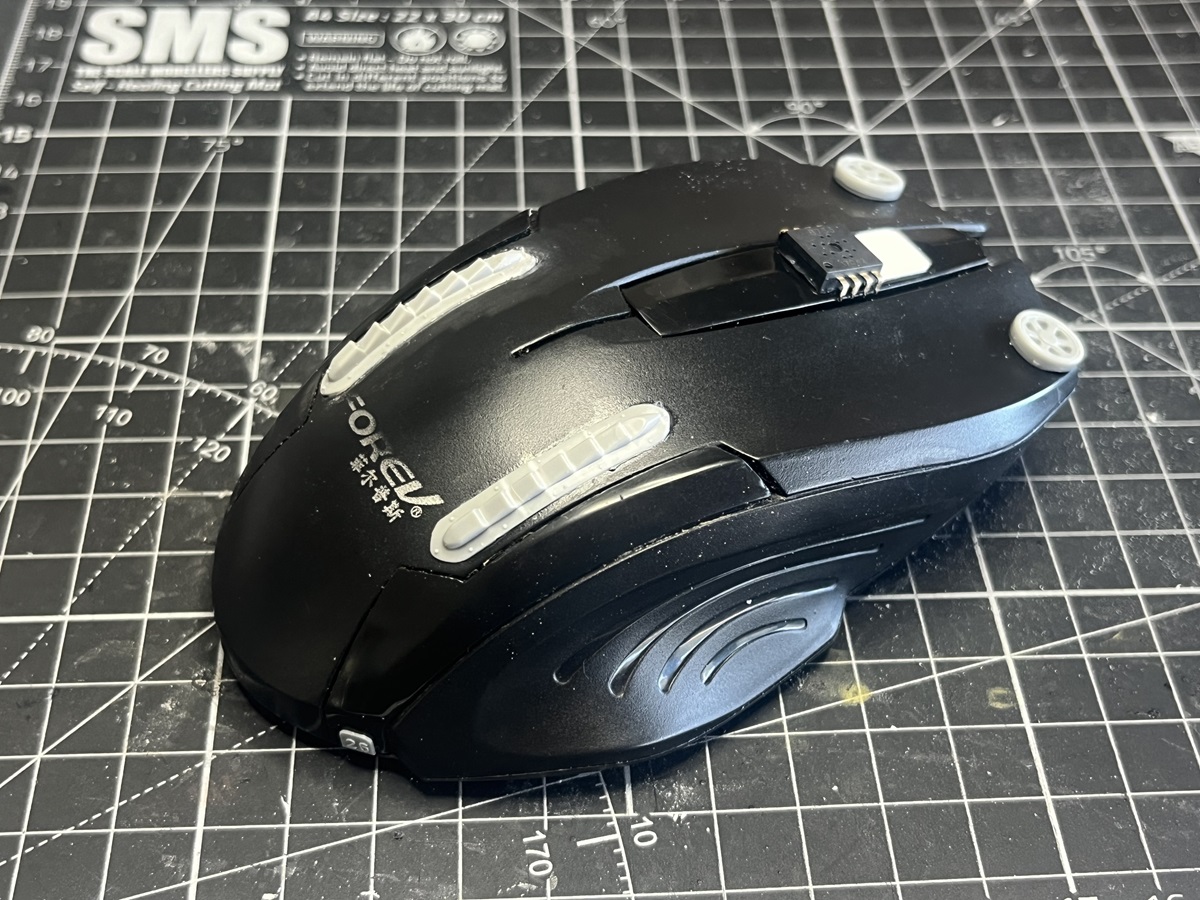
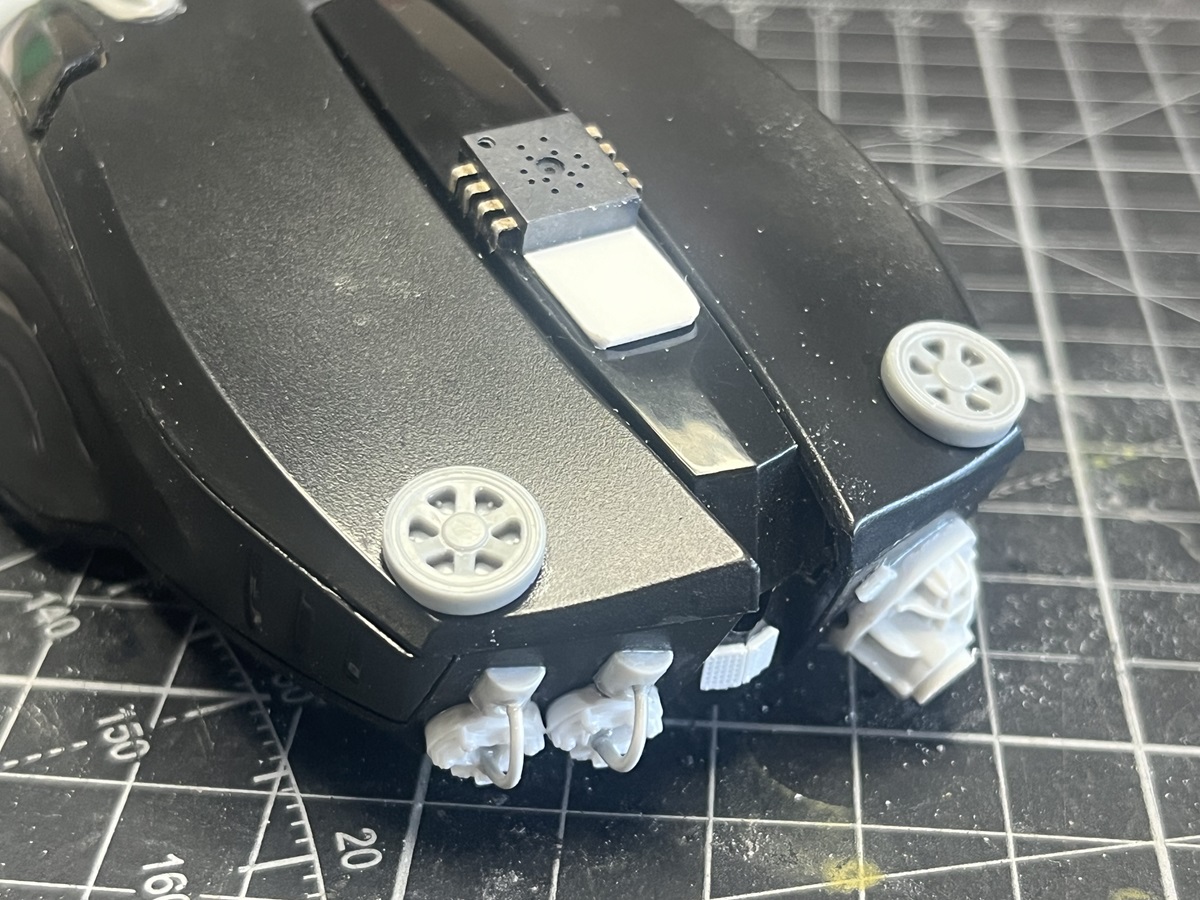
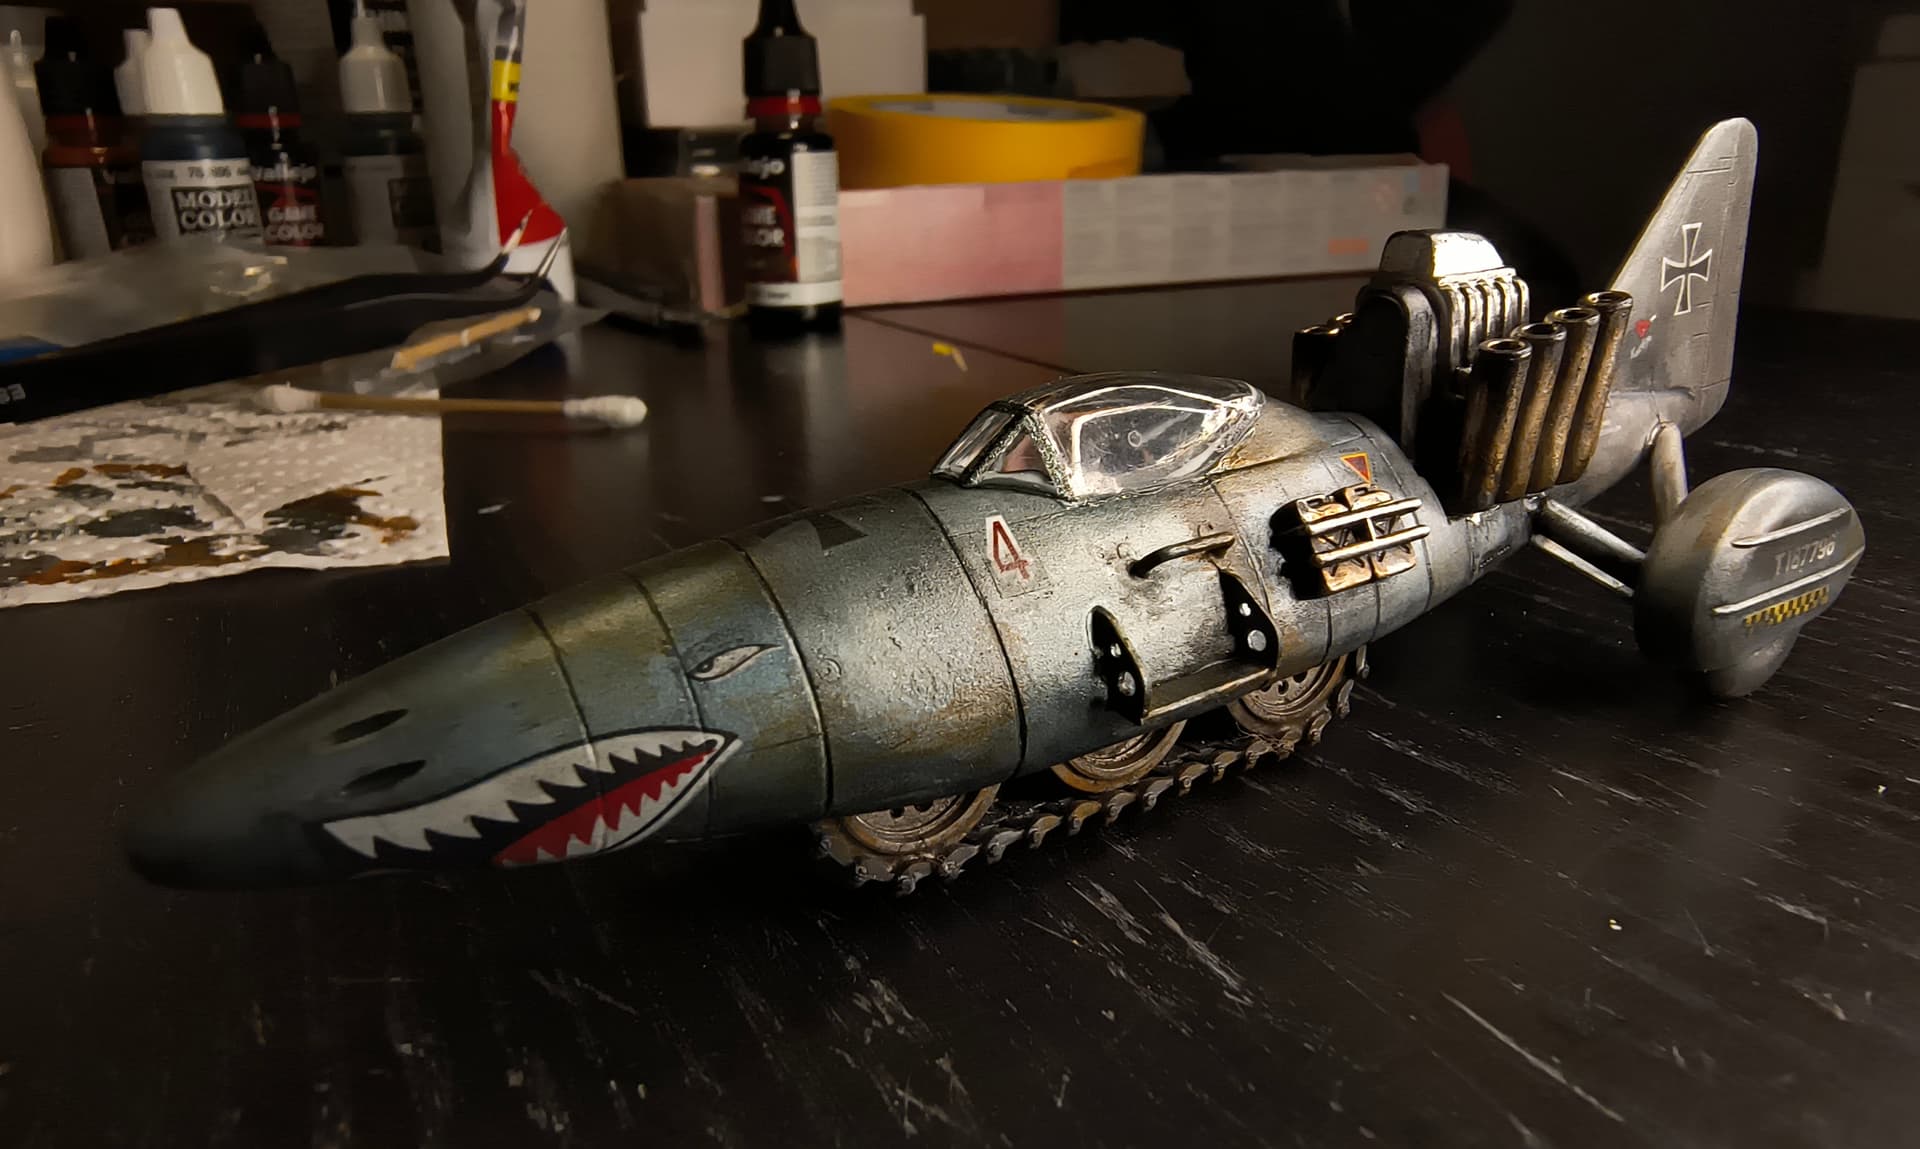
I relocated and added a couple of items to the top and used some 1mm styrene sheet to blank off the mouse wheel hole and create a mount plate for the rear guns.
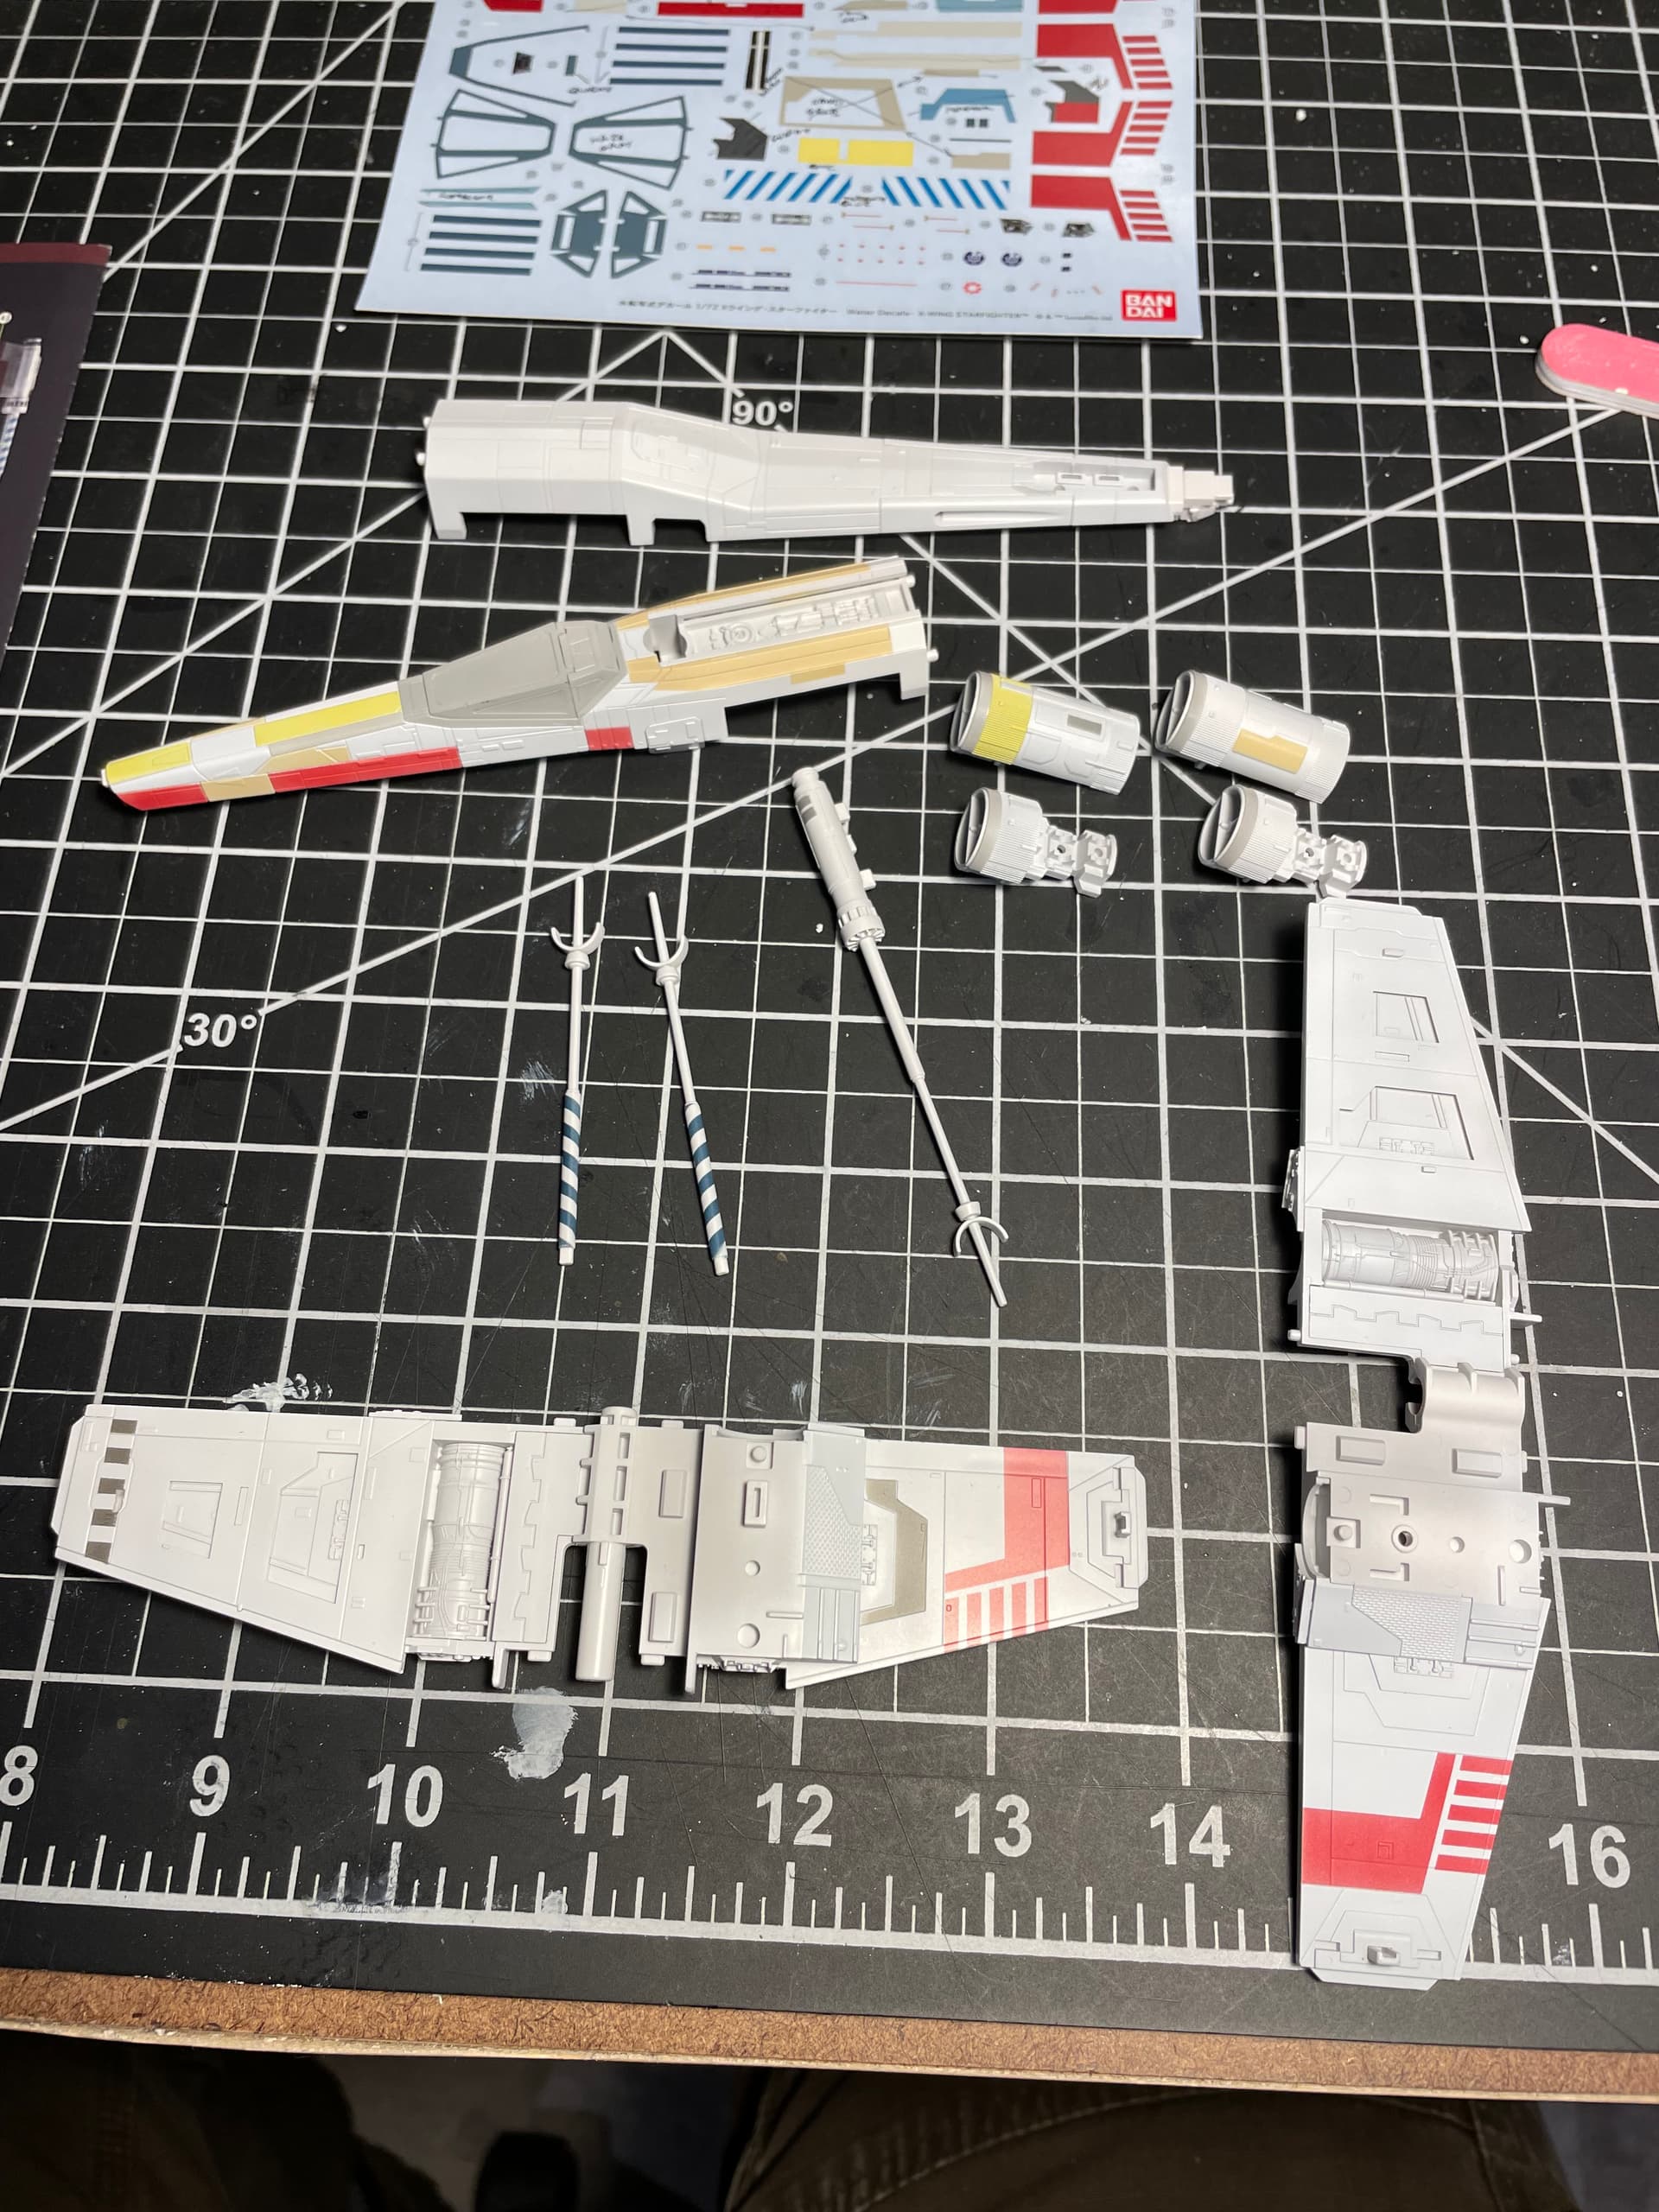
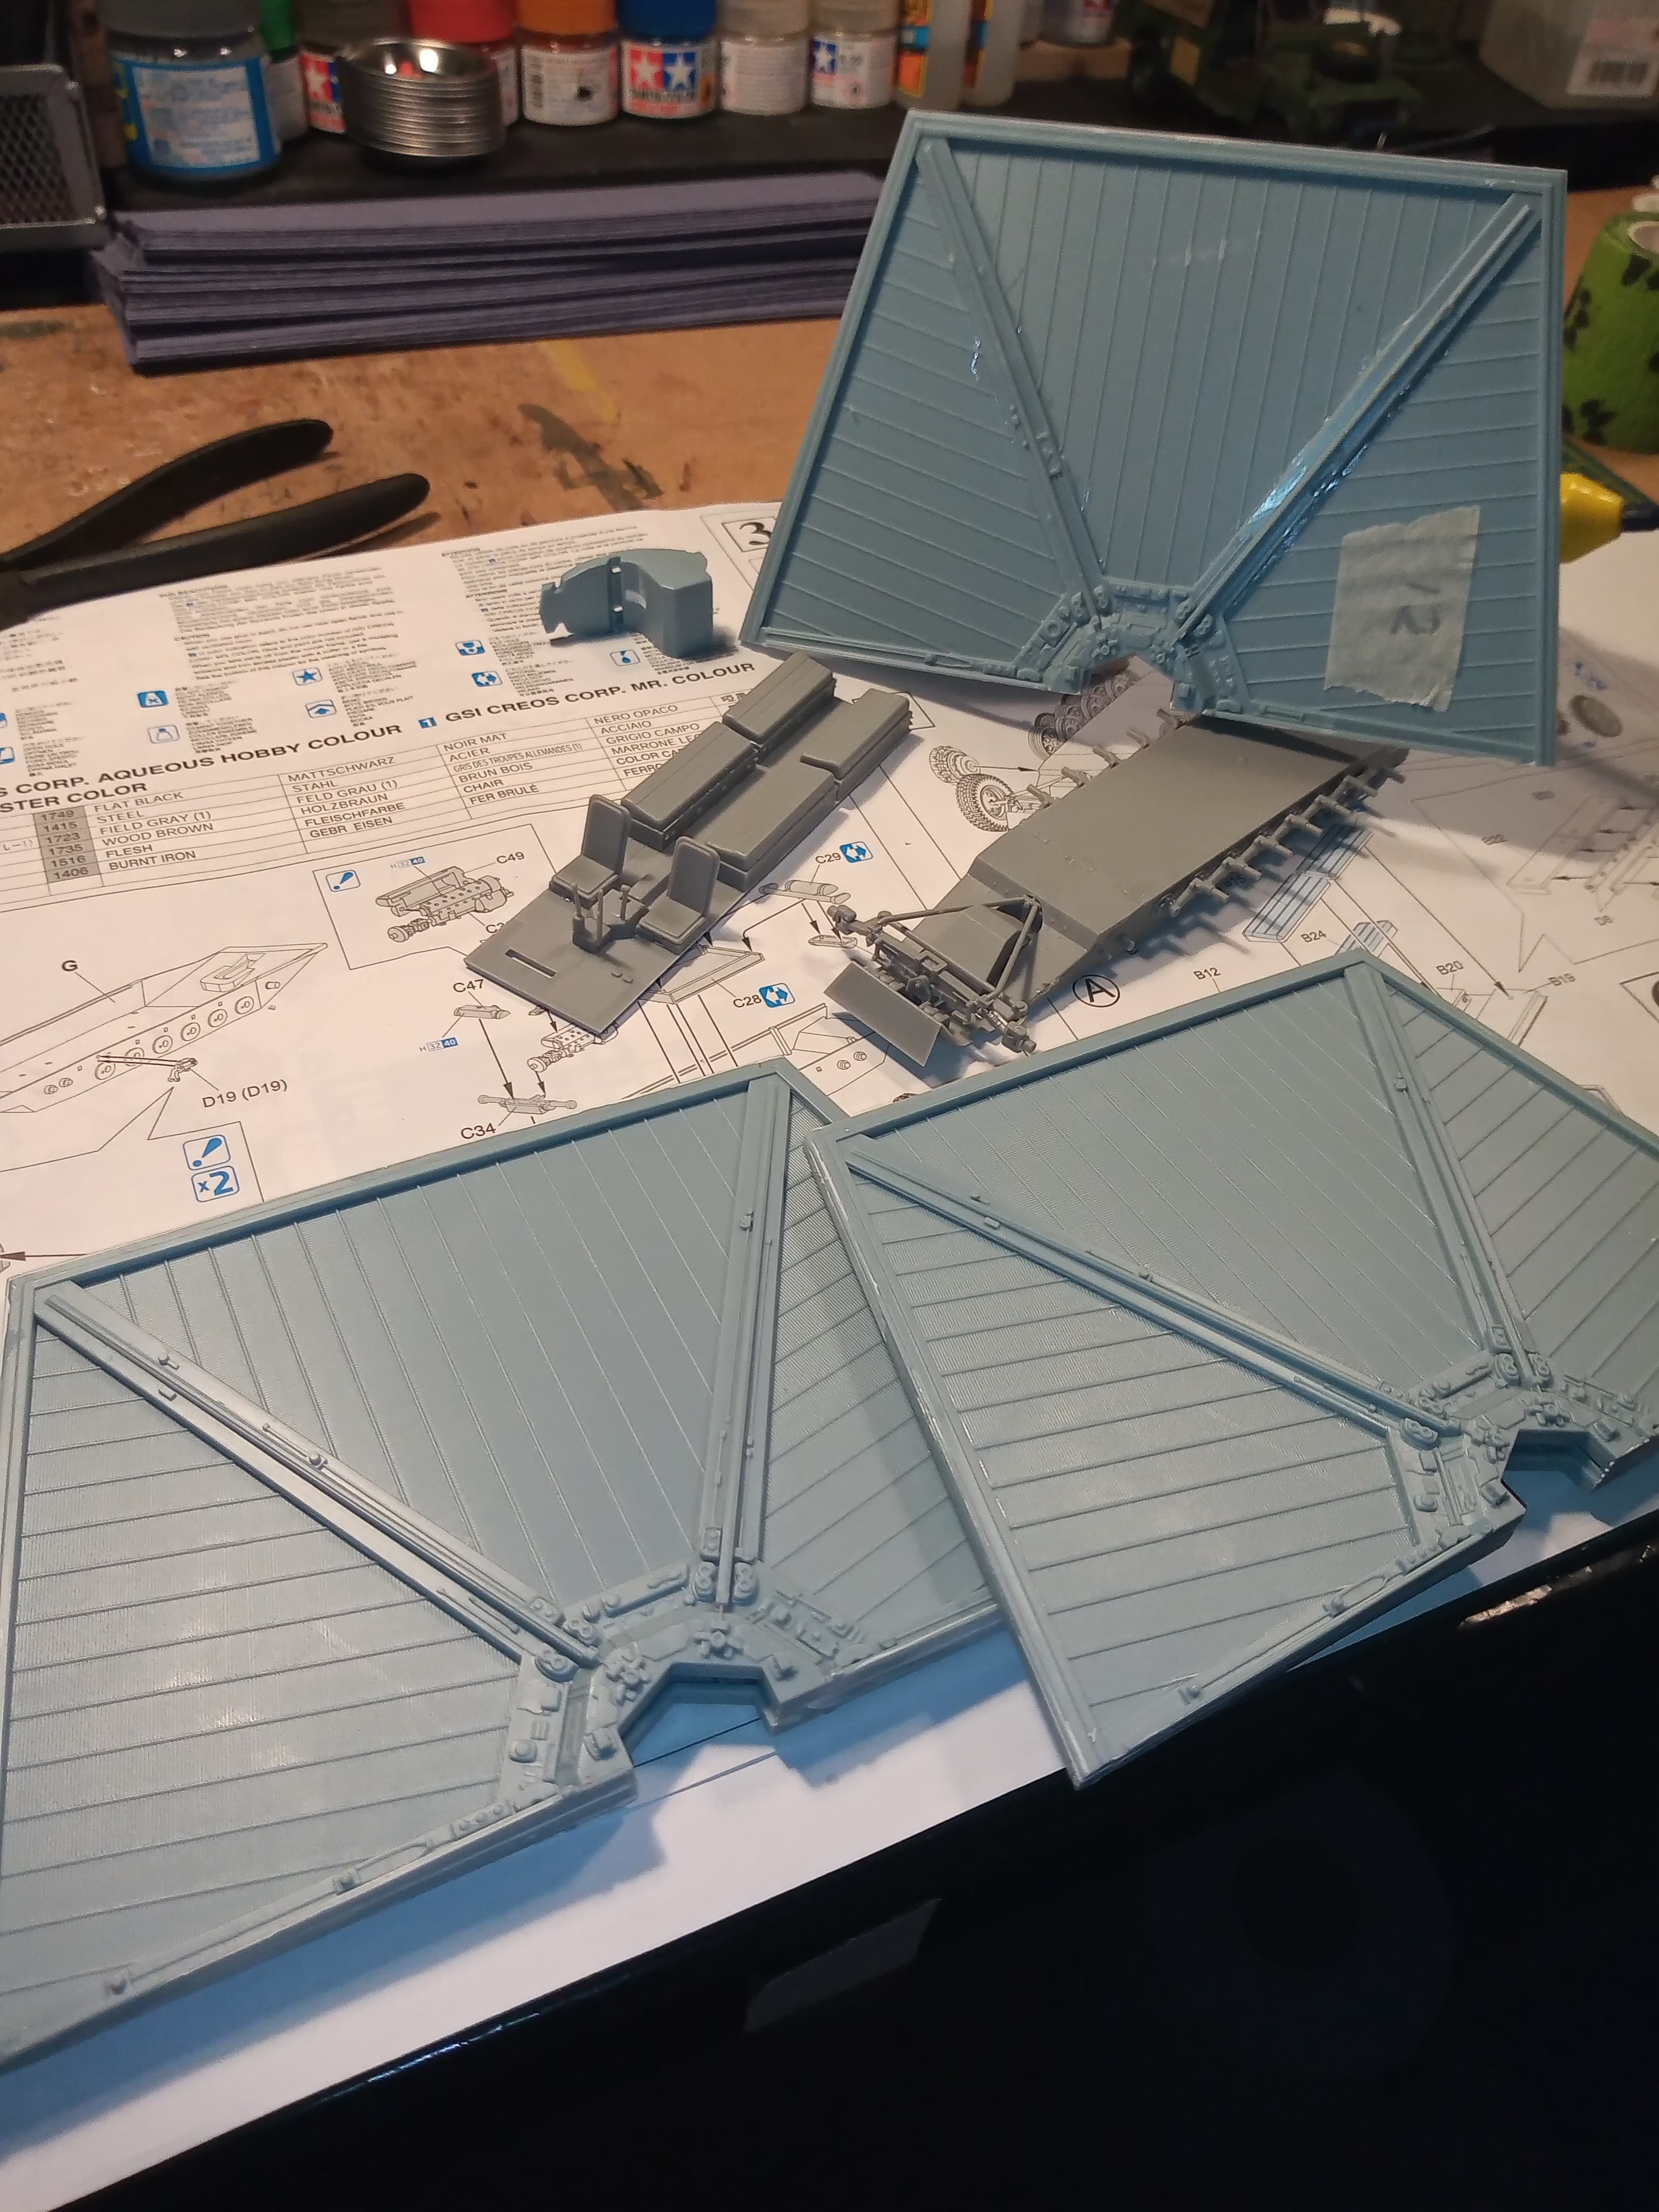
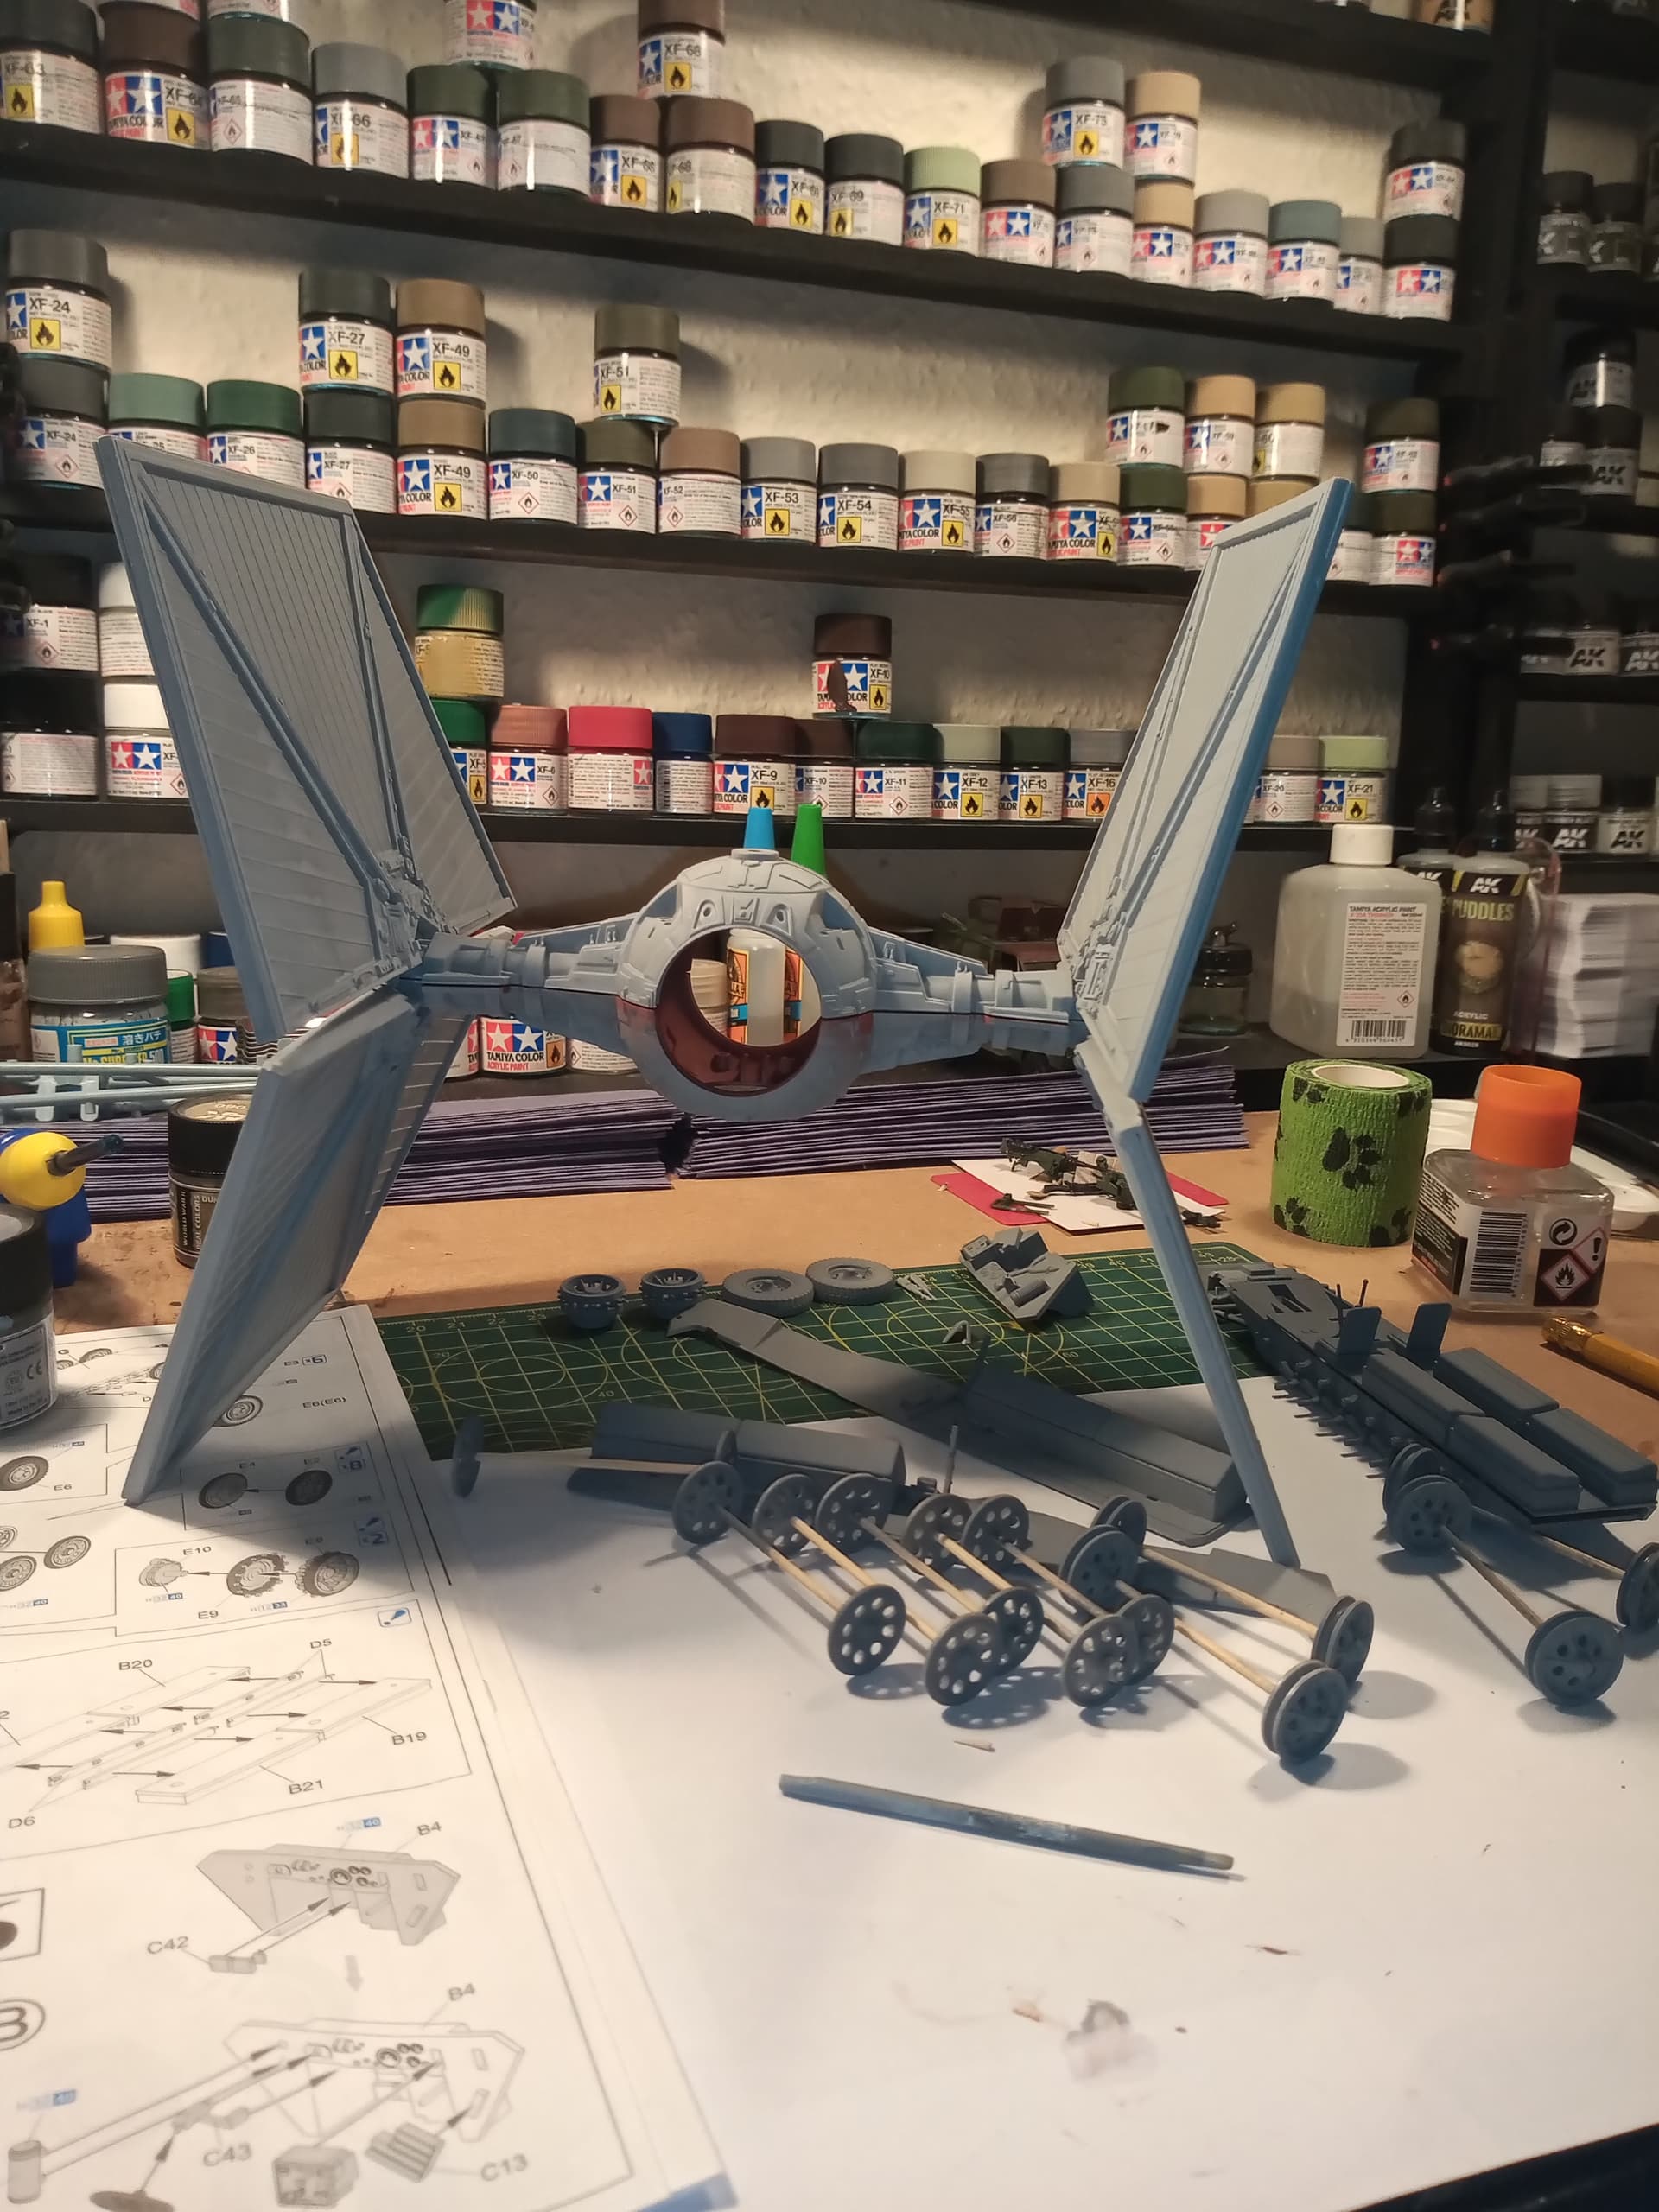
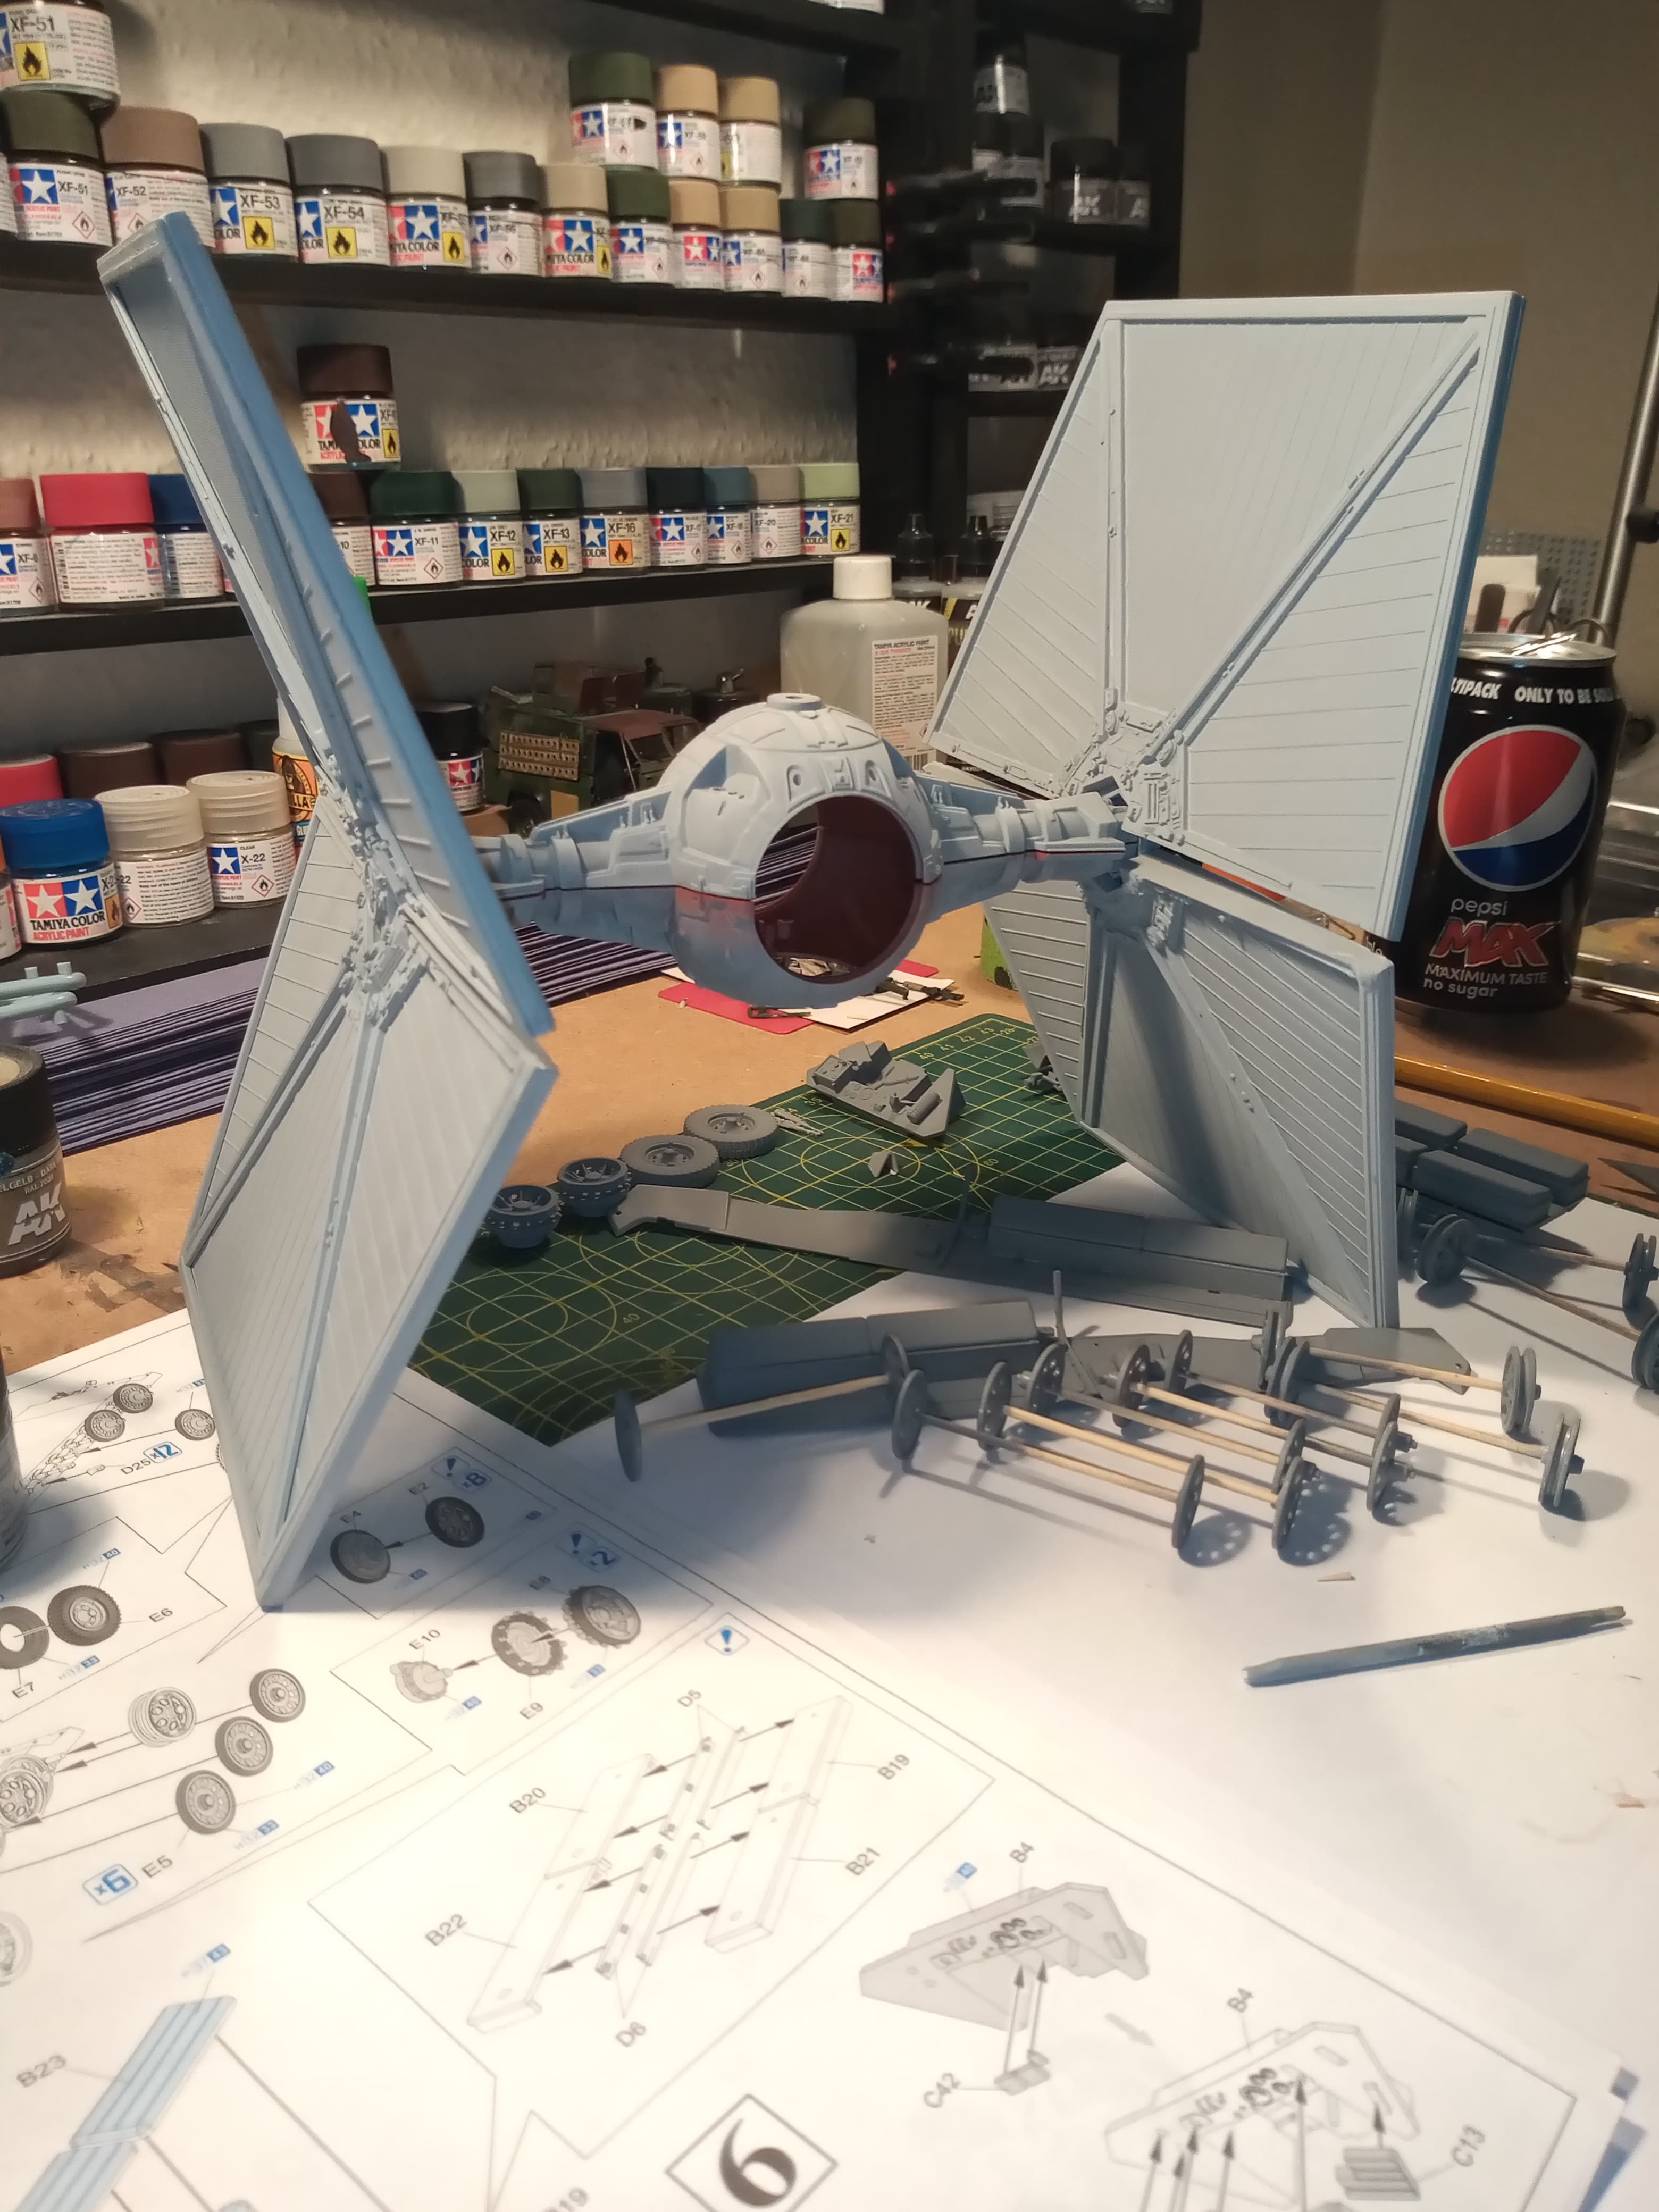
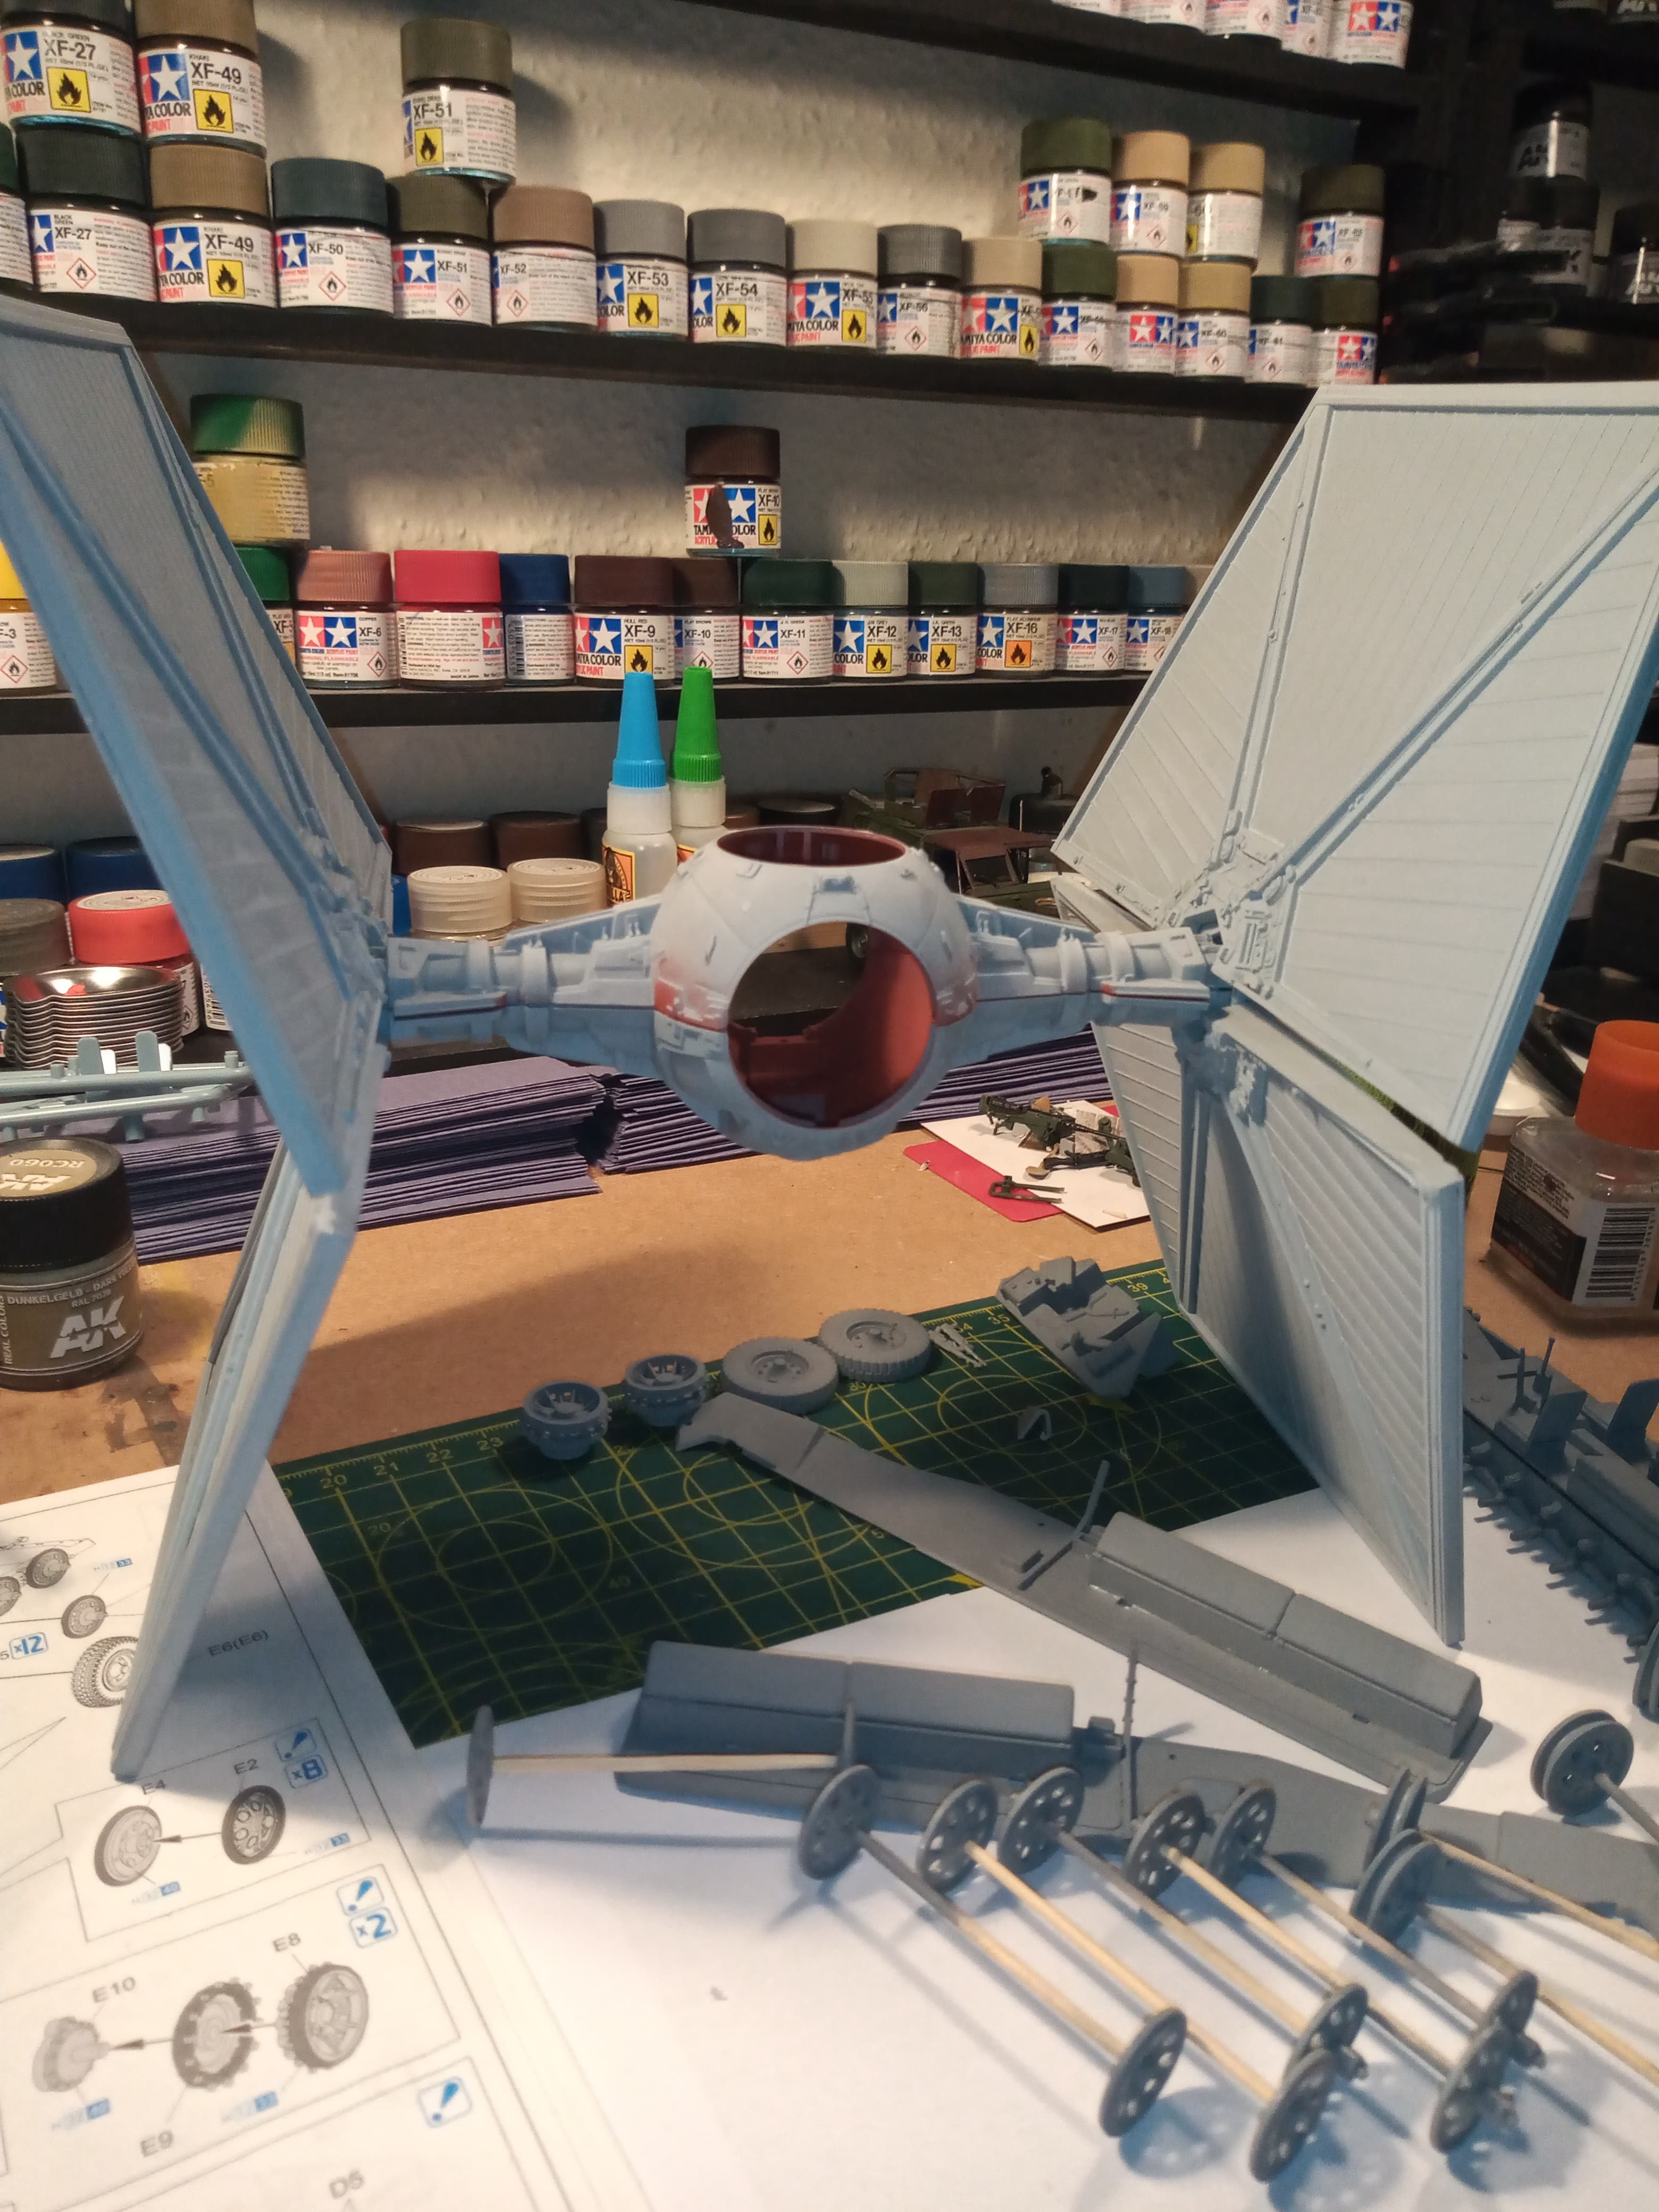
You can configure it in flight on a stand (provided) with wings fully up or partially folded.
The third option is to have the wings fully folded with landing gear down.
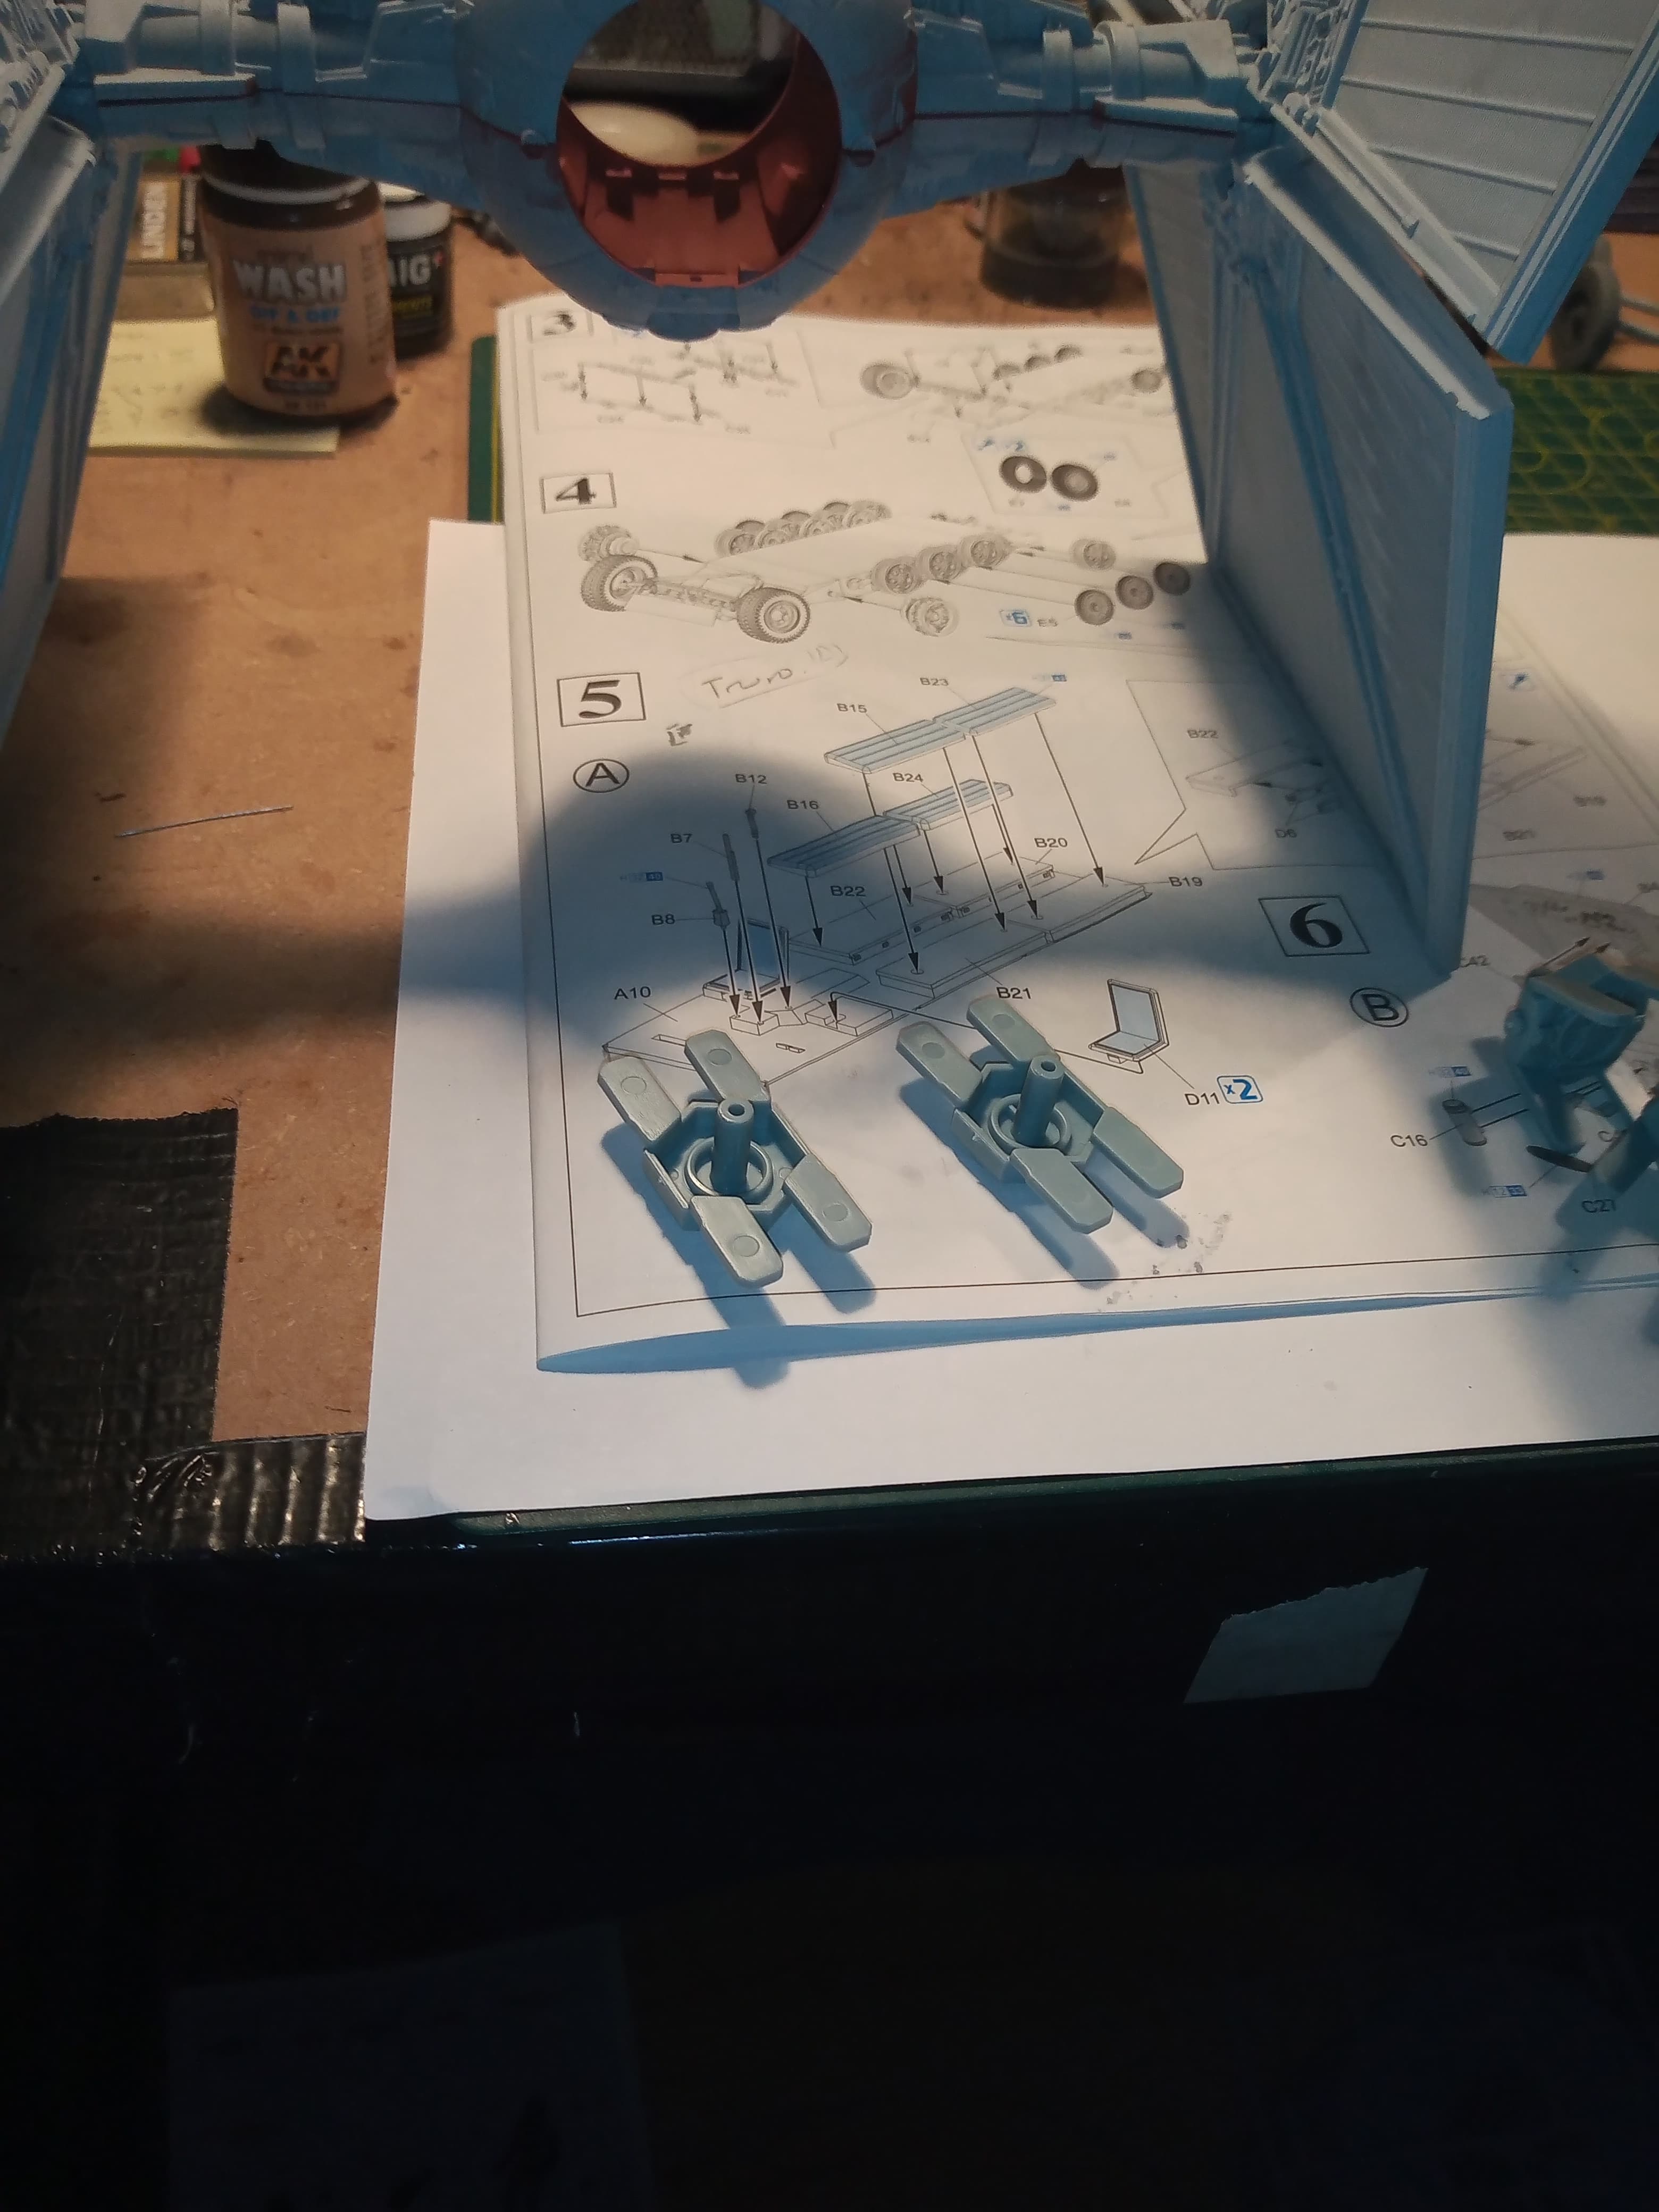
If you wanted to, you can have the TIE in flight with wings fully out by using the different wing connectors…
If you have wings fully folded you’d have to have the landing gear fitted, so it wouldn’t look as good on the stand if you had the wings configured for partial or fully up…
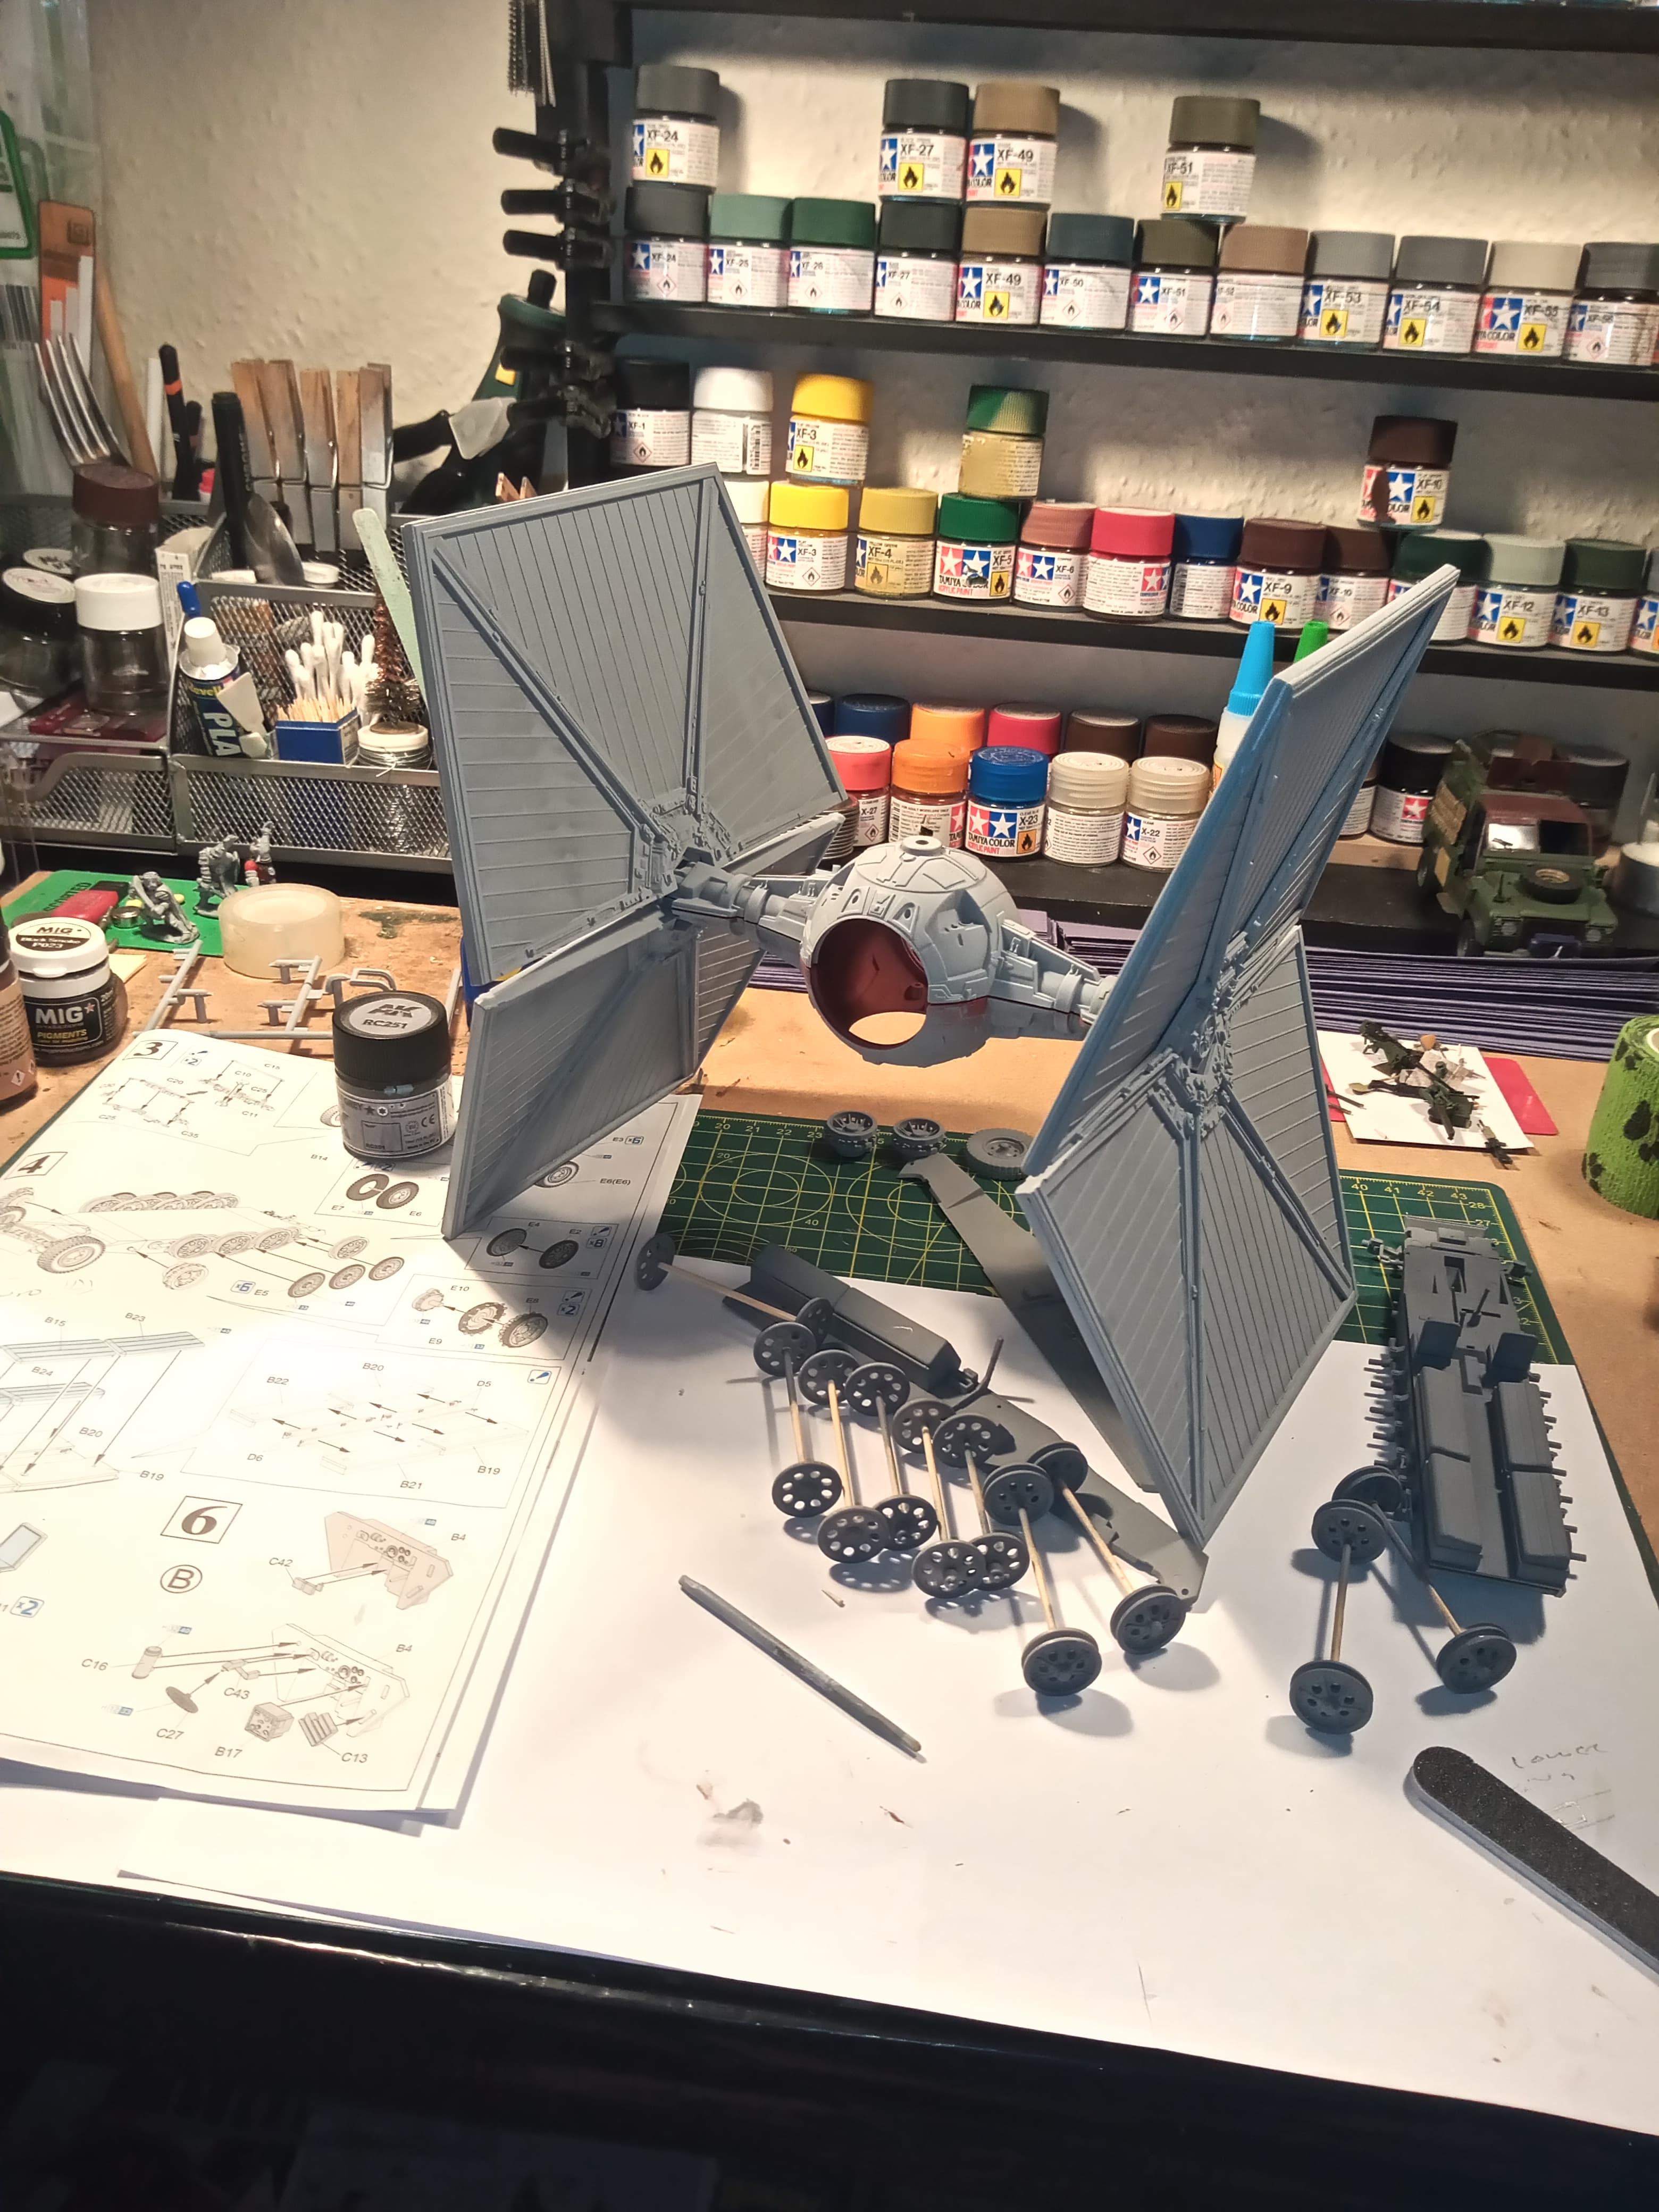
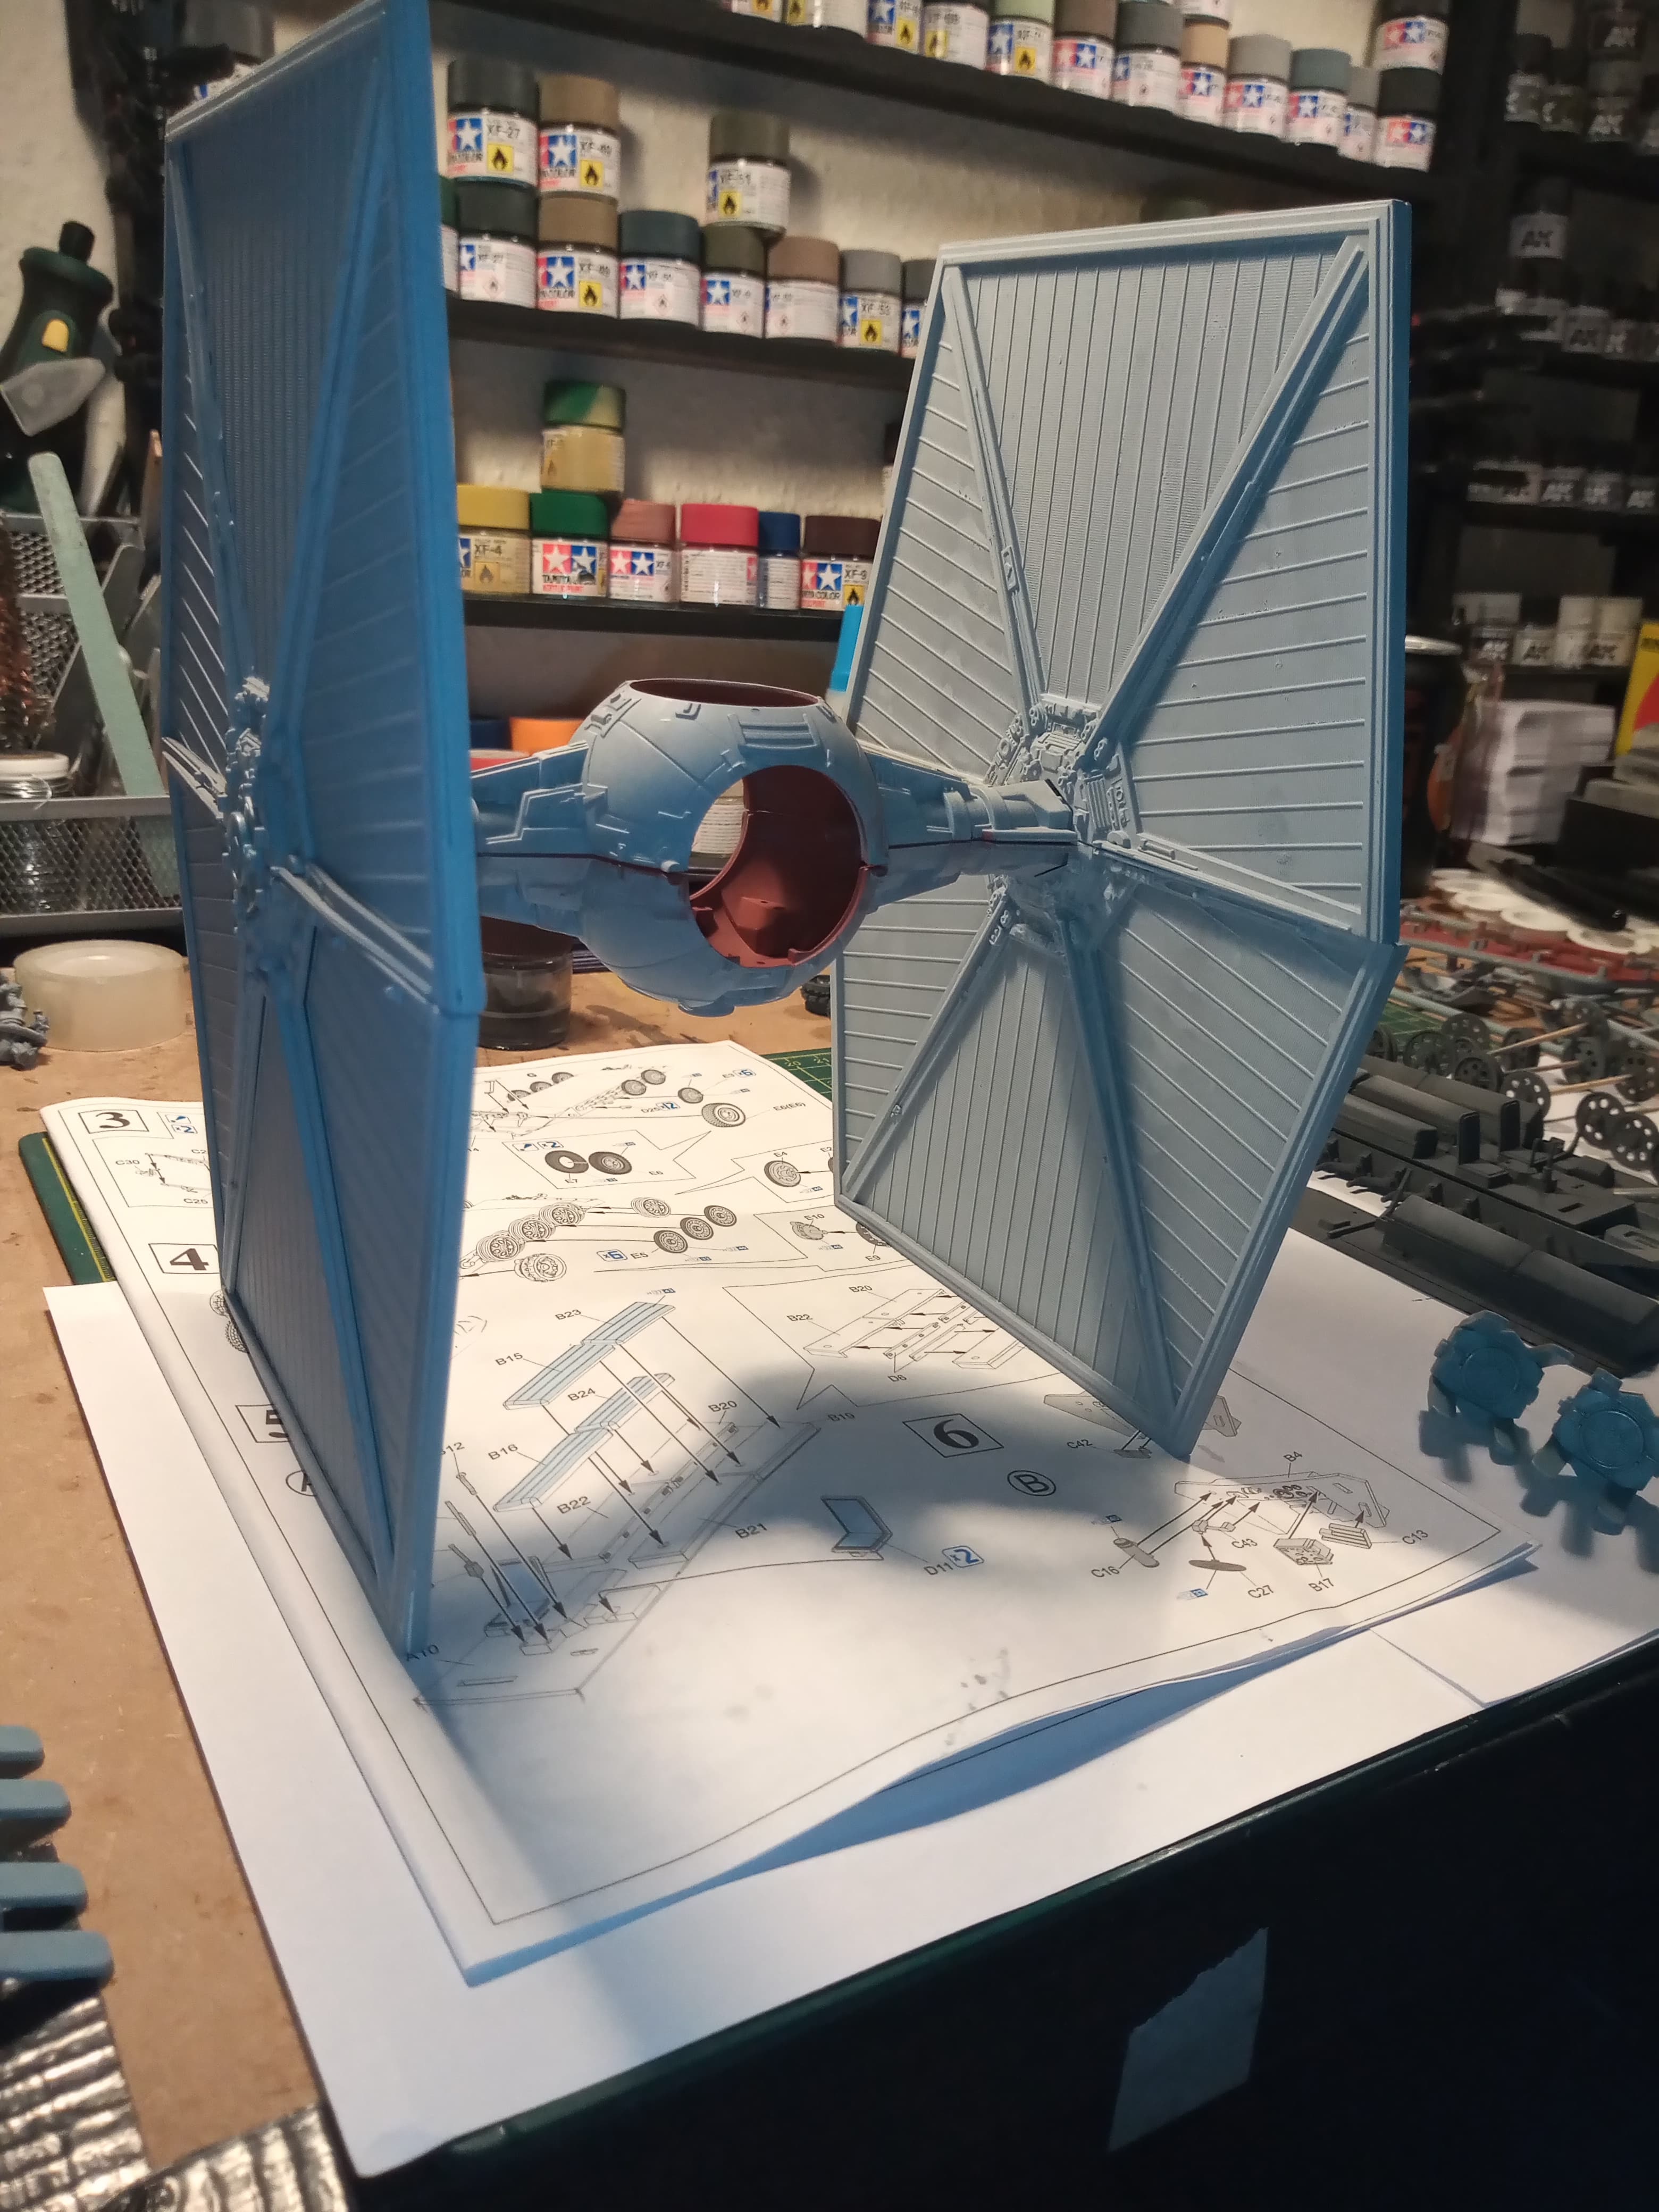
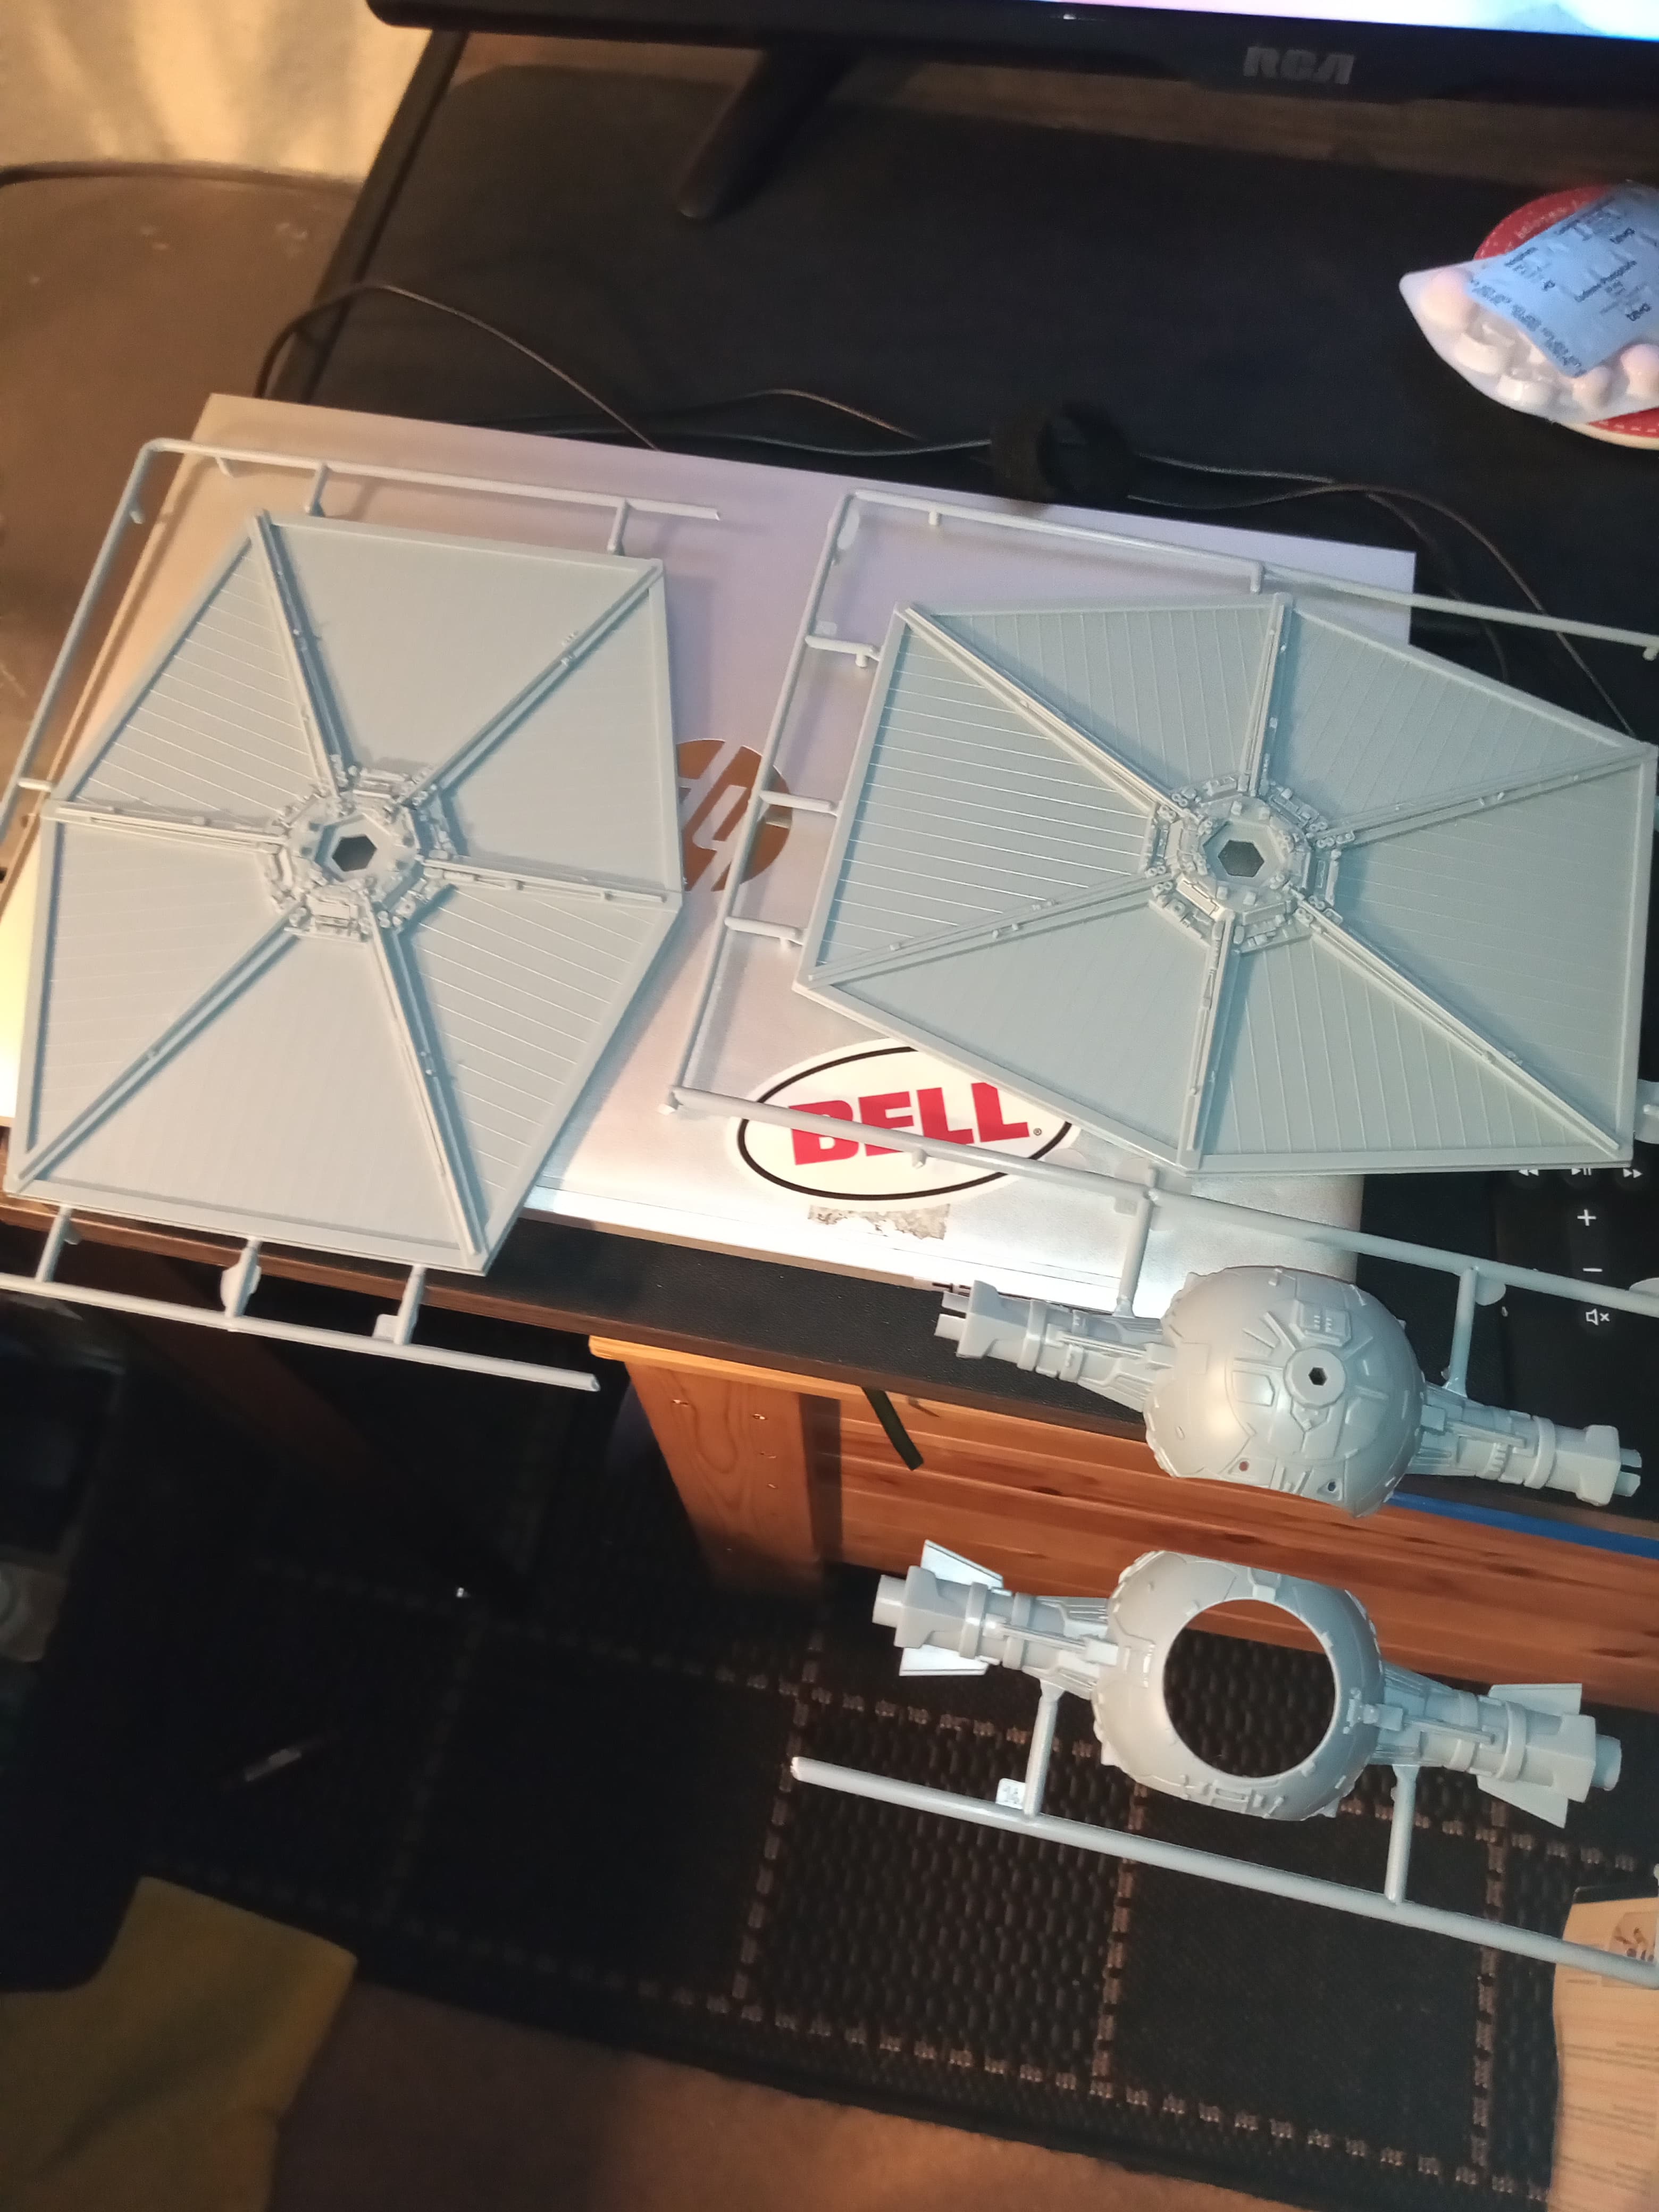
You also get a lot of leftovers in the box…
One complete set of fully up wings, and cockpit assembly… And a rear panel and hatch, all that’s missing is the clear canopy and interior cockpit sides and seat etc…