Impressive detail and materials
Looking great Angel. ![]()
They look amazing! ![]()
![]()
![]()
—mike
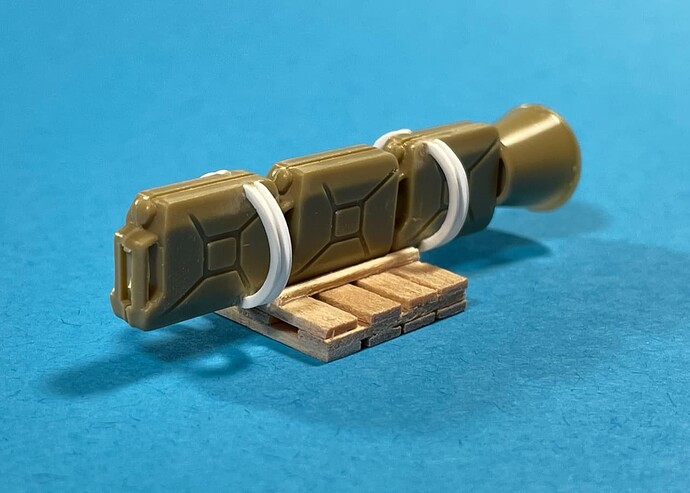
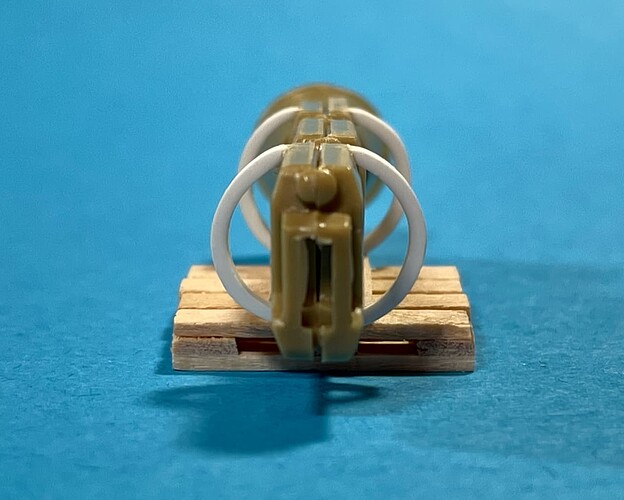
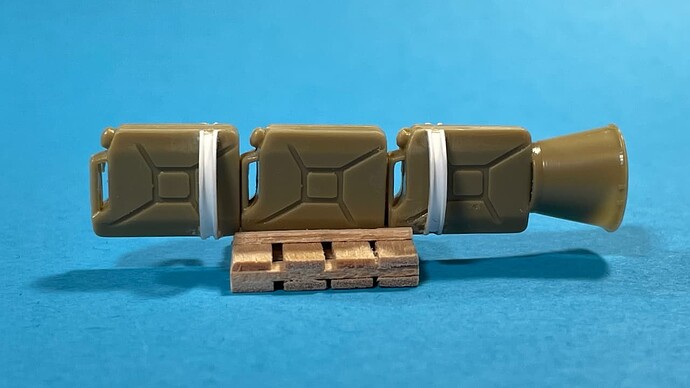
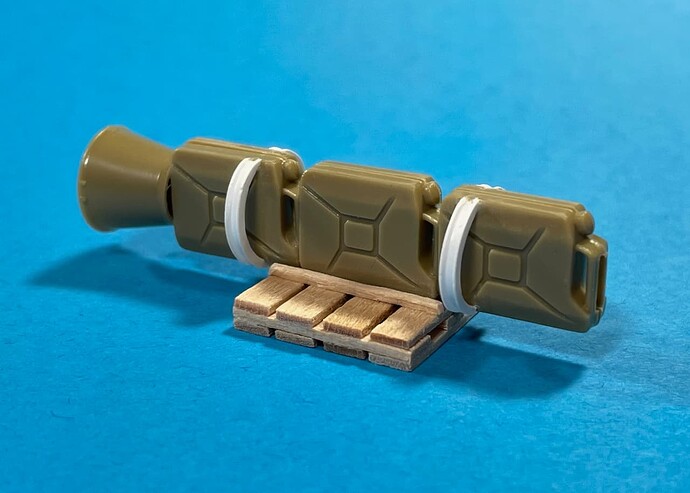
It’s baaaaaack! … What started out as a joke is evolving into the ‘Z-1-Raketenantriebssystem.’
The shipping palette was a snap… chop Wooden Stirring Sticks and slapped them together with white glue… DONE. ![]() Then I went on a “sleep bender.”…
Then I went on a “sleep bender.”…
… and decided to add radial engine mounts. That was when I was reminded of Evergreen Channel’s memory and tendency to spring back to its original shape. Even after hot water dipping and some light hair-dryer heat, it was a challenge to set the 5mm radius… two hours later! ![]()
![]()
![]()
Evergreen Styrene Channel (261) .060” (1.5mm)
It’s Sci-Fi, so who knows what I’ll dream-up next? ![]()
![]() …
…![]()
—mike
That’s a tight bit of channel bending, howdja keep it like that to glue it? Must have used The Force. It’s not exactly aerodynamic but I guess in space nobody can hear you scratch ![]()
I was wondering the same. How did you bend those tight curves in that “U” channel? Or is that a salvaged part from some pop bottle lid???
Who indeed… It’s good to see imagination deployed just for fun rather than shackled to problem solving.
When I said you had the basis for a sci-fi build I was actually thinking of a scale jump; remember the “Discovery” from “2001” (and “2010”)? The bucket, rather than an engine bell, would be a good mount for globular habitation/control section. The “fuselage”, possibly extended by another Jerry Can or two, could then be completed with a drive section of some sort on 'tother end. Plenty of surface area for small Greeblies, such as raised panels/structures cut from styrene sheet off-cuts too small for any useful purpose (I have a small zip-loc bag full of them), etc. Then there’s those cylindrical bits formed as part of the molding process which require removing from parts and are usually just discarded, also bits of sprue/frame which come in a variety of cross-sections. All this bounty for use before one needs to reach for kit bits, or prowl the local bargain basement store for cheap items made of glueable plastic (my latest folly: Poundland festivities section Bubble Wands - discard bendy wand and soapy contents, whats left is ten identical cylindrical items with a myriad possible uses).
Regards,
M
Don’t forget food packaging, some of those are also styrene and have lots of shapes and structures.
If you are lucky they contain cookies
![]()

Speaking of hydraulic cylinders and such . . .
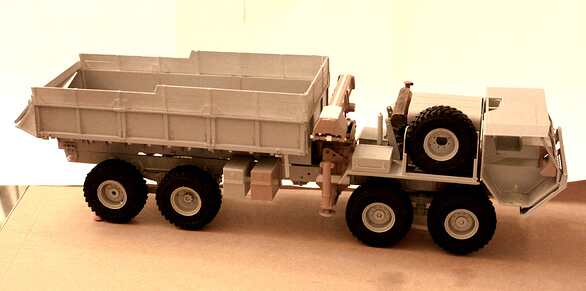
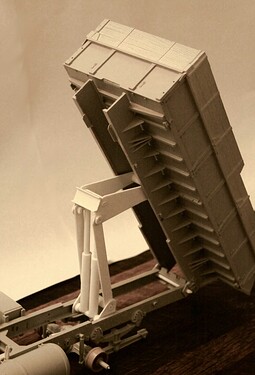
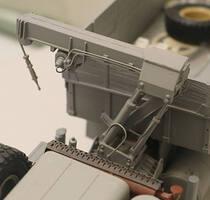
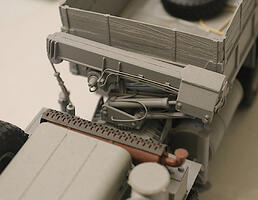
Here is a free-lanced HEMTT Dump Truck (WIP) with midships mounted crane. After my HEMTT LHS and Marine Mk 23x builds I had a full vehicle’s worth of Italeri HEMTT parts left over. I also wanted to try my hand at the lift hydraulics and detailing the midships crane.
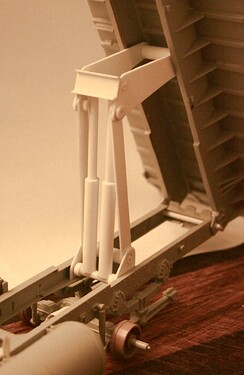
-Not at all sure I got these working cylinders right. Probably should have mounted their top end pivot point closer to the load bed for greater mechanical advantage. However the bed does fold totally down as intended.
As to painting those cylinders; I plan to mask the upper part of the cylinder, paint the rest and then create the silver on the cylinder actuators using a felt tip marker so as to not gum up the workings.
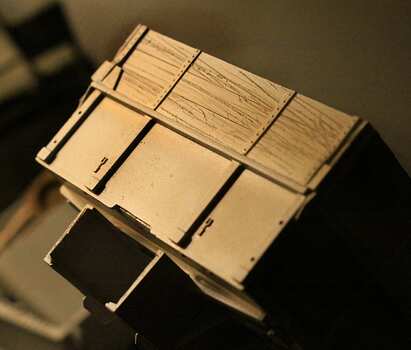
Wood grain seen on the upper splash boards. On most dump trucks these heavy upper boards are sacrificial and are frequently replaced therefore saving the main loadbox from most “dropped load” damage.
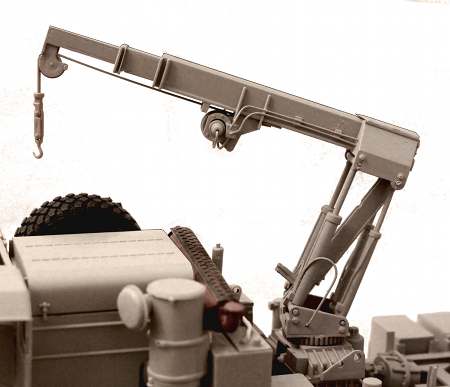
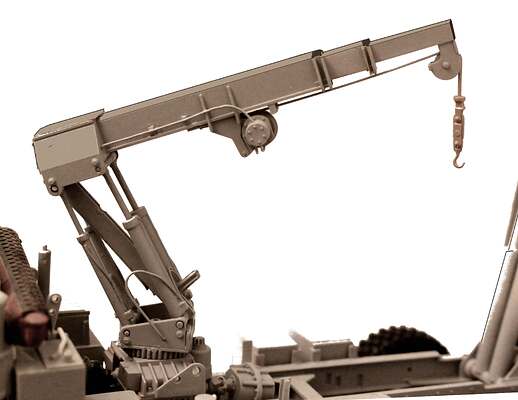
Fully Functional (posable) 3-section midships crane.
(Italeri chose to make the center crane arm section non-functional.)
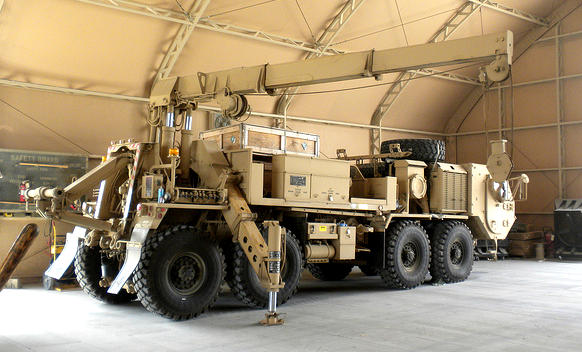
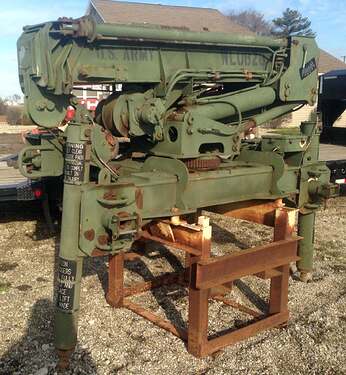
An earlier article on altering the Italeri crane and adding additional detail can be found at:
I rather enjoy being “shackled to reality” at least to a moderate degree. I guess that makes me a bit Kinky (still not into S&M though.)
i.e. ~ A model design can be on the fringe but if it would not work in reality I don’t care to see it in a model.
How does the group feel about mixing scales; within a single scratch build? (It may have its’ place occasionally when a smaller part is needed but one guy did a 1/35th tactical pickup truck with a 1/48th scale PAK 40 mounted in the load bed.)
That one really brought out the Noooooo . . . in me!
It was HIS model, living in HIS model world, so to each his/her own! I will say that it WAS a very high quality build but the mix of scales just had me wanting to throw tomatoes!
Robin, I agree! ~ Blister packs from food packaging often make for some great window glazing in models. Now if I could just find some in just the right shades of lite blue and green tints for the modern vehicles that would be marvelous!
Any other parts you may have salvaged from food packaging?
Anyone???
Everything in moderation…
But why not…
1: 28mm/1:56th Scale
2: Brother Vinni
For myself it’s O.K. if the discrepancy isn’t too jarring; I will mix 1:24th and 1:25th, 1:32nd and 1:35th, 1:72nd and 1:76th, 1:257th and 1:300th, 1:700th and 1:720th, etc. Where a component isn’t being used in it’s proper context but looks right the discrepancy can be greater (e.g. 1:76th wheels on 1:56th/1:48th/1:35th carts, trolleys, support weapons like the L6 Wombat and so on. If greebling SF builds rather than just sticking a left-over bit on somewhere it pays to chop up (larger) components and don’t use them in their previous orientation e.g. the Sherman VVVS bogie on the back of the TIE Fighter could have had the arms cut off and utilised elsewhere.
Cheers,
M
P.S. I should have mentioned GW components which are so caricatured and oversized for their stated scale they can used by anything up to 1:32nd scale…
@ Tom (MoramarthT).
Thank’s for looking in! This particular “scale jump” is 1/72 down from 1/35.
–––––––––––––––––––––––––––––––––––––––––––––––––––––––––––
@ Mike (165thspc).
Love the dump truck and crane! Your work always astounds me!
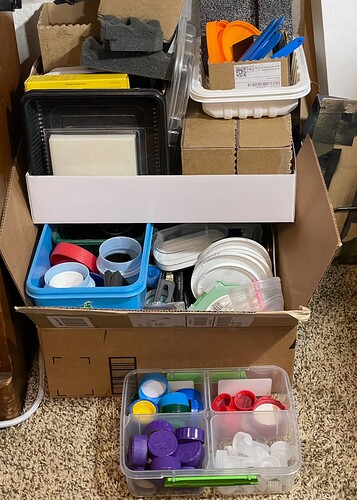
Short answer… My Salvage Yard. ![]()
![]()
—mike
I tend to hord similar small pieces of plastic packaging but seem to rarely fine a model use for them! (That is, until I throw them away!)
Sorry, I’m answering questions bass-ackwards, but here goes…
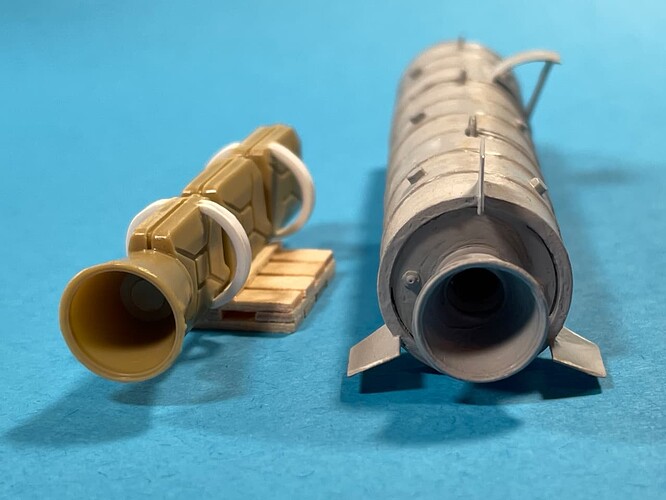
The engine cell of sorts (left) is an insert for another awaiting rocket-bomb (right). Both of these will play as background extras to a broader project: TOP SECRET for now.
And yes, “The Force” was channeled… actually it was the other way round… I forced the channel! ![]()
![]()
![]()
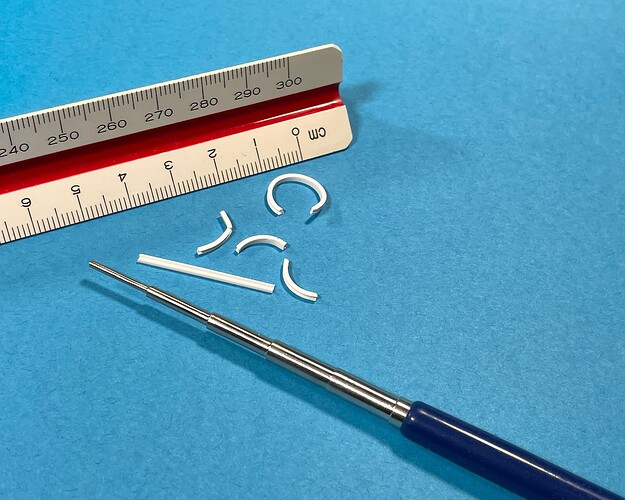
If still interested, here’s my ‘Tight-Bending Manual’ for 'Evergreen Styrene Channel (261) .060 (1.5mm).
• My first cold-bending attempt (you guessed it) resulted in a swift snap.
• After heating the channel under hot tap water (approx. 2-minutes), possibilities began to appear.
• Subsequent attempts (depending on how you look at it) resulted in diameter, radius, and/or circumference measurement errors.![]()
• Eventually, I was able to coil the channel using a Bending Mandrel — starting at the 7.5mm rubber-grip handle down to the smallest 1.5mm end. Even so, the closest I could get to the required 10mm dia. was 12mm dia. due to the Styrene’s memory springing it back (see below).
• After getting one segment close to the correct 5mm radius, I further pinched the channel’s arc while gluing it on with Tamiya Extra Thin. Then I teased the curing attachment along by rubbing a tweezer point between the mating surfaces. Note: Trimming the ends to match the Jerry Can sides was a tricky part of the assembly (see above).
Hope that made some sort of sense. ![]()
PS: Down the road, I’ll be adding a few more “Greeblies” to the cell assembly as ideas come to me. ![]()
—mike
I have just never been able to bend “U” channel / “C” Channel to that tight a circumference. It always either breaks or the flanges fold outward making it just a curved but now flat piece of plastic.
Kudos to you!
How hot is your tap-water?
Close to boiling or only a few degrees above too hot to touch?
Same here. Let’s just say I was “hell-bent” on making that radius work! ![]()
I like my showers warm! ![]()
![]()
—mike
Holy hot water Batman
Well since Si-Fi has entered the fray here . . . .
Let’s have a little model railroad work as well!
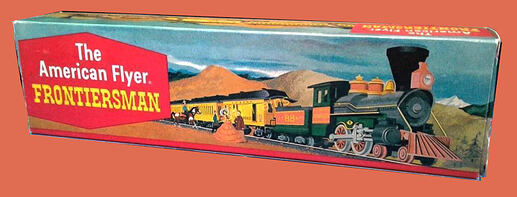
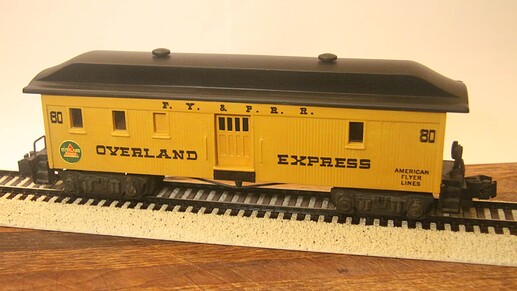
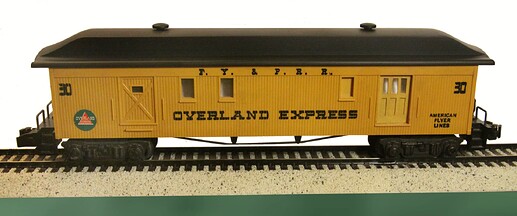
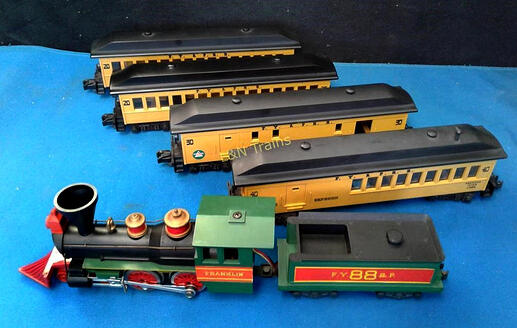
A.C. Gilbert; American Flyer; S Scale offered for many years an olde-time style 1880s passenger car set called the “Frontiersman.”
An original box.
I was somewhat attracted to it though I felt, it still left some things to be desired.
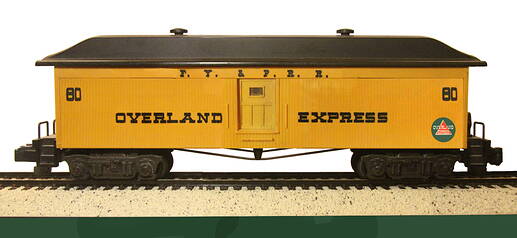
One missing item was a shorty single door baggage car to function as a sort of “strong box” bullion car to haul all that gold and silver out of the mountain ranges of Colorado.
The Before:
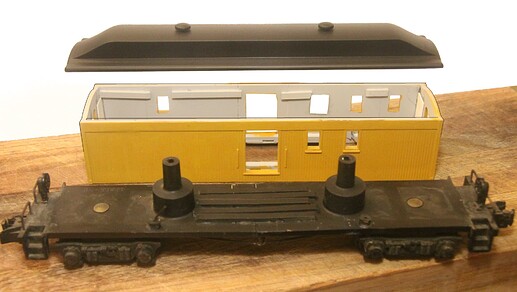
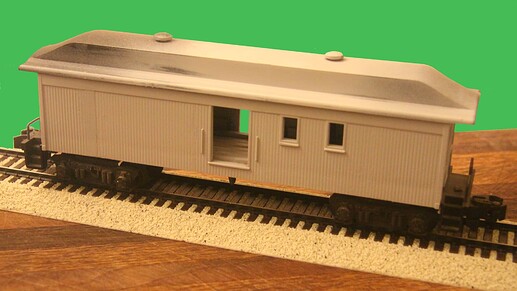
Here is one of the original full length, uncut, double door baggage cars that I started this project conversion on:
And now to work:
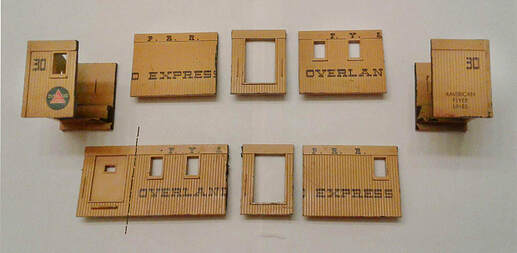
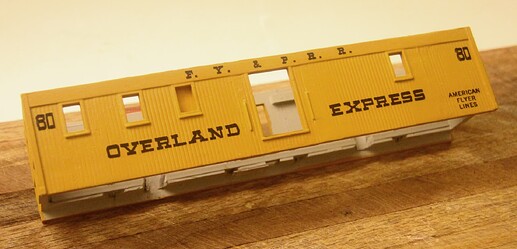
Sectioning the car body.
Rejoining the car sides. (This is seen here after the application of new paint and decals.)
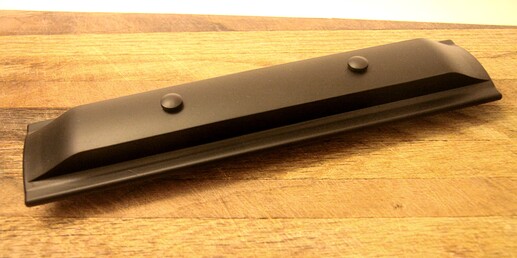
Shortening the under frame and shortening the roof. (More than a little body work there making that roof look like a single continuous piece once again.)
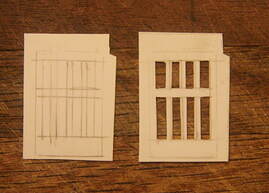
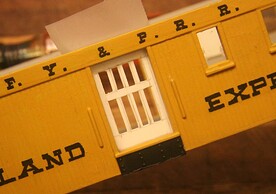
Building the missing doors.
Everything here now in primer.
And now here again the finished car.
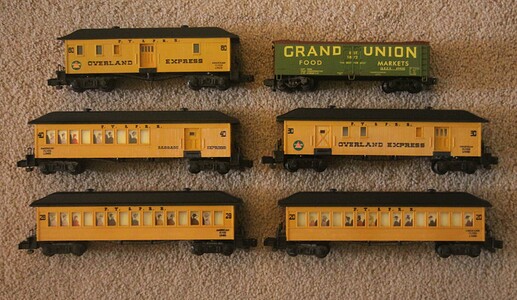
Here is the full completed car set as I envisioned it.
I also added the missing baggage doors to all the cars as well as the passenger silhouettes.
Additionally I thought the original small Flyer Locomotive needed an upgrade, perhaps moving from the 1880s style Civil War era engine to a heavier more 1910s look. *
The original train set. (Not mine, just a reference photo from the local Hobbyshop.)
My completed Passenger Train, circa 1910:
*(No cars or collectable locomotives were harmed in the making of this conversion. Only the one baggage car was cut and then it too was restored to its’ new and final appearance.)

