I had the same issue with hard edges. I used a bead of superglue and then a fine file to round the edges, forgoing the rippling on the very edge.
1 Like
Good shout. Will try that on the set I have left over (just need a production KT to put it on now ![]() ).
).
I really think either the Zimm decals or pre-made PE zimm are the way forward. The home made stuff never sits right with me if I’m honest. It always looks either uneven in how its applied or massively over scale on the finished kit.
1 Like
Great progress Mead, nice tight build. The zimm looks fantastic.
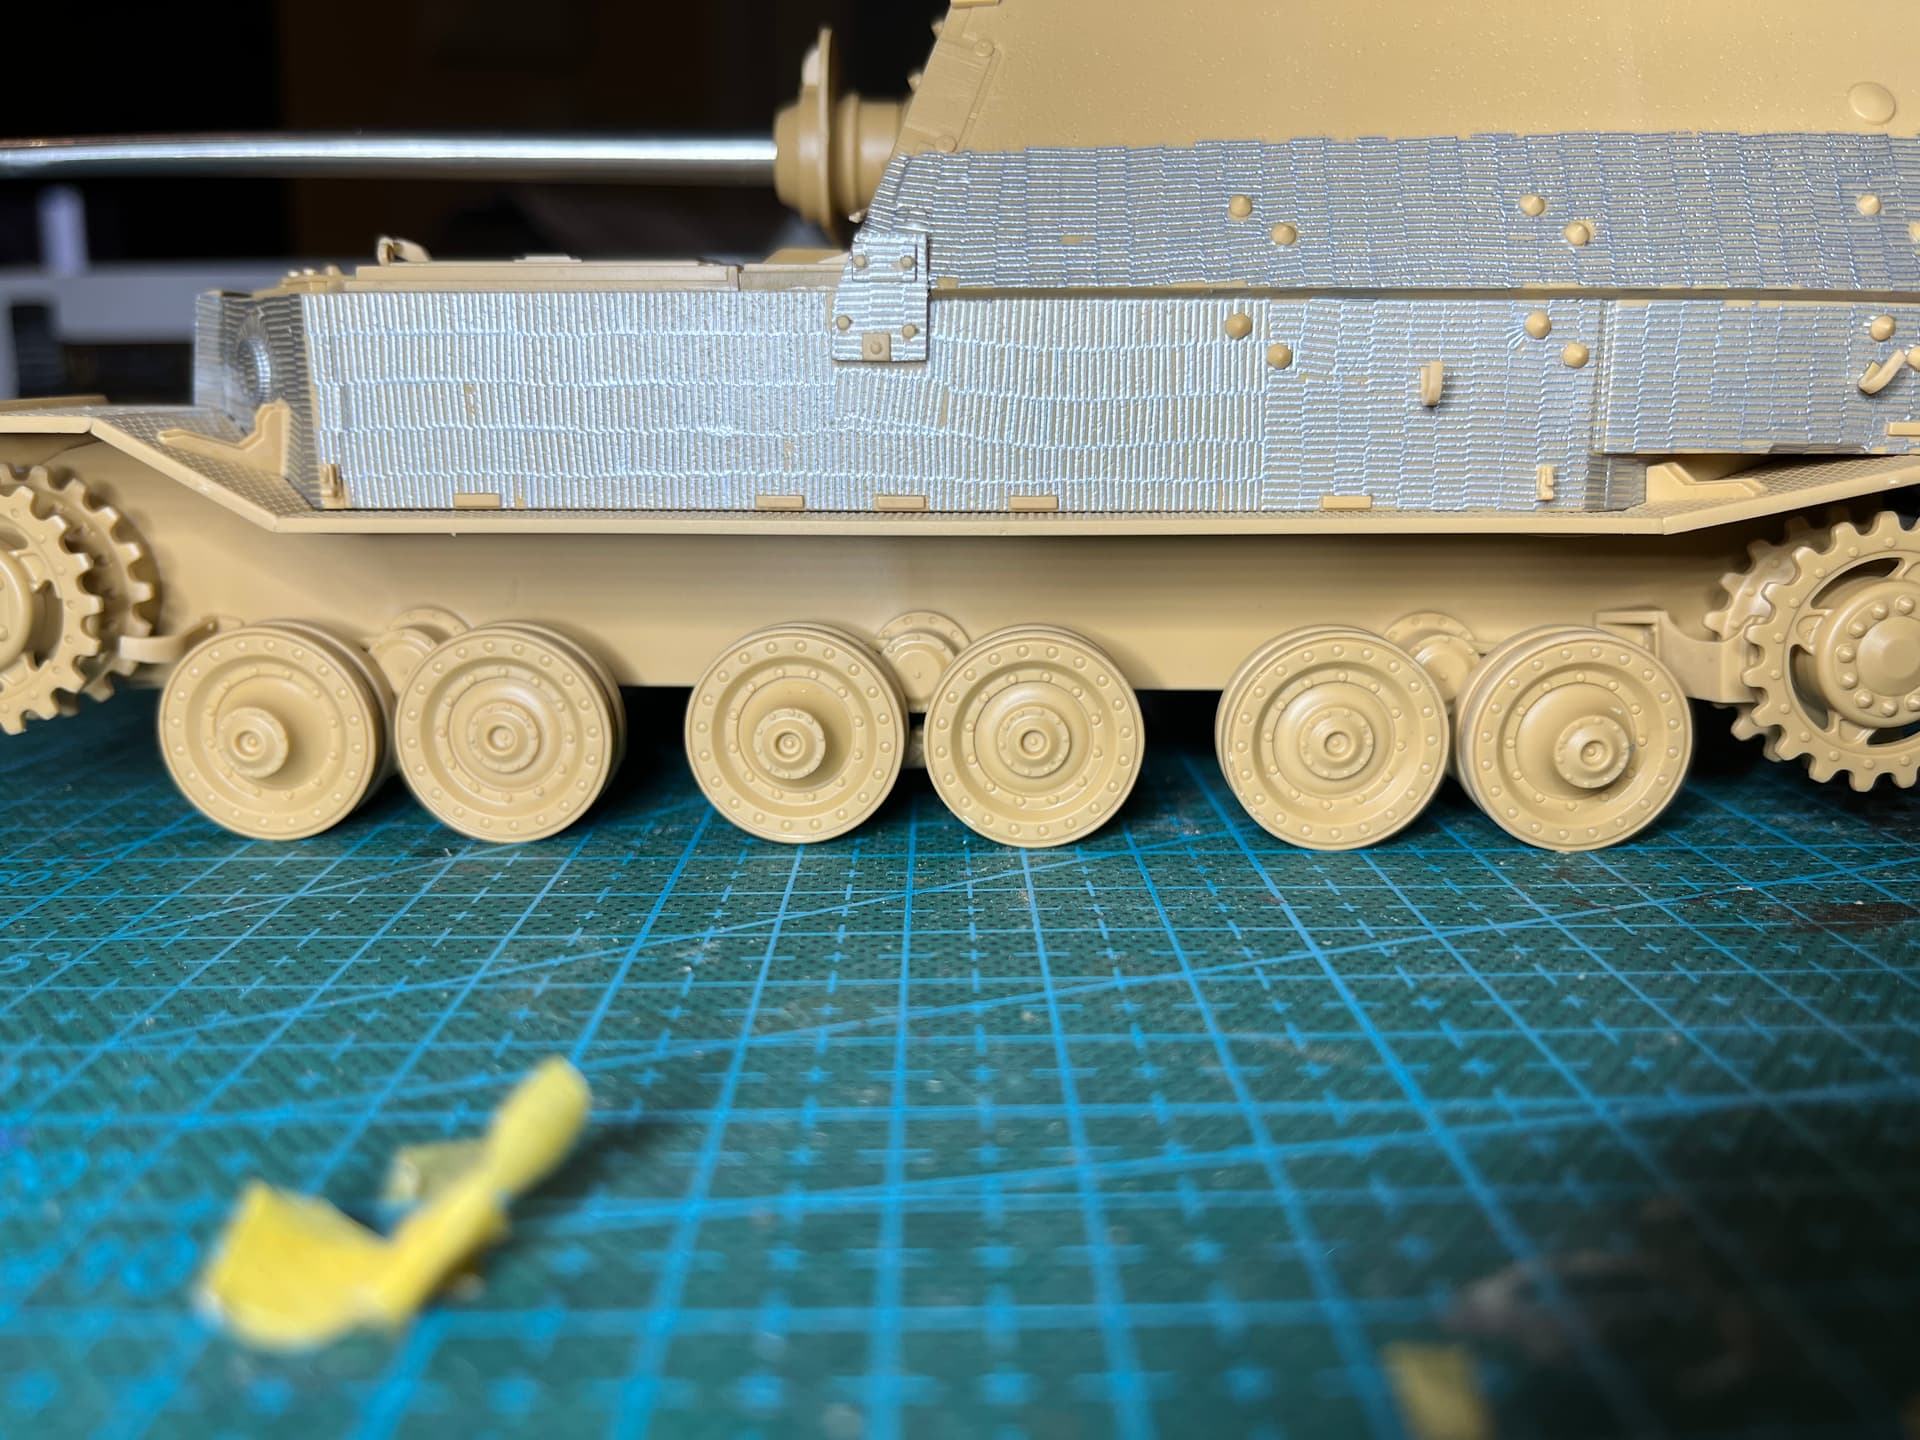
Thank you! It was nice to get back to a tamiya build! Nice and simple with great fit and good detail while being very quick to put together. I probably spent 12 hours on this build and the majority of that was the zimmerit
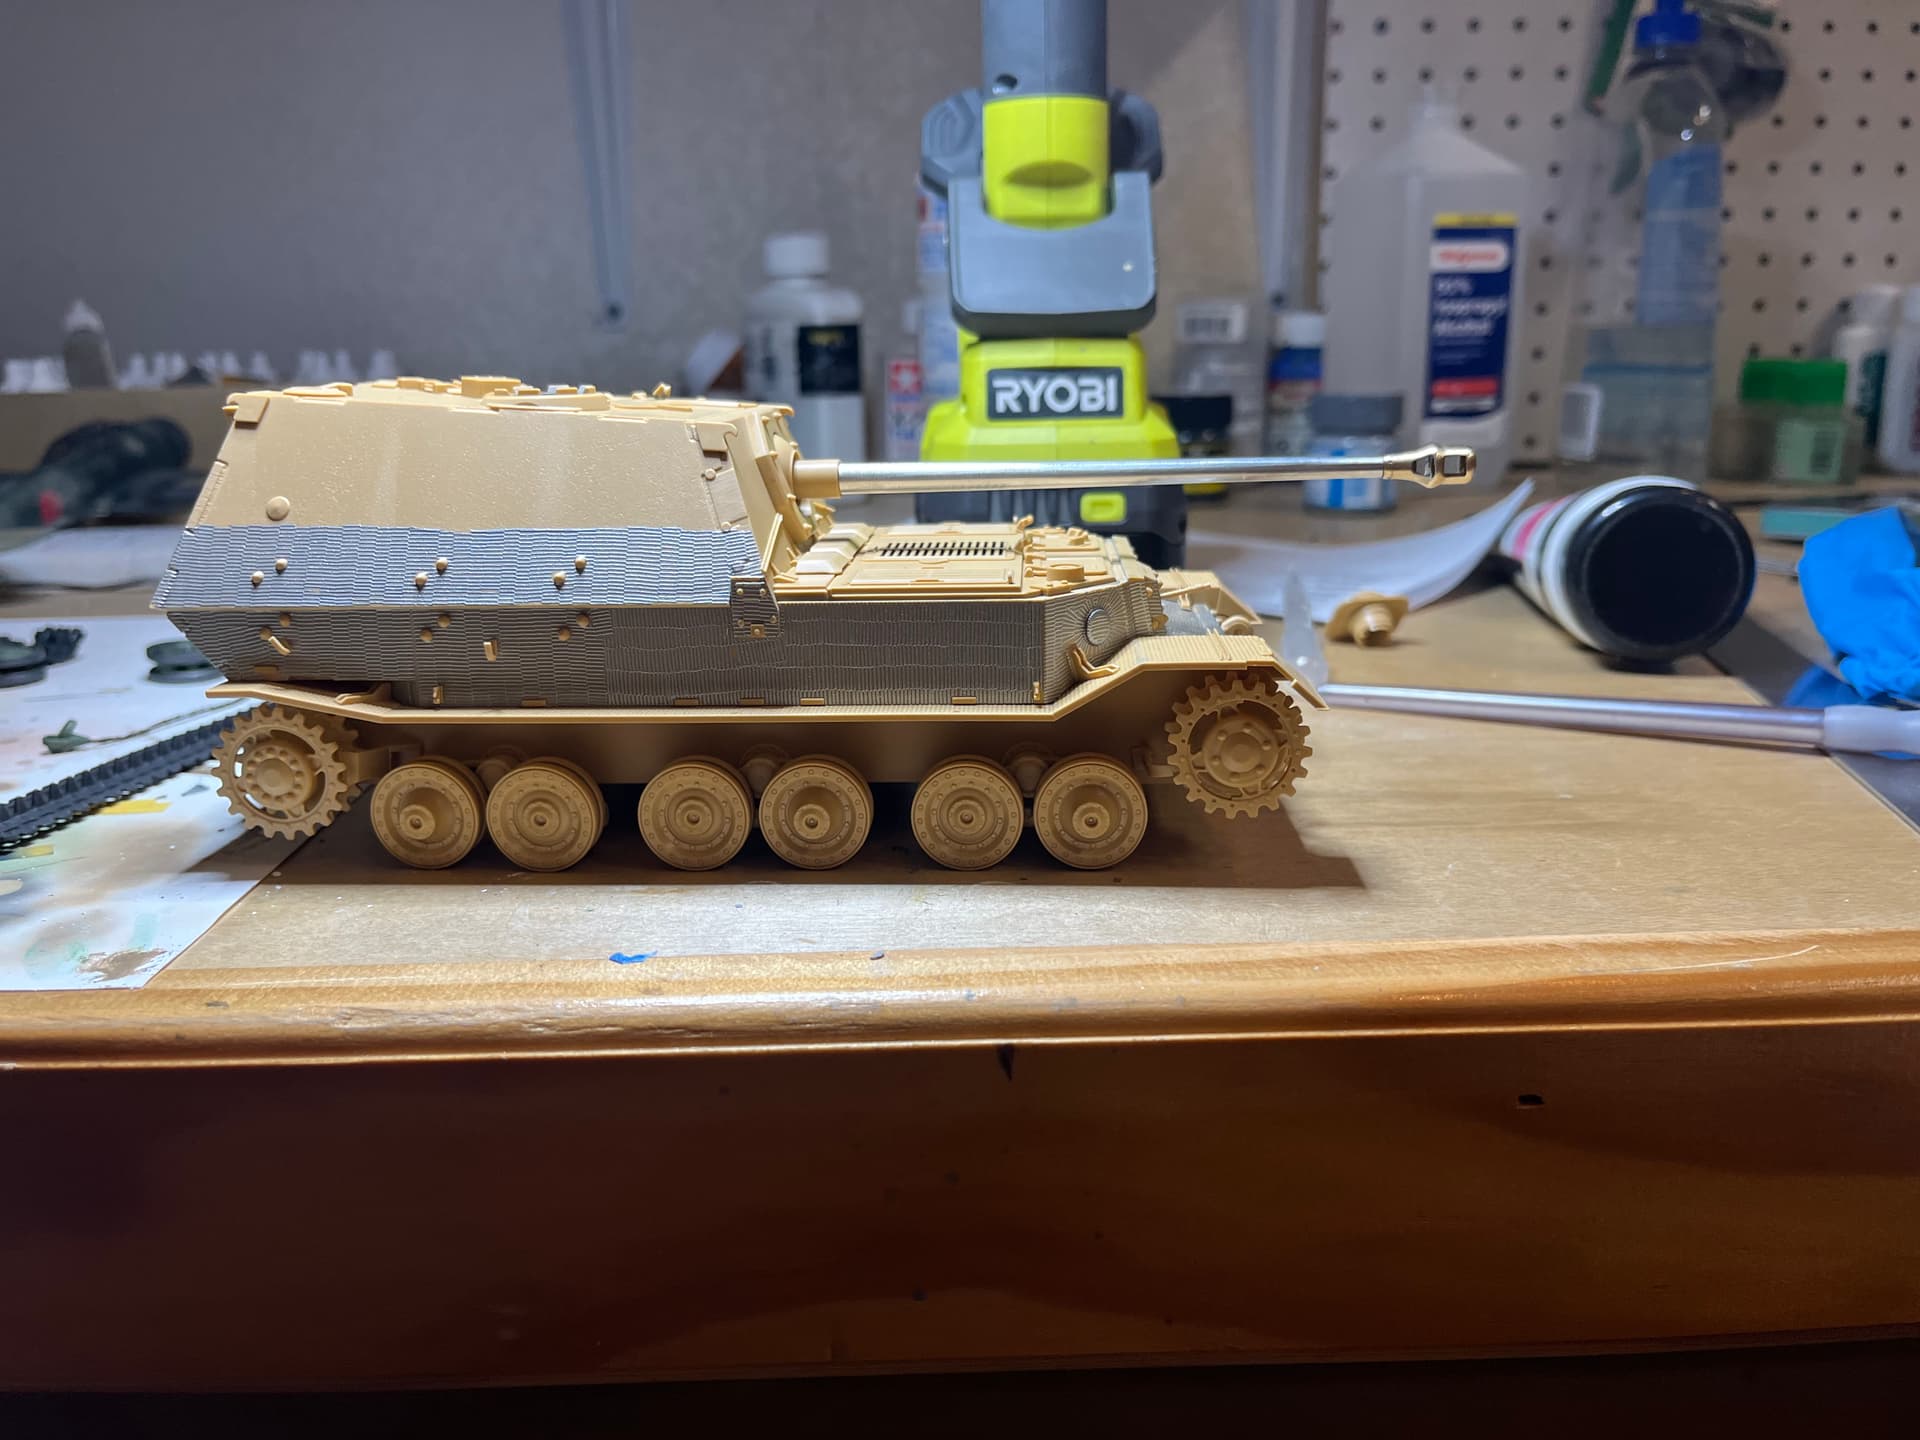
Main construction done.
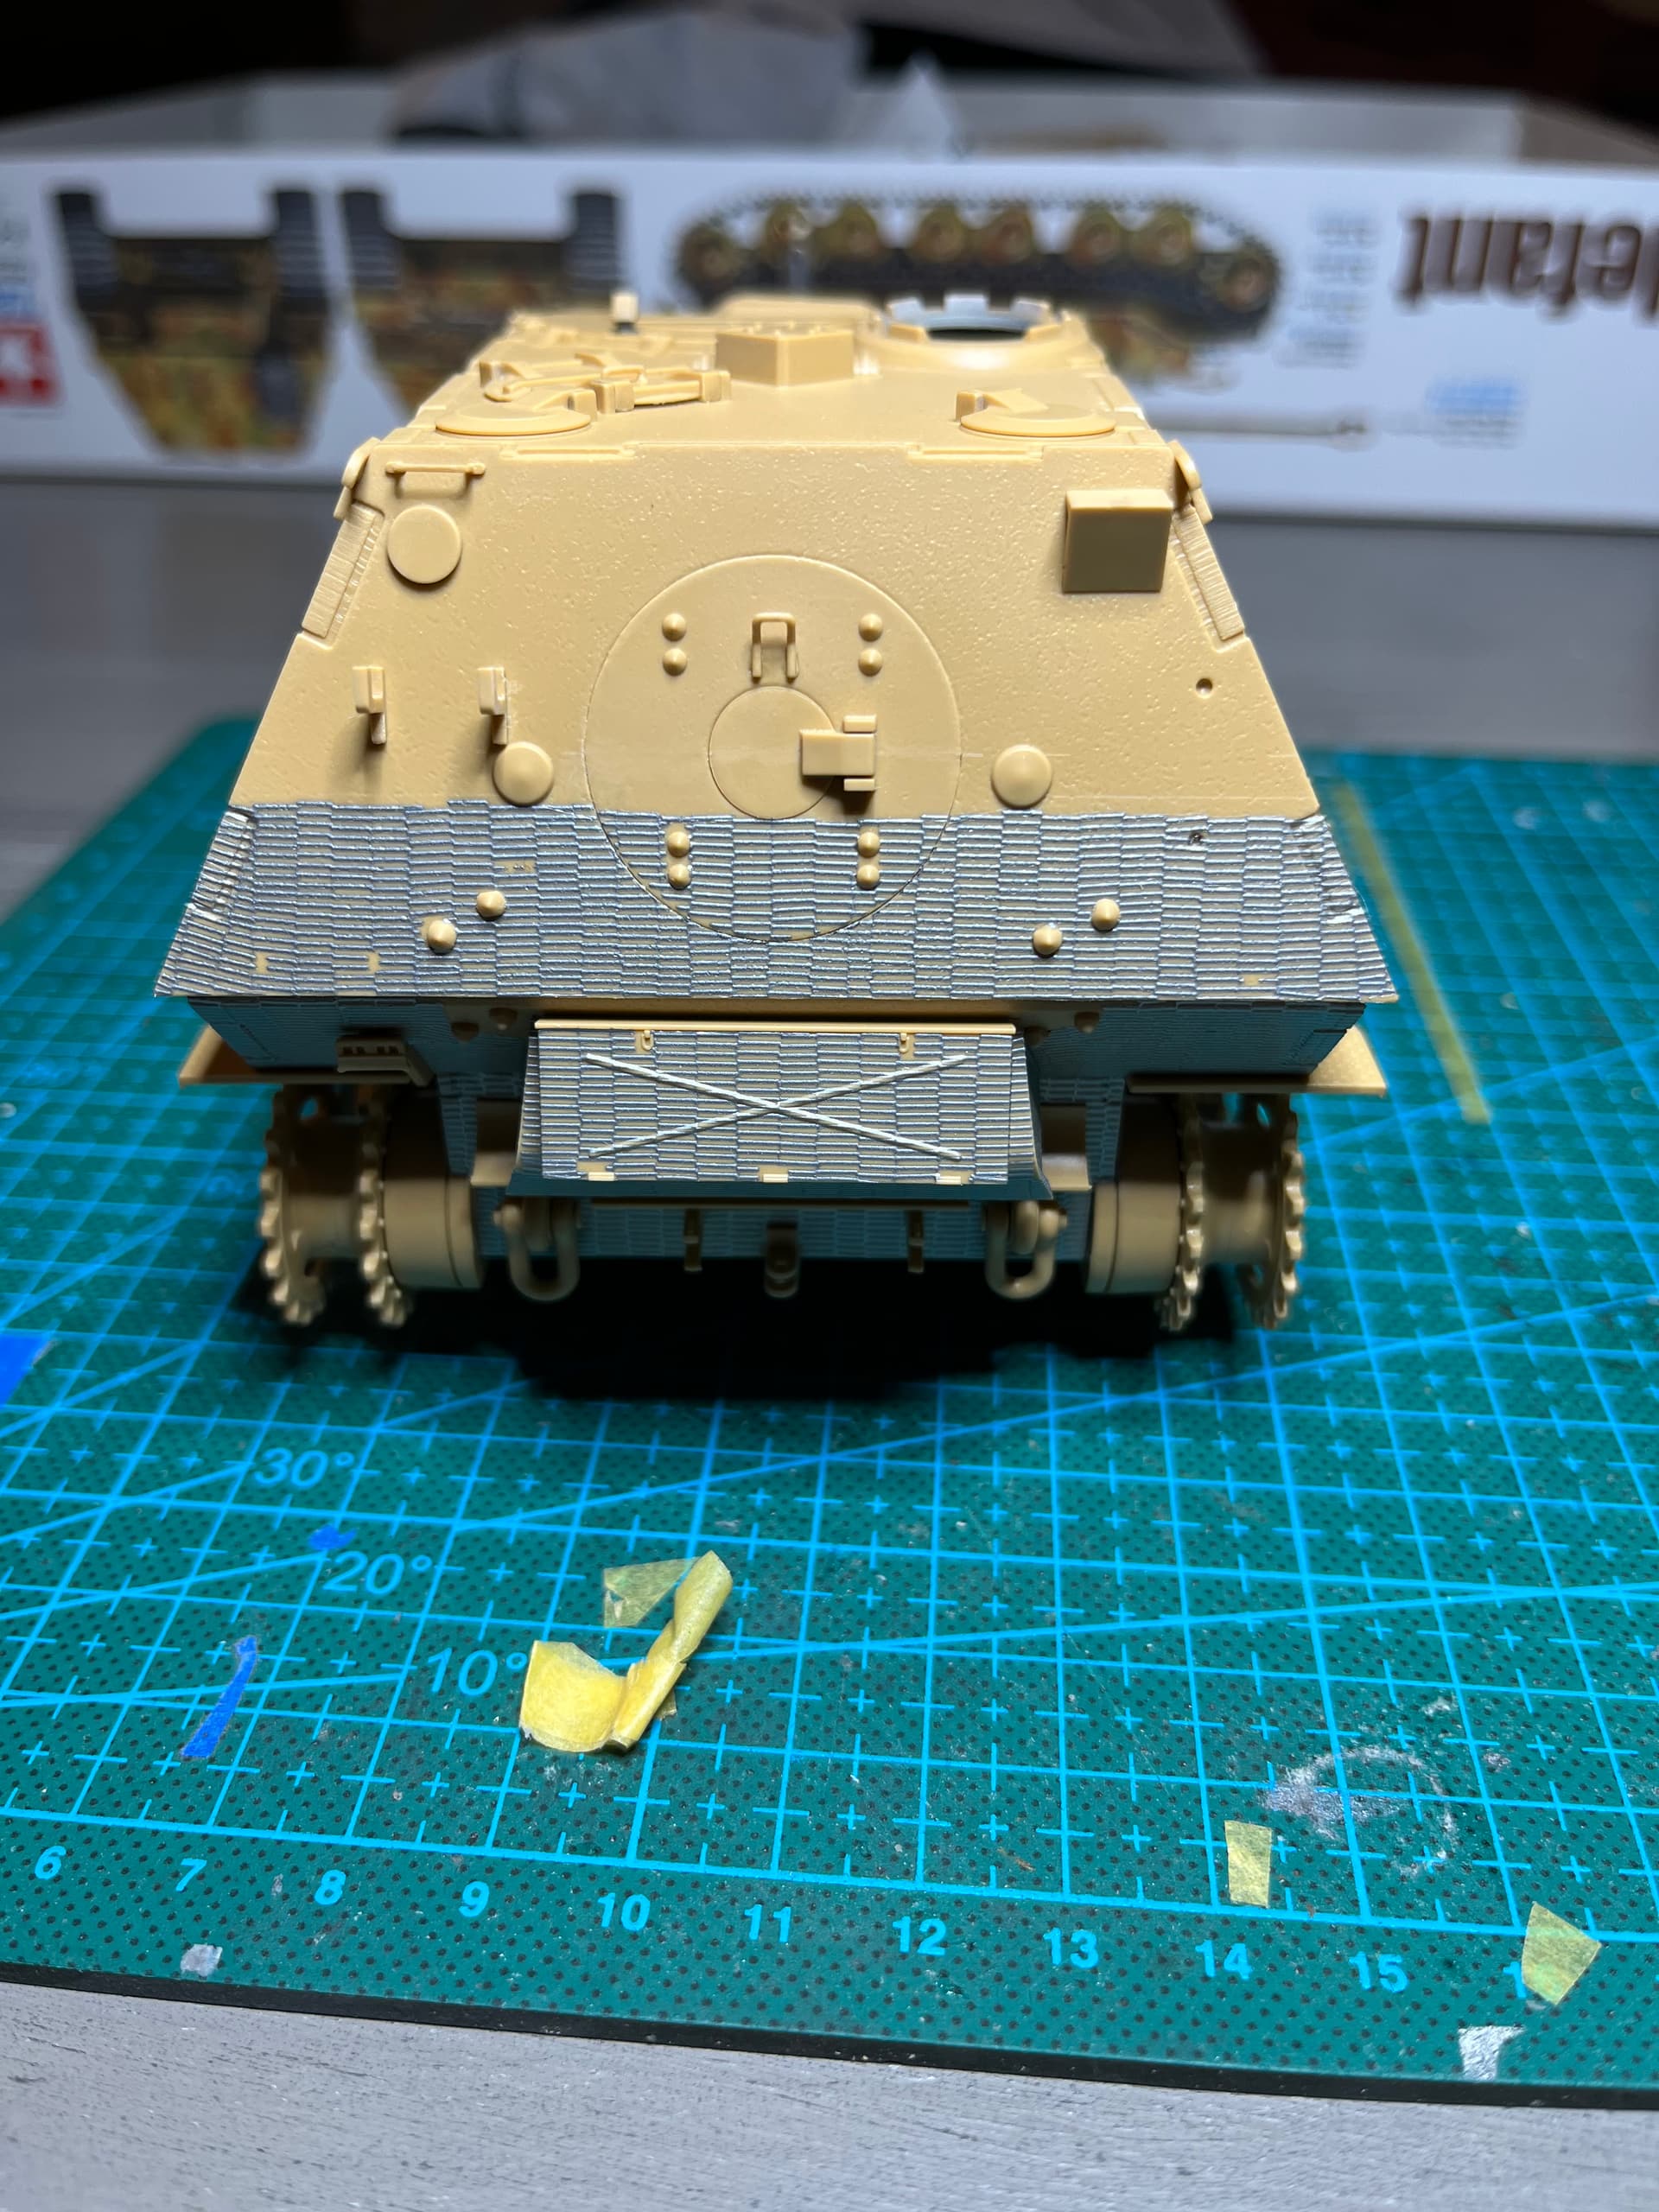
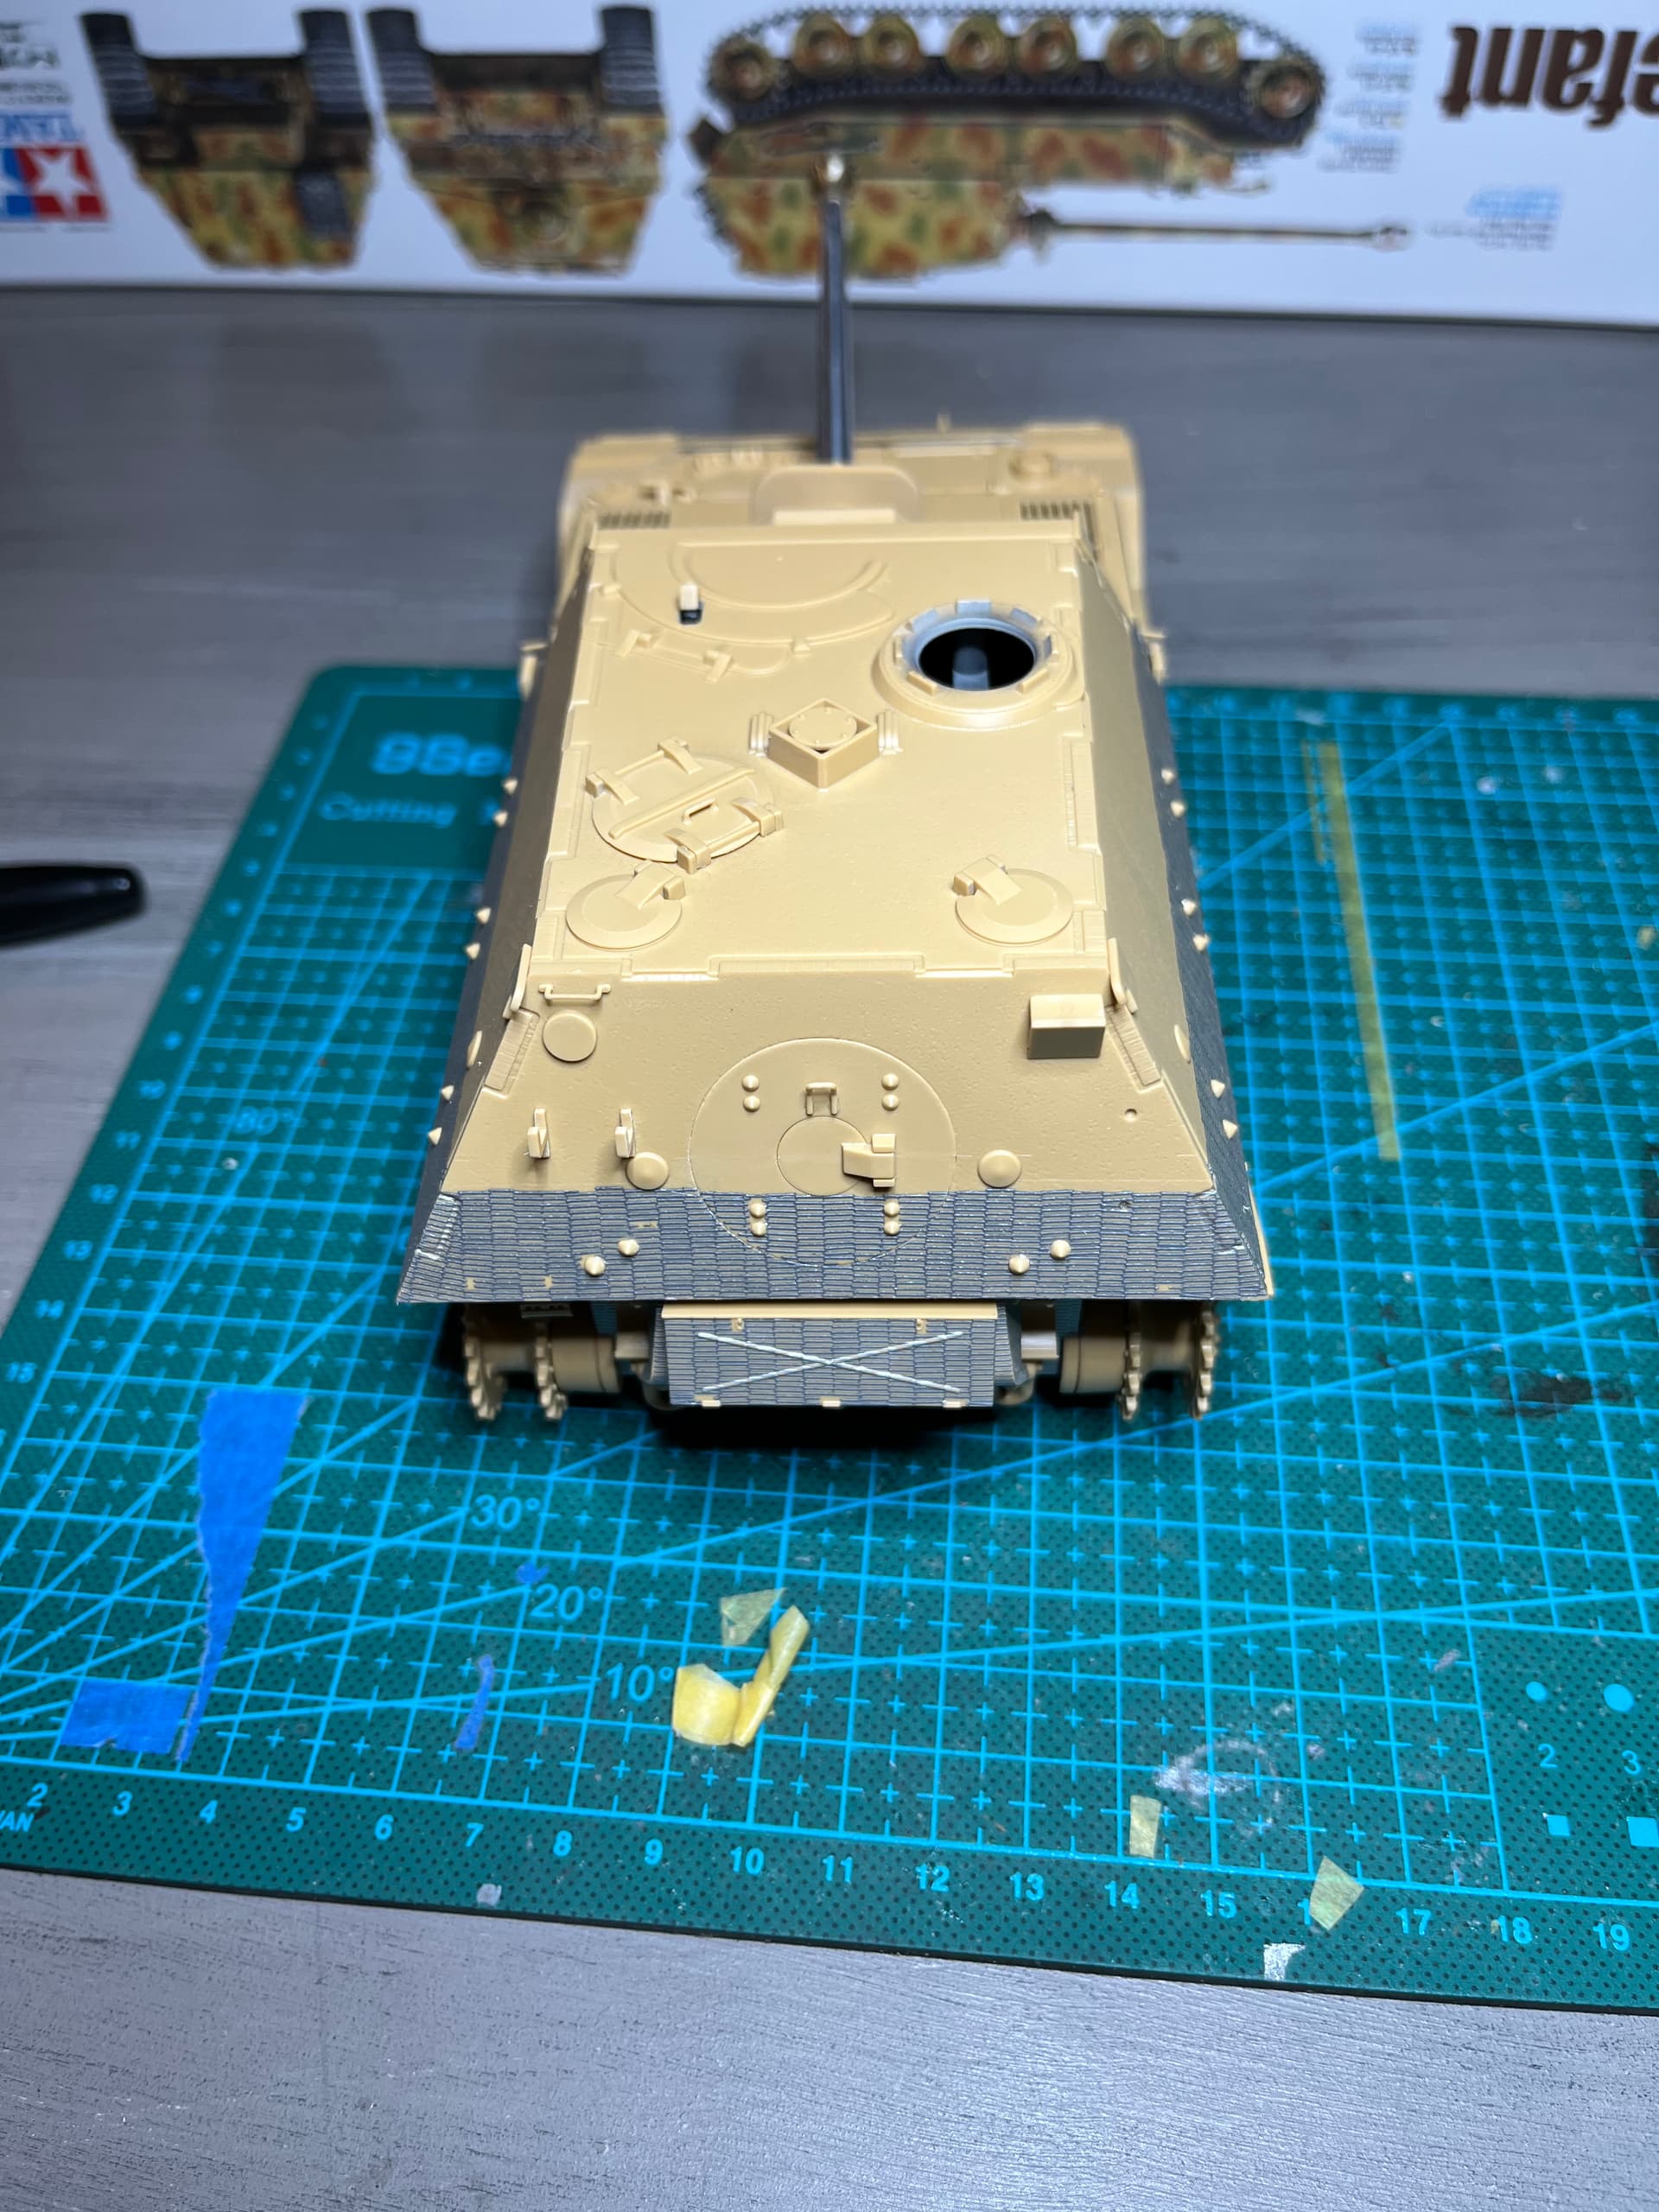


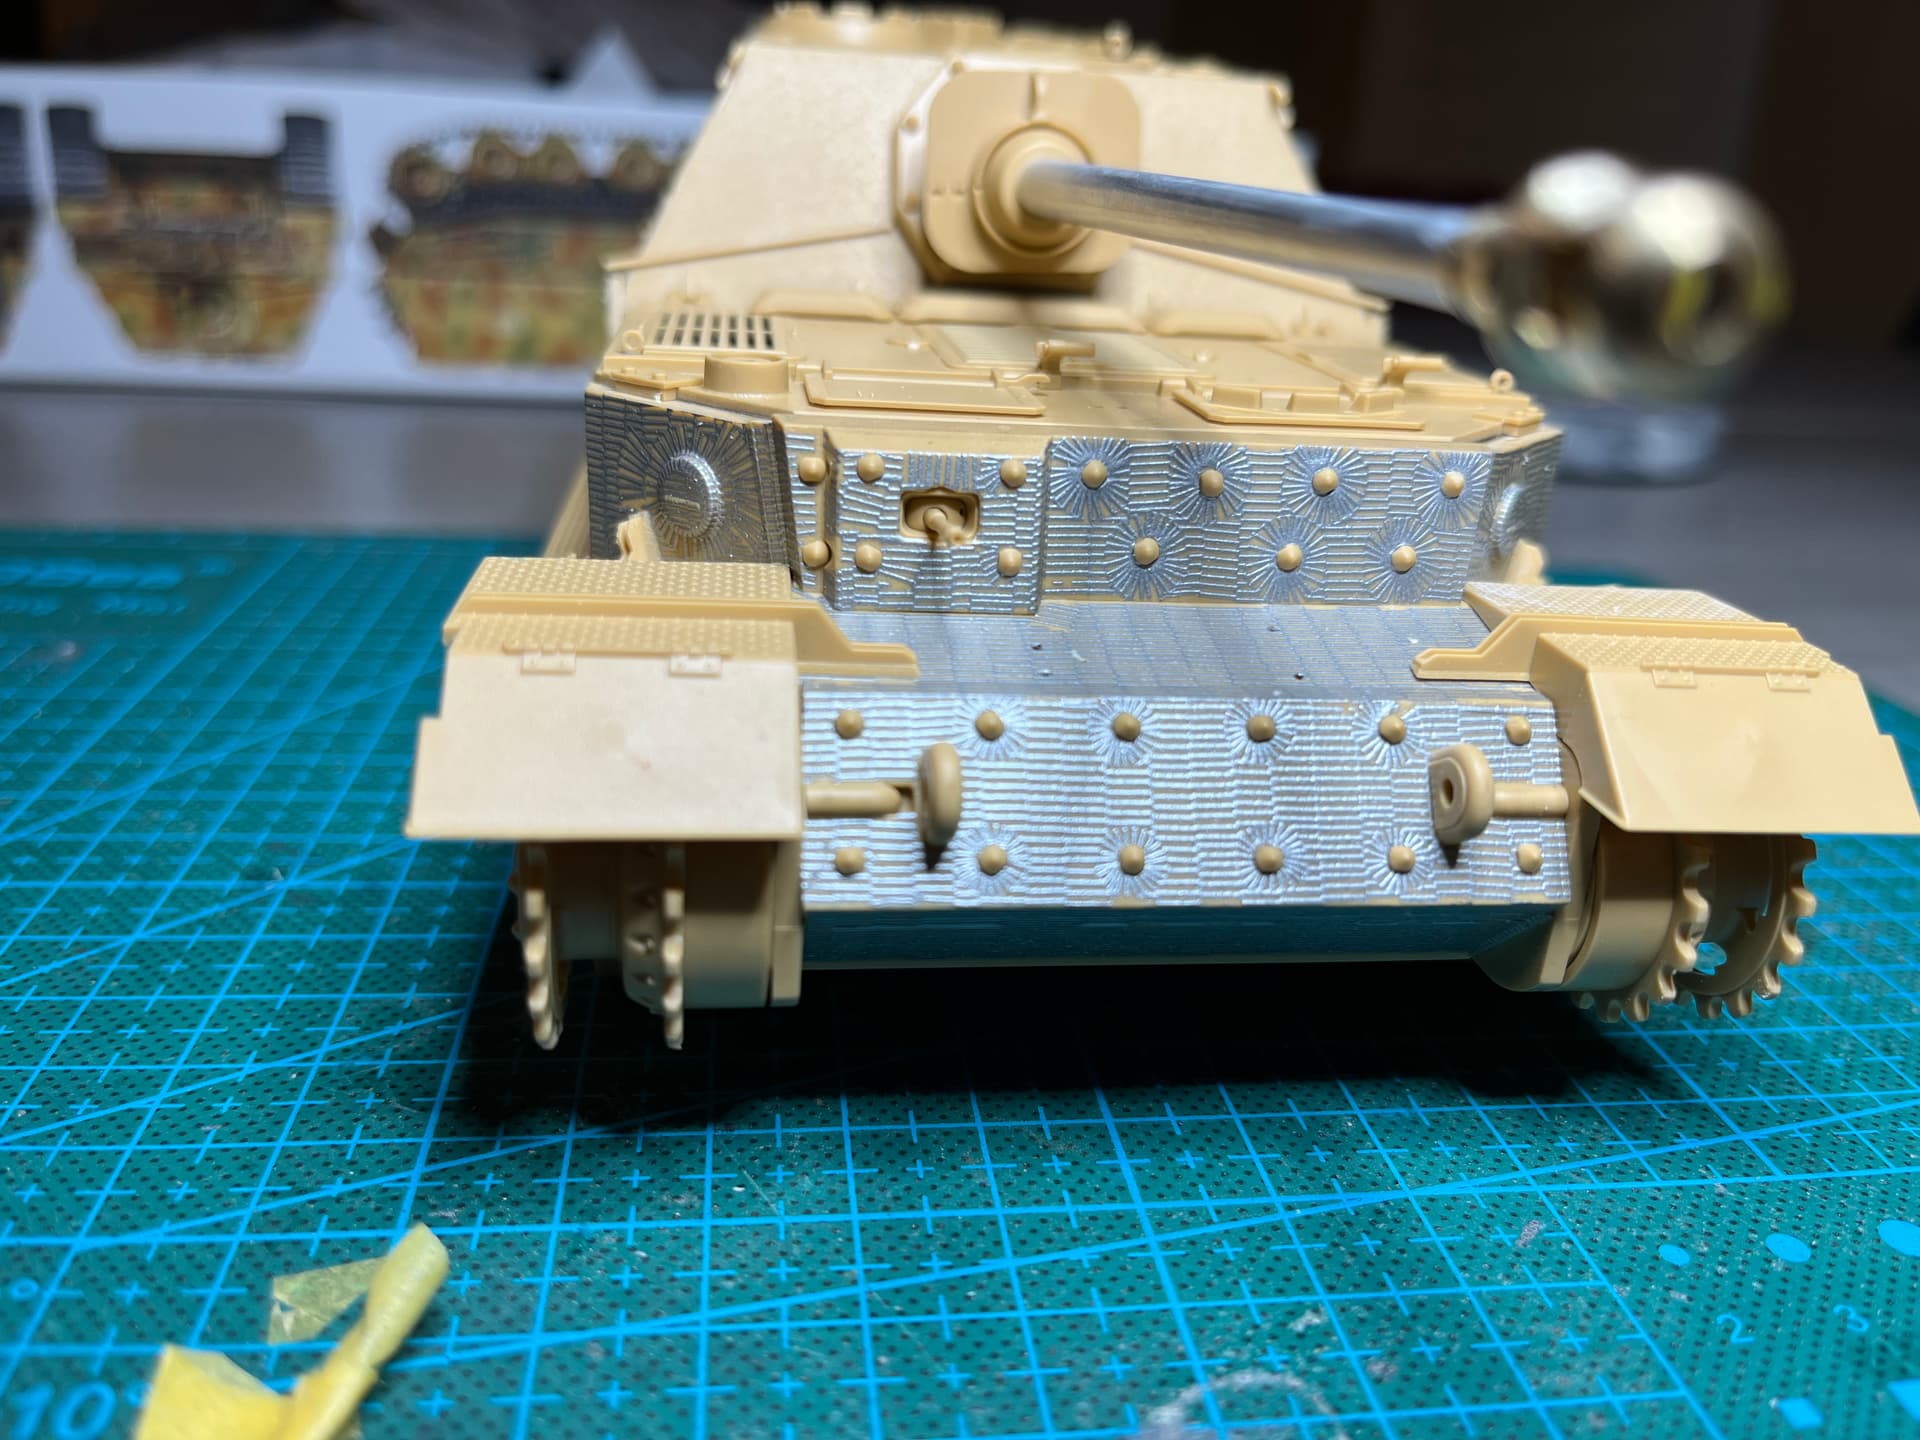

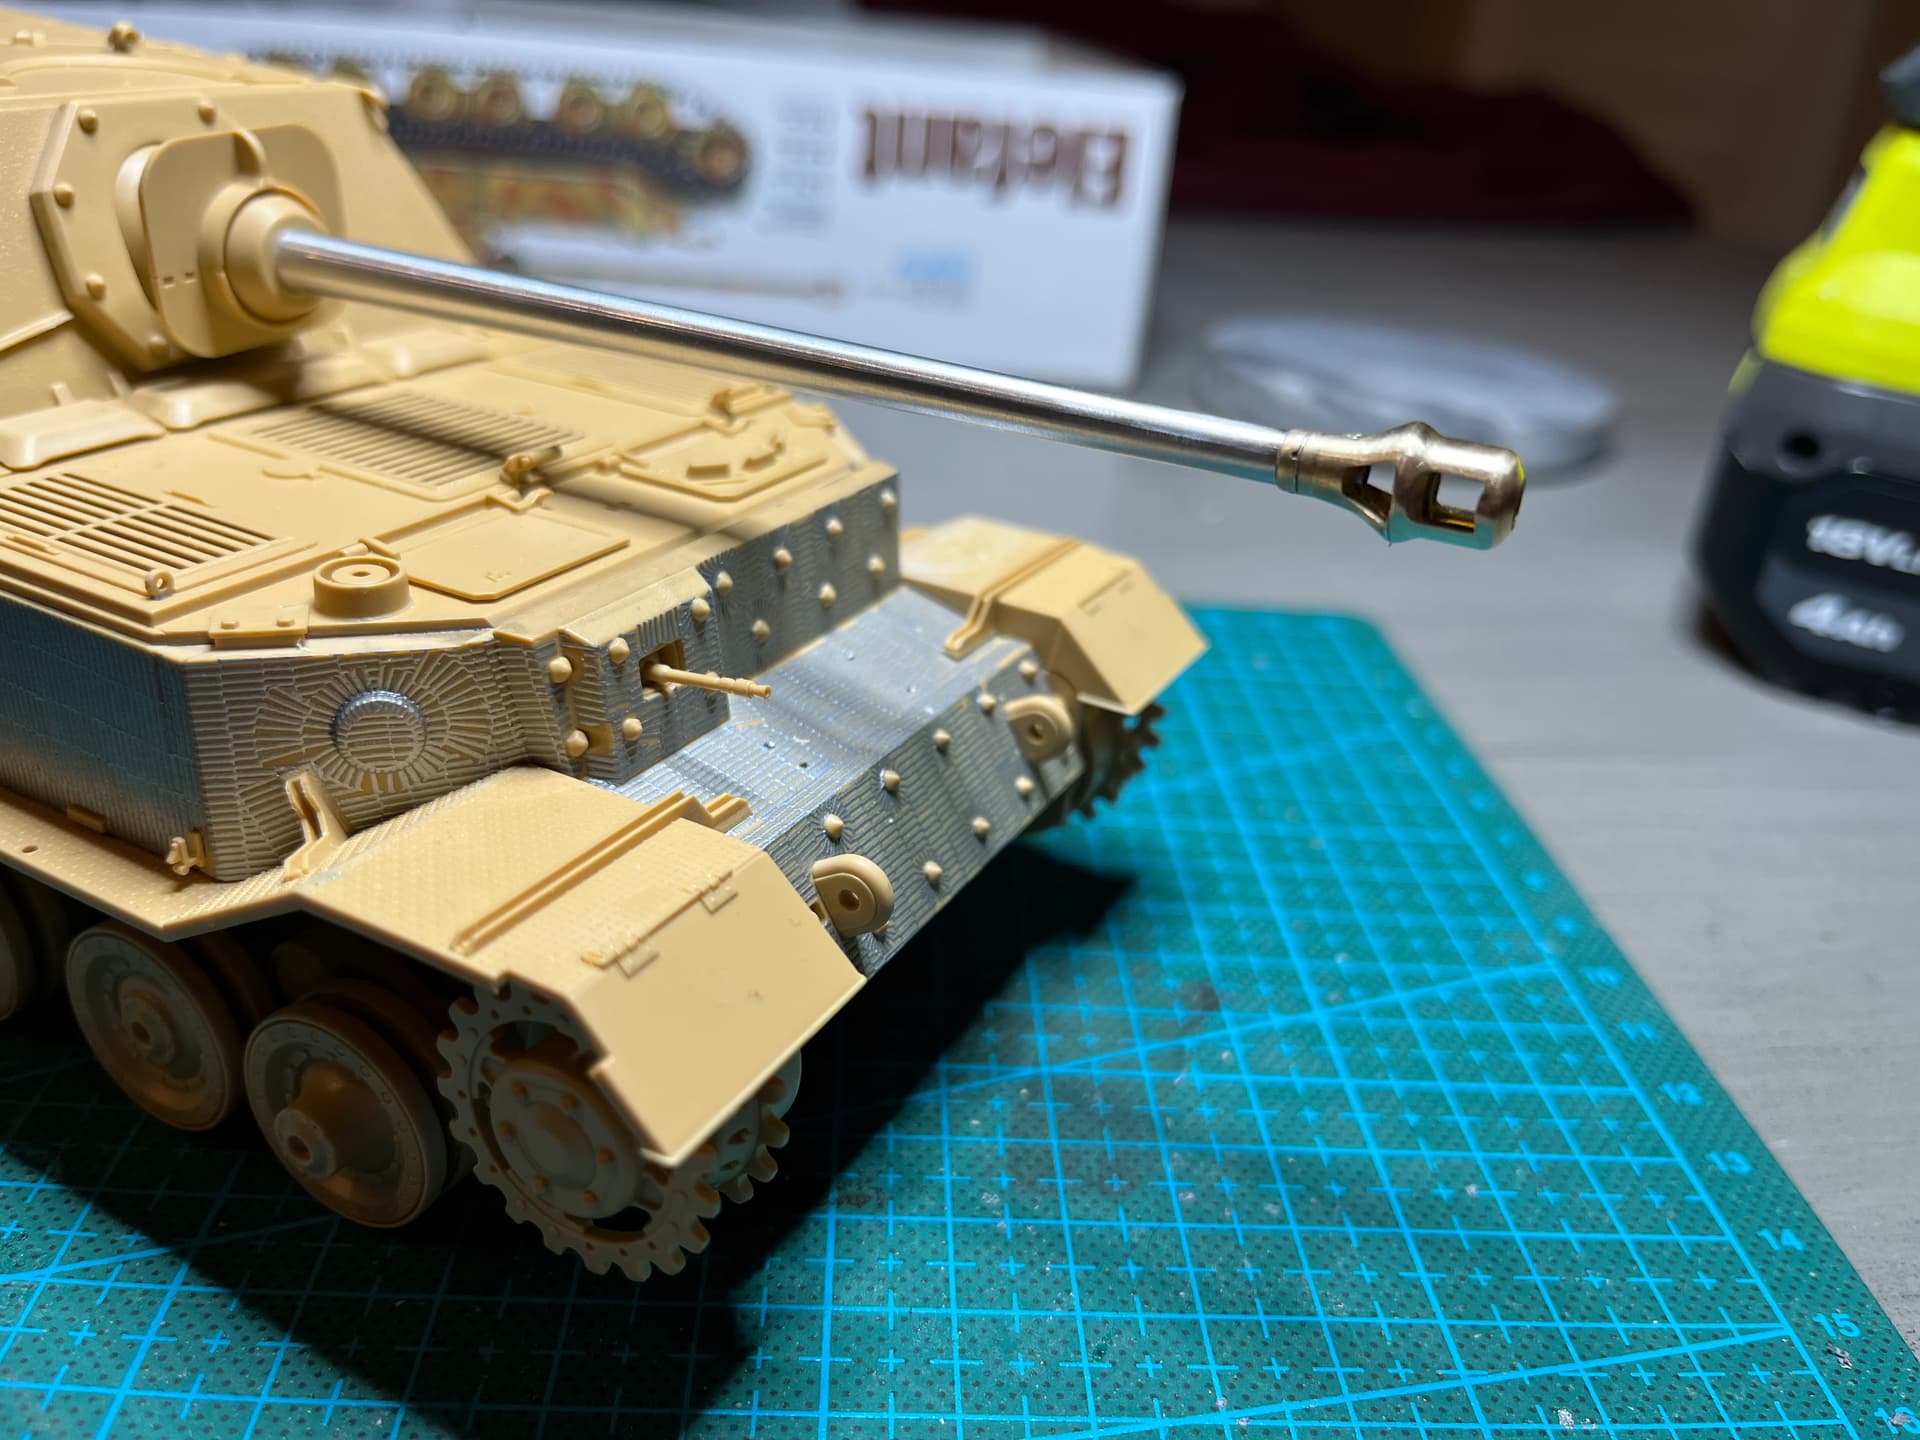

I had the front of the muzzle break on, then sanded the seam a bit and it popped off. Probably gonna solder it on later. To be honest the barrel was a PITA. The brass had burrs everywhere and I had to sand a lot to get it to fit. I’m not sure it actually adds much over the kit barrel. Anyway all that is left is things like jack, sledge hammer, barrel cleaning rod tubes, spare track links. And the commanders hatch and drivers periscope visor. These will all be added as I paint. Overall really enjoyable build. Might go back to the kit barrel
6 Likes
Looking very good Mead. The Zimm has come out really well and looks terrific. If the metal barrel can be salvaged I would stick with it, it looks nice from the images. Cracking job.
2 Likes
The build is looking great. ![]() Strange about the barrel.
Strange about the barrel.
3 Likes
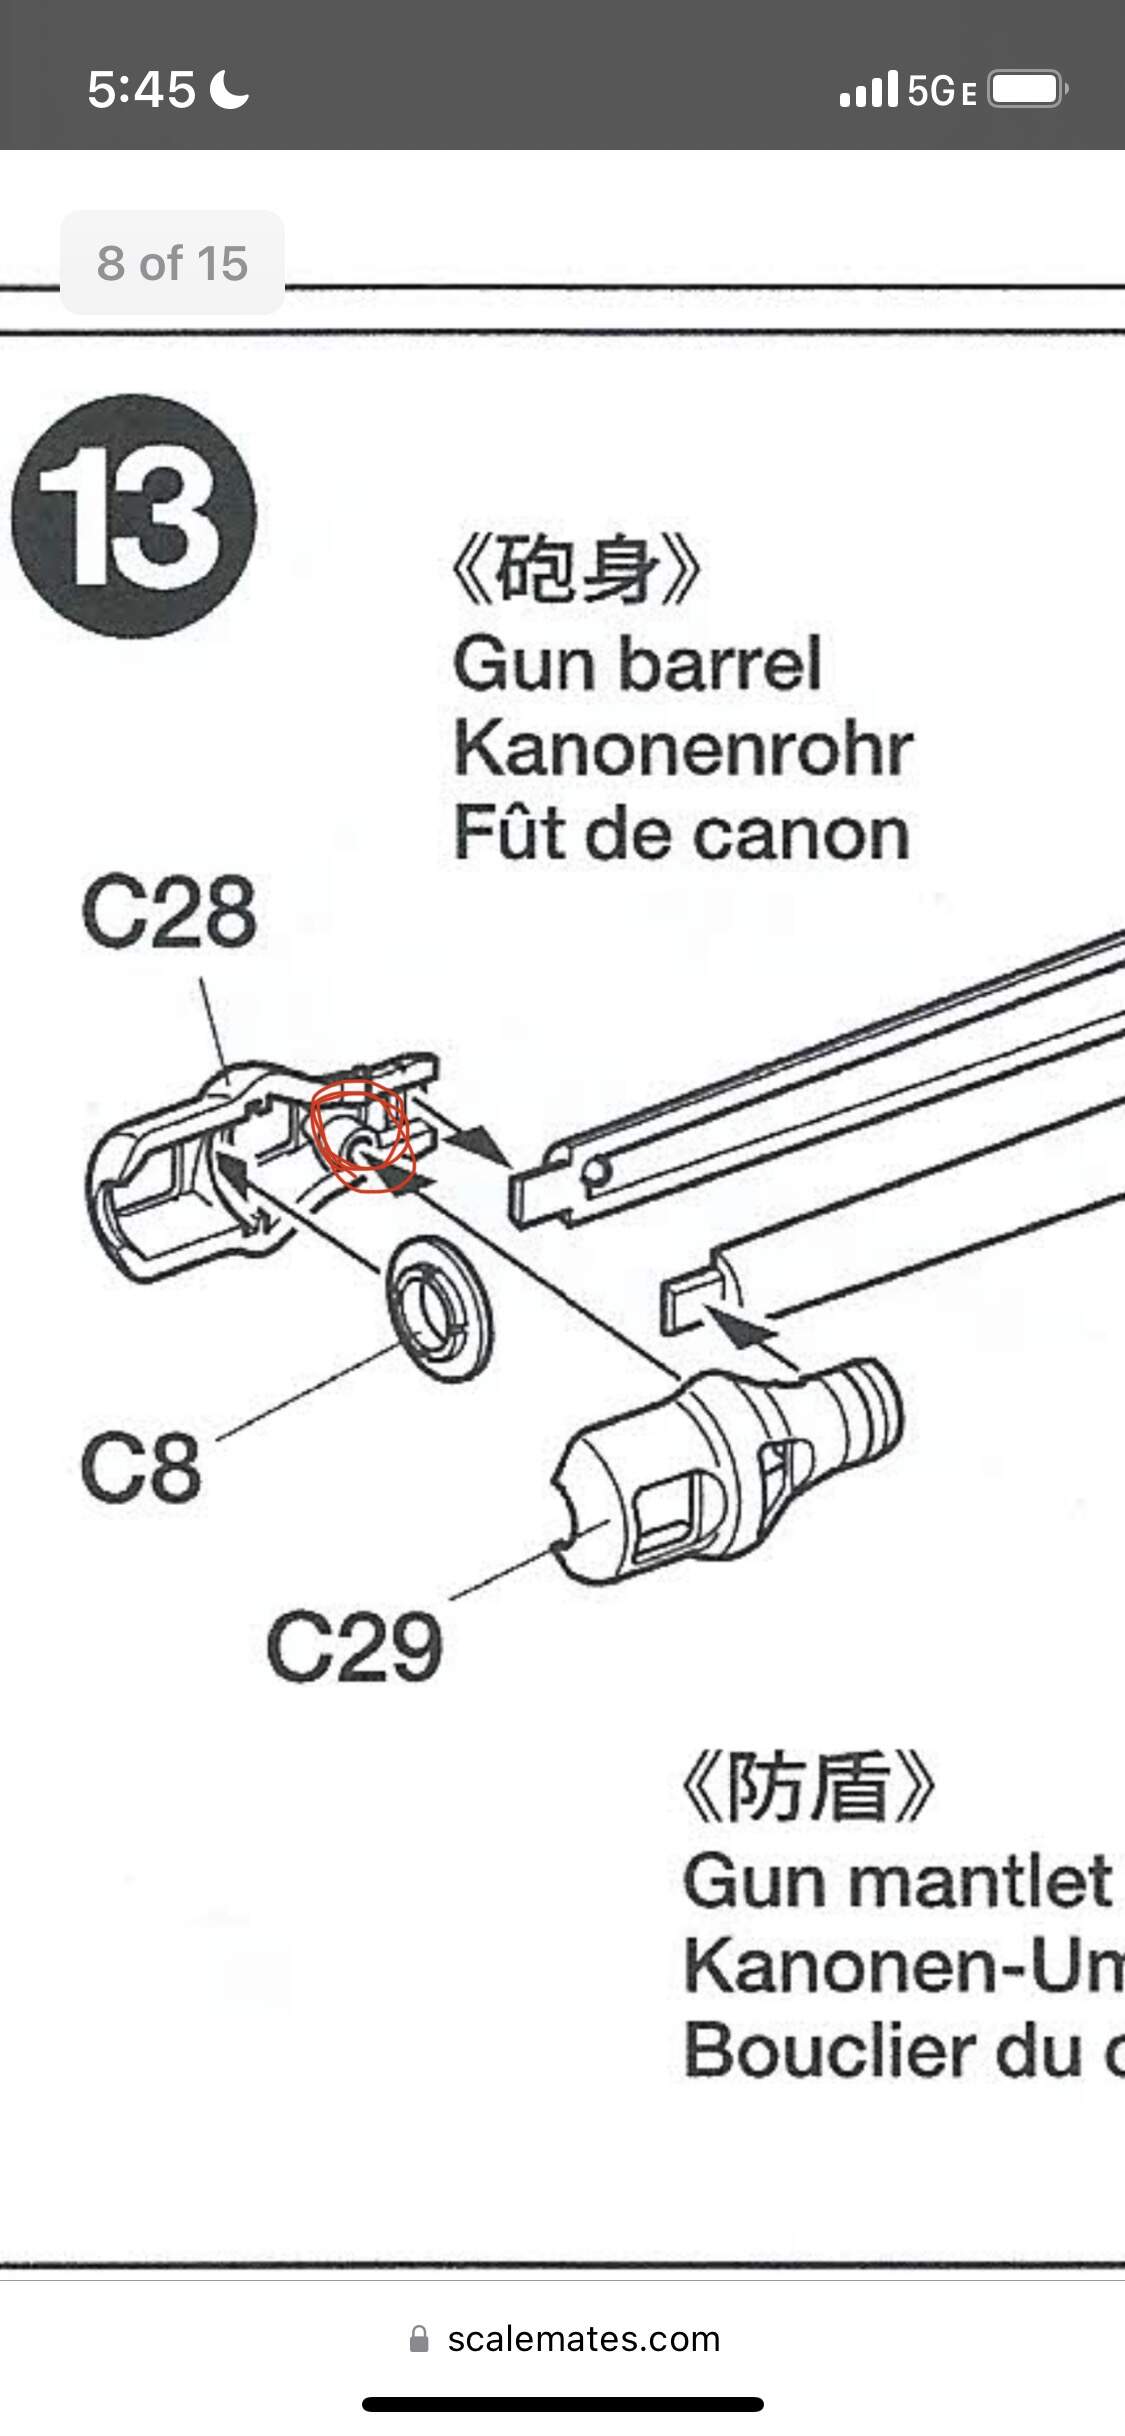
@Johnnych01 i think the barrel can be salvaged. The muzzle brake is in two halves (front and back) so you can put the internal parts of the muzzle brake together. I glued them together with thin super glue and when I was sanding the super glue seam smooth the two halves popped apart. I think the glue bond was a little weak, I think I’ll give thick super glue a try.
@Tank_1812 yeah it is strange. I’ve built a couple aber barrels before and they were beautifully machine. This one seemed to be poorly machined. Could be a bad batch. I did notice that aber changed the design of the PAK 43/L71 barrel so perhaps I got an old one that had issues.
I think I’ll stick with the metal barrel, I noticed on the tamiya barrel there is an attachment hole that kind bungs up the muzzle
3 Likes
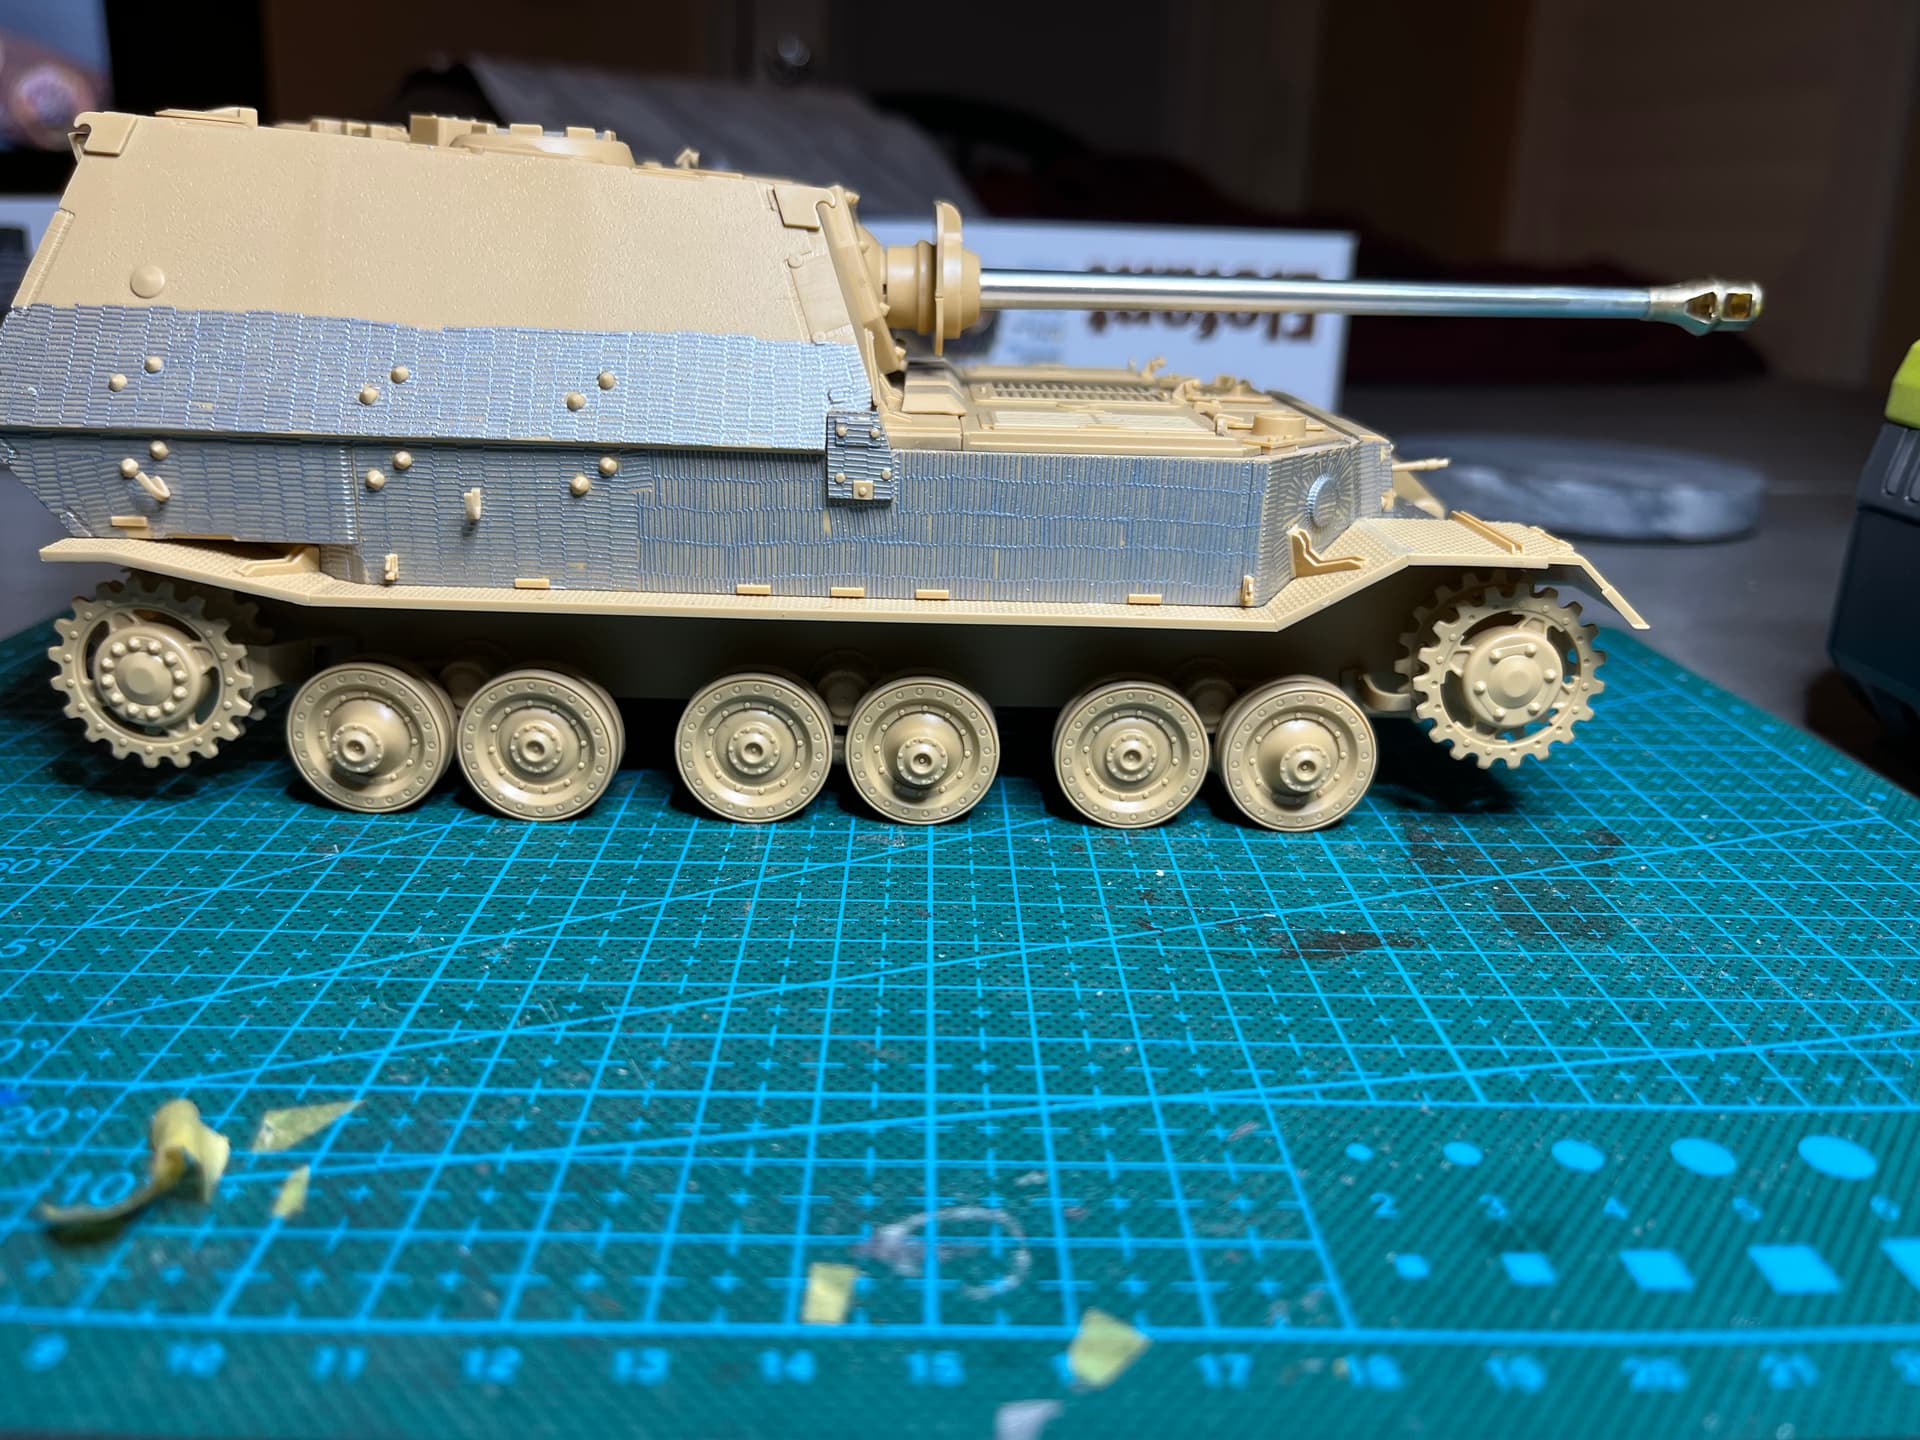
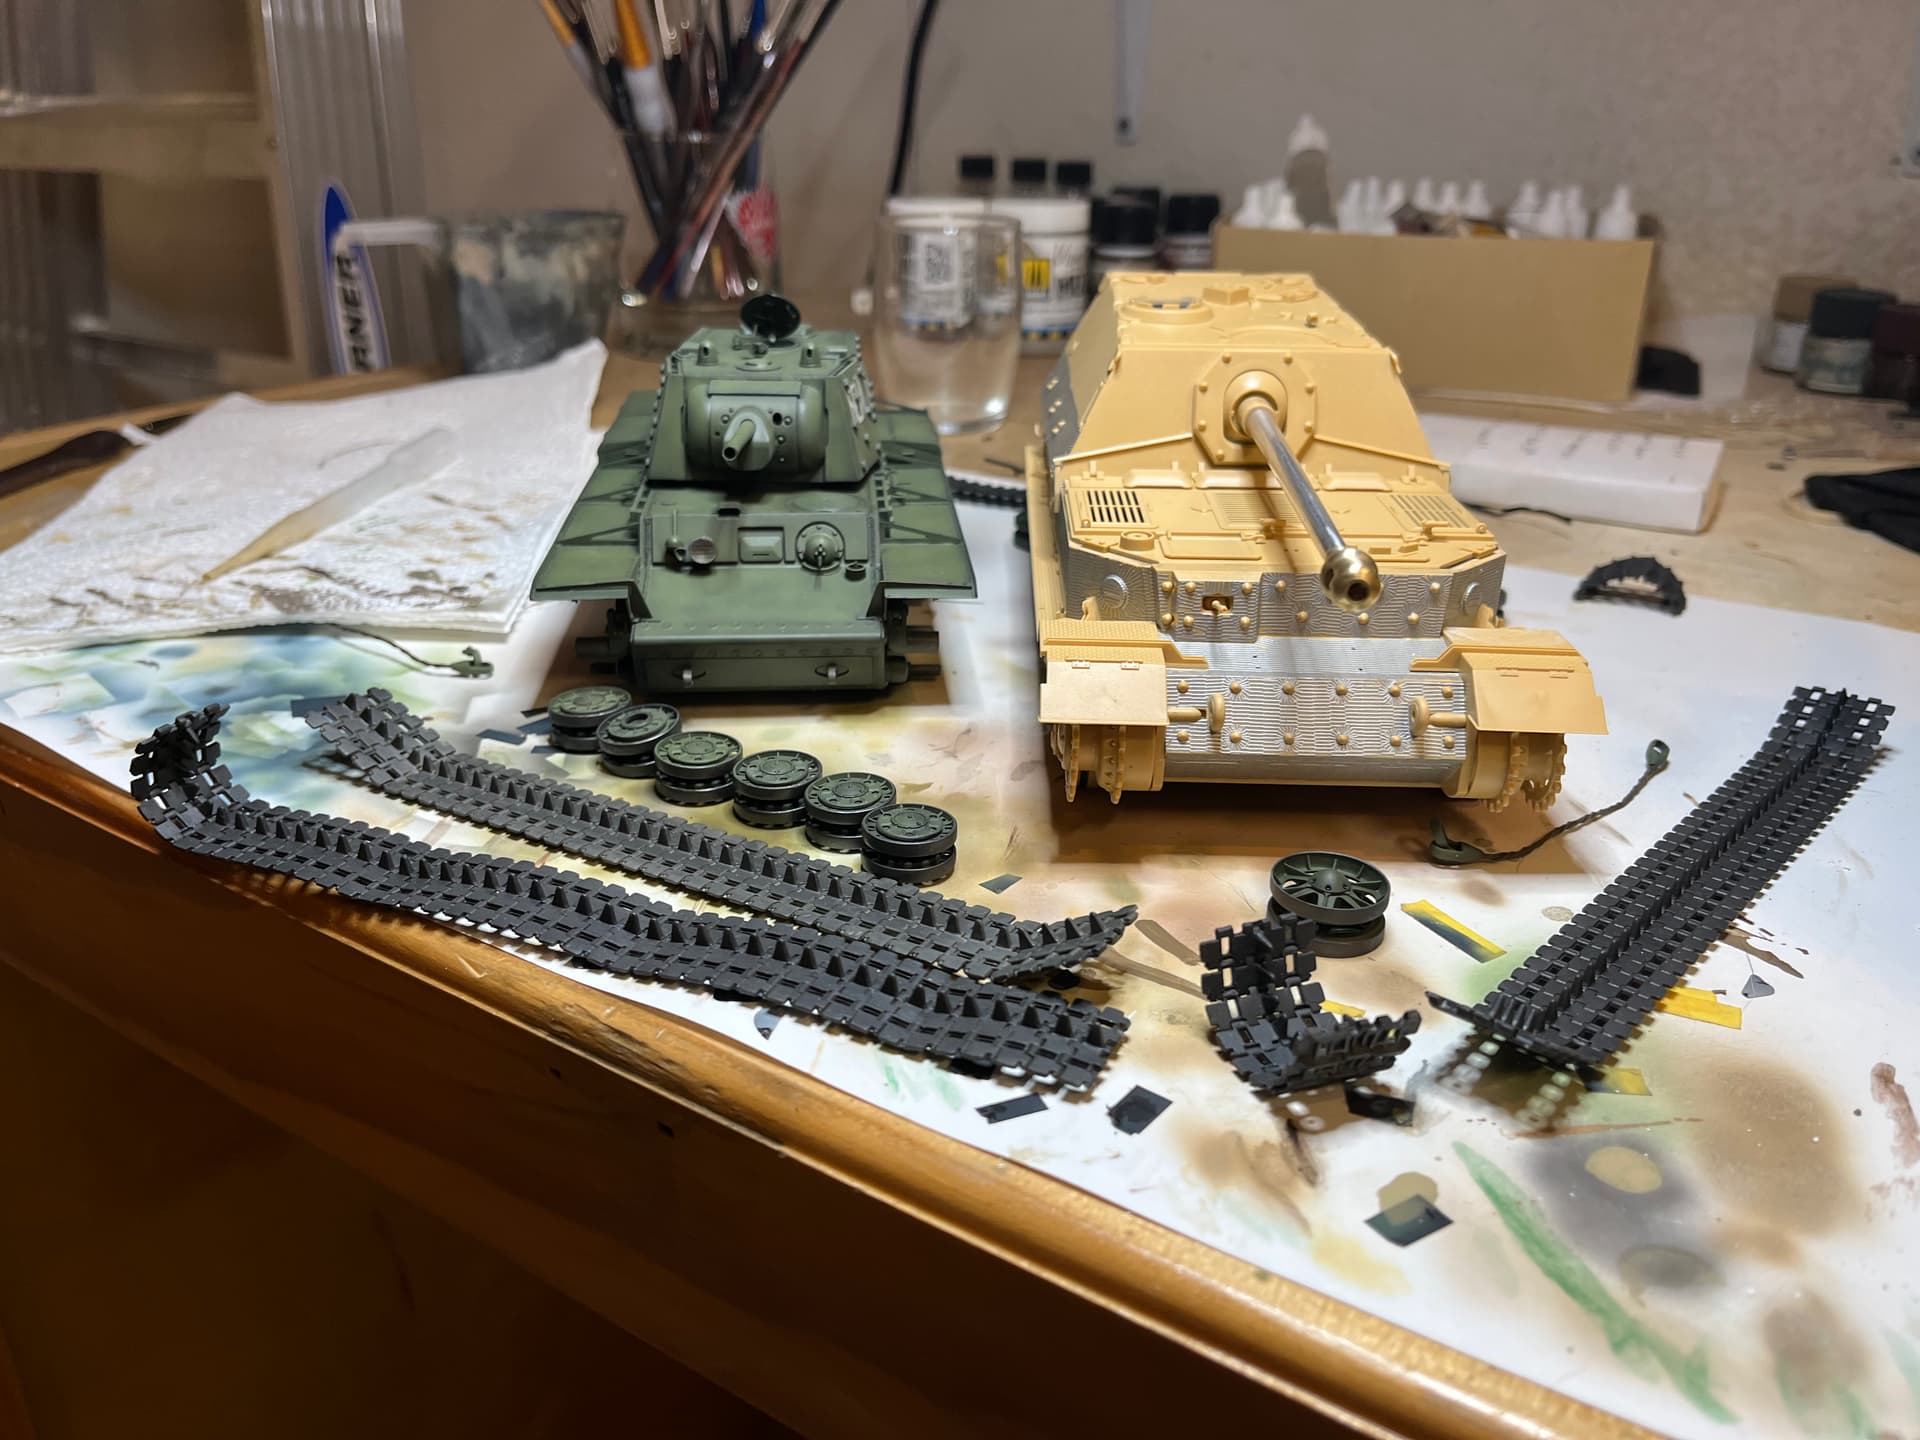
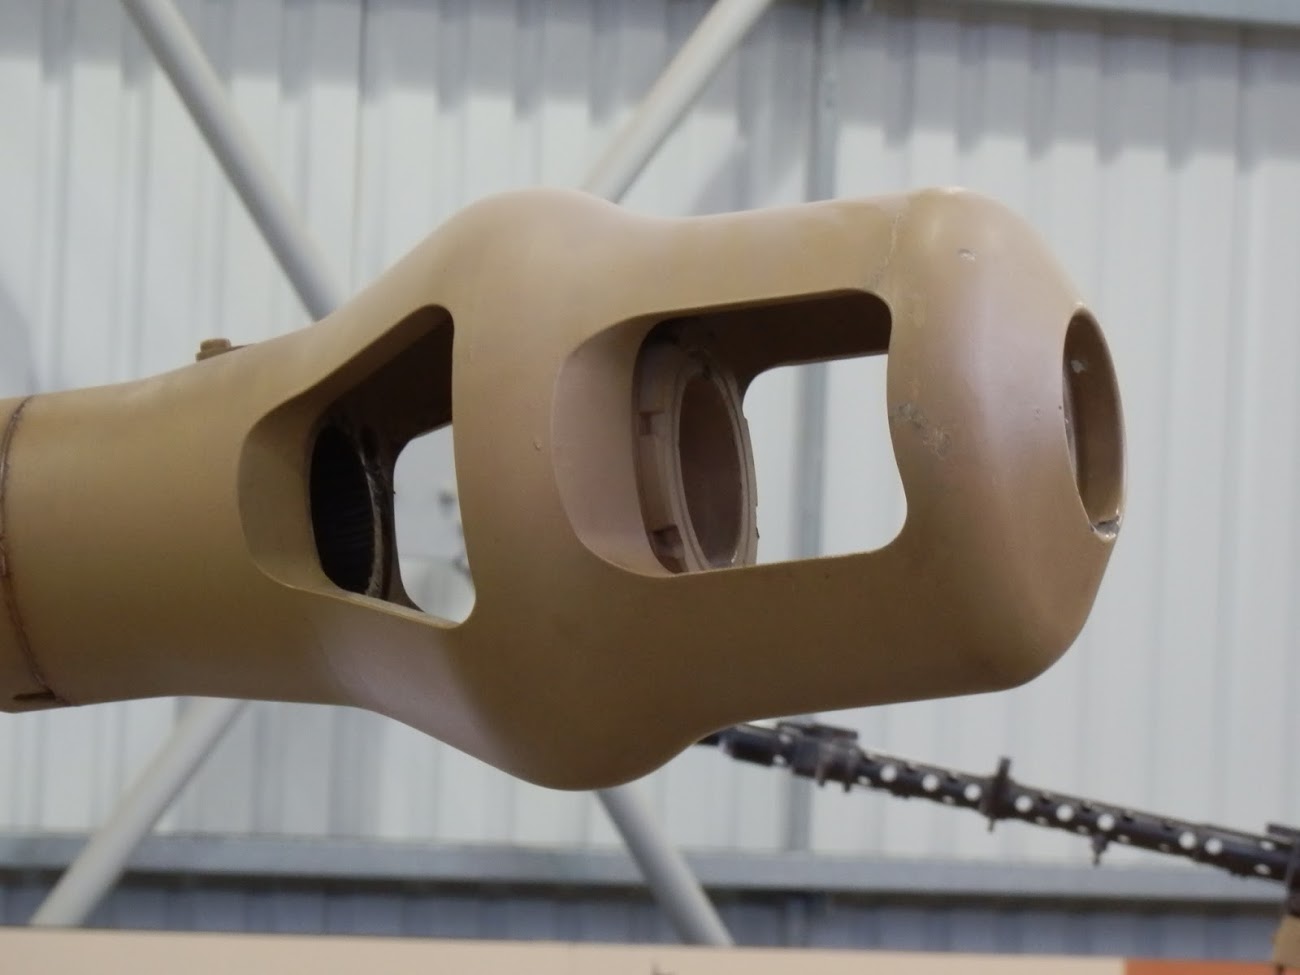
Alright, haven’t had much time to work on this one lately with Christmas, but finally got the metal barrel together. Turned to soldering. The bond is very strong now! Issue is there is still a really small seem between the two muzzle break halves. It’s very smooth but if I run my finger nail over it I can feel a small lip. Might just try to sand it down.

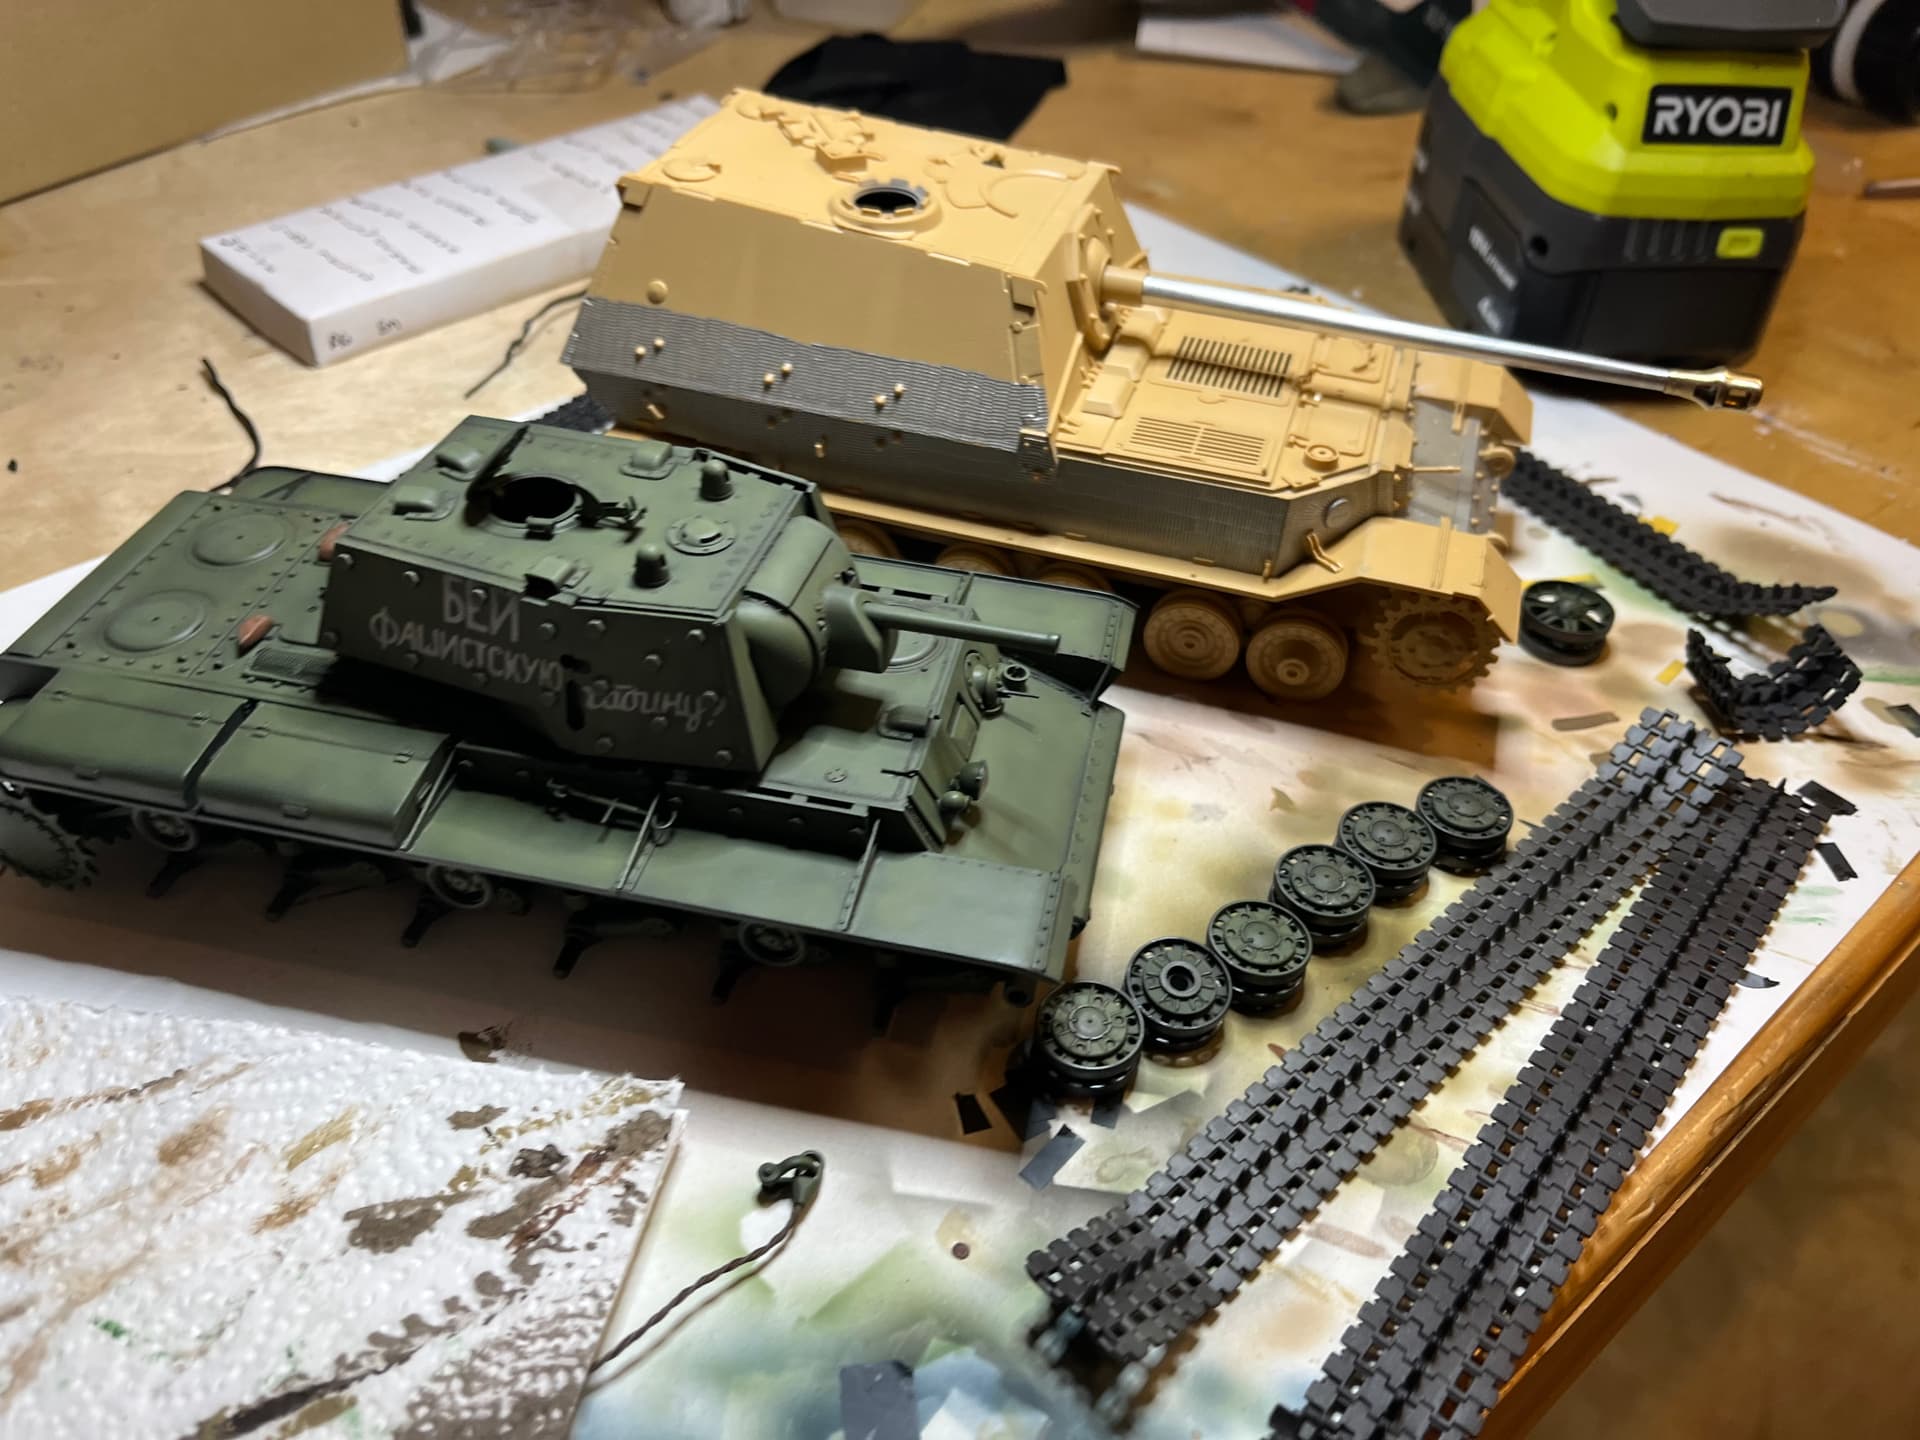
And beside her nemesis in the paint booth
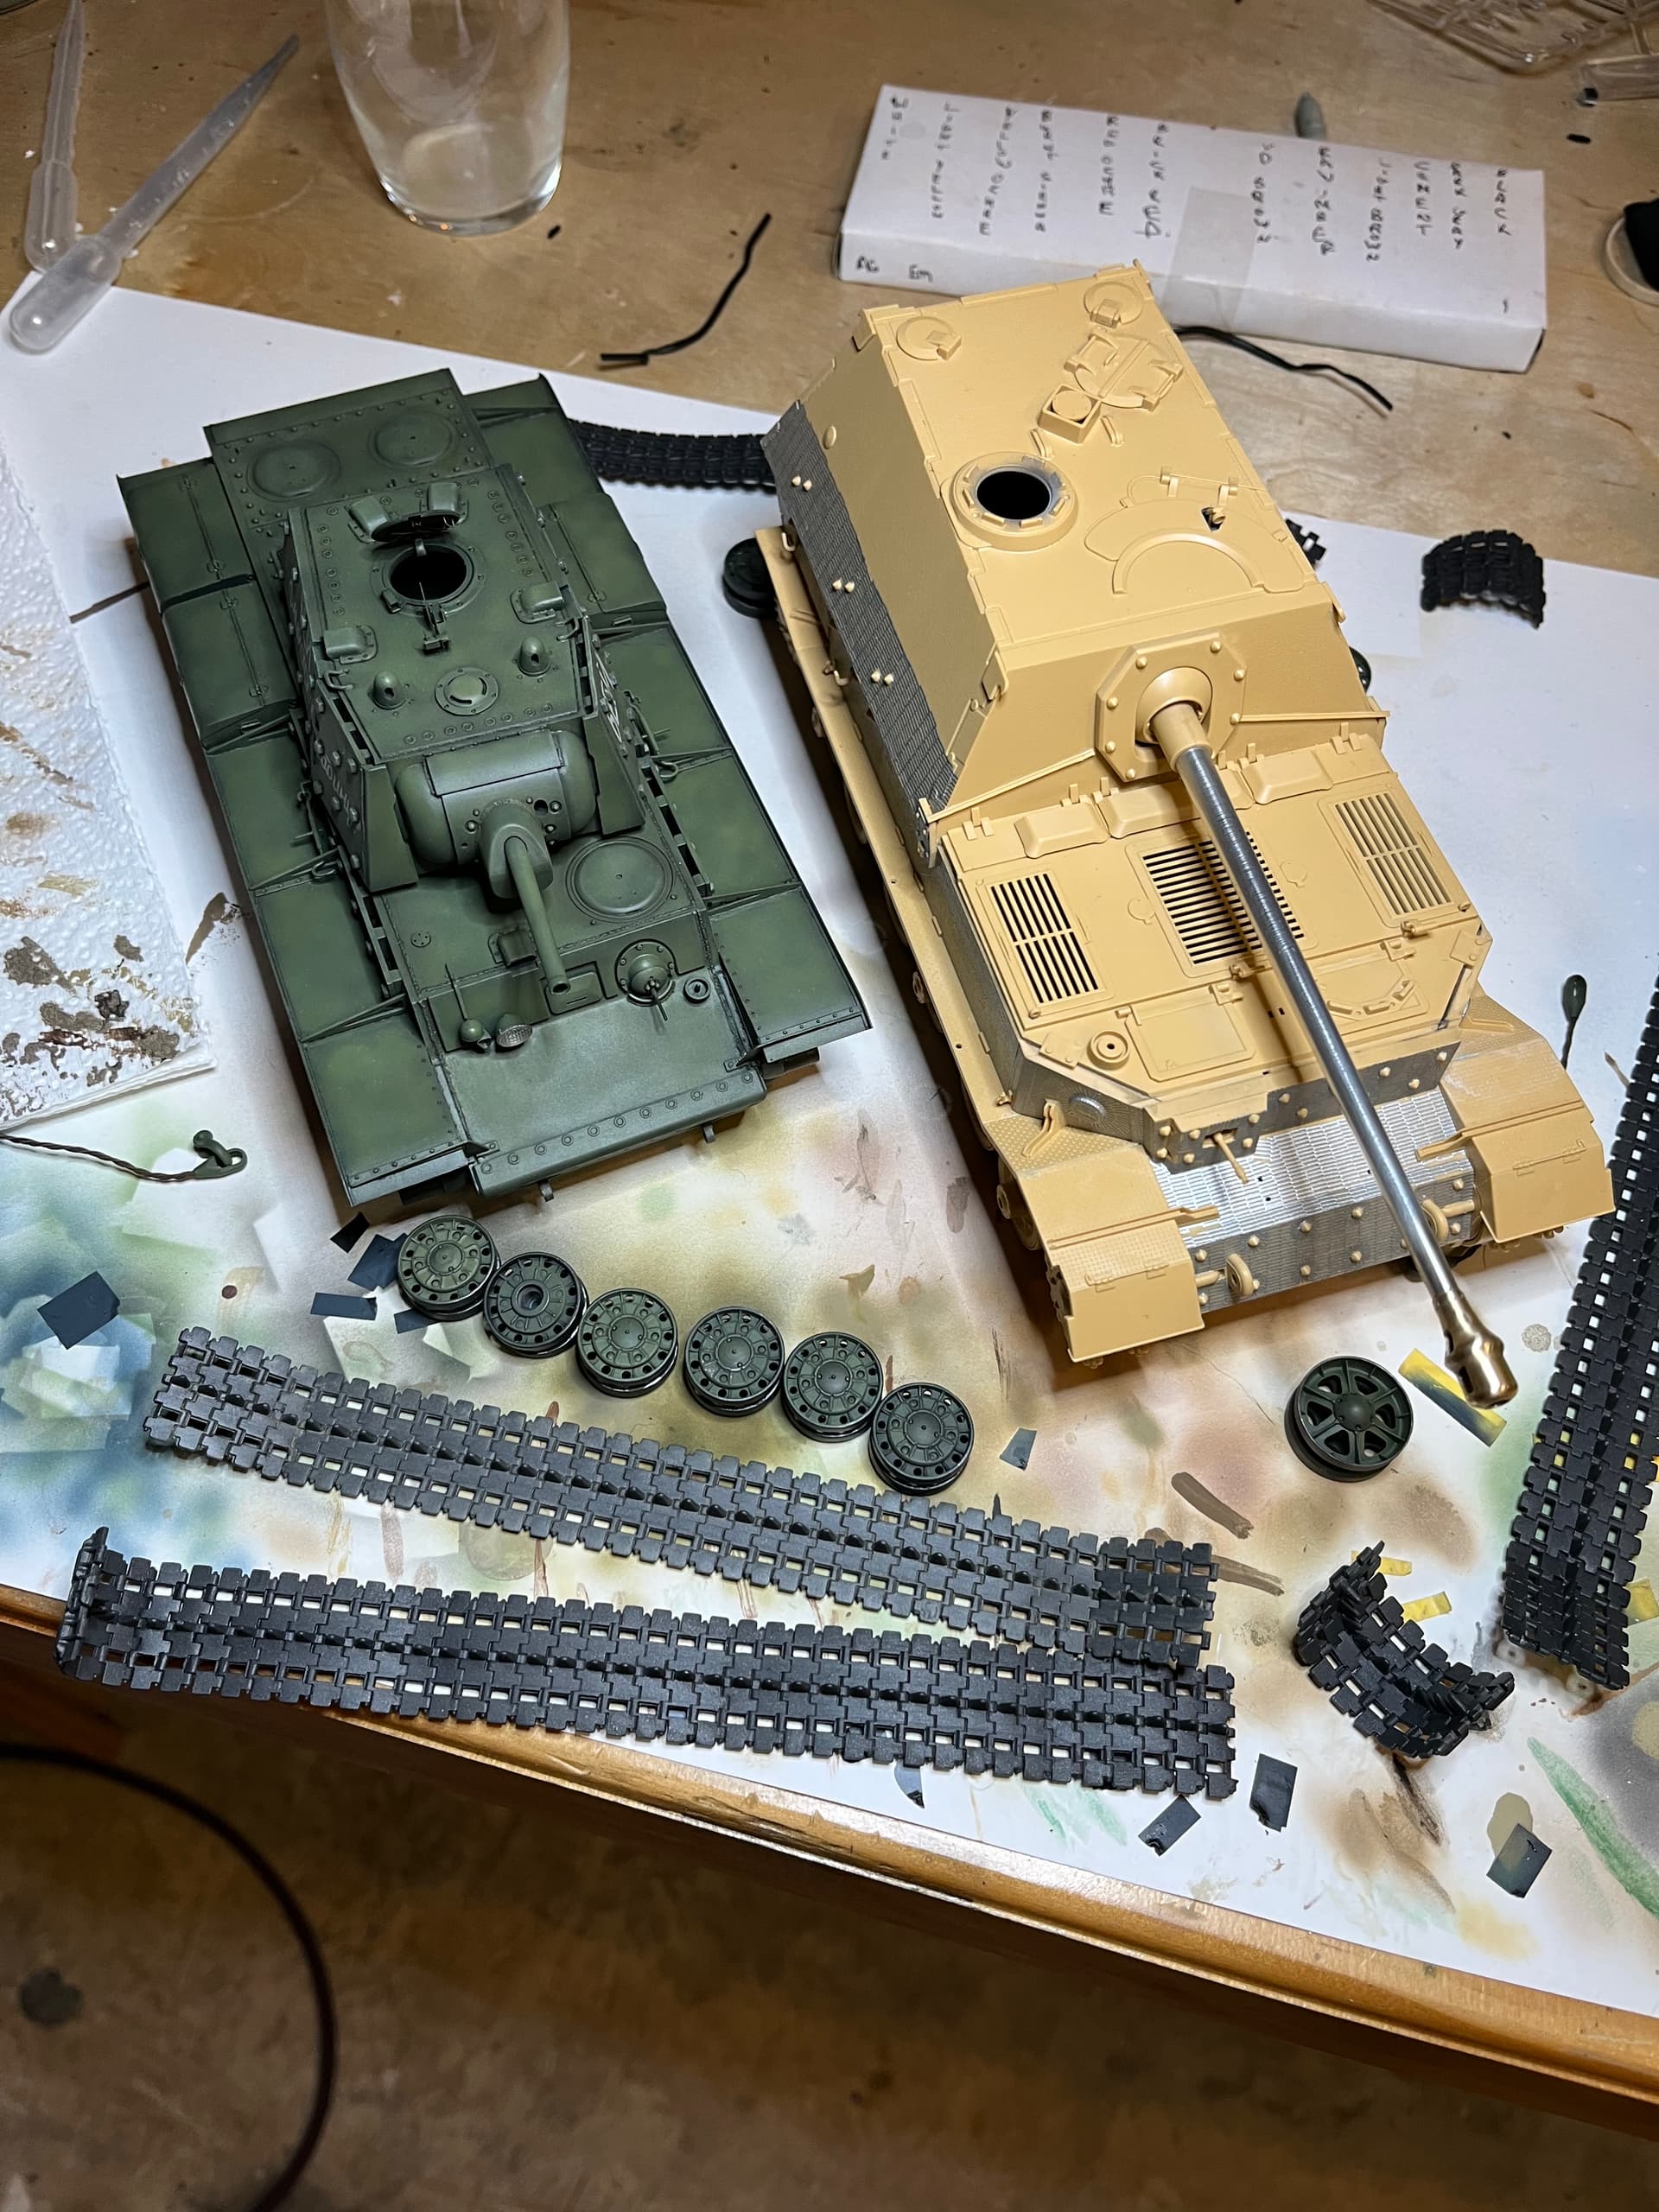
Close to being able to paint this one. Just a few small bits and bobs, and the little retaining nut on the muzzle break
8 Likes
Looks very good Mead, and a great shot of them both together…a doing the future maybe ??
1 Like
Why not lay some primer down on it and see how noticeable it is with paint?
1 Like
Good to see you back on this one. It’s such a great build!
1 Like
Yeah that might be a good call. There have been enough times I’ve thought something would look bad but primer revealed it was fine, that I should have learned this lesson by now
@Johnnych01 not on this one, planning for an Italy Elefant. I have a Nashorn and T-34 I might combine in a diorama! But I do like the shot, one of my favorite parts of model making is seeing how two machines that fought each other stack up. The Elefant sure is a beast
2 Likes
You say there is a seam on the muzzle brake. As the original was cast, then machined to fit the barrel with a screw thread, provided the seam is in the same place, I wouldn’t worry too much?
The Aber muzzle break has a front and back half so you can put the internal bits in. The seam is between the front and back halves of the muzzle break. I agree the seam where it threads on is no biggie
I’m not familiar with this bit of kit, but would Mr Surfacer dribbled in then sanded work? Deluxe Perfect Plastic Putty tends not to be very good at filling in micro-seams.
Alternatively, cover the whole of the ‘cast’ portion of the muzzle brake with Mr Surfacer & stipple a cast texture on it.
3 Likes
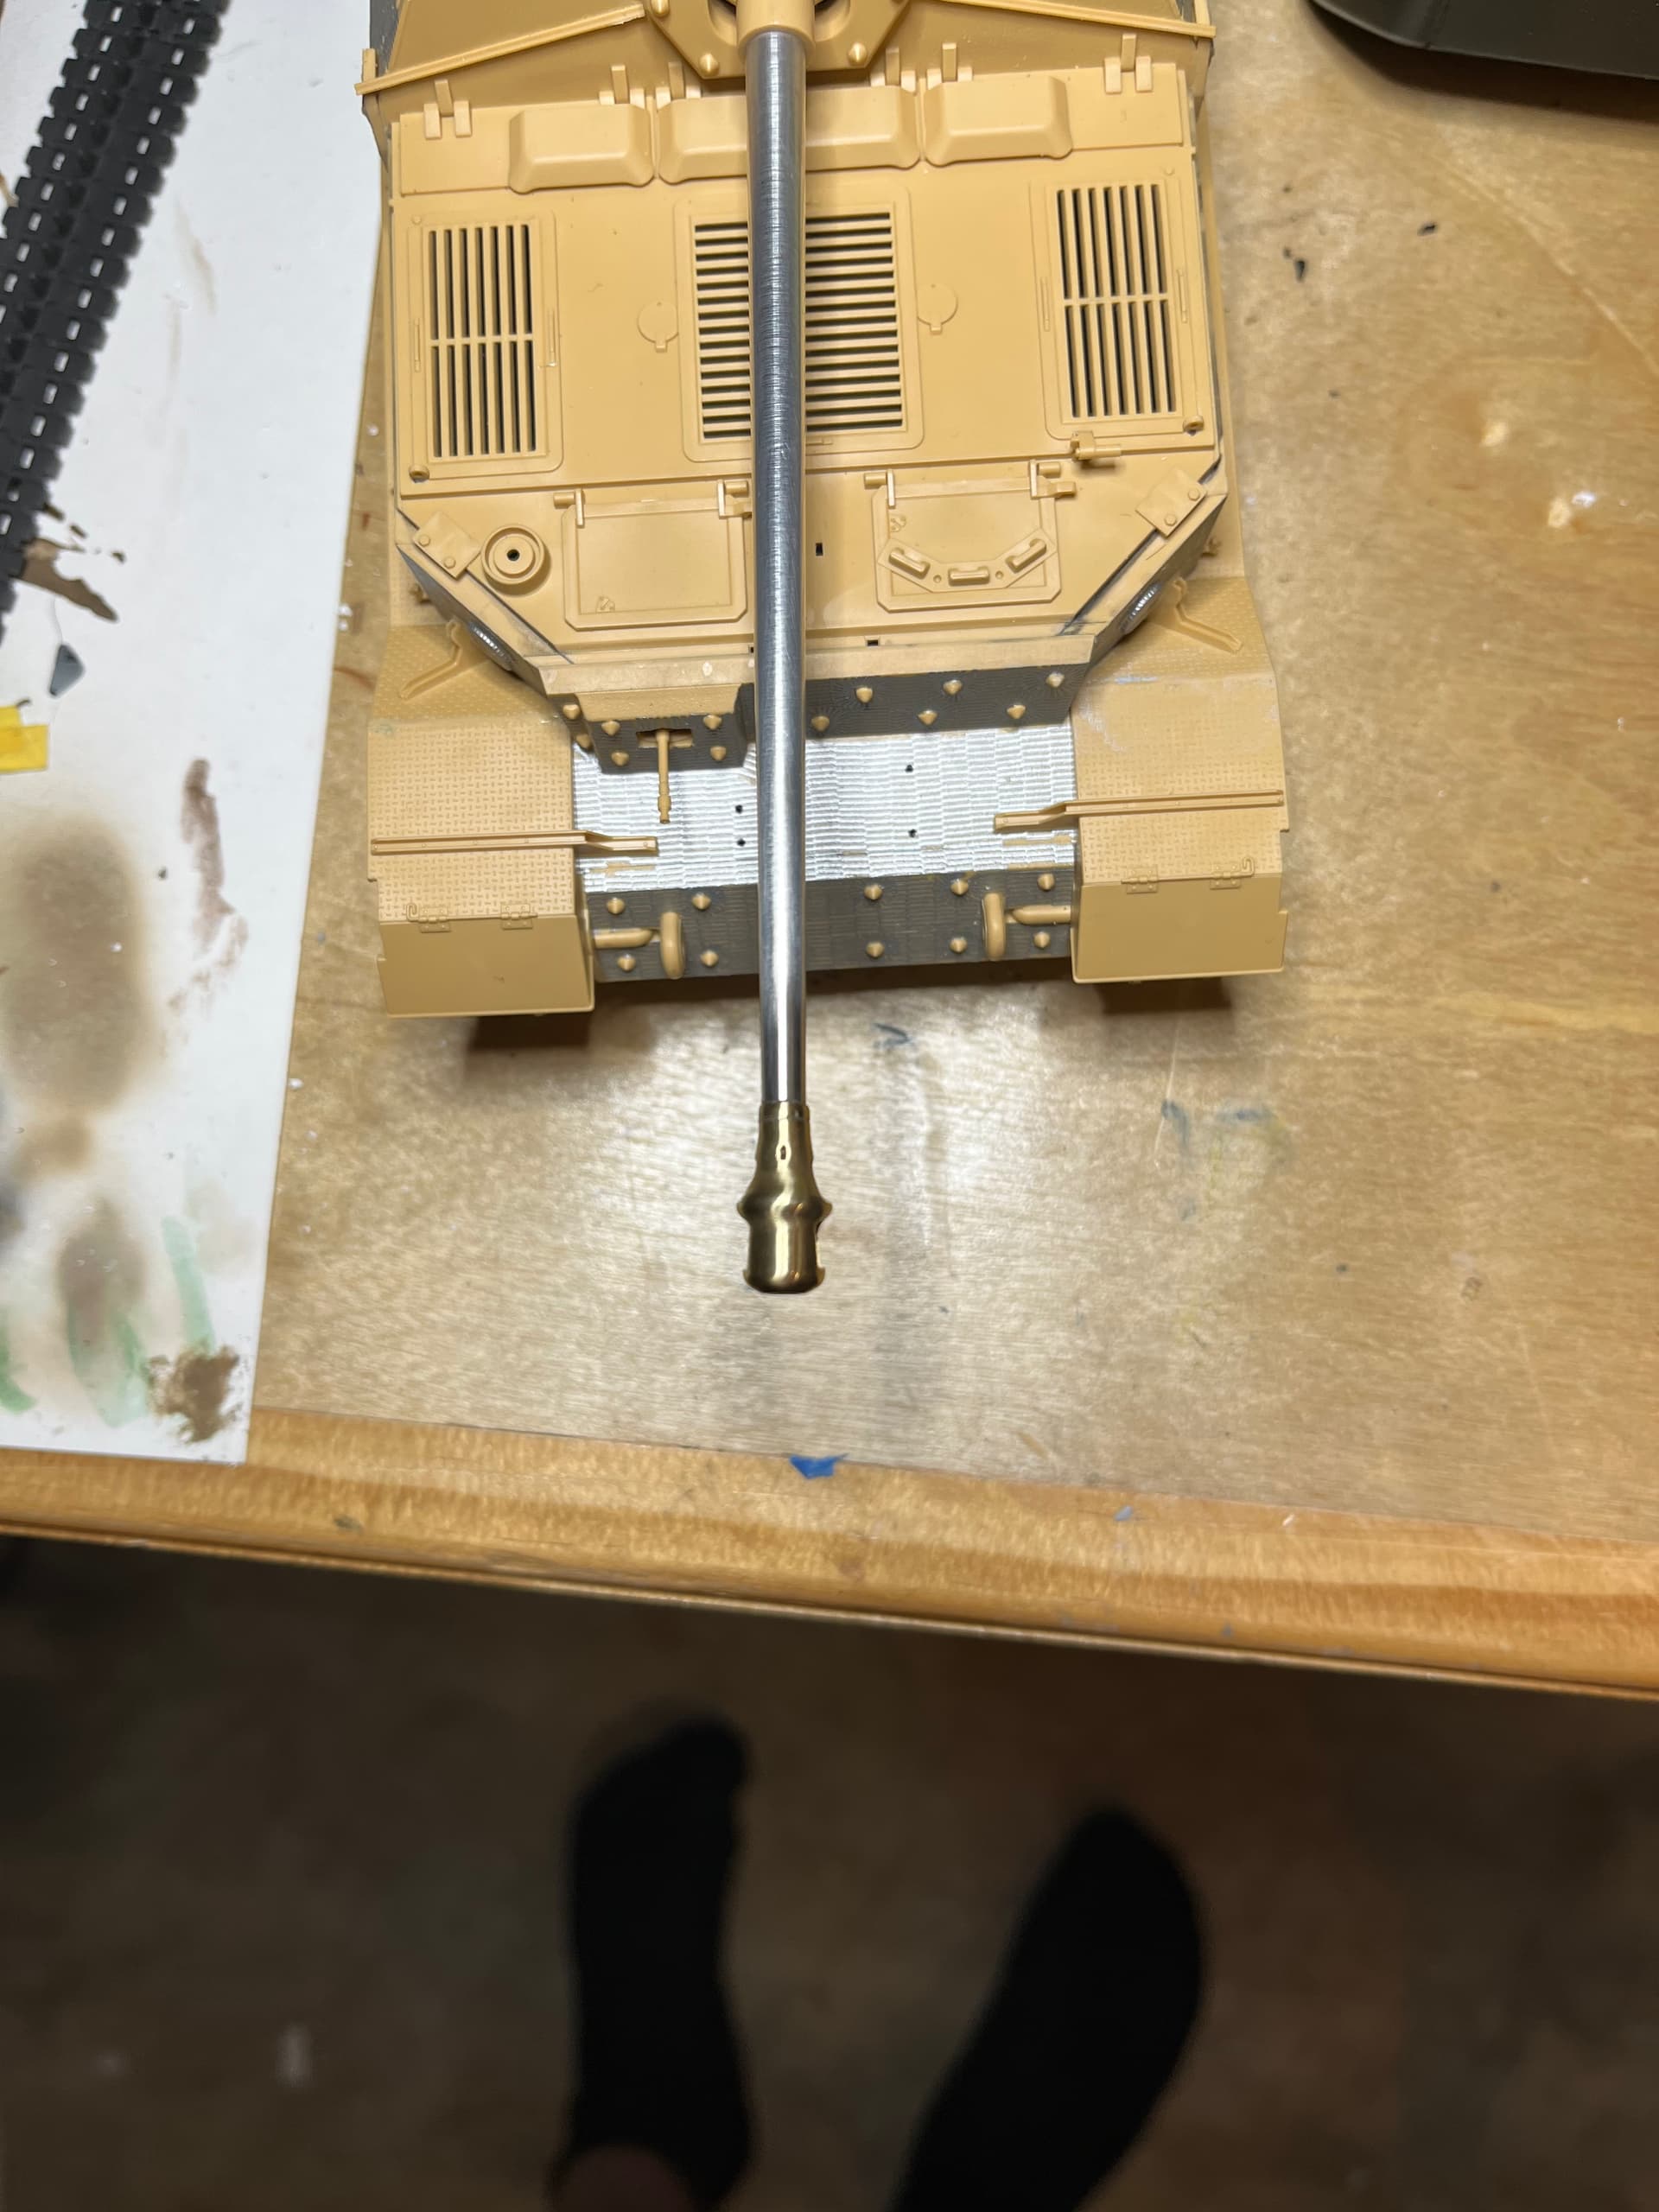
I was able to get the seam mostly taken care of with a tiny bit more soldering, and then some sanding to smooth out the really small step. Can no longer feel it with my finger nail, will give the muzzle break a quick shot of primer before I attach it to the tank to make sure the seam is gone
1 Like
Argh!
It’s a Muzzle BRAKE!
1 Like
Argh! It’s muzzle brake!
1 Like