Y’all should stop and give him a break on the brake. Otherwise mods might have to muzzle you. ![]()
![]()
![]()
2 Likes
![]()
Argh who cares
2 Likes
Actually, it does matter in the context of the discussion regarding a muzzle presented by the AM manufacturer in two halves and its function on the vehicle …
Just saying
![]()
Sure but I think from context it was pretty clear which I meant
Ooh, gimme a break! “Break me off a piece of that Kit Kat Bar!” ![]()
![]()
![]()
Ken
3 Likes
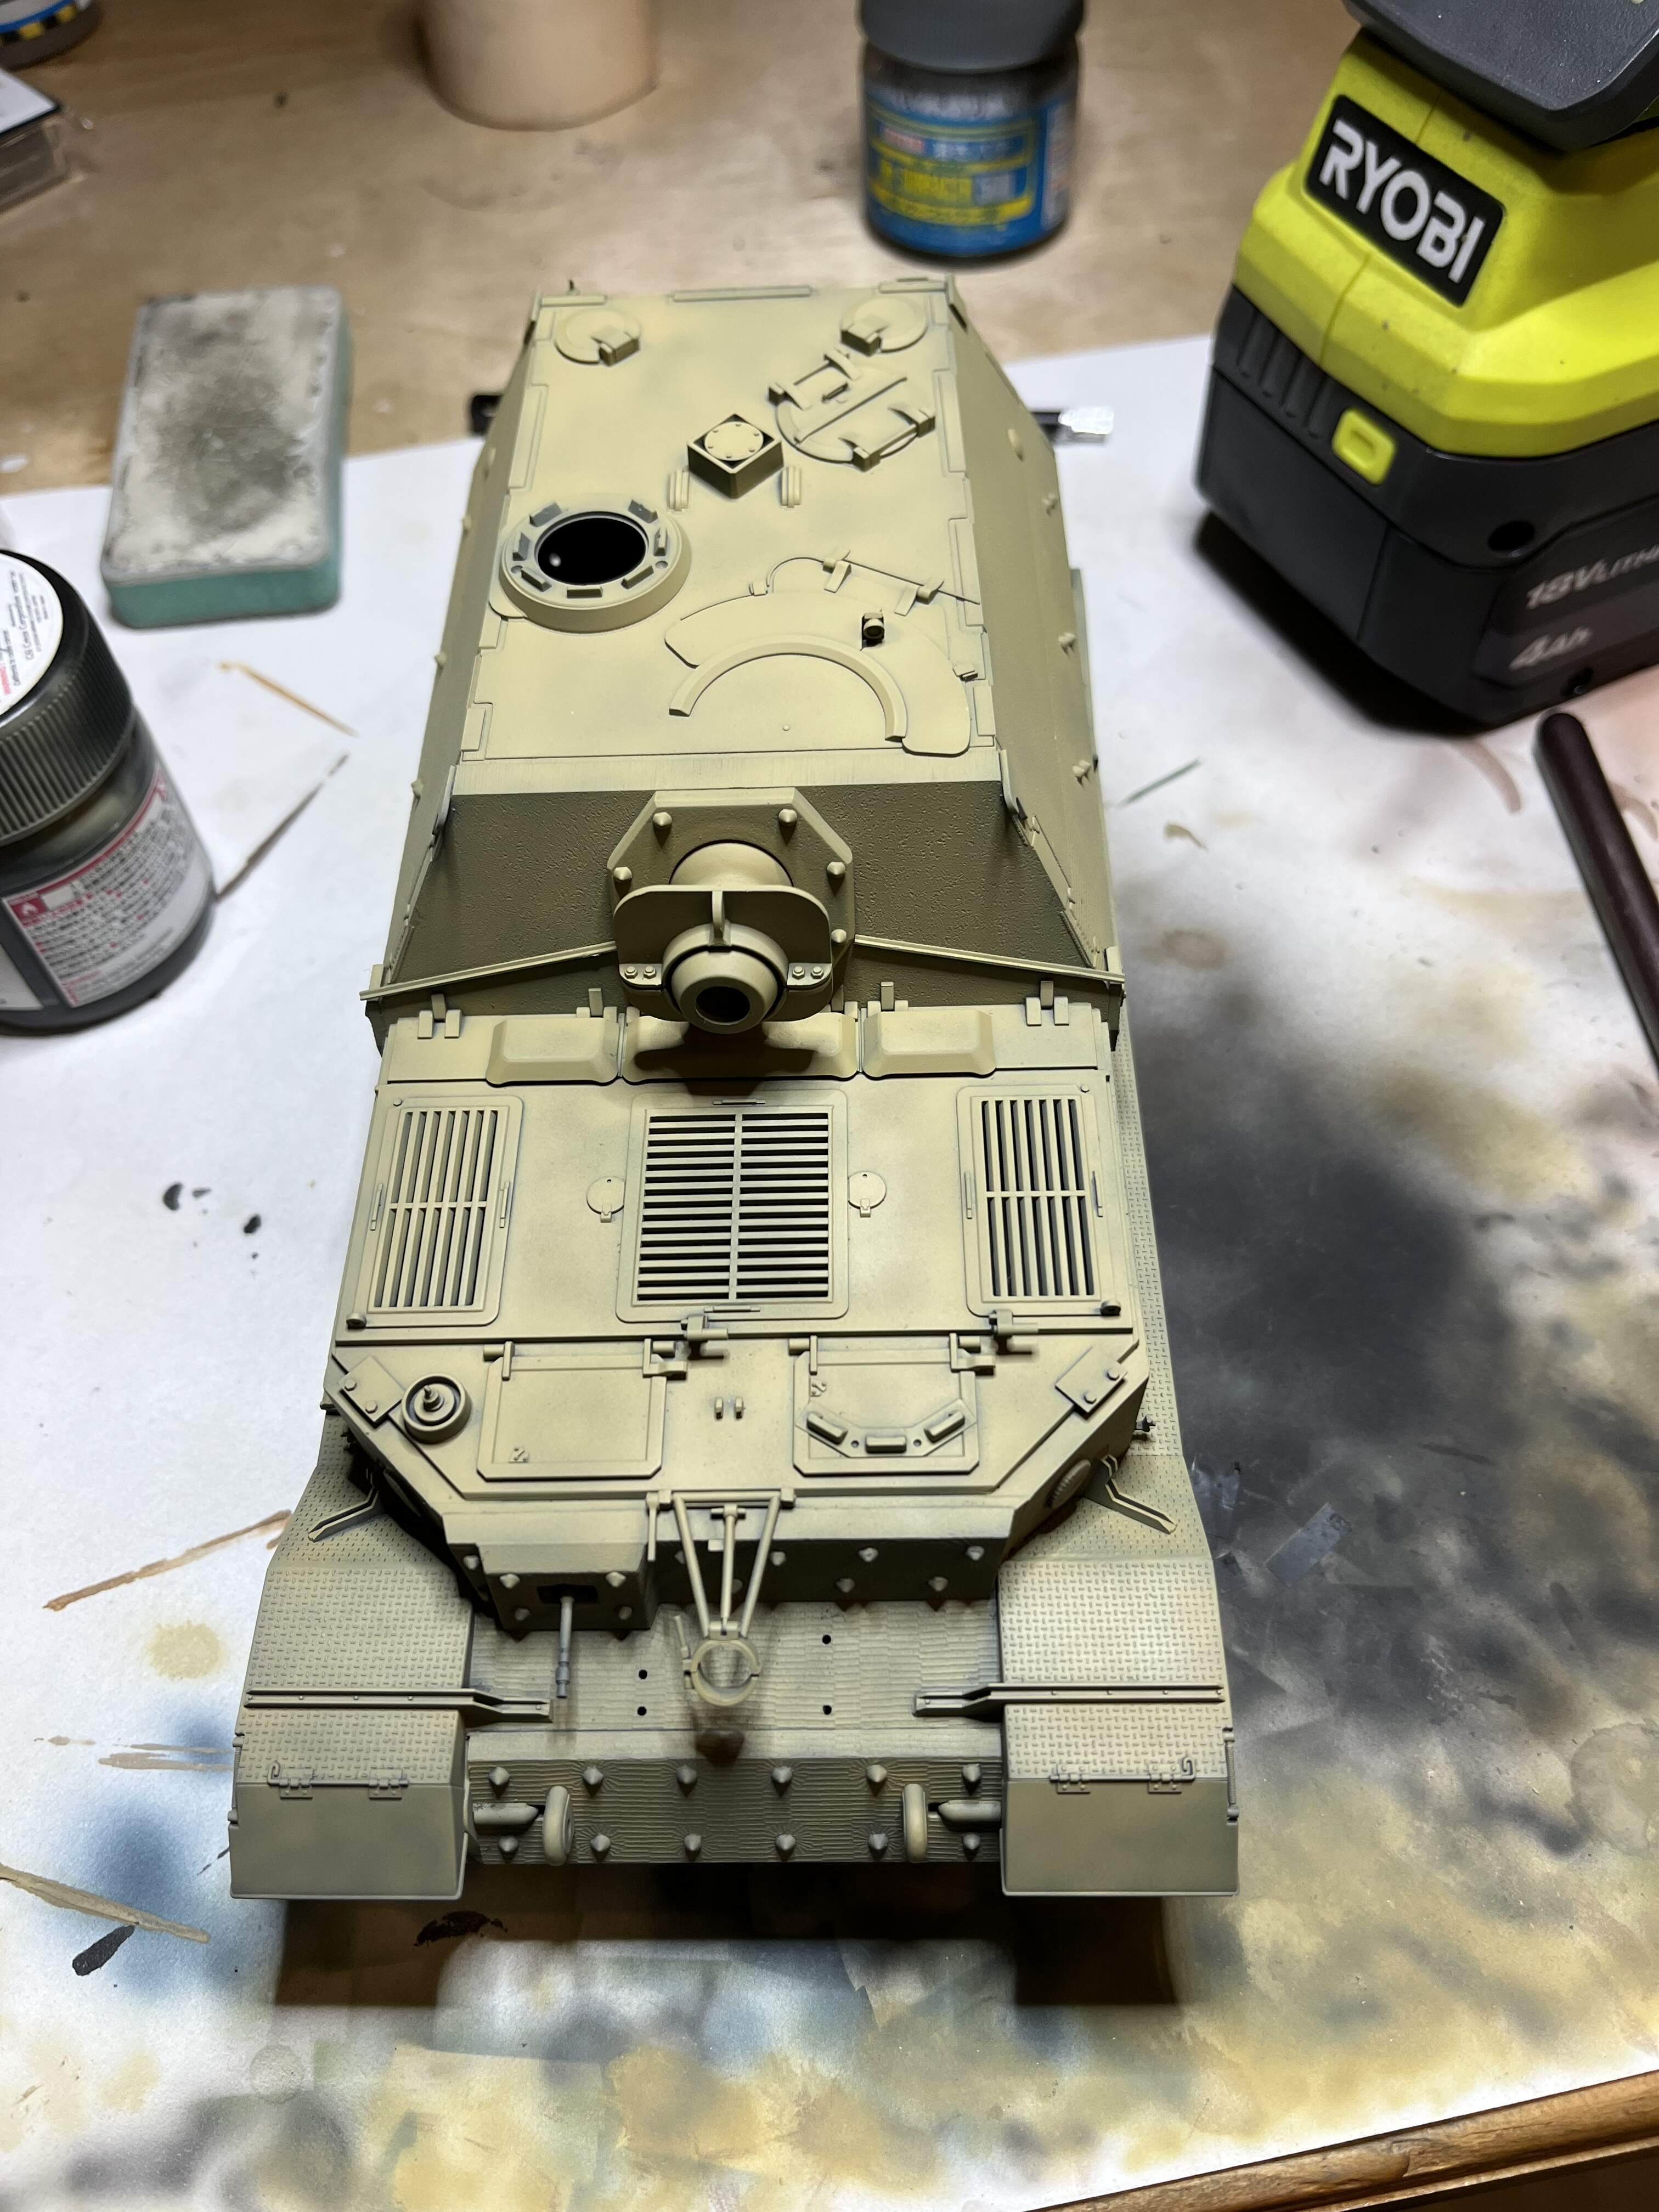
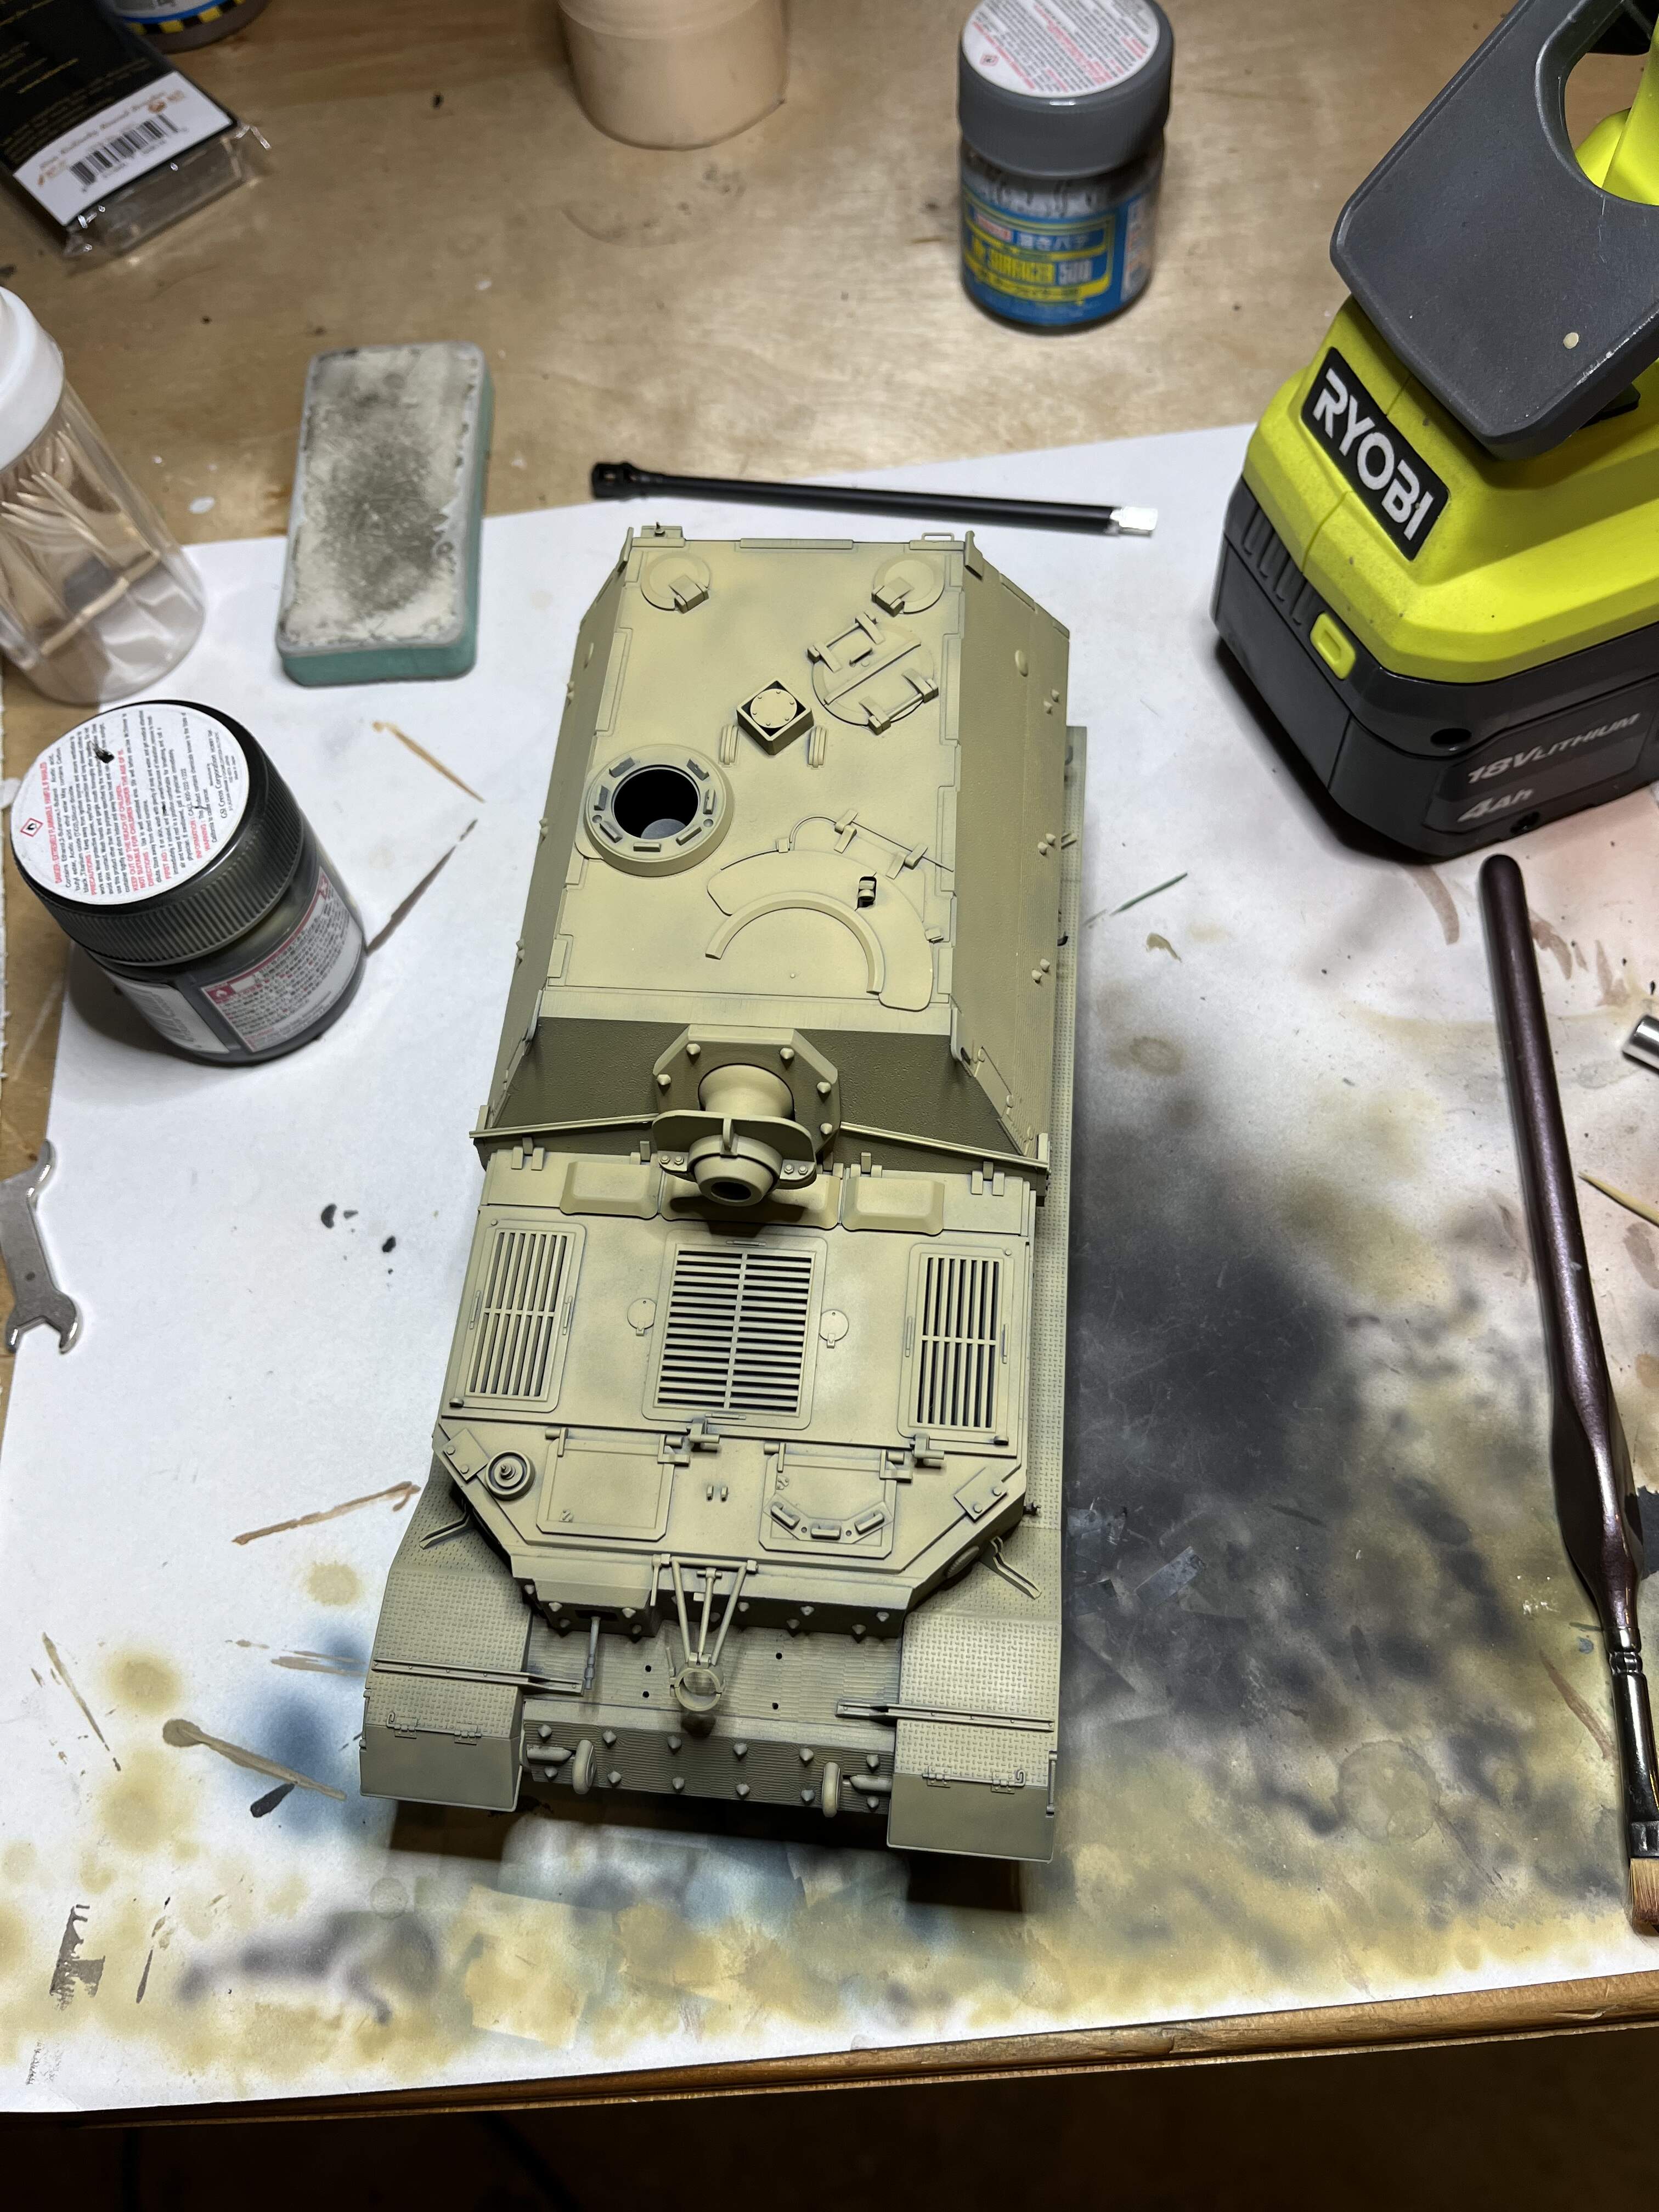
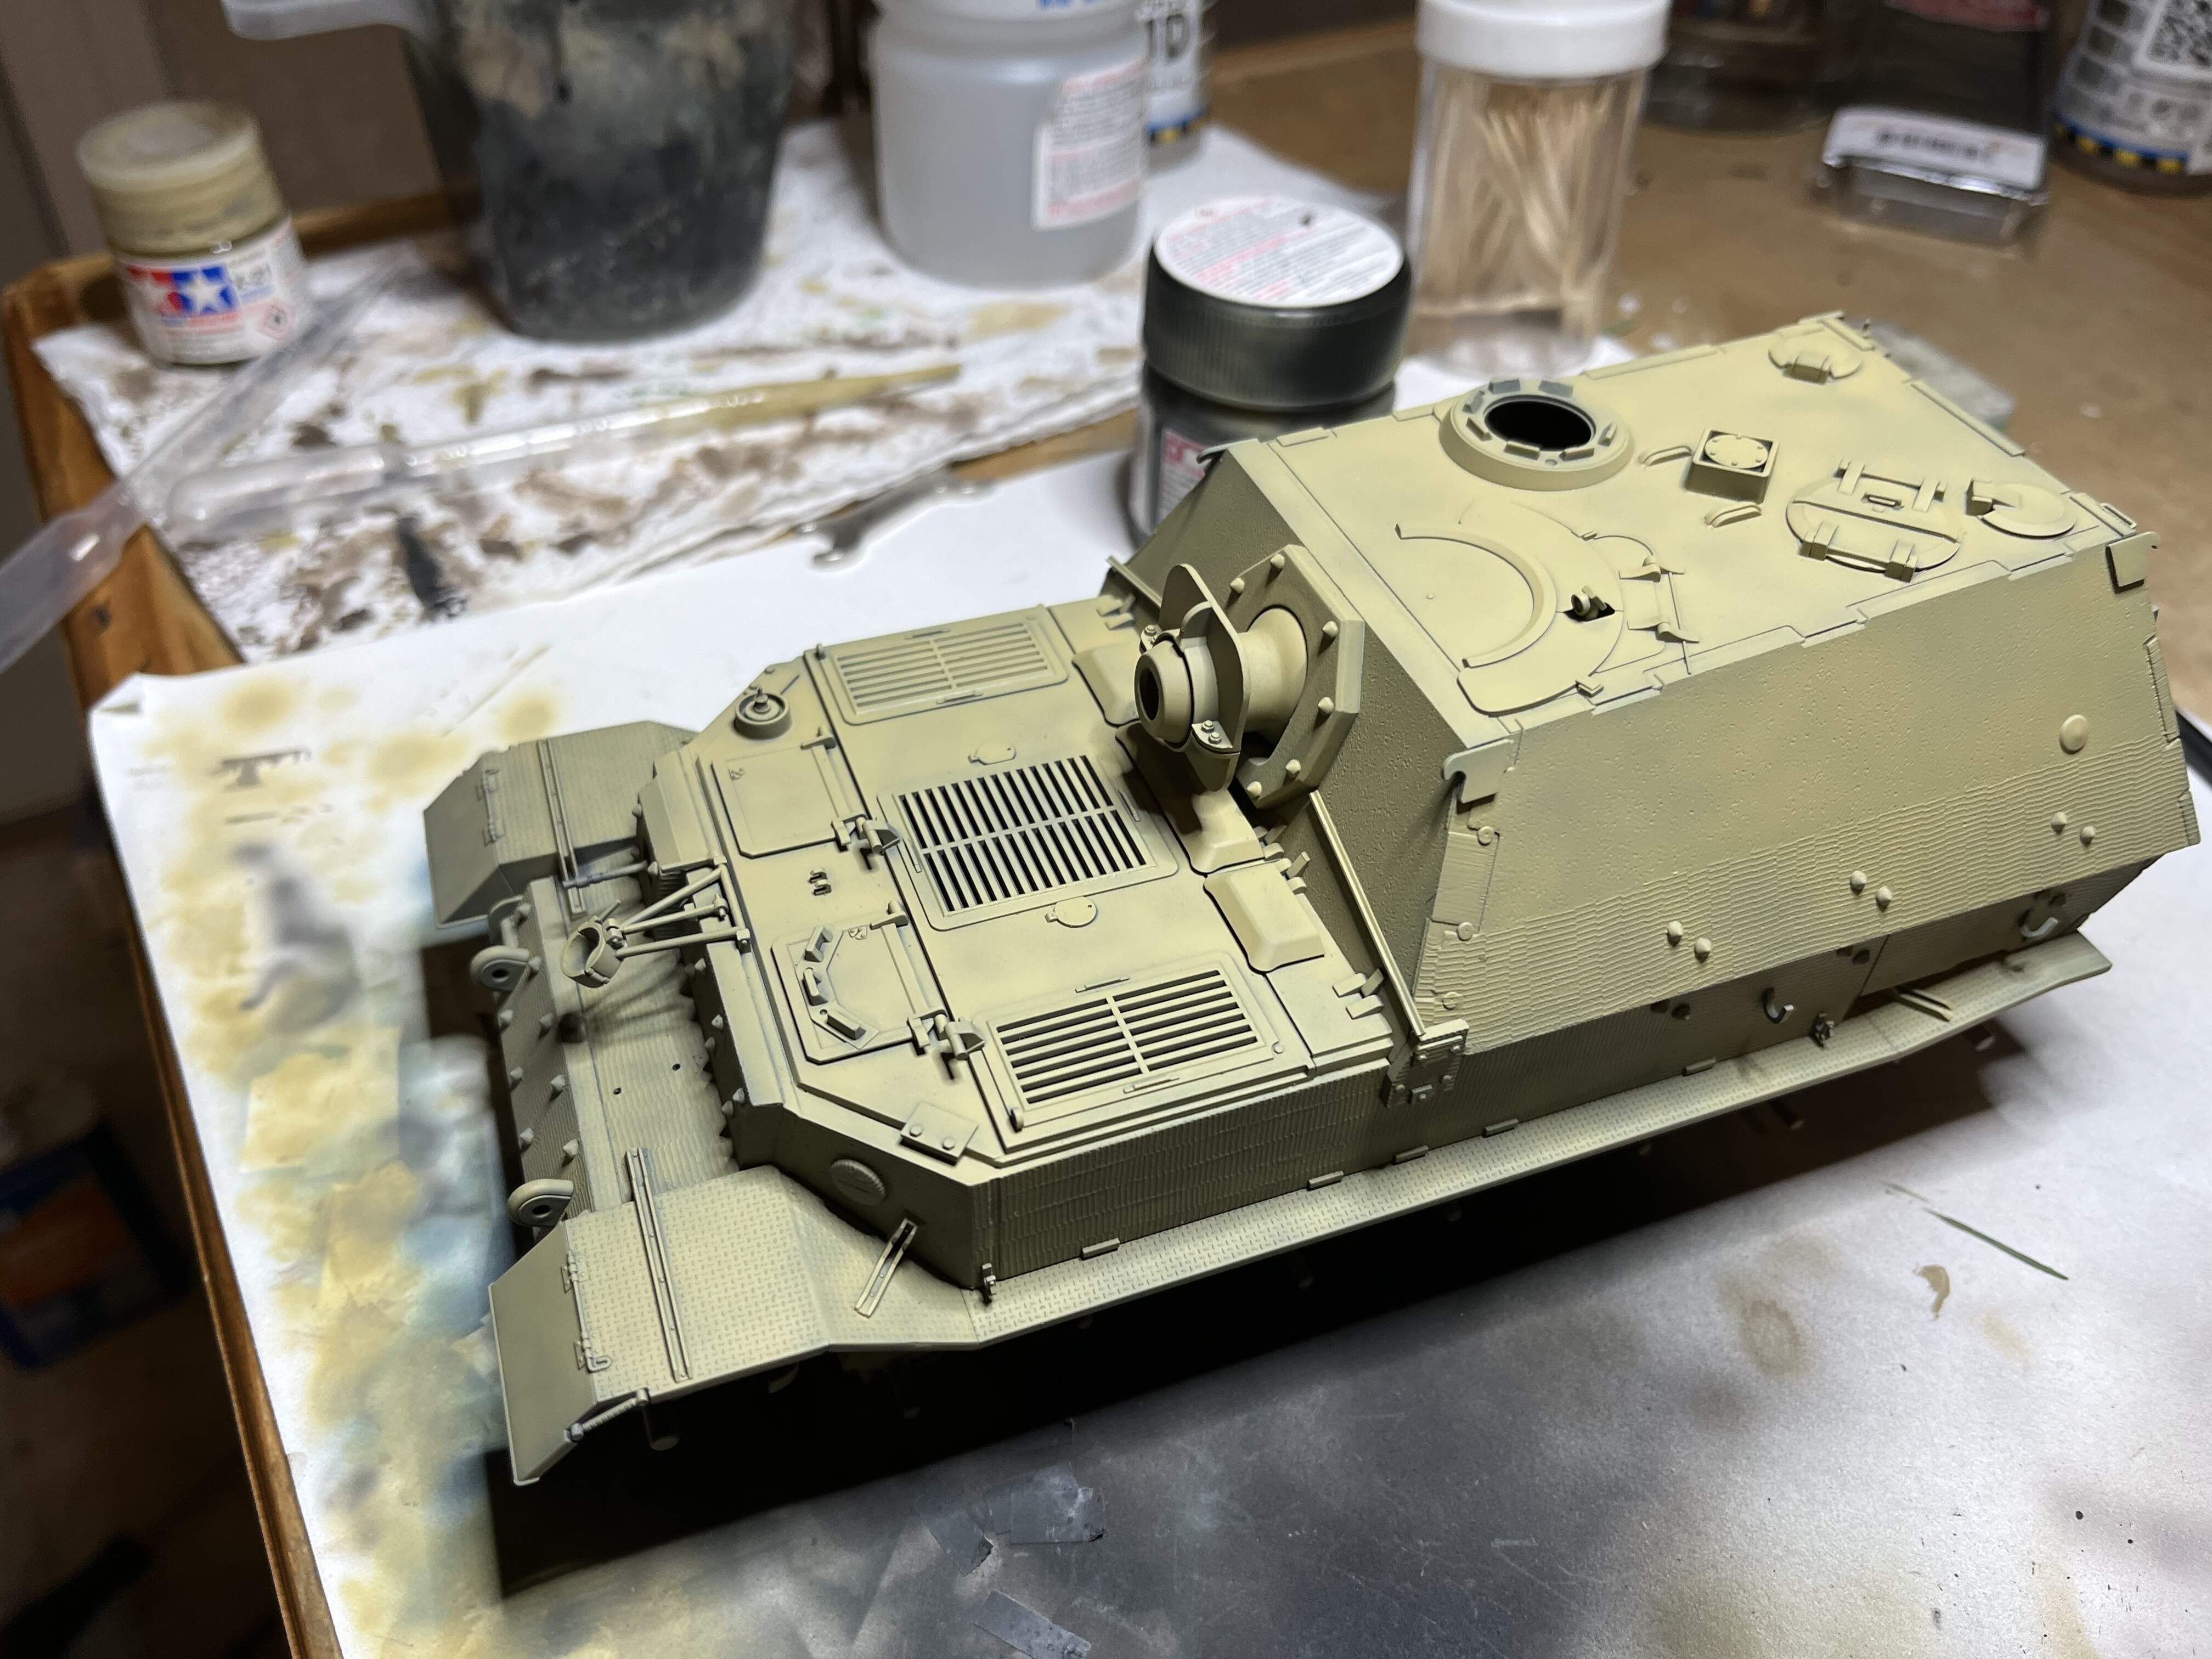
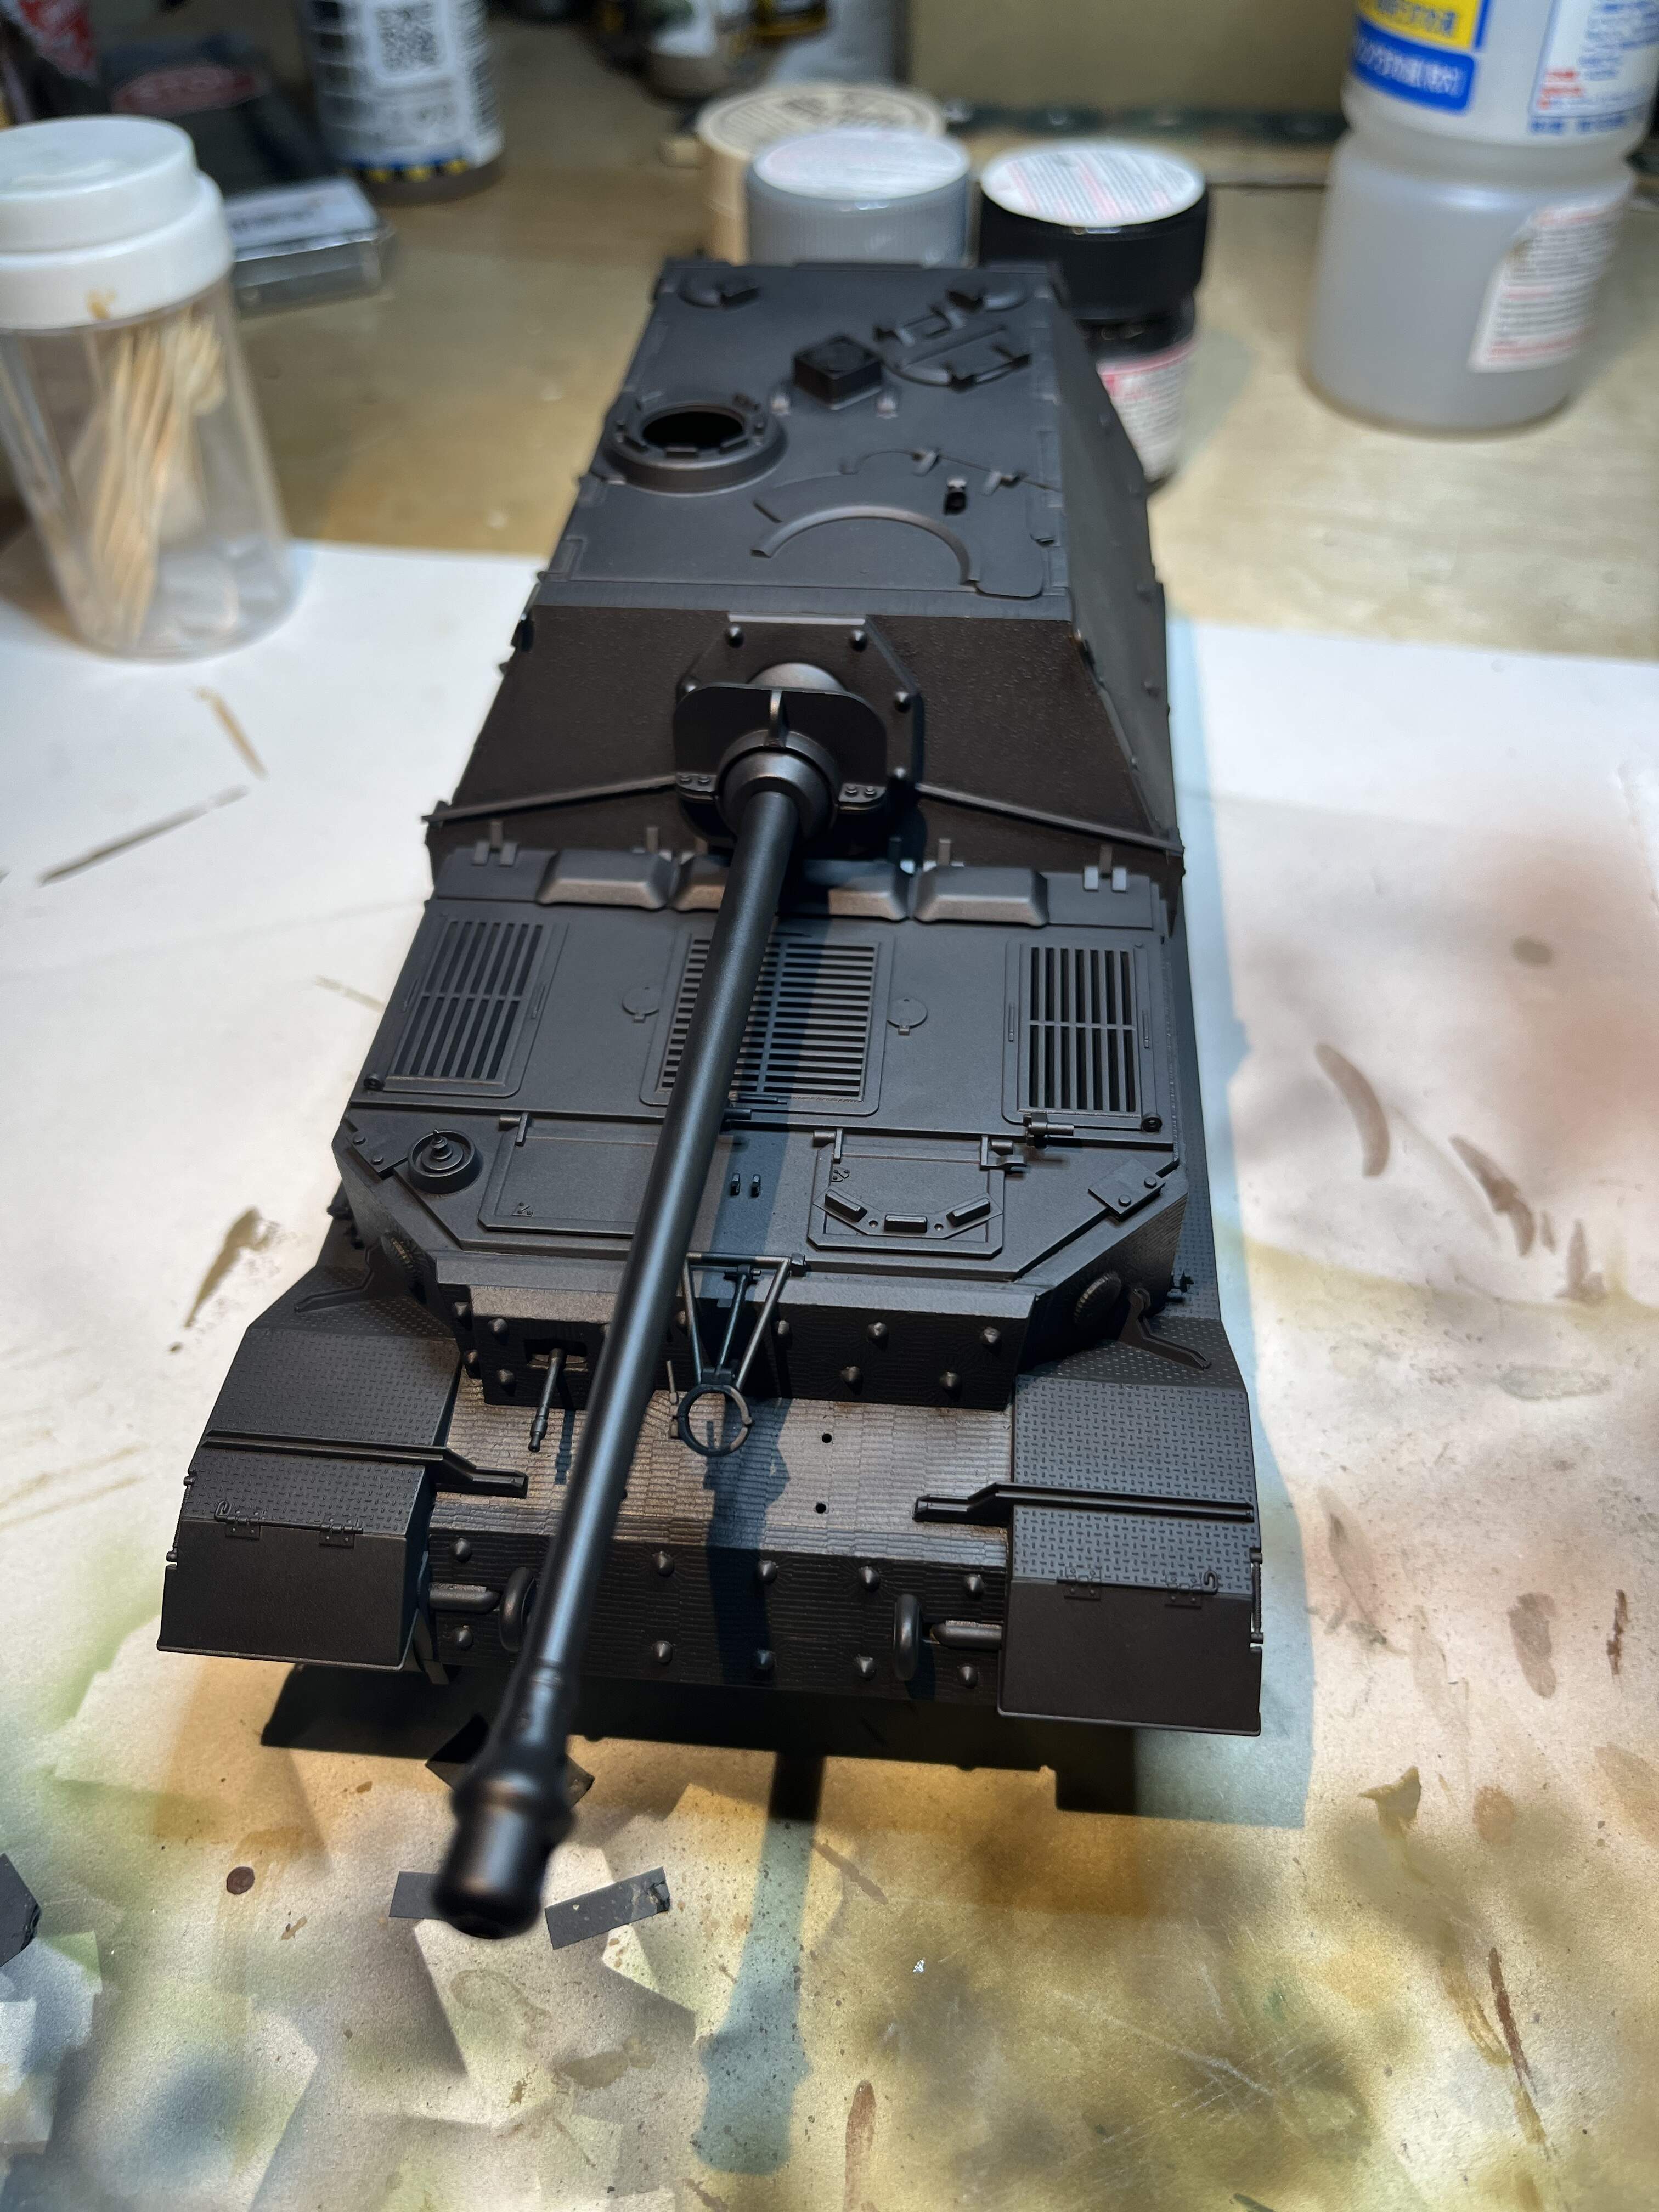
Main construction done. The seam on the muzzle BRAKE was nearly invisible when I tested some primer. All was going swimmingly until I realized I put the mantlet cover armor on crooked D’Oh! I was able to do some surgery, remove it, straighten it, and then reglue. This left a bit of a nasty seam. I will clean it up with super glue and some sanding, should be easy. Other than that I need to make the tow cables up and then patch the zimmerit in a few small places. But she is mostly ready for paint other than the tracks.

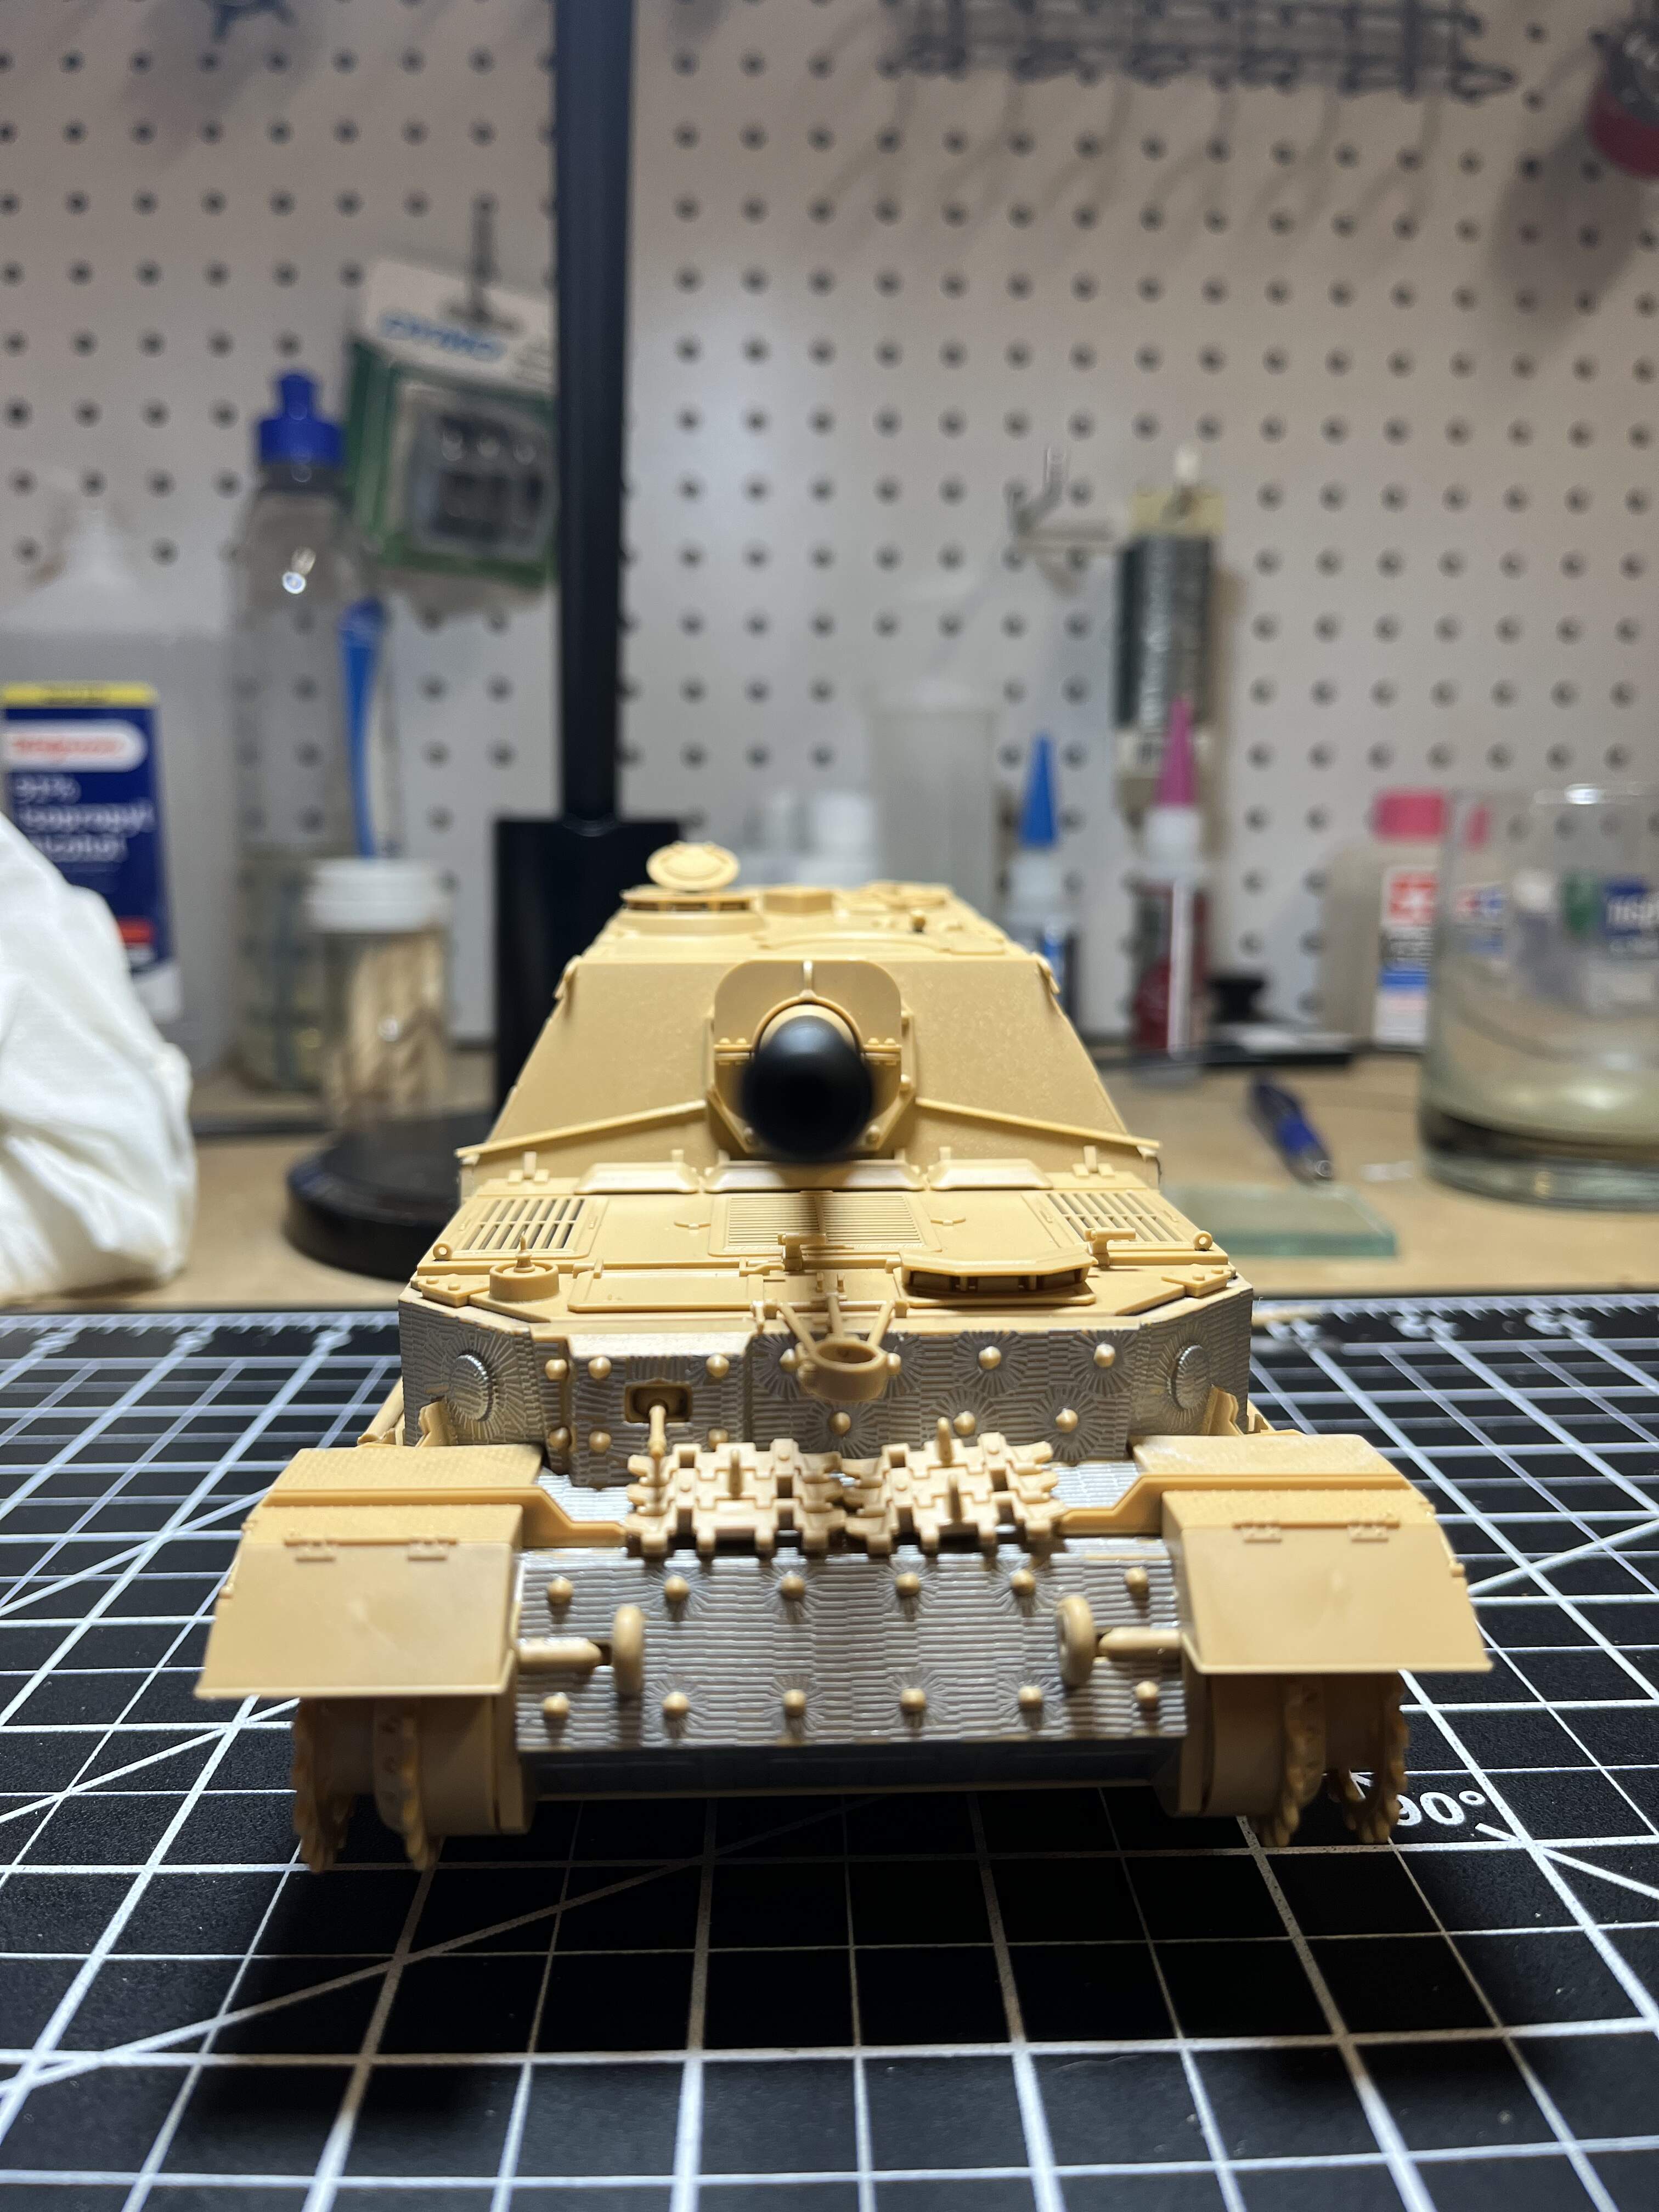
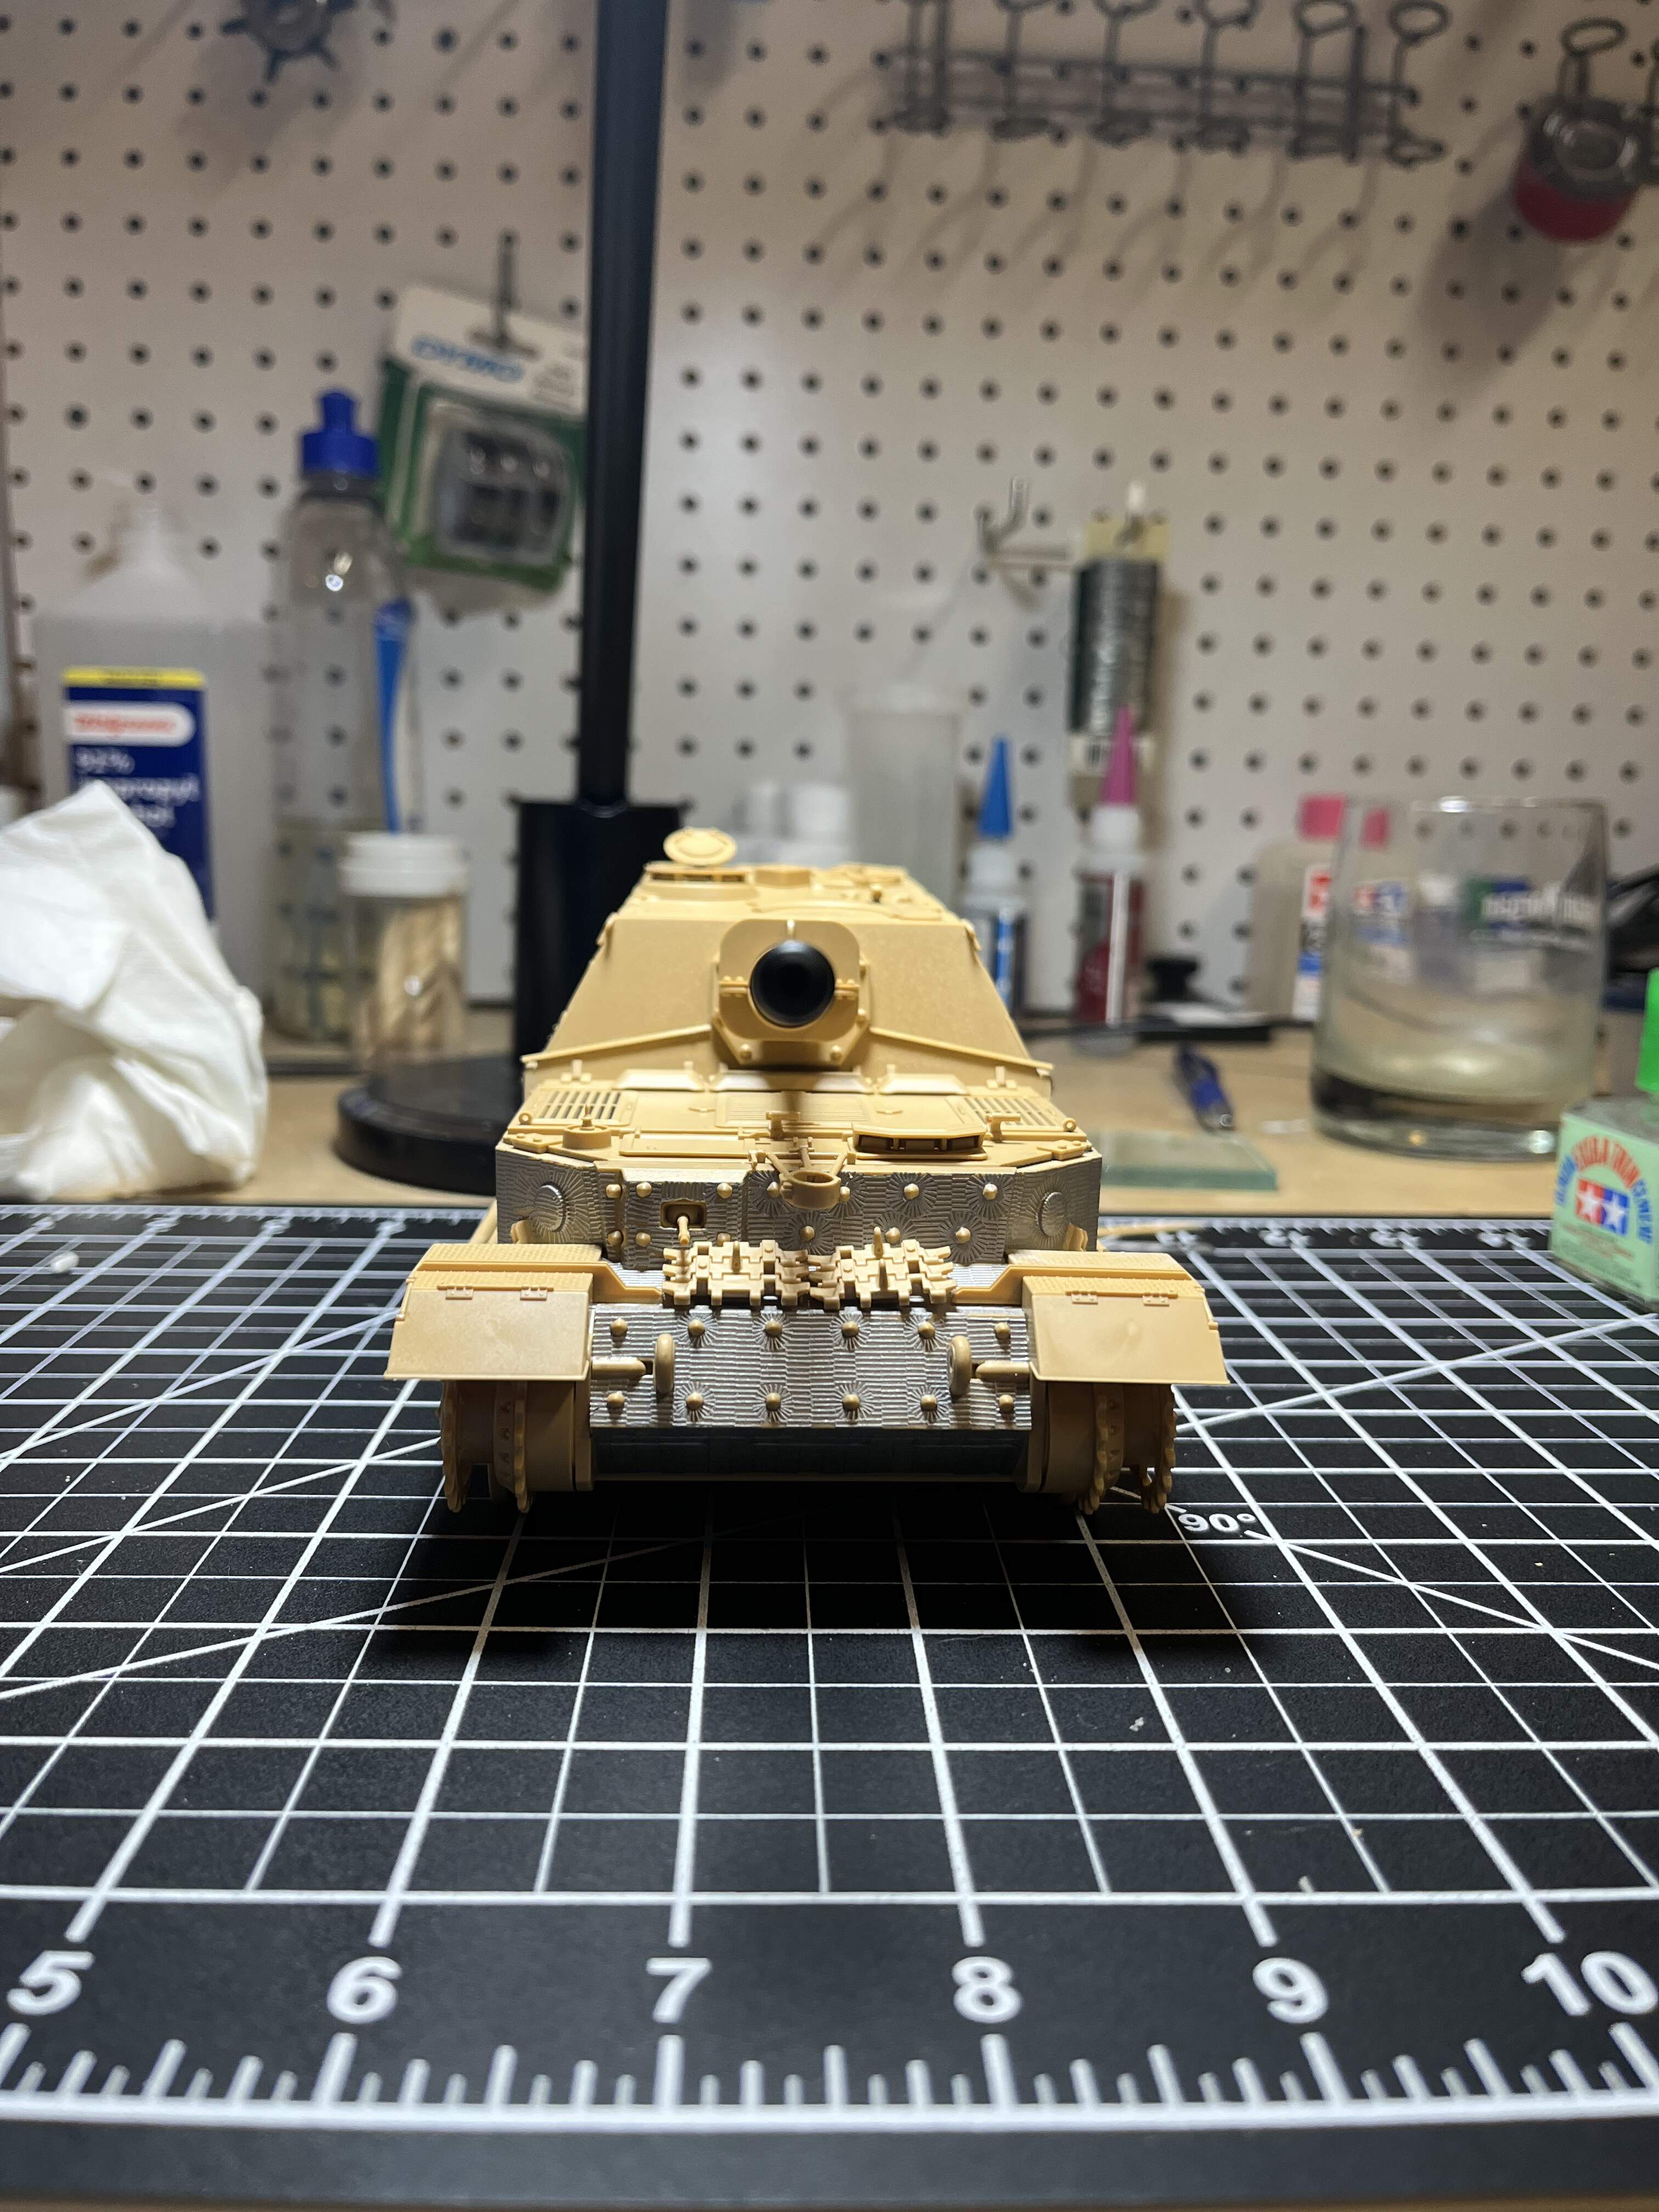
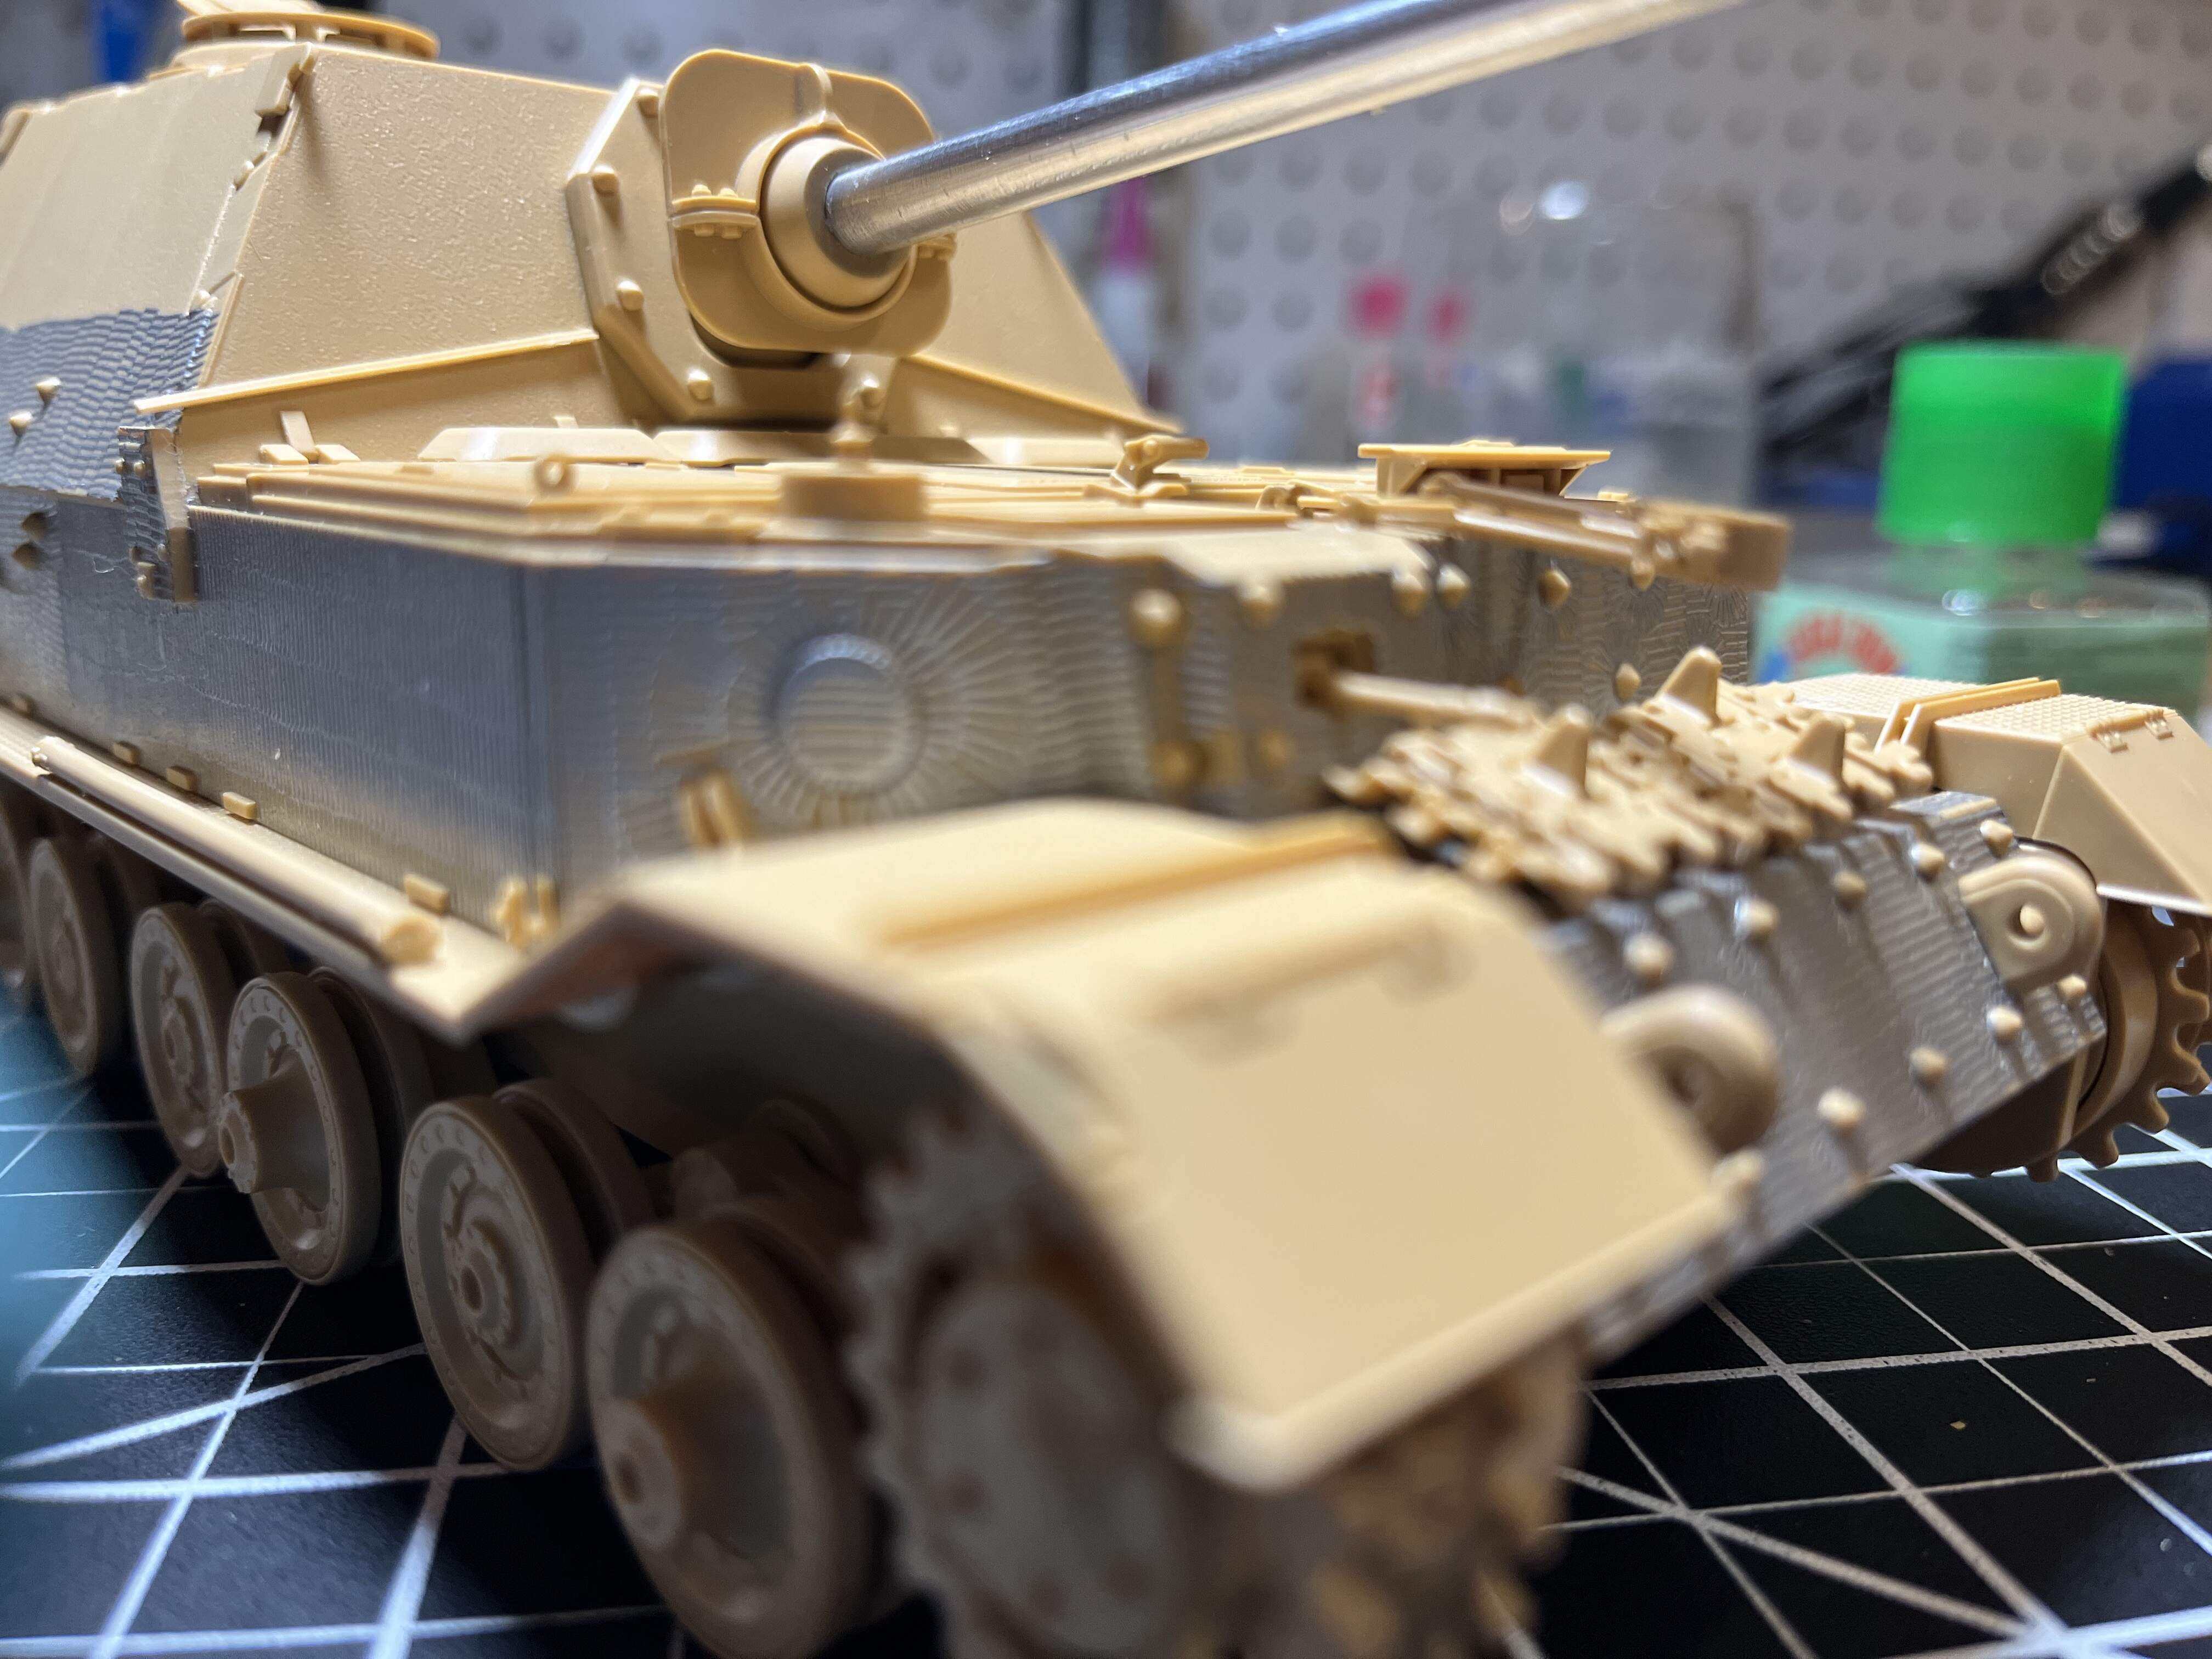
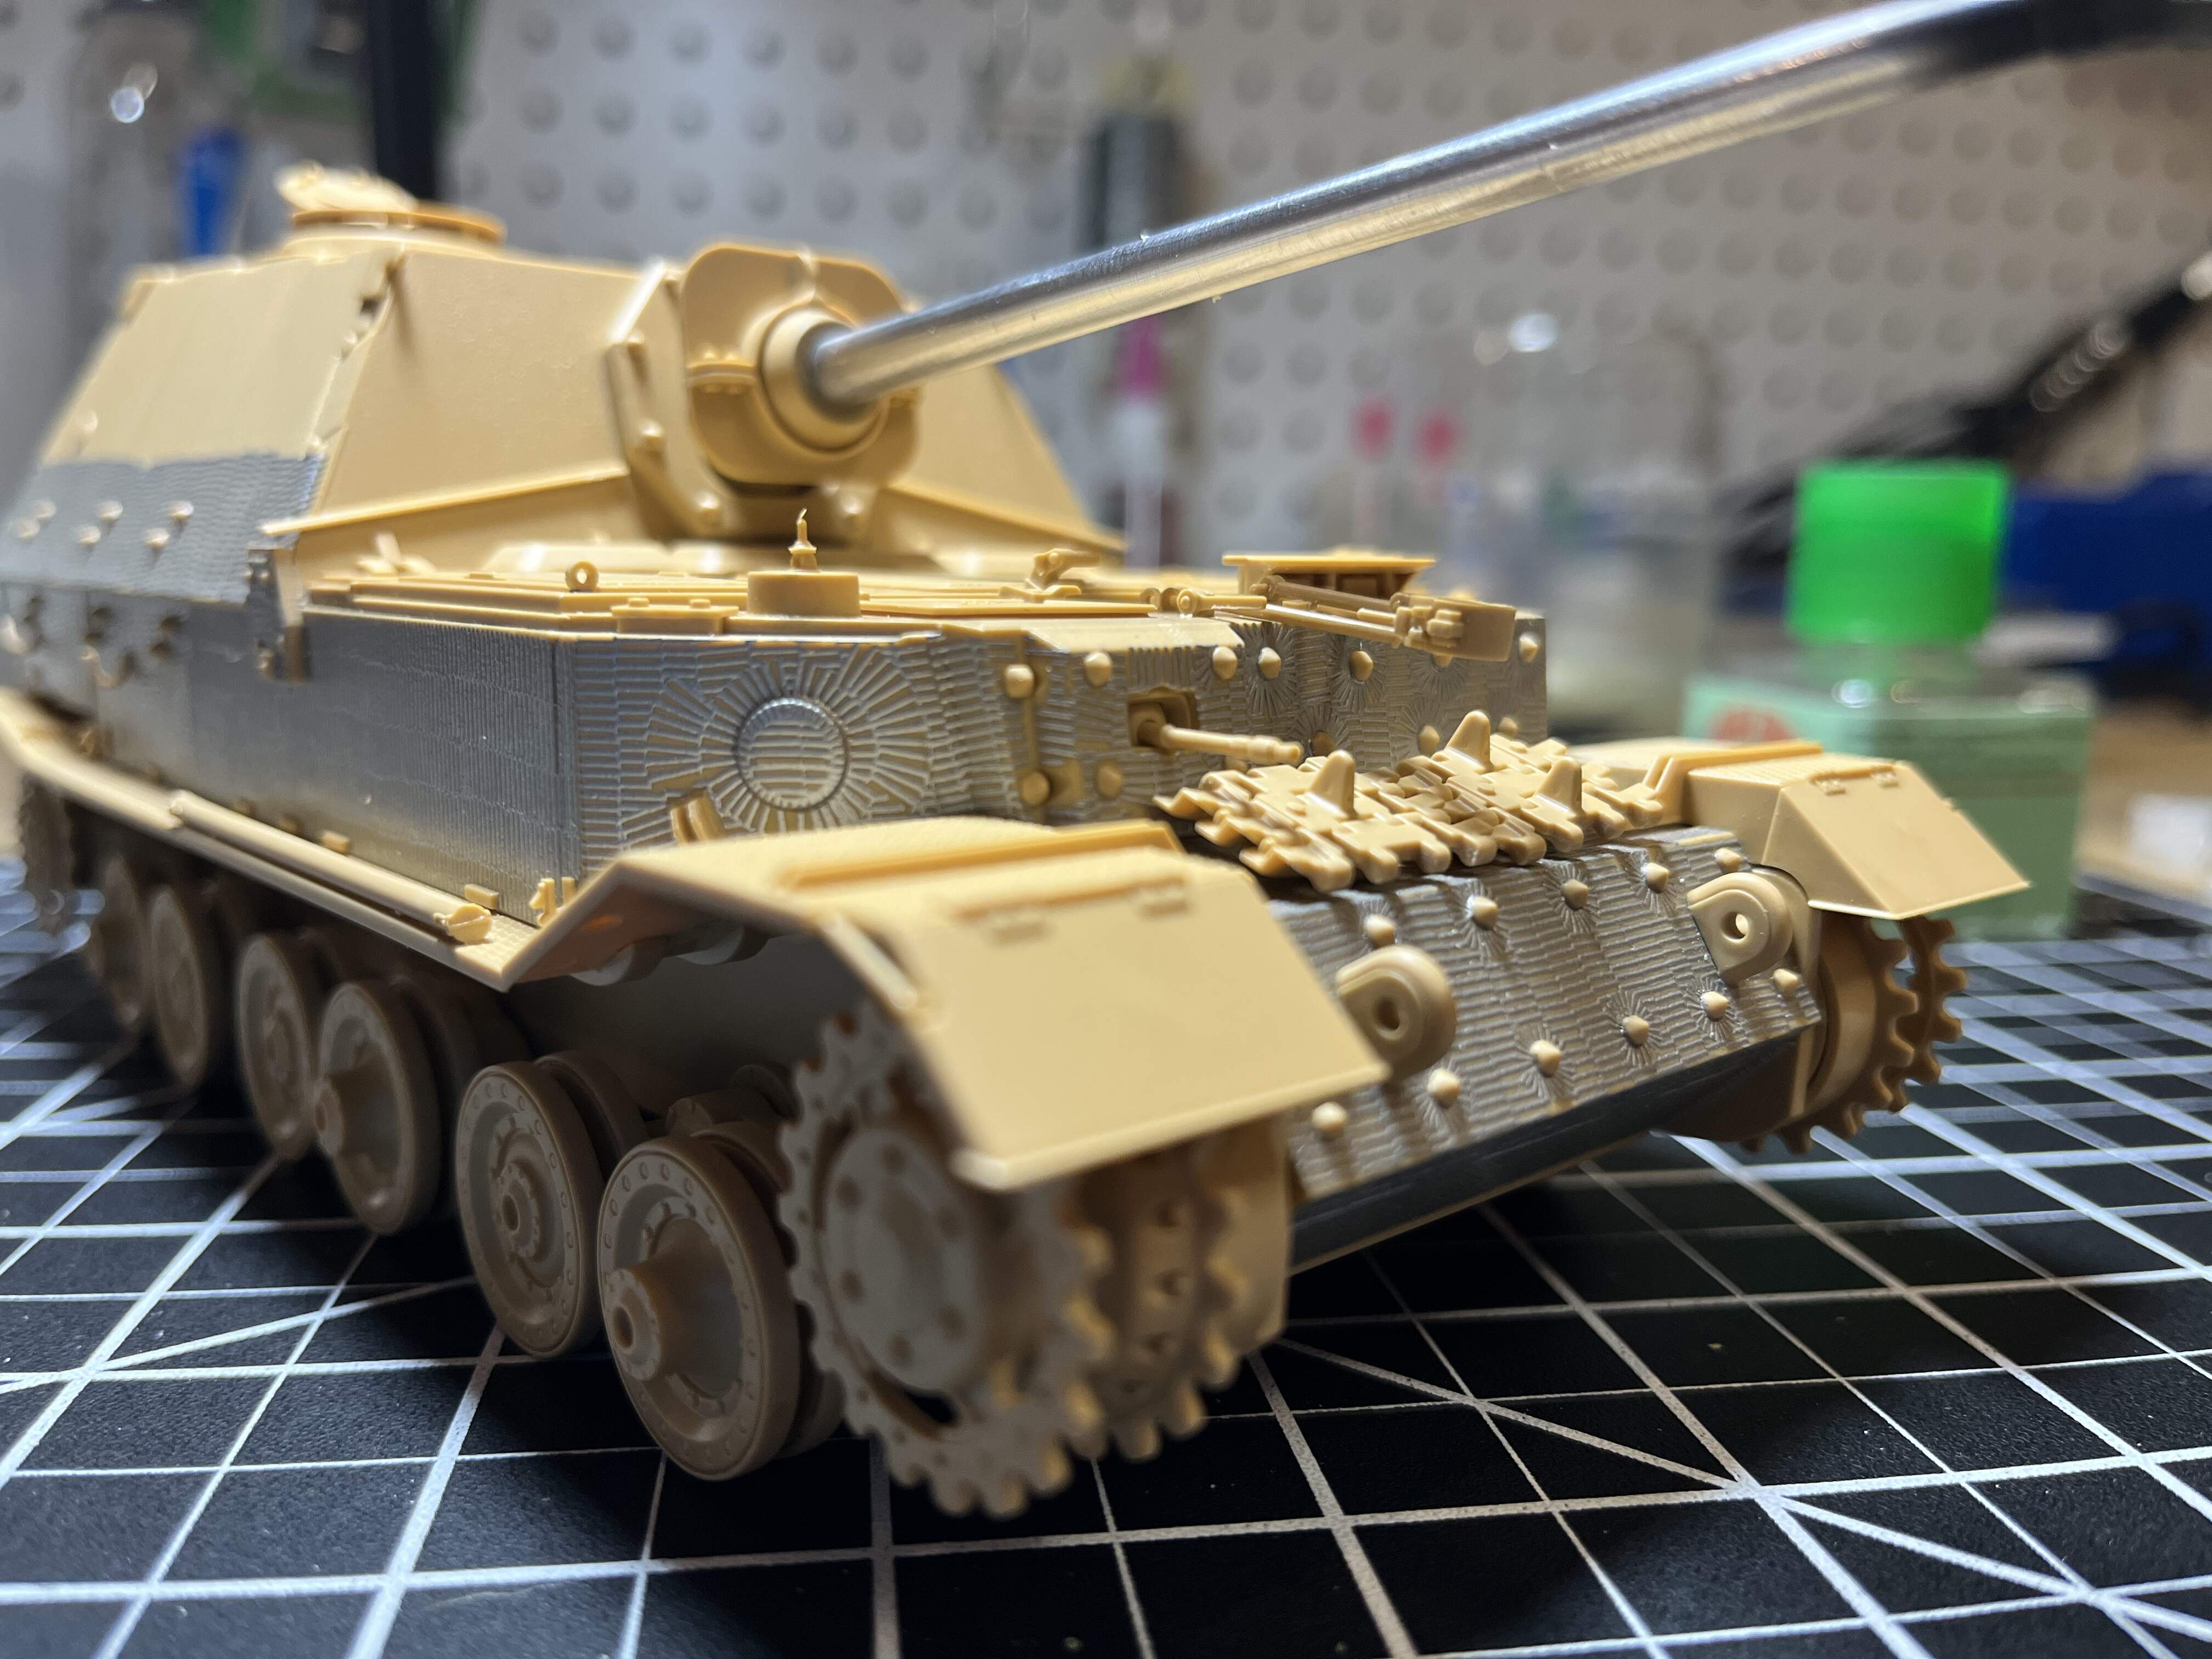


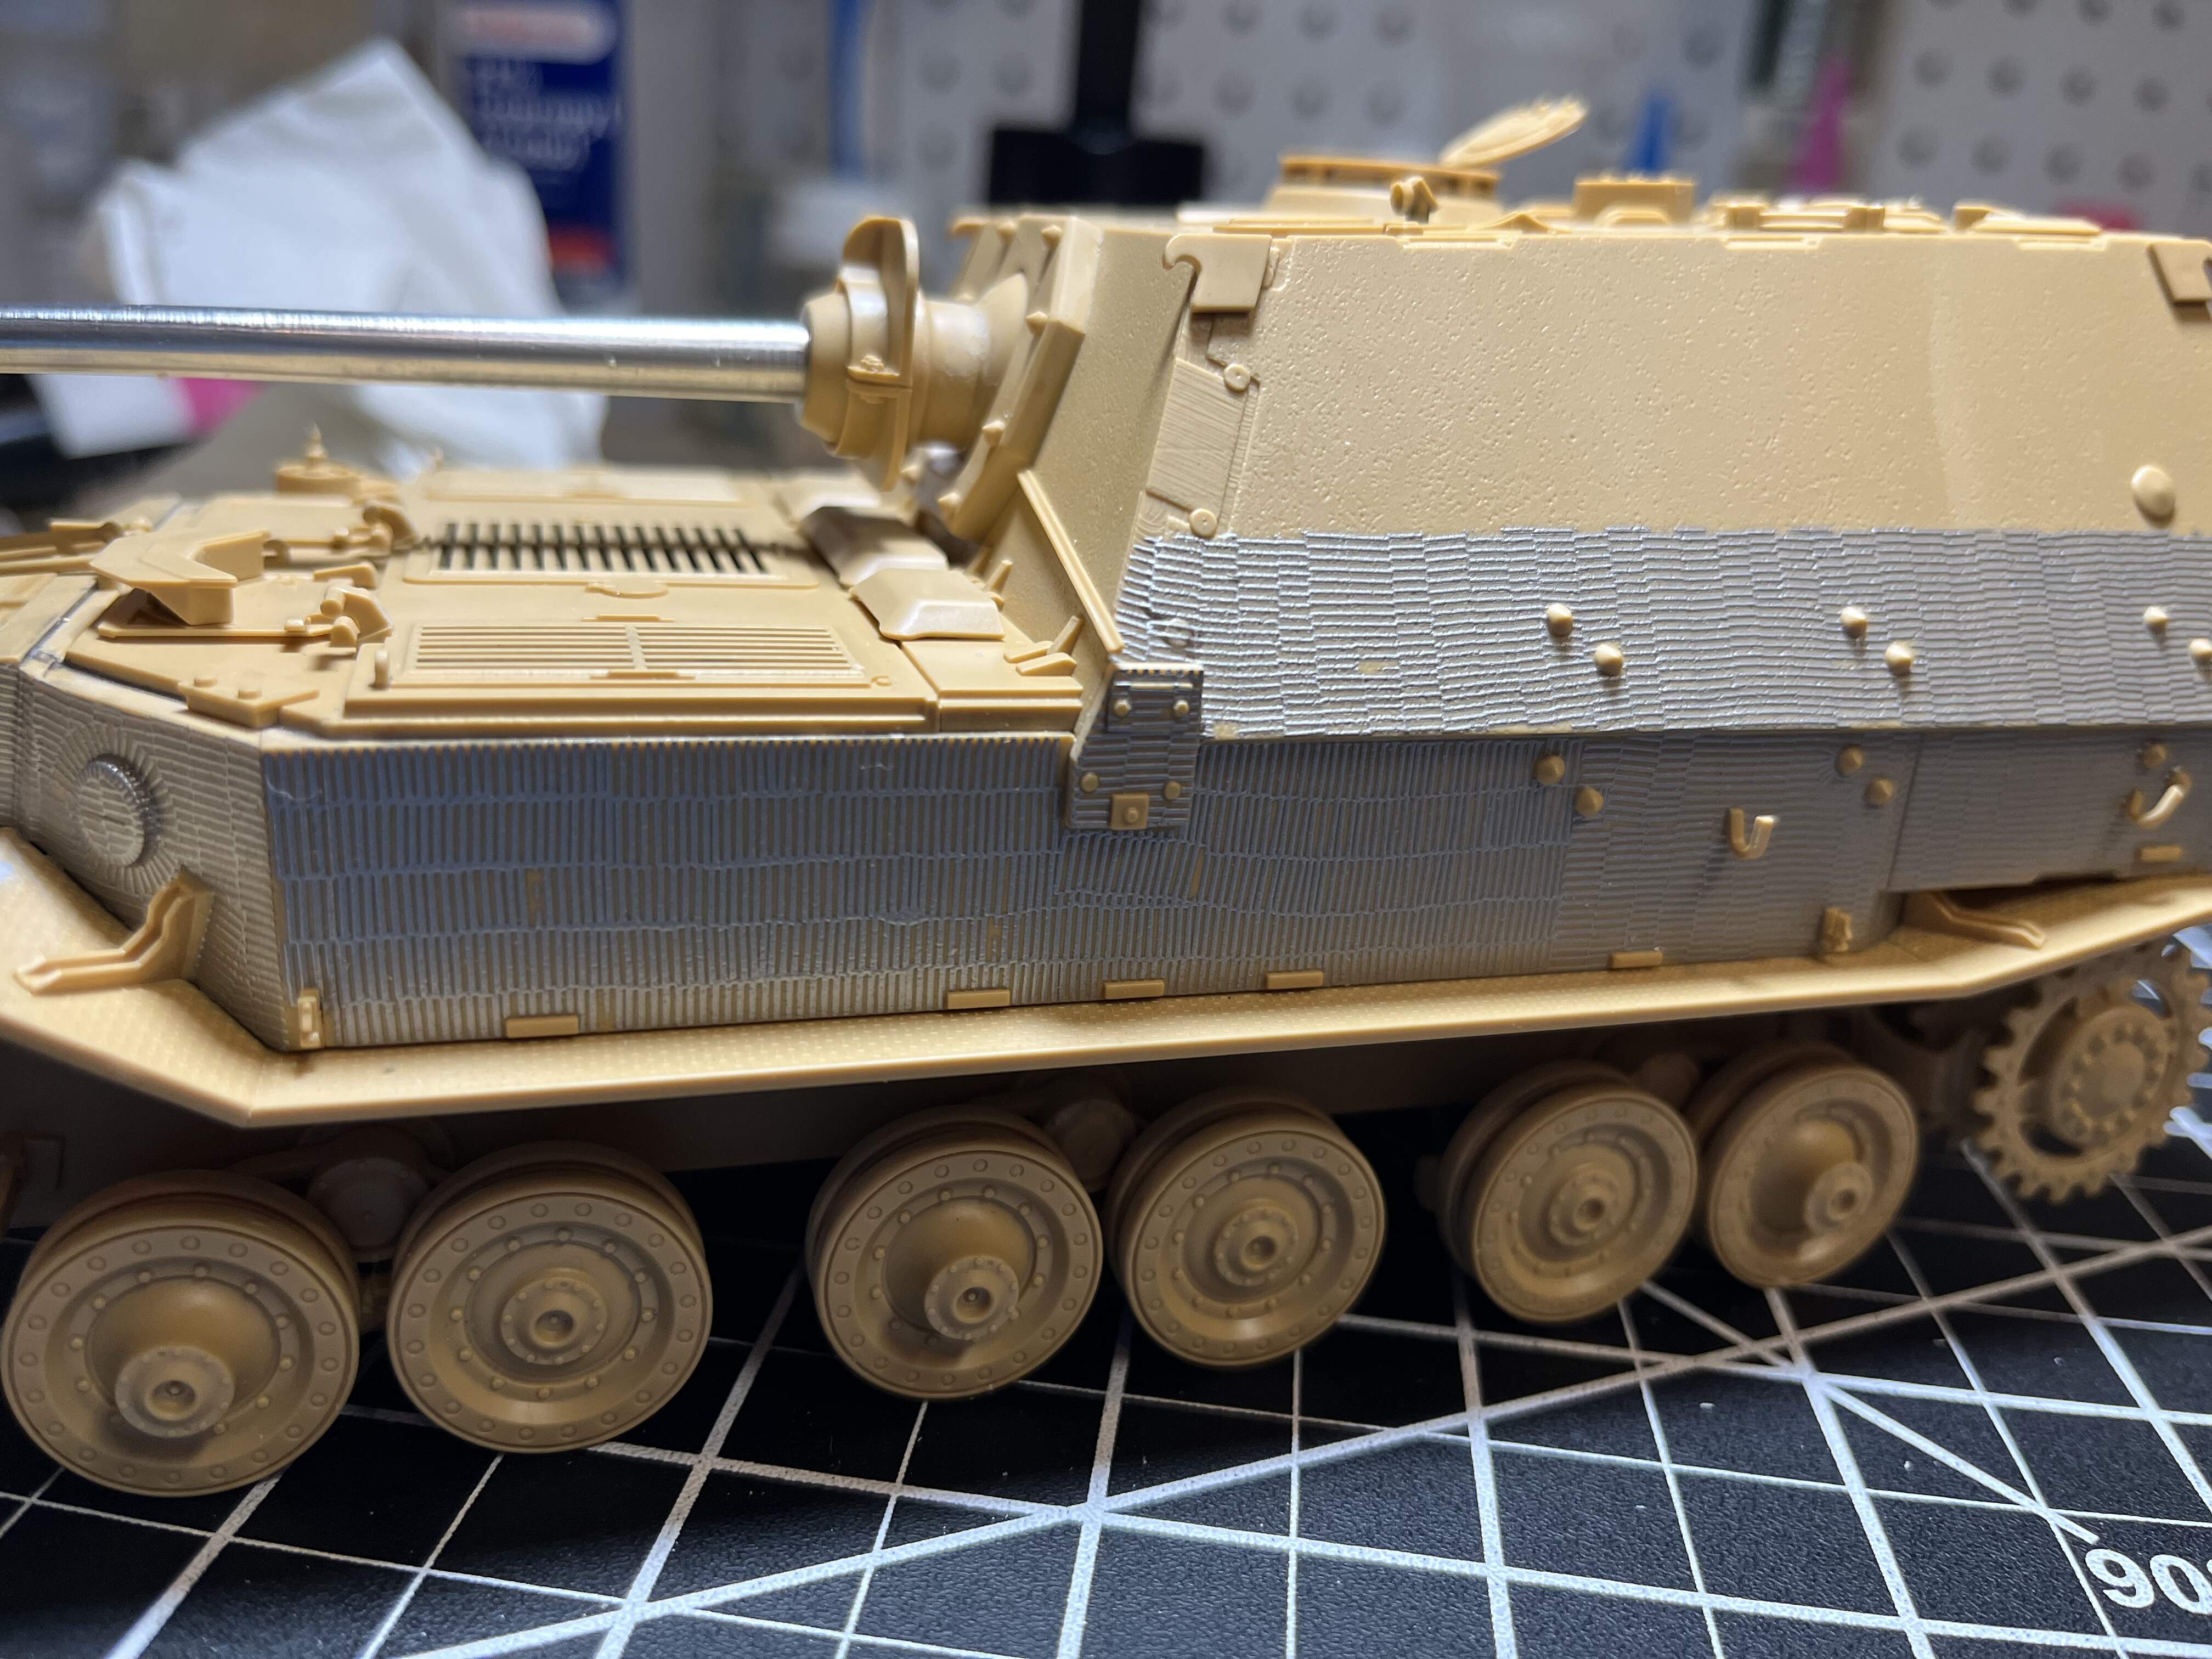
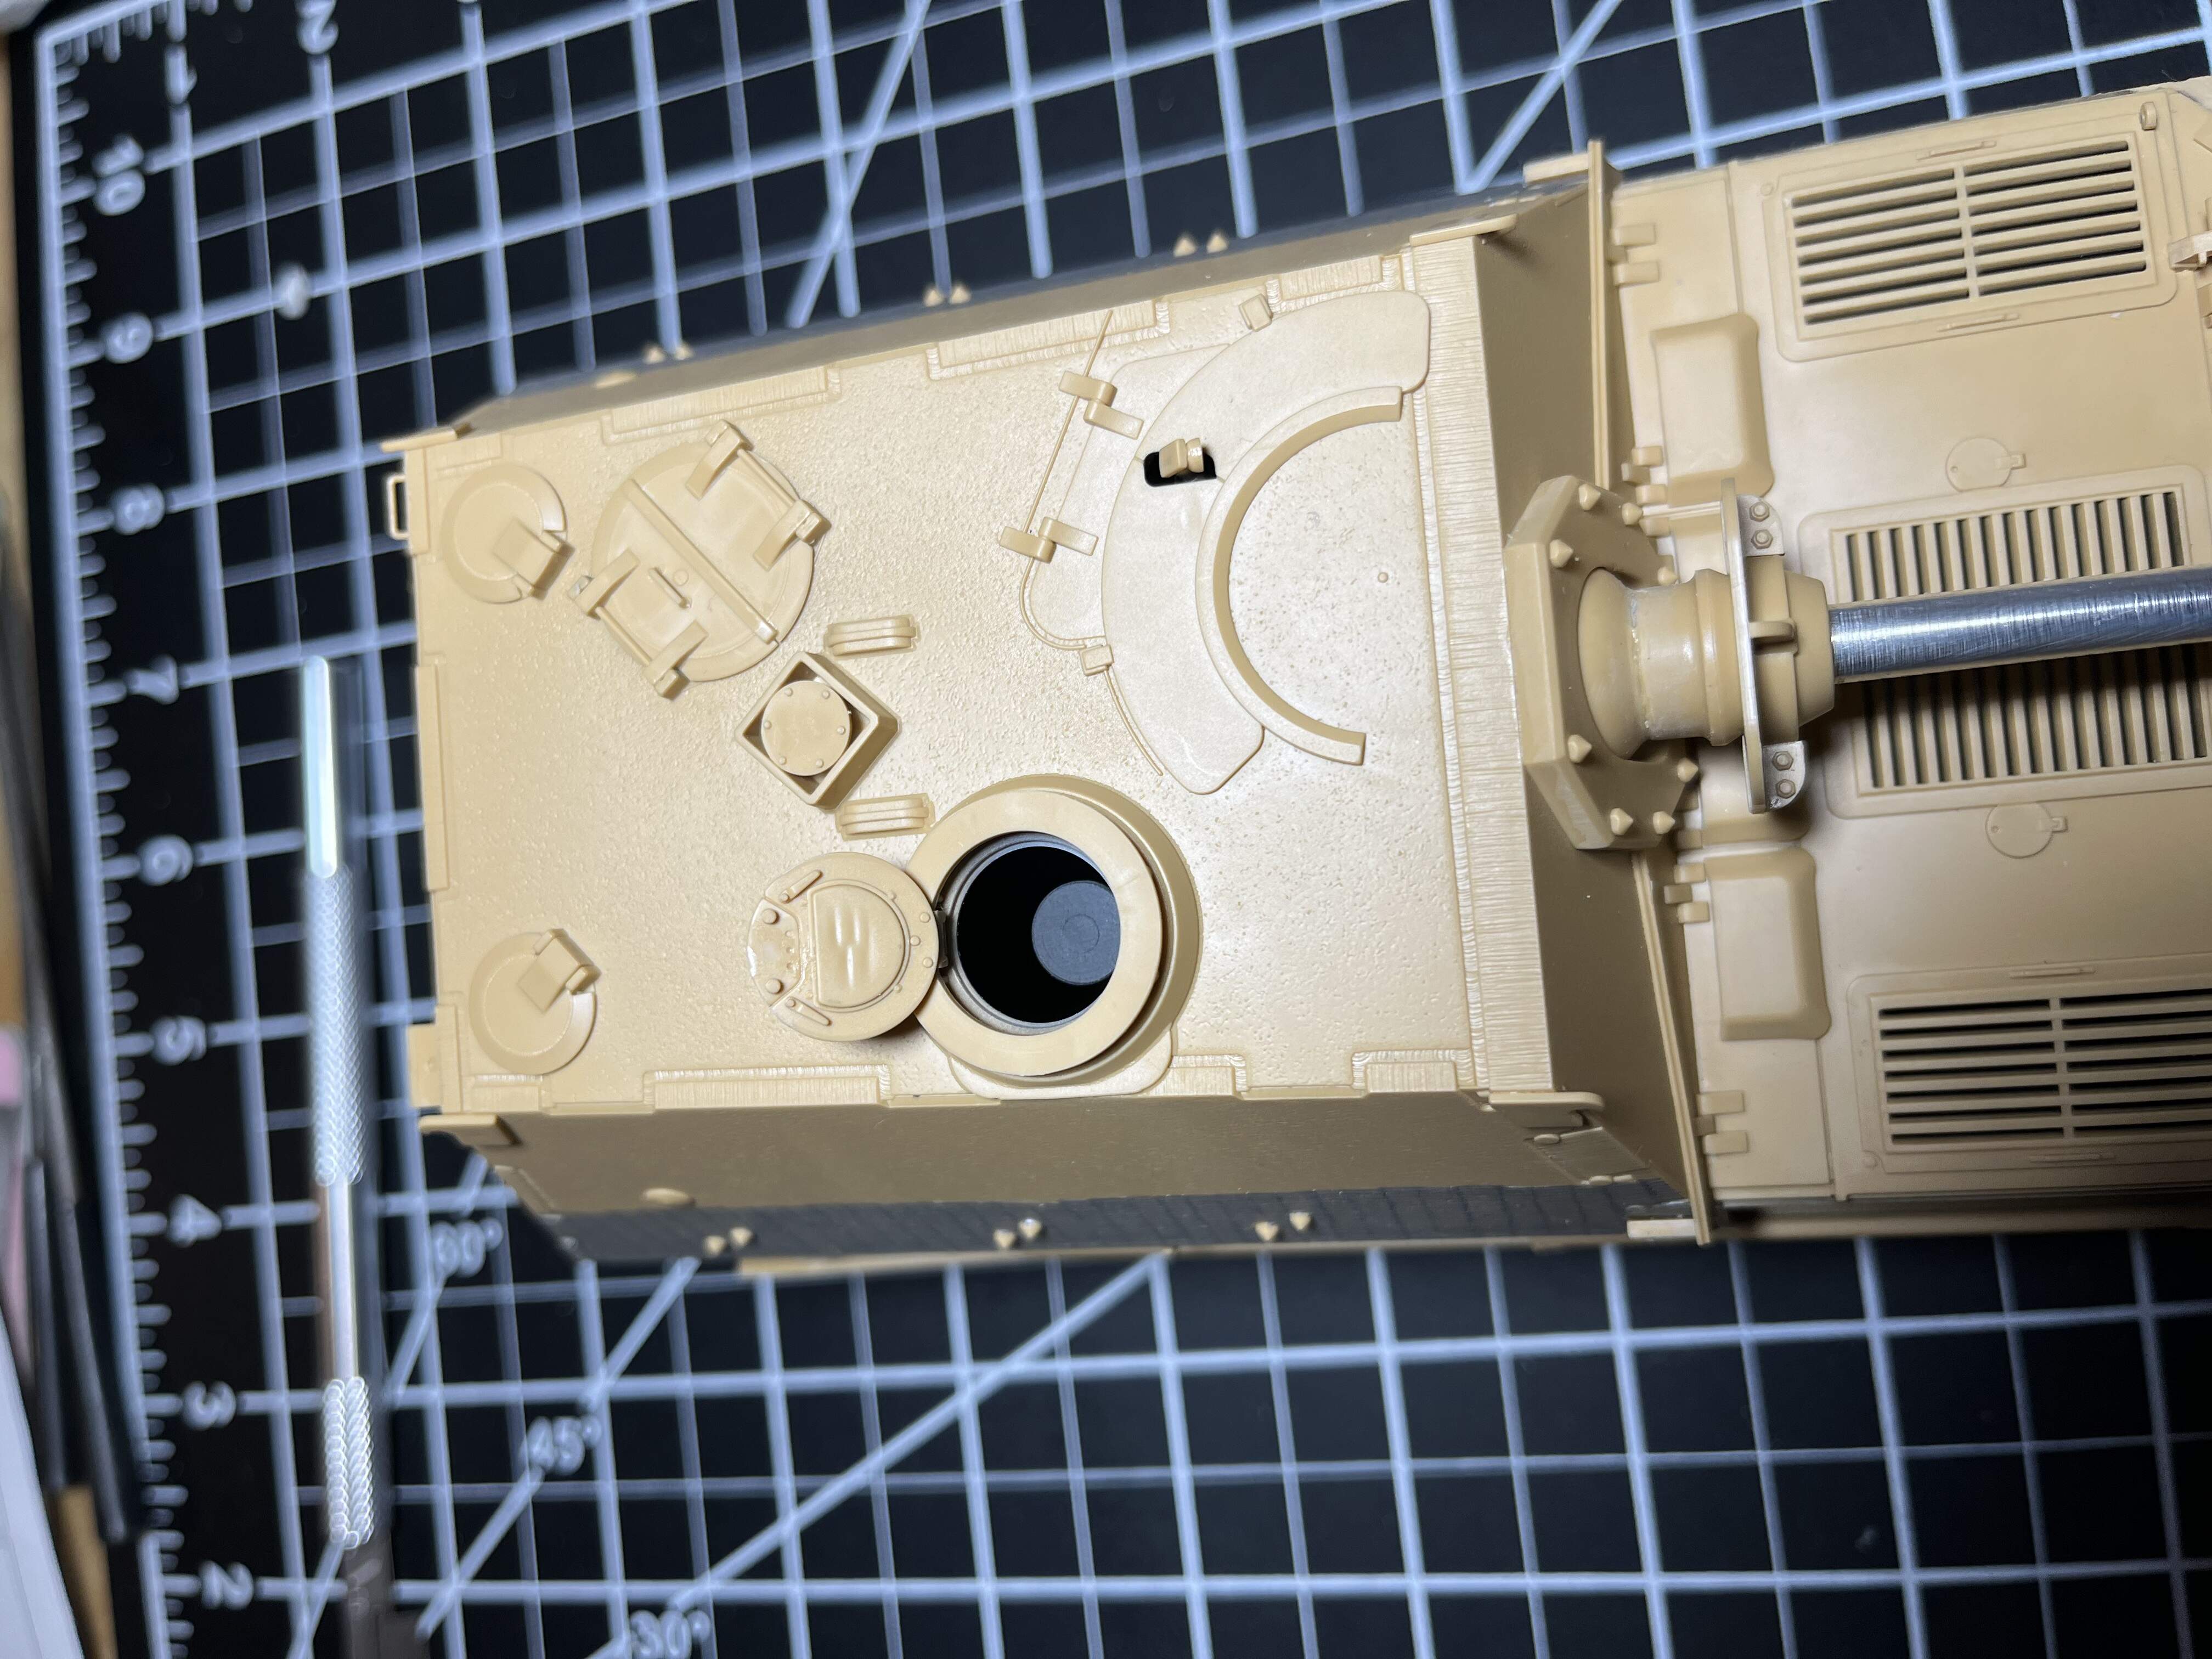

Overall really nice kit with excellent fit and superb engineering. One question I had, the thing in the top right of the last photo looks like an antenna mount but the instructions don’t have you place an antenna there. Was it only for command variants?
10 Likes
Looks like it Mead.
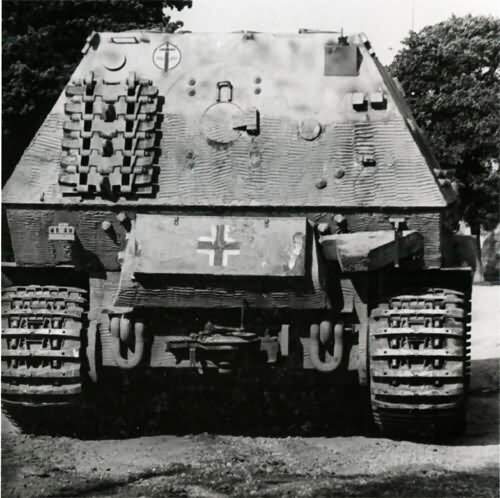
If you have not already seen or heard about it, there are lots of great images from all nations for WW2.
1 Like
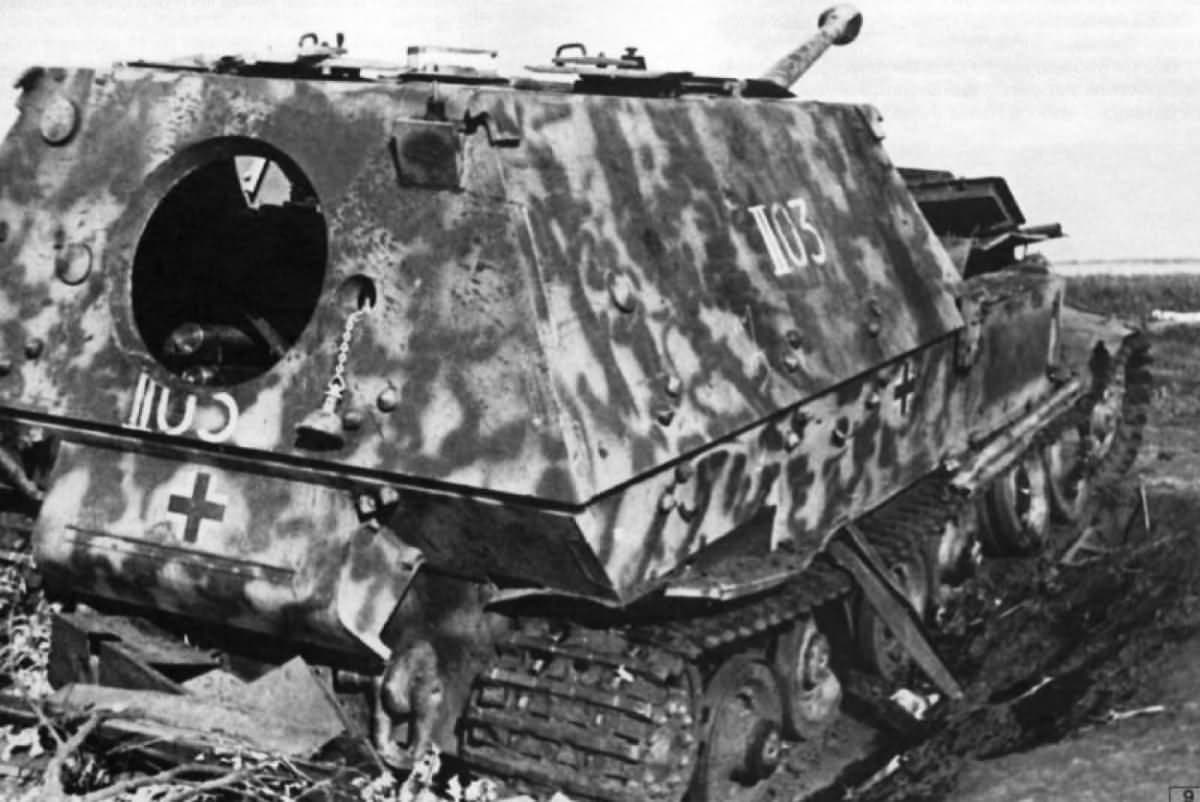
Pardon my ignorance not sure what an ABA is, but just a general comment – that last image was of a wrecked Ferdinand at Kursk, several modifications were made to the 30-odd survivors (out of 91) before being reissued as Elefants.
2 Likes
Antenna Base Assembly - for where the antenna slots into, its just what we called them on our wagons. Germans probably used a different term in WW2

There are a few different images and that was one just as a reference and a couple showing Elefants
1 Like
Perfect, great shots of it. Tamiya does supply two ABA in the kit but only tells you to put the front one on. I think I will drill out the rear one and add the ABA, the part looks a little basic without it
1 Like
Fantastic build Mead. Looks ready for the paint booth.
2 Likes
Can’t wait to see the finished product! I built a Ferdinand a while back and it turned out pretty well. It was Dragon’s kit and the tracks were a pain.
2 Likes
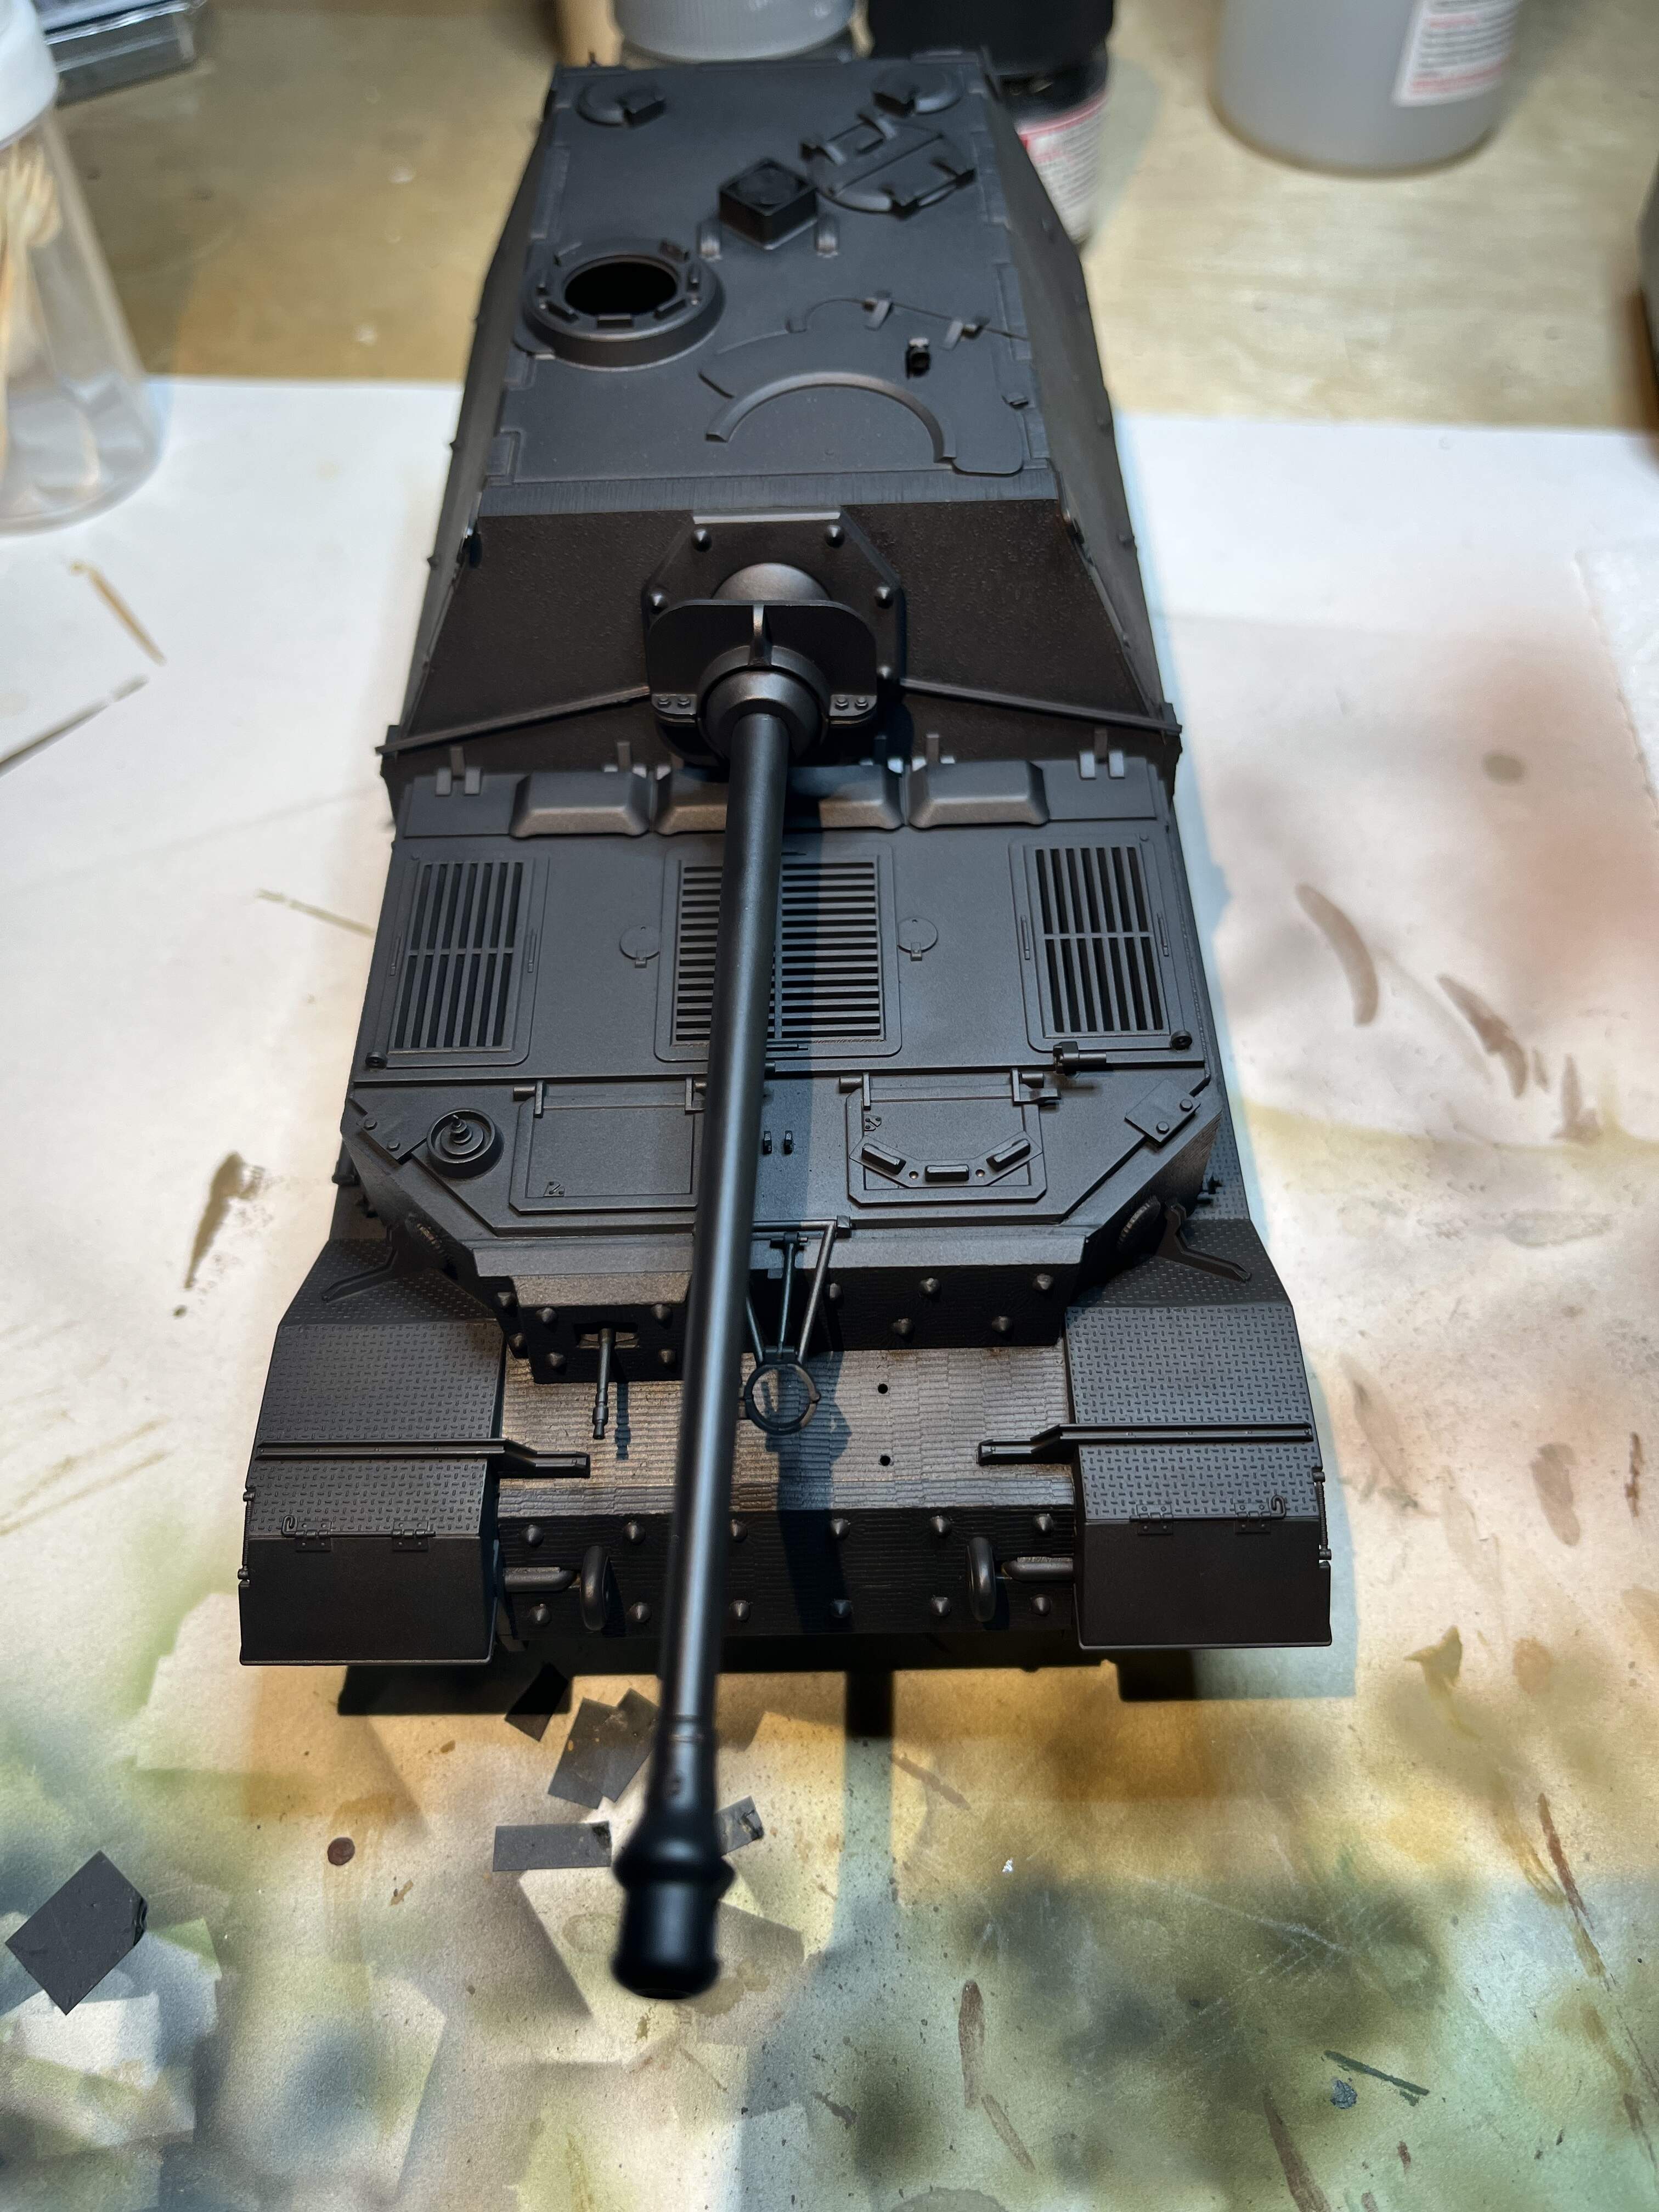
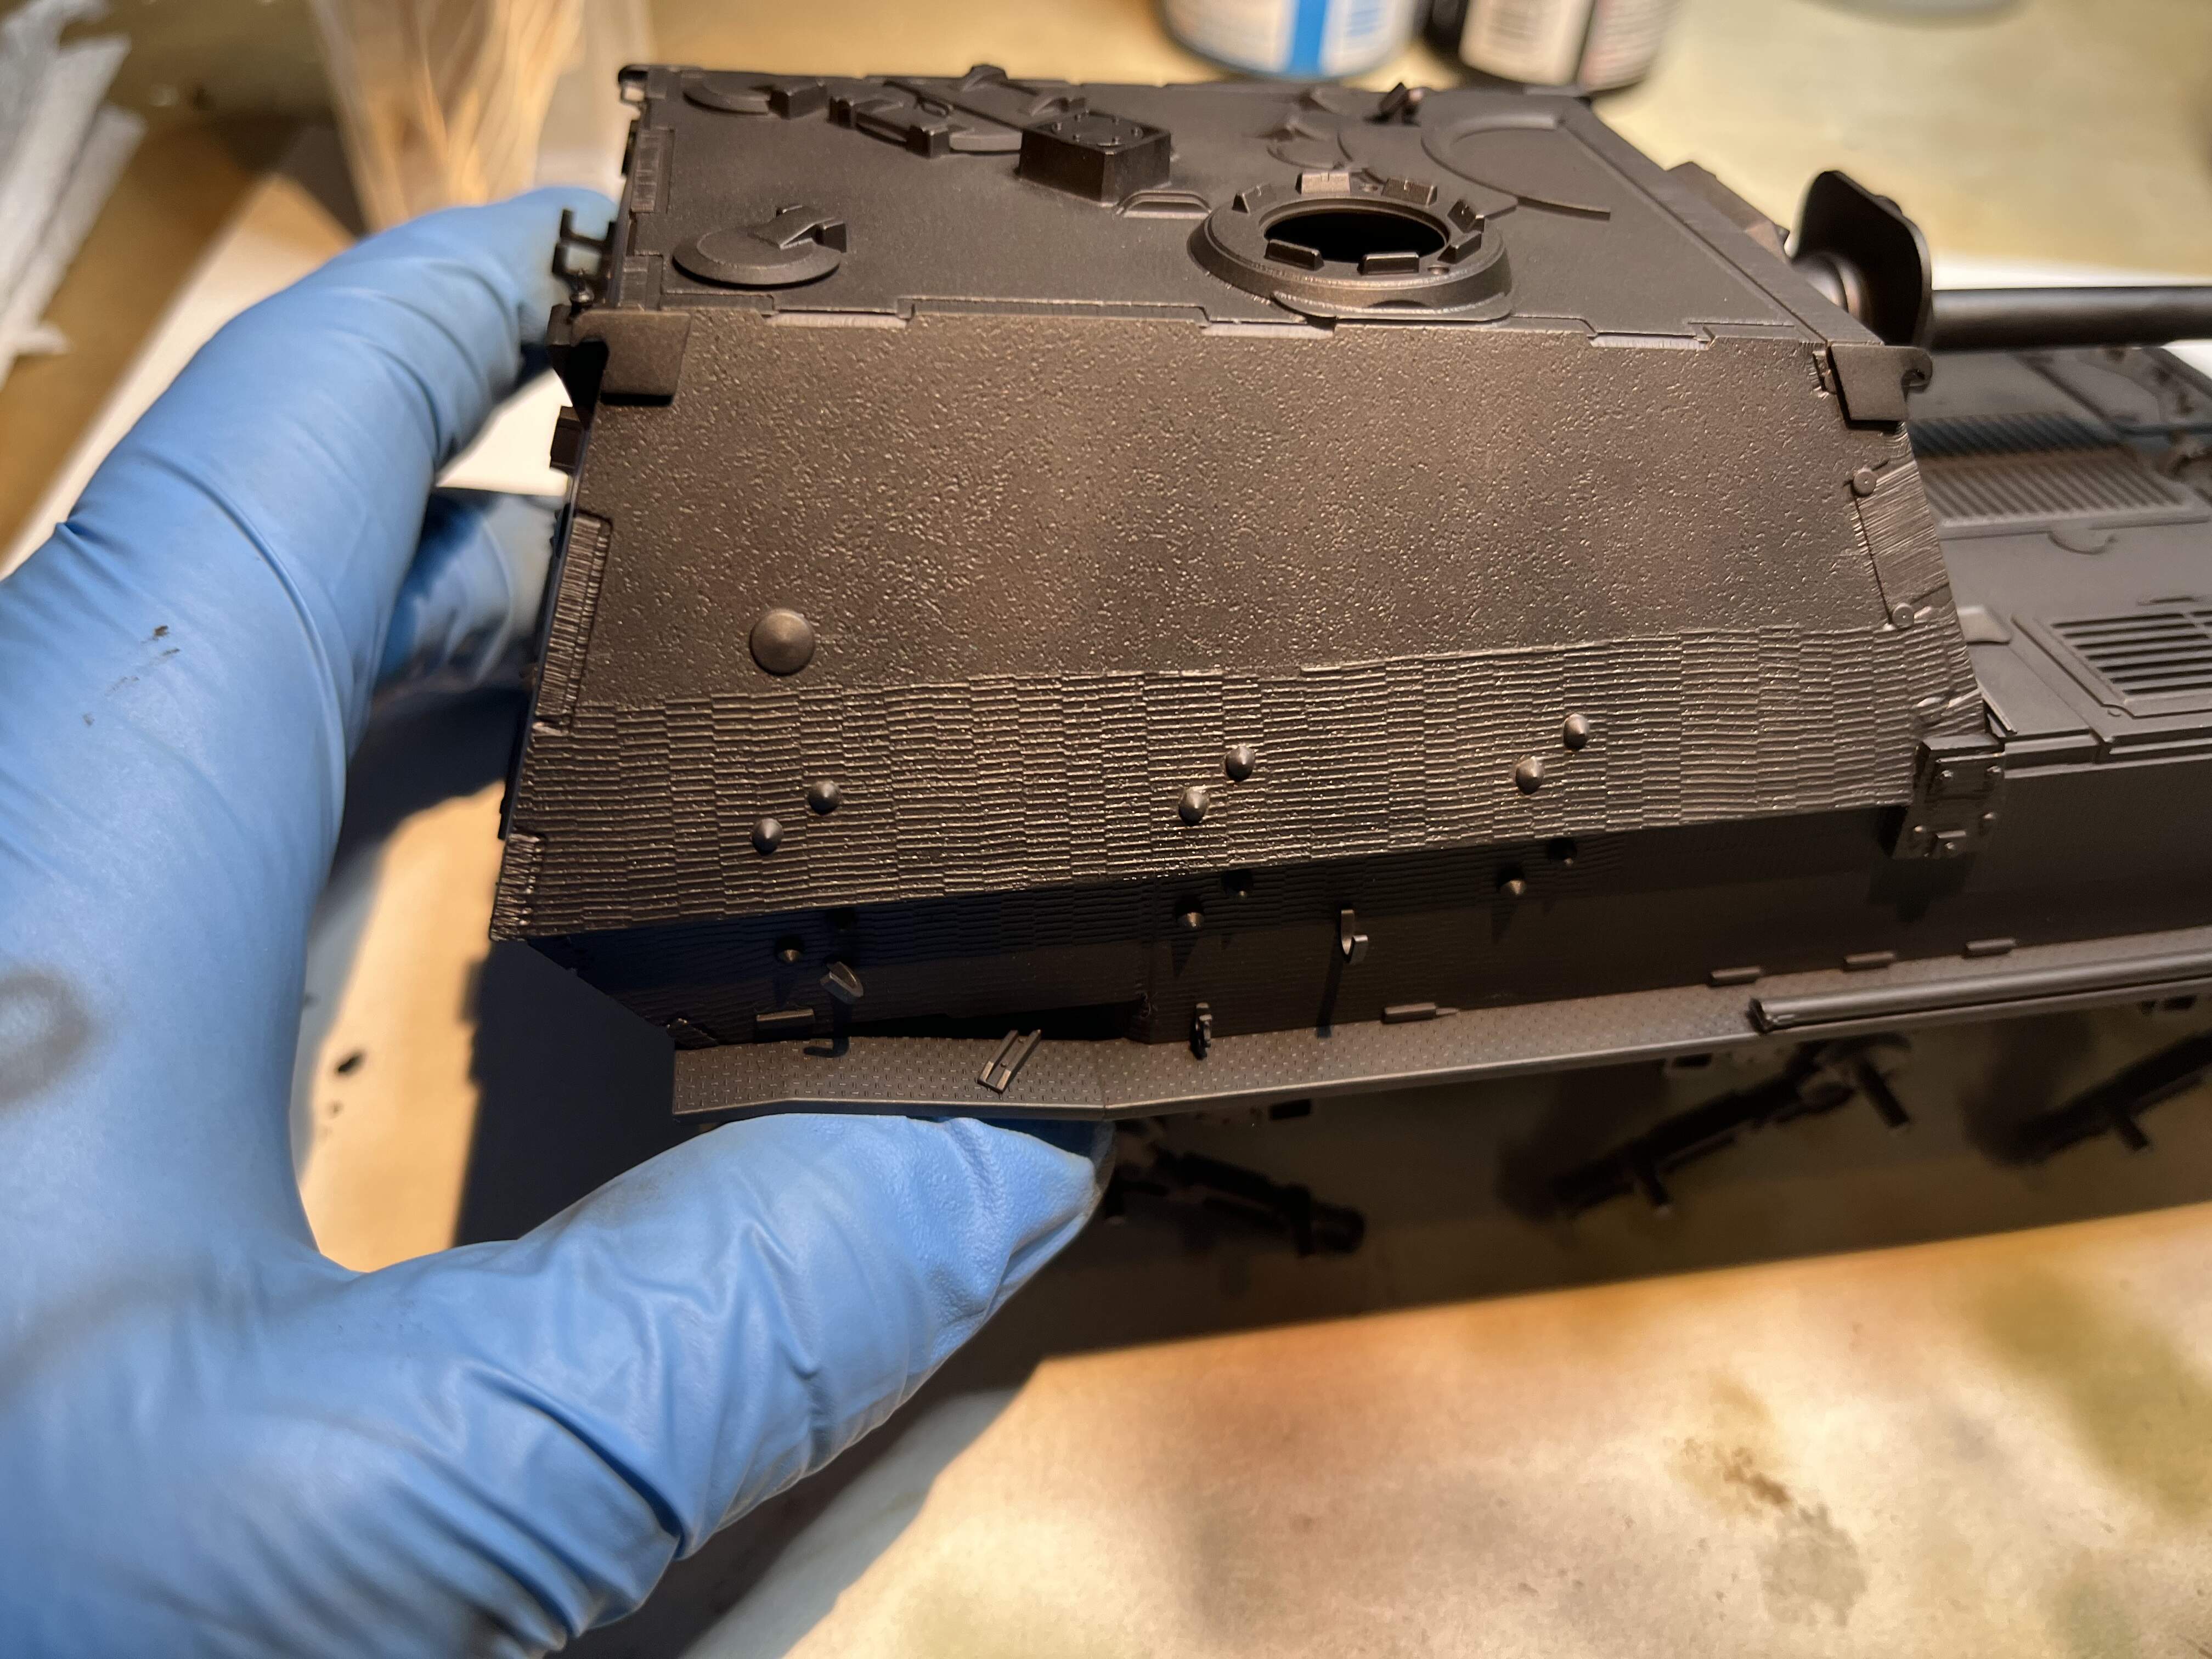
Got the primer down! Still need to hit the road wheels, some nooks and crannies around the suspension, and some of the small bits.
Love the look of an all black vehicle. I was worried how the zimmerit decals would look under paint. While, I think they still look great! While home made zimmerit which I’ll probably use on my tiger build is a bit nicer, these deals are the business


8 Likes
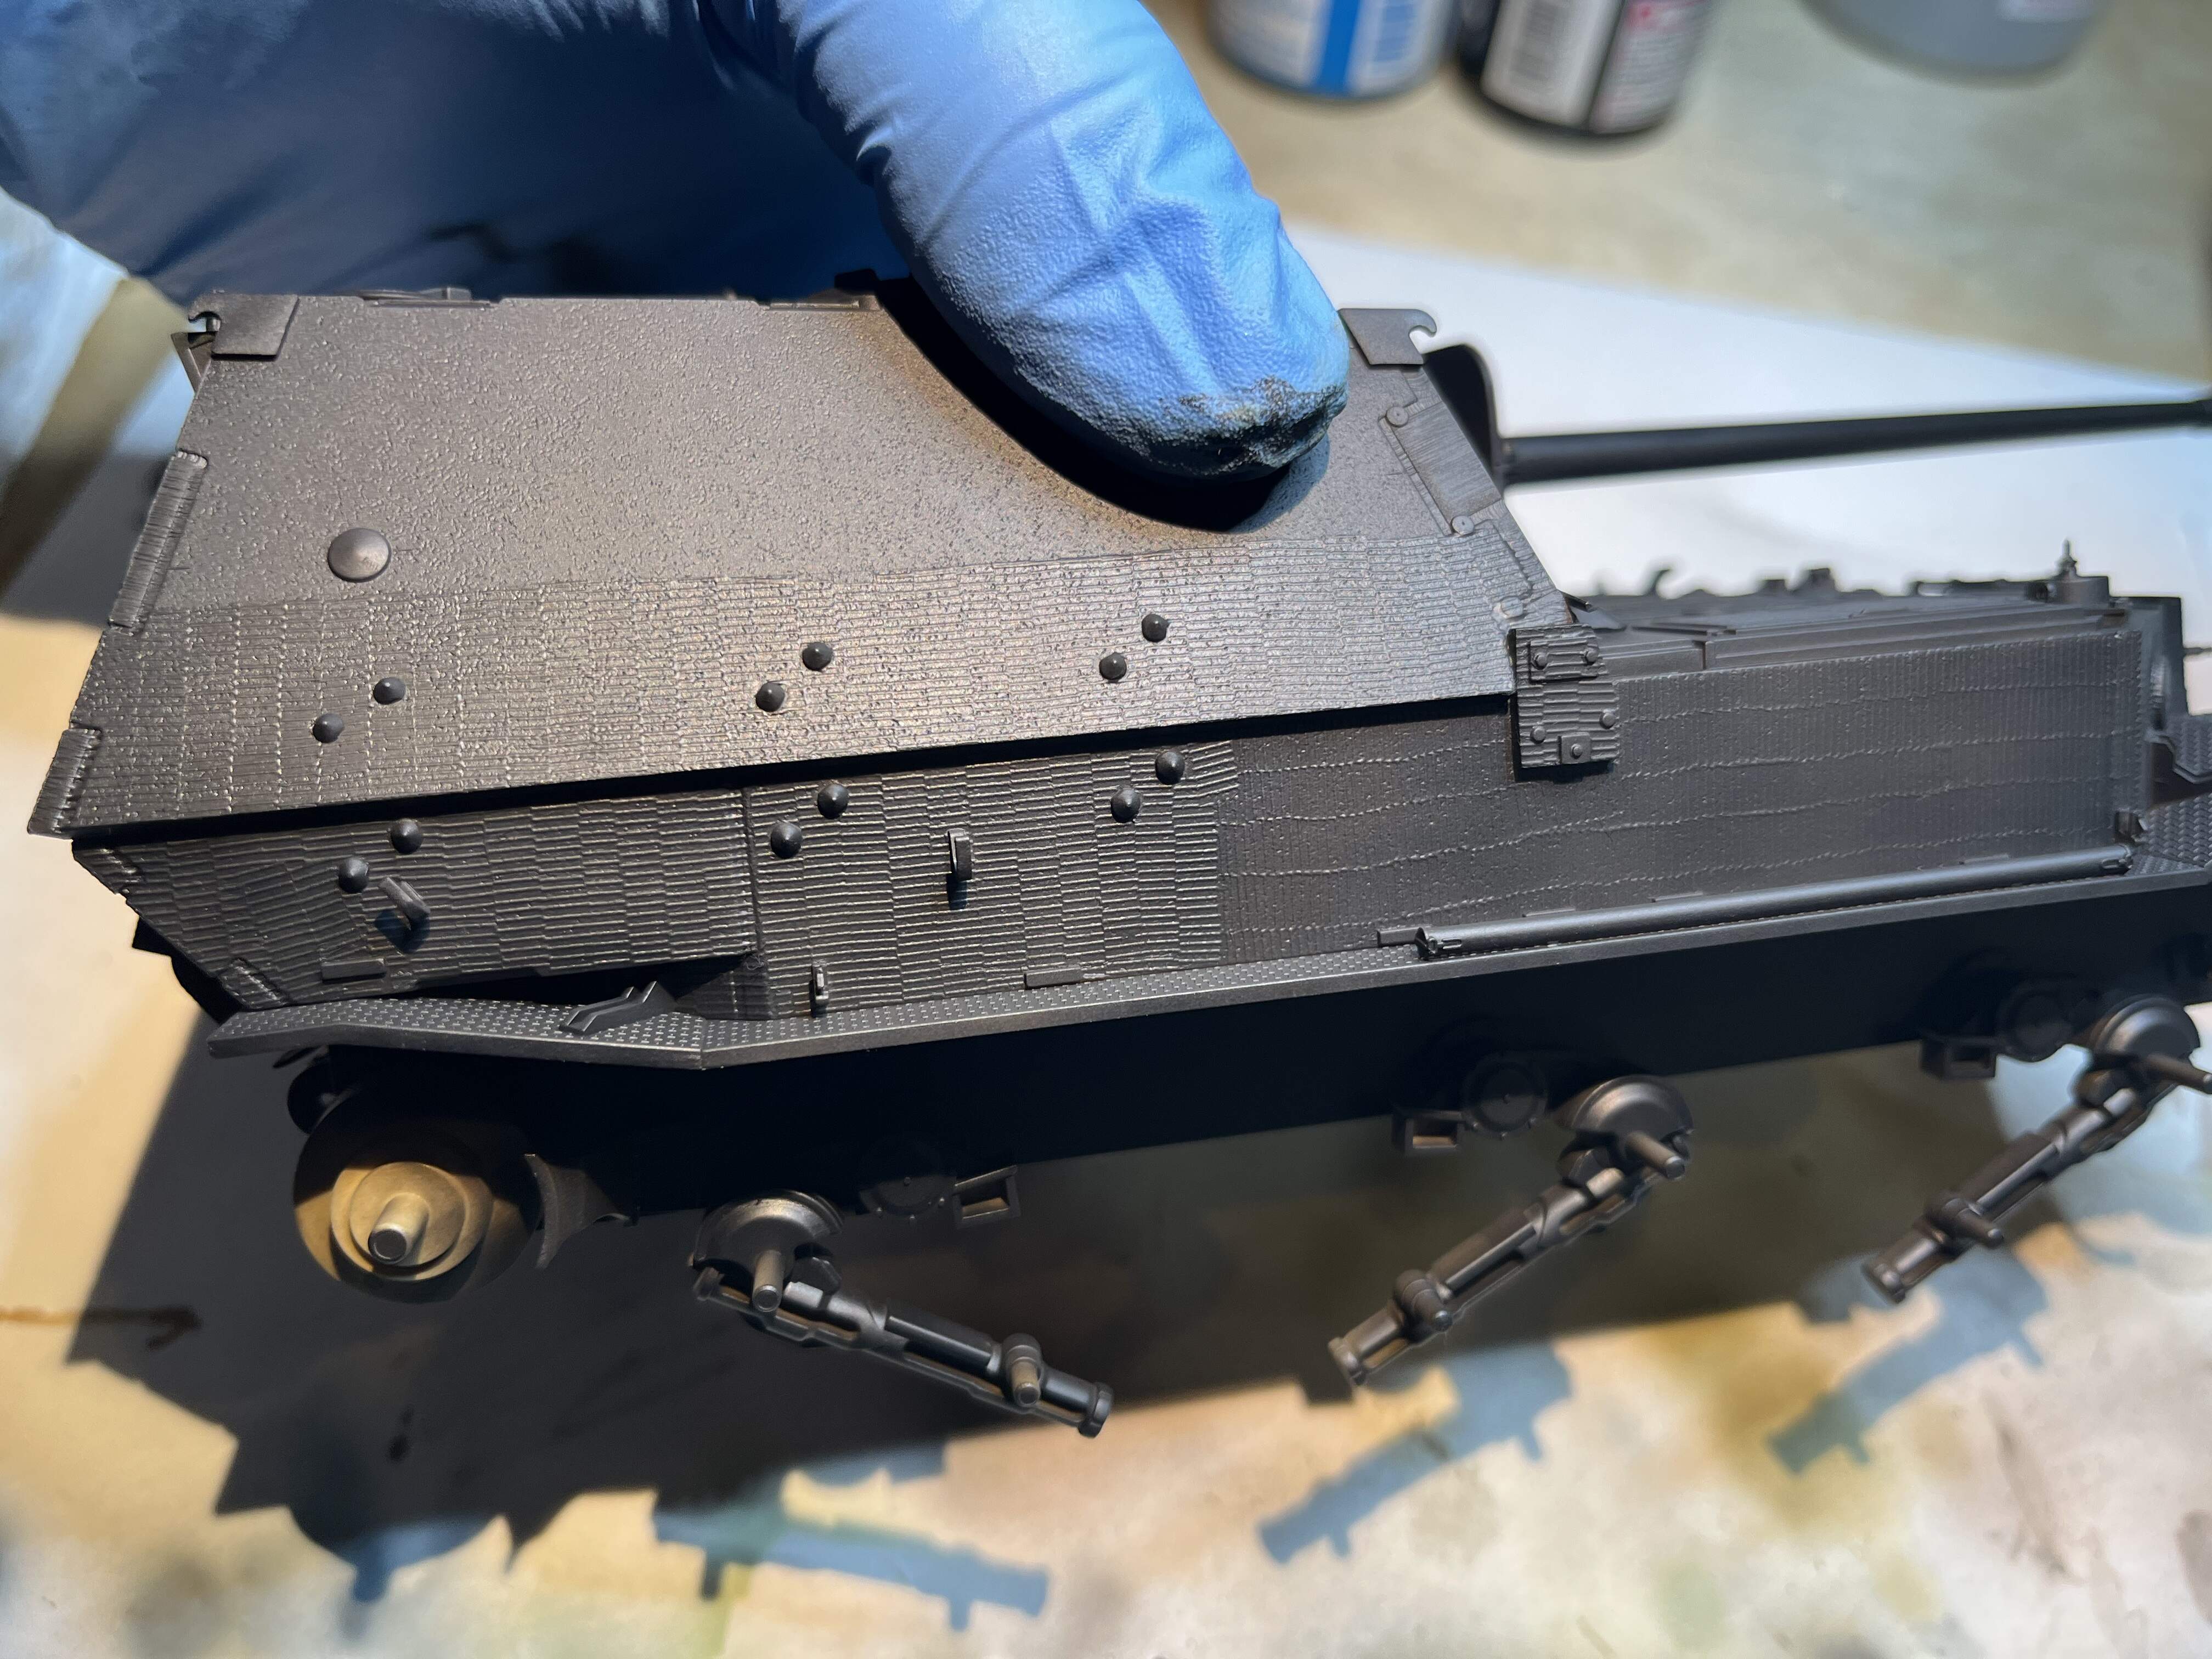
OK, I have to admit that zimmerit looks pretty good with some paint on it.
Ken
2 Likes
I was pleasantly surprised how visible it still is under paint, I think it looks good. I was a bit worried and skeptical it would look the part after paint.
I think a wash and dry brush will make it pop out
2 Likes
Outstanding.
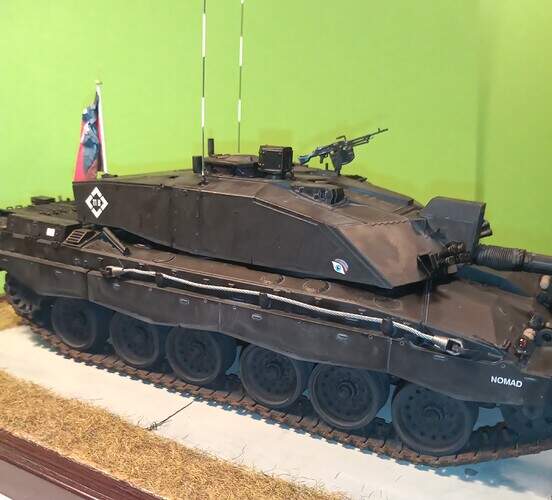
And yes, there is something about an all black finish that looks really menacing … I loved doing my Cr2 black a while ago.
5 Likes
Ask any woman. You can’t go past basic Black
It goes with everything (including tanks)
5 Likes