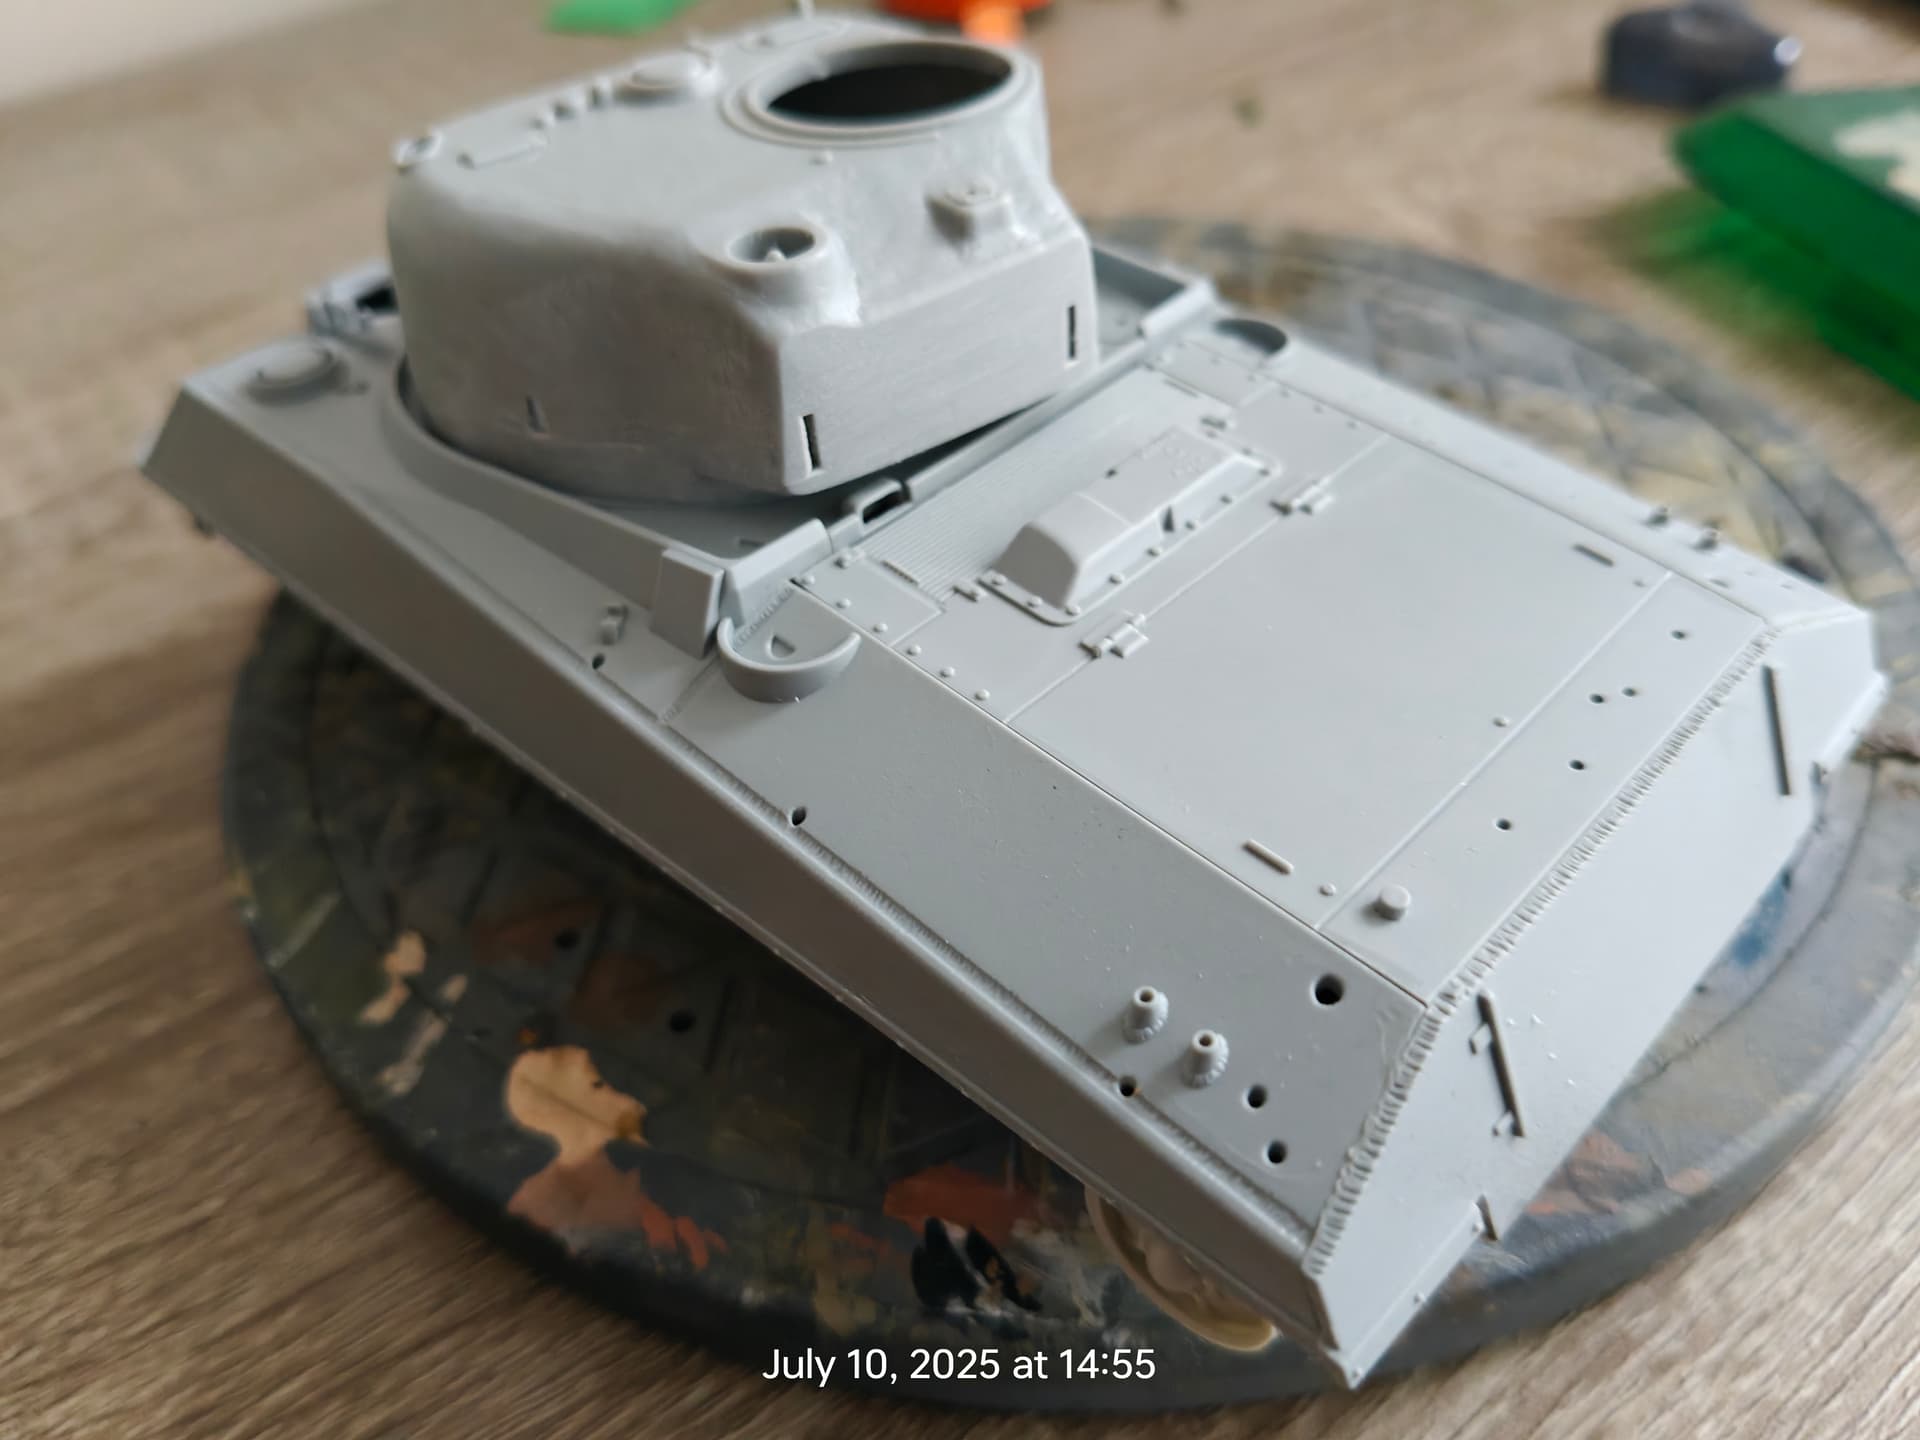
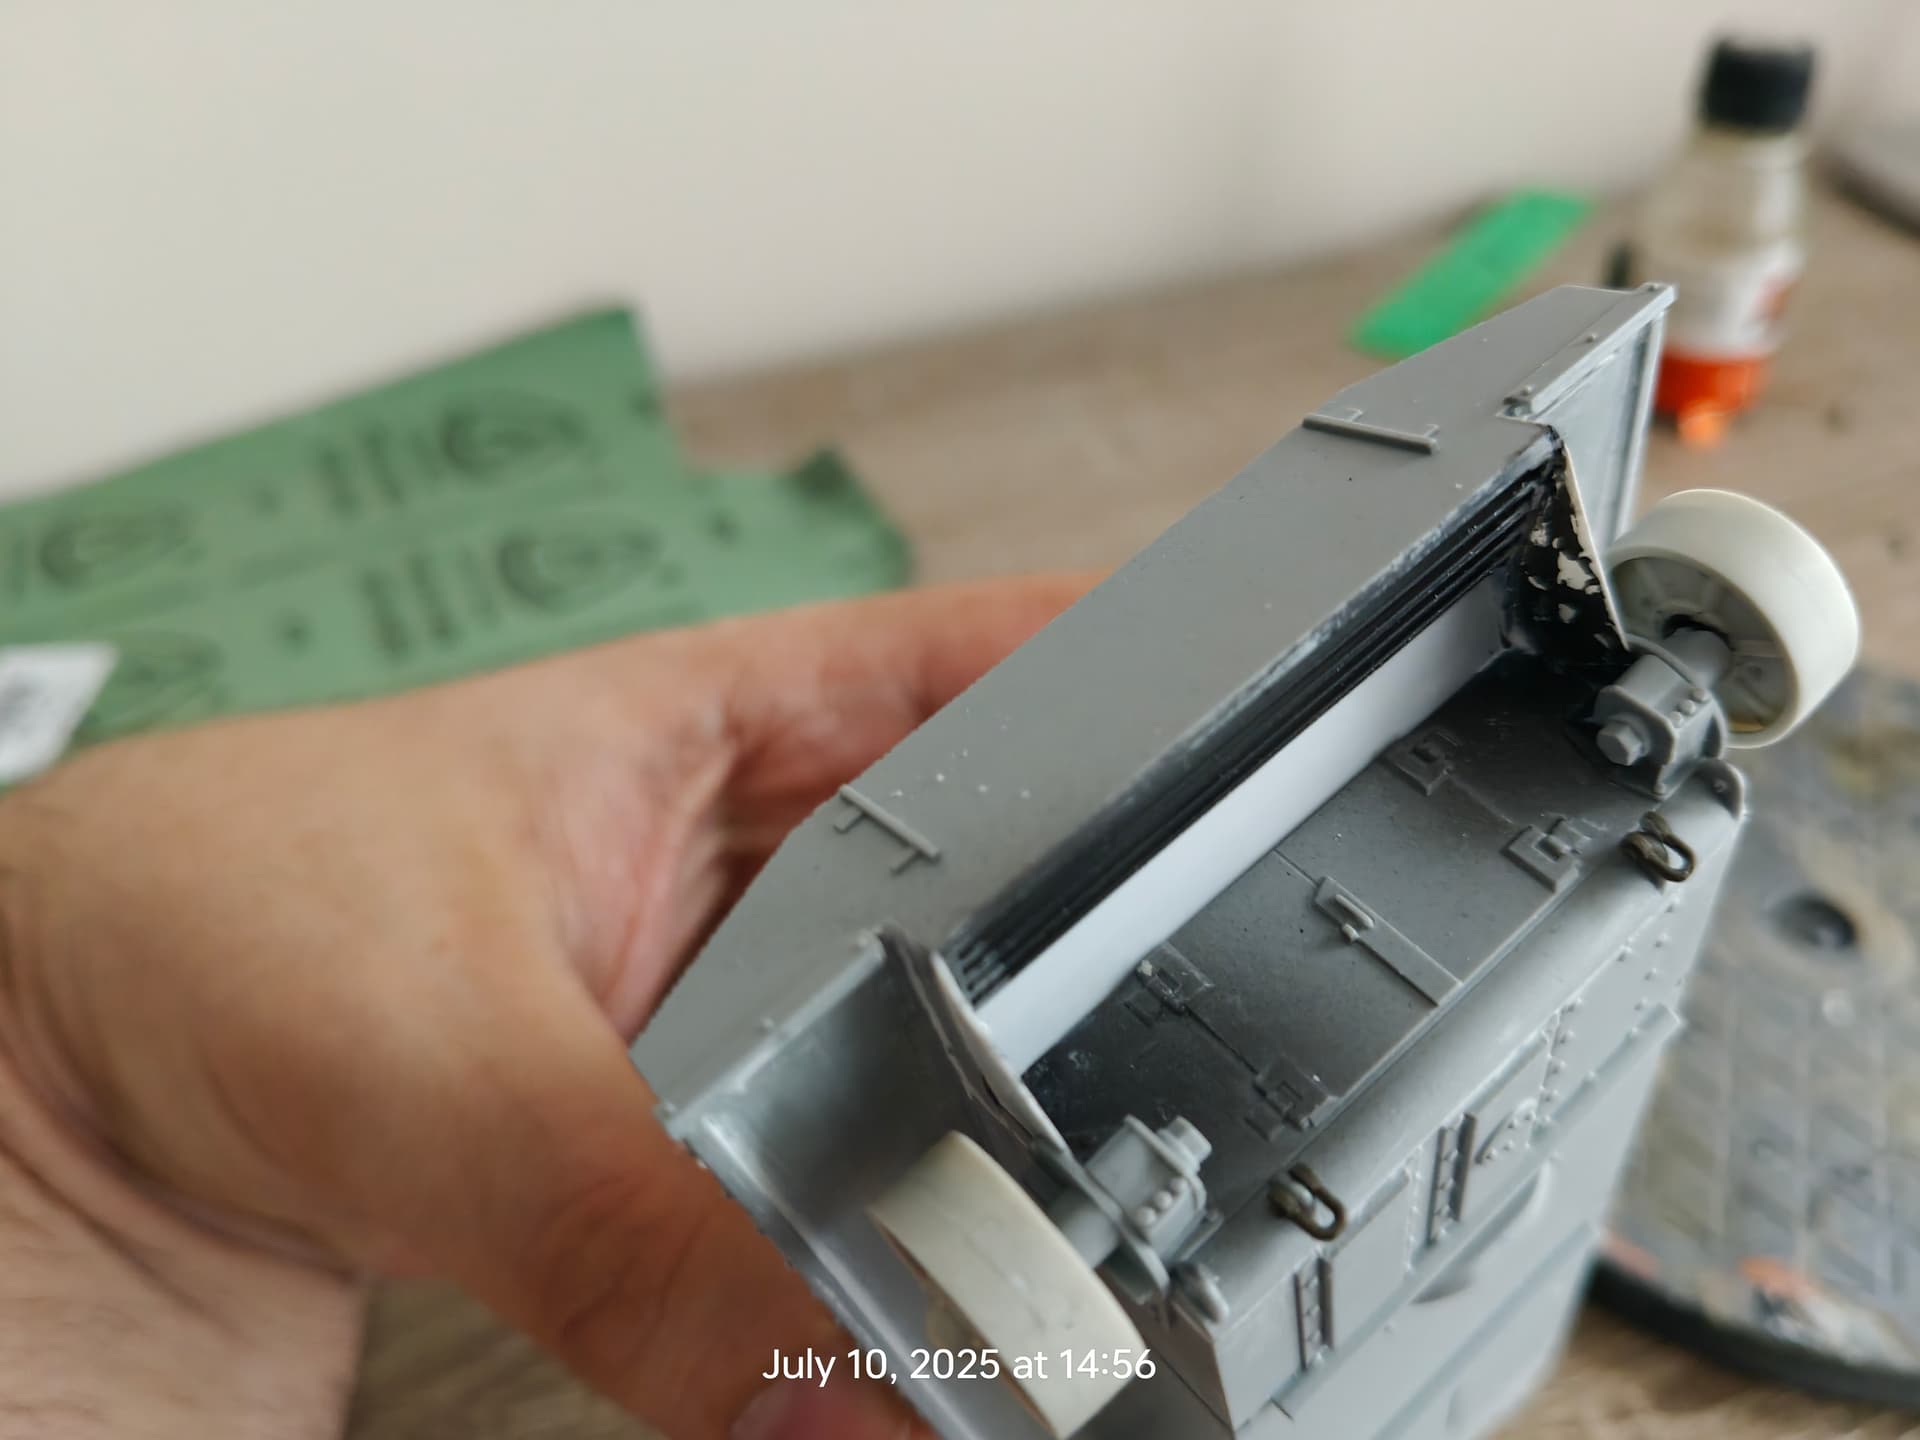
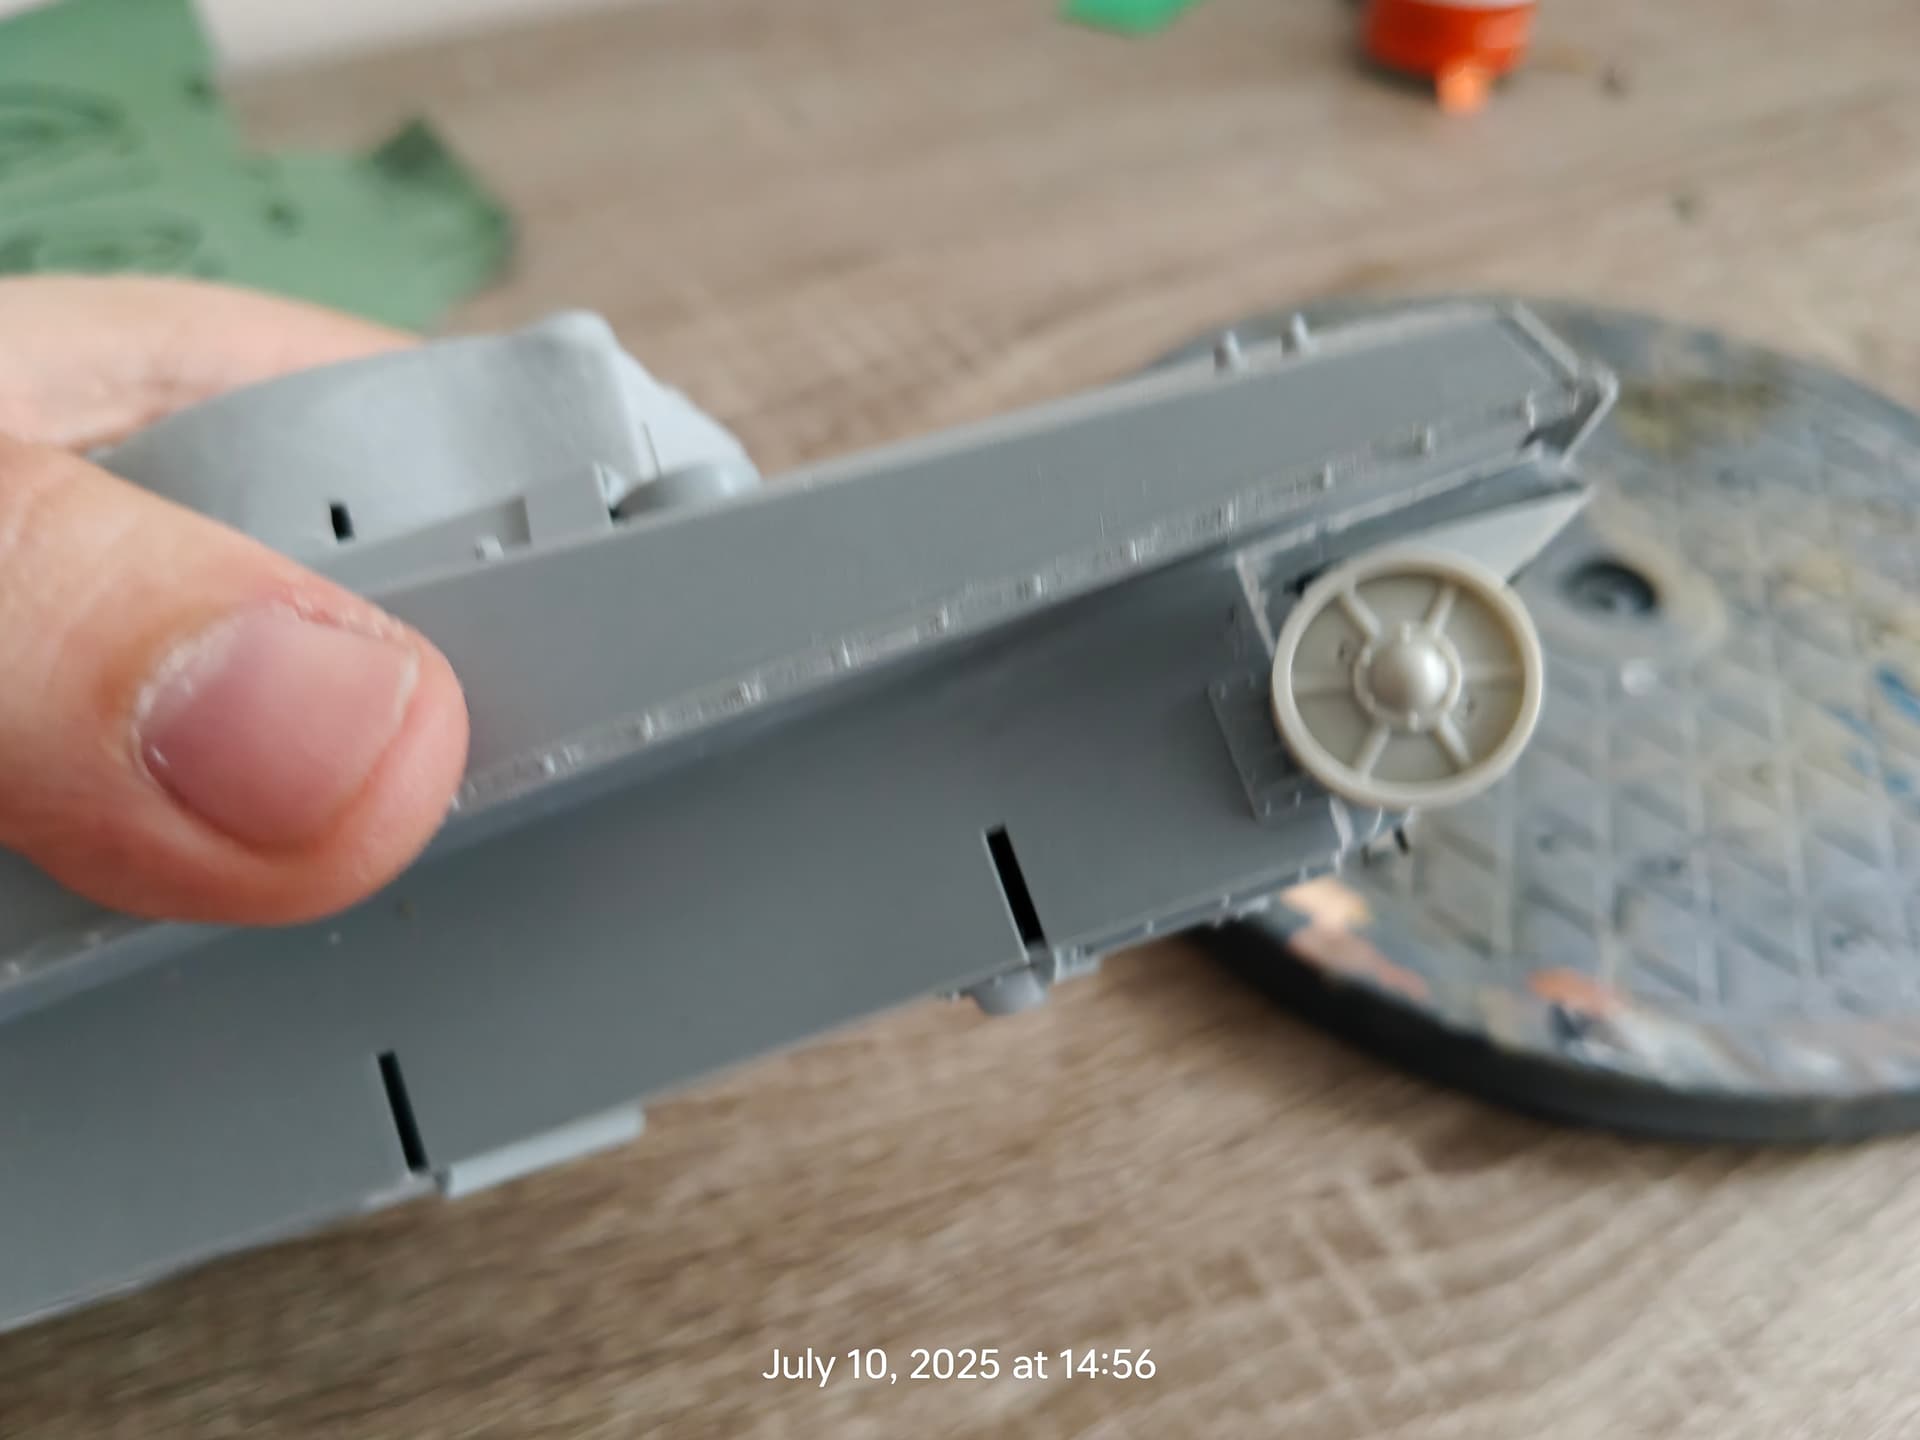
Small update. Filled the hole got from hacking the hull, added resin idlers and some other stuff.
5 Likes
Since you’re buying aftermarket decals anyway, get the Asuka kit. You’ll have a much better and easier time of it.
3 Likes
I had some more in progress shots of this one, but my kiddo deleted them to take stop motion movies of his army men! haha.
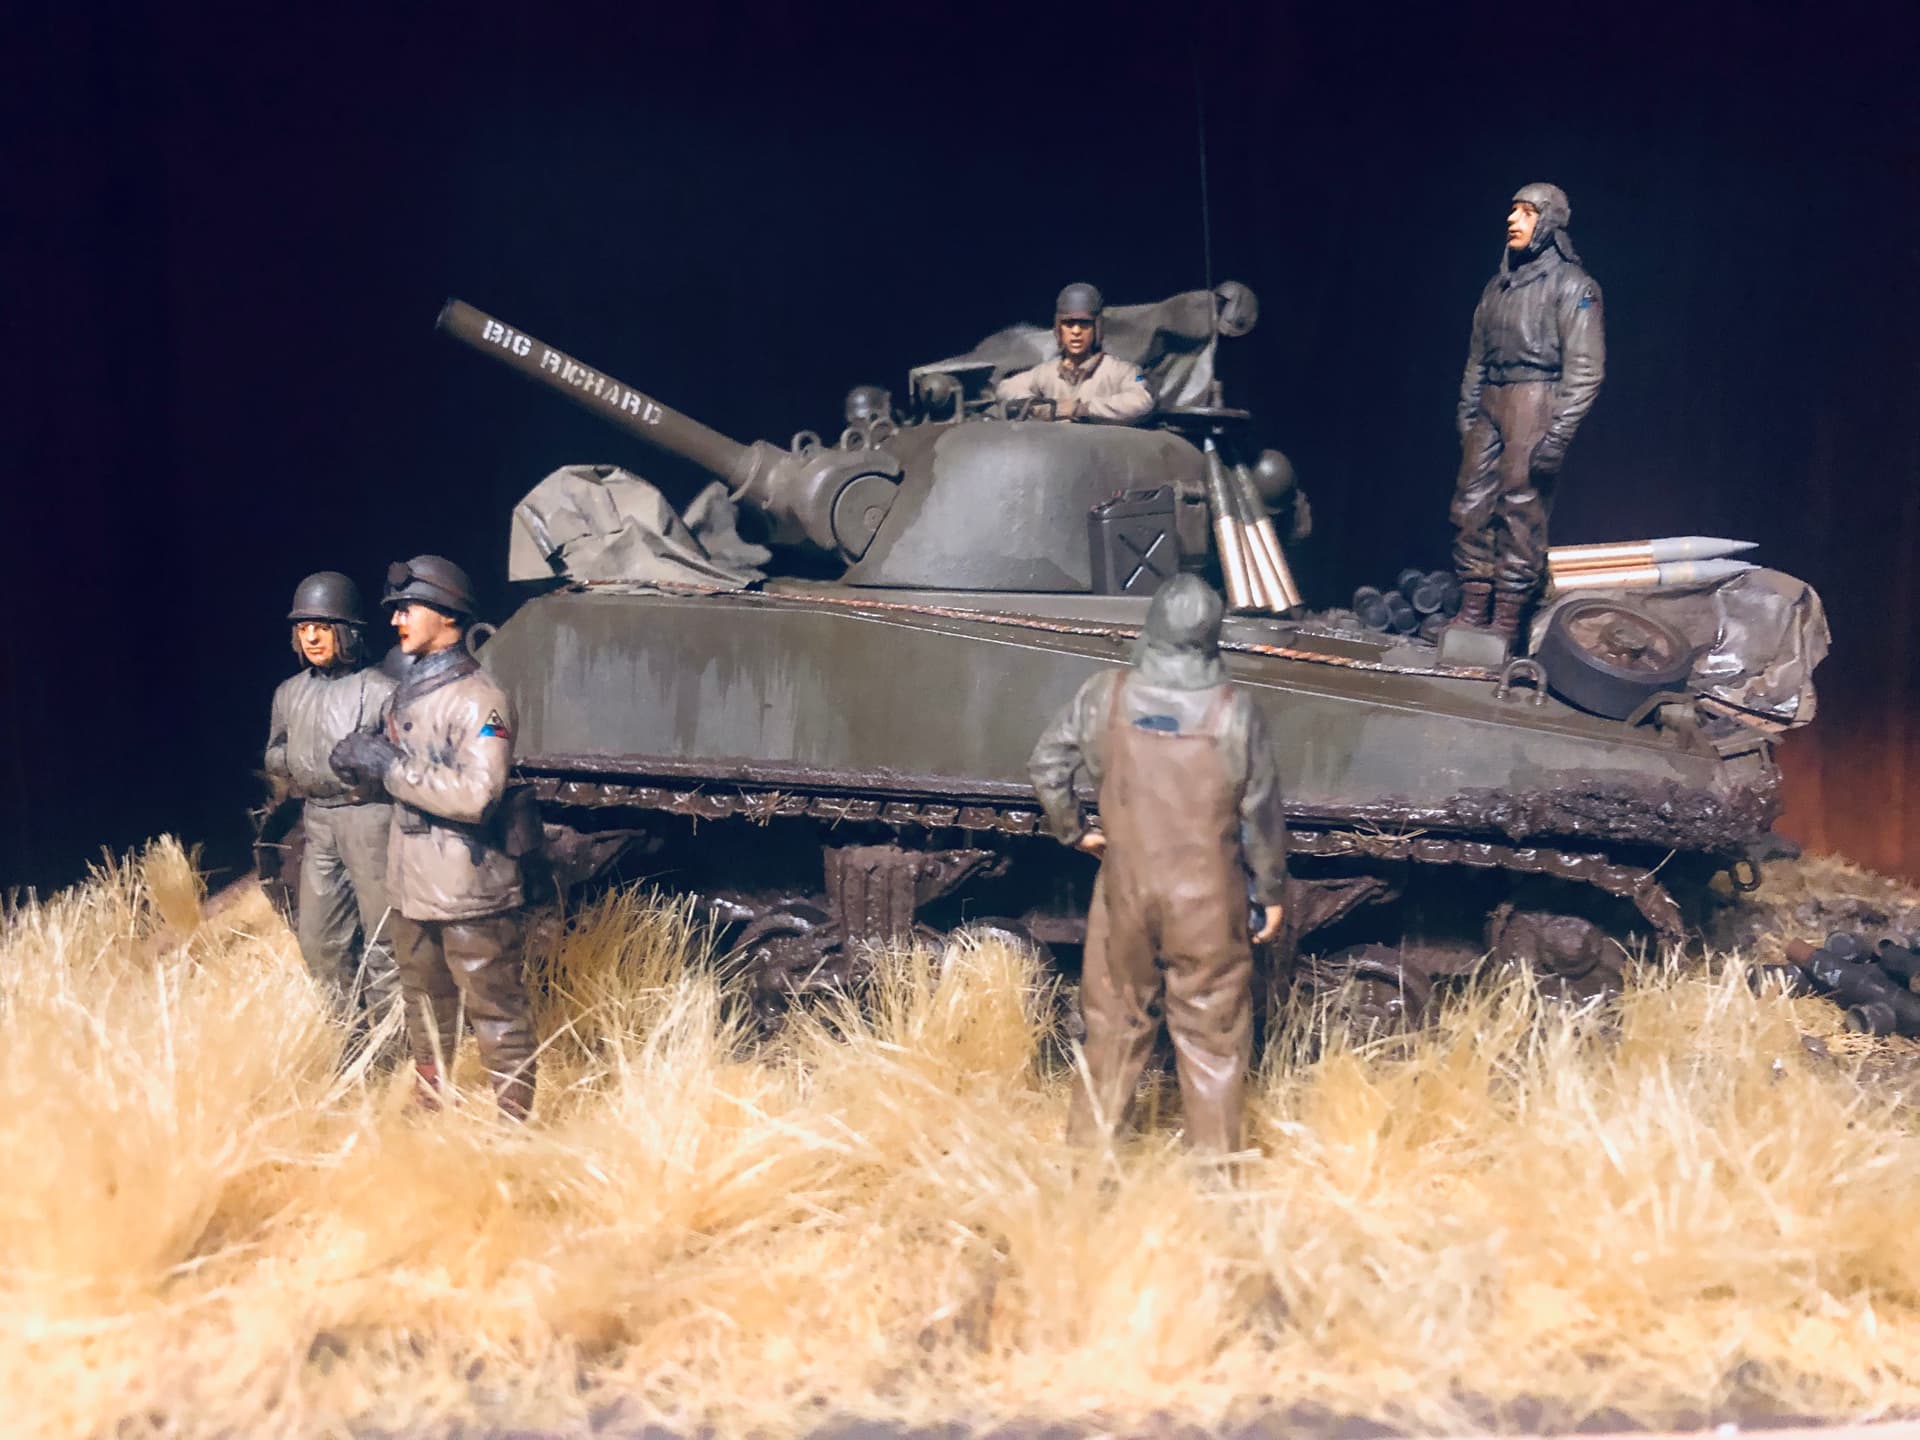
I’m calling this one finished.
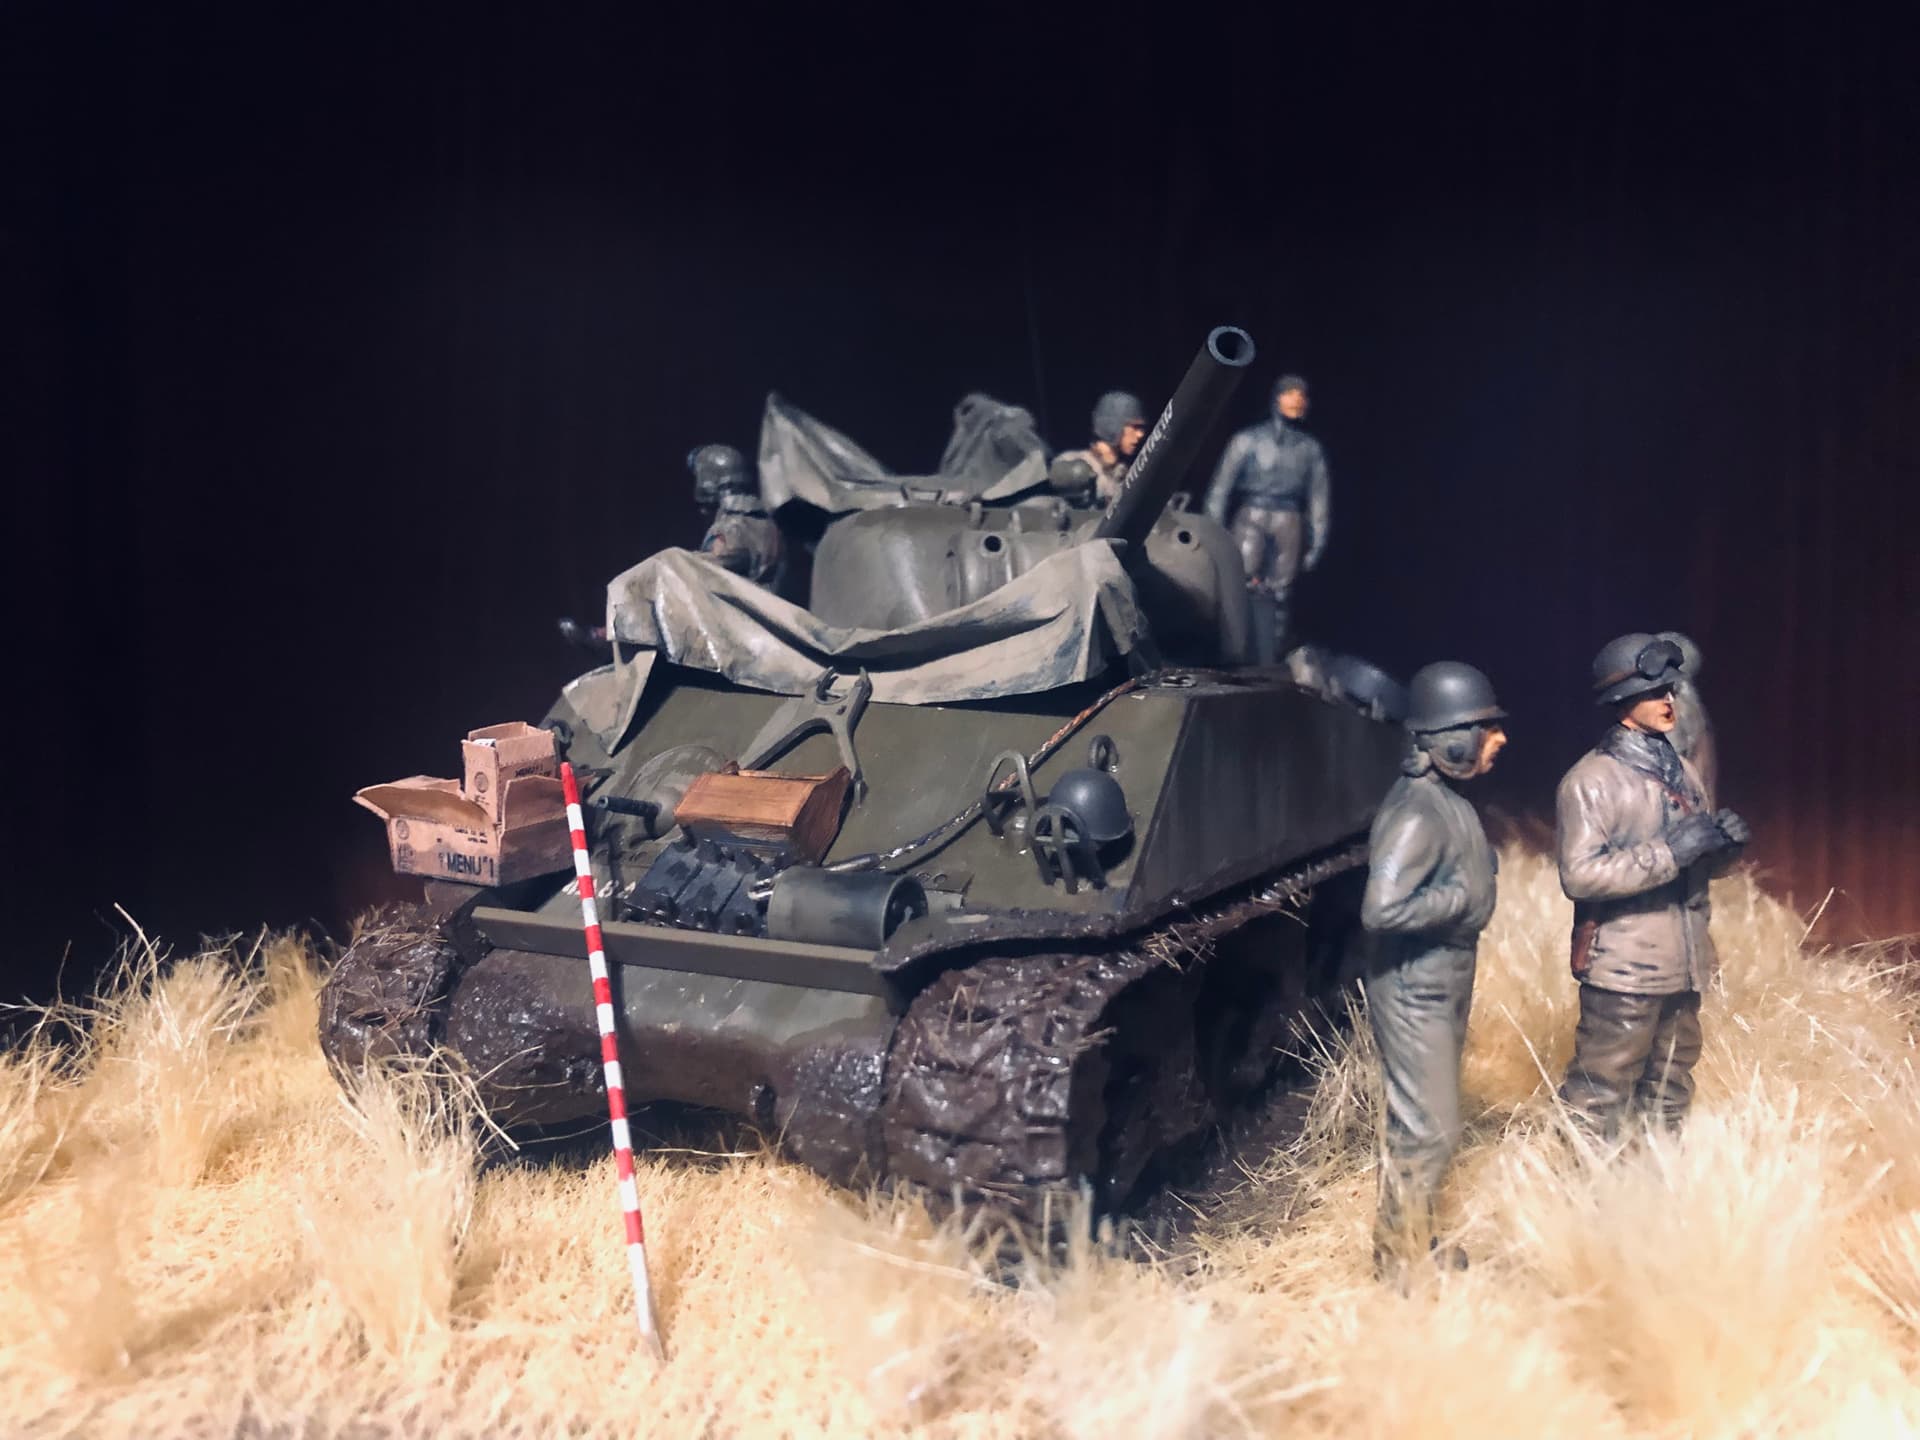
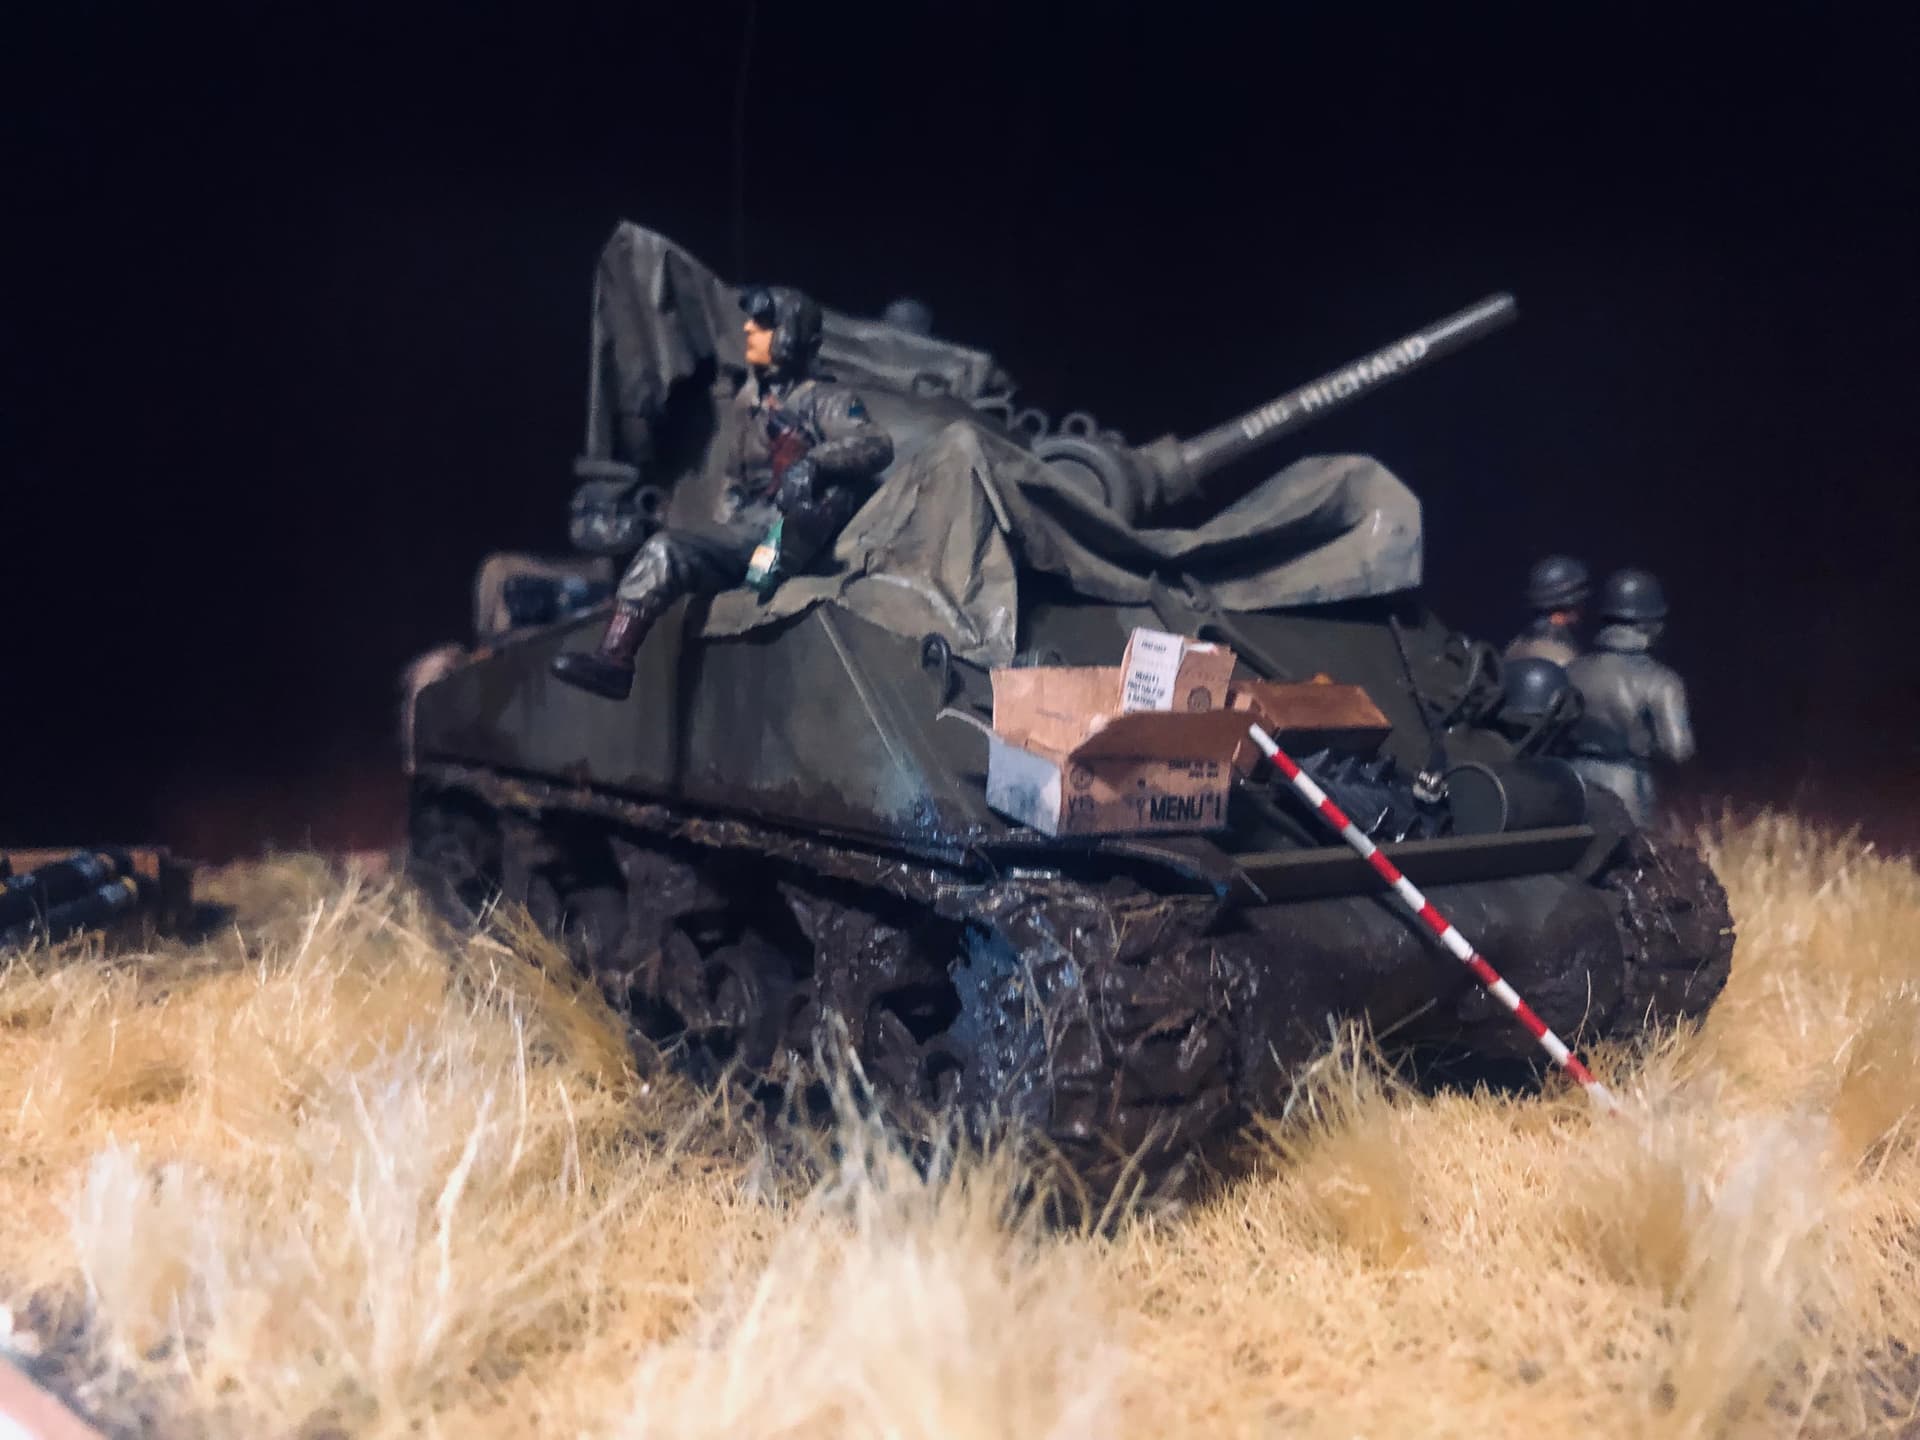
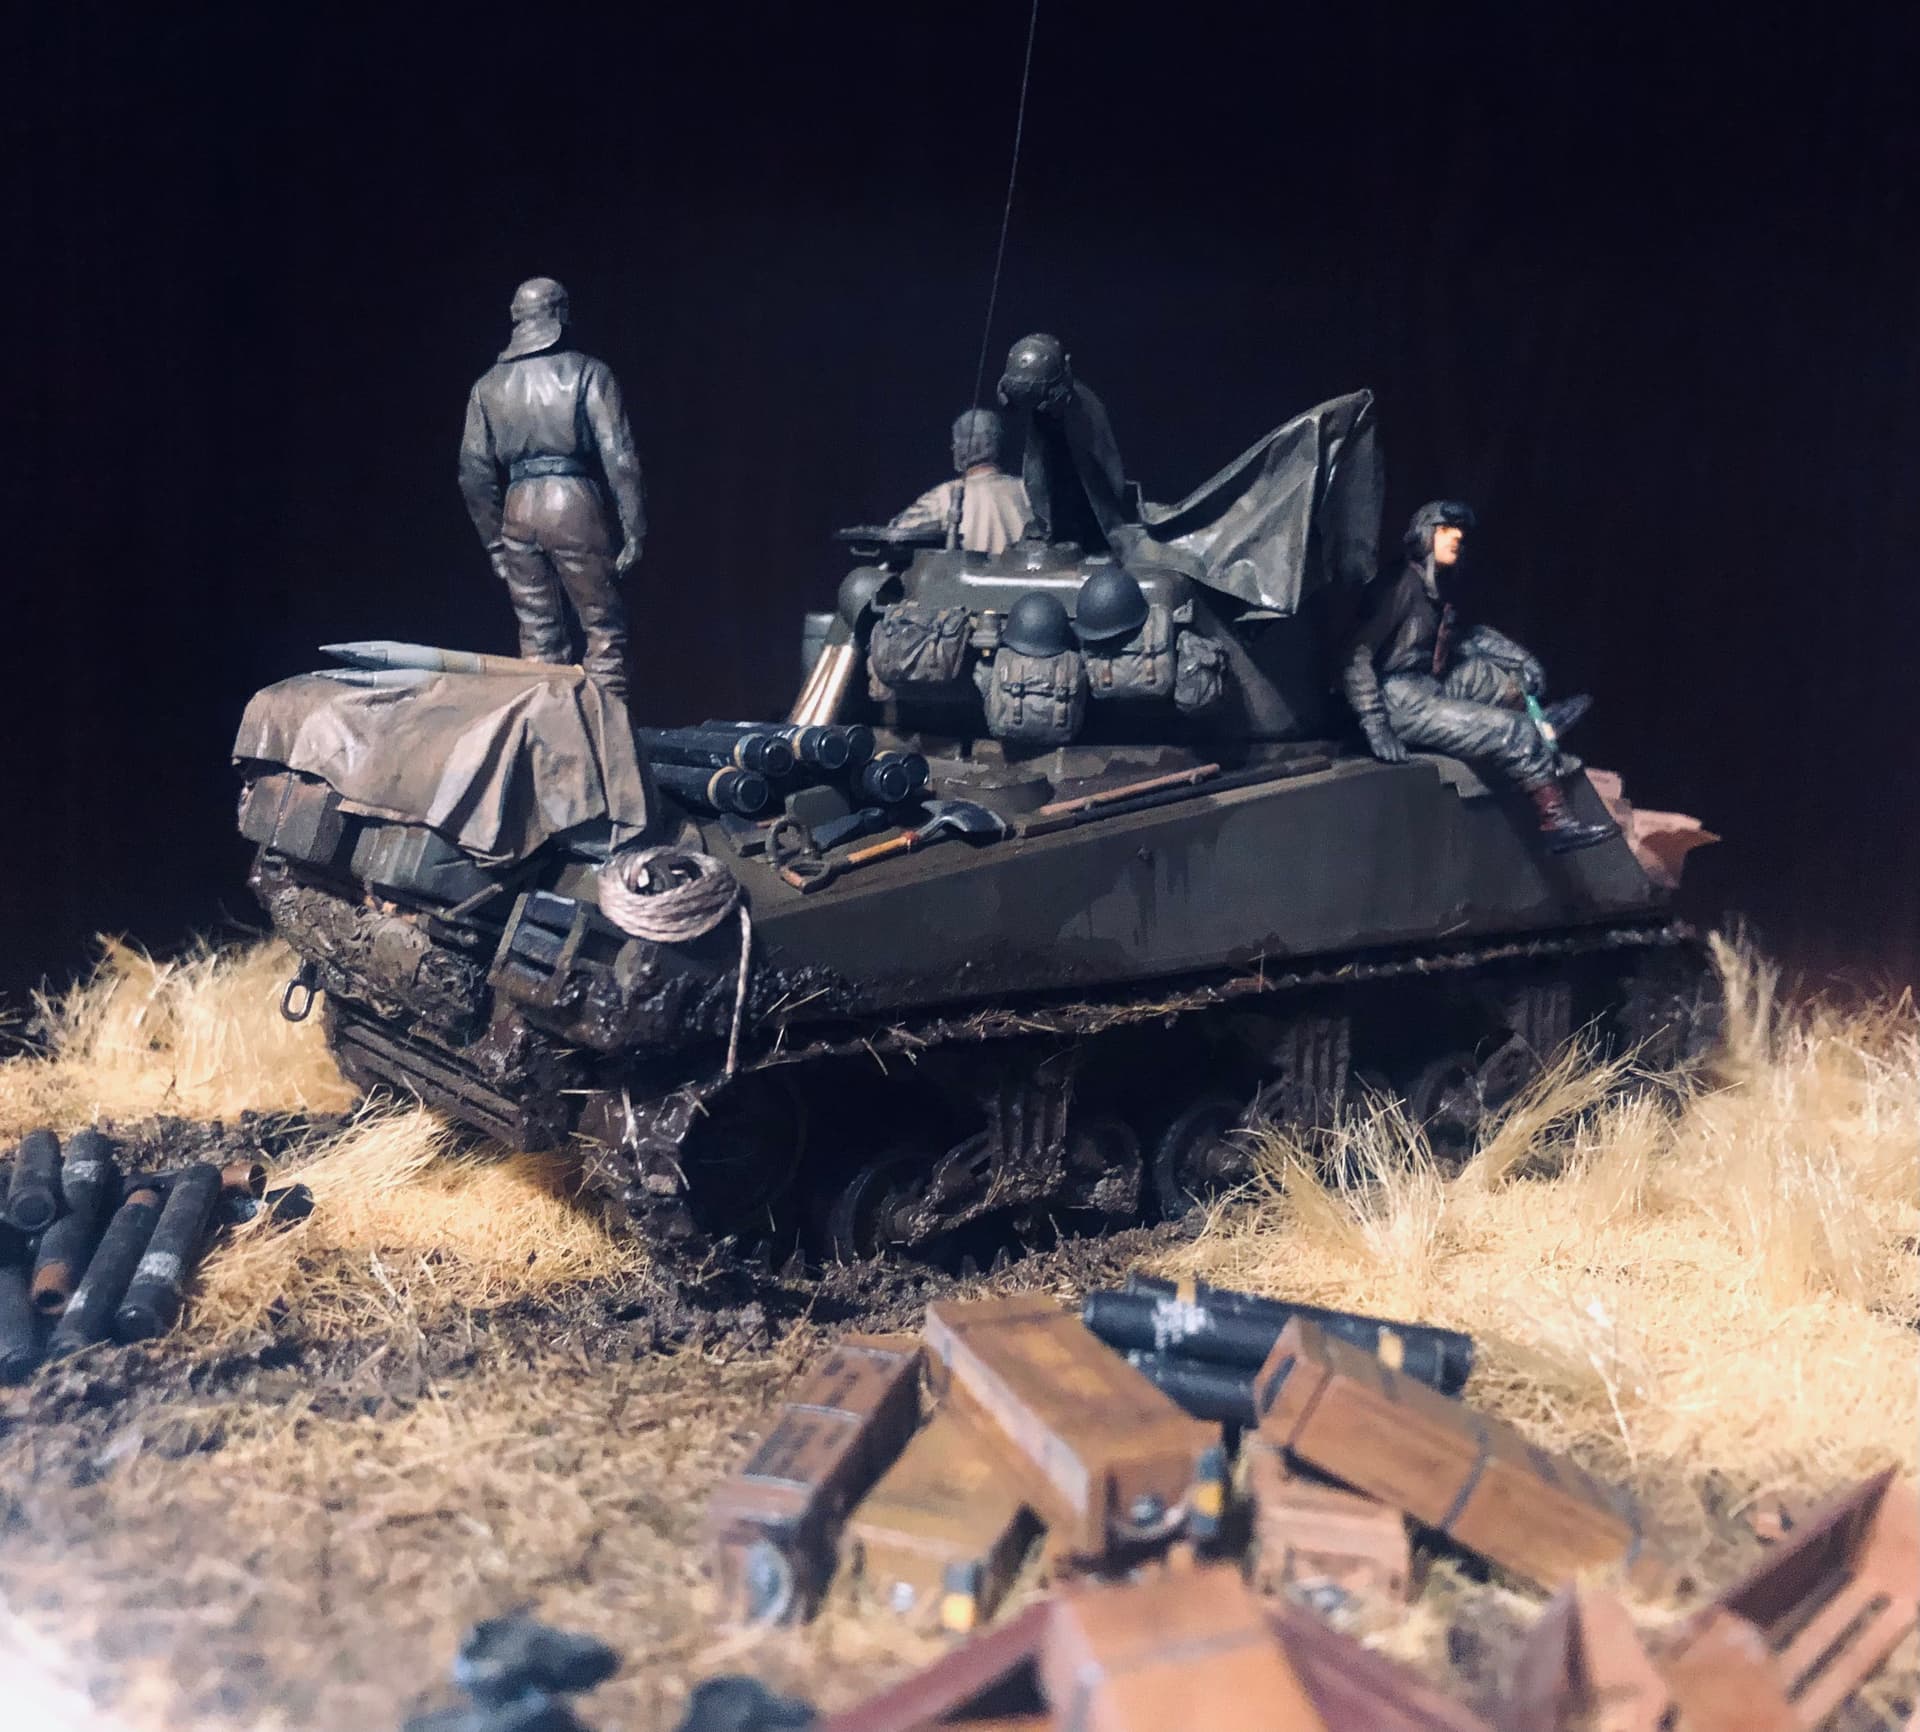
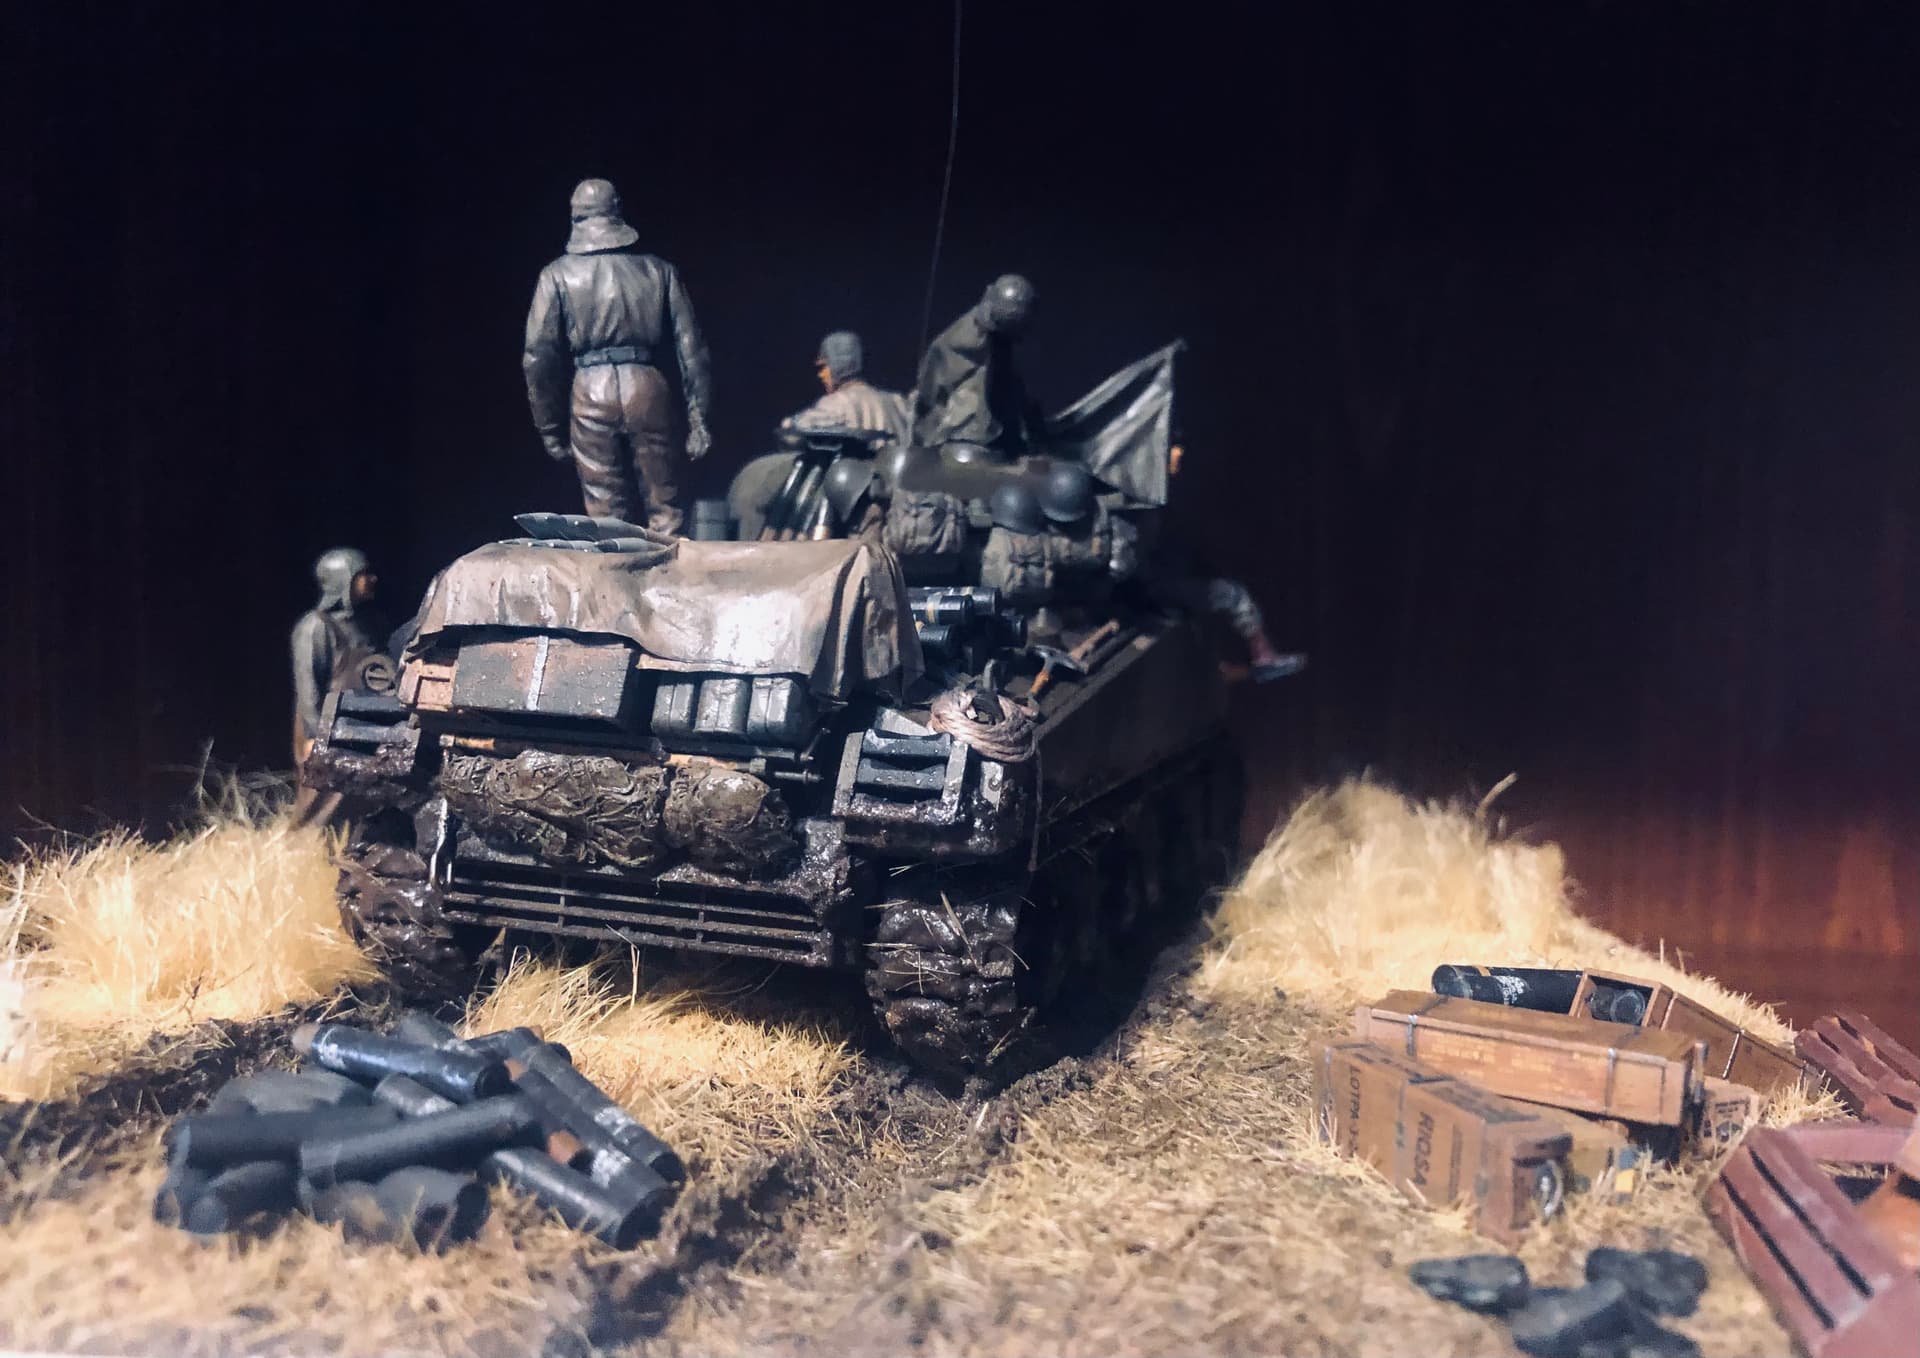
11 Likes
@YoYosarrian
Wow! nice work! Just tell the guys to be careful where they throw their cigarette butts with all the dry grass around there 
3 Likes
@ignoramusRex
Just going off of the fantastic work you did with that Emcha 76mm, this is going to look fabulous once you finish it too. But sheesh, looking at these images of that kit brings back some unpleasant repressed memories
2 Likes
Yeah and they re-released the kit with 3d parts as that is their new shtick. And wasn’t it packed by Lanmo a couple of years ago?
edit : Lanmo only used the main hull sprue. But the turret, boggies and other piece were new. What a mess.
1 Like
Well, now I’ve got to go back and park a Chesterfield in everyone’s mouth!(except that officer…something tells me he’s viceless hahahah)
1 Like
With the permission of Michael, I am rolling over my previously started M4A3 76mm from Shermania 2024 into this GB. So here is what has happened since last summer when I last updated that project
I’ve been nibbling away at this here and there at local AMPS meetings where I did things like basic assembly such as adding the small parts to the rear hull

I also started painting on the interior of the turret and on the lower hull, then started creating and adding detail for the turret interior such as creating the sighting scope for the main gun, as well as adding the co axial .30 cal. MG and associated ammo rack/can and coming up with the 2” smoke bomb launcher in the turret, as well as a radio from my spares parts


I also drilled out the hole for the smoke mortar in the turret.. the Italeri kit is based off a later turret that had the mortar hole blanked off

Lastly I used Milliput for the first time and filled in the hollow rear portions of the road wheels

and once that had dried and cured I painted that area in a dried mud color to look like road wheels do when packed full of dried mud…

more to come soon once I get more work done… since I’m leaving the turret hatches open, there is a lot to be seen when looking down into those hatches…
4 Likes
Good work so far! The key visible things to add in the turret are the seats (black “pleather” material, so very visible against the white) and the turret basket floor, which should be grubby.
3 Likes
Glad you’re continuing with the build Carlos, it is turning out great. I have an A3 I am messing with for our IPMS Iwo Jima build.
2 Likes
Also the crap on the turret walls underneath the open hatches and the radio in the rear, which will be fairly obvious to anyone looking in at a low(ish) angle from the front. If you want to have real fun, you can also scratchbuild the power traverse and associated gunner’s controls, which will be visible when looking into the turret from behind. (Having done that once, though, and then having had to redo it because I made it too tall, I don’t think I want to build another  )
3 Likes
I continue to progress with my M10, just finished building the .50 and .30 cal for the turret roof. The M2 is a kit all unto itself, builds into a nice rendition of the M2. I’ve built the interior and weathered it a little, going to make it dusty soonish. Waiting on a metal barrel to arrive for the kit. Still got to add some of the detail to the outside of the hull. The NZ M10 has some metal tubes on the hull sides and glacis plate which I’m toying with adding to the kit if i can find some brass tube that will look in scale when added to the kit. I’ve also noted the the bottom of the tube is compressed to facilitate welding to the hull. Anyway here’s my progress so far.
 IMG_2455 by Chris Wilson, on Flickr
 IMG_2456 by Chris Wilson, on Flickr
 IMG_2457 by Chris Wilson, on Flickr
 IMG_2458 by Chris Wilson, on Flickr
 IMG_2459 by Chris Wilson, on Flickr
 IMG_2460 by Chris Wilson, on Flickr
 New_Zealand_M10_Tank_Destoyer_in_Italy_1944a by Chris Wilson, on Flickr
Chris
5 Likes
The raised floor on M10 was usually olive drab, not white, and the inside of the turret was as well. In the TM, the floor is white, but I think this is because its illustrations are from photos of a very early production vehicle. (Yours isn’t, because it has counterweights on the turret rear. The vehicle in the 1944 photo is a later version still, with a vertical turret rear and “duckbill” counterweights.)
Also, the ammo packing tubes in the sponsons were black cardboard, not olive drab.
1 Like
Hi Jakko
Thanks for the info, I painted as per instructions unaware that they were incorrect. It will also teach me to check the refference material for this armoured vehicle. And to look more carefully at the instructions as they do indicate that the turrent interior is O.D. I don’t have any referrence material currently and will attempt to remedy. Are there any online resources I can check? Alternatively what publications would you recommend?
I think I’m going to have to give up marking this as a New Zealand vehicle as I see the counterbalance is wrong for the vehicle in question. And I’ve already attached the kit supplied counter weights. Now to figure out which vehicle I want to portray.
Cheers
Chris
3 Likes
More great work here!
As I have mentioned, I would like to do a 1973 M51 on the Golan for this campaign but am having a very difficult time finding any photos of those vehicles. I realize, of course, that folks were a little too busy at the time to take a lot of pictures, but if anyone has some they could share I would really appreciate it. Thank you!
Michael 

2 Likes
The technical manual is online, and unlike some TM scans this has good-quality images — though like I said, it shows a white floor. If you look at, for example, the illustration on page 396 (as well as others), you can see the turret interior is darker than that of the hull.
You wouldn’t be able to change yours into one with duckbill counterweights anyway without a lot of work The simplest way would be to take the turret shell from another kit (17-pounder M10 kits usually have a duckbill turret), but you’re rather far along to be doing that … But anyway, here’s another New Zealand M10, with wedge-shaped counterweights like your model:

(source)
3 Likes
I built the 6062 some years and I had a good time with it. Some small detailing according to personal taste, nothing more.
2 Likes
I eventually got a modelling Sunday and began the ol good check-fit-cut-sand process to marry plastic to resin. These pics shows the basic layout of the conversion:

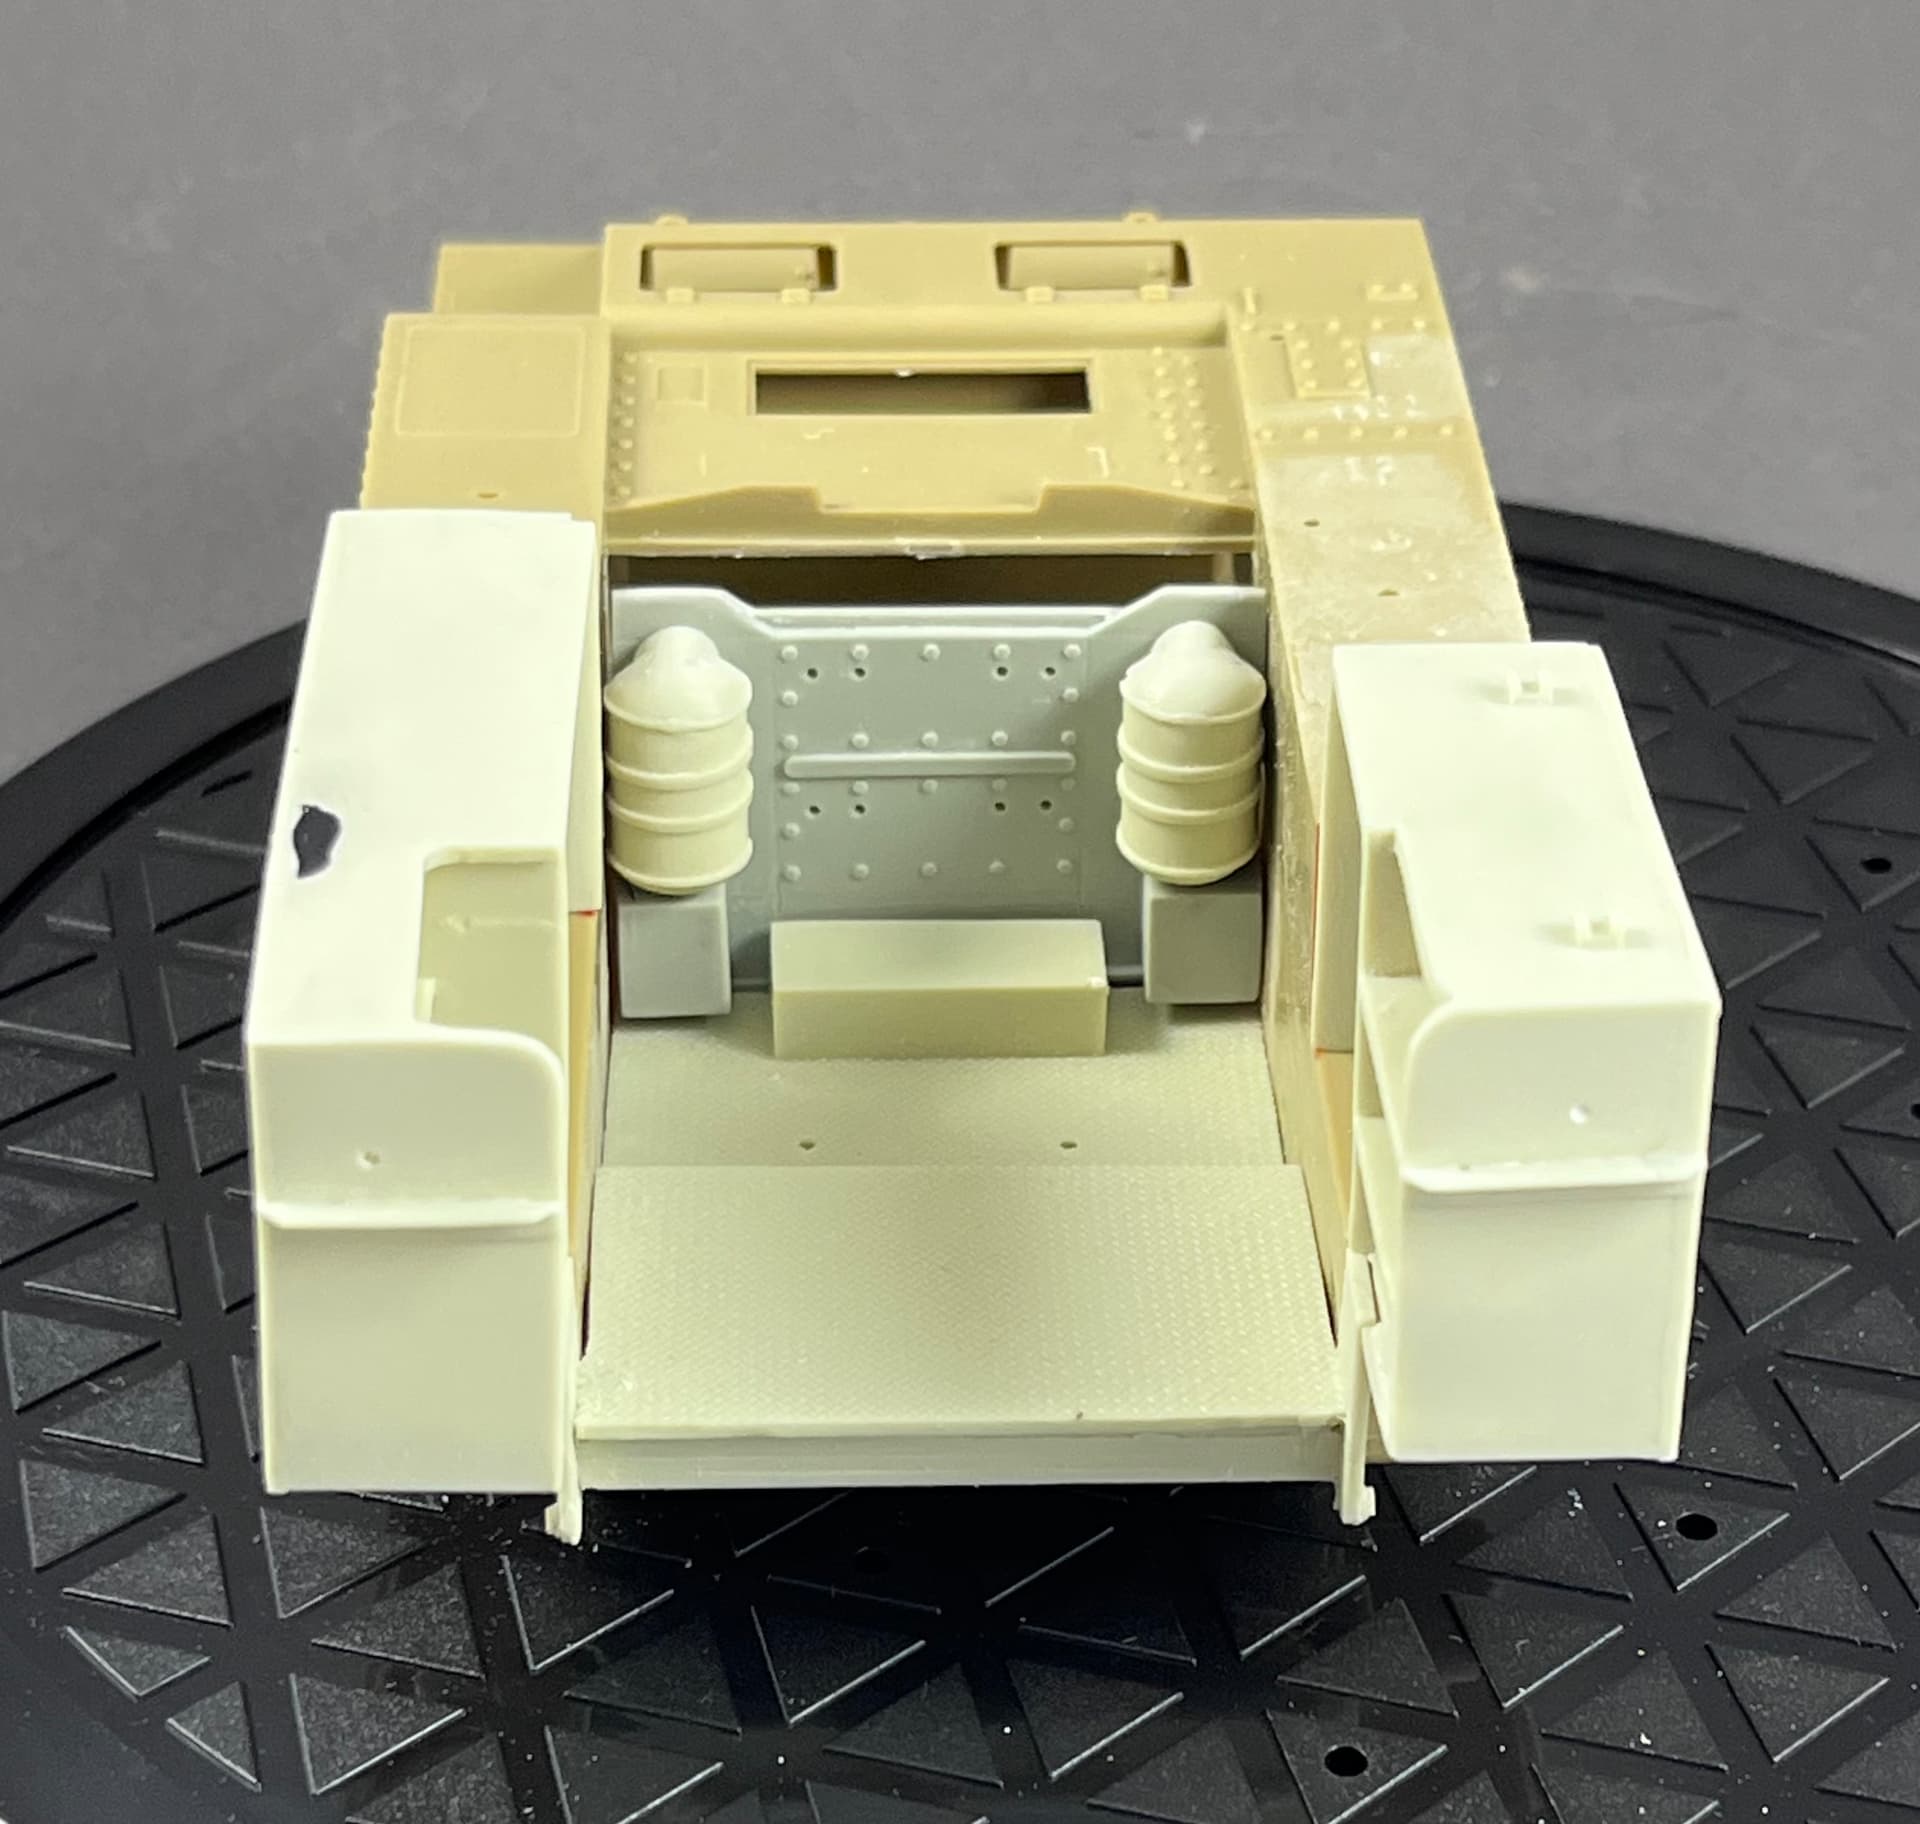
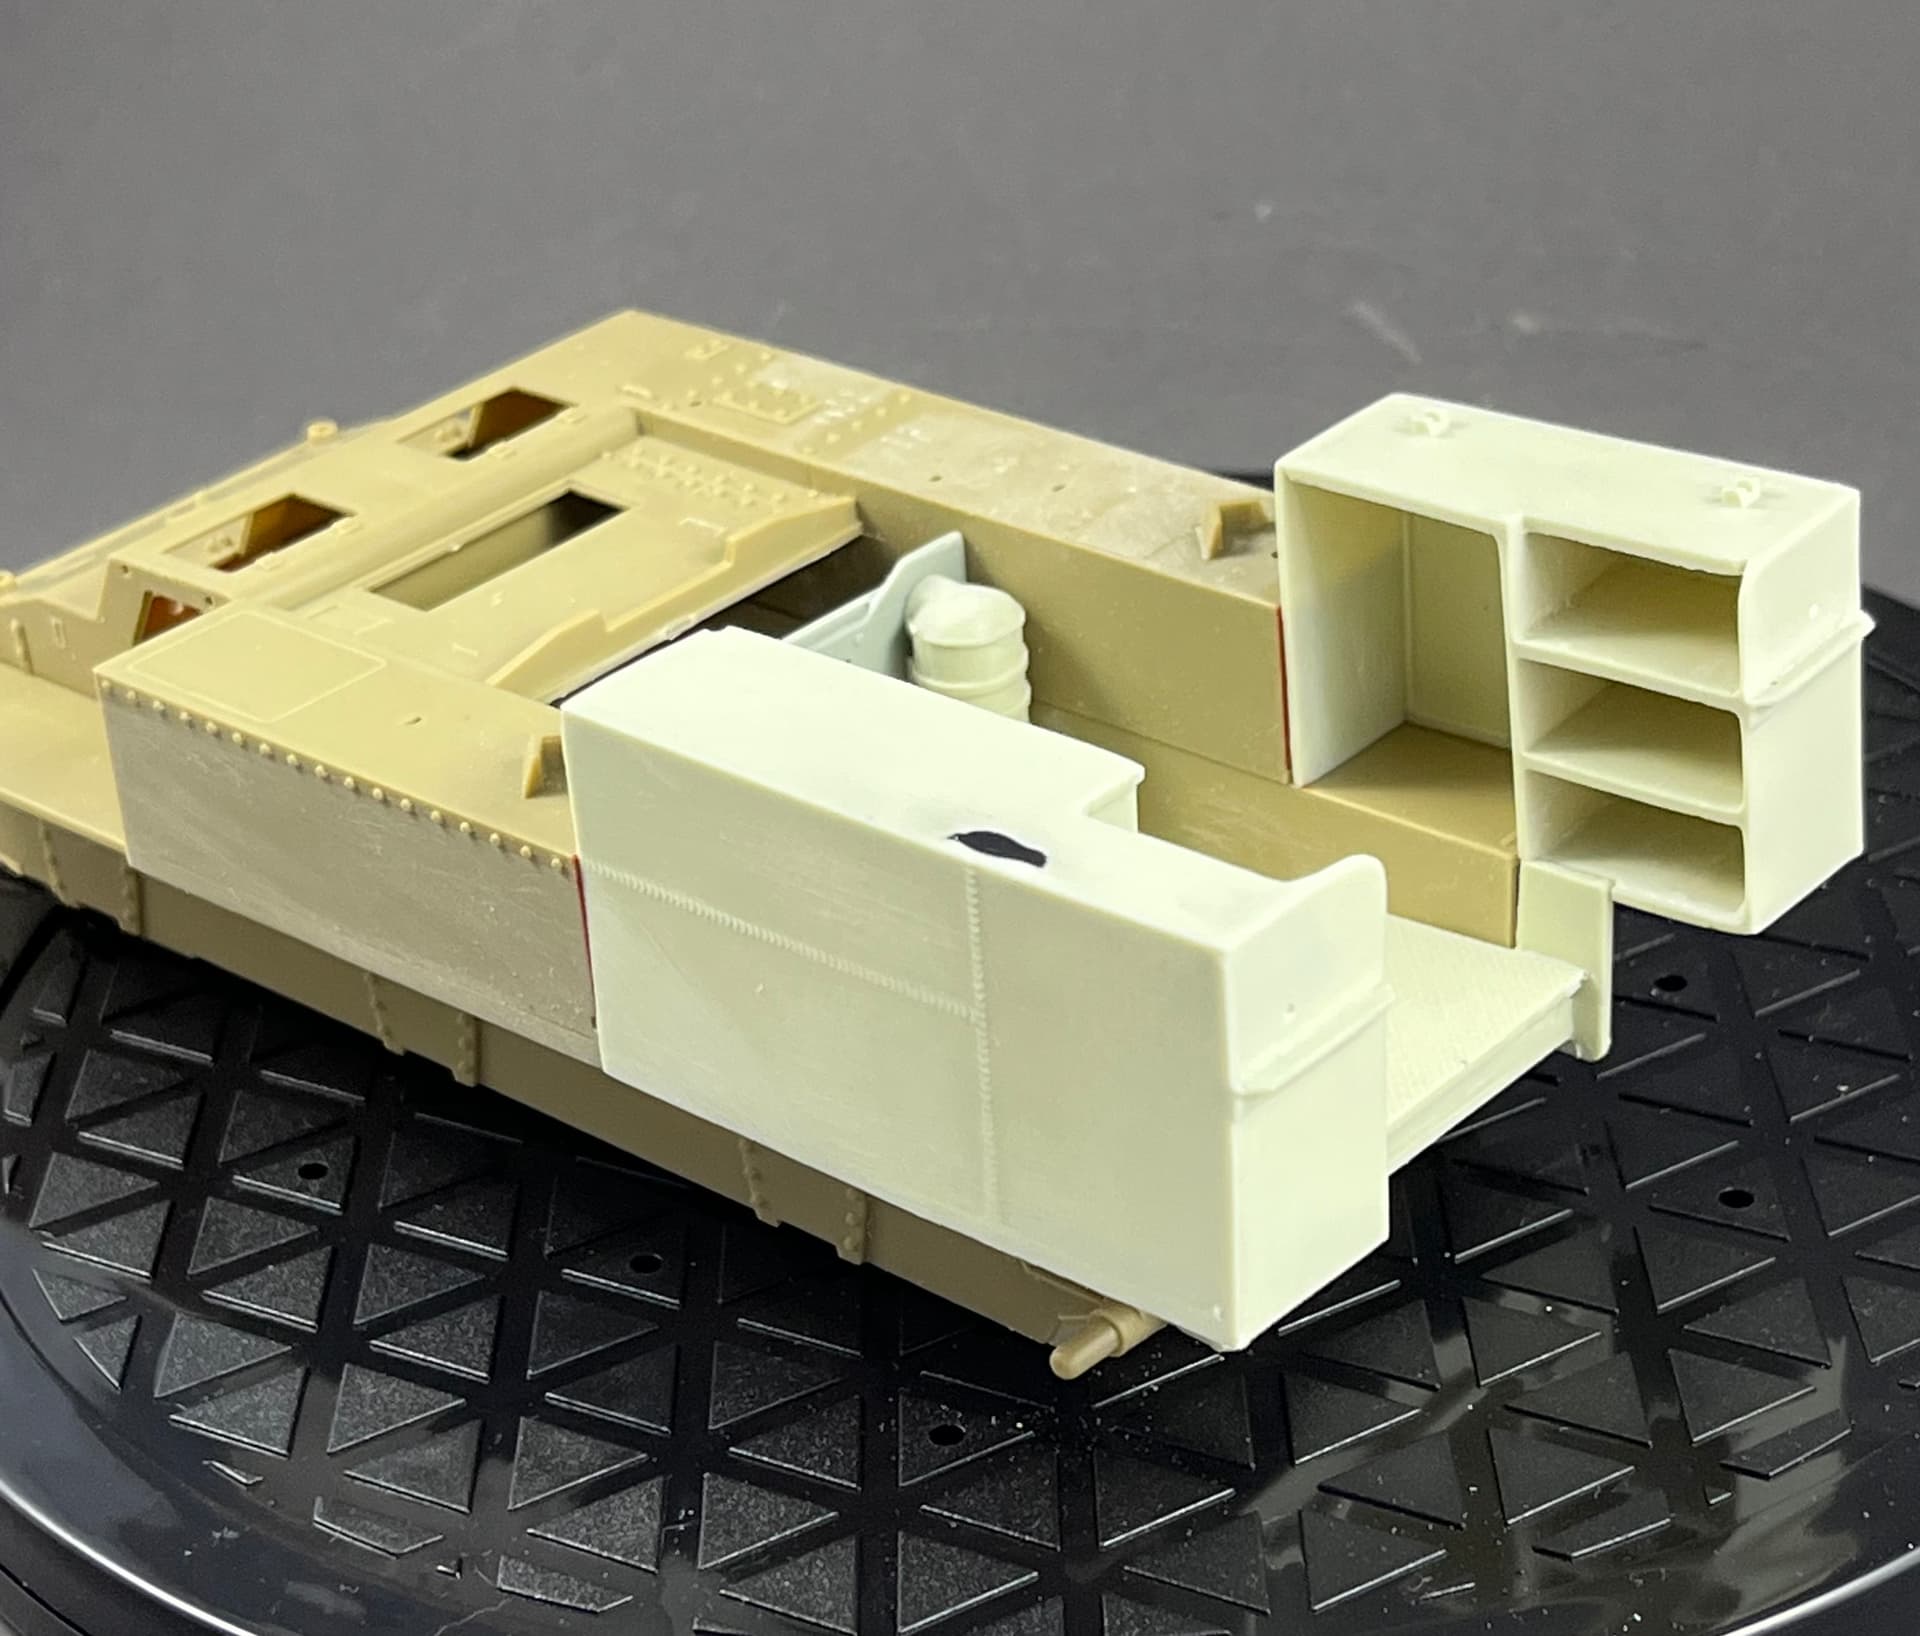
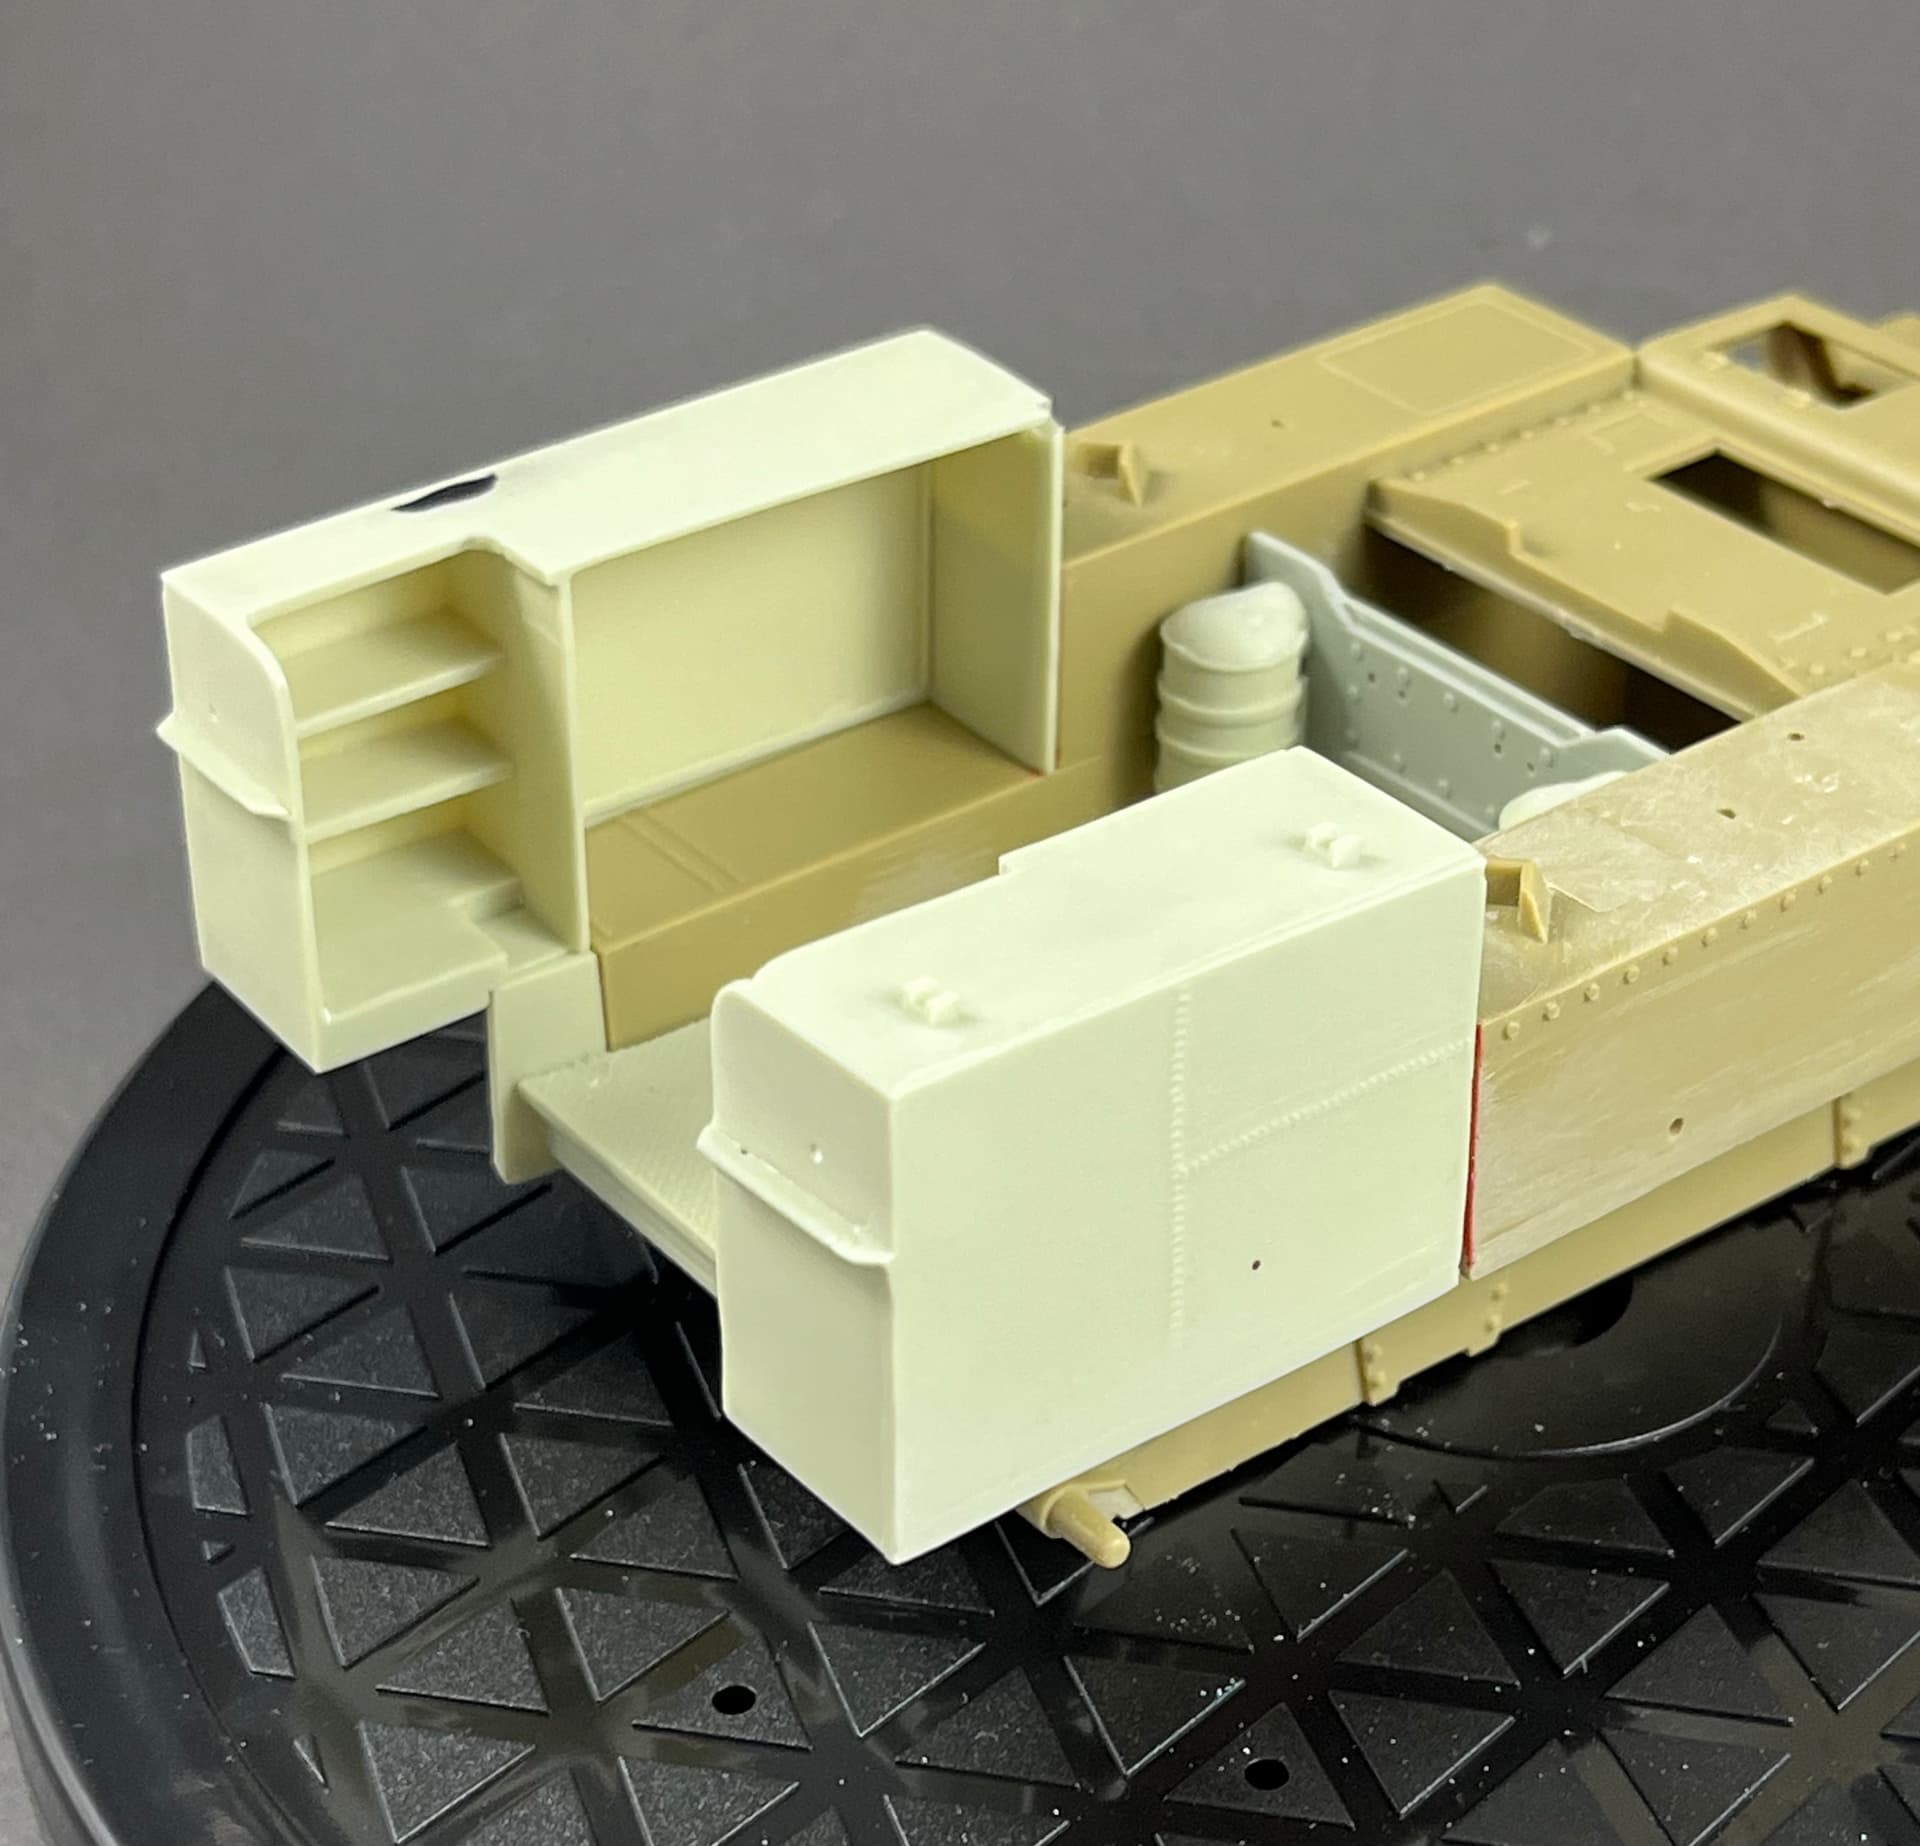

I thinned down some of vertical plates of the boxy rear sides though it’s gonna be one of those cramped carriers so I won’t stay to long on surfaces that will end covered by stowage
6 Likes
Hi Jakko
Yes I’ve got that pic on file as well, though the road wheels appear to be solid and I’ve gone for the cast ones. But I’m sure there were other instances of this combination in the M10 ranks. If not I’ll apply a little artistic license lol.
My thanks for the link to the Manual, it’s an awesome resource. Don’t have any 17pndr M10’s in the stash thought I might keep an eye out for one.
Cheers
Chris
3 Likes
Cast? Oh, you mean the spoked wheels. They’re welded from flat steel plates The solid ones with embossed spokes consist of stamped discs riveted to the rim. Anyway, spoked wheels were certainly possible on M10s with wedge-shaped counterweights.
3 Likes