Added some more bits. I think I am getting half way there in regards to assembly.


7 Likes
Tracks and front decals are on. The Tamiya rubber tracks fit very well and is easy to fit. The decals are typically thick Tamiya decals and my guess is it will take a gallon of micro set to get them nice and snug… Picture is taken seconds after the first coat of micro set.

11 Likes
As expected the decals needed LOTS of decal fixer, but the end result turned out ok. It starts to look like a tank now.

9 Likes
Looking great!!!
1 Like
Looking good Erik! But you have the colors on the tracks reversed. The T80 steel chevron tracks had a rubber surface that contacted the running gear such as the road wheels, return rollers & idler wheel, and the opposite side portions with the chevron that contacted the ground were steel.
4 Likes
Thanks, at least that is an easy fix.
2 Likes


That’s the first-aid kit ![]() It would almost certainly have been marked on its rear face with a small white disc with a red cross on it.
It would almost certainly have been marked on its rear face with a small white disc with a red cross on it.
2 Likes
Thanks for clarifying.
1 Like
Love those ripped duckbills!!!
2 Likes
@Stikpusher: Tracks have been fixed. A gruesome ten minute job ![]()
2 Likes
I started to paint the tank crew this evening. I’m far from a good figure painter, but we have a saying in Norway, «Good tools is half the job», so I bought new brushes. They were insanely expencive, but what a difference from my old AK and Mig brushes! The old ones were not bad, but I suspect these figures will be the best I have ever painted. The new brushes were absolut awesome, and painting figures is suddenly much easier and way more fun (I enjoy painting figures ![]() ). They need some more work, but so far I’m really happy with the result.
). They need some more work, but so far I’m really happy with the result.

6 Likes
I like your figure painting stands ![]()
2 Likes
In addition to my roll over M4A3 from last years Shermania, I’m also gonna throw this one in here as well… I’ve had this kit in my stash for probably close to 30 years now, when it was a new release. AZ AMPS is doing something of a GB entry for Modelzona here in November, which the theme is Victory 1945. I think an Easy 8 Sherman fits the bill for that theme so I decided to build this as my participation for our AMPS entry, and figured that it would fit in here too
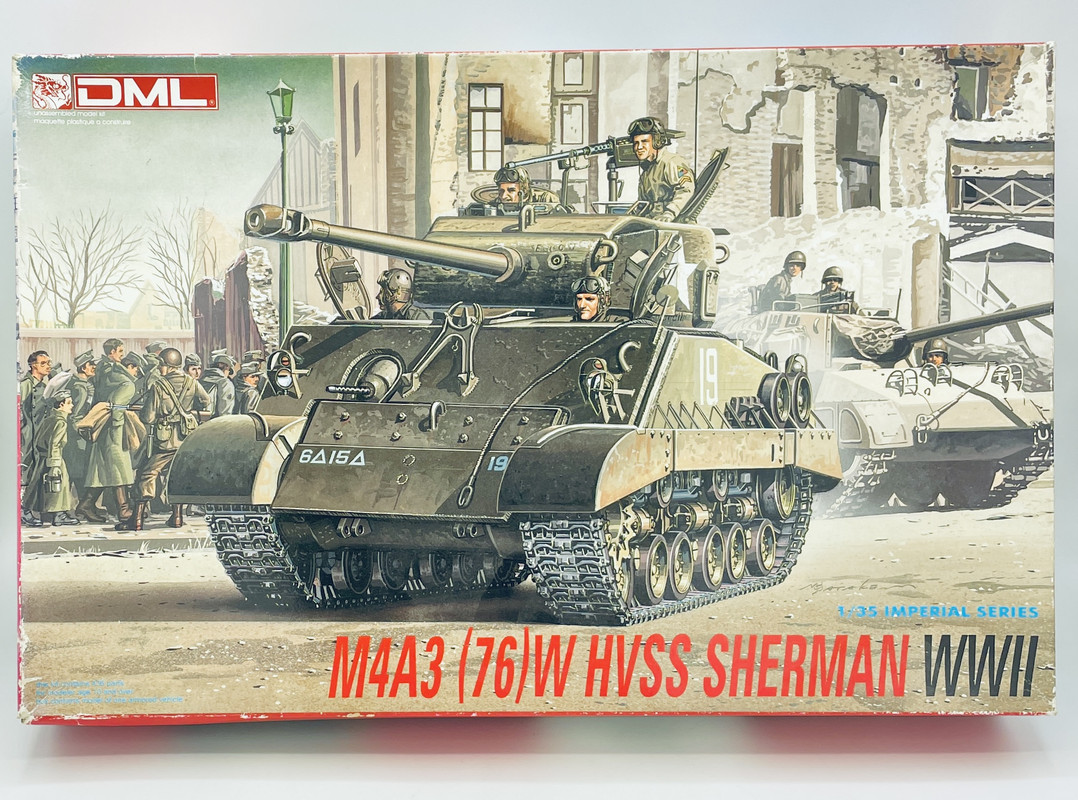
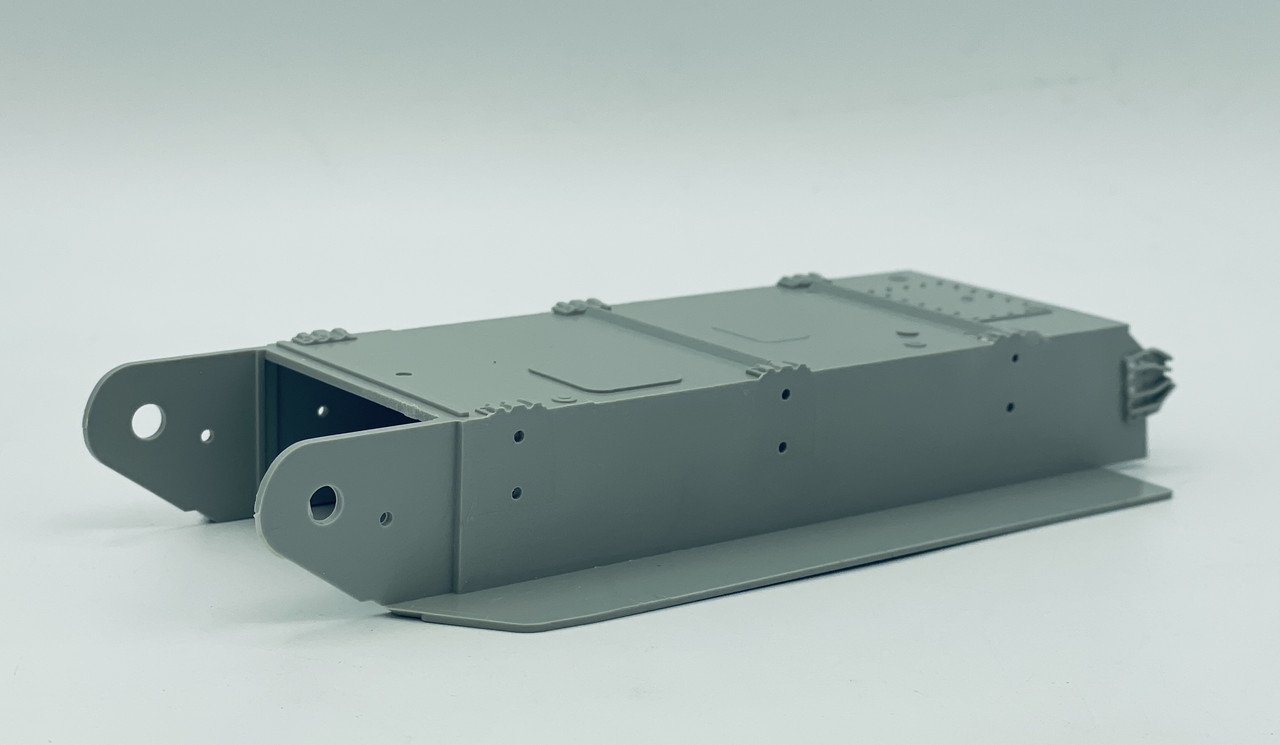
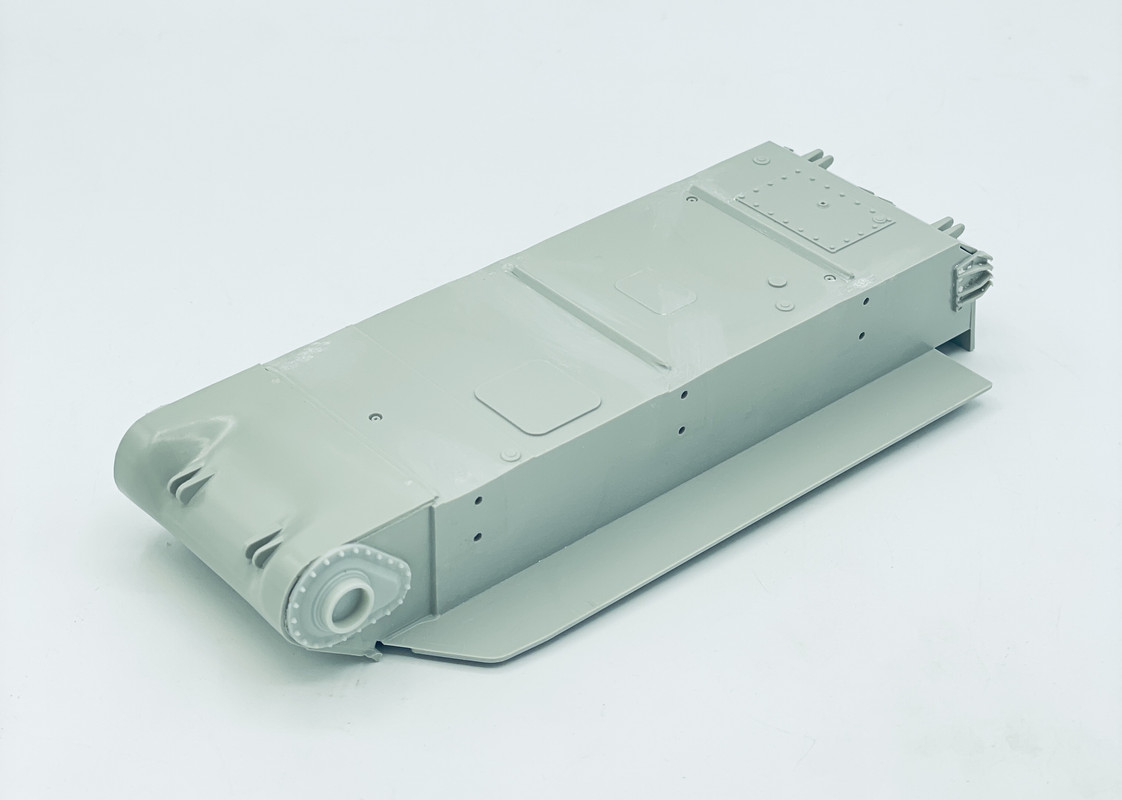
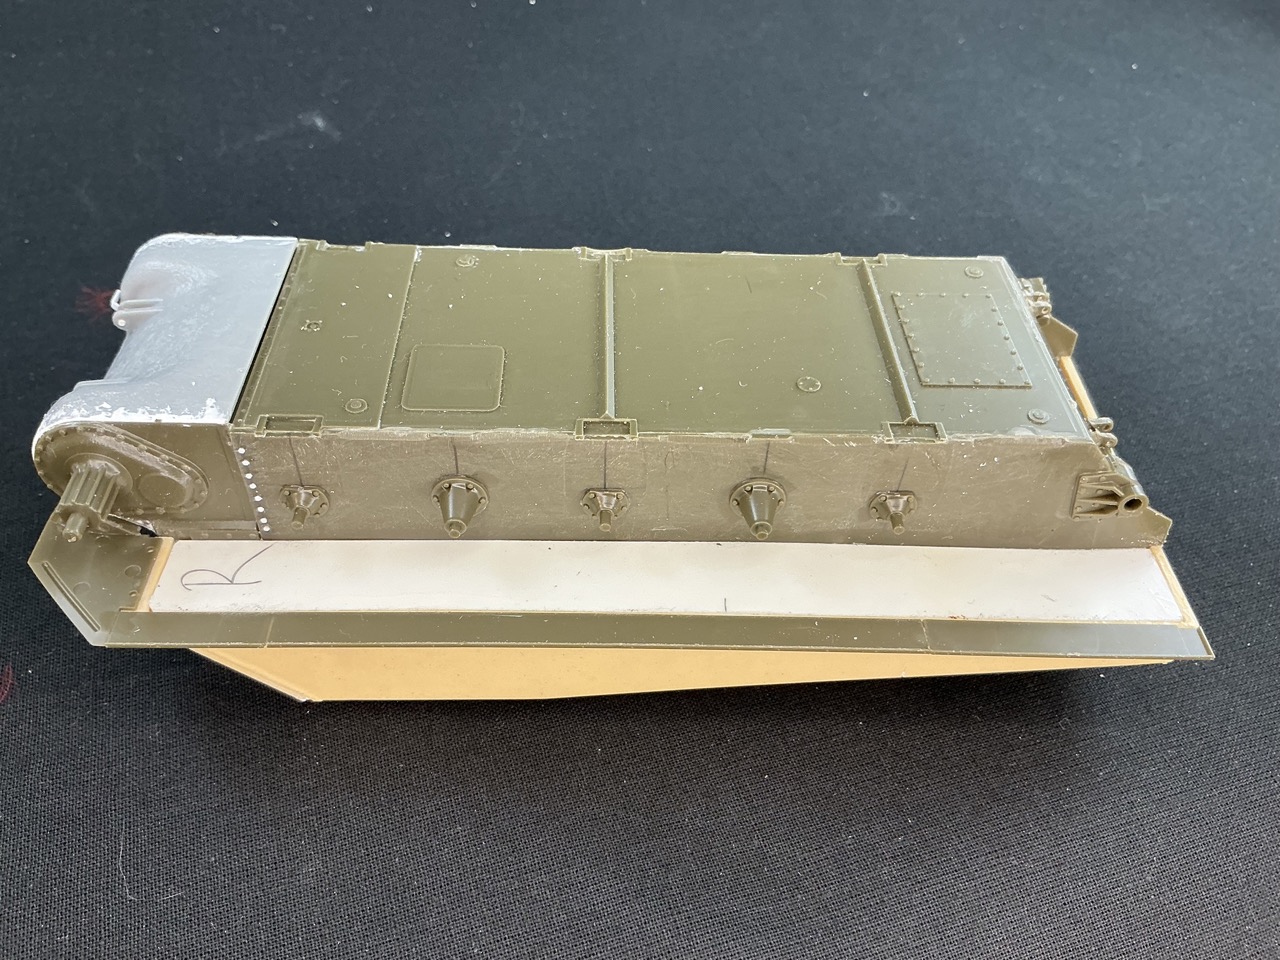
This kit is based off of the Italeri M4A3 kit, but needs some surgery to allow the DML HVSS suspension parts to fit. So I had to grind off the original VVSS mounting plates
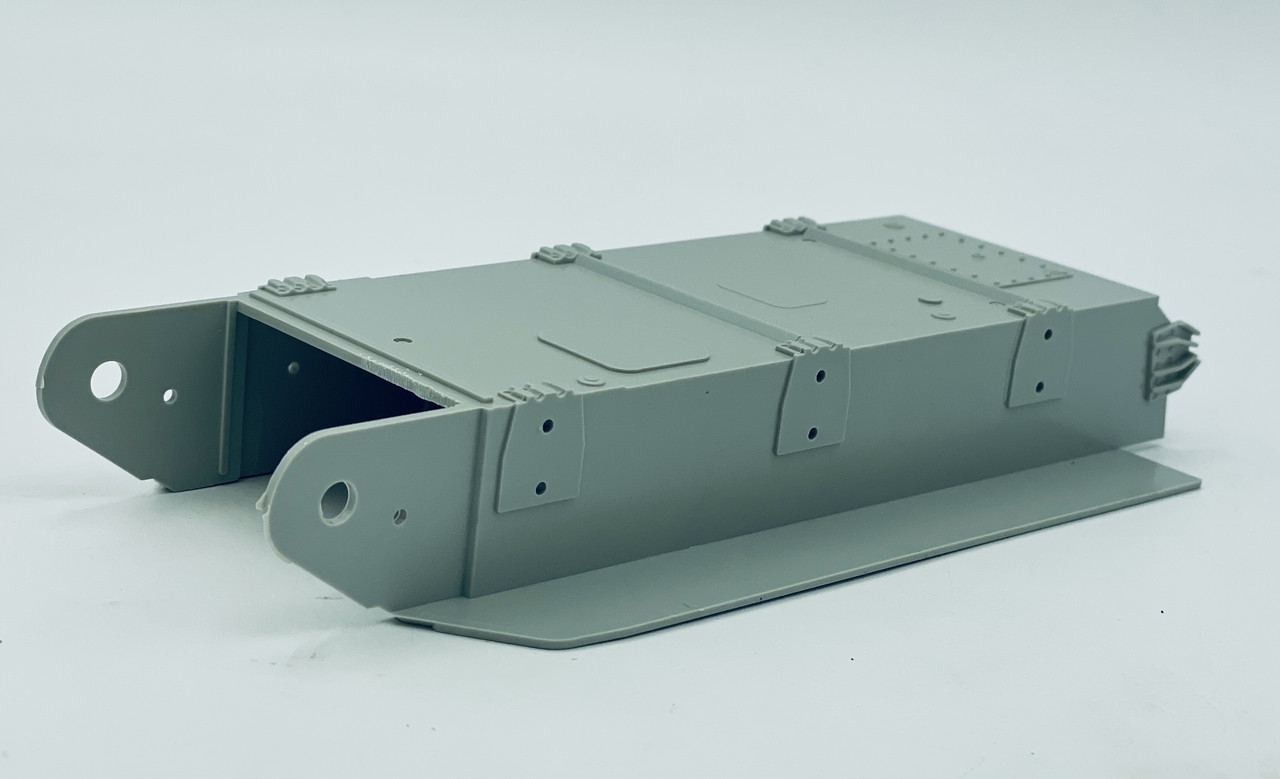
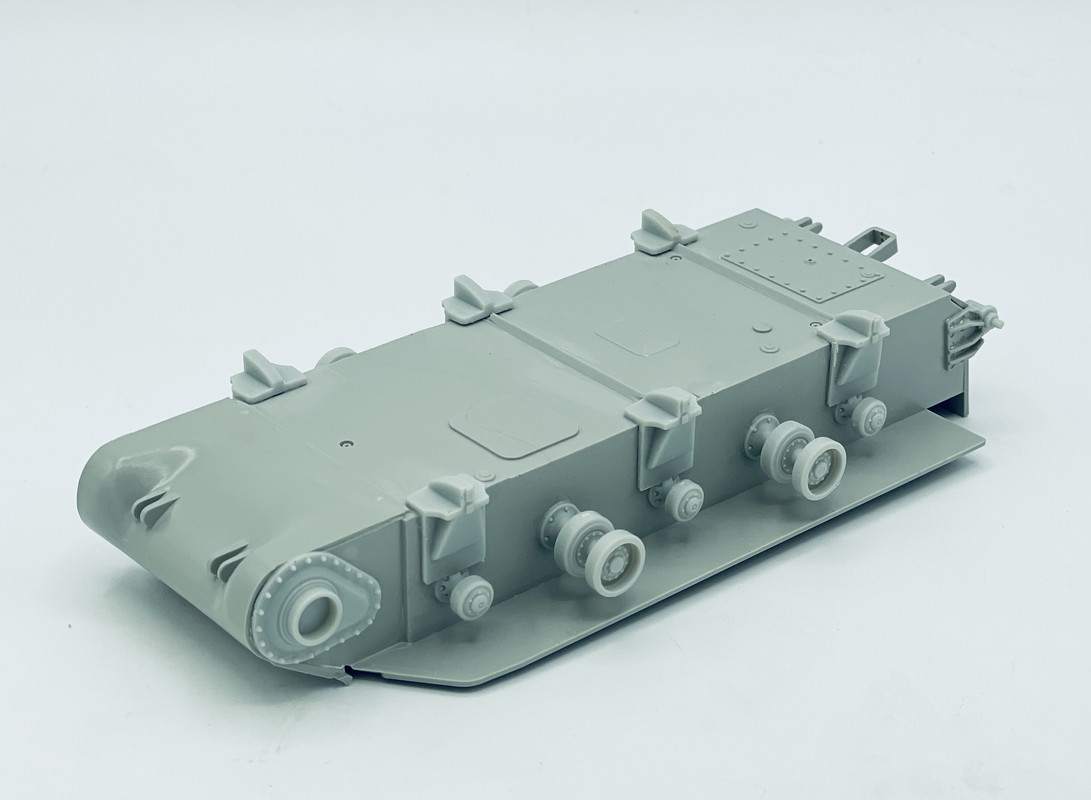
Then I started adding the DML HVSS suspension parts
and now it’s almost ready for adding the HVSS bogies, with just some more painting needing to be done
More updates coming soon…
8 Likes
WTF? The instructions tell you to remove those plates?!
/me checks Scalemates

Christ, they really do — and not just that, they tell you to measure the locations of the HVSS return rollers … I mean, that I had to do all that to graft HVSS bogies onto an Asuka M4 hull, sure, I decided to do that myself. But releasing a kit that has the builder do this to make it straight from the box is just contempt for your customers, IMHO.
3 Likes
Yeah, DML/Dragon took a major shortcut on this kit in regarding the HVSS suspension mounting, as well as with their other early HVSS Shermans. I guess they got enough complaints on that as they later issued boxings with a new lower hull tub where the builder did not need to remove the VVSS mounting plates. But seeing how my kit was an early boxing it didn’t have that.
Installing the return rollers wasn’t that hard, once the HVSS mount plates were in place. At least once I thought of a method to keep them all aligned in level using a steel ruler. Then it was just eyeballing them into place by centering each location. They may be off by a fraction of a mm here or there, but overall were not as difficult as the instructions make it look.
2 Likes
Here begins another project that combines history, technique, and respect for the legacy of one of the most notable units of World War II: the 761st Tank Battalion, composed mostly of African American soldiers, who fought bravely in Europe between 1944 and 1945. The chosen vehicle is the M4A3 76(w) Sherman, from Meng Models in 1/35 scale.

Since the vehicle already has its history well documented in the forum, I will only cover the most relevant parts.
Technical Introduction – M4A3 76(w)
The M4A3 76(w) was one of the most advanced variants of the Sherman family. Equipped with the M1A1 76.2 mm gun, it offered greater firepower against German armored vehicles like the Panther and the Tiger. The letter “w” indicates the wet stowage ammunition system, which drastically reduced the risk of fires after impacts. Major features:
- Ford GAA V8 gasoline engine (500 hp);
- Front armor up to 63 mm with sloping.
- VVSS Suspension (Vertical Volute Spring Suspension).
- Crew of five men.
- SCR-508 radio for tactical communications.
This version began to be used in 1944, being widely employed in the campaigns in France, Belgium, and Germany.
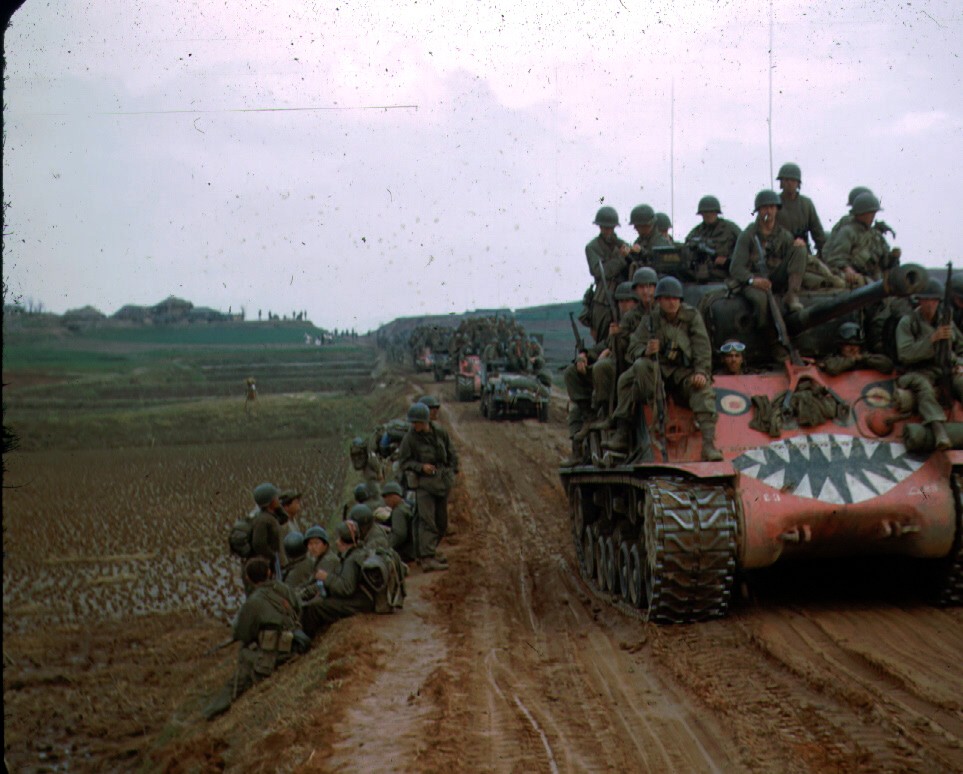
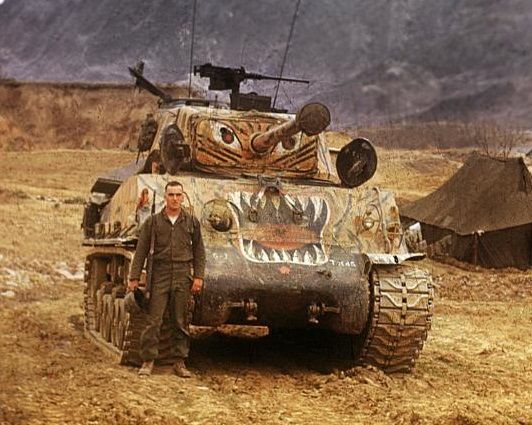
The Thunderbolt VI
The Thunderbolt VI was the last Sherman commanded by Lt. Col. Creighton Abrams. Abrams was the commander of the 37th Tank Battalion of the 4th Armored Division of the U.S. Recognized for his aggressive and strategic leadership, he was instrumental in the American offensive during the Battle of the Bulge, especially in the mission to liberate Bastogne, which was surrounded by German forces. His direct and courageous command style inspired his troops and was decisive for the success of the mission.
Bastogne, December 1944
The city of Bastogne, in Belgium, was a strategic point during the Battle of the Bulge. The American forces were surrounded by the Germans, and General Patton ordered the 4th Armored Division to advance to break the siege and support the 101st Airborne Division. Abrams led the spearhead of the offensive with the Thunderbolt VI, breaking thru enemy lines and paving the way for the relief of the besieged troops.
The chosen paint scheme was this one:

The Kit – Meng Models 1/35
Meng Models delivers a good kit, with:
- Refined external detailing (casting and welding textures).
- Tracks in segments and individual links.
- Functional hatches and open mounting options.
- Excellent quality plastic and precise fittings.
It doesn’t have a complete interior, but since I intend to make it closed, it’s not a problem.
3 Likes
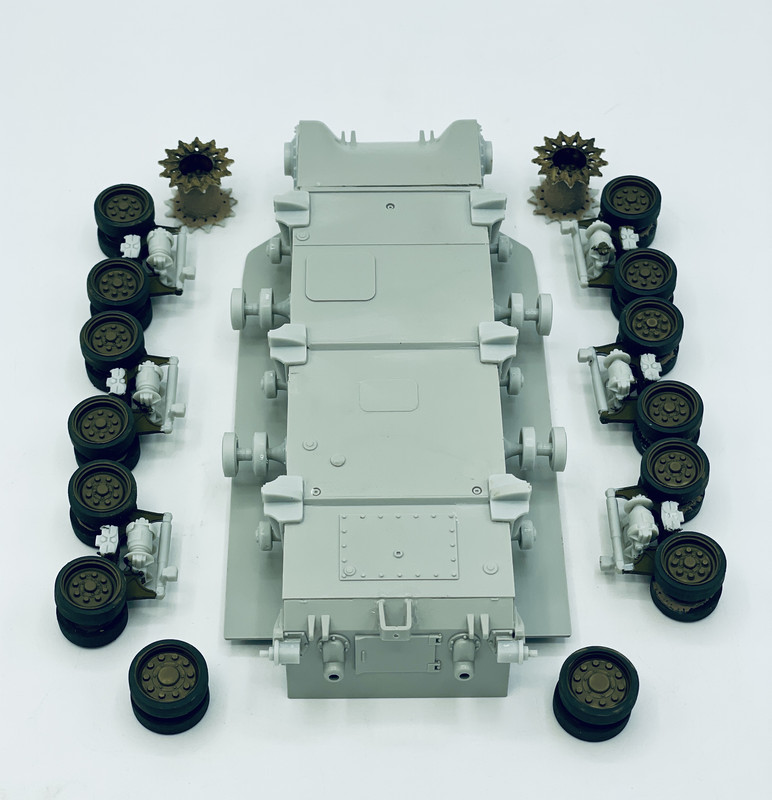
Stage 1
Wheel assembly
The metal spring system allows simulating the damping movement of the wheels.
Parts.

First stage of assembly.

Completion of the assembly.


6 Likes
For my M4 HVSS, I drew vertical lines on the hull side, centred on the return rollers:
For the large ones, I measured up from the hull floor to the bottom of the return roller mounting to locate them, taking the distance from an Asuka M4A3 HVSS I built some years ago. The others are simply just above the bogies.
5 Likes
@Jakko, once the HVSS mounting plates were installed, it was pretty easy to add the small return rollers, centered onto the tops of those plates. Then it was not to hard to center the larger return rollers between those.
And for today’s progress update, I was able to get the return rollers painted

then later I glued the HVSS bogies into place
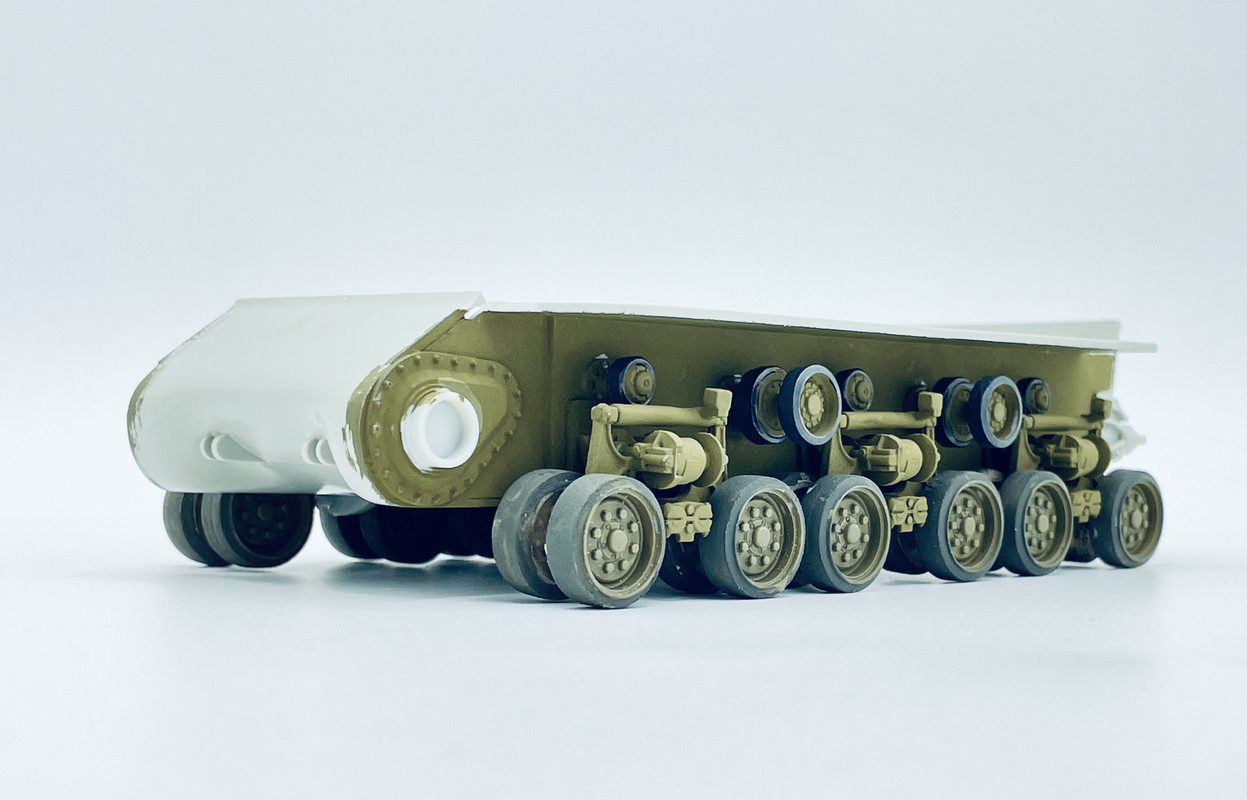
the next stages will be working on the indy link tracks and the upper hull…
5 Likes