Wow, that looks really great!
Excellent Rory. You did a fine job on her.
Sweet looking ship.
Mark 
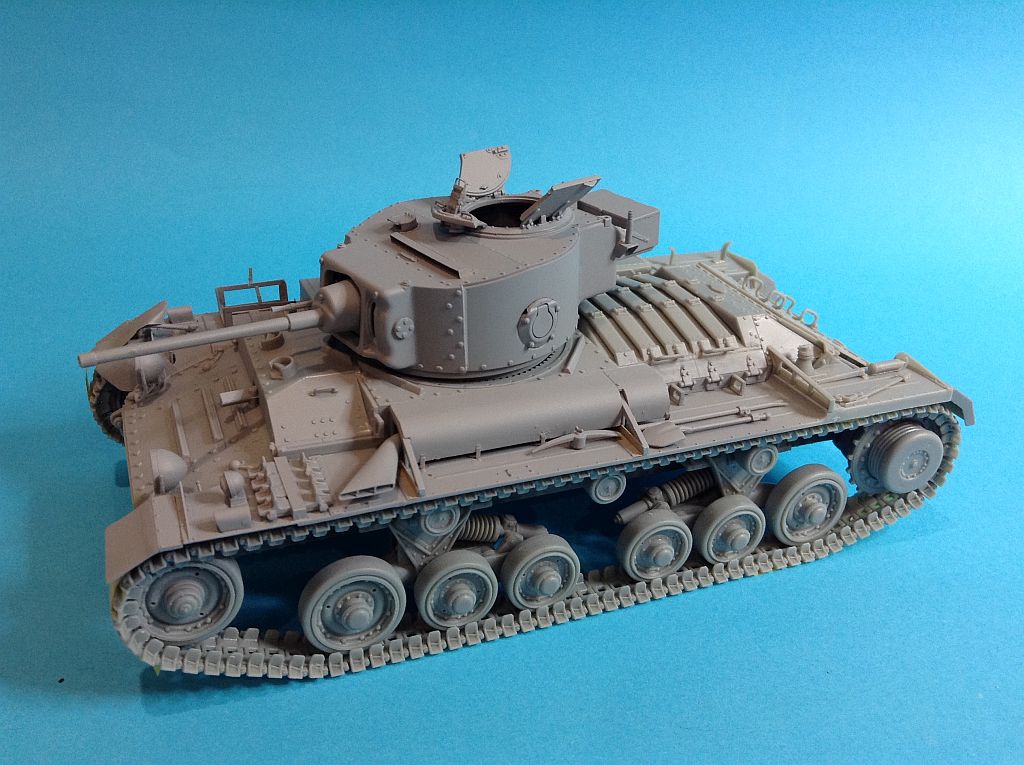
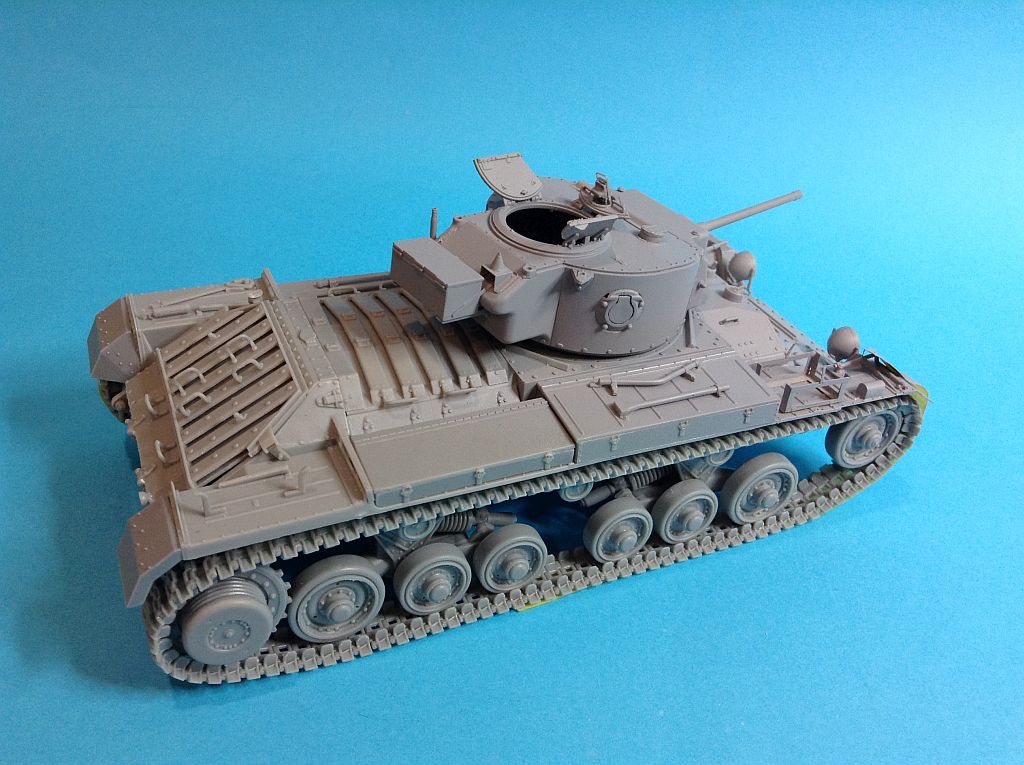
Okay, build on the Valentine MkV is done. Primer coat down. Ready for paint. The pattern is going to be a challenge, wish me luck.
4 Likes
Wow, that looks really great! Is the running gear on for good? Or do you pull it off to paint it.
Drive sprocket is loose and you can just see the tape holding the tracks together on the idler. The whole track assembly and sprocket can be removed for painting, but the road wheels and suspension are firm. Plenty of room to do the tyres on those as is.
Hi All!
Thanks Phil, the Hasegawa kit has been fun, with some oddities. Rory, great work as always, hoping for some tips on my destroyer build. Peter, your tank looks cool, and since I’m branching out, who knows, I may make a tracked thing soon!
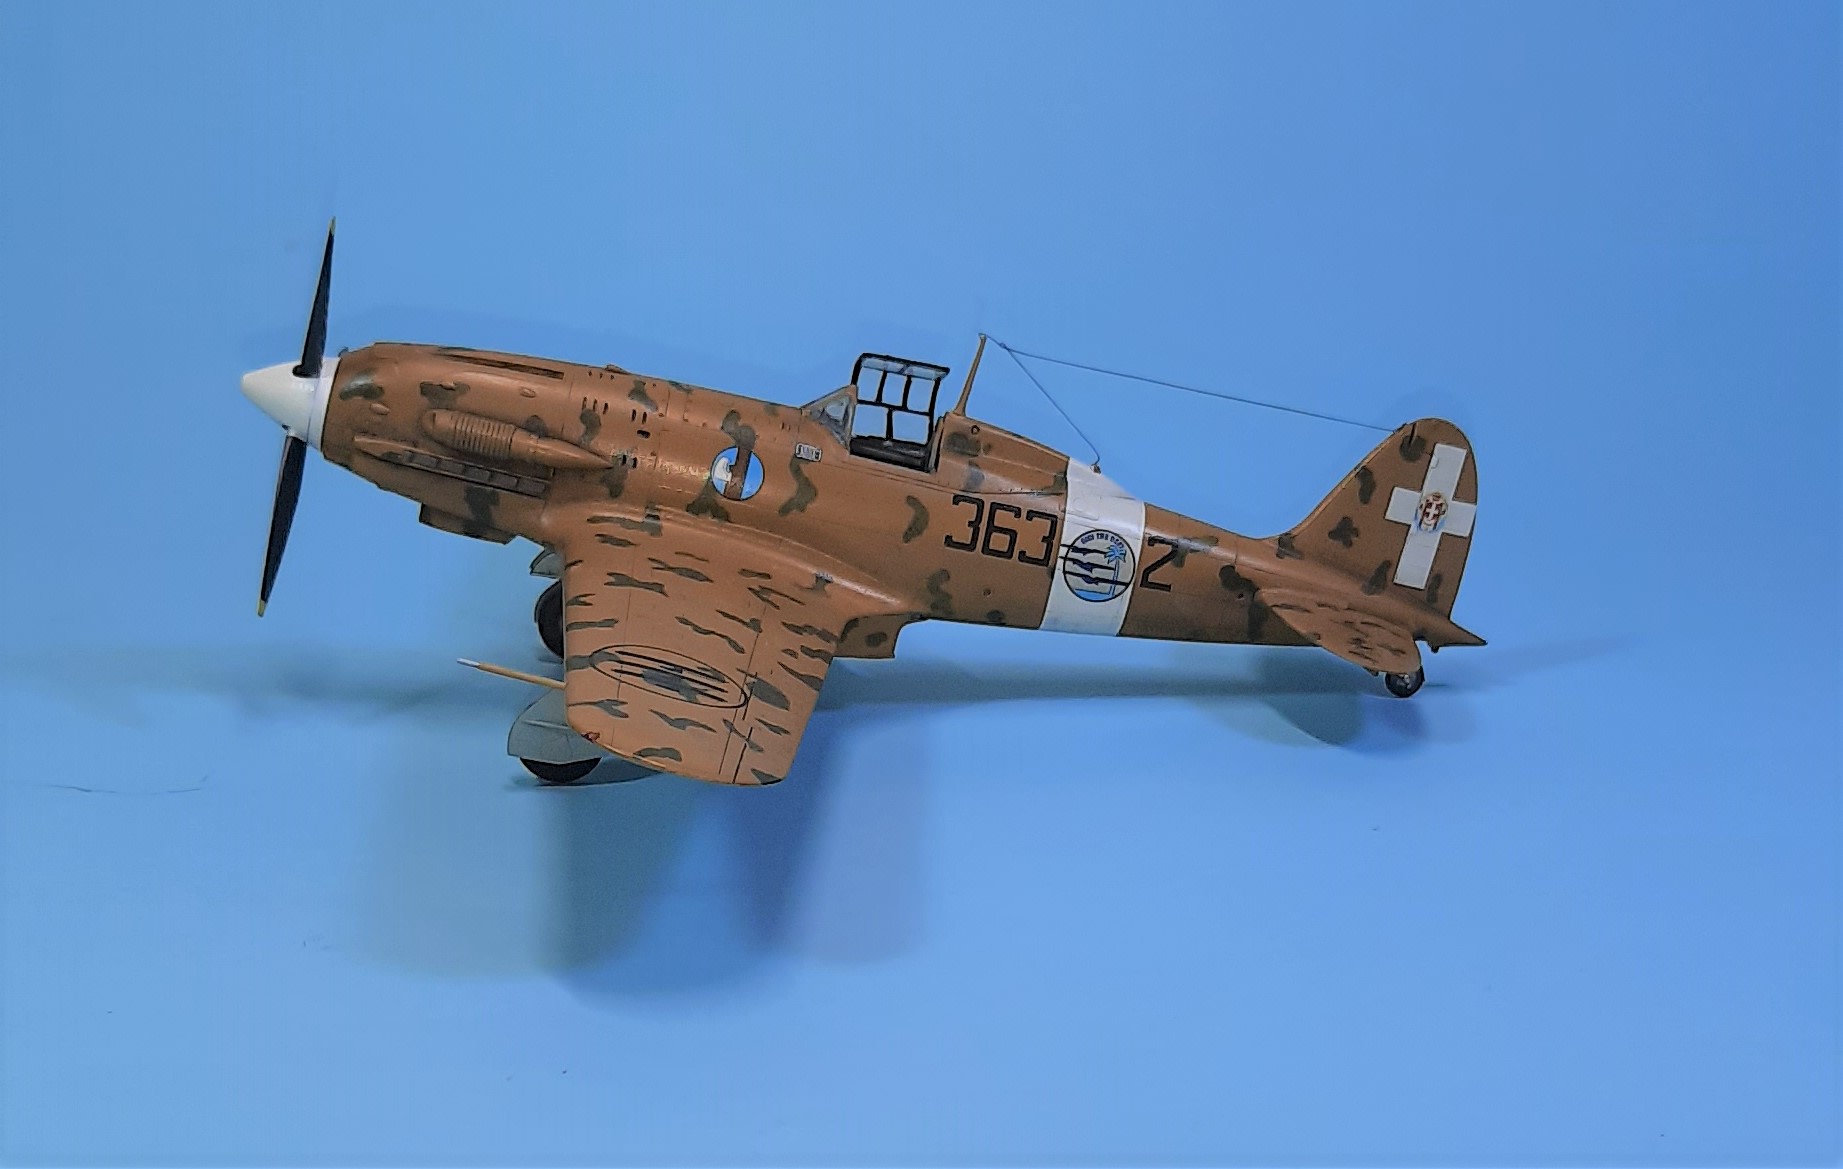
Last time I updated you all, I was pretty happy with the build, and it’s turned out to be ok, though, the landing gear proved to be an issue that made me put the bird on the shelf for a while. Apparently, the gear stabilizing struts are not right, could be me, as I did not test fit prior to the build. Though they were off by about 1.5 mm, so I’m not so sure (I’ll give myself an out when I can!).
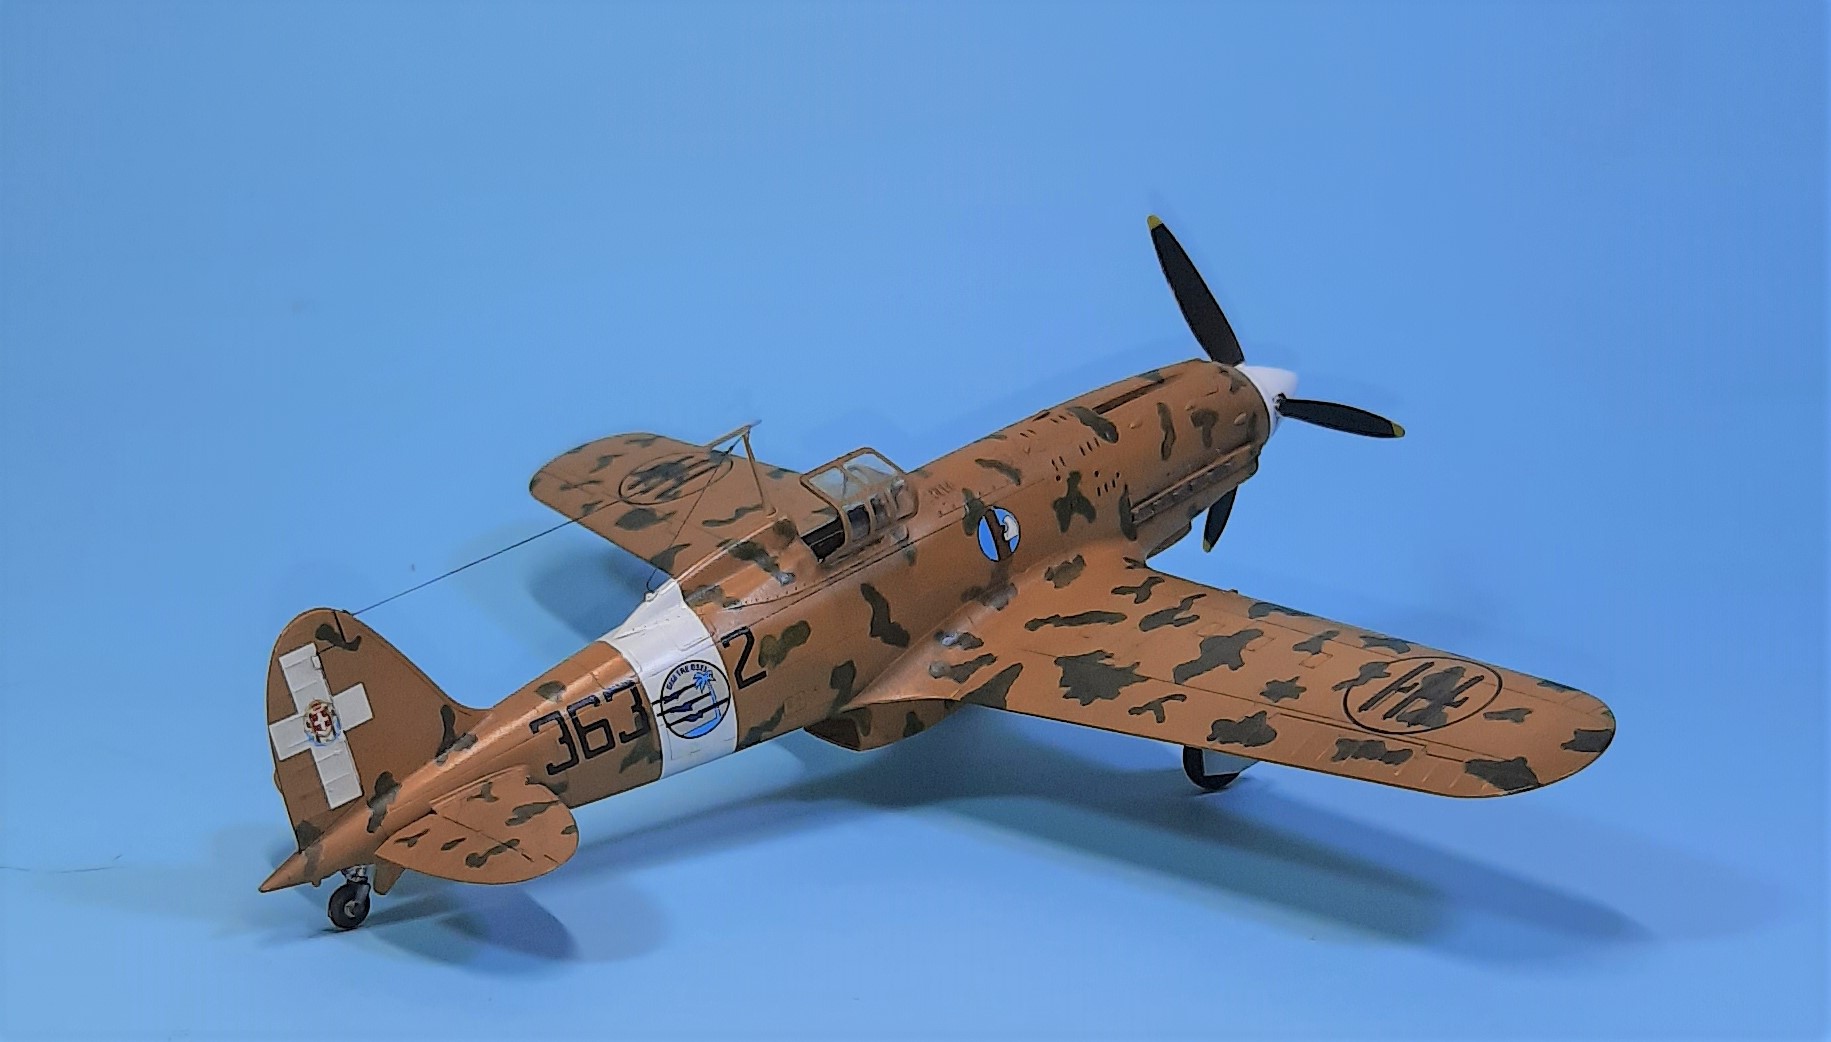
I did construct and finish it per the instructions, and it certainly looks the part!
Despite my best efforts, the gear on the port side refused to straighten up and fly right. Still it’ll look fine for my audience.
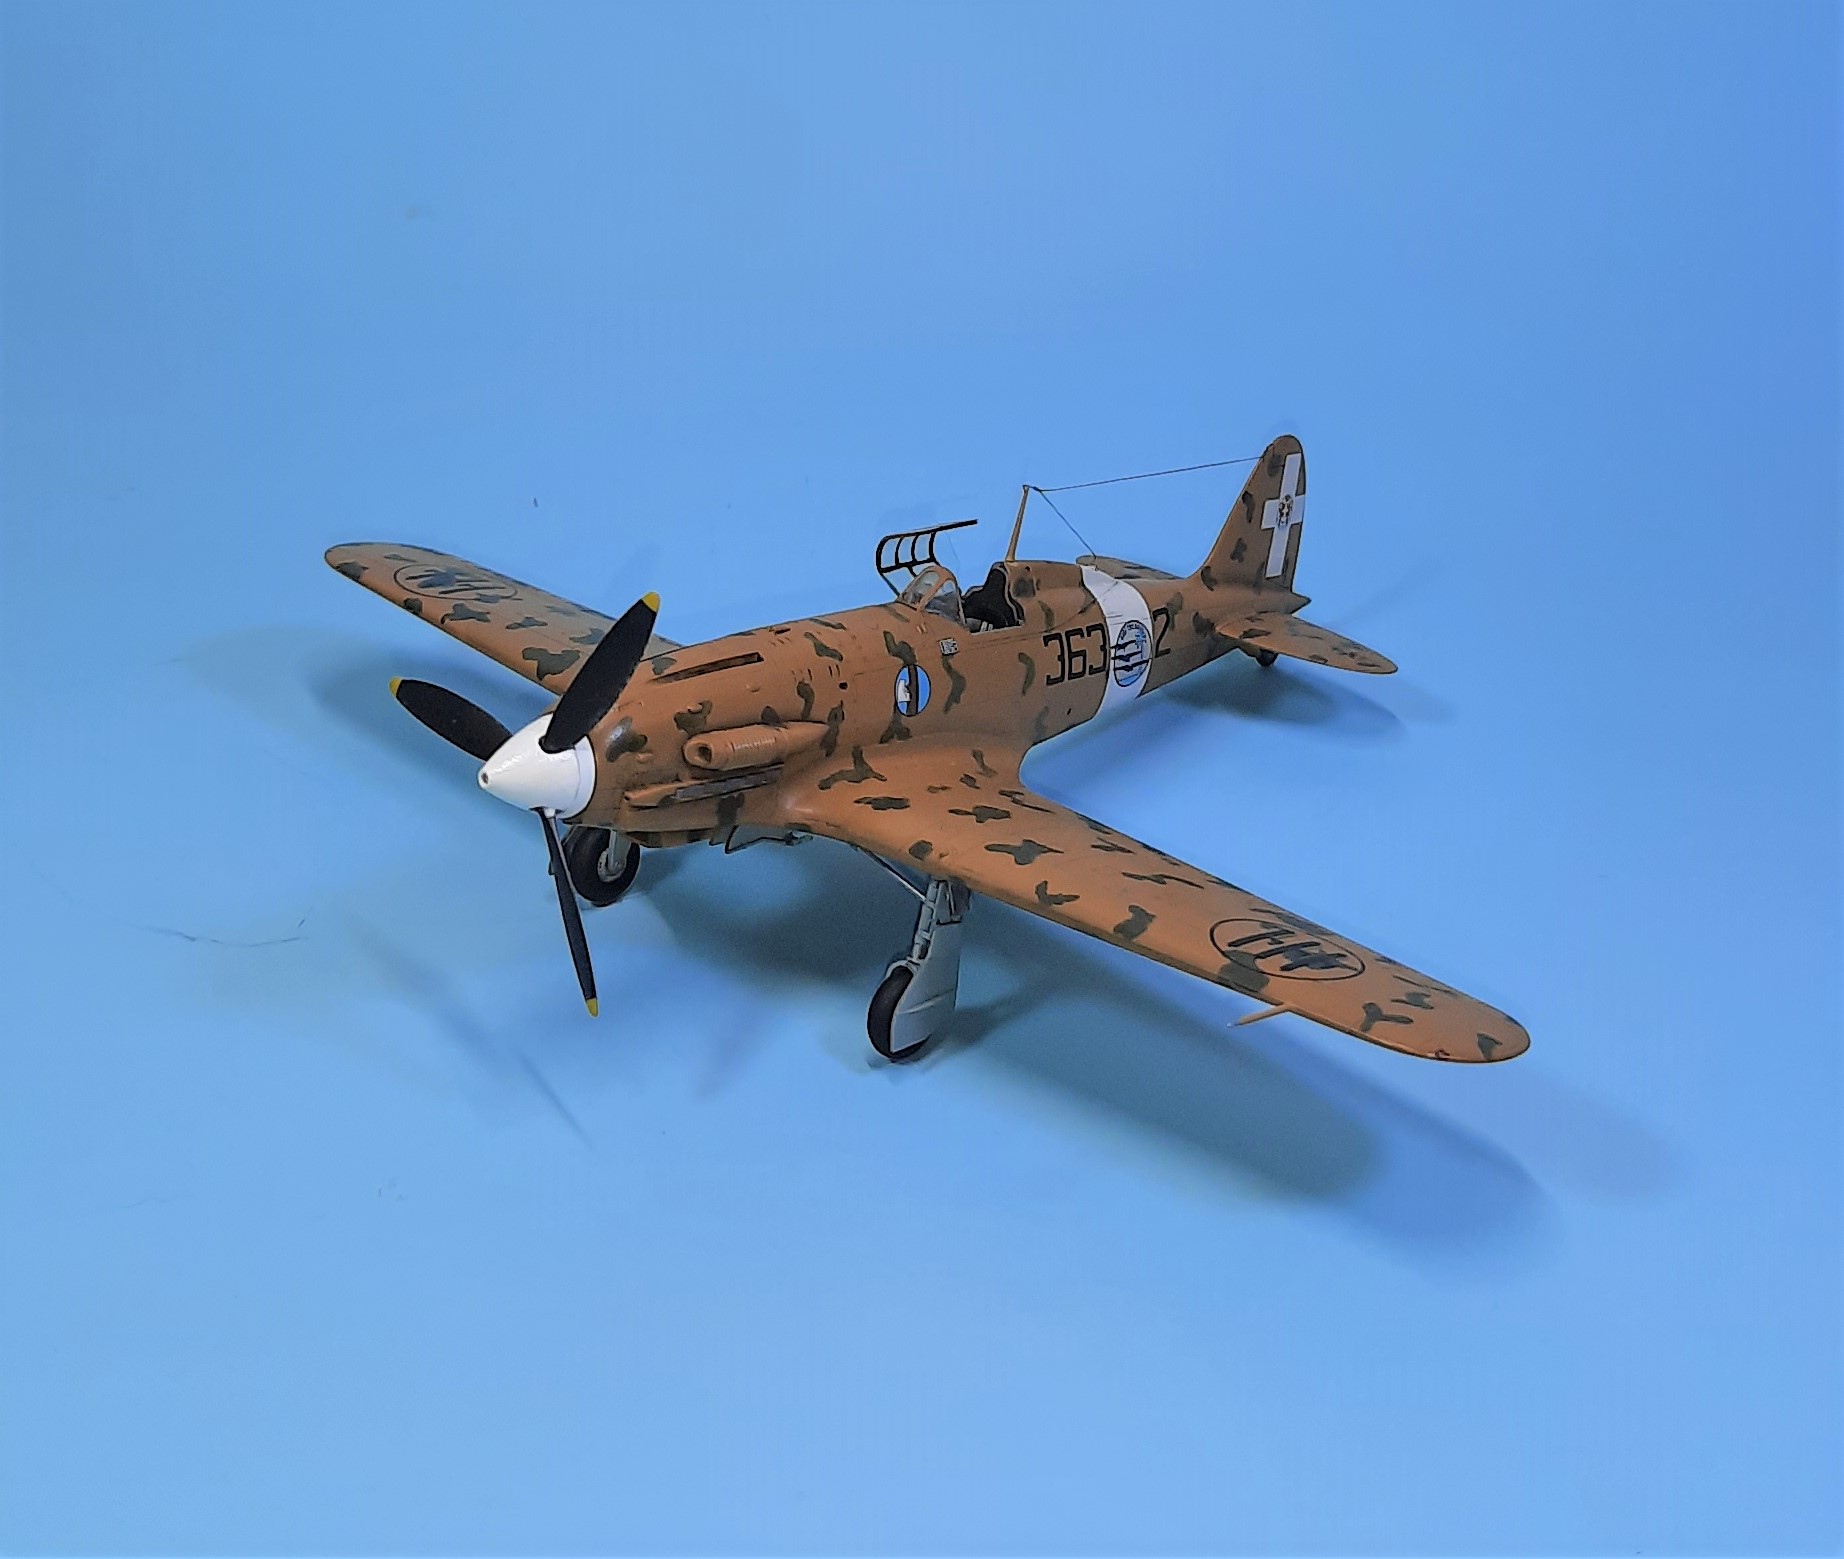
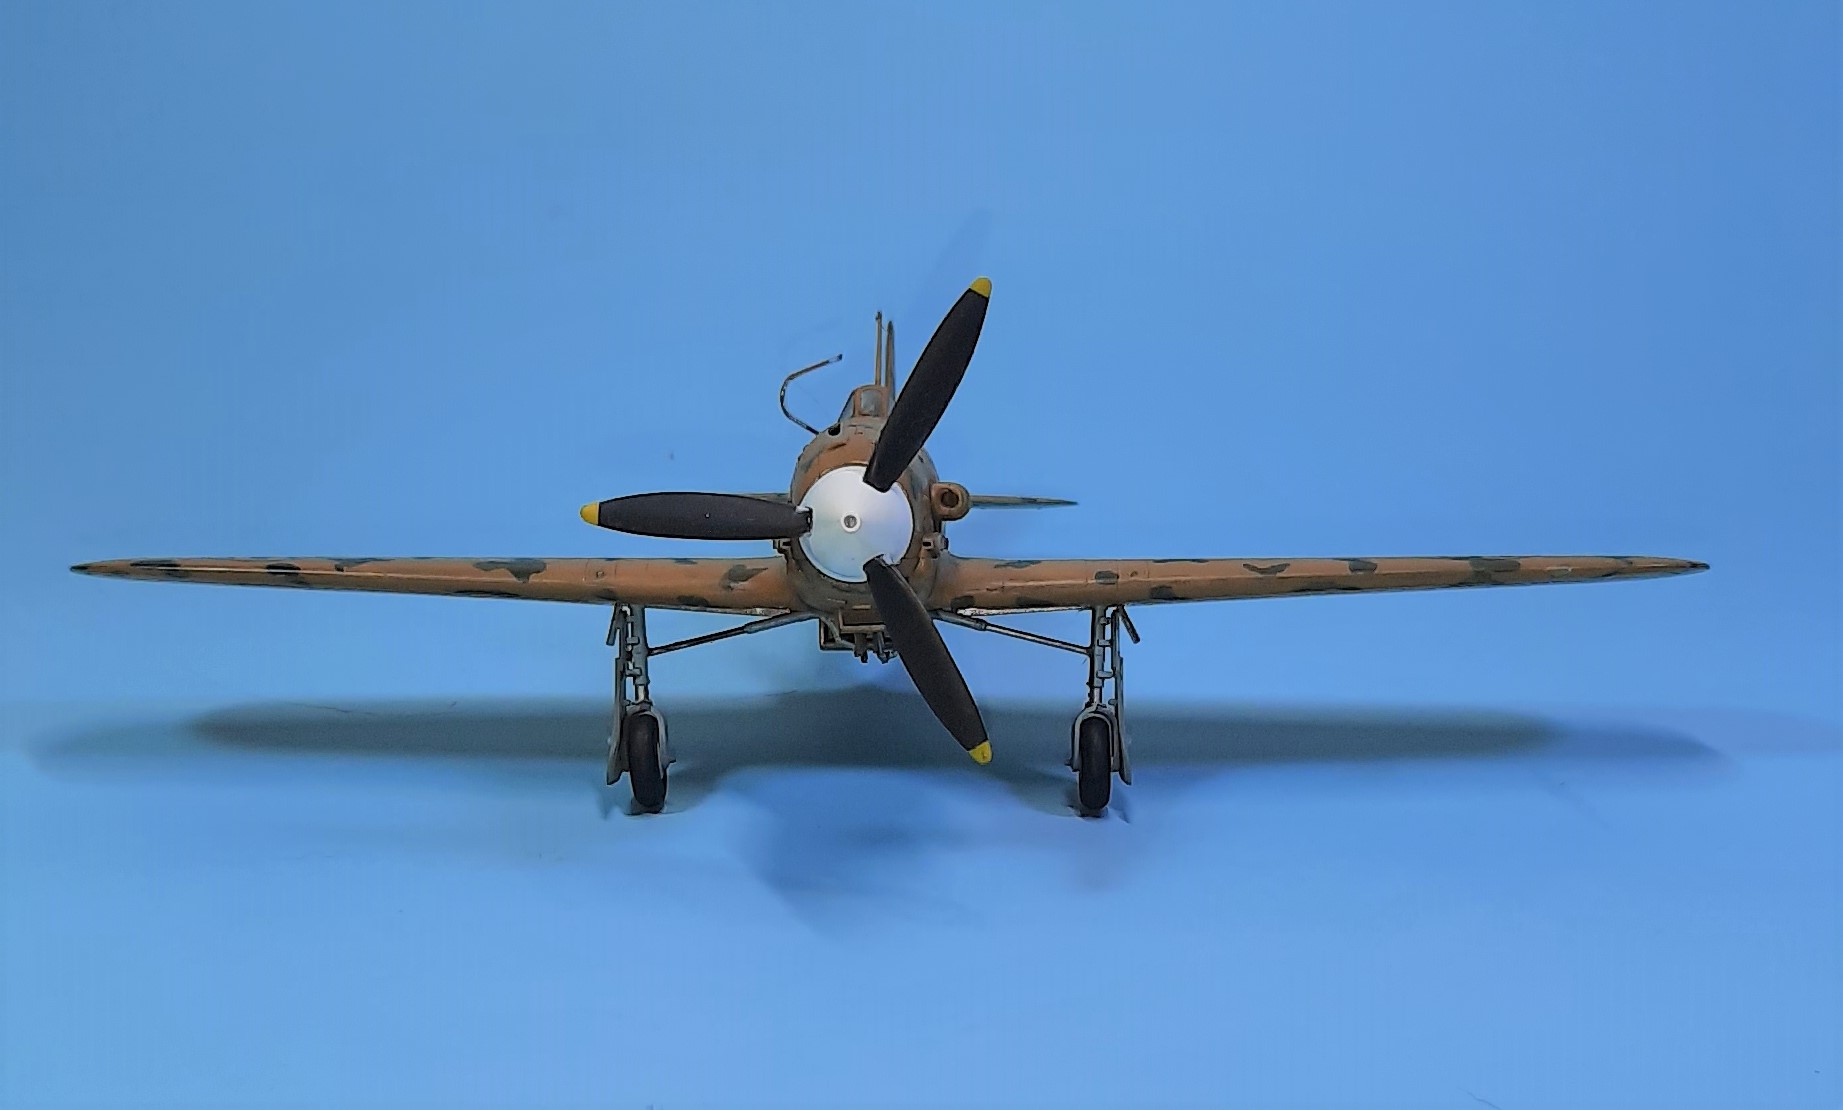
One thing I did do, was to hand paint the camo over the tan. I read that this was done without an airbrush, so I tried to duplicate it. I used IJN dark green for the camo, and I think it turned out ok.
Feeling pretty good I patted myself on the head and said “Good job!”. Only to suspect that I think I did a plane that was in Libya, and not even related to the campaign at hand! While the plane itself may have participated in the Malta Siege, the markings are not right. Silly me!
To right this wrong, and a strong desire to do a Hurricane, I started onto something that I am for sure was involved the Siege of Malta!
A Hurricane Mk 1B from Airfix.
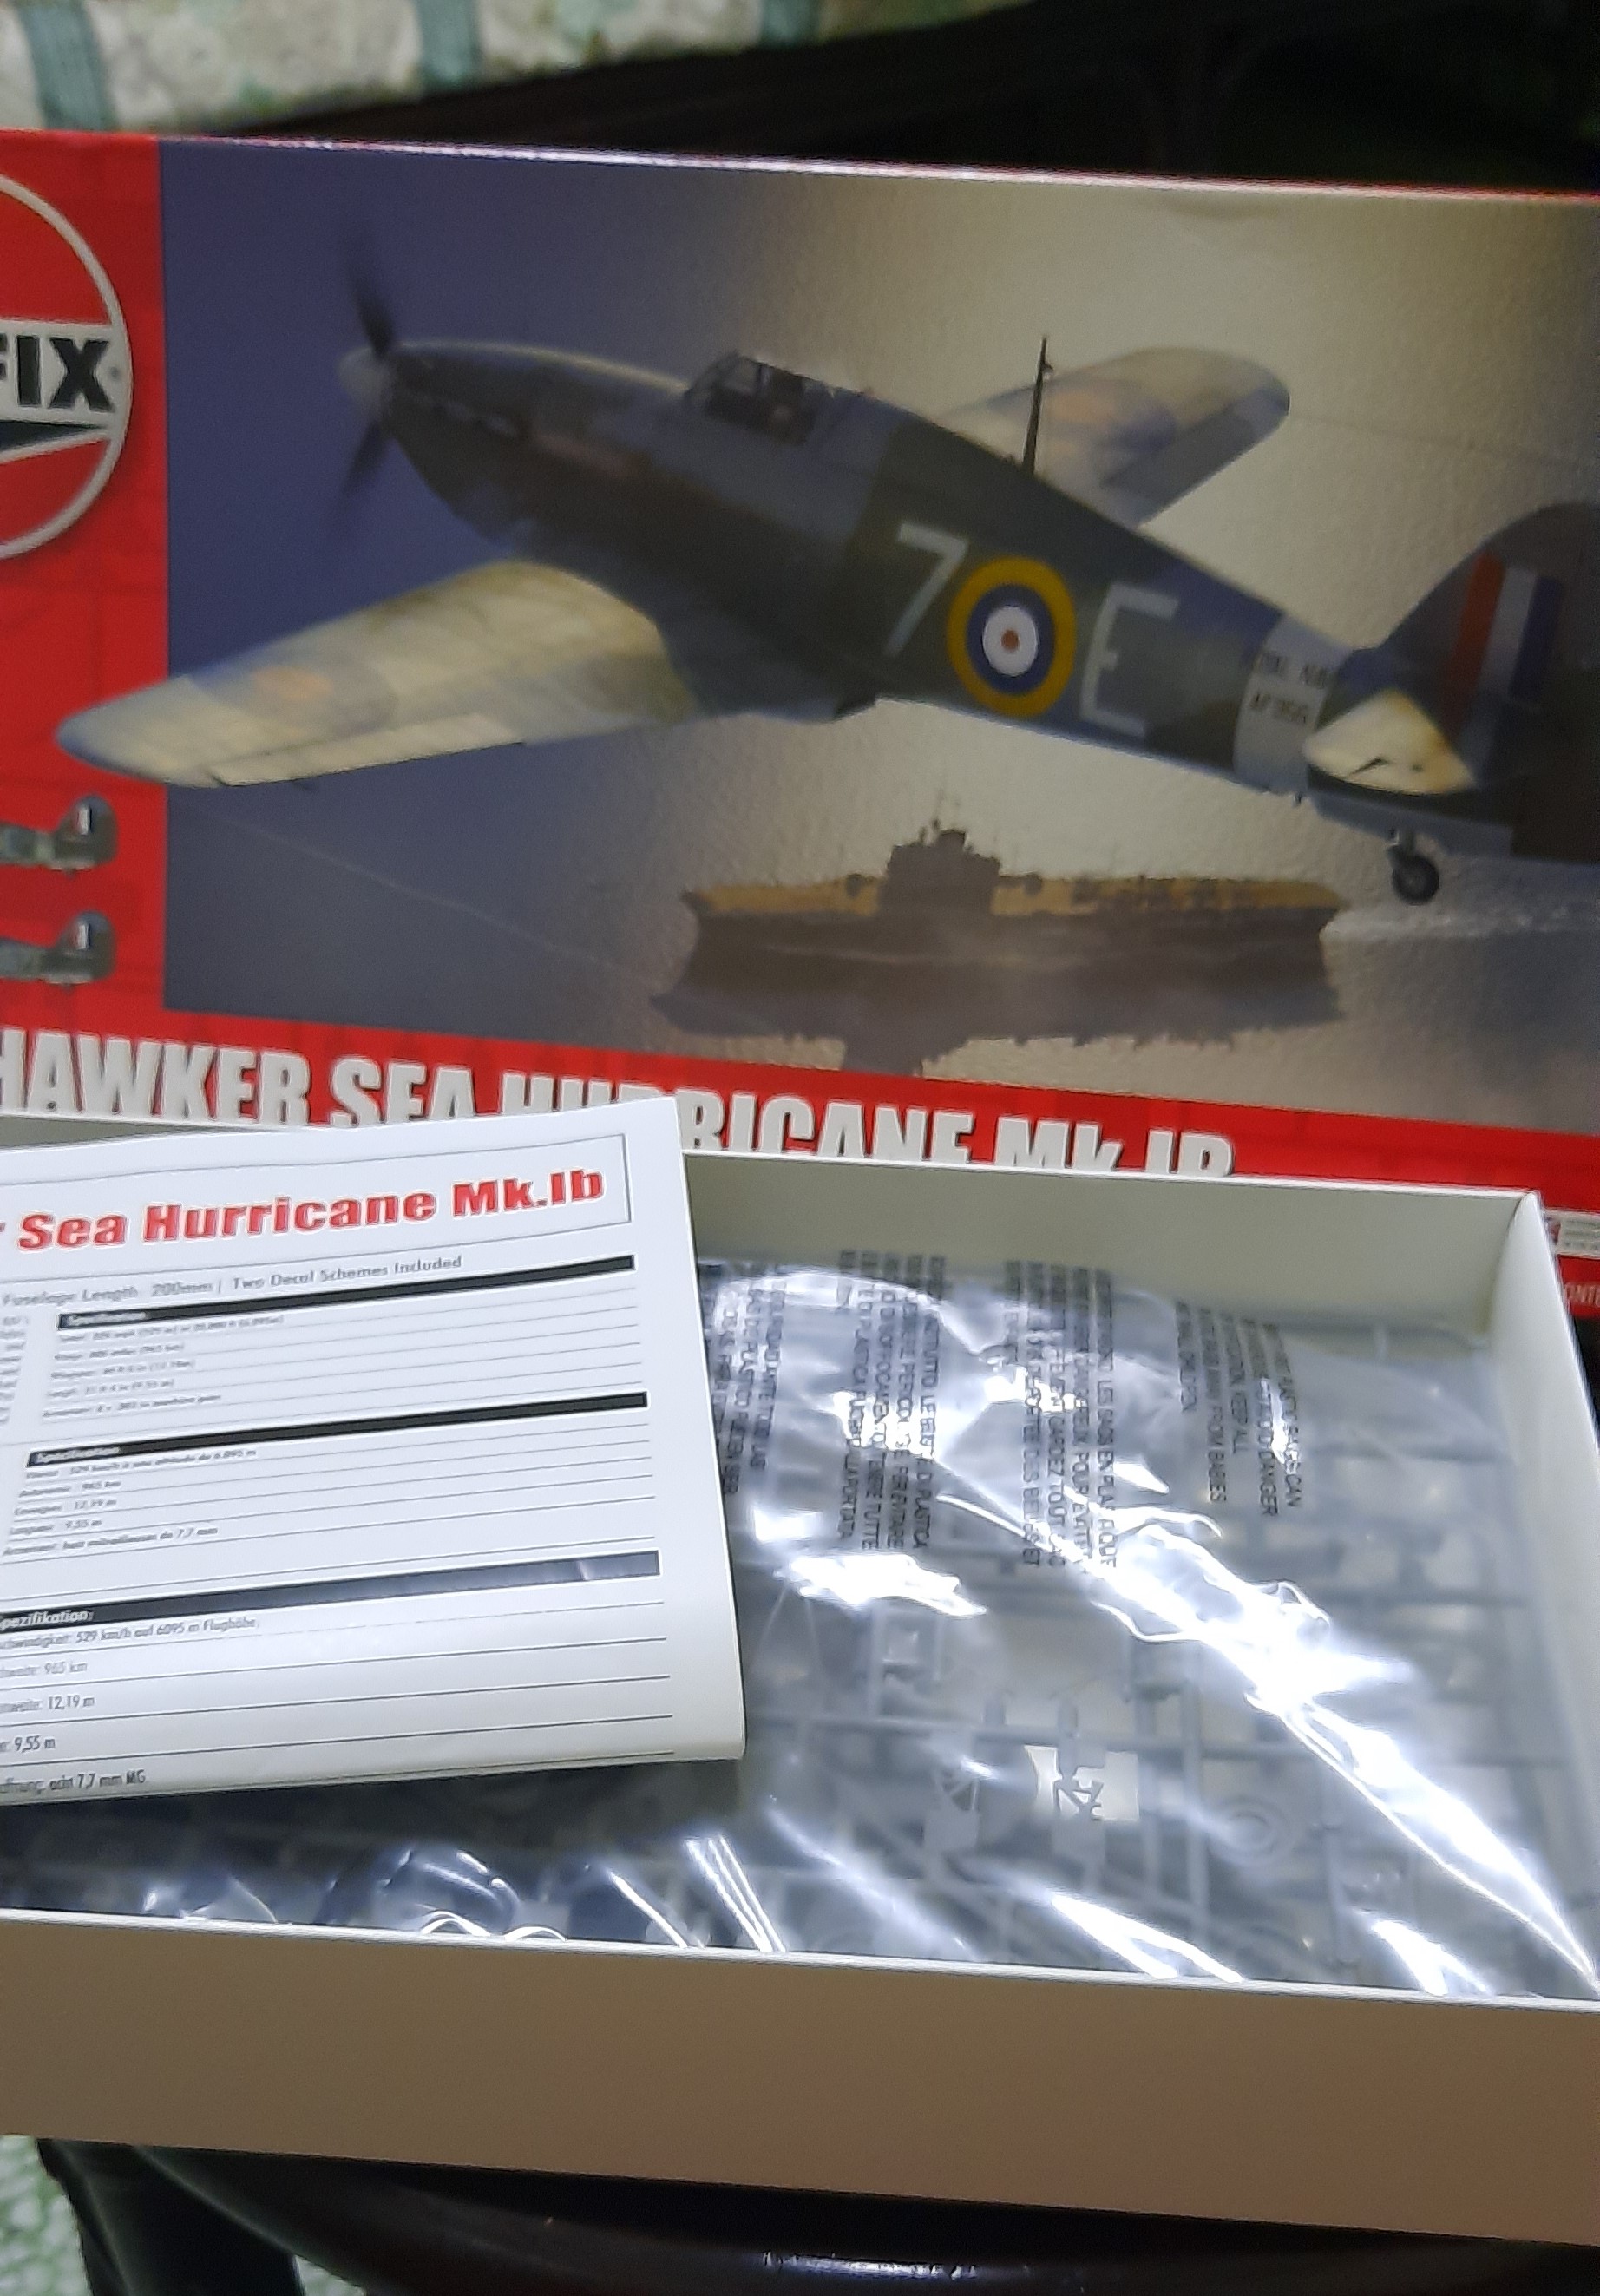
I was quite pleased to obtain this kit for 20USD delivered, though my inspection did reveal a few disappointments. I’m sure the first moldings were perfect, this, which is the second molding, surprised me as it has some odd sink marks in very obvious places. Most obvious was the exhaust stacks. Still nothing that average skill can’t overcome!
I followed the instructions for the most part, and this kit does go together well, though one should heed the advice of others, by making sure that you test fit, and then test fit, and do it once more!
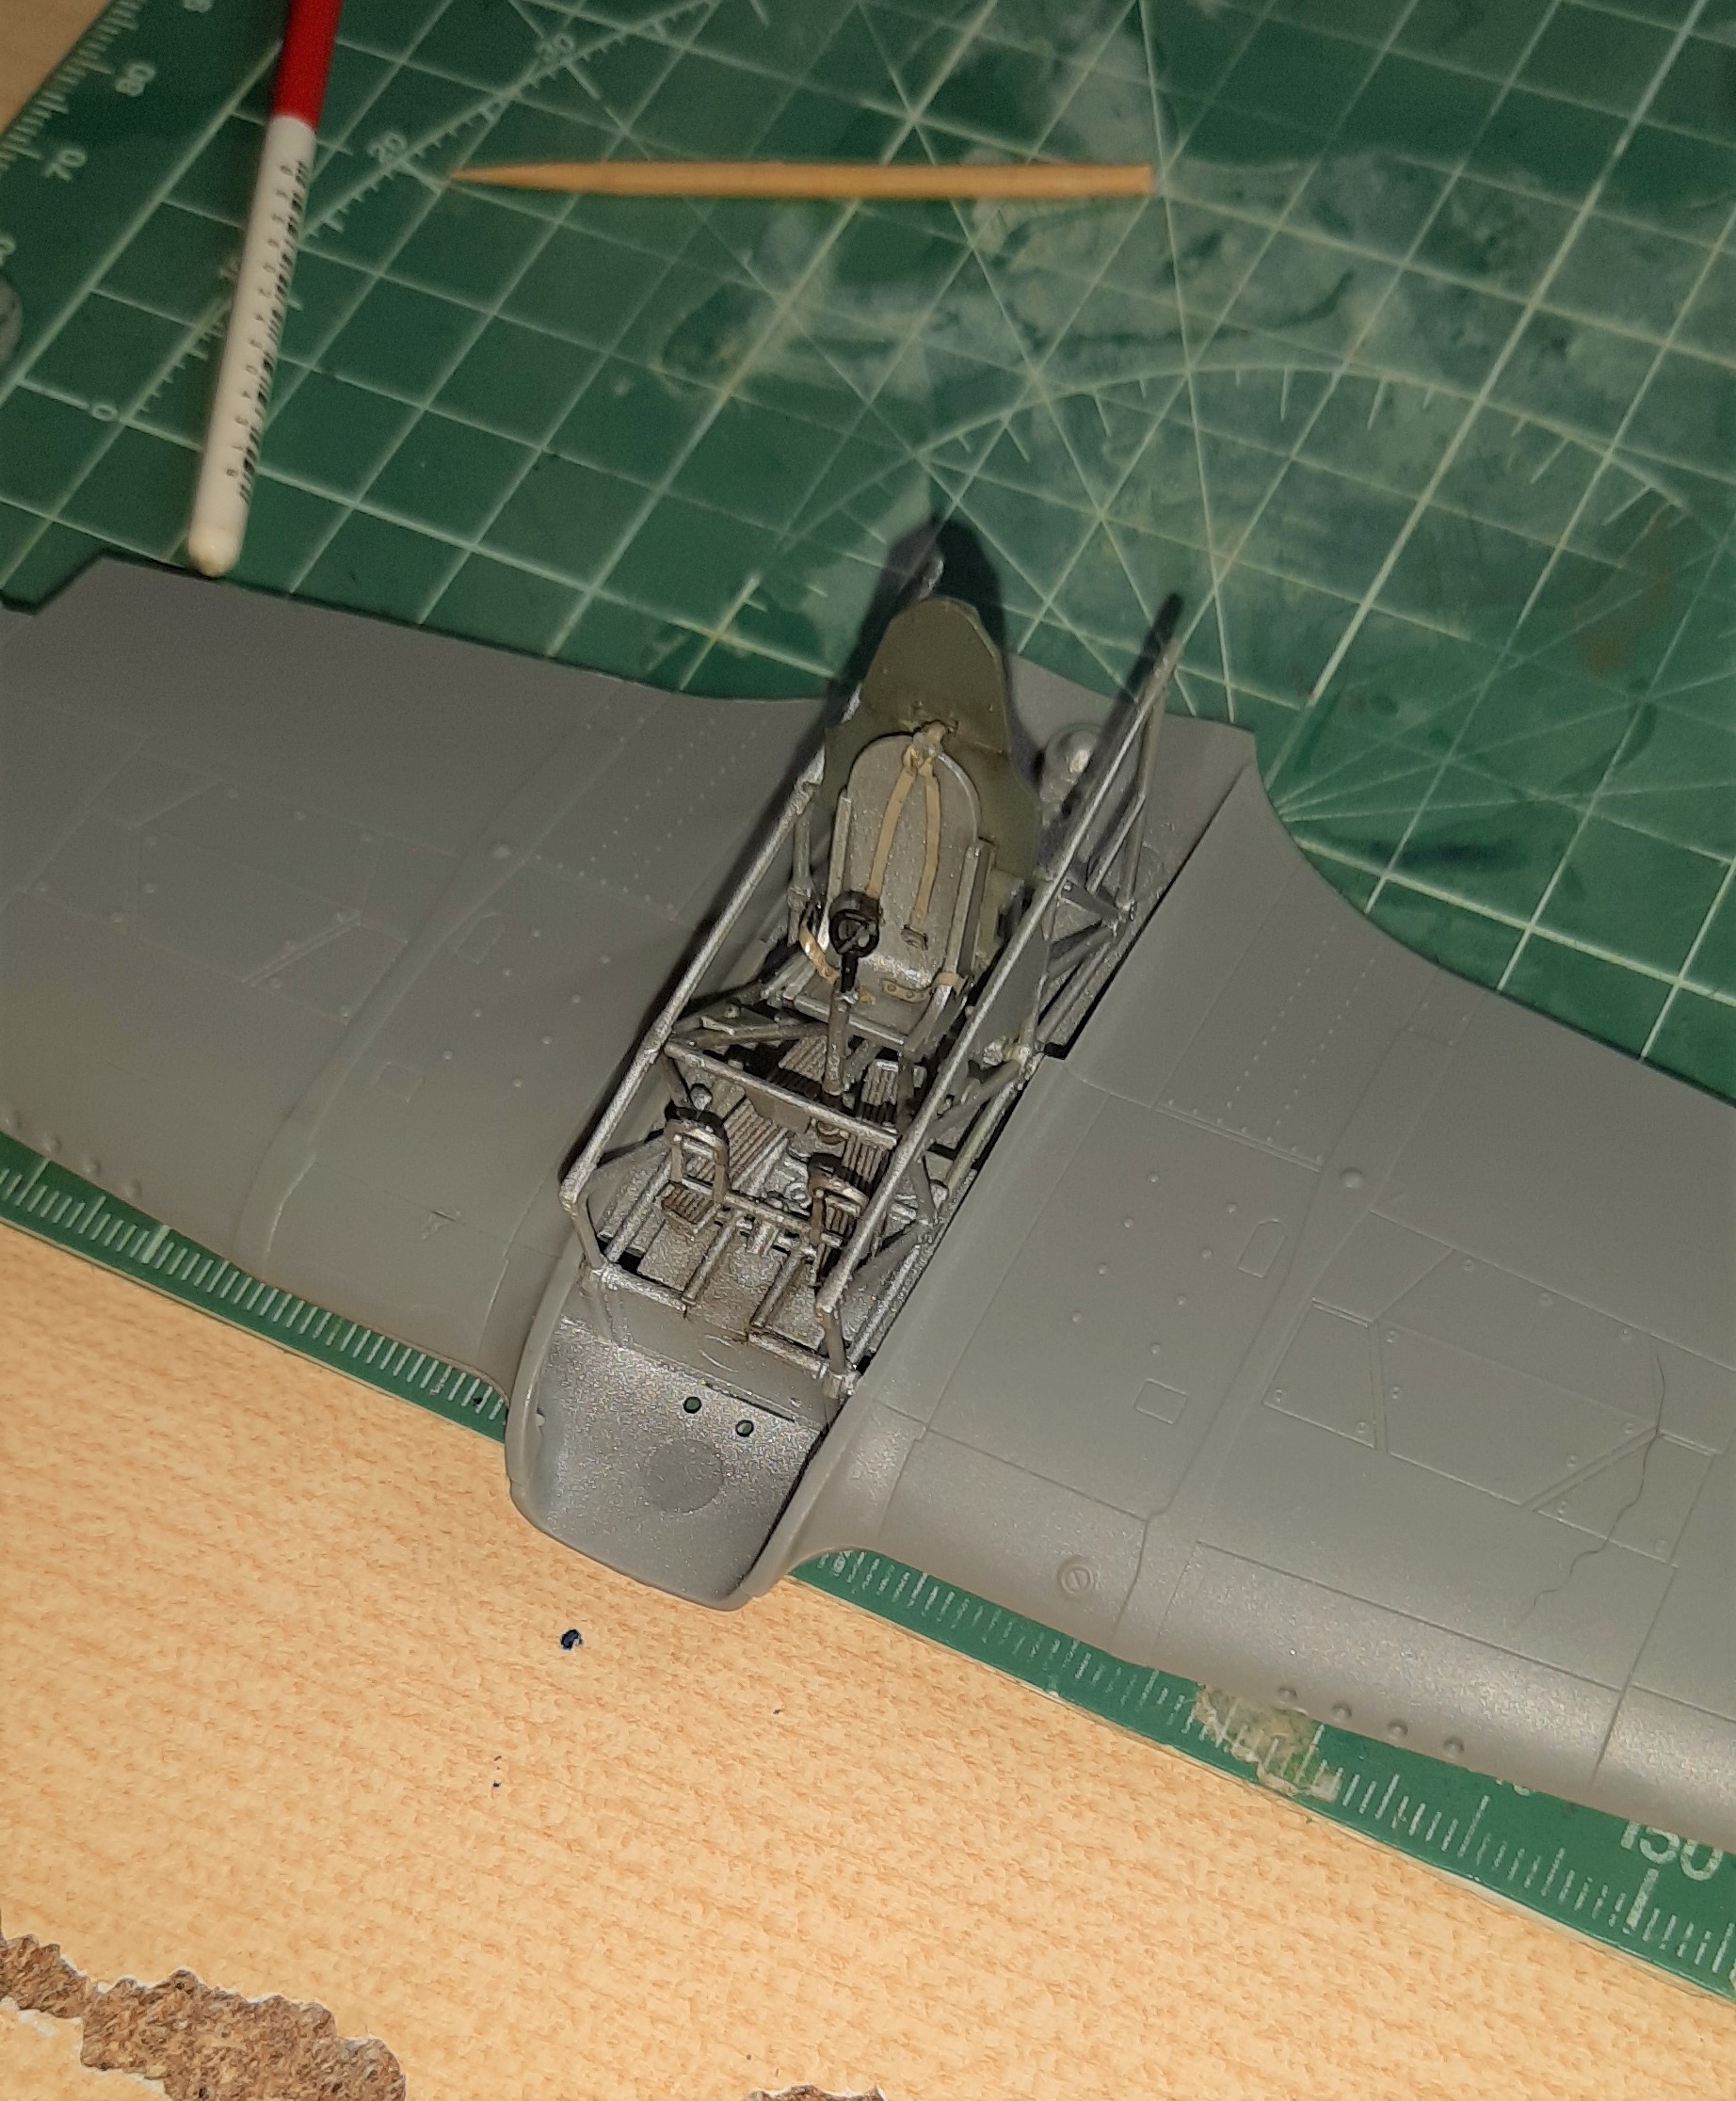
Removing all flash, and test fitting does result in a fantastic cockpit!
Very quickly, the fuselage is done, and suddenly, you’ve got an airframe!
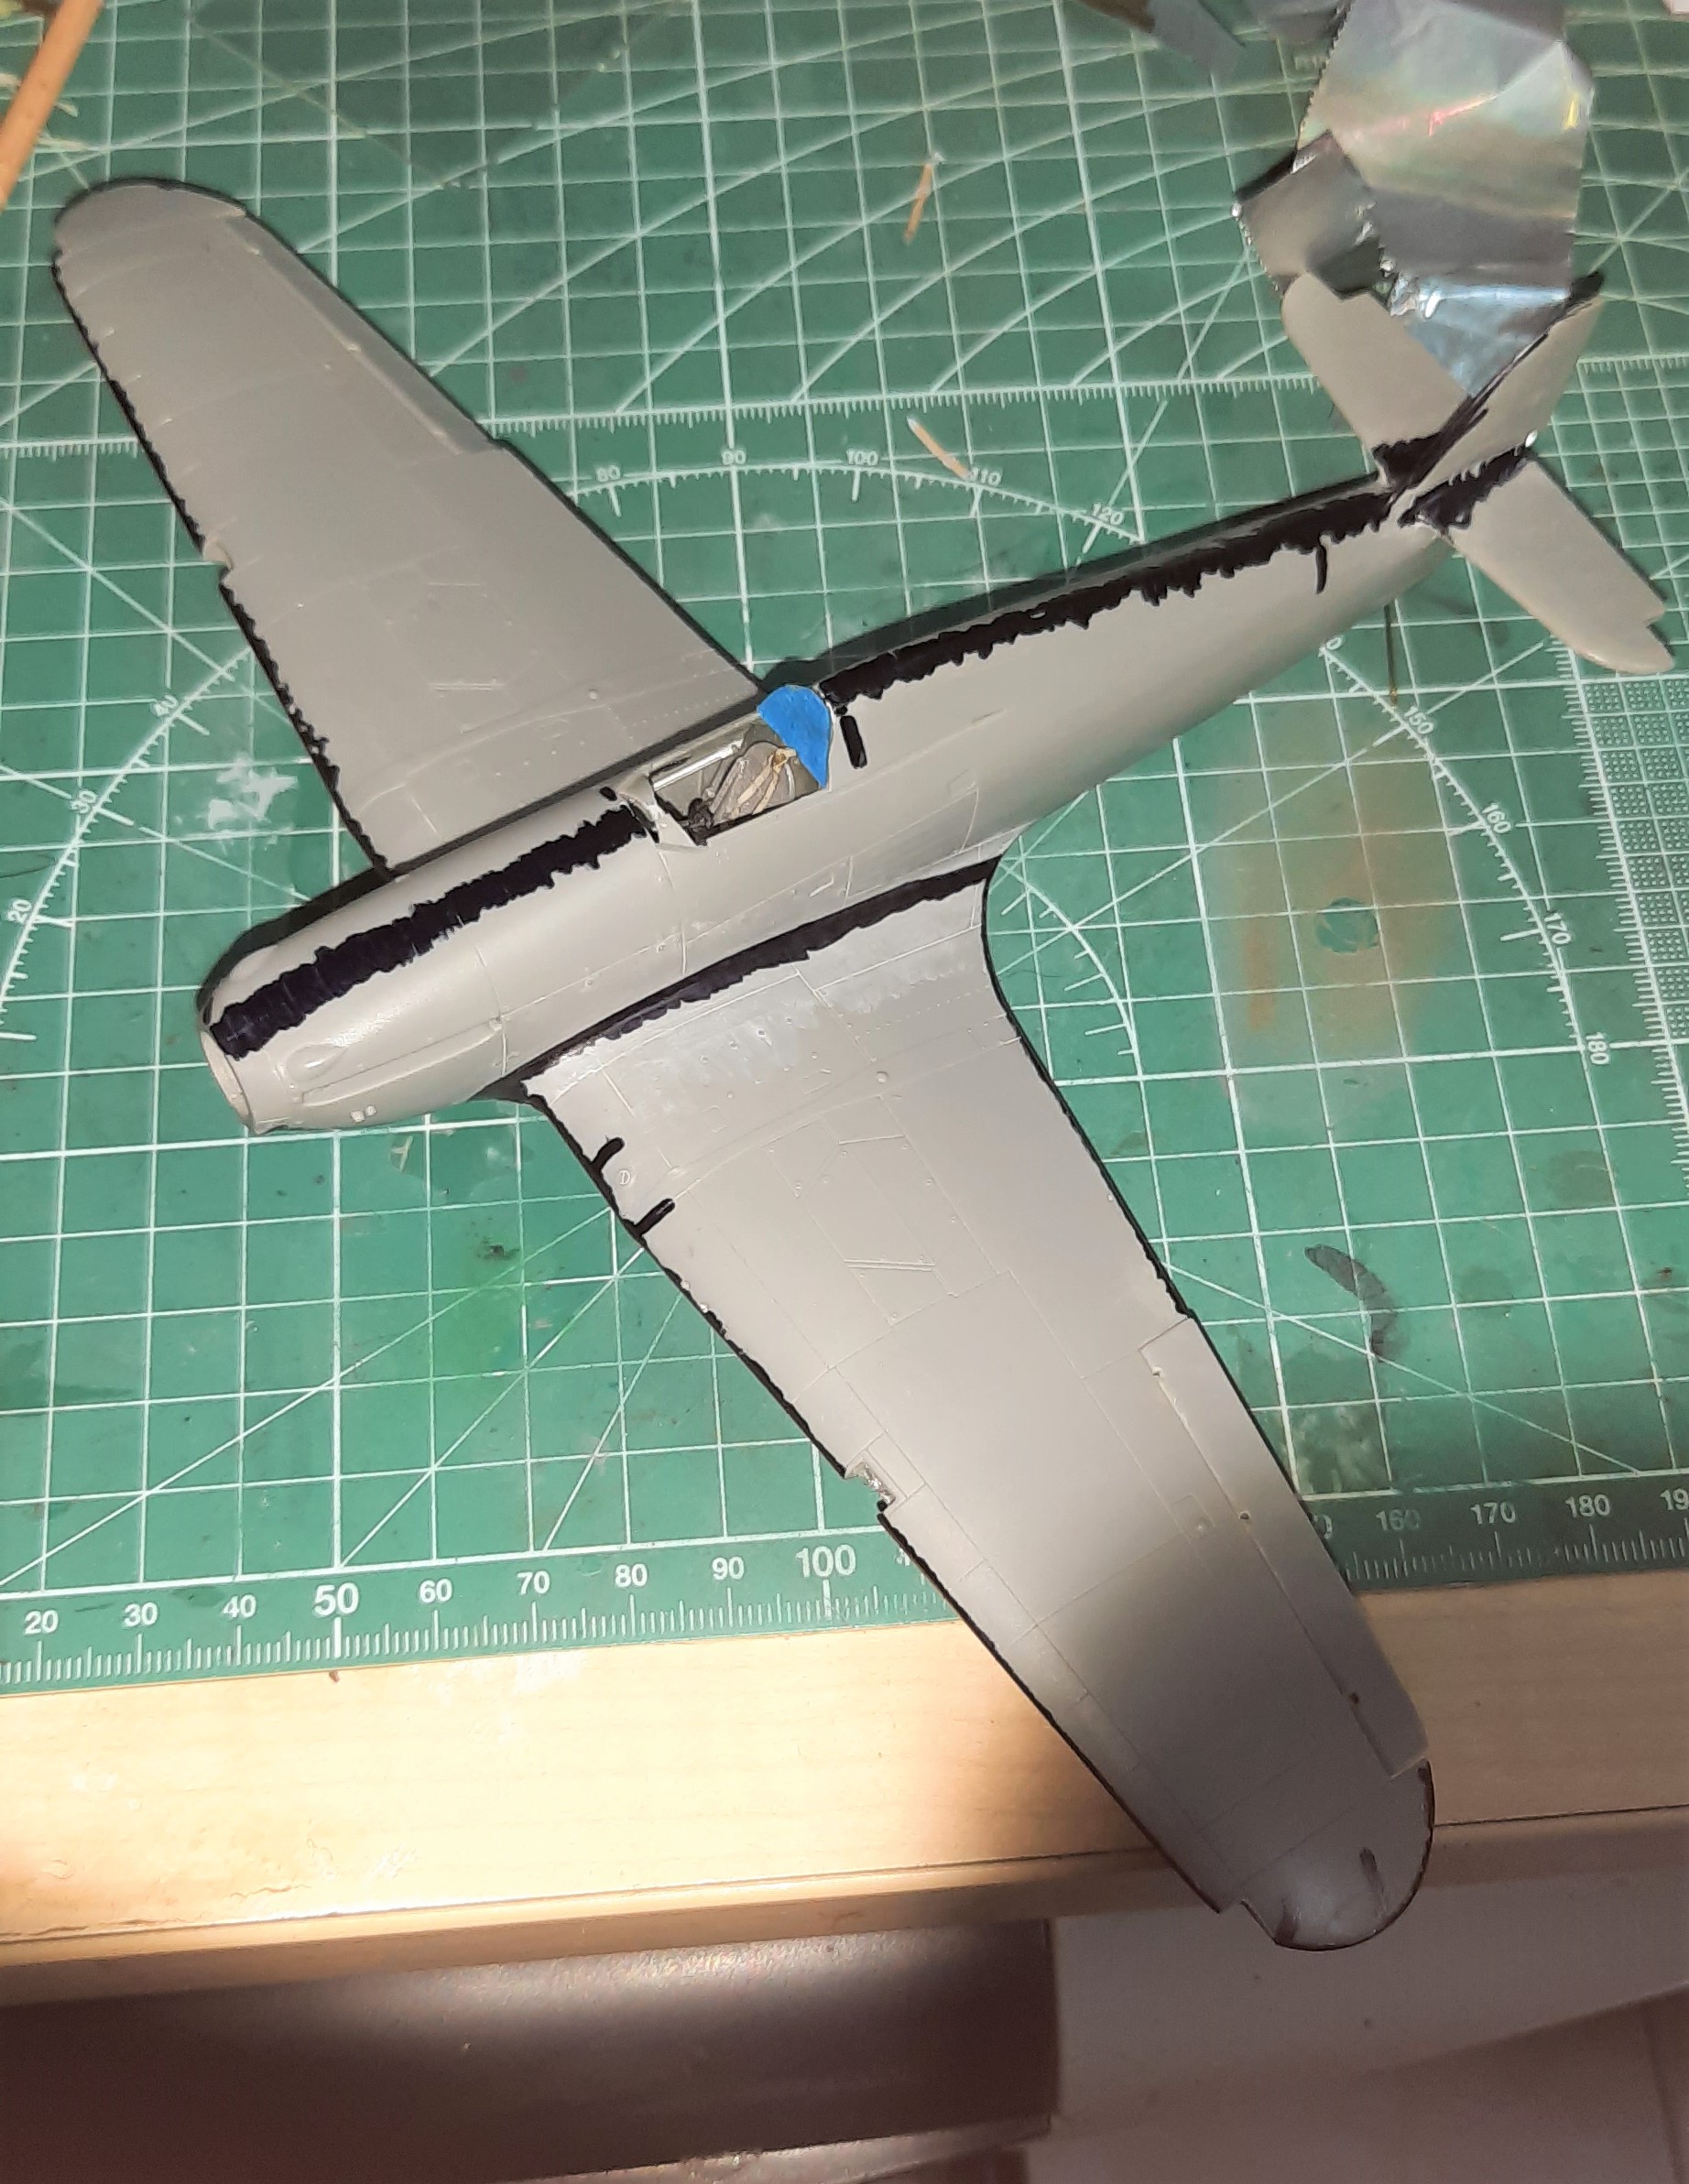
I spent some time making sure the seams were closed, giving it about a week to make sure there weren’t any ghost seams, there were, and they were filled. Which does have me rethinking my seam filling procedure…
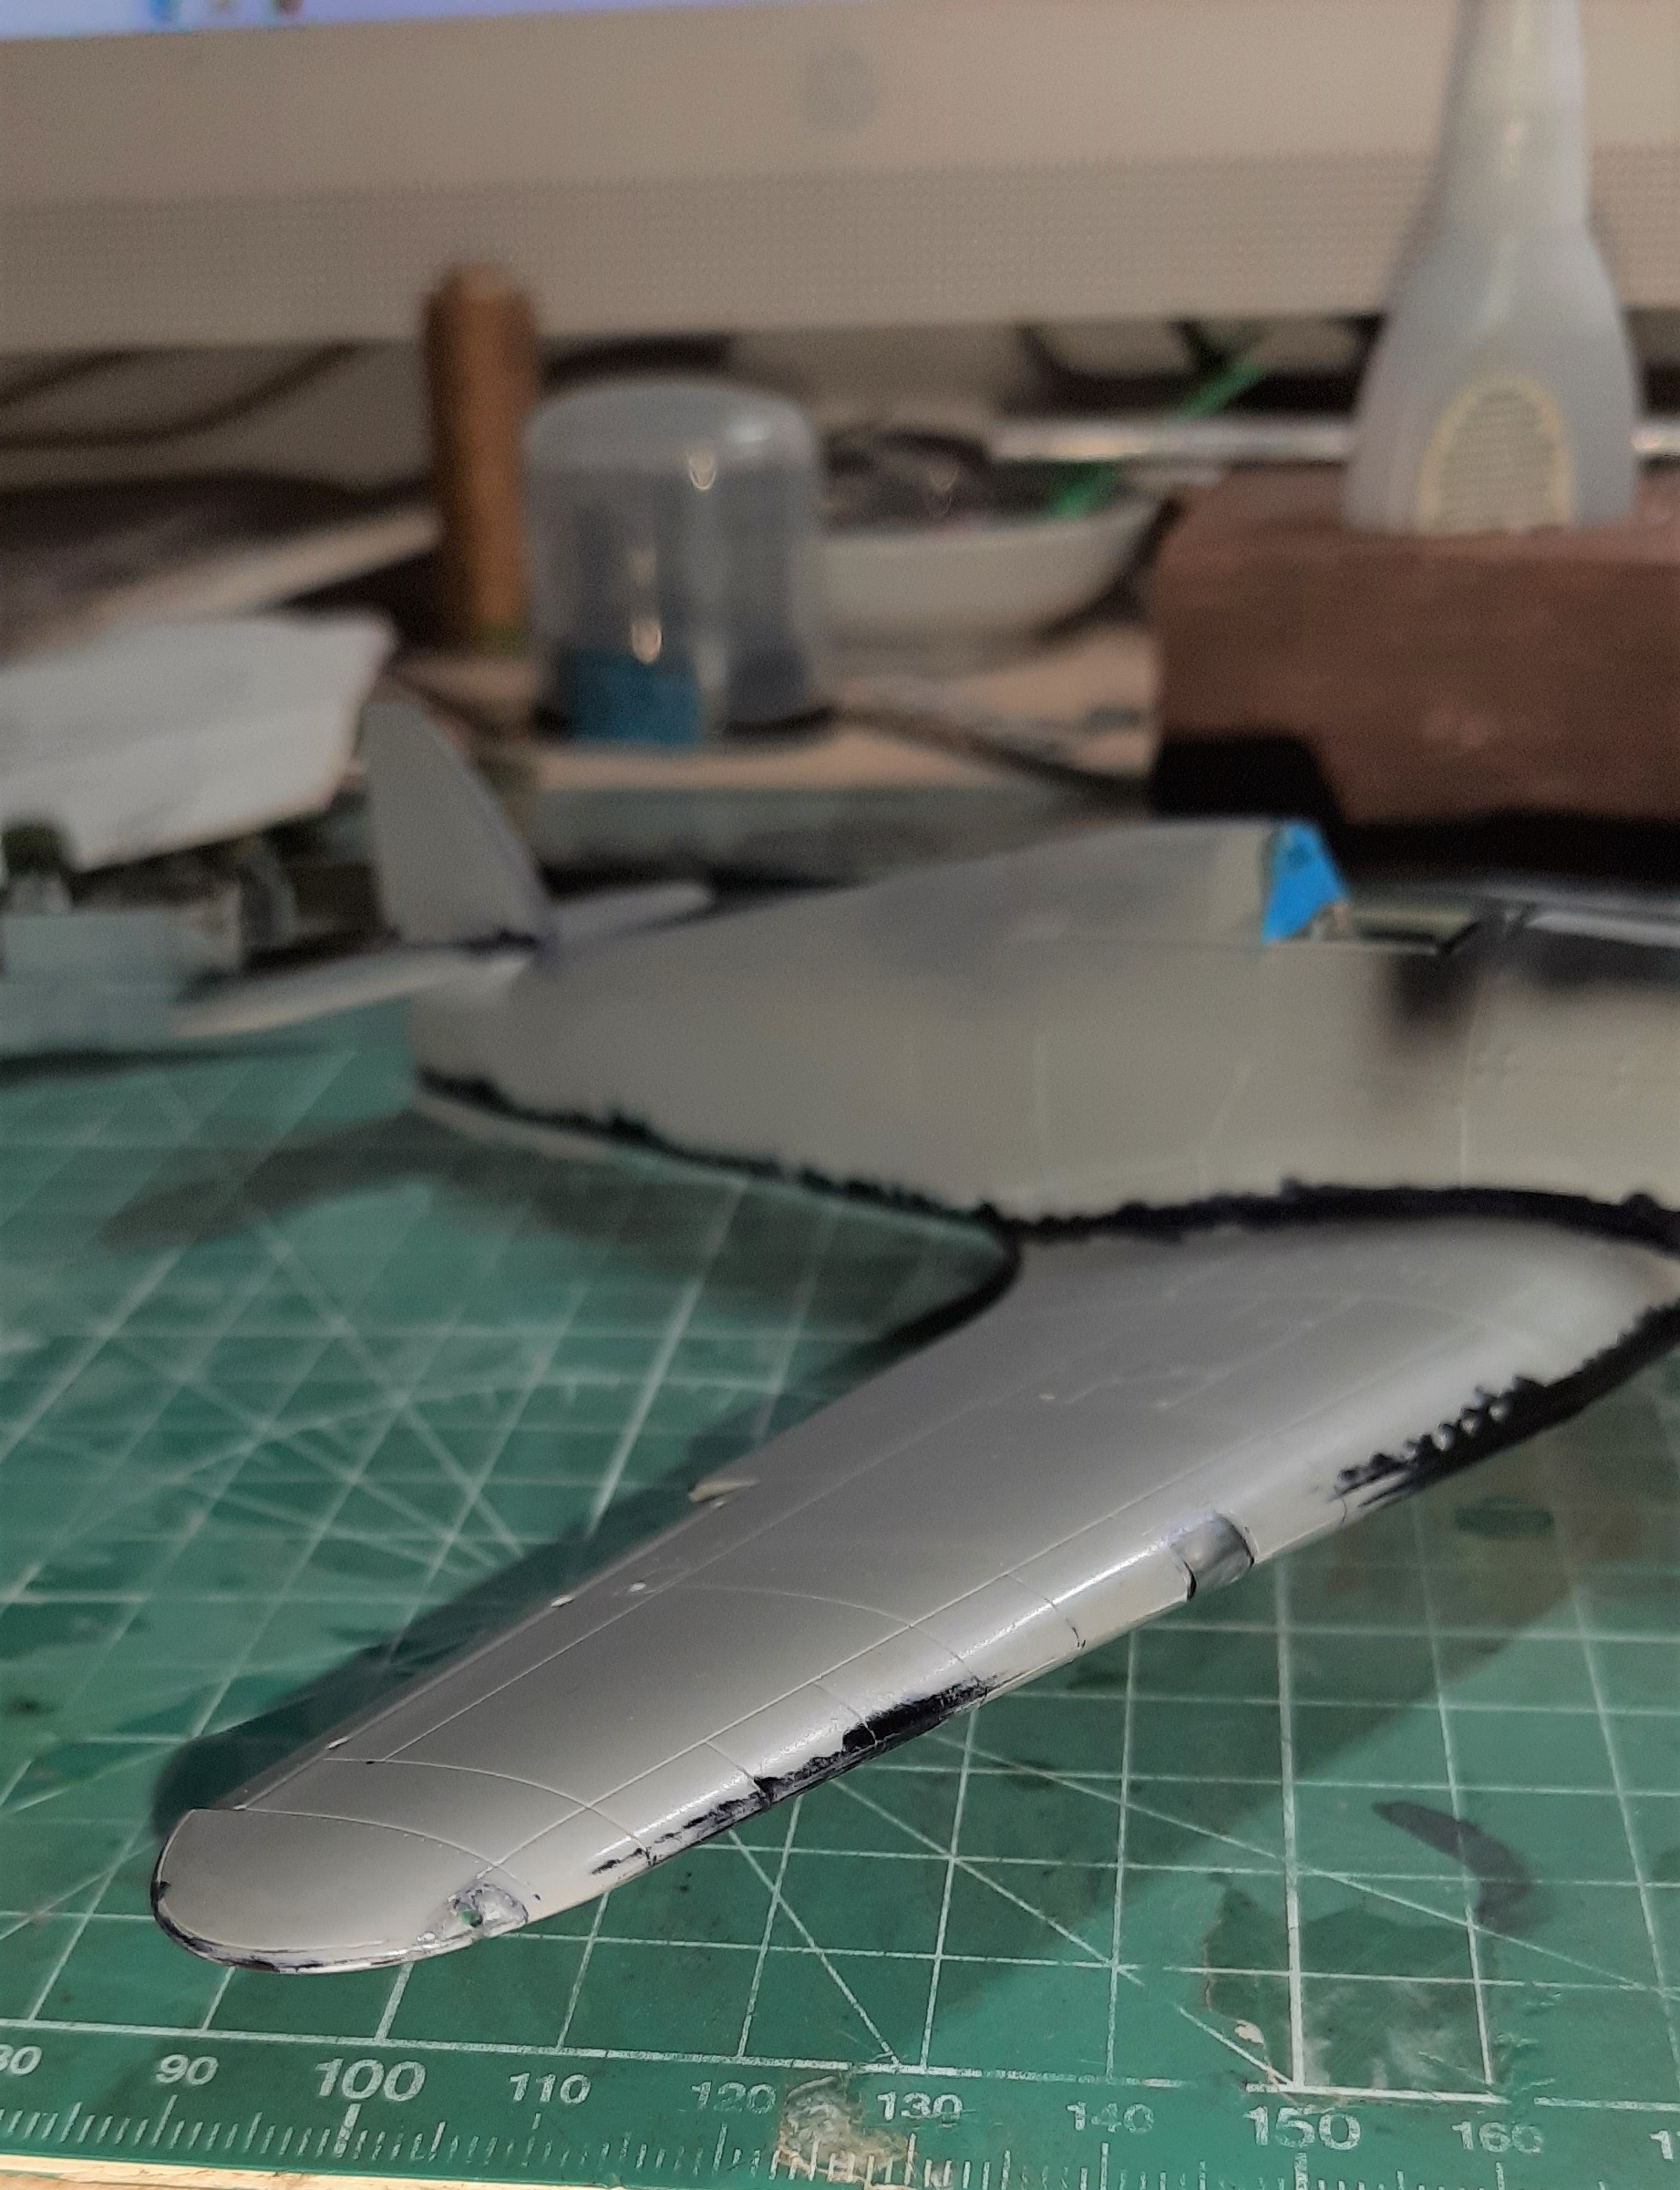
I then turned my focus onto the landing lights and navigation lights. I used my tried and true technique of prepping everything, and then using thin superglue. This was then sanded smooth and off I was to mask, and get ready to paint!
I gave the bird a basic free hand paint job, and am in the process of trying to mask the edges… we’ll see how that goes!
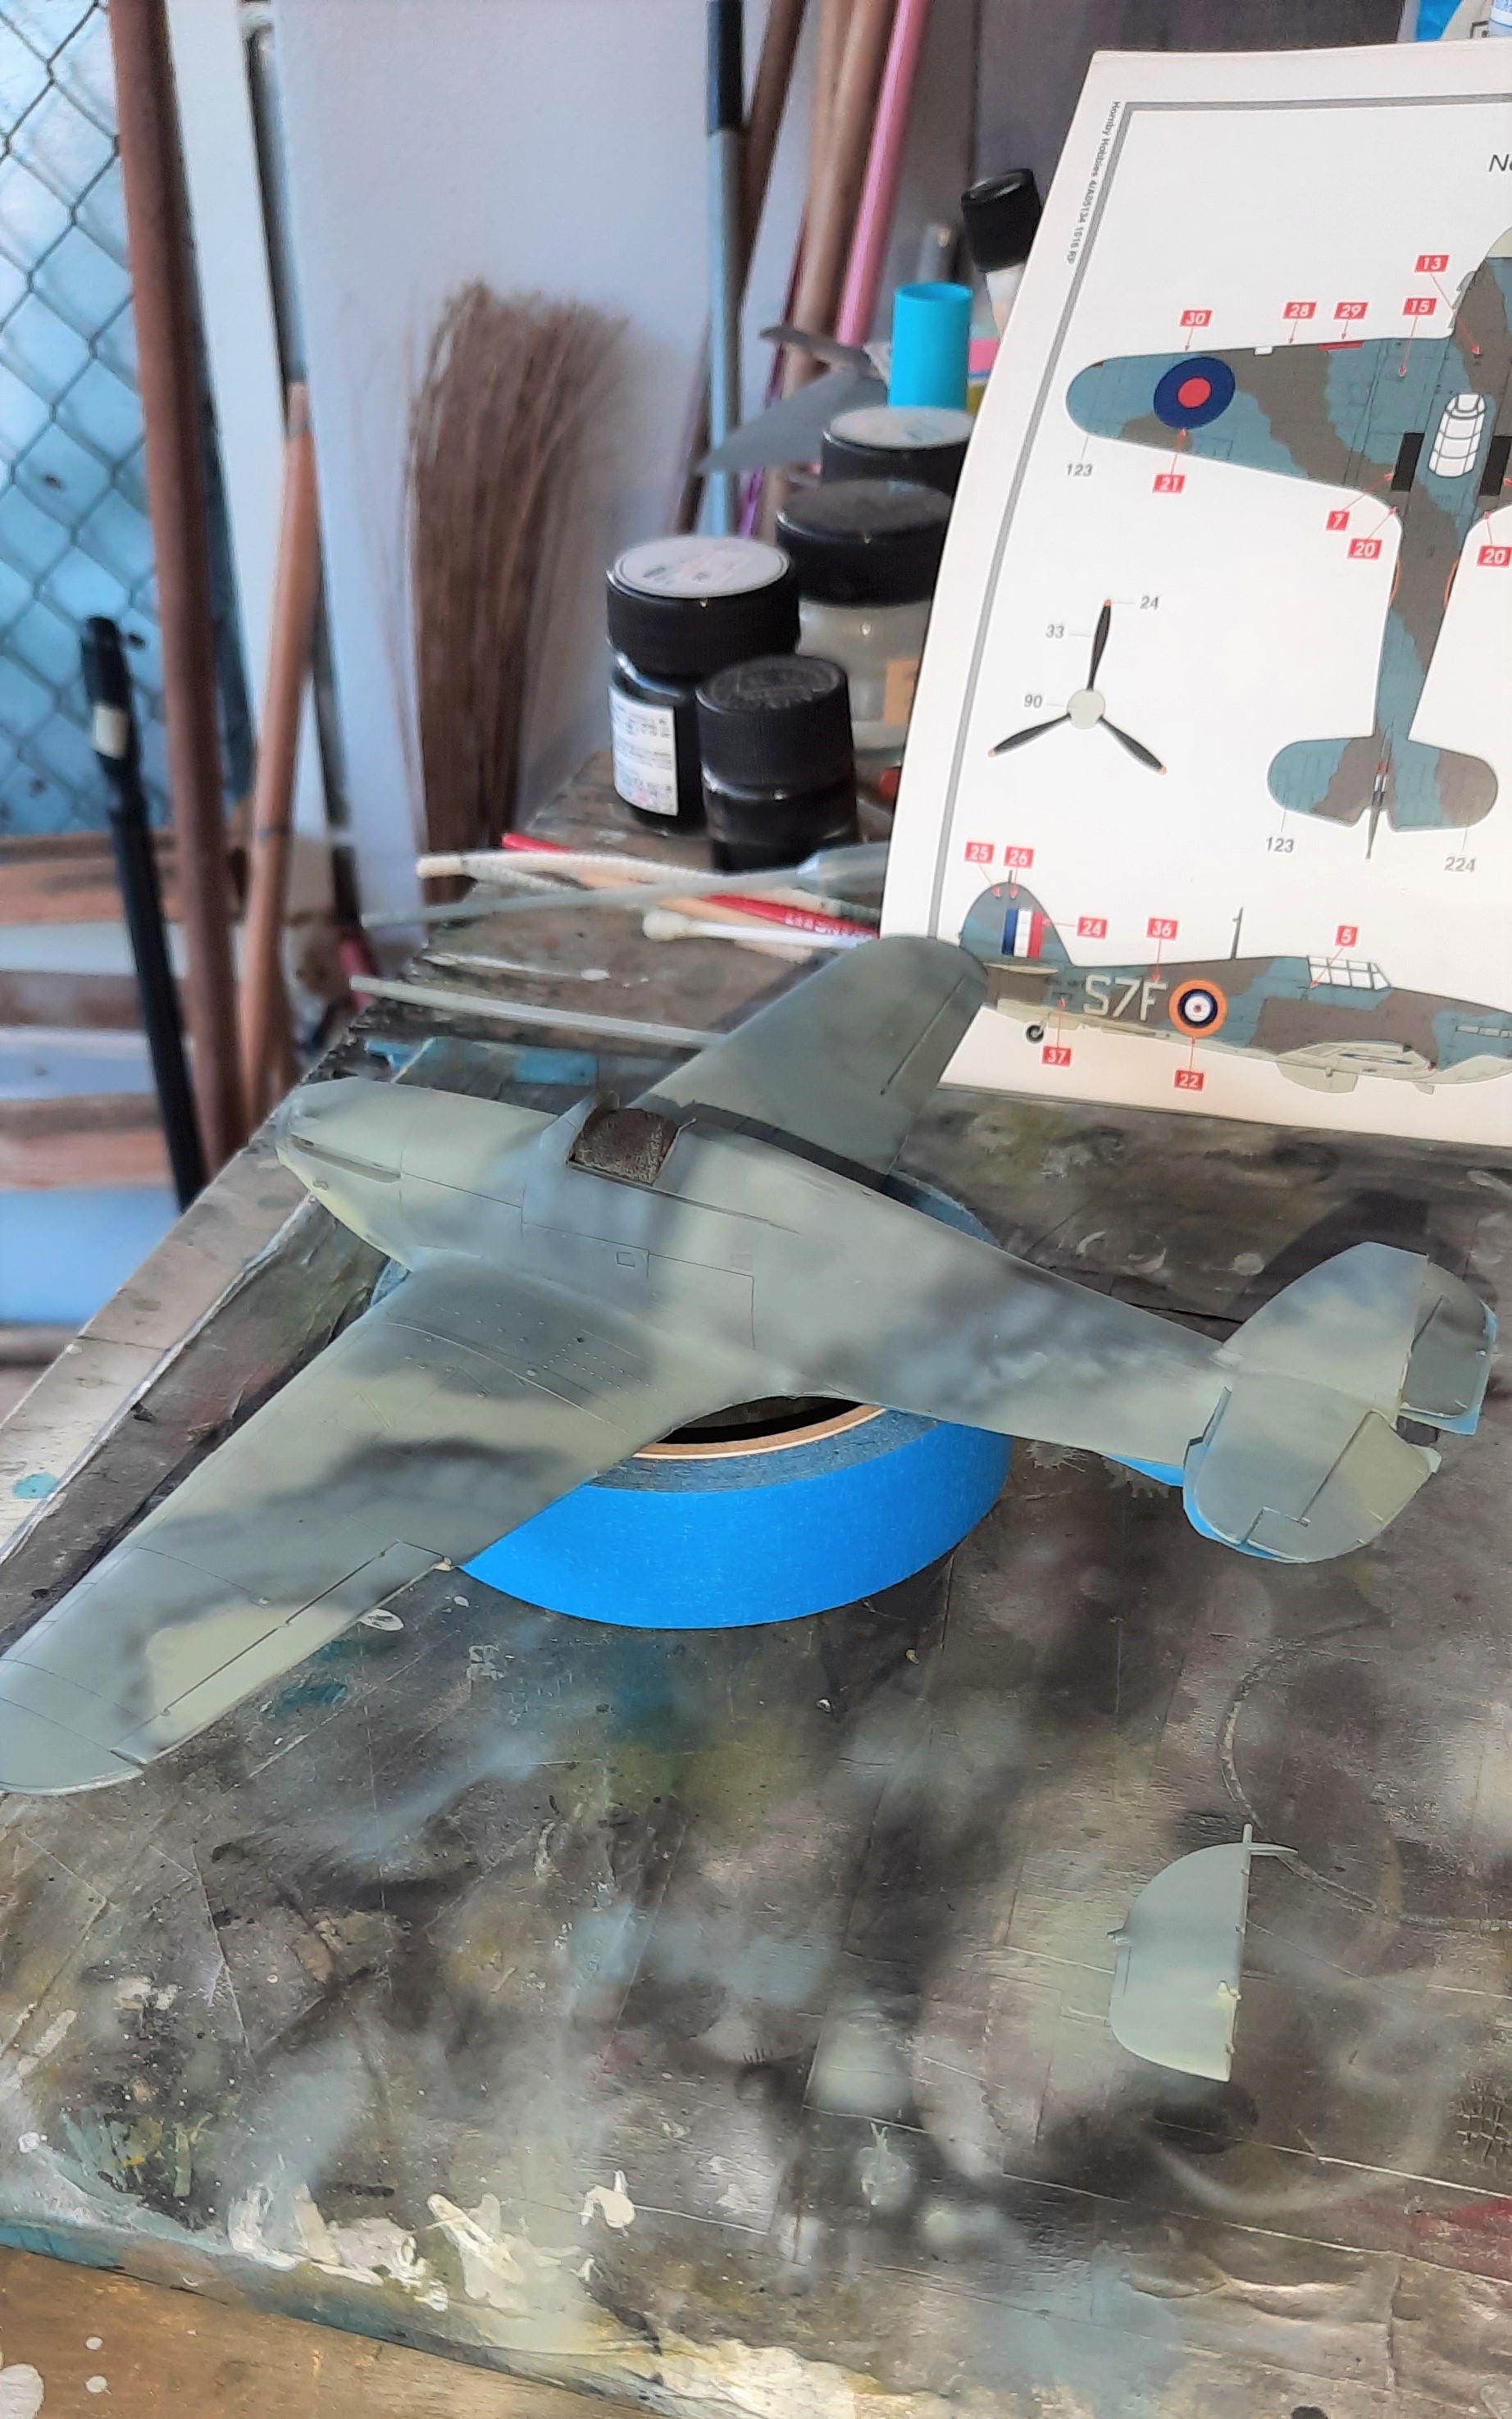
So, here’s where I’m at, and this is turning out to be a pretty nice build. Stay tuned!
5 Likes
I love the paint schemes on those Italian planes. Your hand painted camo looks great. The Hurricane looks off to a good start also.
Thanks Phil! I’m trying!! Haha. I also like the paint schemes, and the more research I do, the more I’m amazed at how they got the cool camo onto the planes. I’m trying to duplicate their methods. Notably, the IJA using rags soaked in gas and plopped in a little paint to get some really unusual camo jobs! And yes, I’m gonna try it very soon. Stay tuned, we’ll see what happens. Cheers!!
1 Like
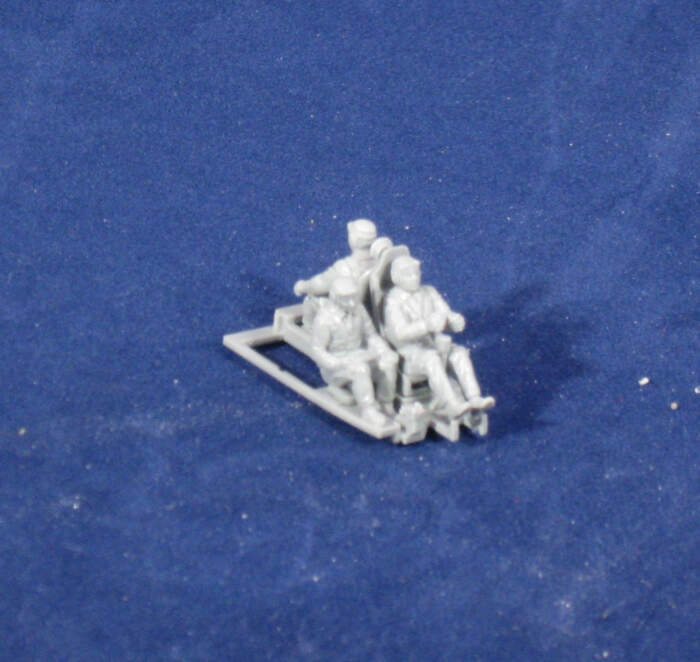
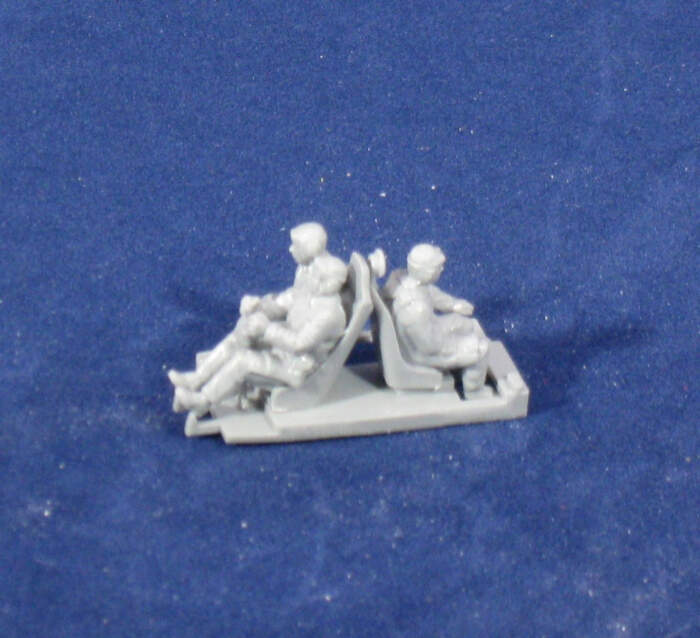
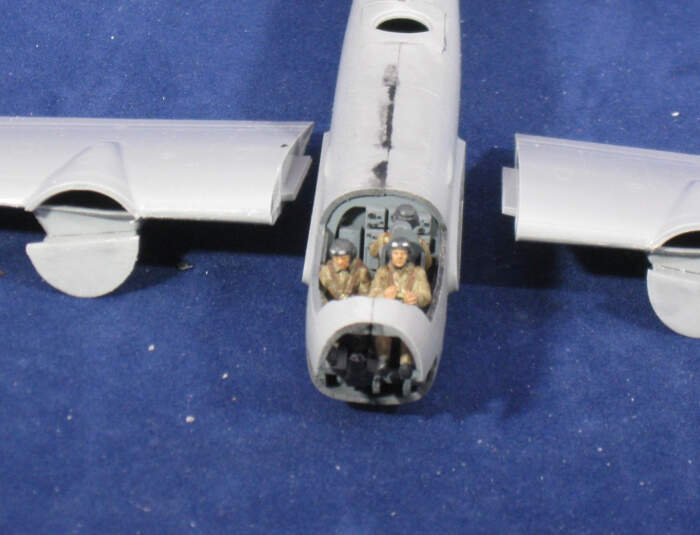
OK, I’ve begun my JU-88 now. I prefer doing planes in flight and this one will be. Here’s the cockpit crew in their seats:
So far I love this Zvezda kit, really just getting things out of the box. It comes in a nice cardboard box with a fold-back lid and the clear parts come in their own separate box inside.
I really need a better camera…
4 Likes
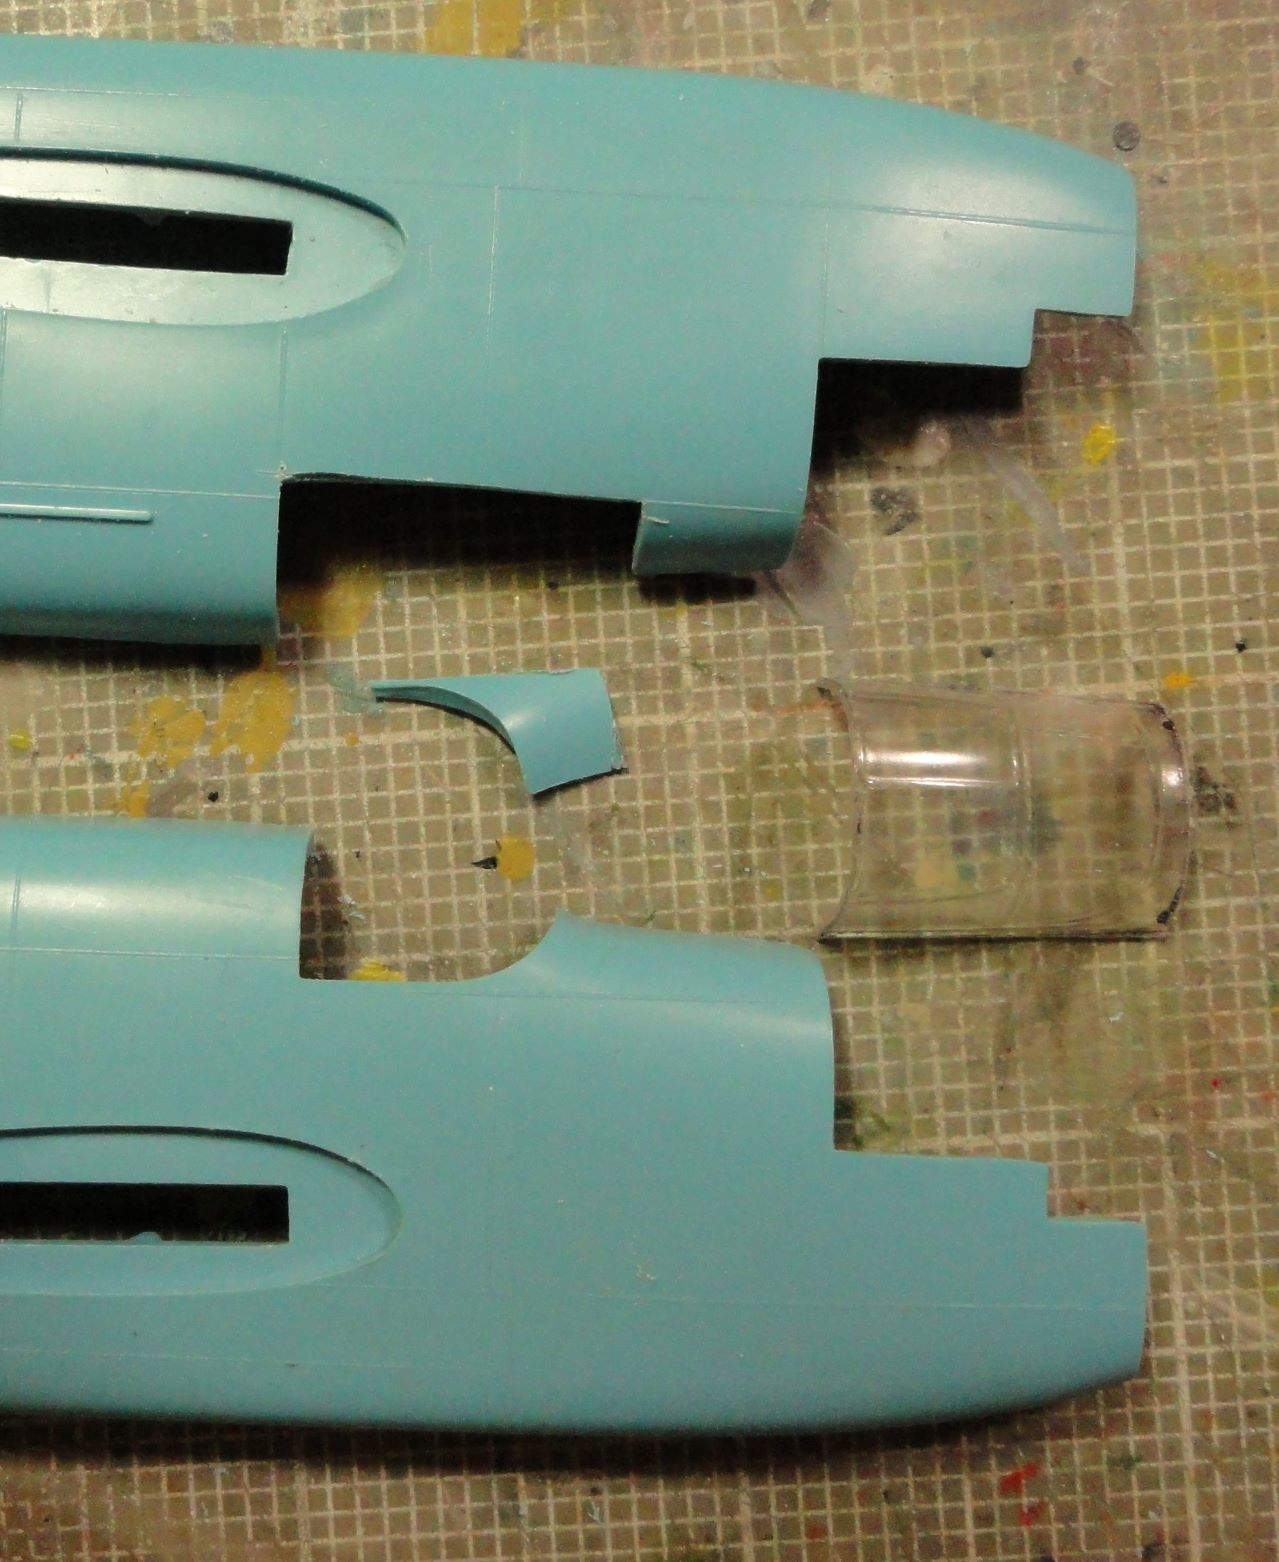
Oh darn, I just realized I didn’t do a start photo before I got started. Better set up for that. As it is, I may be biting off more than I can chew. It’s the OLD Frog Martin Baltimore (Ml. IV?). It’s a used kit, missing the pilot, the base of the stand, the decals and the decals. I managed to piece together a set of RAF decals and find the Falcon replacement canopies for it. A pilot from my parts bin volunteered for service. Then I realized that there is no bombardier’s compartment, You could see all the way through the fuselage. So I’m going to try to scratch build a space, and find another crewman.
My first attempt at surgery to install a vac canopy.
4 Likes
Nice to see the ancient kits getting some love Mark. Lord knows, some of them need it!
A little TLC on the bombardier’s position will pay off on this one.
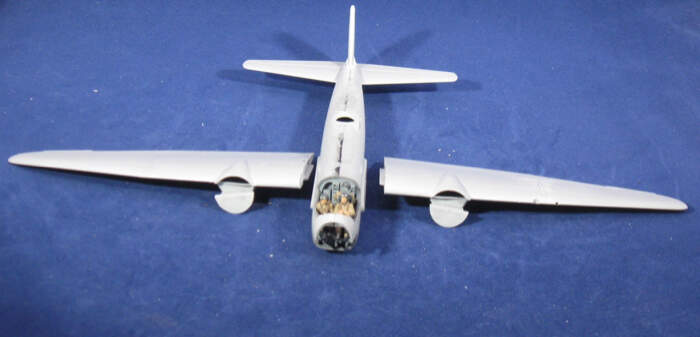
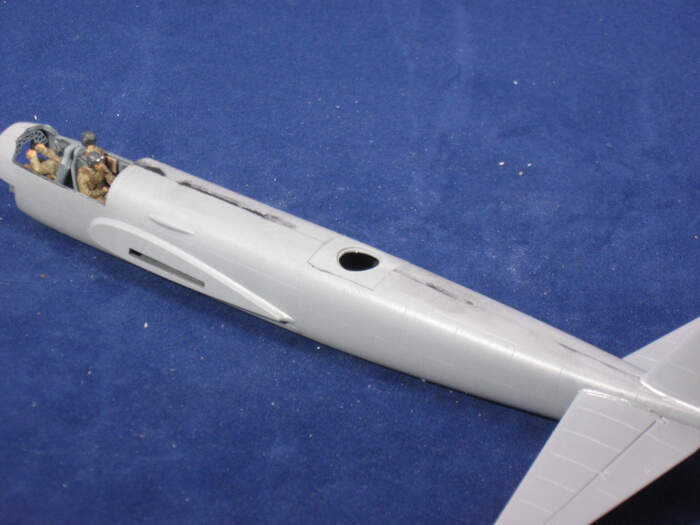
The Ju-88 is starting to come together. The above and below seam on the fuselage didn’t need a lot of work, but I’ll have to go back and rescribe some panels. A couple of panel lines don’t line up (not everyone along the fuselage, just a couple, which seemed odd). Fit otherwise has been pretty nice.
Wondering about masking all that glass. I have a mask set from Eduard which should make it fairly easy as far as the cutouts go. Wondering about masking before assembling the rest of it which would be way easier than sticking the masks on after it’s all assembled. But leaving the masks on for awhile - is that ok?
The Zvezda kit is nice. I like the way they box it and keep the clear parts in a separate box internally. Still there were a couple of parts that were broken and I have no idea how that happened.
5 Likes
It seems like the medal/ribbon system is up and running again. Medals can be awarded to participants. I have seen it on the “africa” campaign.
Will we do this for this campaign as well?
I would like to have a medal/ribbon for this one! Peter designed one before. I don’t know whether it fits the new format or could be reformatted?
1 Like
I agree. I am not sure about format and how to actually add a medal.
I am the campaign leader for the “Hot out of the molds” campaign. I am trying to set up a medal for that campaign. I hope the campaign leader for this campaign can do the same. 
I am slowly finding my way around the site. This is good information for campaign leaders ![]()
Man… I really should do these by commission!
Give me a couple of days…
2 Likes
Peter, you are awesome. Your time and effort is really appreciated! 

Okay, a couple of choices to start with:
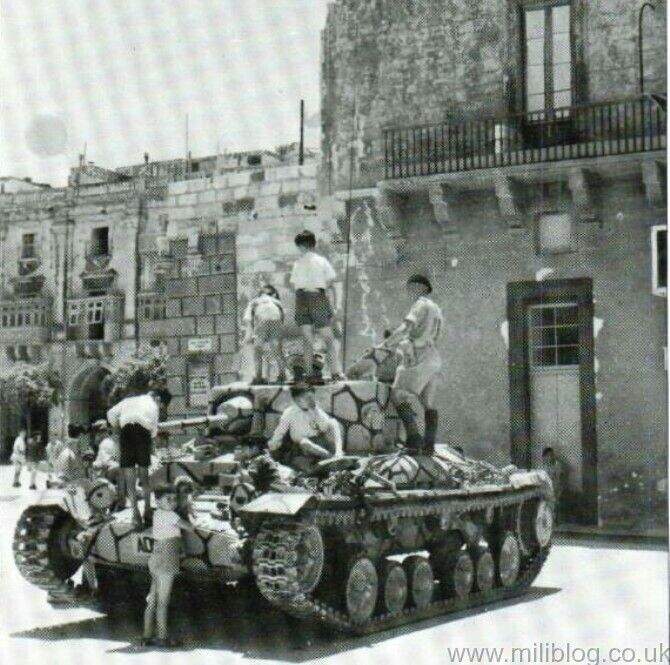
The George Cross as awarded by HM King George VI to Malta and which is now a part of their national Flag:
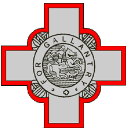
A Variation of just the medal itself (needs tidying up if you want this one):
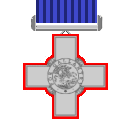
And the Red and white national colours on the ribbon and the Maltese Cross, or more appropriately, ‘The Cross of the Sovereign Military Hospitaller Order of Saint John of Jerusalem, of Rhodes and of Malta’ (which really rolls off the tongue doesn’t it!  ):
):

These will look like this in the awards table:


What do you think? Other ideas?
3 Likes