I am always on the lookout for additional details I might add to most any model:
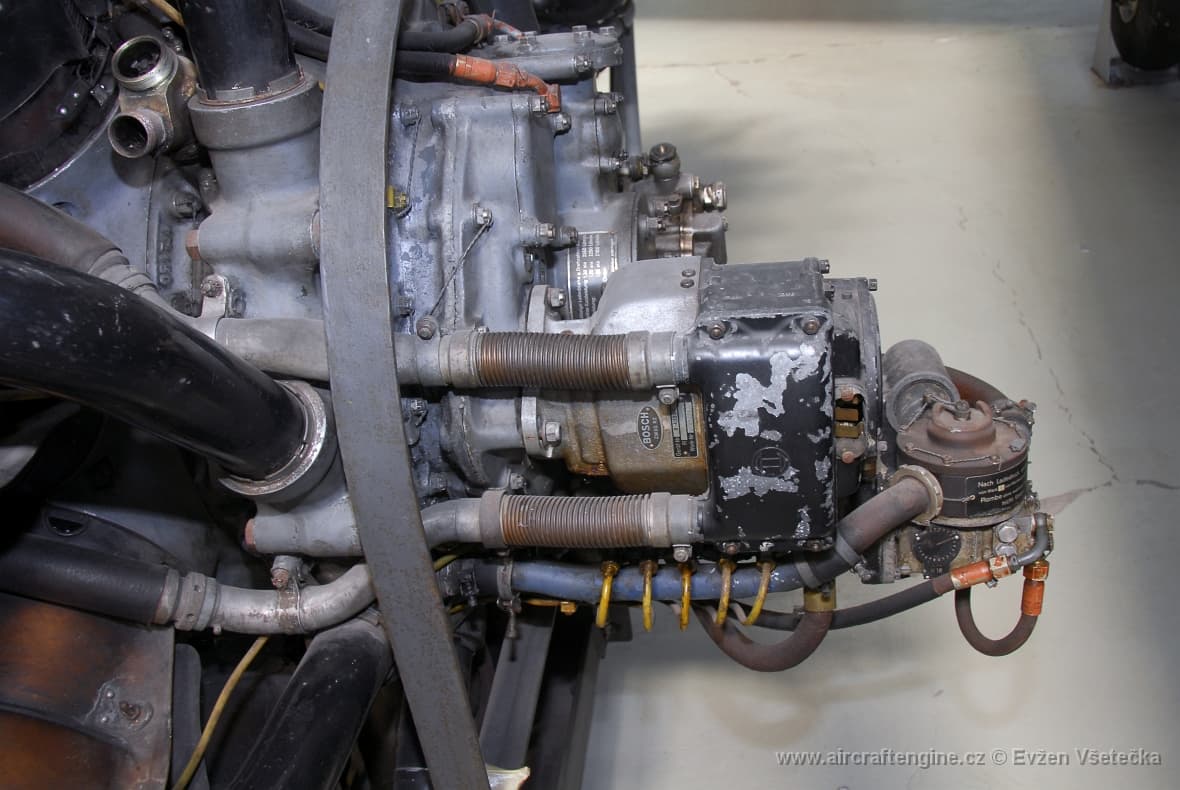
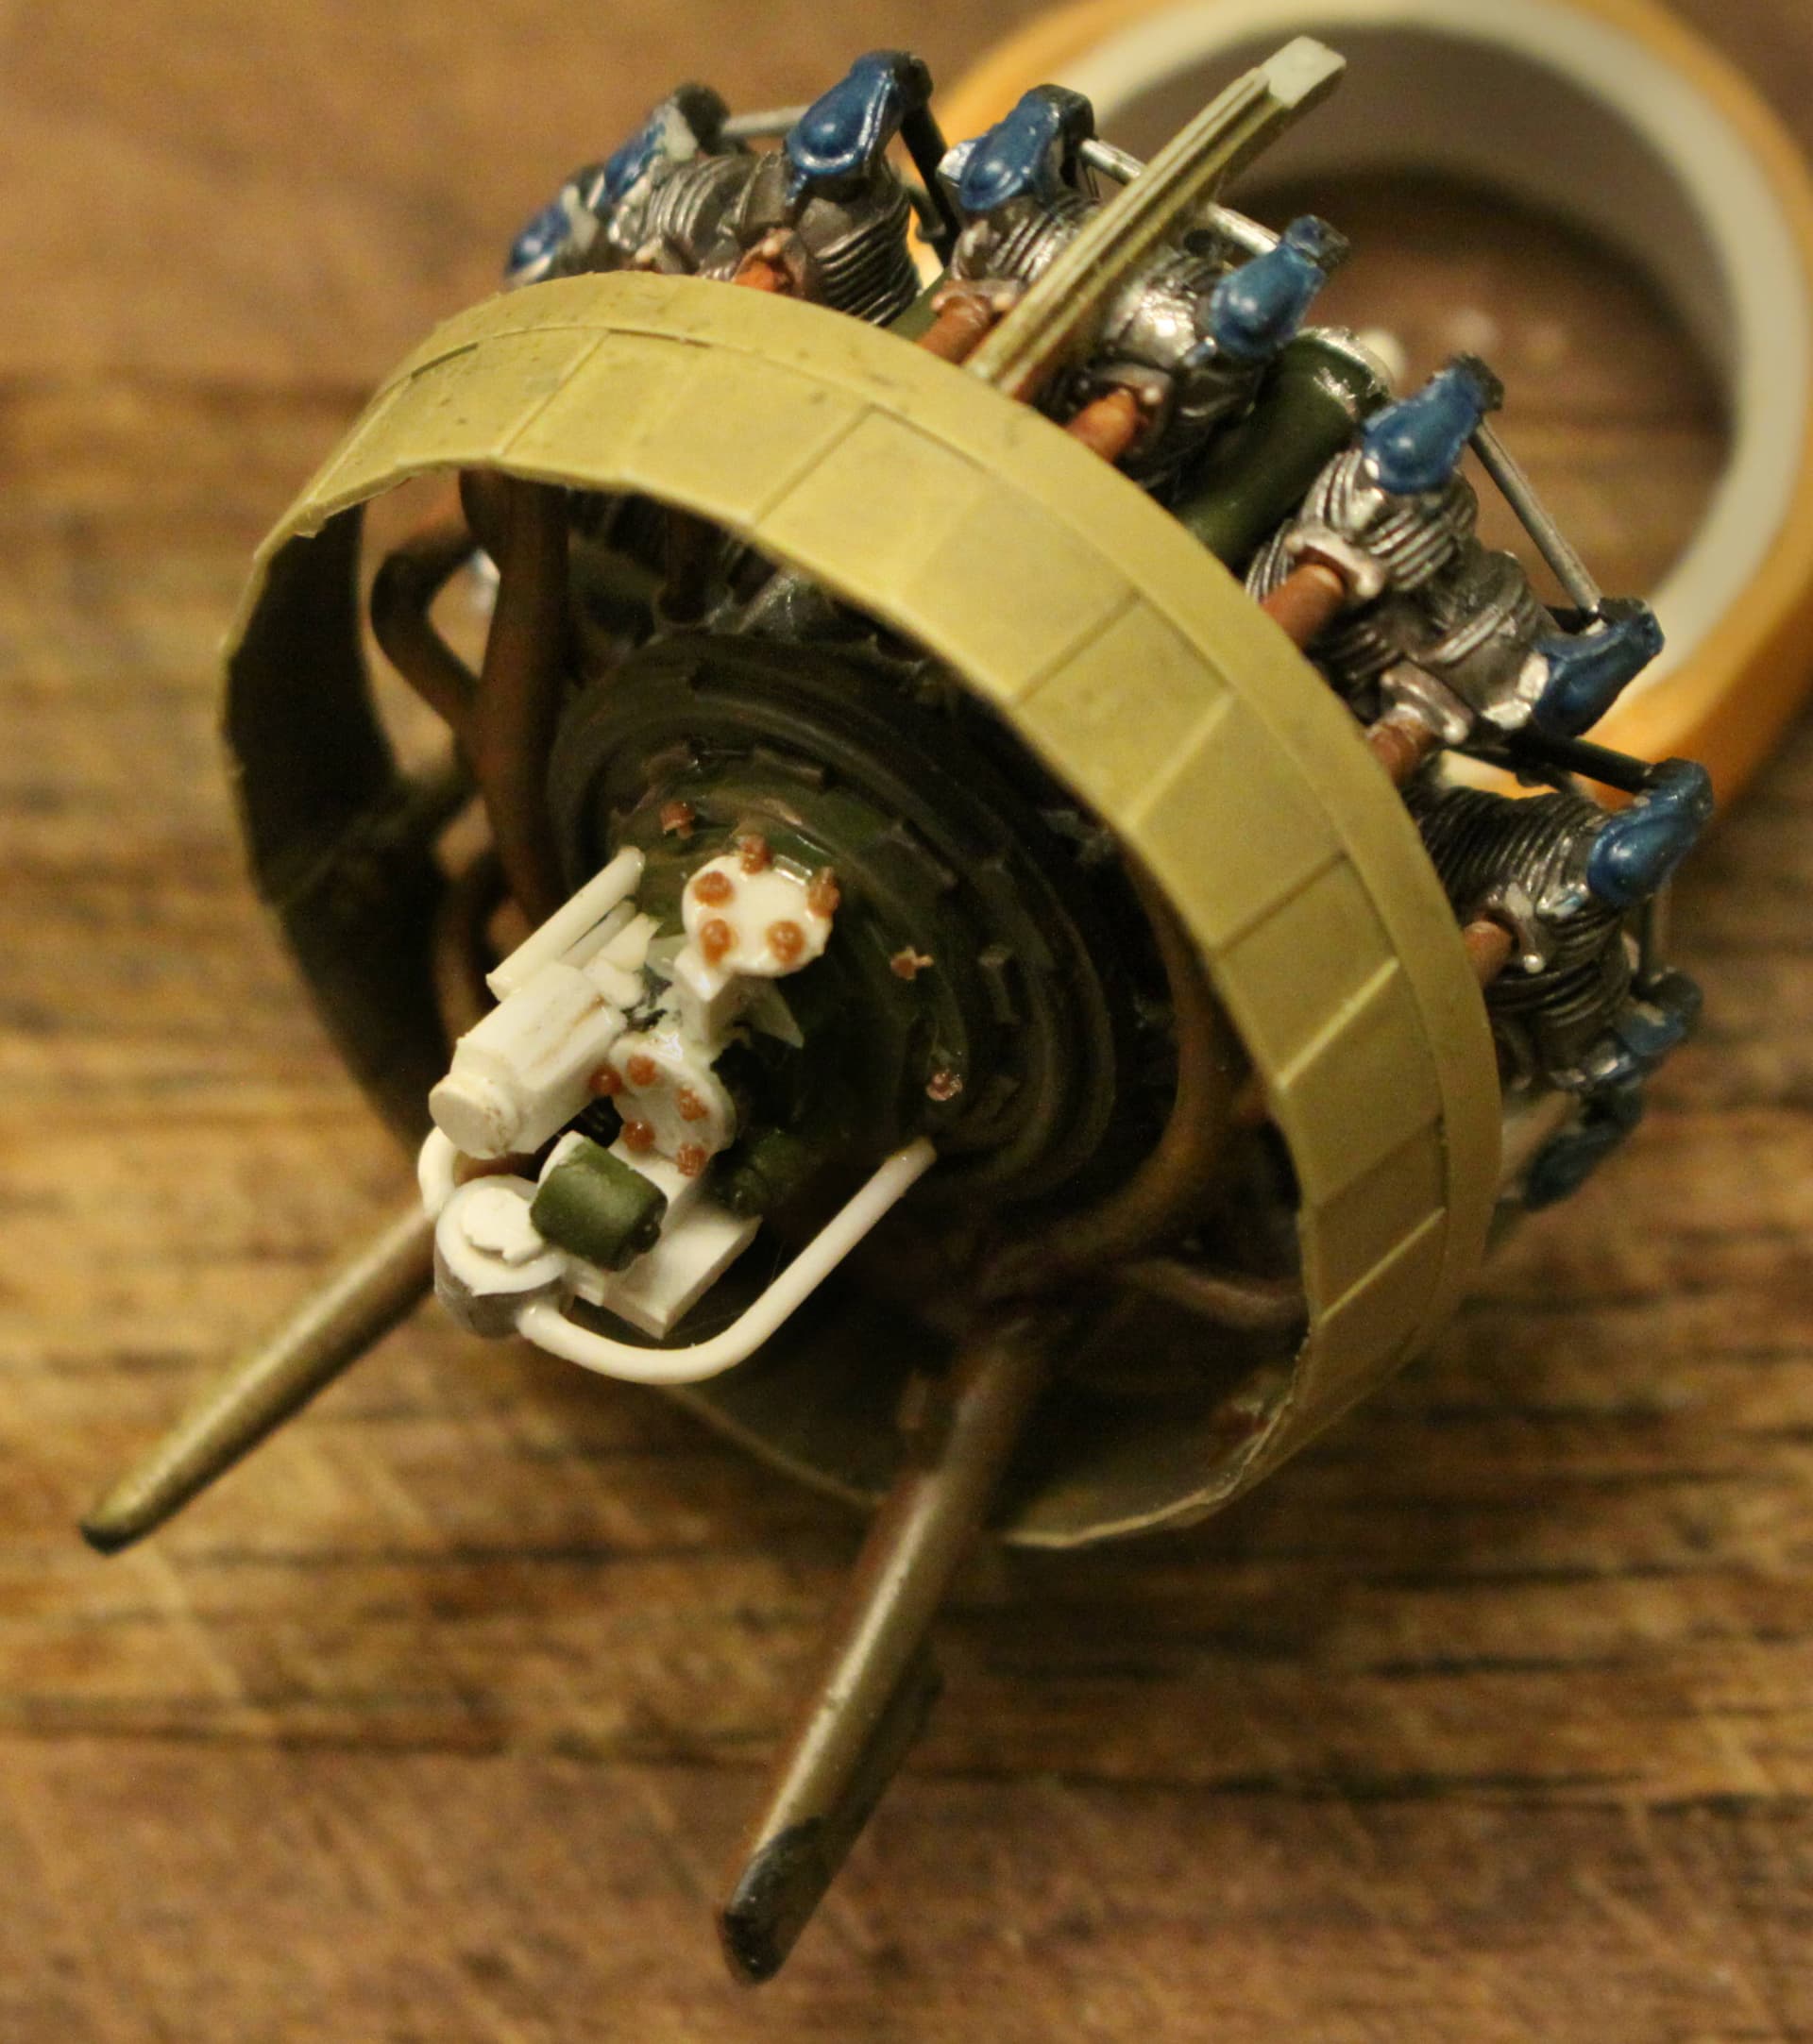
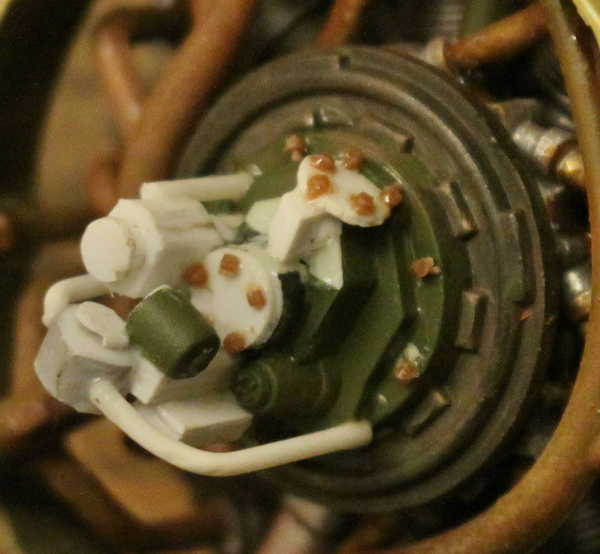
Since I intend to have all the engine access panels open for maintenance I noticed that the engine carburetor/fuel injection sequencer (whatever that is) was missing from the back of the radial in the kit.
.

So, while not a perfect reproduction, I sort of knocked together something to perhaps better fill this compartment.
.
5 Likes
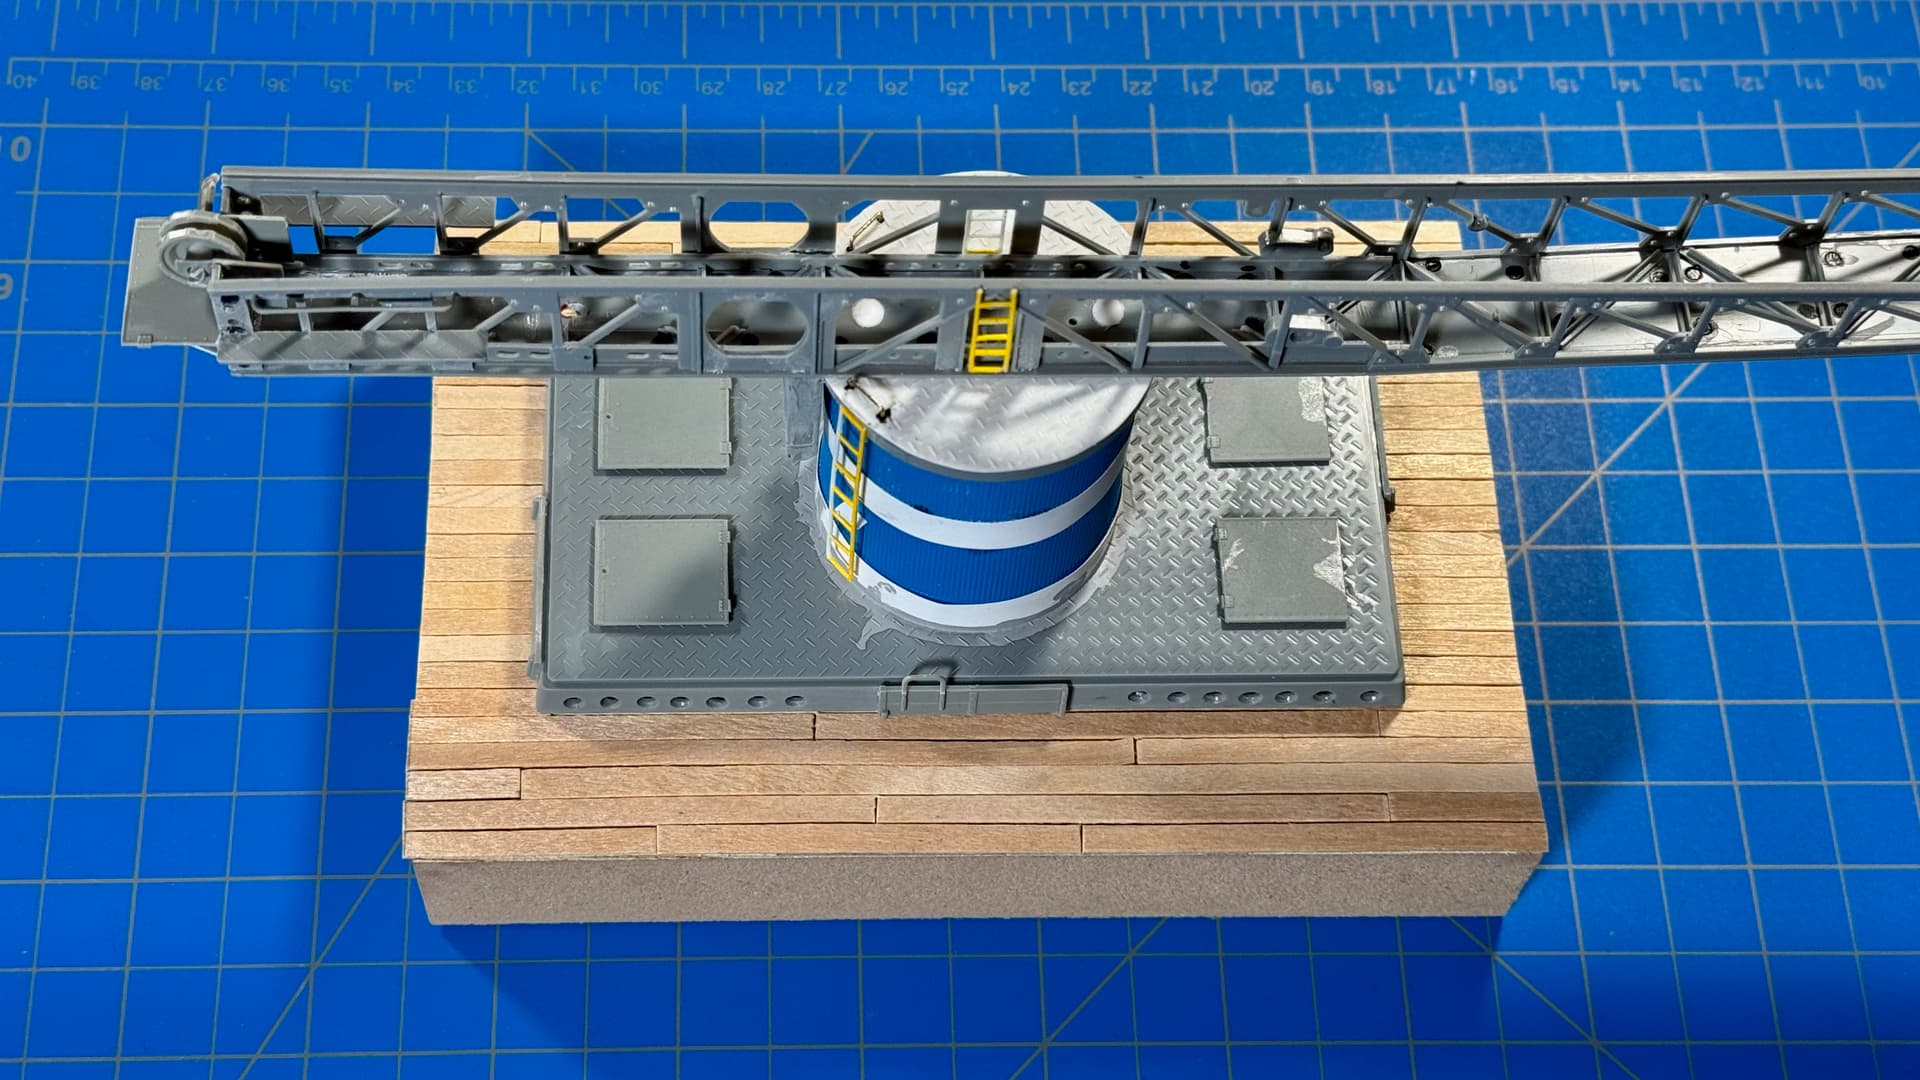
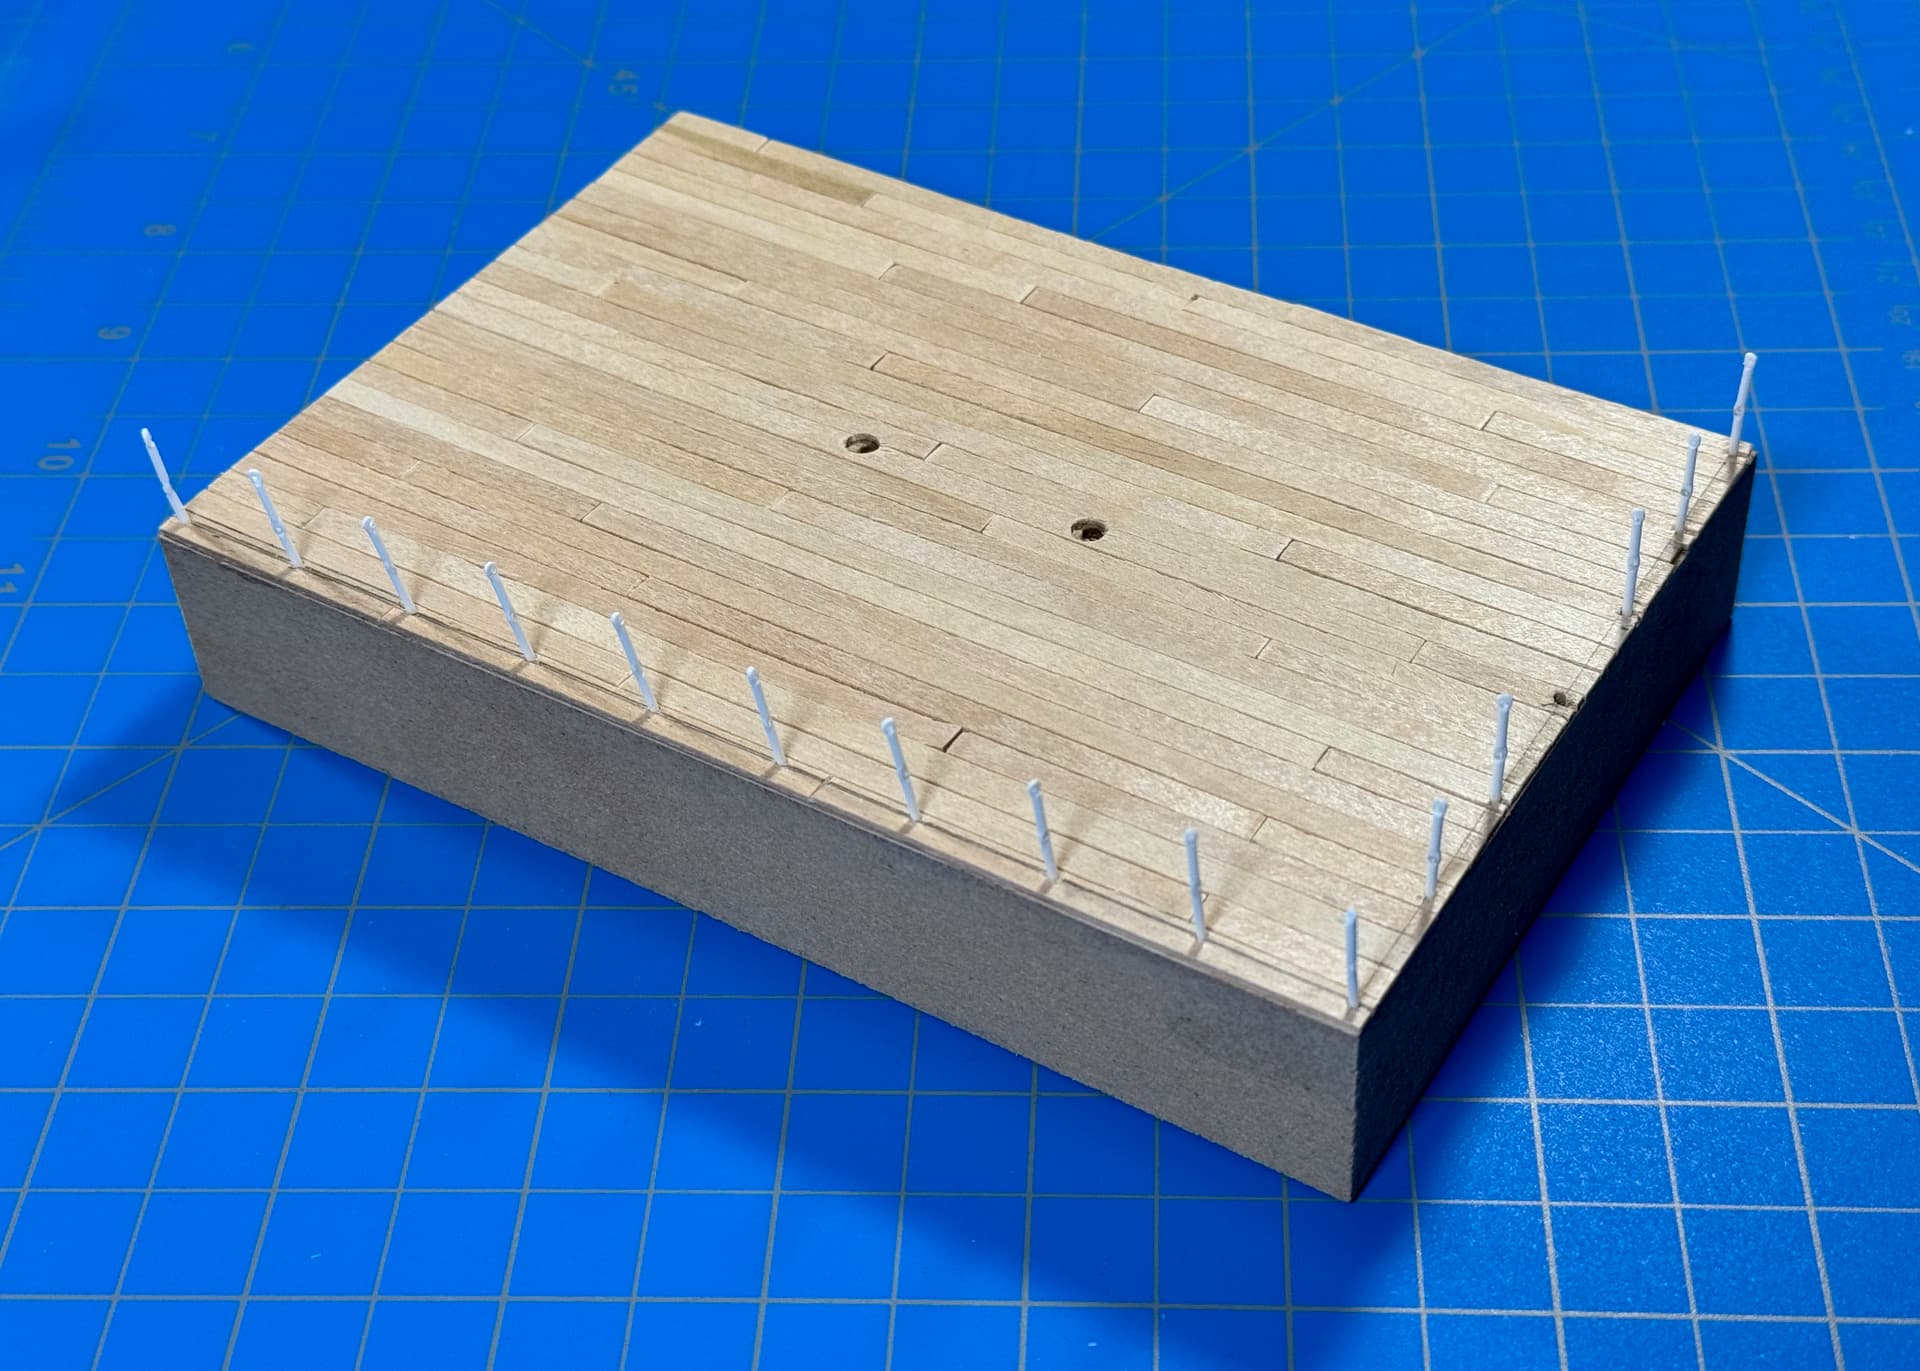
Walk the planking…
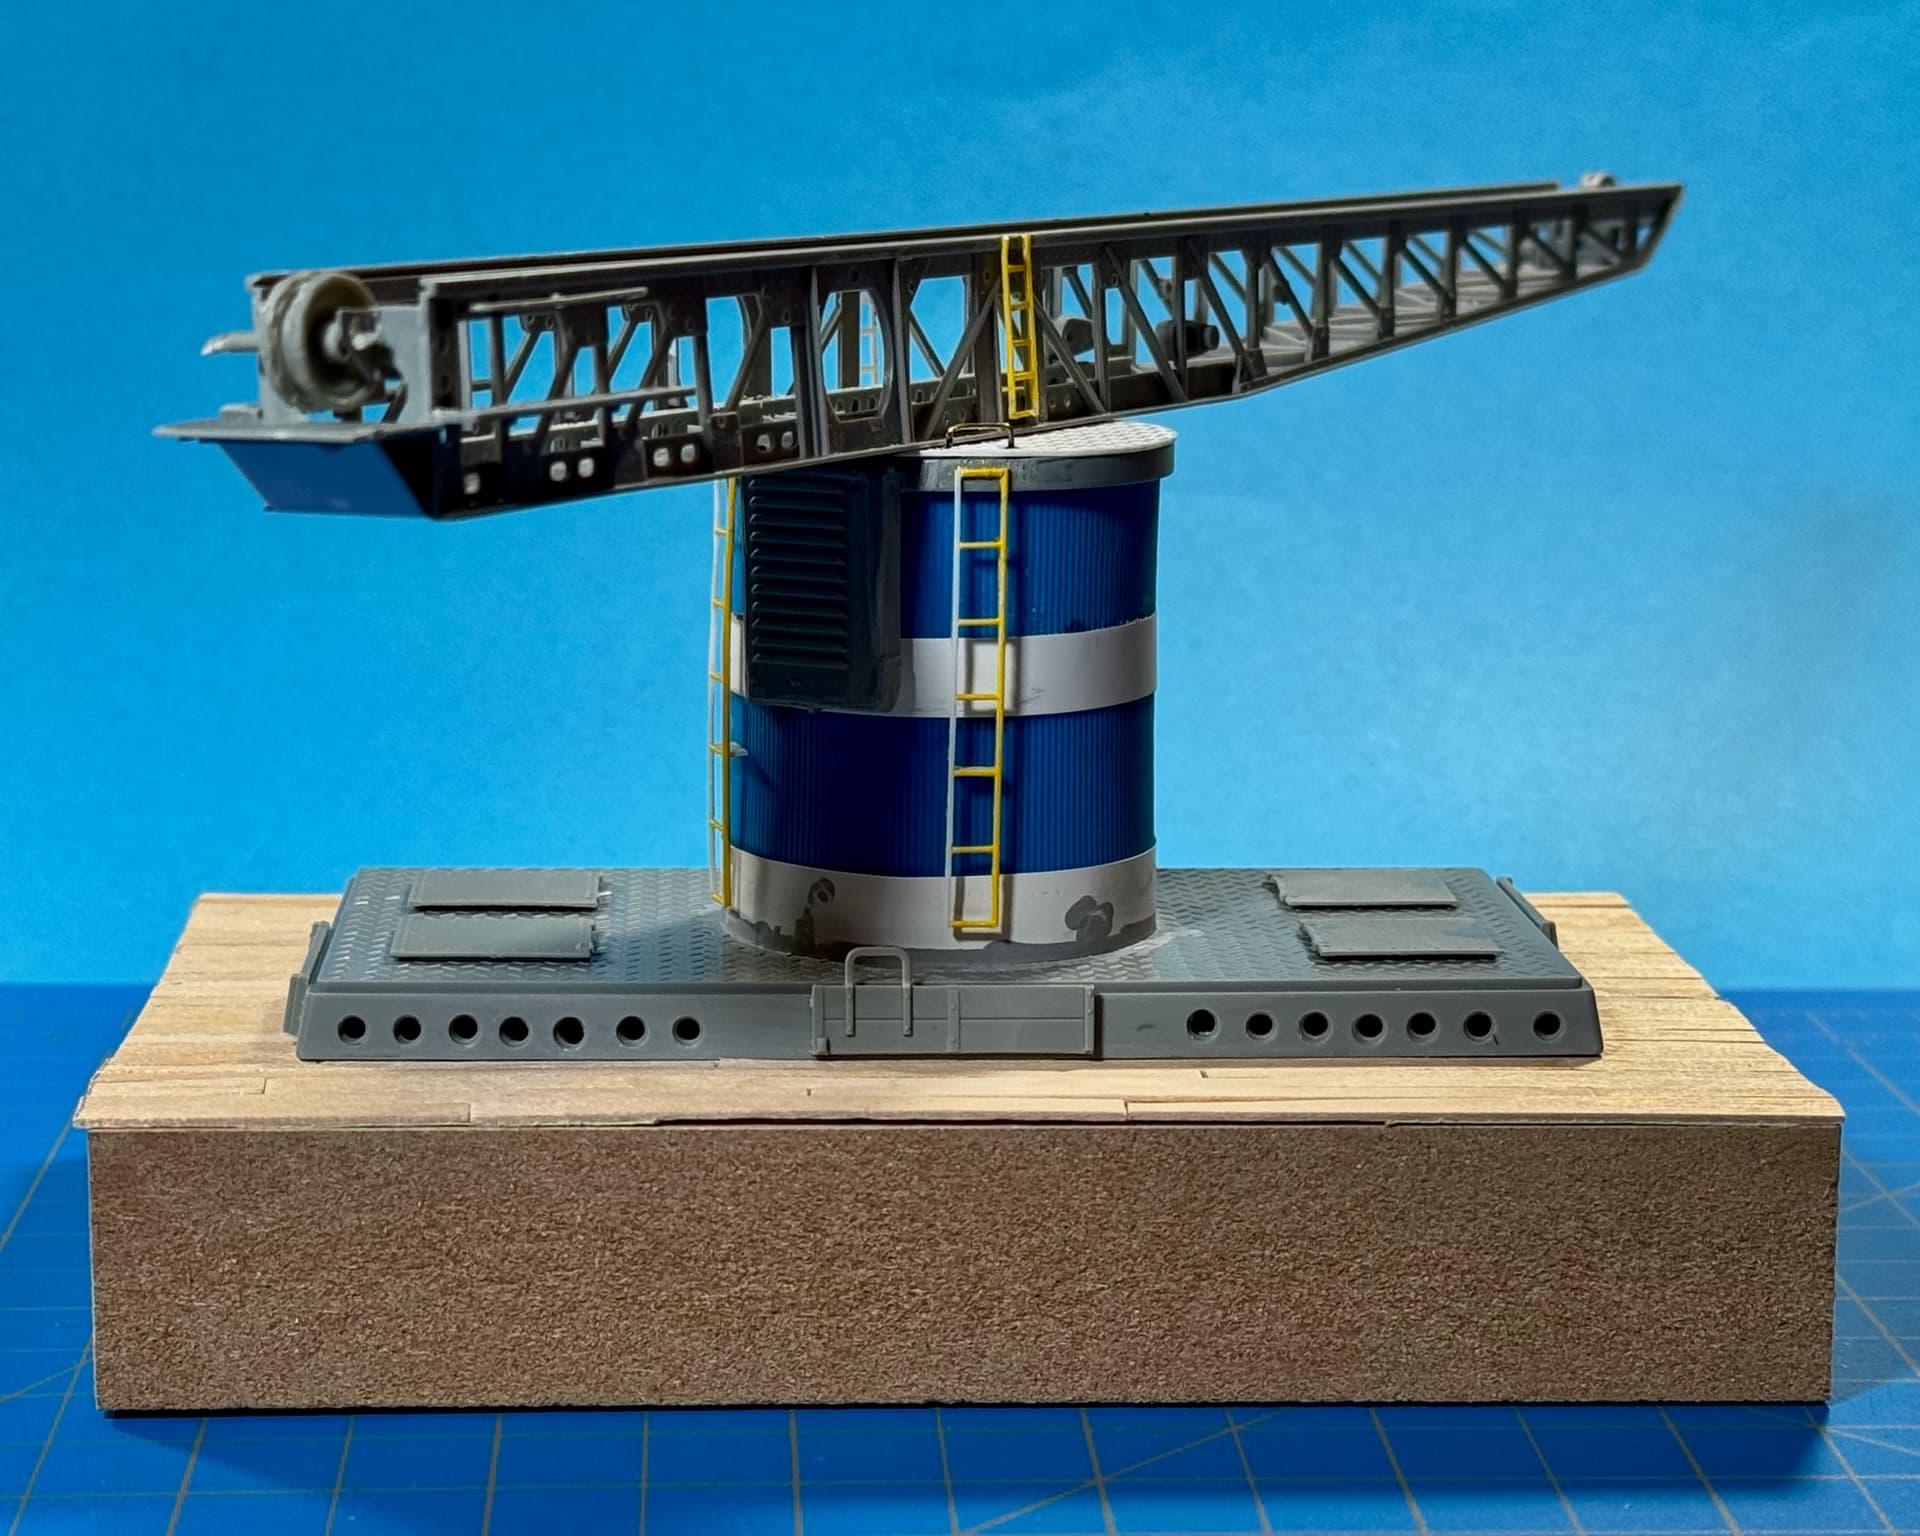
A base, for the deck, for the platform, for the tower, for the catapult, for to launch ‘Jake.’
Started laying-out decking (stirring sticks) to cover a plain block base. … Think I just saw how “not” to create an even pattern on ship decking recently… must’ve stuck in my head! 


Speaking of stuck… The deck is currently stuck-together with strips of masking tape on the back.
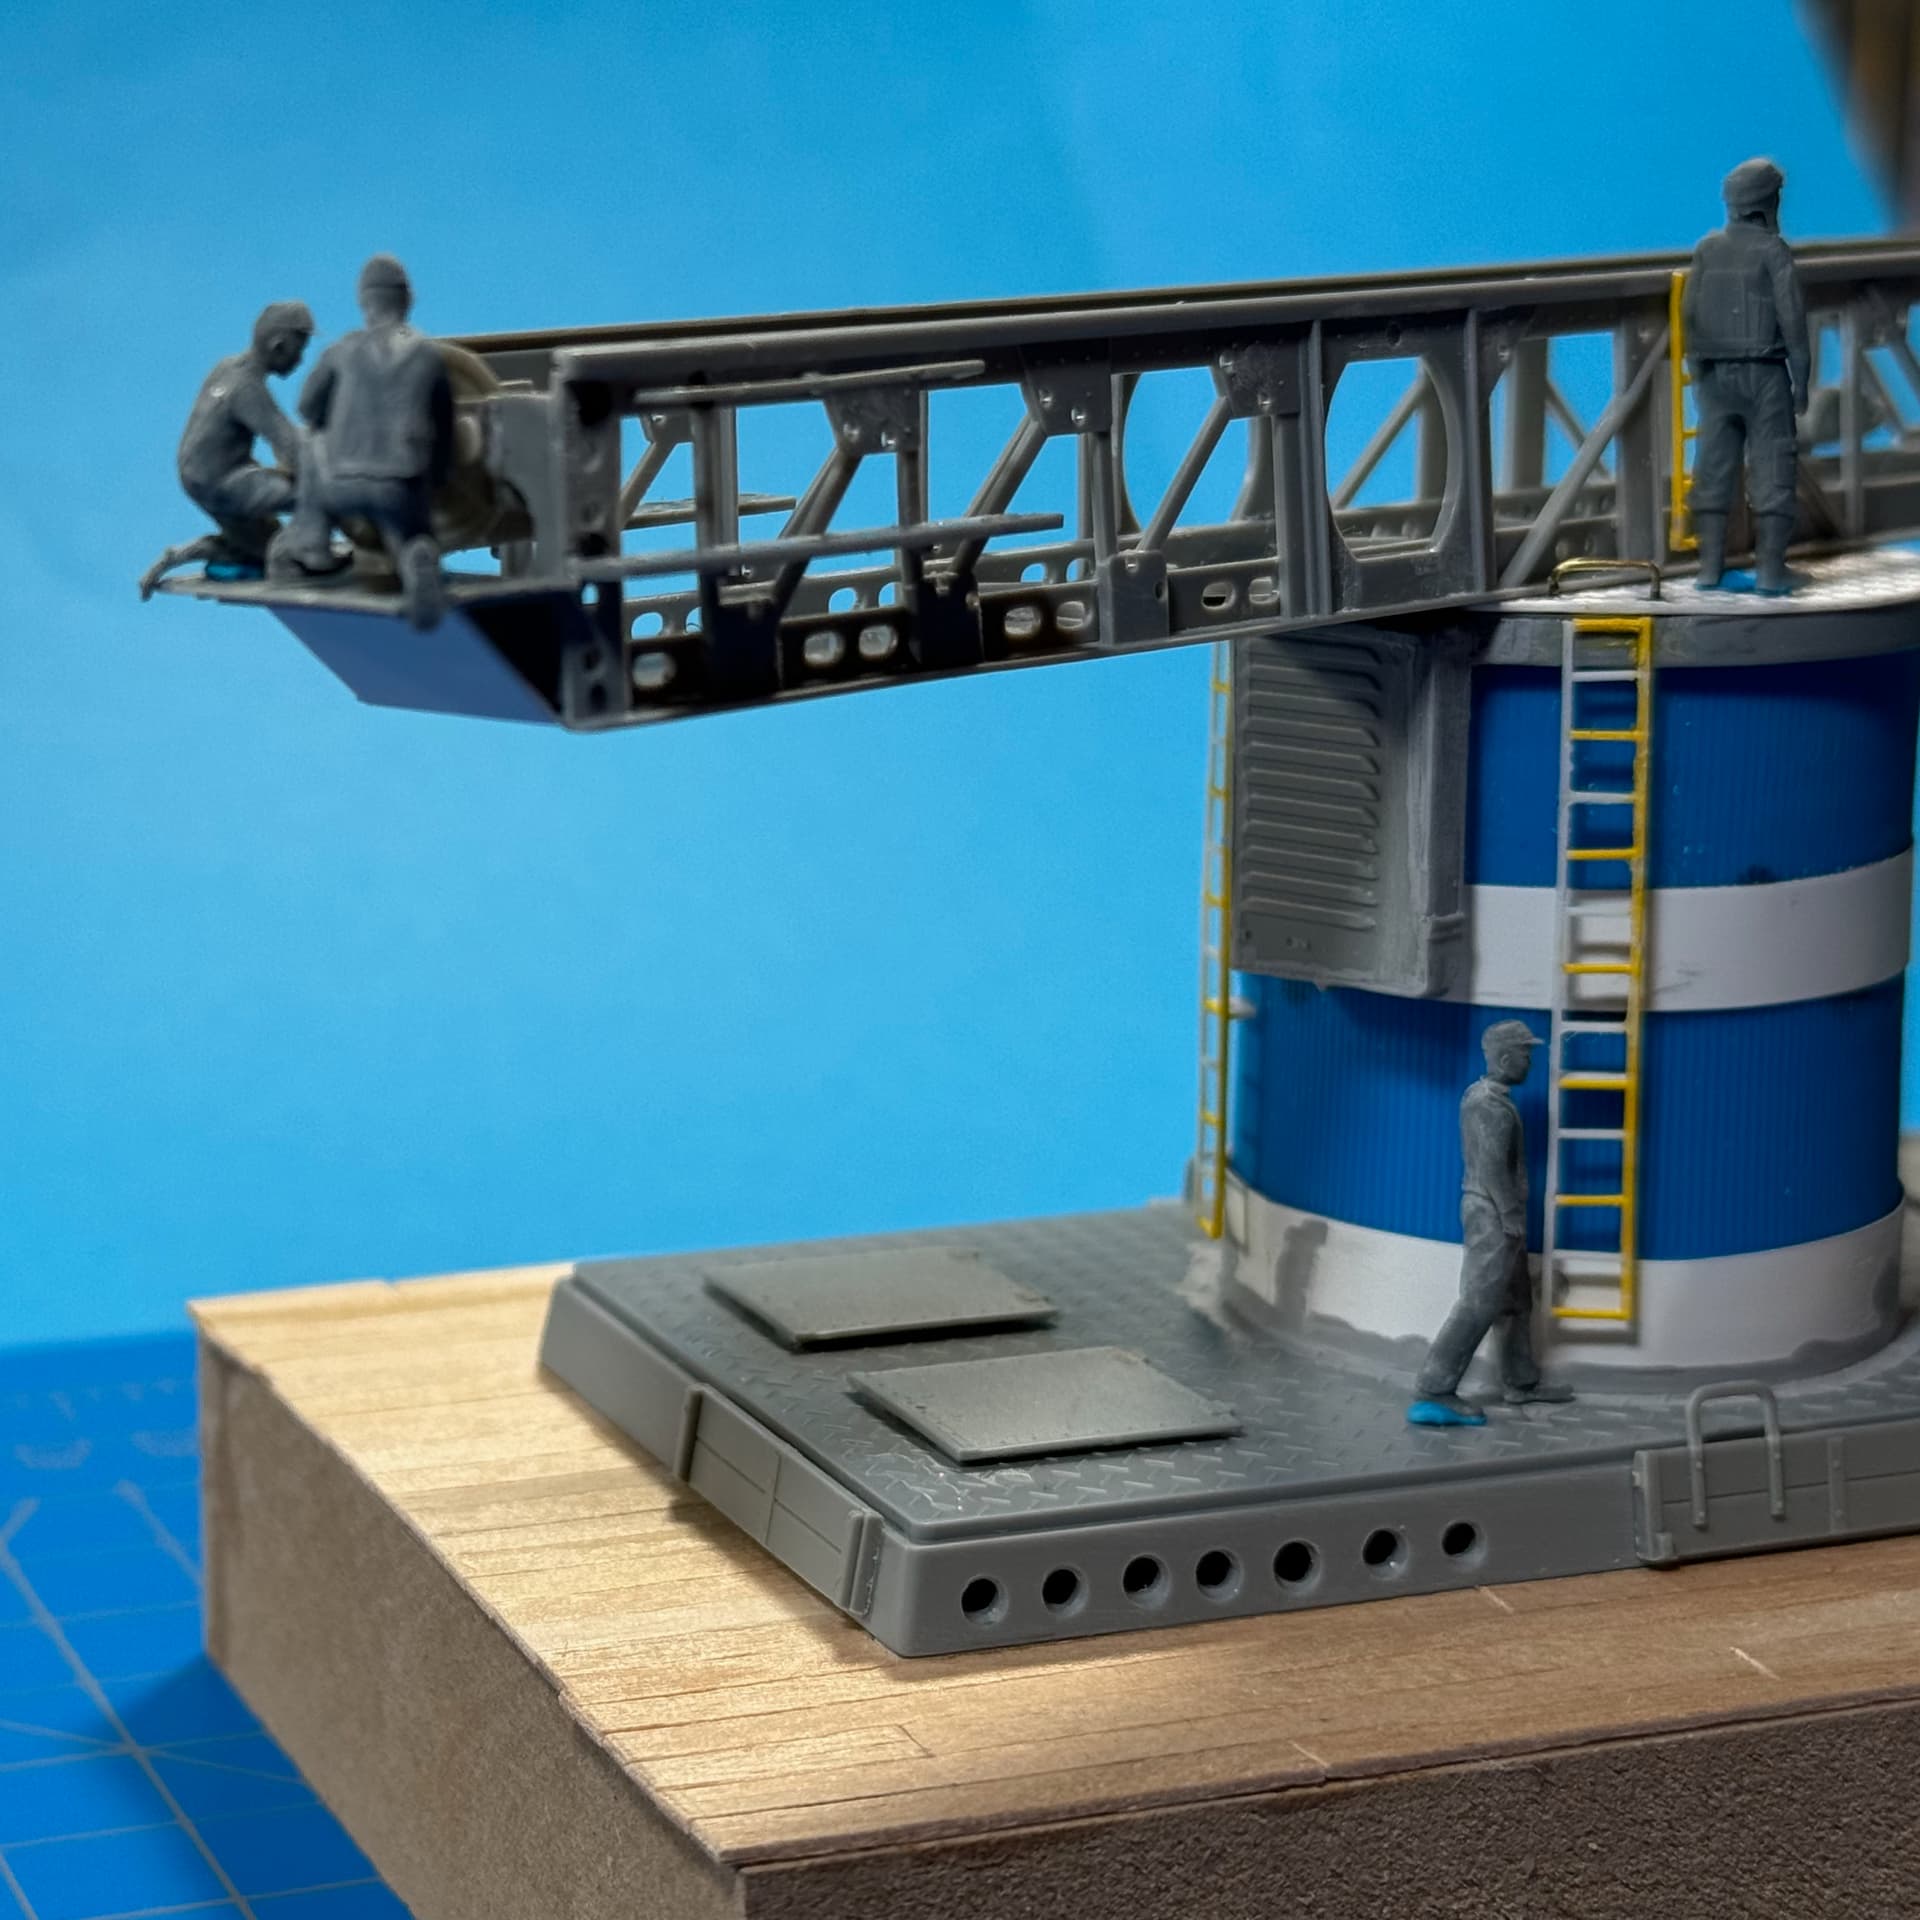
Also, added a couple of access ladders to the catapult frame (upper level) and added a rear platform.
The plan is to give the deck a swabbing and varnish to bring out the wood grain.
Thank’s for having a look!
フライネイビー! 

—mike
11 Likes
Thanks. One more question about these, please. I have used CA glue on fuselage seams when there is a lip; and to prevent ghost seams. Kinda works great, but sometimes it’s not that easy to put a panel line back in (brittle when finished). Do you have any experience with that with these glues?
1 Like
Sorry Phil, I don’t. But I’m almost certain I’ve seen that technique somewhere before. Much of what I’ve learned comes from watching ‘Nigel’s Modeling Bench’ YouTube channel. I’ll let you know if I stumble across the episode.
—mike
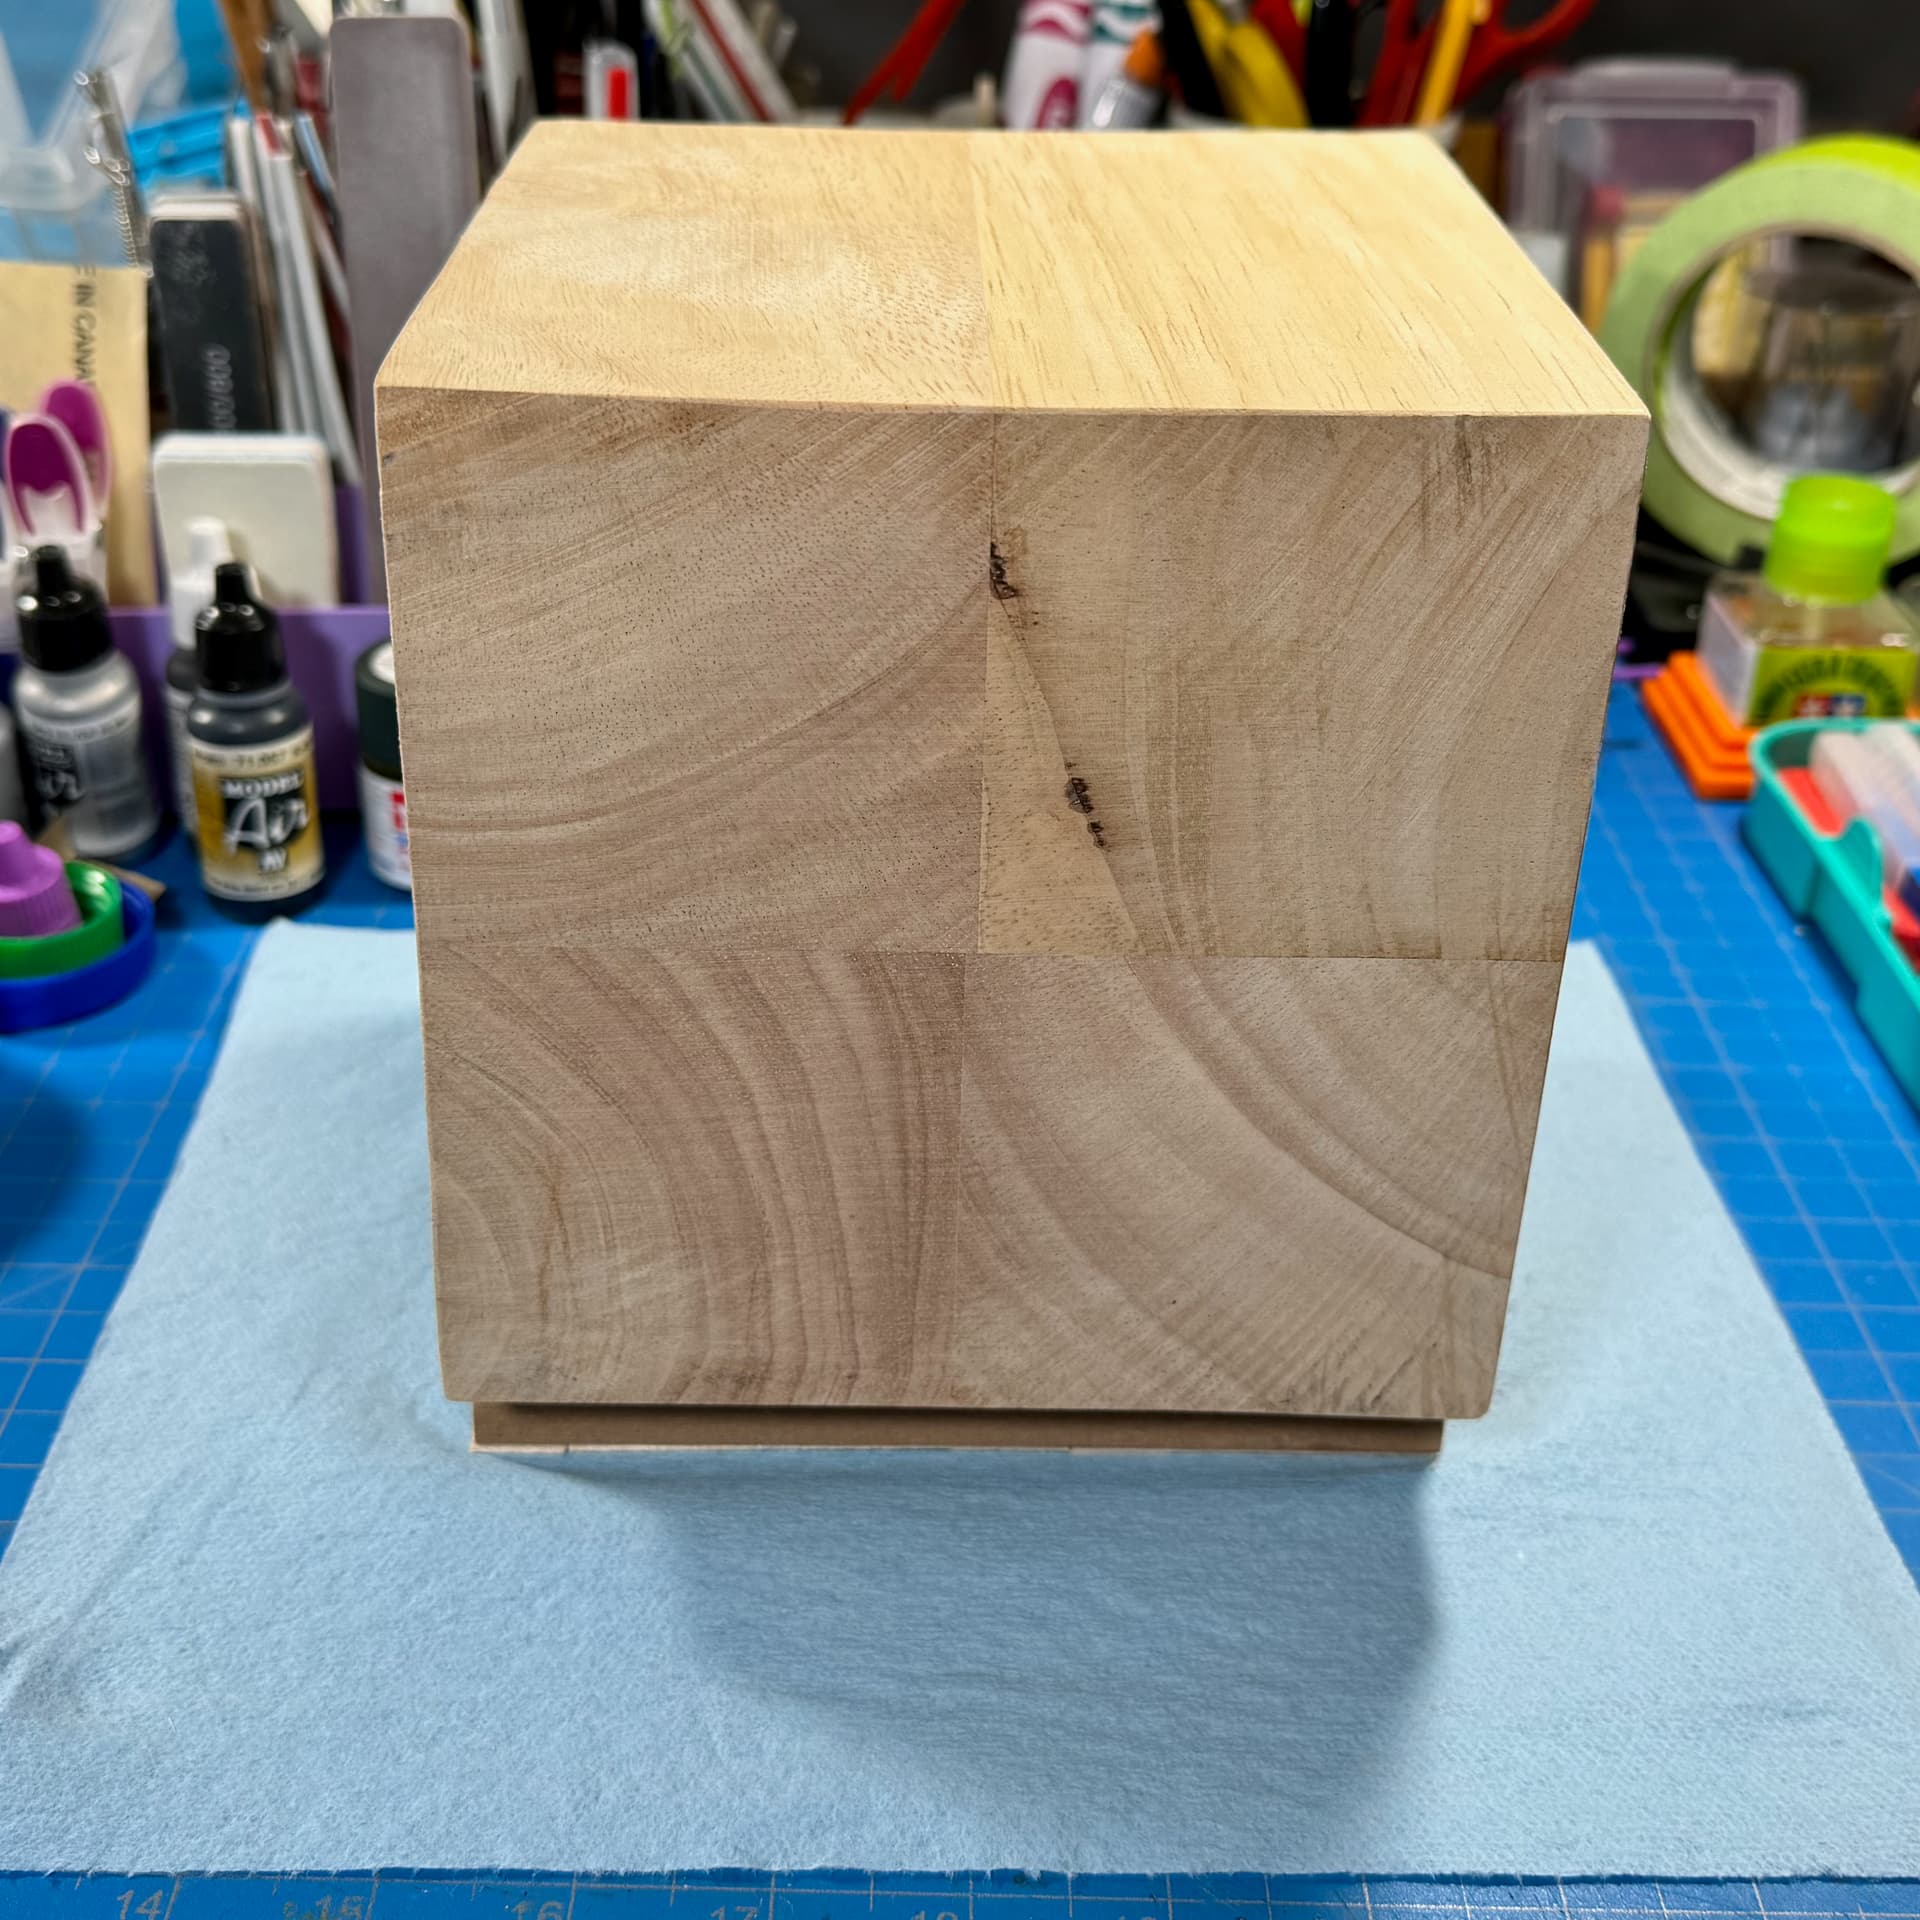
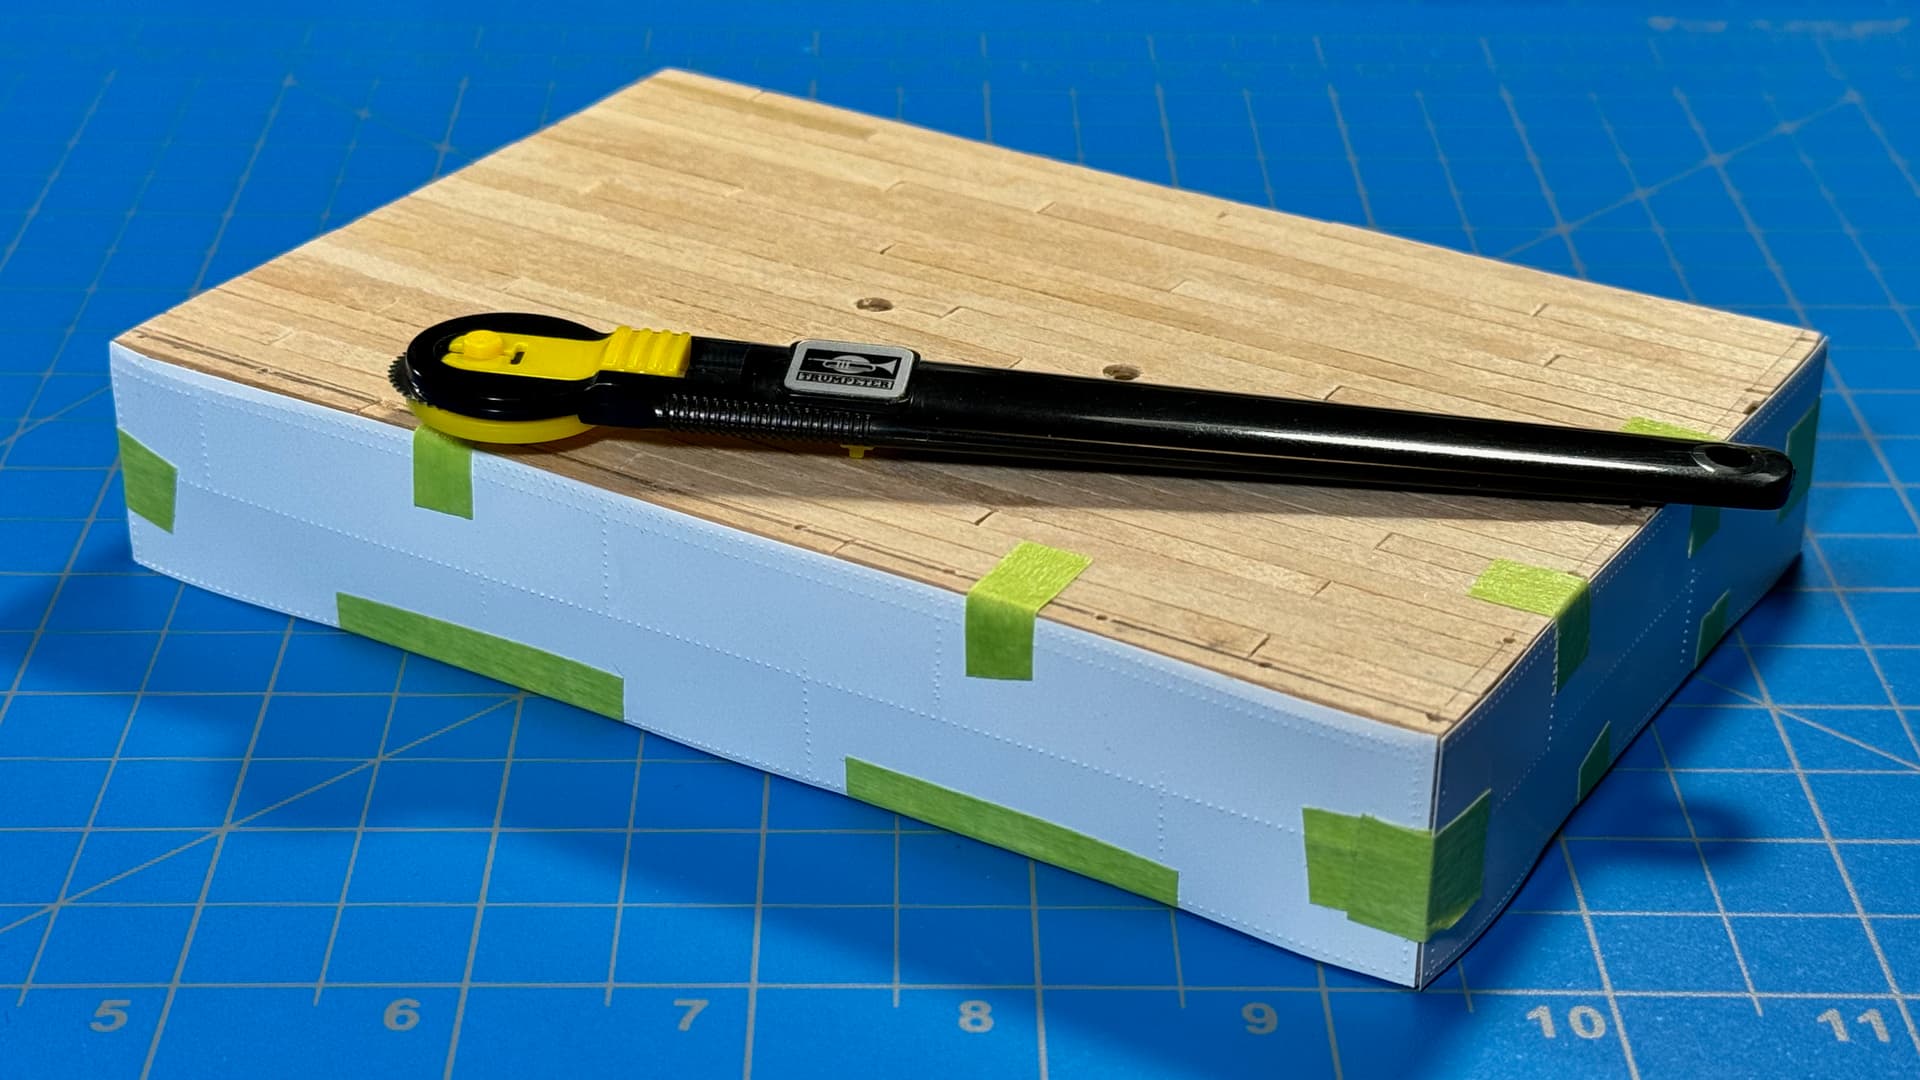
Borg Cube Crushes IJN Naval Base… 
I taped-together a random layout of stirring sticks, flipped them over and applied PVA Glue in between the sticks and base block (1” x 4” x 6”). Then, I squished the wood sandwich together and let it cure overnight. 
I had some concerns that the PVA Glue might leach through and make a mess similar to last night… “Cleanup, isle seven!” 
Worry no more! 
Thank’s for having a laugh!
フライネイビー!
—mike
4 Likes
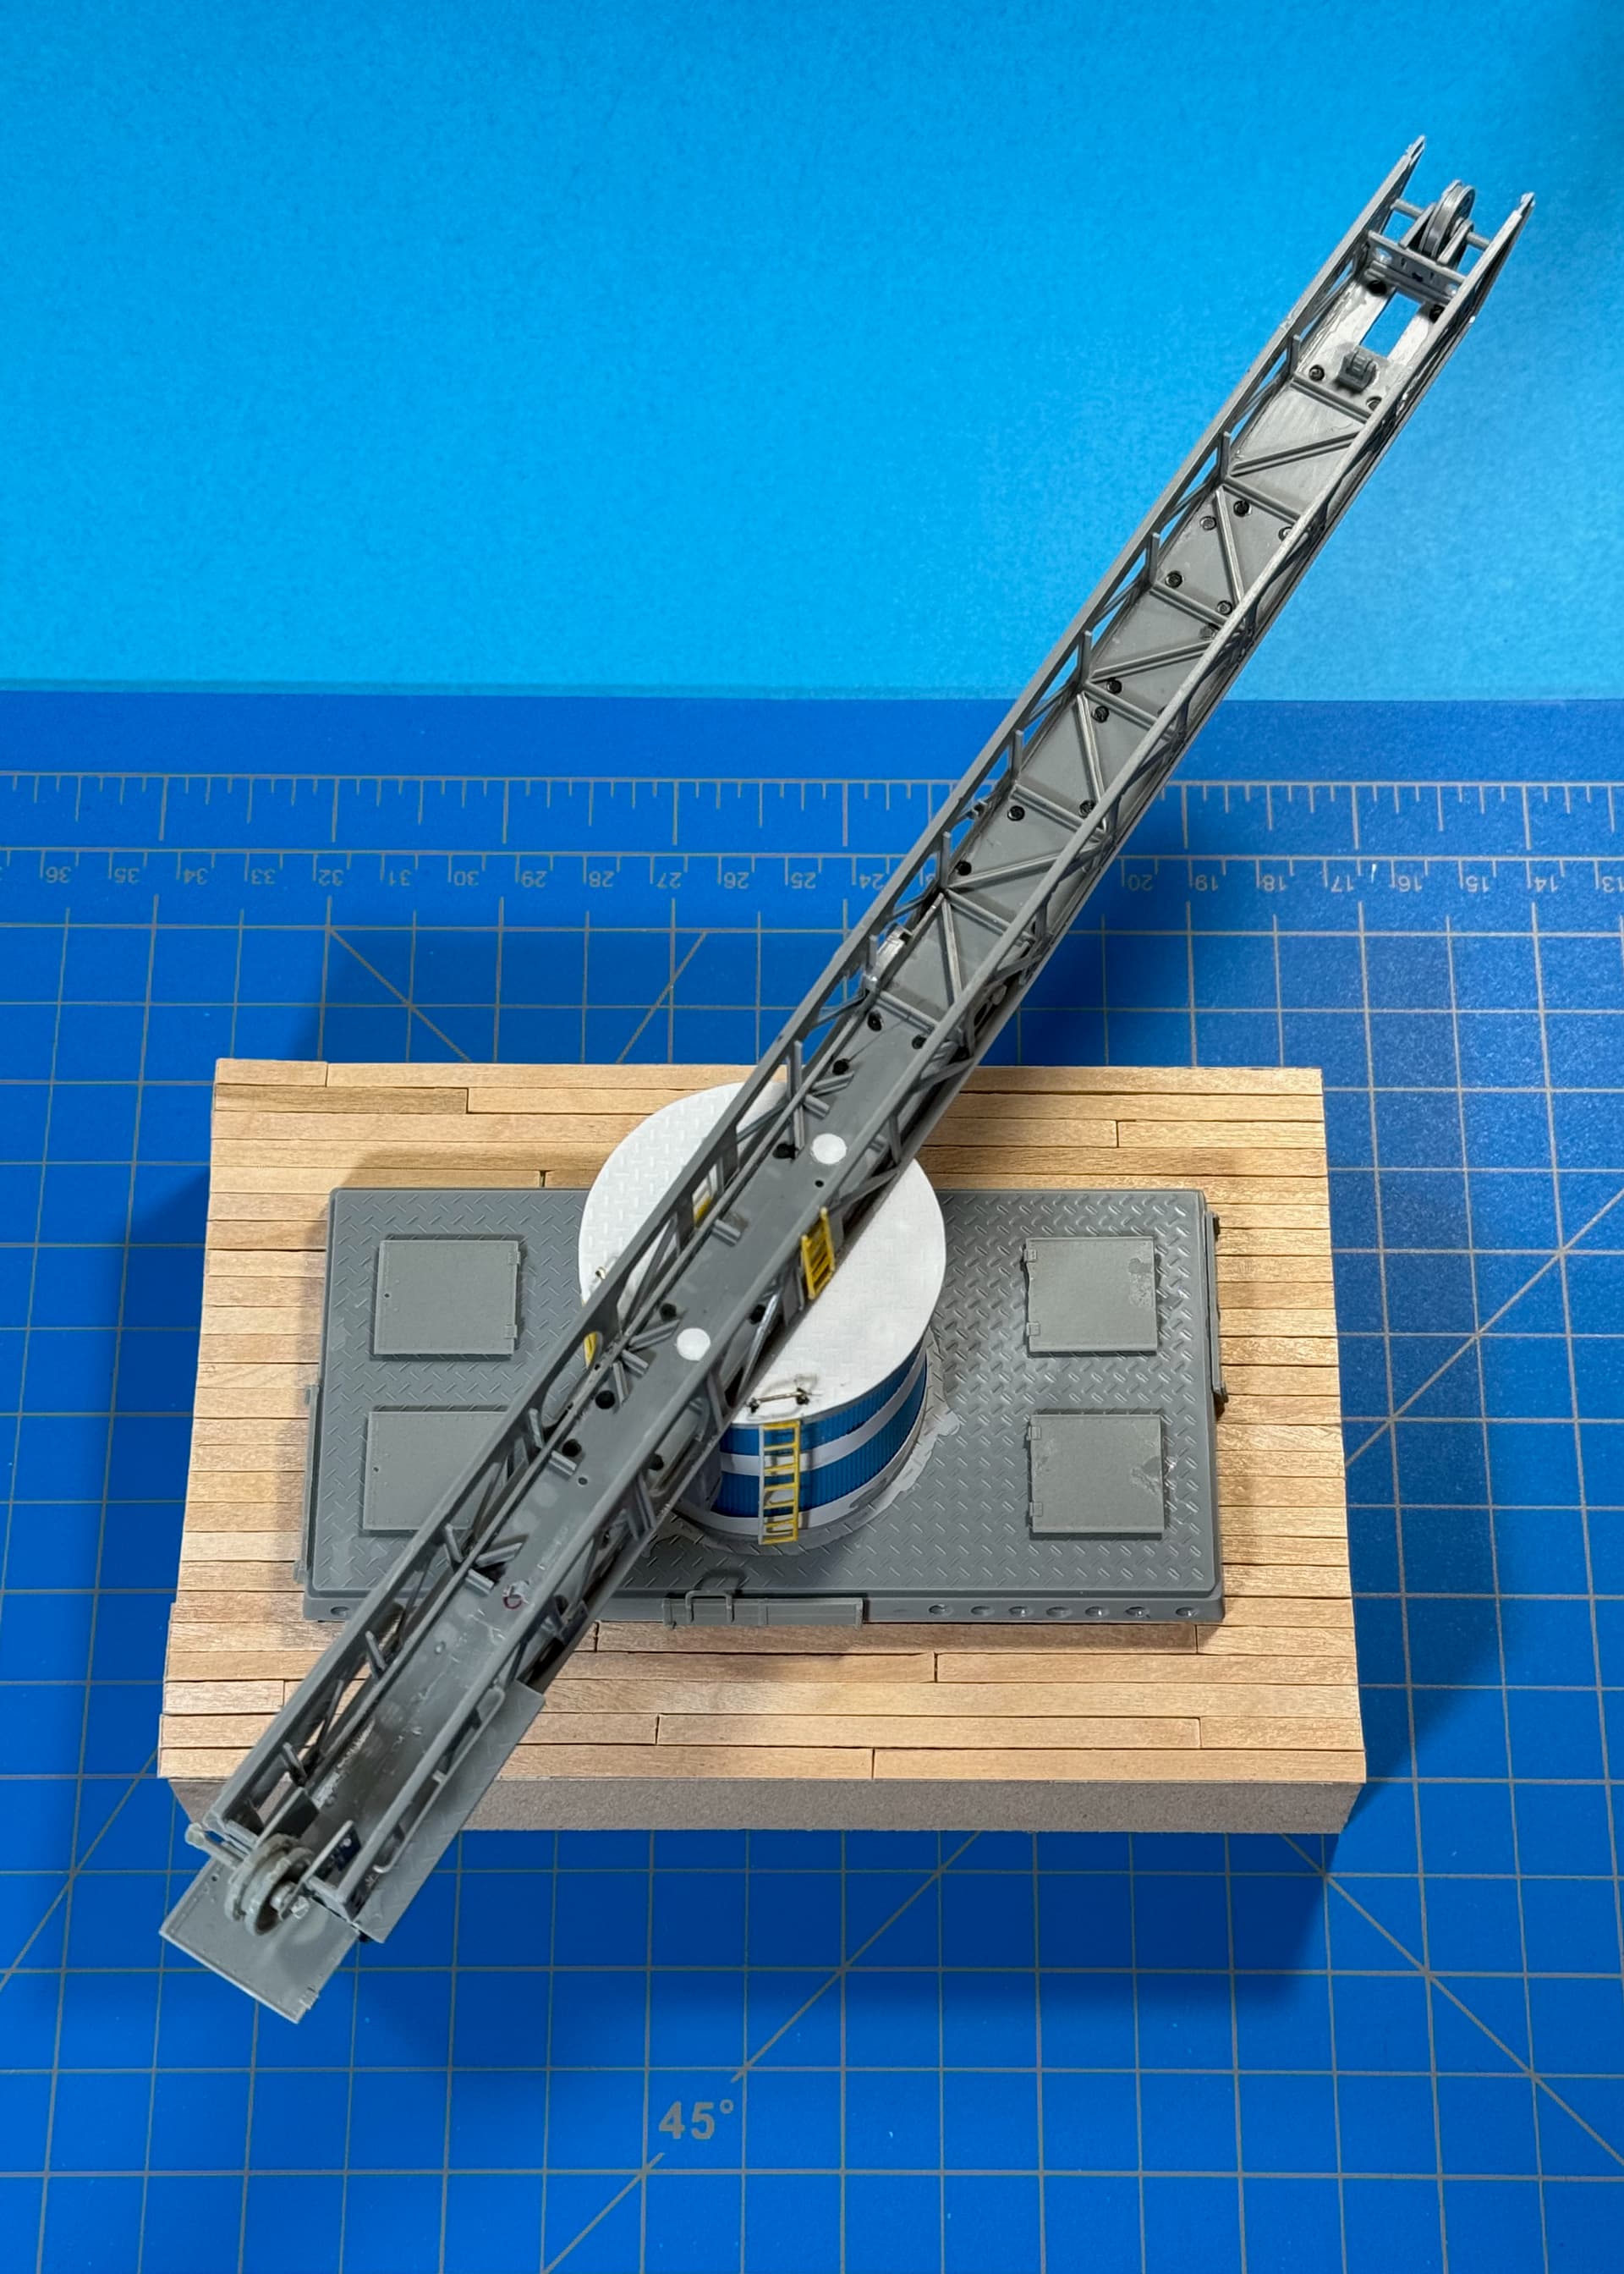
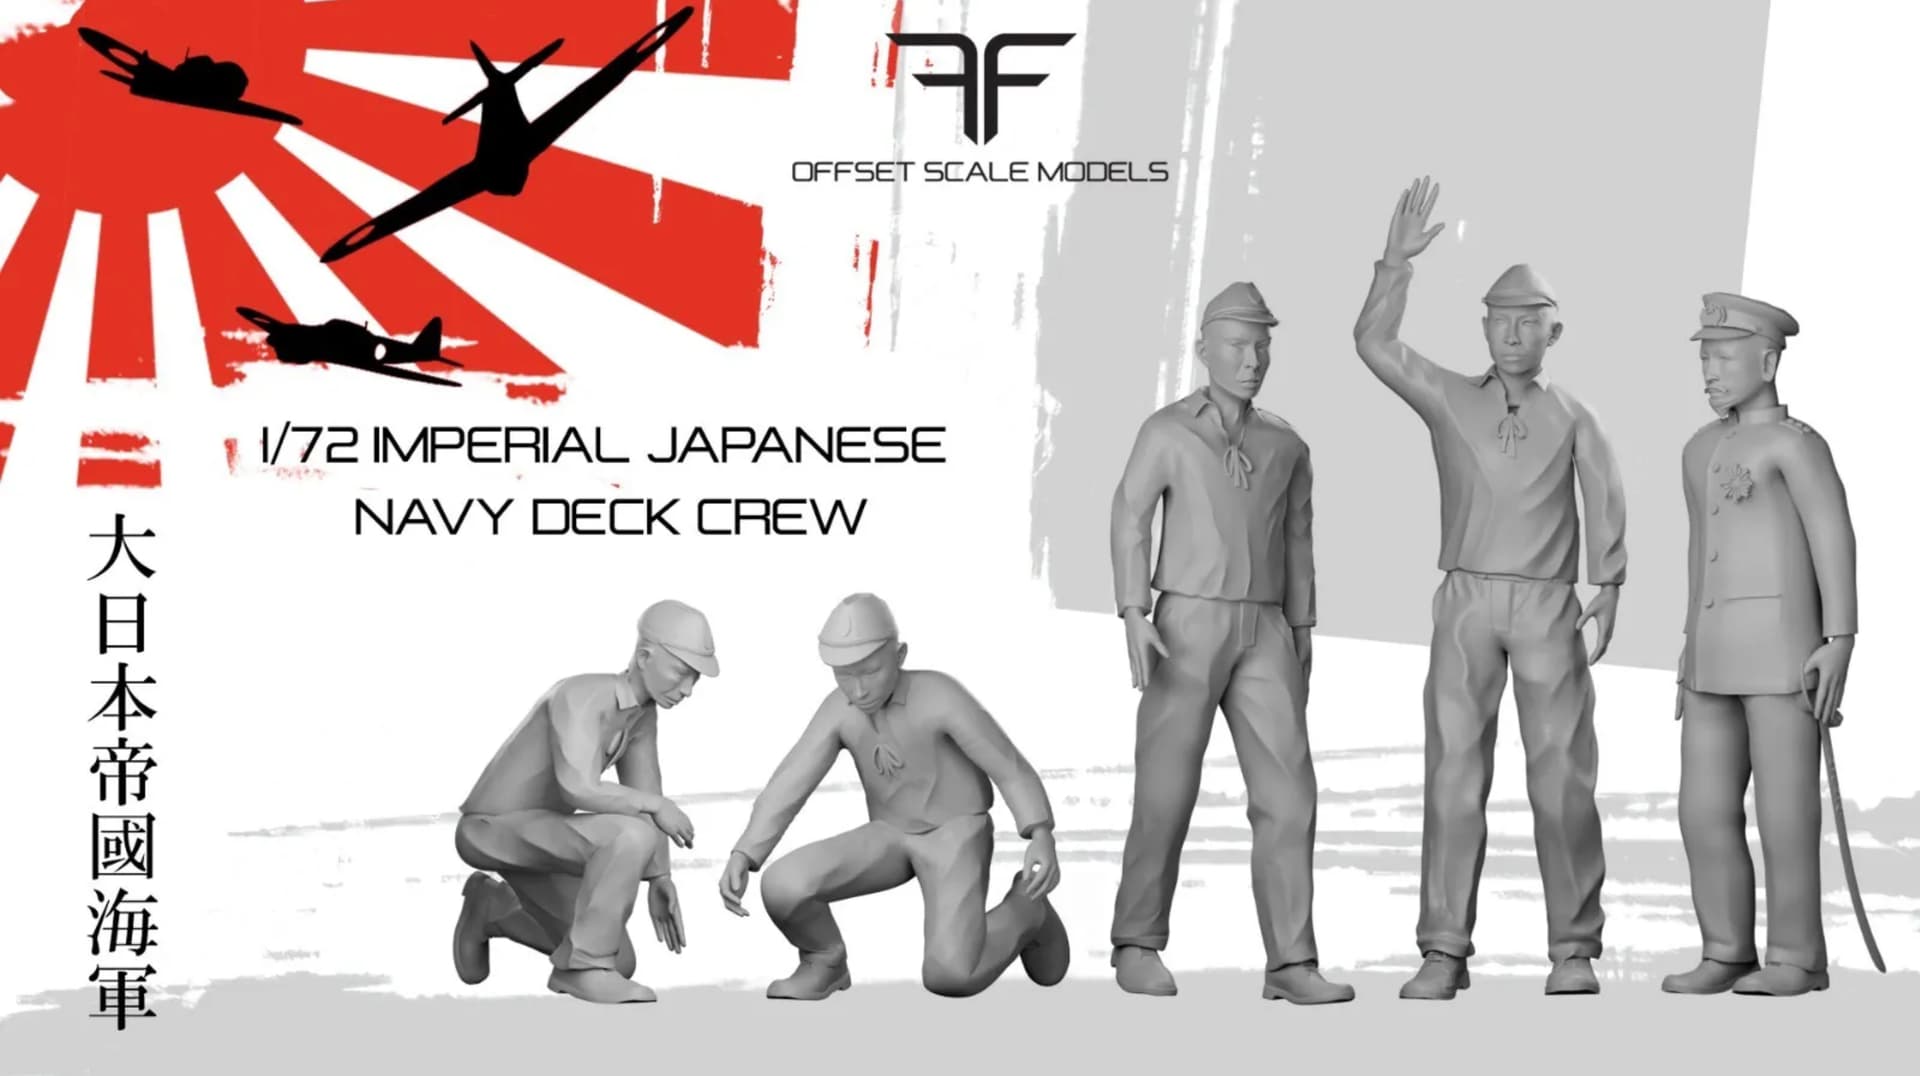
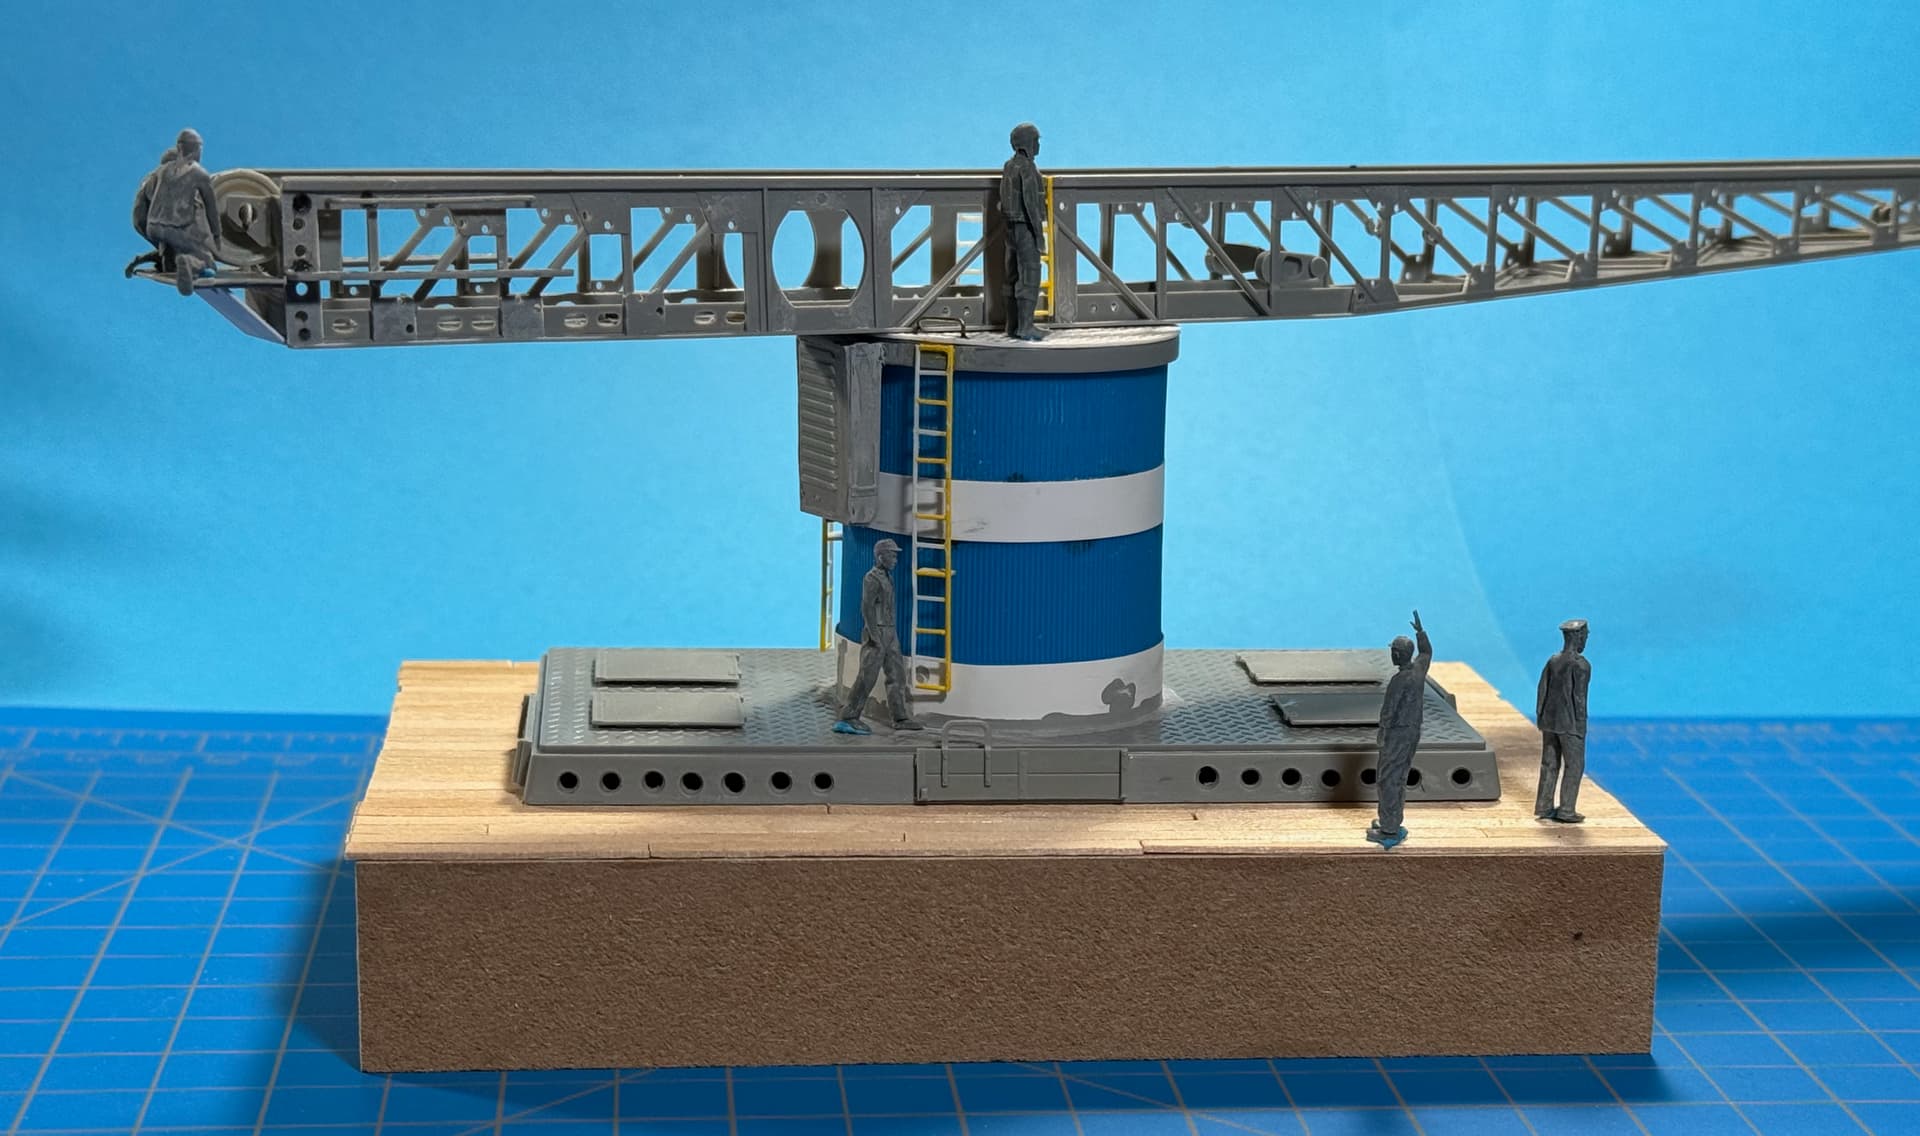
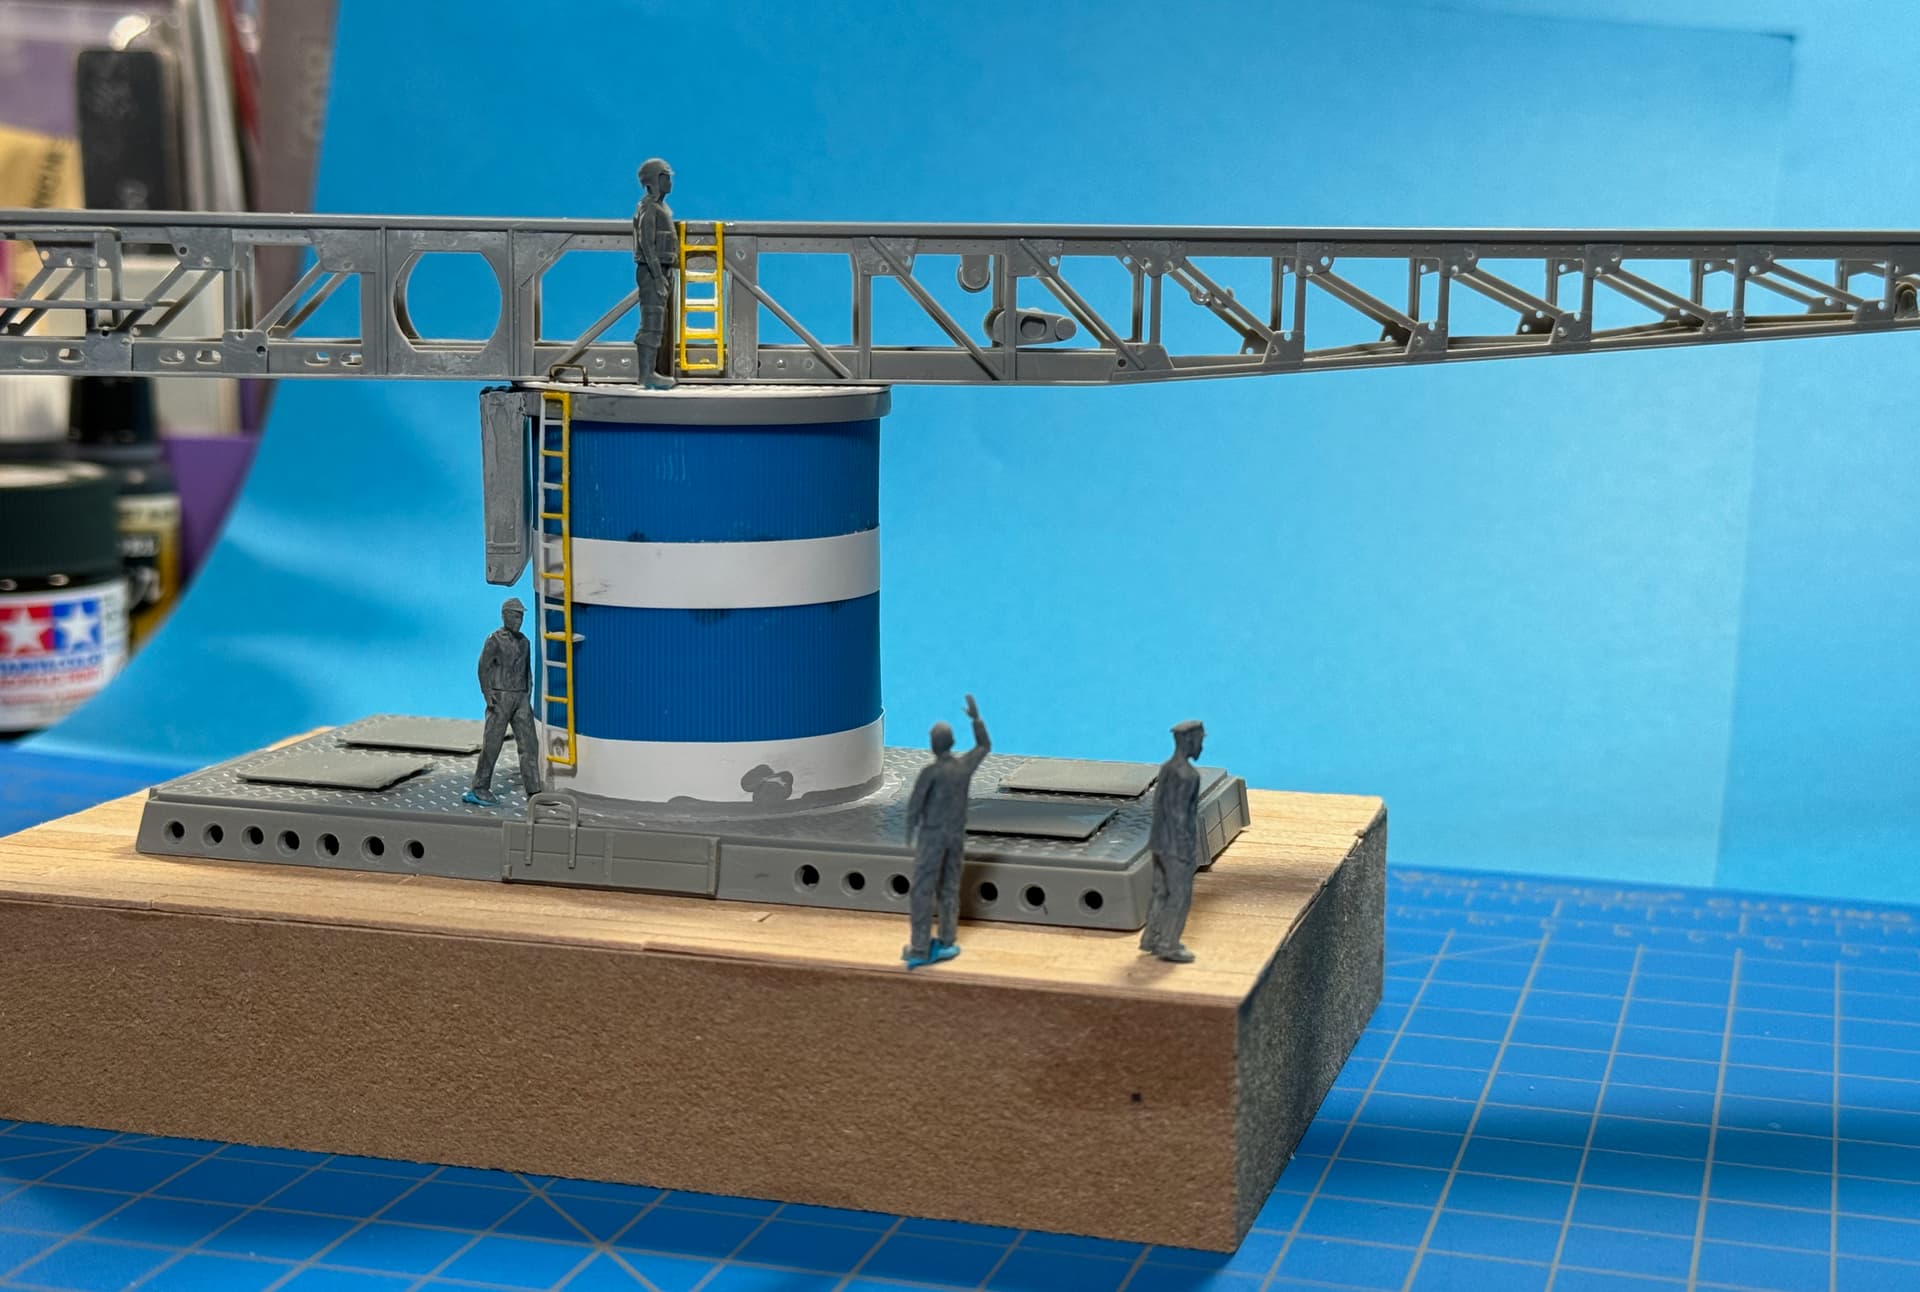
Prepare for launch! …
The ‘Imperial Japanese Navy Deck Crew’ arrived today. And after a little connector clean-up I couldn’t resist a dry-fit session.
So here’s a little preview of what I’ve got in mind…
I’ll most likely enlarge the rear platform and reduce the return cable wheel size to better accommodate the two catapult riggers.
The Pilot and Commander face the wind while the rest of the crew prepares for the Cat launch.
Whaddaya think?
フライネイビー!
—mike
11 Likes
It really adds (plastic) life to your plance/catapult!
3 Likes
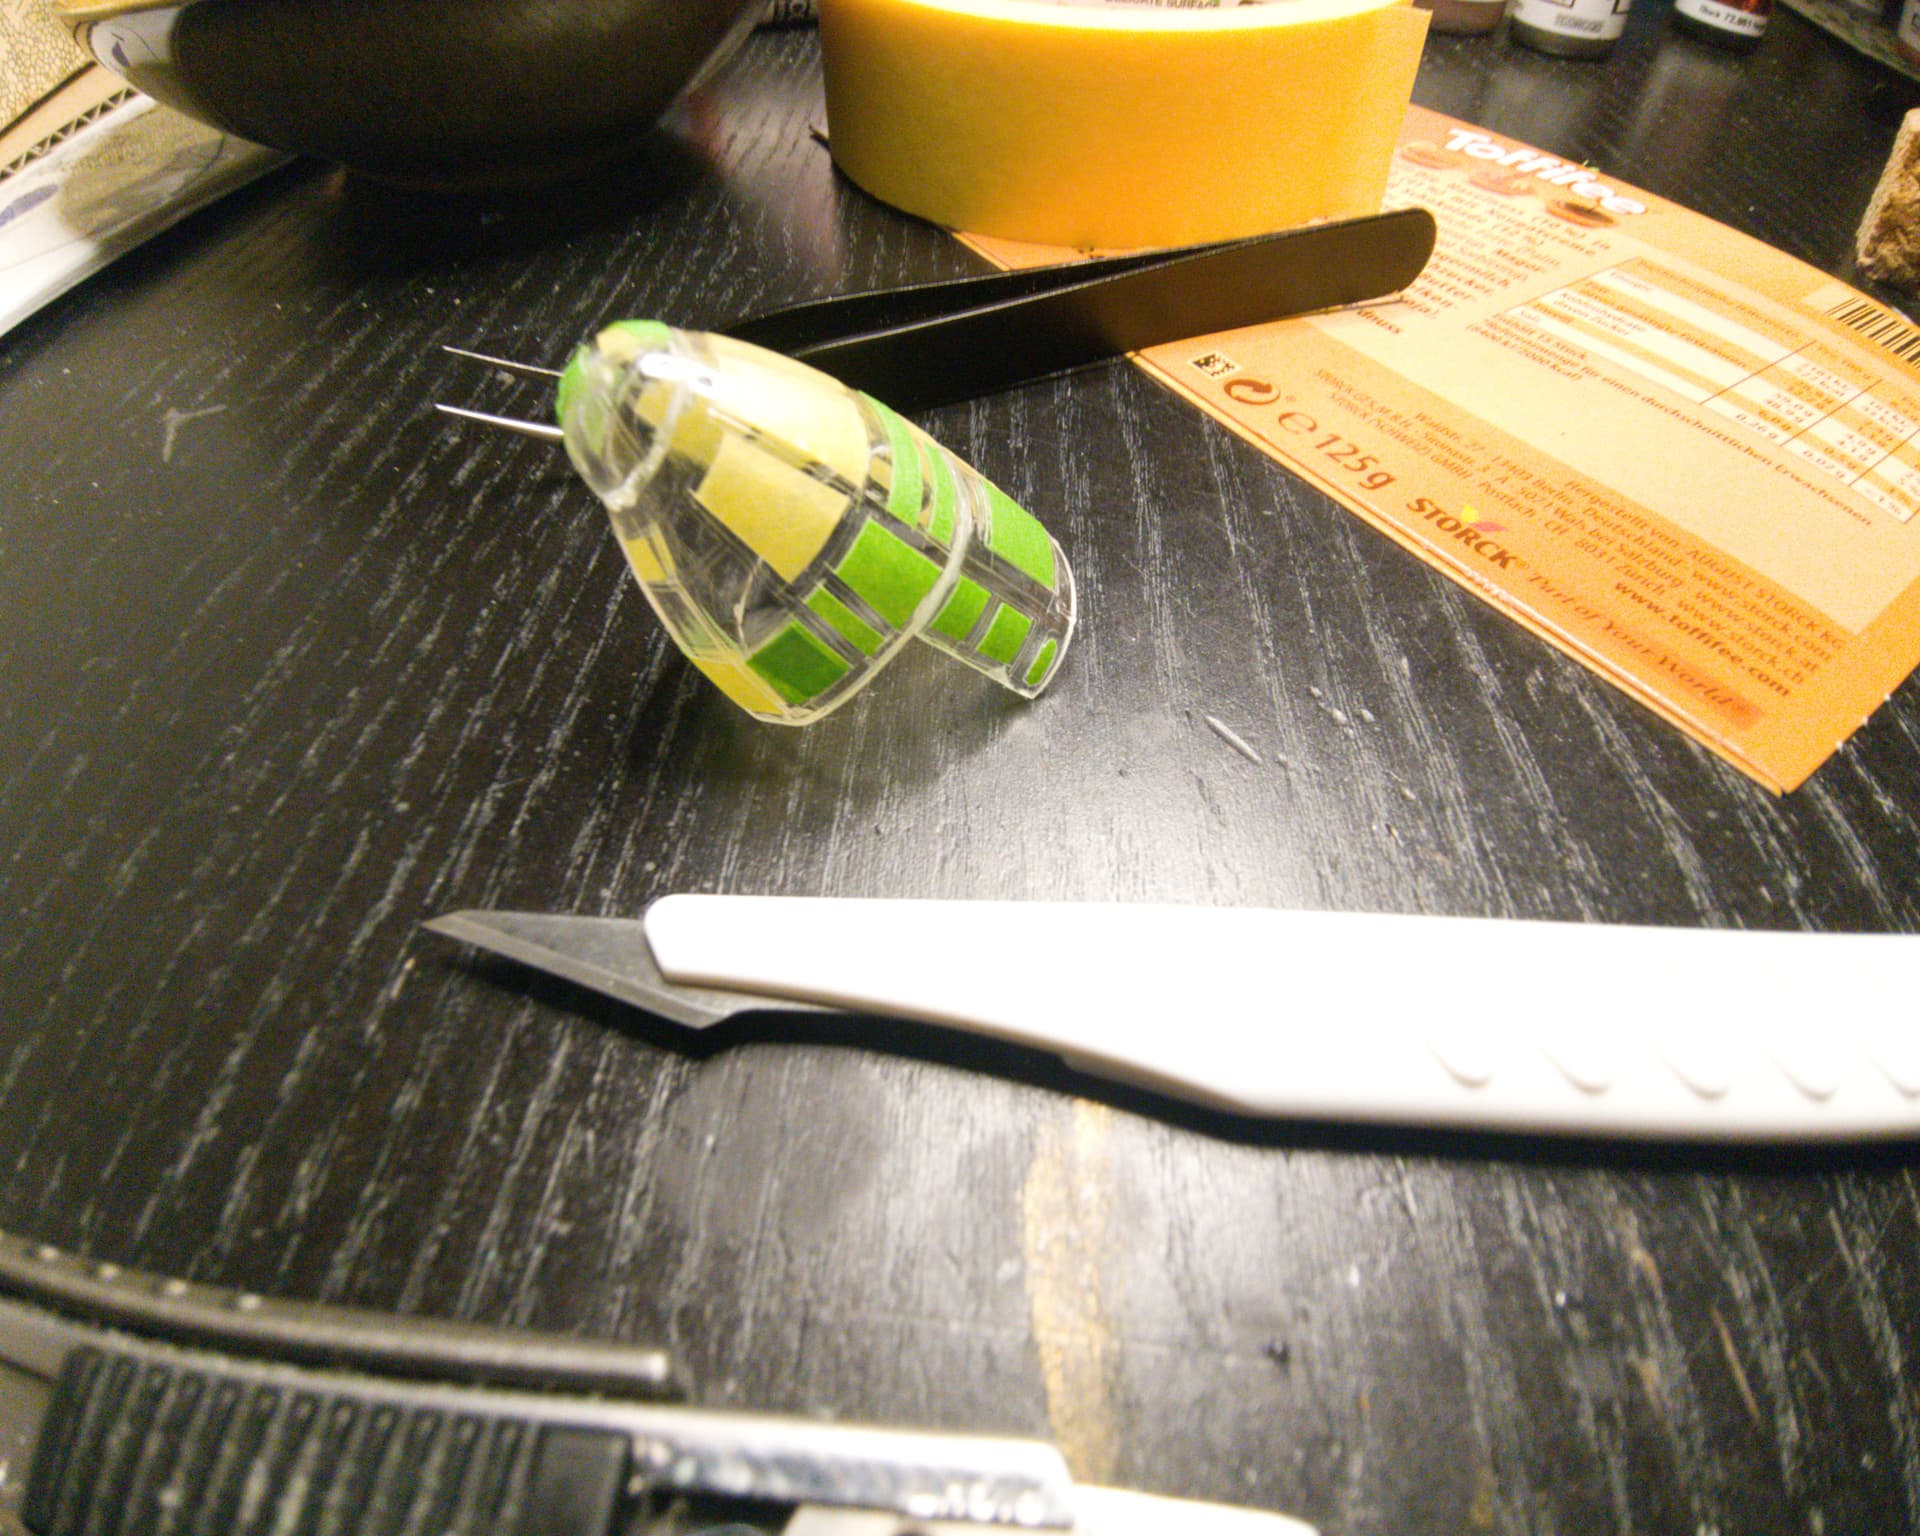
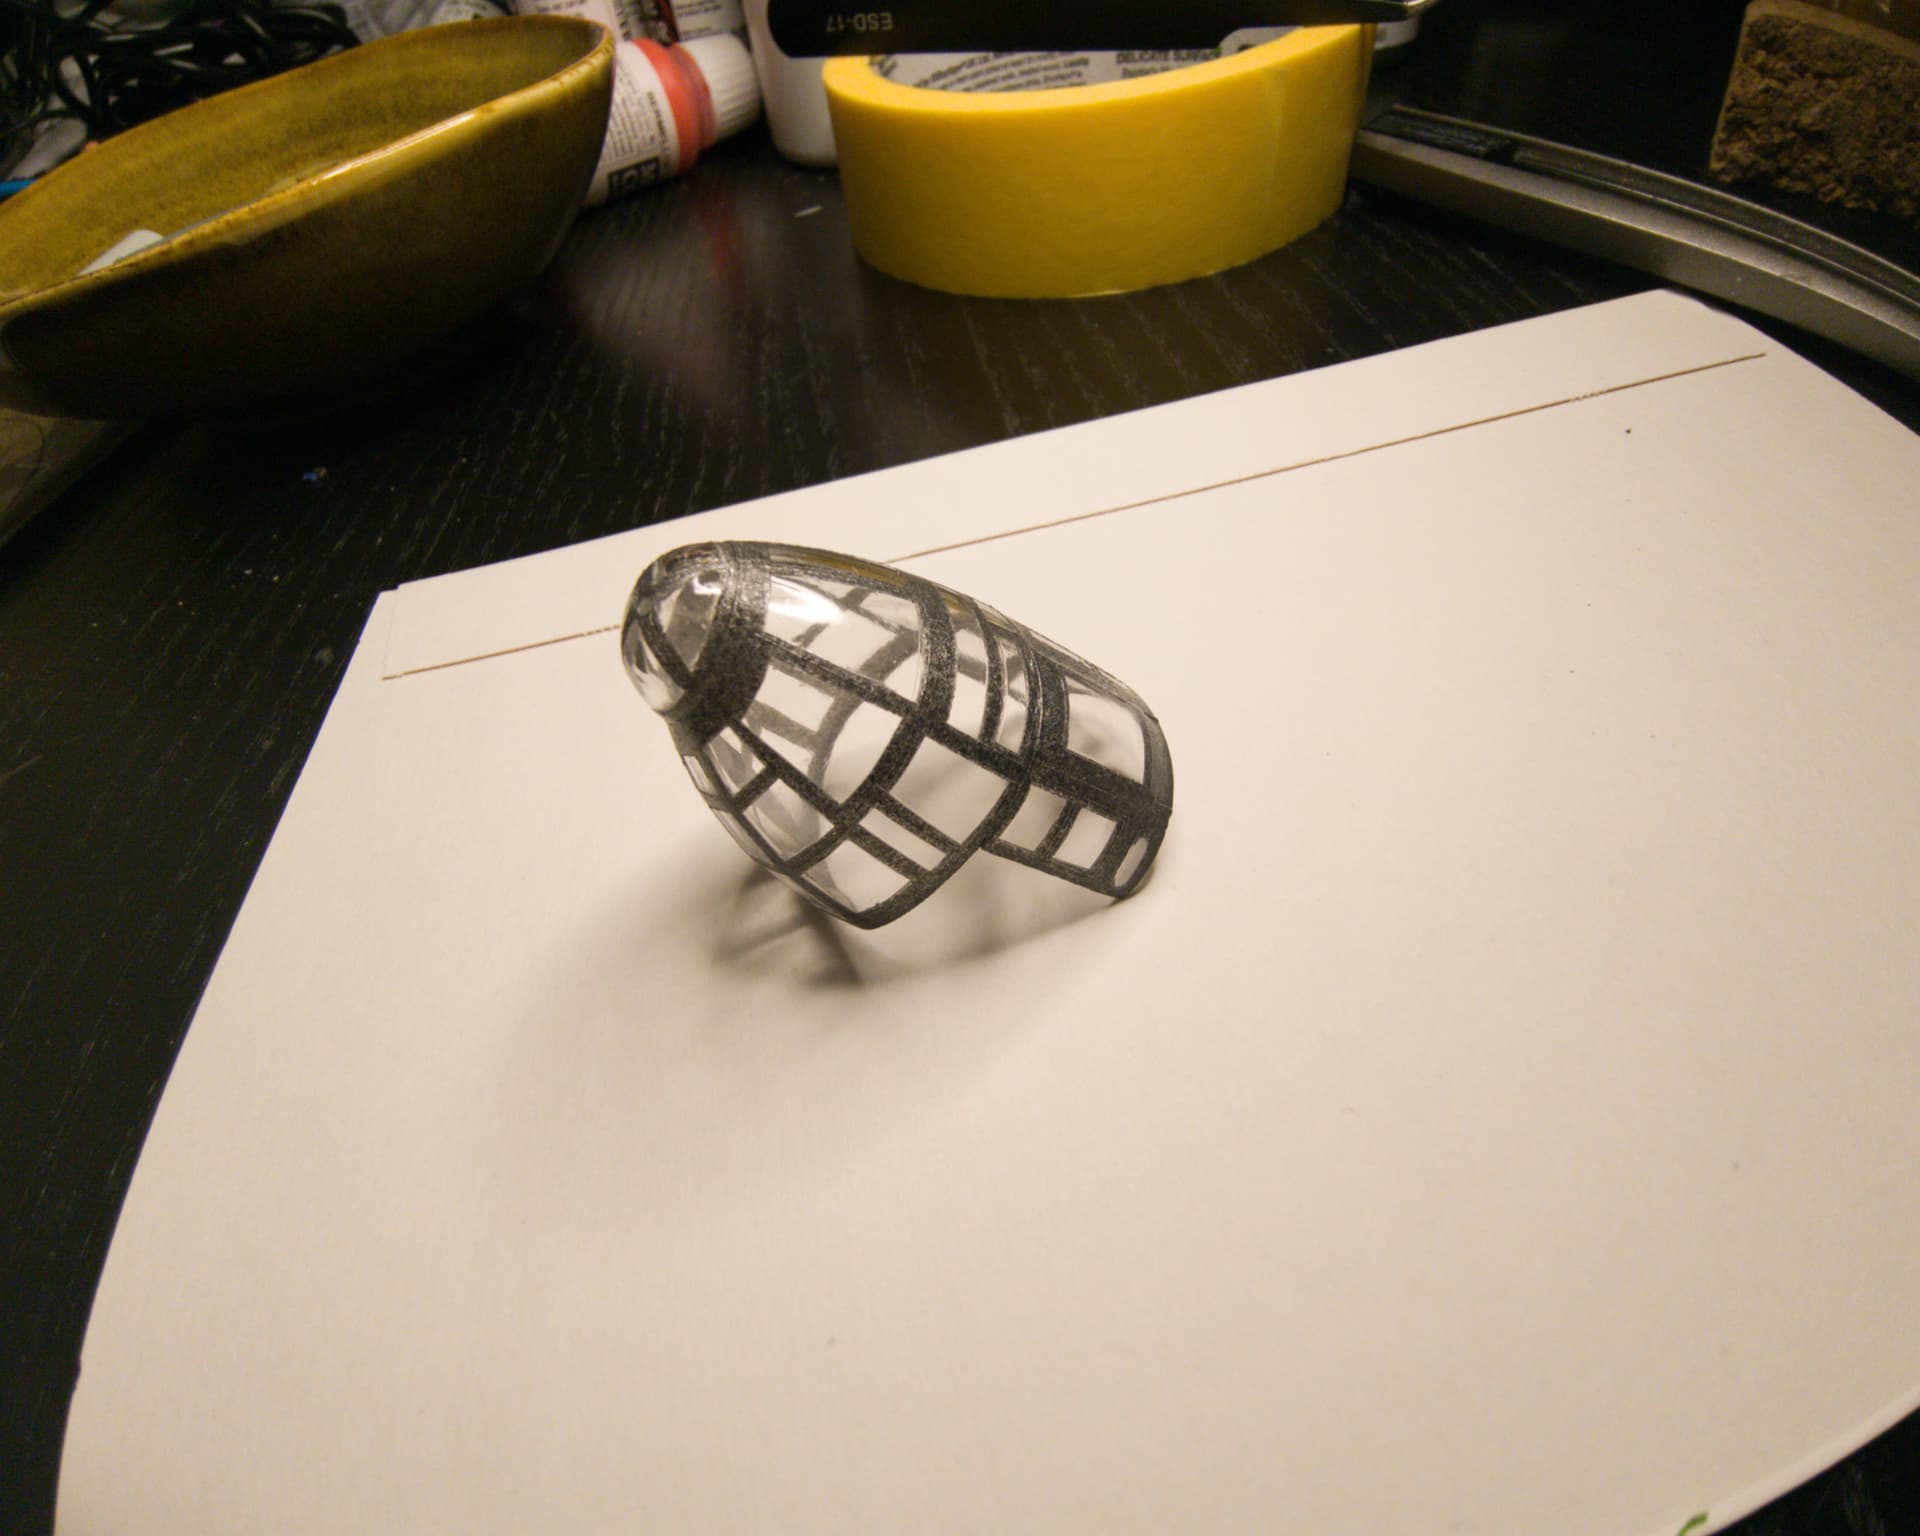
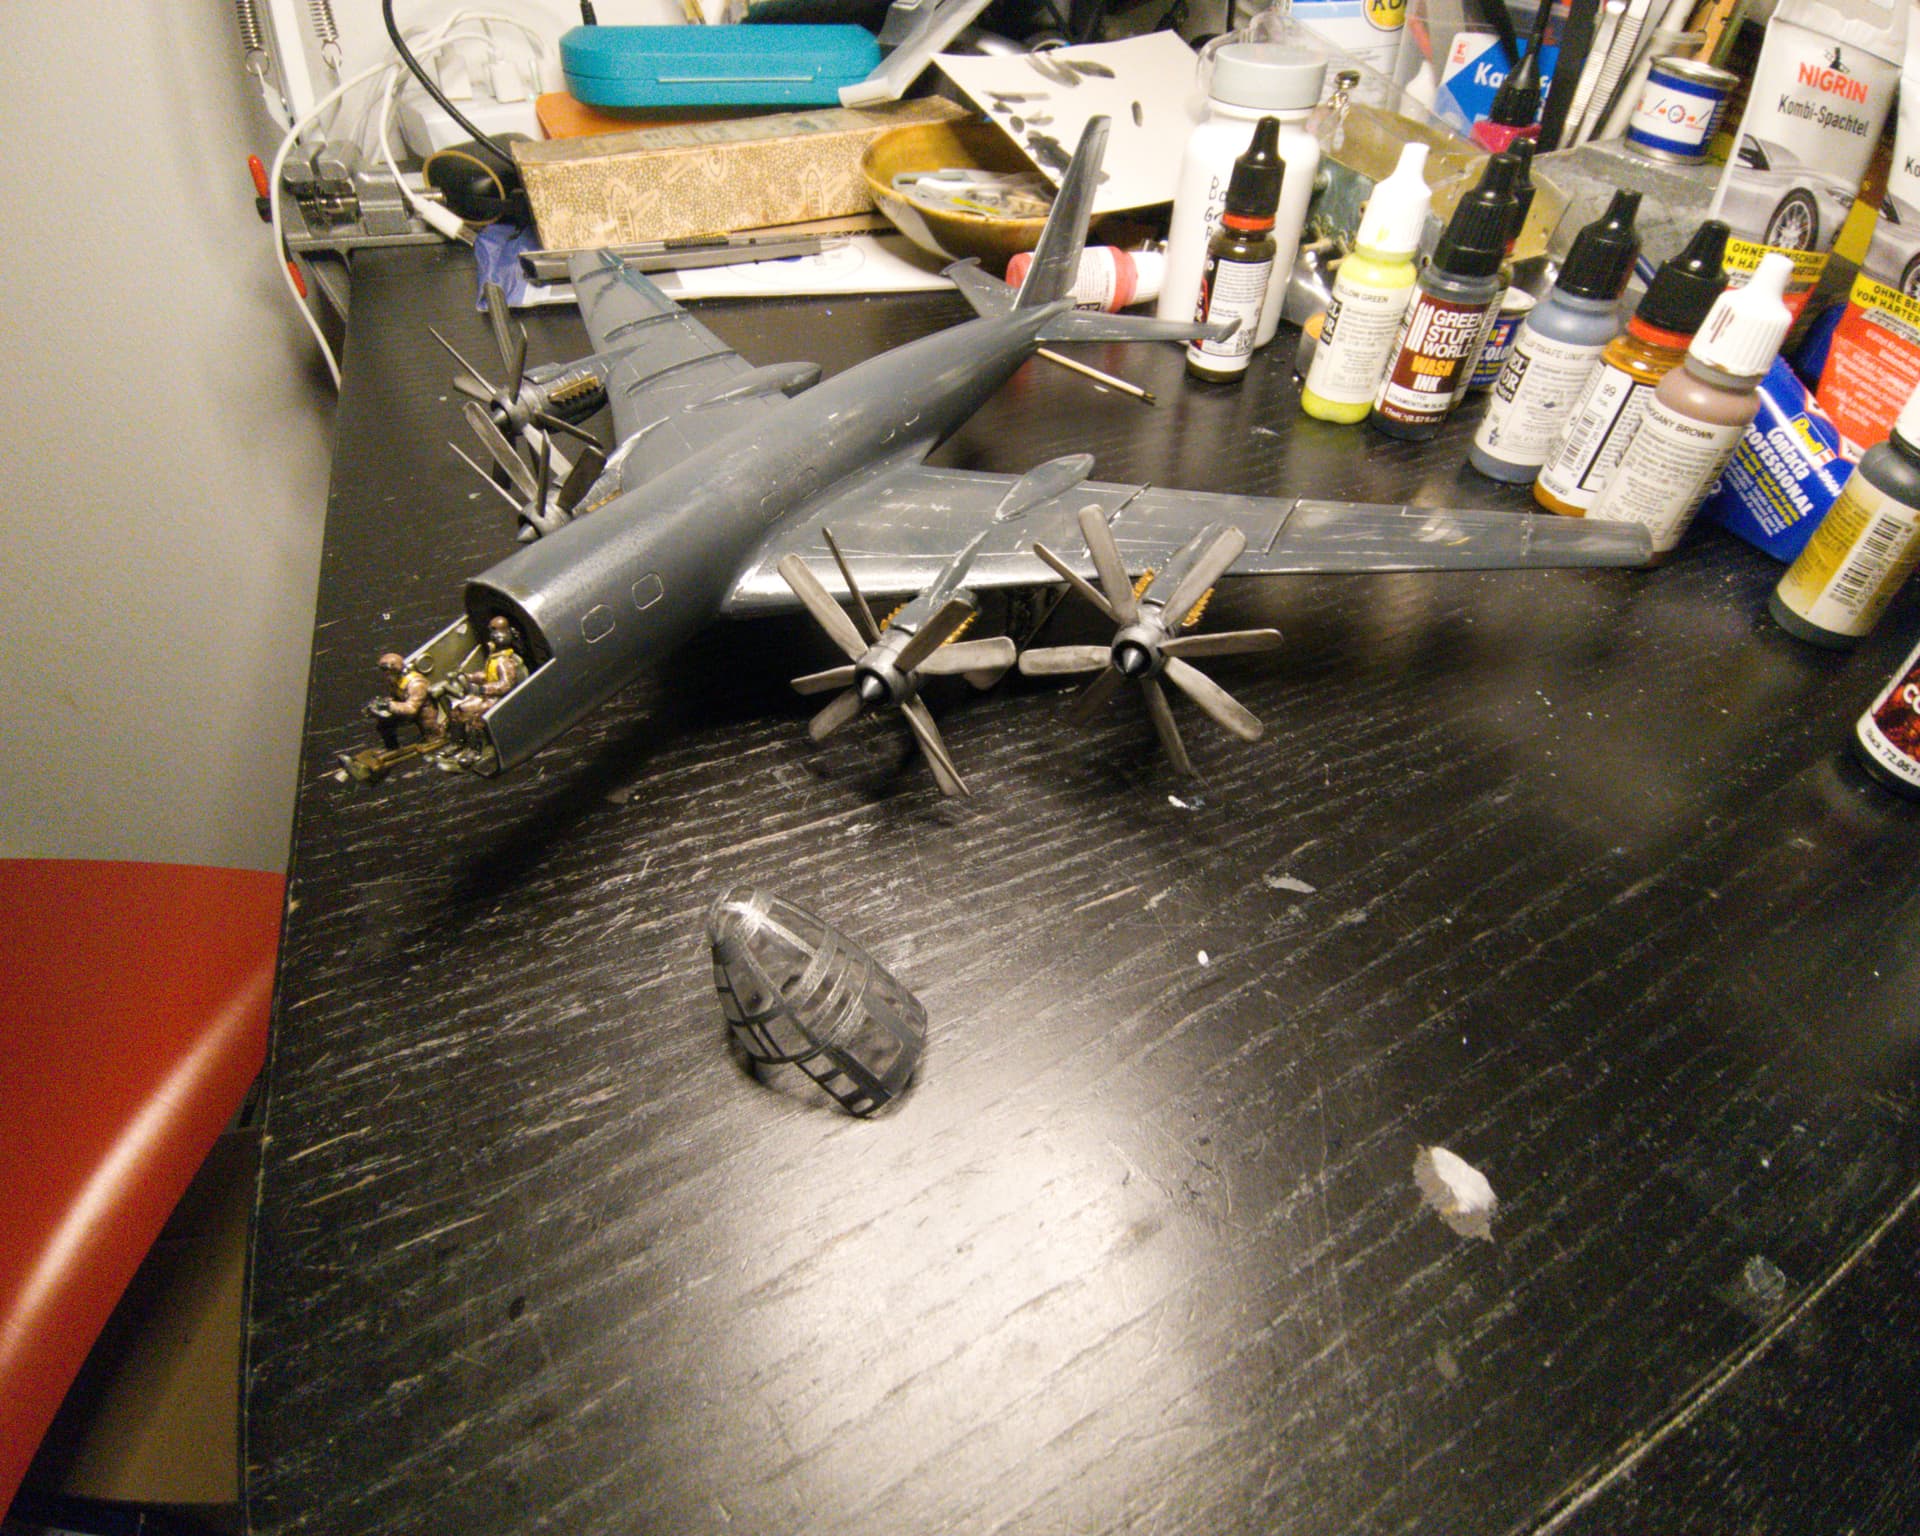
I spend some time to continue the job … Masking of the front canopy and washing on the props , one complete evening job .
Next step will be more color on the props and some decals .
11 Likes
Nice work on the canopy. The props look really good as well. 
—mike
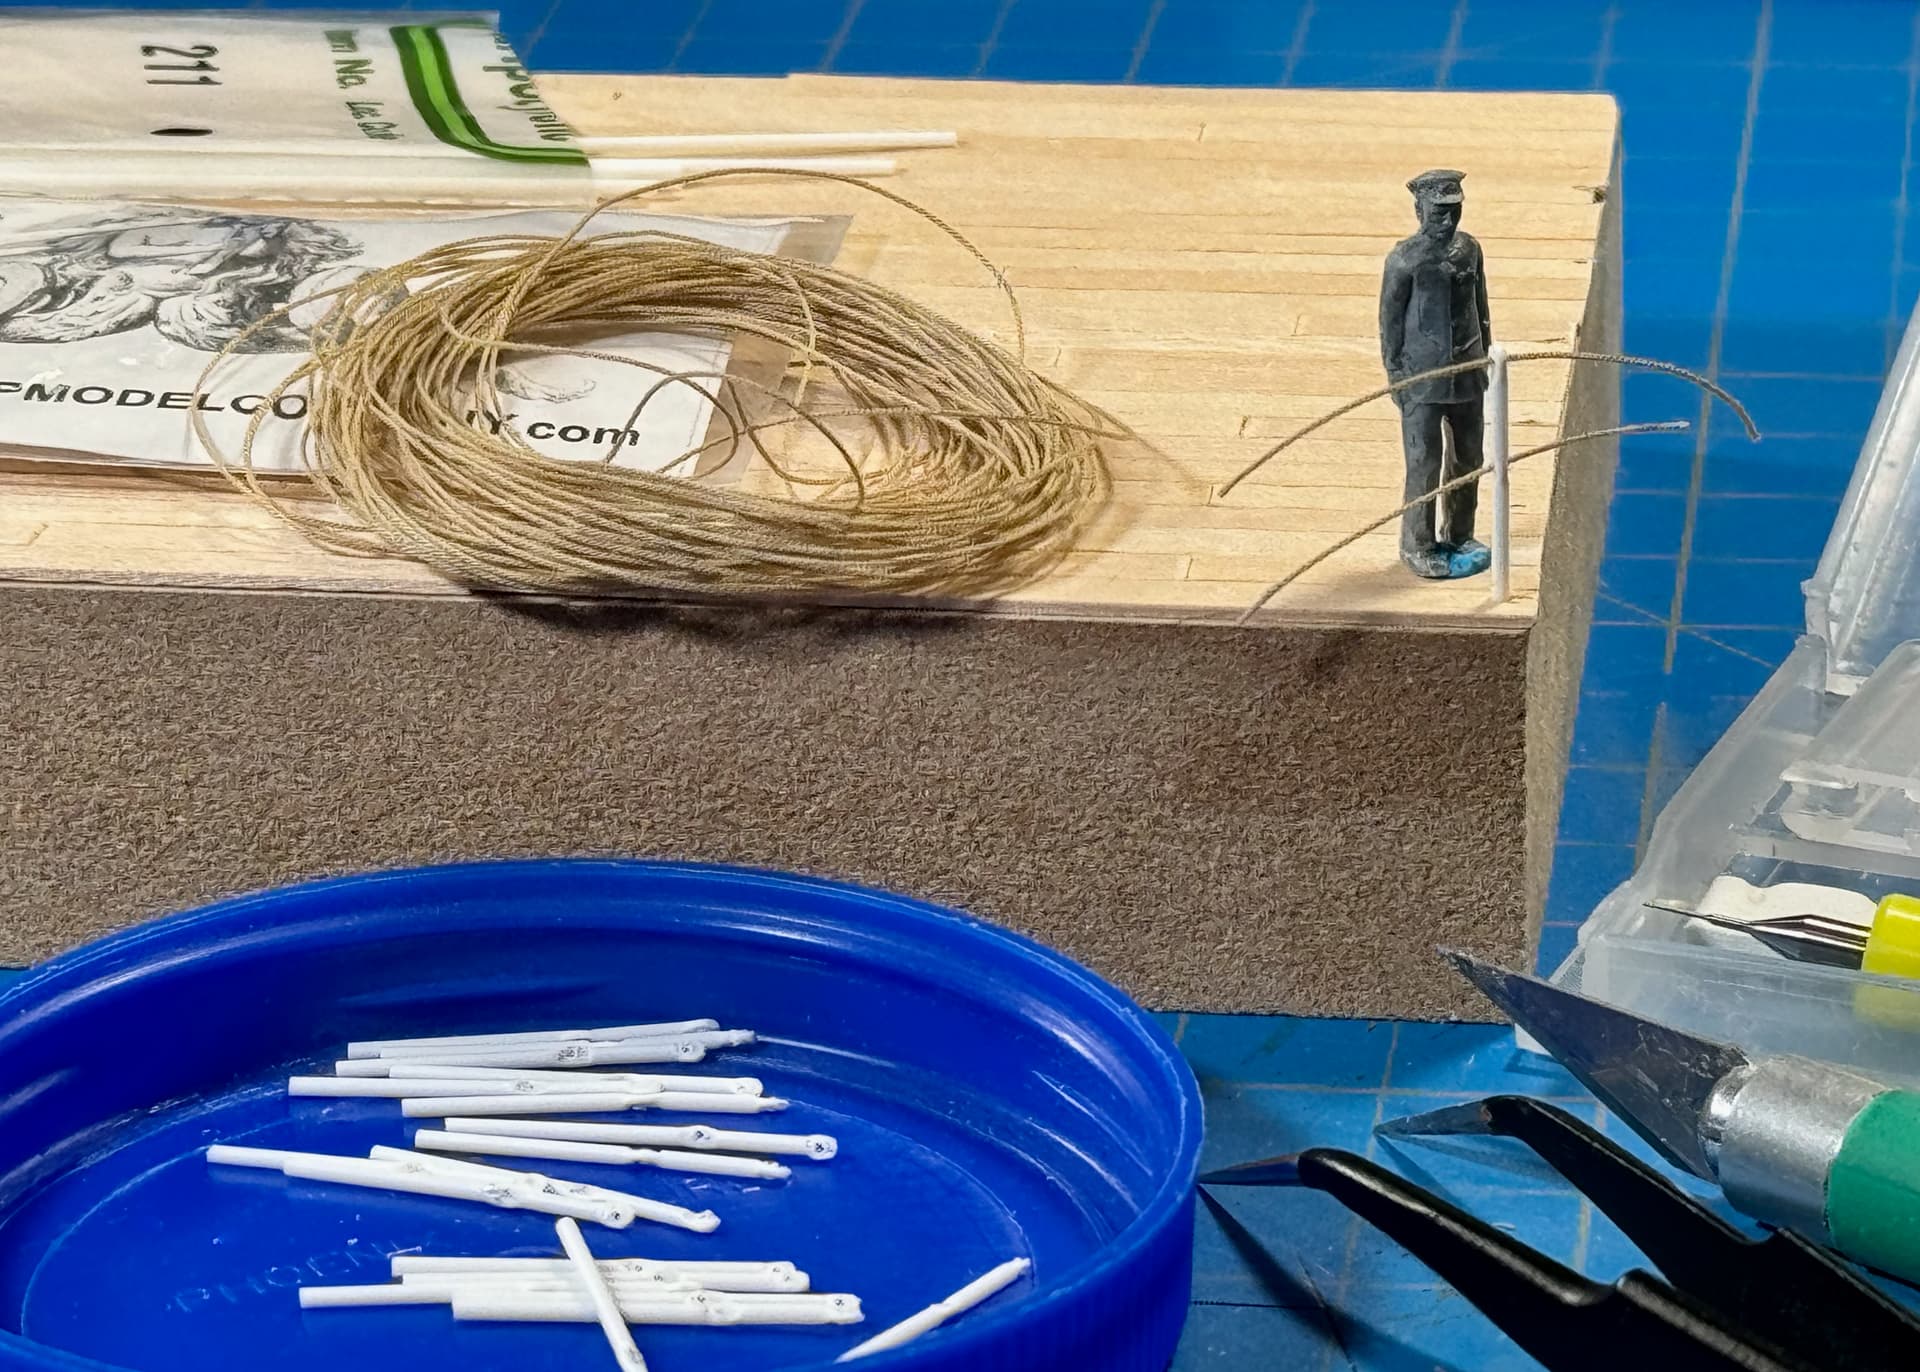
Almost as much fun as track links… stanchions.
Made some headway on the base concept today. Awaiting a supply ship from Scale Hobbyist to arrive before getting ahead of myself.
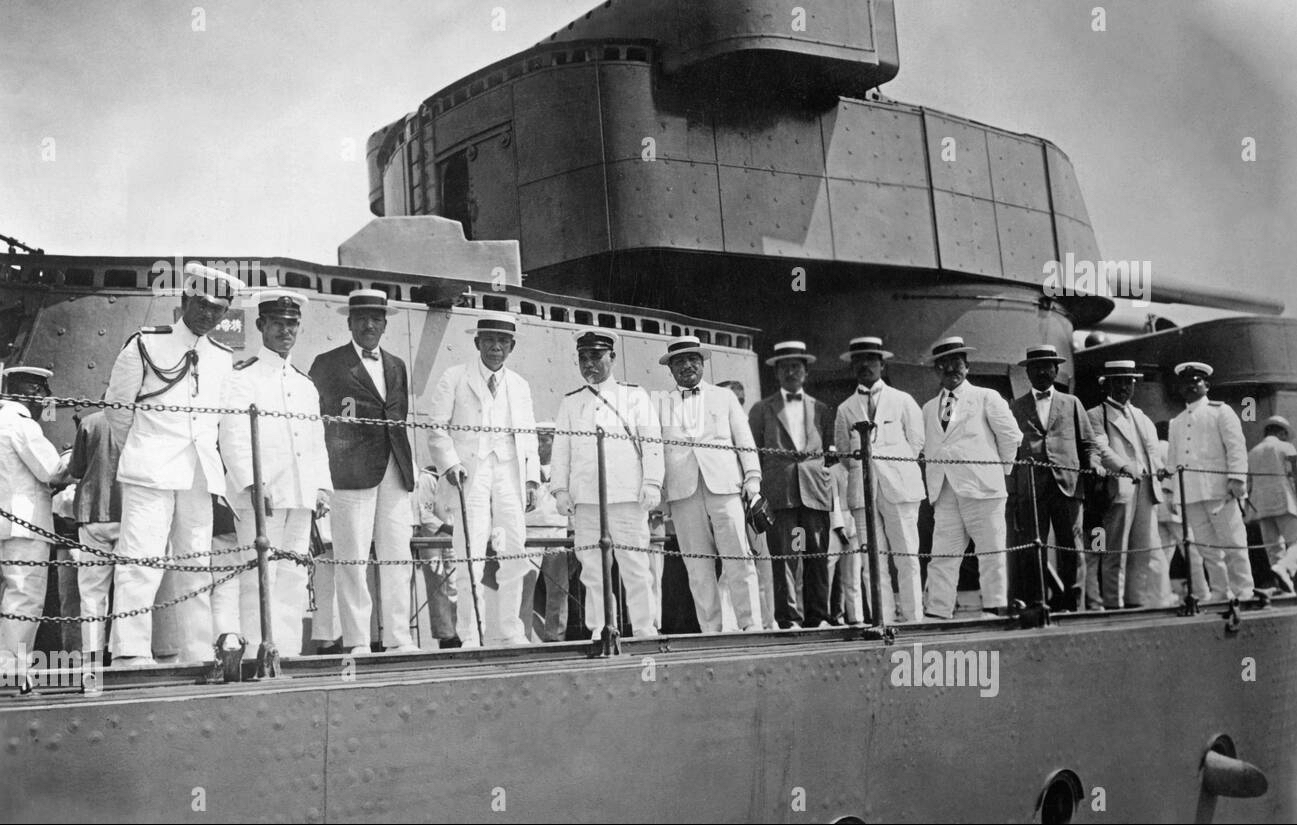
Deck Railing of the Cruiser Myoko of the Imperial Japanese Navy. Image for reference only.
海に落ちないでください。
—mike
5 Likes
I like the how the railing is tight on top and slack on the bottom.
2 Likes
Good observation Ryan. I’ll keep that in mind during rigging. 
Yup… broke a drill bit!
There’s no fishing that bit out, so I tried drilling next to it — SNAP! — it broke again! I’ll just have to deal with it at rigging time. 
To be continued…
フライネイビー!
—mike
6 Likes
Oof that is a tough. Luckily that is in the wood and not finger like another unlucky modeler on the here.
2 Likes
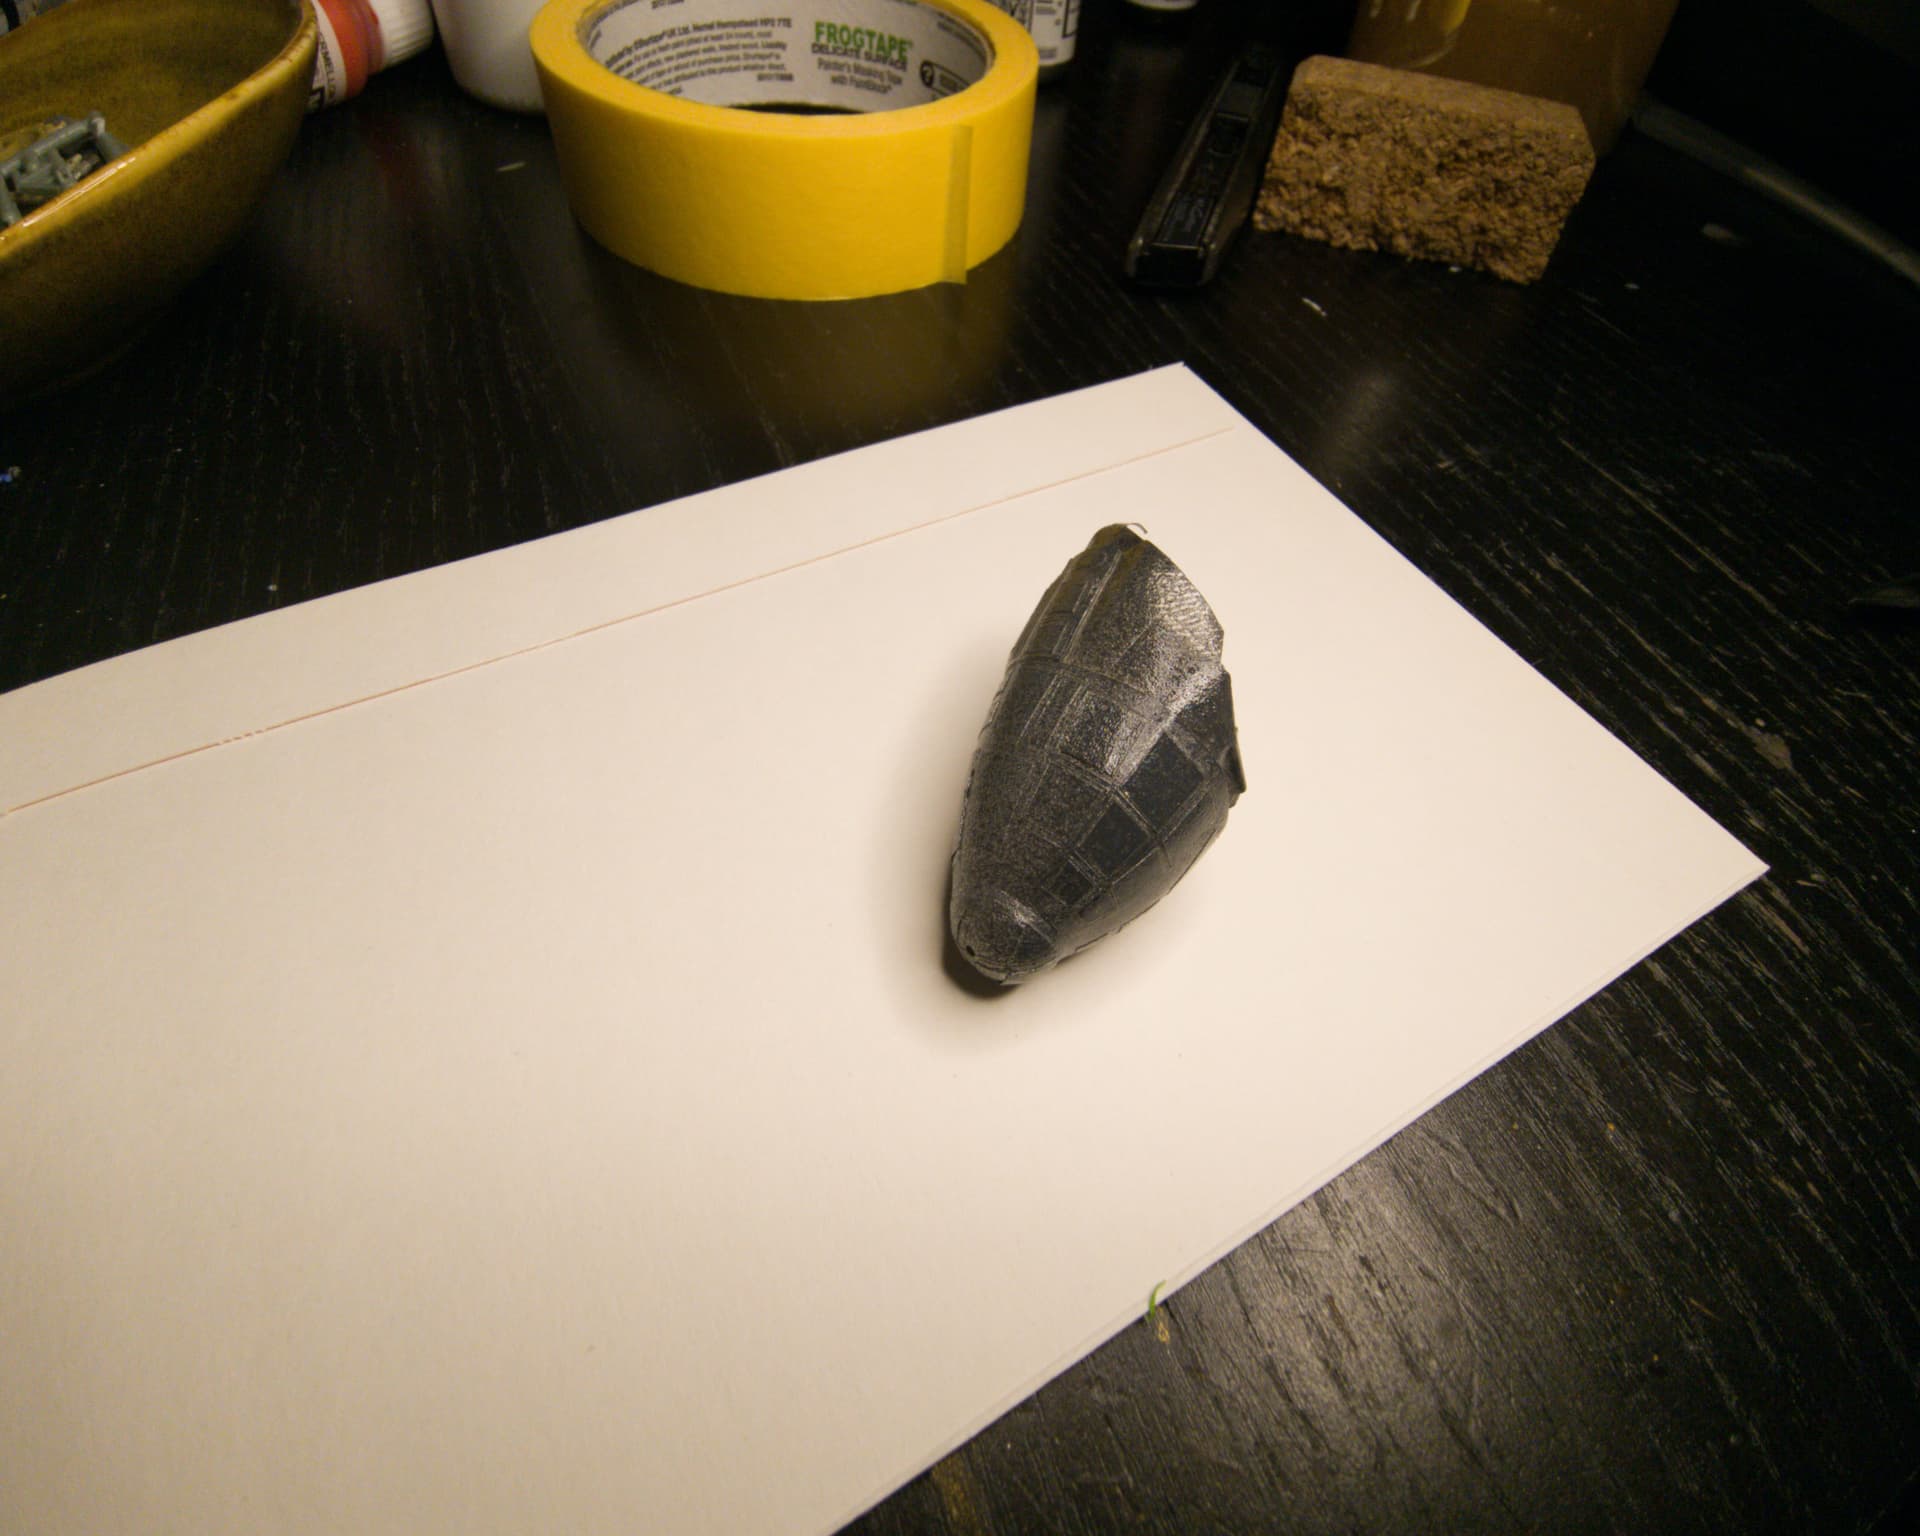
Some work on the Schwimmwagen.
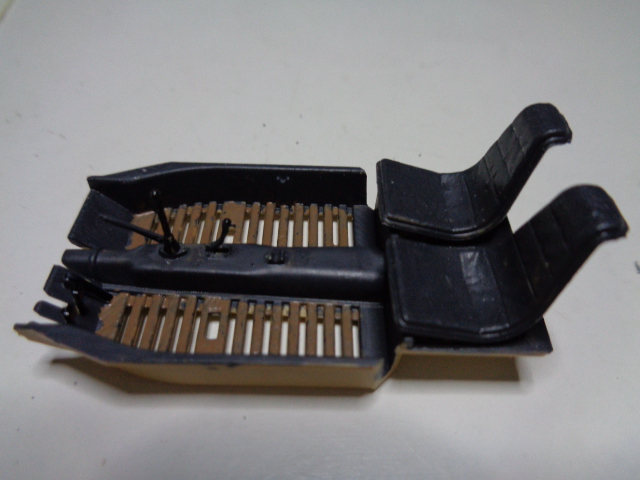
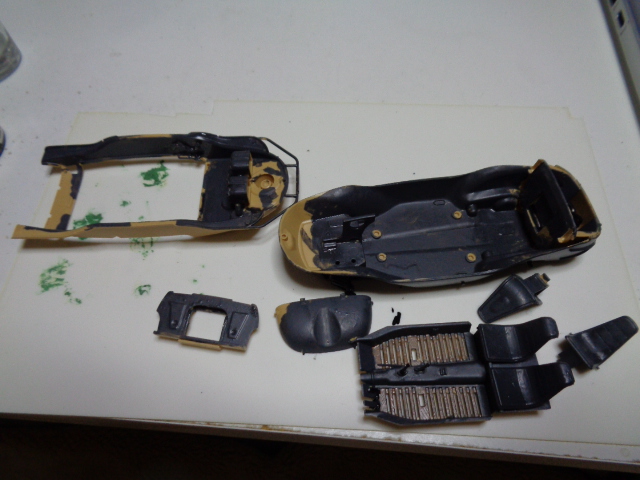
And the painting I did for the engine compartment, it won’t be seen with the hood closed.
6 Likes
That is a neat tool!
Edit: Now in my shopping cart for next time.
1 Like
@ Damraska. I’m still kinda’ new to using the Trumpeter Rivet Maker. I find it a little hard to control with my eyesight. I’m actually considering the kind with a smaller wheel.
—mike
I can see how control could be a problem. If the wheel skids or slips, rivet spacing will suffer. Perhaps a block with rivets on one face would work better? The whole idea of embossing plastic sheets never occurred to me. It opens up a lot of possibilities.
1 Like
IIRC you will want to put a skim of putty on the rear side to fill the rivets so they don’t sink - especially if you use plastic glue on the sheet. (Used to do this on model railroad stuff to add rivetted batten strips to locos and rolling stock…)
3 Likes
@ barkingdigger. That’s a really great tip. Plastic glue would be too hot and would melt the rivets at this thickness for sure. Since there’s no real stress on the sheet, I’m using PVA Glue… seems to be working.
@ Damraska. I’ve actually had a little success in starting and/or restarting a run of rivets. My primary issue with the Trumpeter tool, is not being able to see the work area under the handle. Last night I ordered another tool to try out: Model Rivet Maker Tool with Handle
There are several other rivet/wheel sizes available. For now, I’ll give the ‘Set S1’ a whirl and let you guys know how it works out.
[EDIT] 
‘Set S1’ size is microscopic. I’m returning the set and replacing it with ‘Set S4.’
[EDIT]
The PVA Glue experiment was a complete fail. The riveted sheets pealed right off after a couple of days. Since then, I’ve switched to Scotch Super 77 Permanent Spray Adhesive.
—mike
3 Likes