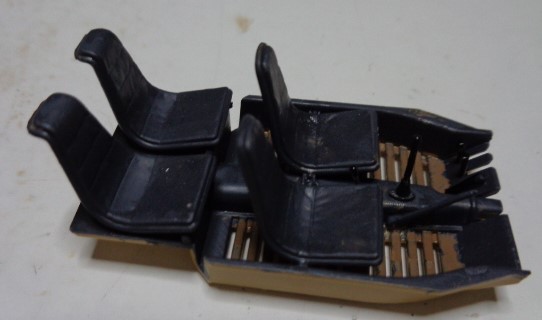
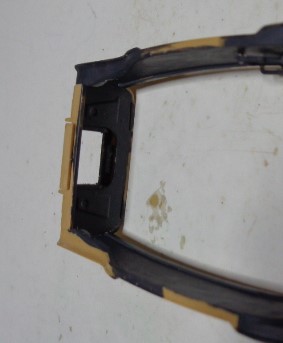
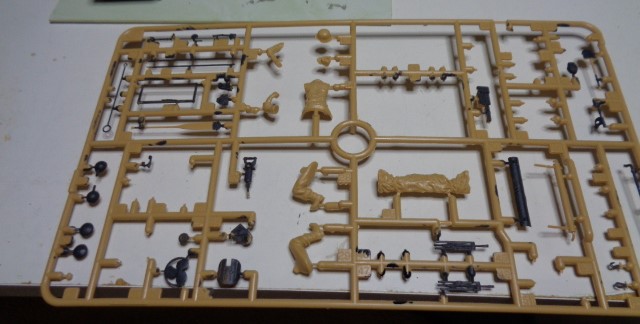
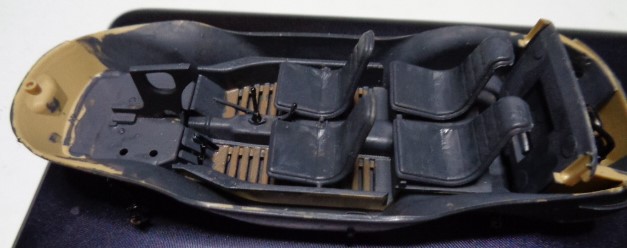
Glued the seats in and the cockpit rear bulkhead. Painted more parts on the tree.
6 Likes
If that fails, try scuffing up the back of the sheet with sandpaper to give it some “tooth” and then use a smear of No More Nails.
5 Likes
Michael, fantastic job on the catapult and decking!
I am not sure I understand why you have stanchions on two sides? Would the ship have a straight edge corner like that?
1 Like
Thank’s Jesper!
I’m using-up a whole bunch of artistic license with this build, as the kit-supplied catapult base was a bit sparse for my taste. The reason for stanchions on only two sides…
- Laziness. Sixteen stanchions are enough!

- All four sides would make the deck seem too constrained… gotta leave something for the viewer’s imagination.
Hopefully, it’ll make sense upon completion. 
Regarding the reference image: I’ve actually come across several conflicting captions for the same image… can’t believe anybody these days: ‘AICHI E13A JAKE JAPANESE SEAPLANE’
Let me know your thoughts.

Meanwhile, I’ve been piddling around while waiting for supplies to arrive. 
フライネイビー! 

—mike
3 Likes
So who gets to fly the plane? 
 me! me! me! me! me! me!
‘1/72 Scale Model Japanese Sit Pose Pilot 6 Figures Military Miniature’
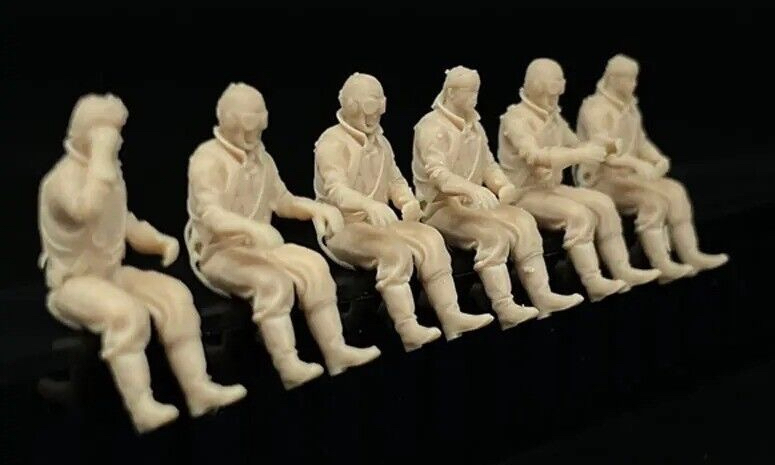
I think the detail looks pretty good after their long flight across the Pacific. 

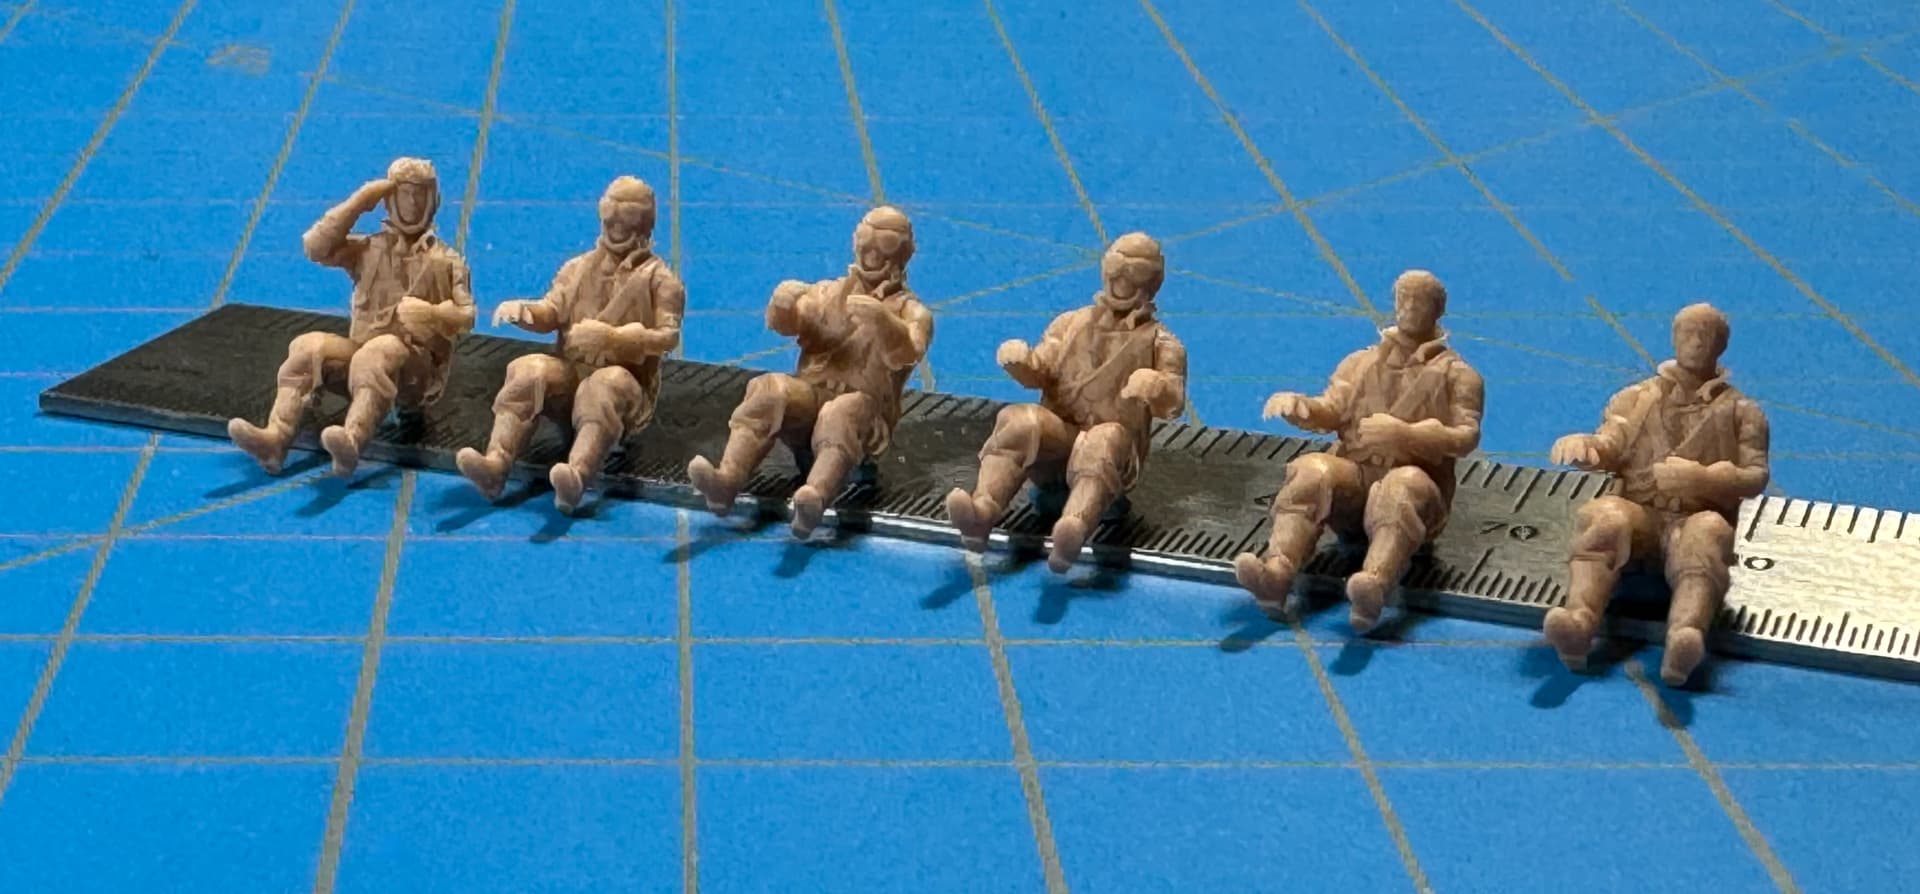
Time to start slicing-up the cockpit.  …
…
フライネイビー! 
—mike
6 Likes
Buckle-up. It’s the law.
With the figures available, it was time to get busy and start tailoring them to the Jake…
Thinned-down and drilled lightening holes in the seat-backs. Also, thinned-down the chunky cockpit tub at the sides. … 
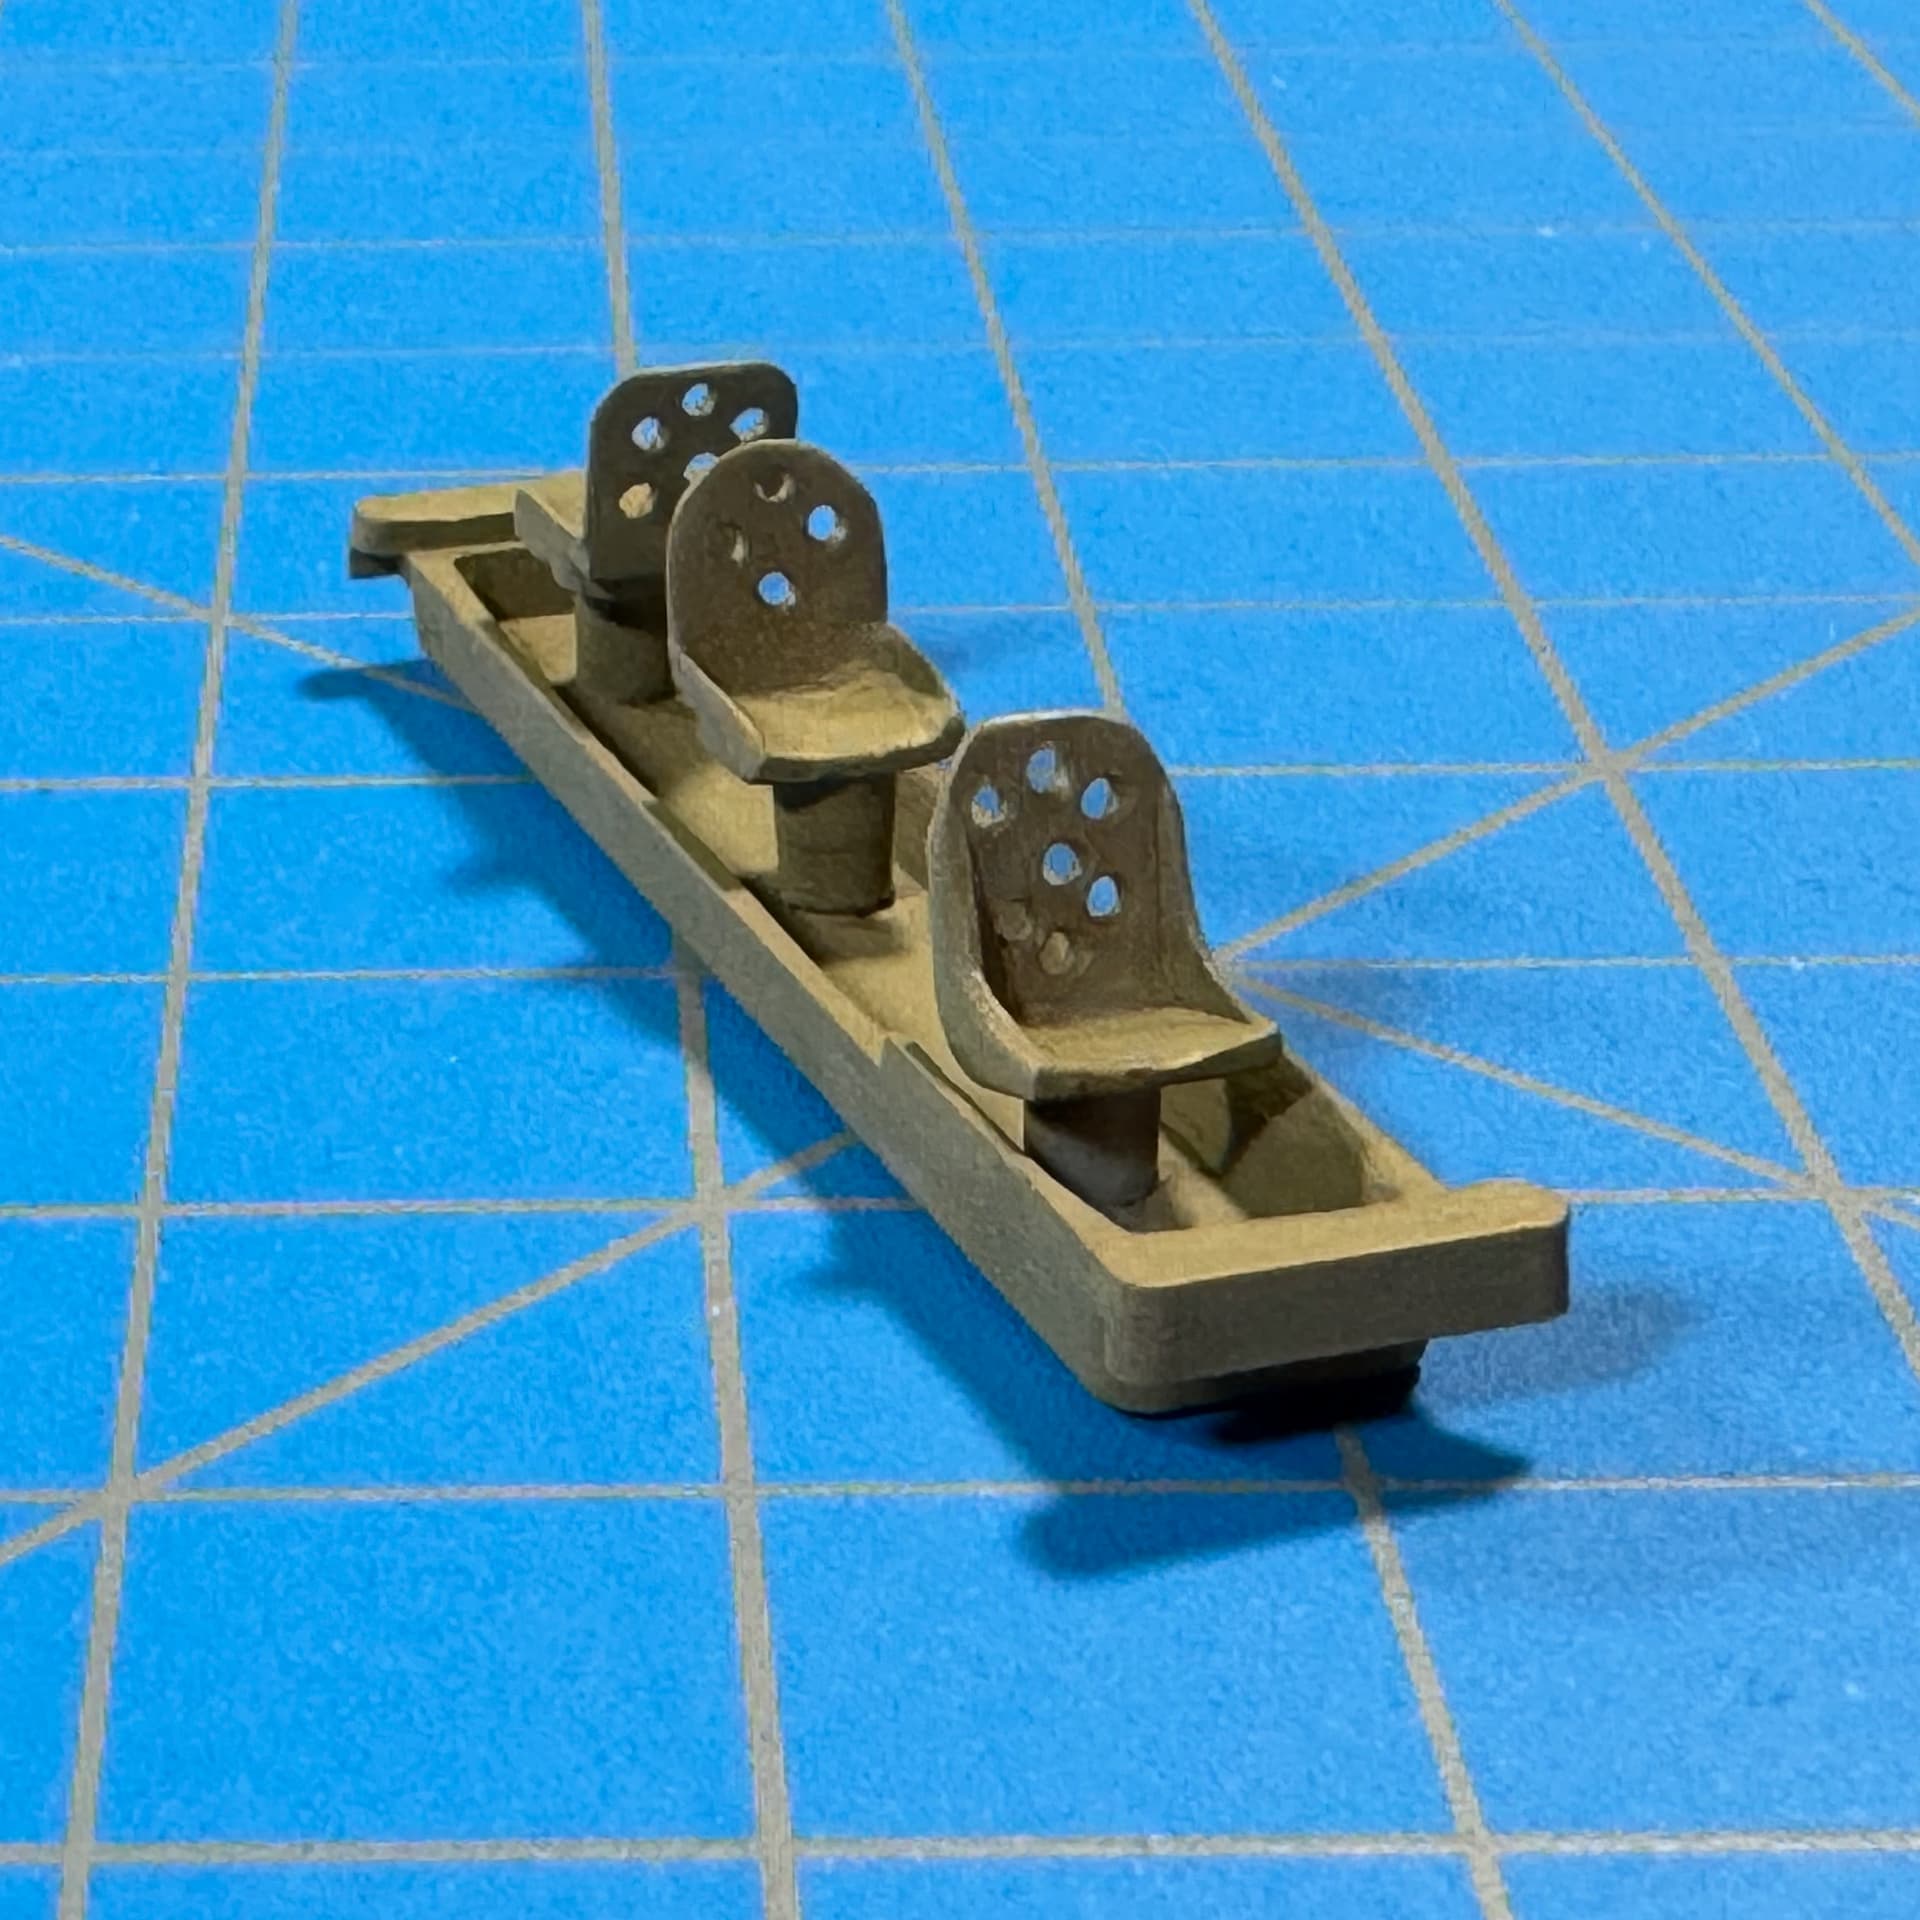
How’s the legroom?

Max Headroom! … Note: There’s still a little Blu-Tak under their bums.

Tamiya Masking Tape seat-harness.

Thank’s for having a look!
フライネイビー!
—mike
8 Likes
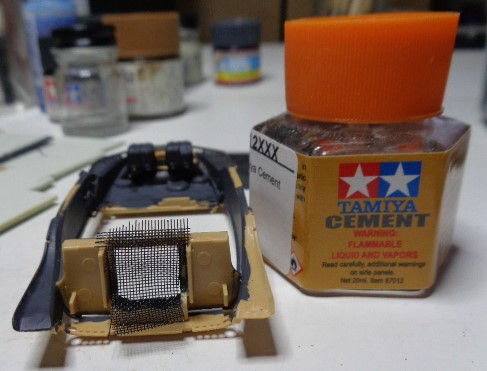
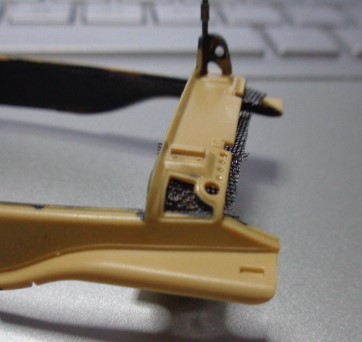
Putting on the mesh for the back of the cockpit. Tamiya Instant didn’t work but the Orange cap Tamiya Cement worked fine. The bad news I forgot about the mesh on either side of the Schwimmwagen rear.
4 Likes
I’ve never seen Tamiya cement in a six-sided bottle - is that something new? Then again I’ve never seen the orange-cap version either - mine are the green and light green “extra thin” in square bottles.
Bummer about the missed mesh…
3 Likes
In the square bottle Tamiya cement, there’s also a white cap thicker, slower drying viscosity, and a blue cap ABS cement. I use the white cap stuff frequently when I have to add the cement and then place the part. I also use the two extra thin cements extensively.
4 Likes
Tamiya Regular (orange cap) is the first cement I used upon getting back into the hobby. It’s thicker and has a longer drying time than Tamiya Extra Thin. It also has a wider brush (can be swapped out). I still use it from time-to-time for larger surfaces to conserve the Extra Thin which evaporates much quicker. HTH.
—mike
2 Likes
Gettin’ after it! …
Scratch-building and paint happened this week…
Increased size of the tower box panel thingy. Built this new box over the preexisting one.
• Evergreen Styrene Sheet (9030) .030” Thick (0.75mm)
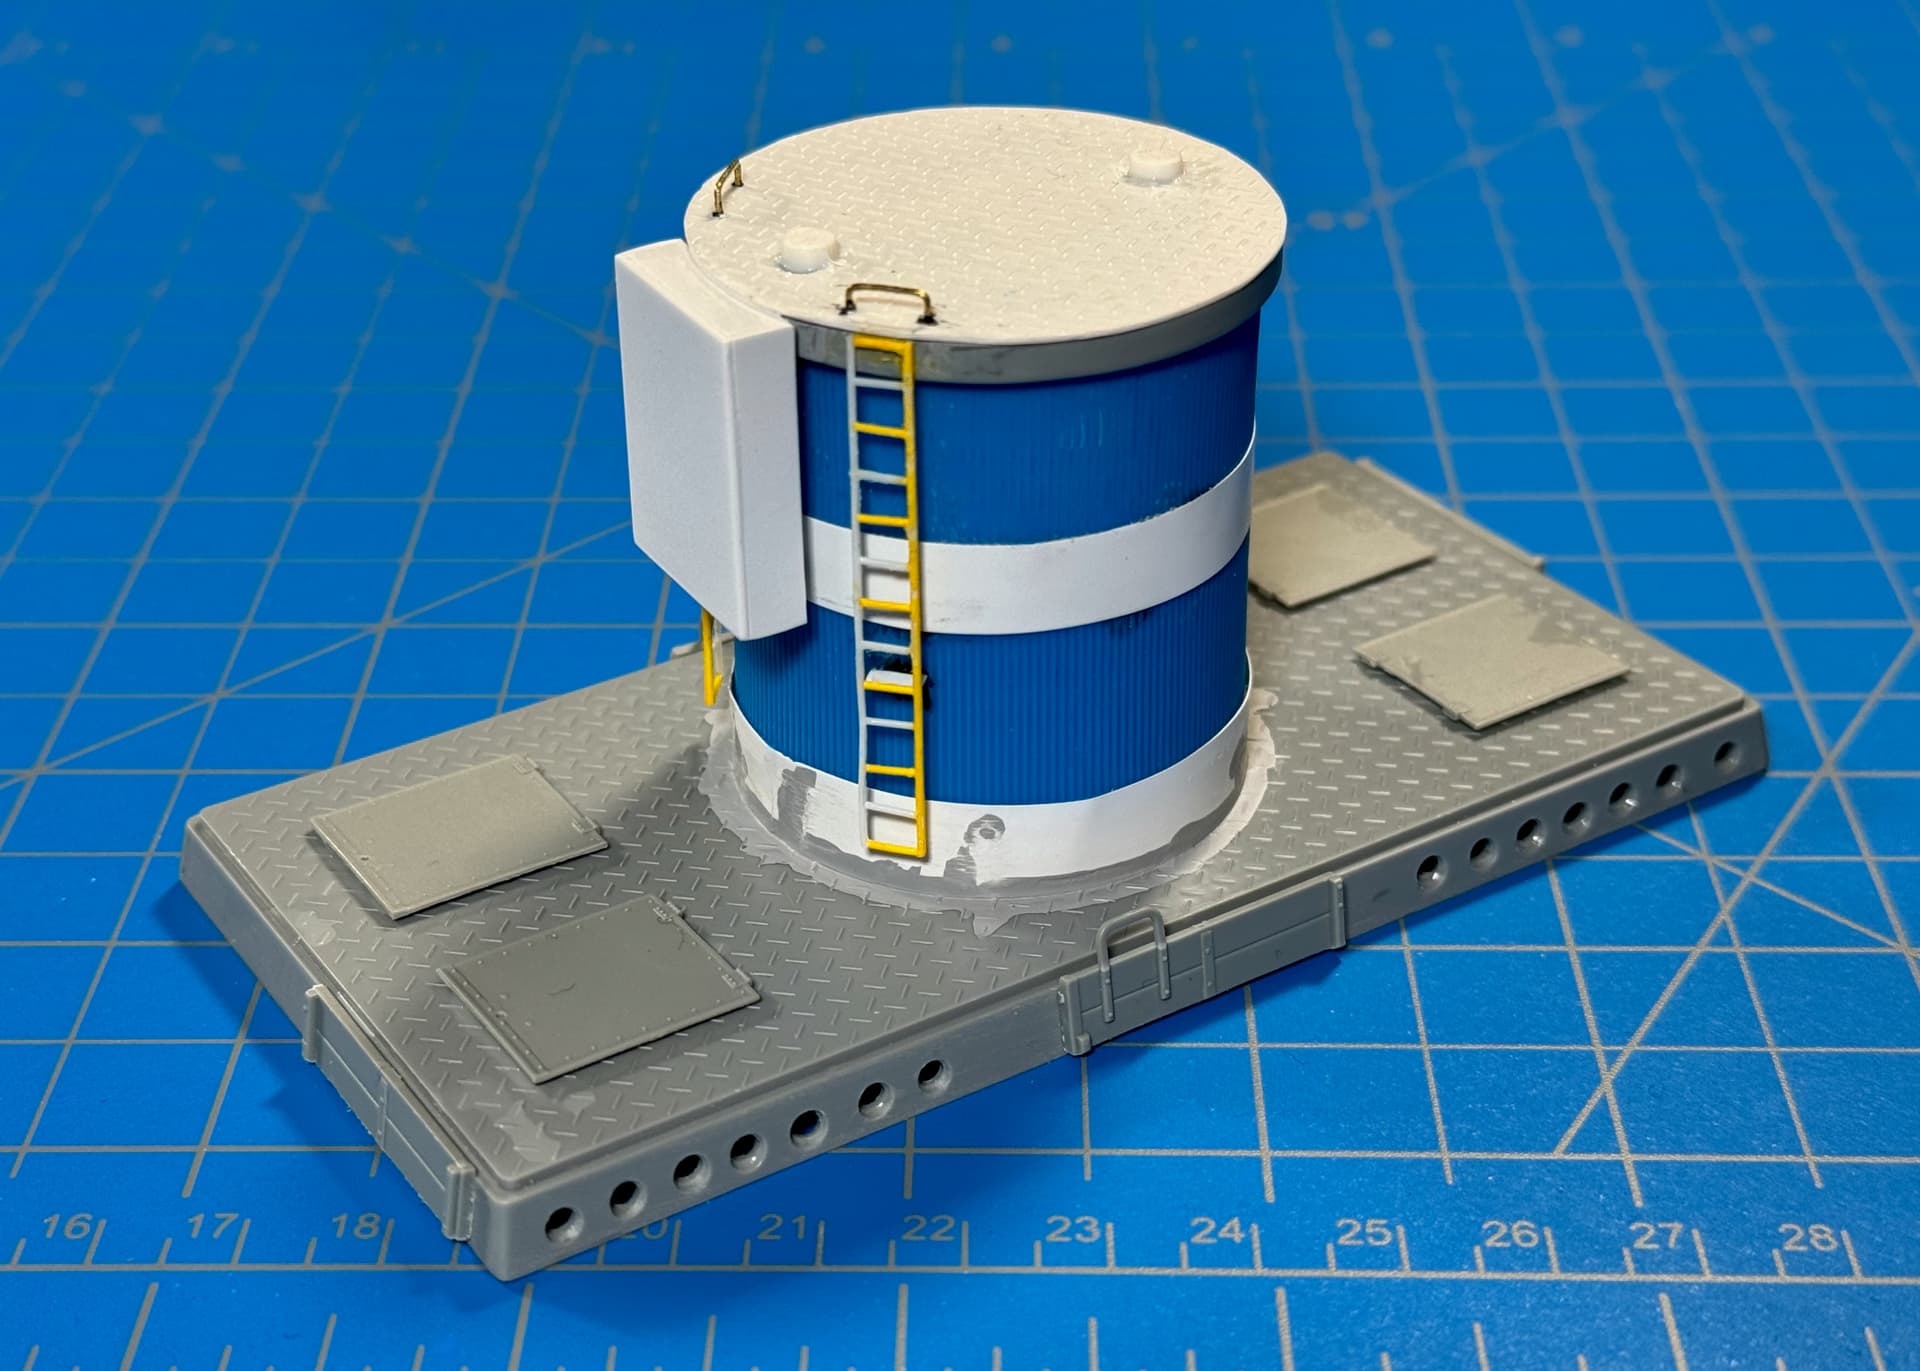
Increased size of the rear catapult platform. Now the two Deck Crew figures fit much better.
• Green Stuff World – ABS Embossed Plasticard A4 – DIAMOND 1 mm Single Tread (44mm Dia. At 45°).
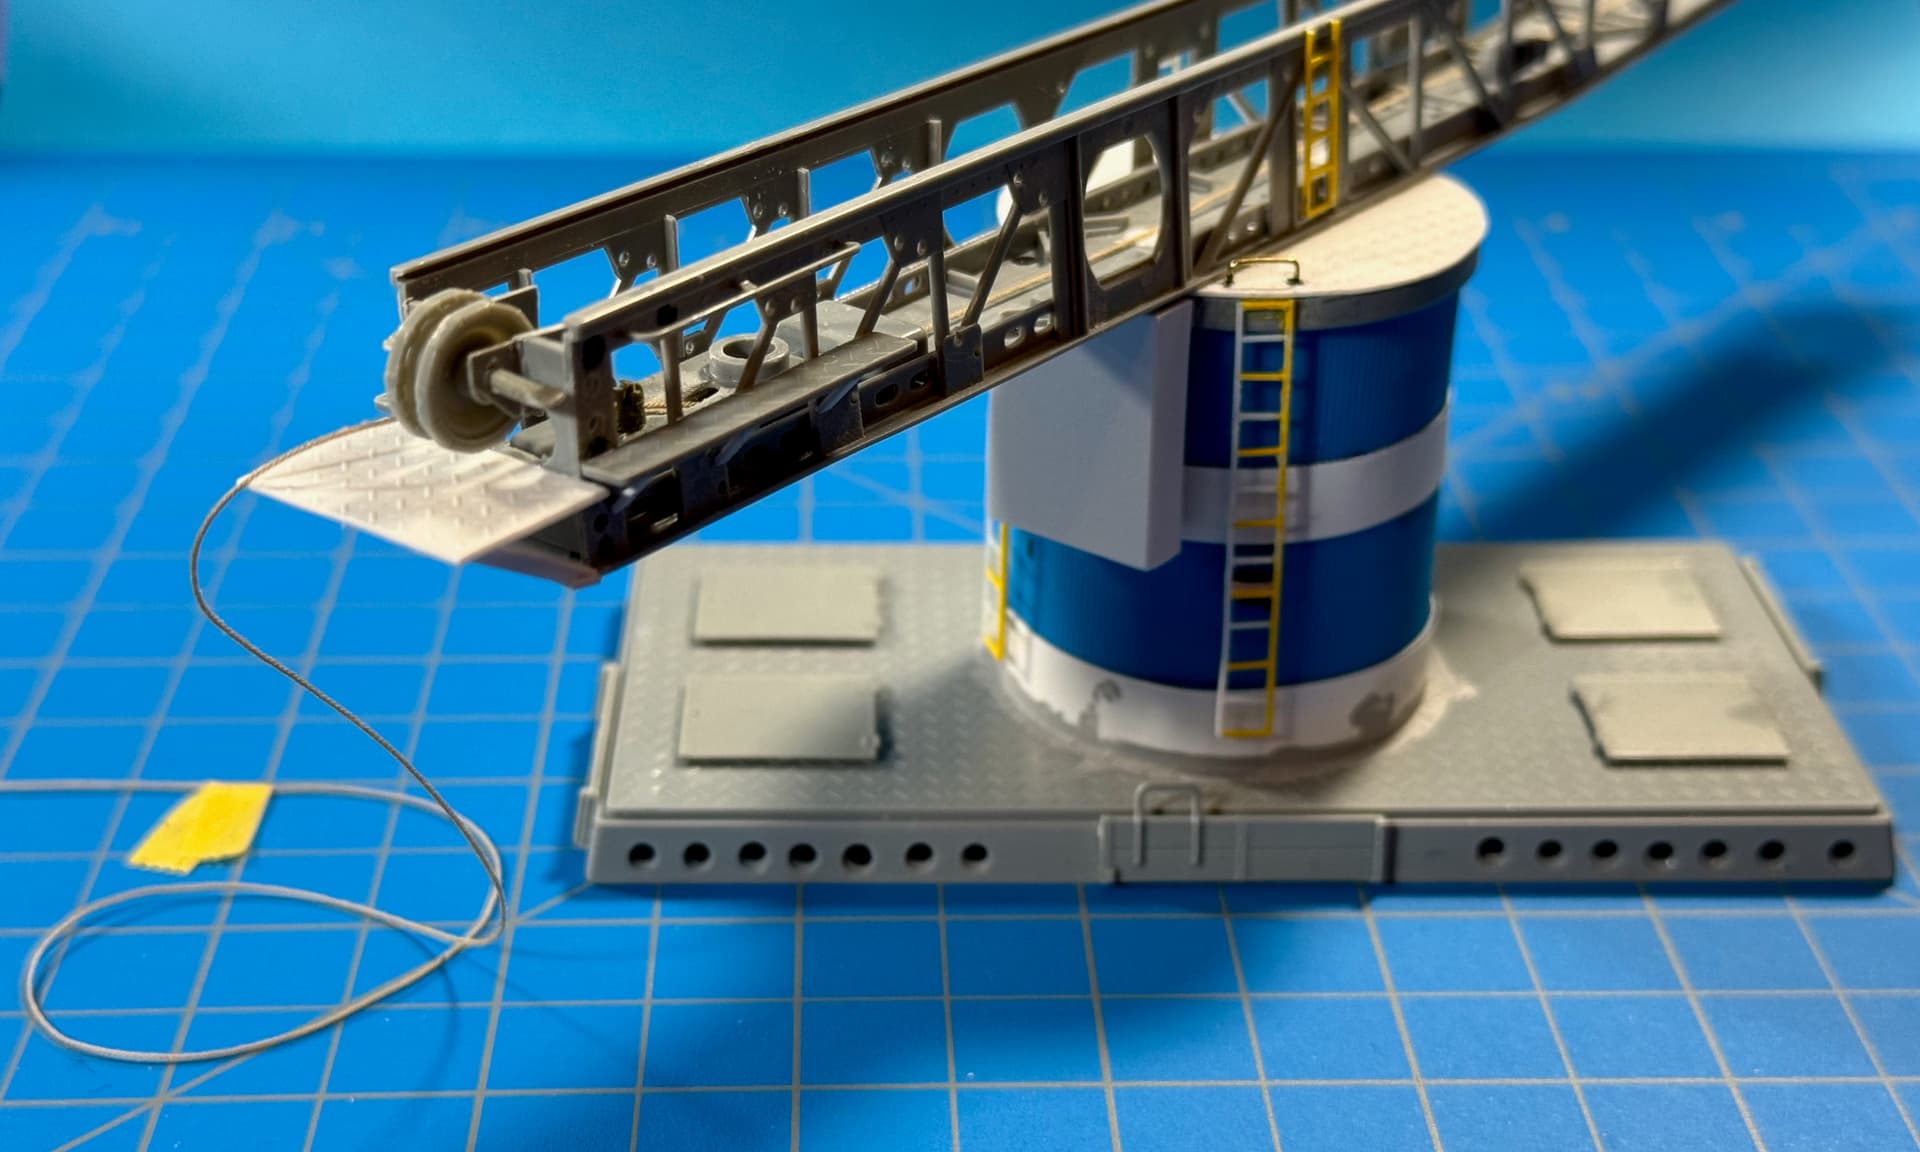
Added support braces underneath.
• Evergreen Styrene Sheet (9020) .020” Thick (0.5mm)
• Evergreen Styrene Channel (261) .060 (1.5mm)
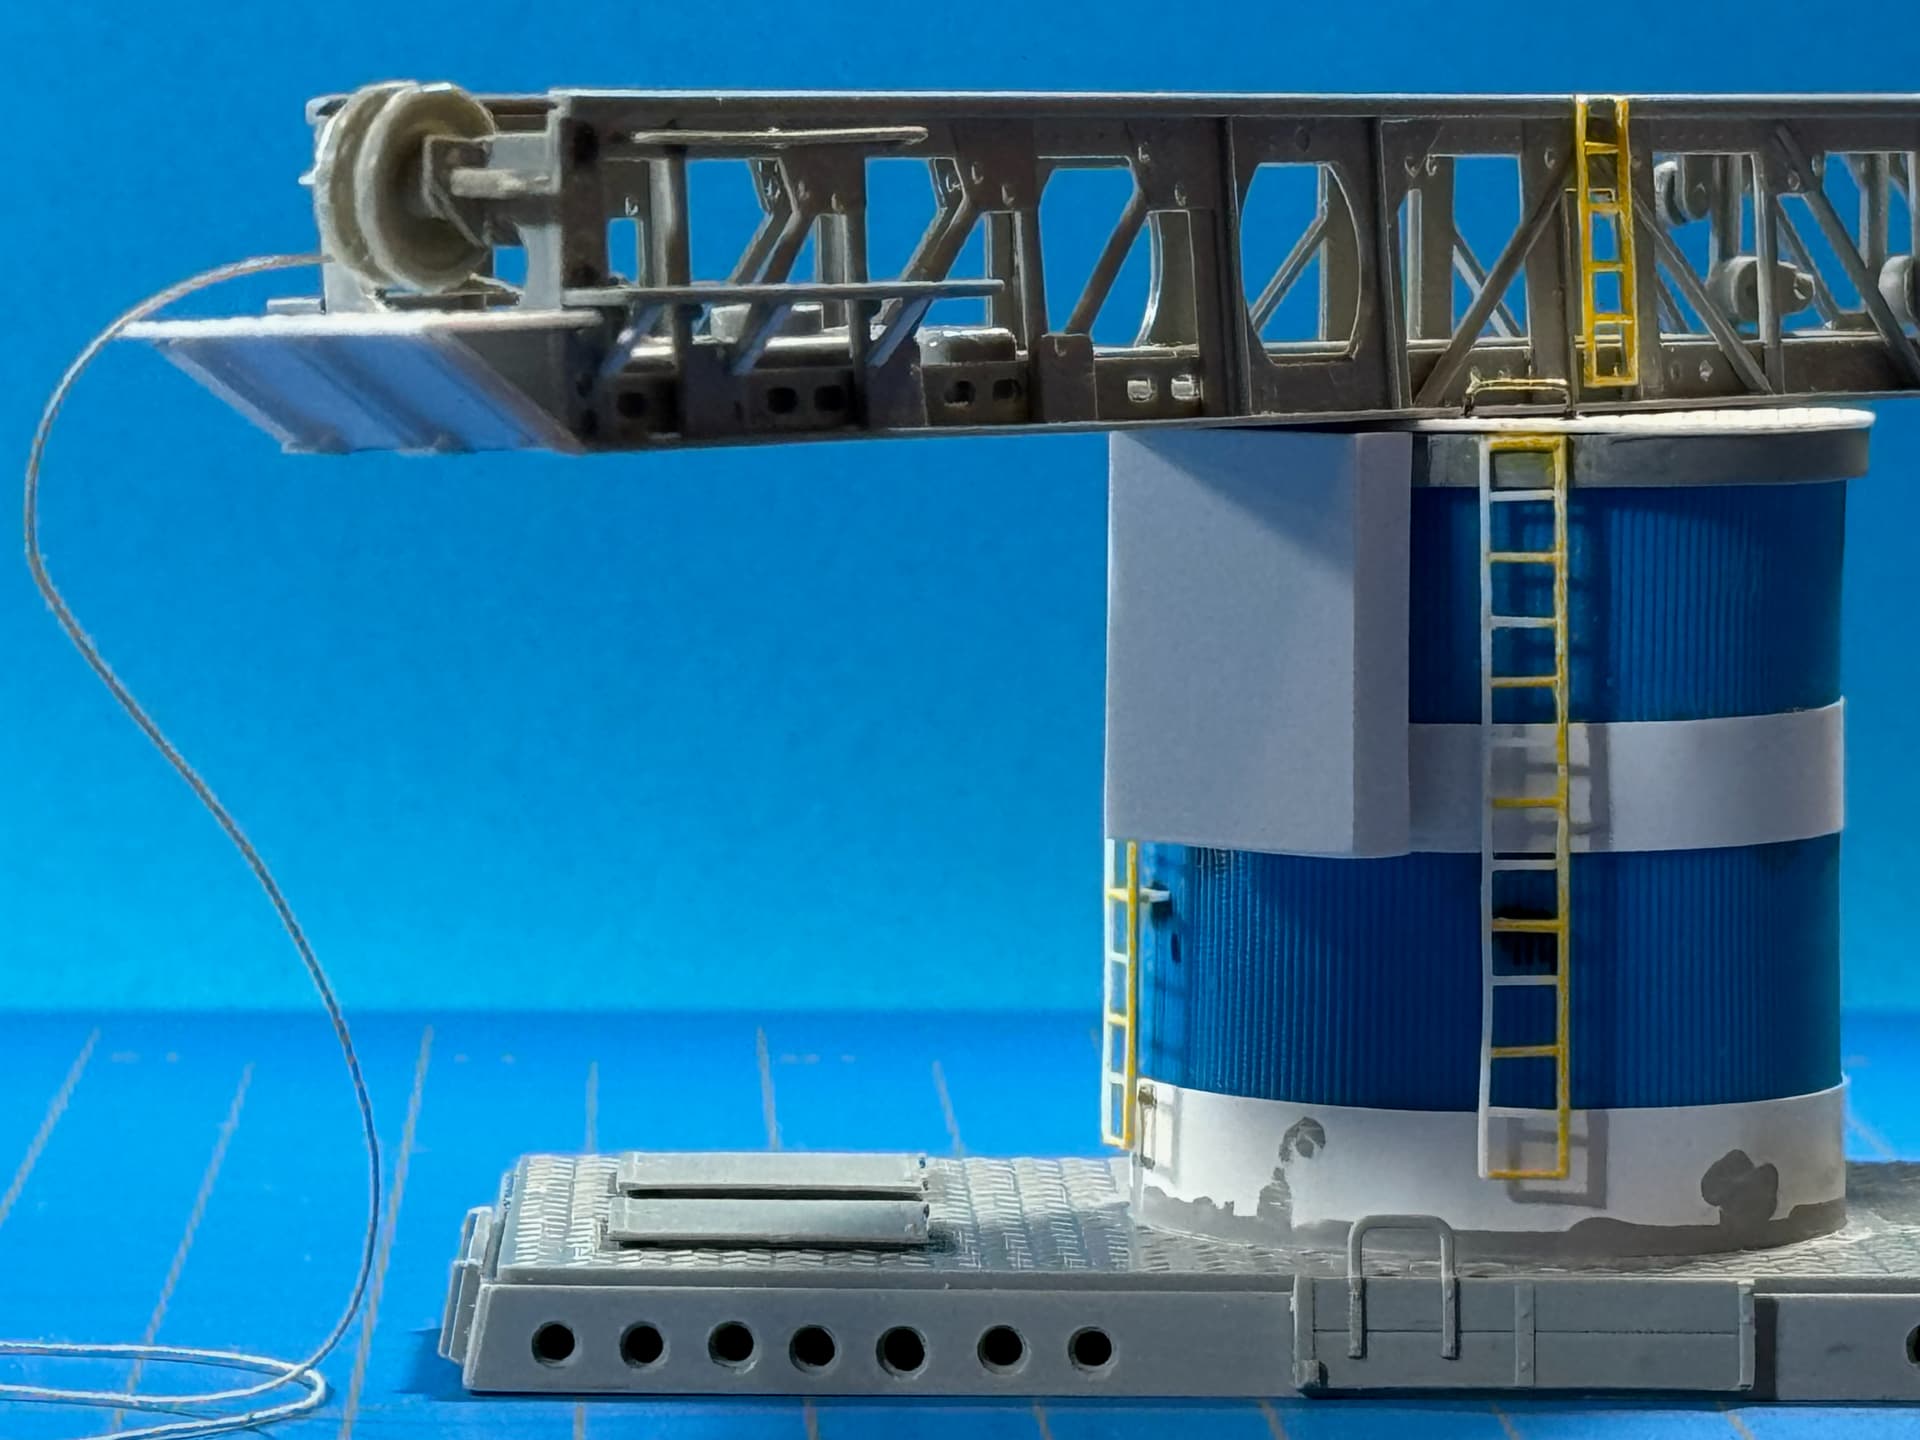
Note: The thread is a temporary fish-line which will pull the actual cable rope through the final assembly (pending Syren Rope delivery).
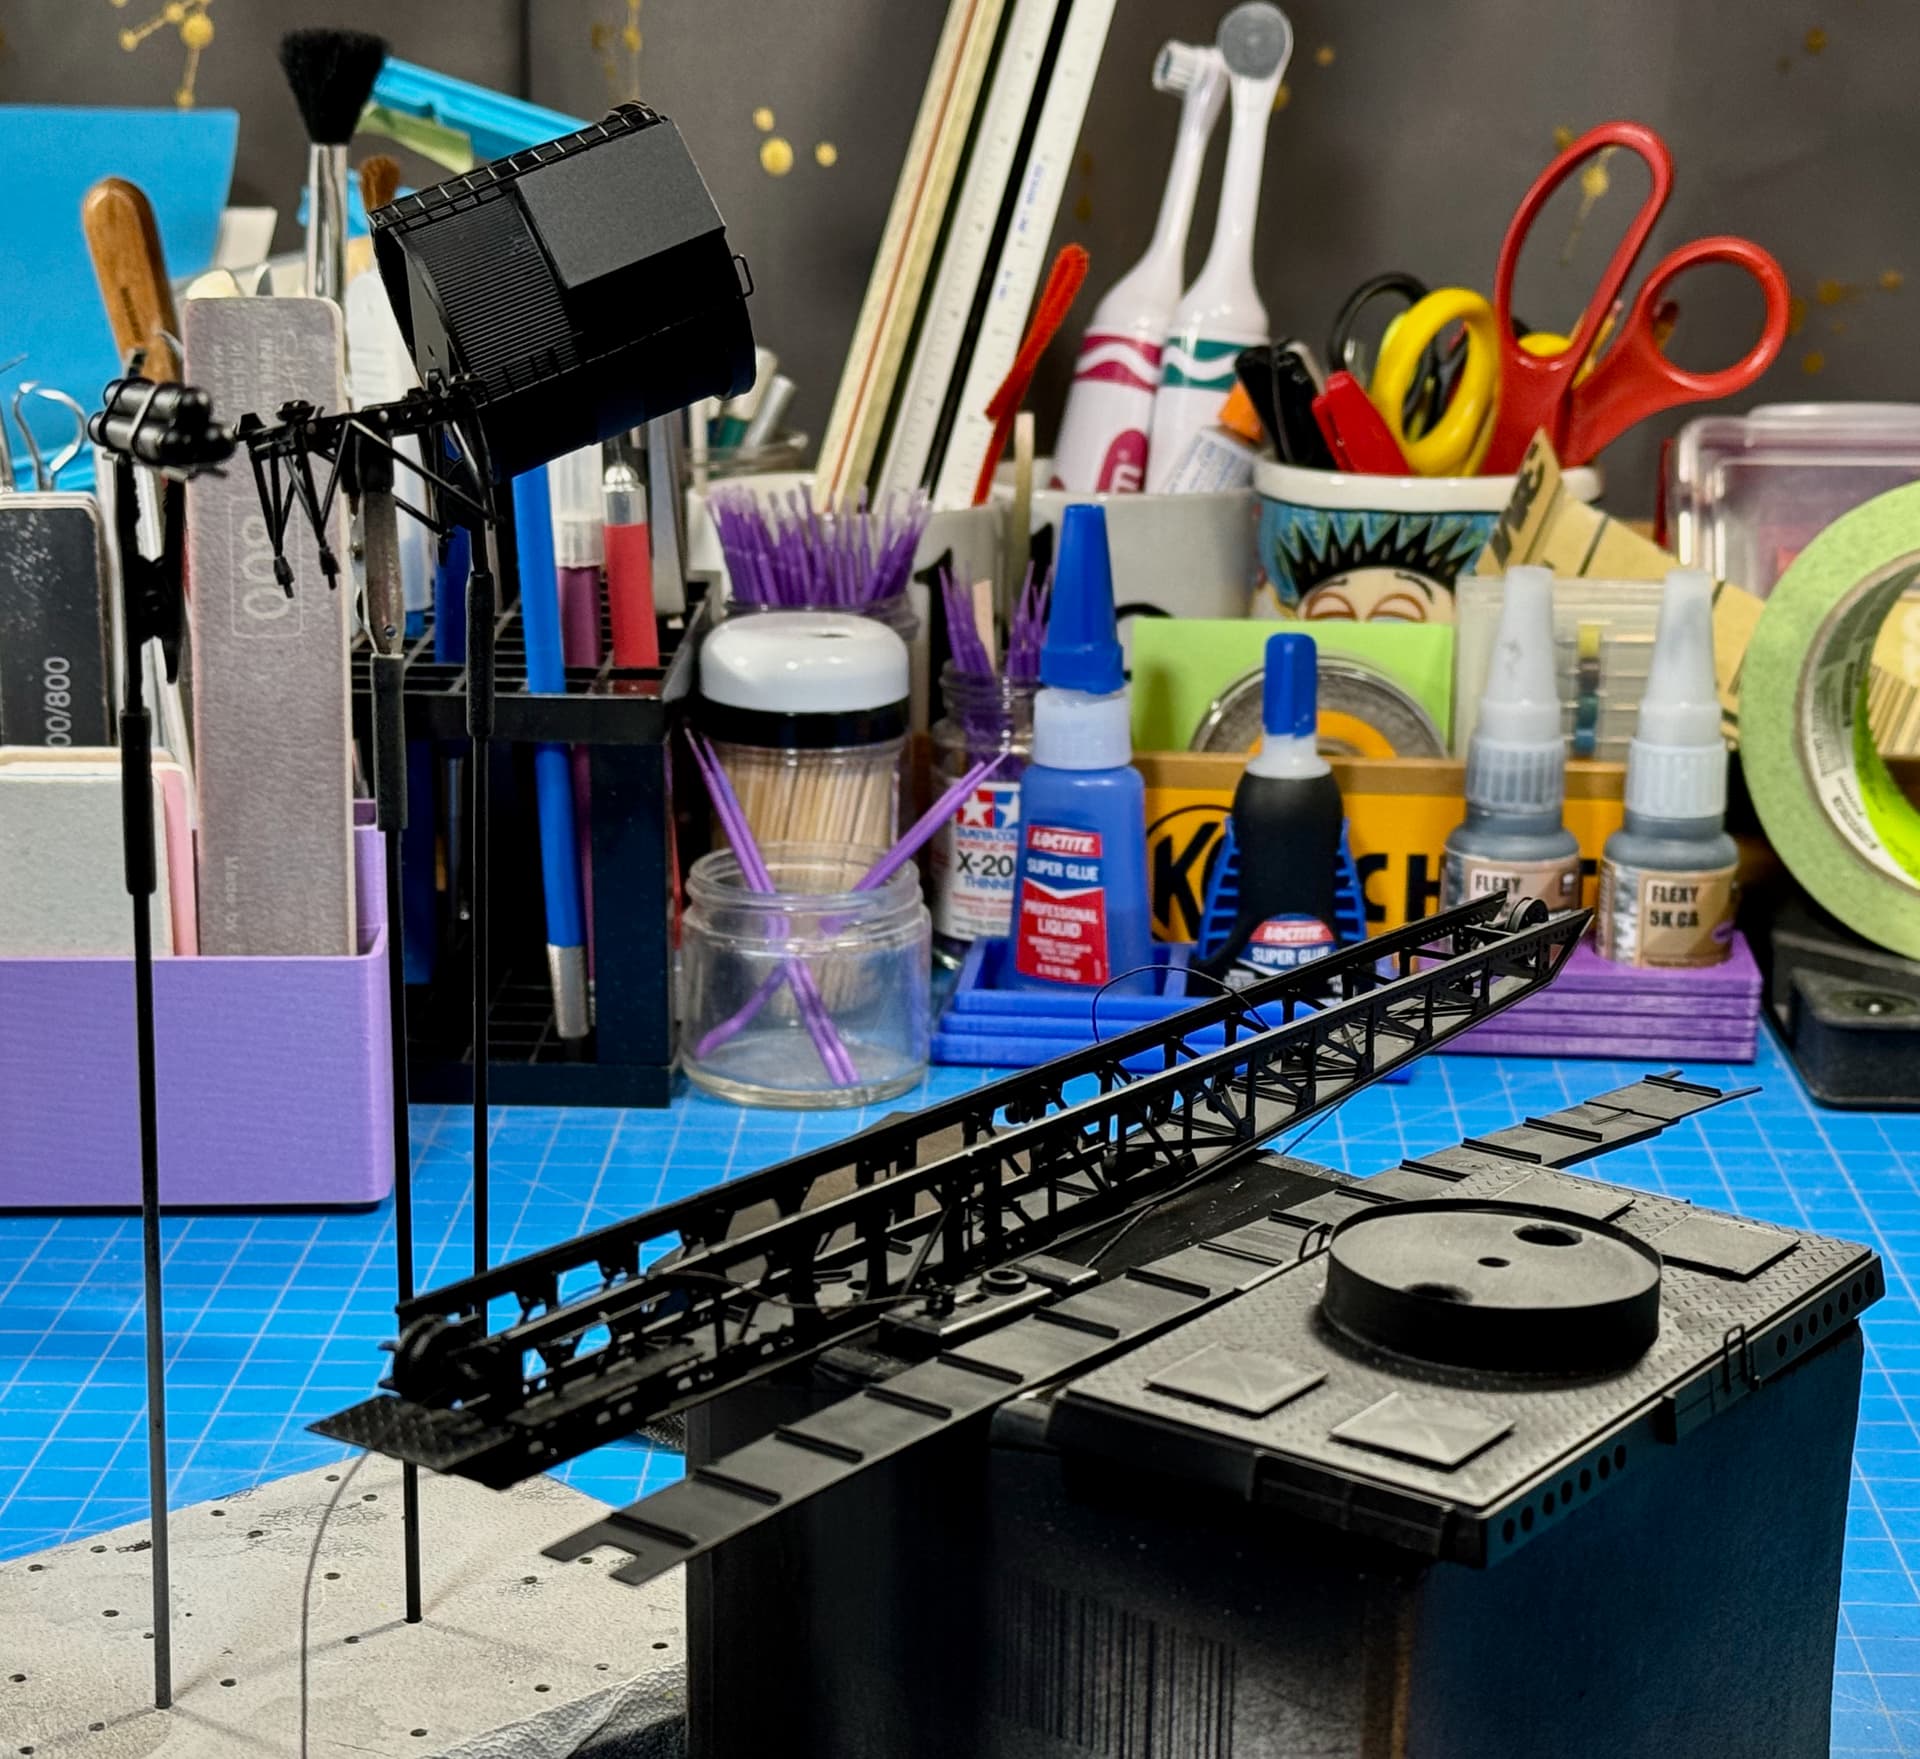
With construction out of the way for now, a pre-shading spray session happened today.
• Tamiya Ts-6 Matt Black (rattle-can)
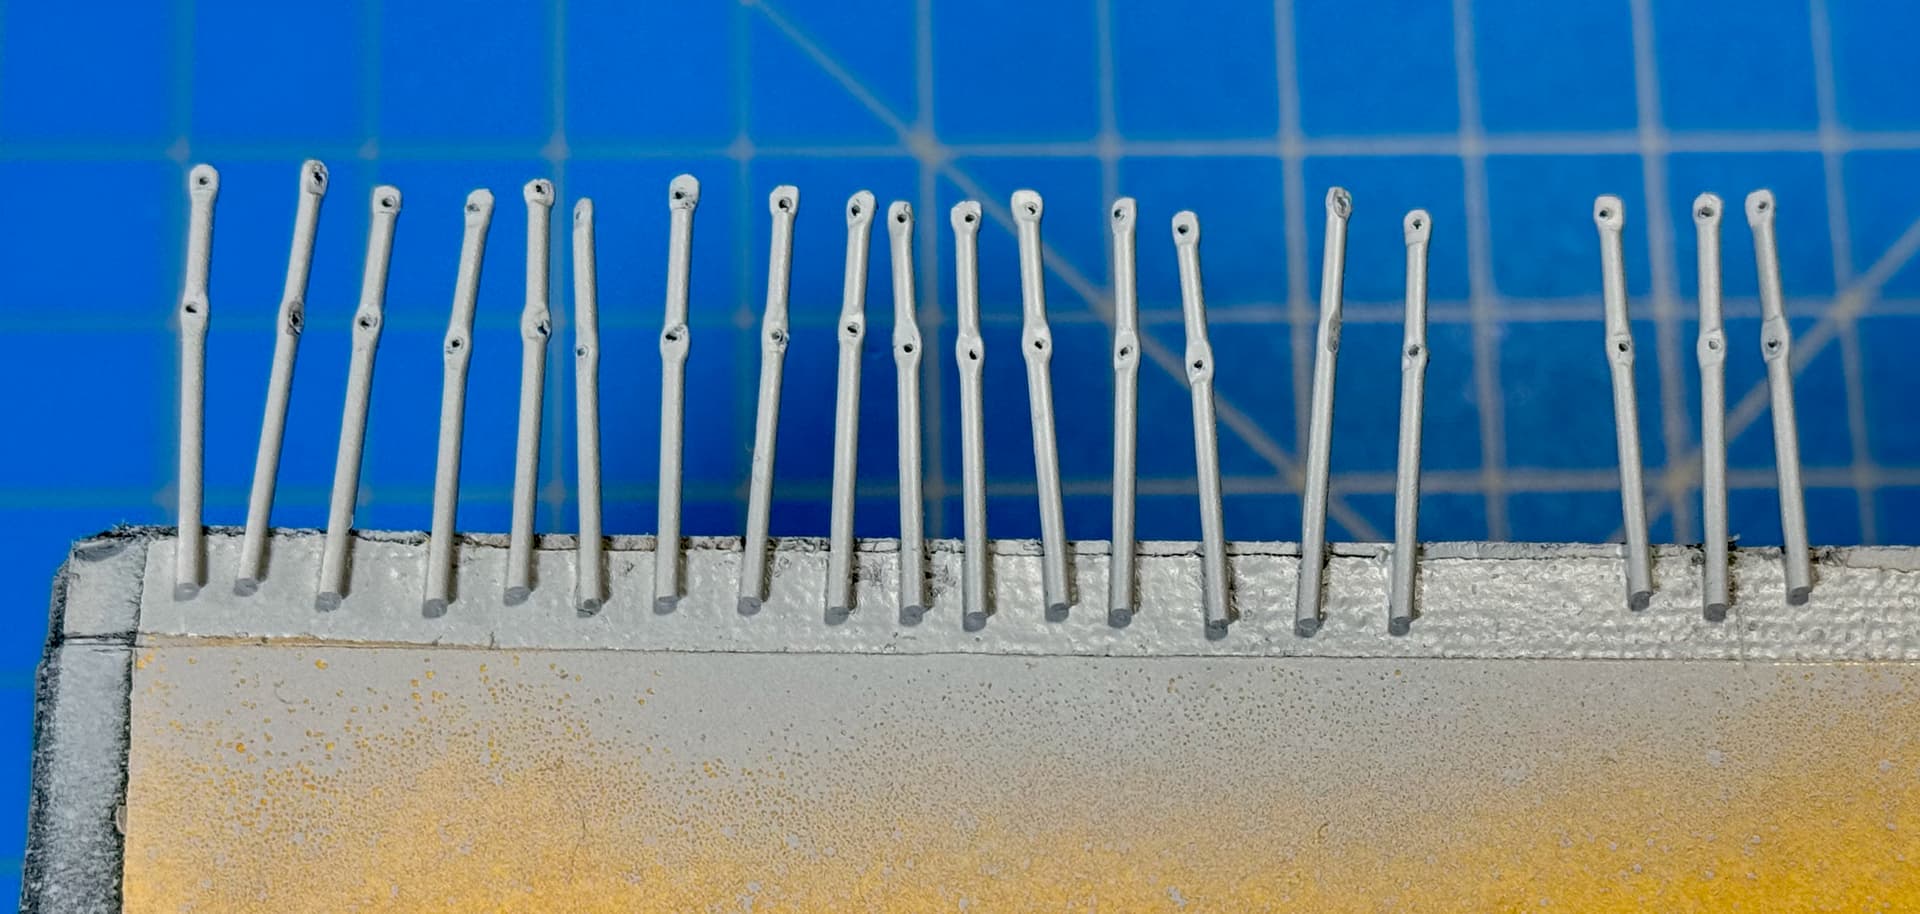
Deck Stanchions are painted and ready for threading. 
• Tamiya Fine Grey Surface Primer (87064)
• Tamiya Ts-99 IJN Grey (Maizuru Arsenal) (rattle-can)
Thank’s for having a look!
フライネイビー!
—mike
9 Likes
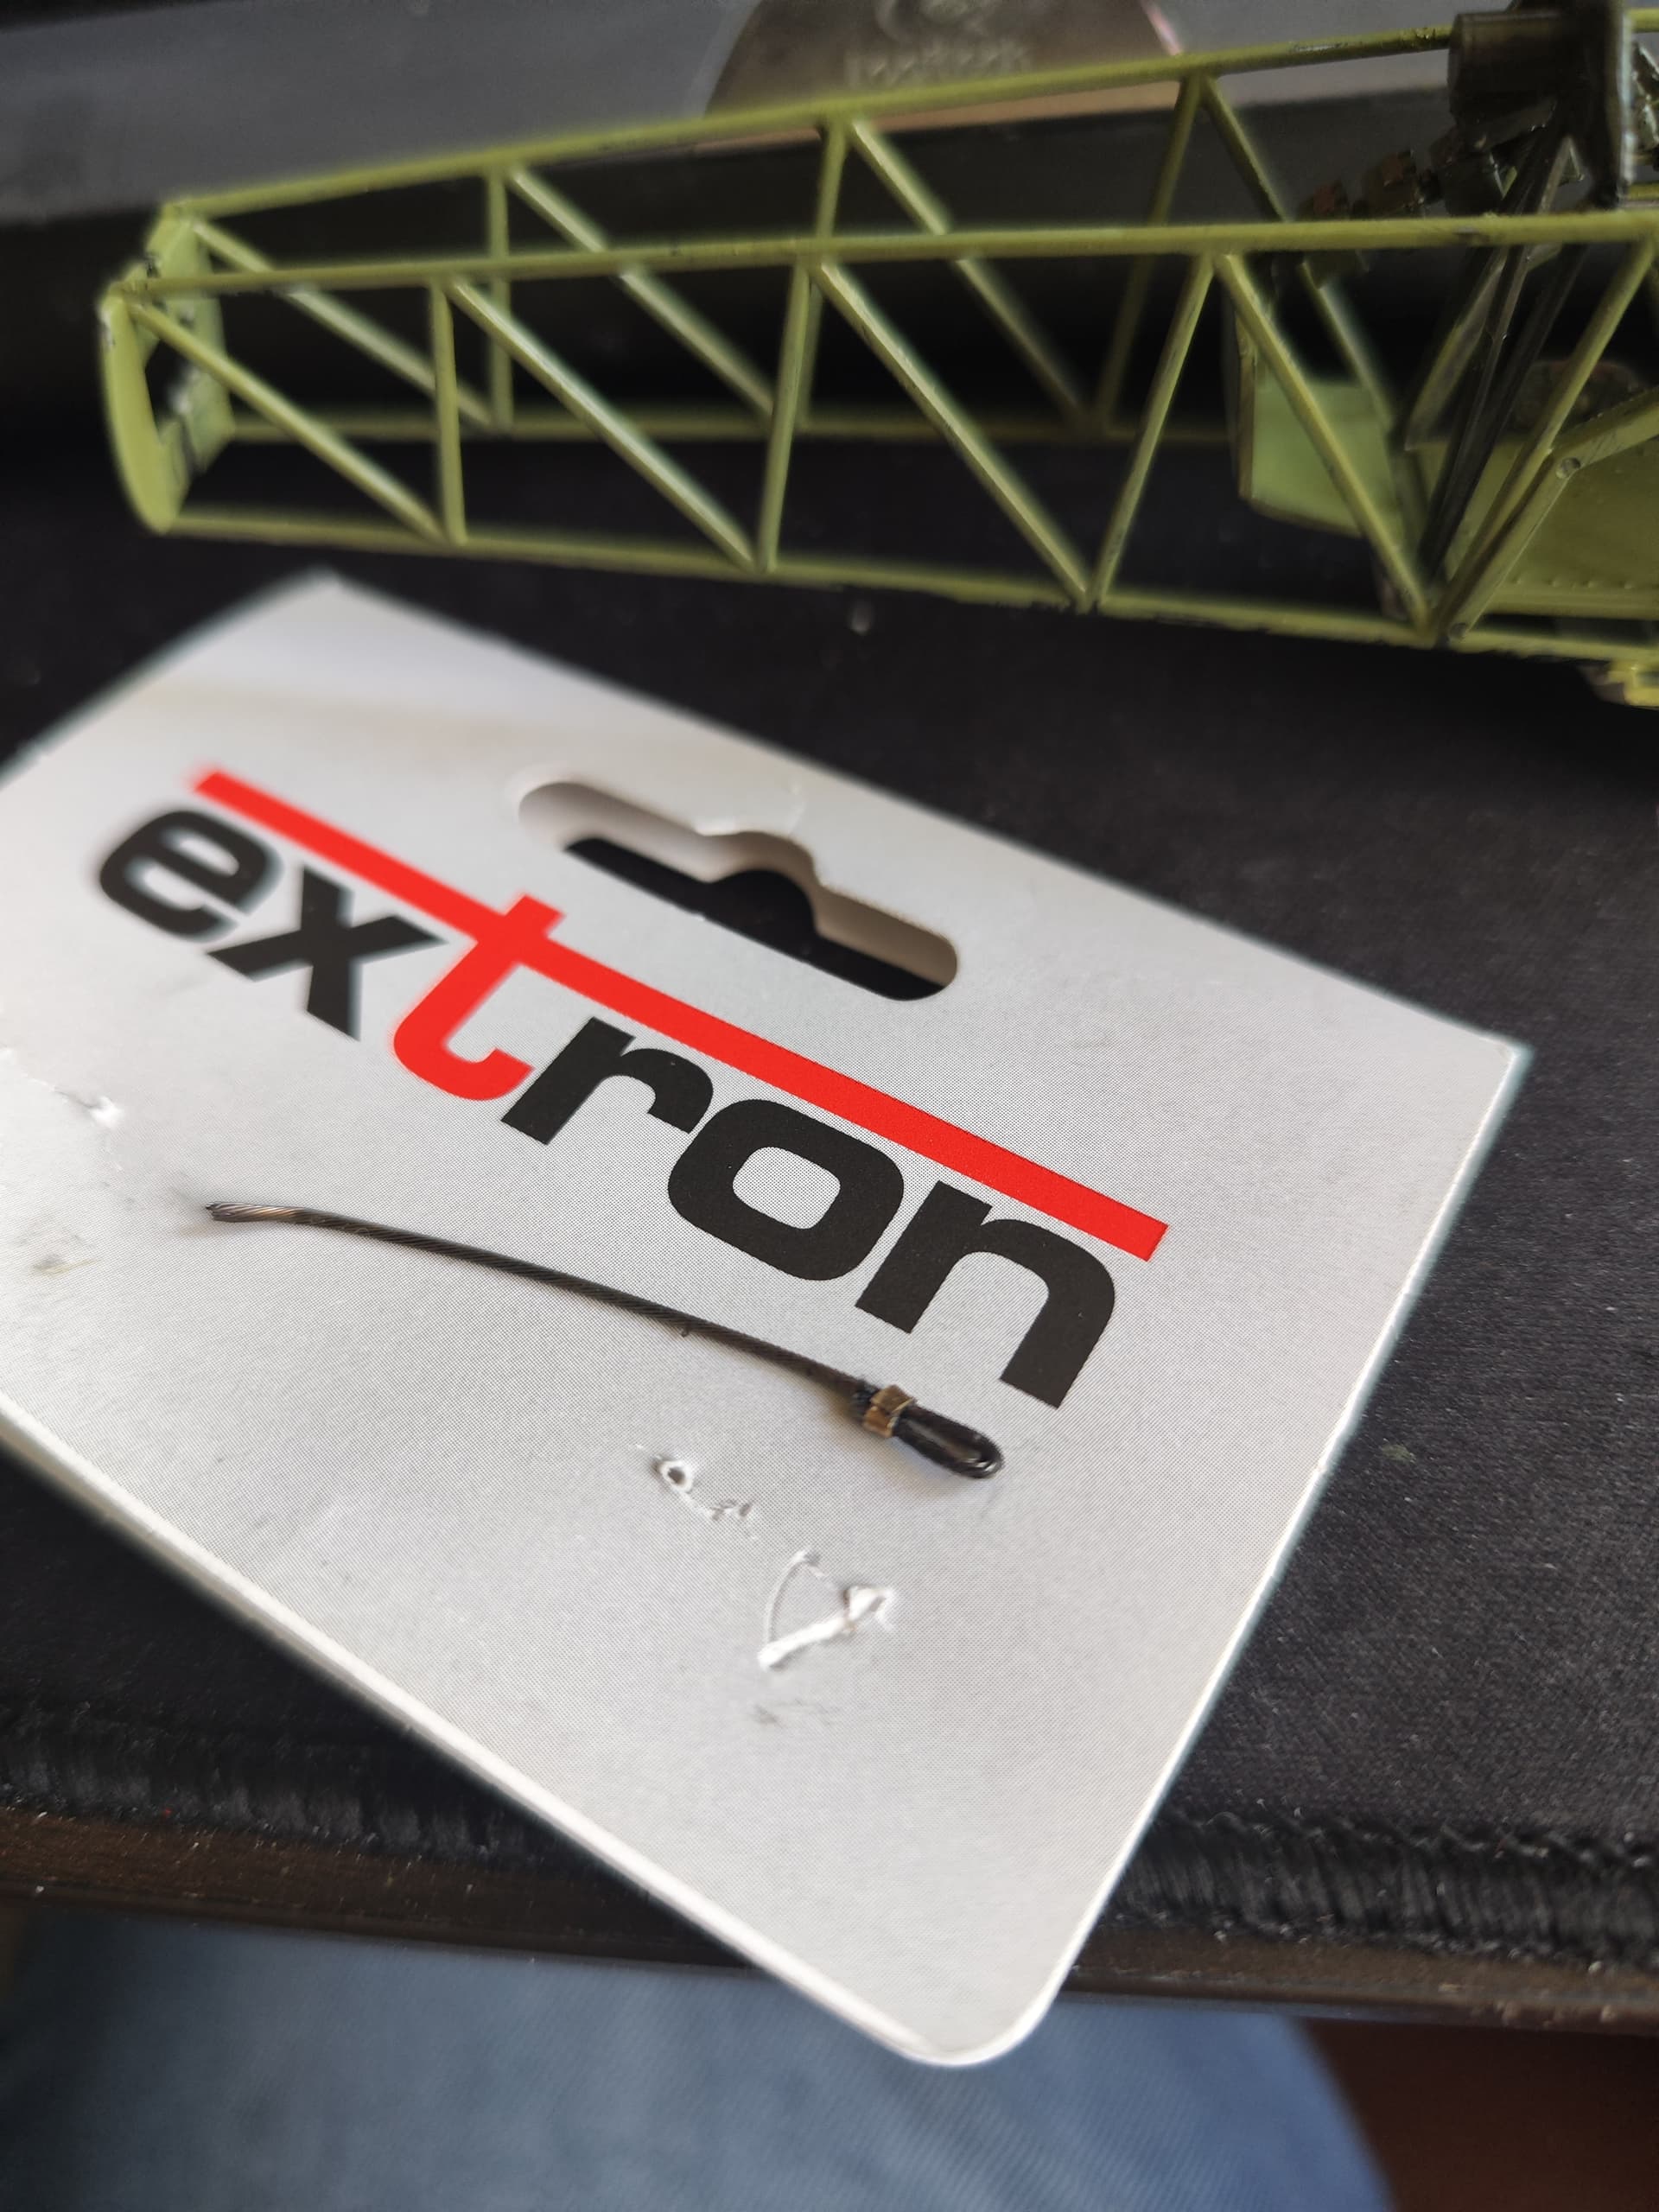
Well, here is the status of my Arado. I will build it OOB for one exception: I will replace the grabbing cables with ones made from wire.
I ordered some 0,8mm metal wire and did a first try in replicating one of the cables:
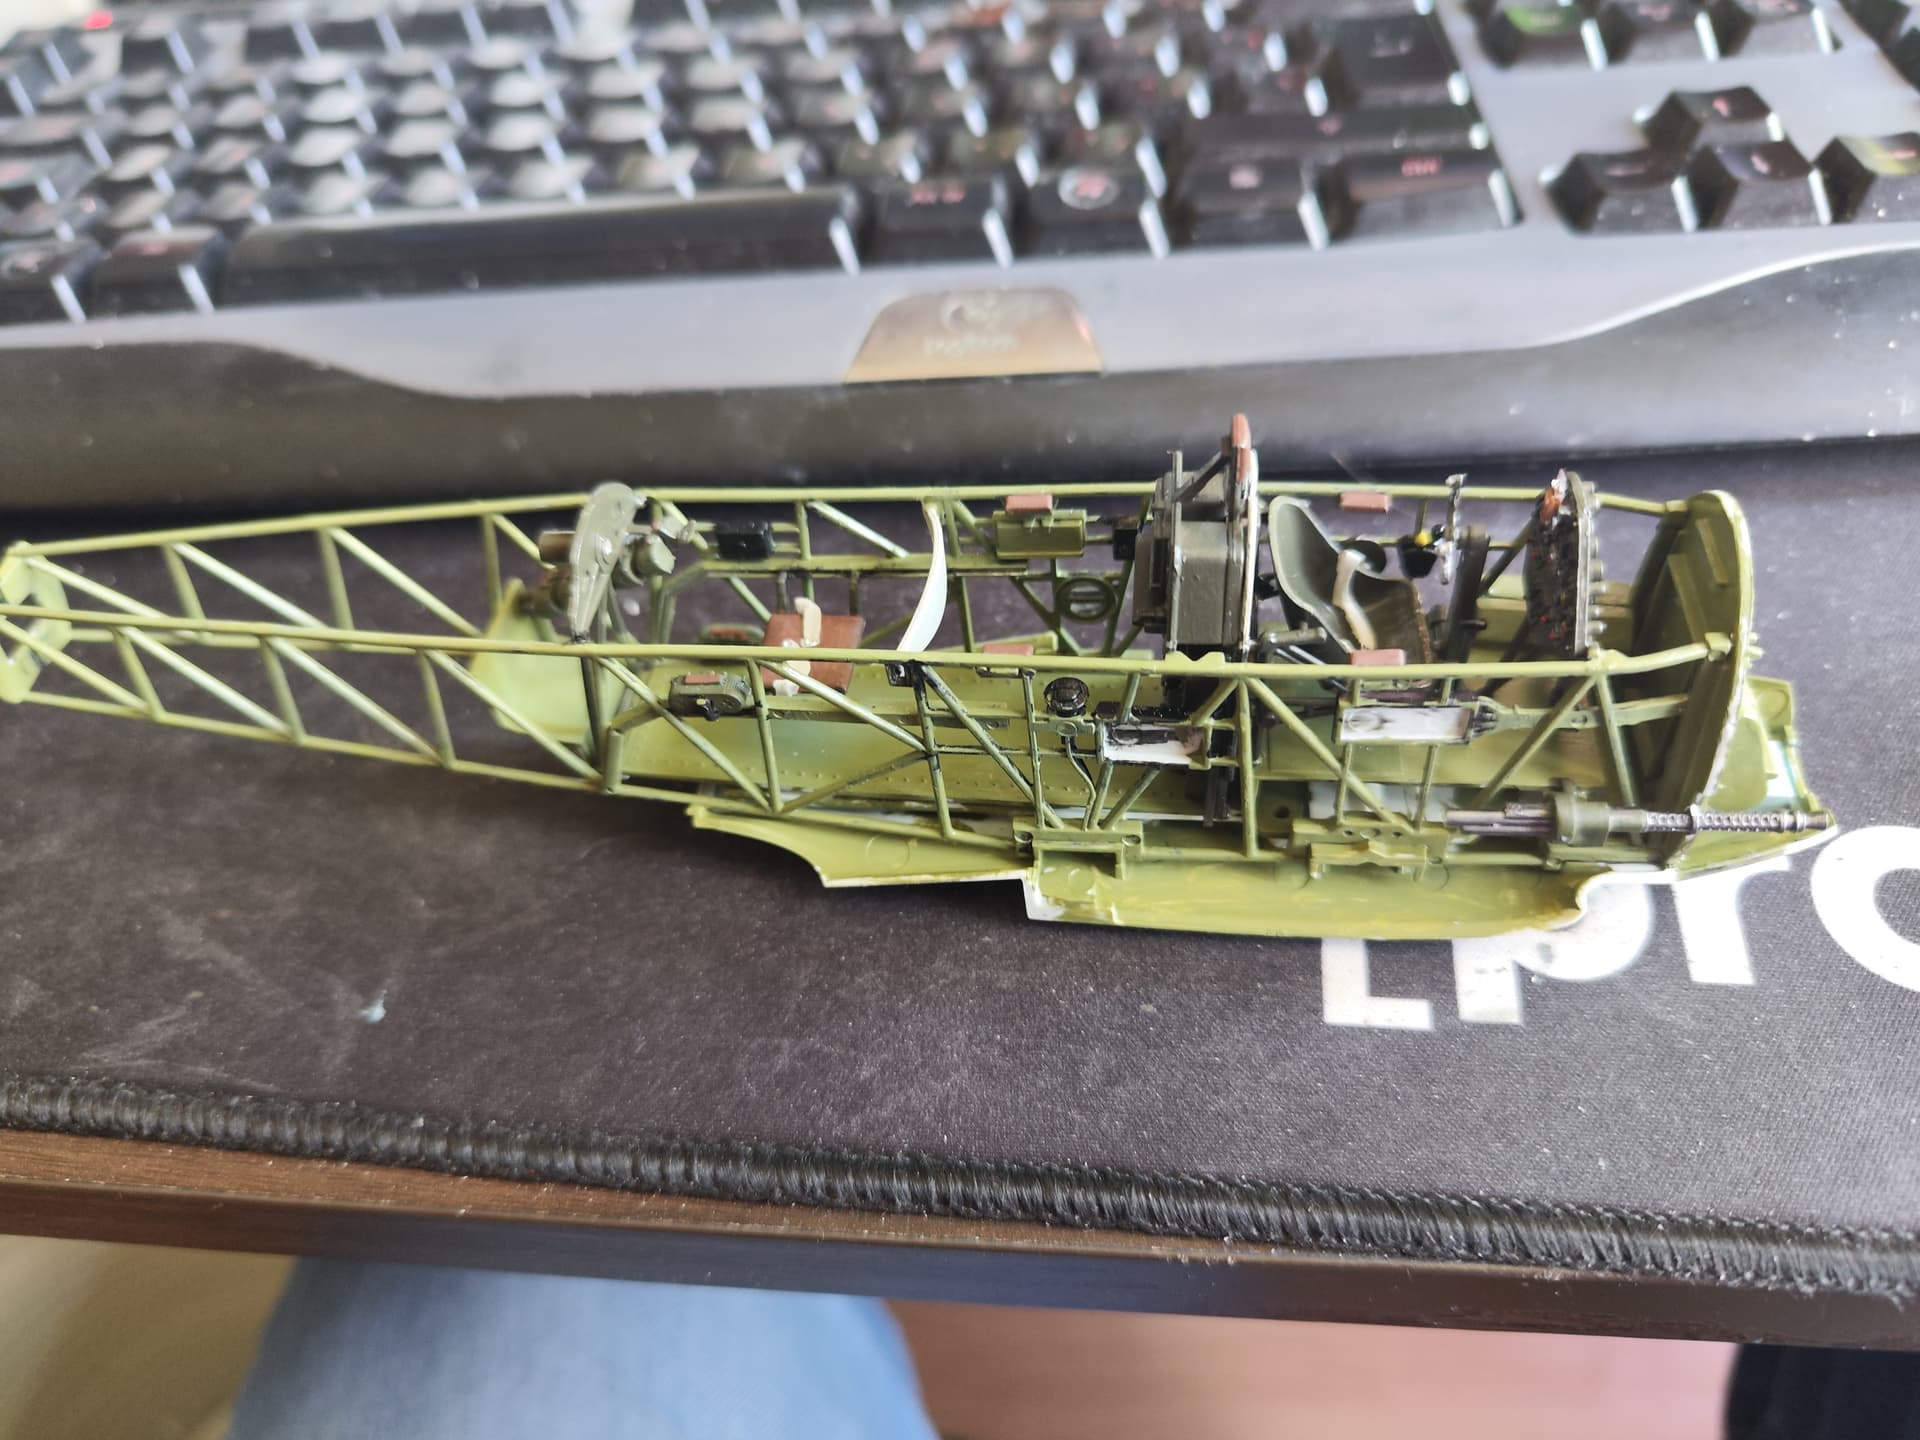
The innards are completed:
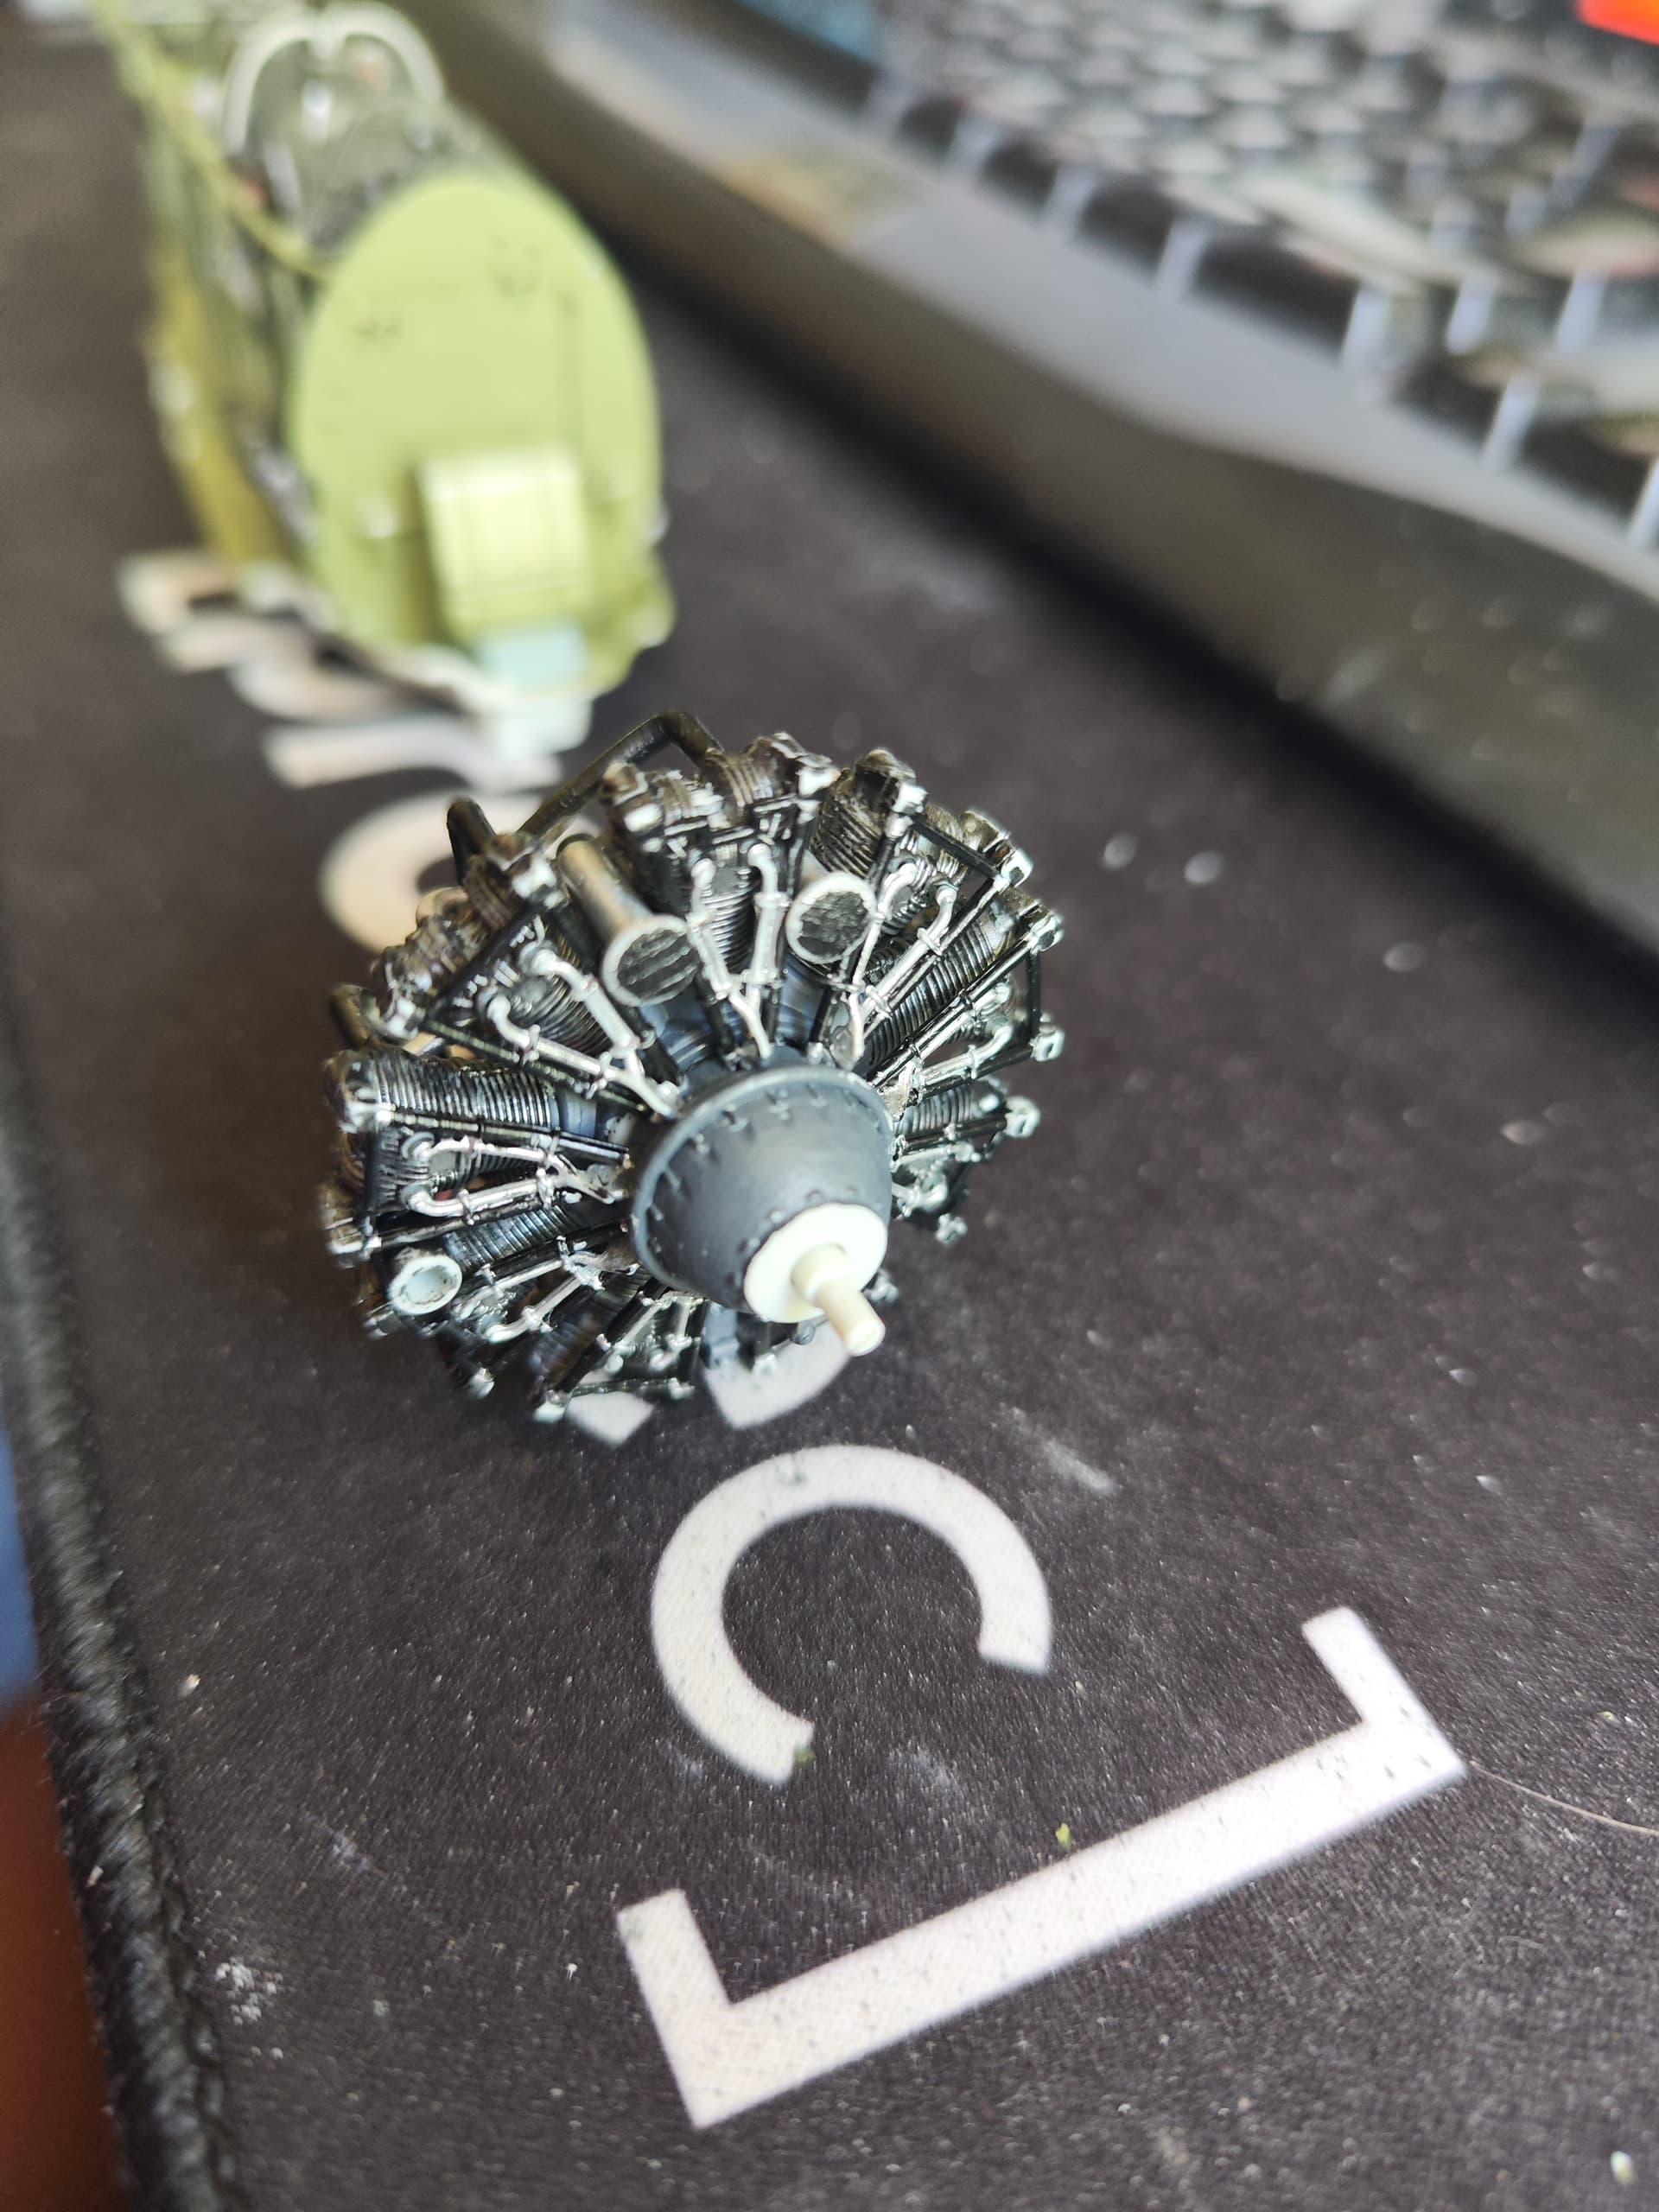
And so is the engine. I kept this also oob, so no additions for me…
10 Likes
Darn, the frame and engine look nice enough I’d be tempted to stop right there.
Cajun 
3 Likes
Thanks Terry. Revell usually isn’t known for the high level of detailing, but this kit is certainly an exception…
Thought I’d glue the water propulsion unit together.
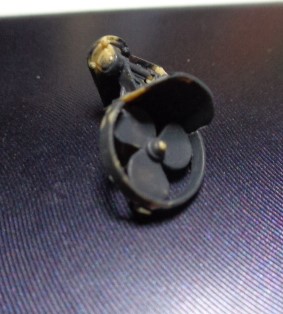
Also, first coat of Khaki to the folded roof.
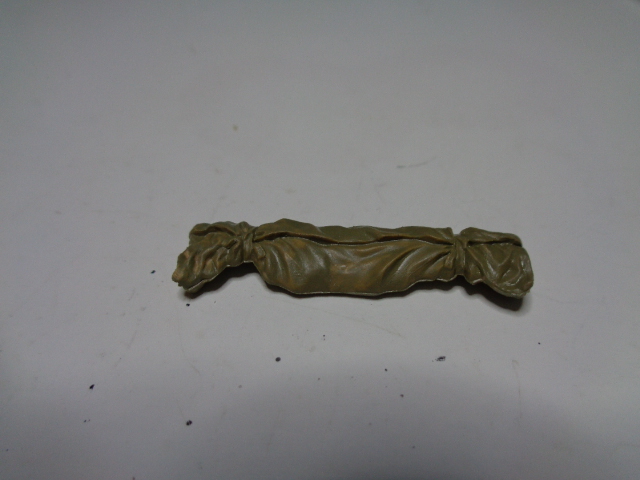
4 Likes
Dark objects on a white backgroud really throws off you camera’s light meter. You might try upping the intensity of your light and/or use a somewhat darker background so the light meter would have an easier job determining just what exposure to choose.
1 Like
Thanks!
1 Like
Nice, I can see your image much better now!
Cajun
Does this qualify as a skid?
Just kidding!
Painted the catapult in base color today.
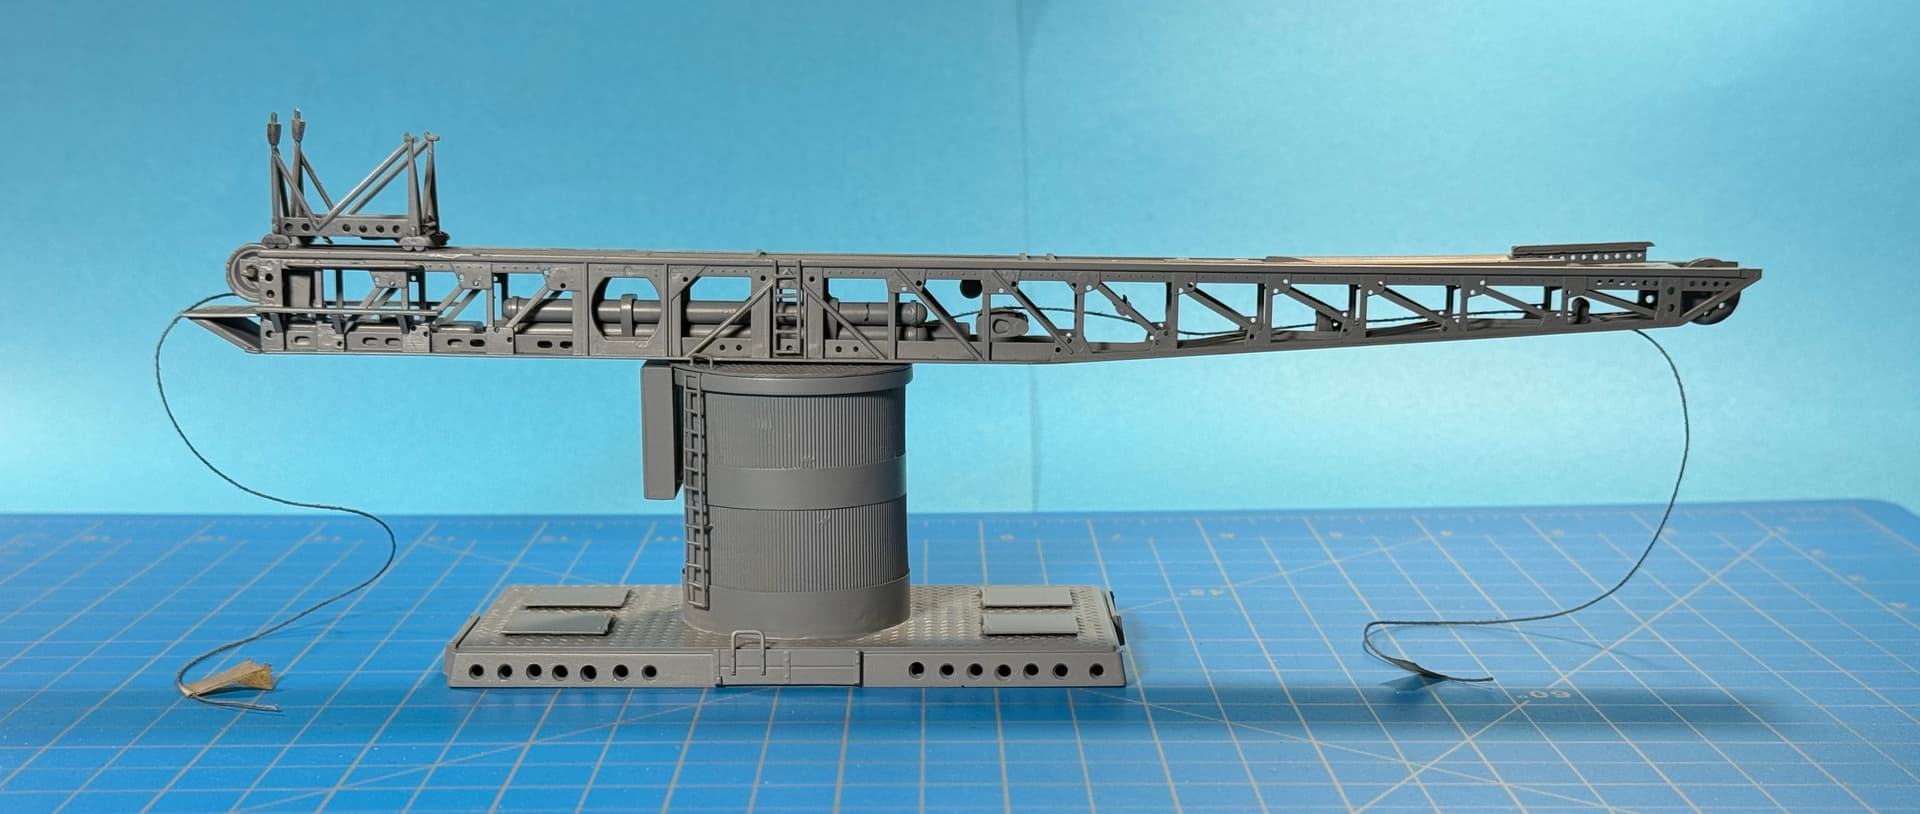
• Tamiya Ts-99 IJN Grey (Maizuru Arsenal) (rattle-can) 

Still moveable, even with paint build-up. …
Happy with how this part is going. Need to do a tiny bit of touch-up on the cylinders, then I can add the remaining pulleys, attach the actual cable to the fish-line and pull.
Contemplating what’s next for the Jake. 
Honoring D-Day. 
—mike
7 Likes
Most small parts cleanup and some assembly, including the mesh for the small openings for the engine compartment.
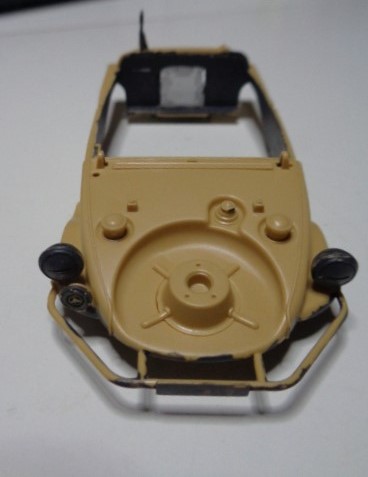
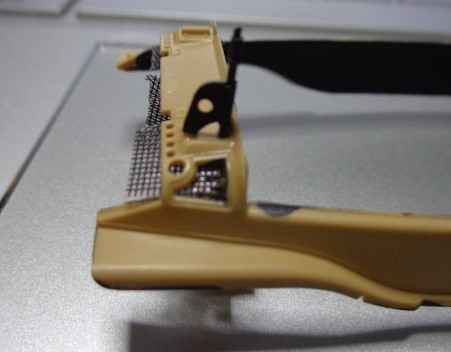
Cockpit finally glued into chassis.
6 Likes