Hi Everyone,
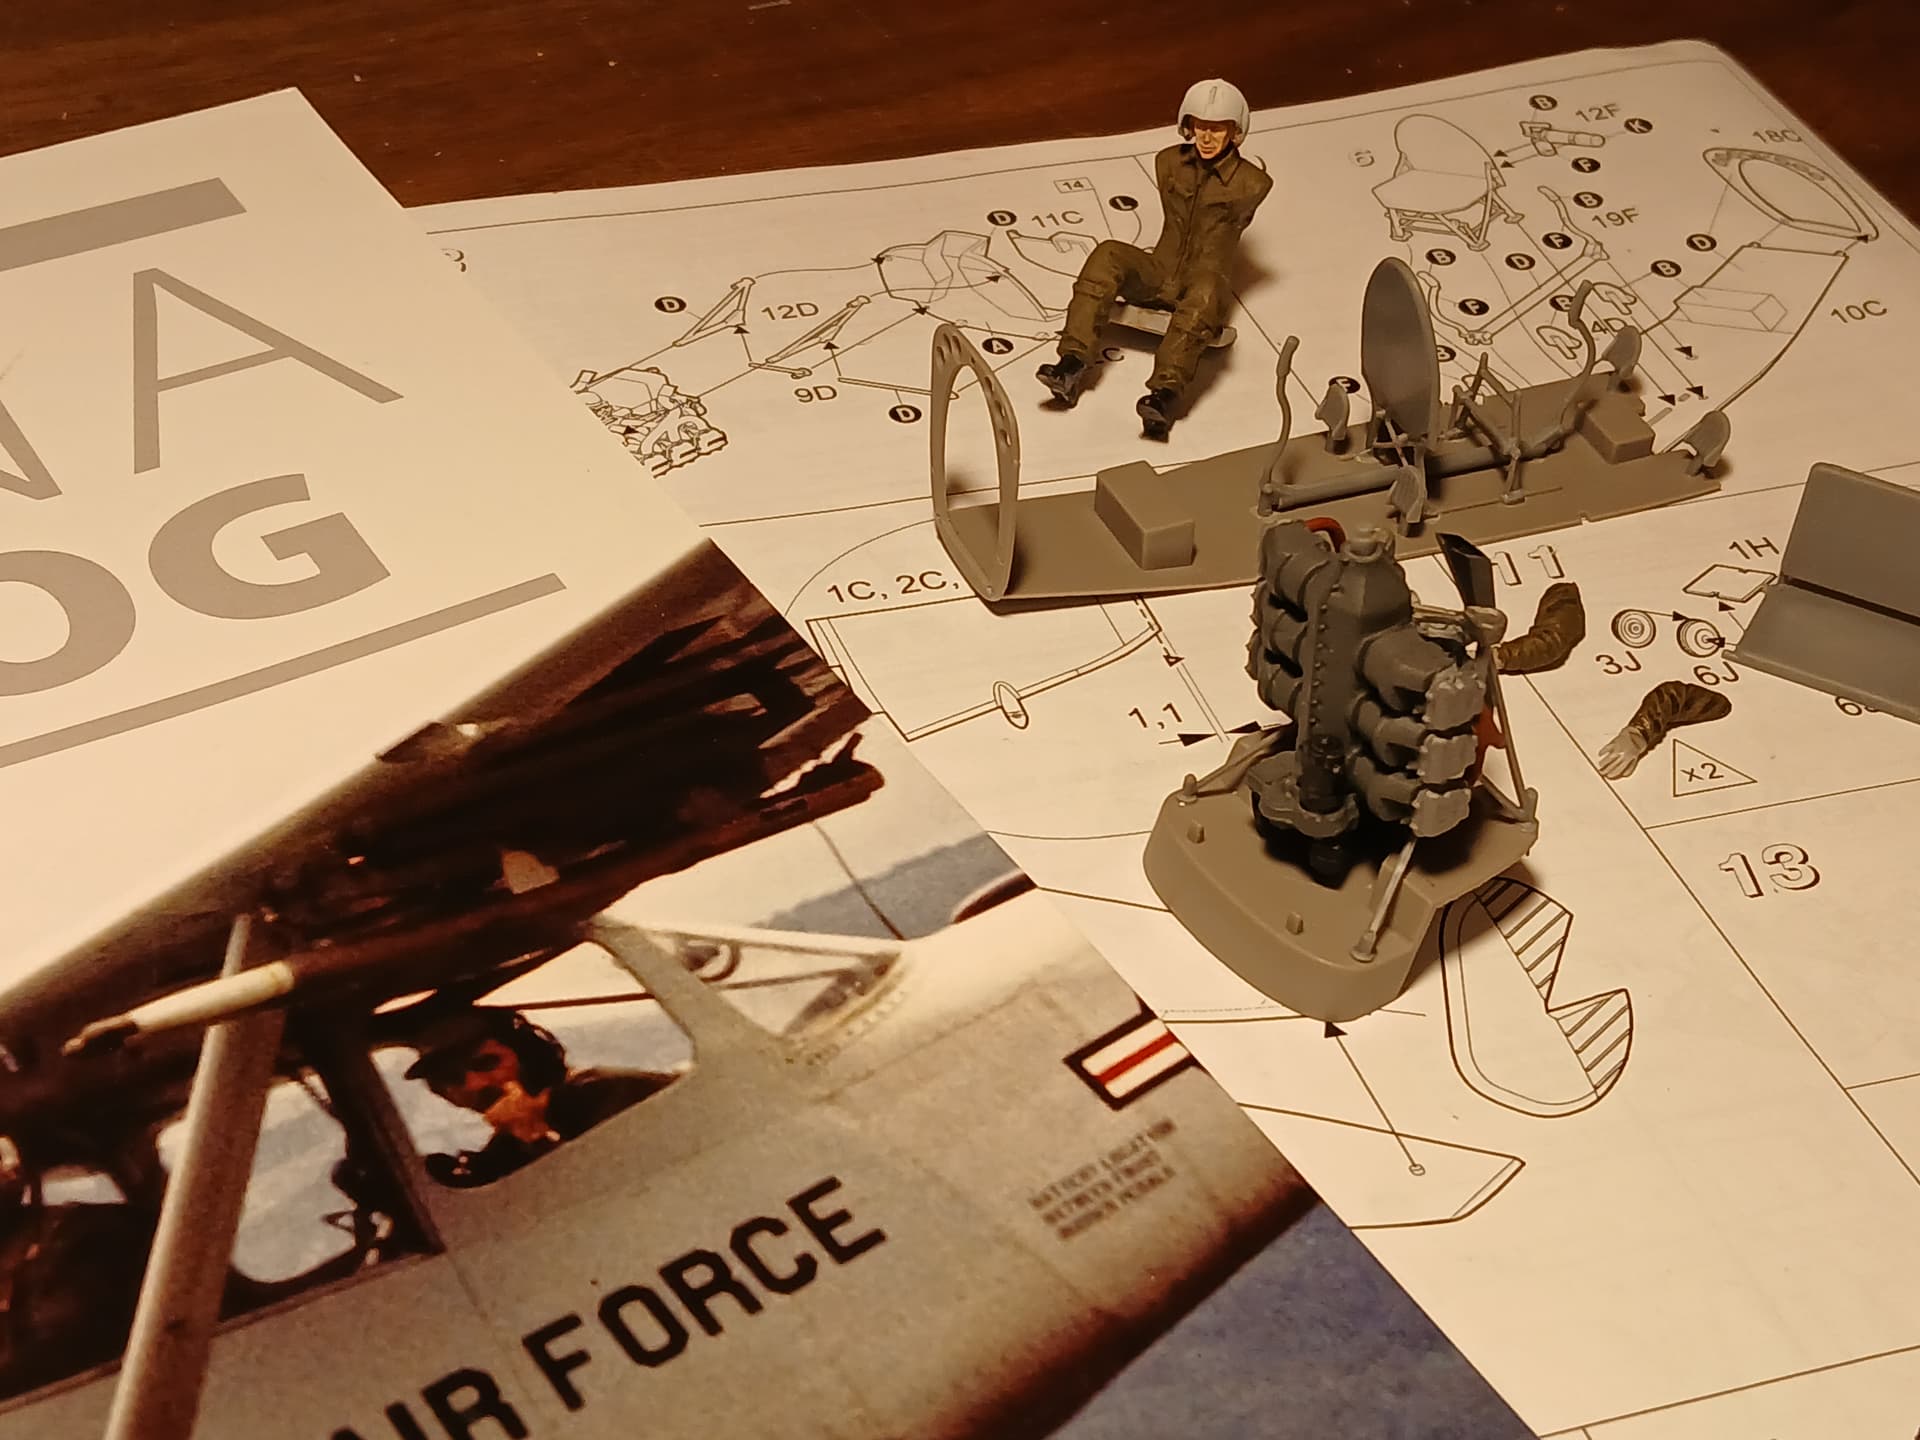
Cajun, I’m really enjoying your Bird Dog build! Great attention to detail going into a small area. Gary, looking good so far. Mike, having a special spot for Japanese float planes, I’m very much watching what you’re doing. So far looks great. Having the Nichimo Jake in 1/48, I’m faced with having to scratch a cockpit. Your build has given me some nice ideas, thank you.
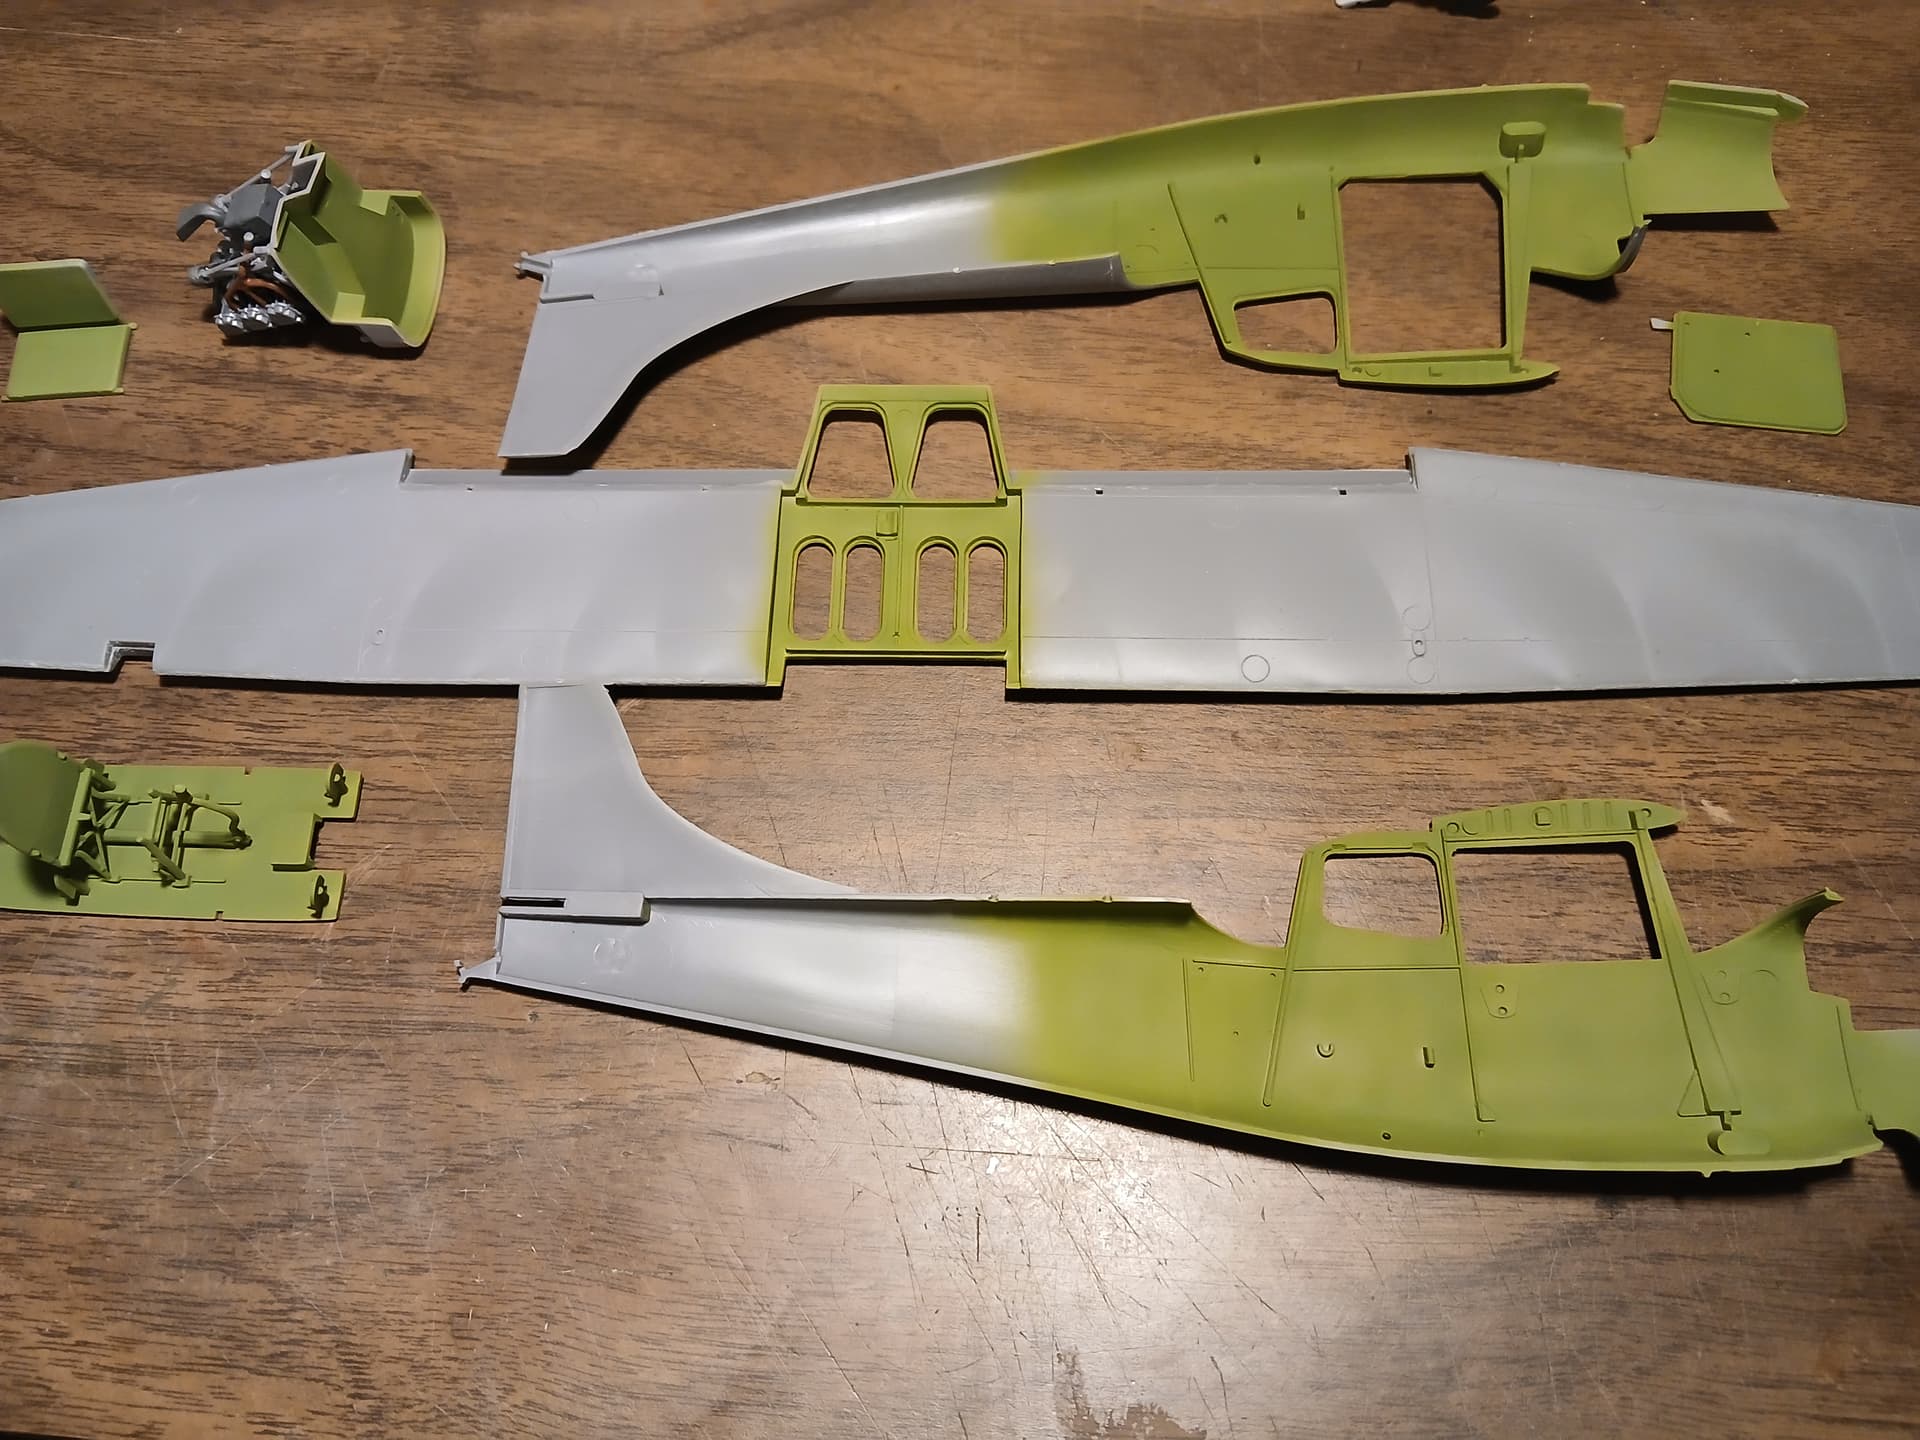
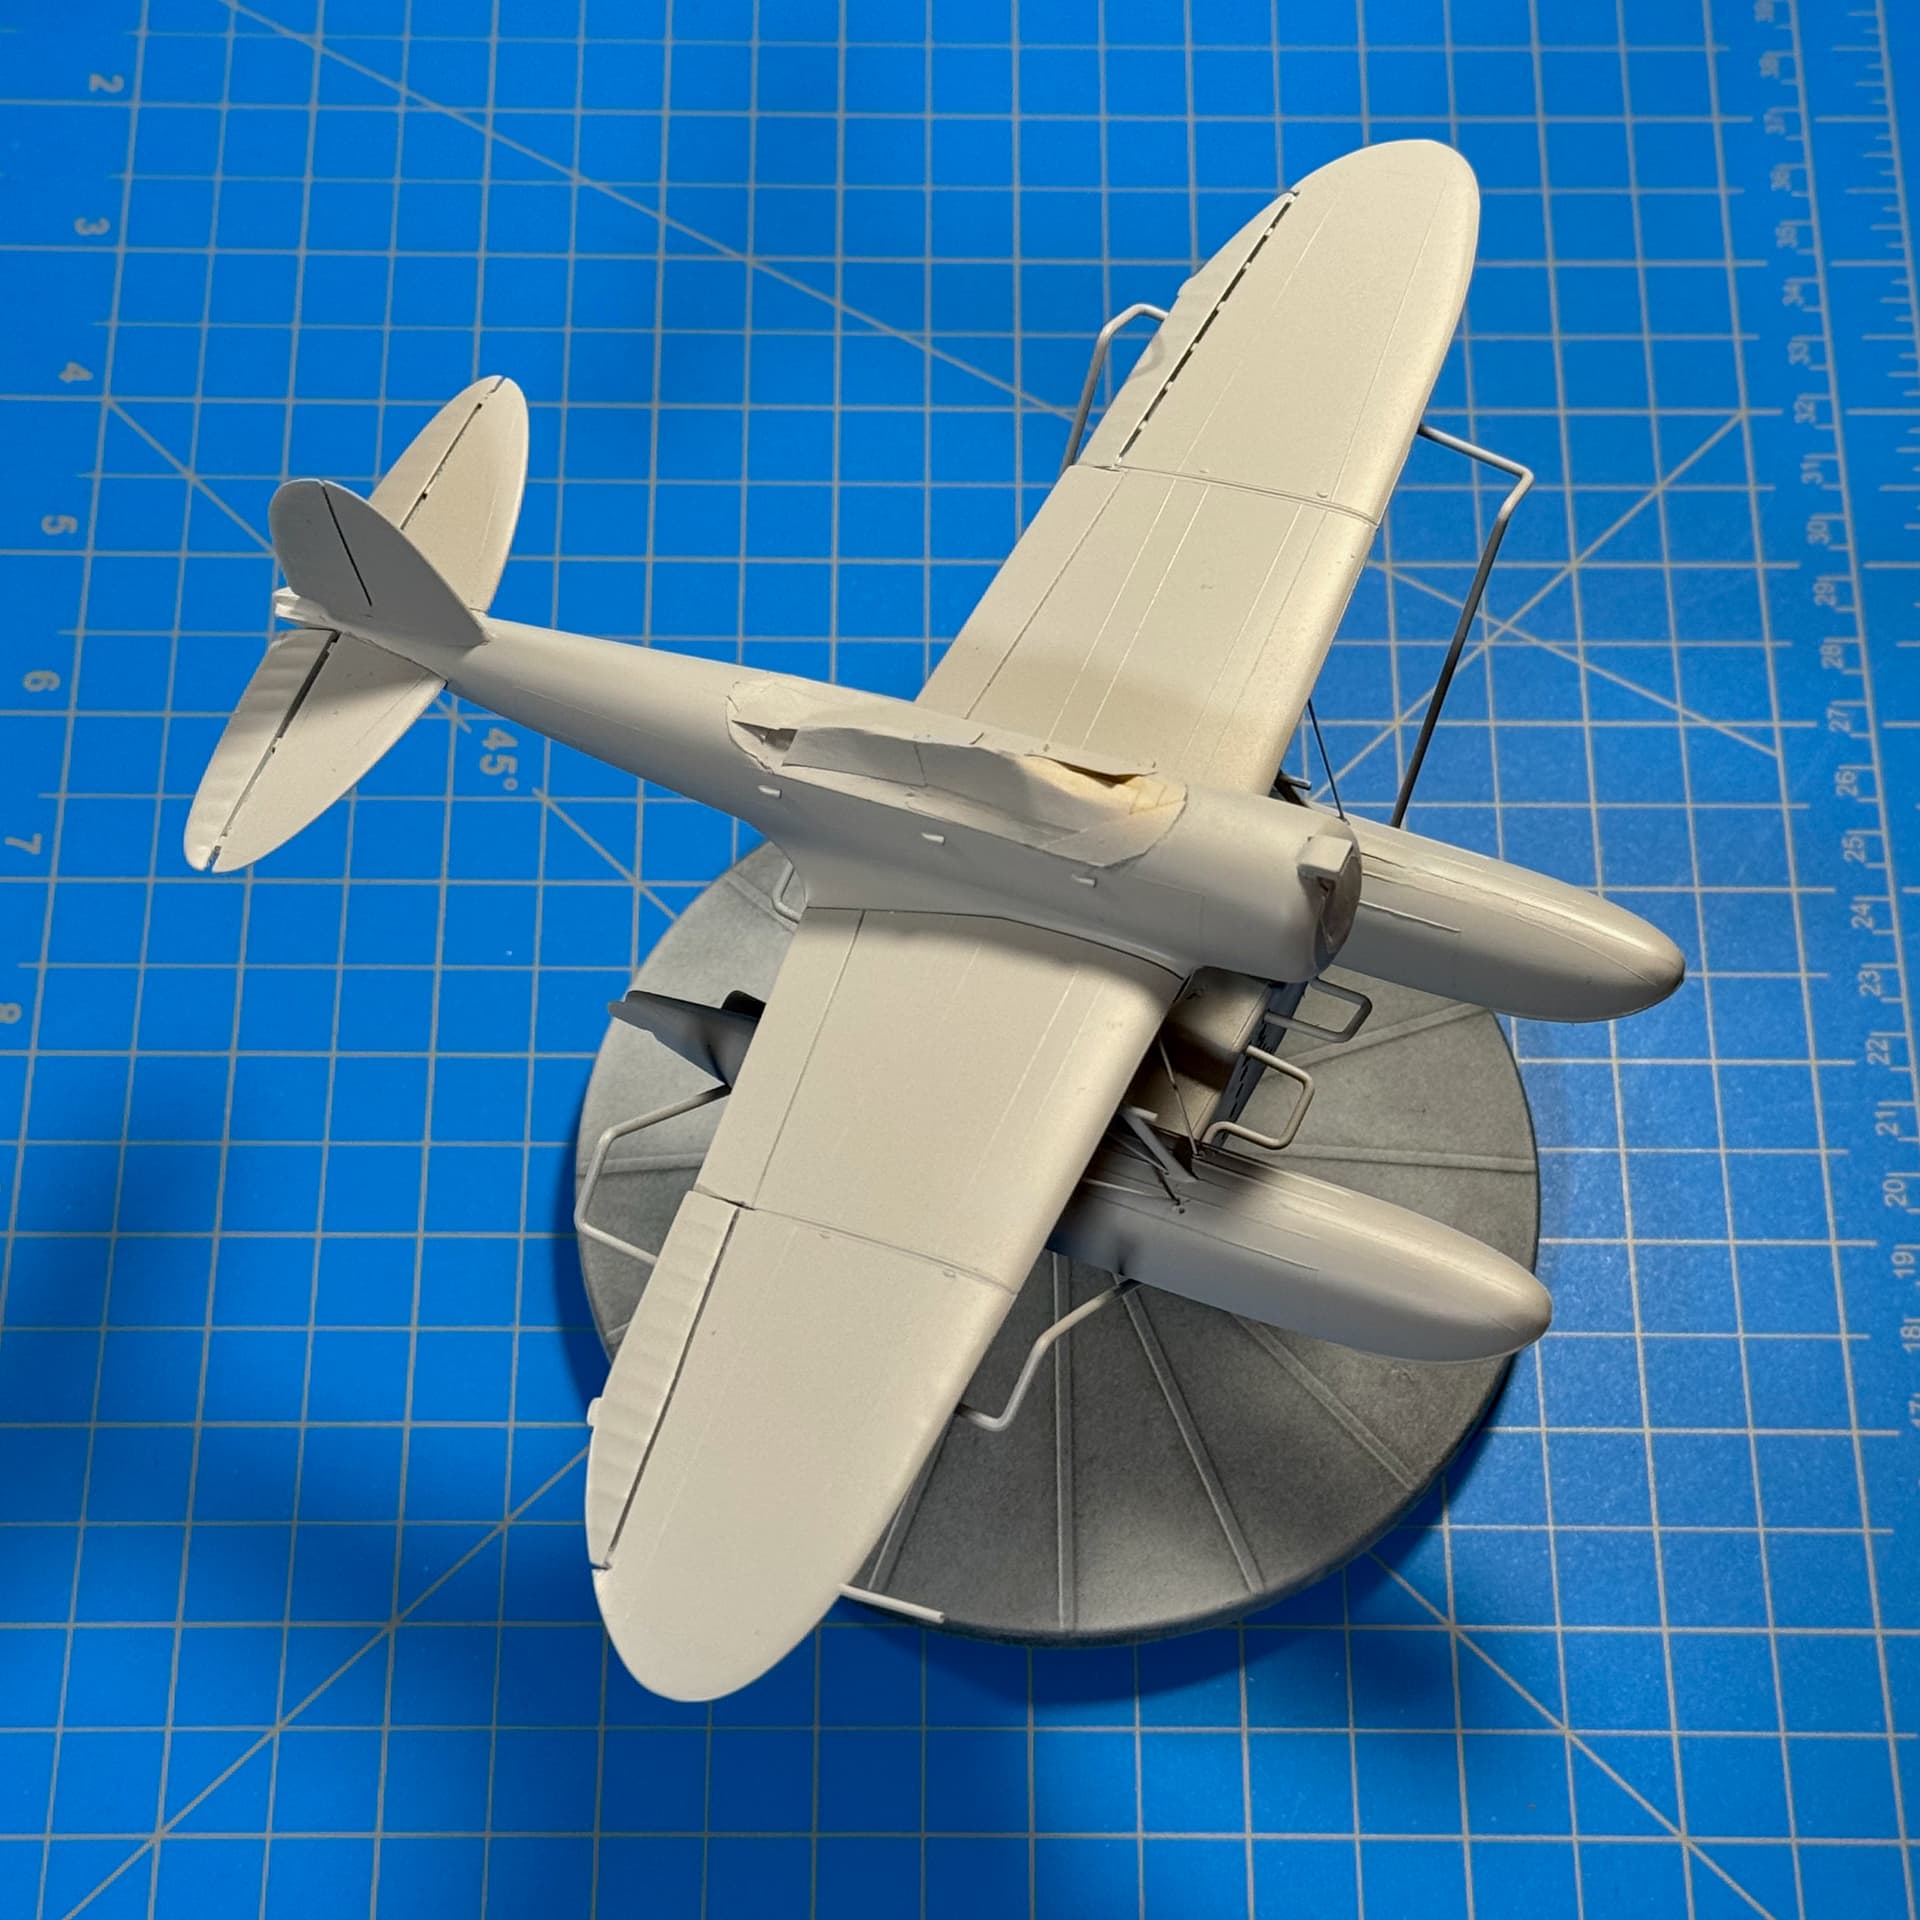
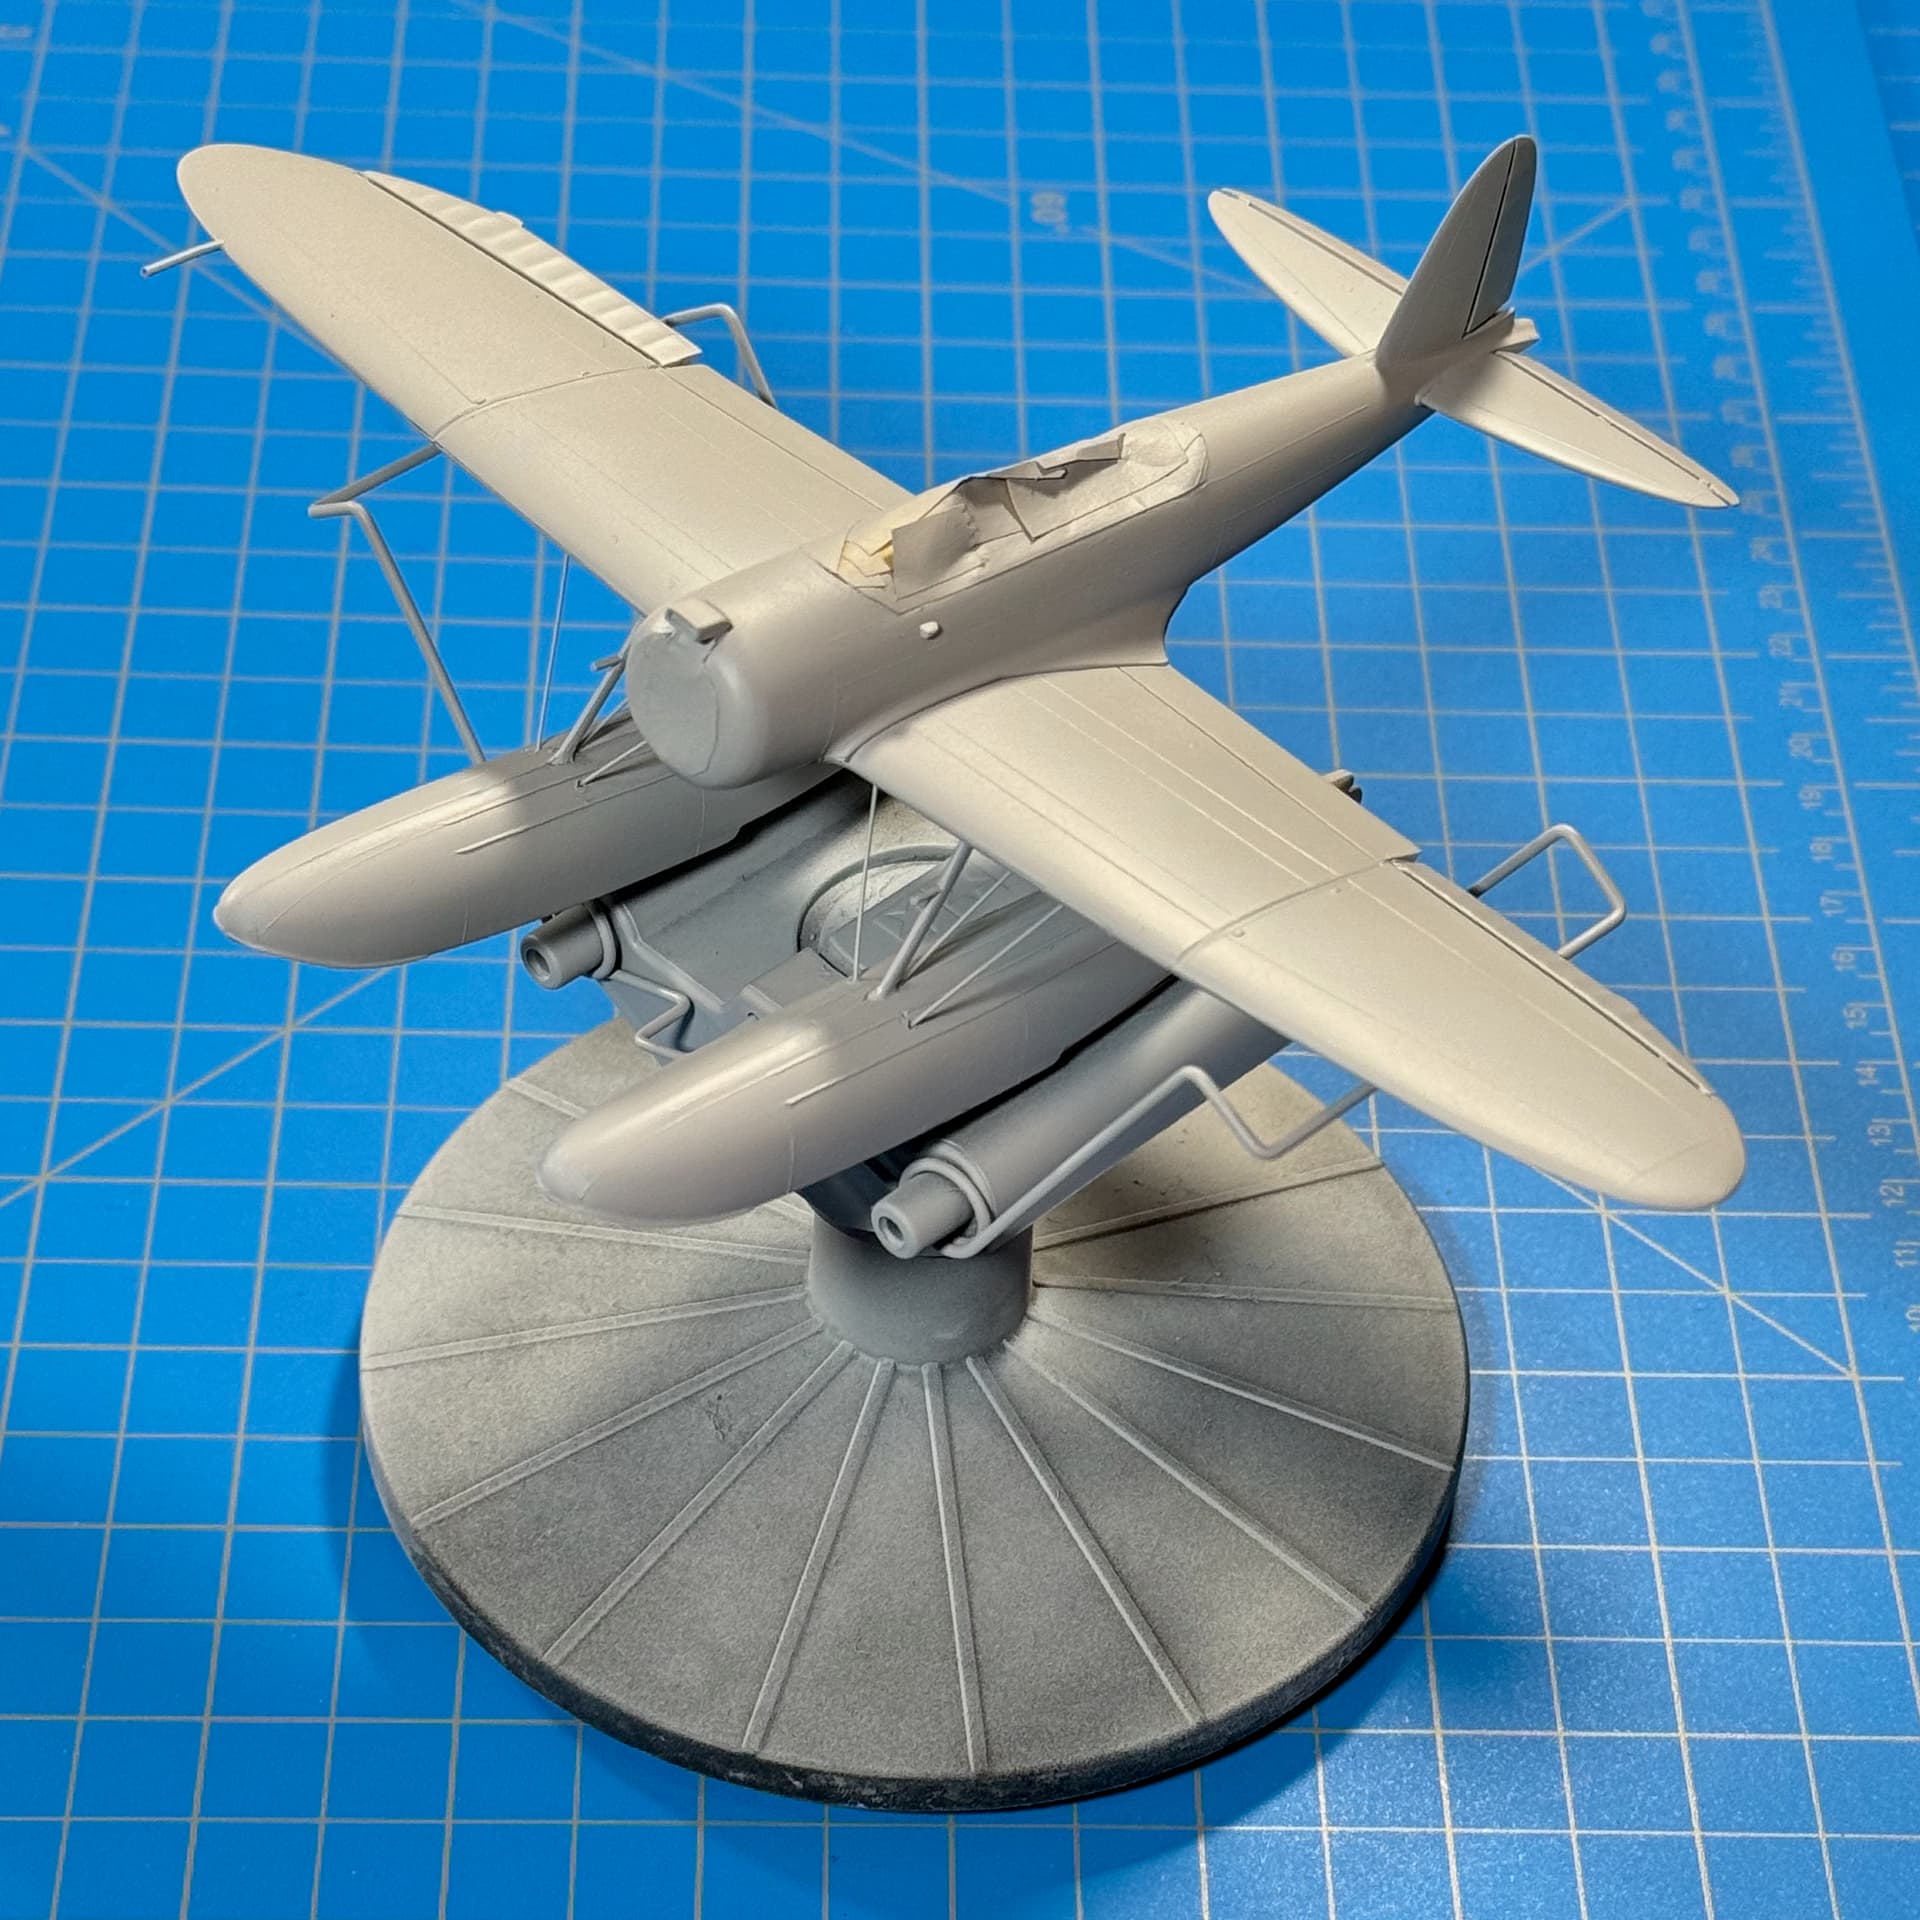
In my last episode I had completed the airframe and was beginning the process of getting some color on her. Given this was a bird that was stationed on an island the potential for weathering was certainly there, however, for this one I wanted to have it look as it would of shortly after being dropped off on the island. Additionally, I was going to use a combination of painted insignia, a set of Techmod decals, and the kit decals. After all, I have quite an inventory to build, and painting the insignia on each of them will really bite into what time I have left (yeah, got a lot builds yet to do!). So, on with the show!
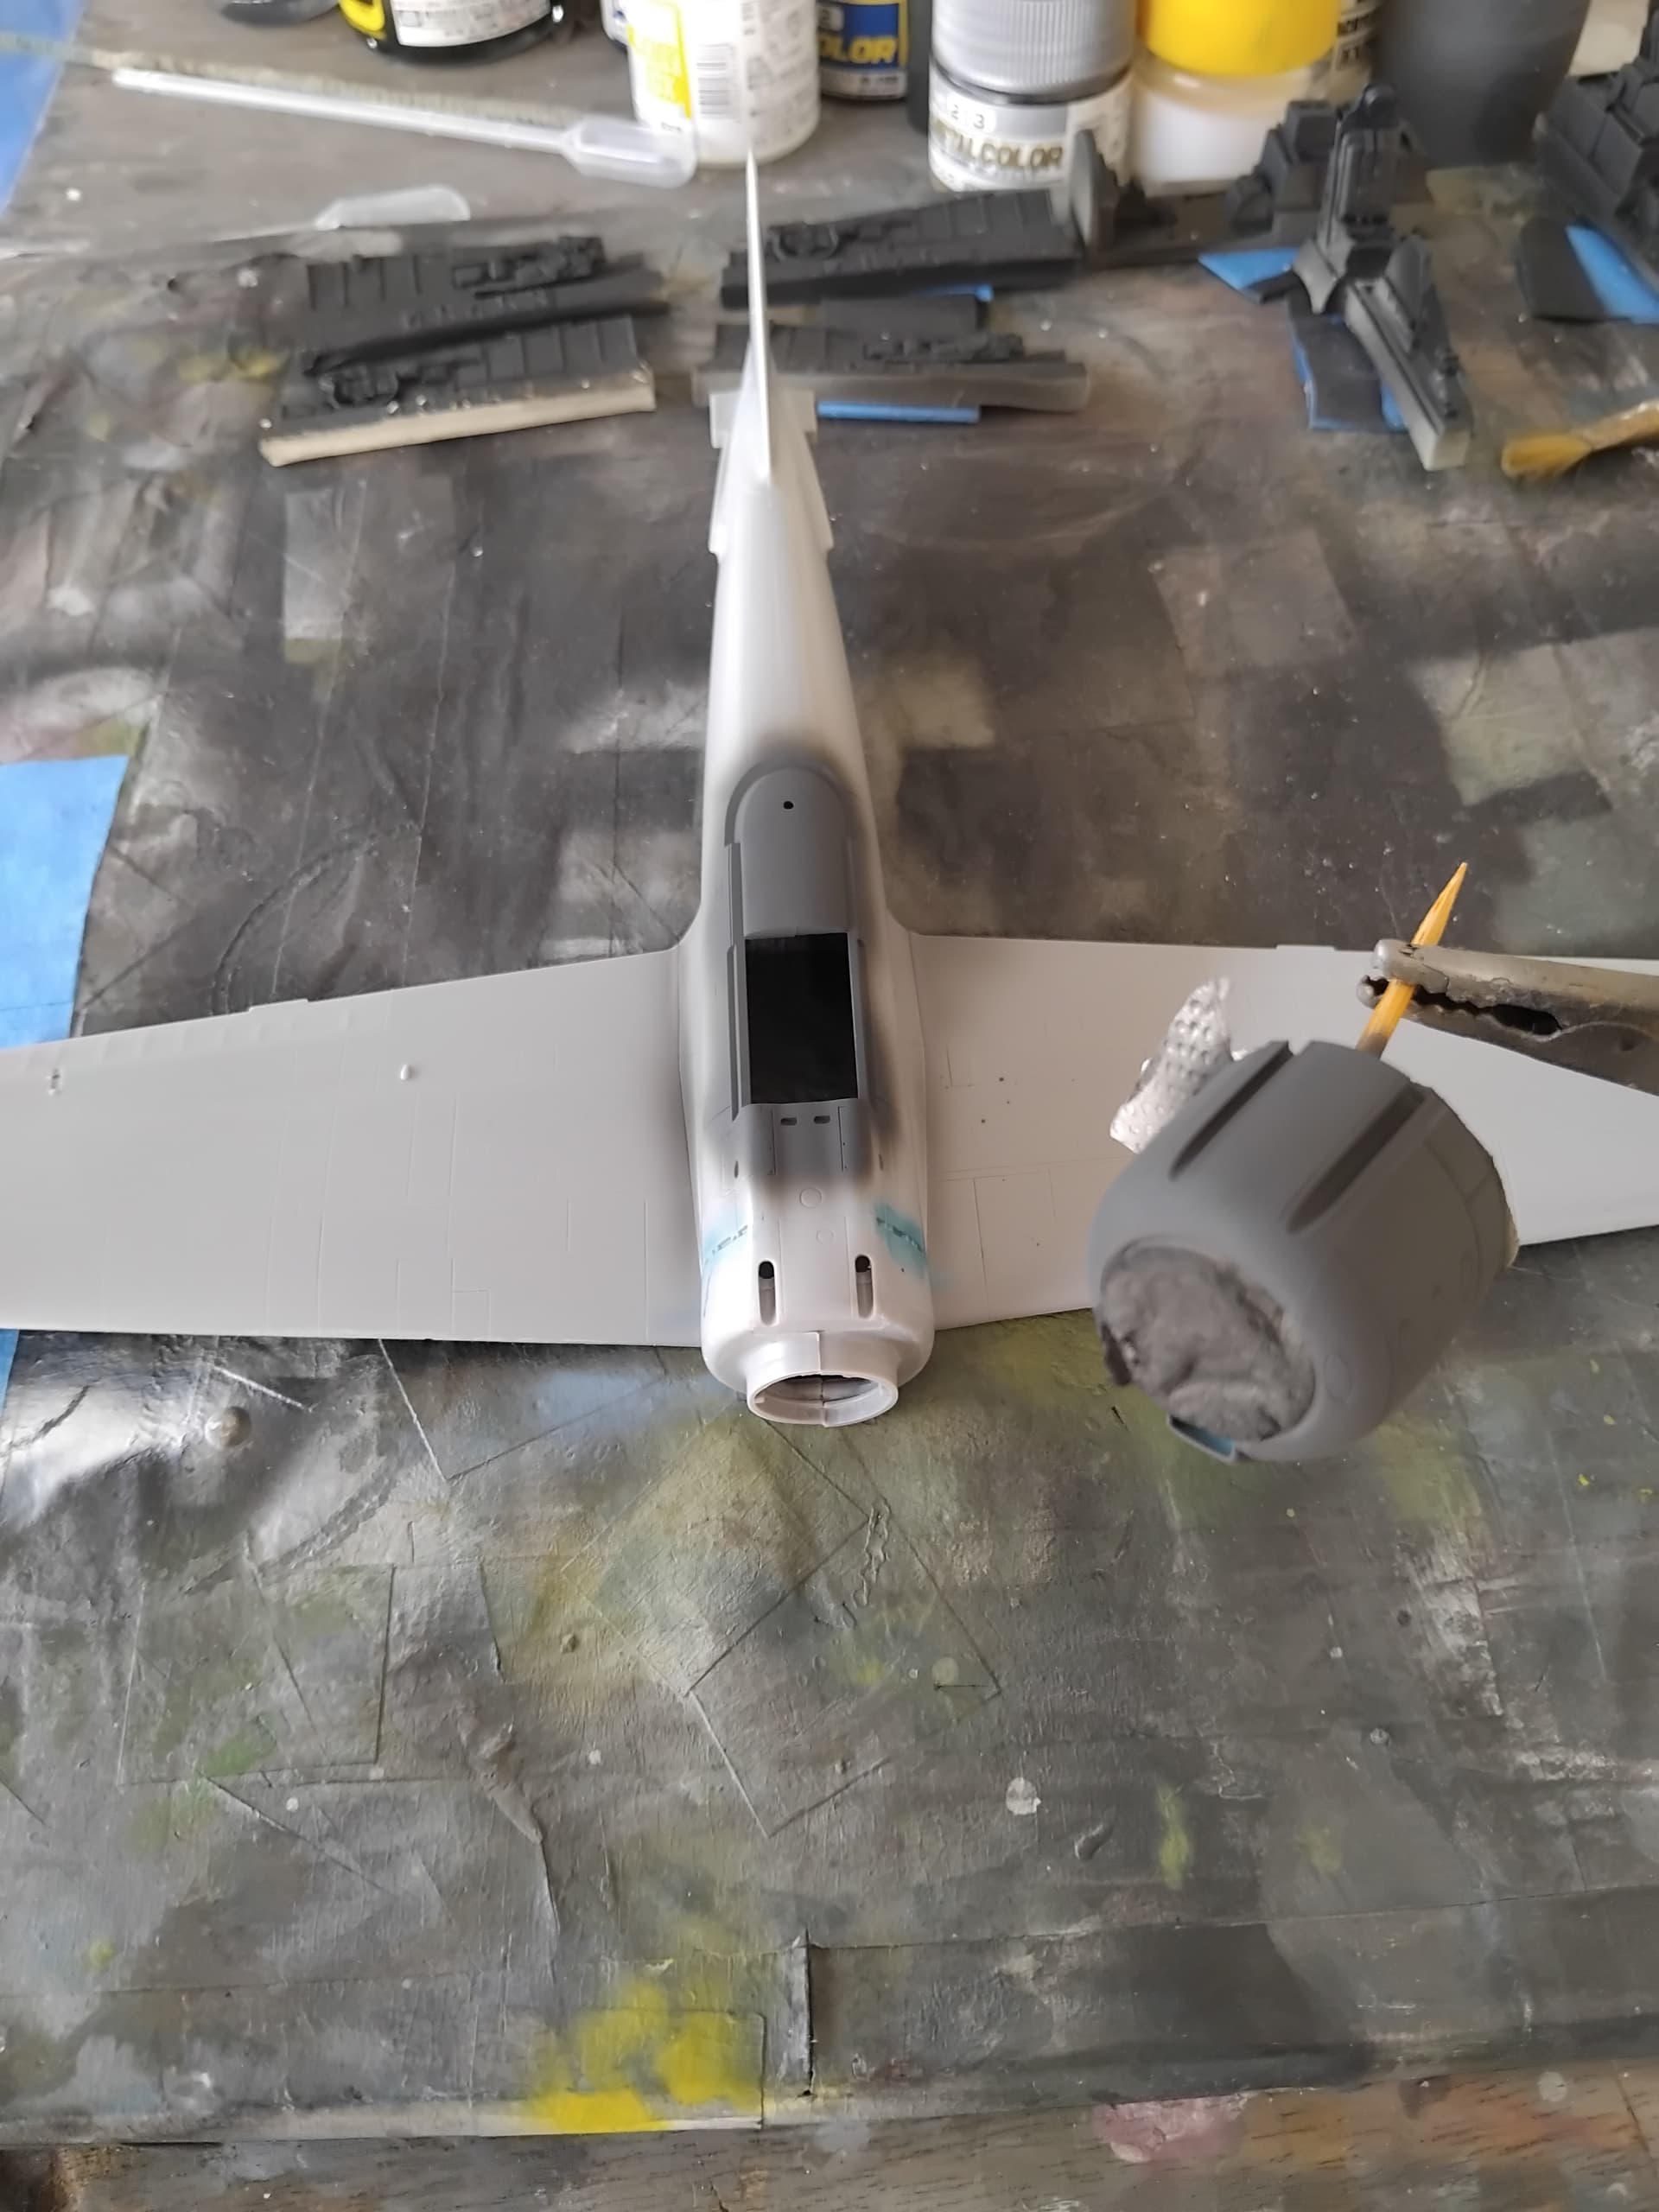
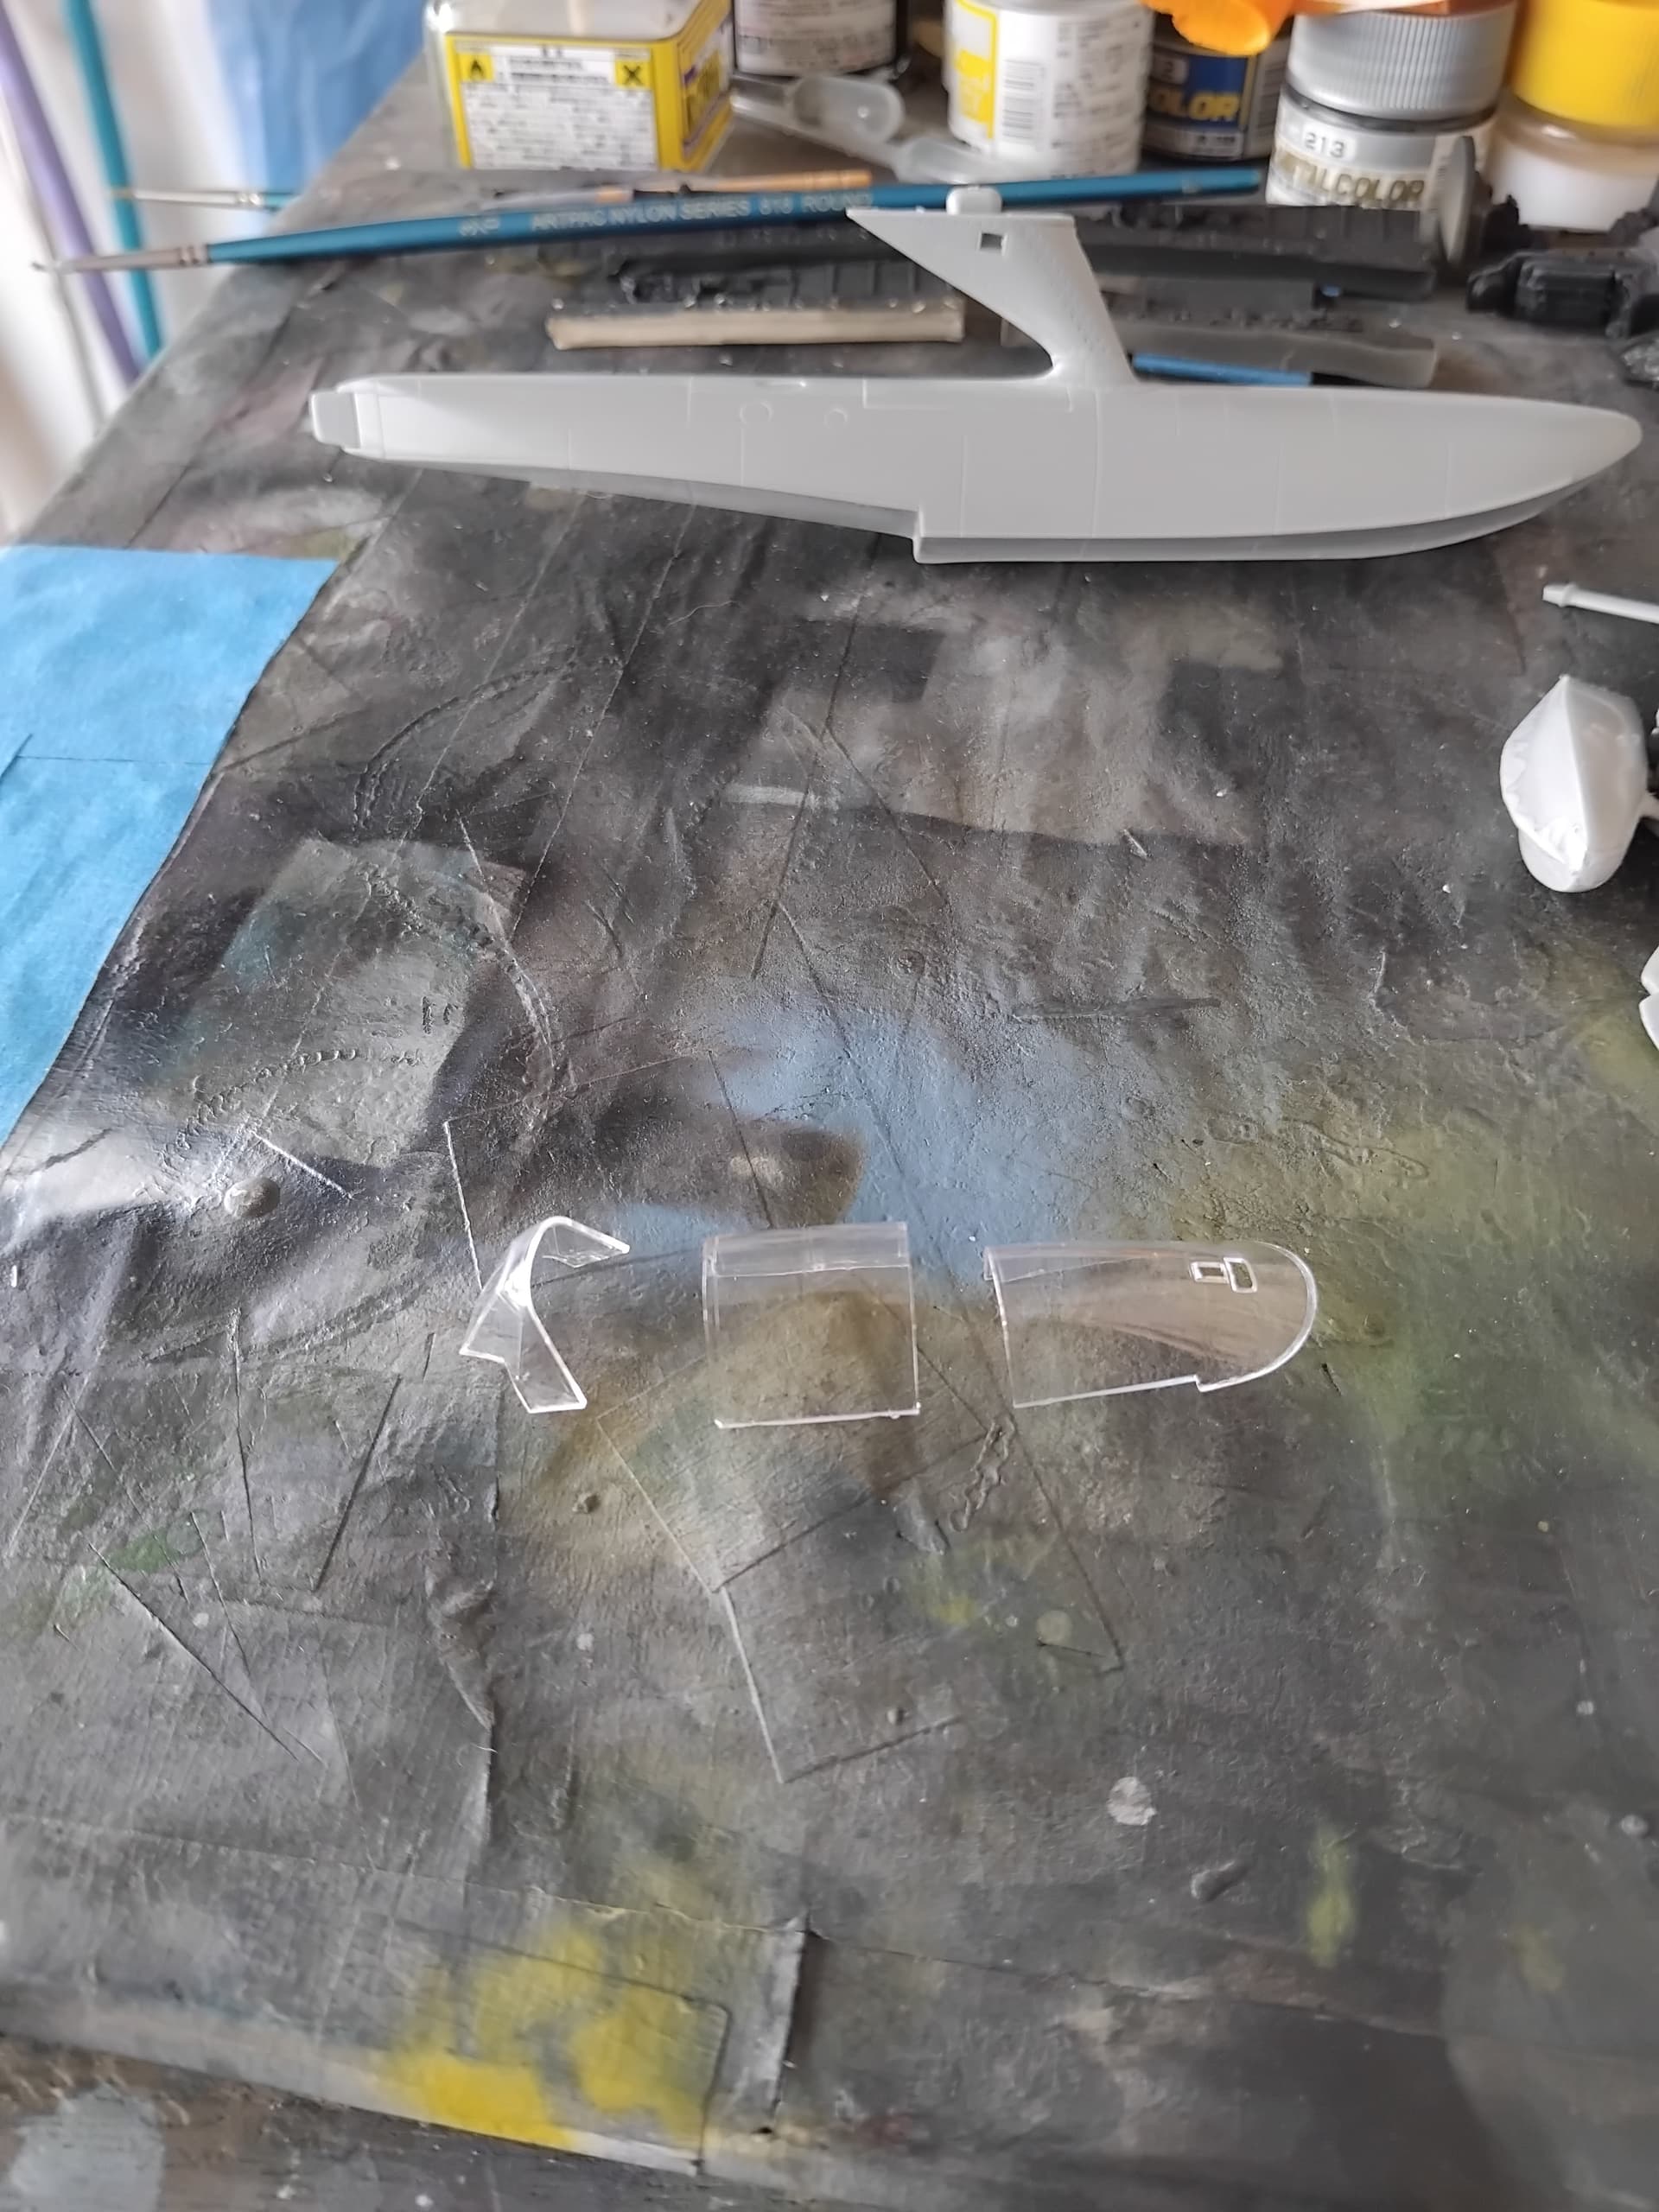
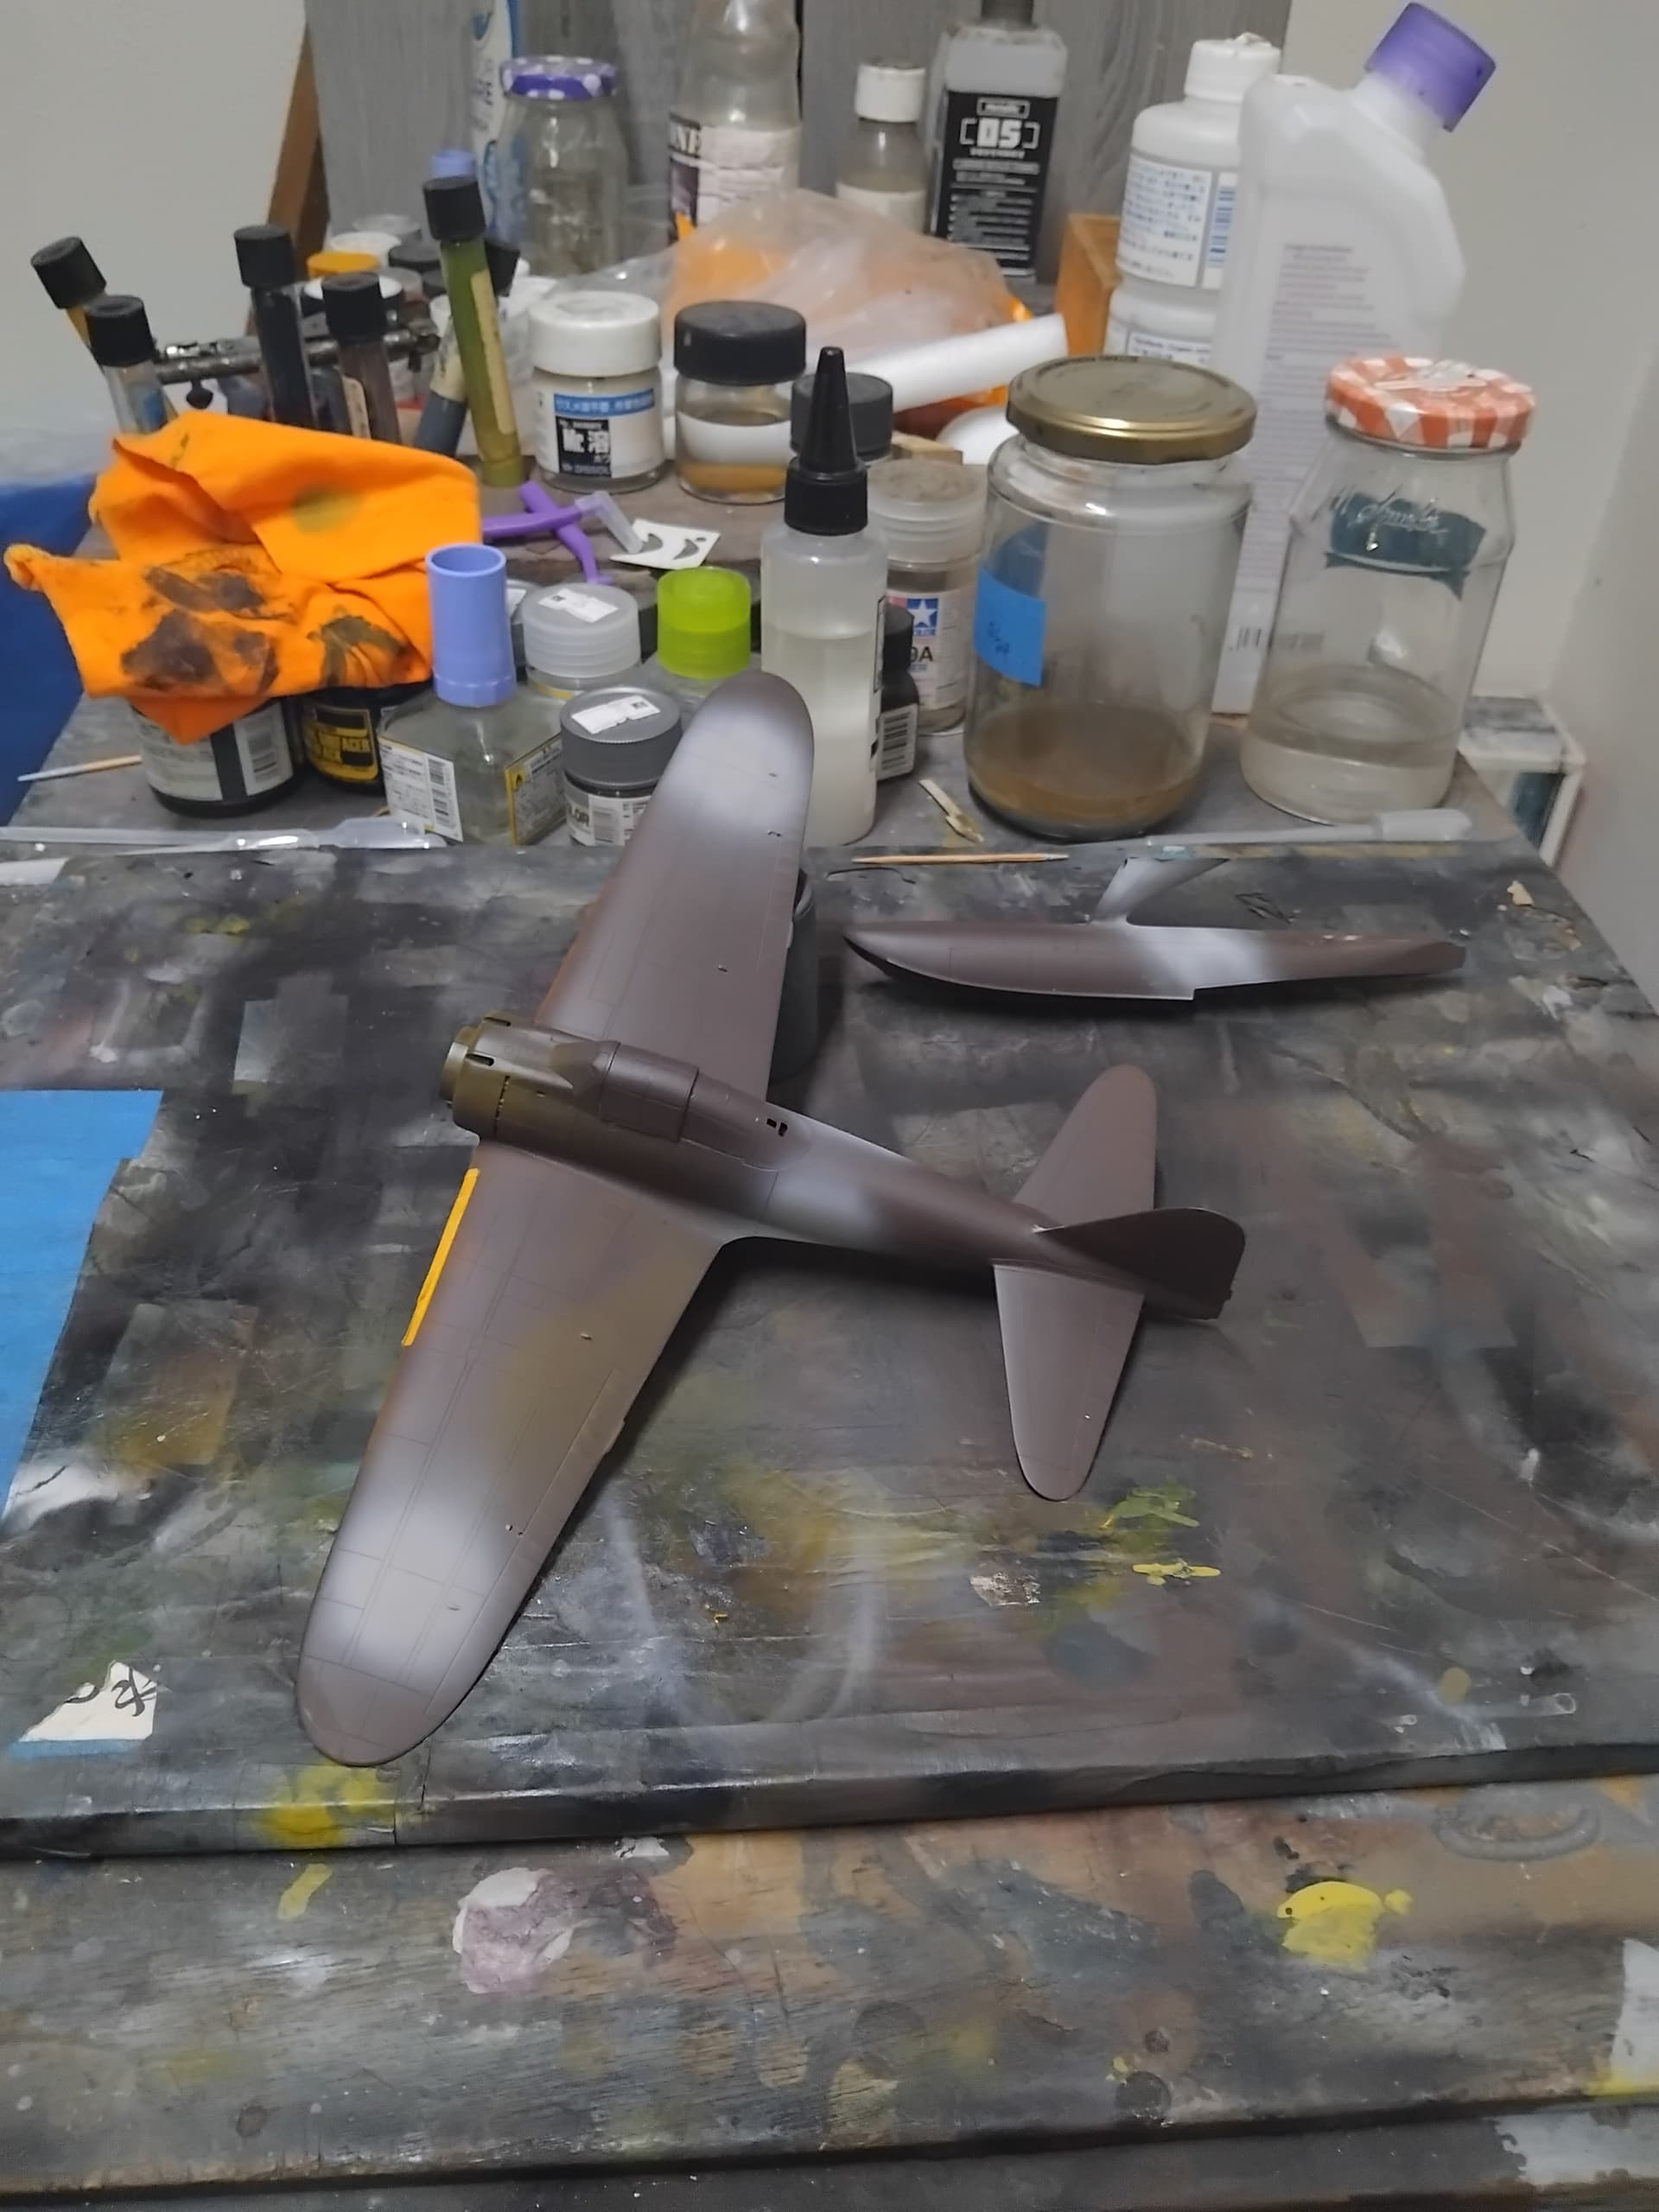
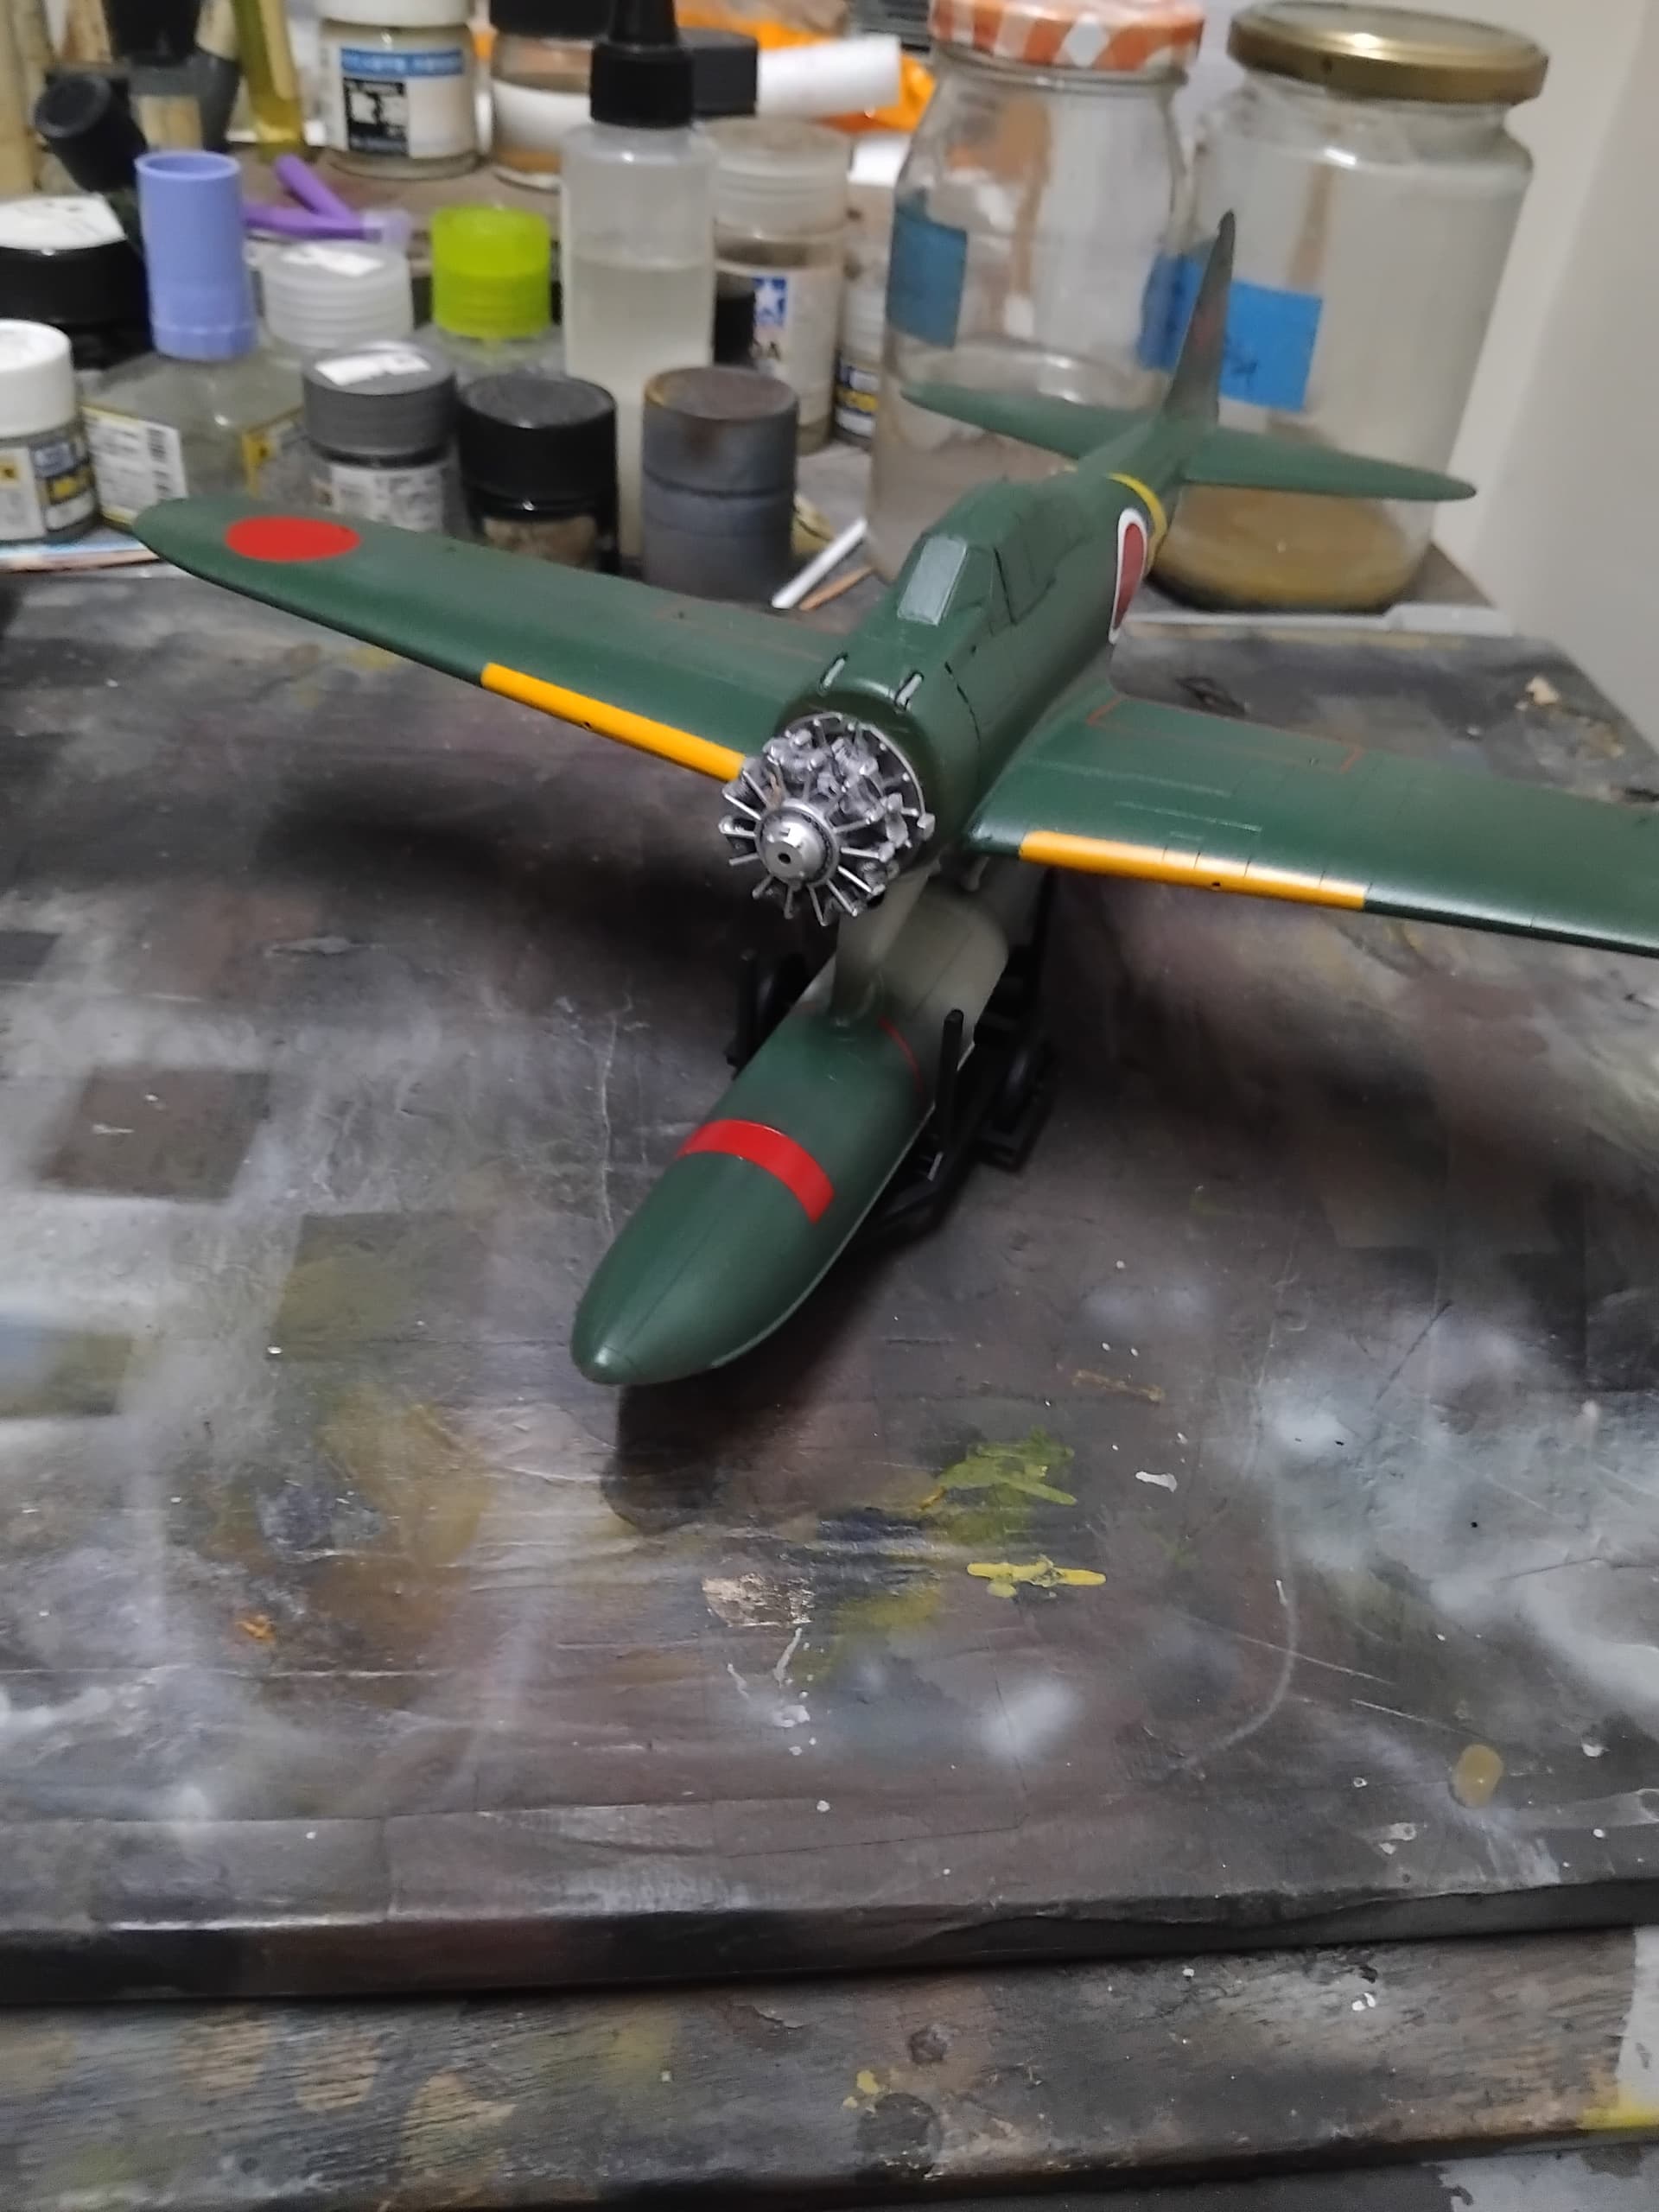
The airframe was given a coat of Mr. Sufacer (MS) 1500 Mahogany, since the original bird was most likely primed using a red/brown primer. For painting purposes and a black base technique, using artistic license I felt the Mahogany color was a good base.
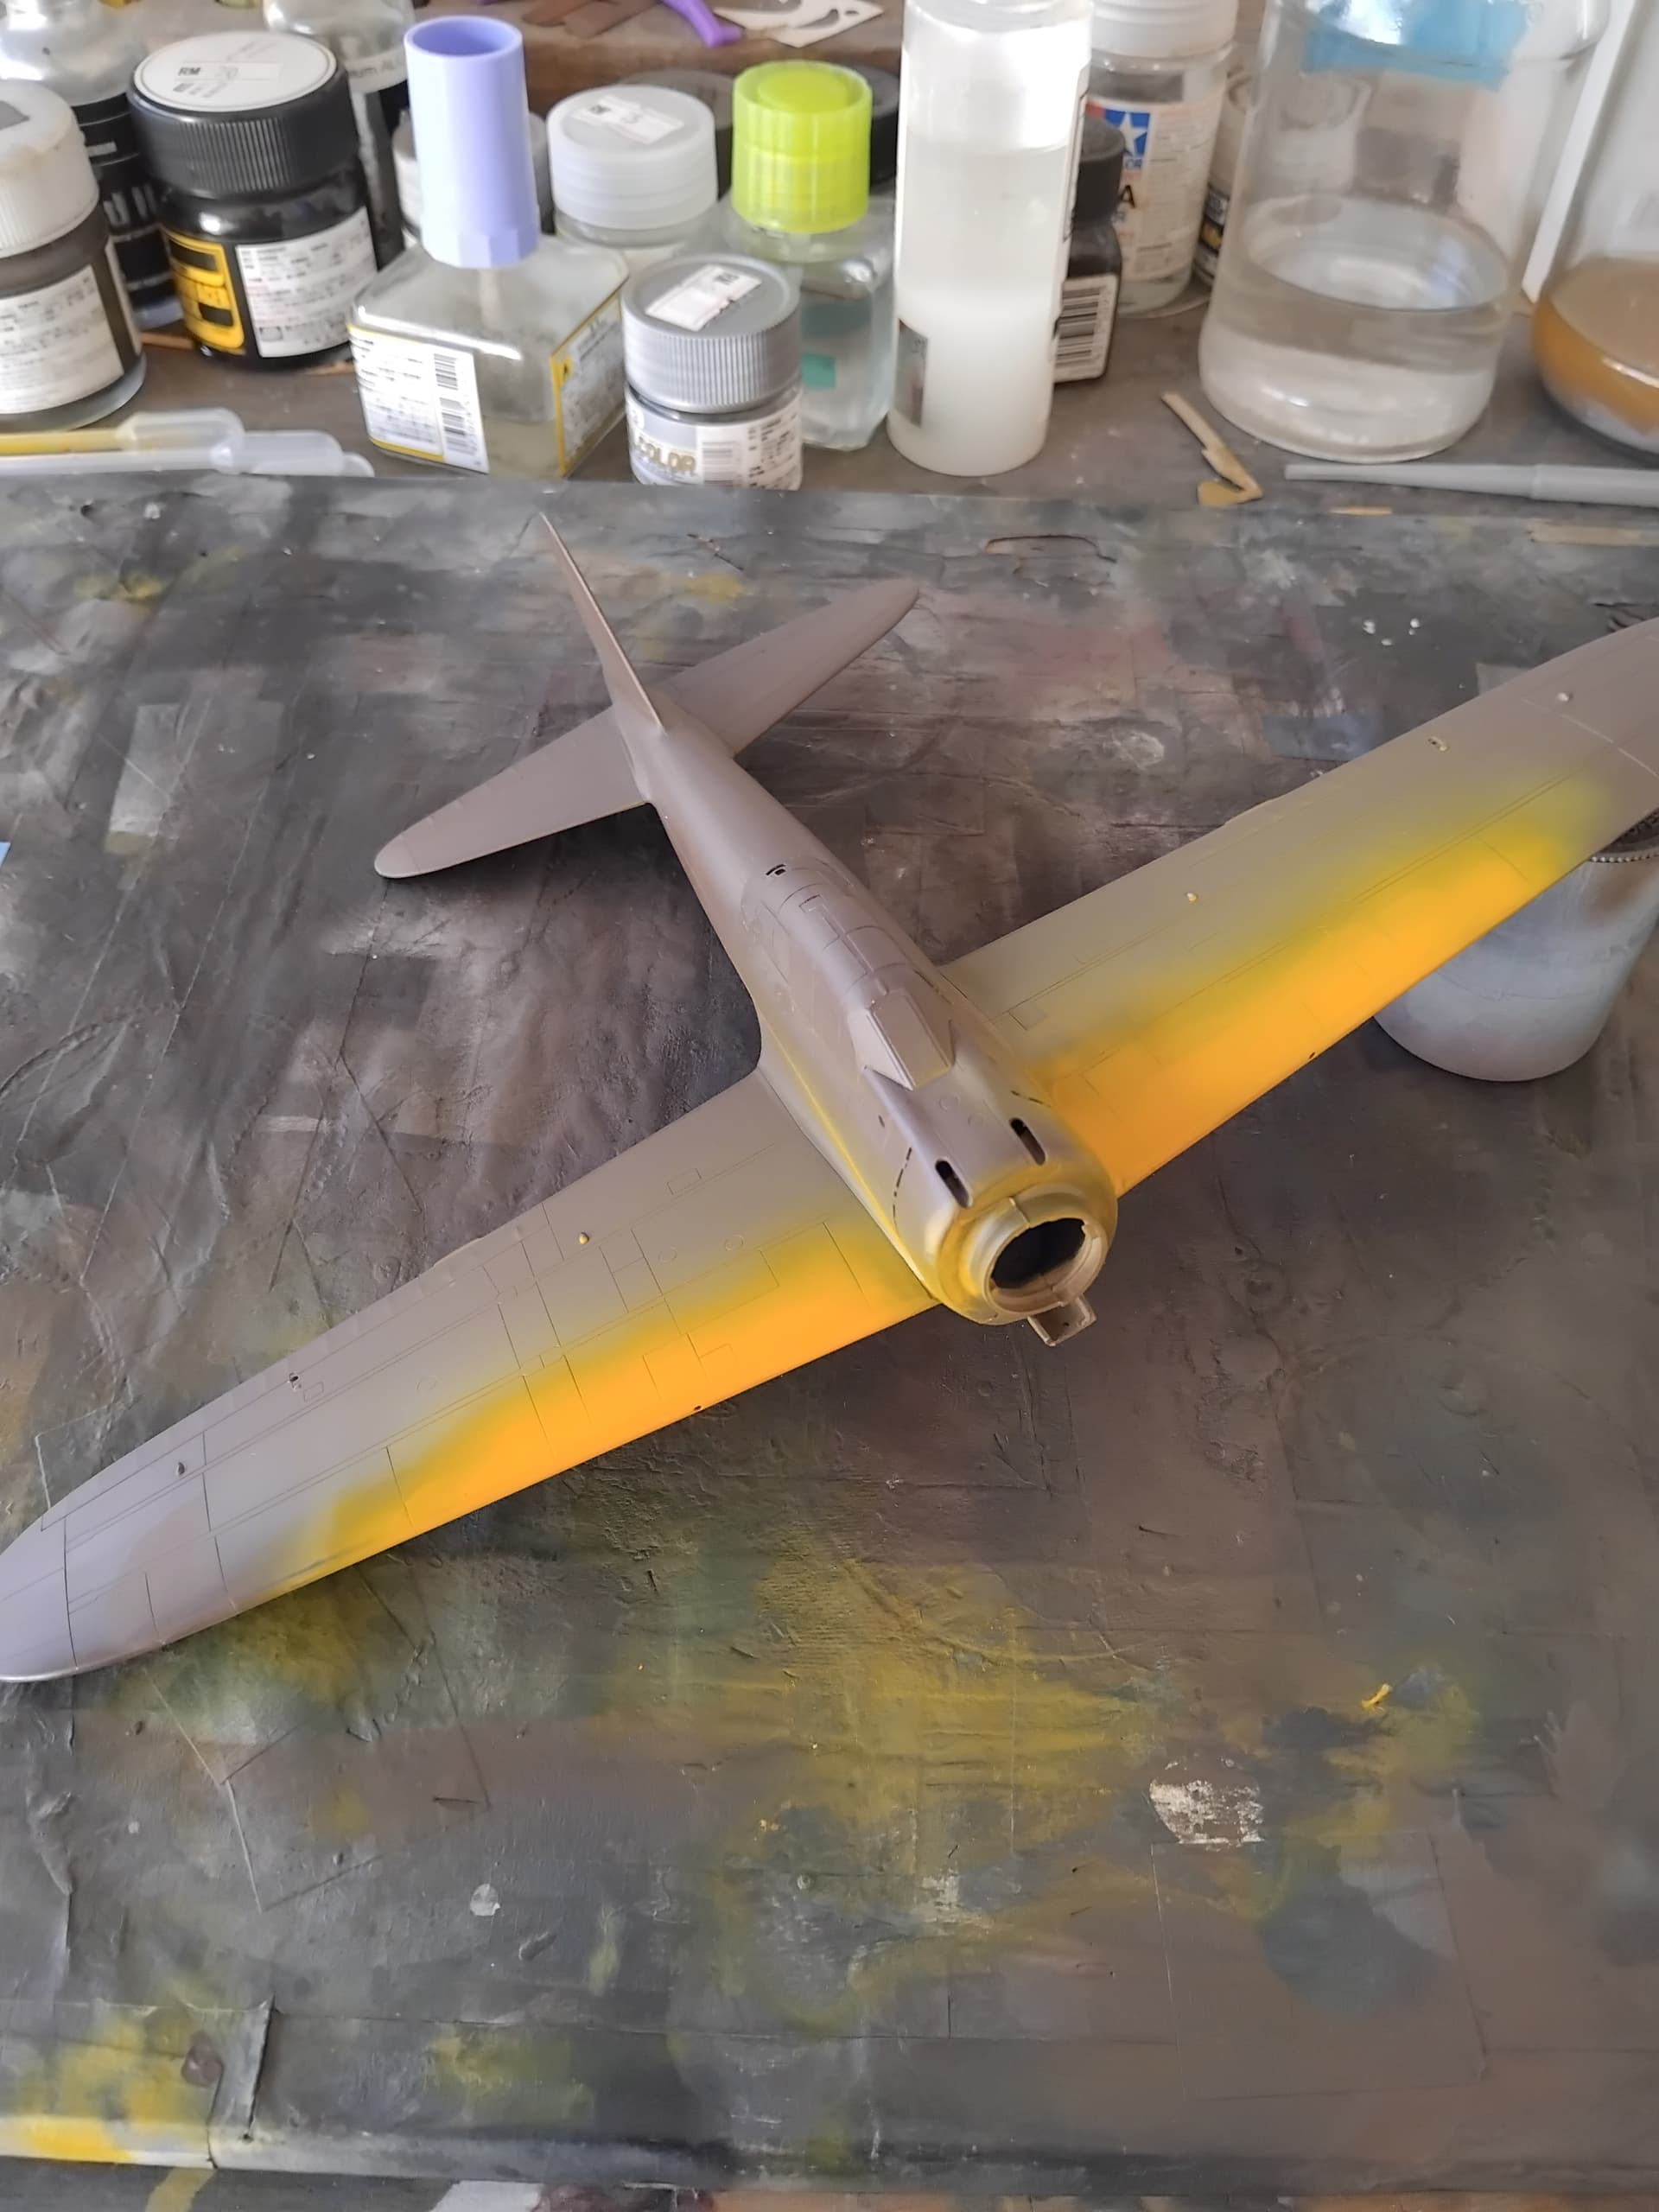
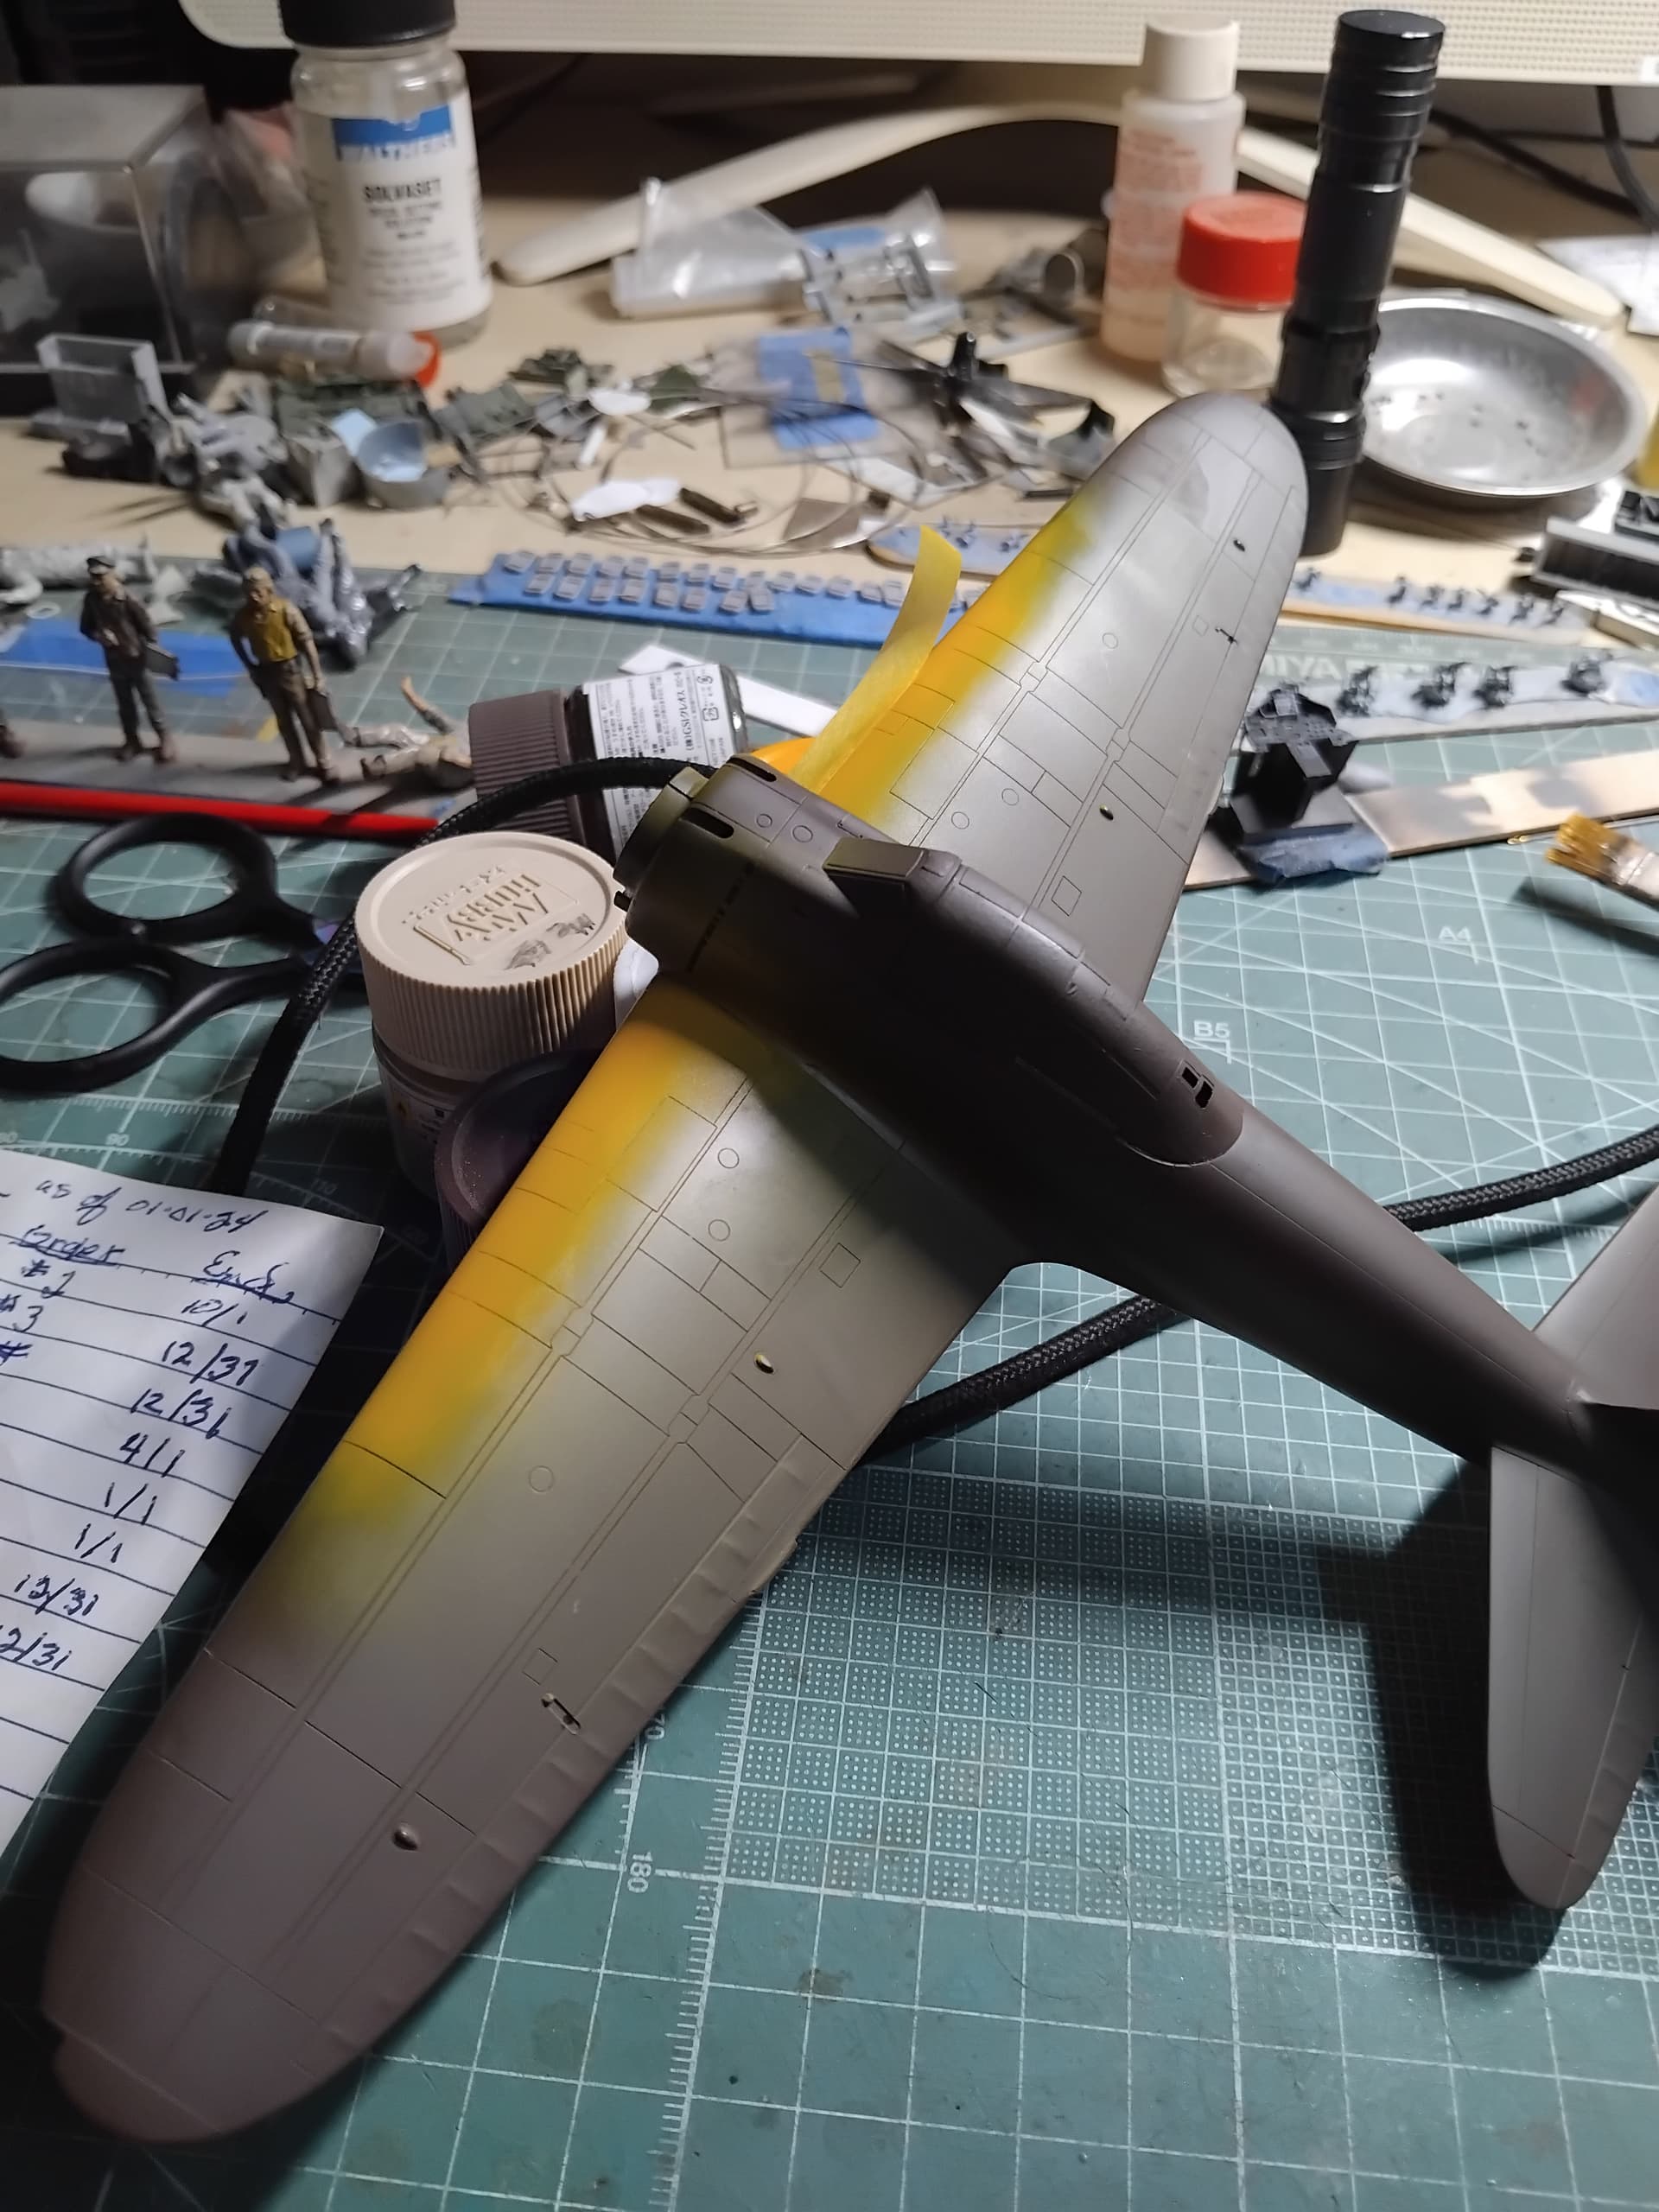
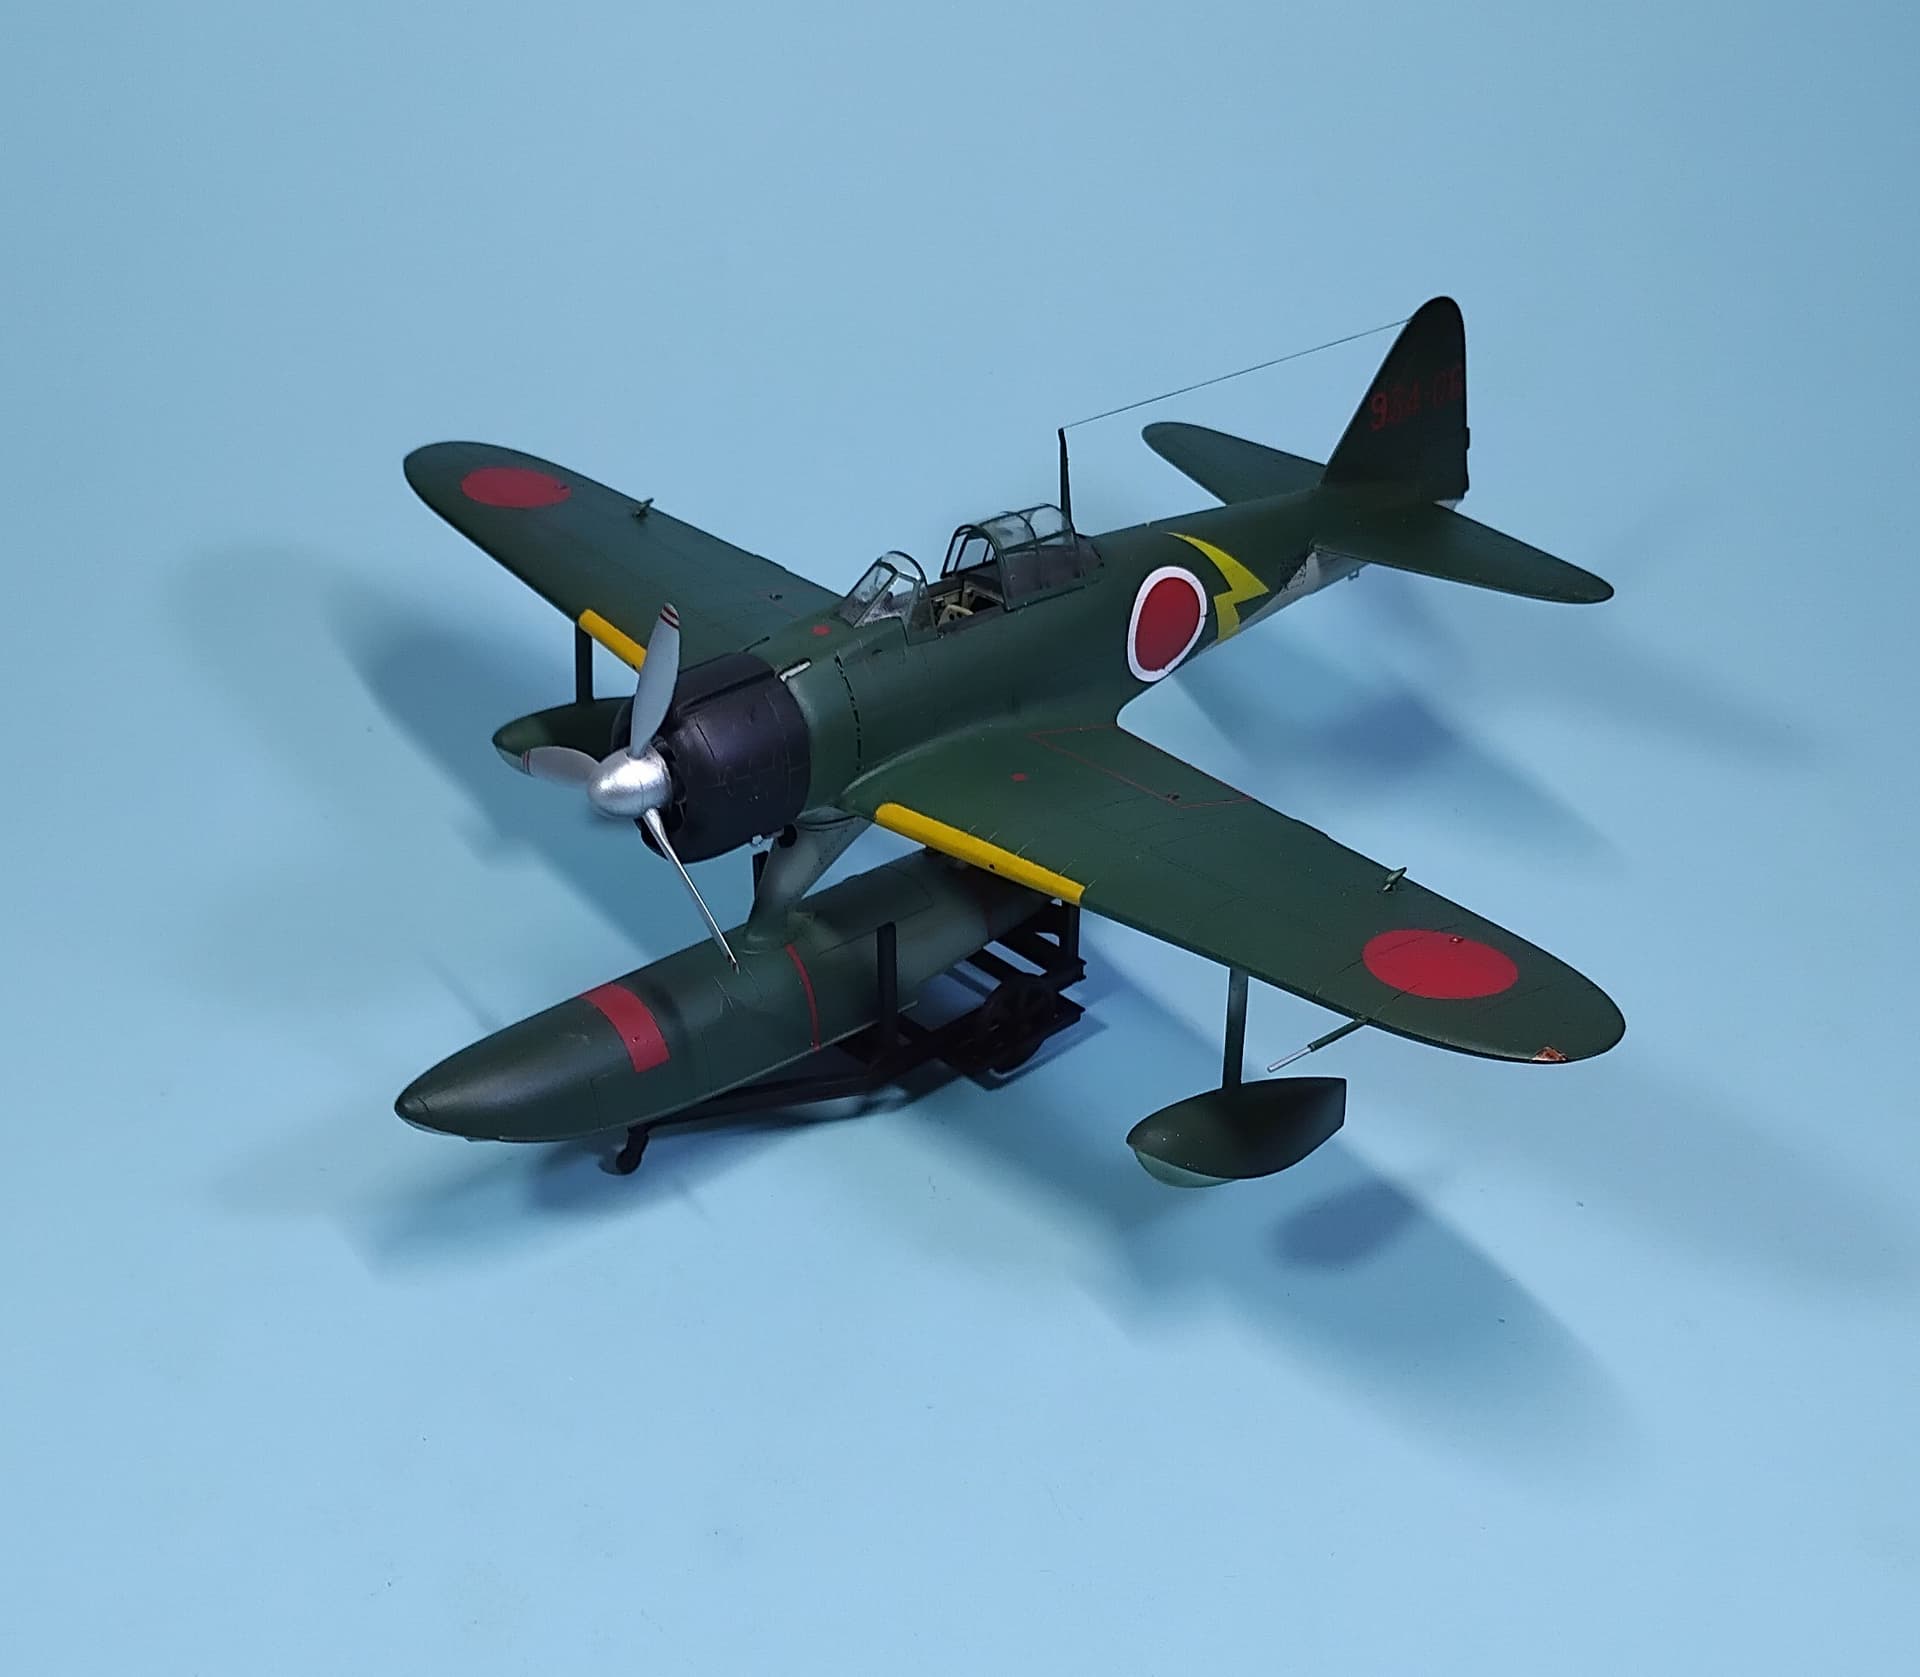
The first part of the color scheme I did was the orange/yellow ID bands on the wing using Mr Color (MC)58.
These were then masked off at the appropriate locations.
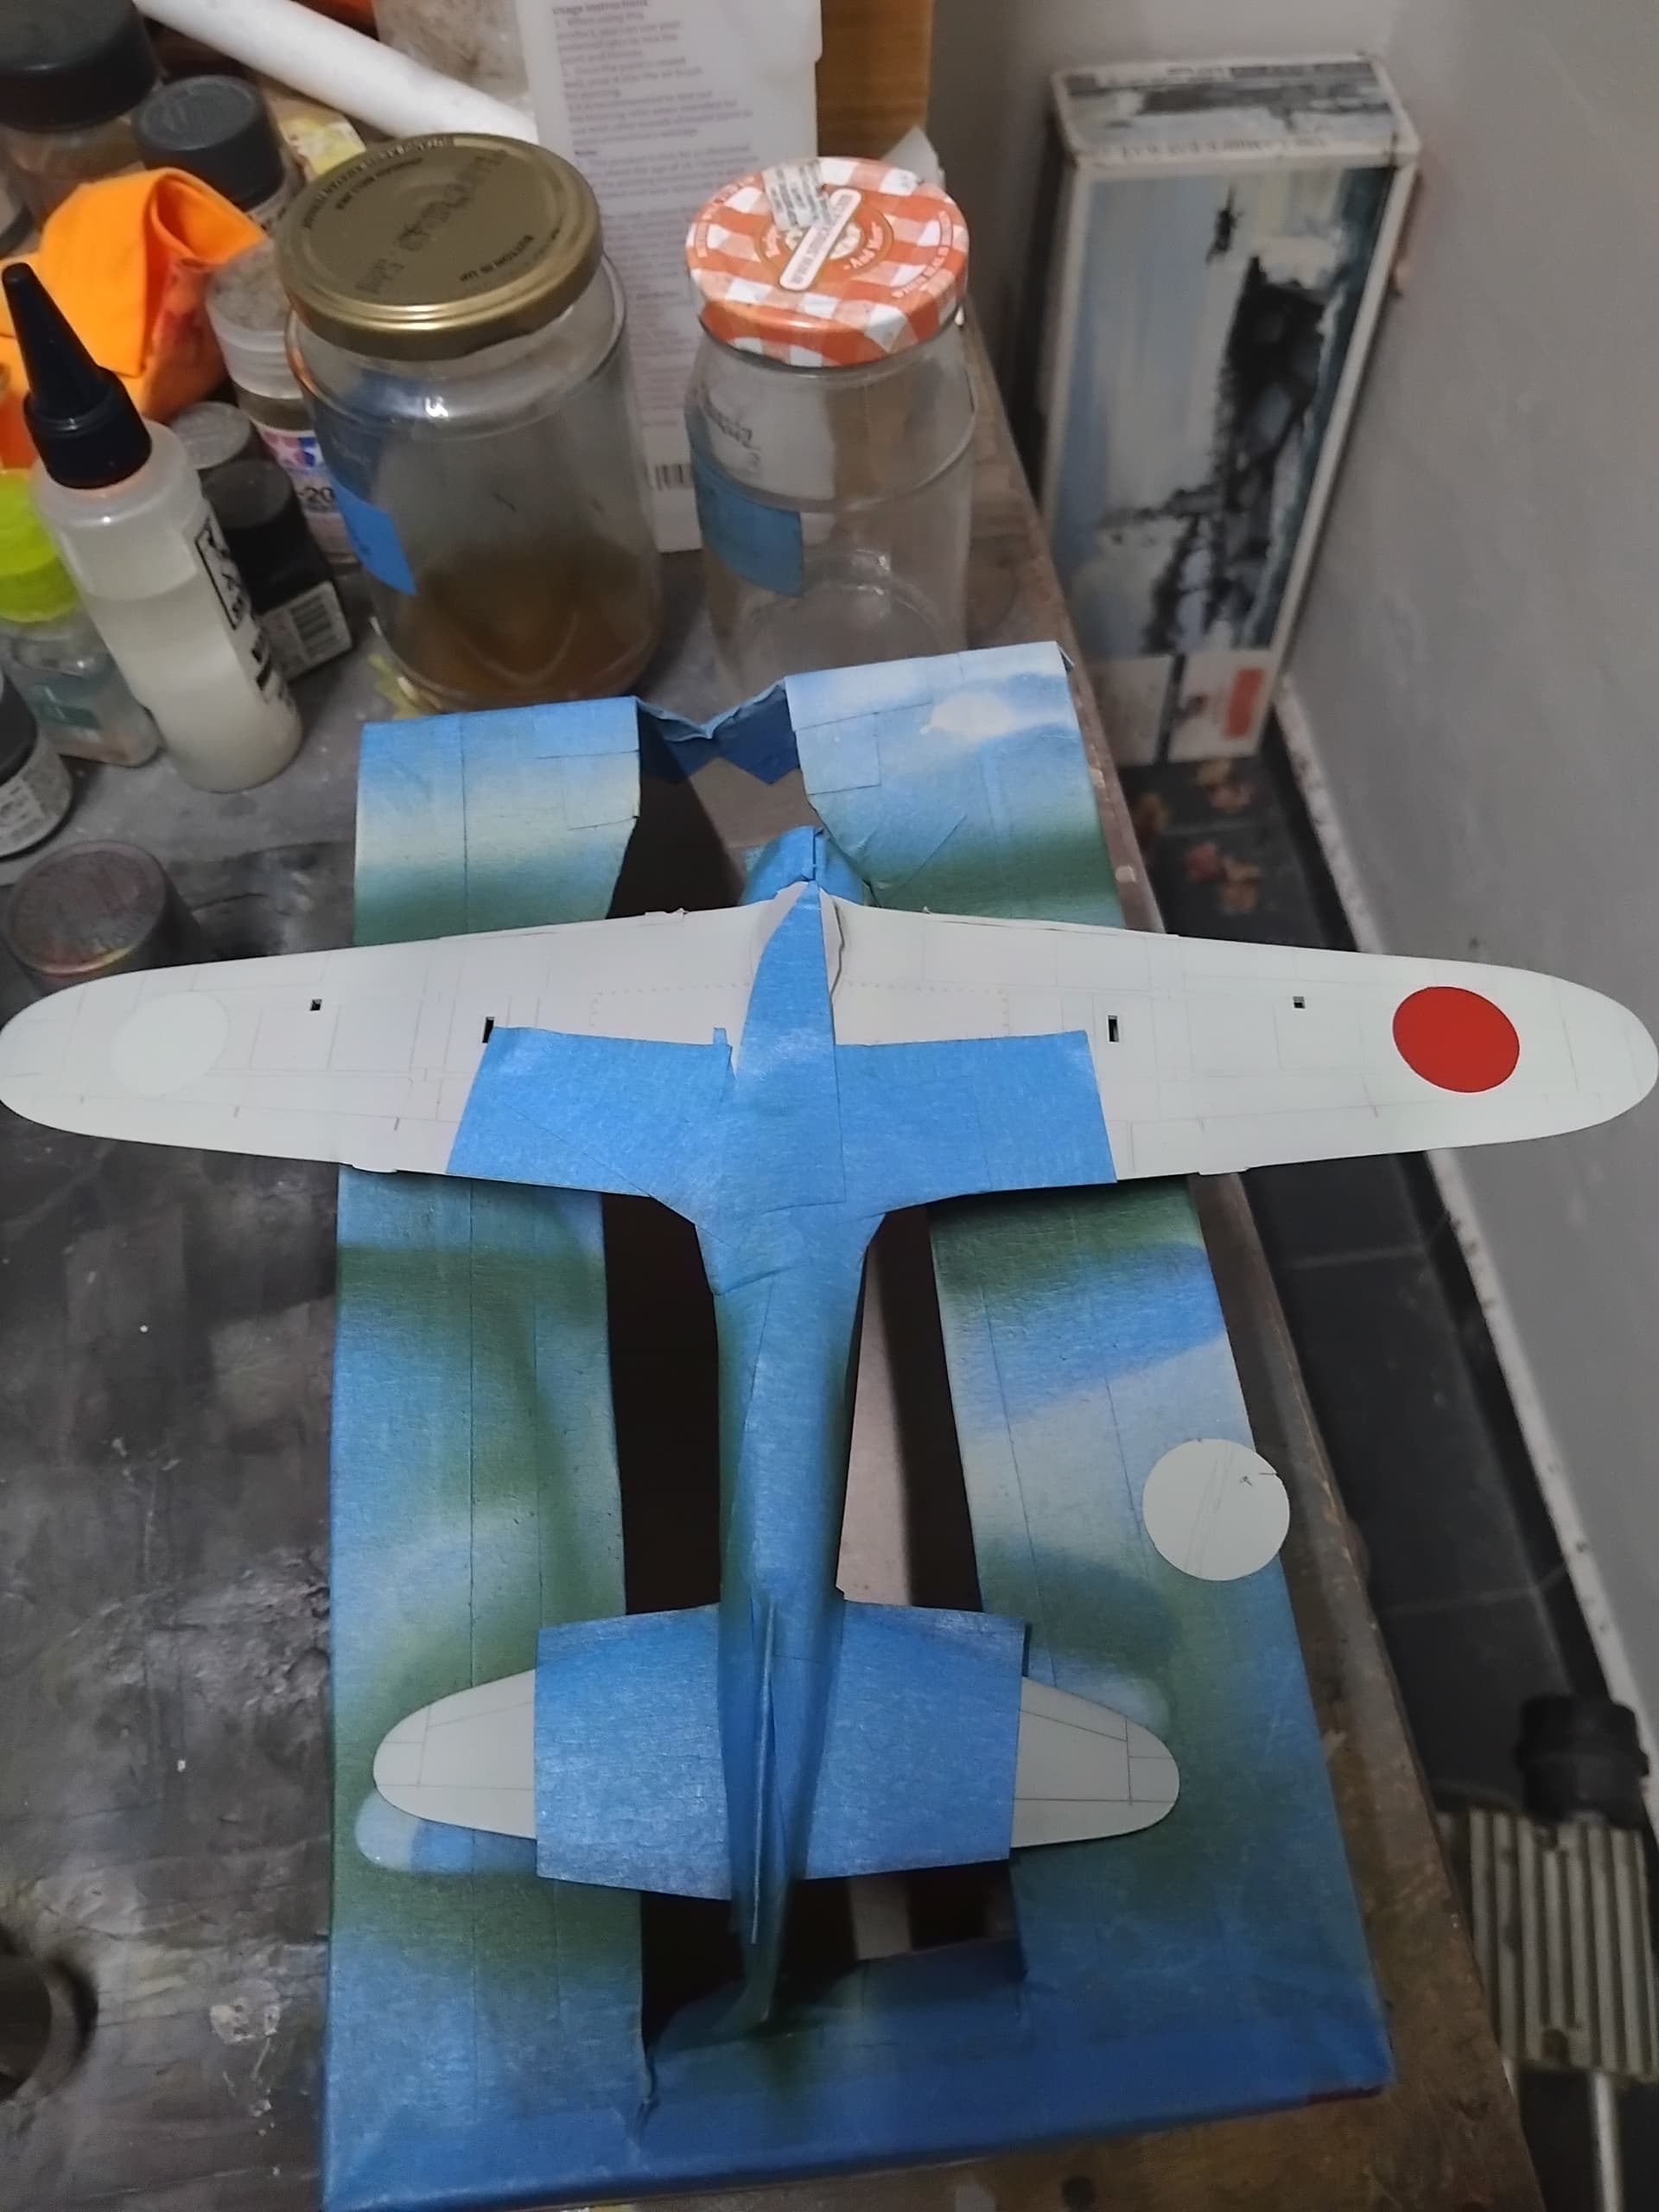
Then it was time to move on to the insignia on the wings. These were hinomaru’s with no white boarder, so pretty easy to do, using a compass razor and frisket paper I cut the disks following the diameter from the kit decal sheet. I first painted the areas of the wings light grey, to give the red a good clean background.
The grey areas were then followed up with a coat of MC385, red IJN (aircraft markings), it should be noted that insignia red would also work just fine for hinomaru’s.
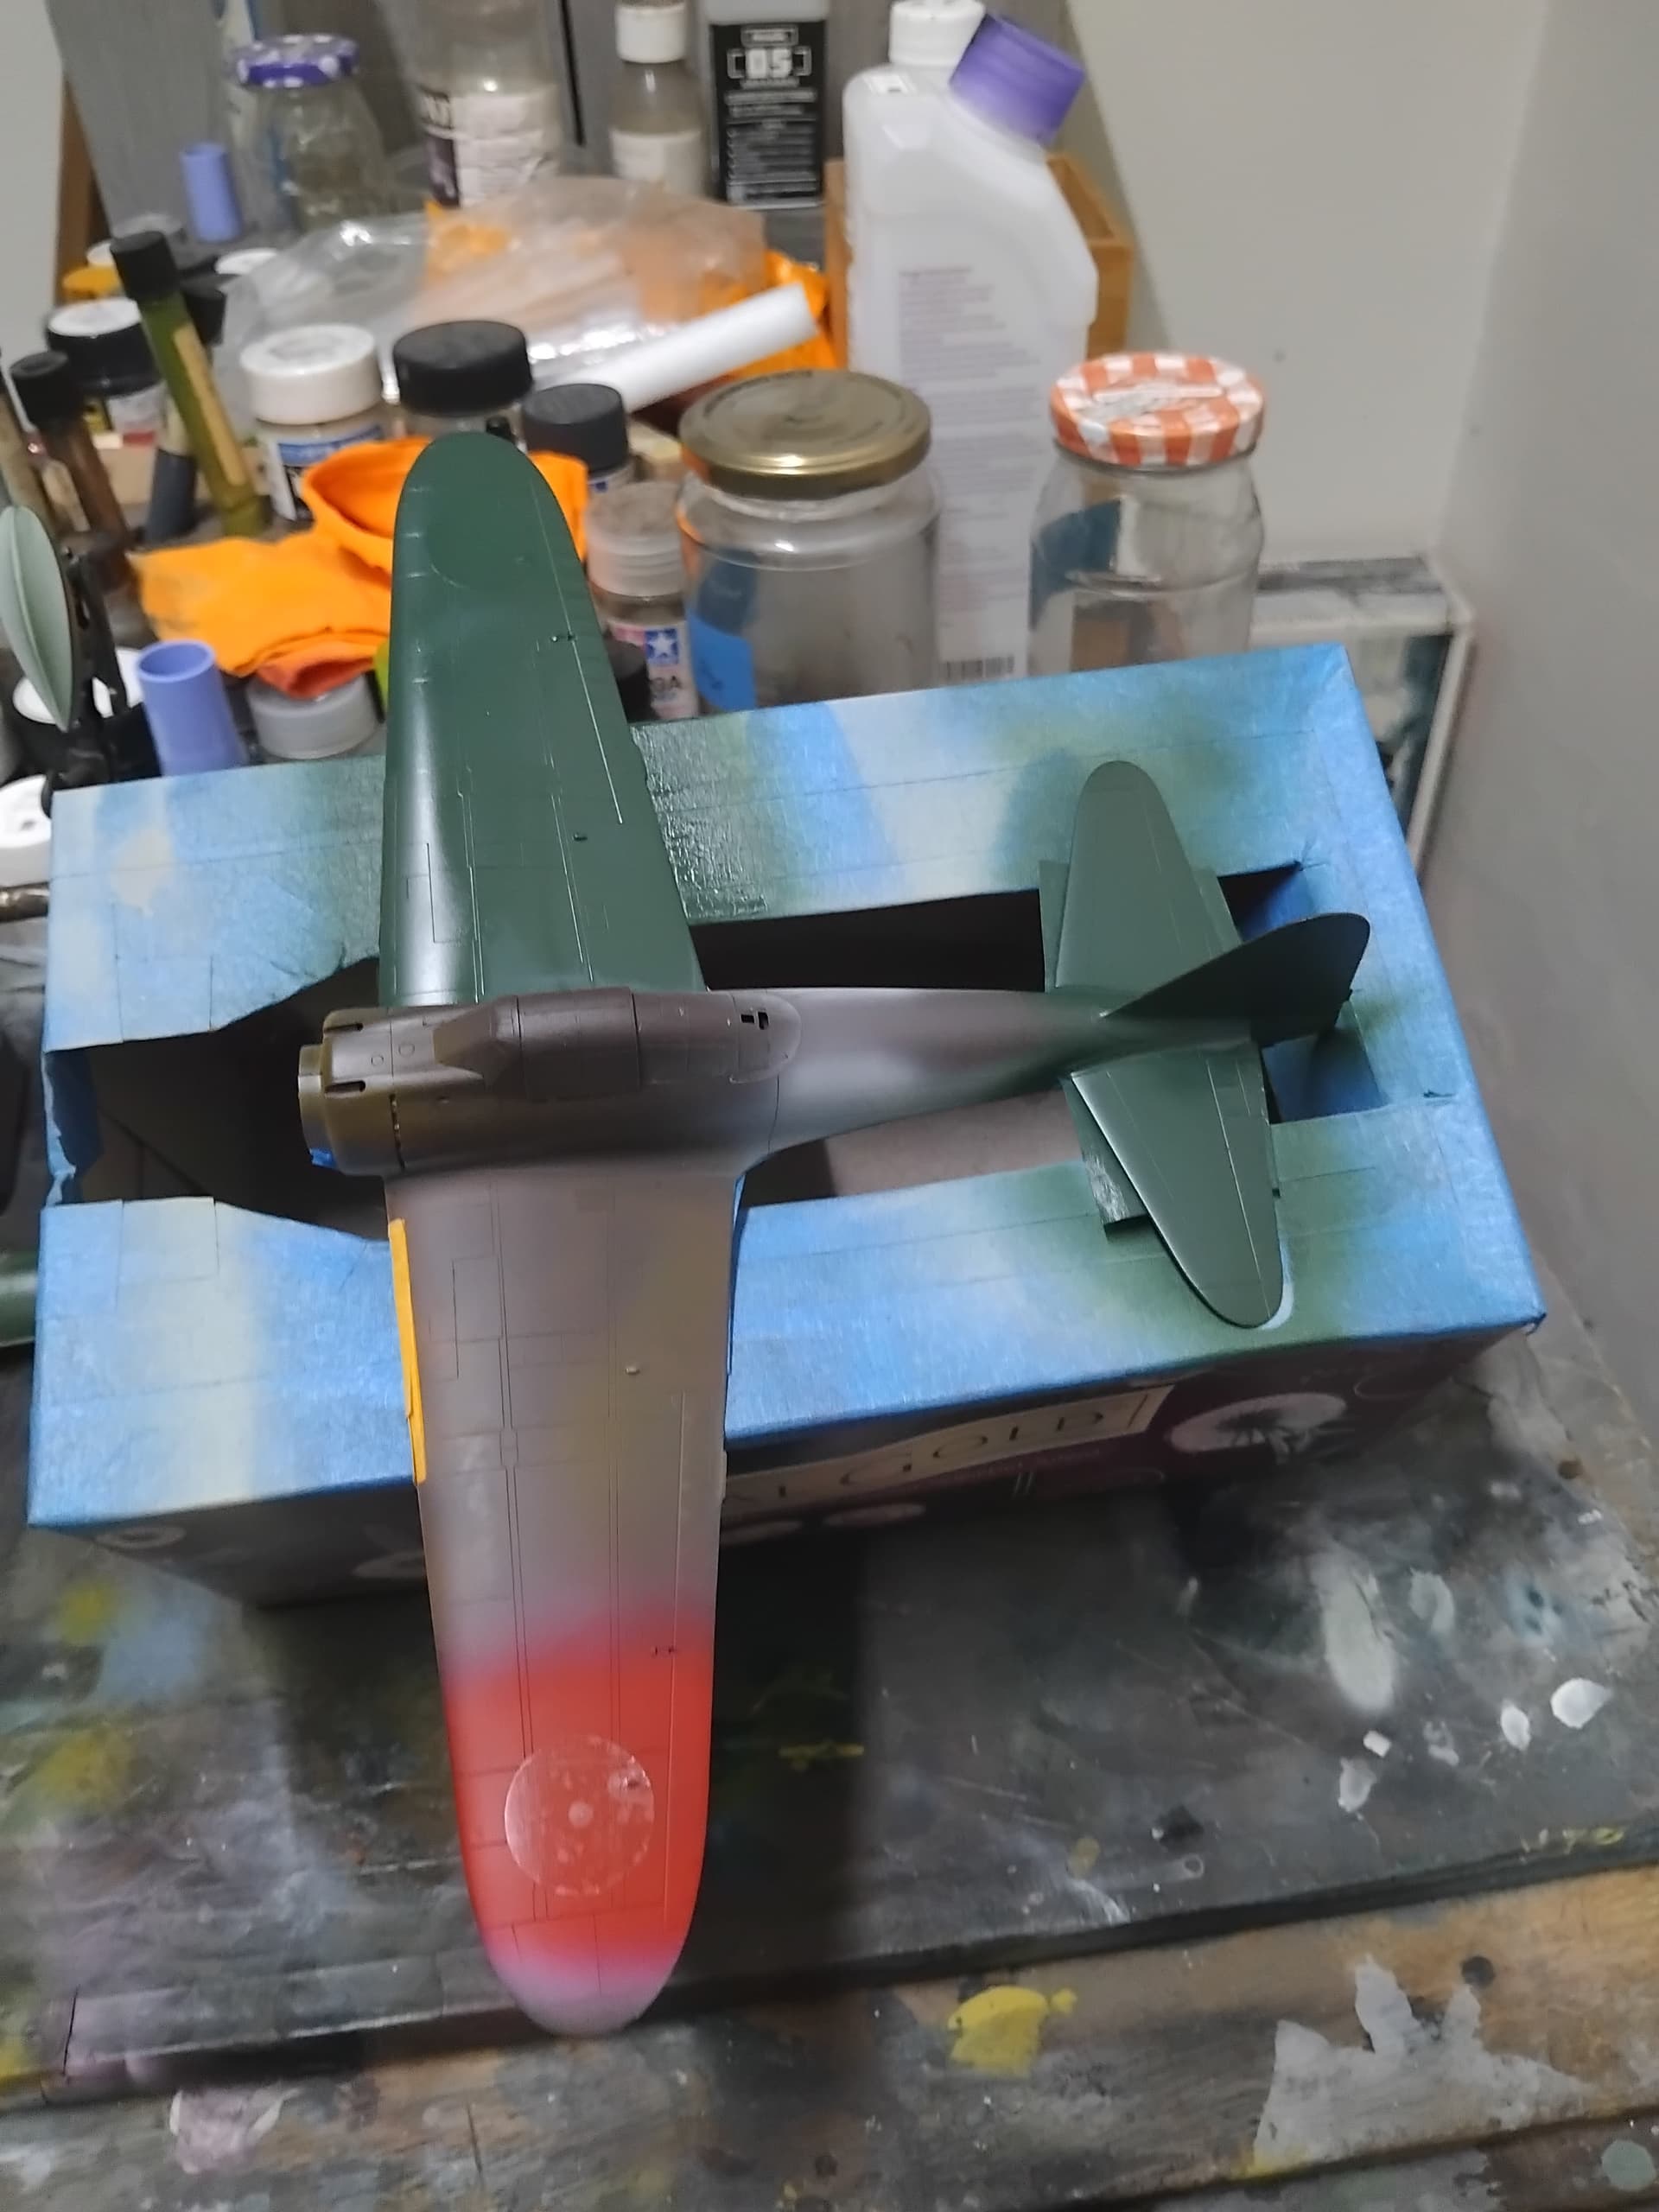
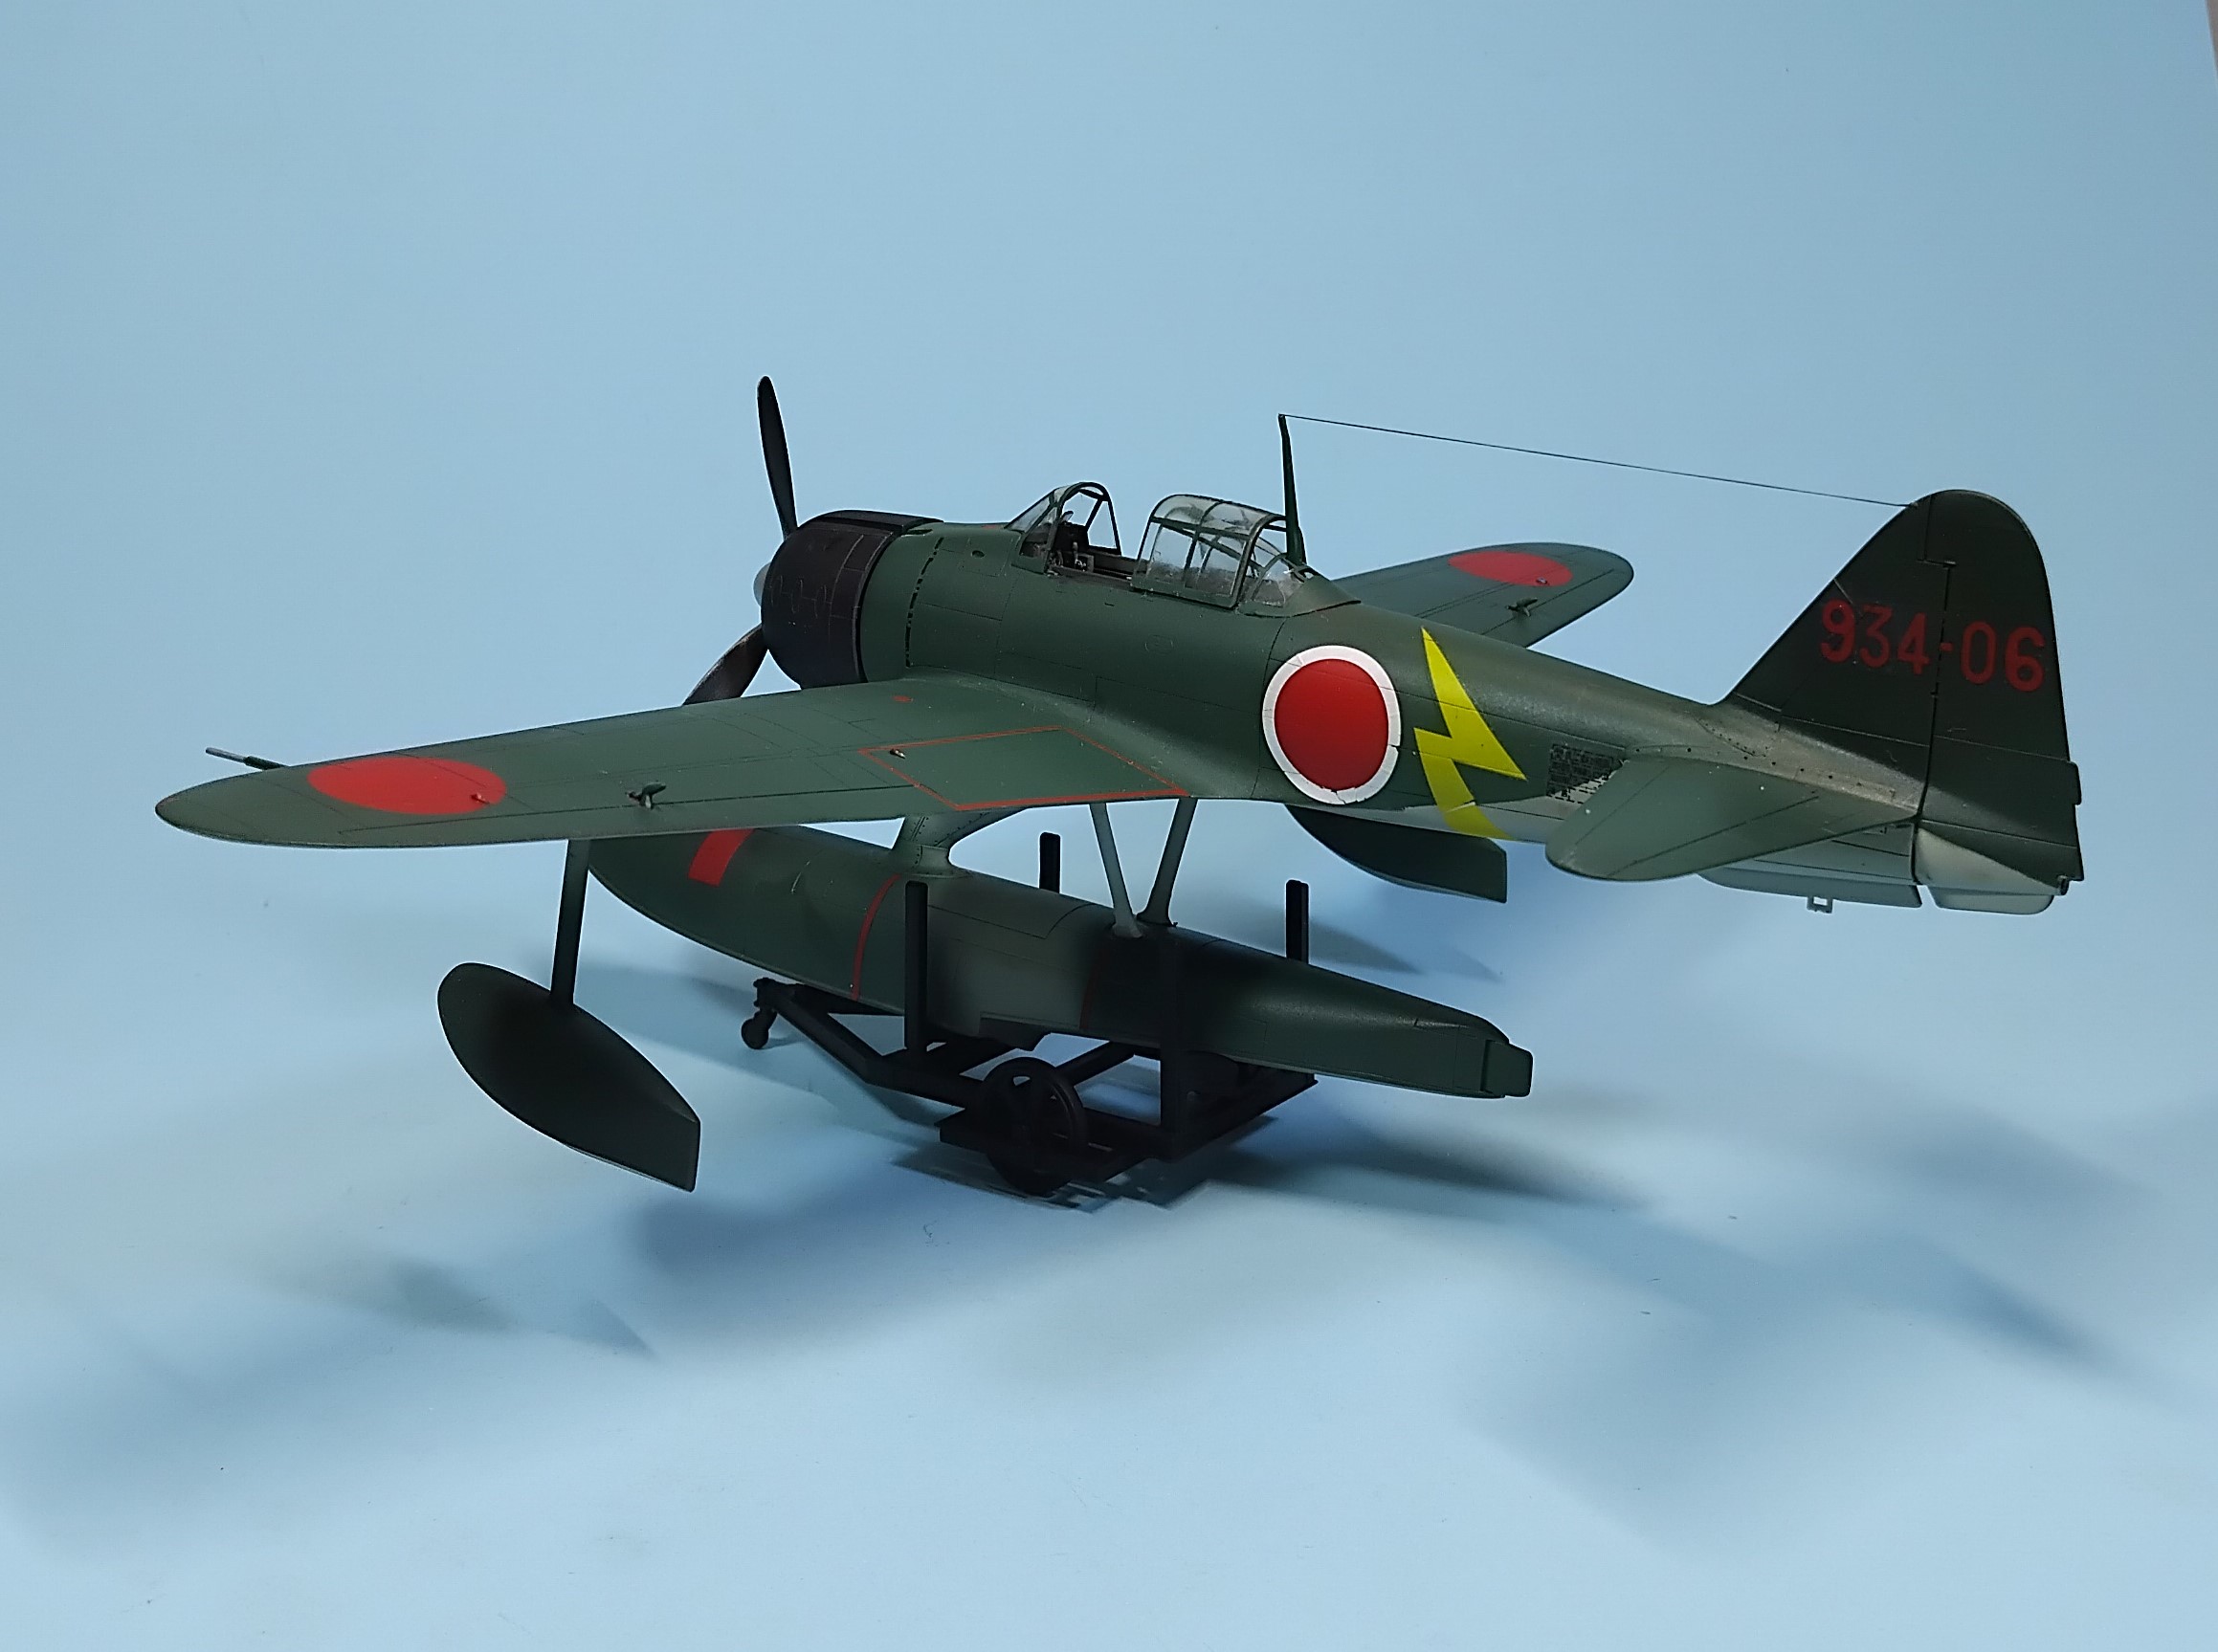
The cut frisket paper circle masks were then placed in their appropriate places and burnished down. It was around this time that I became aware that I’d spent a goodly amount of money on various decal sets, and while it’s cool to paint your insignia, it would be a shame to let the decals age out. So, I decided that for the fuselage insignia and limited stencils I’d be using a Techmod set as they had the hinomaru’s with the white boarder, and instead of making masks for the aircraft identification I’d be using the kit decals (this would include the cool lightning bolts). That said, I proceeded to paint the undersides JN Grey (Tamiya XF-12) because I prefer the slight tinge of green added. It makes a slight difference over other IJN greys out there.
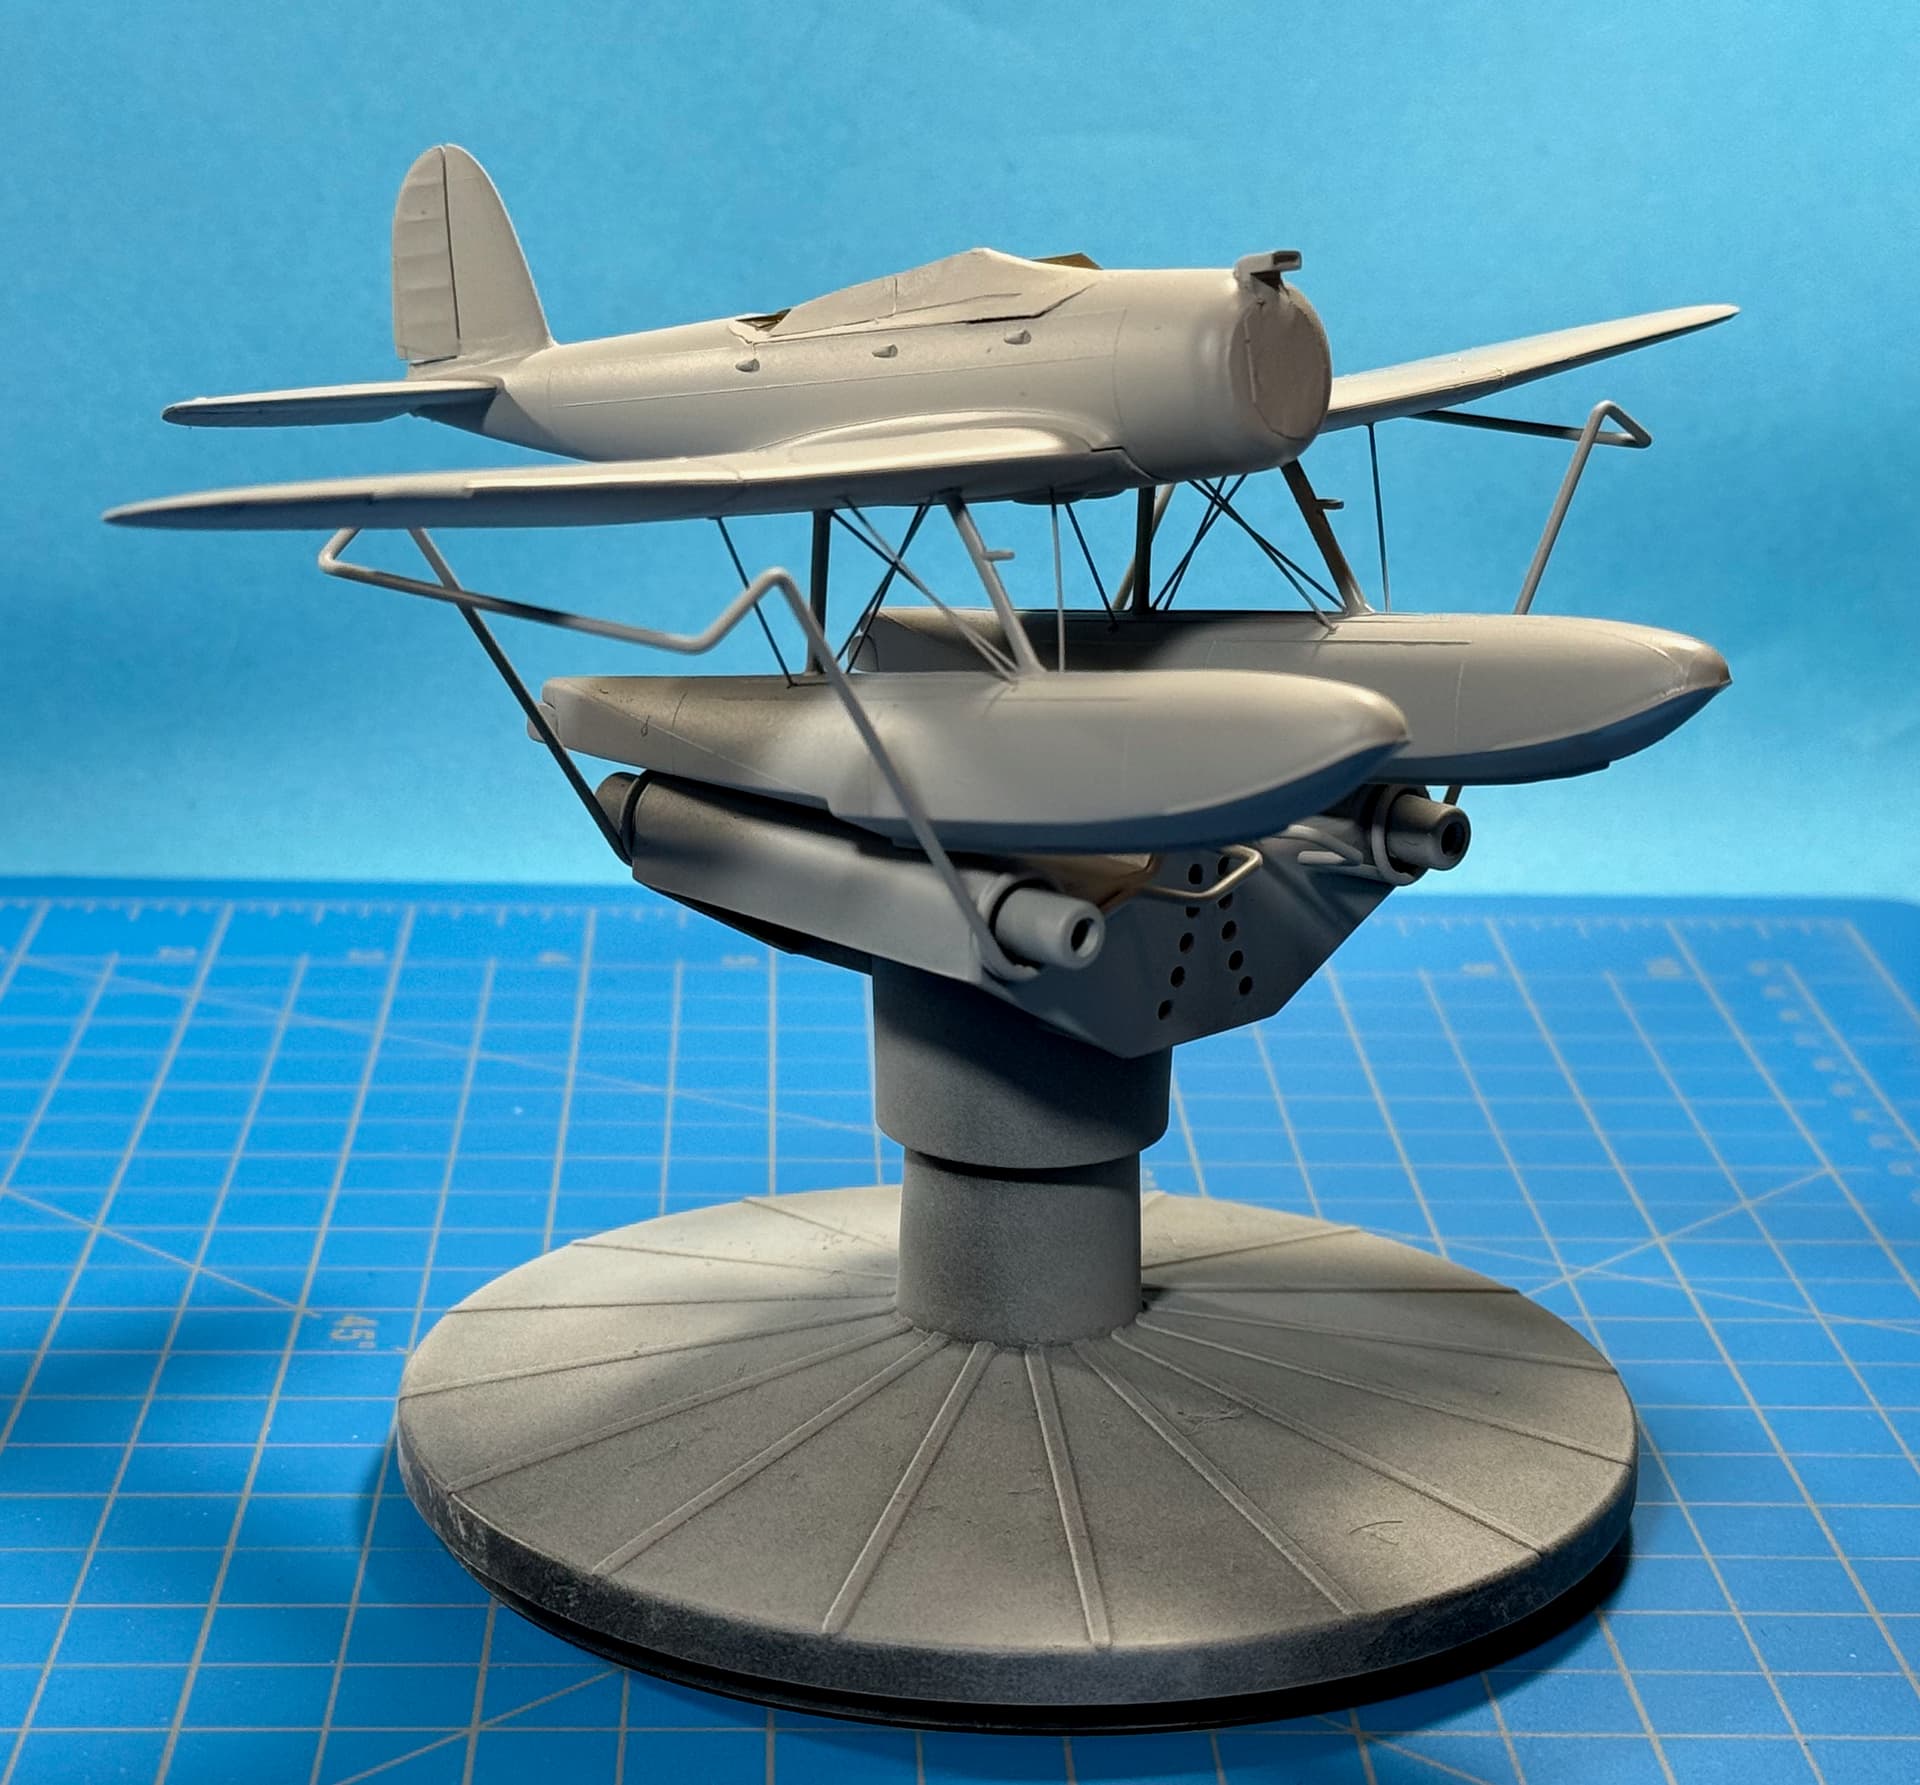
With the bottom painted, I masked portions of the underside to prevent overspray, and proceeded to paint the uppers, using MC15, IJN Green (Nakajima) and white 1:1. This would be the appropriate color since all A6M2-N Rufe’s were produced by the Nakajima company.
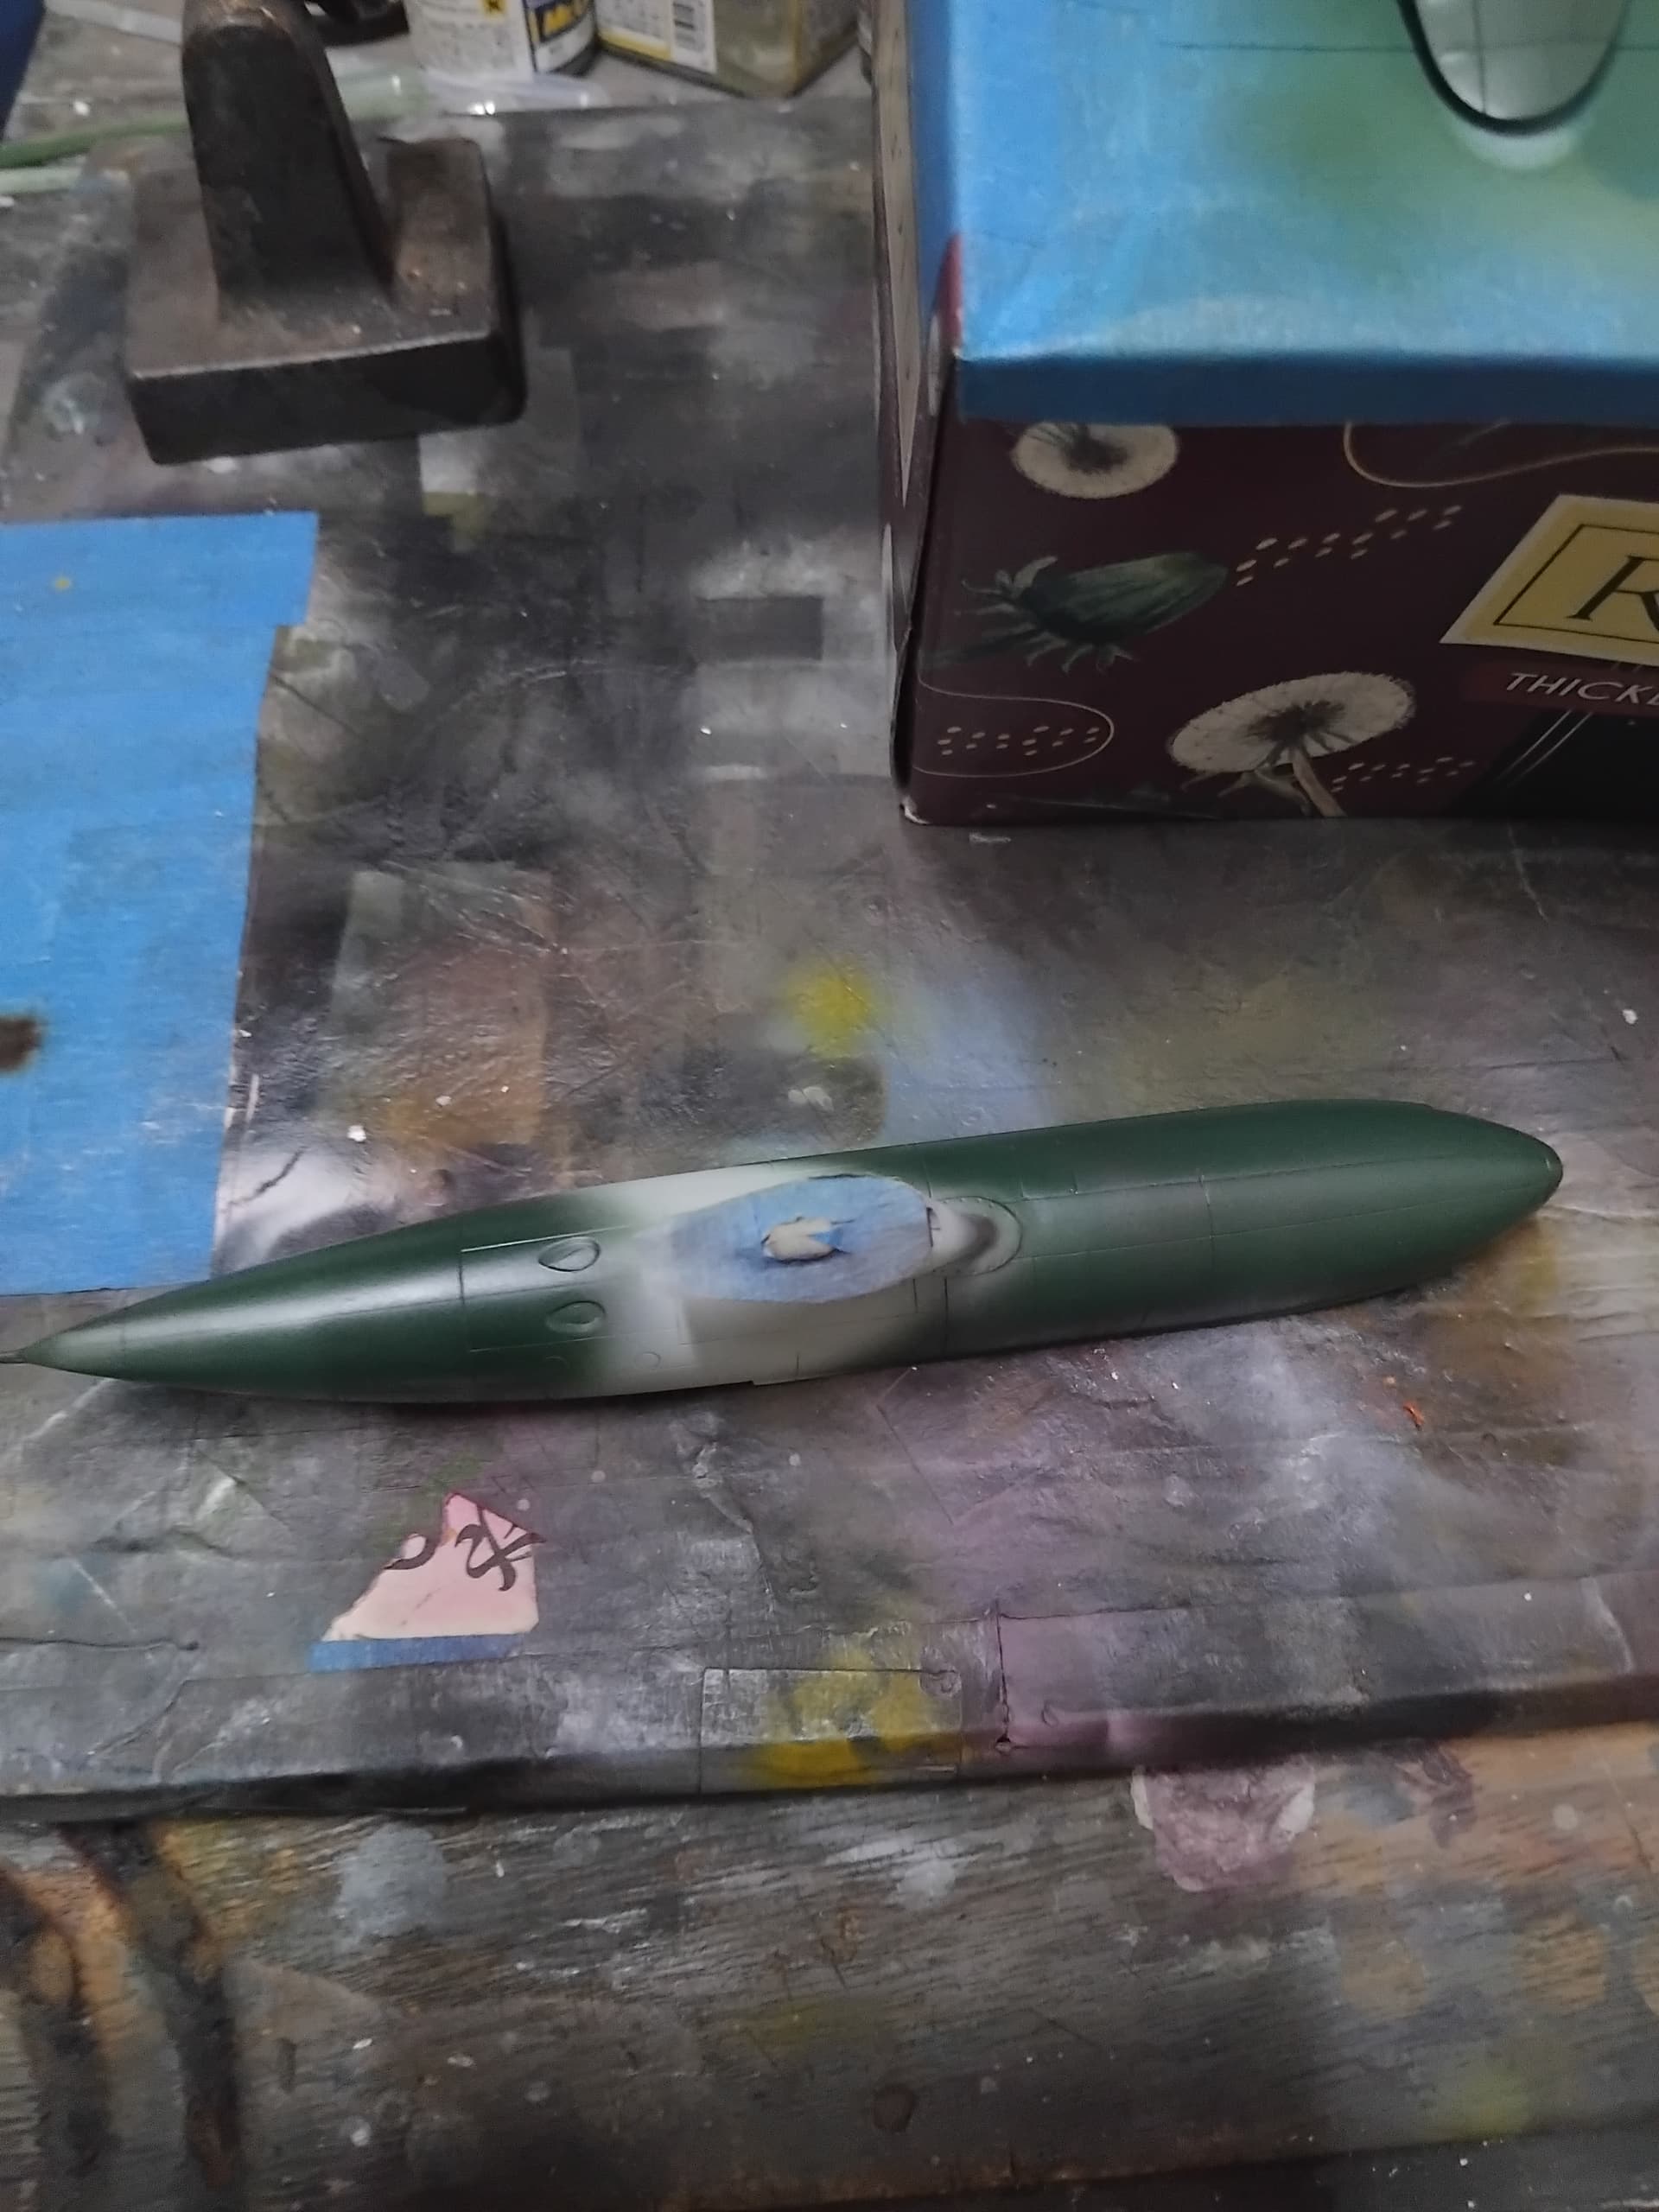
I also took the time to paint up the main float at this time as well.
With the majority of the painting completed, I removed the masks, and my burnishing job was sufficient to keep the main coats from leaking under the masks, whew!
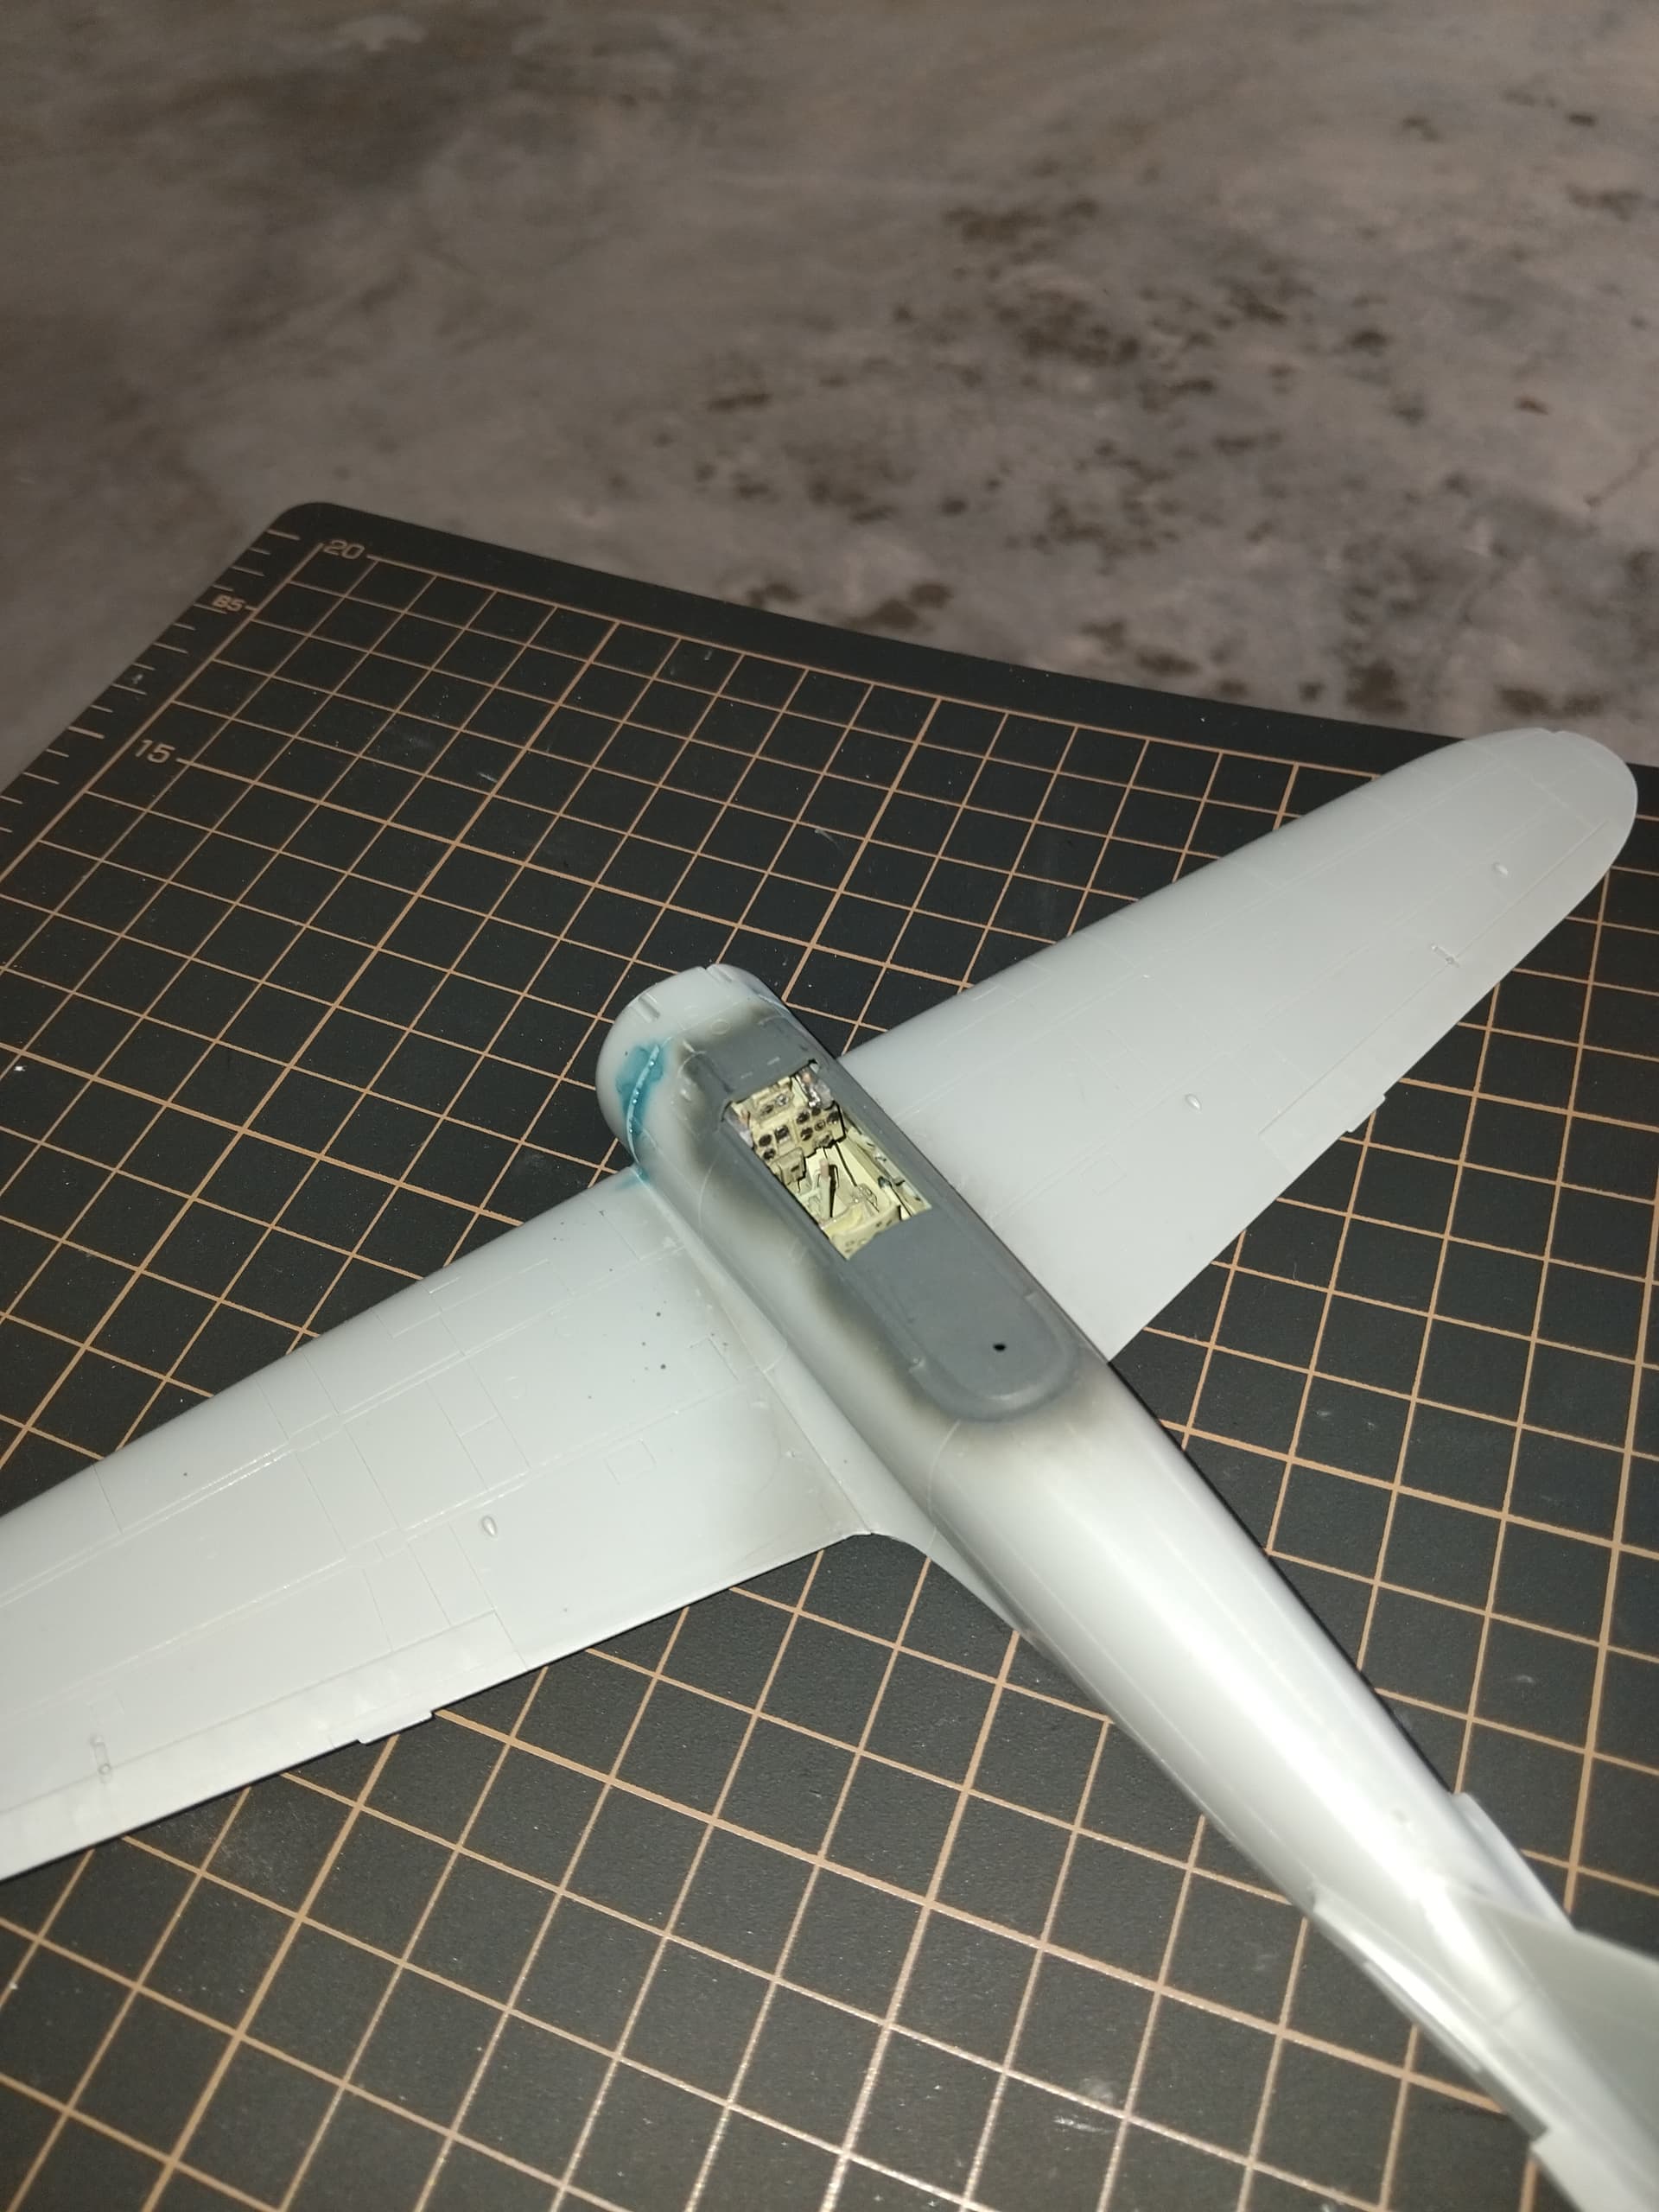
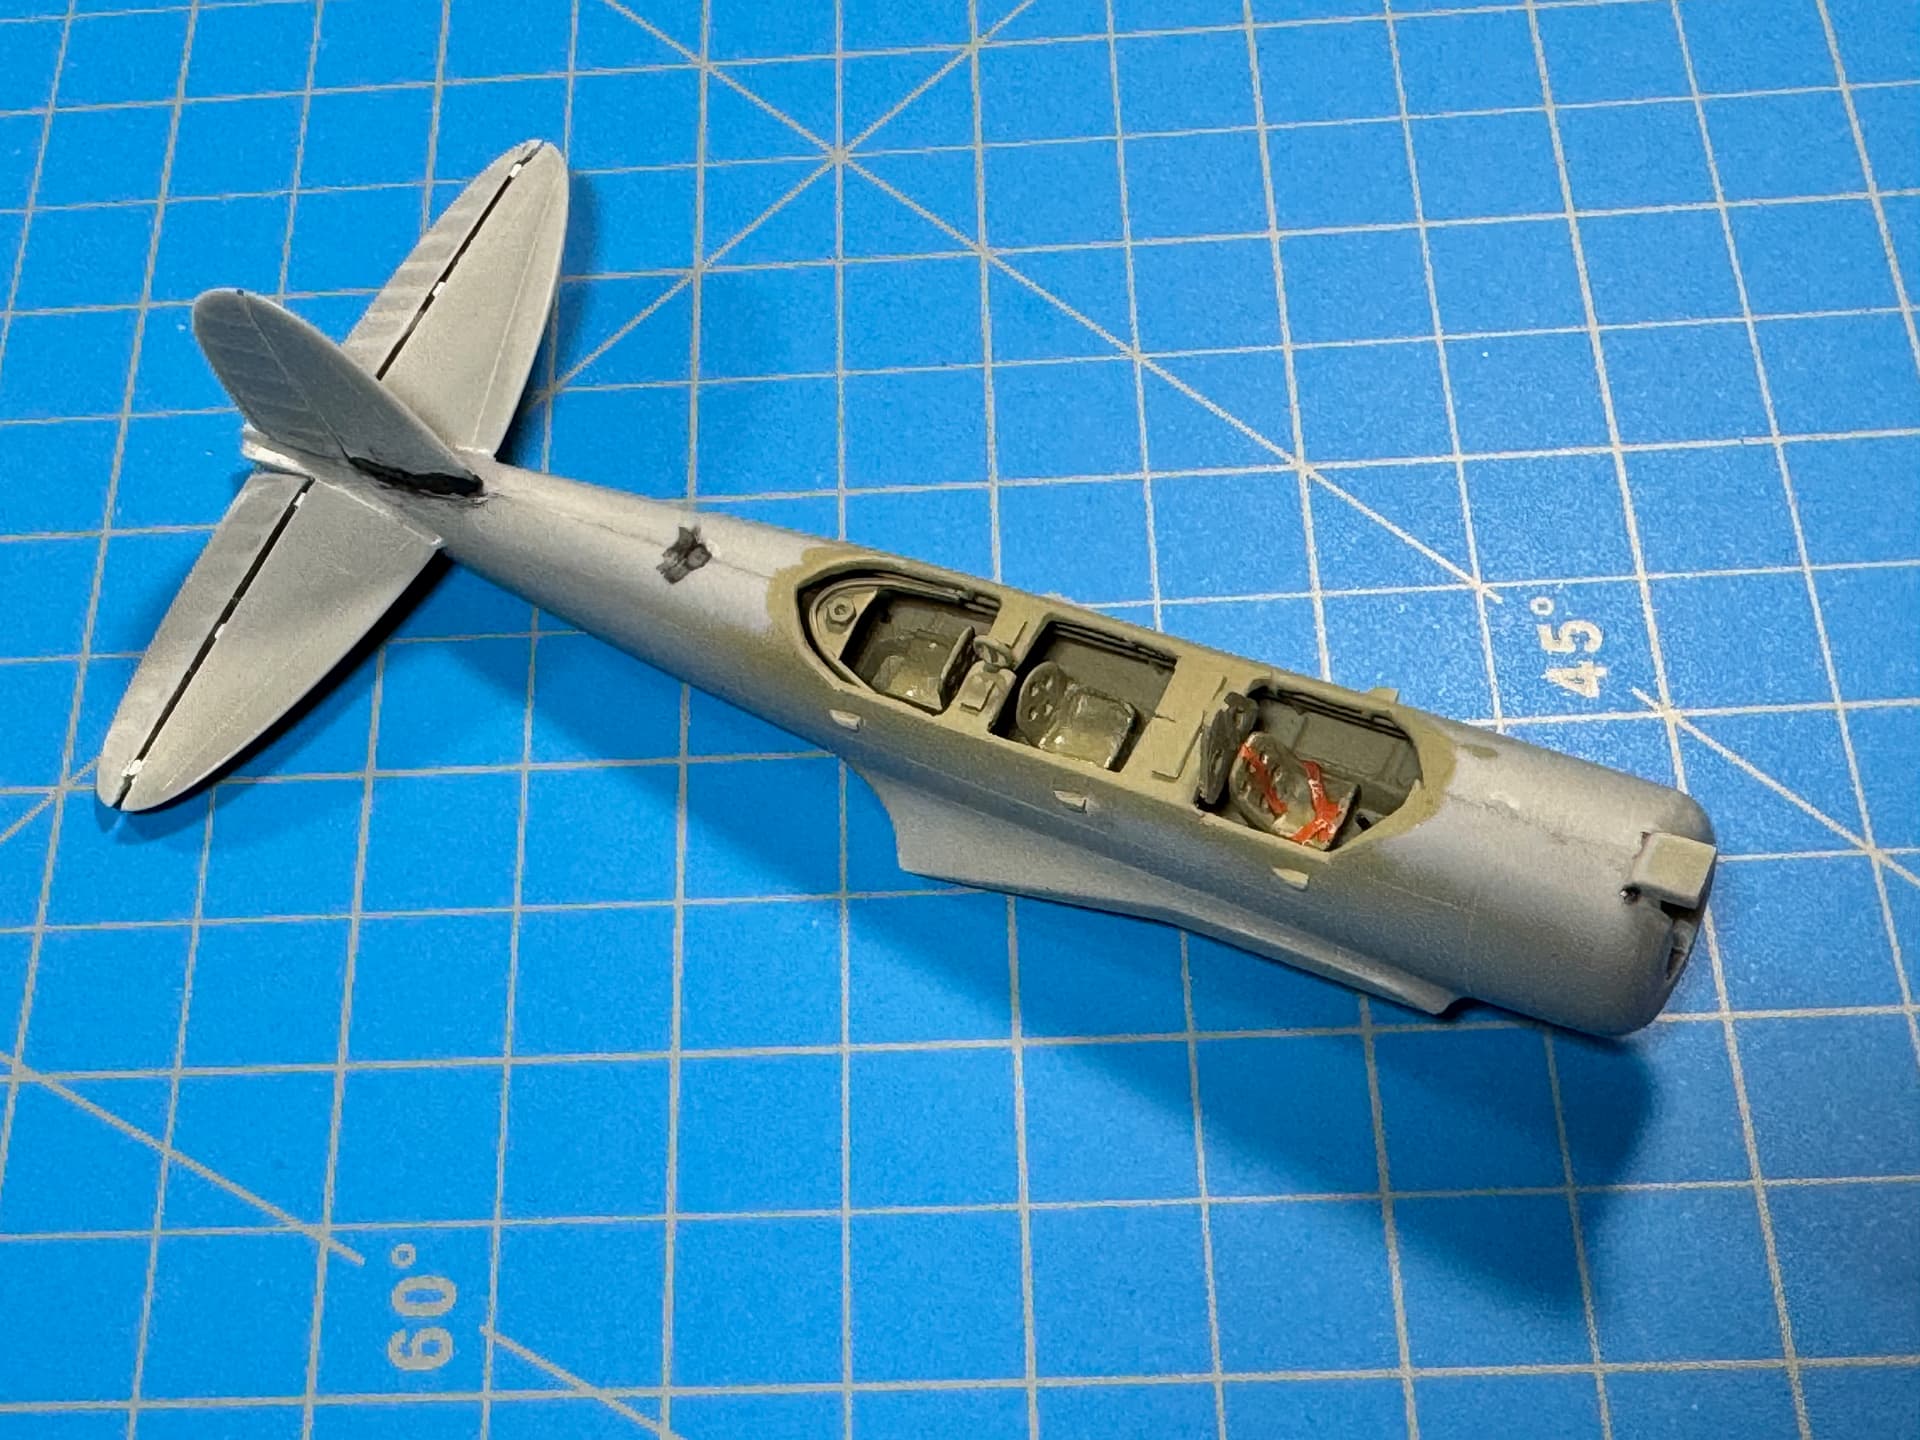
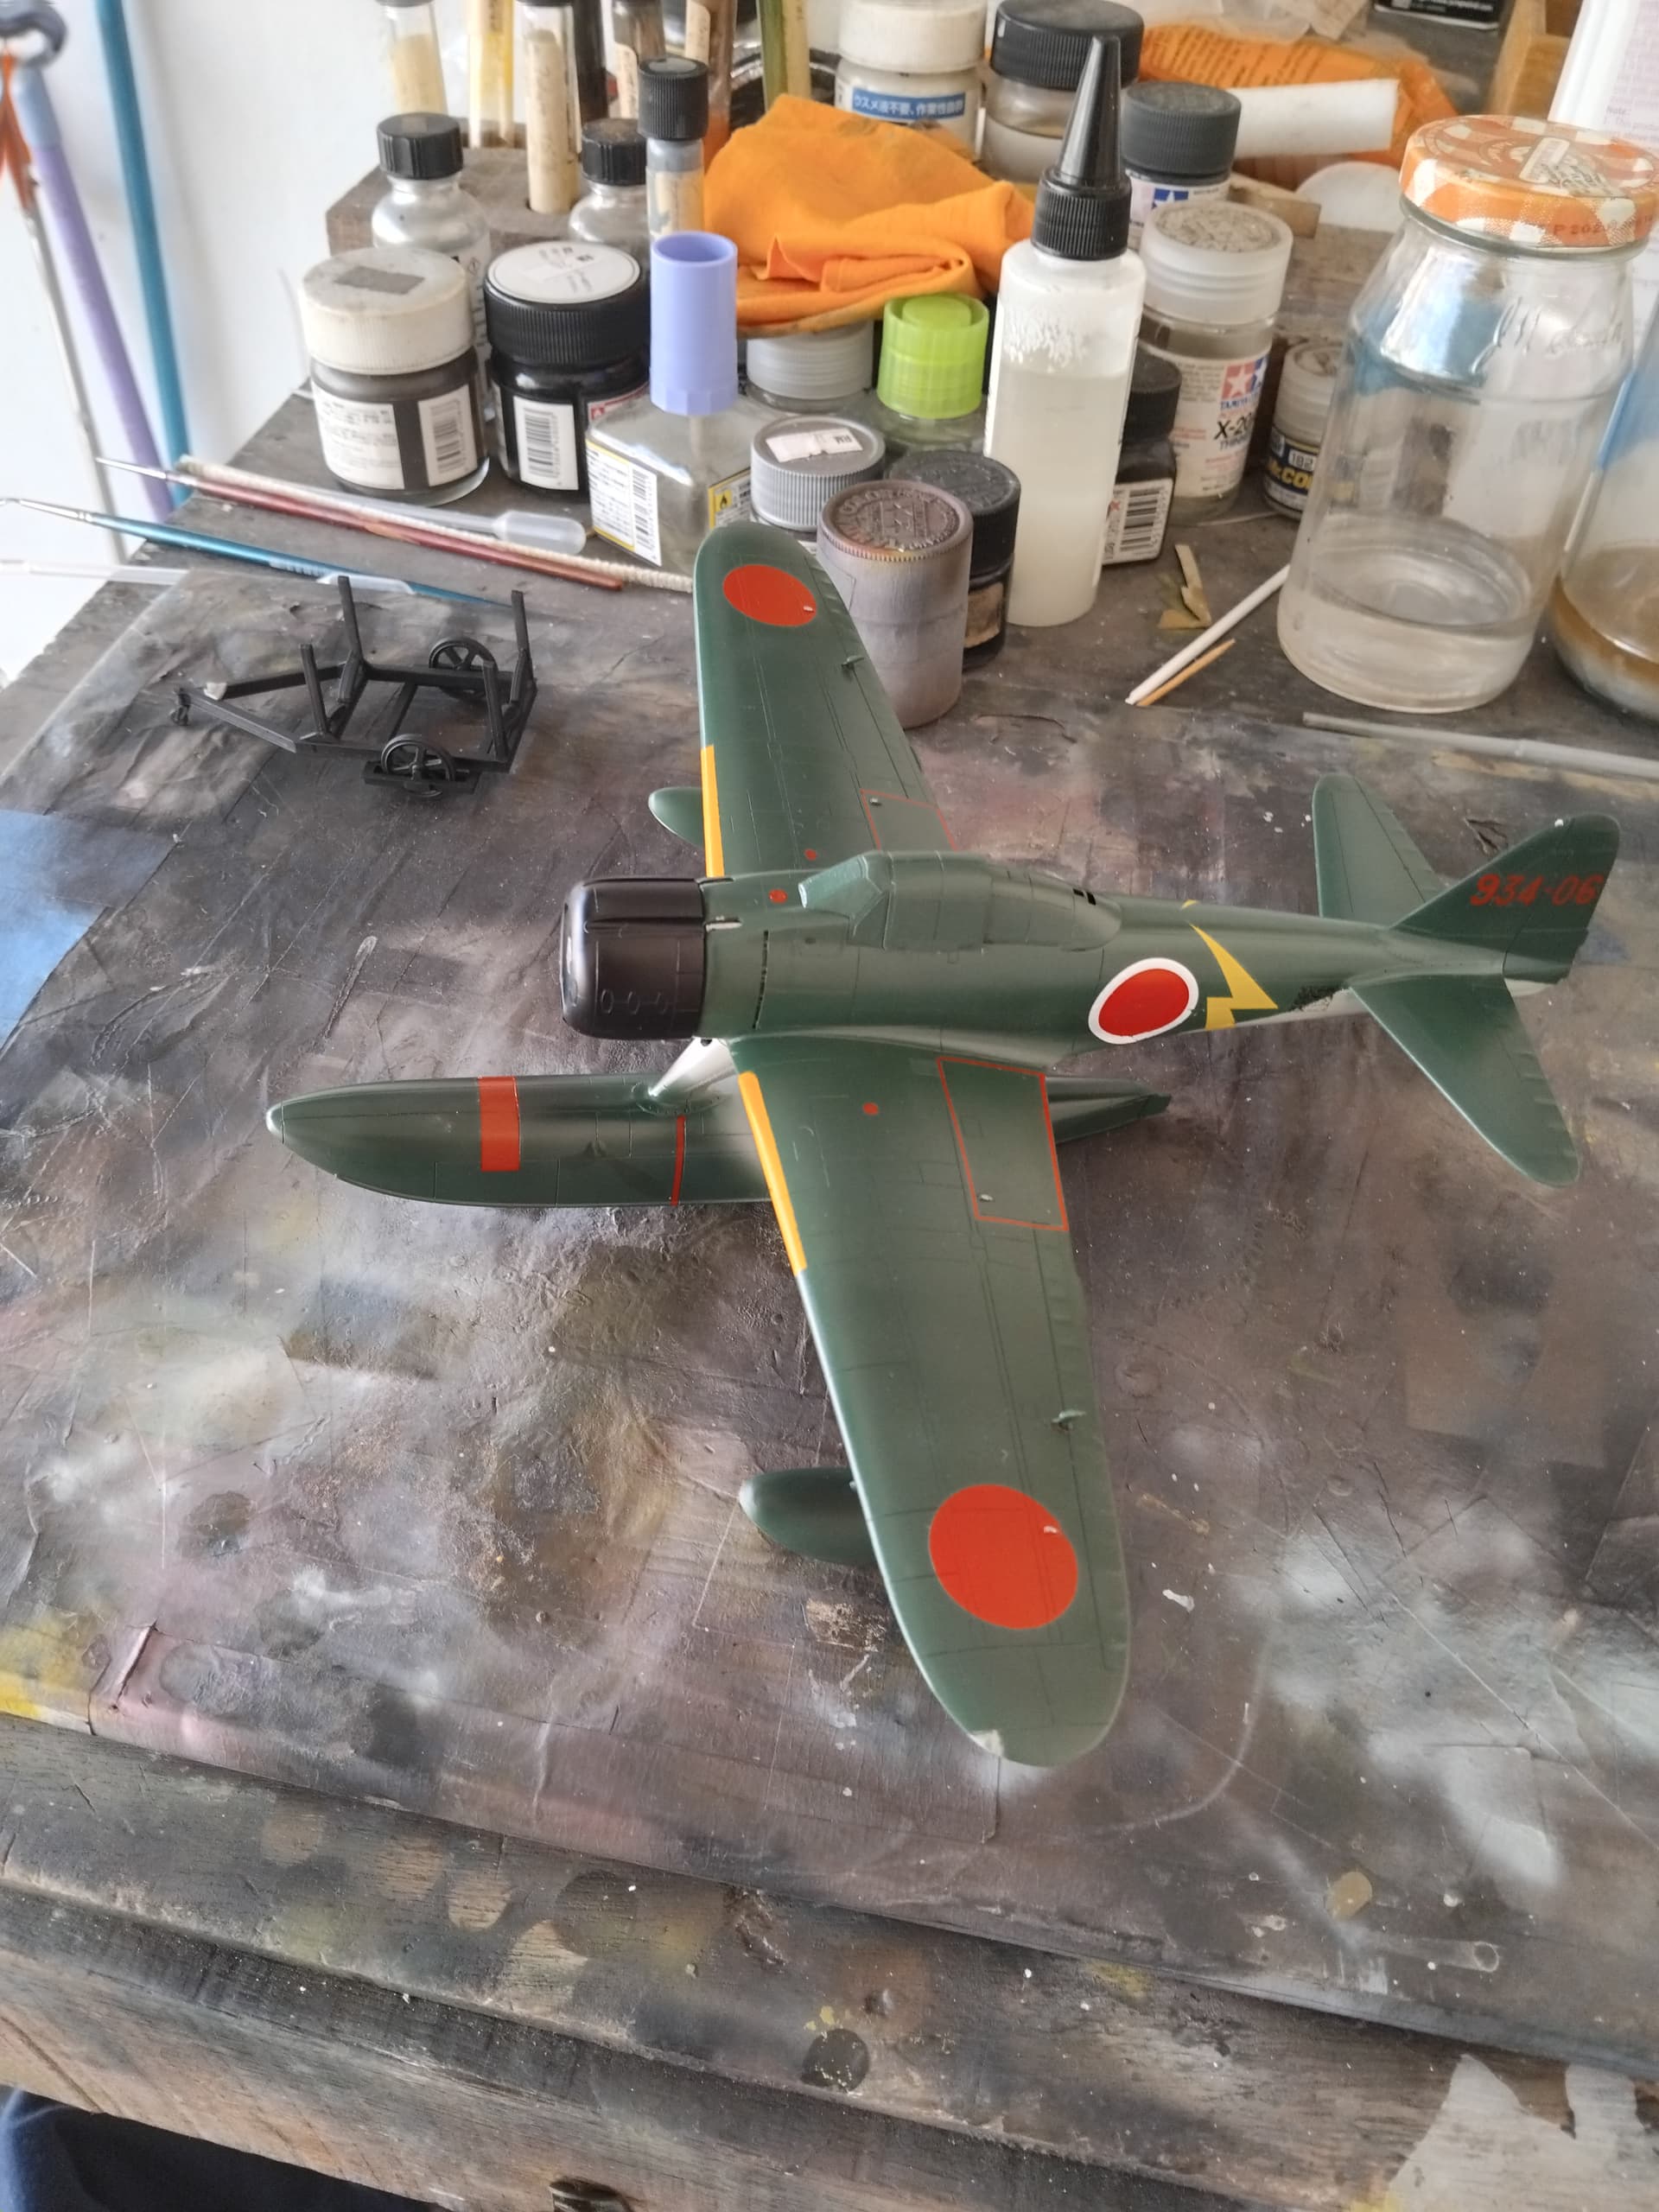
With the painting mostly finished, the bird got a coat of clear, and I moved onto getting the engine completed. Hasegawa does a very nice job on the engine, which after painting, took a black wash and looked quite convincing. The engine was then attached to the airframe as was the main float.
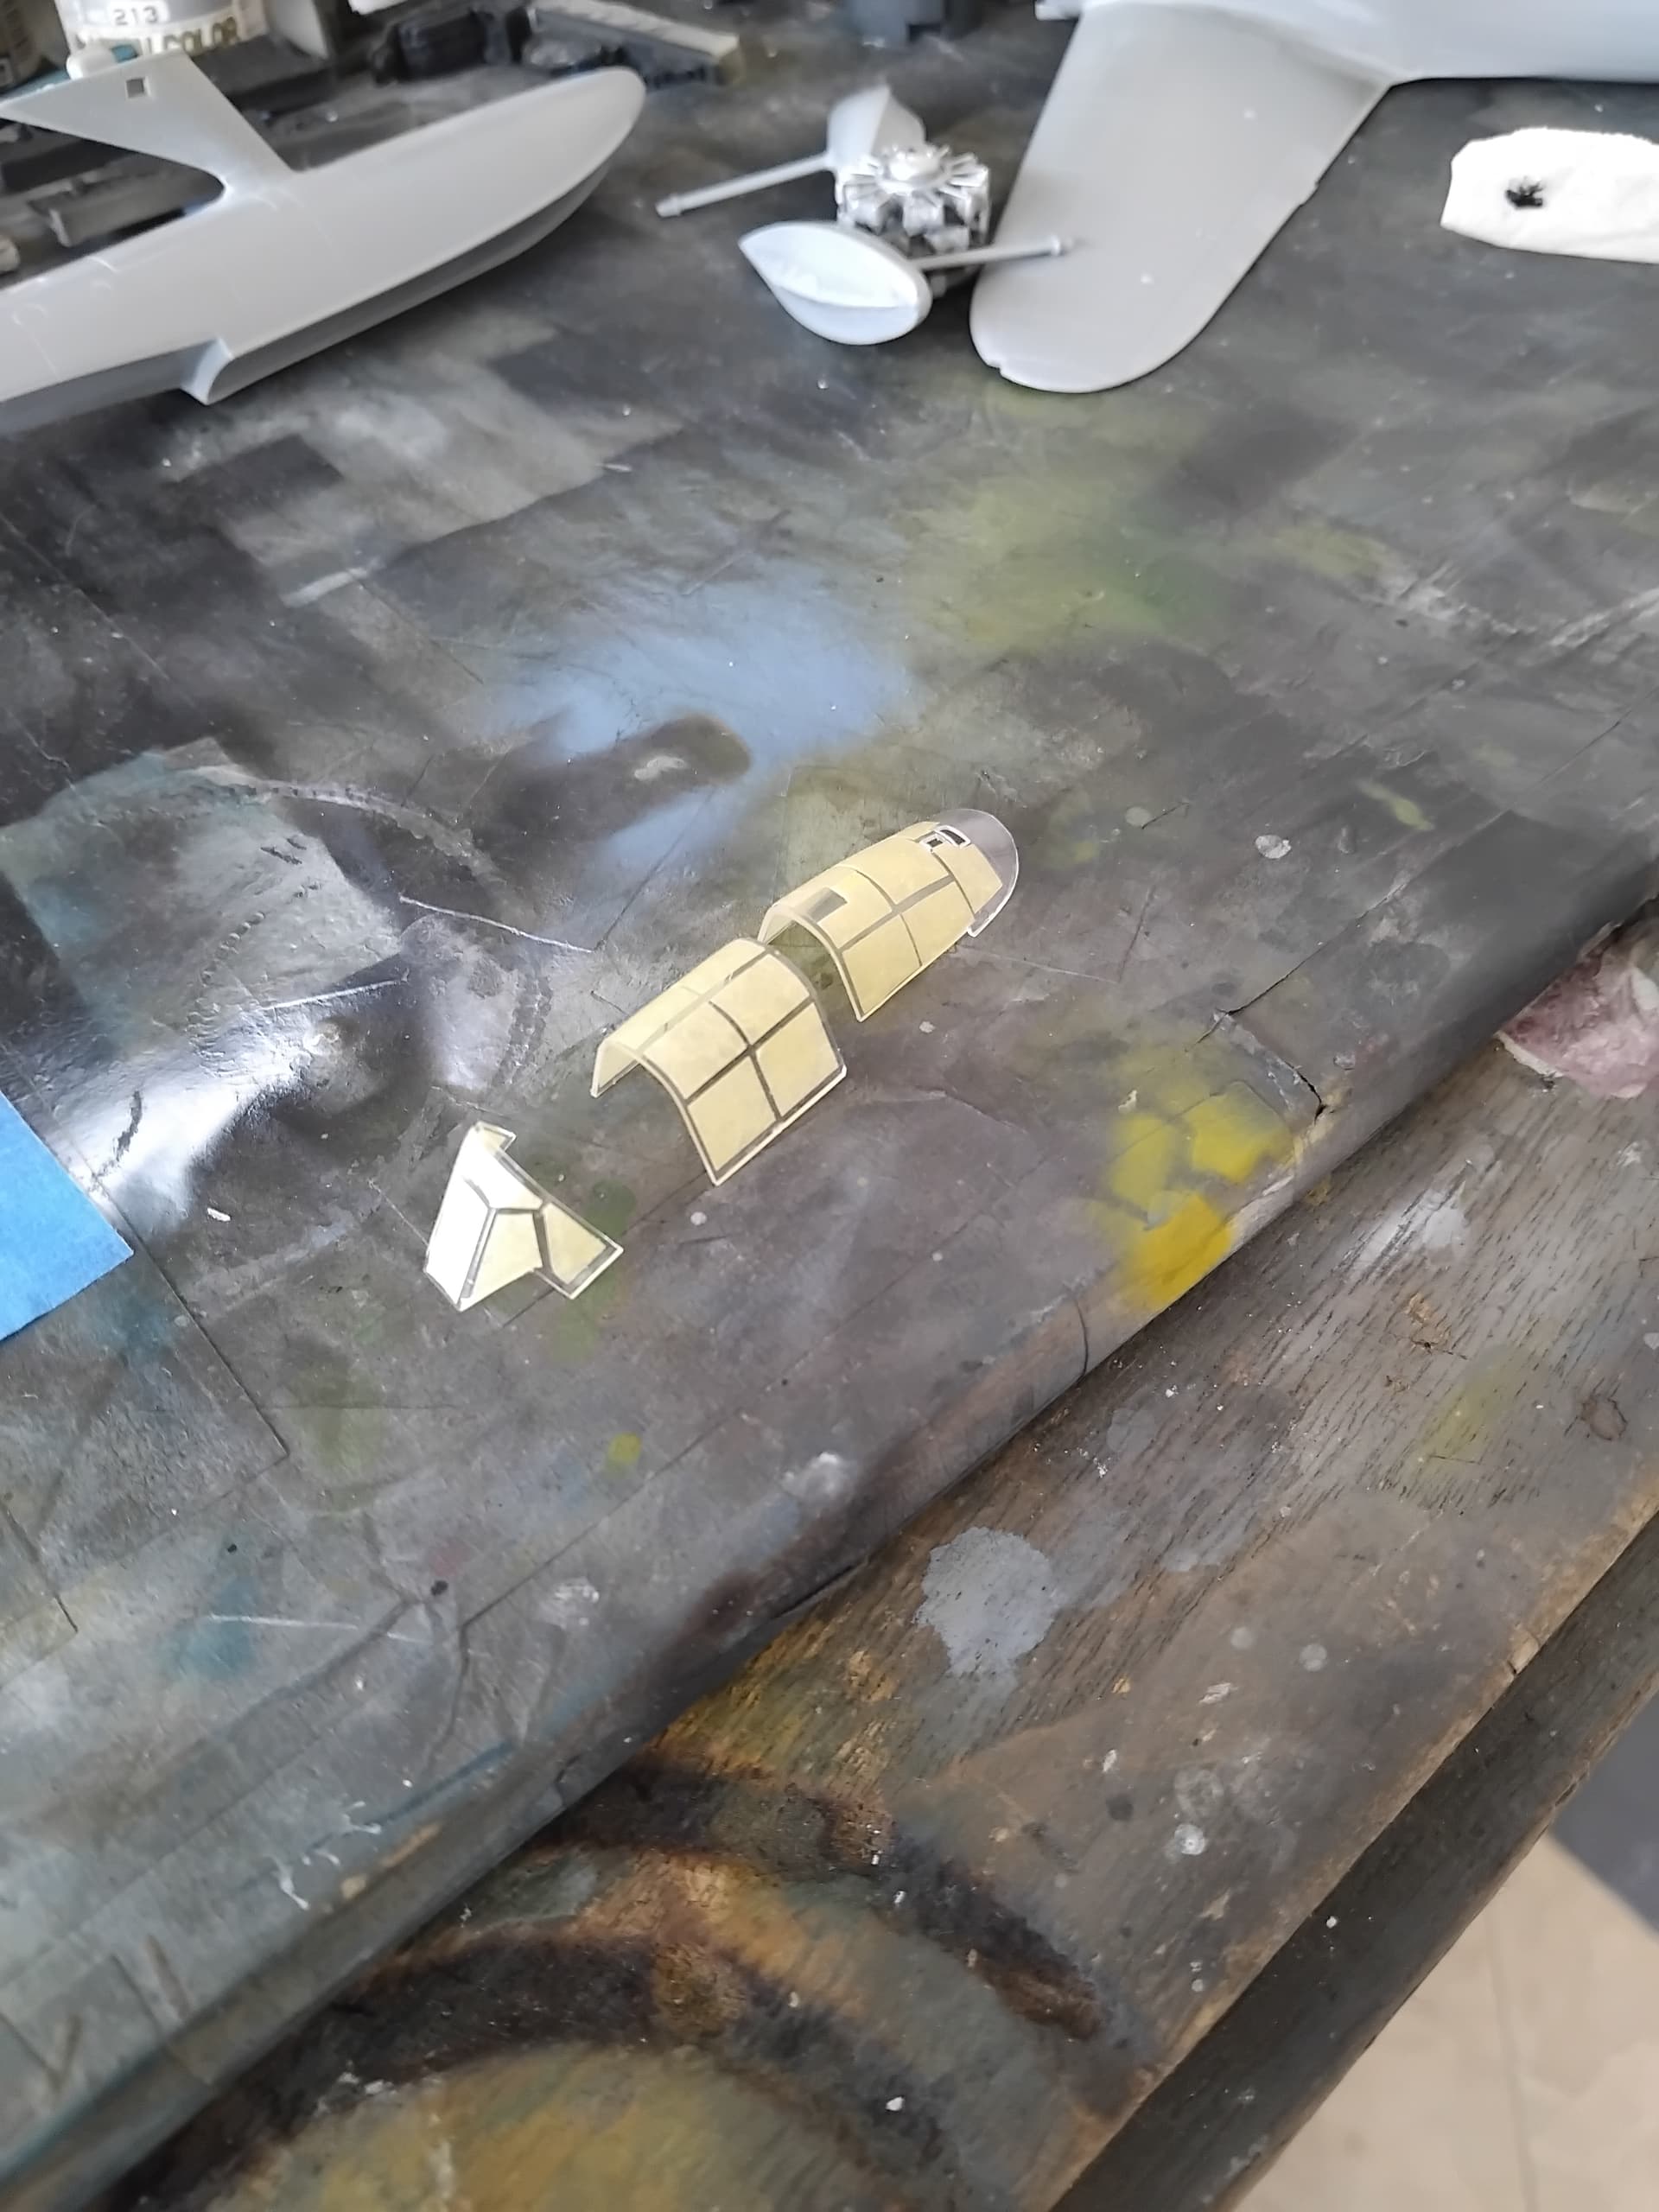
The cowling was painted NATO black and attached. A little more clear was applied and it was time to start decaling. The decals were so-so. The Techmod decals responded fairly well, though the “no walk” area on the starboard wing got a kink in it and refused to straighten out, and there was a little tearing on one of the hinomaru’s, though not that noticeable. The kit decals were overall fairly good despite their age, with my only complaint being that the lightning bolts were a little on the translucent side. Since this became an experimental bed, I feel pretty good as to how they turned out. All the decals settled down just fine using Mr. Softener.
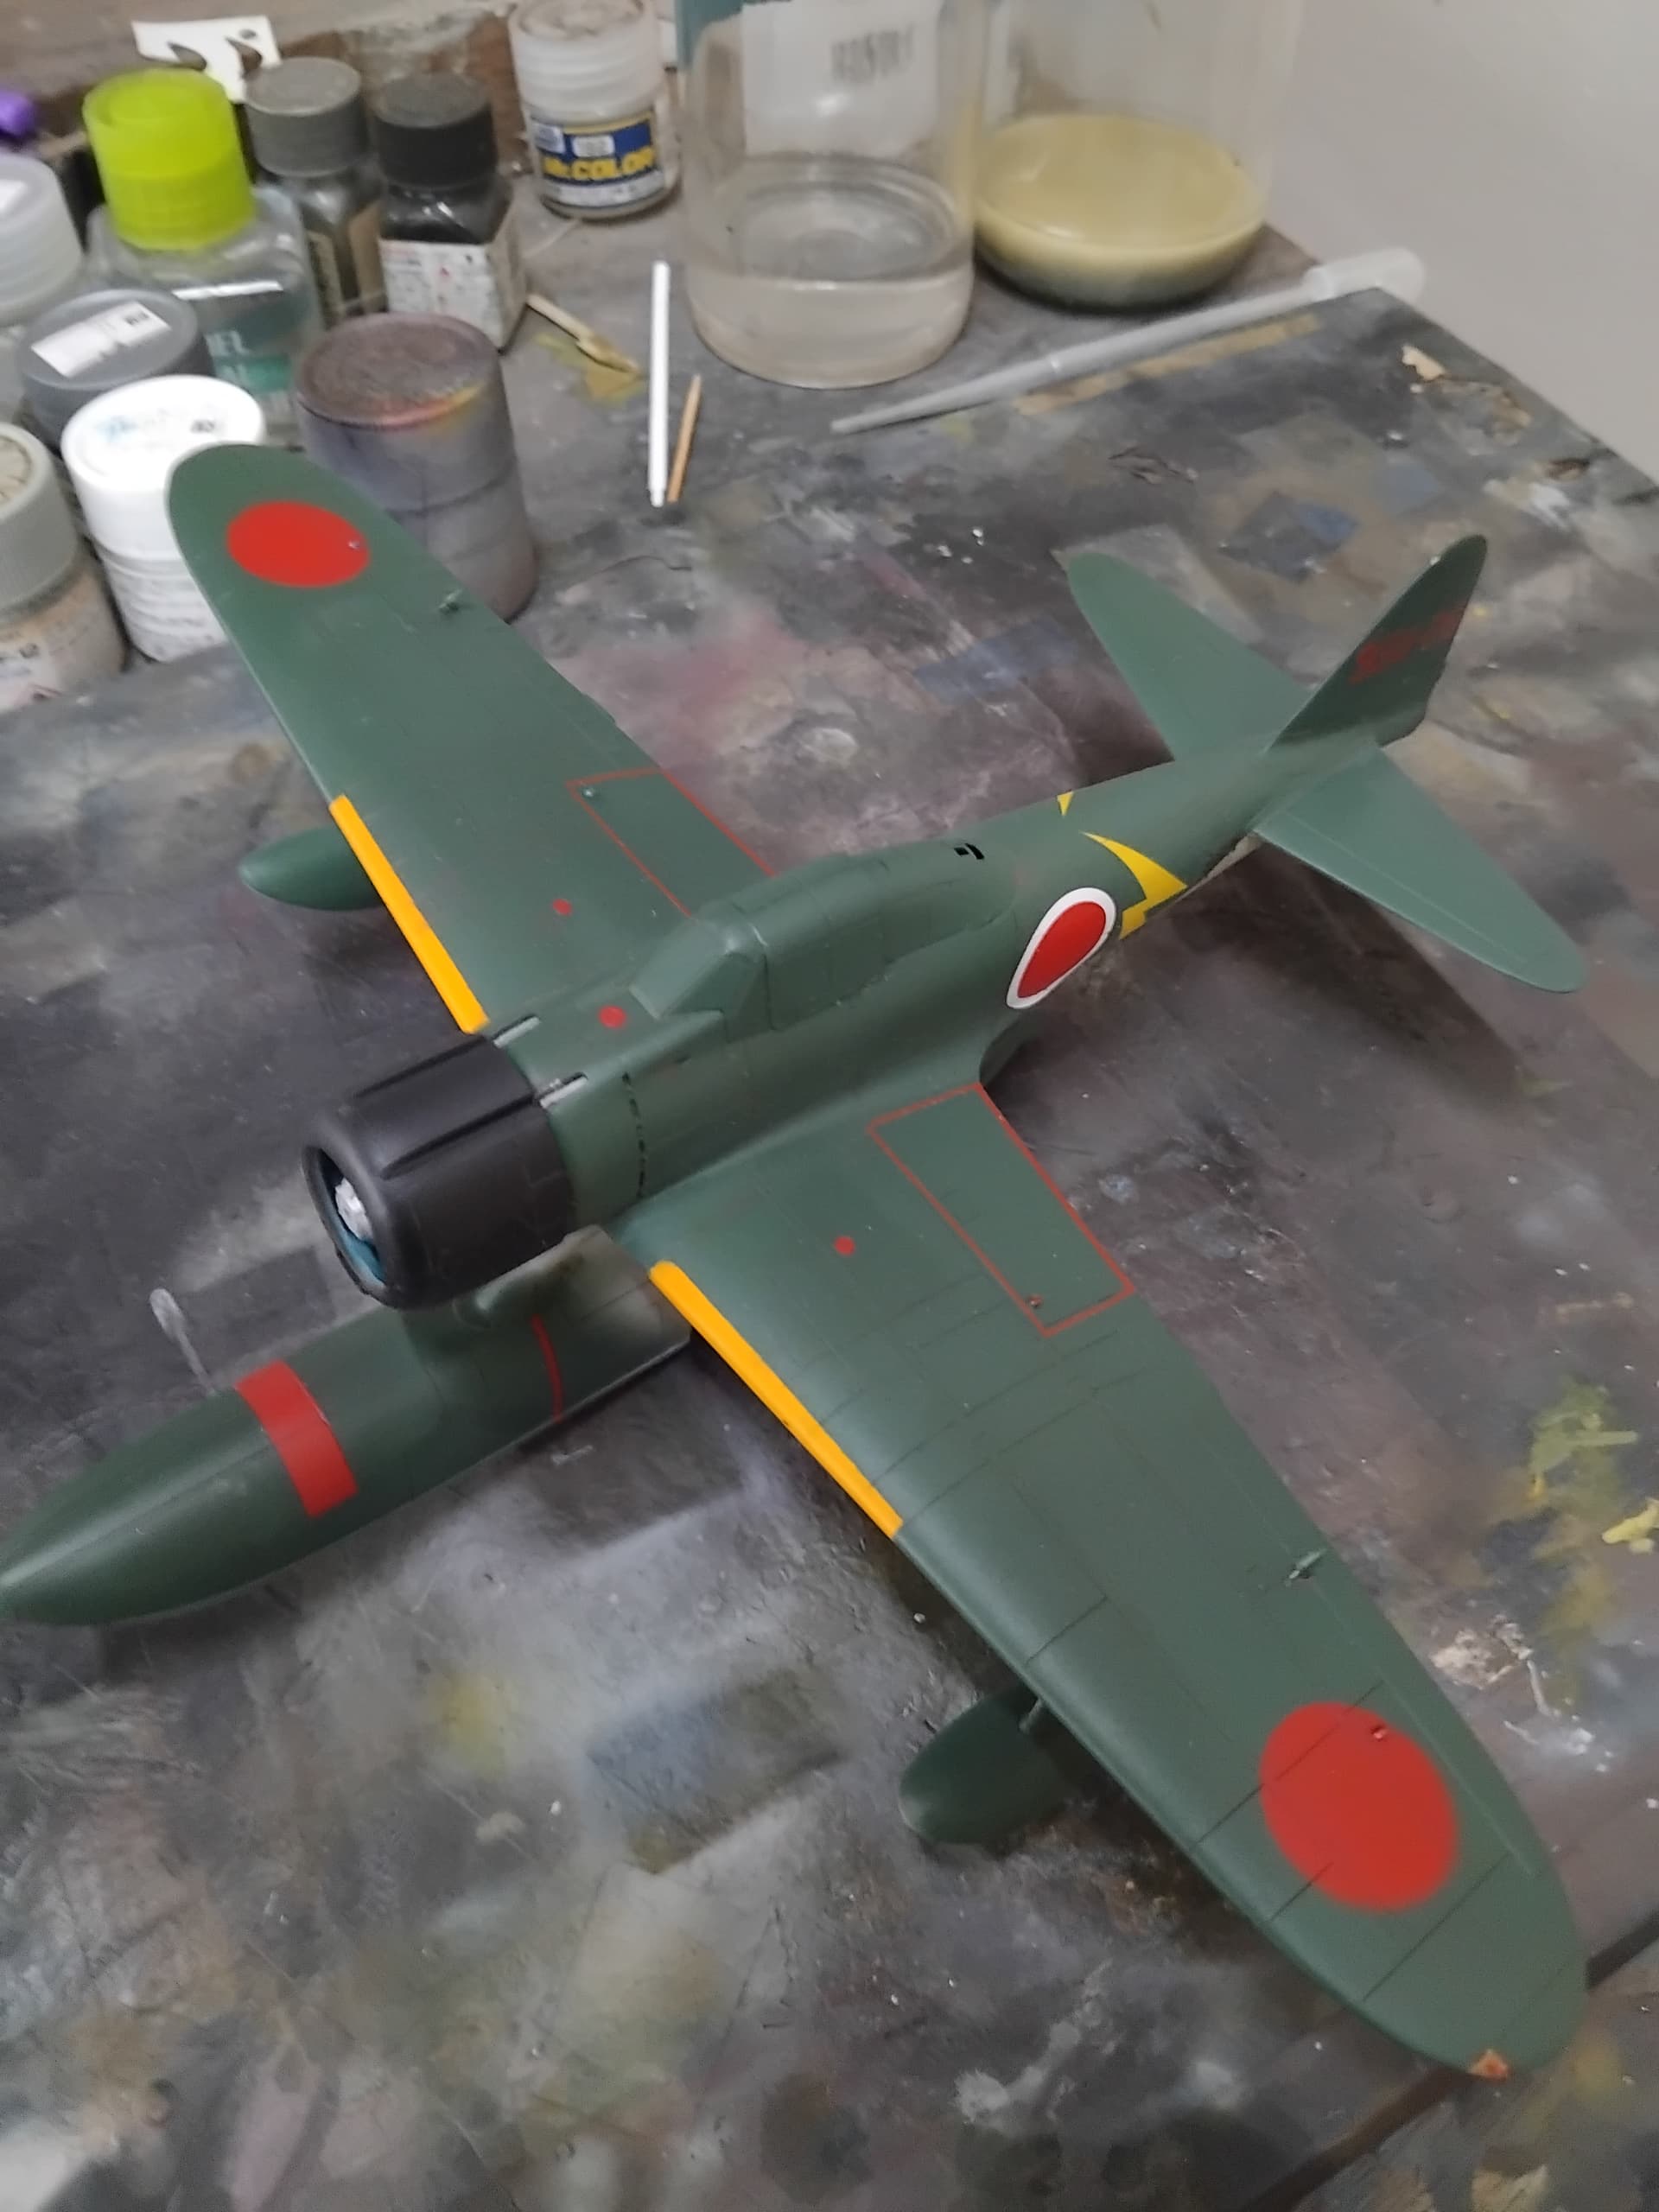
Once decaling was complete, the entire bird got a sealing coat of clear. Once dry, I gave the entire plane a wash of burnt umber and white, highly thinned with turpentine. The goal of the wash was to be dark enough to highlight the dark green areas, and light enough to highlight the cowling, and give a sense of being in a saltwater environment. I think I came fairly close.
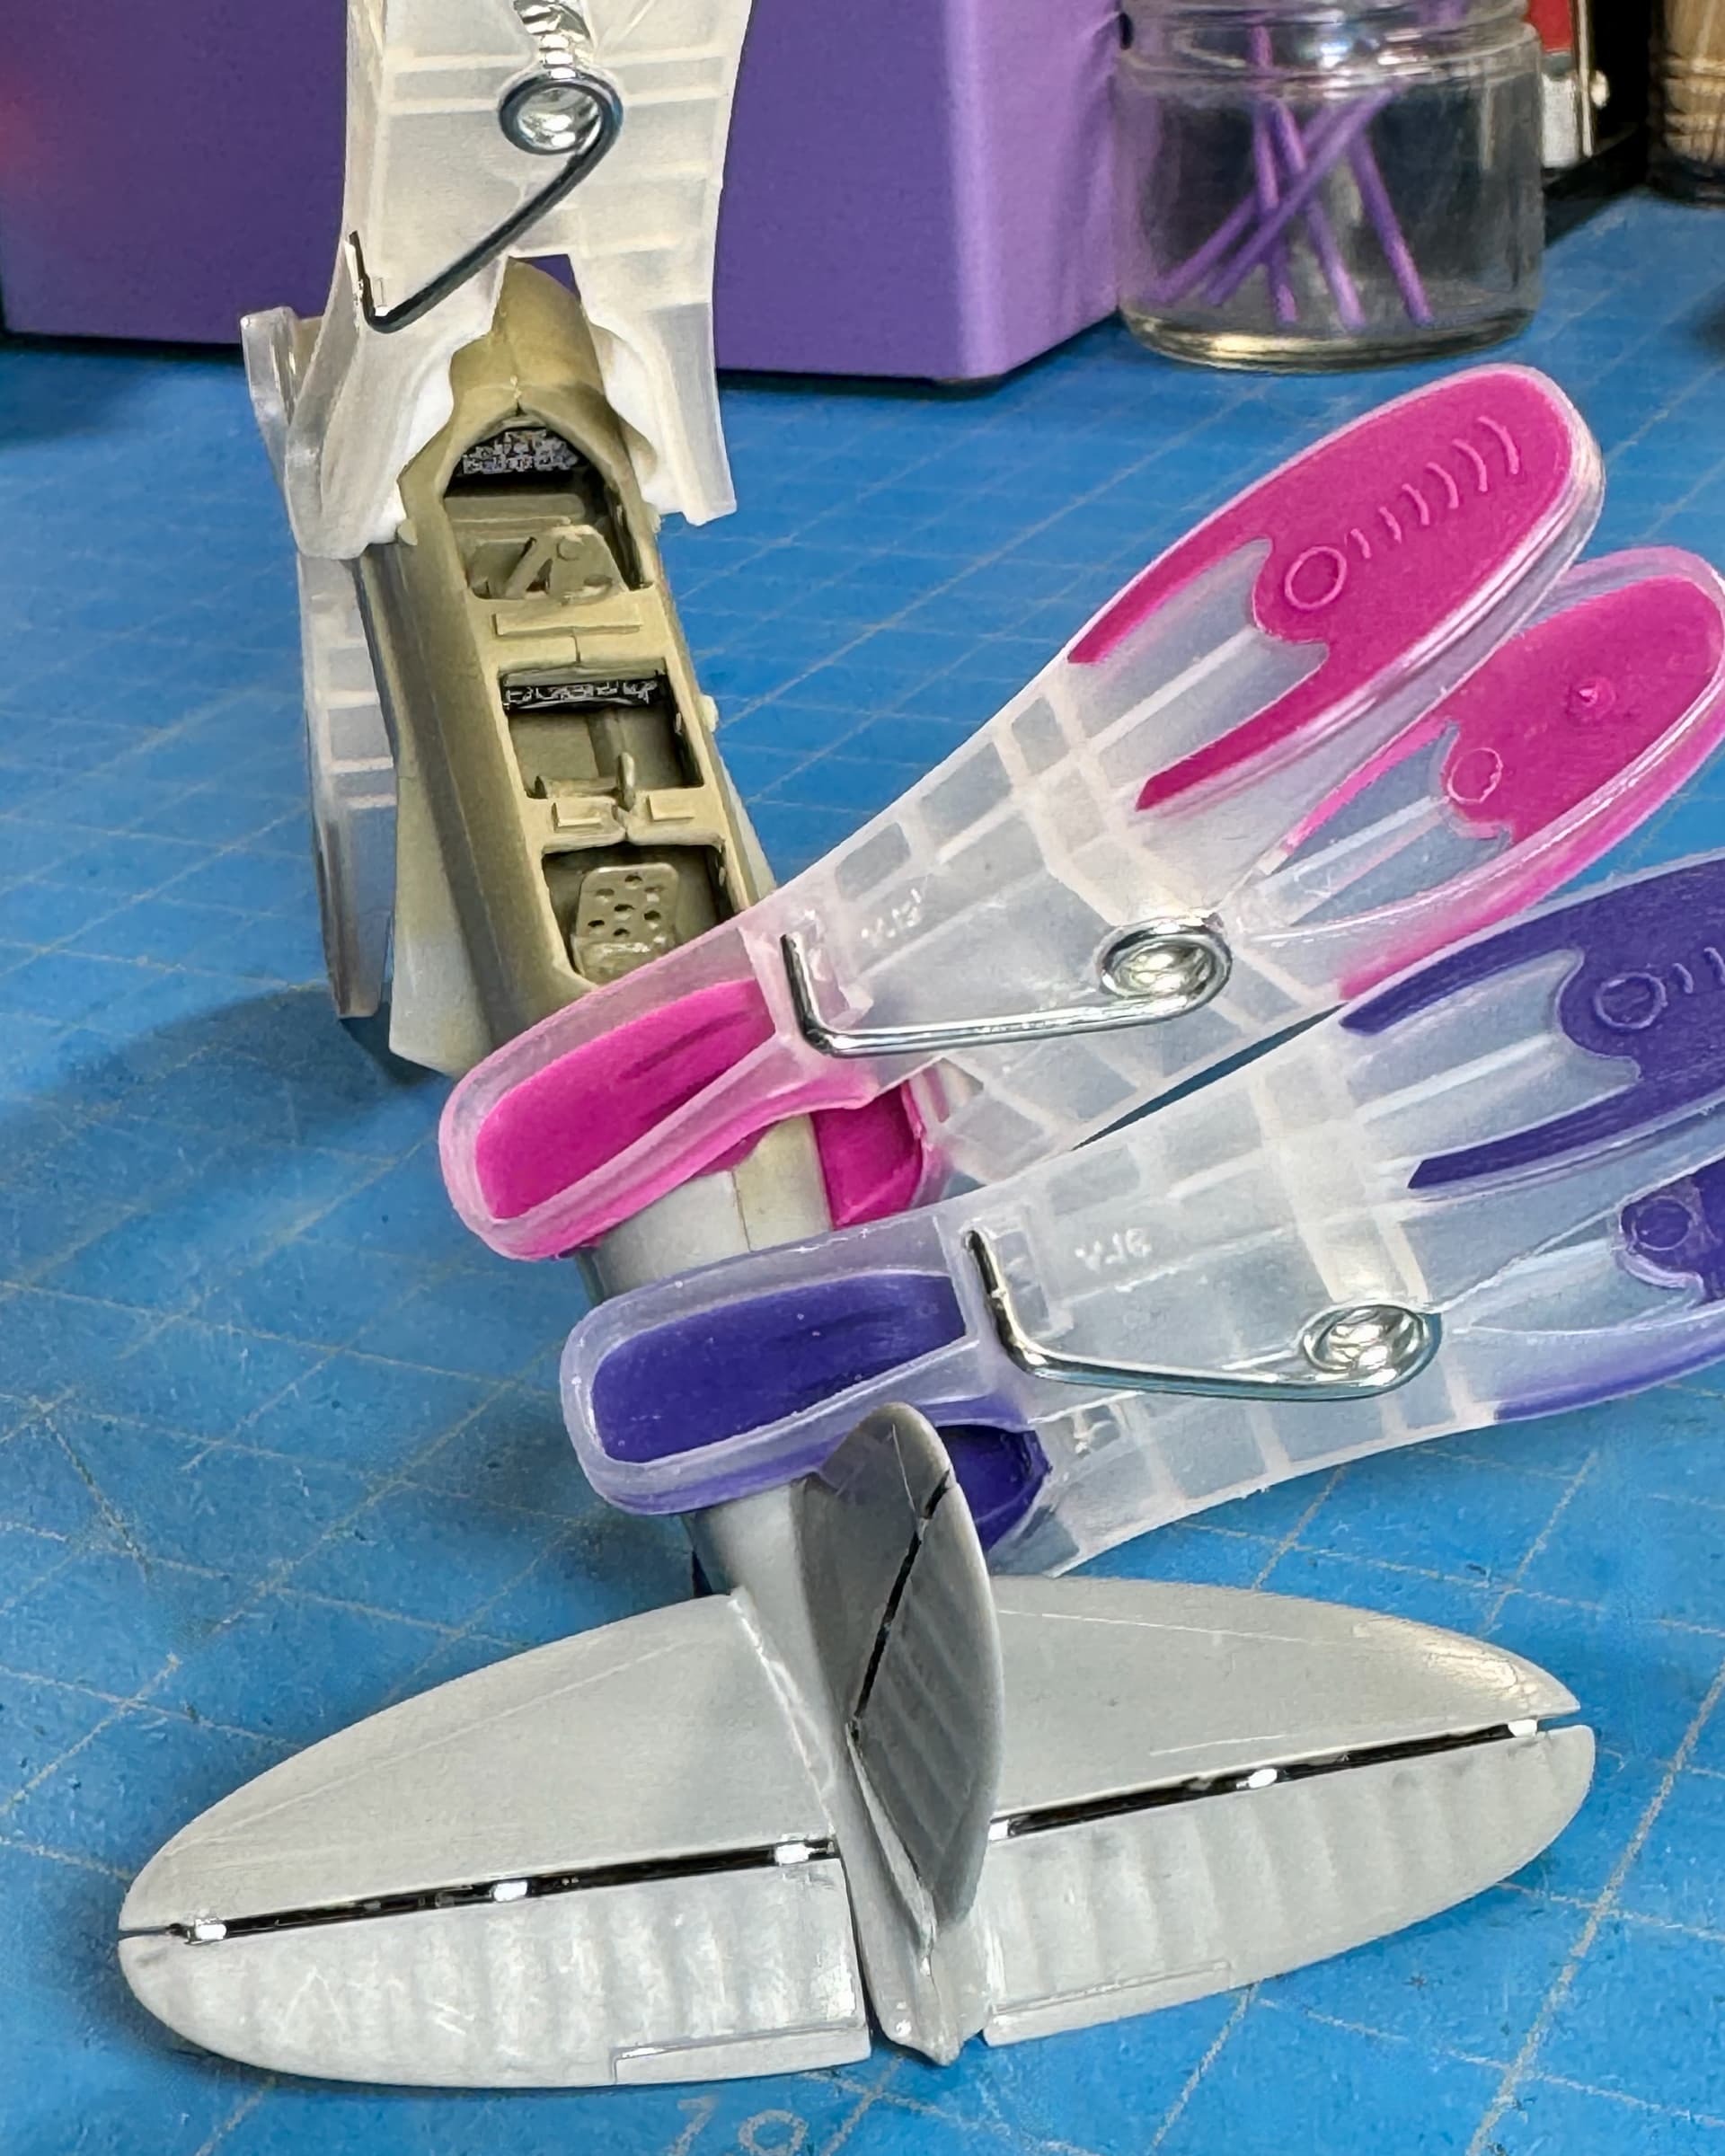
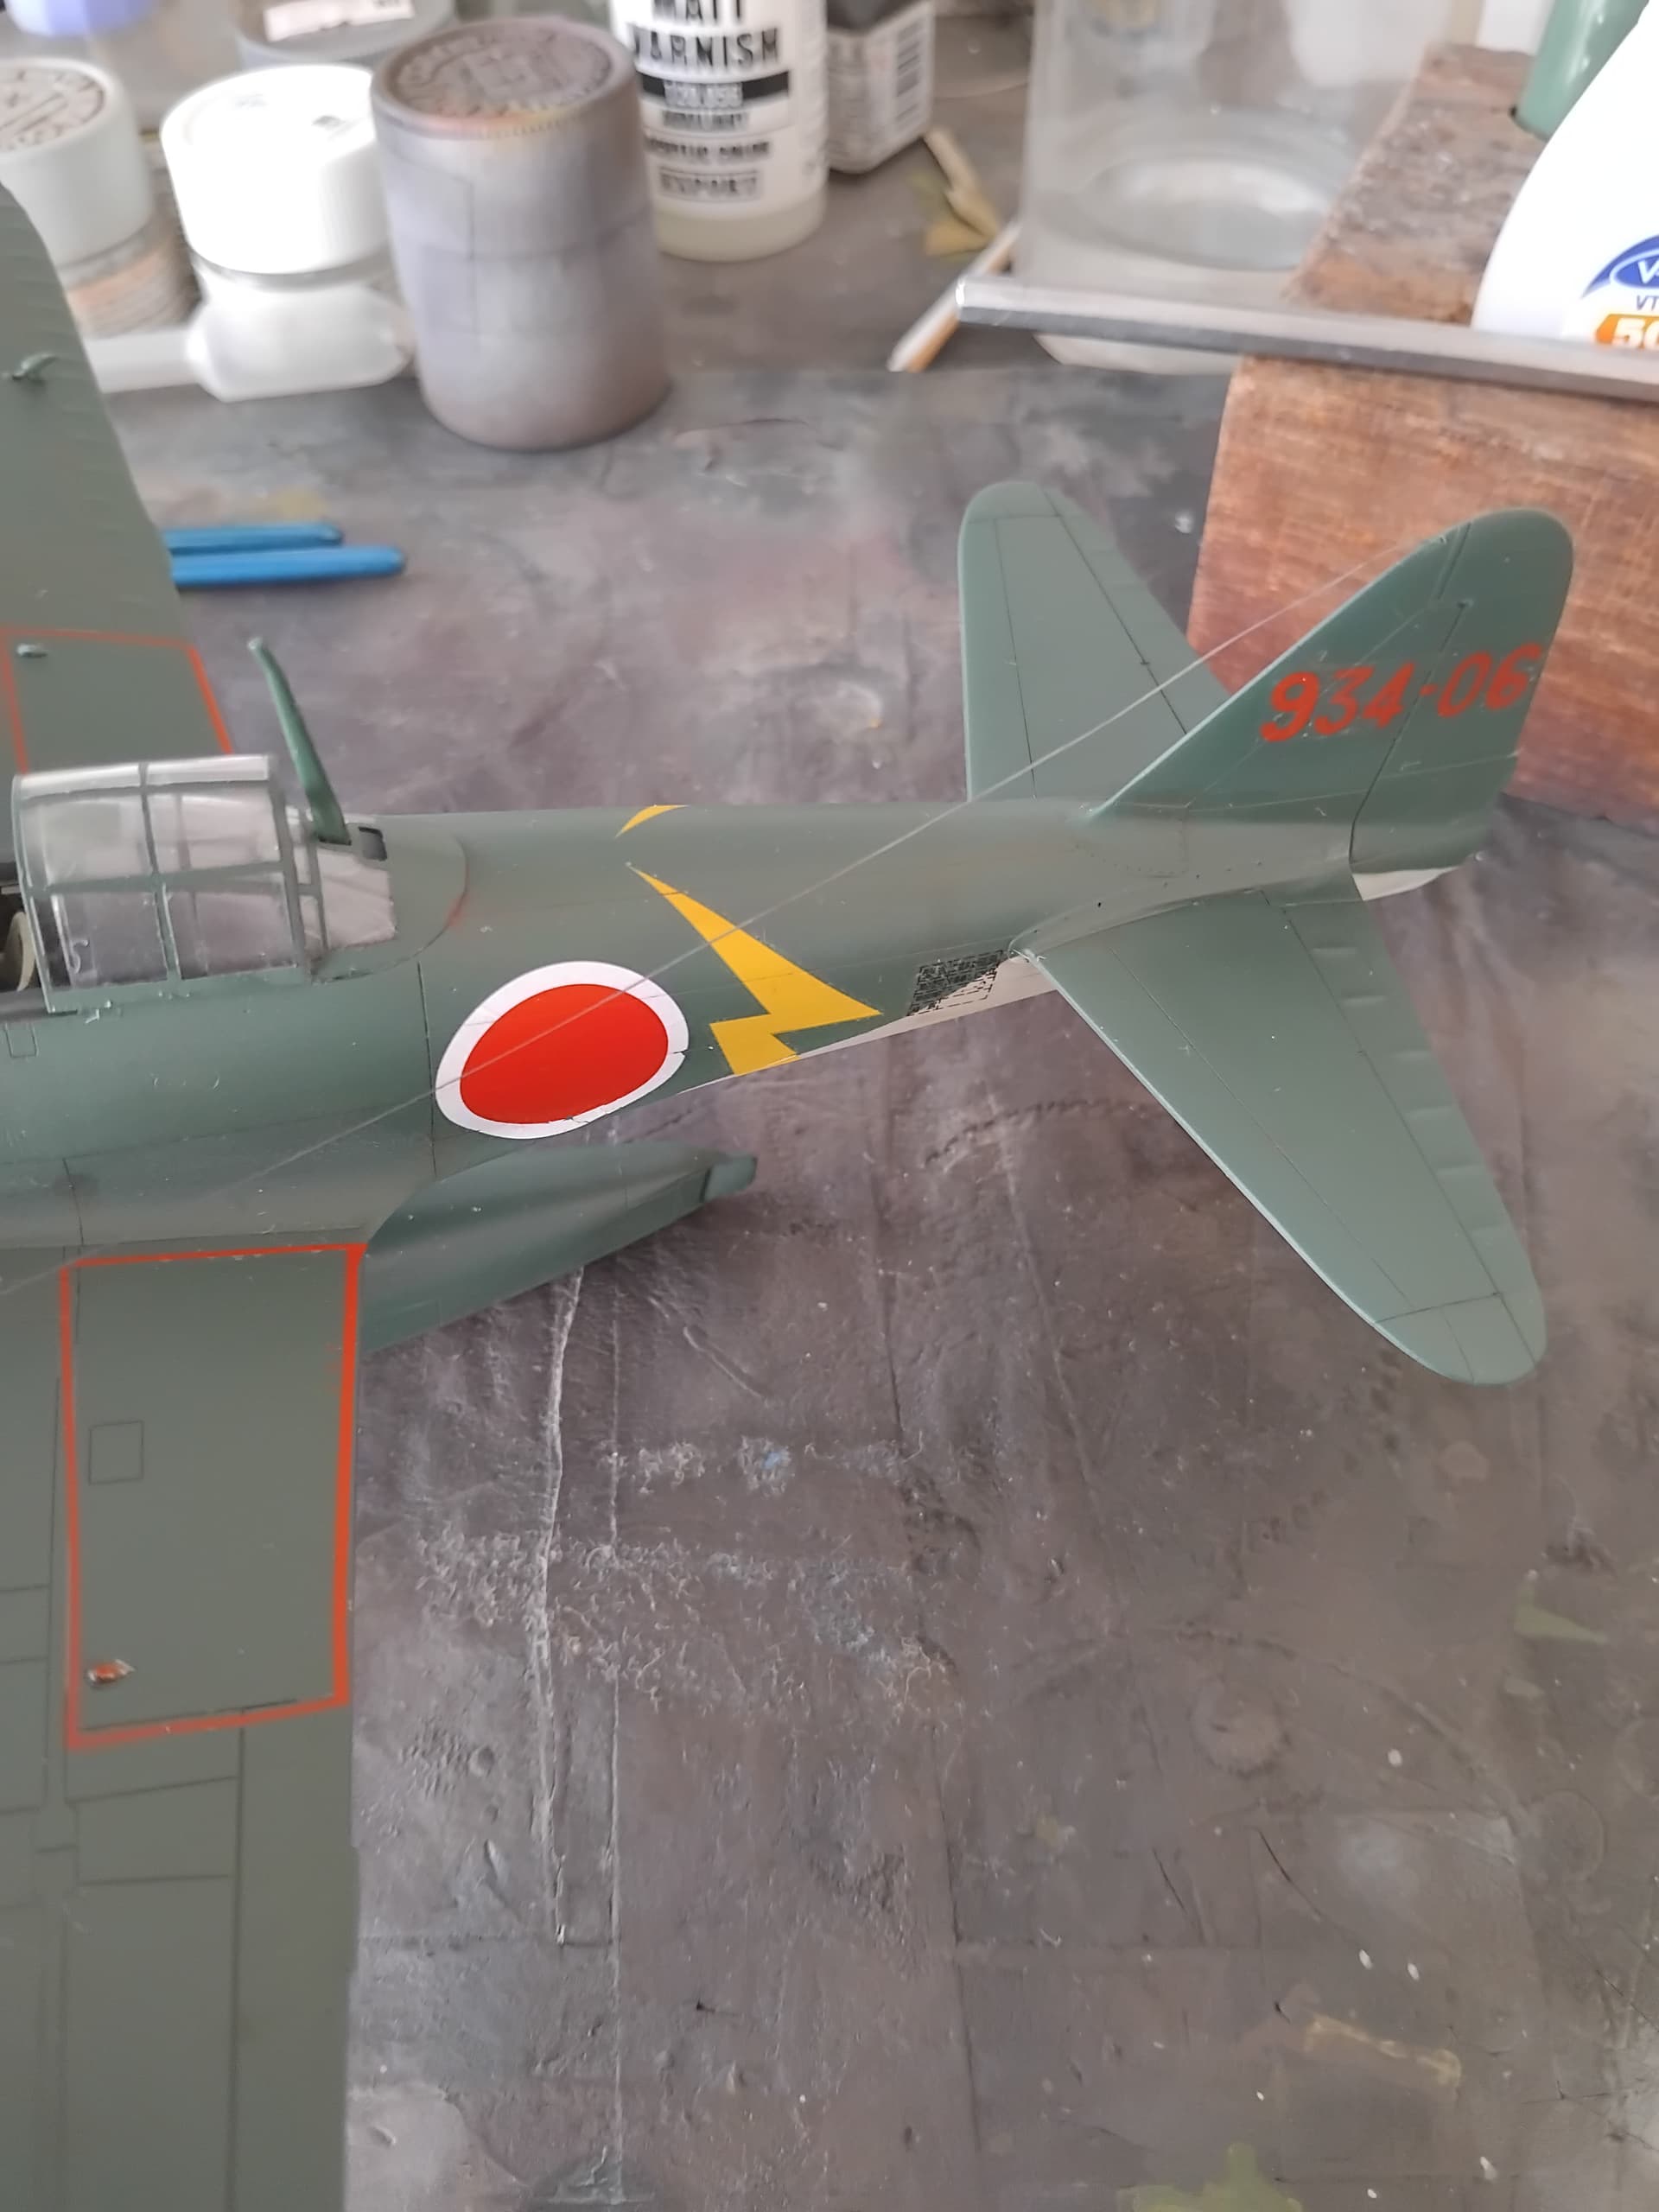
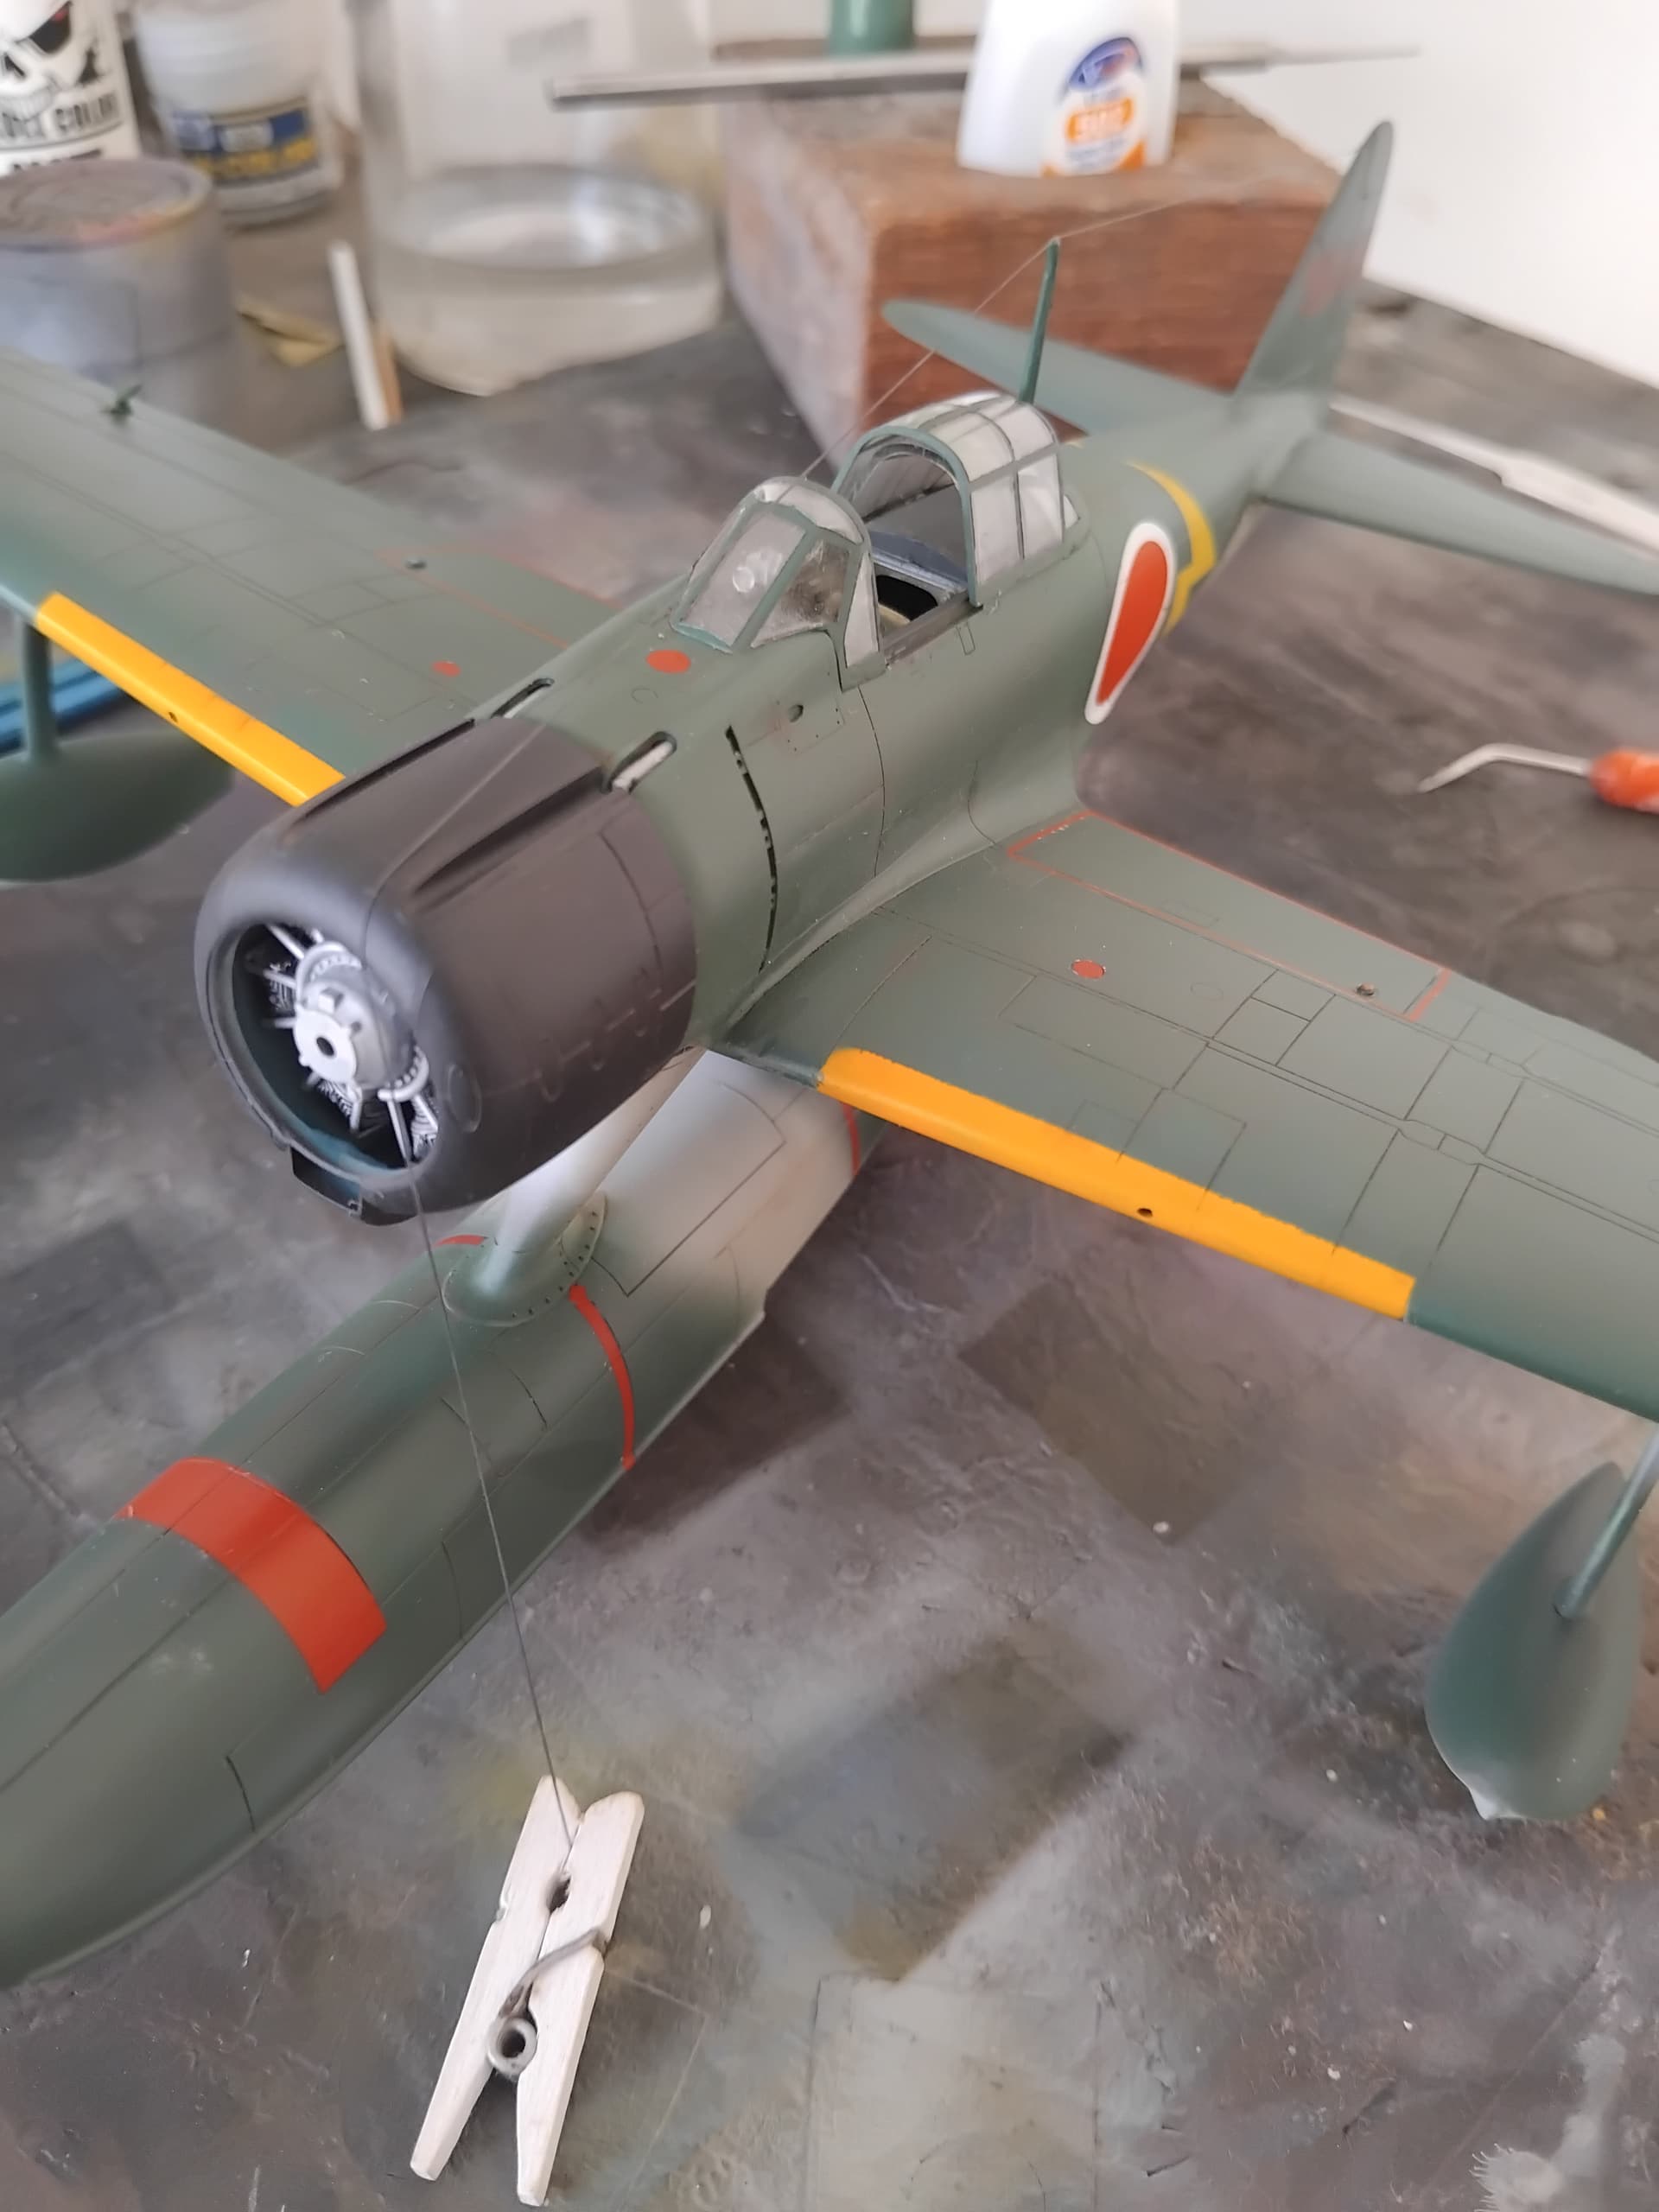
With the wash cleaned up, it was time to dull things down. I used Skull Color matt varnish 120.056 acrylic color (Zeon Plamo Co. based out of Banga Bangkok, Thailand. These paints seem to have a big following from Gundam builders, not sure of availability, but I really like the stuff, you get 60 ml ready to use for around 4 USD). Following the dull coat, it was time to fit the radio antenna wire. On a plane such as this, it’s a two-step process for me. First, I very gently make a starter hole using a pin in the pin vice and use the hole for further drilling using a 79 drill bit. The trick here is to go slow and purposeful, as there could be a danger in splitting the rudder halves (ask me how I know!). Then using fine EZ-Line (charcoal color), one end is superglued into the hole.
Next, I take the loose end and pull it (not a lot of stretching is needed, basically pull the line taught) placing a bit of superglue on the antenna and laying the line over it. I will also put something on the loose end to help hold things in place, in this case a baby clothesline clips (think stationary shops). Once dry (min of 10 minutes) the line is trimmed, in this case I used fly tying serrated scissors, a first for me, and I really like how it went!
With that completed, I plunked the propeller in (gently), and called this project done!
I have an affinity to floatplanes and flying boats. This affinity has led to a general interest in the IJN Kamikawa Maru, a seaplane tender of note. I find its history, and the mystery of the murder of her surviving crew a few weeks before the end of the war as fascinating. Sadly, the mystery will never be solved. That said, the Kamikawa Maru lead an interesting war career, from launching harassment flights over Guadalcanal, delivering planes to Alaska, and throughout the Soloman islands till her demise in 1944, when a sub sank her.
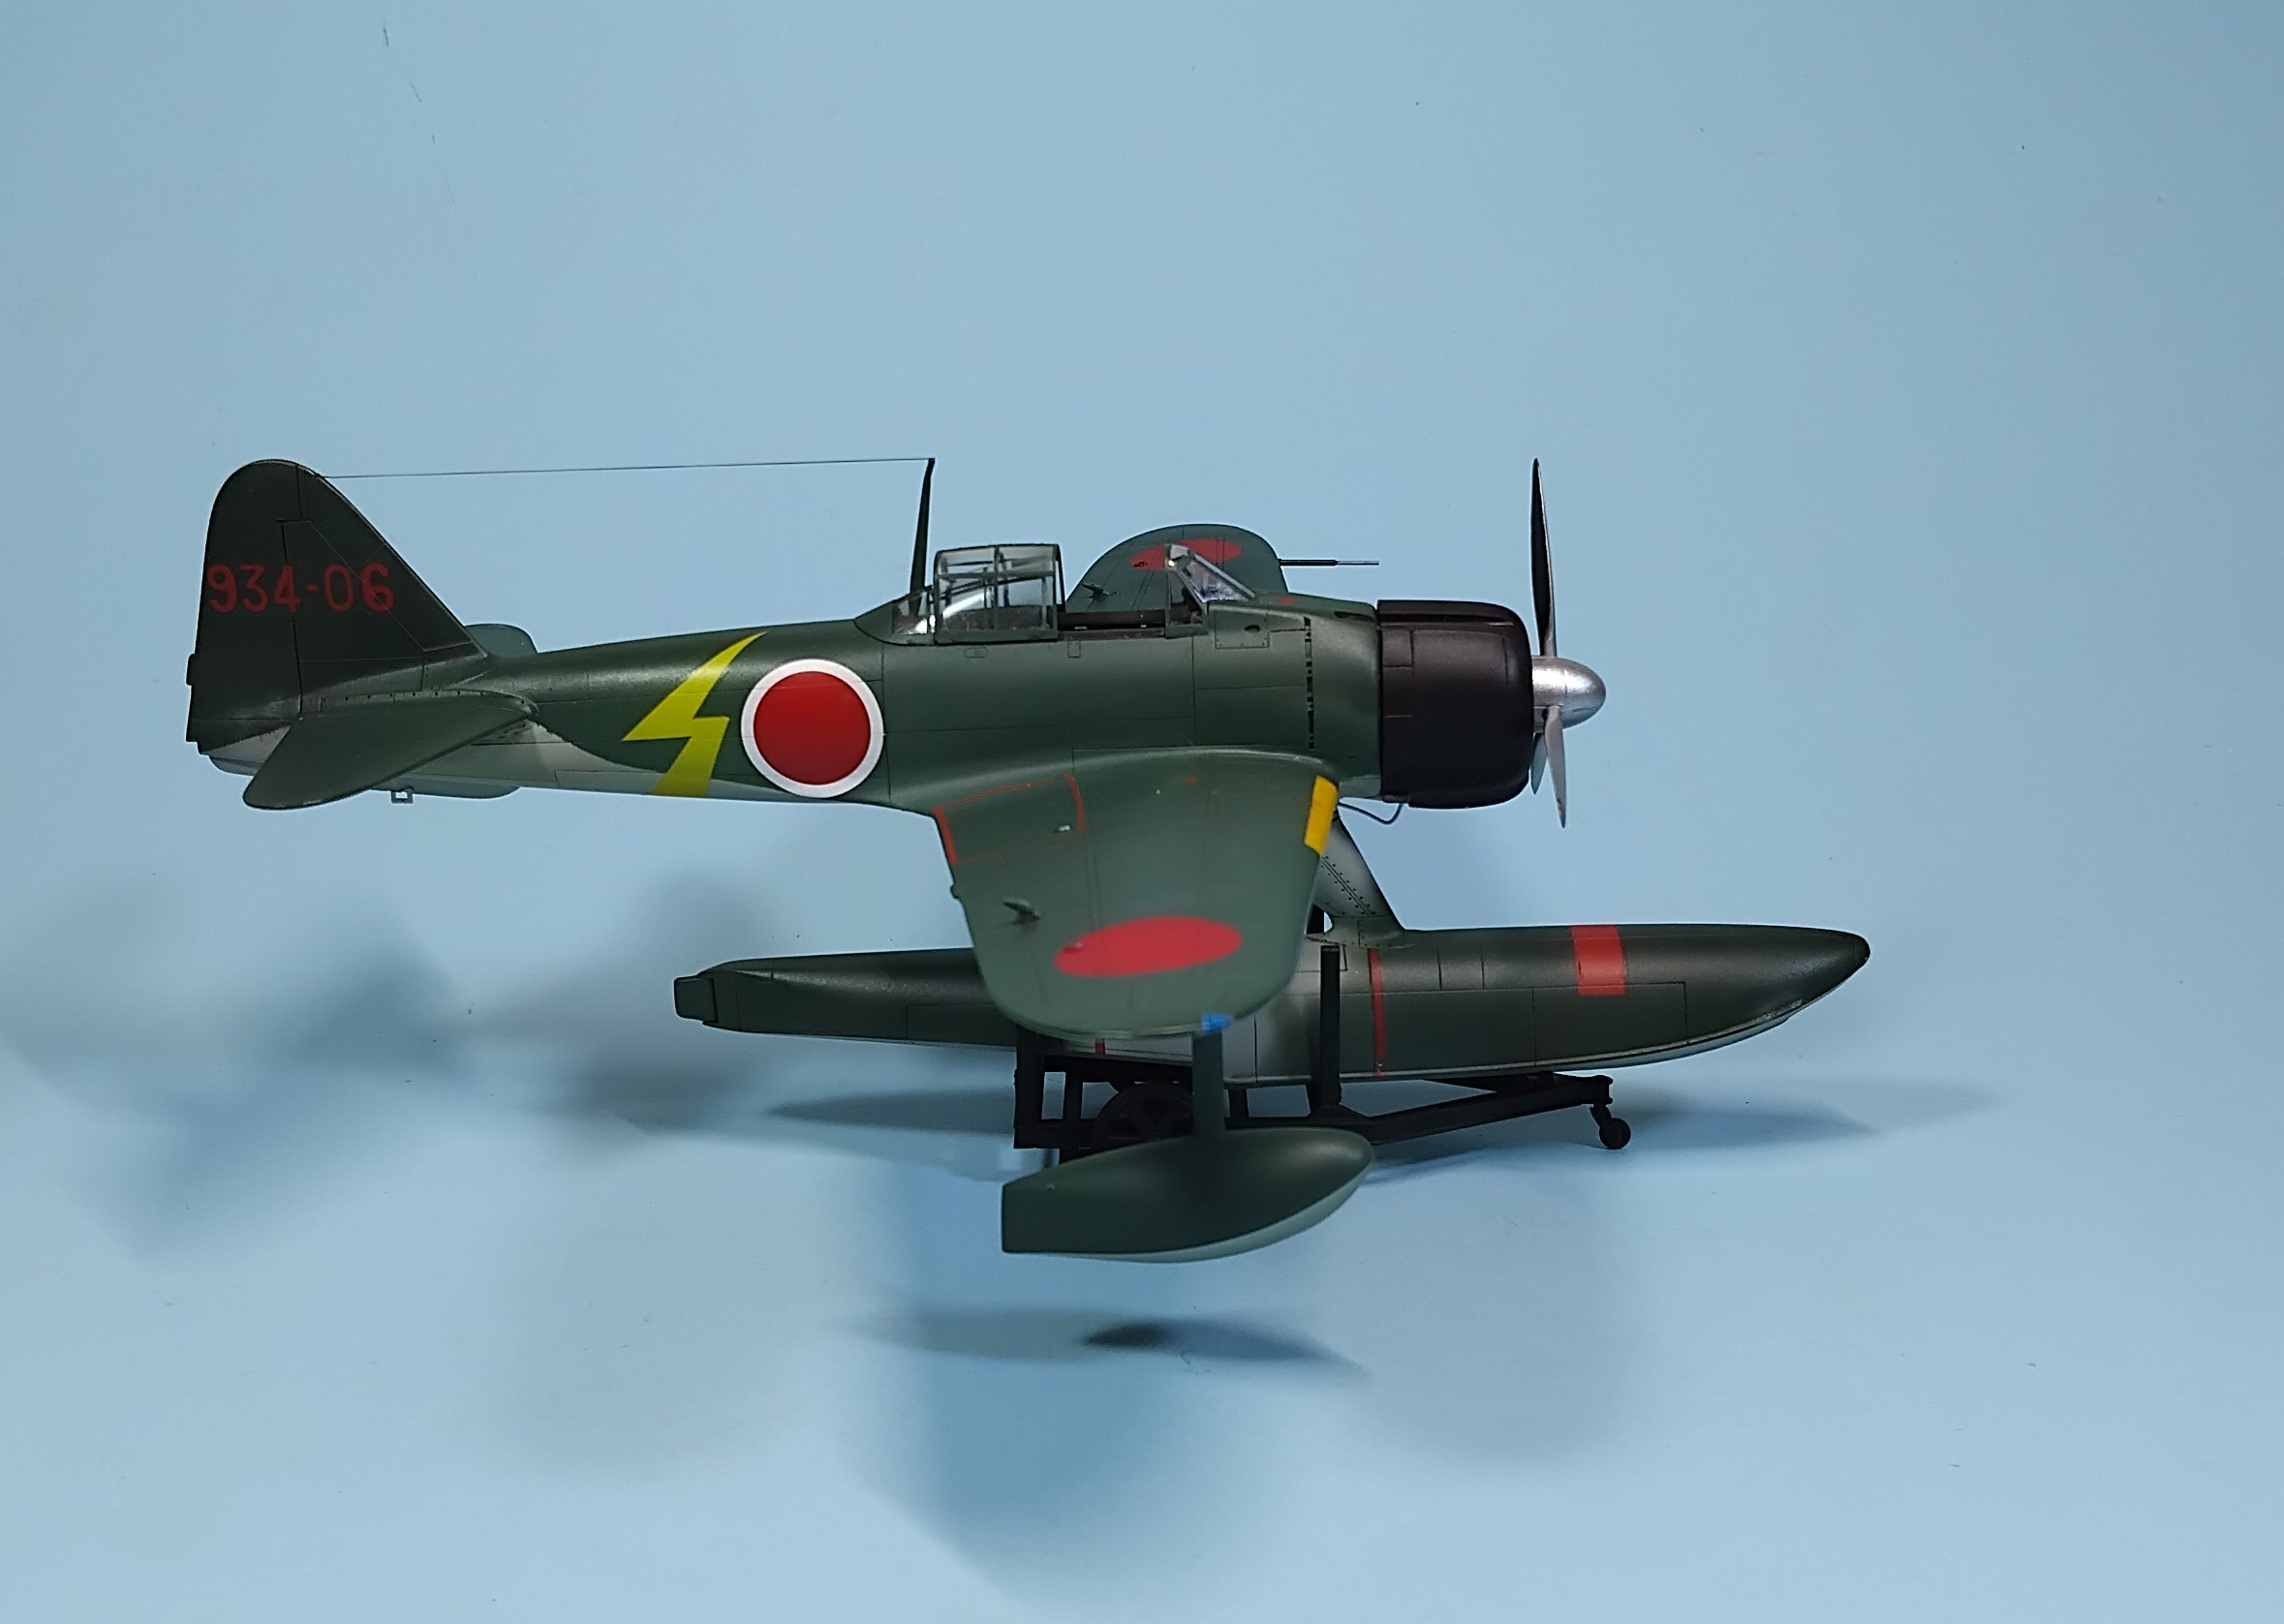
“The 934th Kokutai (Flying Group) was equipped in March 1943 with between 8 to 10 A6M2-Ns at Ambon Island in the Dutch Indies, having moved there from Taberfane in the Aru Islands (delivered by the Kamikawa Maru). They regularly met Bristol Beaufighters, Lockheed Hudsons, B-25’s, and B-24’s” (aeropedia.com.au).
The primary purpose of the 934th Kokutai was to provide aircover for the Boela Oil Field, located just North of Ambon Island. Also, to provide aircover to E-13 “Jake” and F1M2 “Pete” reconnaissance and search and rescue of downed pilots. Despite overwhelming odds, they did give a good showing of themselves. While the Boela Oil Field would remain in Japanese hands until the end of the war, the Allied forces simply bypassed it, as there was no real way to get the oil to Japan by the first quarter of 1944. The 934th Kokutai was disbanded in March of 1944, the surviving pilots having claimed 29 aircraft destroyed and seven probables for the loss of five pilots. All things considered, not bad.
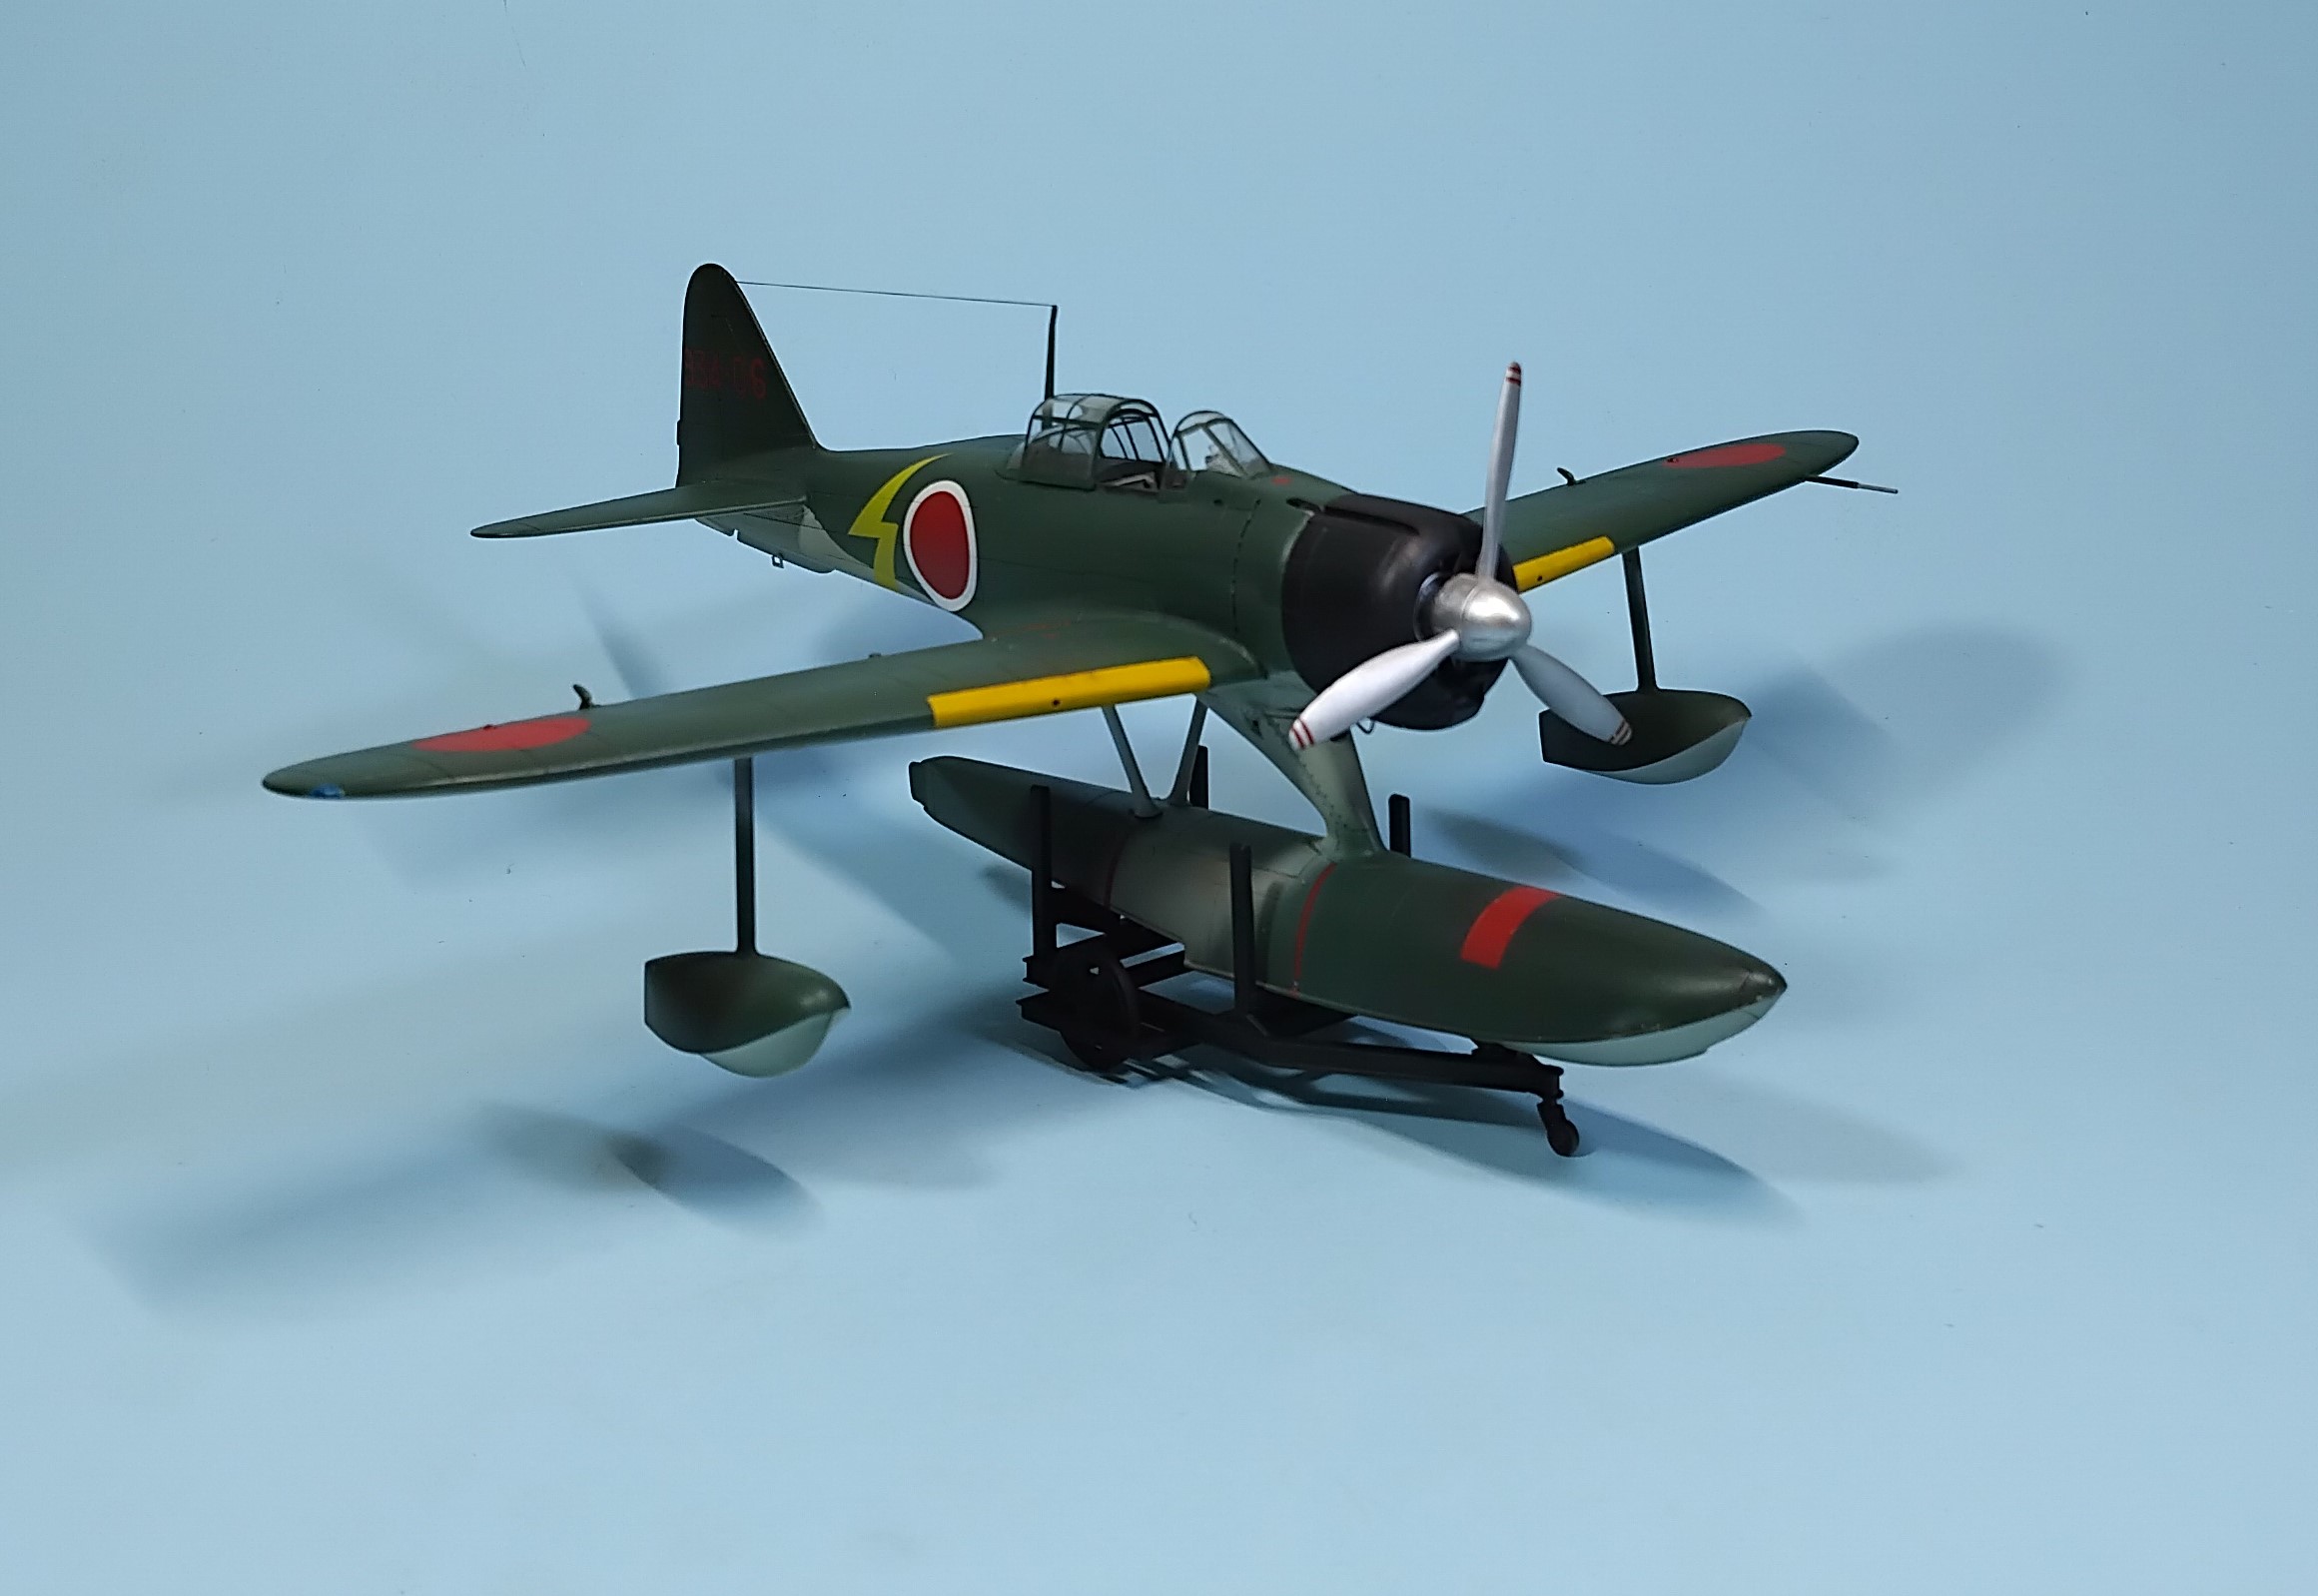
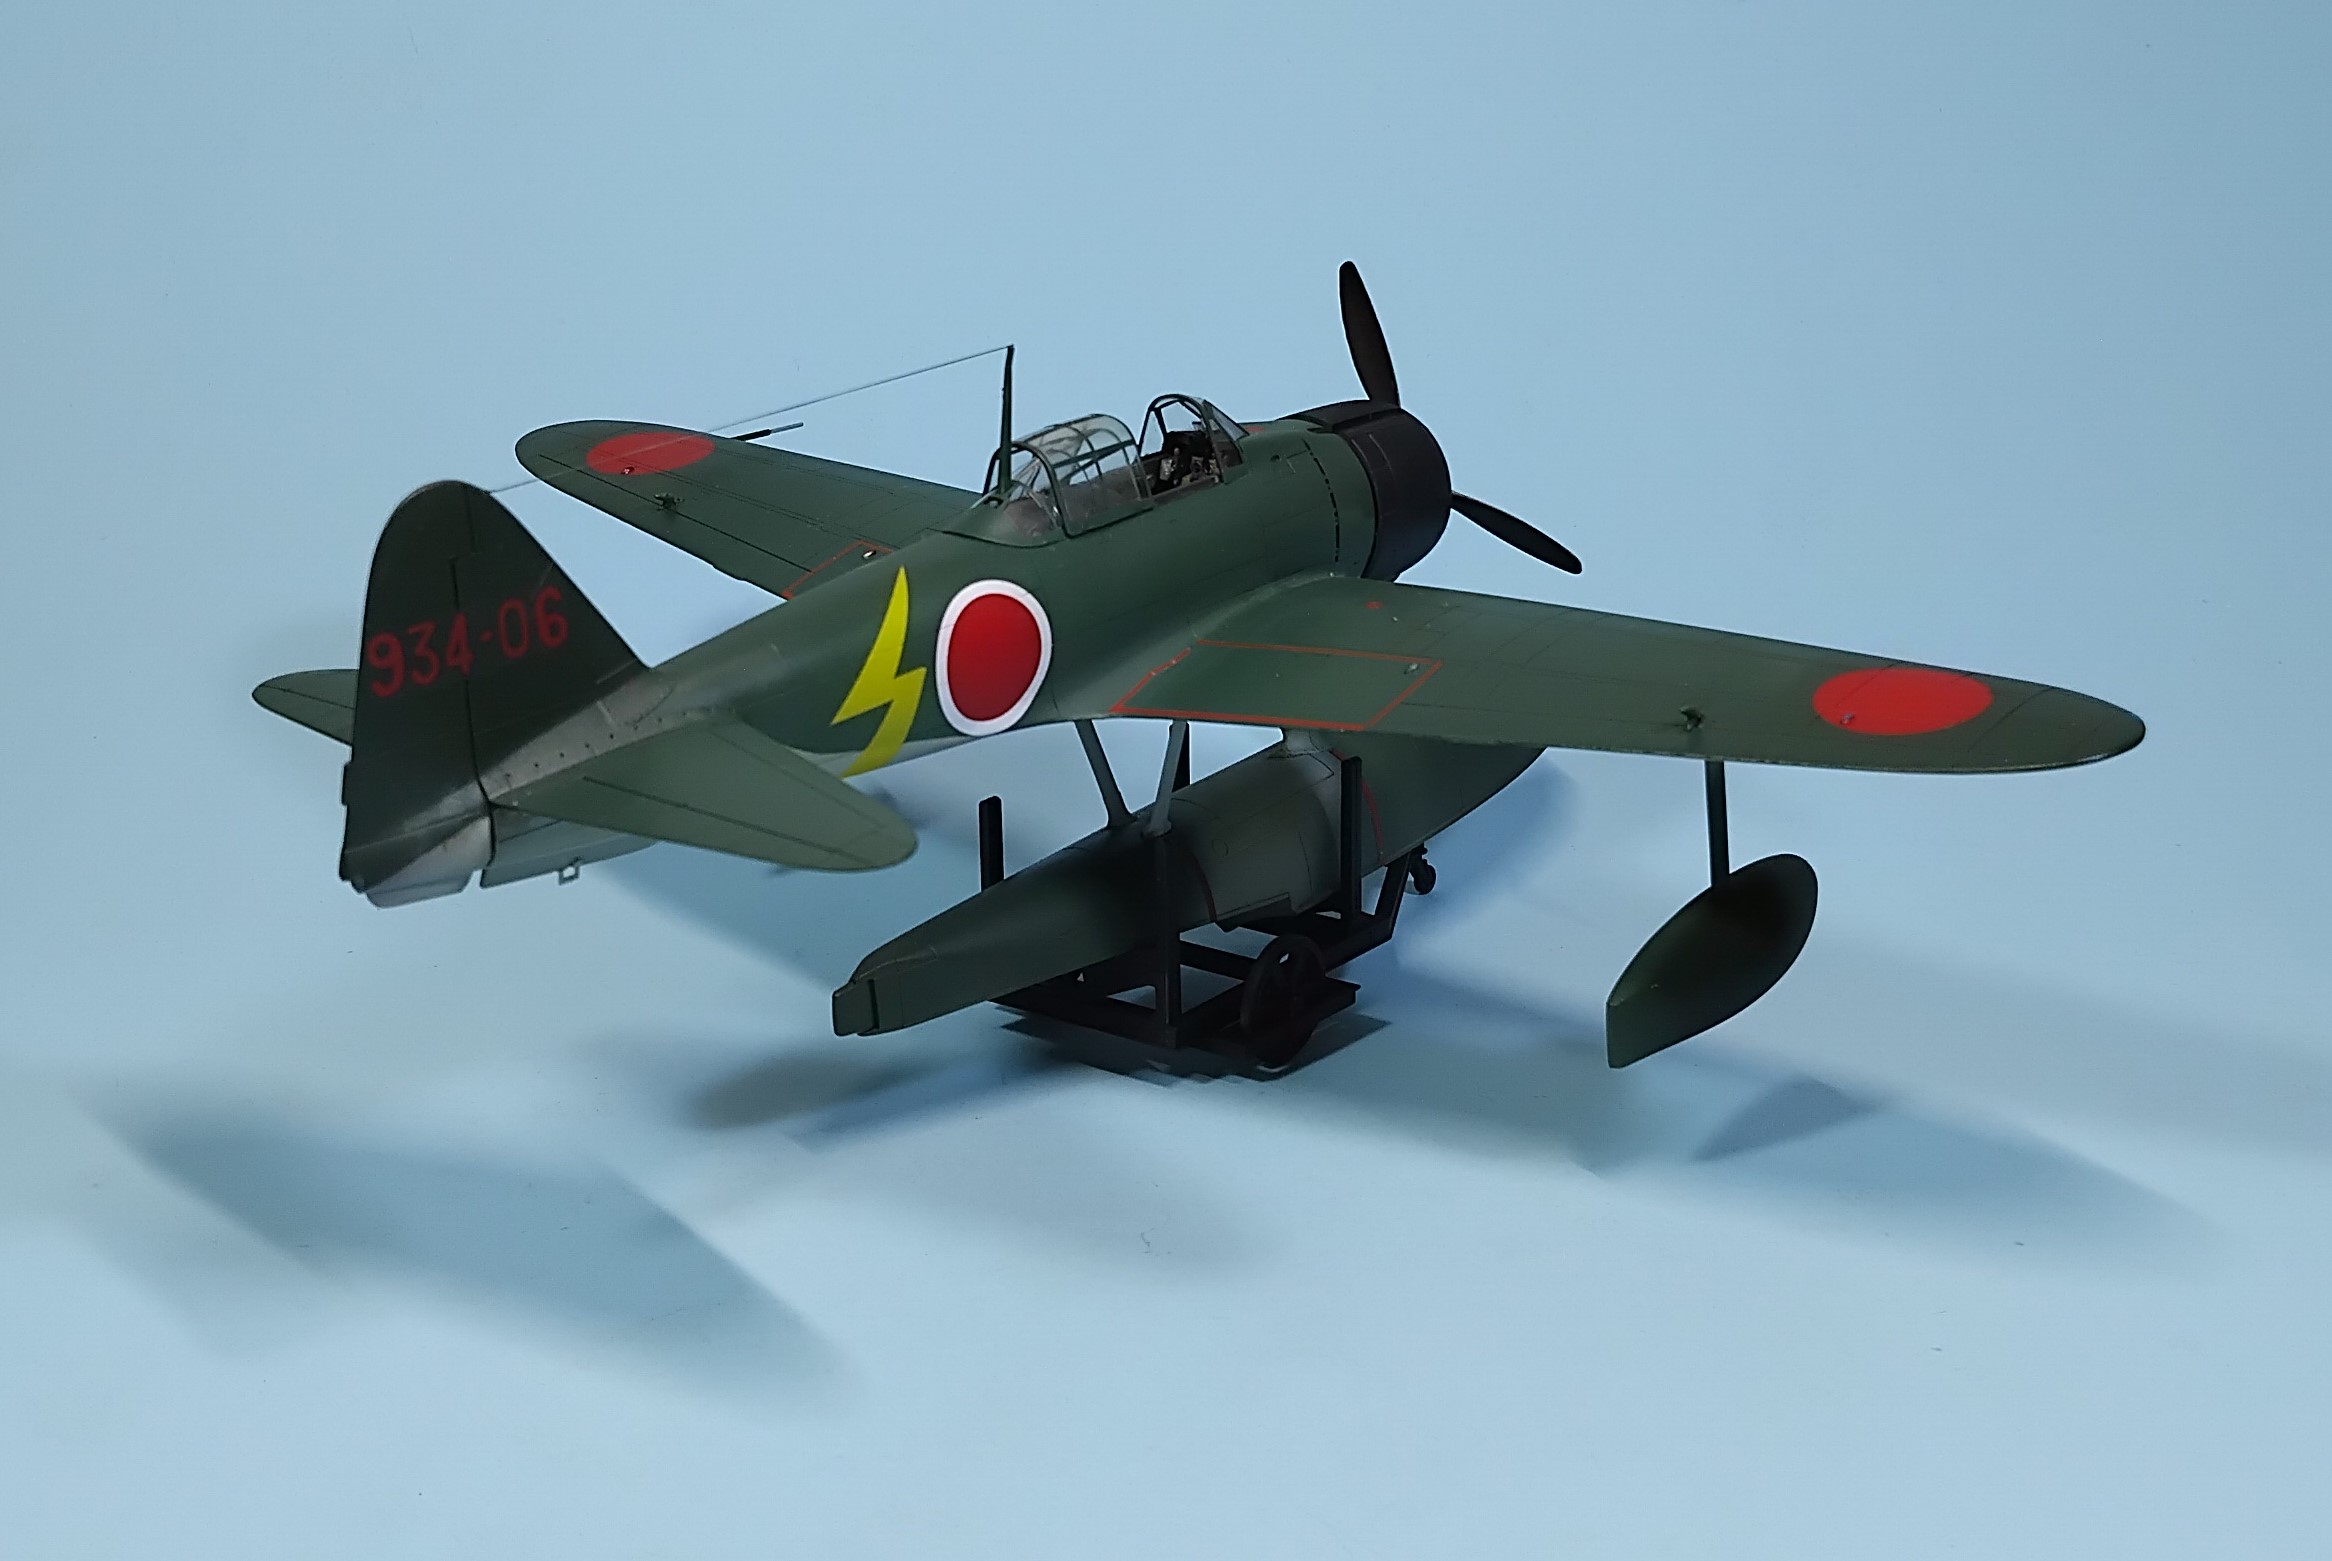
I present a A6M2-N “Rufe” of the 934th Kokutai, as it would have most likely appeared in the April/May 1943 time period. Enjoy!
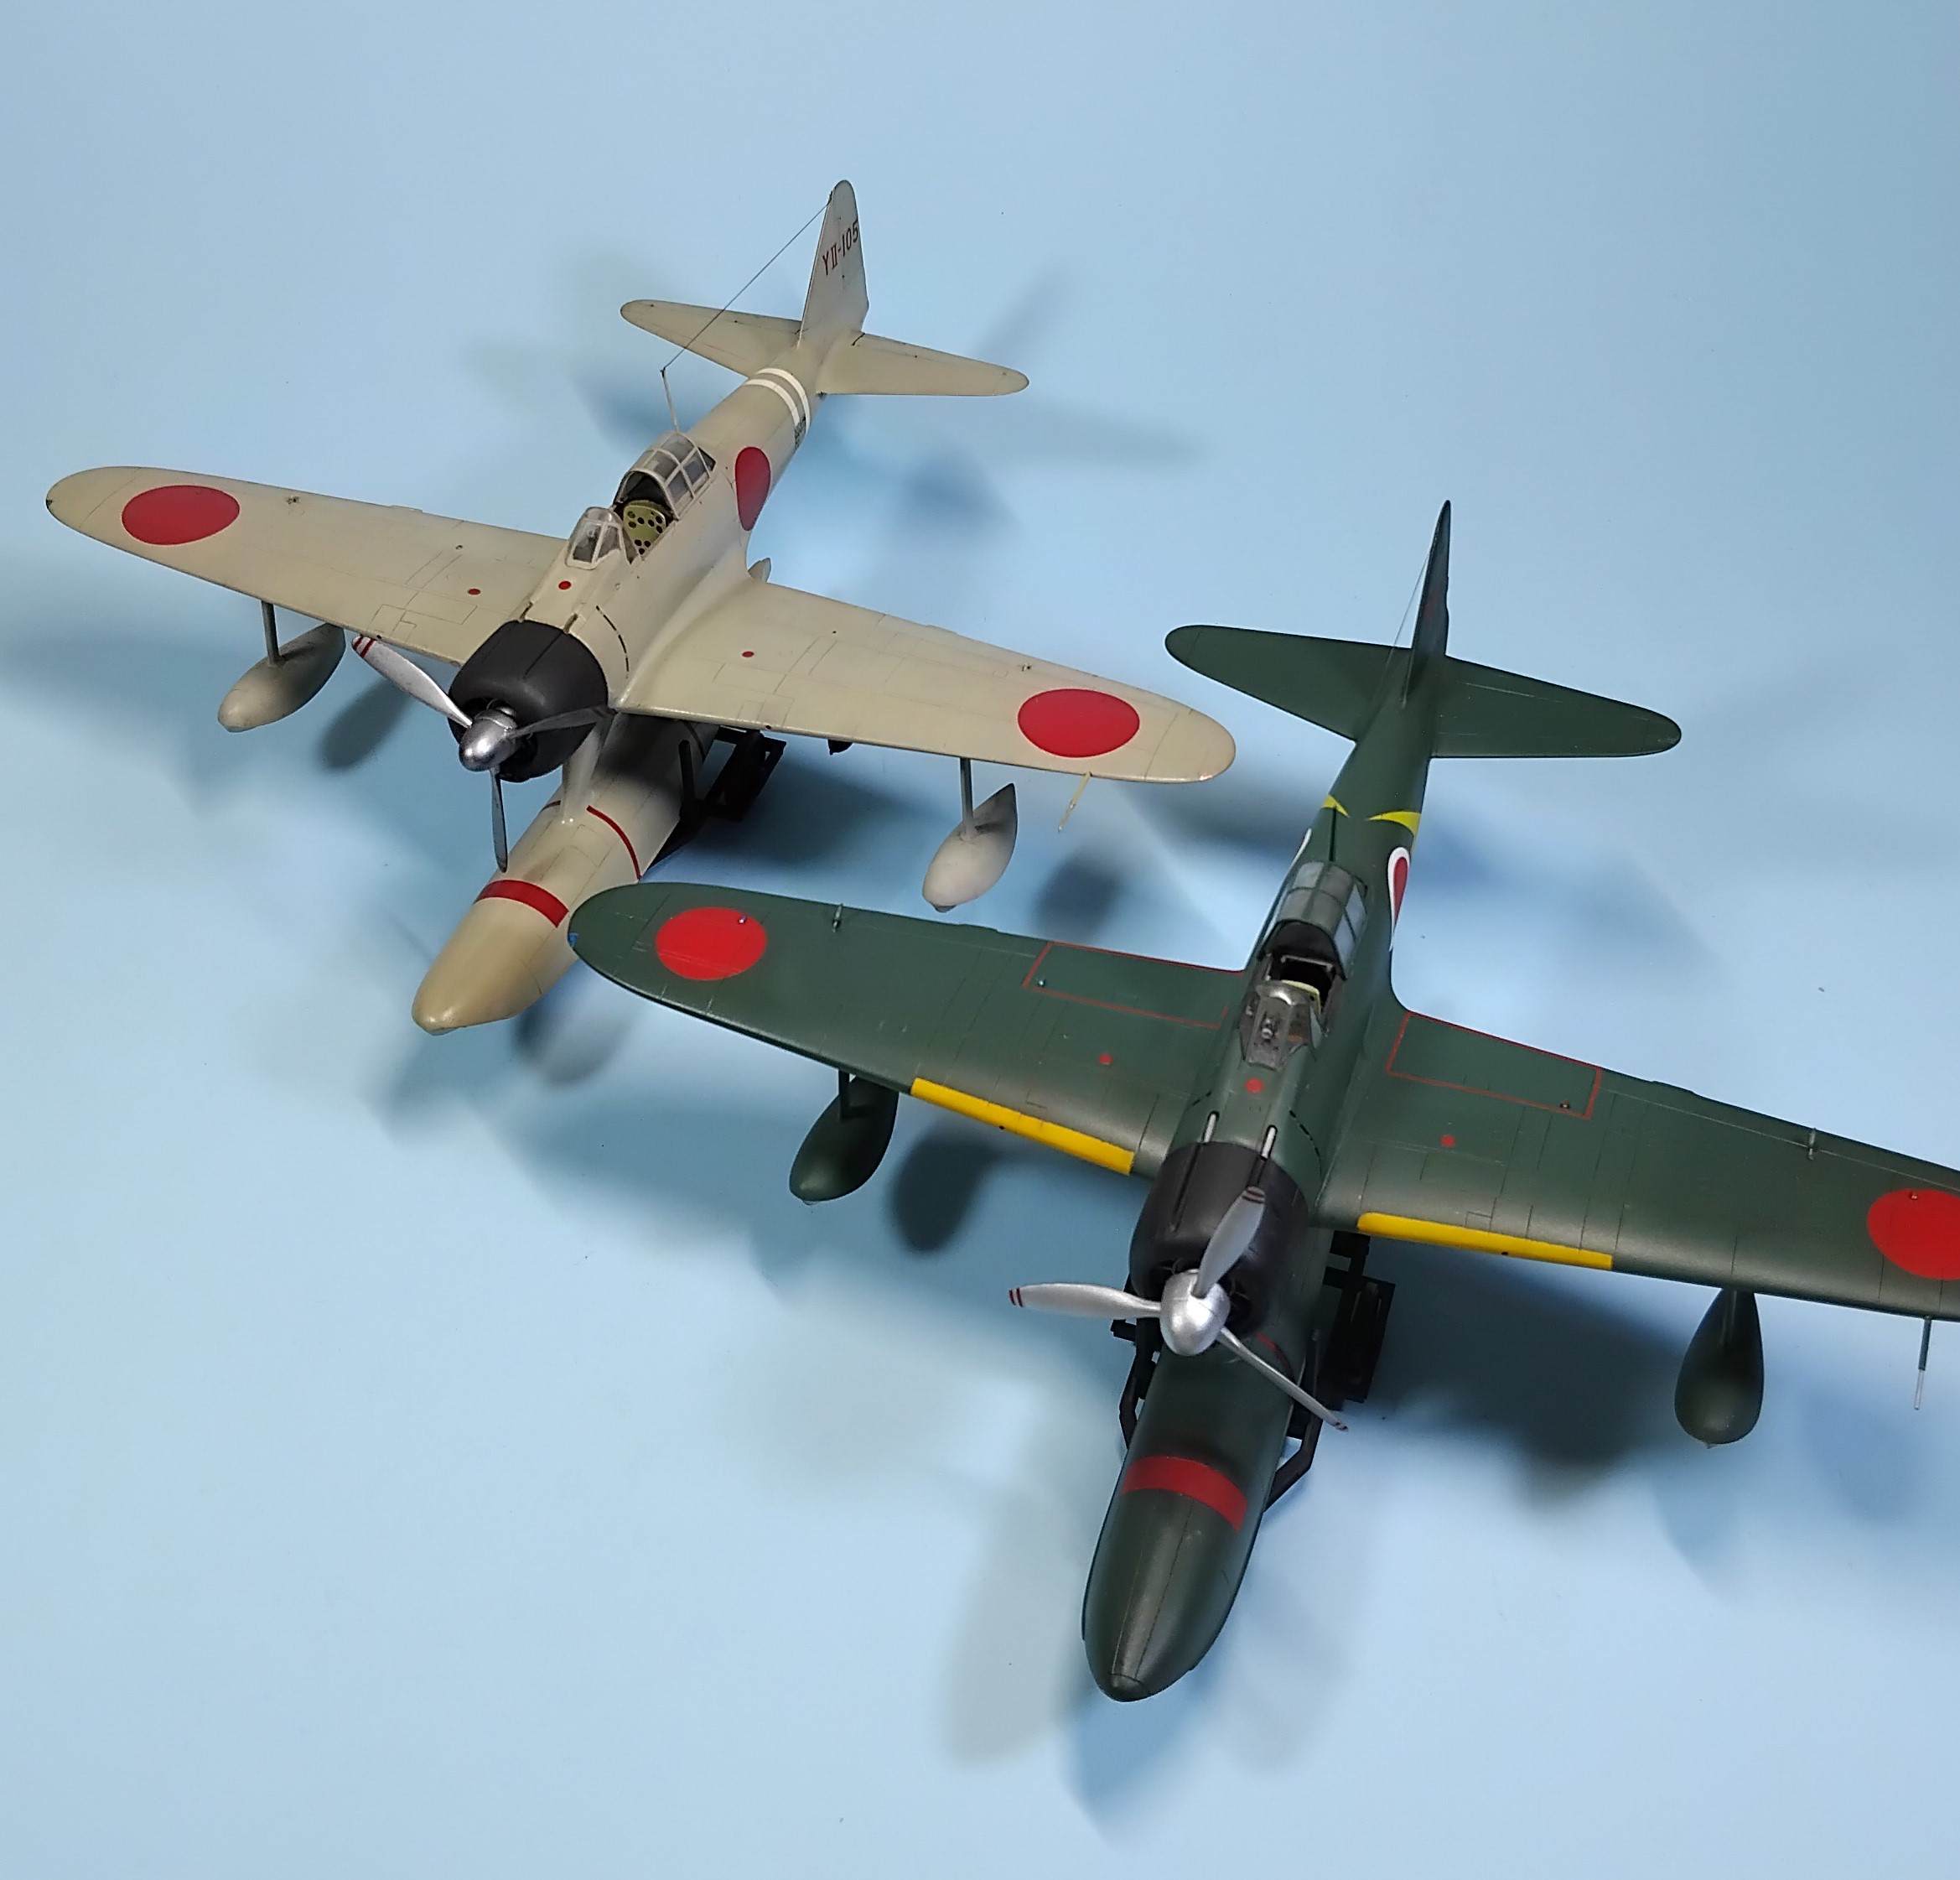
This build also completes a nicer picture of some Kawakami Maru’s work. seen here with Tamiya’s A6M2-N from the PTO campaign group build, 6 years ago.
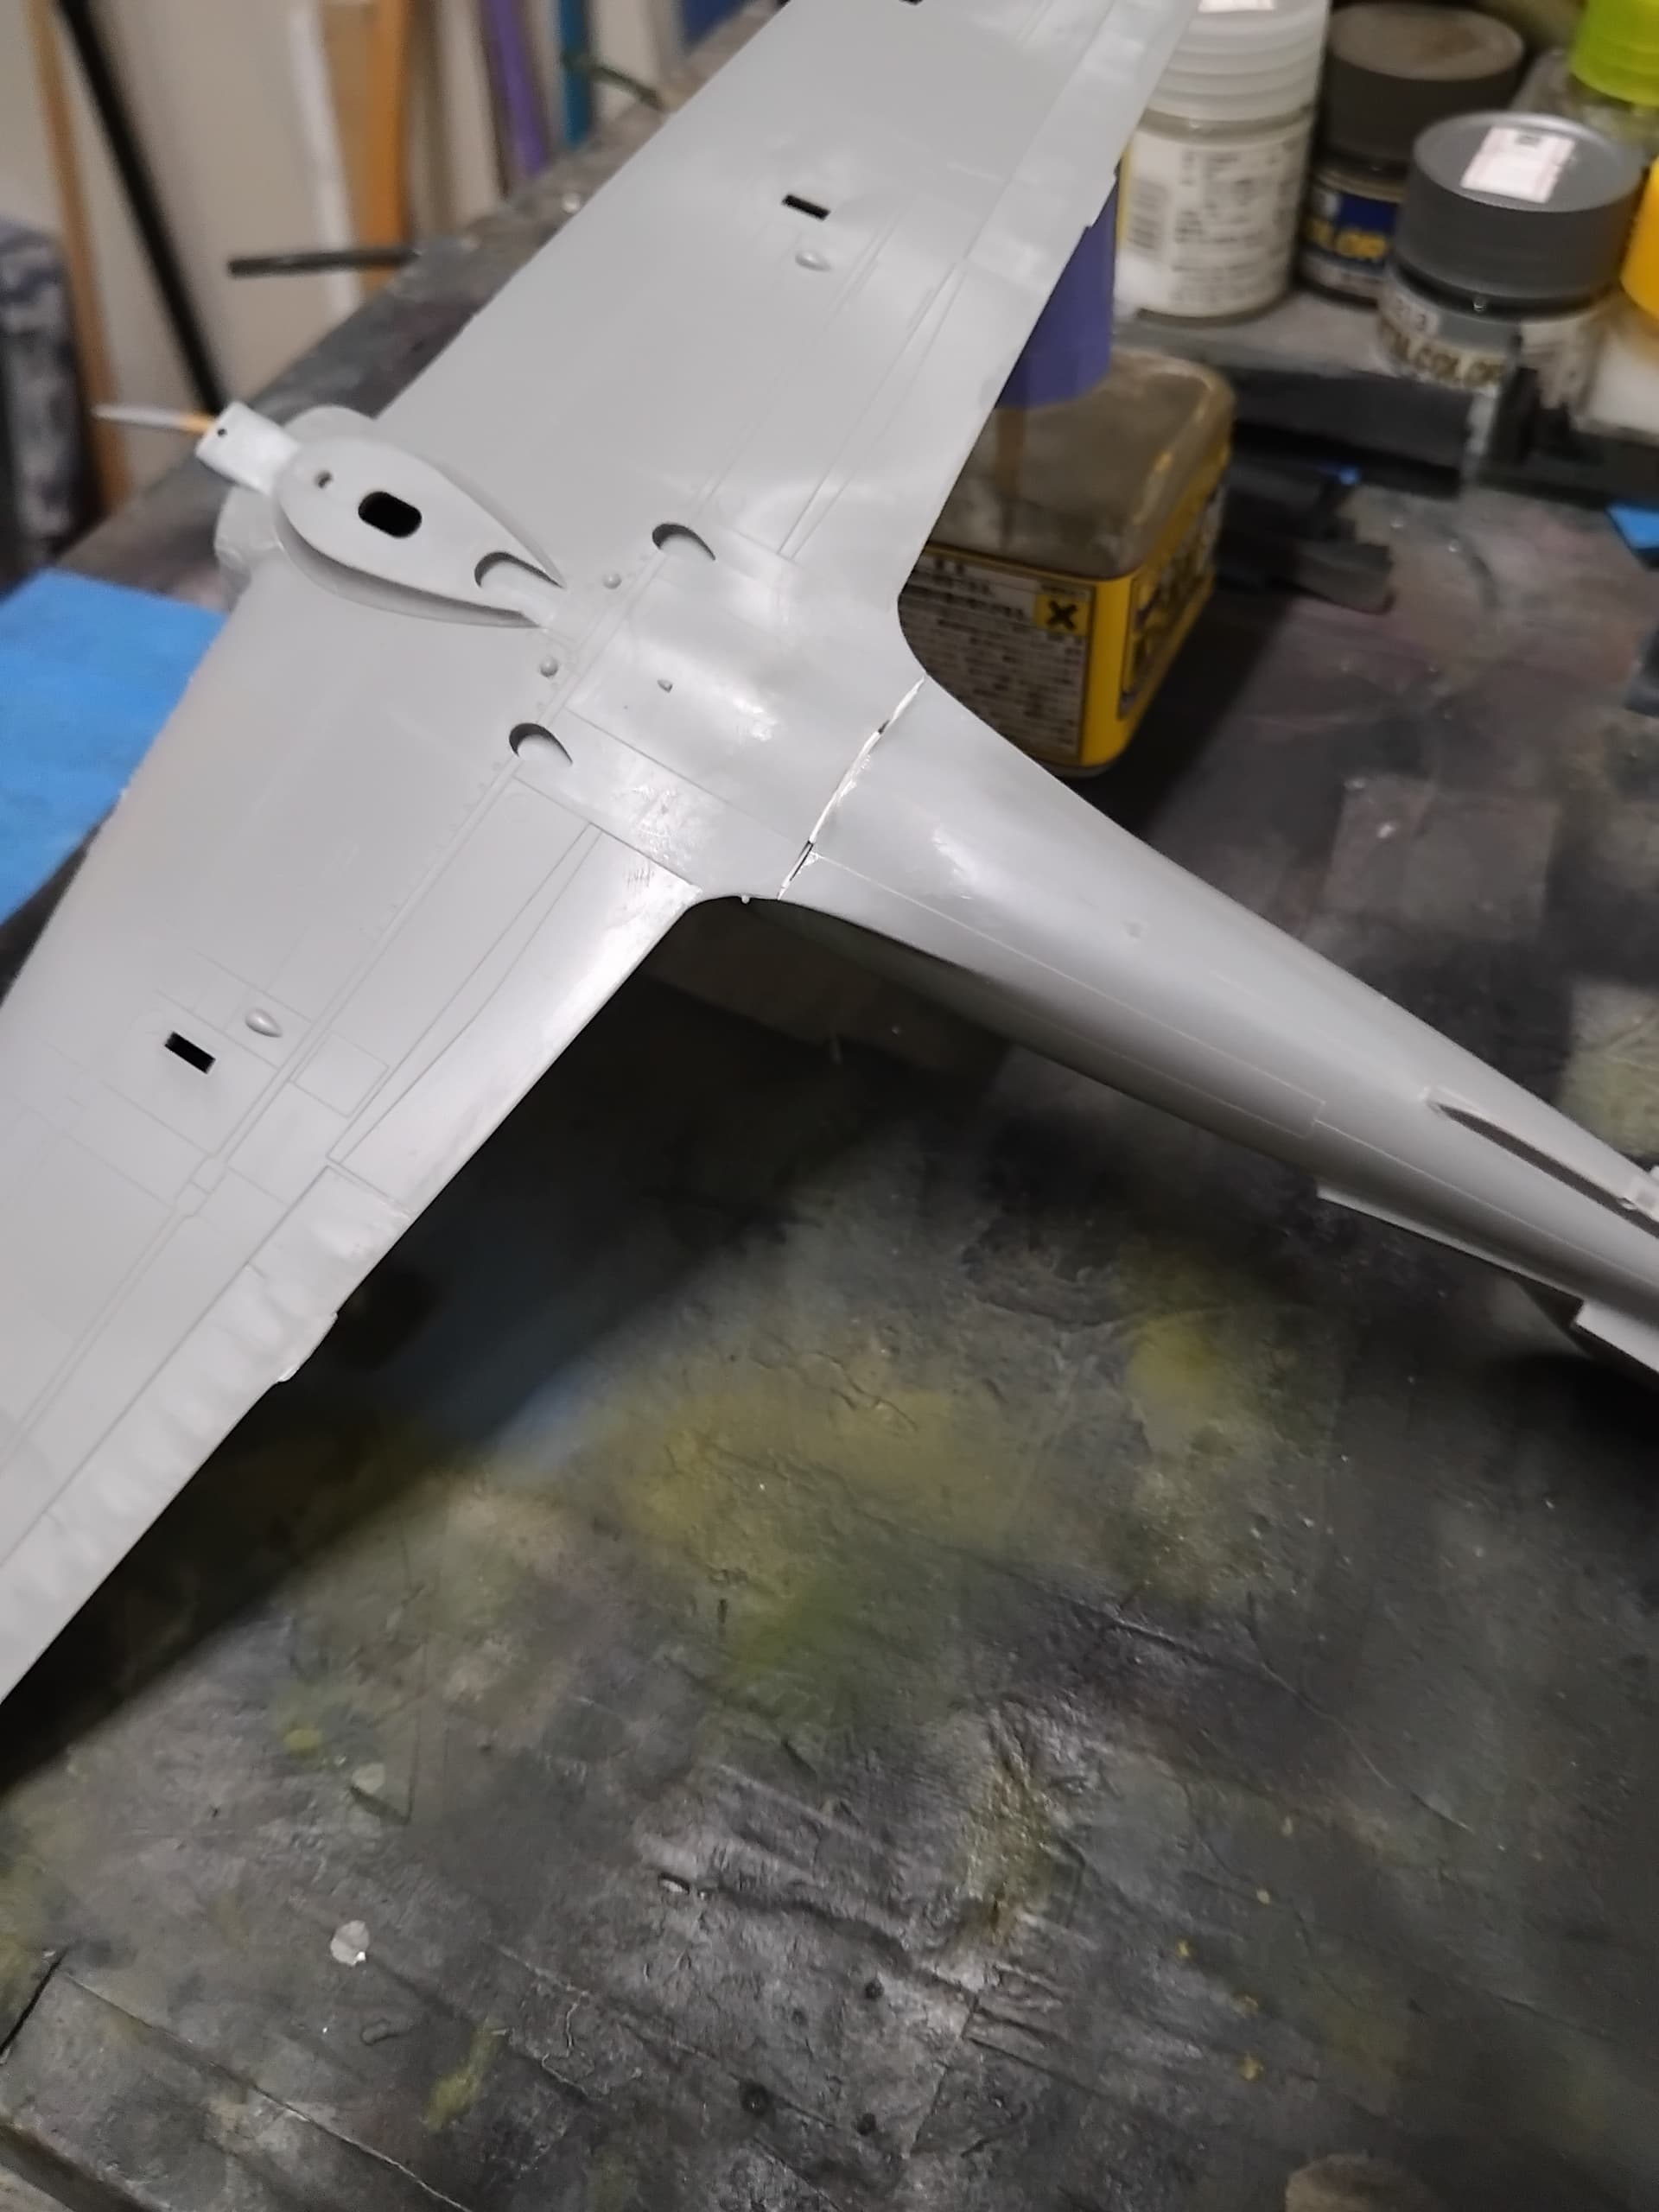
Overall, this is a pleasant and fun build. Hasegawa’s rendering of the Rufe has much nicer detail as opposed to the Tamiya offering, which should be expected given that Tamiya molded their rendition in 1974, and Hasegawa was done in 1996. While getting a bit on in years, it makes into a very nice kit. My biggest complaint (not that big) was attaching the main float, which was a little fiddly, though I blame the builder more than the kit. I highly and fully recommend this kit to any modeler with a plane or two under their belt that is wishing to add a floatplane to their collection. With ease of construction, and good layout for painting with endless possibilities for weathering!
Till next time, be safe, wash your hands with soap and water and have fun!