Since the instrument panel is blank, I got some decals to dress it up.
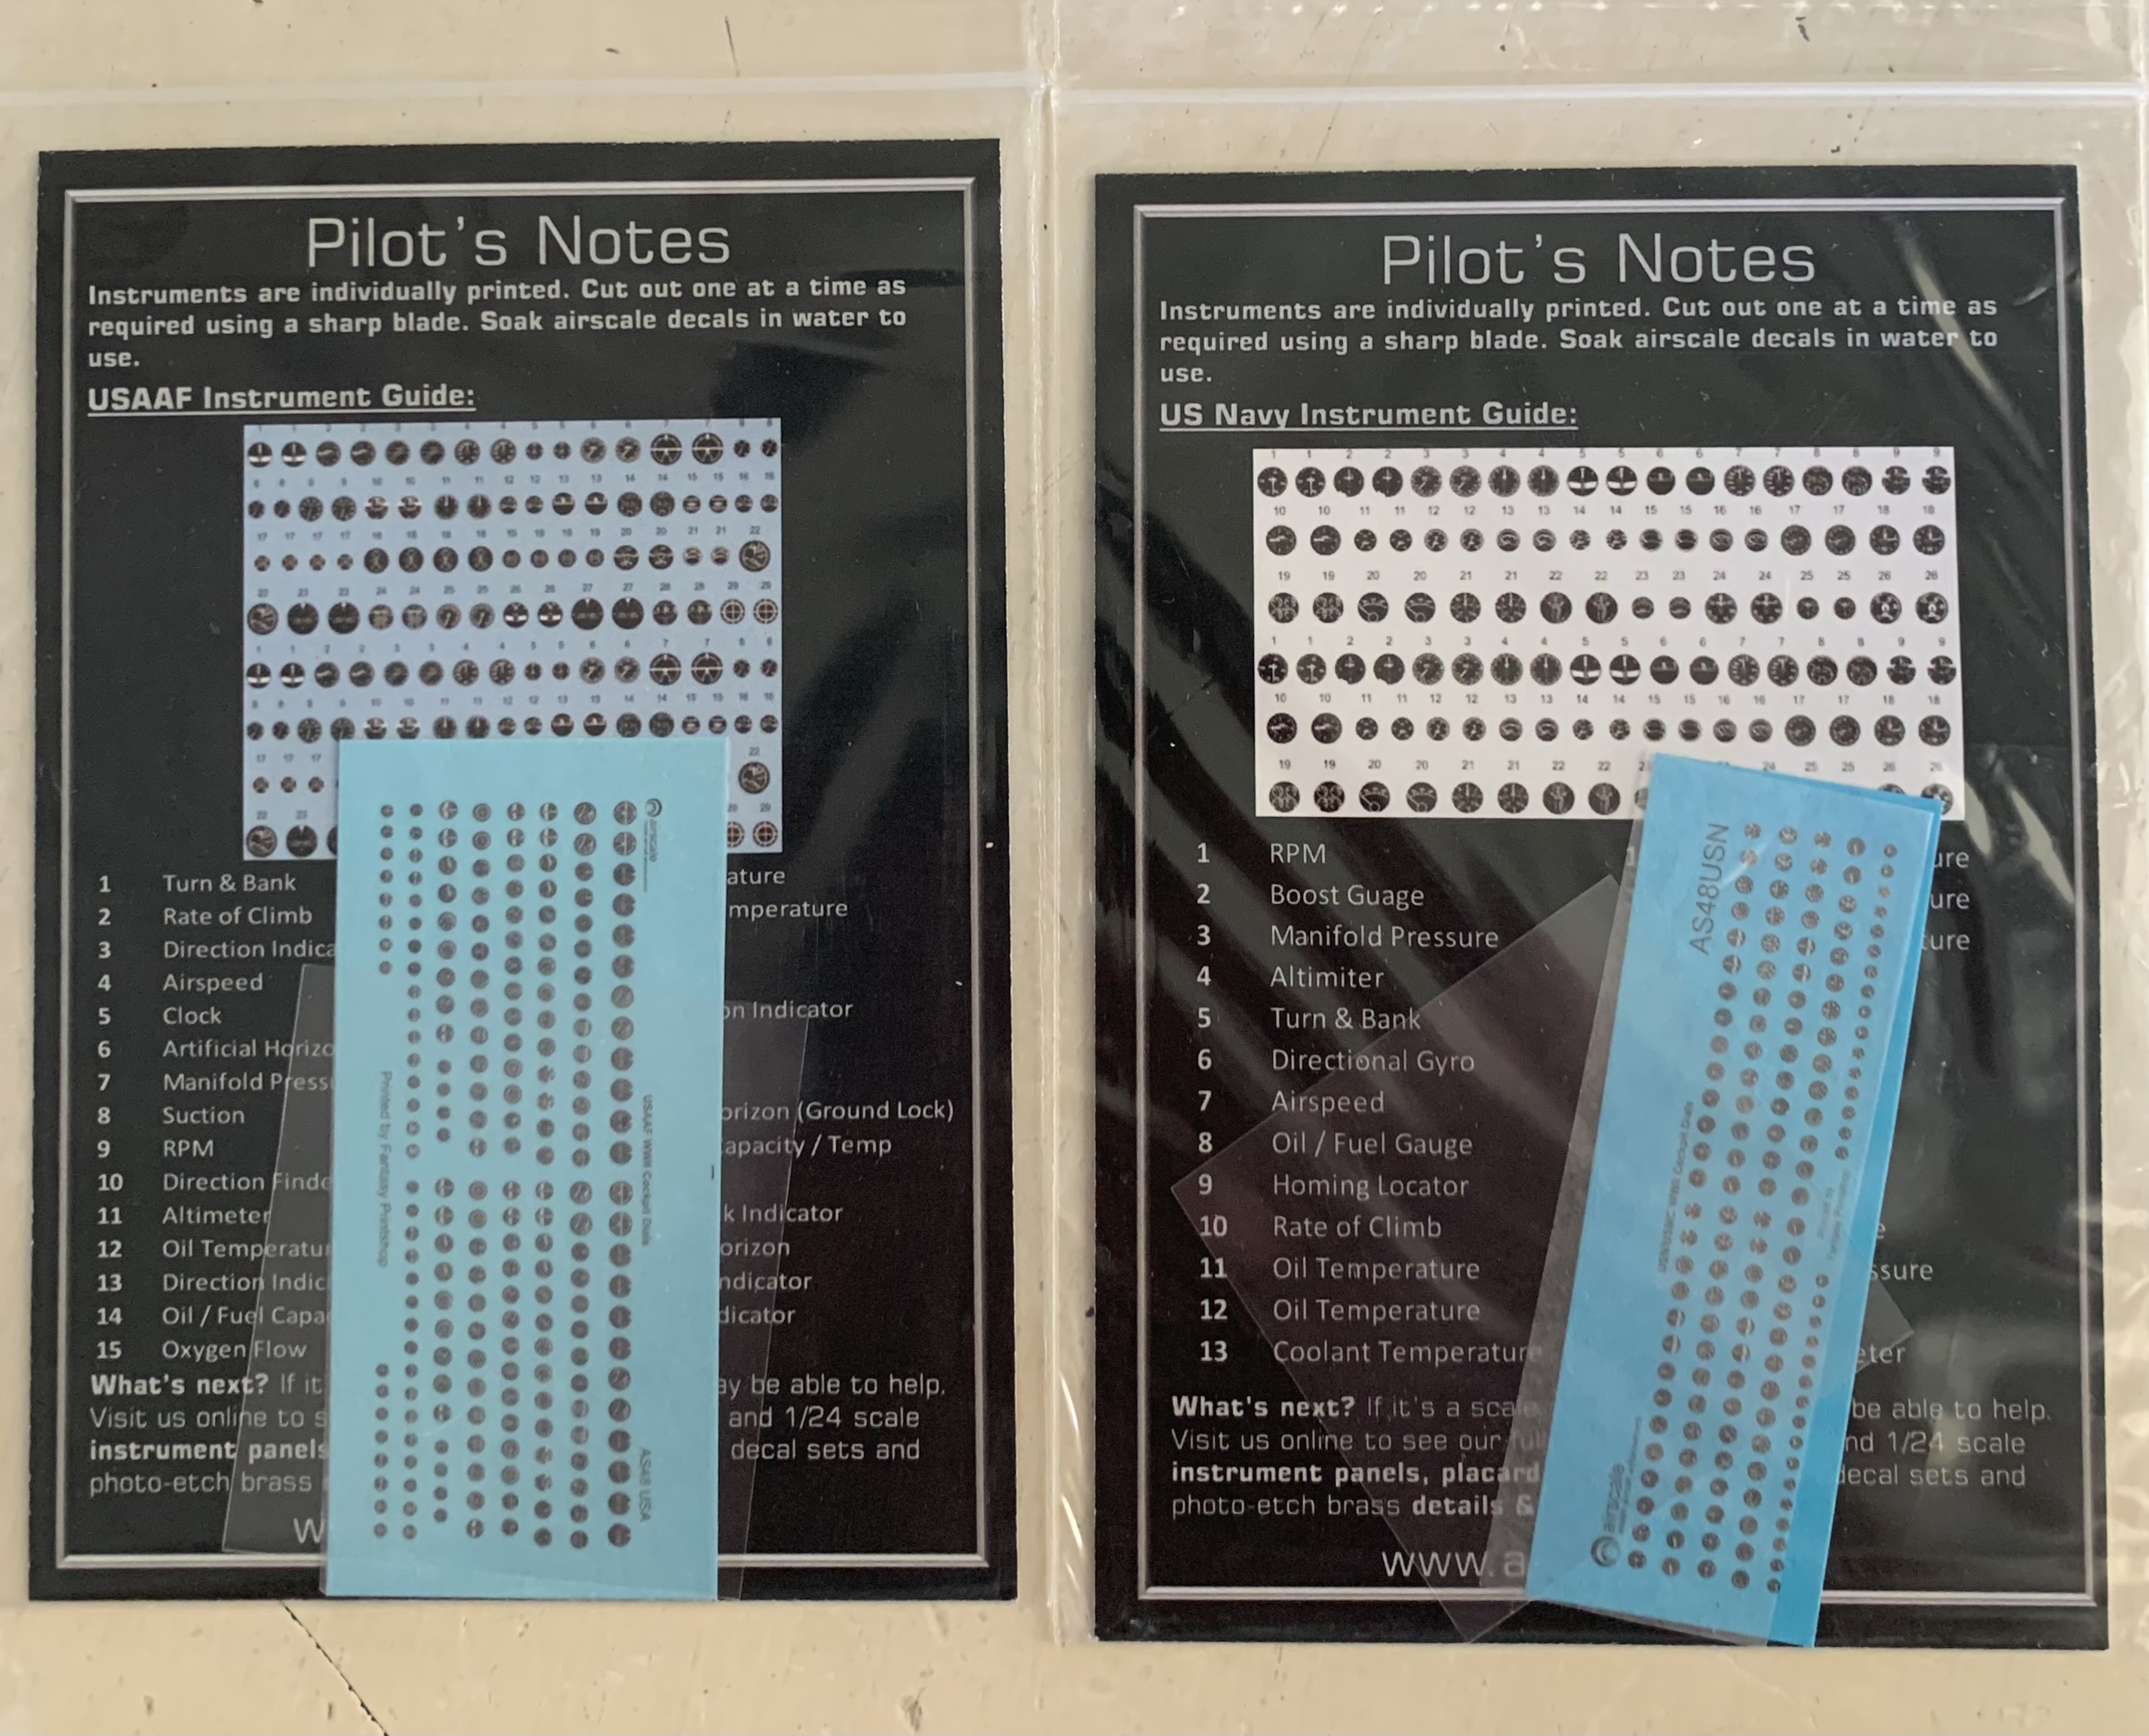
This is what I am going after.

I see some more bits to add like rudder petals to both sides.
Since the instrument panel is blank, I got some decals to dress it up.
This is what I am going after.
I see some more bits to add like rudder petals to both sides.
Ryan,
You’ll like them, and they do dress things up. I use them often, if you haven’t, I’ve observed that the decal glue is very sparse. After punching out the decal, I give them a soak in water with a little white glue mixed in. After they dry I hit them with softener as soon as possible, so that they don’t decide to fly and be free. I’m pretty sure that’s why they give you so many of the same instrument on the sheet! Patience is the key when using them, but they are well worth it, have fun!
Thanks for the information. ![]()
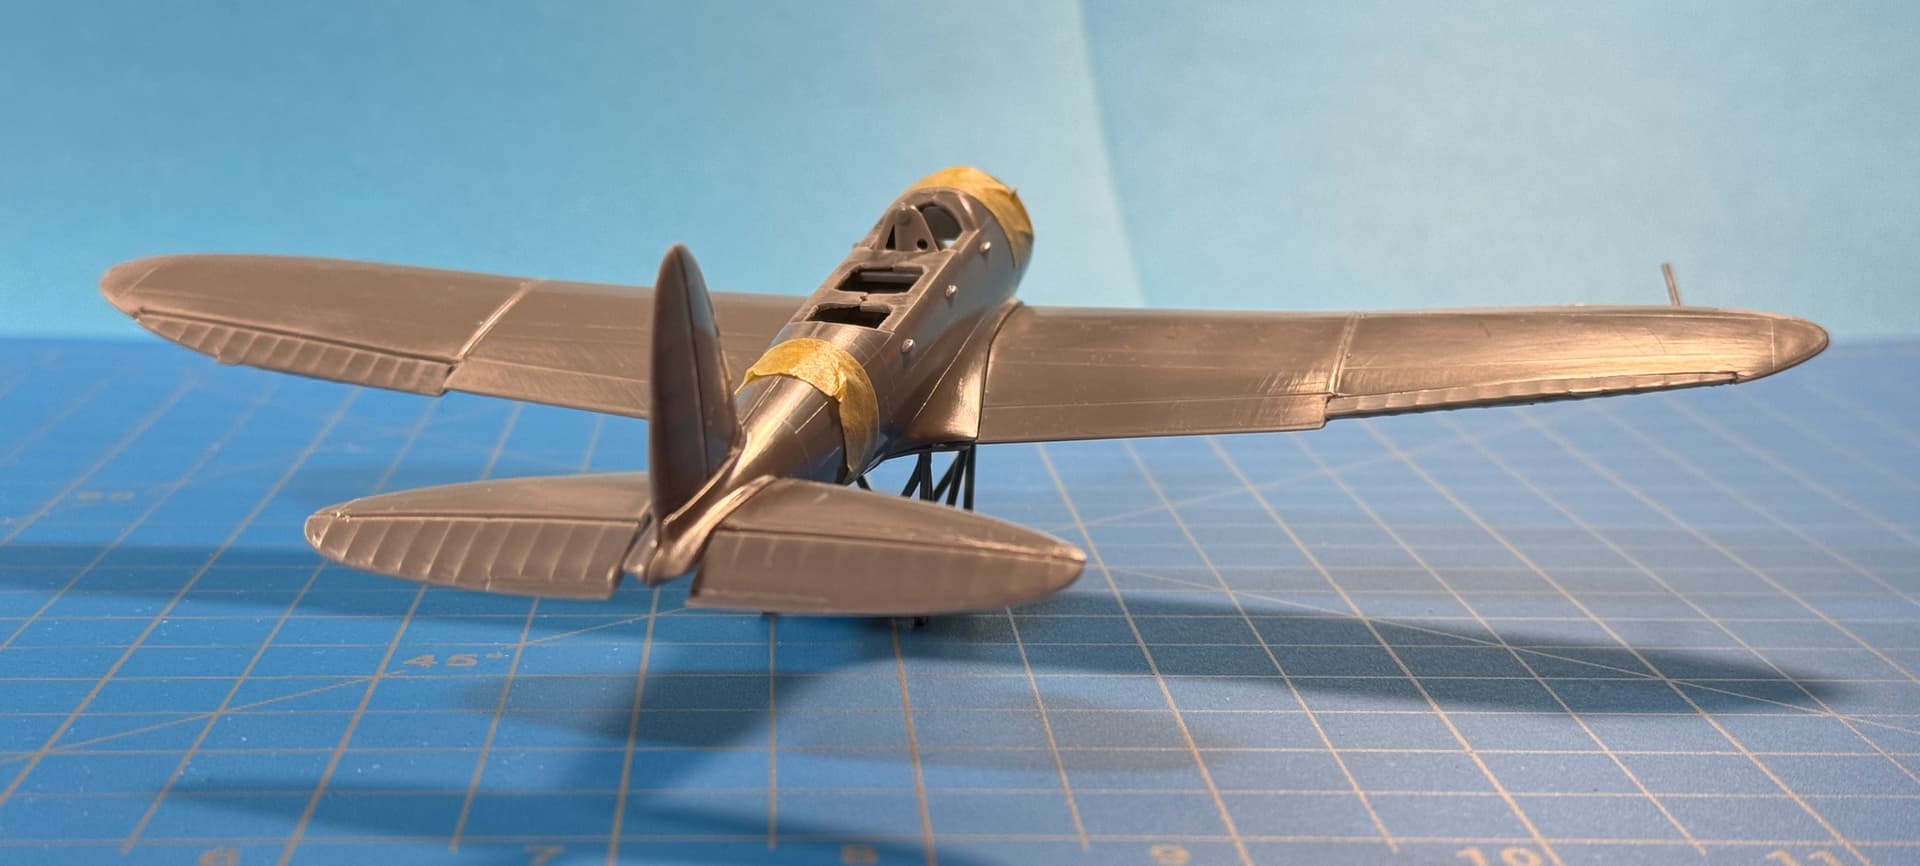
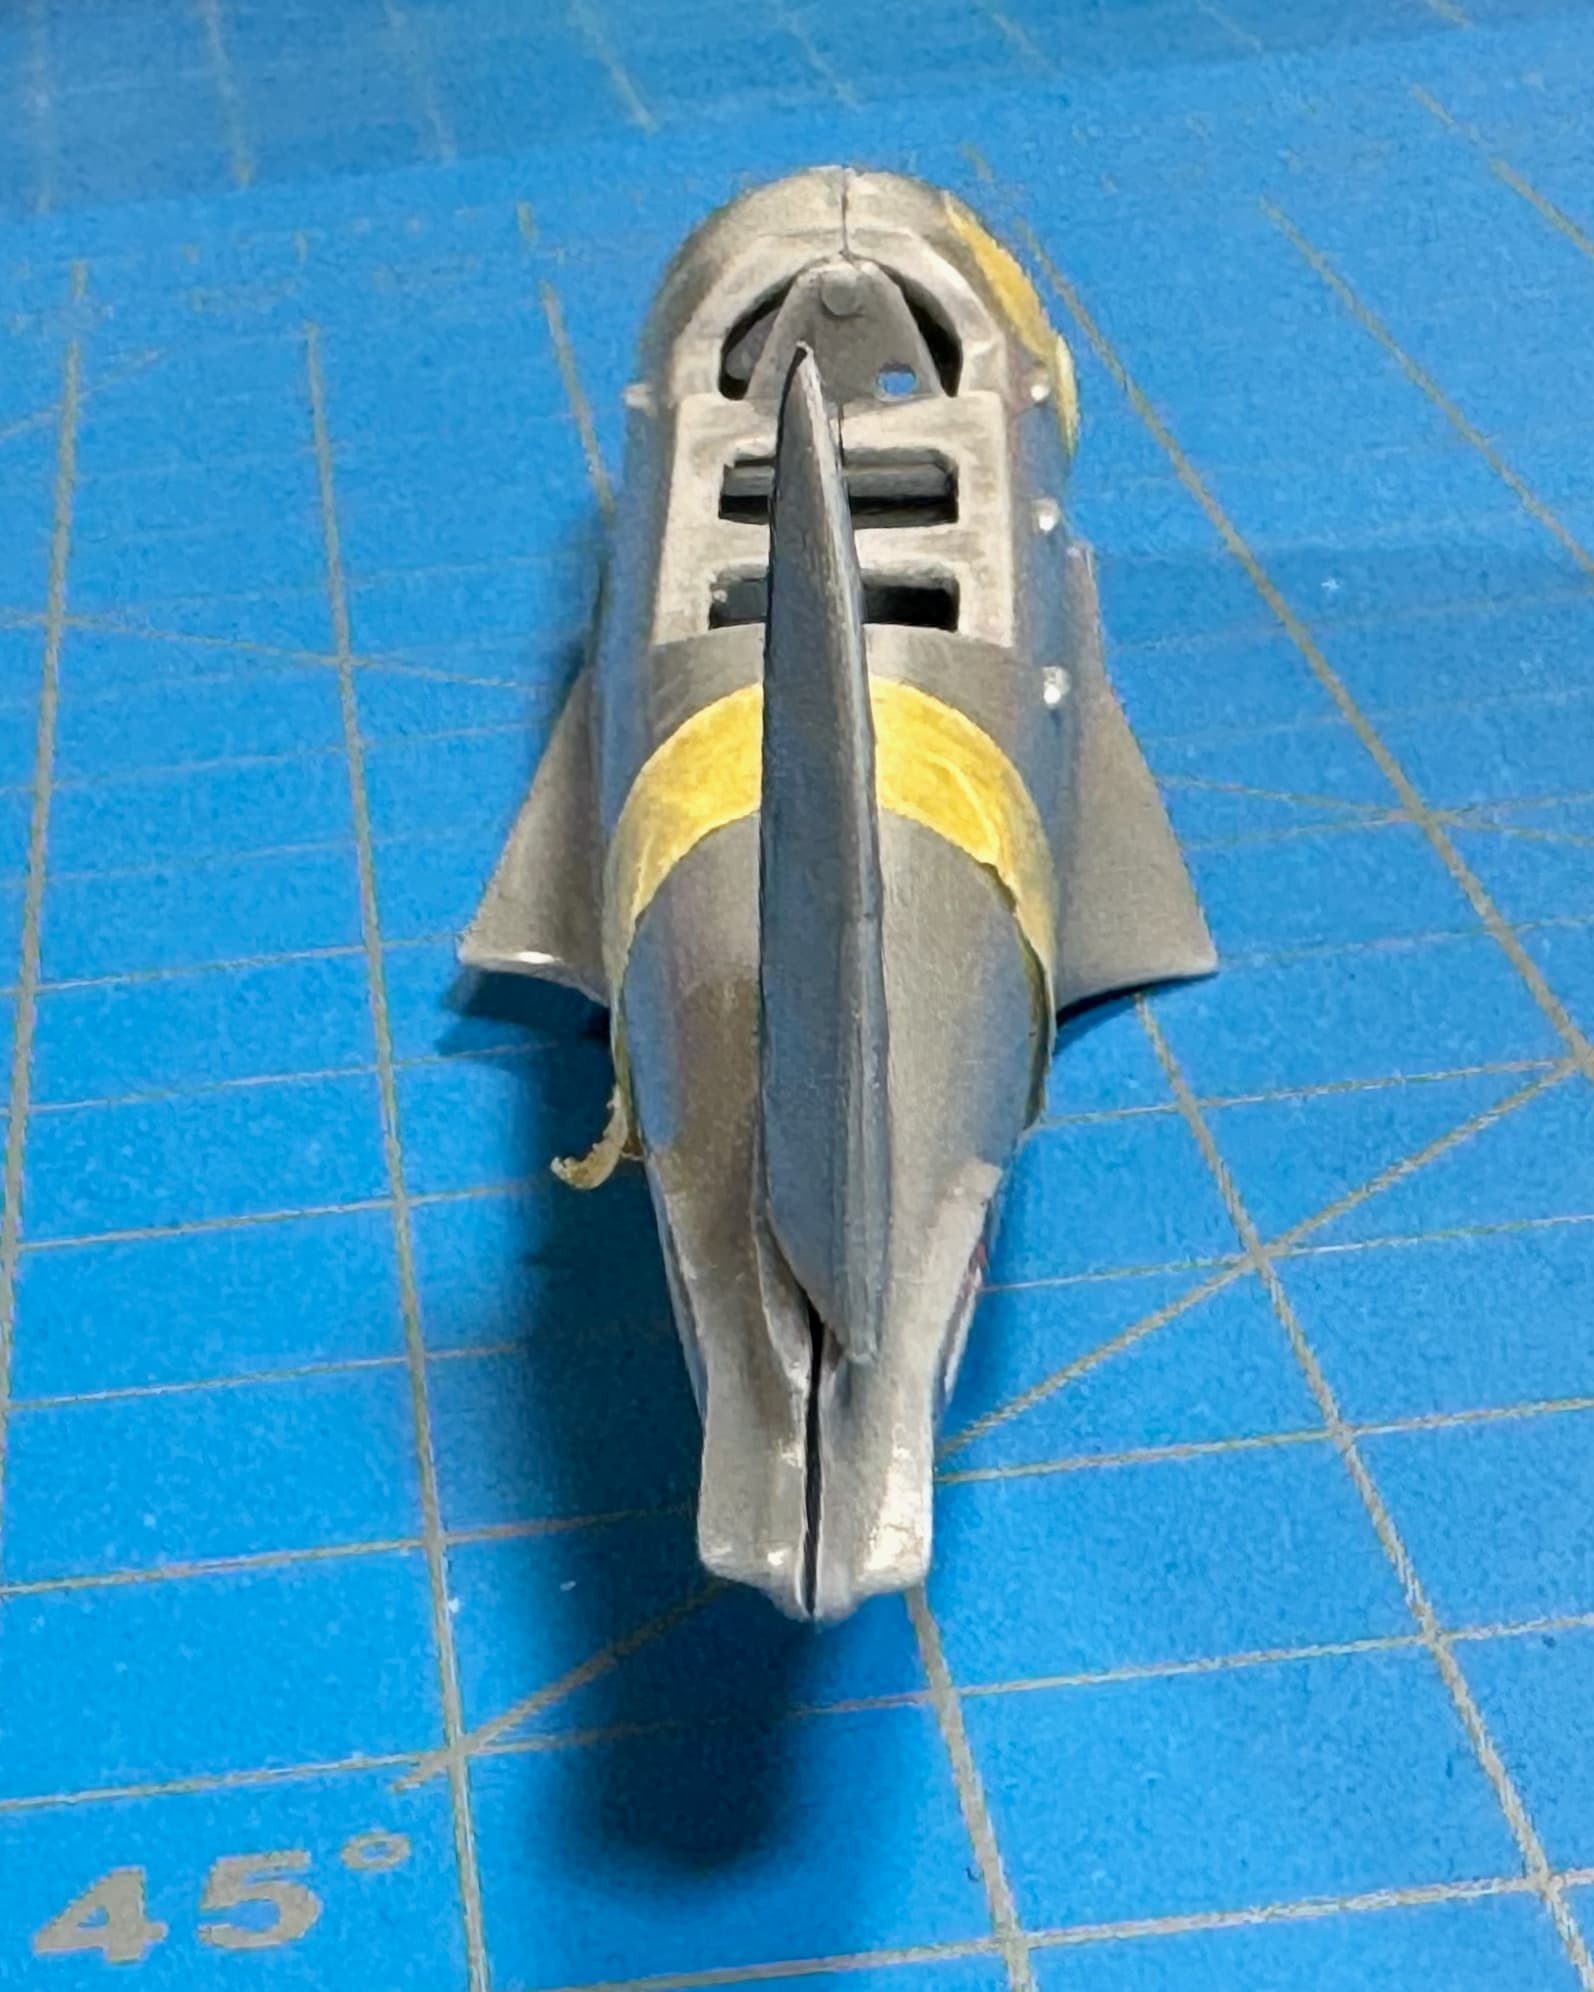
See what I did there? … Added a personal touch to the Jake. Went a little tool crazy — chopped the Ailerons and Stabilizers — modified to resemble the reference image. ![]()
![]()
I’m considering opening-up the canopy as well… Move along, there won’t be much to see in there. ![]()
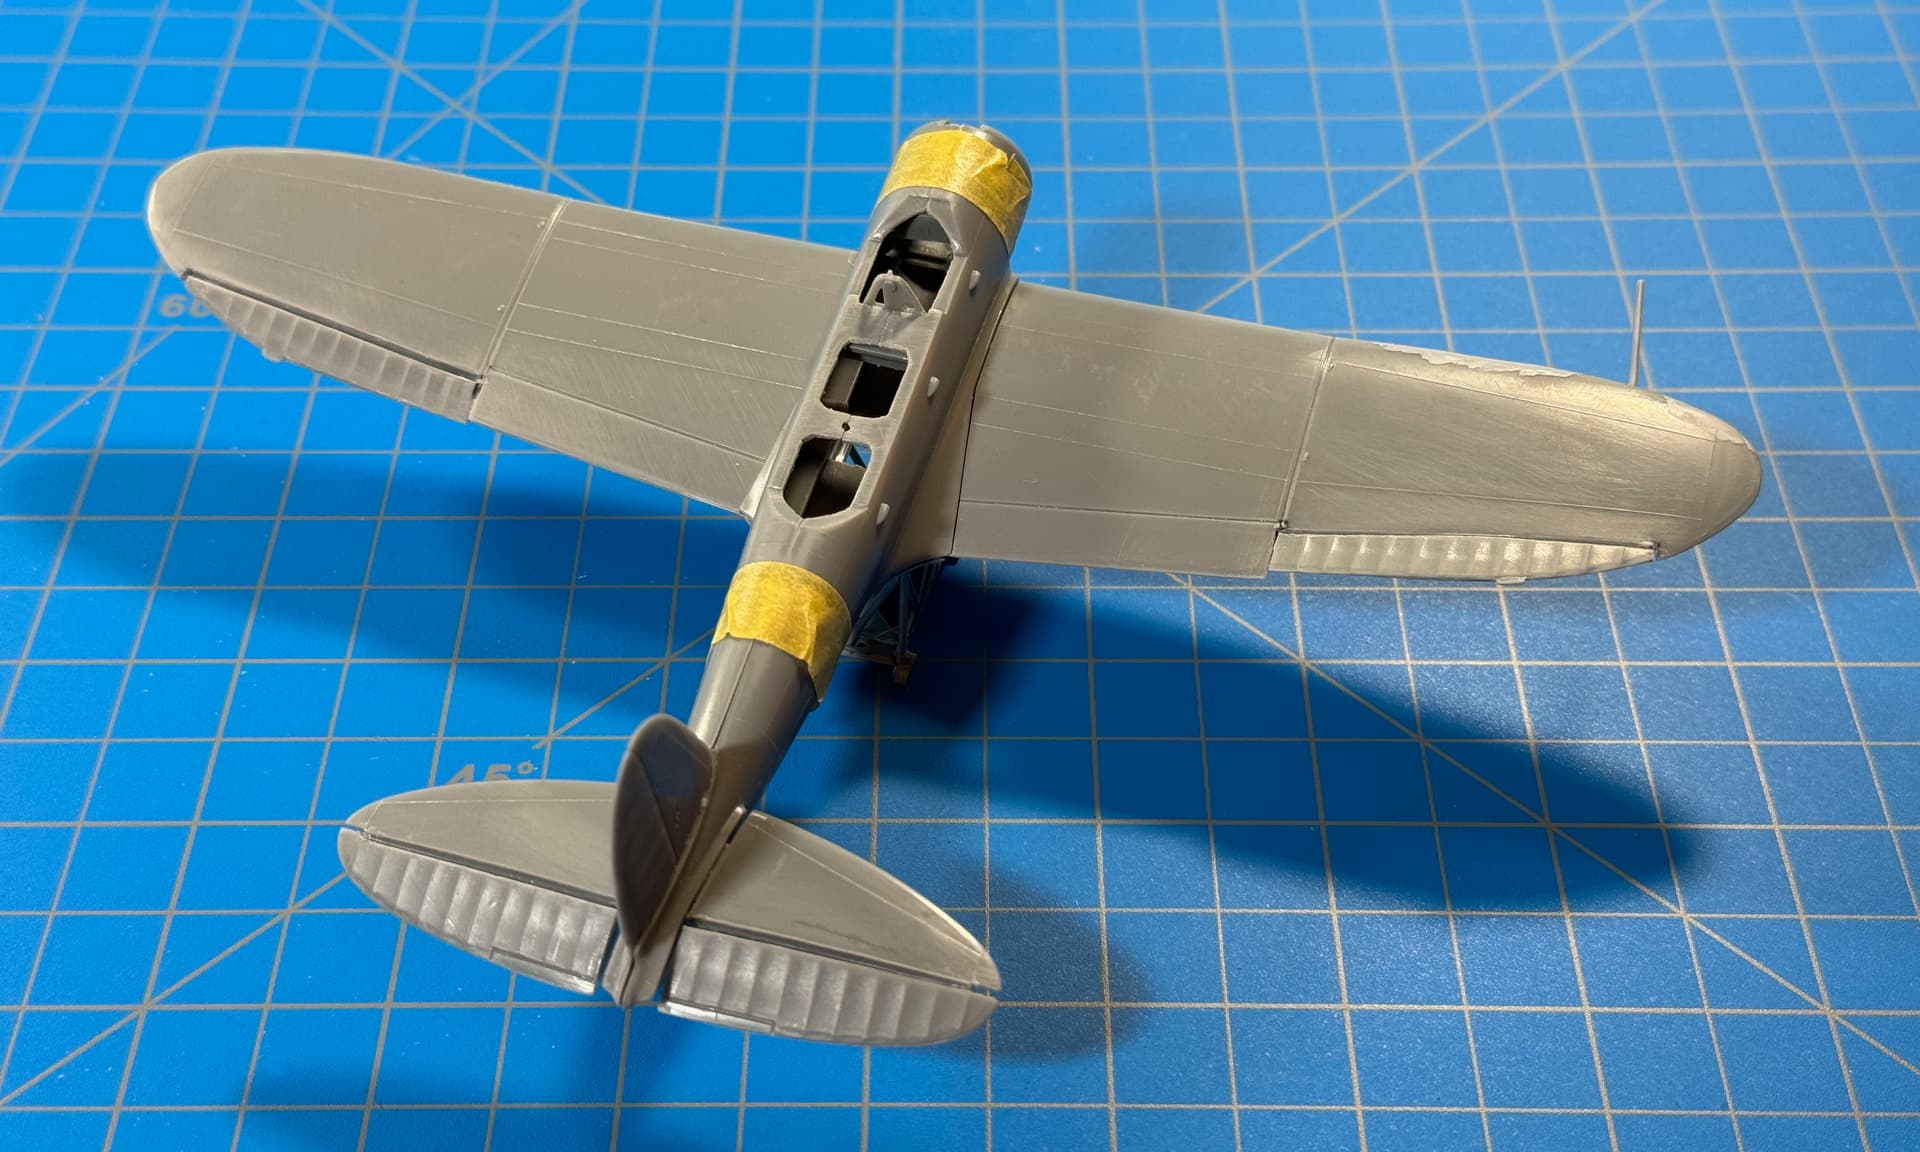
Meanwhile, I’m gonna’ chop and turn the rudder to starboard just a skosh. ![]()
![]()
フライネイビー! ![]()
![]()
—mike
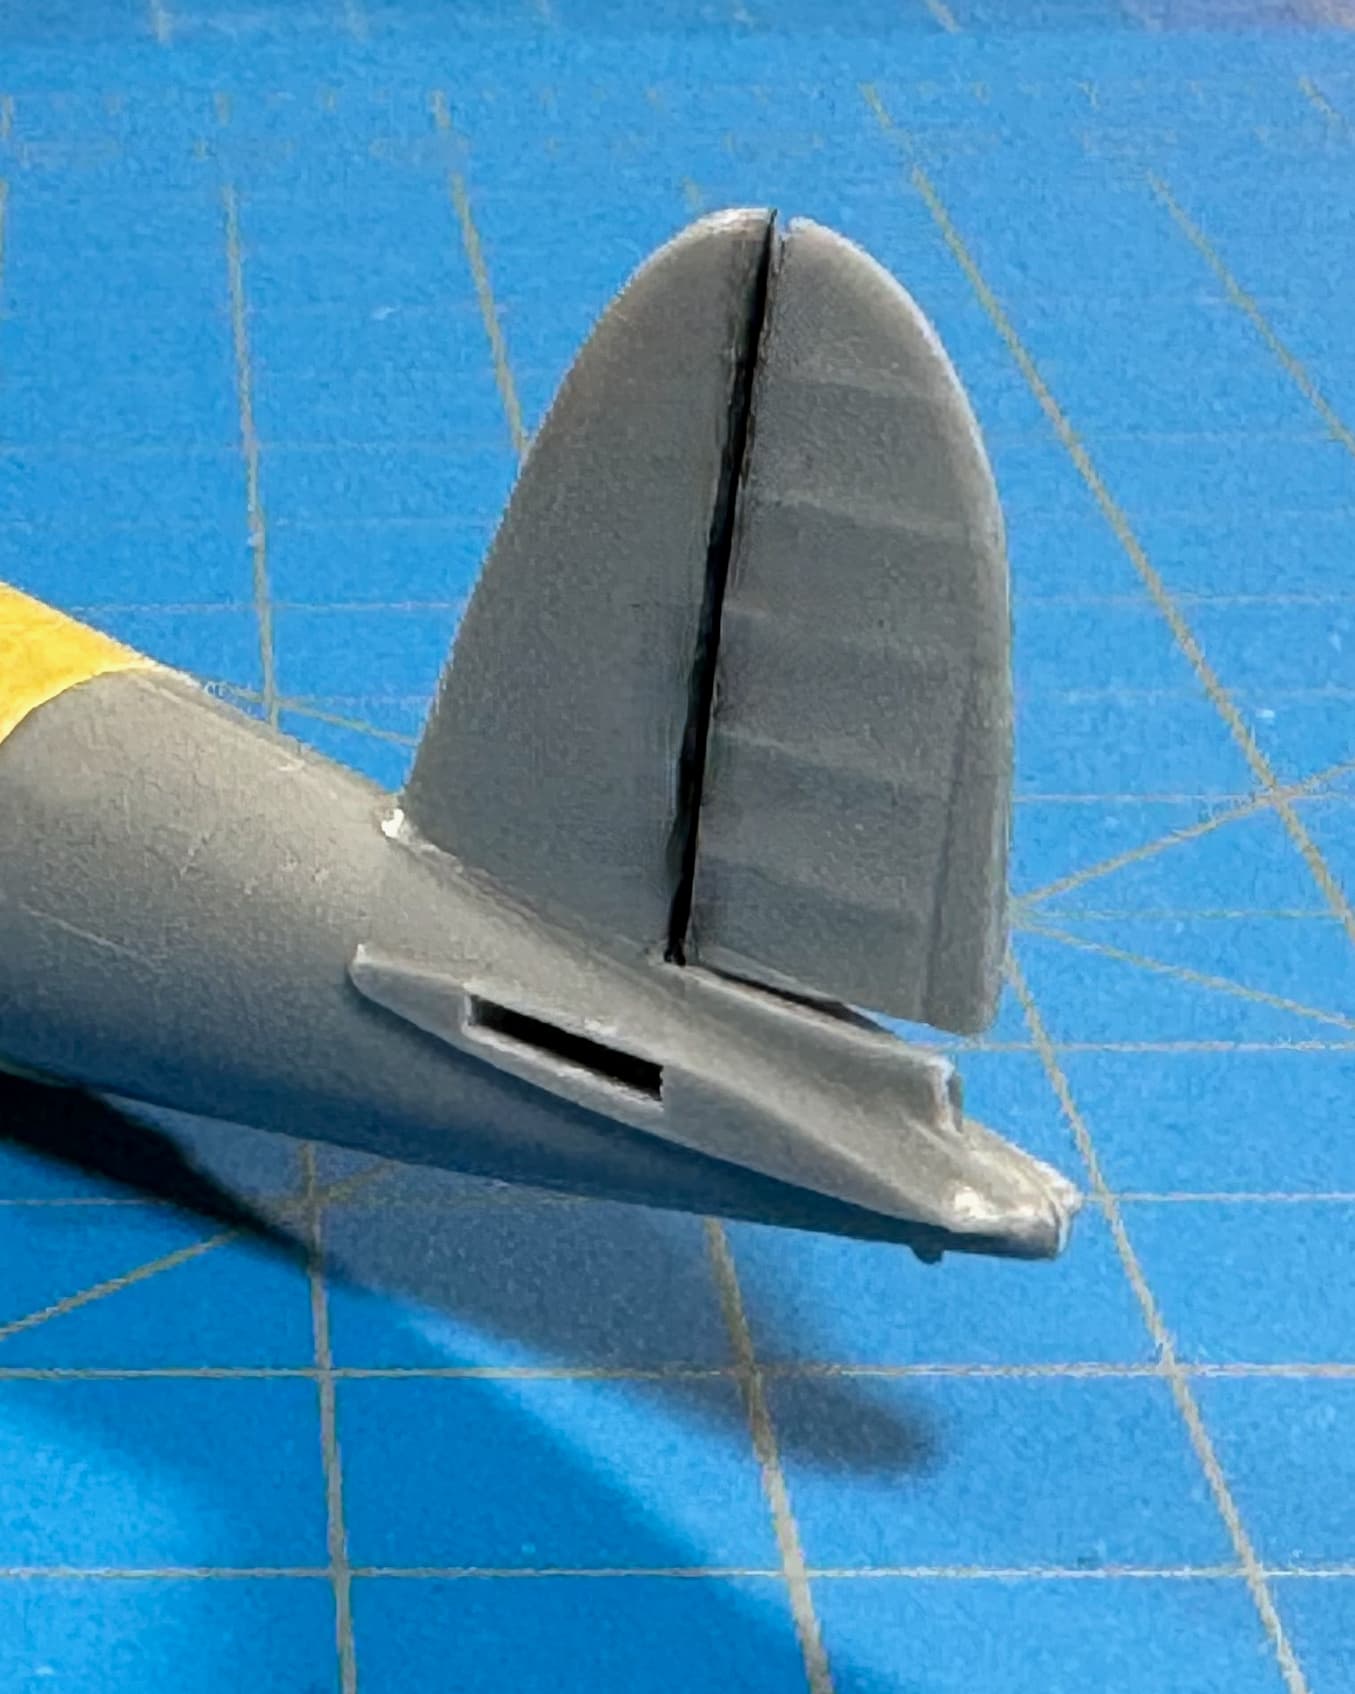
As promised, the Rudder has been tweaked.
A little re-scribing and I think that’ll work. ![]()
Flappy things filled with VMS Flexy 5K Black Thin CA (VMS.CM11)… overnight curing, then filing/sanding/shaping to follow. ![]()
Gotta’ say… sawing and bending plastic was very satisfying today. ![]()
–––––––––––––––––––––––––––––––––––––––––––––––––––––––––––––––
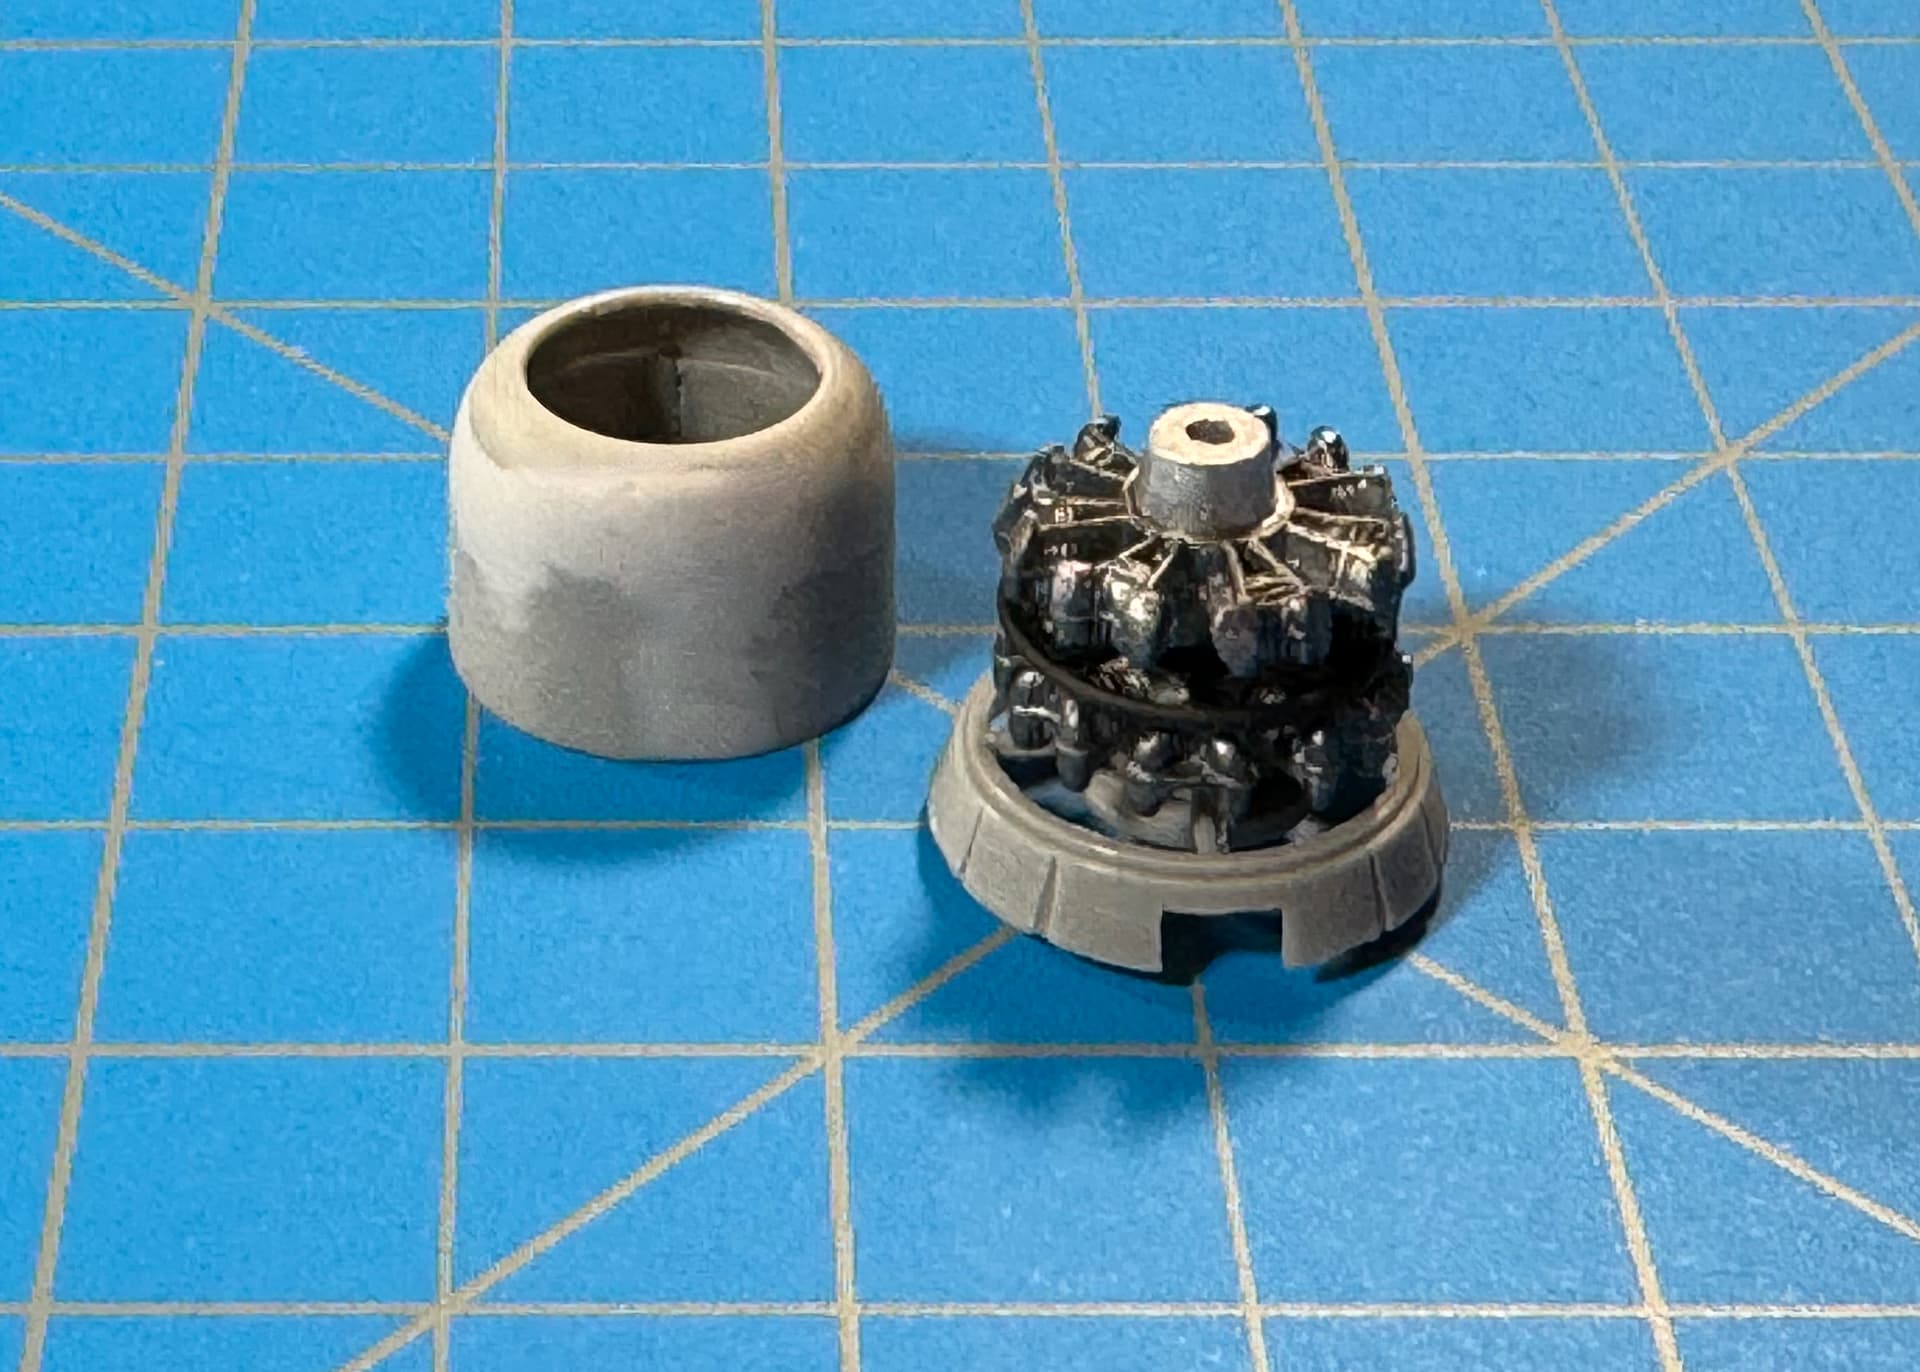
[EDIT] Work from yesterday.
Cowl segments and ring assembly. Also, painted the engine.
フライネイビー! ![]()
![]()
—mike
Tell me about their black CA. It seems like I’m reading about a lot of people using it. I really know nothing about it.
So here’s what I know…
 .
. 
• VMS Flexy 5K ‘Black’ CA (VMS.CM09) for general gap-filling.
• VMS’ Flexy 5K ‘Black Thin’ CA (VMS.CM11) for more of a capillary action and longer curing.
Wipe off with a cotton bud as you go.
Since they are black, both grades benefit from your being able to see your work as you file and/or sand it away. However, as good practice, I generally follow-up with one of the Mr Surfacer products before paint. HTH.
—mike ![]()
![]()
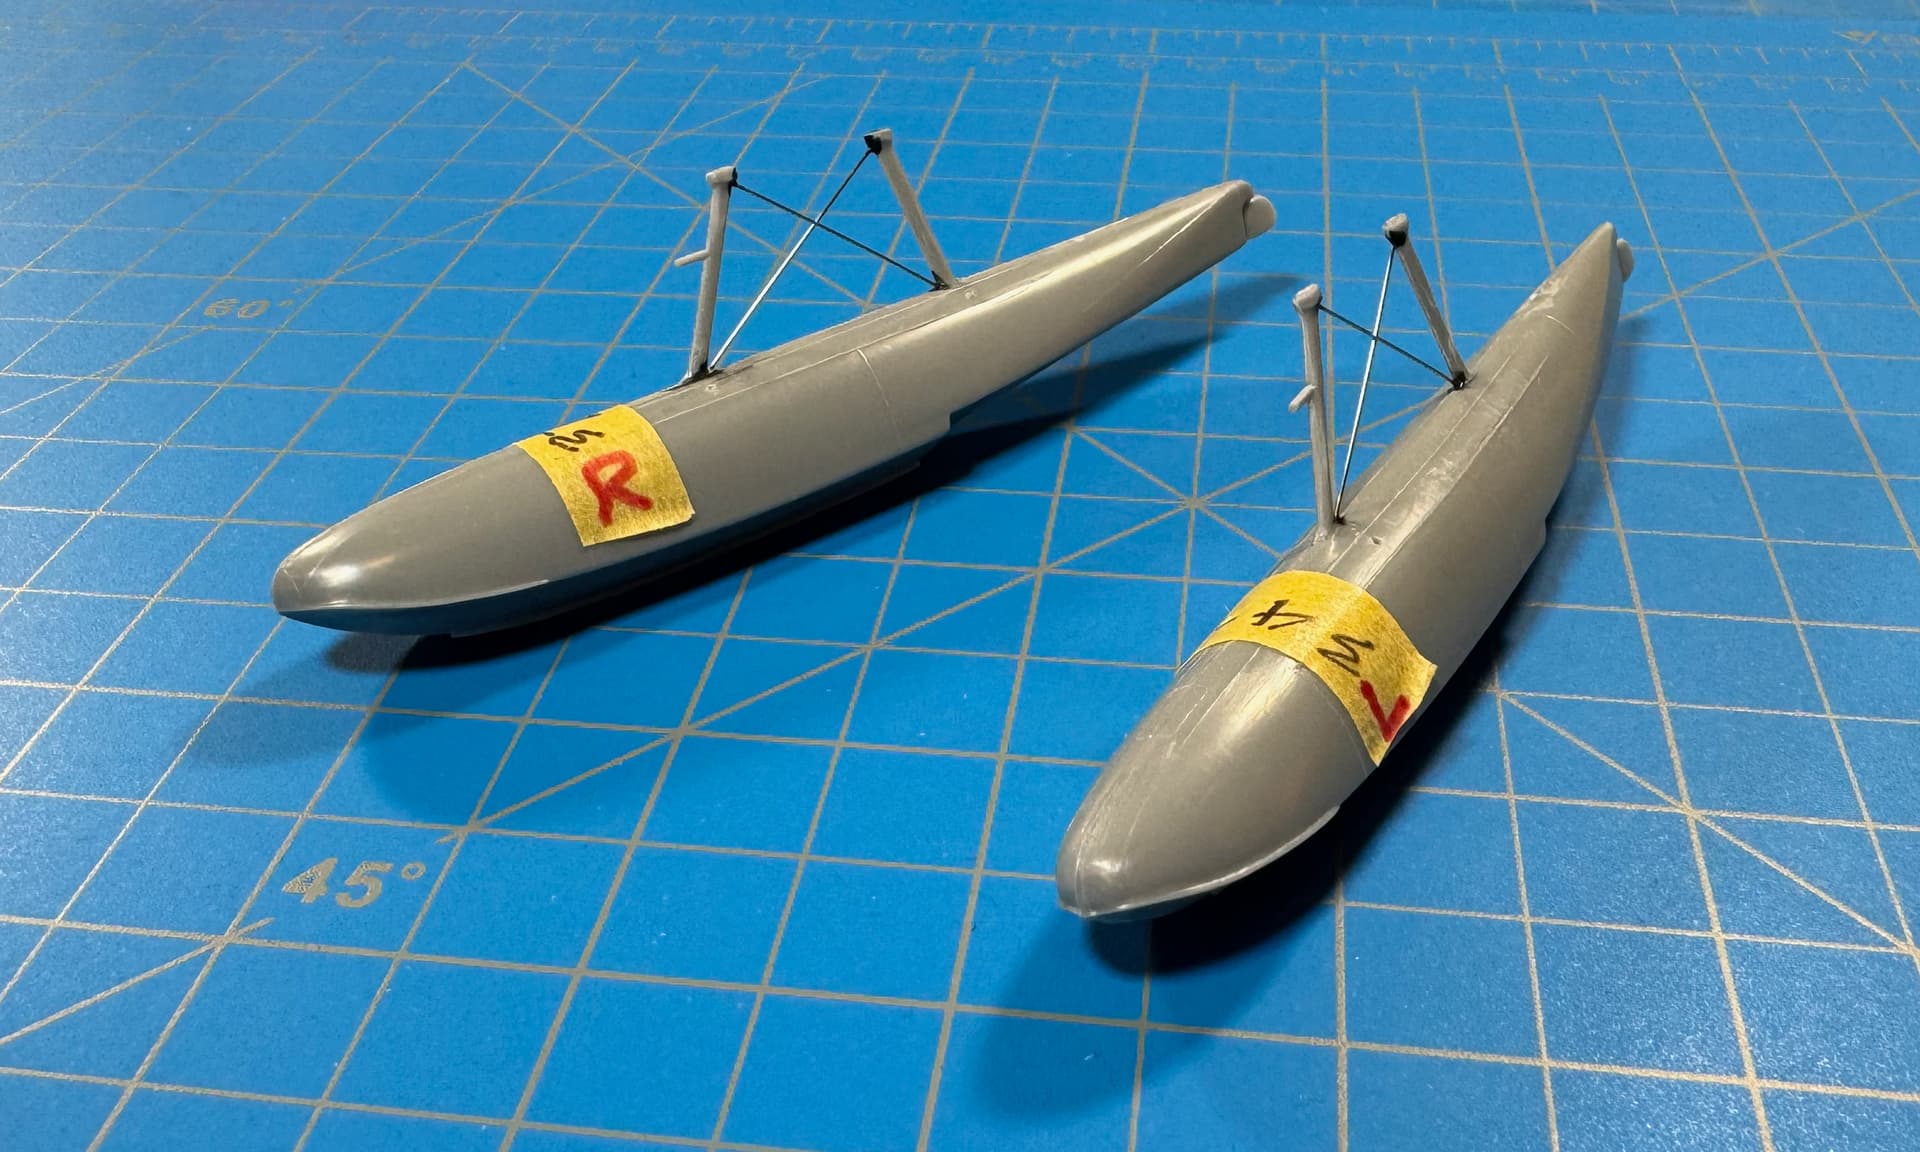
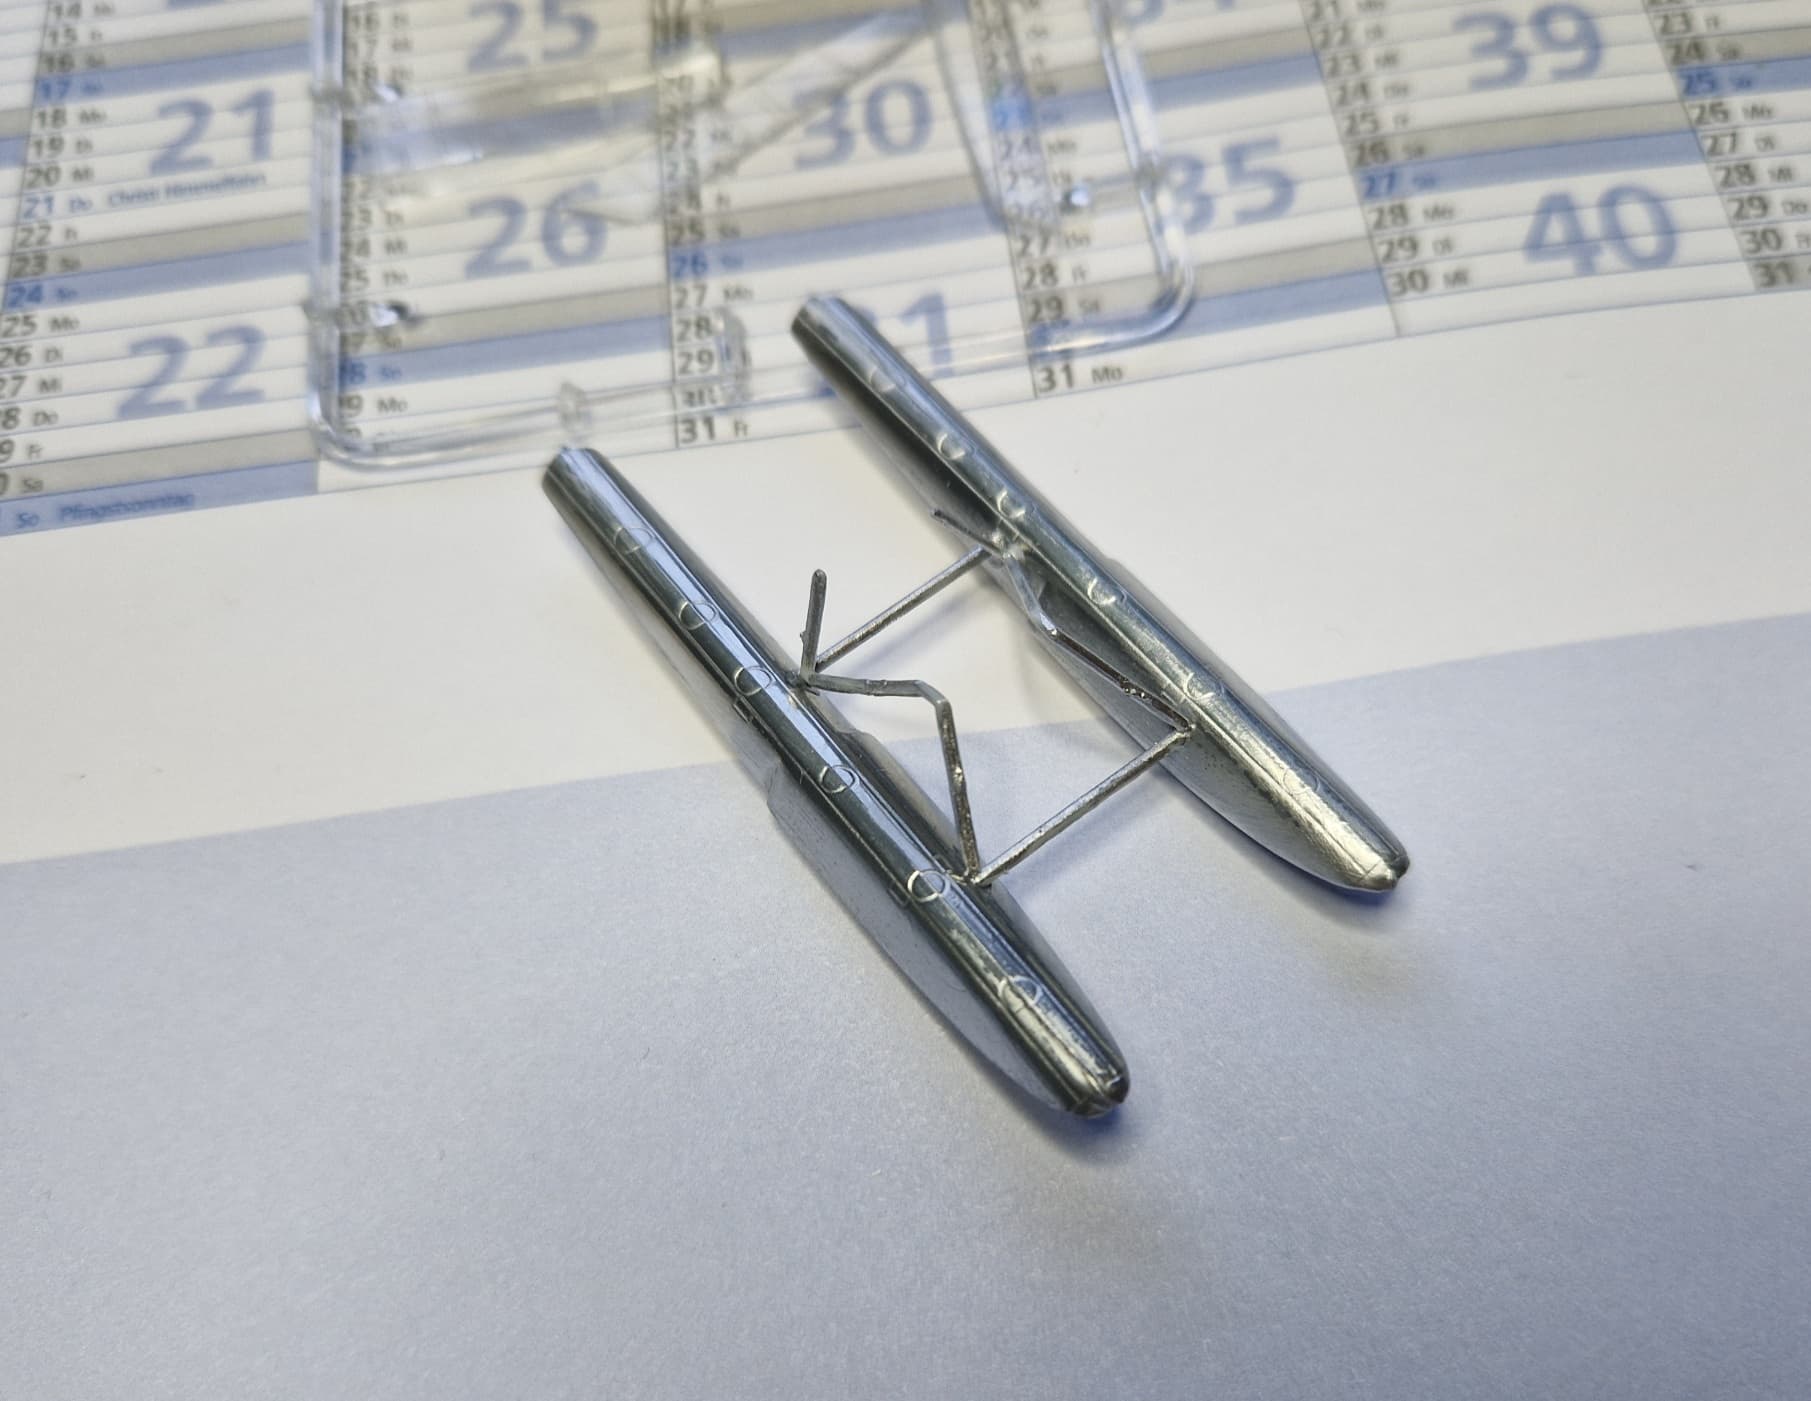
Float rigging happened today. Drilled tiny holes into the floats, placed the rods in and worked them upward to the top, then flowed-in some VMS CA.
• Albion Alloys 0.33mm Nickel Silver Rod
• VMS Flexy 5K Black Thin CA (VMS.CM11)
Confidence-booster for when the time comes for rigging these to the wings. ![]()
![]()
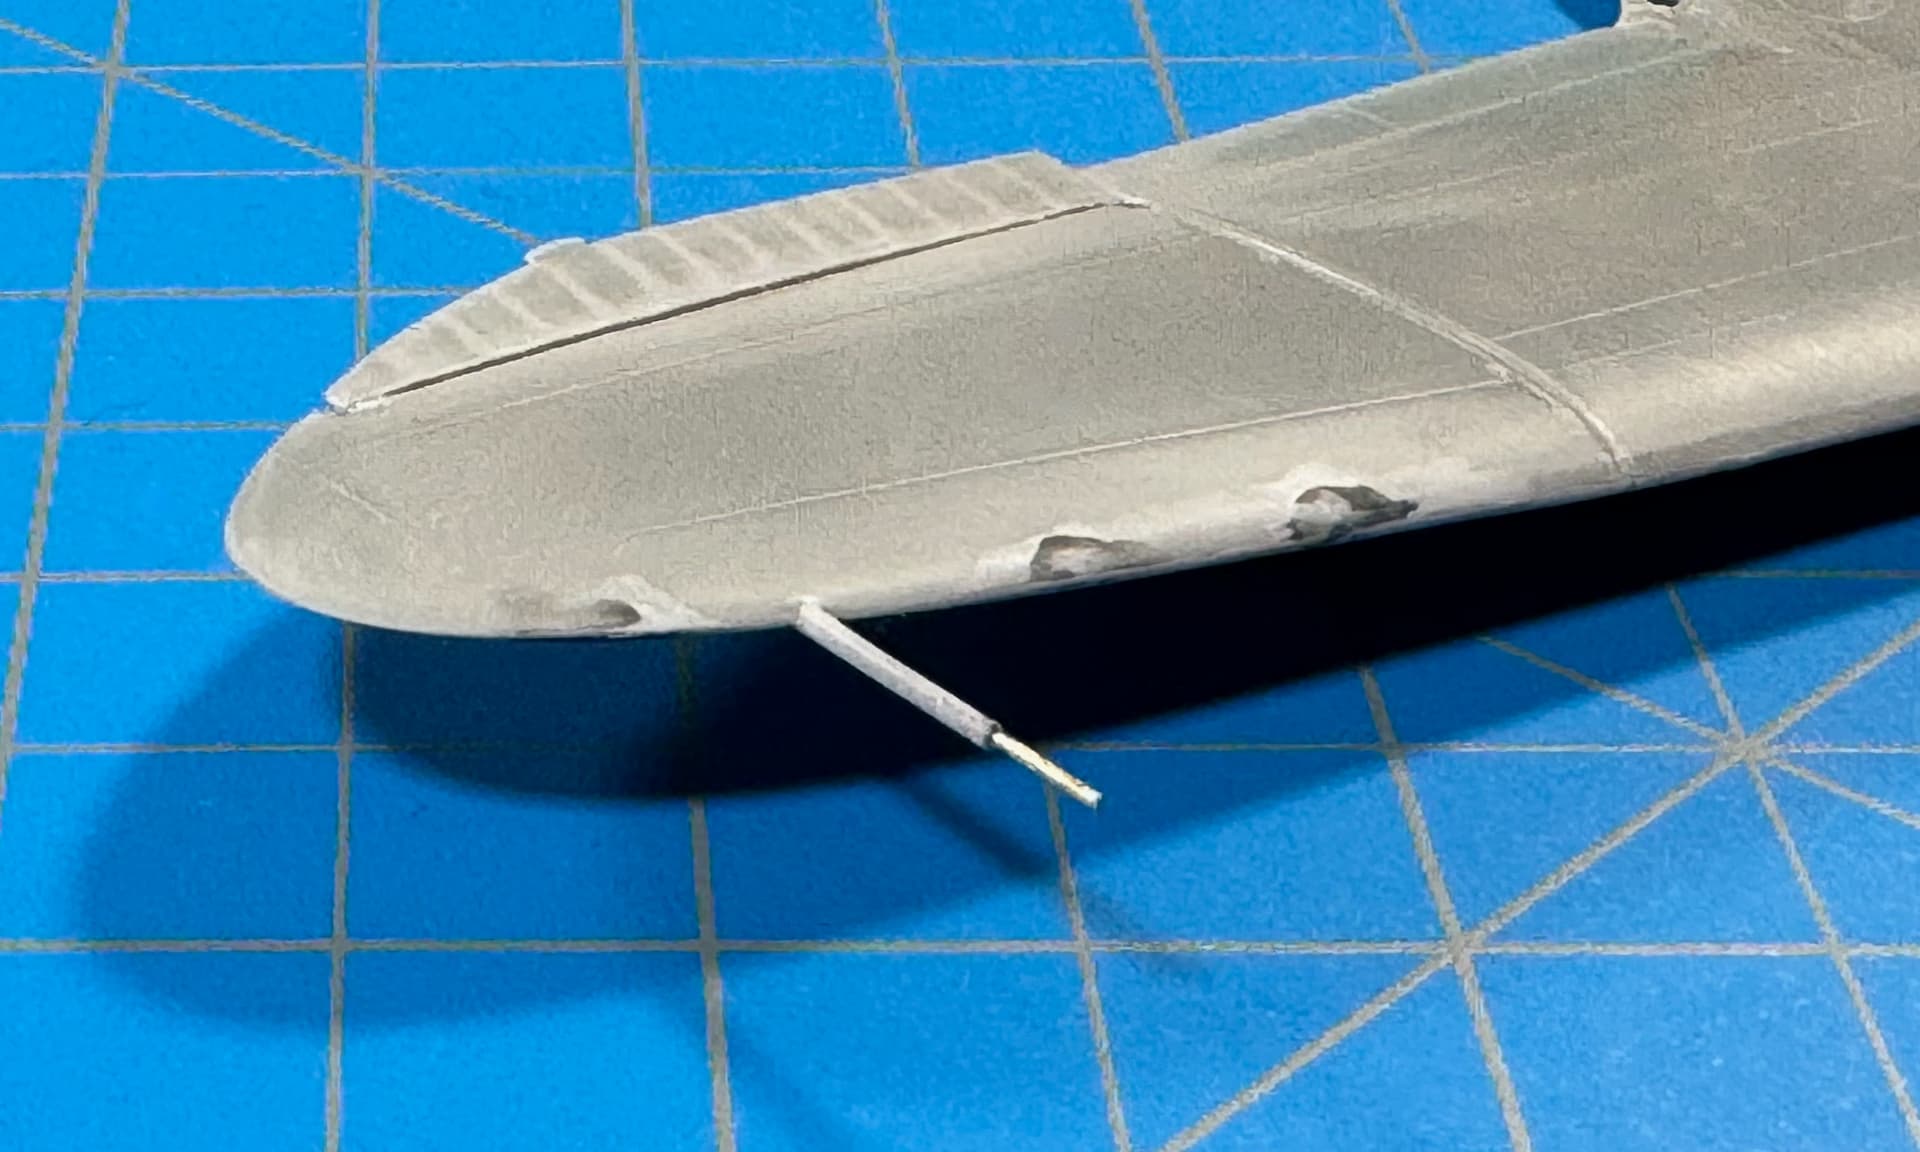
Also, made a small modification to the pitot tube. Clipped the original part, drilled and added a 5mm brass rod reduction extension. ![]()
![]()
• K&S Brass (8159) Rod .020” (.51mm)
• VMS Flexy 5K Black Thin CA (VMS.CM11)
Thank’s for having a look!
フライネイビー! ![]()
![]()
—mike
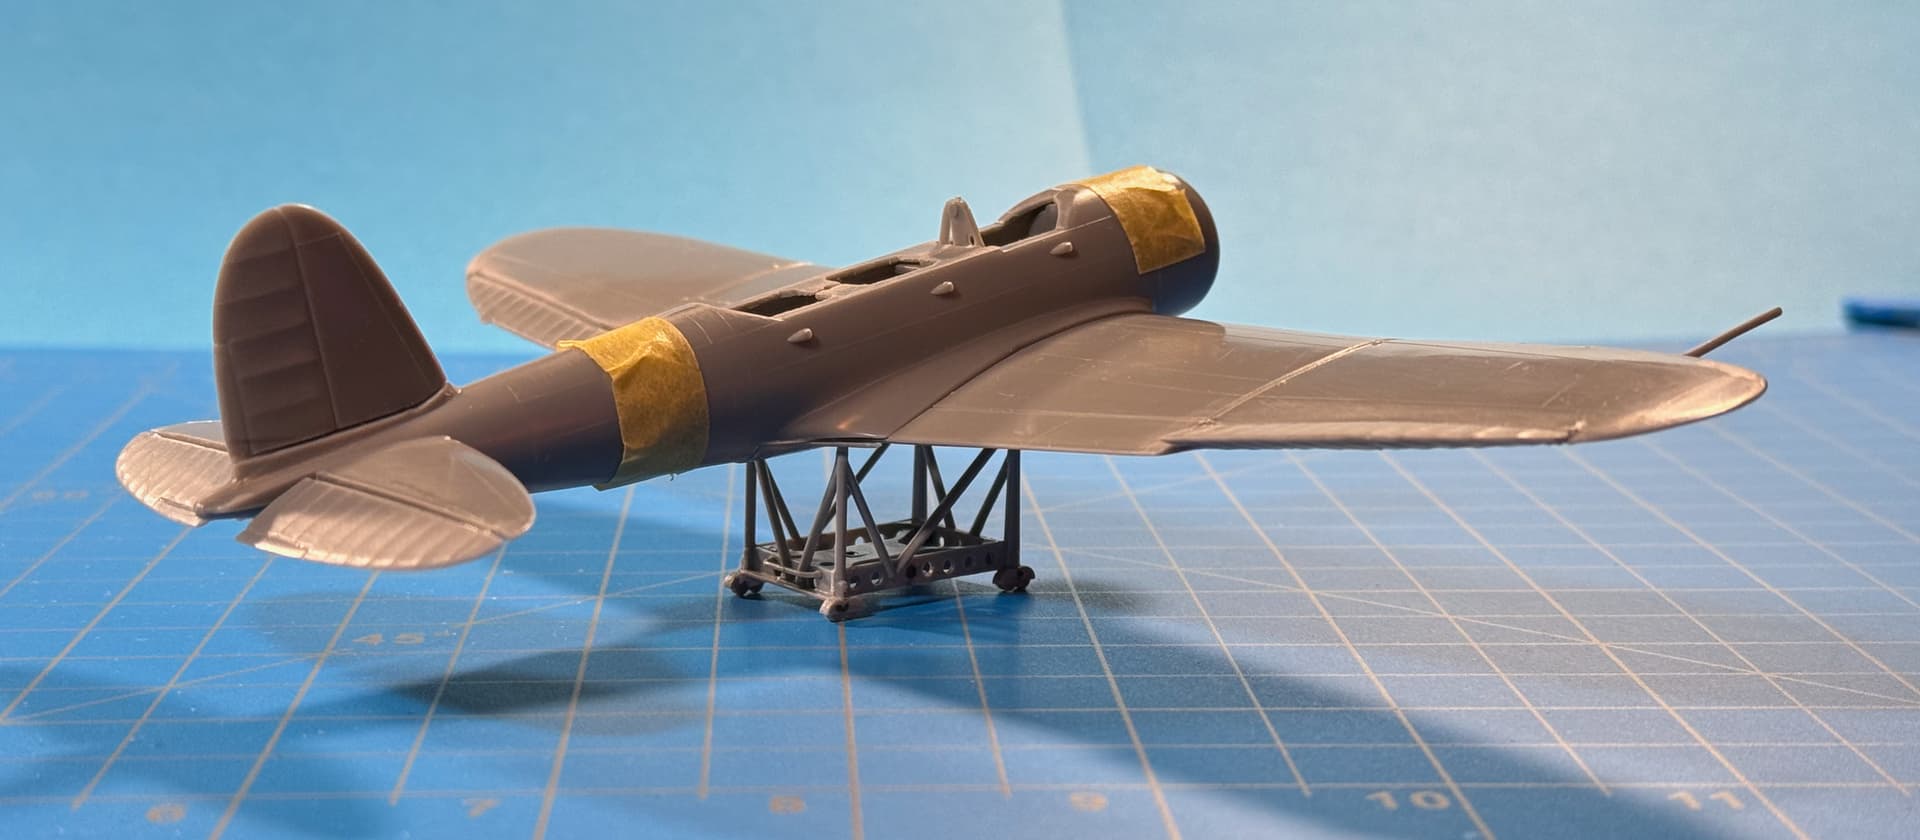
Finally mounted the front suspension to the chassis, glued on the cover for it, then painted the cover German Grey.
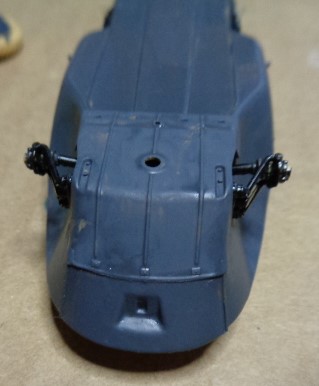
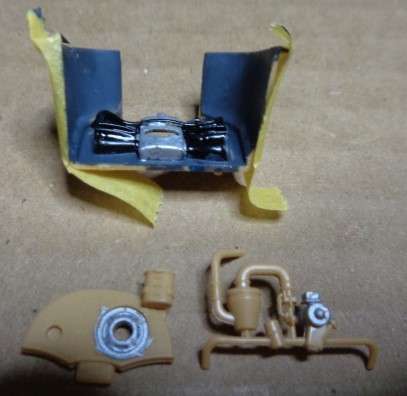
Some engine compartment painting.
“She’s made of Styrene”…
“And therefore.”…
“A WITCH!!!” ![]()
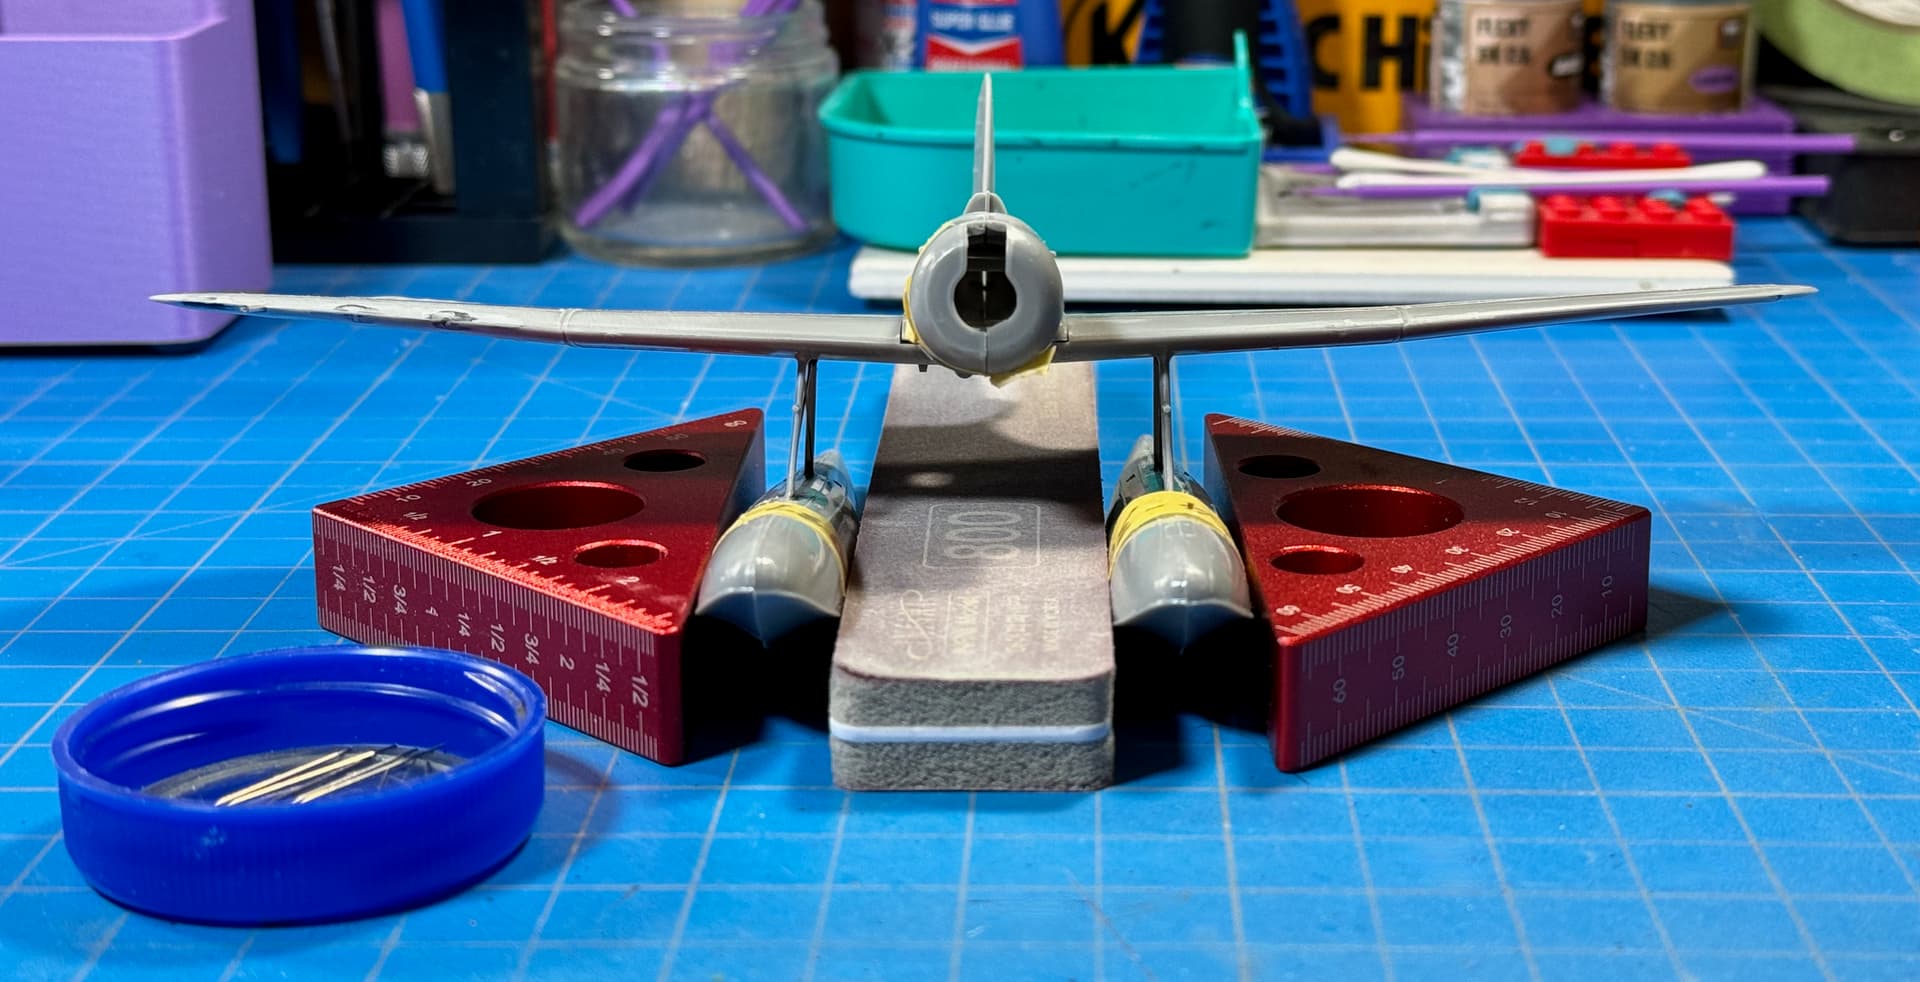
Yesterday… Attached float struts to under-wing. Aligned and allowed to cure oveernight. ![]()
Float rigging happened today. ![]()
• Albion Alloys 0.33mm Nickel Silver Rod
• VMS Flexy 5K Black Thin CA (VMS.CM11)
Note: The CA has only been applied to the wire at the wing’s underside. This allows the floats some flexibility. You know… just in case. ![]()
Thank’s for floating along!
フライネイビー! ![]()
![]()
—mike
Well, at last I can post some photos of the slow progress of my model…
Love the red trim Peter! ![]()
—mike ![]()
That’s looking pretty sharp Peter!
Cajun ![]()
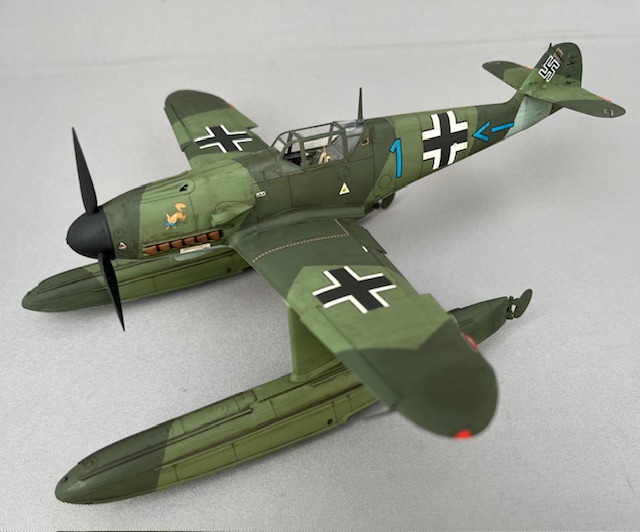
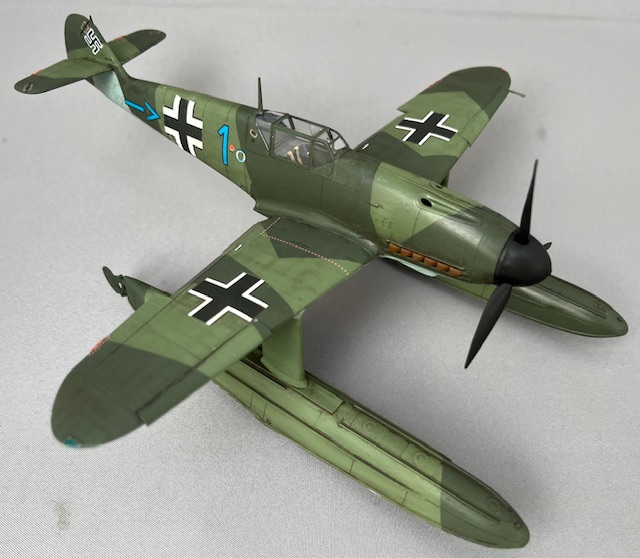
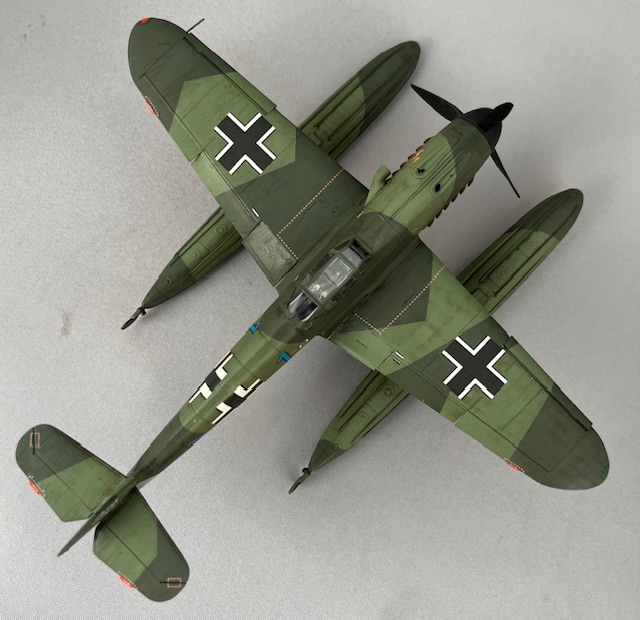
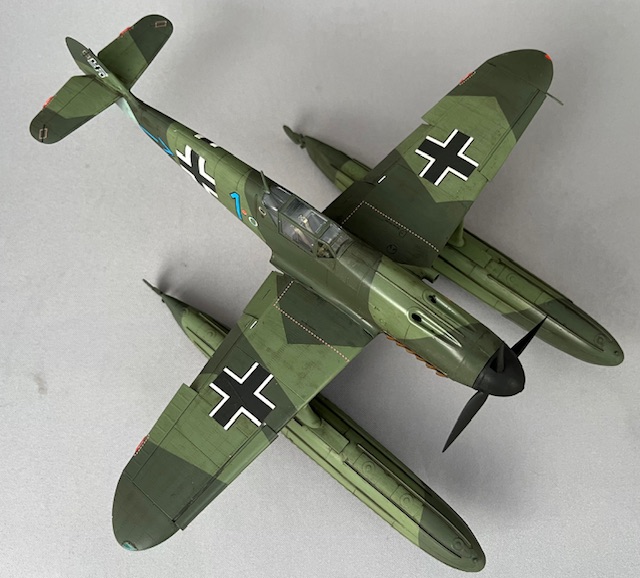
I am calling my Bf 109W done. A very nice conversion from Halbard Models using the Eduard Bf 109F as a base kit.
Comments welcome ![]()
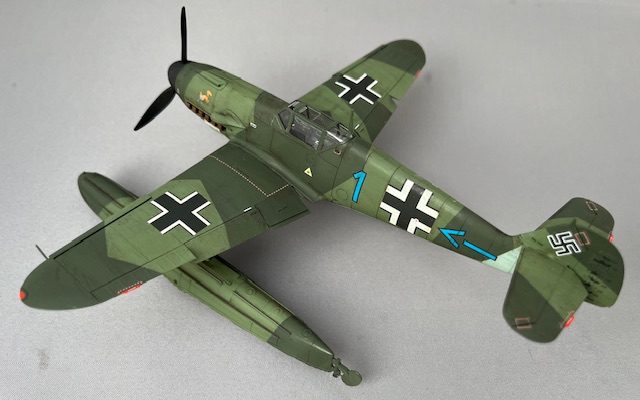
That looks fantastic Jesper! You’re obviously no stranger to aircraft modeling, the pin wash is perfect and really defines the surface detail.
Cajun ![]()
That’s an outstanding finish Jesper! I love the camo. And as already mentioned… weathering/wash came out perfect! ![]()
![]() …
…![]()
Fliege Luftwaffe! ![]() ✙
✙
—mike
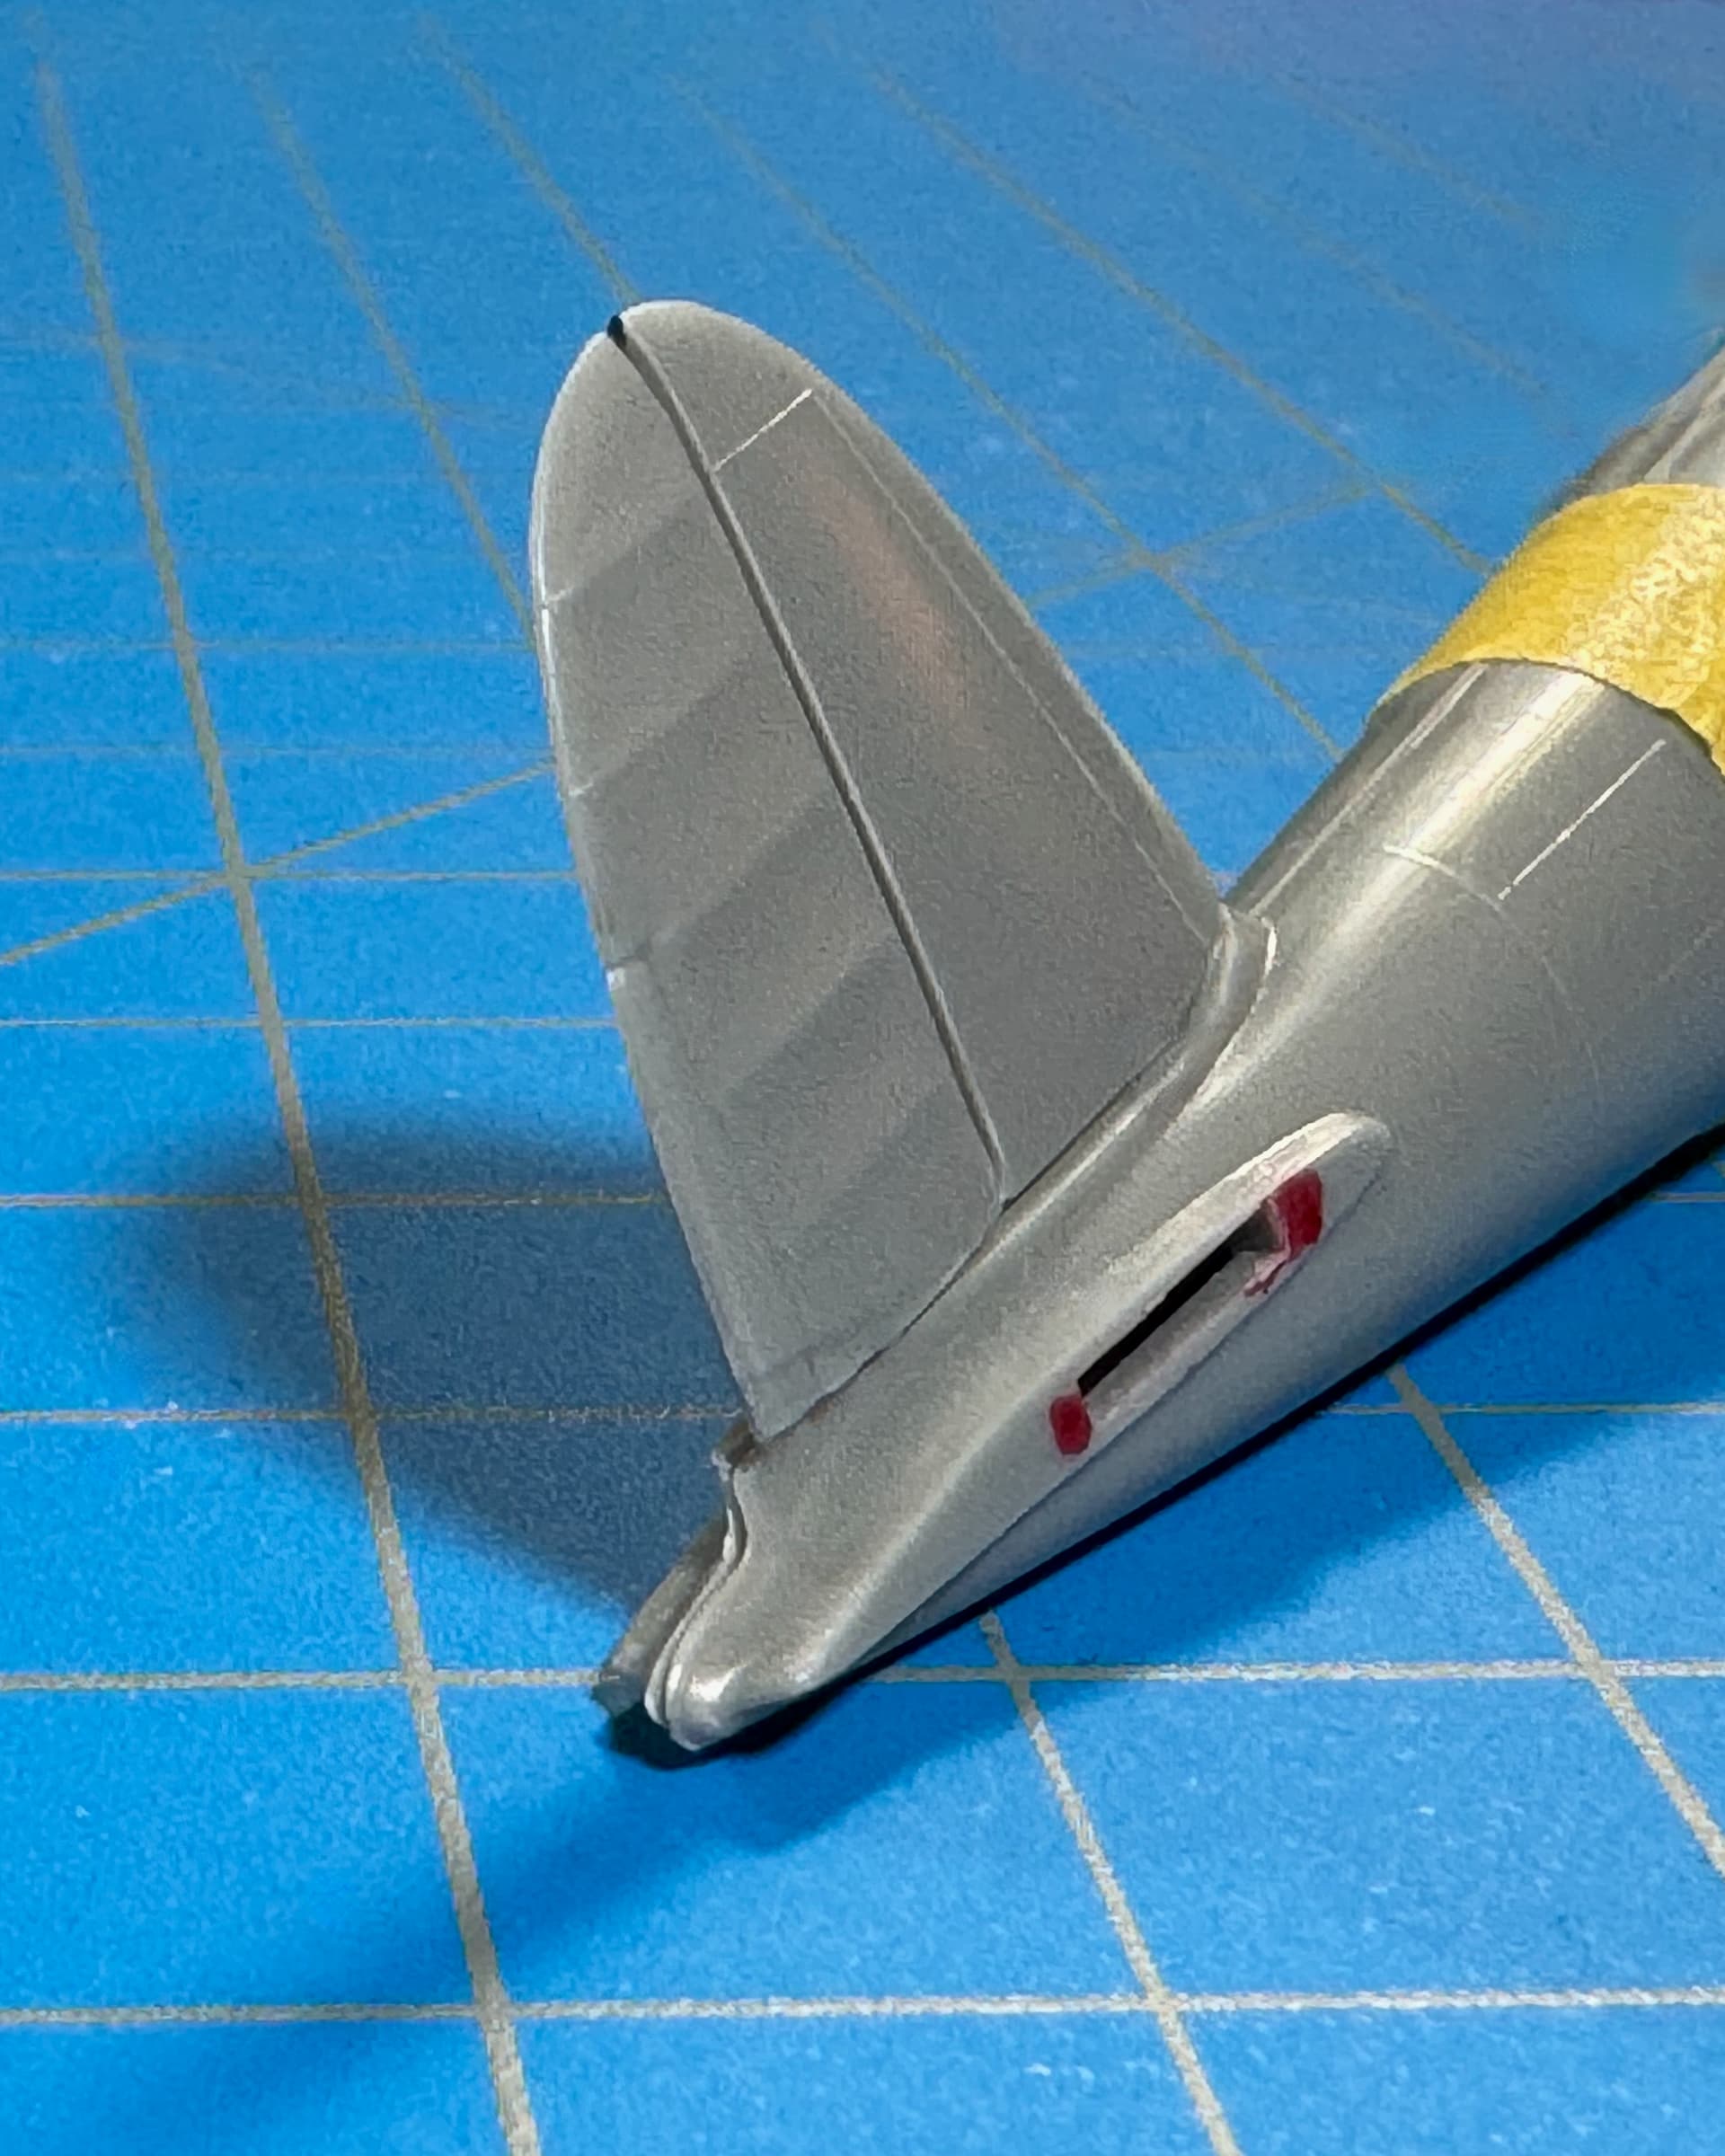
Dumb question time: Are those lights on the stabilizer trailing edges?
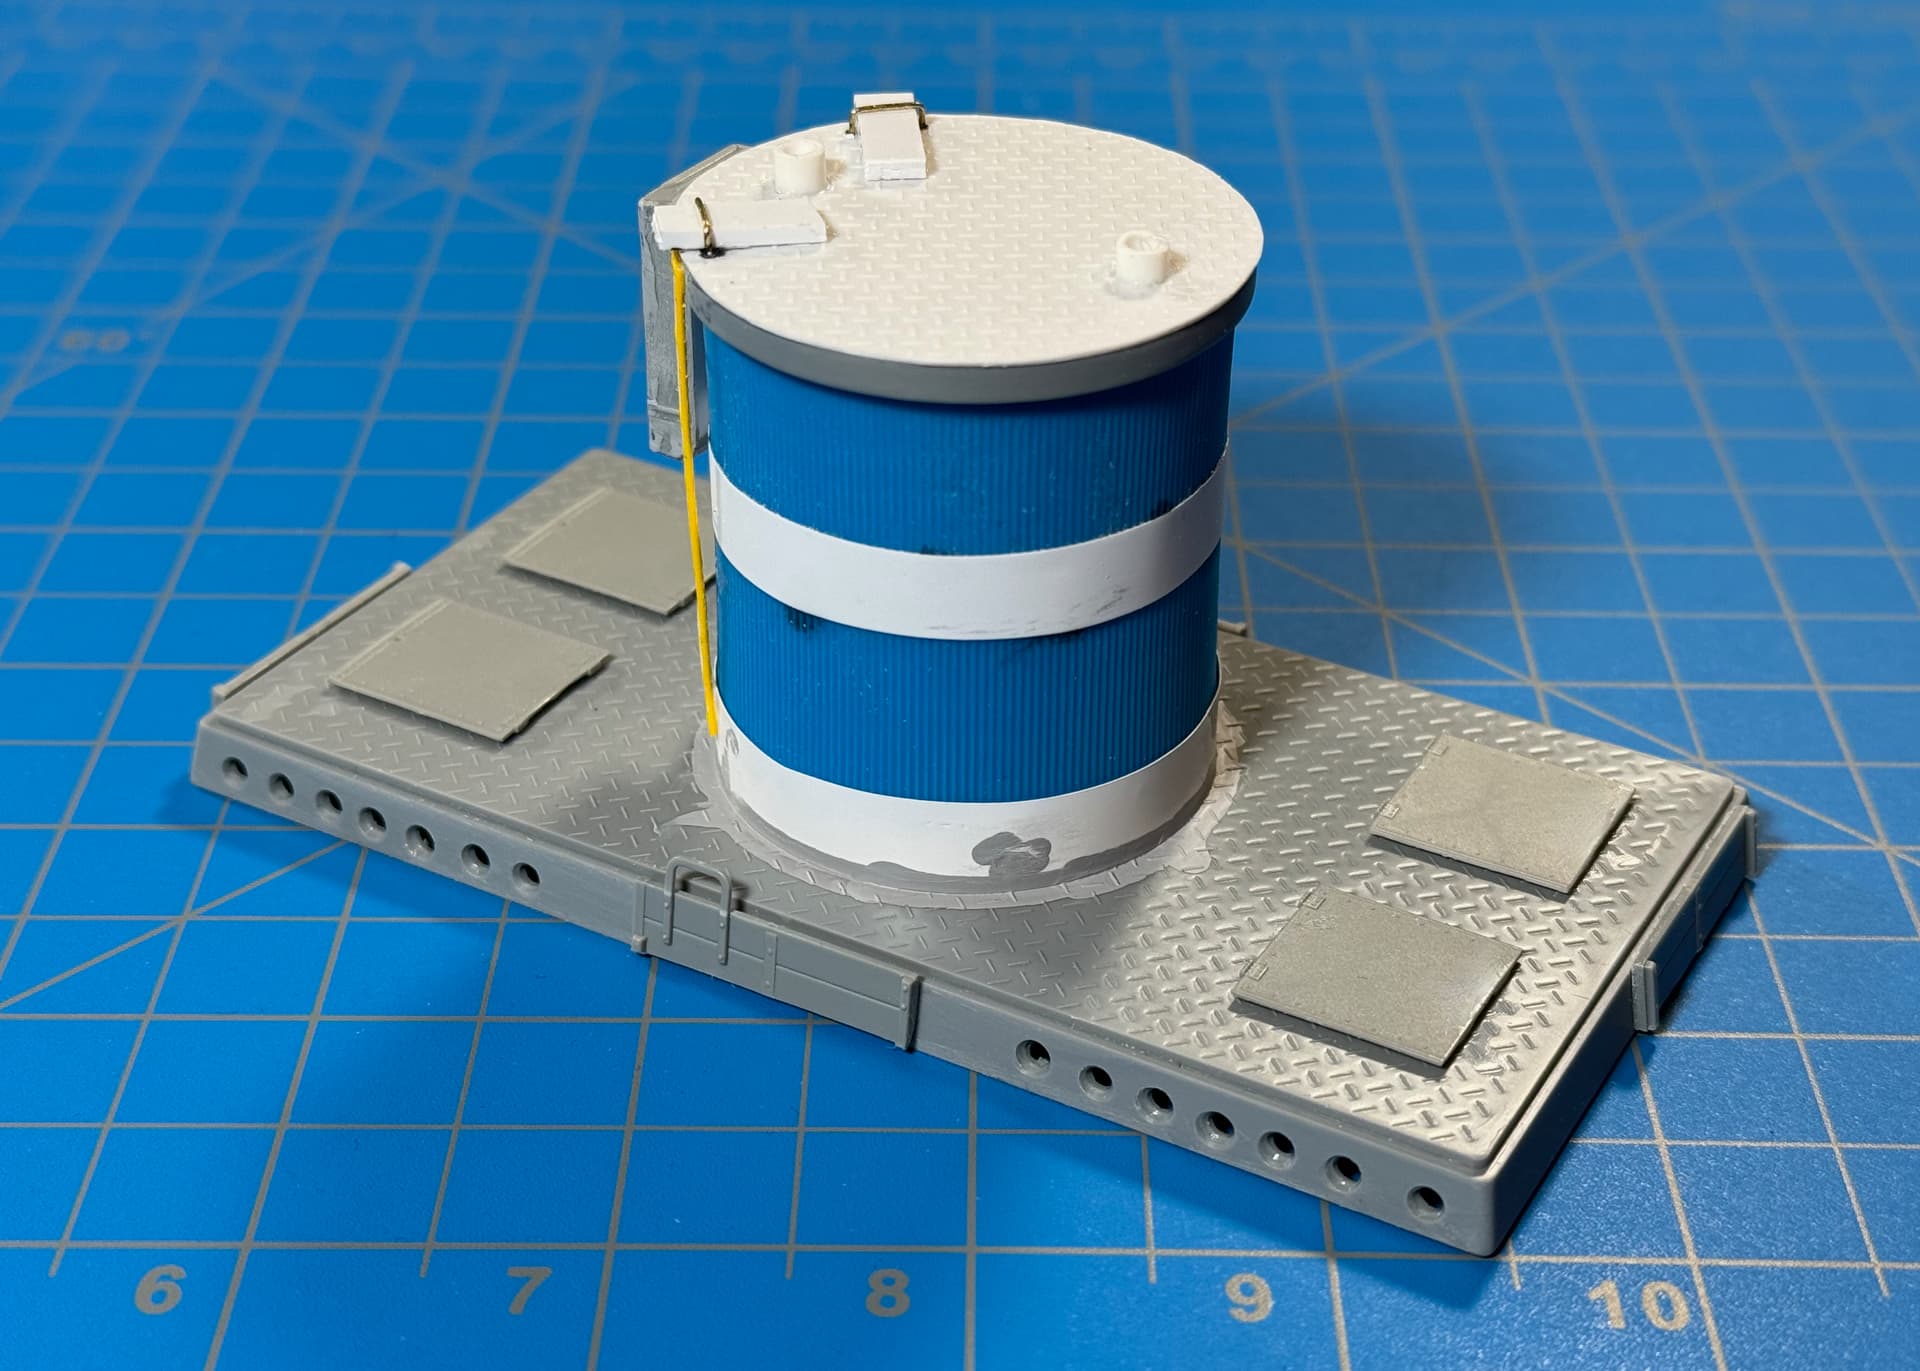
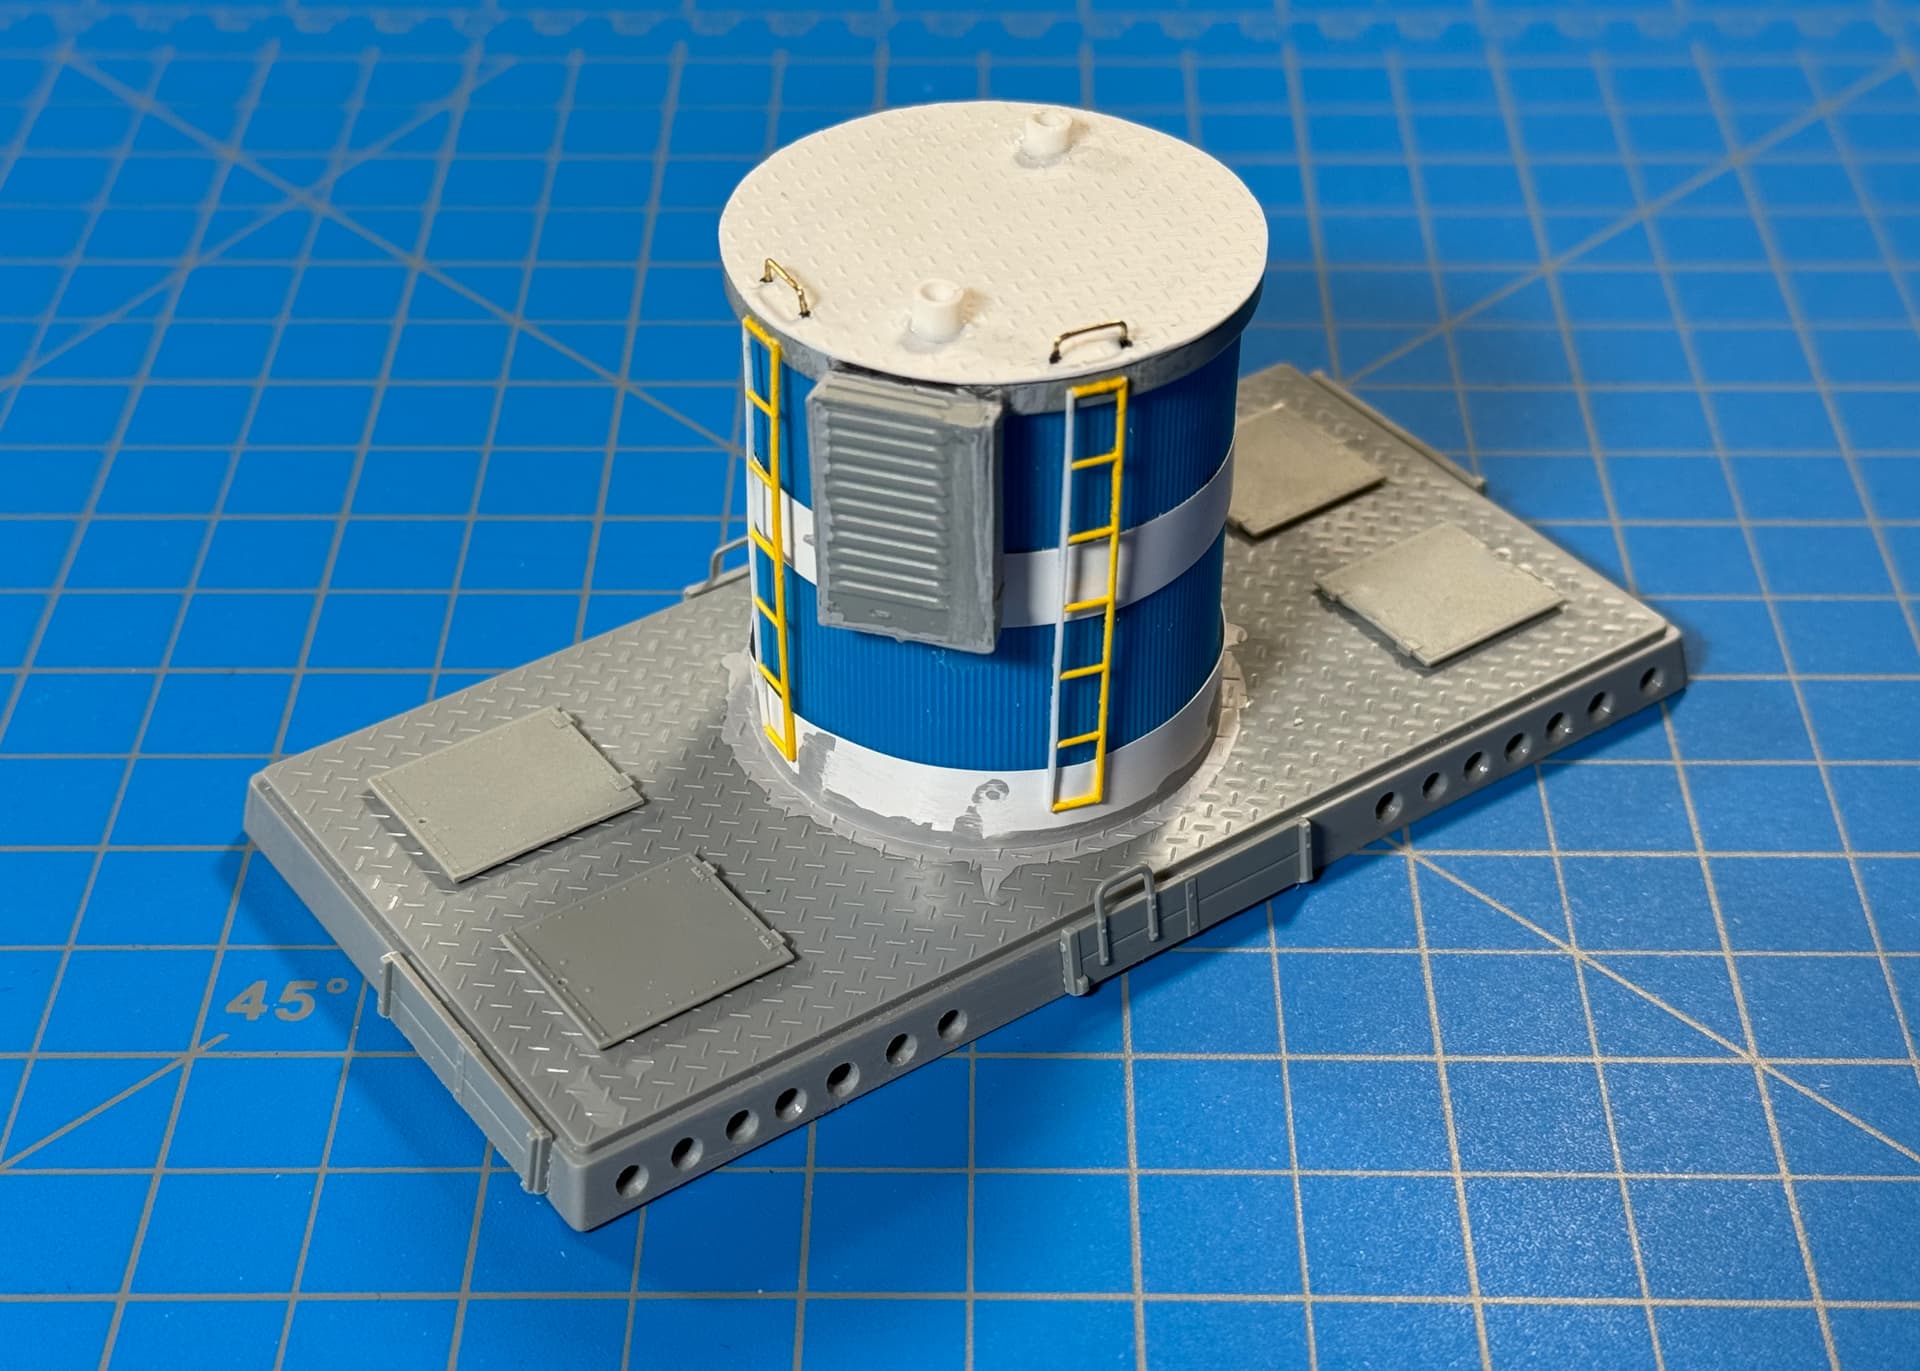
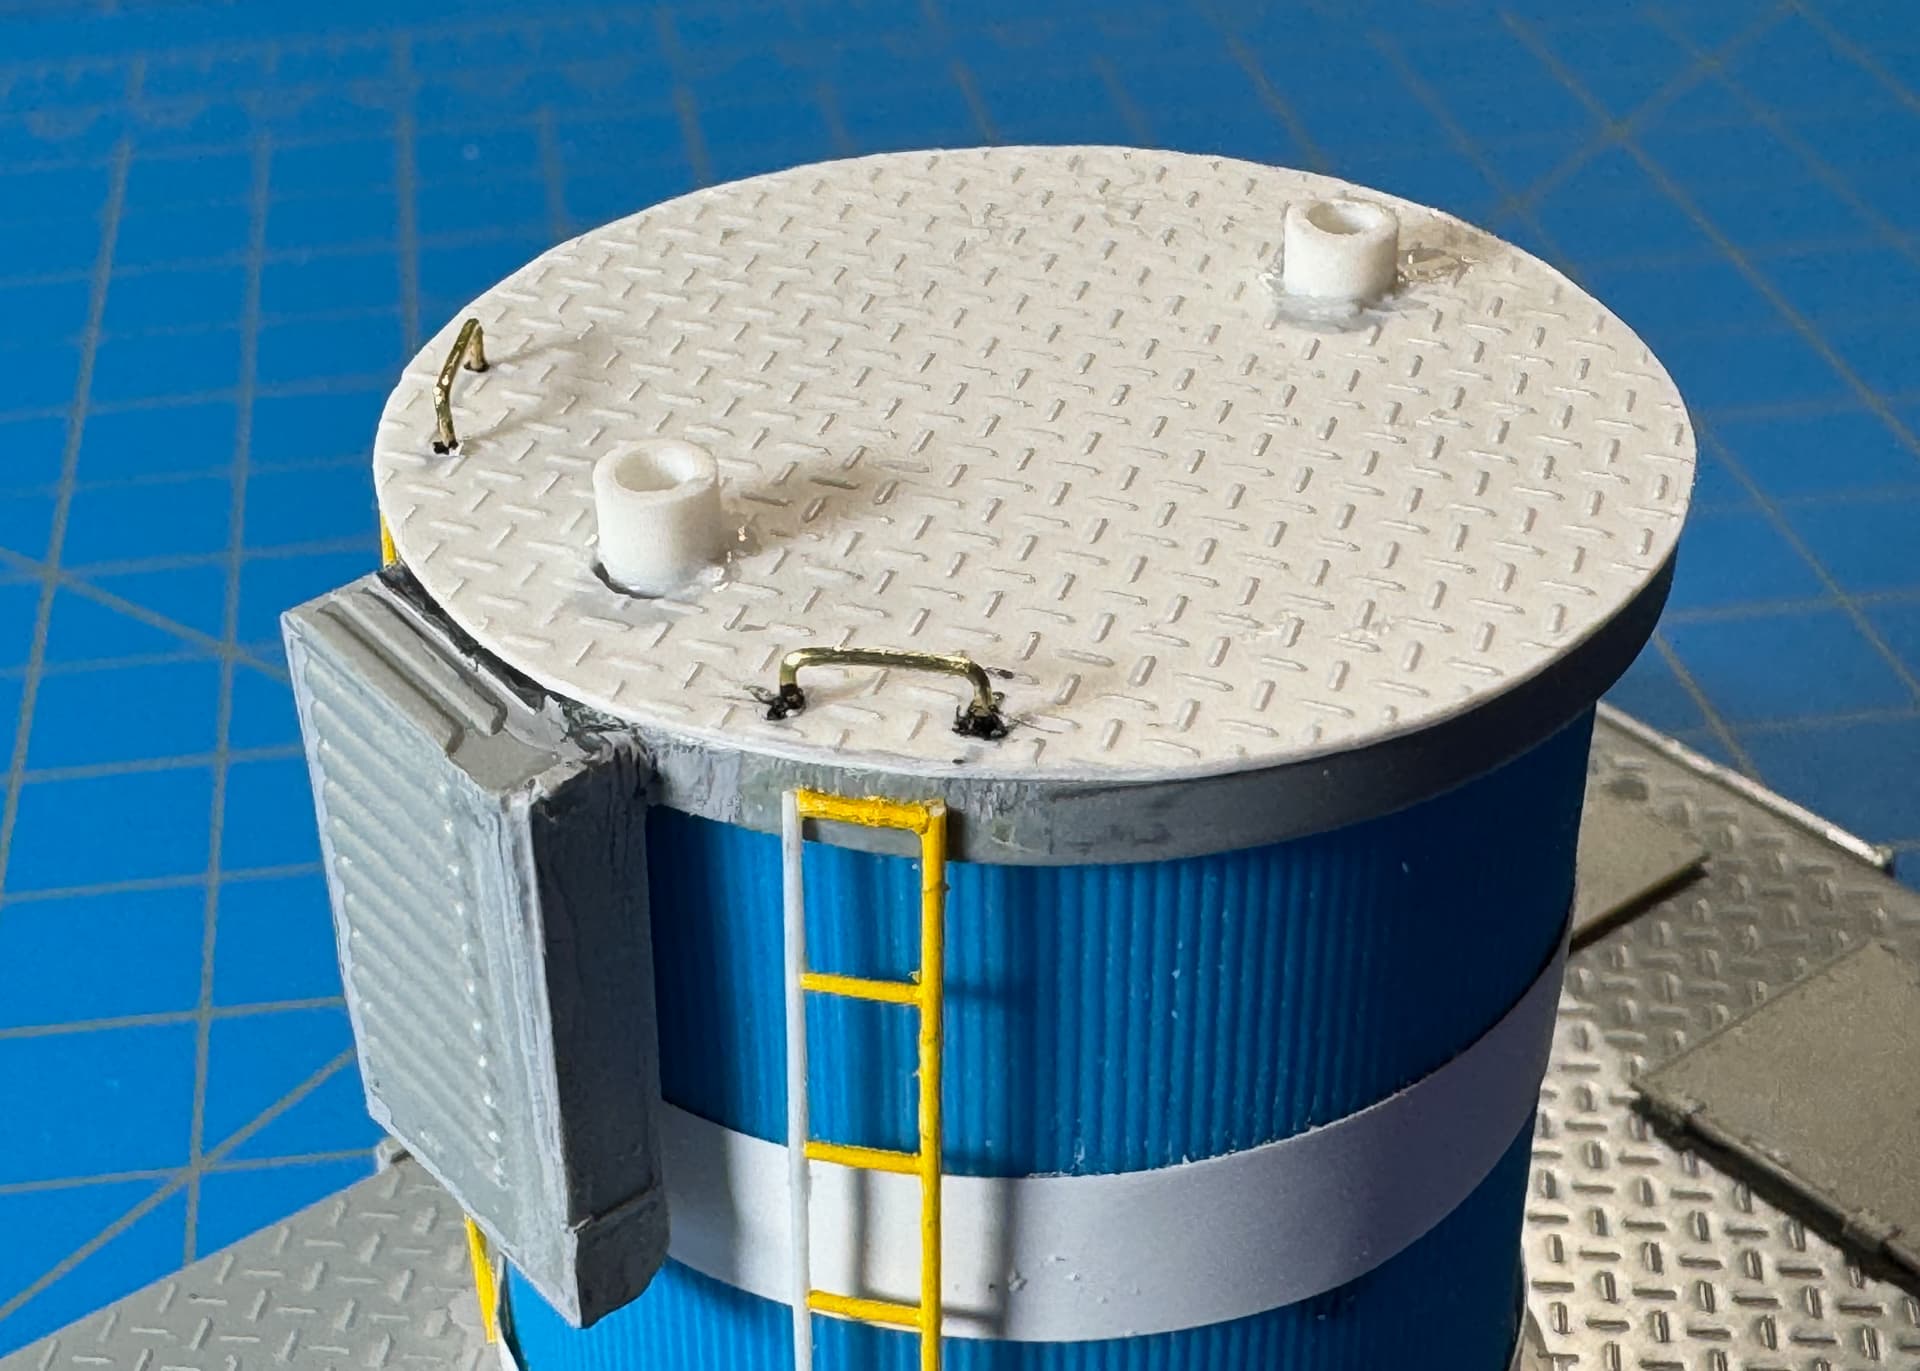
Back to the Jake’s catapult assembly…
Added diamond tread to the tower platform, redid the grab-handles and extended (beefed-up) the catapult mounting lugs. ![]()
Here’s a closer look where you can see the tread pattern better — pretty good match, Id say. ![]()
![]()
• Green Stuff World – ABS Embossed Plasticard A4 - Diamond 1 mm Single Tread
––––––––––––––––––––––––––––––––––––––––––––––––––––––––––––––––––––––––––
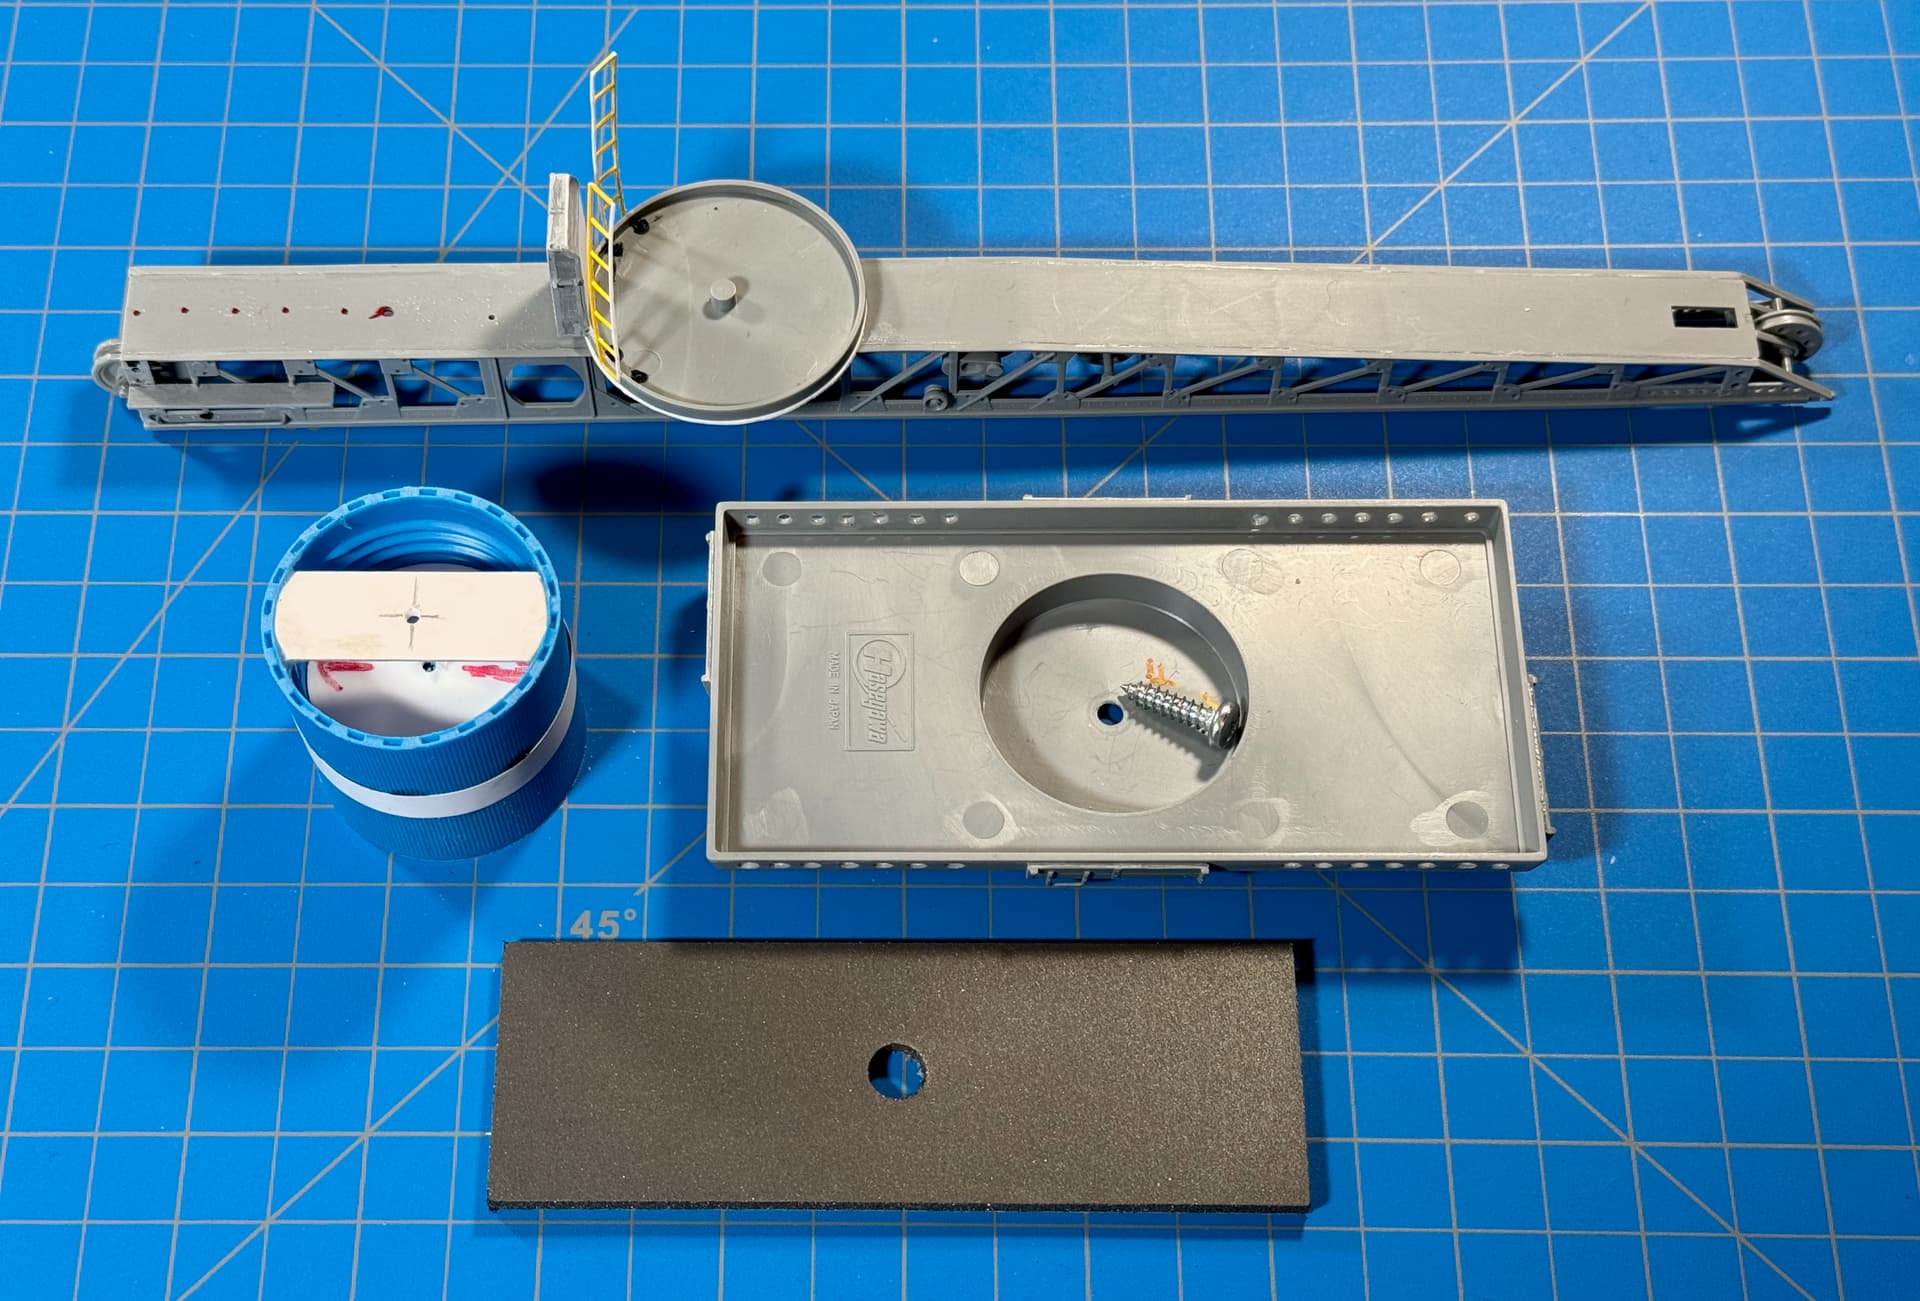
[EDIT] Additional image.
This image shows the catapult sub-assemblies with weight (3M Adhesive Tape back) which will be added to the base.
フライネイビー! ![]()
![]()
—mike
Another great result, Jesper! My congrats, perfect paint job! ![]()
![]()
Peter ![]()
No, only the wing tips have lights. The red areas on the stabilizers are warnings to not grab or push the plane there. I believe it says “nicht anfasen” meaning “do not touch/grab”.