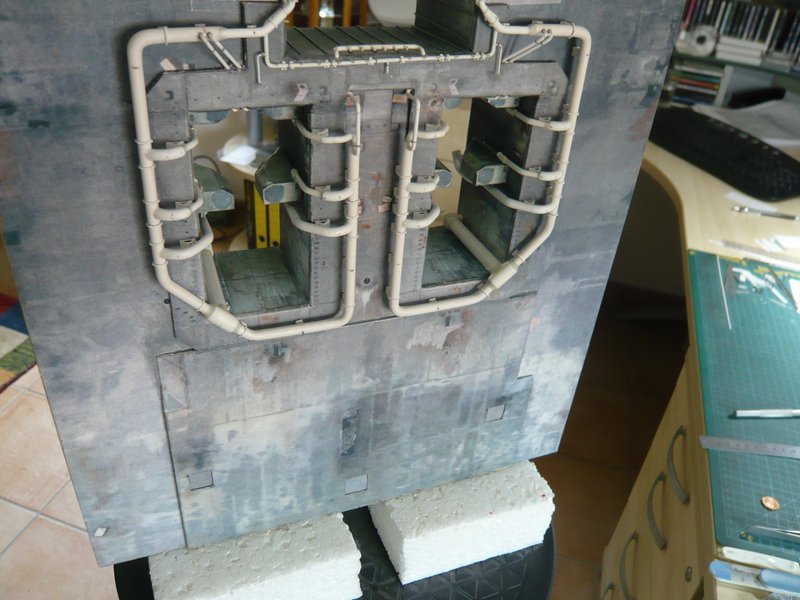
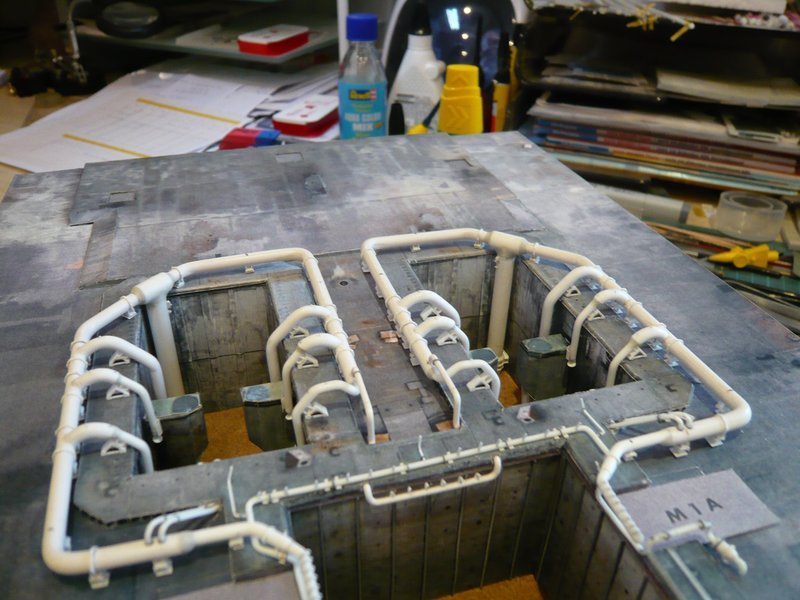
Space Shuttle Launch Complex 39A with Challenger STS-6 (1:144)

Hello everybody,

somehow I still miss the right bite for this gutters chapter, but it does not help, and therefore I have to swallow this pill …

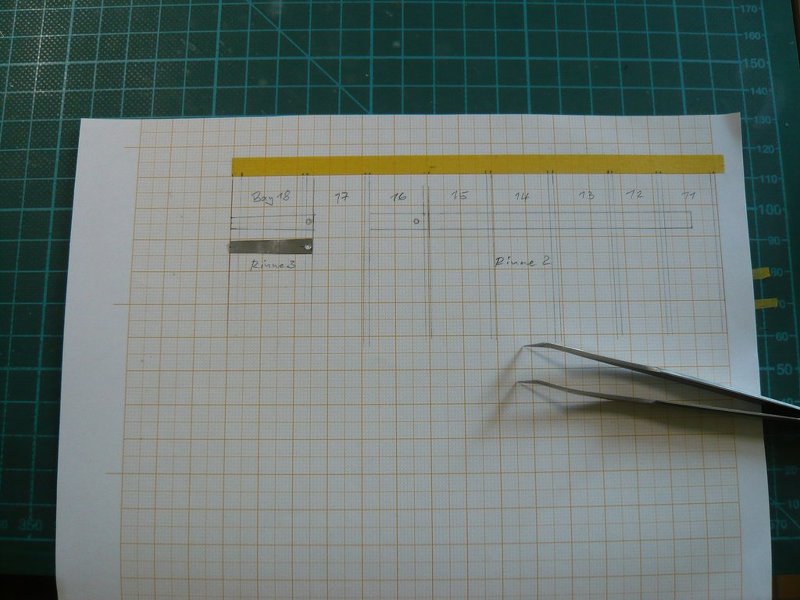
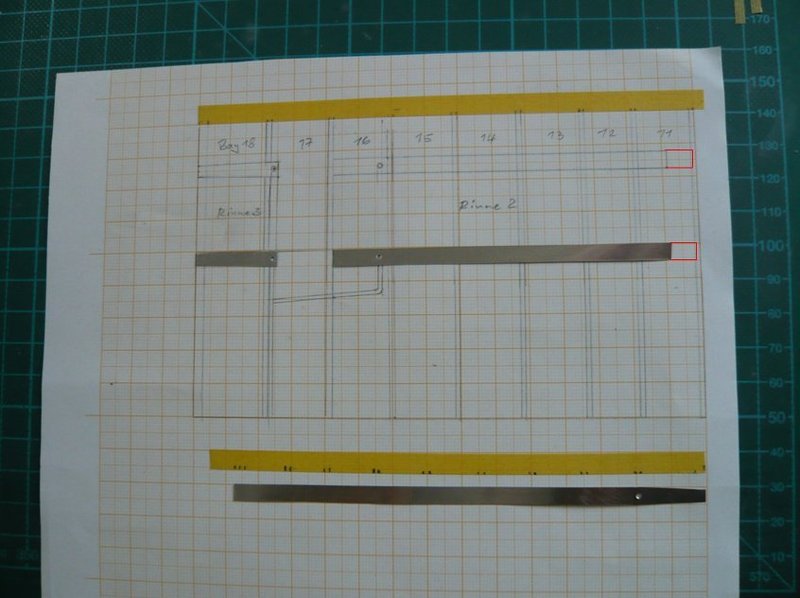
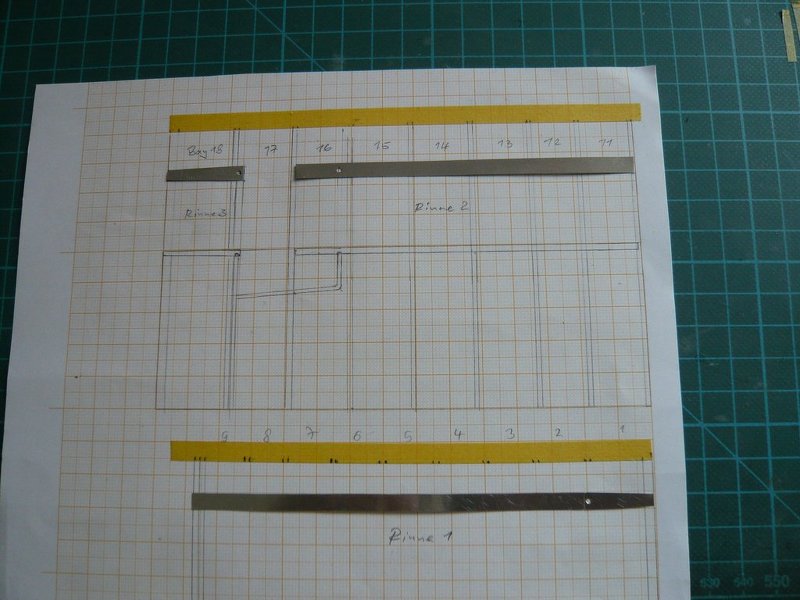
Therefore, I first have drawn a template for the making of the gutter parts, which is unfortunately somewhat pale, rolleyes1

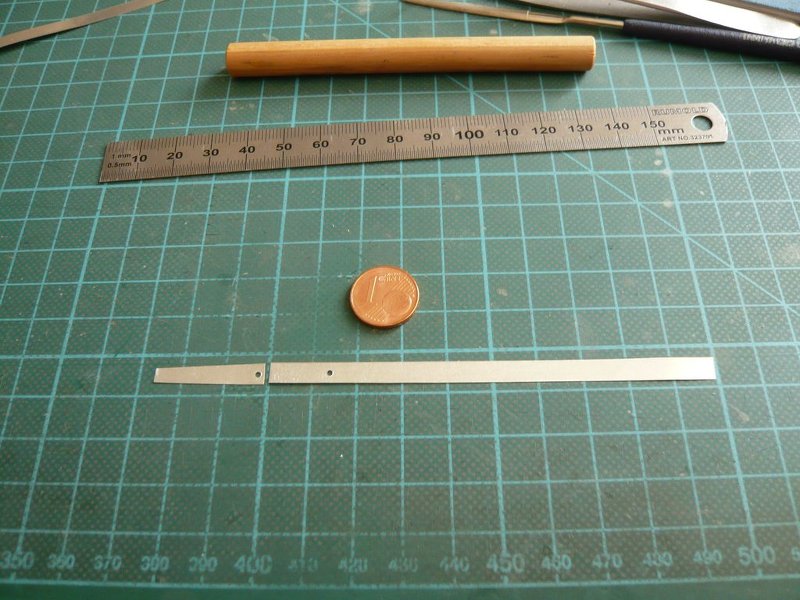
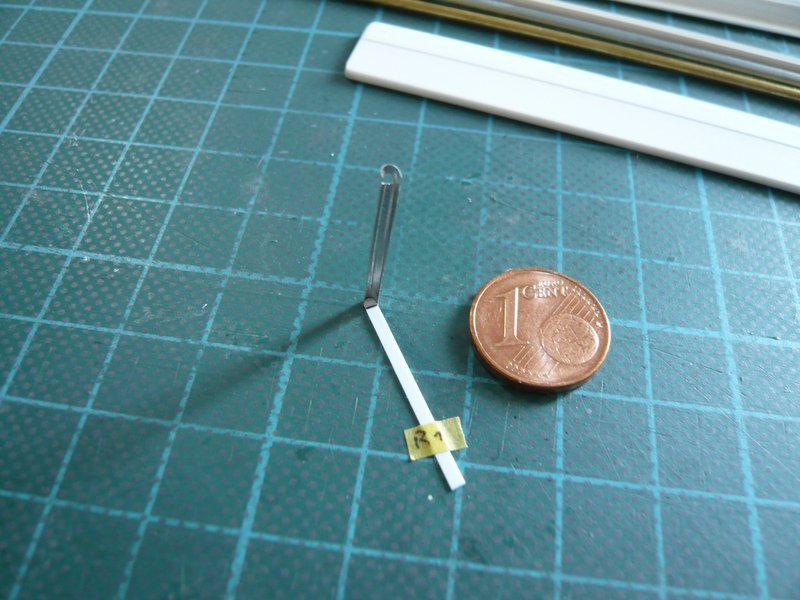
and then I have cut a further sample strip for the Gutter-3 from a champagne cork foil, which slightly tapers to the corner, in order to get the appropriate gradient of this gutter part. cool1

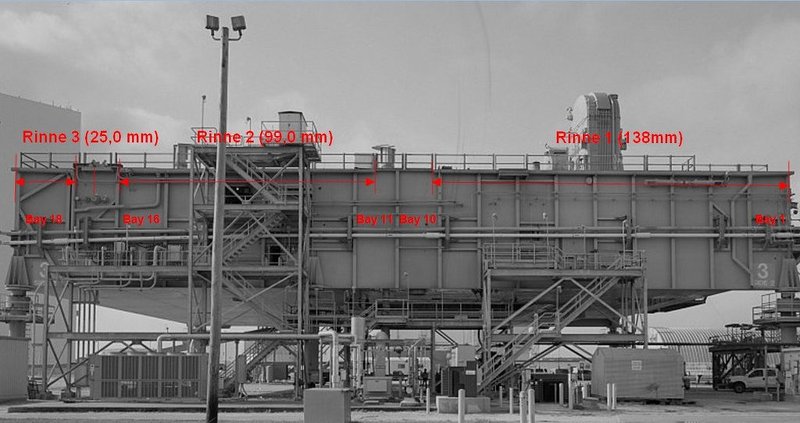
The punched opening for the downspout (8’') is located at the beginning, immediately next to the girder at the end of the Bay 17, as can be seen in this image.
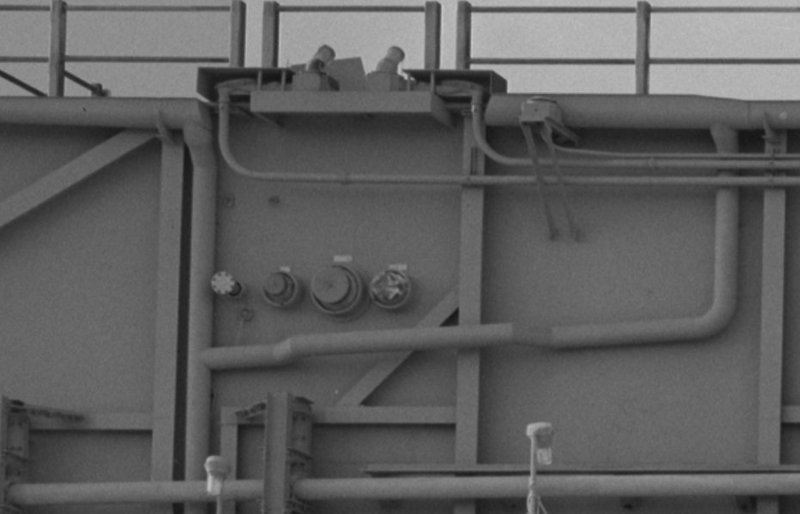

Source: Library of Congress

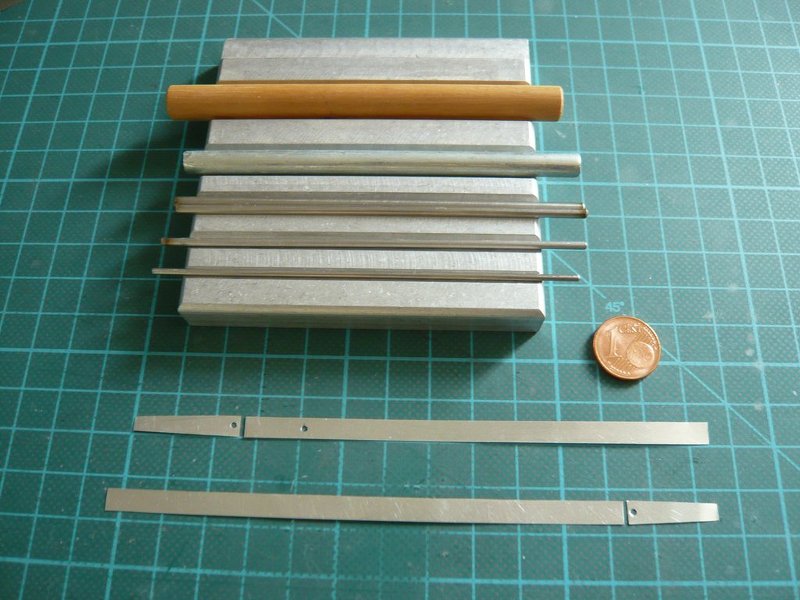
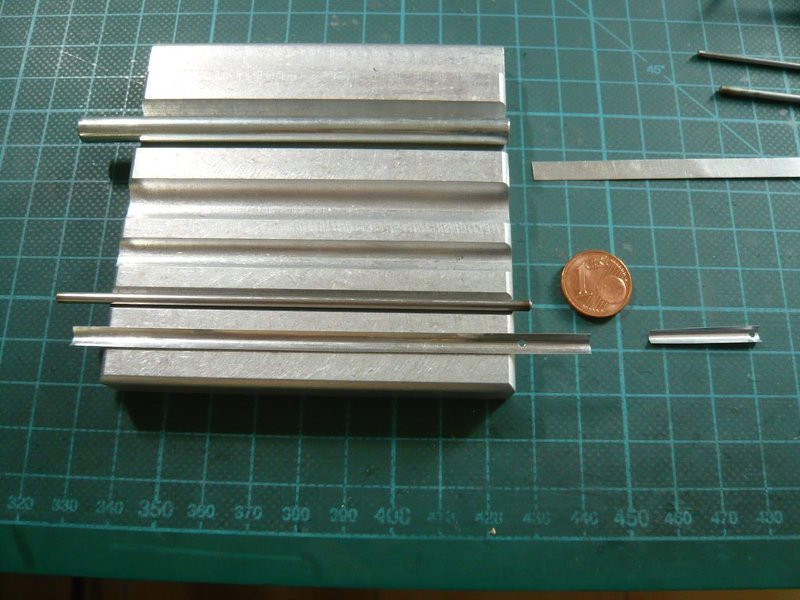
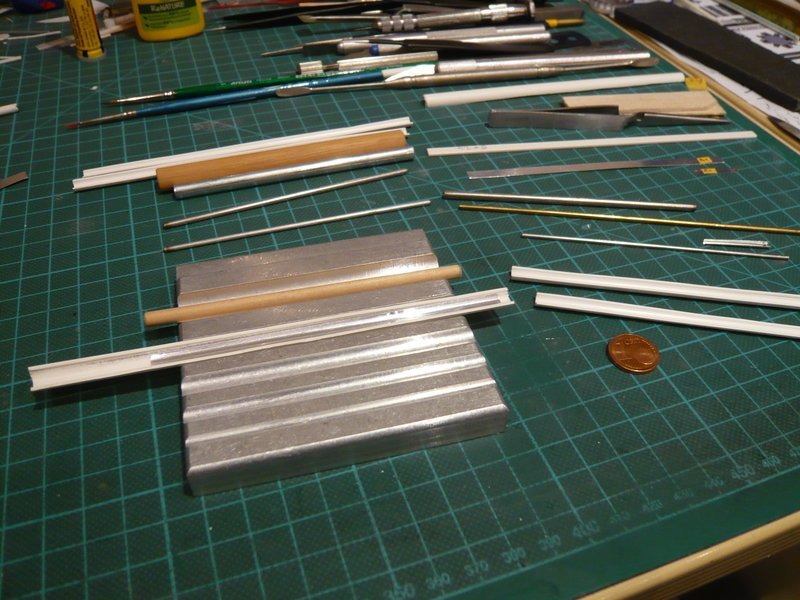
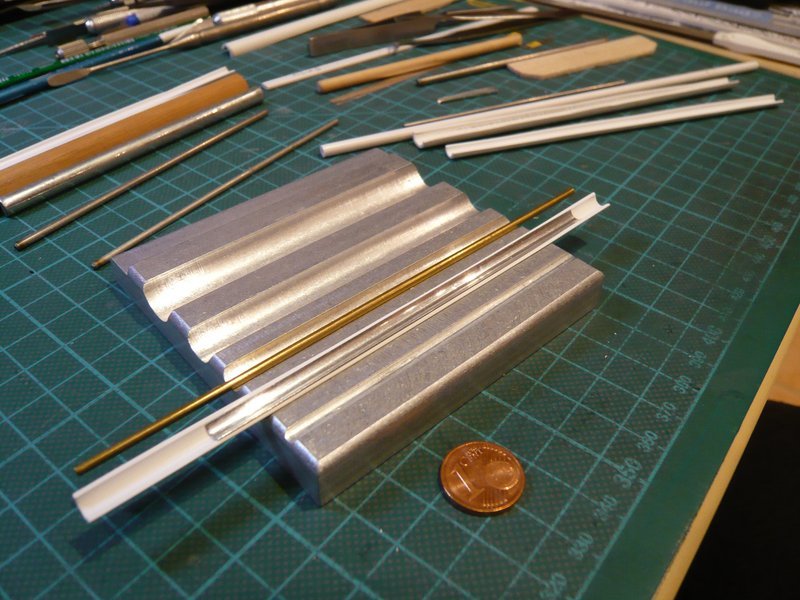
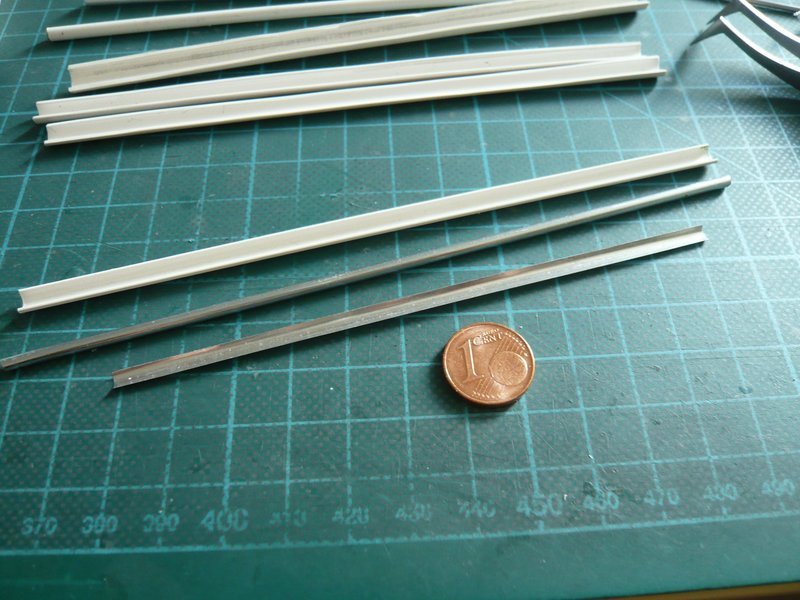
And this stripe I then have pre-molded step-by-step on my Rolling Set,
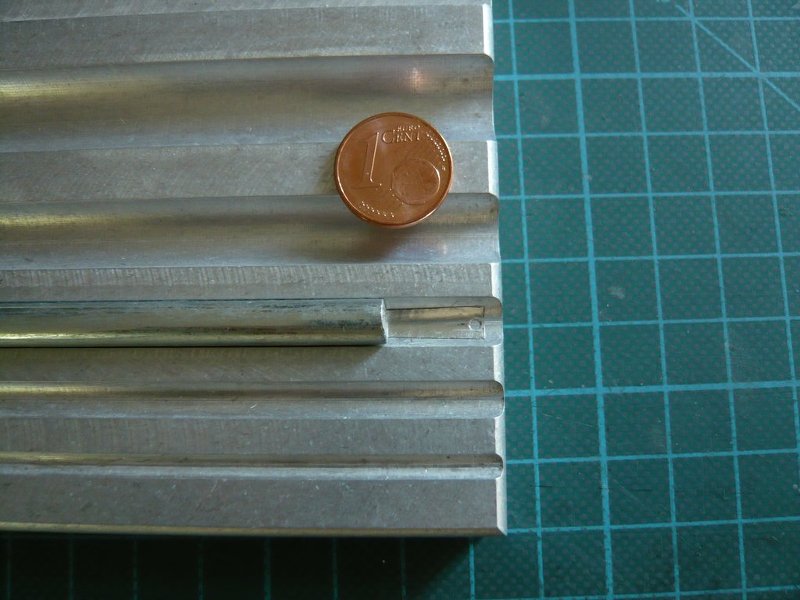
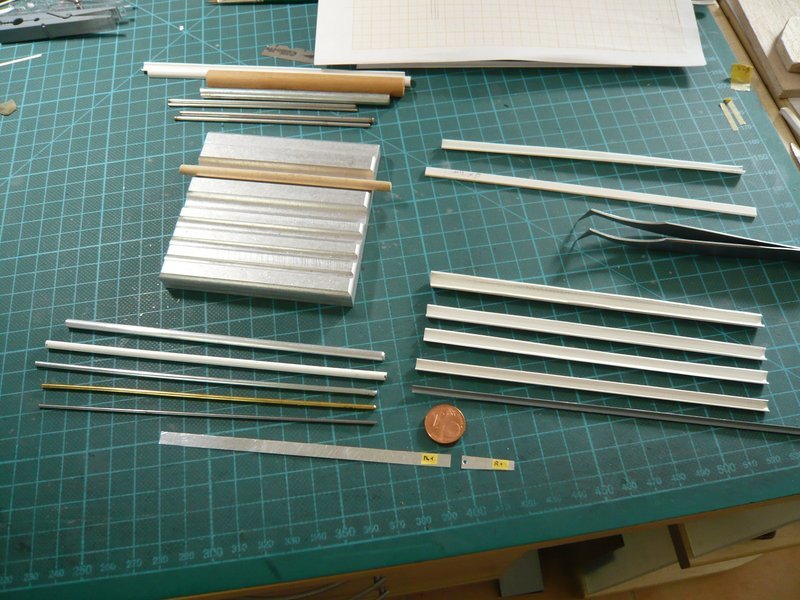
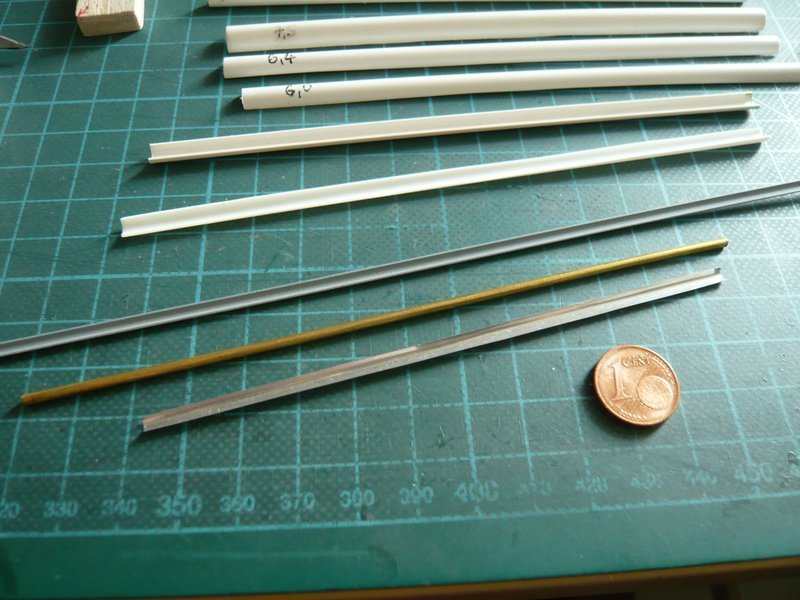
by using core wires with decreasing diameters,
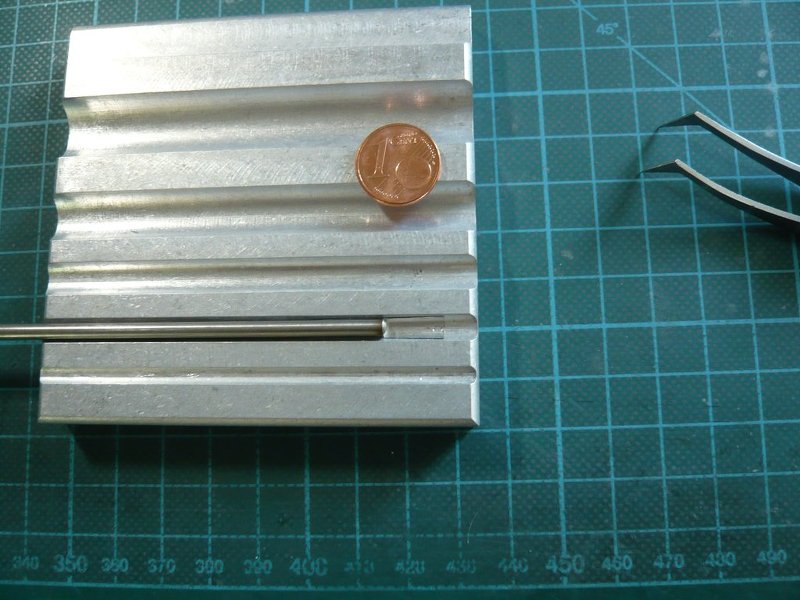
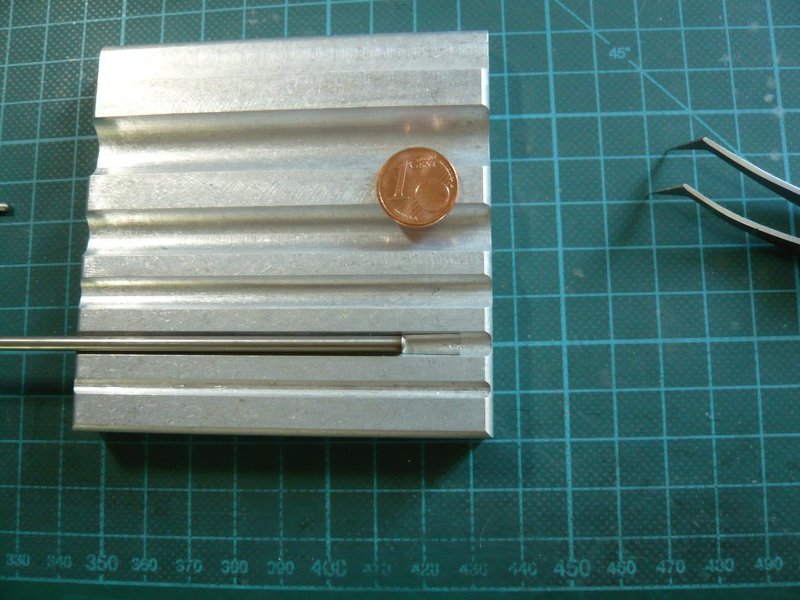
down to the last groove,
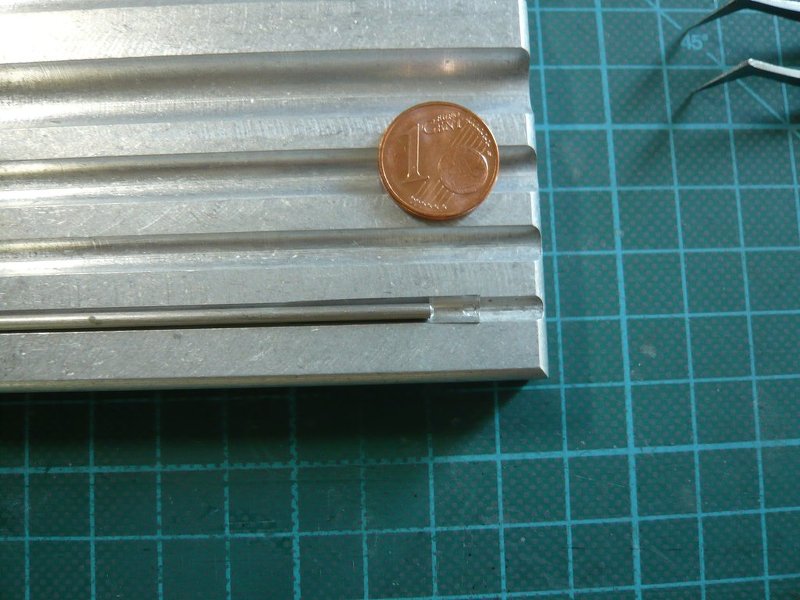
with this intermediate result.
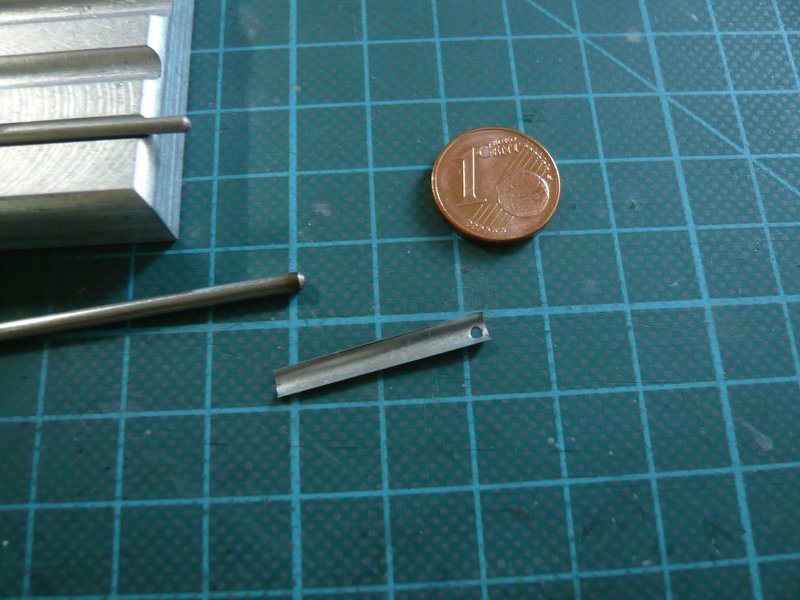
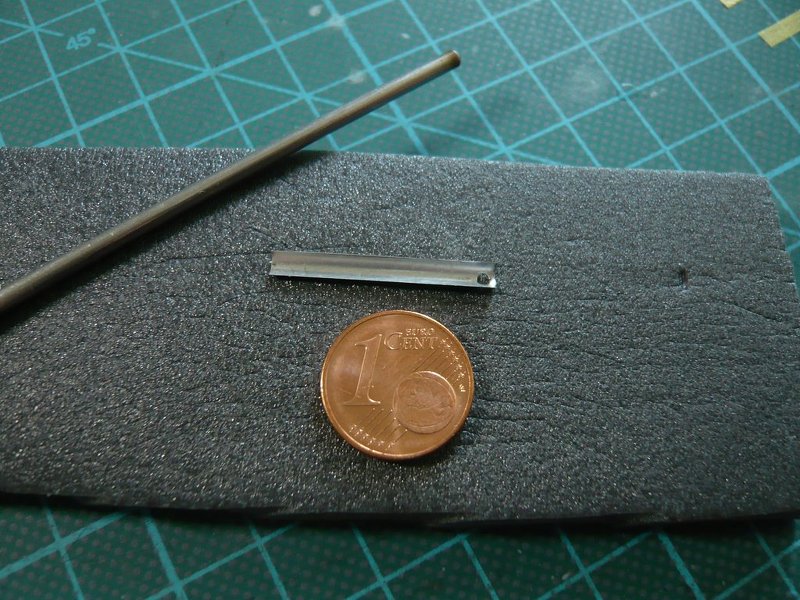
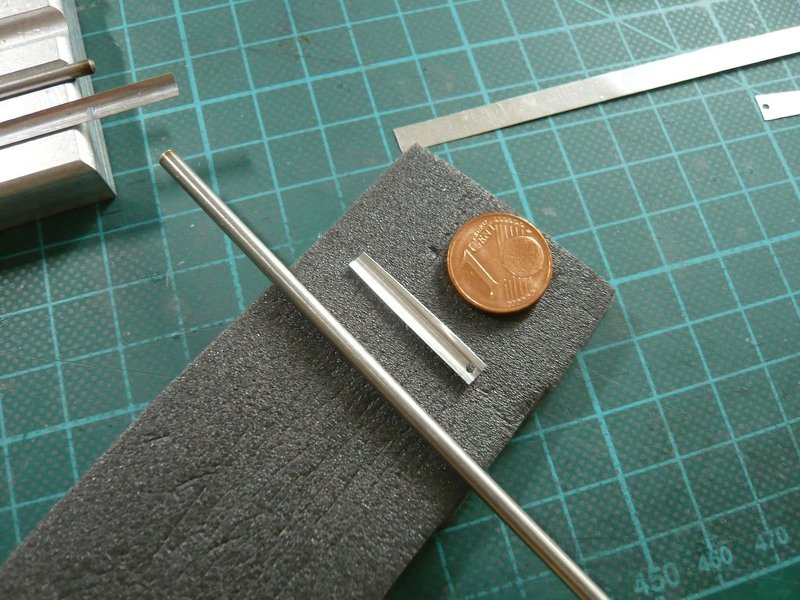
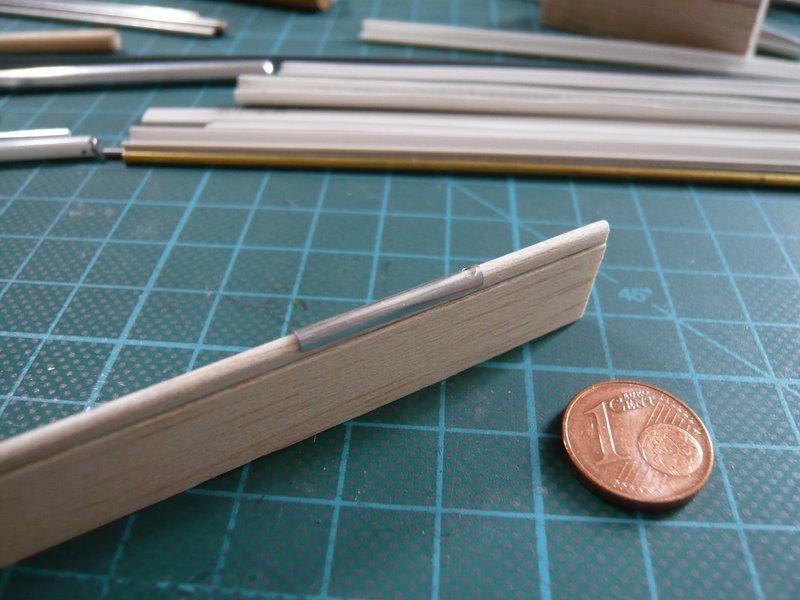
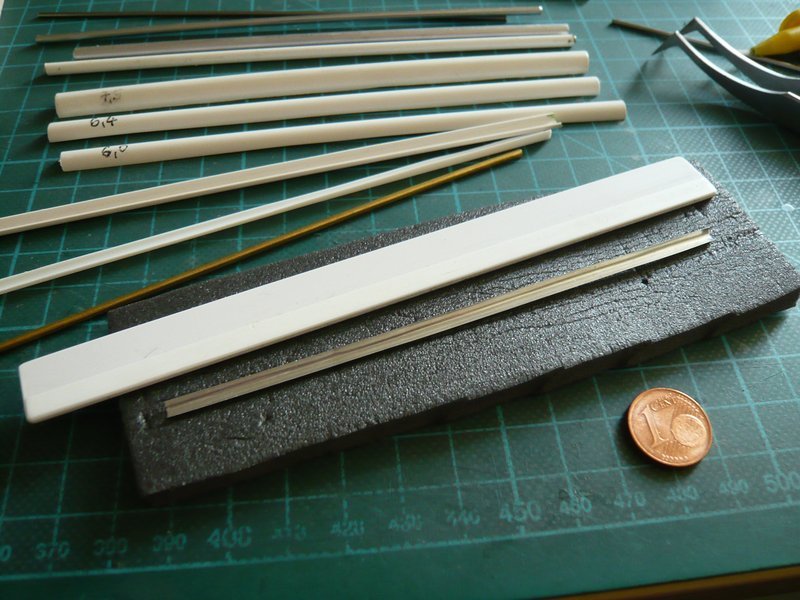
For further molding of the gutter, I then have pressed the gutter with the core wire vigorously into a foam strip,
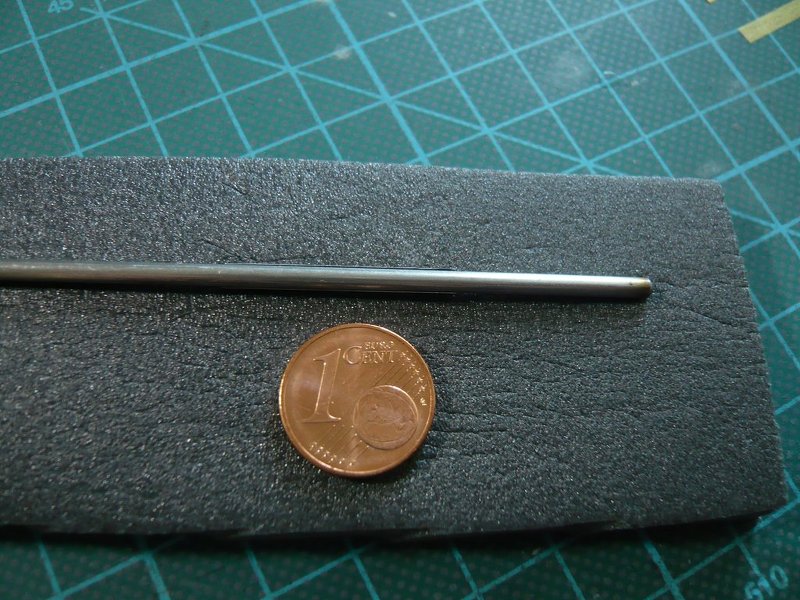
whereby unwanted kinks can be avoided, as can be seen.

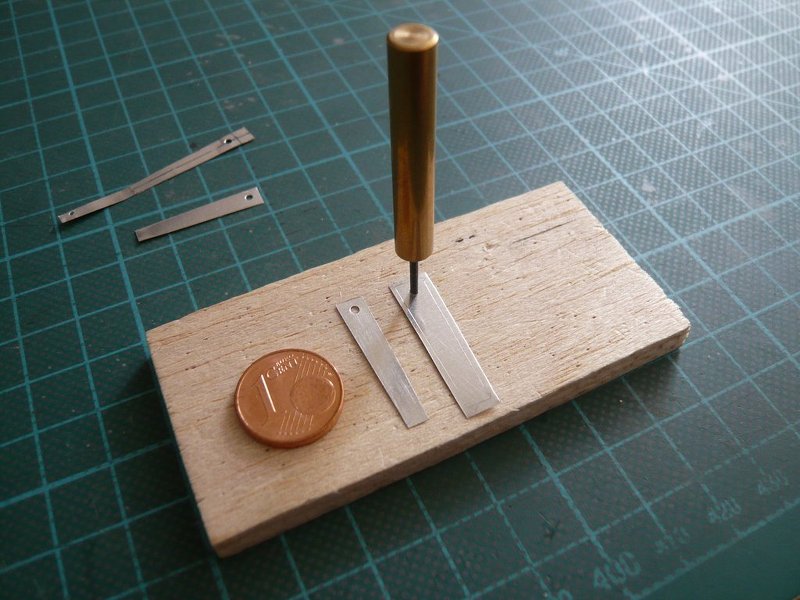
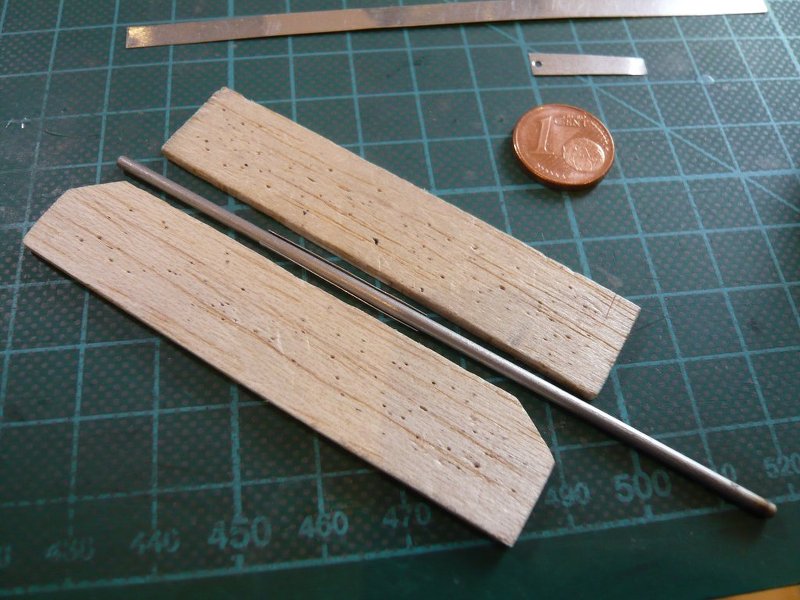
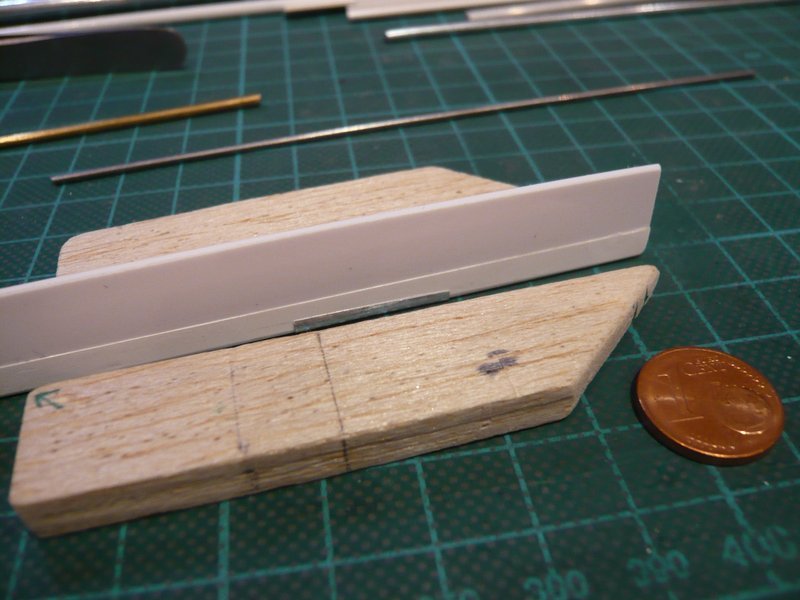
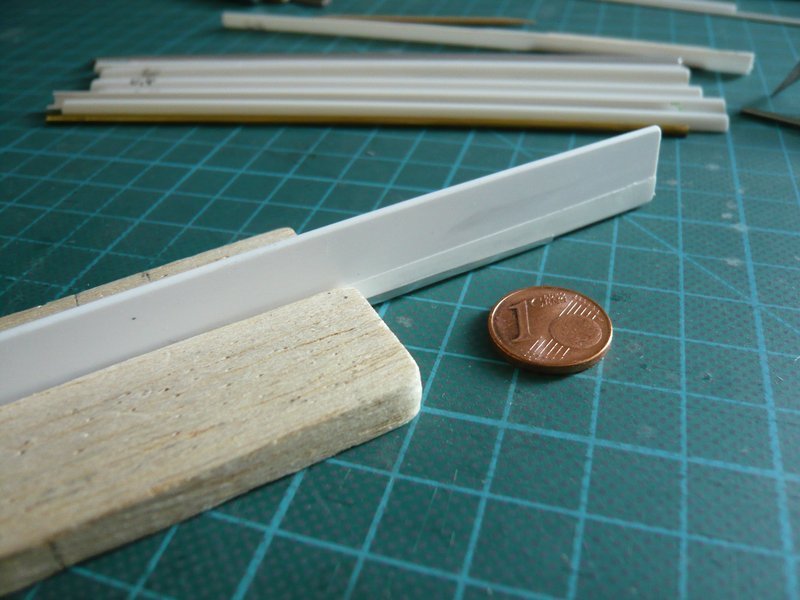
Between two balsa slats the rounding was then still somewhat equalized.
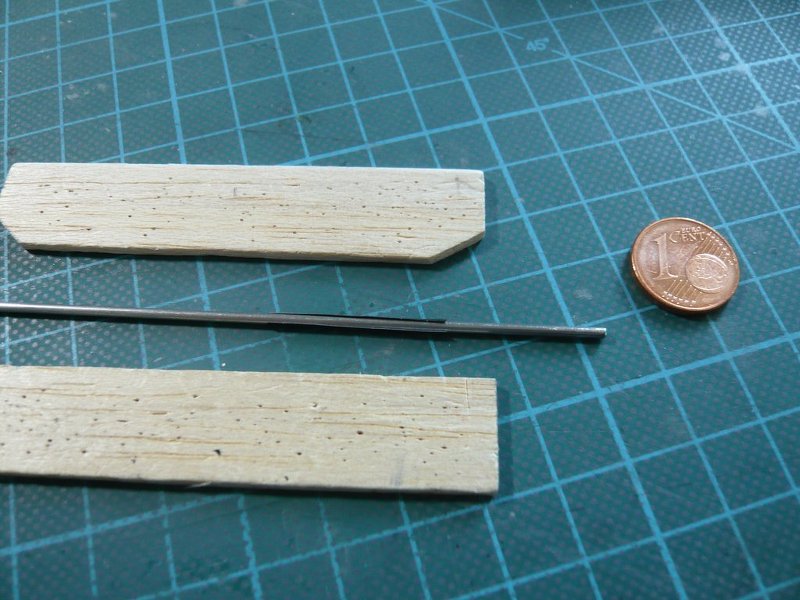
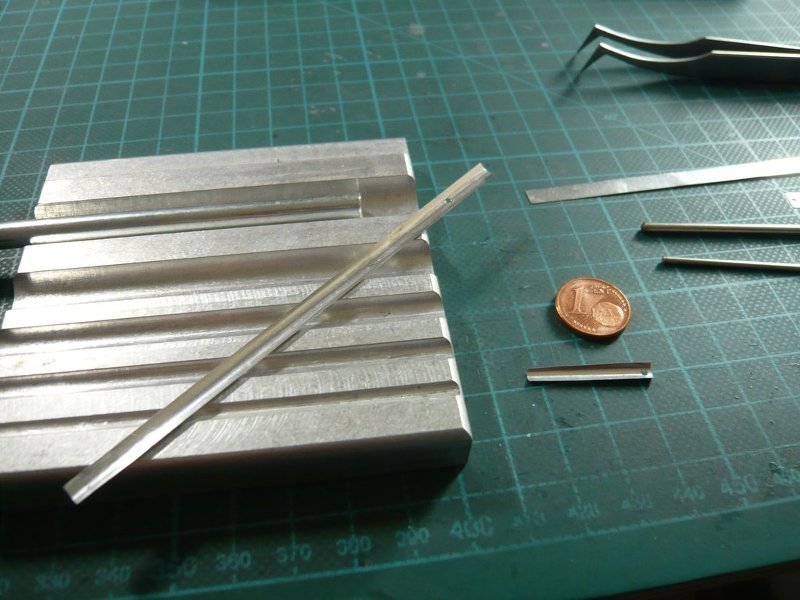
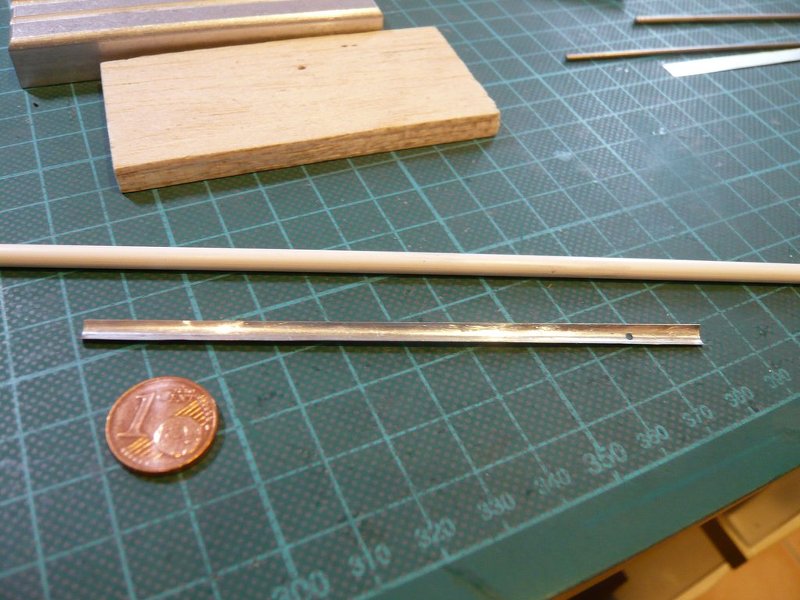
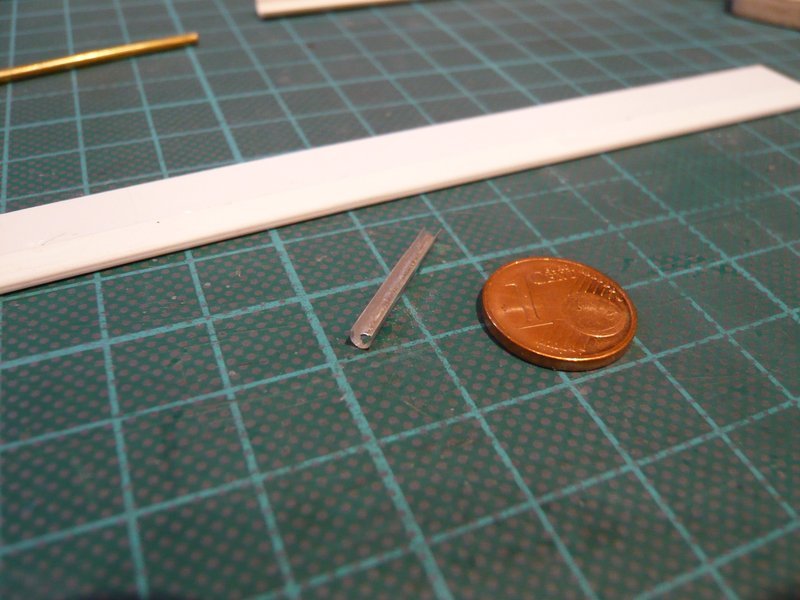
Since the wider strip end inevitably gets rounded a little too far using the thinnest core wire (Ø 1,5 mm), the gutter part has been equalized again over a rounded plastic strip (5 mm x 1,5 mm) in order to obtain an U-shaped profile.
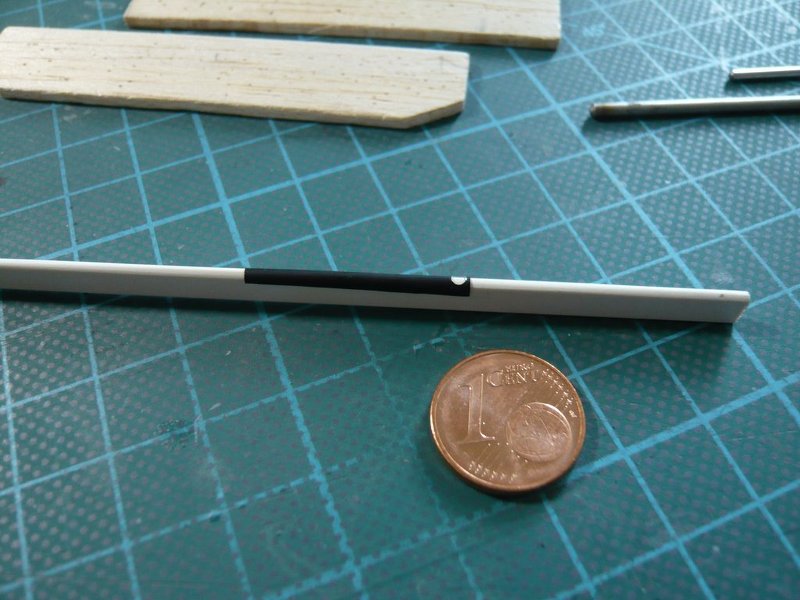
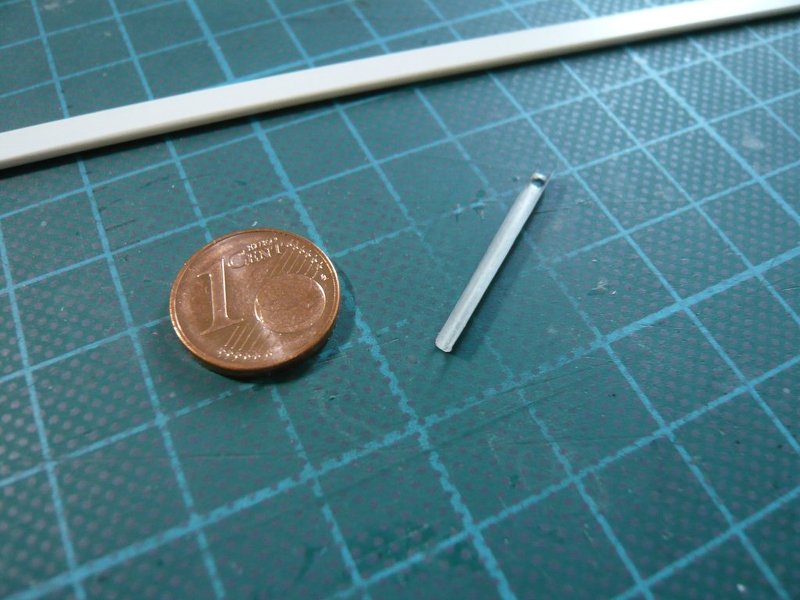
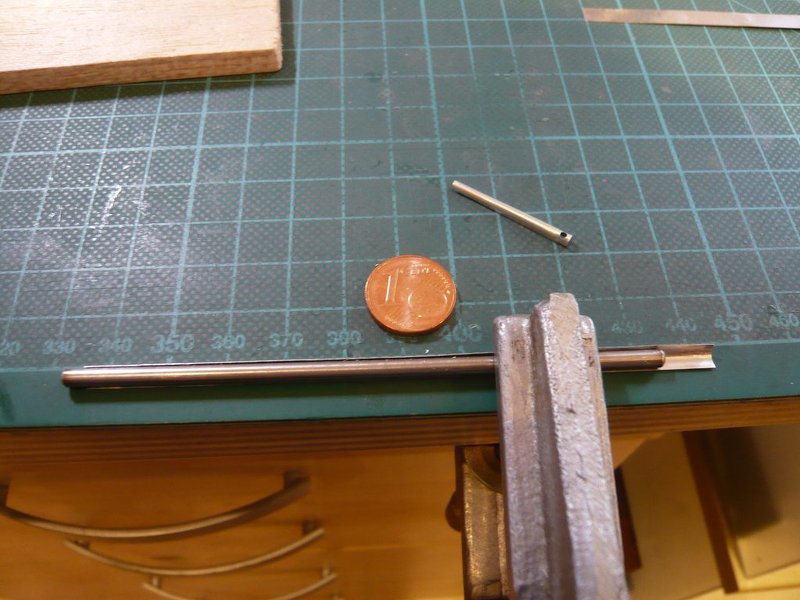
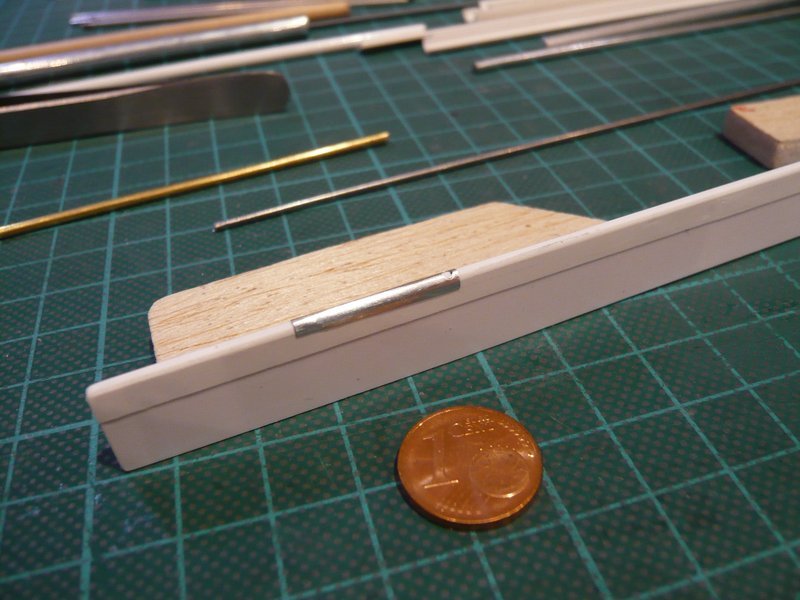
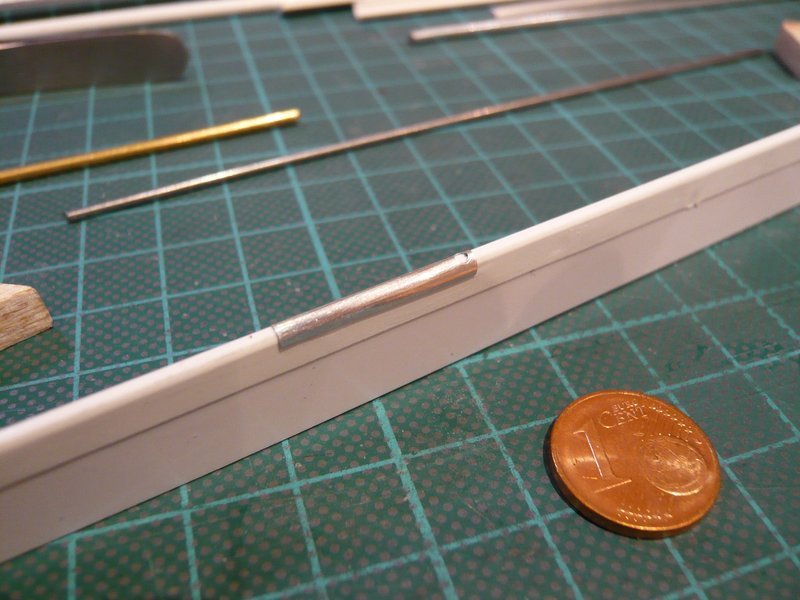
Here the gradient of the gutter can be seen very well already.
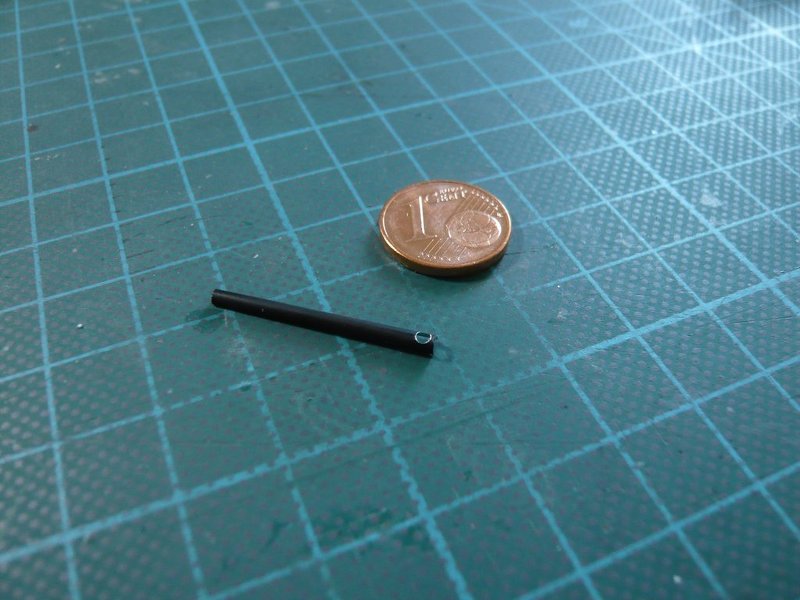
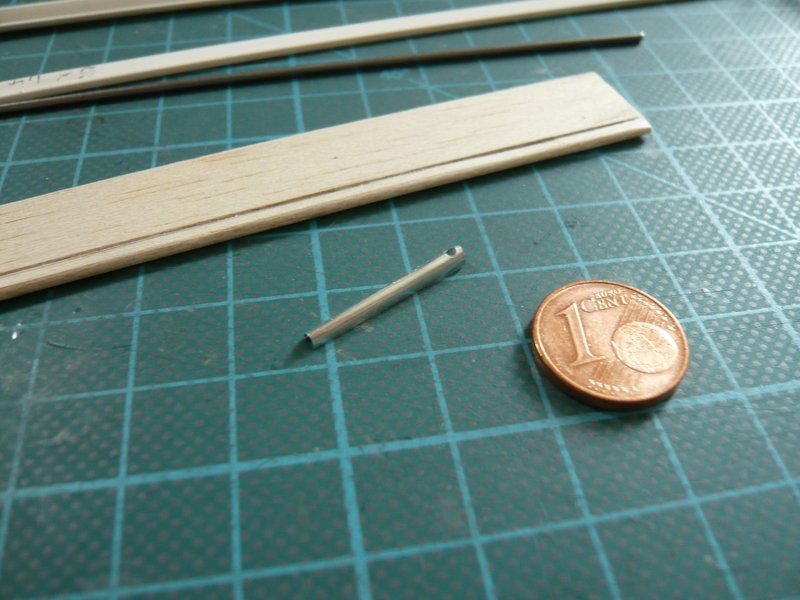
And here one can see the Gutter-3 in the side view with the prepared bended downspout, which is running into the downspout at the end of the Bay 16.
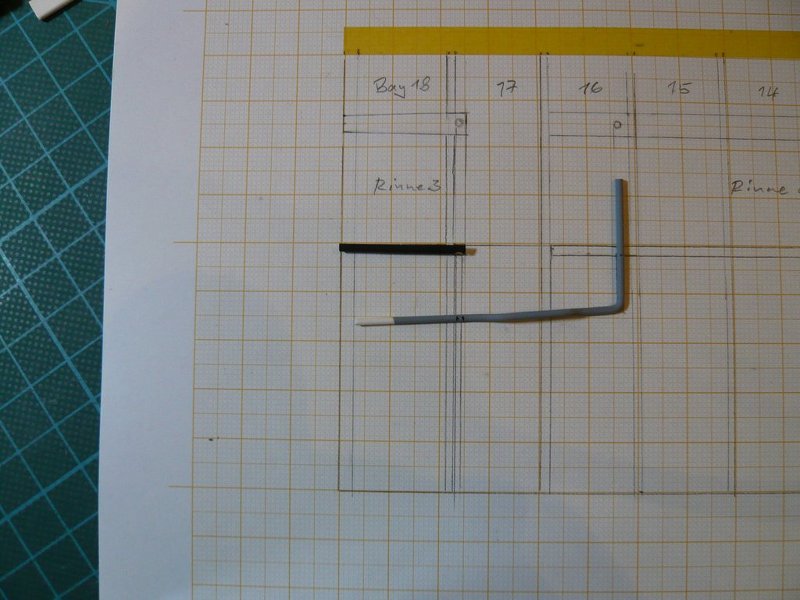
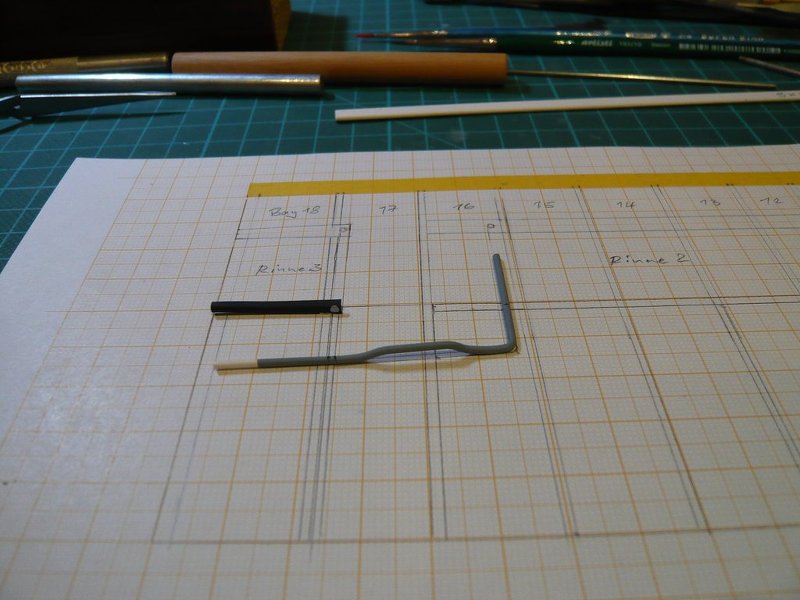
After this successful attempt, I can now also make the final Gutter-3 from the aluminum sheet (0,1 mm). up0455181

The Gutter-2 will then be formed in an analogous manner, but this time immediately from an aluminum sheet strip of 99 mm × 5 mm, since its height is the same over the entire length.

That’s it so far, and thanks for looking.

RolandChayerByeByeSmiley

5 Likes

Hello everybody,

it goes on with the gutters. cool1

The fact that the test results with the short gutter parts were quite promising doesn’t have to mean anything, because whether the rounding of the longer gutters from the 0;1 mm aluminum sheet would be work well too, would still have to be shown. undecided

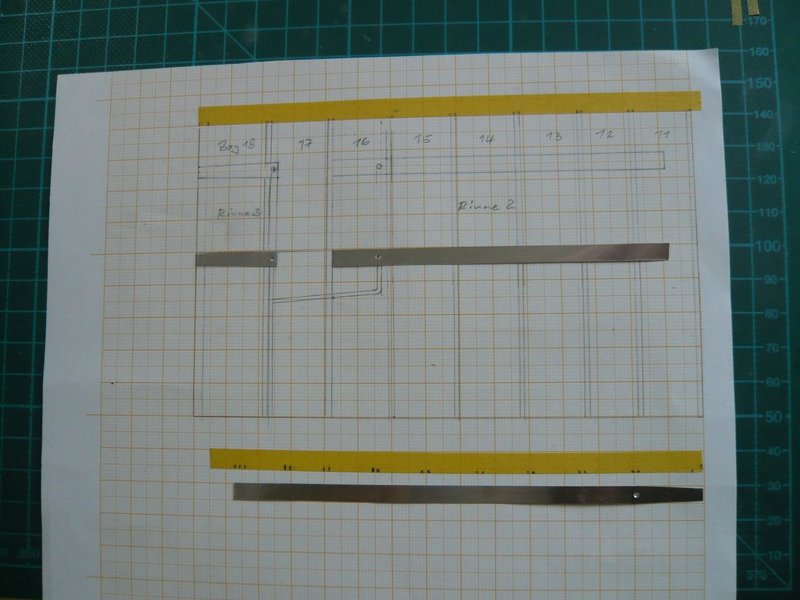
At first the short Gutter 3 at the end of Side 2 (Bay 18) was cut out and its opening punched for the downspout,

and also the strips for the Gutter 2 and Gutter 1 (bottom).

The dimensions were taken from this image of the MLP-3, because it has almost no distortions and should correspond to the MLP-2. icon_hmm


Source: Library of Congress

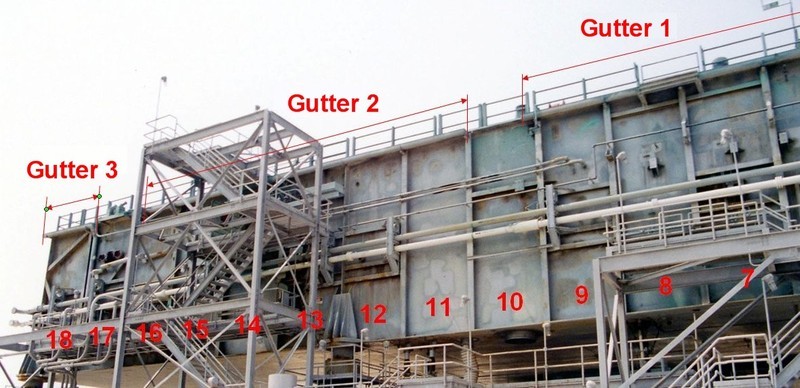
The Gutter 2 starts at the end of the Bay 16 directly behind the local girder and extends to the middle of the Bay 11.

And then I actually wanted to start with the rounding of the gutters, huh but previously I had once again compared the distribution of the gutters and the position of the box with the Fire hose reel with the images of the MLP-2 from the collection of John Duncan and suddenly did not trust my eyes. shocked1

For as one can see on this already known image, the Gutter 2 is running up to the end of the Bay 11,


Source: apollosaturn.com (John Duncan)

and must therefore be slightly longer than the already cut strip, namely 107 mm instead of 99 mm. Only good that I had compared once again. up0455181

So a new gutter had to be cut, which was done quickly. cool1

And now the stepwise rounding of the parts could finally get started,

initially again with the short gutter part up to the lower groove, and then with the longer part,

what could have been made even relatively well up to the rounding in the last groove, although it would be better if the [color=blue]Rolling Set[/color] would be slightly wider. rolleyes1

Thereafter, the short piece was gradually further rounded, first on the foam strip,

and then between the balsa boards up to the core diameter of 1,5 mm.

The further rounding of the longer gutter was then somewhat more difficult because it is longer than the core wires, which has led to unsightly kinks, especially during rounding on the foam strip, which should be avoided, however, since they are difficult to remove.

That’s why I’ve tried it on the cutting mat, but for this one needs a tight clamping in order to press with the Balsa boards from both sides, but this has not worked so well.

After that I have the gutter again somewhat widened and tried it once more with a longer plastic profile, only the plastic is of course not stiff enough,

which is why I have stopped for the moment. up054540

But, of course, I will not abandon immediately, default_fraidnot rather I will try it again with longer core wires, wherefore you could keep your fingers crossed, if you please! up0502241

Maybe one of you still has a smart tip for me, which would be very helpful.

5 Likes

Stunning, as usual

1 Like

Thanks Thierry for staying tuned! bow1

RolandChayerByeByeSmiley

Hello together,

here I am again, but unfortunately with the previous low point of my gutter-rounding …

And what does one say thereto? shocked1

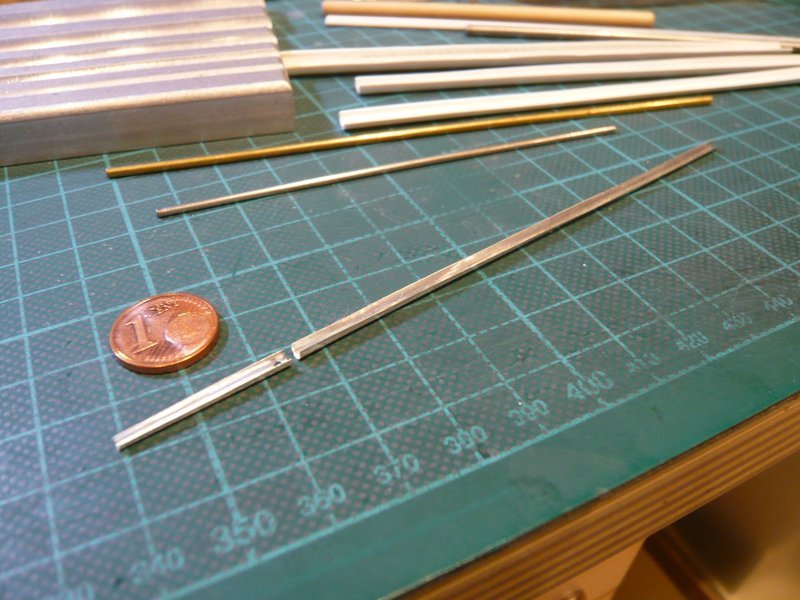
I had just cut off a longer brass core wire (Ø 2,0 mm) and wanted to try again, to smooth the little dents, but a longitudinal kink which meanwhile had developed caused by the multiple rounding of the strip was then too much for the thin sheet, which unfortunately has broken up, caused by material fatigue … up048110

And what is that teaching us?

Unnecessary back-and-forth bending should be avoided as far as possible, and stepwise be rounded in only one direction, which I will now try again cheerfully with longer core wires and a new strip.

4 Likes

The detailing is so good, and perfectly aligned to the real thing. Looks better every time :+1:

1 Like

Thanks John for your compliments. bow1

RolandChayerByeByeSmiley

Hello friends,

since these crazy gutters are always on my mind, I am constantly pondering how I can master them …

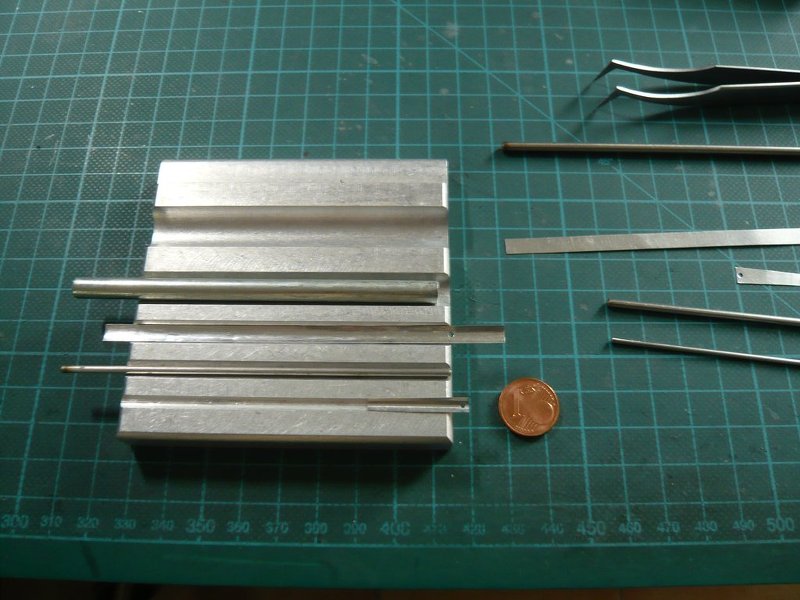
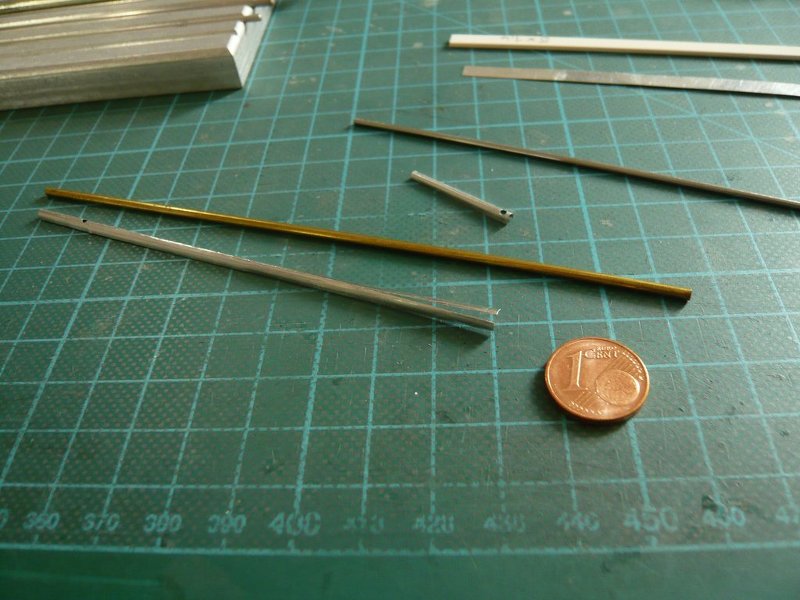
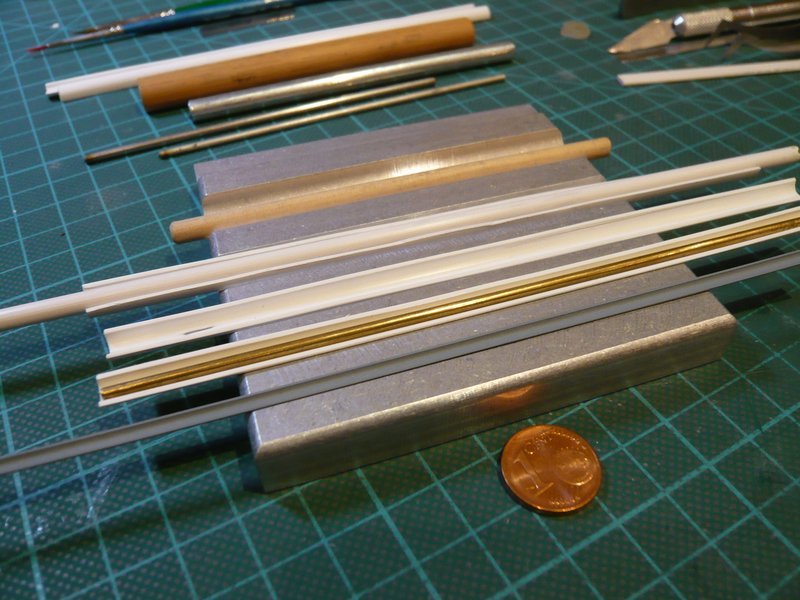
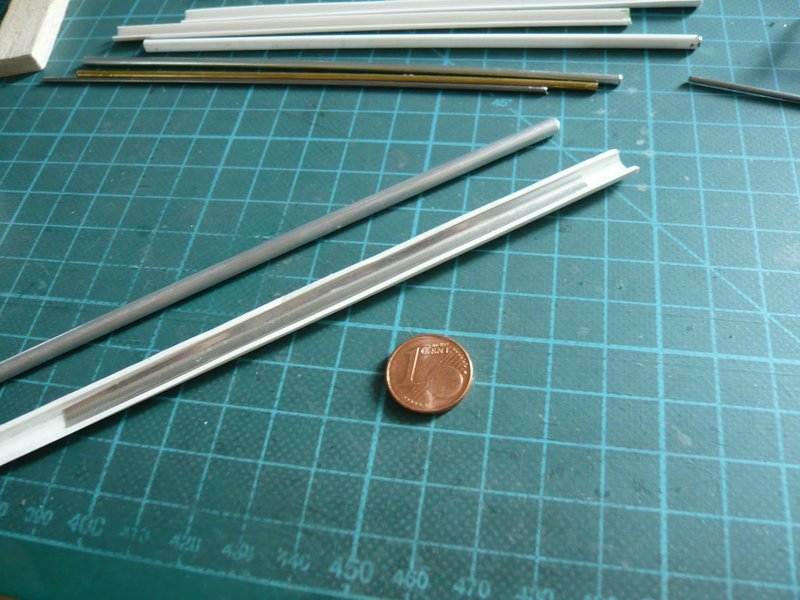
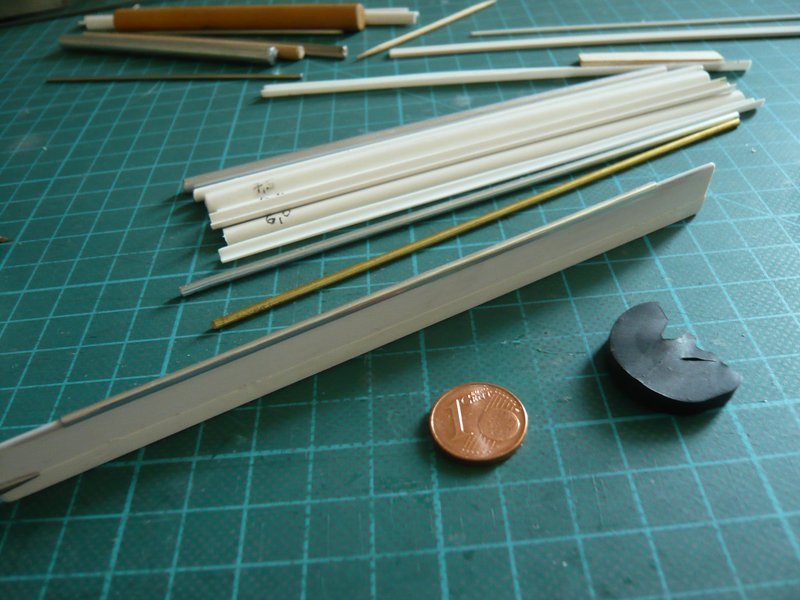
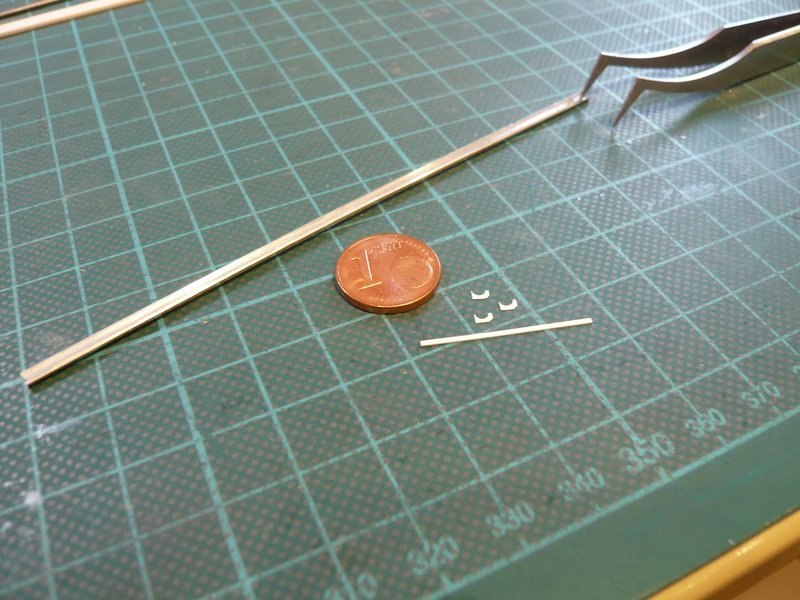
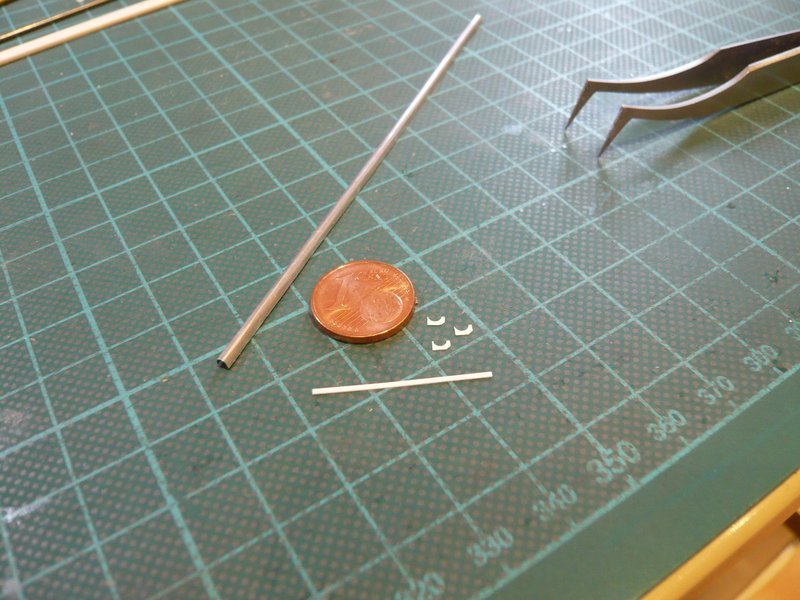
And then tonight during a cool wheat beer weizenbier Cheers! I hit on an idea, that in my very first attempts to build such gutters I had used the smallest available Styrene half-pipe (Ø 3,0 mm), on the left in the image, which was however too big for my 1:160 scale and was quickly put aside.

But this half-pipe could at least be a suitable support for the final rounding of the gutters with the 1,5 mm core wire after the last groove in the set,

which would also be long enough for the longer gutter parts, what I will try as next.

6 Likes

Hello everybody,

here briefly to the current state of the plumber works. cool1

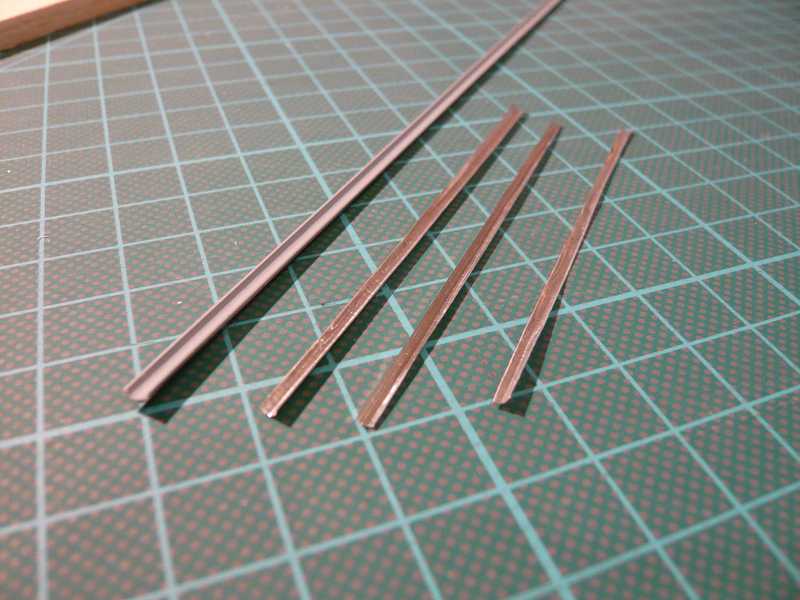
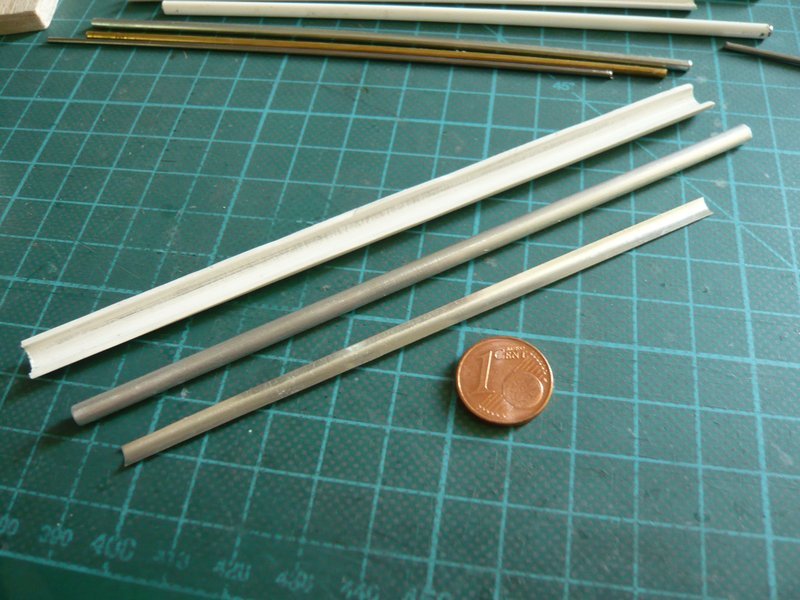
Today I have made a few longer half-pipes as a support for the first roundings of the longer gutters, by halving pipes (Ø 7,5 mm and Ø 6,0 mm) with the precision saw.

And in this way the roundings can be formed much more evenly and, above all, without larger dents or even kinks. up0455181

So it looks much better than yesterday,

and is still increasable, which makes me confident.

And as it looks so far, there could still be a happy ending with these gutters.

RolandChayerByeByeSmiley

5 Likes

Hello together,

since I was still not satisfied with the last rounding step to the final gutter diameter of approx. 2,0 mm, I have tinkered at a better solution. cool1

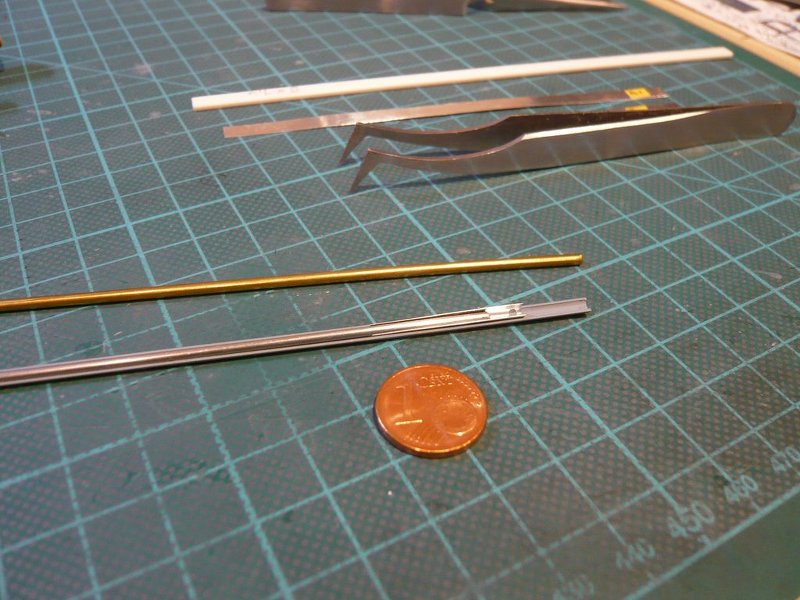
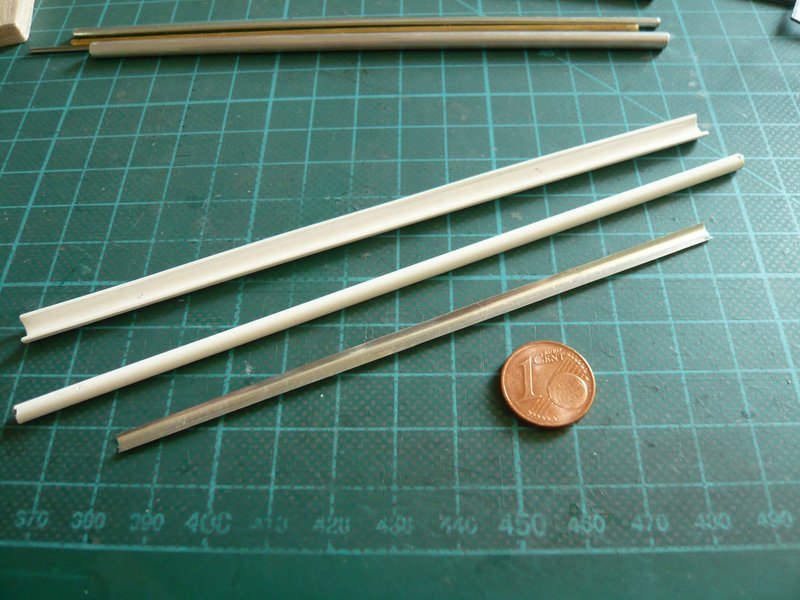
At first, I have made a few longer core wires for the longer half-pipes to get the curves evenly over the entire length.

With the last core wire of Ø 1,5 mm I get with the 0,1 mm aluminum sheet to approx. 1,7 mm, only I had to widen the gutter again and again, since the top edges are always rounding slightly again. With my previously used rectangular strip (1,5 mm x 5 mm), however, this did not achieve uniformly enough, especially with the longer gutters. rolleyes1

That is why I have sanded a 2 mm Balsa board on one side down to a thickness of approx. 1,7 mm and rounded the edge in order to be able to widen the last rounding accordingly and to smooth it, which I have tested then at the end of the Gutter 1.

This may work in principle for short gutters, but is not a good solution for the longer gutters, since the Balsa board is too little stable in shape over the length and can partly be pressed in. That’s why I have choosen another, somewhat more complex, but more stable solution with a plastic strip. up047090

But since there is no commercially available wider strips with about 1,7 mm thickness, I have made it myself. up0455181

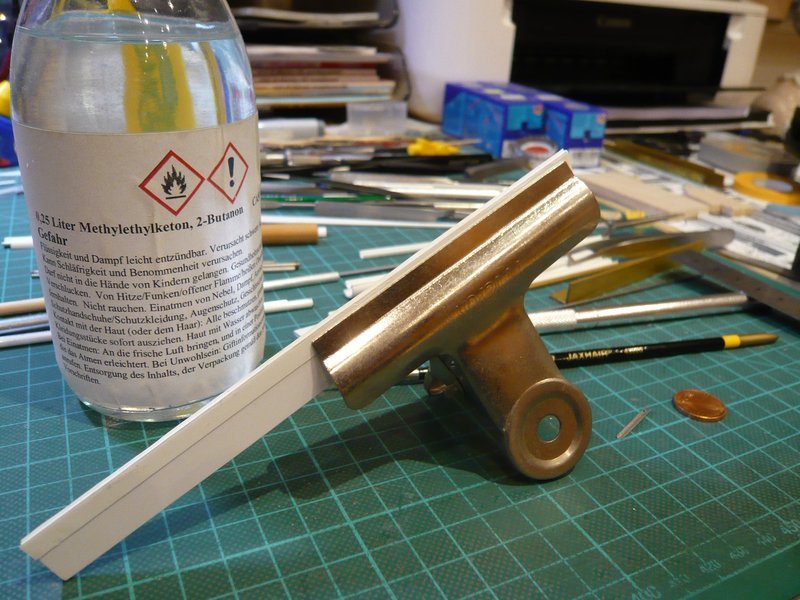
For this purpose, I have cut a handy strip of 15 mm x 150 mm from 1,5 mm styrene and glued on both sides 5 mm wide strips of 0,1 mm Styrene, for which I used MEK, wherewith the composite strip is then approx 1,75 mm thick.

The more difficult part was then the smooth rounding of the edge, which took some time. huh

But with this core strip, it can be handled very cleverly by clamping the gutter into a Balsa “vise” to smooth it, without slipping or tilting.

And with this more sturdy plastic core, the desired half-round shape of the longer gutter should be doable reproducibly, which is very important.

And if this method now works as well with the longer gutters, which I assume, this would be great.

RolandChayerByeByeSmiley

6 Likes

Hello everybody,

before starting with the rounding of the longer gutters according to the new method with the plastic core strip, I have tried here the lateral gutter end from a rounded rectangle strip 0,25 mm x 1,5 mm. cool1 The strip will be cut off only after gluing.

But now to the longer part of the Gutter 1, which was pre-rounded first in the largest half-pipe (Ø 7,5 mm) with an aluminum core (Ø 4,0 mm).

And this went on in several stages with diminishing diameters of the semiconductors and core wires, starting with

Ø 6,4 mm,

Ø 6,0 mm,

Ø 4,7 mm.

down to Ø 3,0 mm.

The following rounding with the plastic core strip (1,75 mm) was then carried out on the foam strip, rolleyes1

and then by pressing it together in the Balsa “vise”.

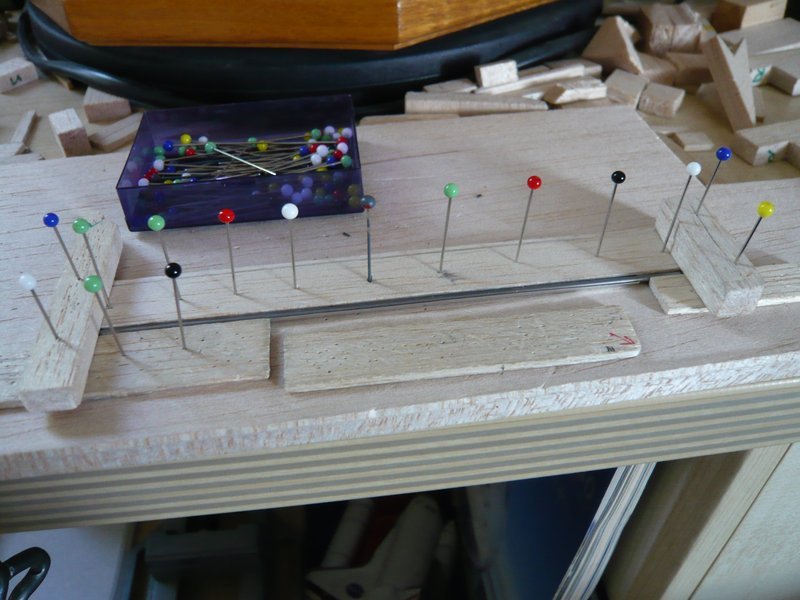
And then it went on with the 15 mm core wire on my “pin board” using my Balsa-Clamp technique, with which I have bent already the SSWS pipes. up0455181

By cleverly clamping, the core wire can be held down with the inserted gutter, while at the same time in the interspace the gutter wall can be smoothed almost perfectly by swaying the balsa board back and forth. And by re-clamping the arrangement one can also reach the previously covered areas of the gutter for smoothing them.

The rounding could then be further smoothed on the other also rounded side of the core strip by pulling a fixed rubber over the gutter rounding. cool1

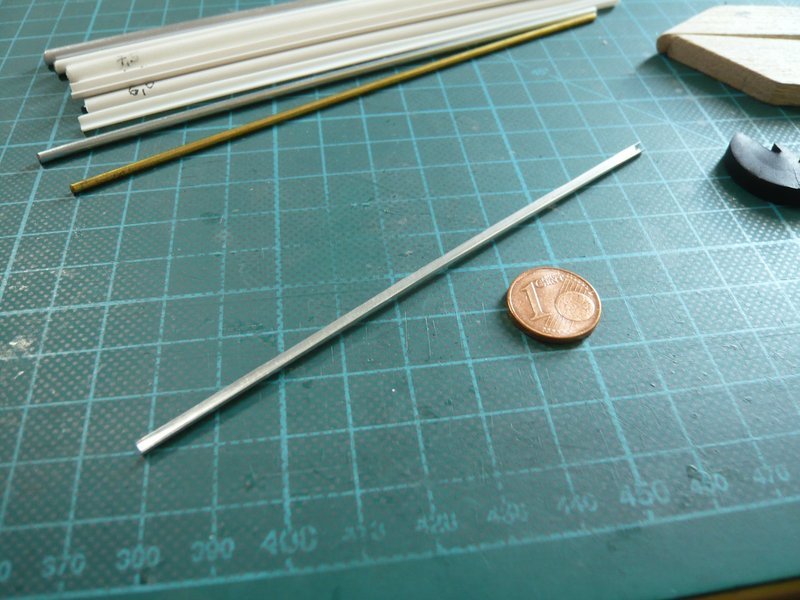
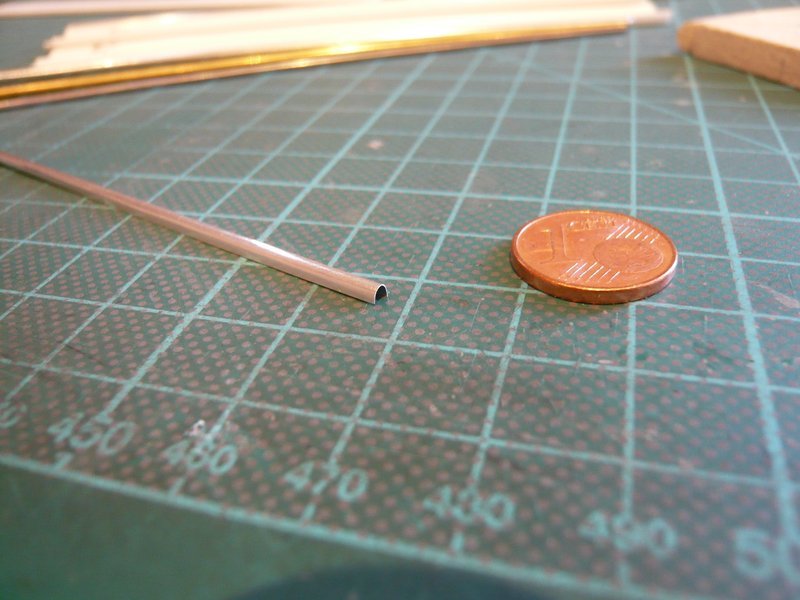
And this is the result of all this tender loving care, up046118

which can really be impressive and so is also taken from the Quality control of the FSC. up0455181

And since I now know the fact how it works, I can calmly dedicate myself to the other gutters.

RolandChayerByeByeSmiley

6 Likes

Kudos on getting to the required solution to get it how you wanted it to be … :+1:

1 Like

Thanks John, my true follower,

I won’t rest until I’m satisfied, that’s my intention. up0405771

RolandChayerByeByeSmiley

1 Like

No thread updates for while … hope everything is ok.

Hello again friends,

sorry guys for my long absence, but I had to have my gallbladder removed. I had a plum-sized stone that needed to be removed. I got through it all fine, though, and I’ll be back shortly.

On September 29th, I’m leaving for New York City, the first trip of my US vacation this year.

Among other things, I want to see the Enterprise at the Sea, Air and Space Museum on the aircraft carrier Intrepid.

Then I’ll be off to Niagara Falls and Toronto, from there to Huntsville, Alabama, U.S. Space & Rocket Center, and then back to Orlando, Florida, Cocoa Beach, KSC, Titusville, etc., until October 30th.

8 Likes

Then let’s go on, friends,

of course this was reason enough to mend matters right away, which is gone, is gone! cool1

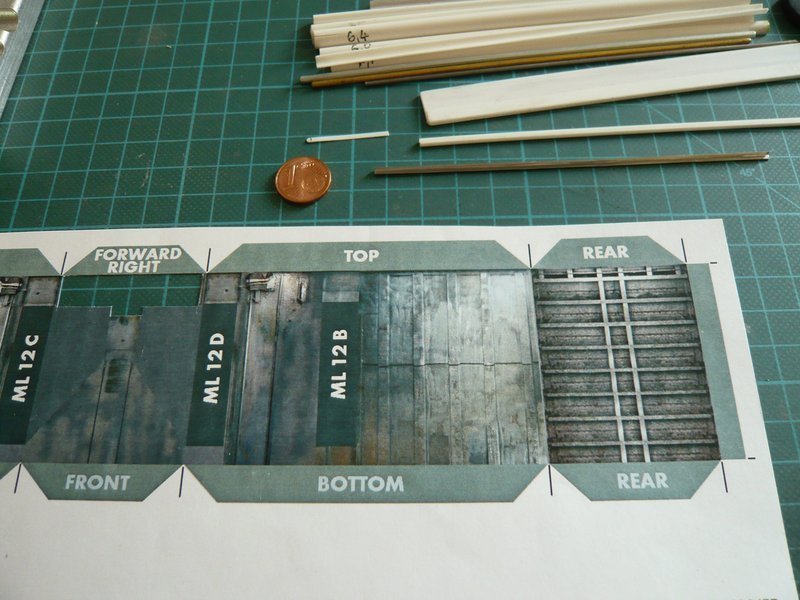
Here one can see once again the old, but wrong rear wall (right) of the SRB shaft from the Paper kit, which is now to be exchanged by a piece from the area on its left, which is suitable very well.

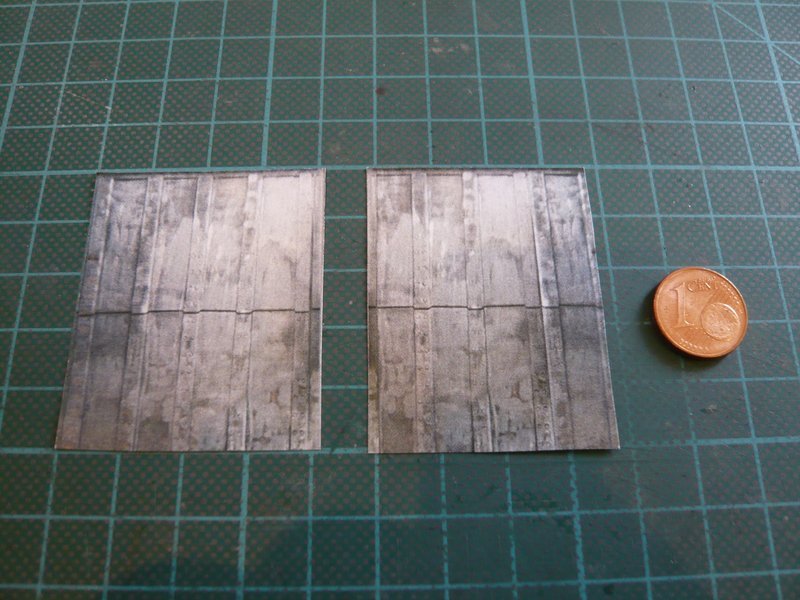
Here, the two new rear wall panels are already cut out,

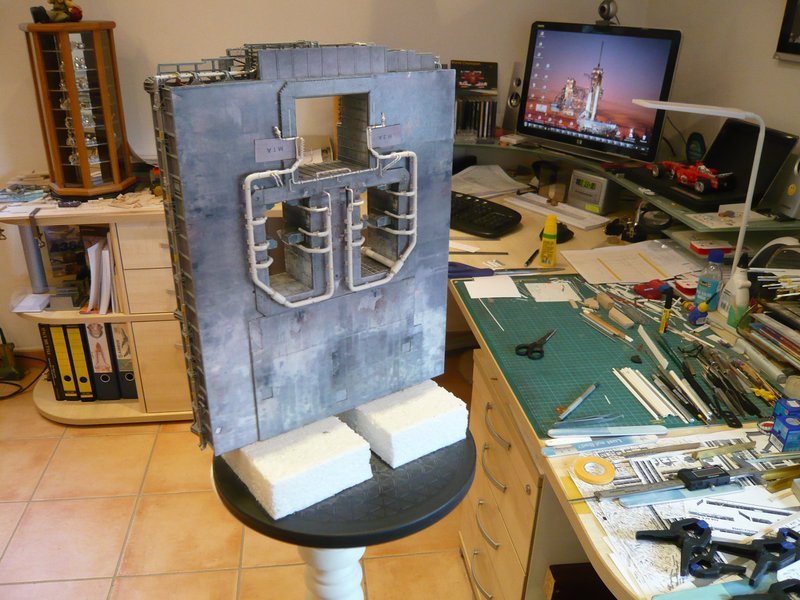
which were immediately tried on the “High seat”, but please with greatest caution! huh

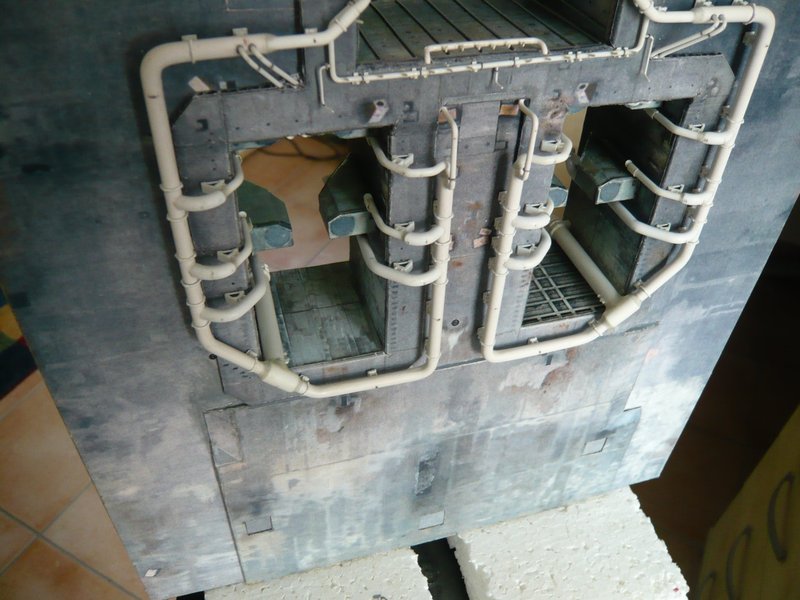
And that looks very well already, up0455181

and also gives a completely different picture, that I like much better. up046118

So let’s go back to the gutters and their supports. cool1

These were the first patterns,

whose proportions were still too inaccurate to me.

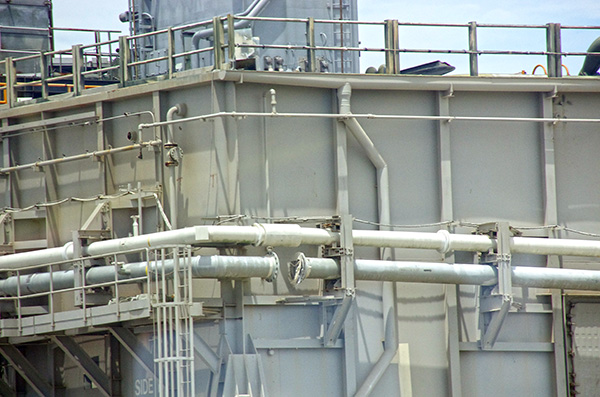
That is why I have checked the dimensions more precisely with the aid of this photo since I had not considered some of the perspective distortions so far, shocked1 which inevitably lead to errors.


Source: Raumcon (eumel)

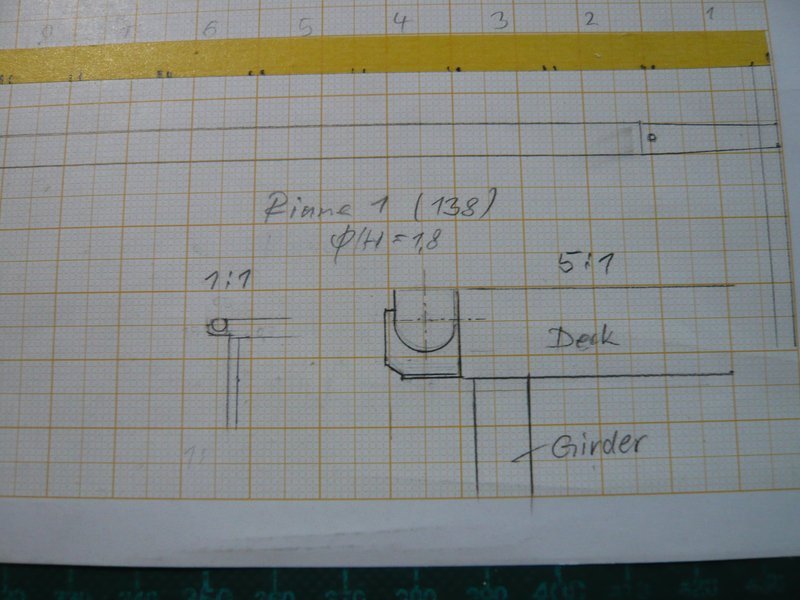
And afterwards I drew this template with the new dimensions to get an accurate overview.

And as one can easily see, there is nearly nothing to be detectible in the scale 1:1, but in 5:1 one can see it much clearer, and so the shape could then also be approximately right. up0455181

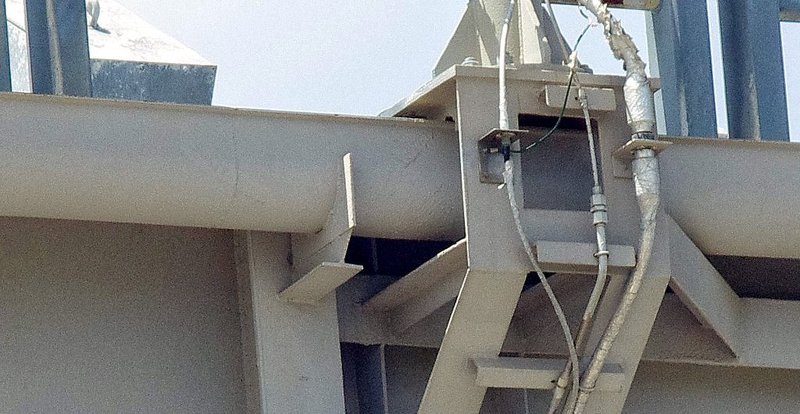
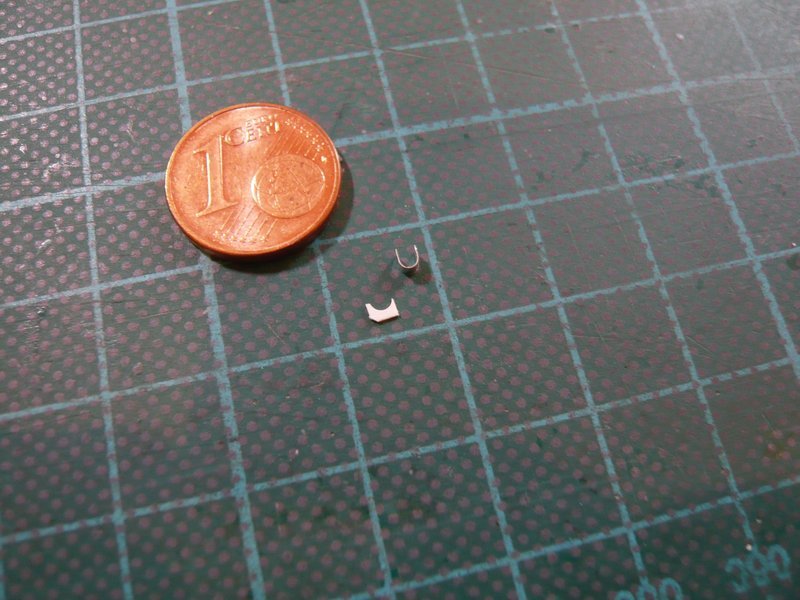
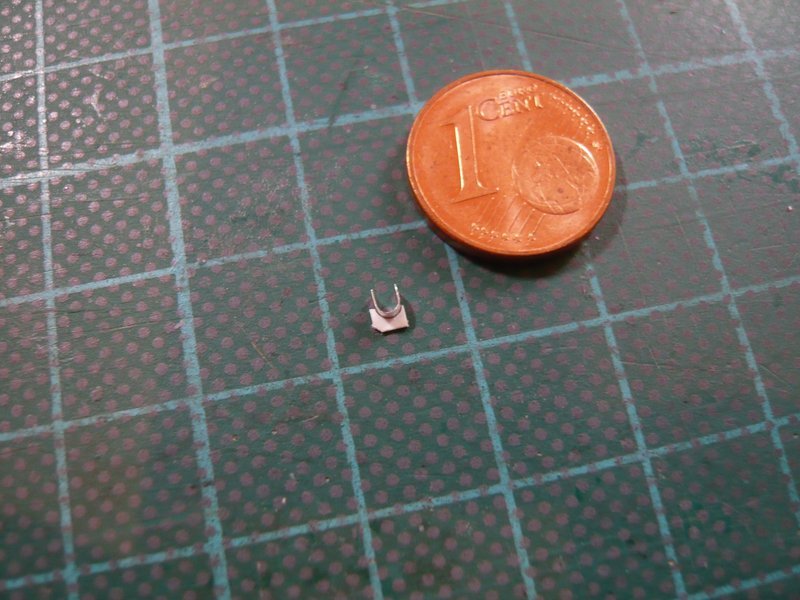
This is now the new support that should fit to the gutter dummy,

which could fit well.

And with that I could go into the mini-production, I think, or are there objections or any hints? up0405771

But maybe the lower part of this support is still a bit too high …

11 Likes

Amazing attention to detail! Wonderful! Well done

Great update and glad the Med issue was sorted and it went ok. Good to have you back :+1:

1 Like

Thanks my friends for looking in on me again. up0405771

RolandChayerByeByeSmiley

2 Likes

Hello friends,

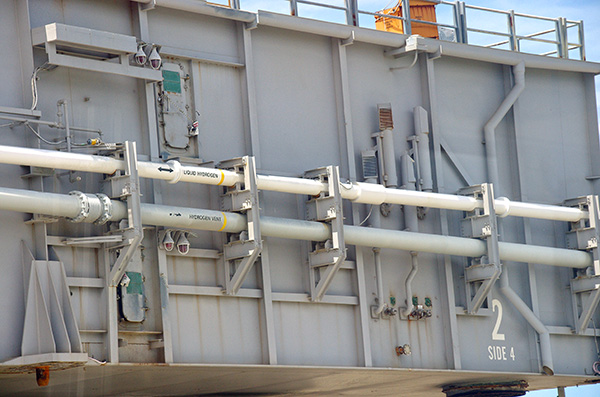
in hindsight the lower part seems almost a bit too high for me, if I look at other pictures. undecided


Source: Raumcon (eumel)


Source: Raumcon (eumel)

But perhaps it is only an optical trick of light & shadow and the viewing angle, because the lower flange always covers a part of the height. icon_hmm

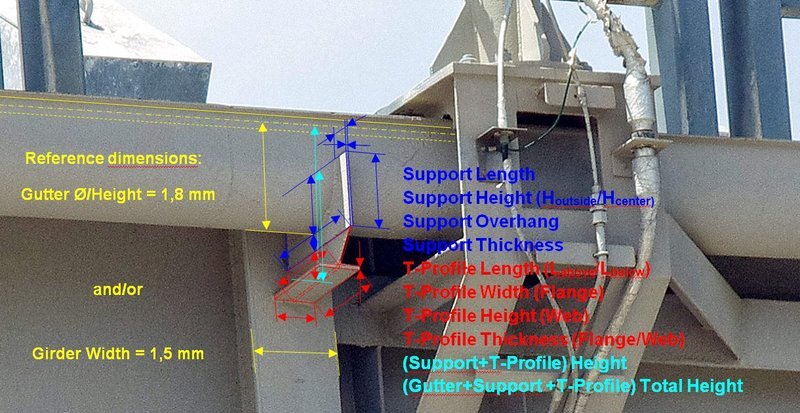
BTW, light and shadow, the devil is again in the detail, also at the determination of the dimensions of the Gutter support.

These dimensions are required for the supports sitting on the girders, which consist of an upper sickle-shaped holder and a T-profile, welded at the bottom. It is possible to calculate these on the basis of the reference dimensions, but this is a bit difficult because of the perspective distortions and the hidden rear gutter edge (dashed line), since one has to refer all measurements to the center of the gutter (dash-dot line), wherefore certain estimates are necessary. rolleyes1

Regarding the overhang of the support, I would have been almost deceived, because the front light strip in the sunlight is only one half, the other half is in the shadow, which I did not notice at first.

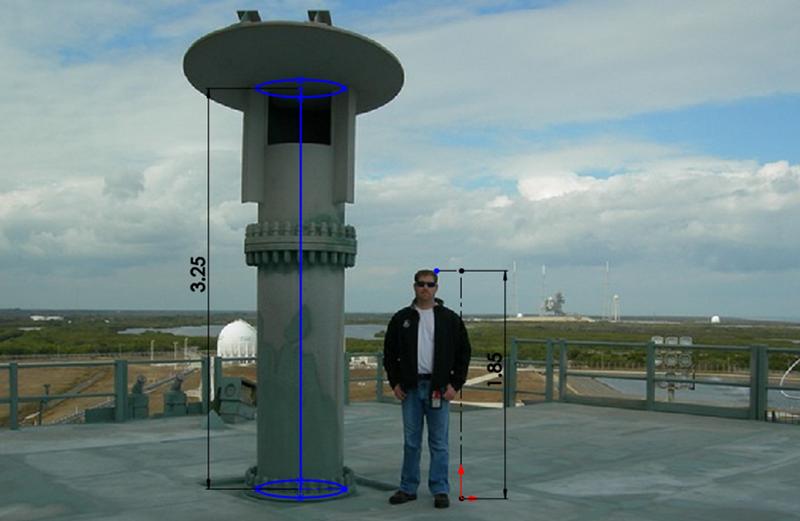
I’m going to ask my friend Joe (crackerjazz) in the ARC Forum whether he can help me again with his CAD software (SolidWorks), how at the time at the Rainbirds, because for him this should be a children’s game.

I’m already curious, but this time these are a few dimensions more, although it is only a tiny detail …

RolandChayerByeByeSmiley

5 Likes