Thanks John, you just have to know how to help yourself. ![]()
![]()
Thanks John, you just have to know how to help yourself. ![]()
![]()
Hello folks,
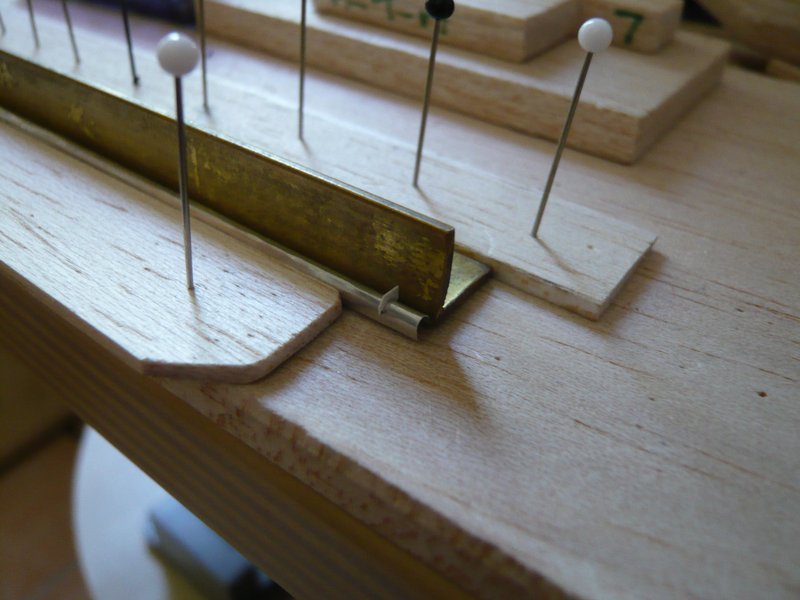
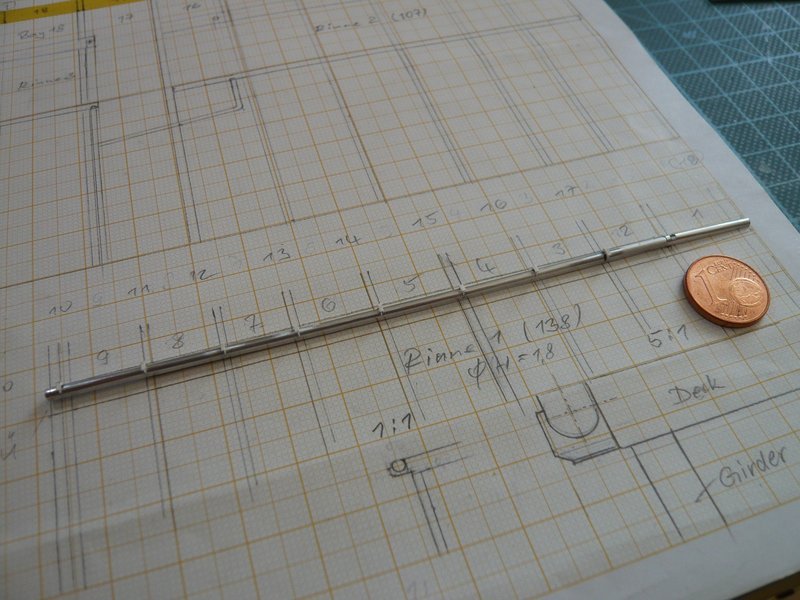
and forward with the gutter-supports, which still keep me in breath. ![]()
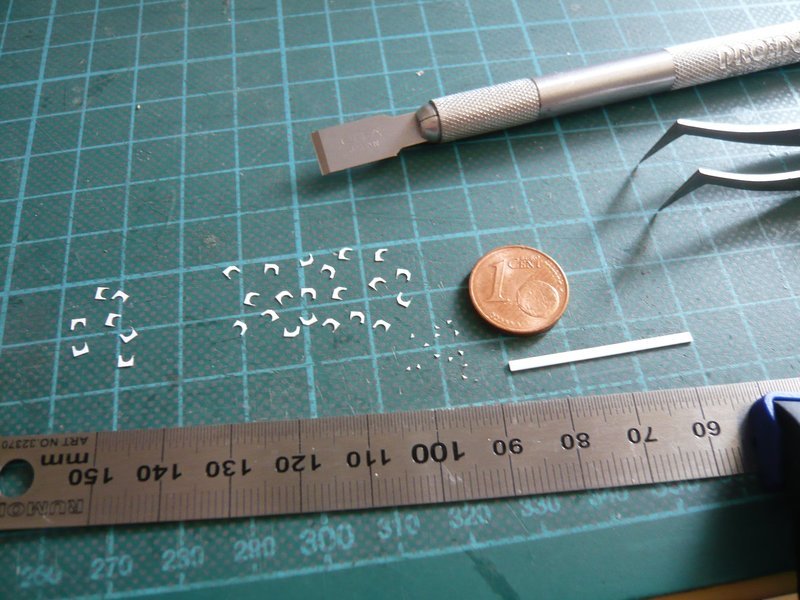
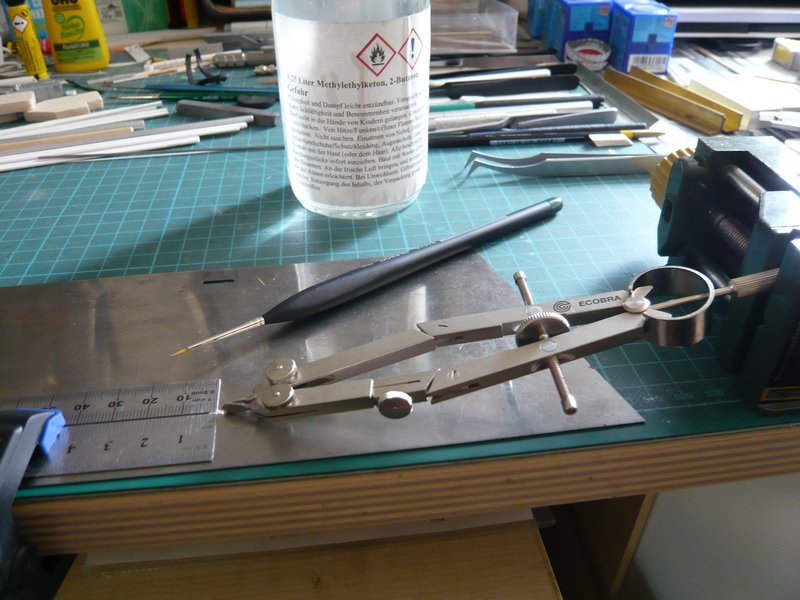
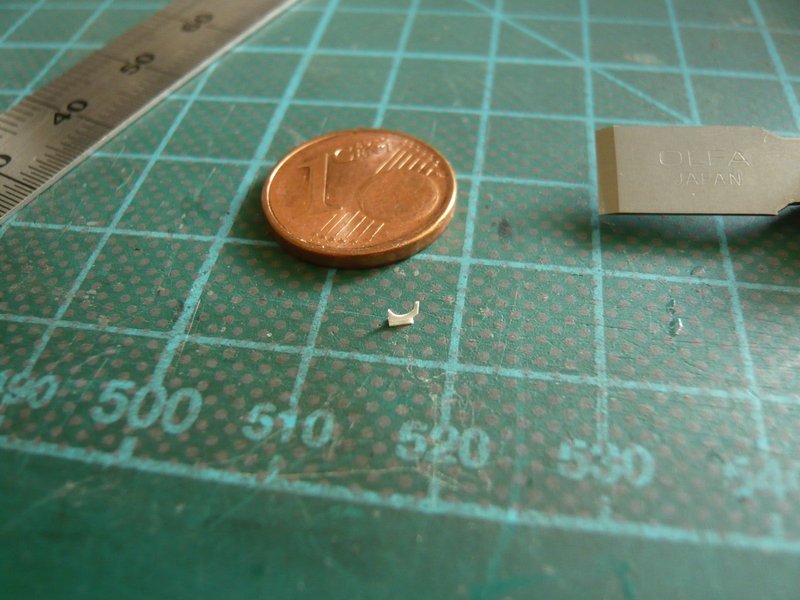
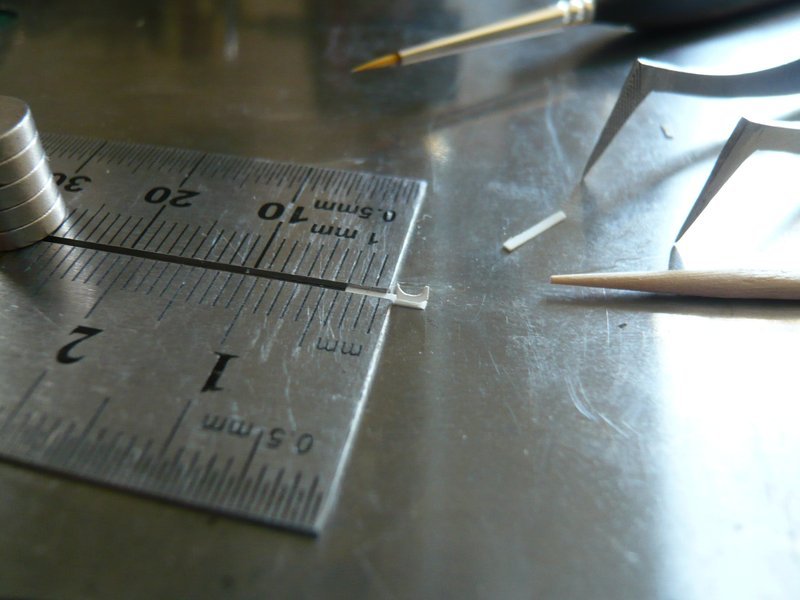
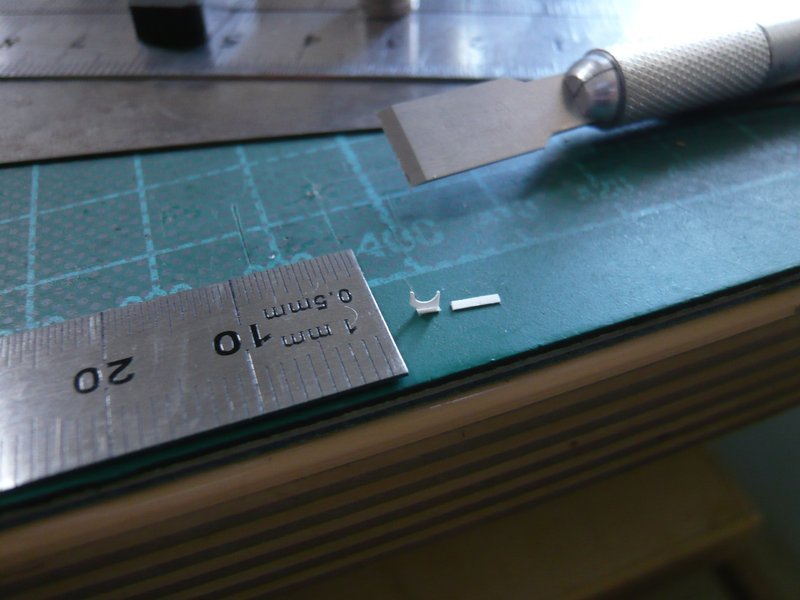
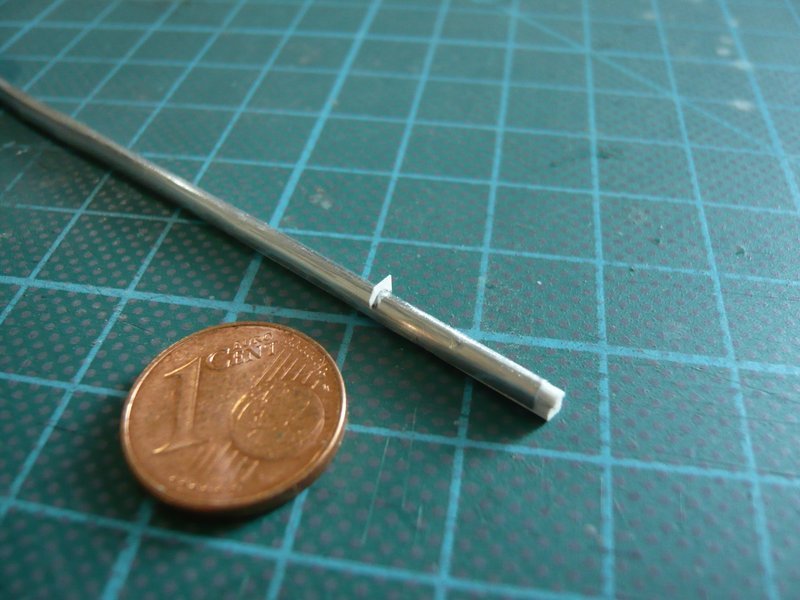
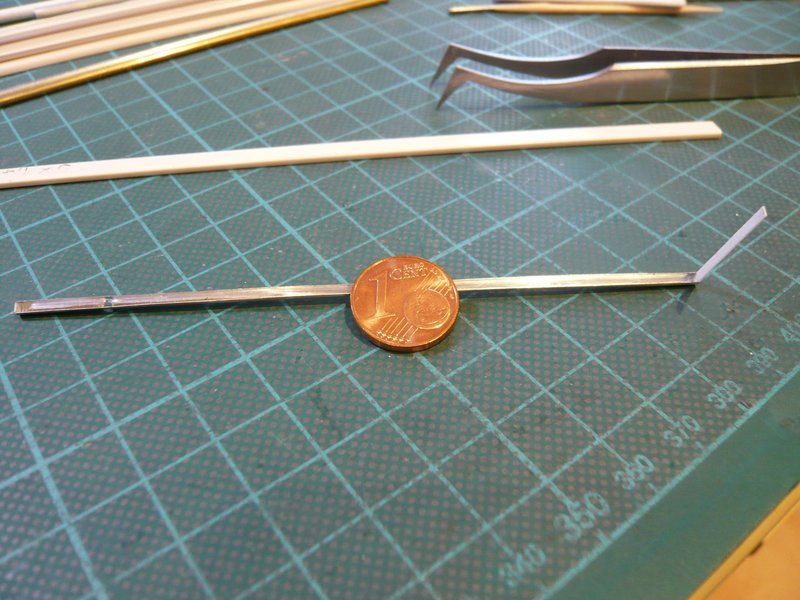
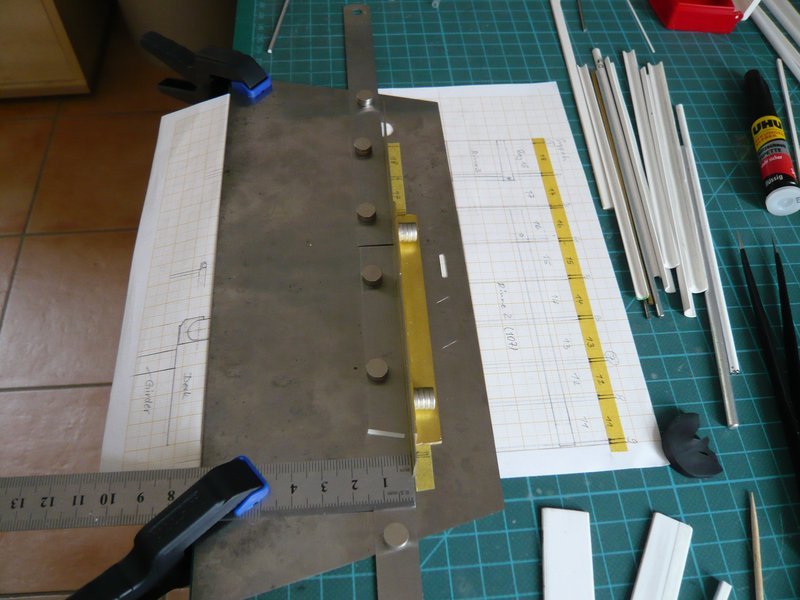
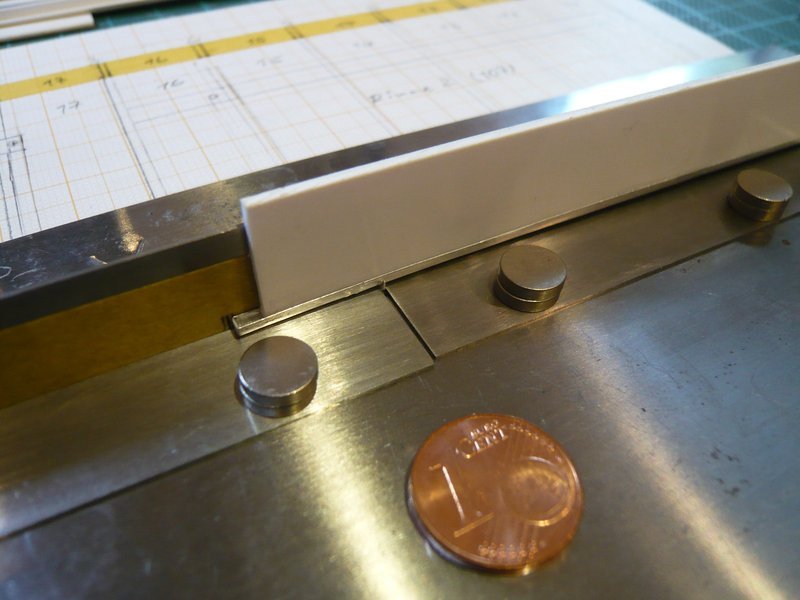
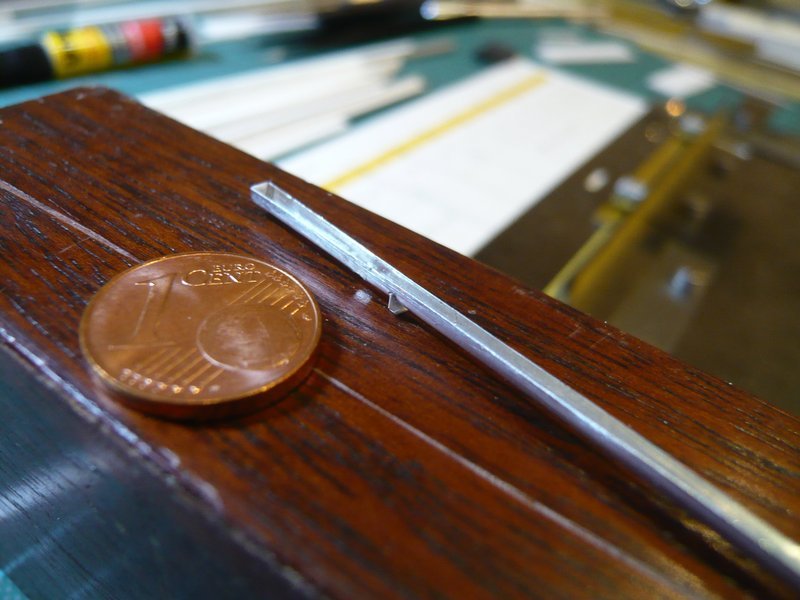
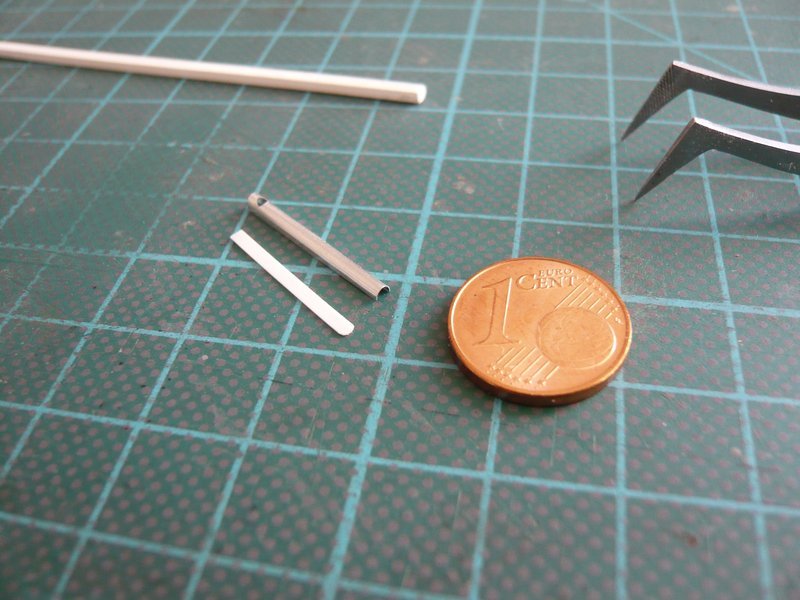
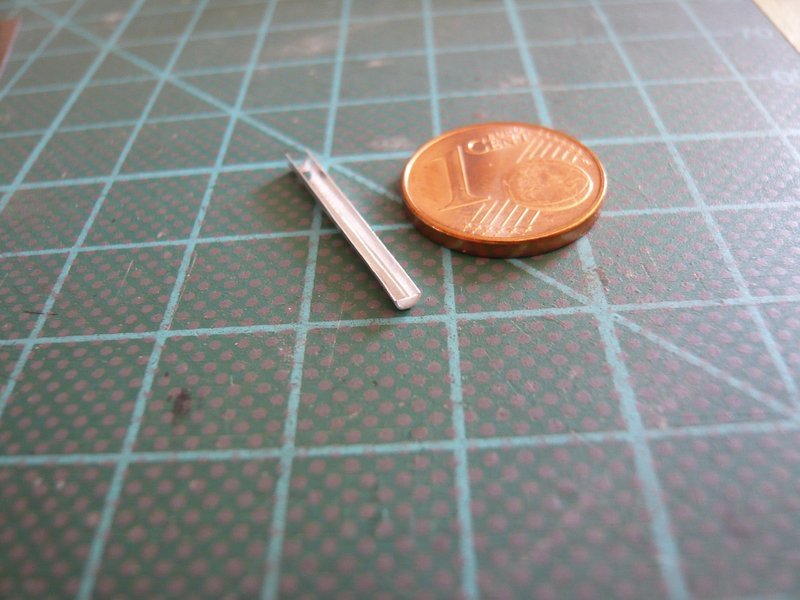
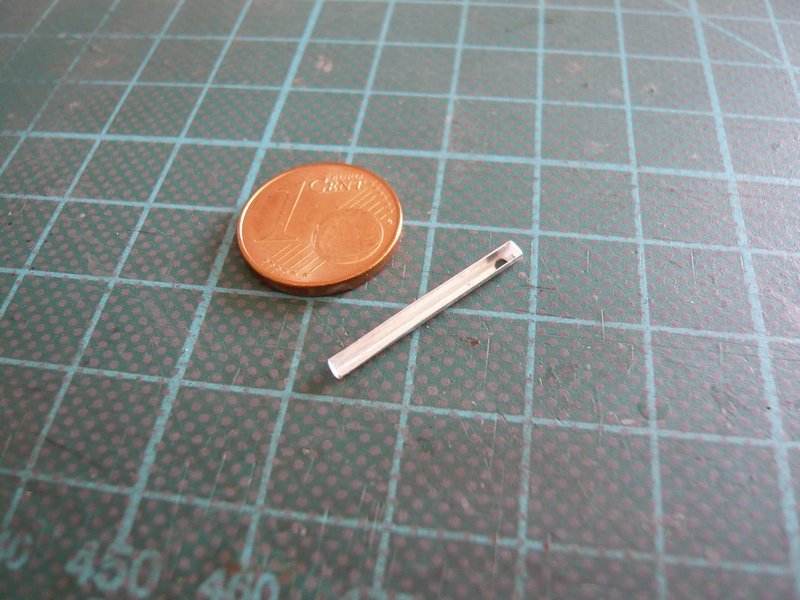
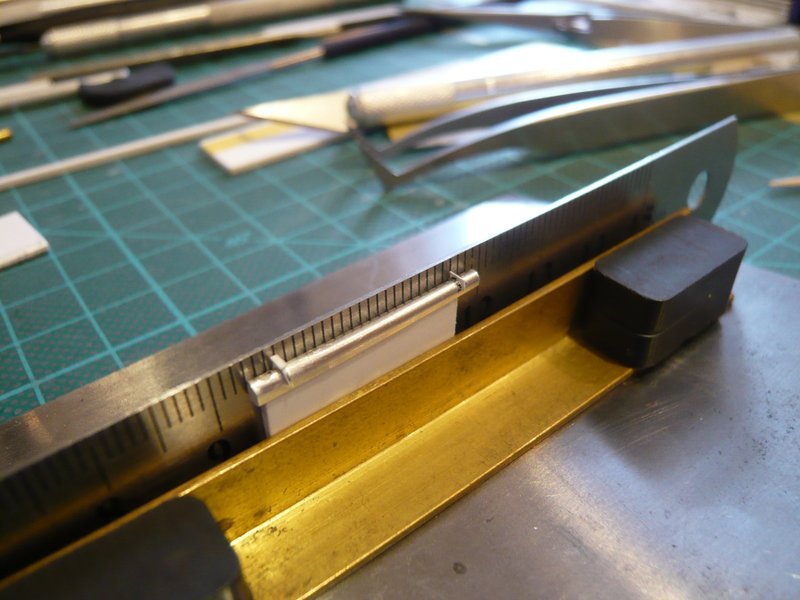
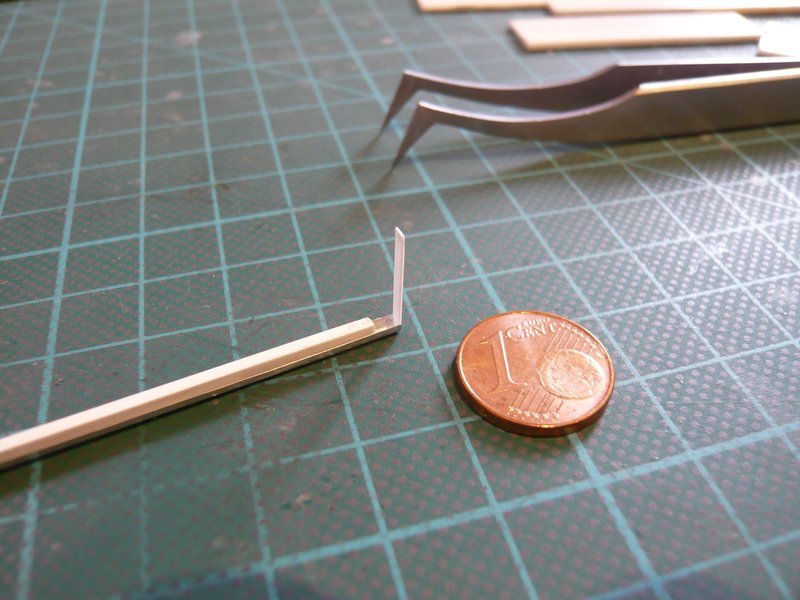
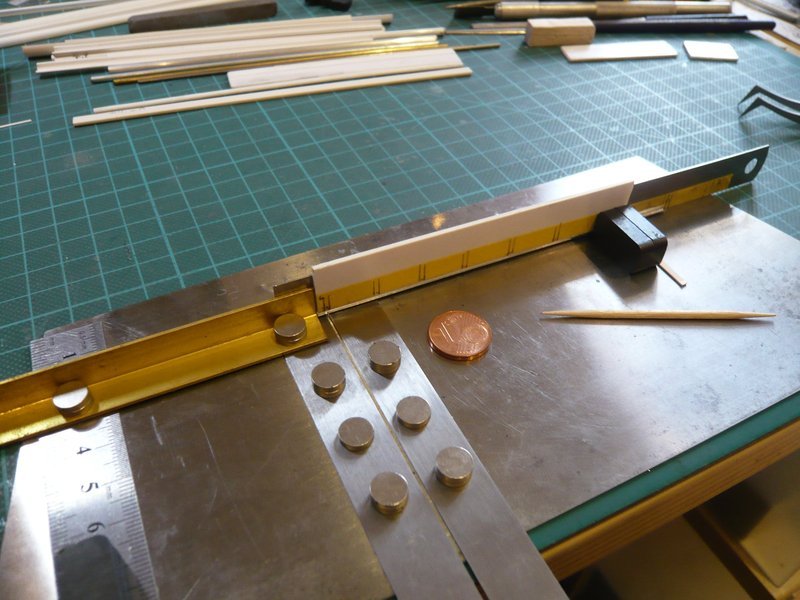
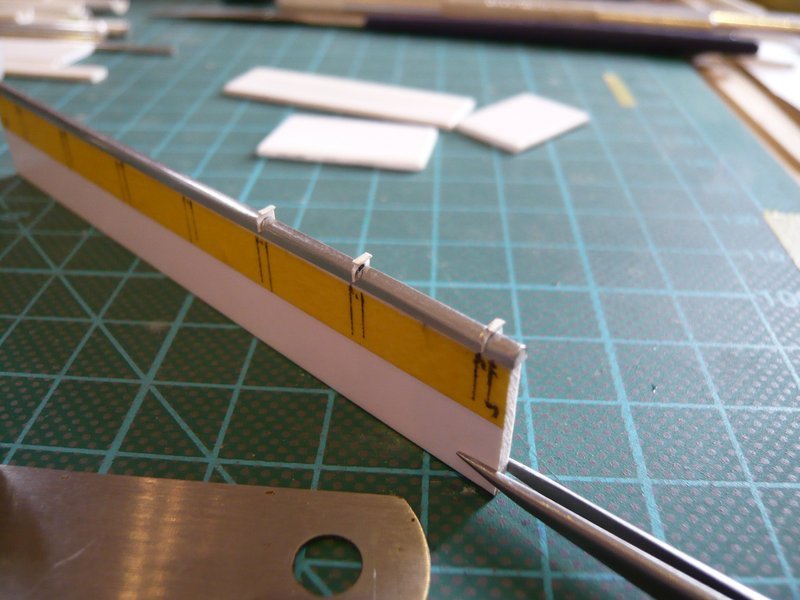
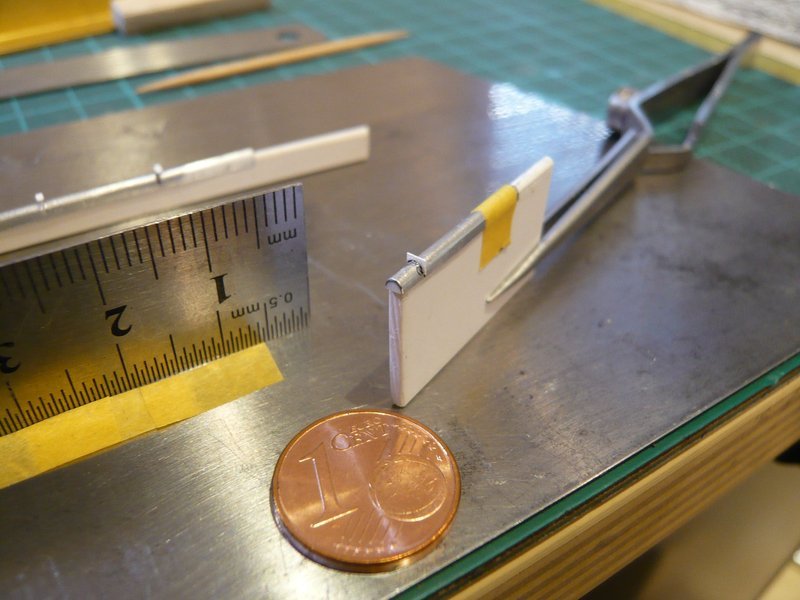
Next, the lower edges still had to be beveled. ![]() These are admittedly only about 0,4 mm, but in hindsight these edges should also fairly look uniform, which is why one needs a stop too.
These are admittedly only about 0,4 mm, but in hindsight these edges should also fairly look uniform, which is why one needs a stop too.
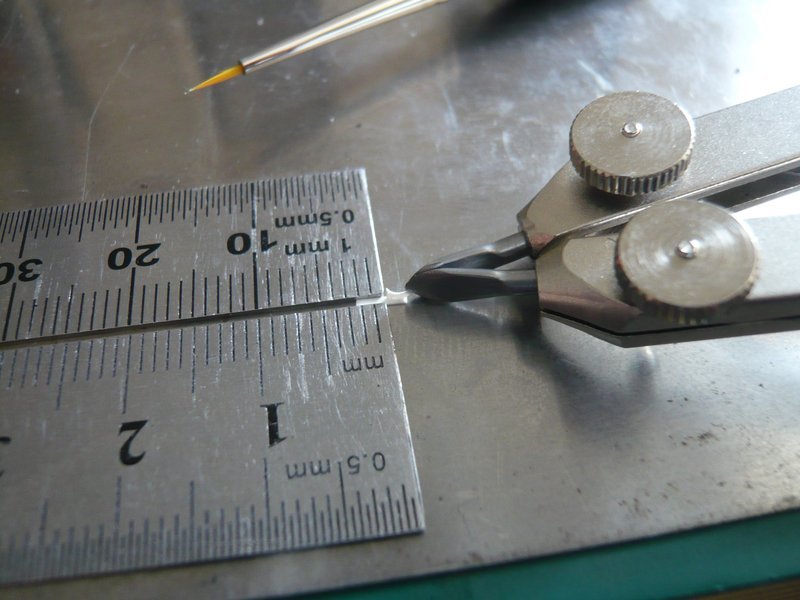
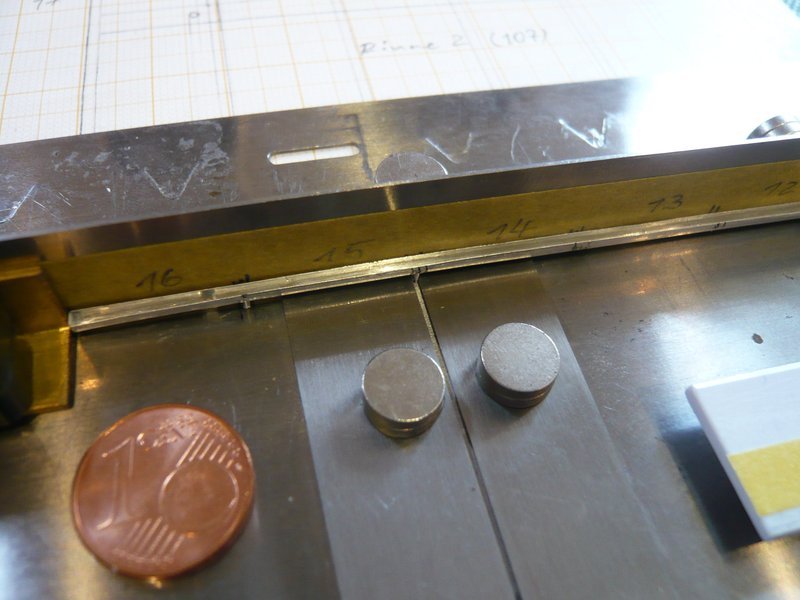
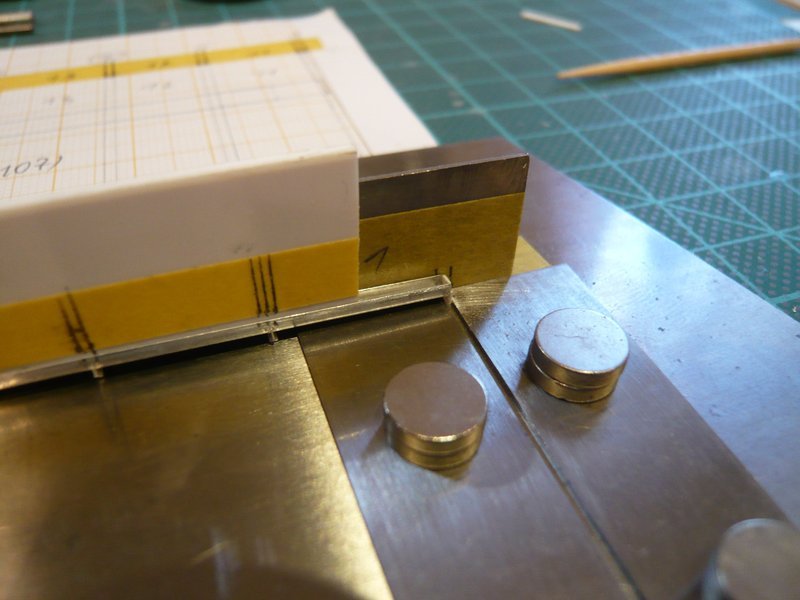
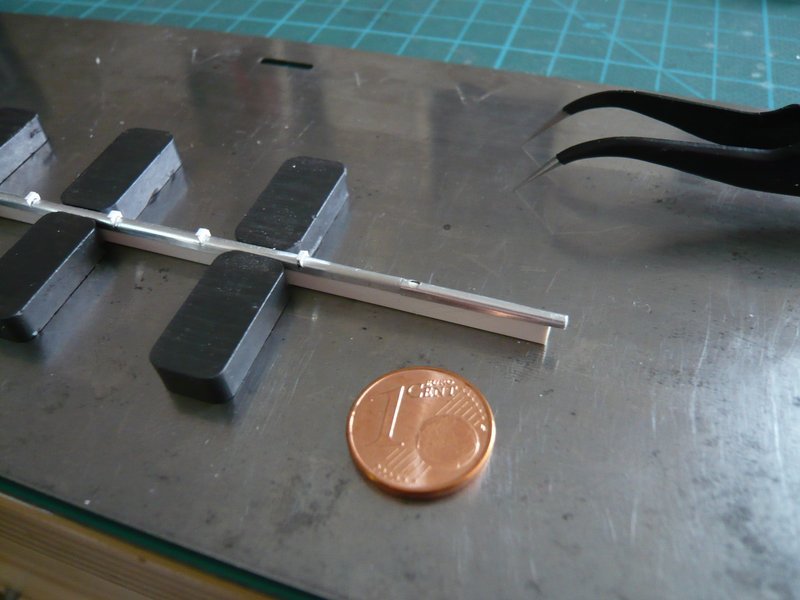
For this I have clamped the supports under a steel ruler and so aligned that only a 0,3 mm long corner has looked out from under the ruler, which I have adjusted by applying a 0.3 mm wide strip. ![]()
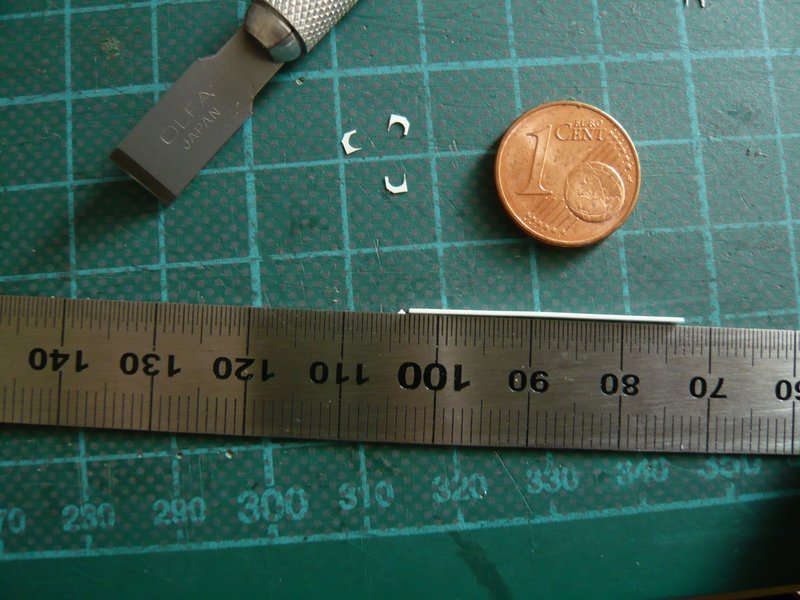
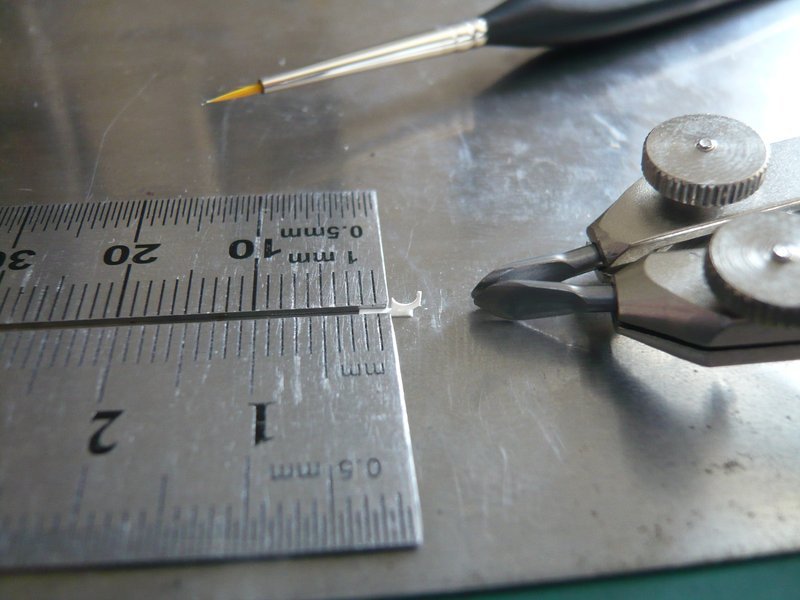
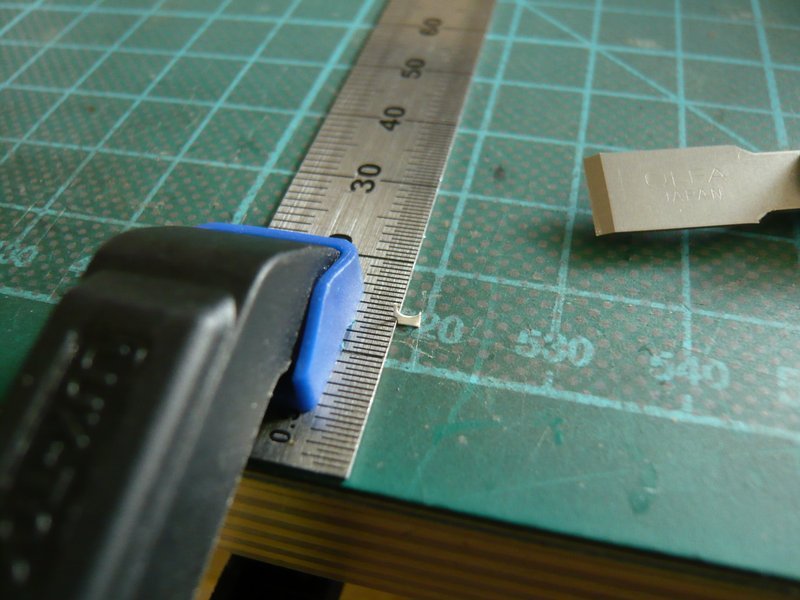
And these tiny corners were then cut off with the cutter chisel at the ruler.
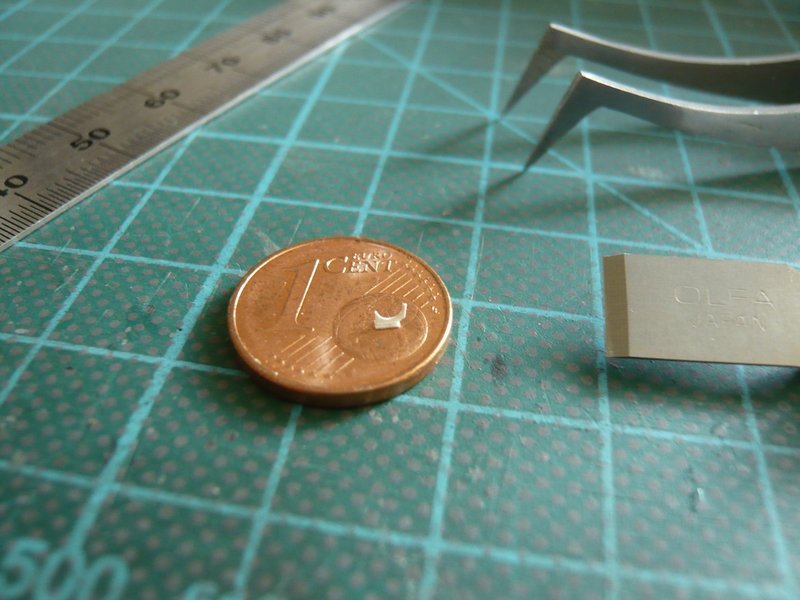
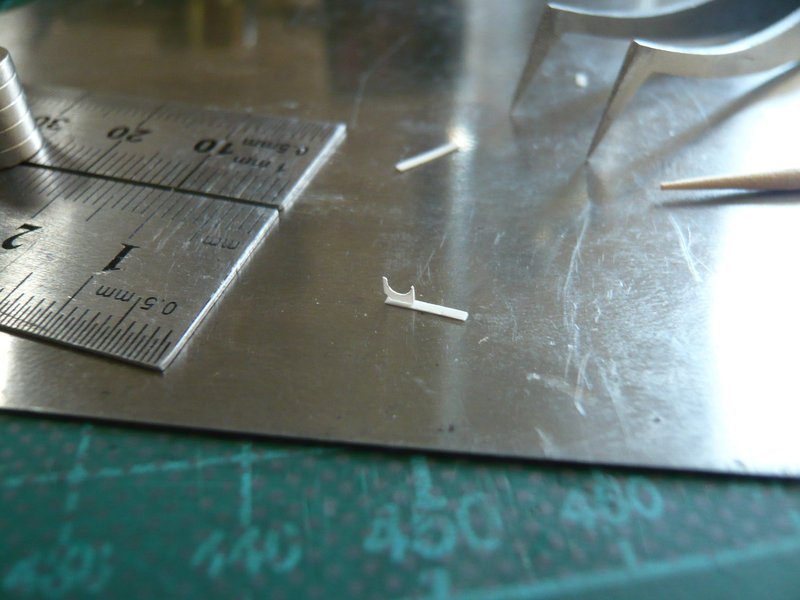
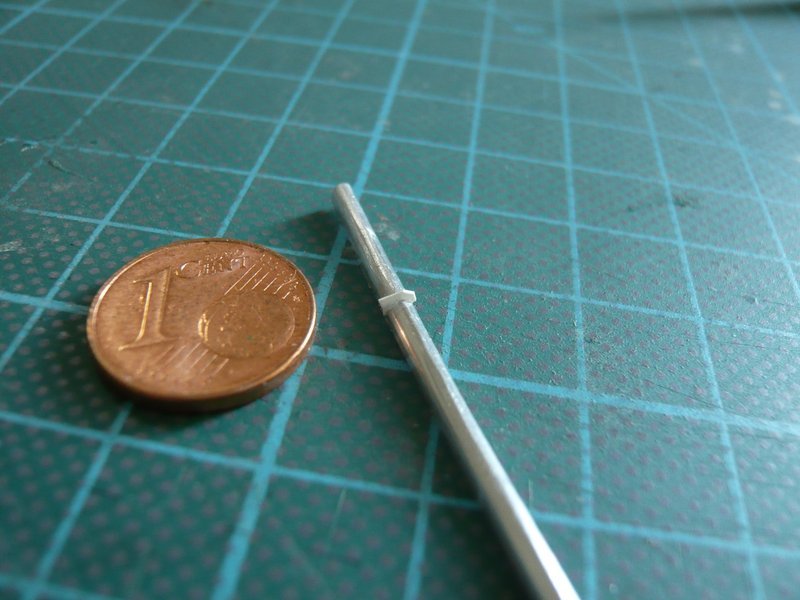
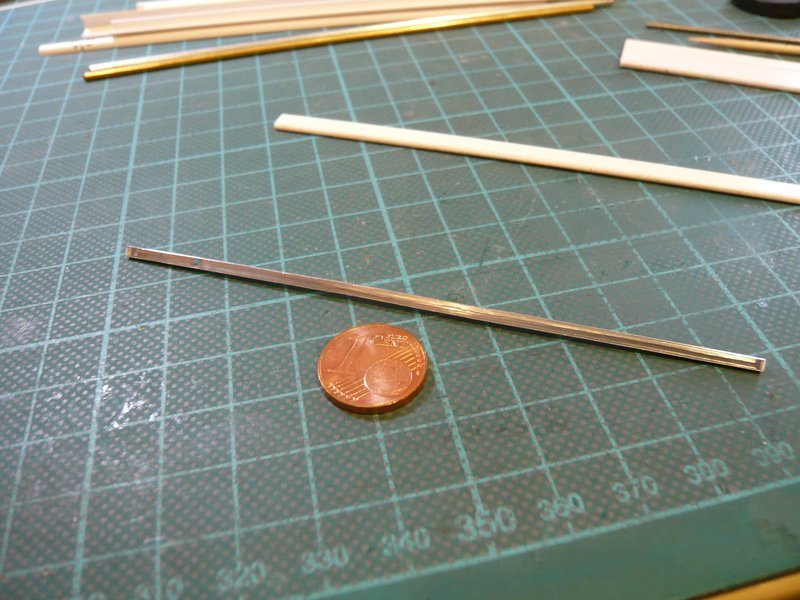
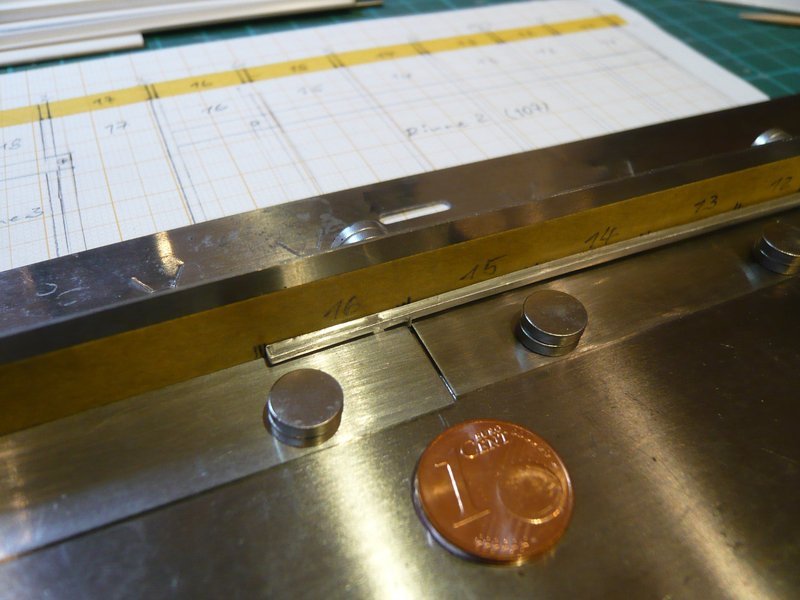
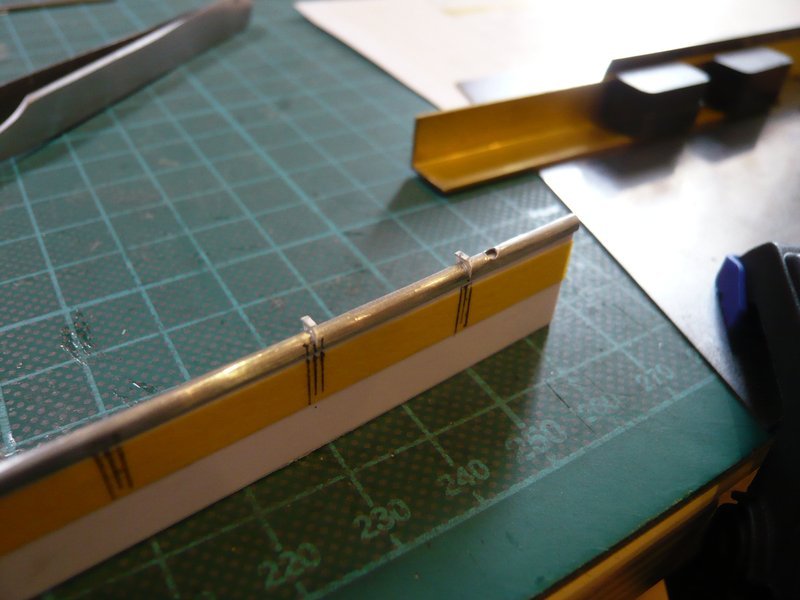
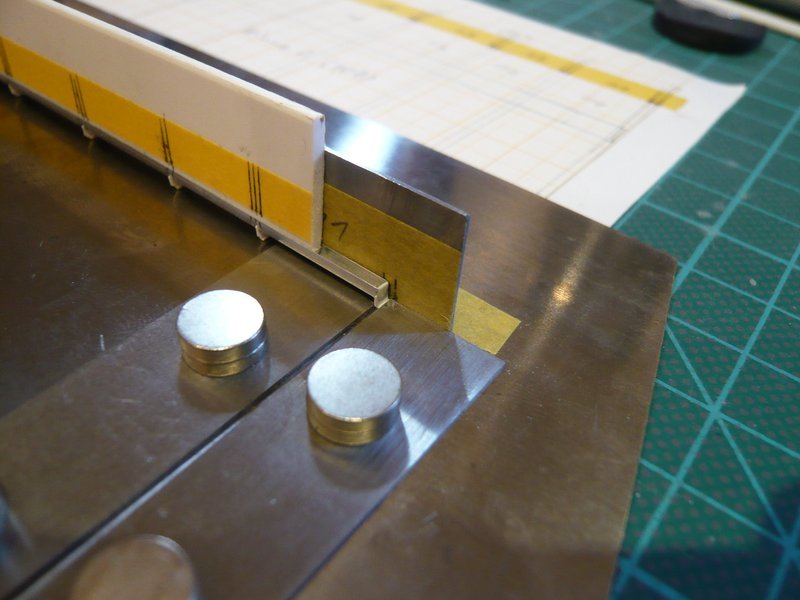
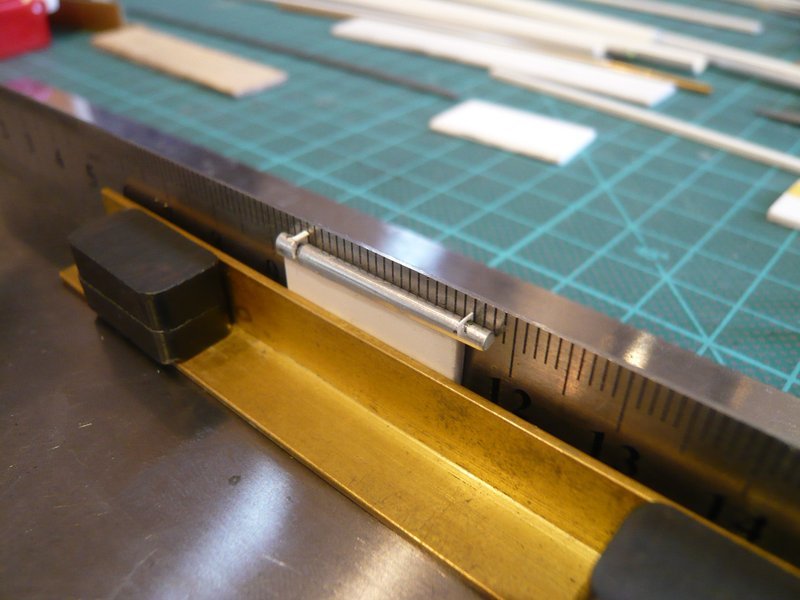
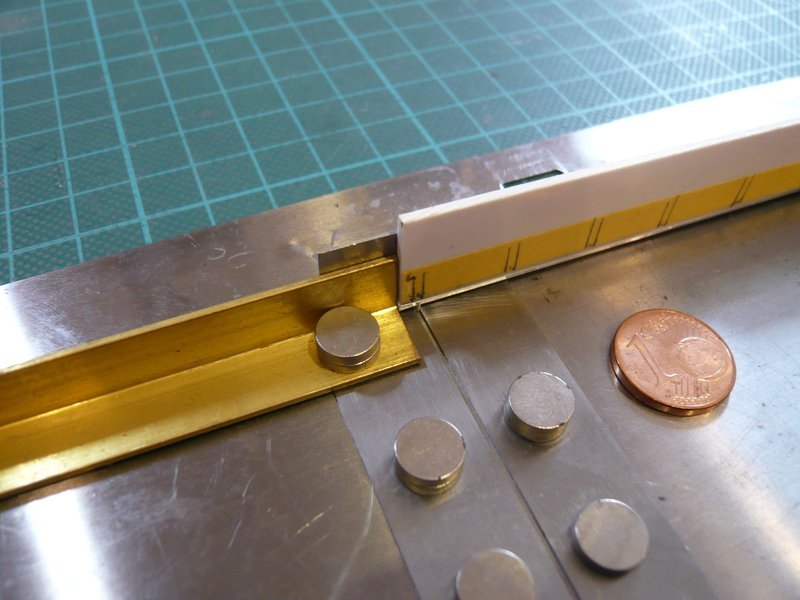
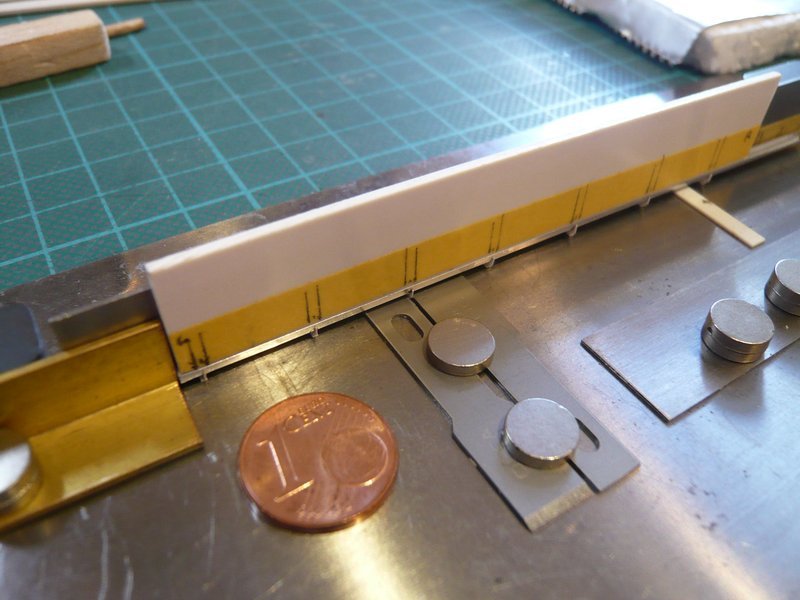
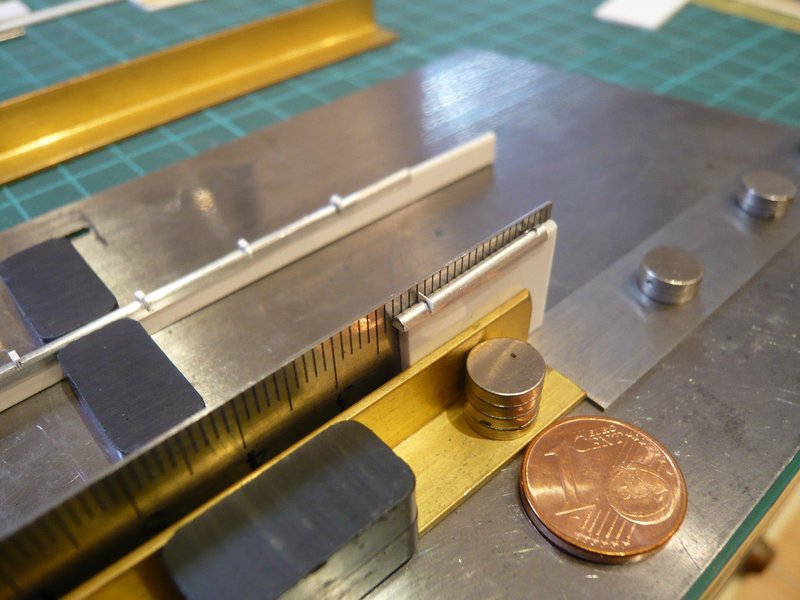
This was followed by the bonding of the supports with MEK on the lower support strip according to my new method, ![]()
whereby the central alignment on the strip takes most of the time, especially if the front edge of the support is to be positioned precisely over the front edge of the strip. ![]()
My new pointed brush has proven itself in any case and was also necessary for brushing of the tiny contact line with MEK.
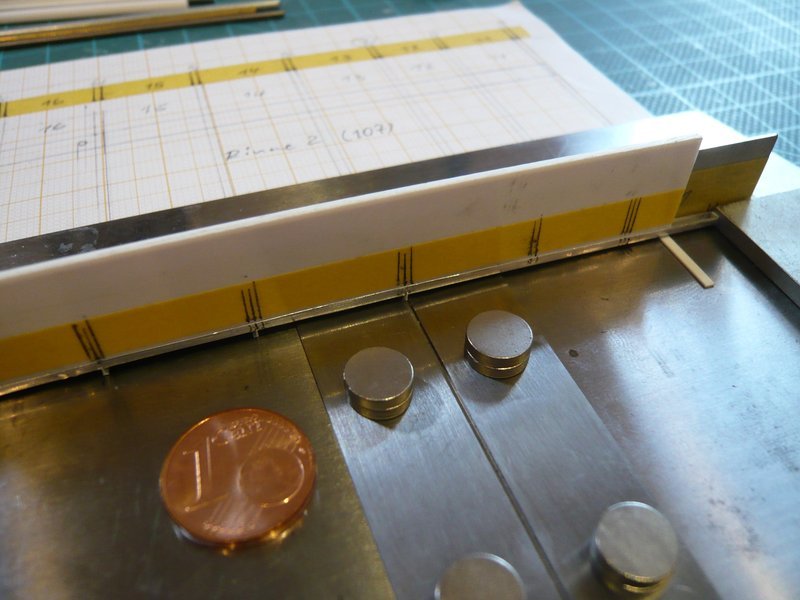
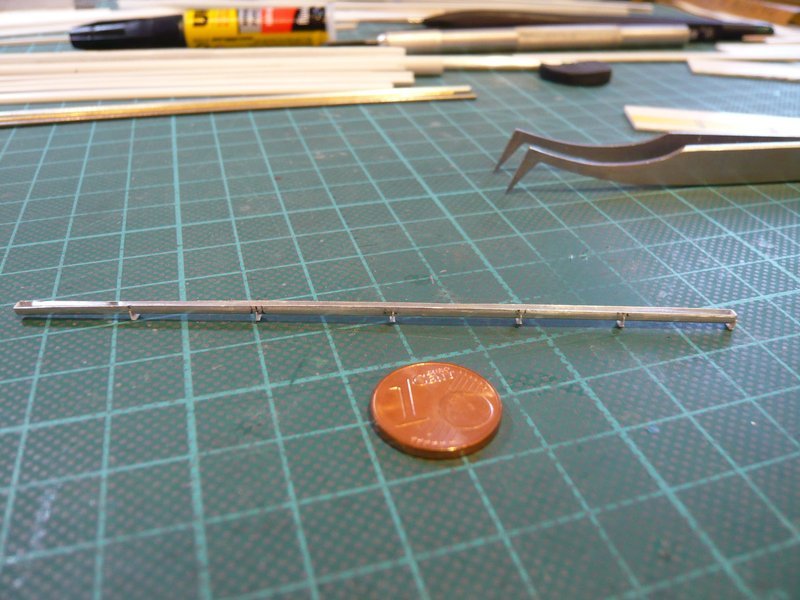
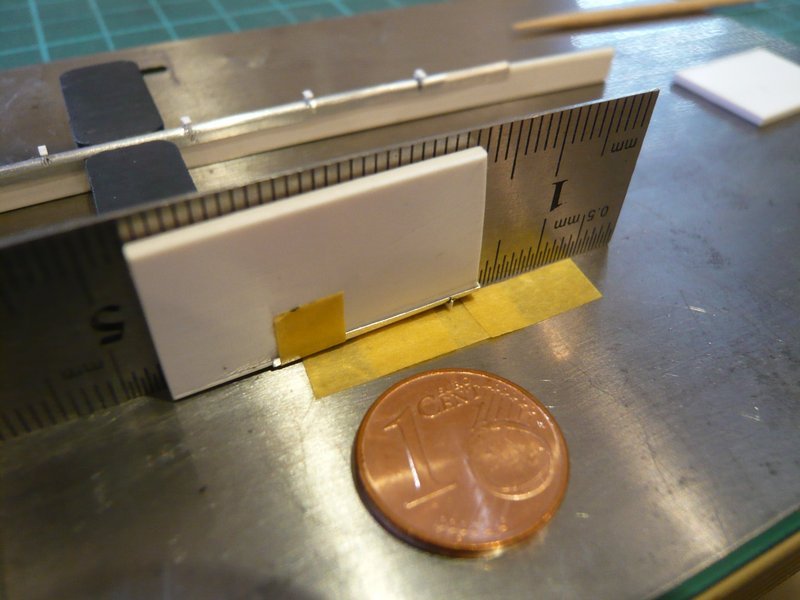
After that, only the strip at the rear edge needed to be cut off,
and the next support was ready. ![]()
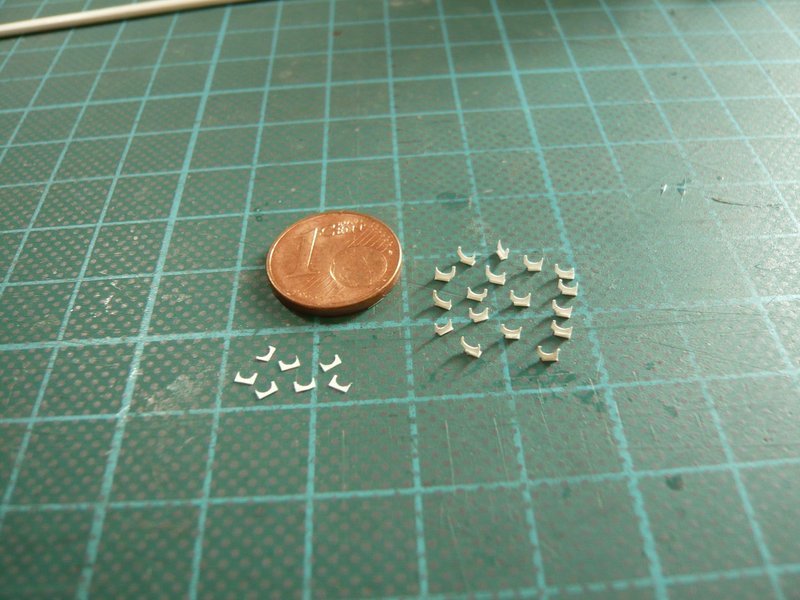
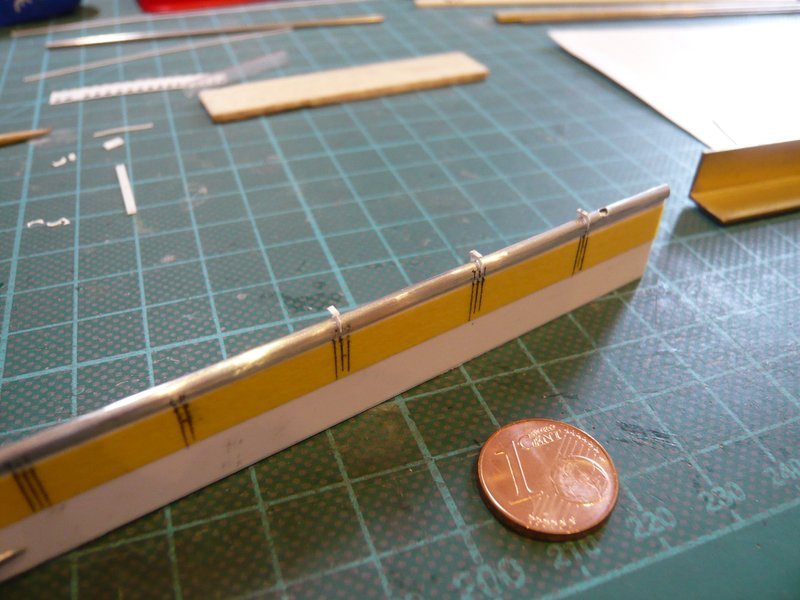
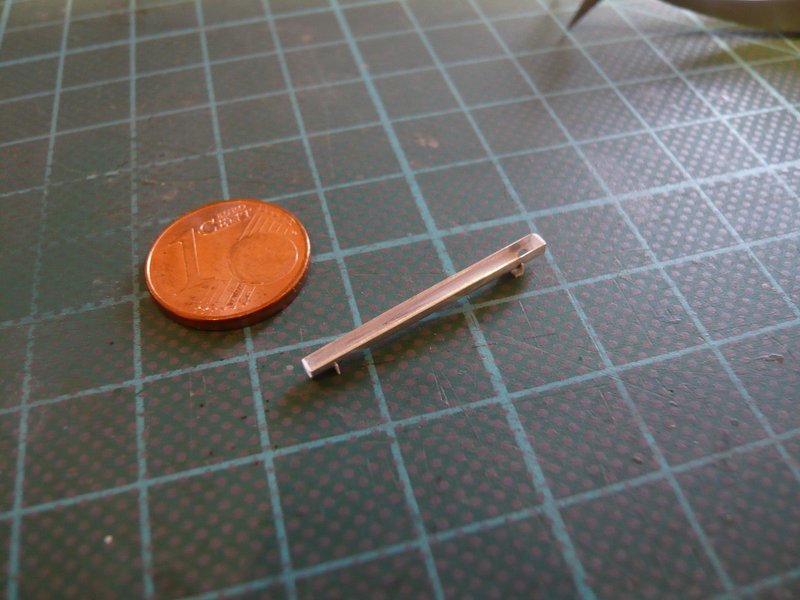
And so I have now at least already a pair,
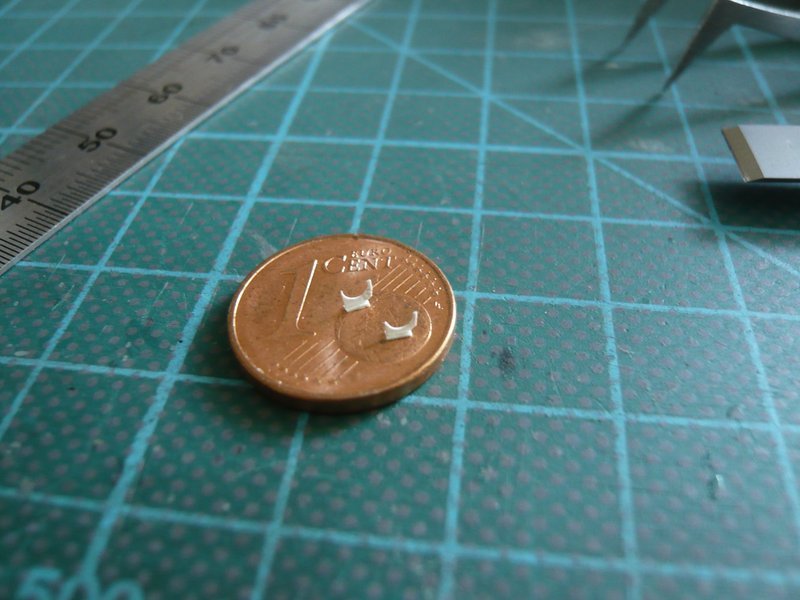
which I have tested under the gutter, which I liked definitely. ![]()
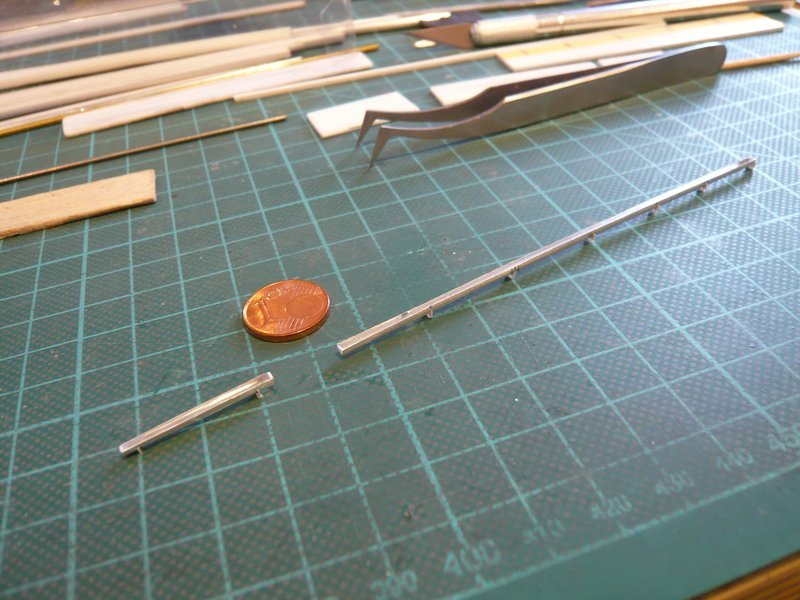
And so it can go on … ![]()
![]()
Hello everybody,
I’ve landed back at my Filder Space Center (FSC) and have now acclimatized and recovered somewhat from my fantastic vacation in the US and Canada, as my jam-packed itinerary, including four helicopter rides (New York City, Niagara Falls, Toronto, and KSC/Canaveral Port & Beach), was truly intense. ![]()
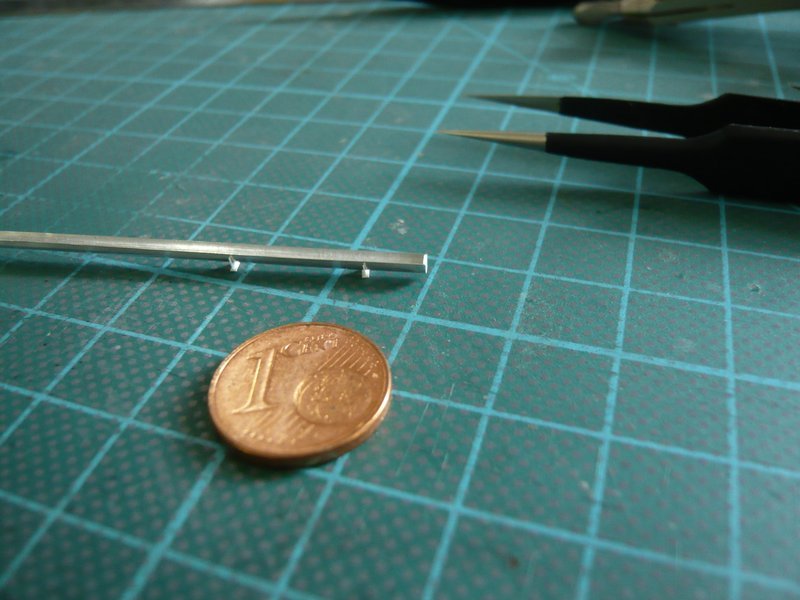
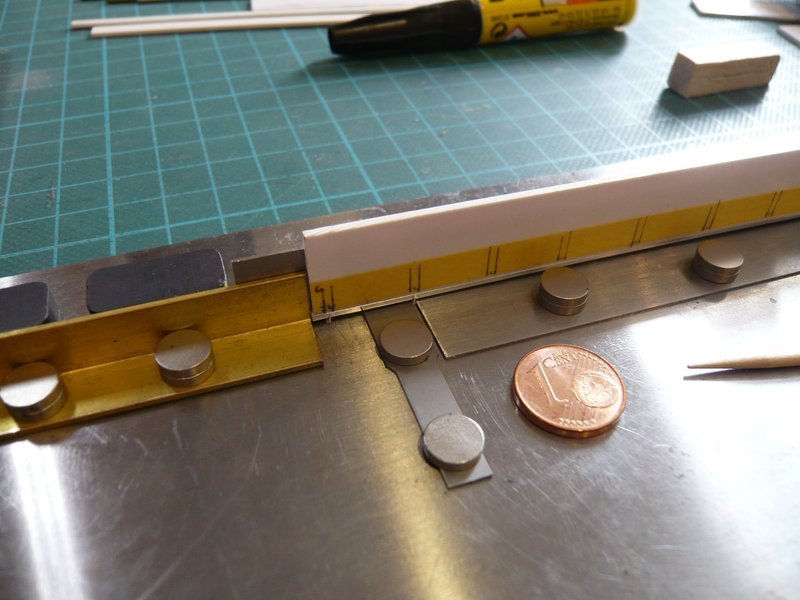
Therefore I’ll try to continue with the tiny gutter supports, where is also an easier and above all faster solution, provided one has a quiet hand and a good sense of distance, which I’ve tried now.
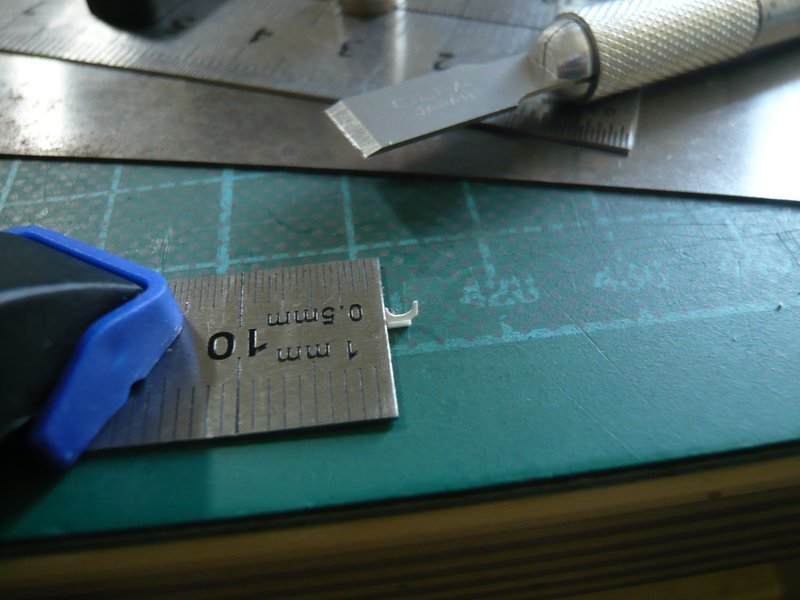
The strip is clamped between the steel rulers as before. Then I’ve tackled the support at the upper ends with the tweezer and gently dipped the edge into a flat CA drop, and set it down as centrally as possible on the strip, where it started glueing. For a short moment it is possible to correct the support’s seat minimally with the fingernail or tweezer. ![]()
Then I have still painted a little bit MEK onto both sides.
Finally I’ve cut off the front overhang with the slanting edge of the cutter chisel,
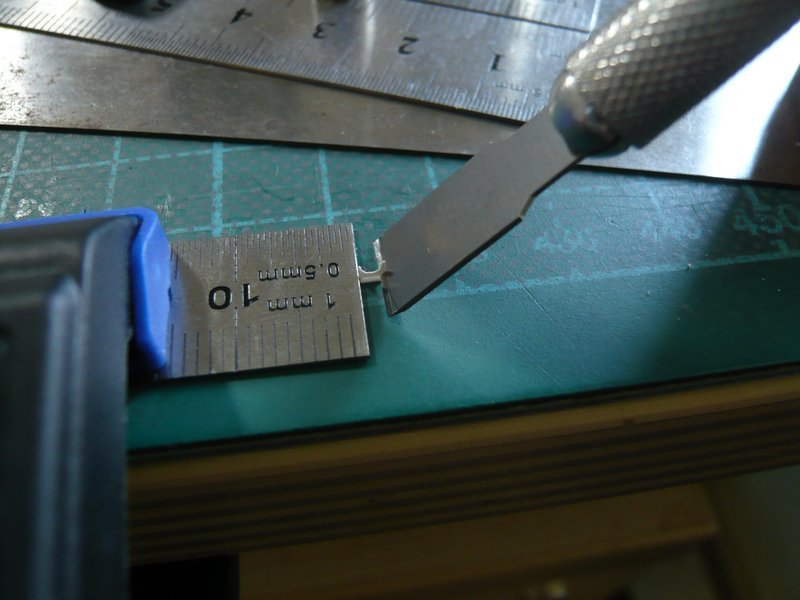
and then the rear overhang with the straight cutting edge. ![]()
And these are less handgrips than with the previous solution with the cutting compass, so why complicated, if it goes also easier. ![]()
![]()
Glad the break went well and a good time was had. Nice get back with updates on this and the support mechanism ![]()
Thanks John for checking in again after this long break. The show must go on. ![]()
![]()
Hello everybody,
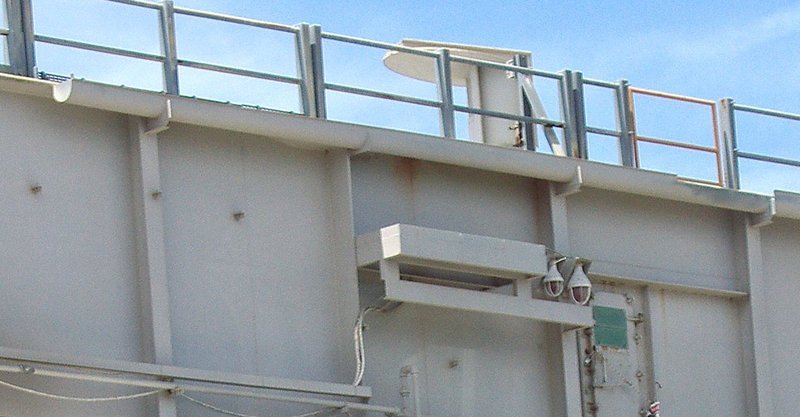
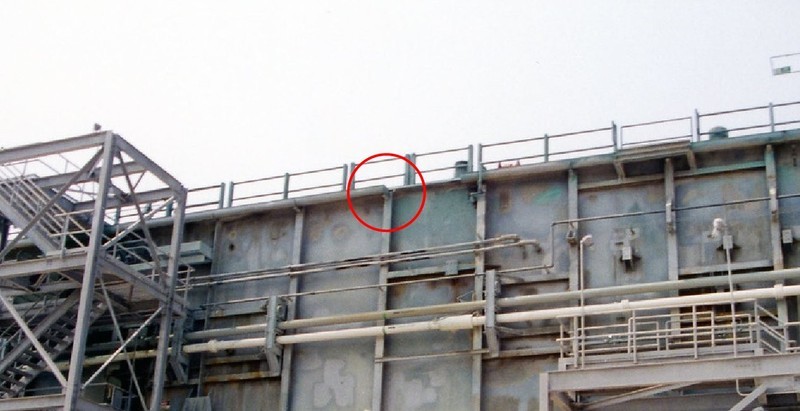
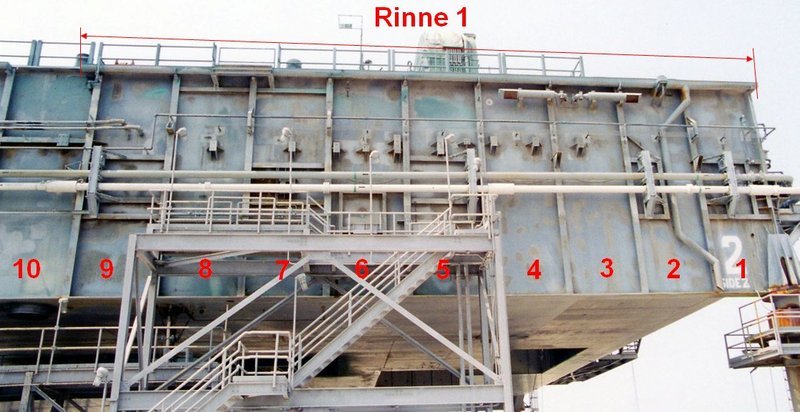
meanwhile the 19 supports for the three gutters on the Side 2 are finished. ![]()
These are the 16 supports with the lower flange, as well as three without the flange.
Two supports each are welded to the angle profiles at the front and rear corner,
and the third support sits on the narrow girder between the Bay 12 and Bay 13,
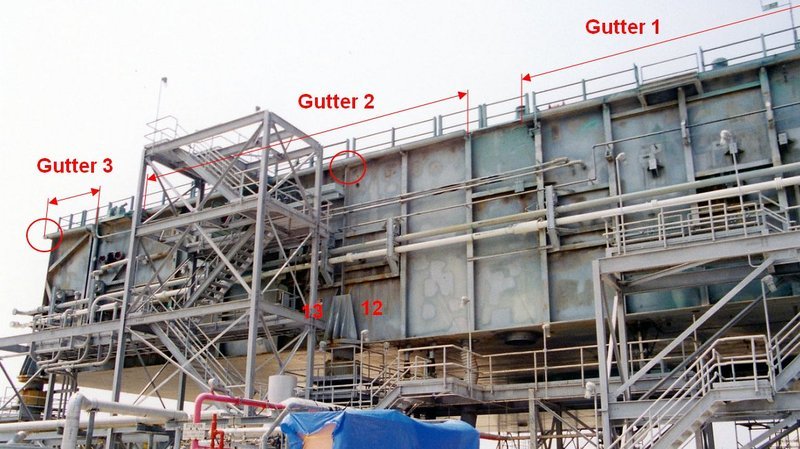
Source: apollosaturn.com (John Duncan)
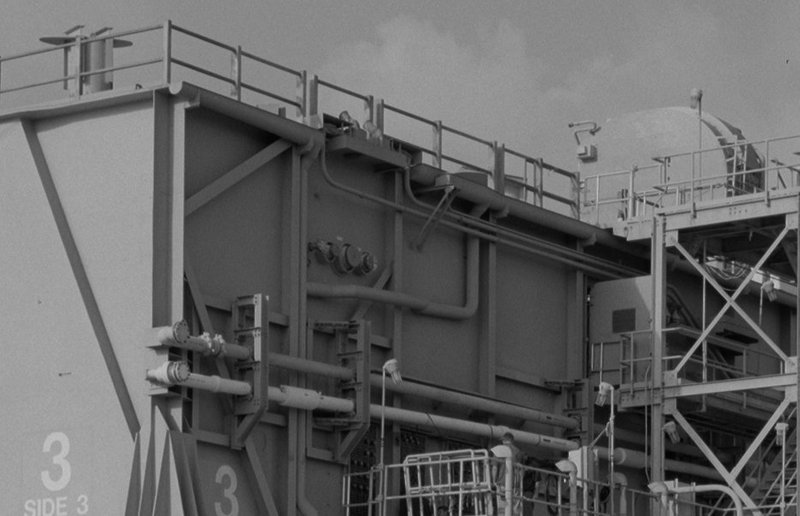
which one can see here somewhat better on Side 4. ![]()
Now I have only to work out a skilful method, how I can glue the supports on the aluminum gutters, wherefore this time only CA is suitable. ![]()
And this will probably not be possible without a special holder jig for the gutters, I think. ![]()
![]()
Hello together,
well then let’s get back to the work, if it’s also difficult. ![]()
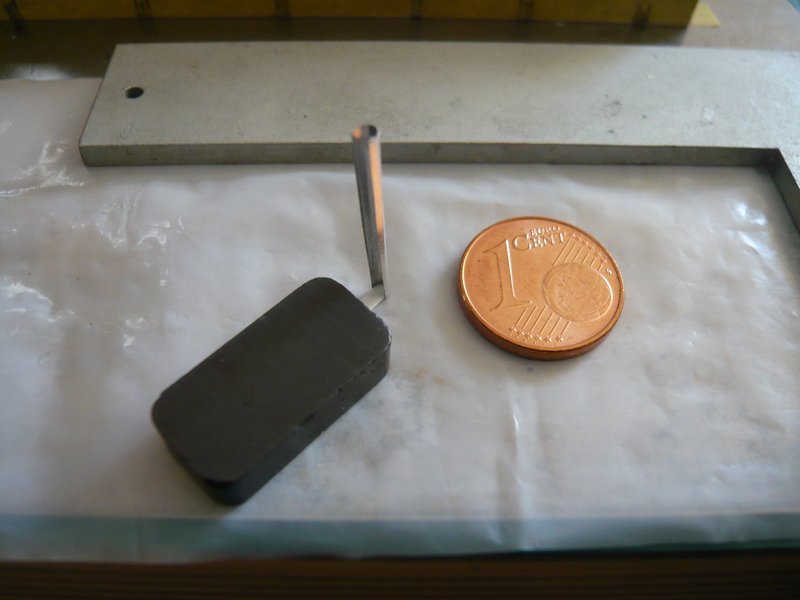
First, I tried my proposed solution with the upside-down gutter, for which I used a gutter, bended out of shape, as well as a wasted support.
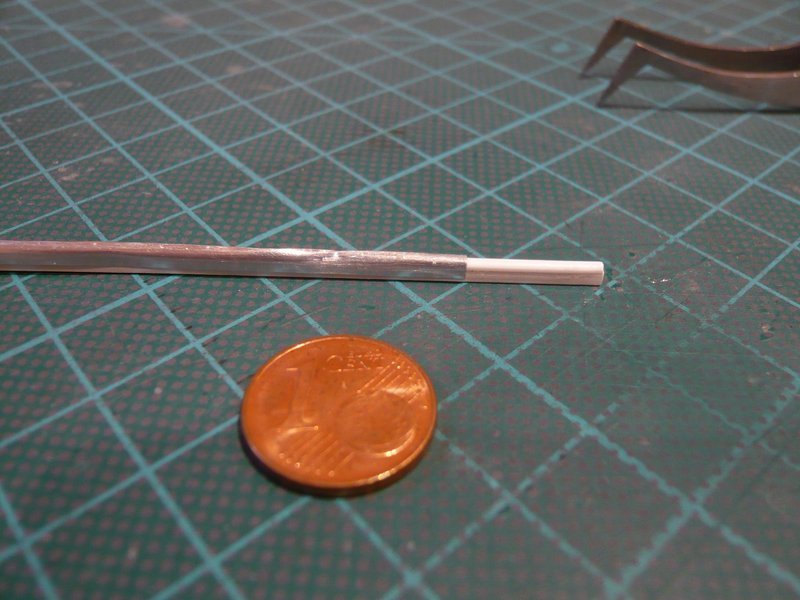
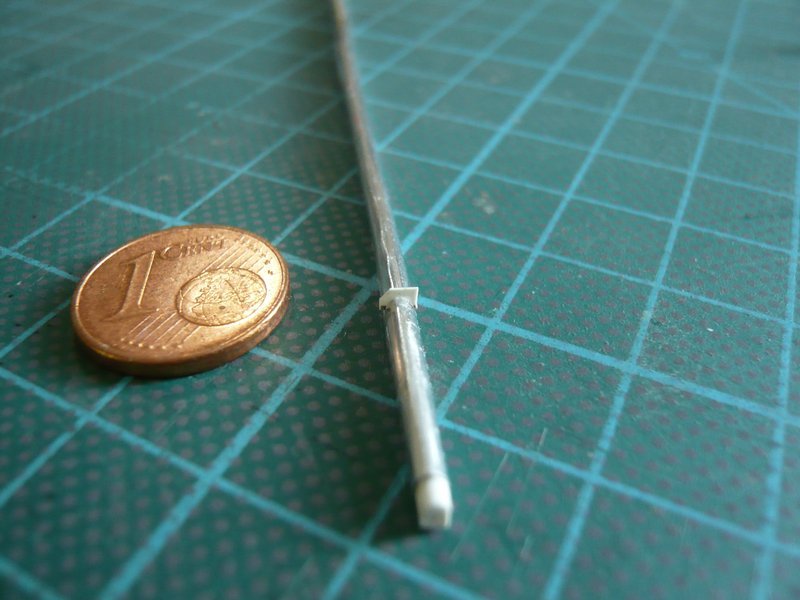
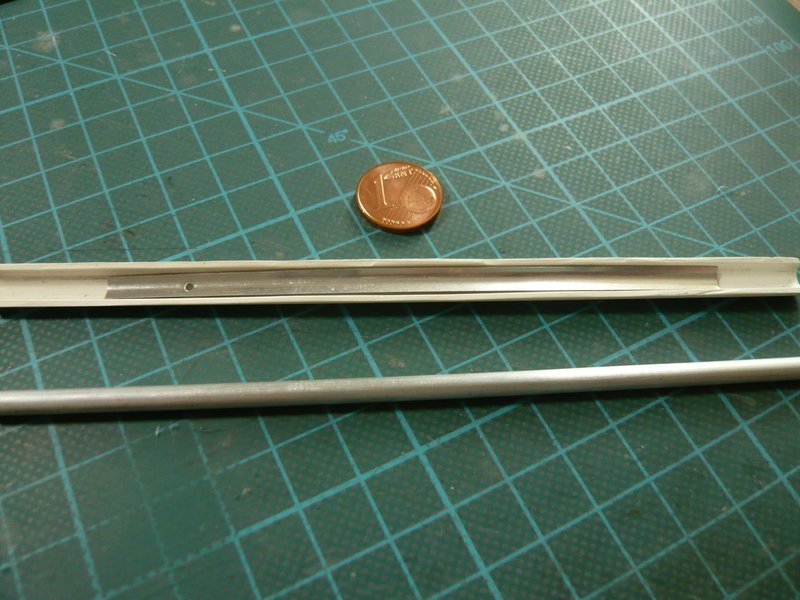
For holding the gutter I have made myself a narrow core strip, for which I have glued a 1,5 mm half-round profile on a 1 mm square bar, on which the gutter was then placed.
Since a fixed stop of the gutter is important for the gluing of the supports, my Balsa pin-and-clamp technique was again used. ![]()
Then I have tackled the support with the tweezer at the bottom edge and wetted the inner rounding carefully with an acupuncture needle with a few CA droplets. After that, I have lowered it very carefully onto the gutter, so that it touched easily the angle stop with the rear edge, and after a short moment carefully released. ![]()
Unfortunately, nothing can be corrected at this position, and either the support is centered over the rounding of the gutter and at right angles to the longitudinal axis, or also not. ![]()
Unfortunately, the latter was the case because the gutter was obviously not evenly rounded. ![]()
Then I have still tried another holding method with a cross tweezer, for which the gutter with the inserted core strip was fixed between magnets.
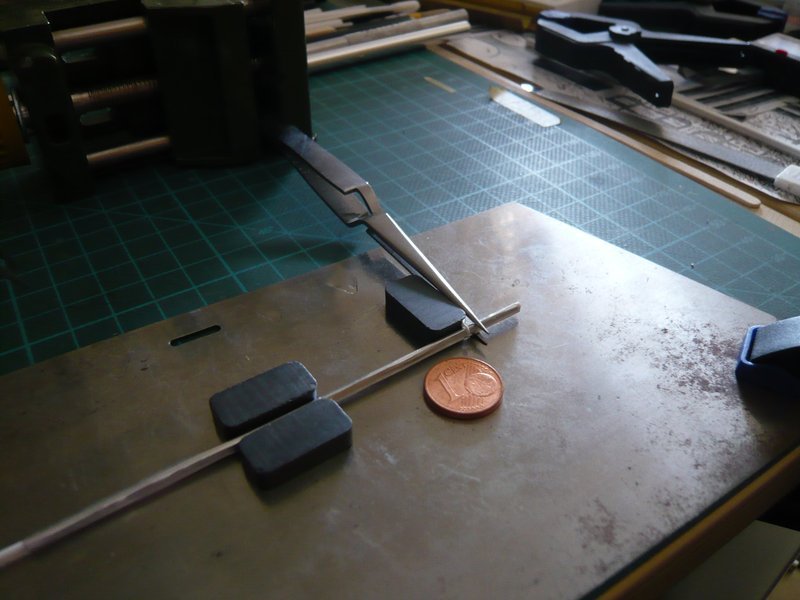
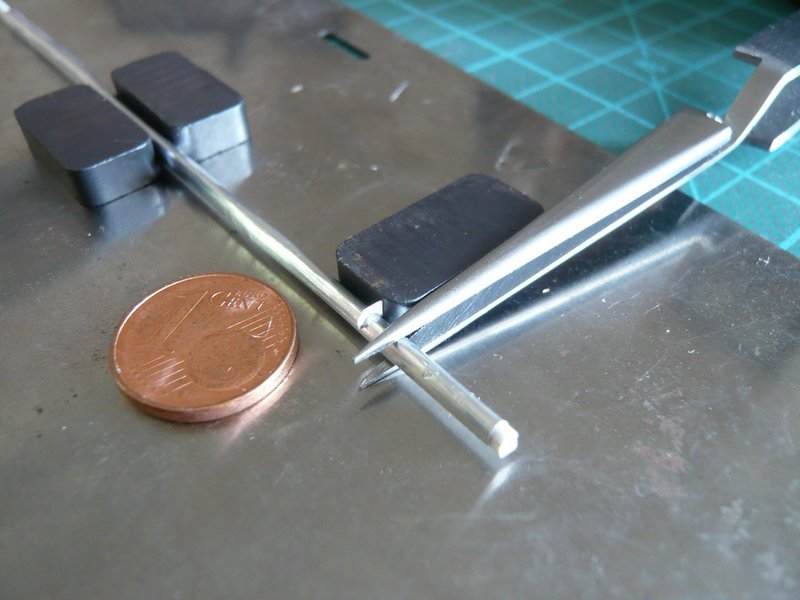
But also this time the seat of the support was not perfect.
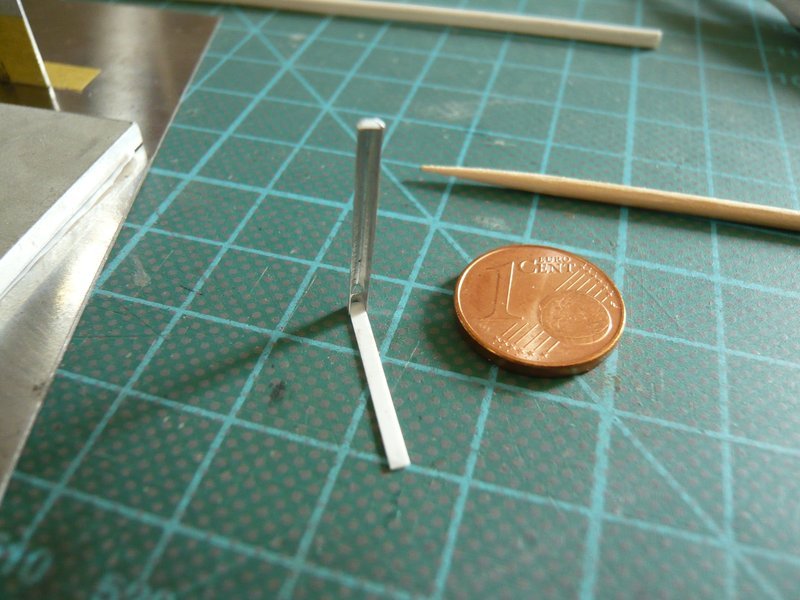
That’s why I probably will return to the upright arrangement of the gutter, as it was shown already one time. ![]()

For this I will clamp the support upright between two steel rulers, whereby they are standing already vertical. And then the gutter with the core strip at the angle stop is lowered to the inner rounding of the support, which was previously wetted with CA. ![]()
And also by using this method it will be advisable to glue the supports successively separately with the gutter, which I will try next time. ![]()
![]()
Hello everybody,
I have yet again changed my plan and moulded a new Gutter 2, since the first gutter had been a little too short. ![]() This is the gutter with the hole for the downspout, which then flows into the vertical downspout at the end of the Bay 17.
This is the gutter with the hole for the downspout, which then flows into the vertical downspout at the end of the Bay 17.
After the hole (Ø 1,5 mm) for the downspout was punched, the gutter was again moulded in the gradually decreasing half-tubes with corresponding core wires. ![]()
Then the gutter floors were glued in,
and the gutter was finished. ![]()
But tomorrow the supports really will follow. ![]()
![]()
Well done for thinking of so many ways to get the supports to look correct with how they are fitted. Even that is an in depth trial and error process ![]()
Thanks John,
yep, these tiny details are quite time consuming, but they’re part of the game. ![]()
![]()
Hello together,
today I have tried to put the planned method for glueing the supports to the gutter into action, which has expectedly proved to be a difficult undertaking. ![]()
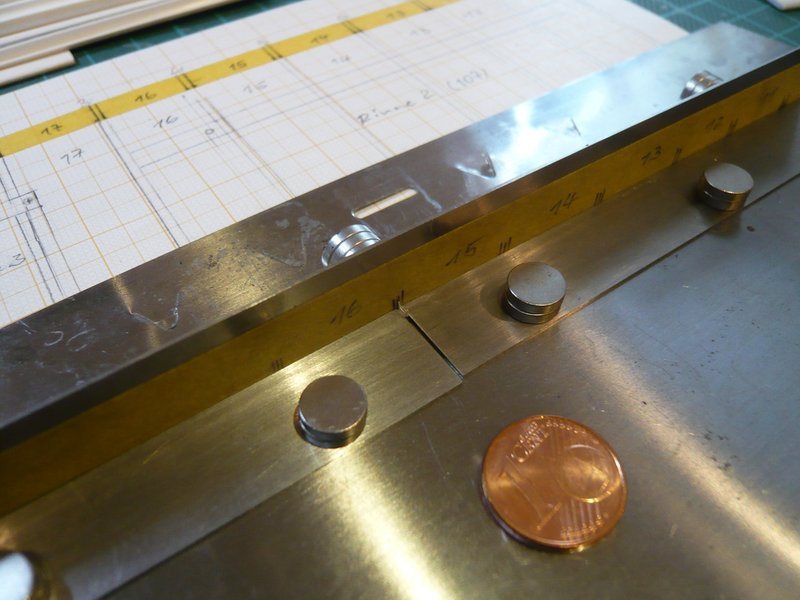
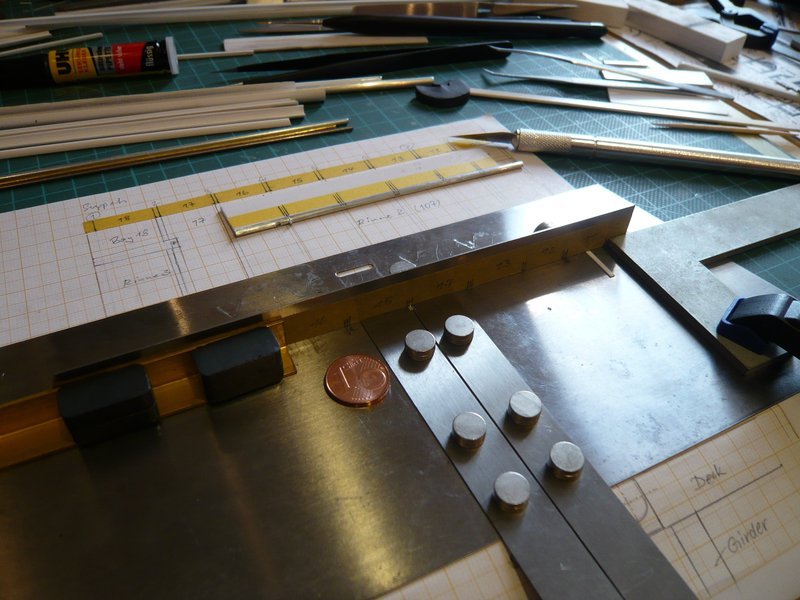
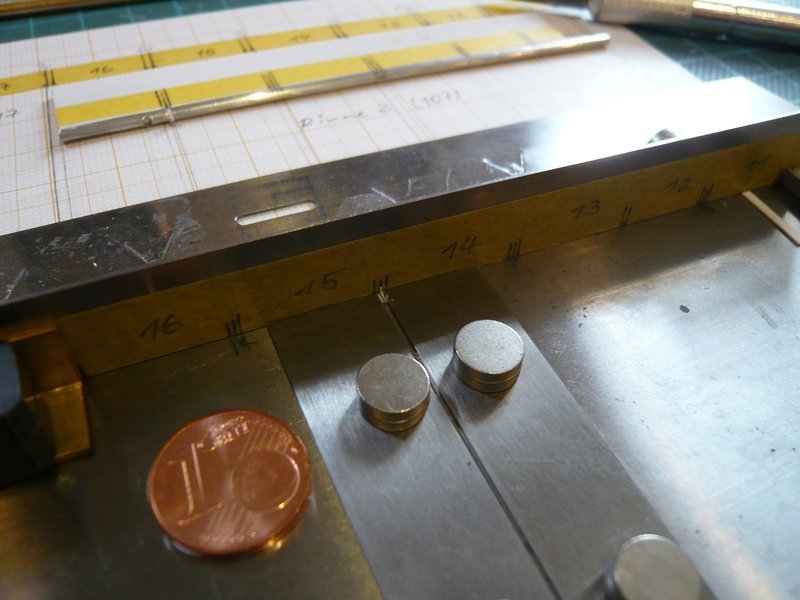
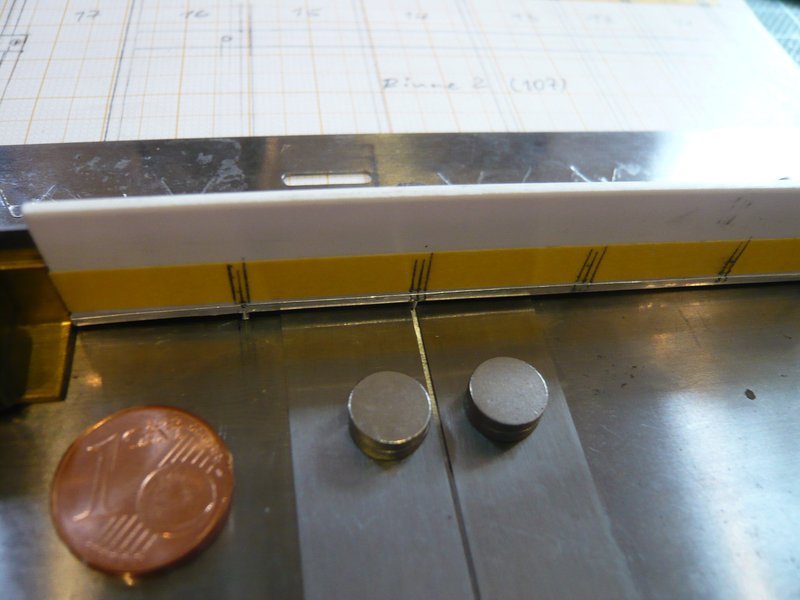
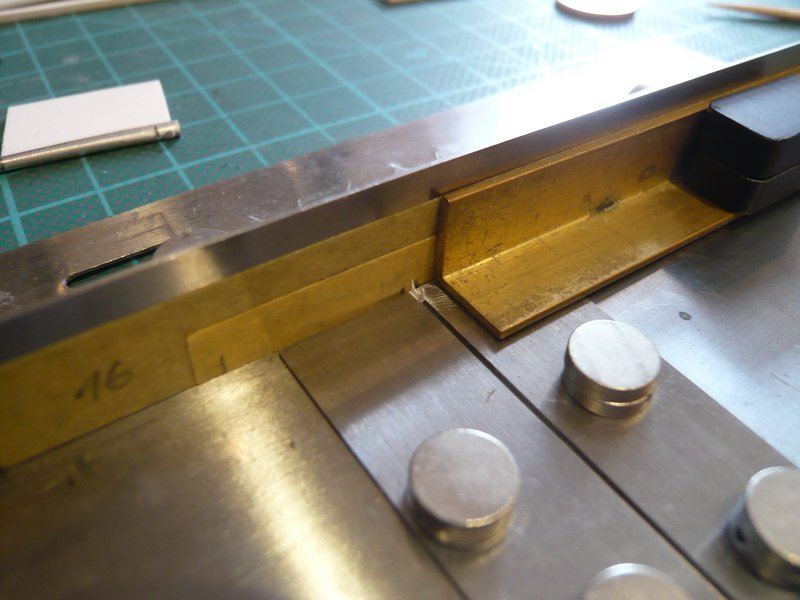
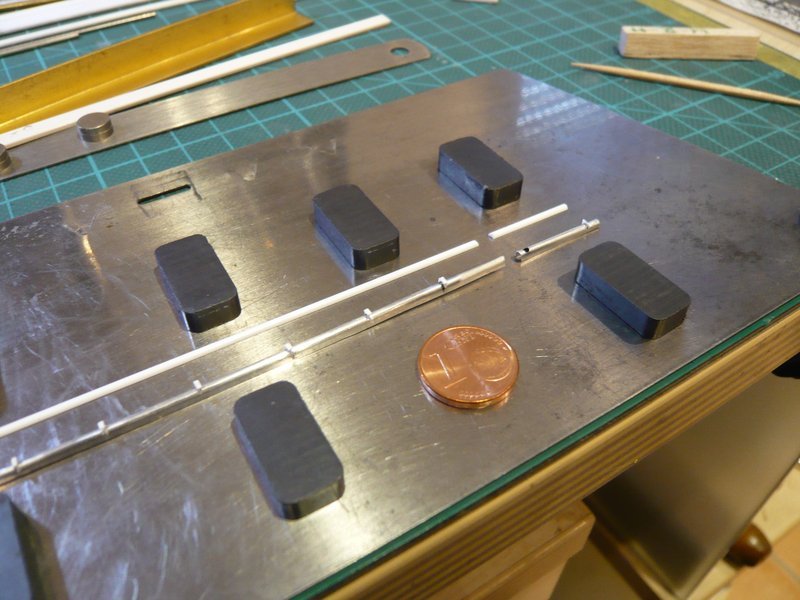
For fixing the supports between the steel rulers I needed again my steel sheet, on which I first attached a tape with the support distances.
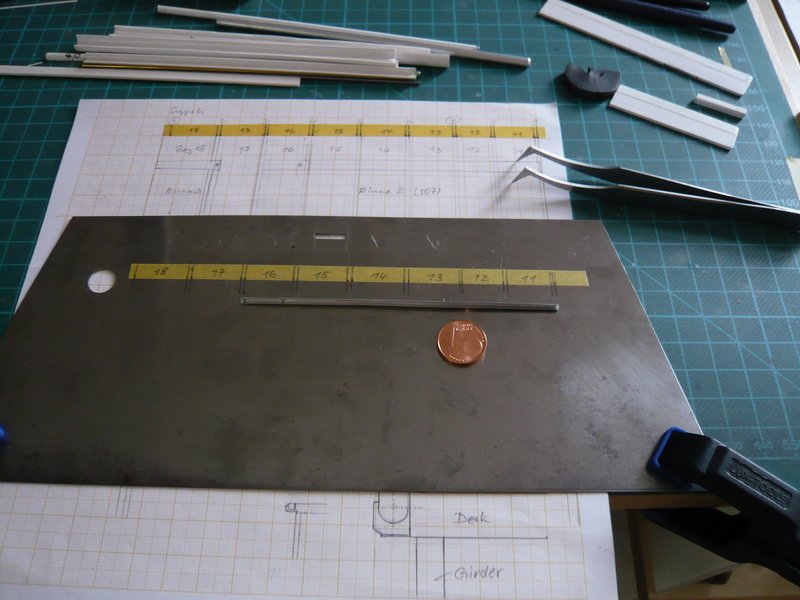
As a vertical stop for the gutter, I fixed a steel ruler vertically in front of a longer brass angle with magnets,
behind which however unfortunately also my markings disappeared, ![]()
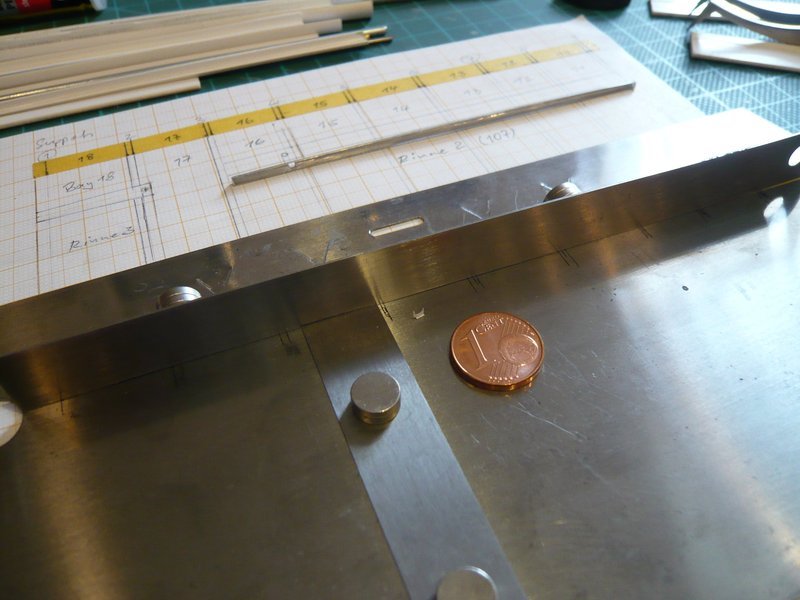
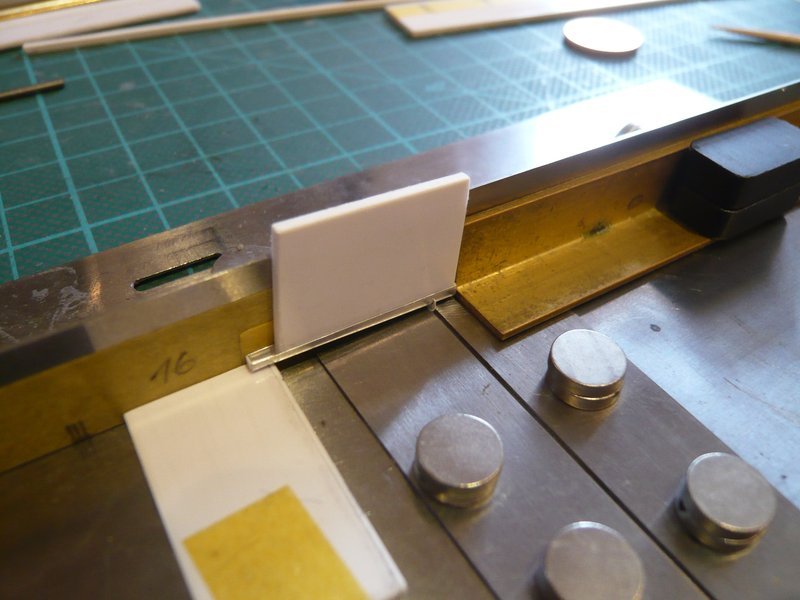
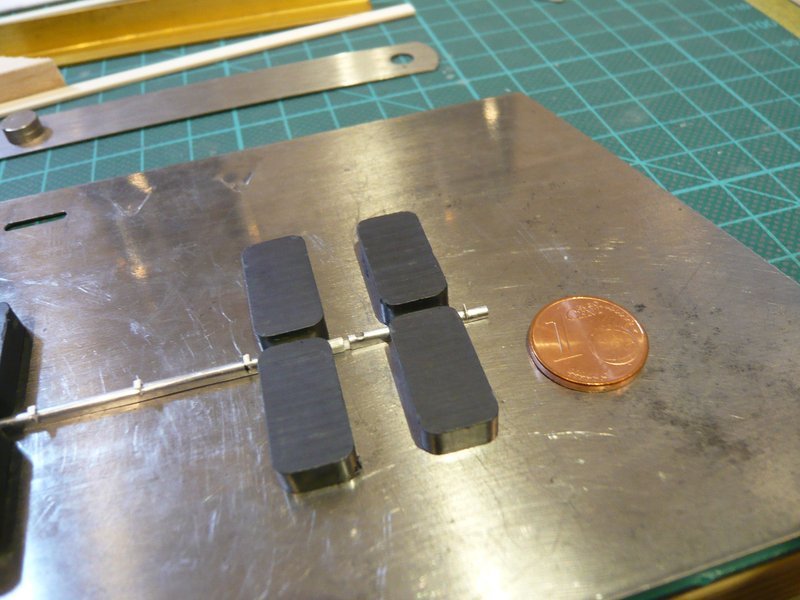
which is why I’ve also taped the same marking tape on the ruler. ![]() And in front of this stop, I then clamped the first support between two more steel rulers and fixed them with magnets.
And in front of this stop, I then clamped the first support between two more steel rulers and fixed them with magnets.
After that, I have put the gutter with the core strip on the support and eyed the arrangement up, which was okay so far, ![]()
Therefore, I had to change my plan and fixed the gutter with an additional steel ruler as end stop.
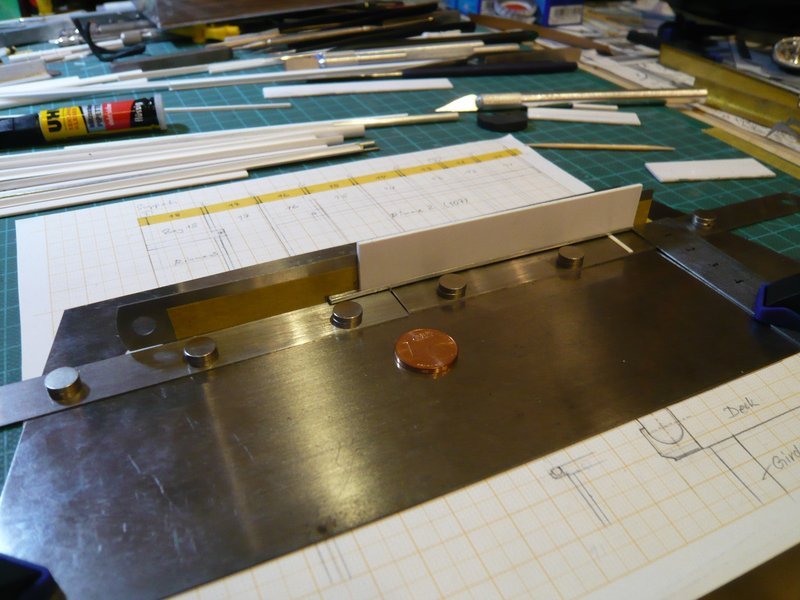
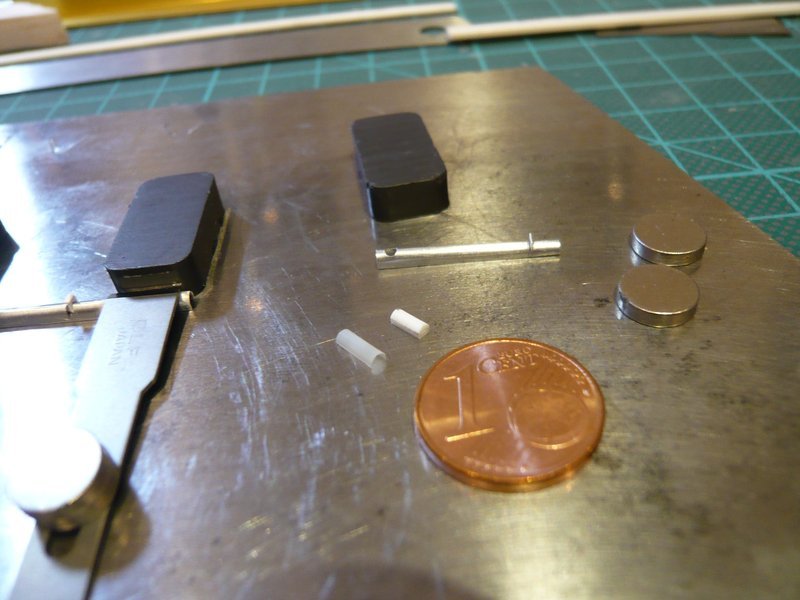
For glueing of the support, CA had to be applied there, the question was only how or where best, so that in the end not everything glues together … ![]()
In order no risking that the support during the CA application would glue between the steel rulers, I have marked the contact point at the gutter. Then I took the core strip away, dabbed a mini-CA droplet on the front rounding of the gutter and then positioned the core strip including the gutter to the rear stop and finally lowered it carefully to the support, ![]()
what has worked well so far. And after removing of the core strip, the gutter glued only at the support, ![]() so that the rulers could be removed too.
so that the rulers could be removed too.
For stabilization, I have carefully dabbed the support from both sides with CA with an acupuncture needle,
wherewith the first support had been successfully glued. ![]()
And since this method has worked as I have imagined it and has proved itself, the glueing of the remaining supports can now take place in a similar way. Every beginning is difficult. ![]()
And so you are now up to date again. ![]()
![]()
Hello everybody,
after the successful glueing of the first support today I have glued the remaining five Supports at the Gutter 2. ![]()
In order to get with the steel rulers into the interstices between the supports, however, I had to clamp them vertically, otherwise it was the same procedure as before.
For clamping the tiny supports between the rulers one needs, however, patience and a quiet hand, since the supports can quickly tip over. ![]()
Then CA was applied again and the gutter with the core strip lowered to the second support and glued thereby.
And so it went on until the fifth and penultimate support on this gutter. ![]()

Then came the last support, which lines up precisely with the gutter end at the beginning of the Bay 11, as one can see in this image.
Source: apollosaturn.com (John Duncan)
And after this support was glued,
the Gutter 2 was finally finished. ![]()

Next, the short Gutter 3 follows at the end of the Side 2, which has only two supports, and thereafter finally the Gutter 1 at the front of the side with its nine supports.![]()
![]()
Hello everyone,
as already announced, the short Gutter 3 at the end of Side 2]() came next with only two supports as one can see in this image. ![]()
Since I had already shaped the gutter some time ago,
now only the gutter soils with CA had to be glued in, which again happened on Teflon foil,
and relatively quickly was done.
Afterwards, the support (with flange) was clamped in the known and proven manner between the steel rulers,
and above it the gutter was glued as usual. ![]()
The assembly was then turned upside down and the rear support (without flange) glued.
And so the Gutter 3 was already finished, ![]()
and fits well to the Gutter 2.
Now still missing the front Gutter 1, which is running from the Bay 9 up to the Bay 1 at the beginning of Side 2. ![]()
![]()
Hello everyone,
although these tricky gutters also do not necessarily lead me to cheers, it does not use anything, and therefore the work must go on.![]()
And now to the Gutter 1, which is supported by eight supports with a flange and by one support without flange at the beginning of the Side 2. ![]()
Source: apollosaturn.com (John Duncan)
In contrast to the side end (Bay 18) the gutter, flattened outwards above the Bay 1, is connected to the other gutter part directly at the outlet of the downspout in front of the front girder, which is why there is no support there. Therefore, both gutter parts must be glued directly dull one to another at this point, which should not become quite easy as the edges will probably provide little sufficient area due to the very thin aluminum plate (0,1 mm).
Here one can see both gutter parts lying on a narrow core strip, so far so good.
At first, the bottom of the gutter was glued at the back end.
Subsequently, the glueing of the supports took place according to the tried and tested clamping technique,
almost as before. ![]()
Since the distances between the girders in the front part of the side is slightly less than in the rear part, the steel ruler did not fit between them in the following Bays, which is why I had to redispose. But with narrow cutter knives as a stop, the problem was solved quickly, ![]()
it went on fast, and up to the 7th support everything looked well. ![]()
But during constant handling with this unwieldy structure I must have somehow nudged to the third support, whereby its lower flange was suddenly kinked off. ![]()
After the support had been repaired, he could be glued again and closed the gap.
Finally, the last support between the Bay 2/3 followed,

whereby this gutter part was completely supported.
But now the more difficult part of the exercise was next to do, namely, the dull gluing of both gutter parts, which has given me some headache. ![]()
For this I firstly came up with this stable magnet fixing of the gutter over a somewhat wider core strip, which was unfortunately thought too short. ![]()
In this arrangement, the top edge of the front gutter part would run outwardly obliquely, what should not be,  but rather it must be exactly the other way round. In contrast, the upper edge of the gutter is a continuous line, while the lower edge slightly rises towards the outside.
Therefore I have glued the external support without flange, which I first wanted to lay down from above (here only temporary done), ![]()
what I but then differently have done, because one this tiny part can hardly hold still in the tweezers, let alone put exactly straight to the point. ![]()
That is why I stapled the support on a conversely glued tape strip and then carefully lowered the gutter end, dabbed with tiny CA,
which also worked well.
And now again to the dull gluing of the two gutter parts flat above two half-round profiles (1,5 mm) for better guidance.
In order to achieve a possible flush connection of the two roundings, I then have glued a small supporting profile (0,5 x 1,5 mm rectangular profile + half-round profile),
and inserted it into the longer gutter part together with a Teflon strip as CA protection. ![]()
Afterwards, I dabbed the gutter end on the rounding with CA and layed the part over the support profile and lightly pressed, in the hope that both parts would somehow glue together.
Unfortunately, this hope has not been fulfilled, because after removing the supporting profile from the gutter suddenly two parts were laying in front of me again. ![]()

So I was rather frustrated and I have to think about a different solution, which is why good ideas are required. ![]()
So please feel free, but rather come up with it. ![]()
![]()
Another great update and meticulous work on those gutters, it really paid off as they great (and you have to remember just how small it all is)
Really great and also inspiring work ![]()
Truly mind-bending, if I get a headache just reading this guttering section I don’t know how you cope while building it?! Talk about becoming “kinked off”! As for your problem, it’s probably not the best suggestion but how about Araldite?
Thanks guys, lets look forward. ![]()
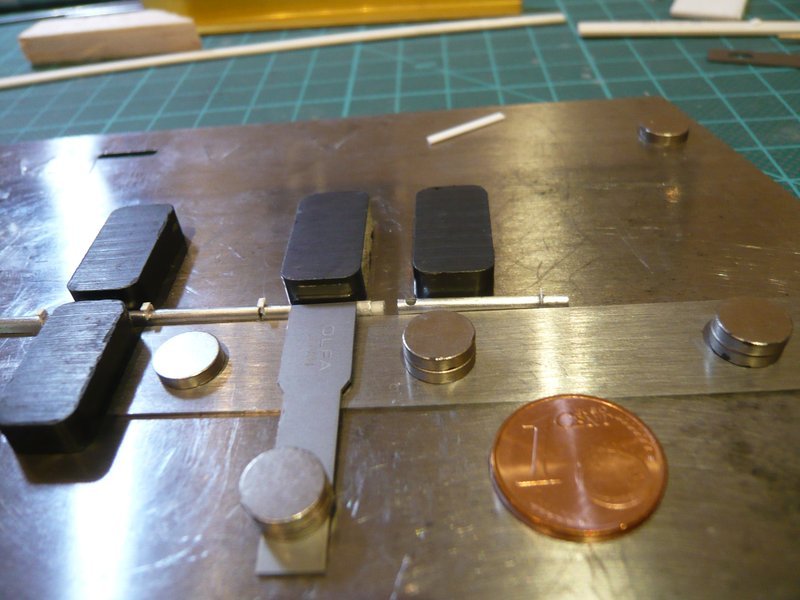
Okay, admitted, this delicate matter is really not very easy, because the gluing surfaces (cannot to be said actually) or better the gluing edges (0,1 mm) are much too narrow. ![]()
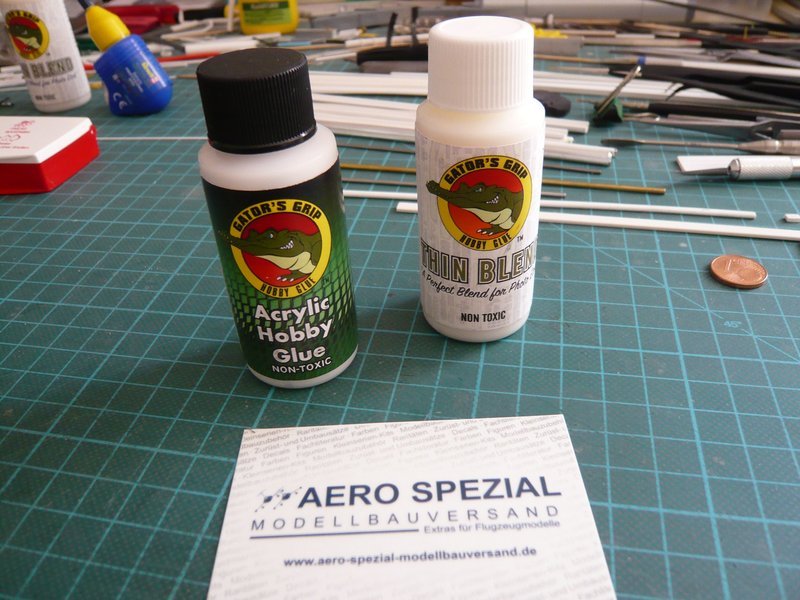
To the actually obvious idea, ![]() of using the special glue for photo-etched parts (PE) Gator’s Grip-Thin Blend instead of CA I could have come already earlier, especially since its application is simpler and even more advantageous. But sometimes one cannot see the forest for the trees …
of using the special glue for photo-etched parts (PE) Gator’s Grip-Thin Blend instead of CA I could have come already earlier, especially since its application is simpler and even more advantageous. But sometimes one cannot see the forest for the trees … ![]()
I had previously only planned its application for the gluing of the various PE parts at the FSS/RSS and therefore it falled a bit into oblivion. ![]()
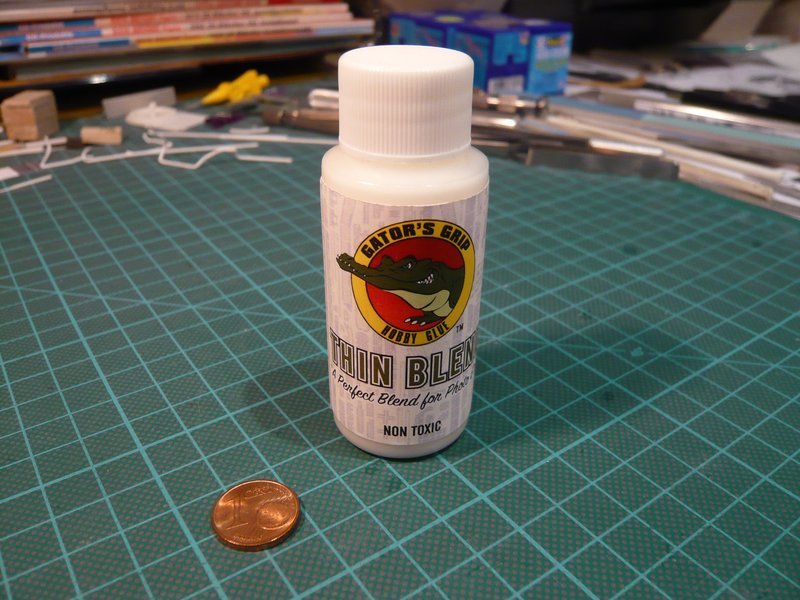
A significant advantage of this glue is that it is water-soluble and does not cure as quickly as CA. This allows one to correct the seat of the parts for a while. During this time, the initially milky white color changes into transparent, indicating that the adhesive is dry and cured. ![]()
A further advantage is the amazing elasticity of the glue in the cured state. While a contact that is glued with Seku can break away quickly, as with one gutter support, the Gator’s Grip contact itself can withstand a bending by 90° and then re-erect itself, ![]() also known as Memory effect, what I initially did not wanted to believe.
also known as Memory effect, what I initially did not wanted to believe.
And this variant I have tried today. ![]()
Here one can see the put together gutter dummies, which I have just before lightly painted inside and outside with the Gator’s Grip, as well as a similarly attached support.
After a drying time of about 10 minutes it looked like this. The gutters were actually tightly connected and held out a slight bend without breaking apart. ![]()
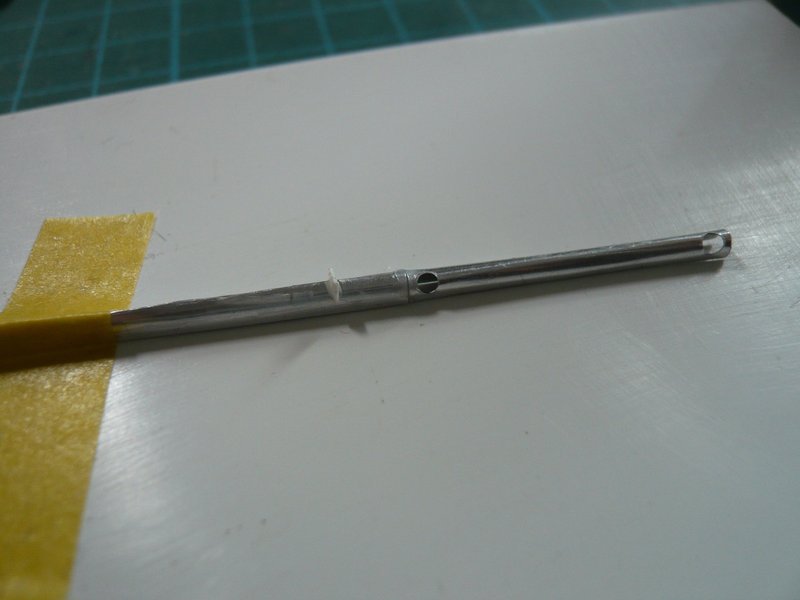
In addition, I also have glued an old PE ladder as well as a piece of handrail upright onto a plastic pad and let dry.
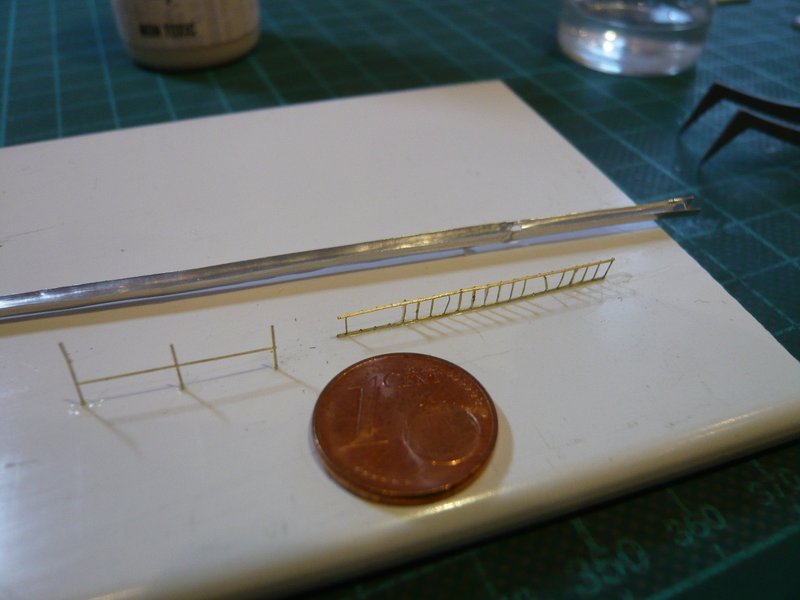
And then followed the brutal nail test for the ladder by loading of a tweezer, what overwhelmed it. ![]()
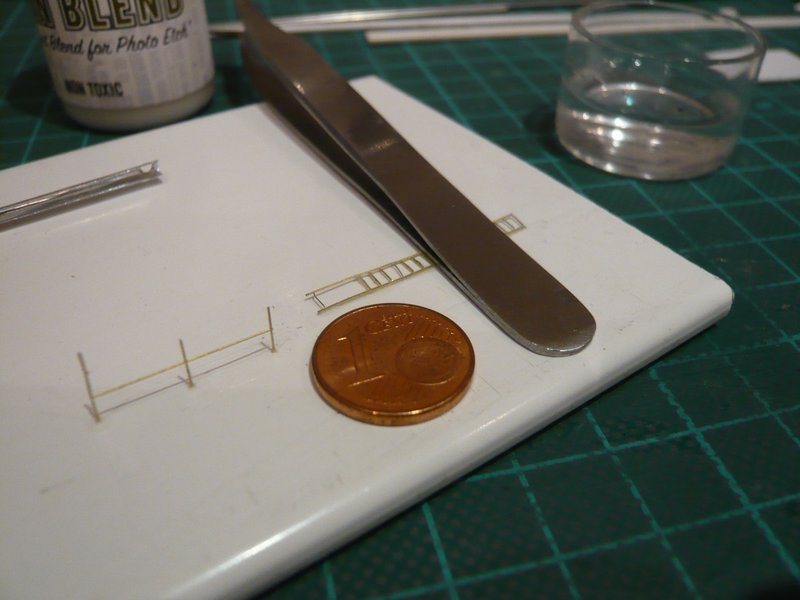
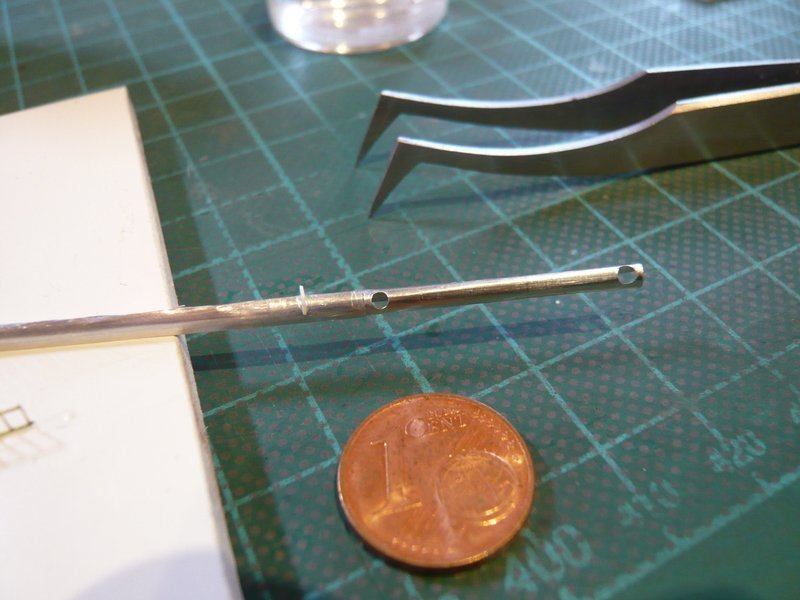
And whether one believes it or not, after taking the tweezers away, the miraculous resurrection of the ladder began, here after half of the recovery from this strain, ![]()
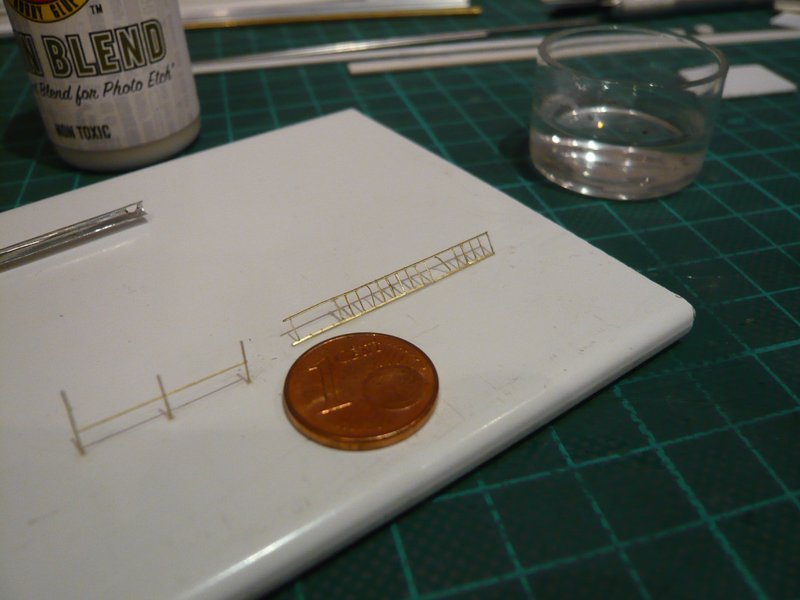
and then almost to the starting point.
And the handrail finally had to bend itsef under my cent coin, ![]()
but had surprisingly the same abilities and stood up again little by little, although these are only point contacts!!!
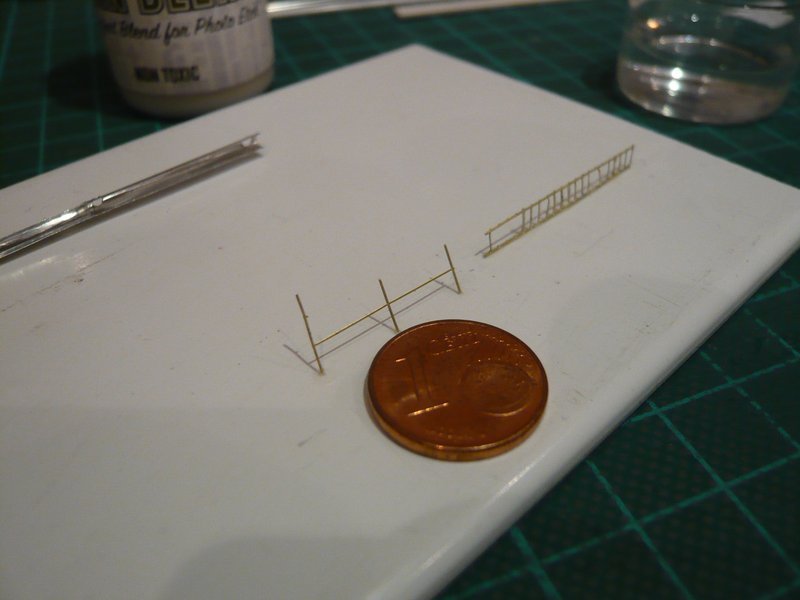
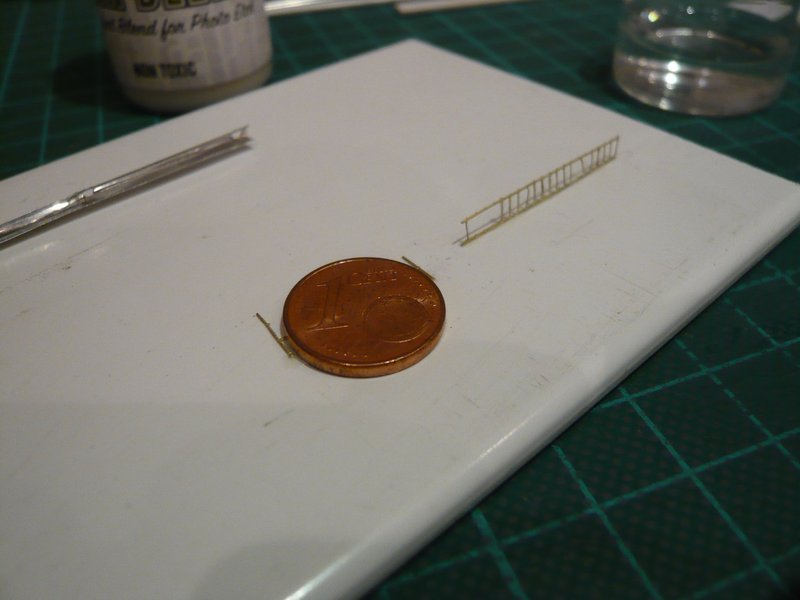
Finally here once again the state of the probands after this stress test, which impressively proves their total recovery. What more do you want? ![]()
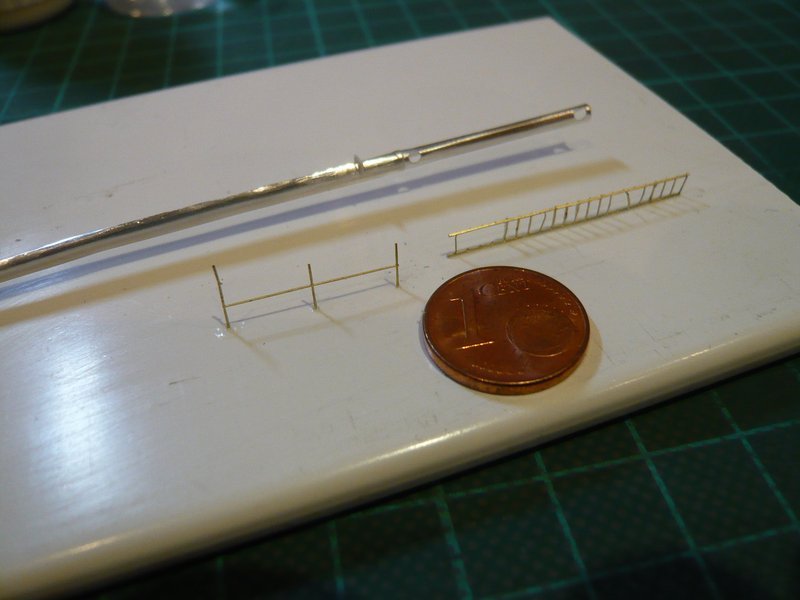
As a conclusion, I can say rightly that the test reports have not promised too much, and that Gator’s Grip is really a hellish stuff that convinced me and will be helpful to me when gluing the next gutters on the Side 4, as certainly also in the gluing of the gutters at the MLP deck. ![]()
![]()
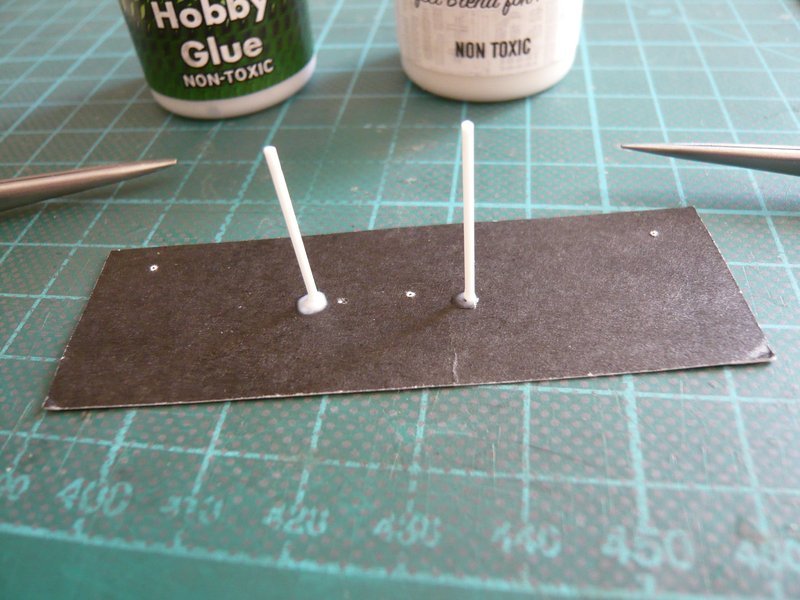
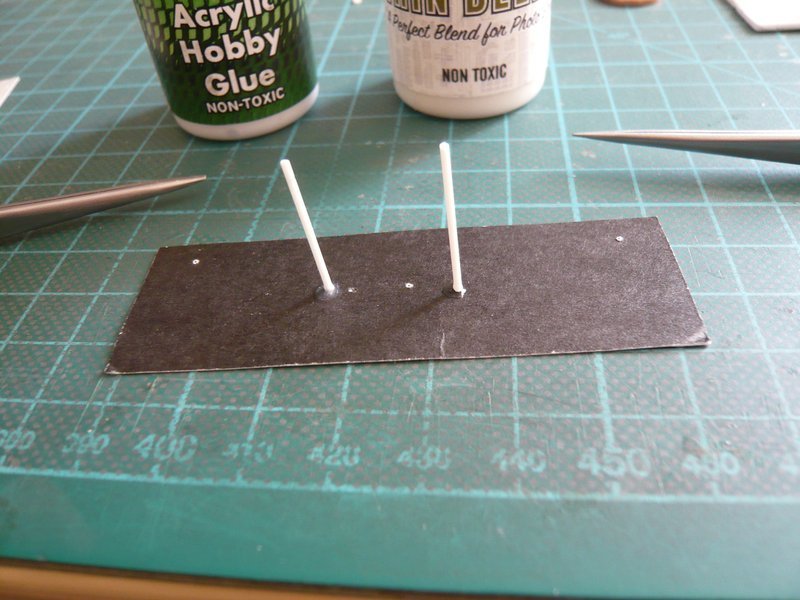
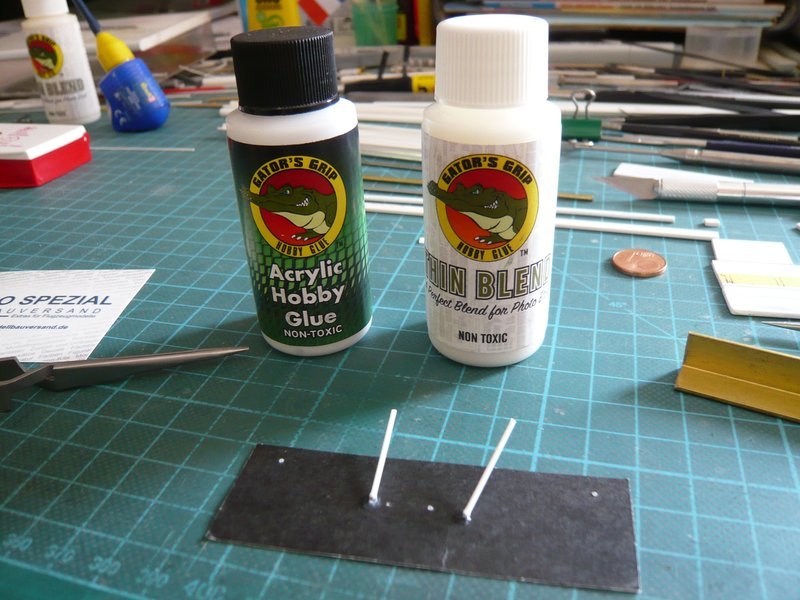
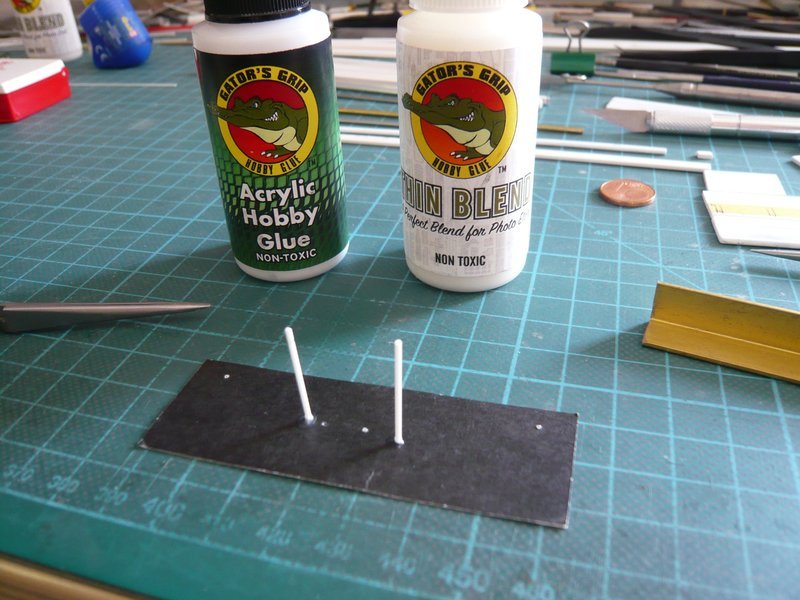
Hello everybody,
since I can order Gator’s Grip also in Germany, I have tested both varieties in comparison, because I was interested in the difference. ![]()
While the Original Blend is rather pasty and resembles conventional wood glue, the Thin Blend is not fluid, but noticeably thinner.

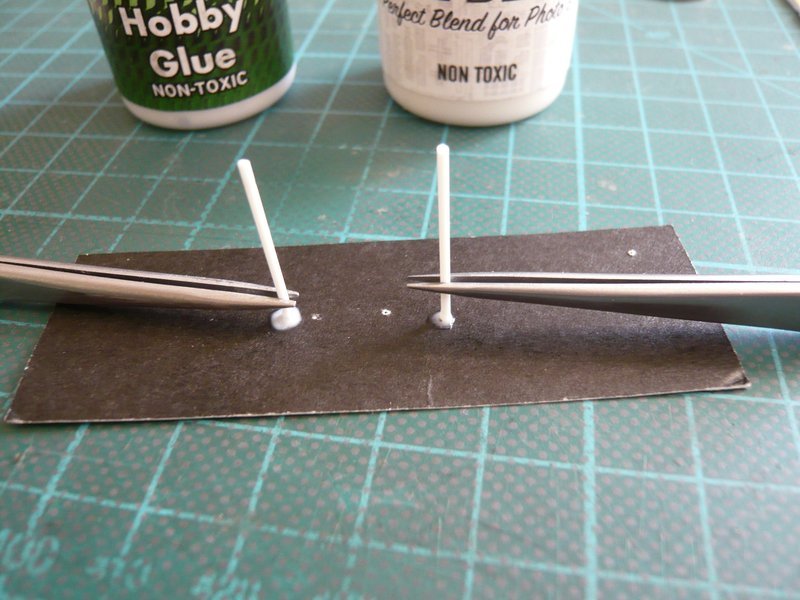
And since the Gator does not bite immediately like CA, I had to hold the two plastic rods first. ![]()
As can be seen after a dry time of 5 minutes the Thin Blend actually dries faster, and the milky white color already begins to become transparent.
After 10 minutes, both samples are standing already by itself.
After 15 minutes, the Thin Blend should be almost cured.
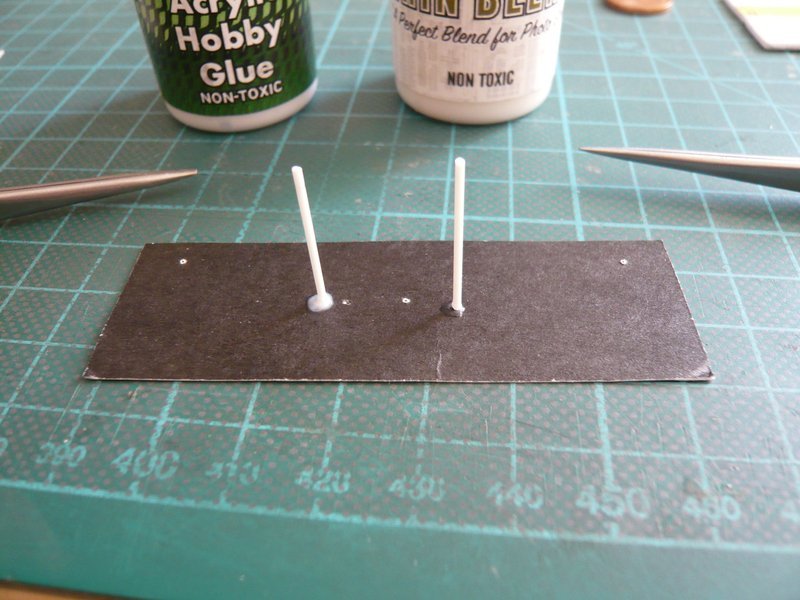
After 20 minutes:
After 25 minutes:
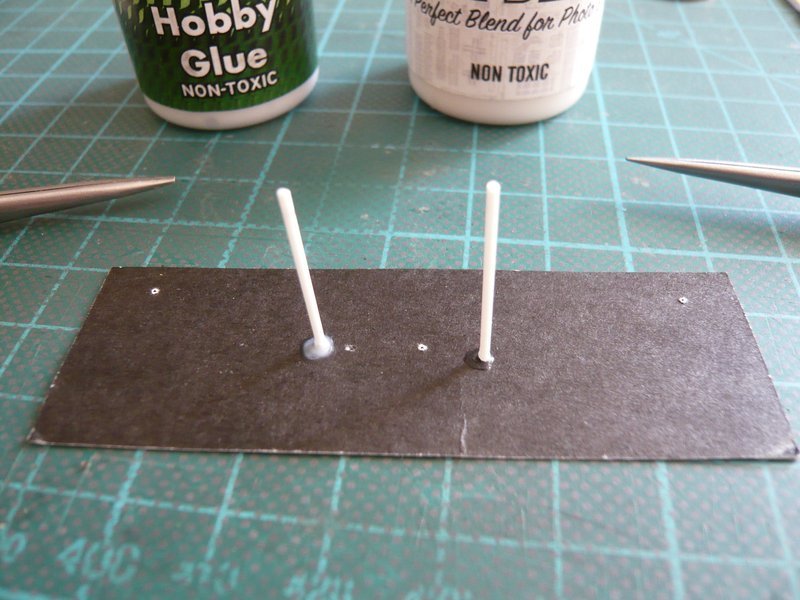
After 60 minutes the original glue was still not quite transparent. ![]()
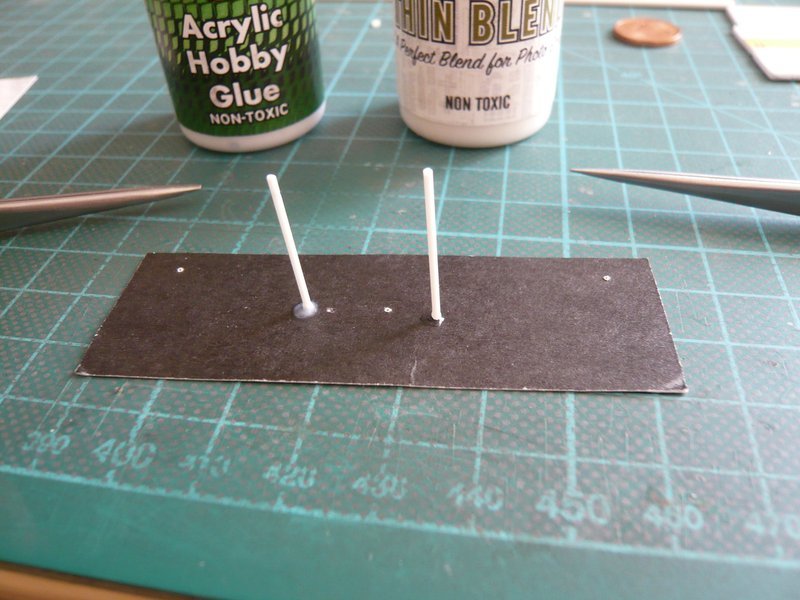
Then came the nail test,

which both samples have survived. ![]() However, the force for upstanding reached only to half, for whatever reason.
However, the force for upstanding reached only to half, for whatever reason. ![]()
However, the connection is still so stable that the samples can be moved and erected arbitrarily without having to break. ![]()
This allows everybody to decide for himself which blend is more advantageous and to order accordingly. I will probably stay with the Thin Blend because of the faster curing.![]()
Have a nice 3rd Advent. ![]()
![]()
Nice bench test ![]()
Yep, good to know. ![]()
![]()