Tamed Panther: “Cuckoo”

Lightroom is a program for managing collections of photographs, but I’ve never used it except by accidentally starting it from other Adobe apps and then immediately closing it again, so I don’t actually know what it can and can’t do.

However, GIMP has a perspective correction tool that works slightly differently but can achieve the same result:

If you’re on a Mac, iPhone or iPad, Pixelmator has a similar tool to GIMP:

3 Likes

The turret is largely done now, except for a few details, and I also completed the engine deck (other than the German antenna):

The muzzle brake is a 3D-printed item that you get with the kit. One in plastic is also included, but with this one you don’t have to remove a seam :slight_smile: I put a British antenna base (from an Asuka Sherman) on top of the Nahverteidigungswaffe, in such a way that two bolts of the antenna base appear to line up with two bolts in that — and then I cut away the remaining four bolts and pricked little holes in their stead …

At the back, I converted the left stowage box to one with vertical ribs:

11 Likes

Argh! On Missing-Lynx, Tom Houman mentioned earlier tonight that an article in Trucks and Tracks says Cuckoo’s loader’s hatch was stuck in the open position … I glued it shut a few days ago, largely because I didn’t feel like adding all kinds of stuff inside the turret that would be visible if it’s open. And because I hardly ever just tack parts in place, it didn’t want to budge at all anymore :frowning: Time for rigorous solutions:

Drill hole, put jigsaw through and saw carefully, taking care to stay within the lines on the inside:

That’s the easy part done. I then took a sharp knife and a half-round file to enlarge the opening to the diameter on the inside, because on the real Panther (and the model), the opening has a bevelled edge. But trying to add that in one step us asking for trouble.

After that, I used three different shapes of blade (pointy, rounded and chisel) to remove the
remaining part of the hatch on the outside:

That’s was mostly a matter of finding the right depth, where the layer of glue is. Once the outer part was gone, I had to try and restore the bevelled edge , which luckily went fairly easily because of that same glue layer:

This because once I had located it, I could simply follow it to get the last remains of the hatch out. I did feel a bit like an archaeologist, though, having to find and follow specific layers of material :slight_smile: The edge still needs to be cleaned up a bit, but after half an hour of work (plus the time needed to decide that pressing or punching the hatch out wasn’t going to work) I had had enough for today :slight_smile:

Now all I need to do is make a new hatch, but luckily, Spielberger comes to the rescue there with Der Panzer-Kampfwagen Panther und seine Abarten:

8 Likes

Holy major surgery Batman! What a nail-biting procedure. You are to be commended for your authenticity and resilience. Nice major save there. Excellent recovery. Are you going to hand apply the zimmerit to the replacement hatch?

3 Likes

Wow. I think I would just go on eBay and try to find the correct sprue for the hatch, or more likely, the rear plate and the hatch.

My hat is off to you, sir!

2 Likes

It’s not the easiest work I’ve ever done, no … My biggest worry was sawing or cutting too far into the inner hatch opening, which would be really difficult to correct. The second main worry was damaging details on the turret, but luckily, a Panther G turret has nothing on the sides so I could at least hold it firmly.

The ATAK set includes Zimmerit pieces for the front mudguards, which I won’t be using, so I can just take a piece out of one of those. Even without those, remember that I cut a major chunk out of the front, which I think is big enough for the hatch, too.

That solution didn’t even occur to me :slight_smile: However, someone on another forum offered to go and find the leftover hatch he thinks he has in his spares box, so that will at least probably save me from having to scratchbuild one.

5 Likes

About two weeks have passed since I did any work on this model, but I finally got round to rebuilding the loader’s hatch with parts given to me by another modeller (thanks, Rob!).


I first made the outer part of the hatch by punching a 15 mm disc from 0.75 mm plastic card and glueing it to the piece of Zimmerit I had cut from the glacis plate — there was just enough material to do that. I made sure that the lines in the Zimmerit pattern on the hatch match those on the turret, as I would expect them to on the real tank if the hatch is closed. The inner part of the hatch is a 14 mm disc of 0.75 mm card, but with the edges bevelled, and then glued to the outer part with a 13 mm disc of 0.25 mm card between them. In the centre of the outer part of the hatch, I drilled a hole for the lock that the real hatch has.

Some plastic strip on the inside formed the base for the locking mechanism and hinge. The tan parts are the ones that were given to me, and come from an RFM Panther kit, while the grey ones are from my own Dragon kit. This mainly because there were no parts for the hinge that sits inside the turret among the RFM parts I got. I drilled through the hinge bar to glue in some plastic rod to form a hinge pin that fits the Dragon hinge parts, though I needed to glue a plastic card shim in the latter because the RFM bar is slightly thicker than the Dragon equivalent.

It still needs a bit of plastic strip adding to represent the plate that the latch locks into, but it wasn’t among the parts I got either, so I’ve decided to only make it once the hatch is in place.

When all of this had dried, I glued the inner hinge to the turret:

The hatch can still open and close here, because that piece of strip I mentioned still needs to be added.

I also made a new handhold on the turret roof from copper wire, as a replacement for the kit part that went flying from my tweezers and was never seen again.

12 Likes

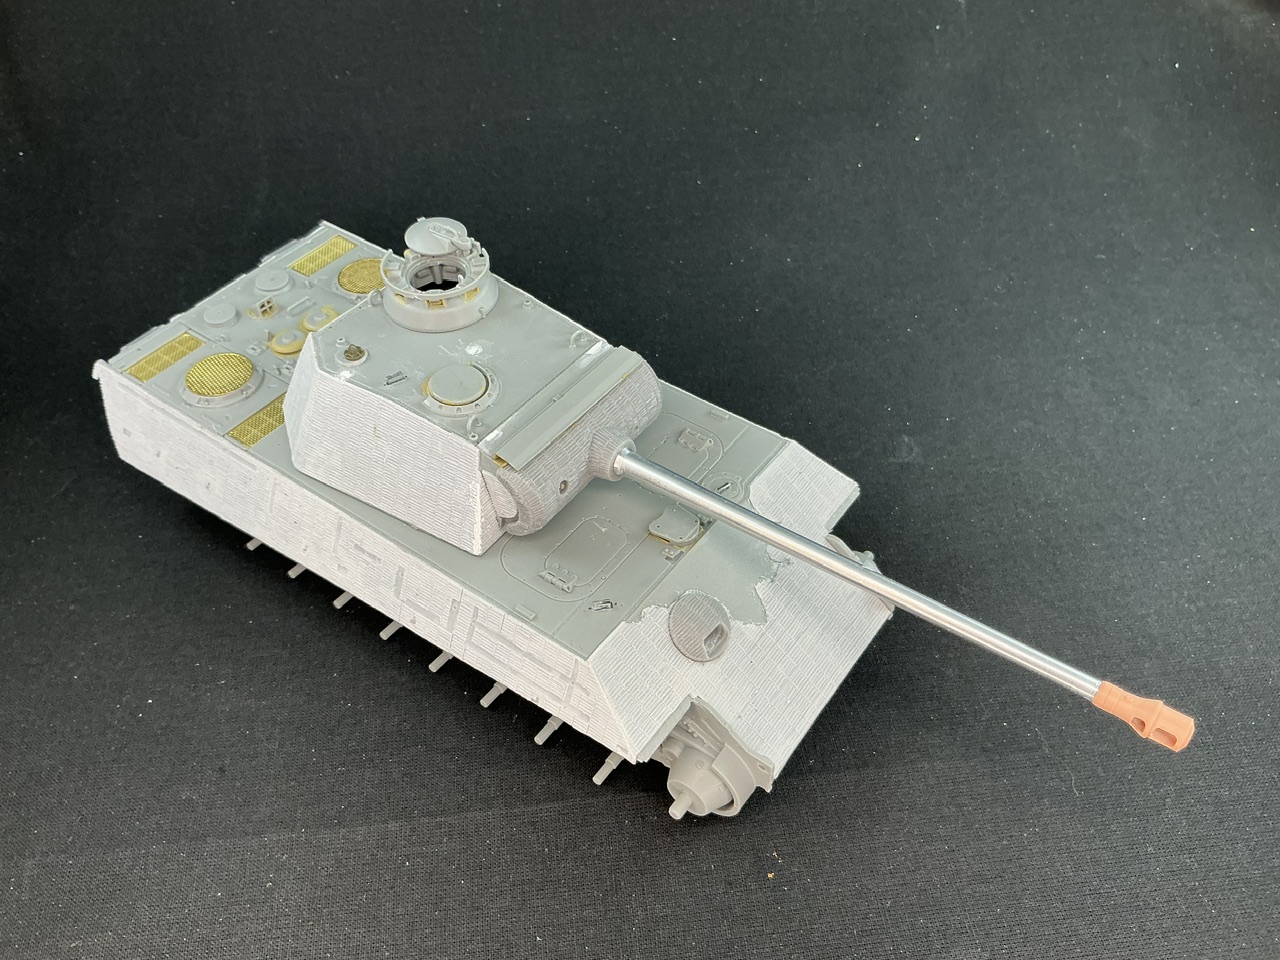
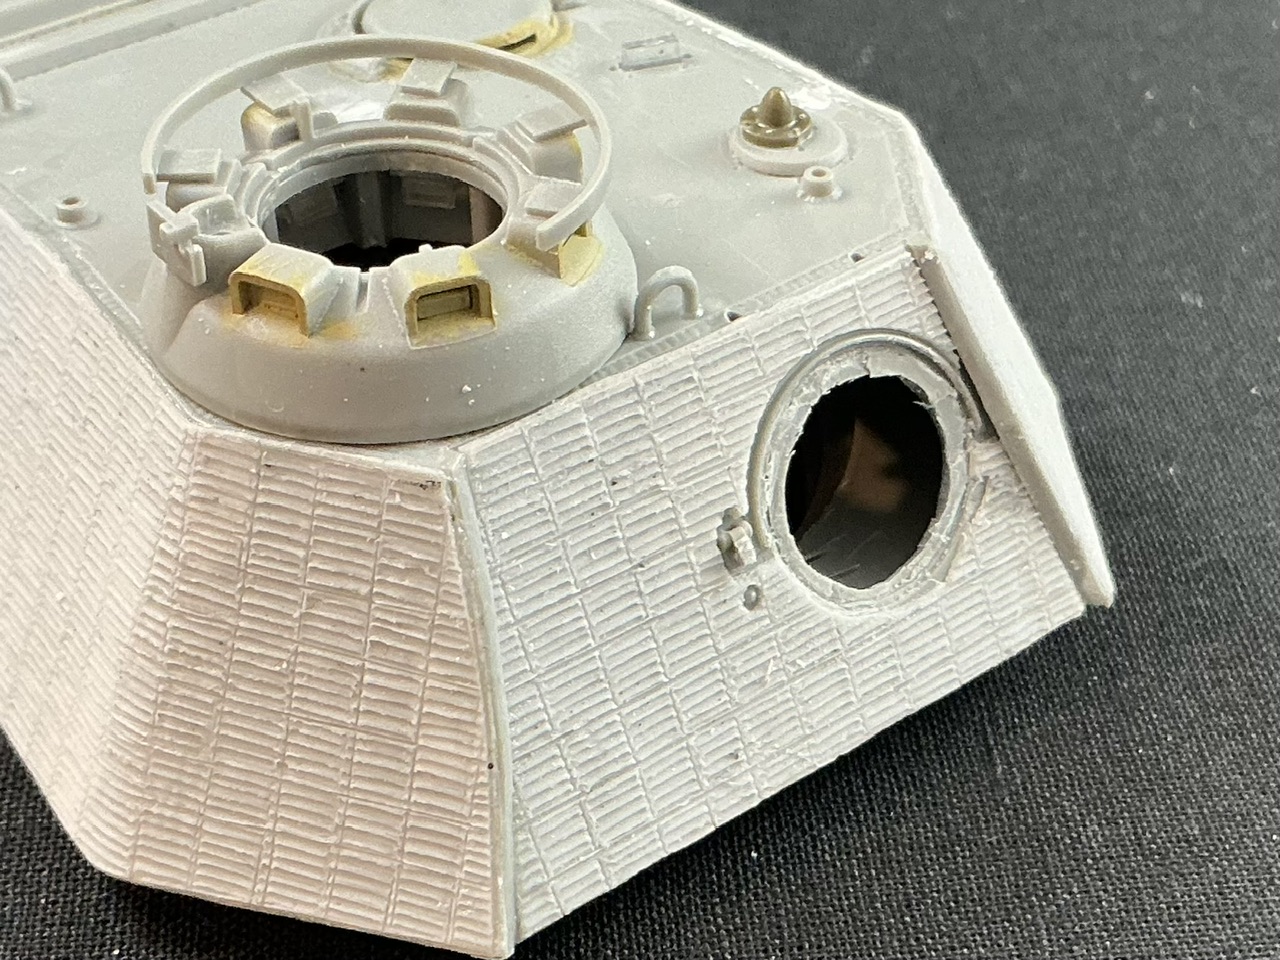
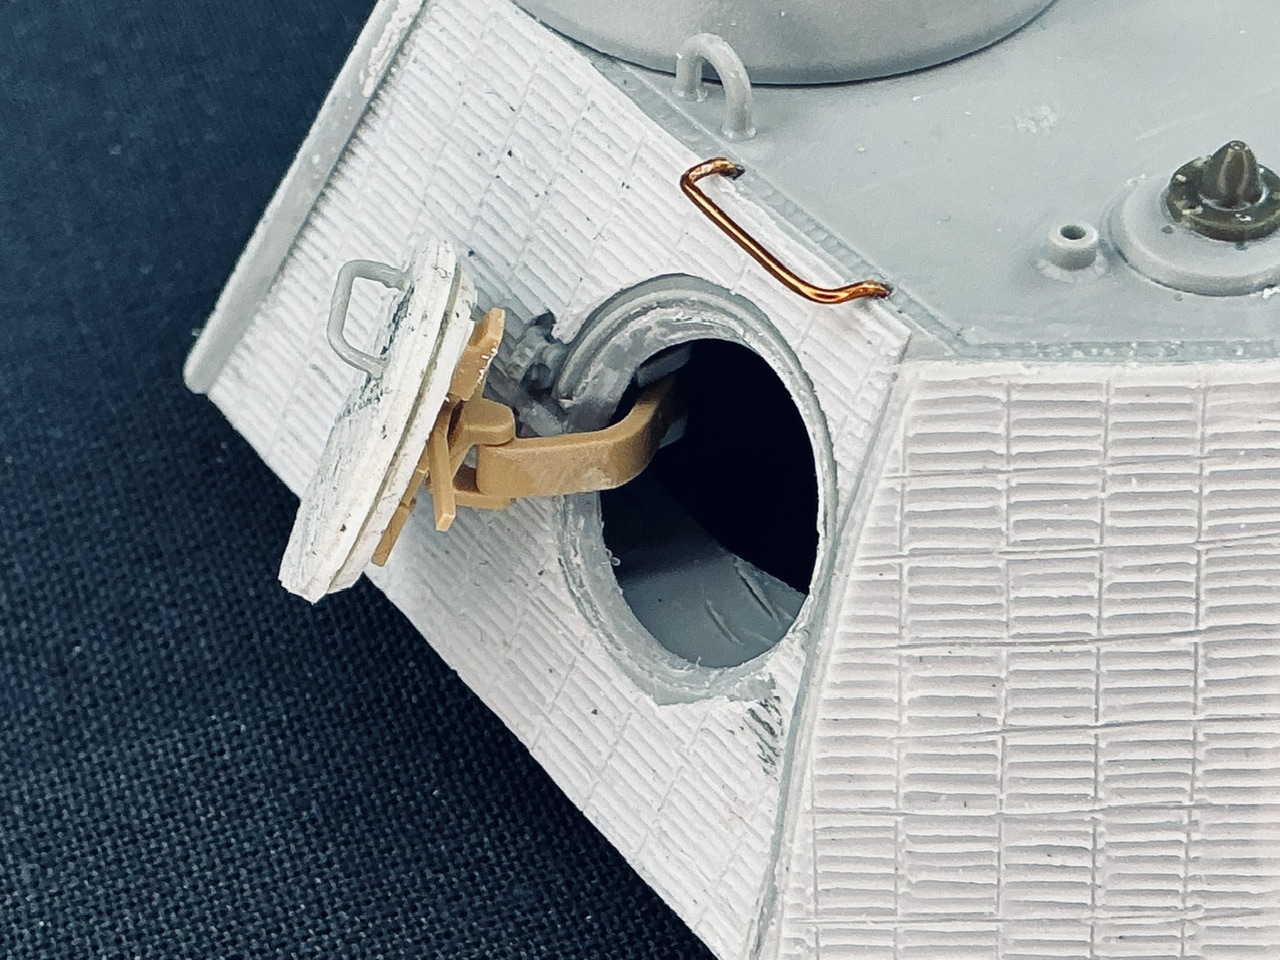
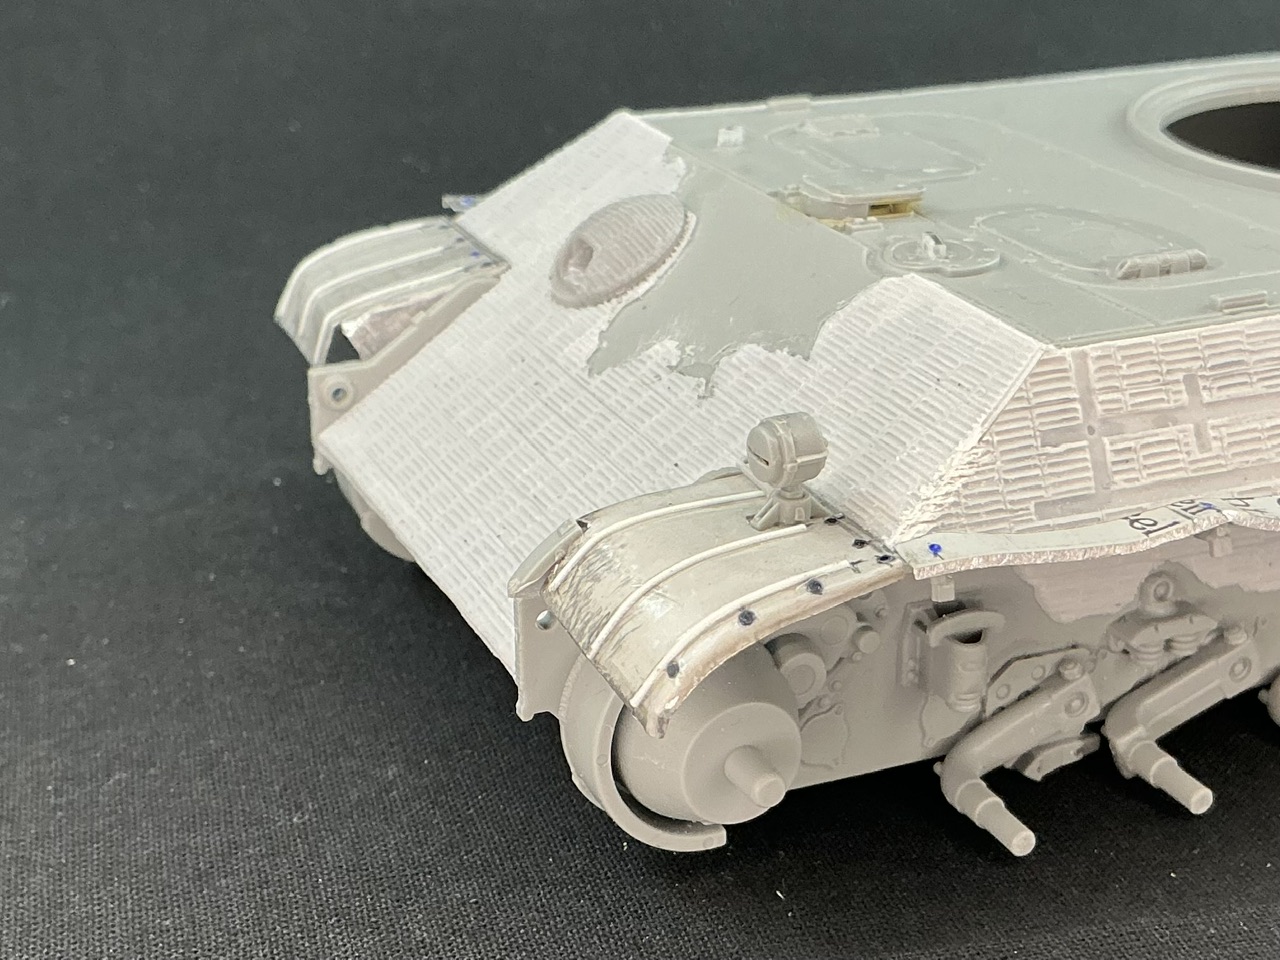
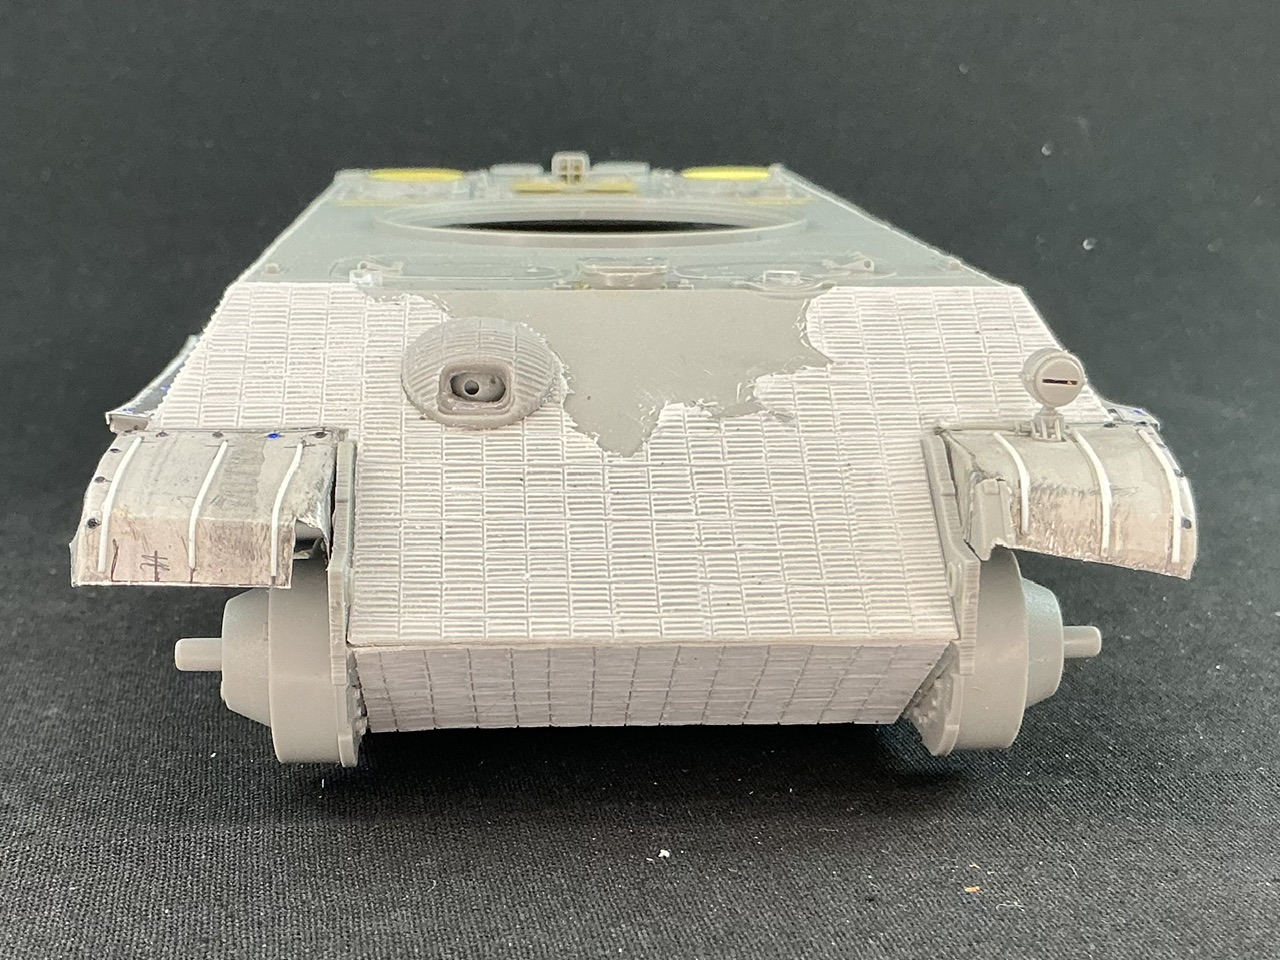
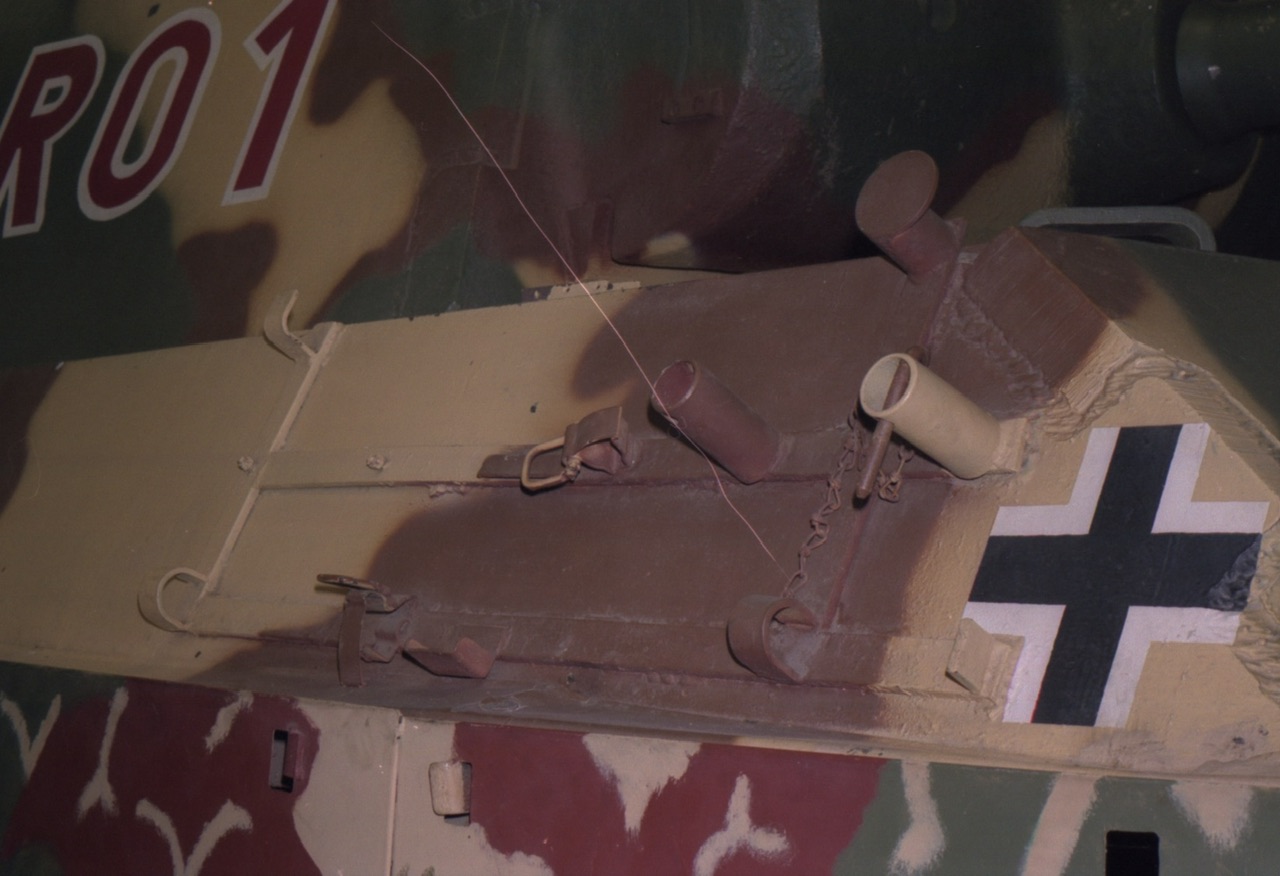
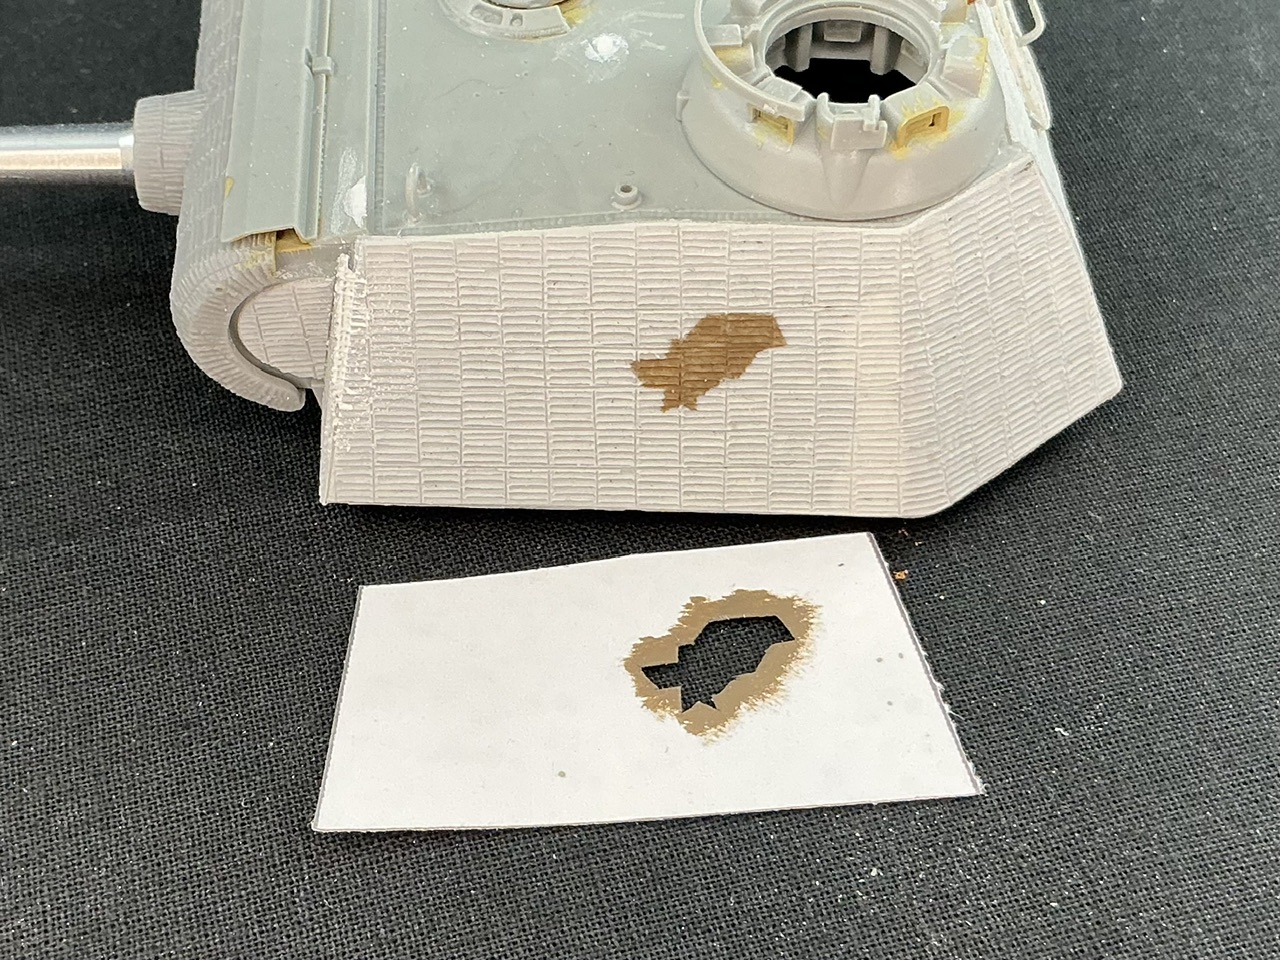
Tonight, I bit the bullet and finally started on the plates above the fixtures for the side skirts (which, of course, Cuckoo didn’t have).

I took a piece of aluminium sheet and replicated one of the Dragon kit parts in it:

On the side skirt mounting bracket on the tank, that the strip will go on top of, I glues 0.5 mm square rod because the real ones are slightly taller, but Dragon’s plastic parts are thicker so they compensated by reducing the height of the mountings.
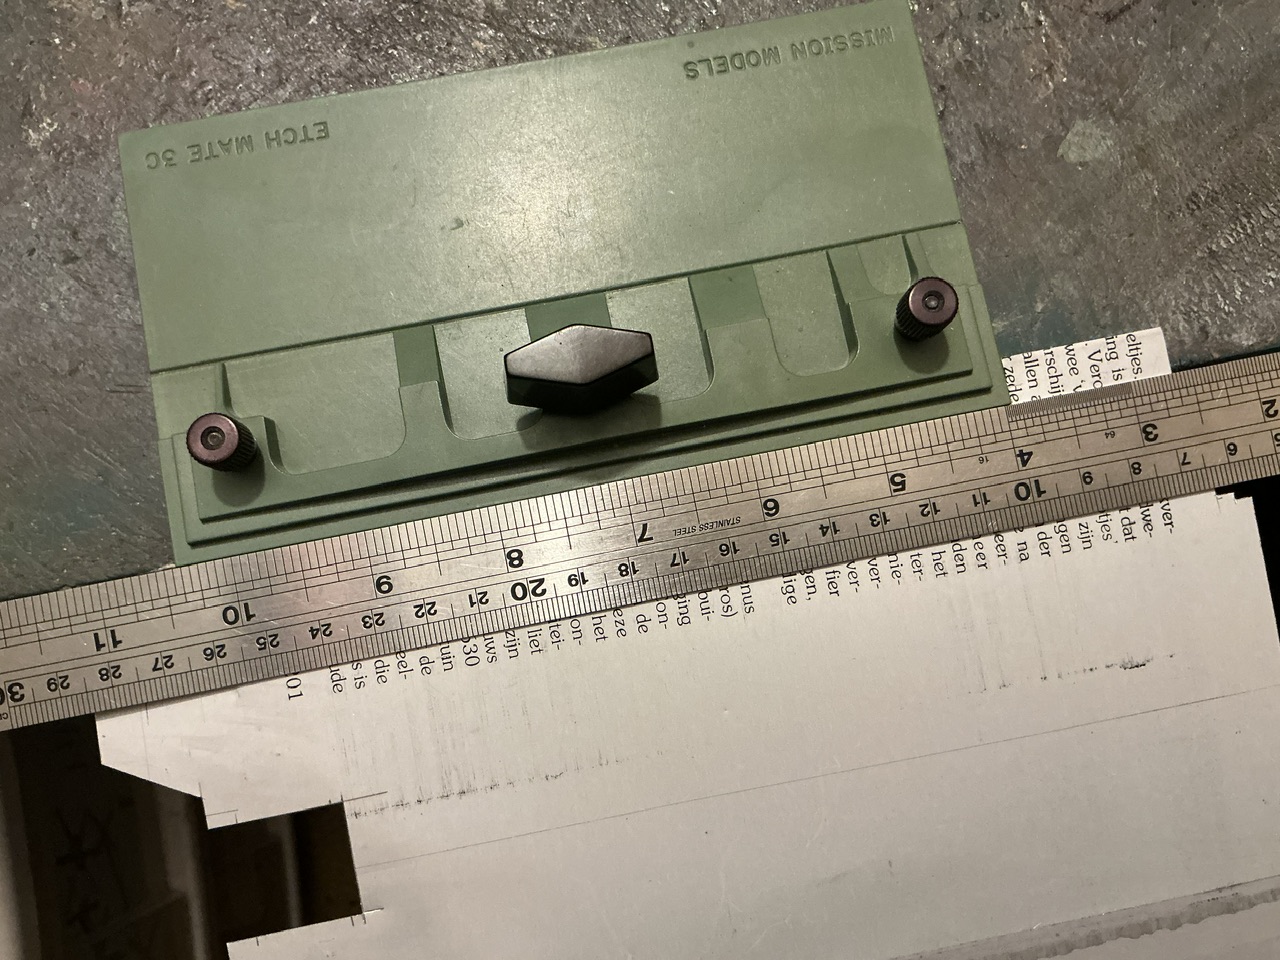
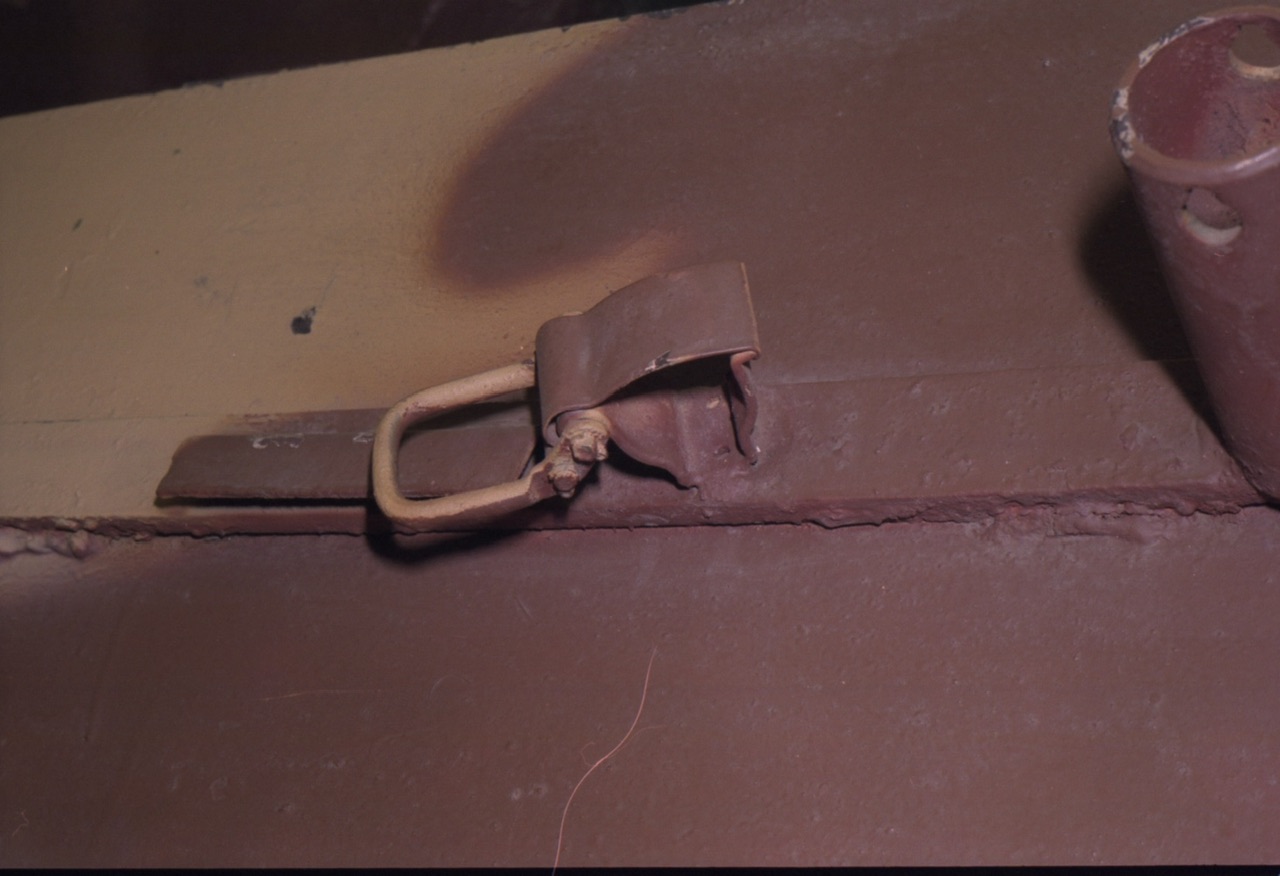
That’s one side, now the other :slight_smile: I’m not much of a metalworker, so for those readers who also aren’t, I’ll explain how I made these. First, I placed the kit parts on the aluminium sheet so that I could mark its length and width with the tip of my hobby knife, because that’s finer and therefore more precise than a pencil. I only marked the width at the ends, and not over the full length. Next, I cut through the plate over the whole width of the strip, to mark its full length. Don’t cut through in one go, but just like plastic card, make several shallow cuts until you get through.

Then, I put the sheet into my Etch Mate, in such a way that the cut is just outside of the tool, and the lines I marked for the width were along the bend line:

Note here that the part that’s inside the Etch Mate is the piece of the sheet I need. Also, I’m using the back of the Etch Mate here, rather than its “surface”. I then put it on the edge of my work surface and placed a steel ruler over it:

A careful but firm press down on it, rotating the ruler with the sheet (taking care to apply pressure equally), and we have:—

I nicely bent piece of aluminium sheet!

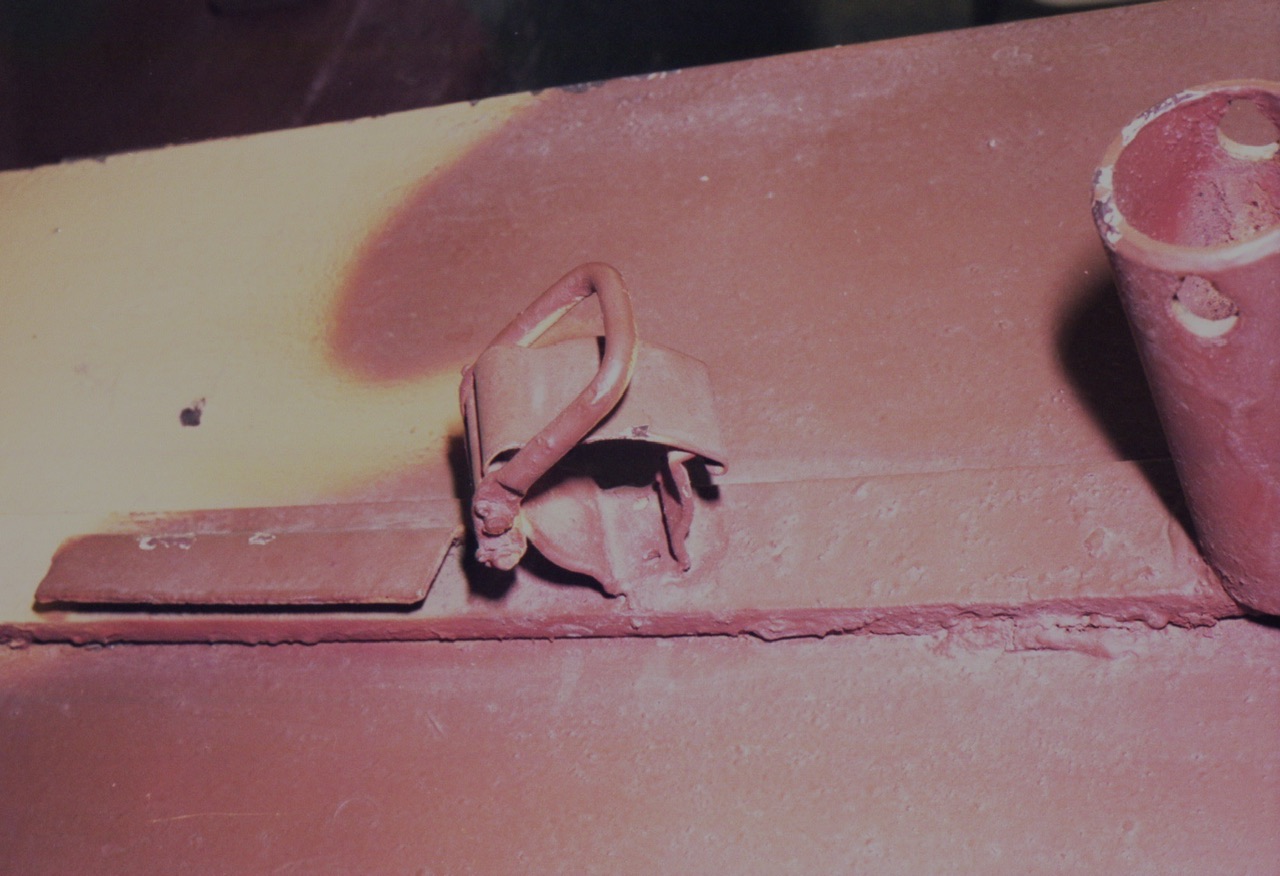
Problem number 2 was how to make a narrow, bent-down lip to it. I don’t have any photos of that due to a shortage of hands to take them with, but basically, I put the sheet onto the work surface, bent strip upward, and placed a thinner steel ruler “into” the bend — the ruler horizontally on the surface, but with its thin side rather than flat. That allowed me to run a knife along it, pressing the knife against the ruler while pressing against the upturned aluminium and the ruler with a finger of my other hand. That scratched a line into the aluminium, at a distance of just over the thickness of the ruler away from the bend. Now, don’t try to cut through the sheet, but wiggle the aluminium back and forth until metal fatigue causes it to break along the line.

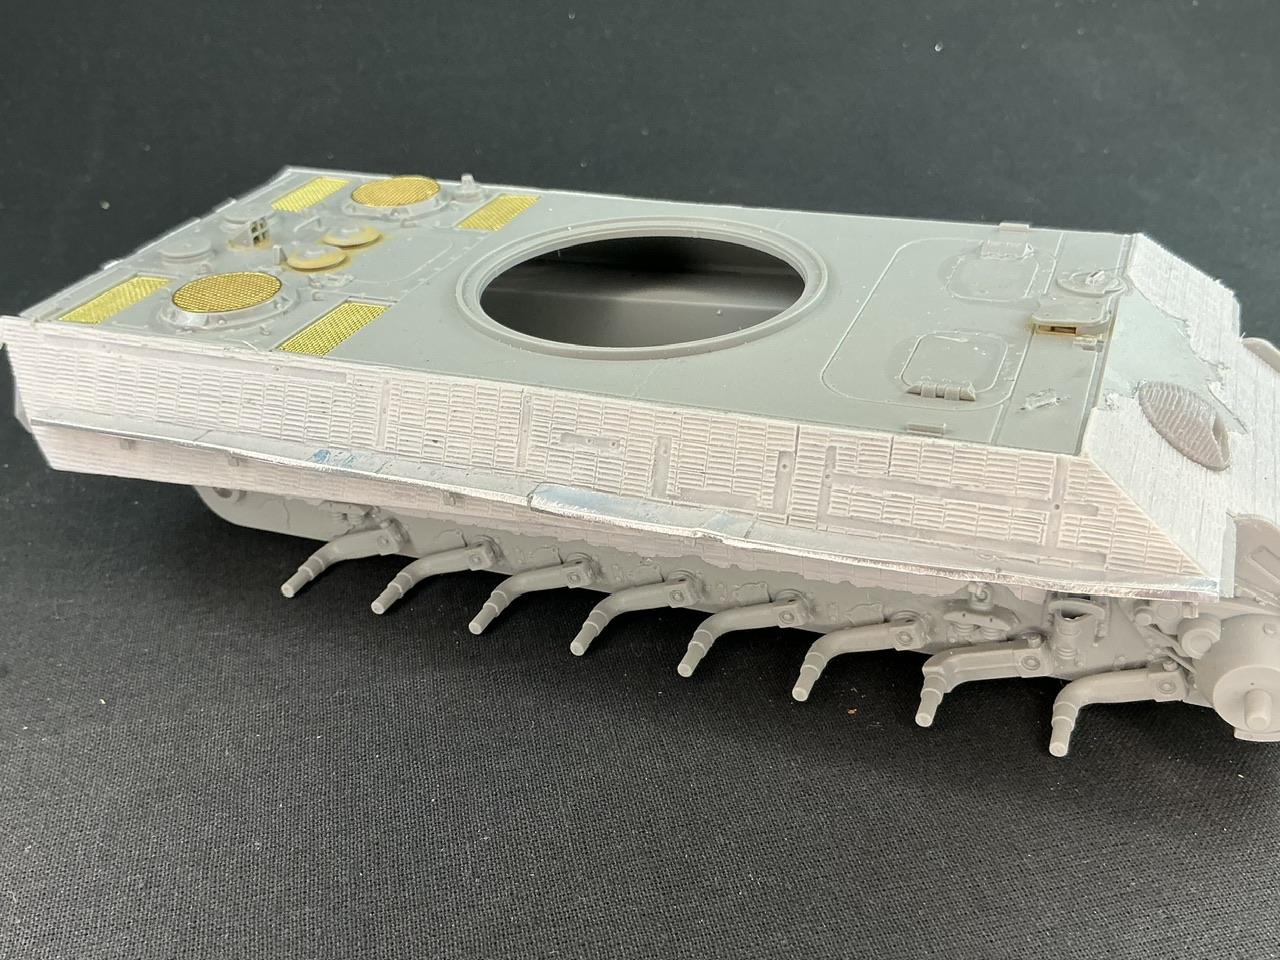
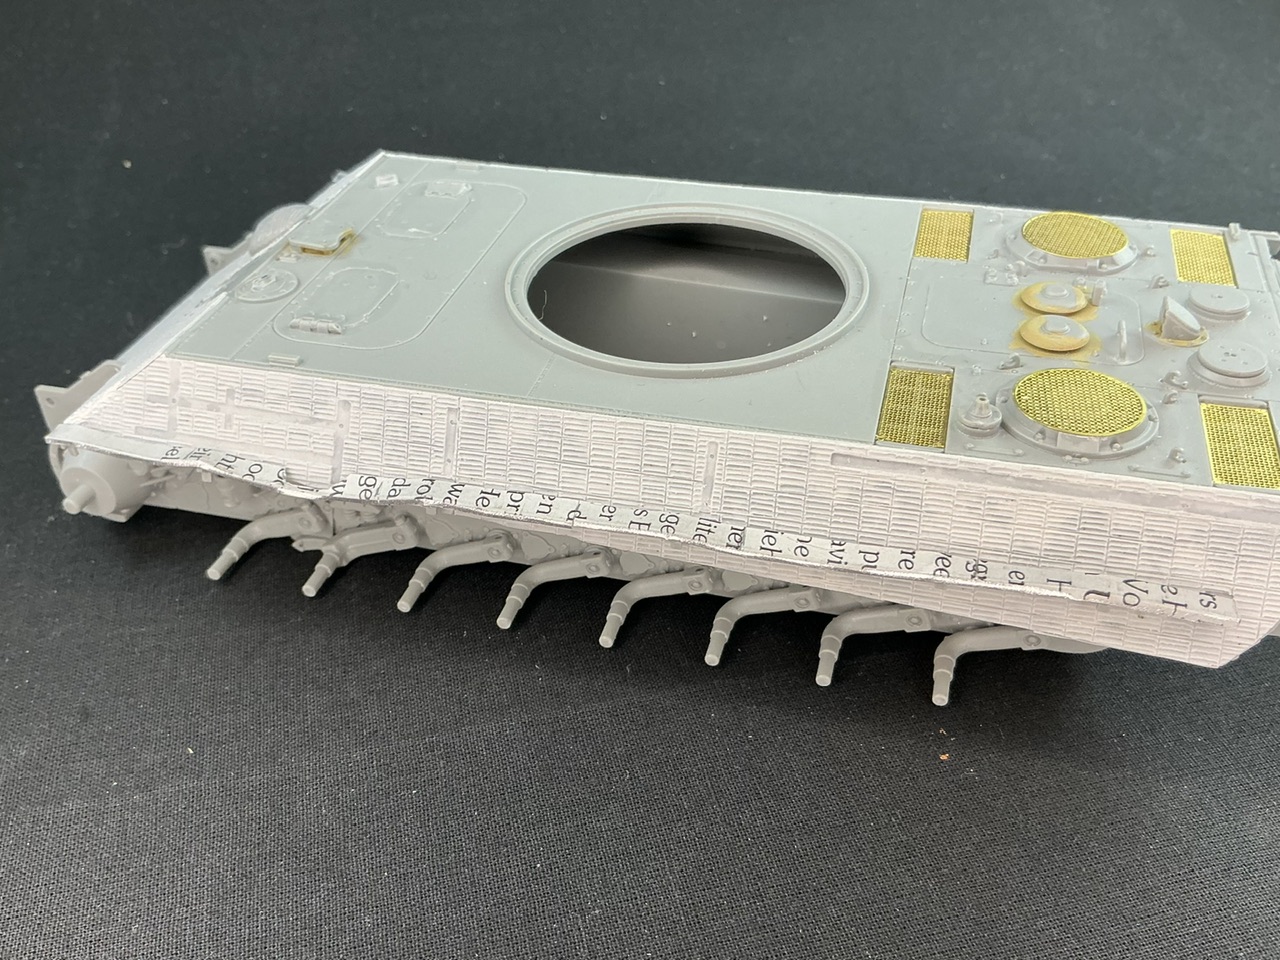
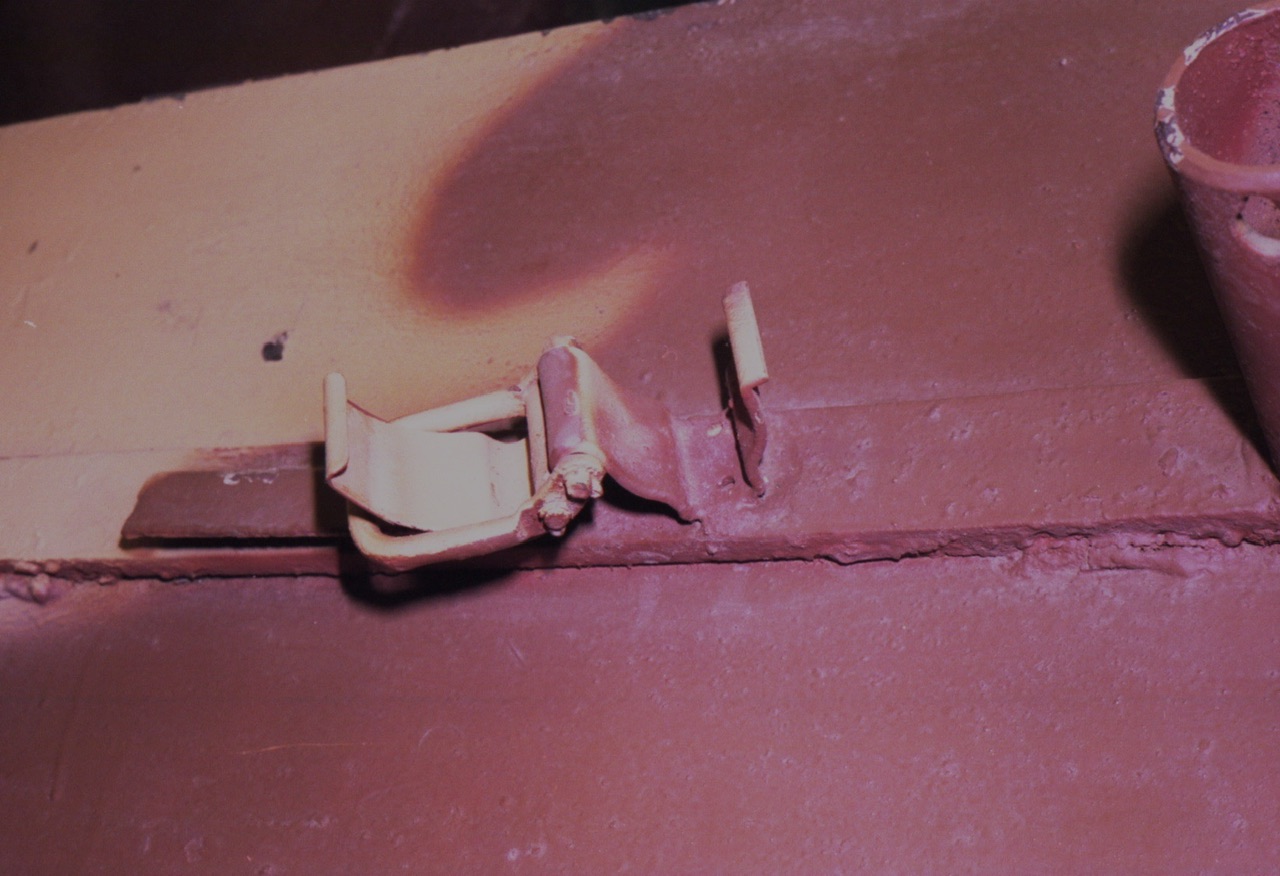
After some more work with a file to clean up the cuts, I could start fitting the strips to the tank, bending them to resemble those on the real thing, and then superglue them into place.


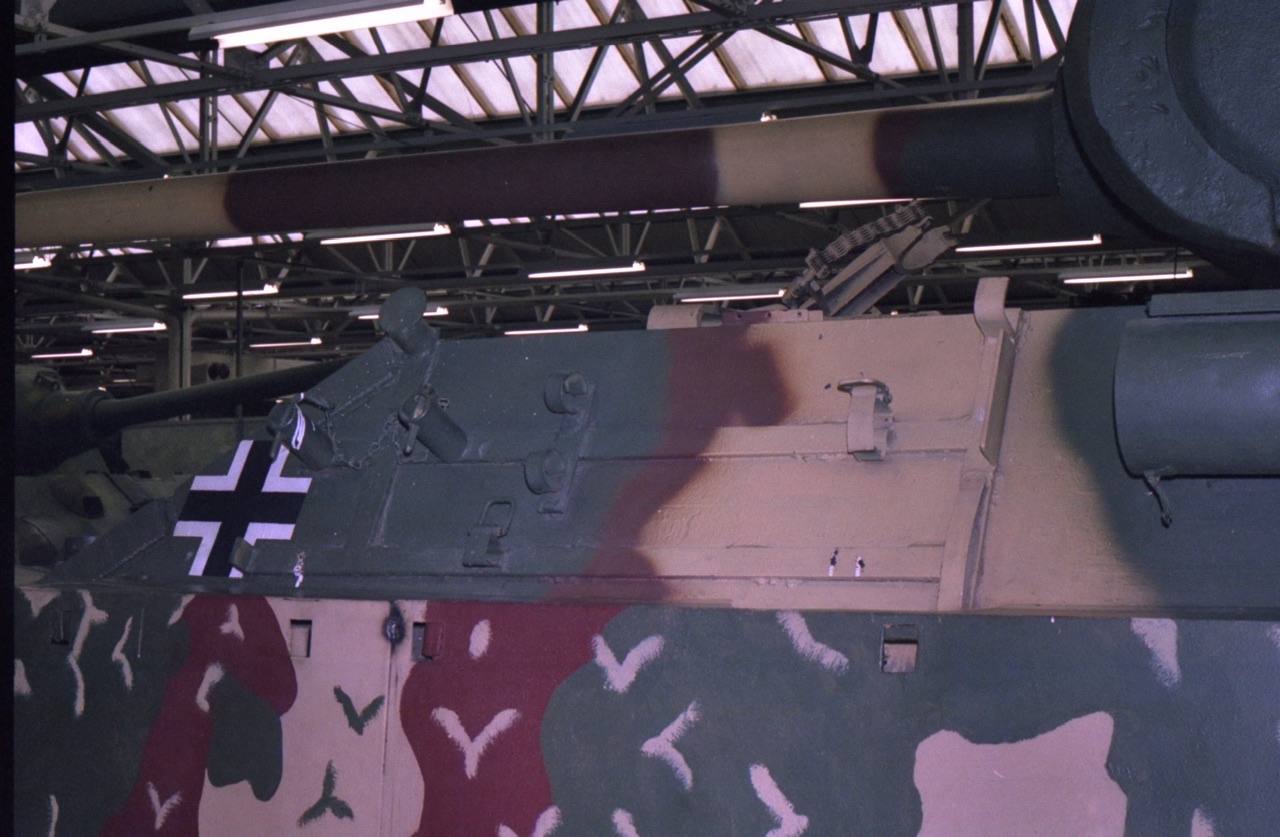
I looked closely at photos of the real Cuckoo for this and tried to replicate what I saw there. What I have is not 100% accurate, but I think it comes fairly close.

A side note to that: I was (almost certainly) going to paint this model in snow camouflage, but that’s a no go now. After I had made (but not yet distressed) the left-hand strip, I noticed that Cuckoo at the time of the film shot of it pushing down trees, is entirely missing the strip on the left. When it was photographed near Geijsteren and in Tilburg it still did, so my model will now represent it as it was there instead.

7 Likes

You are boing a good job of replicating the captured Panther. It is going to look good when done. A real oddity, well done.

3 Likes

Thanks :slight_smile: I won’t claim it will be the most accurate replica of Cuckoo ever built, but it will definitely be more accurate than most I see online when I try to look for photos of the real tank …

2 Likes

I think you’re doing an amazing job replicating the tank. I like seeing the progress you’re making.

2 Likes

That is a nice start.

2 Likes

Cool, that’s what I do it for :slight_smile: I’ve said it before (though not sure if also on here), but I like threads in which you can see what the builder is doing — as opposed to those threads where somebody just posts a fully finished model and that’s it. TBH, that barely interests me. But I do like to see how it got to that point.

3 Likes

On to the front mudguards. I didn’t see myself making these with my limited skills, but luckily, my father was taught metalworking in school long ago, and still enjoys making things from it. A while after I handed him the mudguards I sawed off the model and the aluminium sheet I used for the side skirt rails, he gave me back two copies of them in aluminium :slight_smile: All I then had to do was cut them to size, dent them, and add strengthening ribs and rivets …


The ribs are 0.5 mm plastic strip that I scraped down on one side to make (more or less) half-round rod, while I made the rivets with a punch and die set. The headlight is from the kit, set on a piece of plastic card glued under the opening I cut in the left mudguard (to match the real tank). I did have to bend and slightly shorten the power cable, because as moulded it doesn’t match the real Panther G.

6 Likes

With the mudguards added, I can start working on the tool racks on the sides:


They’re not yet done, because I didn’t feel like making those little clamps tonight anymore, the ones that German armour modellers all seem to think are so important to add :wink: With this kit, you get all of the tools and racks in both plastic and etched brass, but oddly, the bits of tube are not supplied for adding to the etched parts. I made them from 1 mm plastic rod for the upper ones (that the tow cable hooks onto when stowed), and 1.5 mm aluminium tube for the lower ones (for the tow shackle) — but the latter only on the right, because Cuckoo didn’t have them on the left. Don’t ask me why they’re missing, but I can’t see them in photographs. What’s more, Dragon made two small mistakes with these tubes: the upper one on the plastic part is too long, the lower ones are too thin. For some other details Dragon missed, I used plastic strip.

I know all of this because I have these:


And this is how those tool clasps work:

(Photos of the Panther G at Bovington, taken by me in the autumn of 2000. Never throw anything away :slight_smile:)

8 Likes

Now that I’ve finished building my old-school Tamiya Panzer II and Piranha PWI, I can finally continue with Cuckoo.

On the left side of the turret, a piece of Zimmerit had come off on the real tank. To replicate that accurately, I made a template much like for the hull front, again by tracing over a photograph and printing it out at 1:35 scale. By cutting it out, placing it over the turret side and dabbing paint through it with a brush, I transferred the shape to the model easily enough:

Then I just used a sharp knife to cut around the outside of the damaged patch, and then removed the bit inside that cut:

Over the last few days, I’ve been cleaning up links from a set of Rye Field Model Panther tracks. The Dragon kit I’m using for Cuckoo does have separate links, but they’re the kind you have to glue, and I’m not a fan of those, so I bought a set of workable ones instead. The links of this are attached in pairs to a bit of sprue, which is easy and simple to remove. Unfortunately, though, there is also an ejector pin mark between the guide teeth and mould seams on either side of them because the teeth are moulded hollow (another advantage compared to Dragon’s tracks).

Here at the front a link that hasn’t been cleaned up, and at the rear, one on which I’ve filed down the seams etc.:

In this box, the links at the front haven’t been cleaned up yet, those at the rear have been:

Not the greatest job to be doing, but I’ve had tracks that needed a lot more work. Once I had cleaned all of them up, I put six links together to see how that goes. The pins are in sets of five on bits of sprue, so you can insert those all at once if you put the links in the jig you can also see in the picture.

As always, it takes a while to find the best way to build them. One thing I’m disappointed in, is that the pins don’t seem to want to stay in by themselves but need a tiny dab of glue. I don’t much like that, but what can you do? At least they fit well on the Dragon drive sprockets:

One thing to note is that there are two sets of pins: Nos. 14 and 15, and one of the two goes on the inside and the other on the outside of the track — so they’re not the same on both sides of the tank! At first sight there doesn’t seem to be any difference between the pins, but there is:

The heads on Nos. 14 are flatter than on Nos. 15, so you need to pay attention which ones you put where.

5 Likes

Clever idea on the zimmerit. I use paste or white glue on the ends of the pins.

2 Likes

I’ve by now ordered thicker cement to use on the pins (regular Tamiya — TET is already thick compared to what I normally use, but still too thin for this) so I’ll hold off on building more of them until that arrives. Which may be a while because I also ordered something the shop hadn’t gotten in yet …

2 Likes

Great attention to detail on this build!

2 Likes

Thanks — my thoughts are that if you’re going to build a model of a specific vehicle, there’s no point in doing it straight from the box because what you end up with will usually be a generic version marked up as your specific vehicle. Which is to say, it will not be a model of the specific vehicle :slight_smile:

5 Likes