I simply use a sharp exacto blade to slice off about half the bristles from the brush in the cap. Works great for me.
![]()
I simply use a sharp exacto blade to slice off about half the bristles from the brush in the cap. Works great for me.
![]()
The seller contacted me and told me they got no Vallejo Air panzergrau in stock.
What would be the AK and Tamiya equivalent?
Perhaps AK11022 Dark Grey?
If you thin the tamiya or ak real colors paint with mr levelling thinner they brush paint quite nicely. They are very transparent compared to, say, VMC, but a couple of coats will give a very nice result.
Got the base panzergrau from AK.
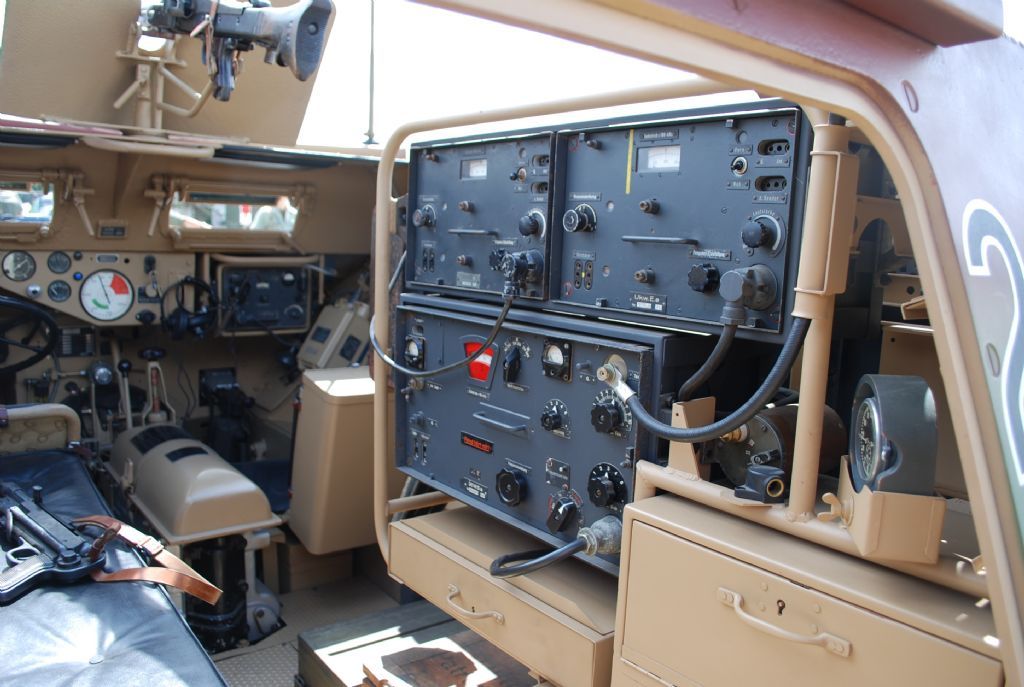
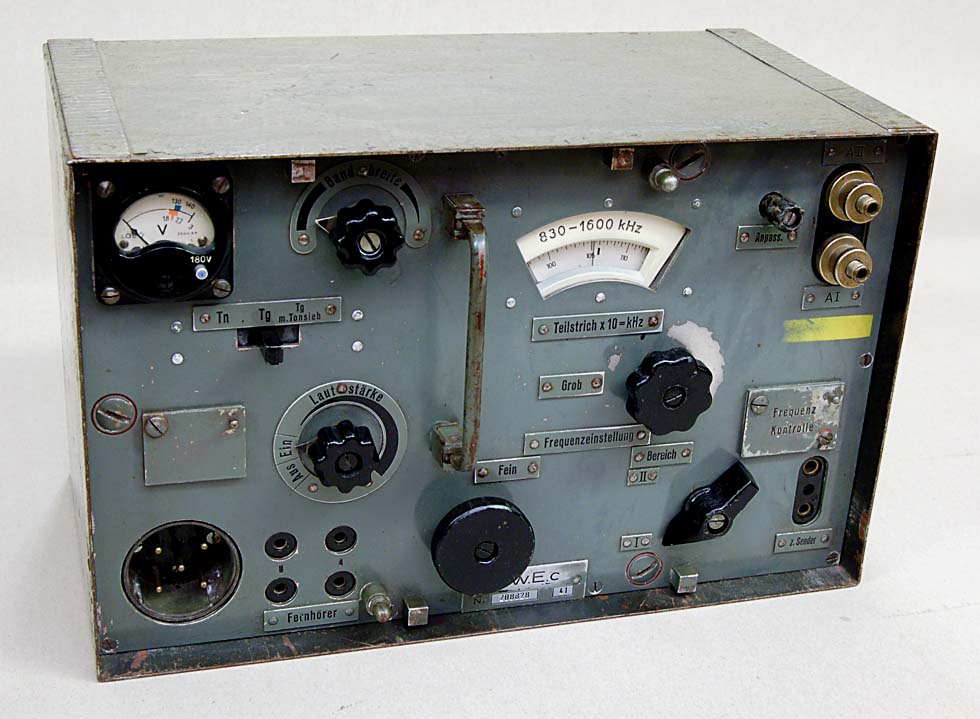
At this point, my last doubt is the radio.
I looked for German radio pictures and they mostly look grey or dark green with black/dark dials and buttons. Is that right?
Thanks.
Won’t obsess much over it, this is going to be mostly hidden.
The radios is one area where your mistaken purchase of Field Grey can come in useful. I usually paint the facias Field Grey and the casings in the interior colour.
Oh yes, good idea!
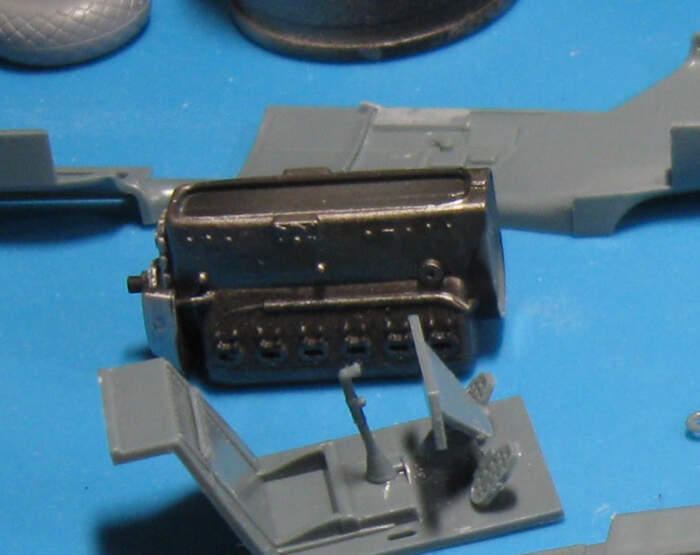
You might try Vallejo metal colors “Exhaust Manifold”. This stuff airbrushes straight out of the bottle and brush paints straight out of the bottle. One tip, don’t try to drop paint out of the dropper top. Well, whenever I try to drop paint out of the dropper top on these it gets all over the place. That is not an exact match for Tamiya Dark Iron, but it’s an effective color in the neighborhood.
I just realized I had a bit of it in some parts I’m working on for a 109 build. The engine block (do they call them that on a 109?) is painted in Vallejo Exhaust Manifold. It’s a single coat over black primer. It could use a second coat but mostly these paints cover in a single coat.
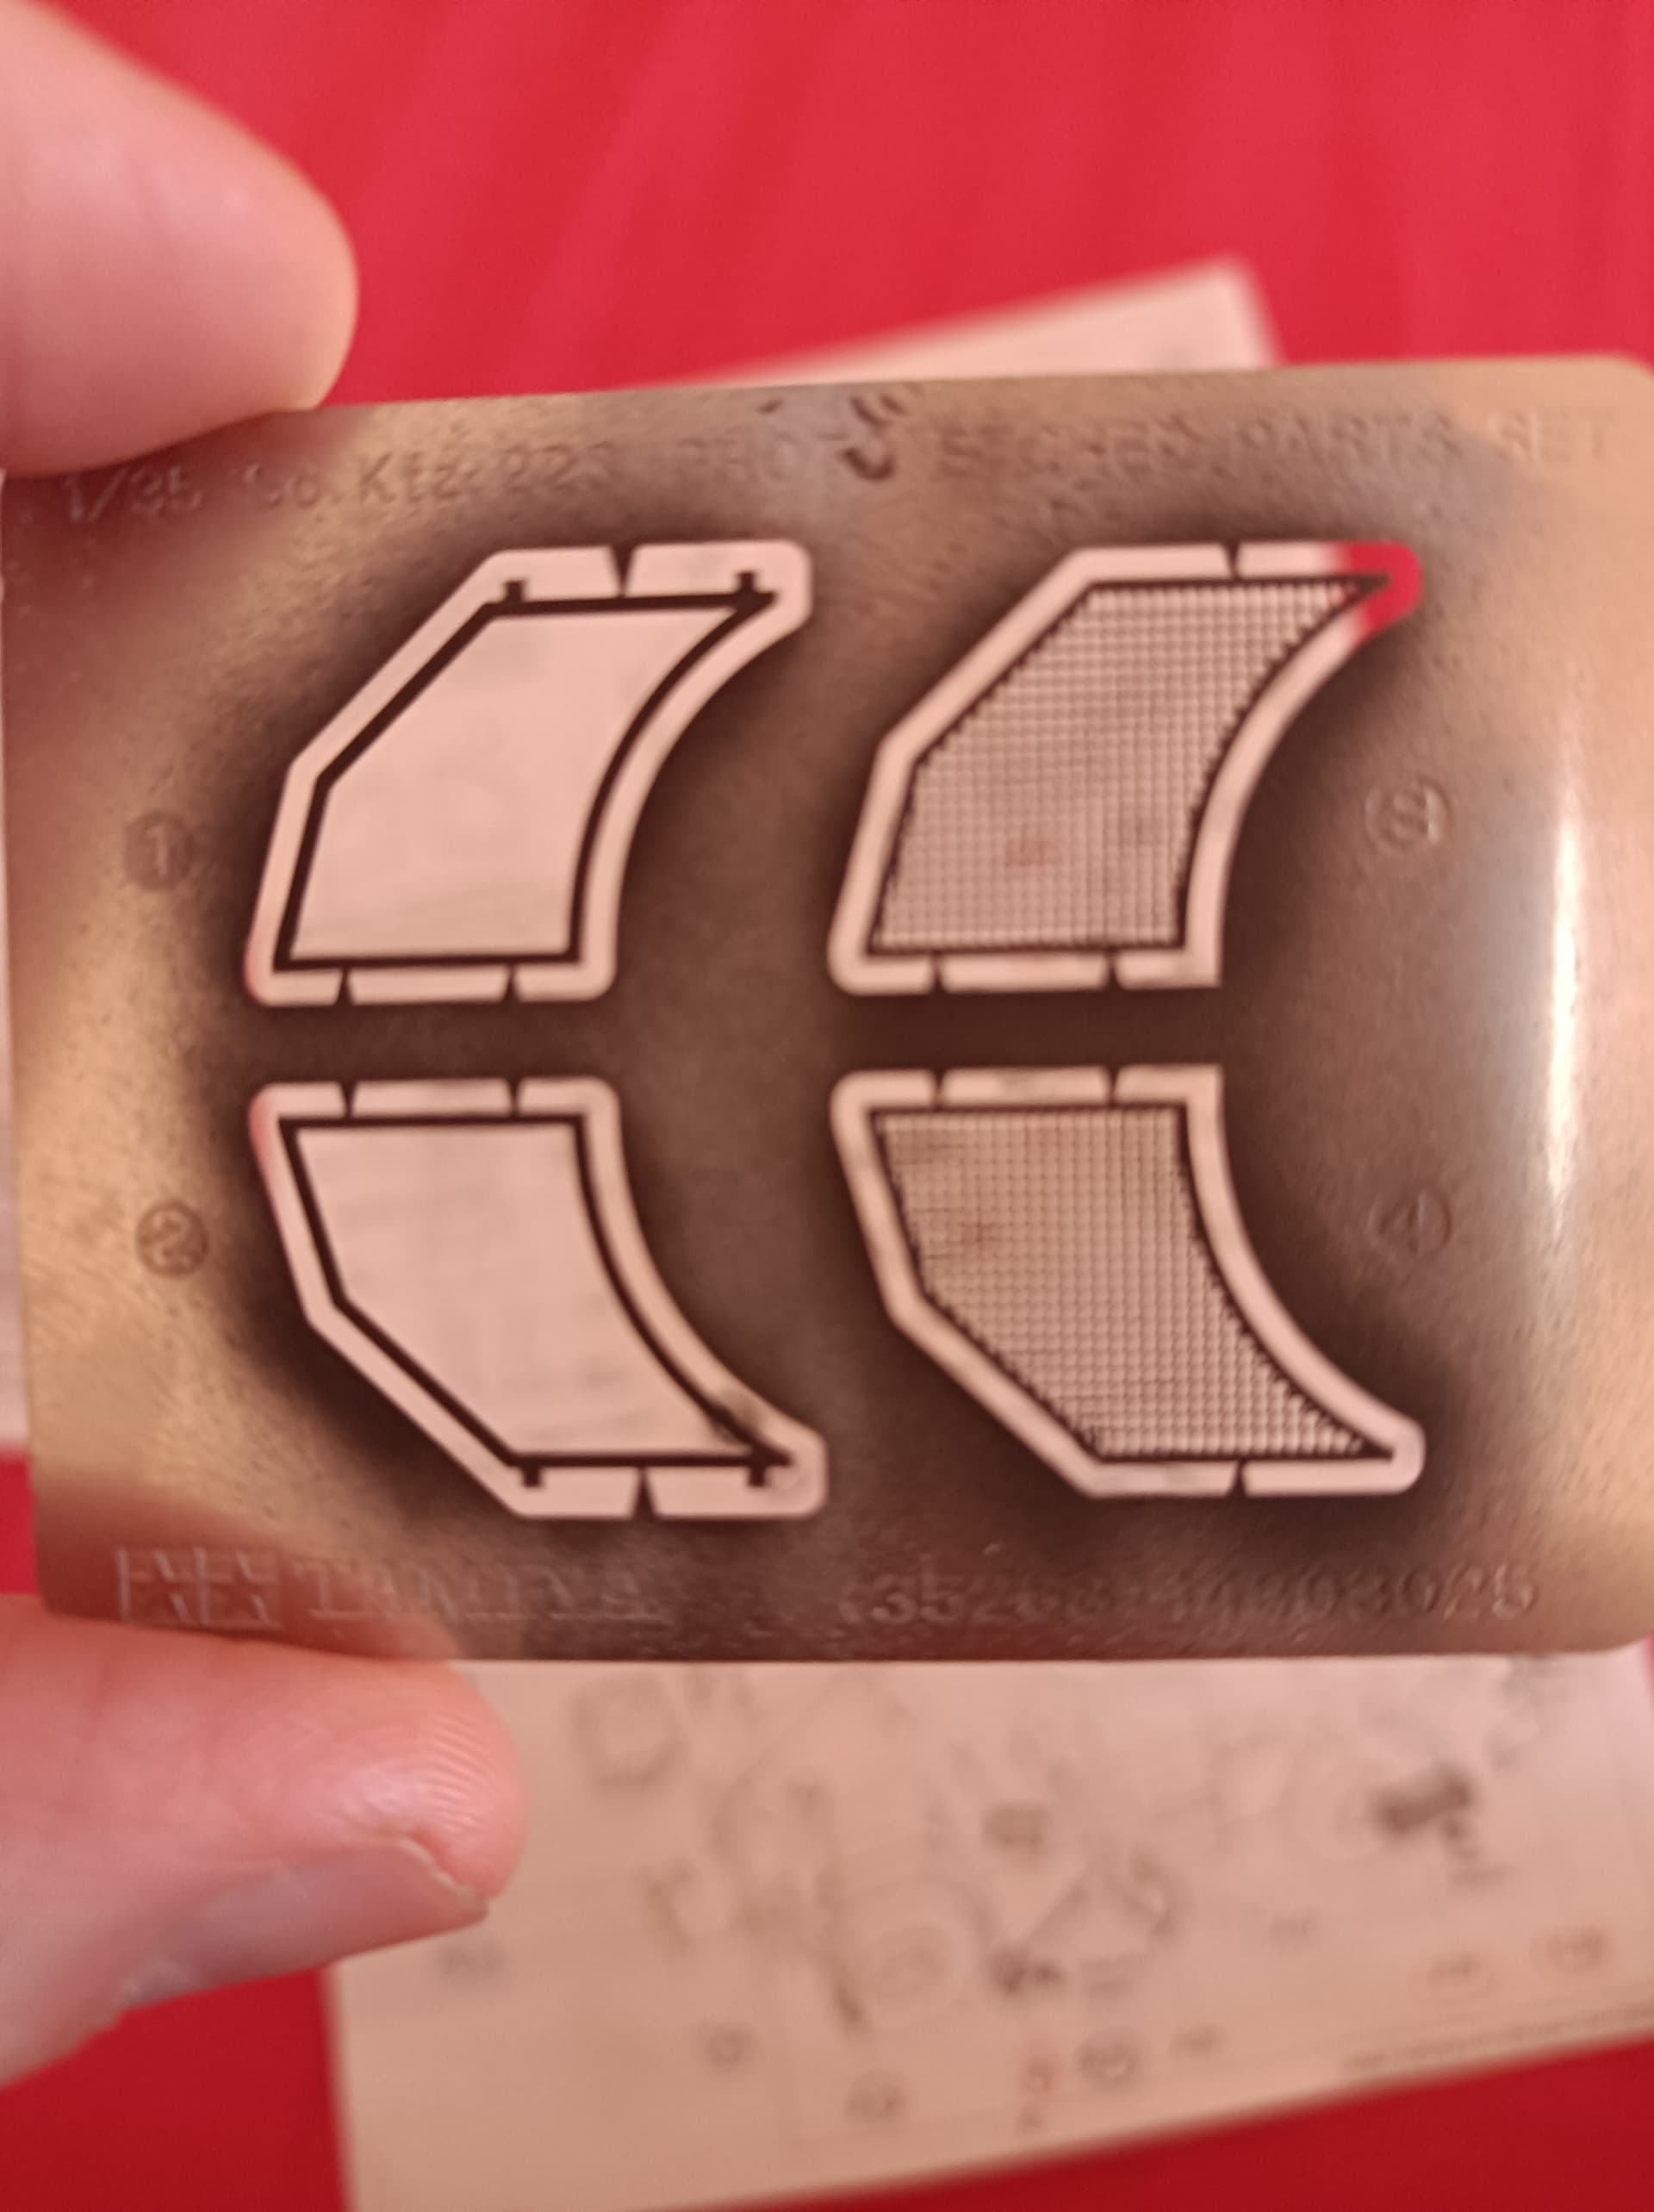
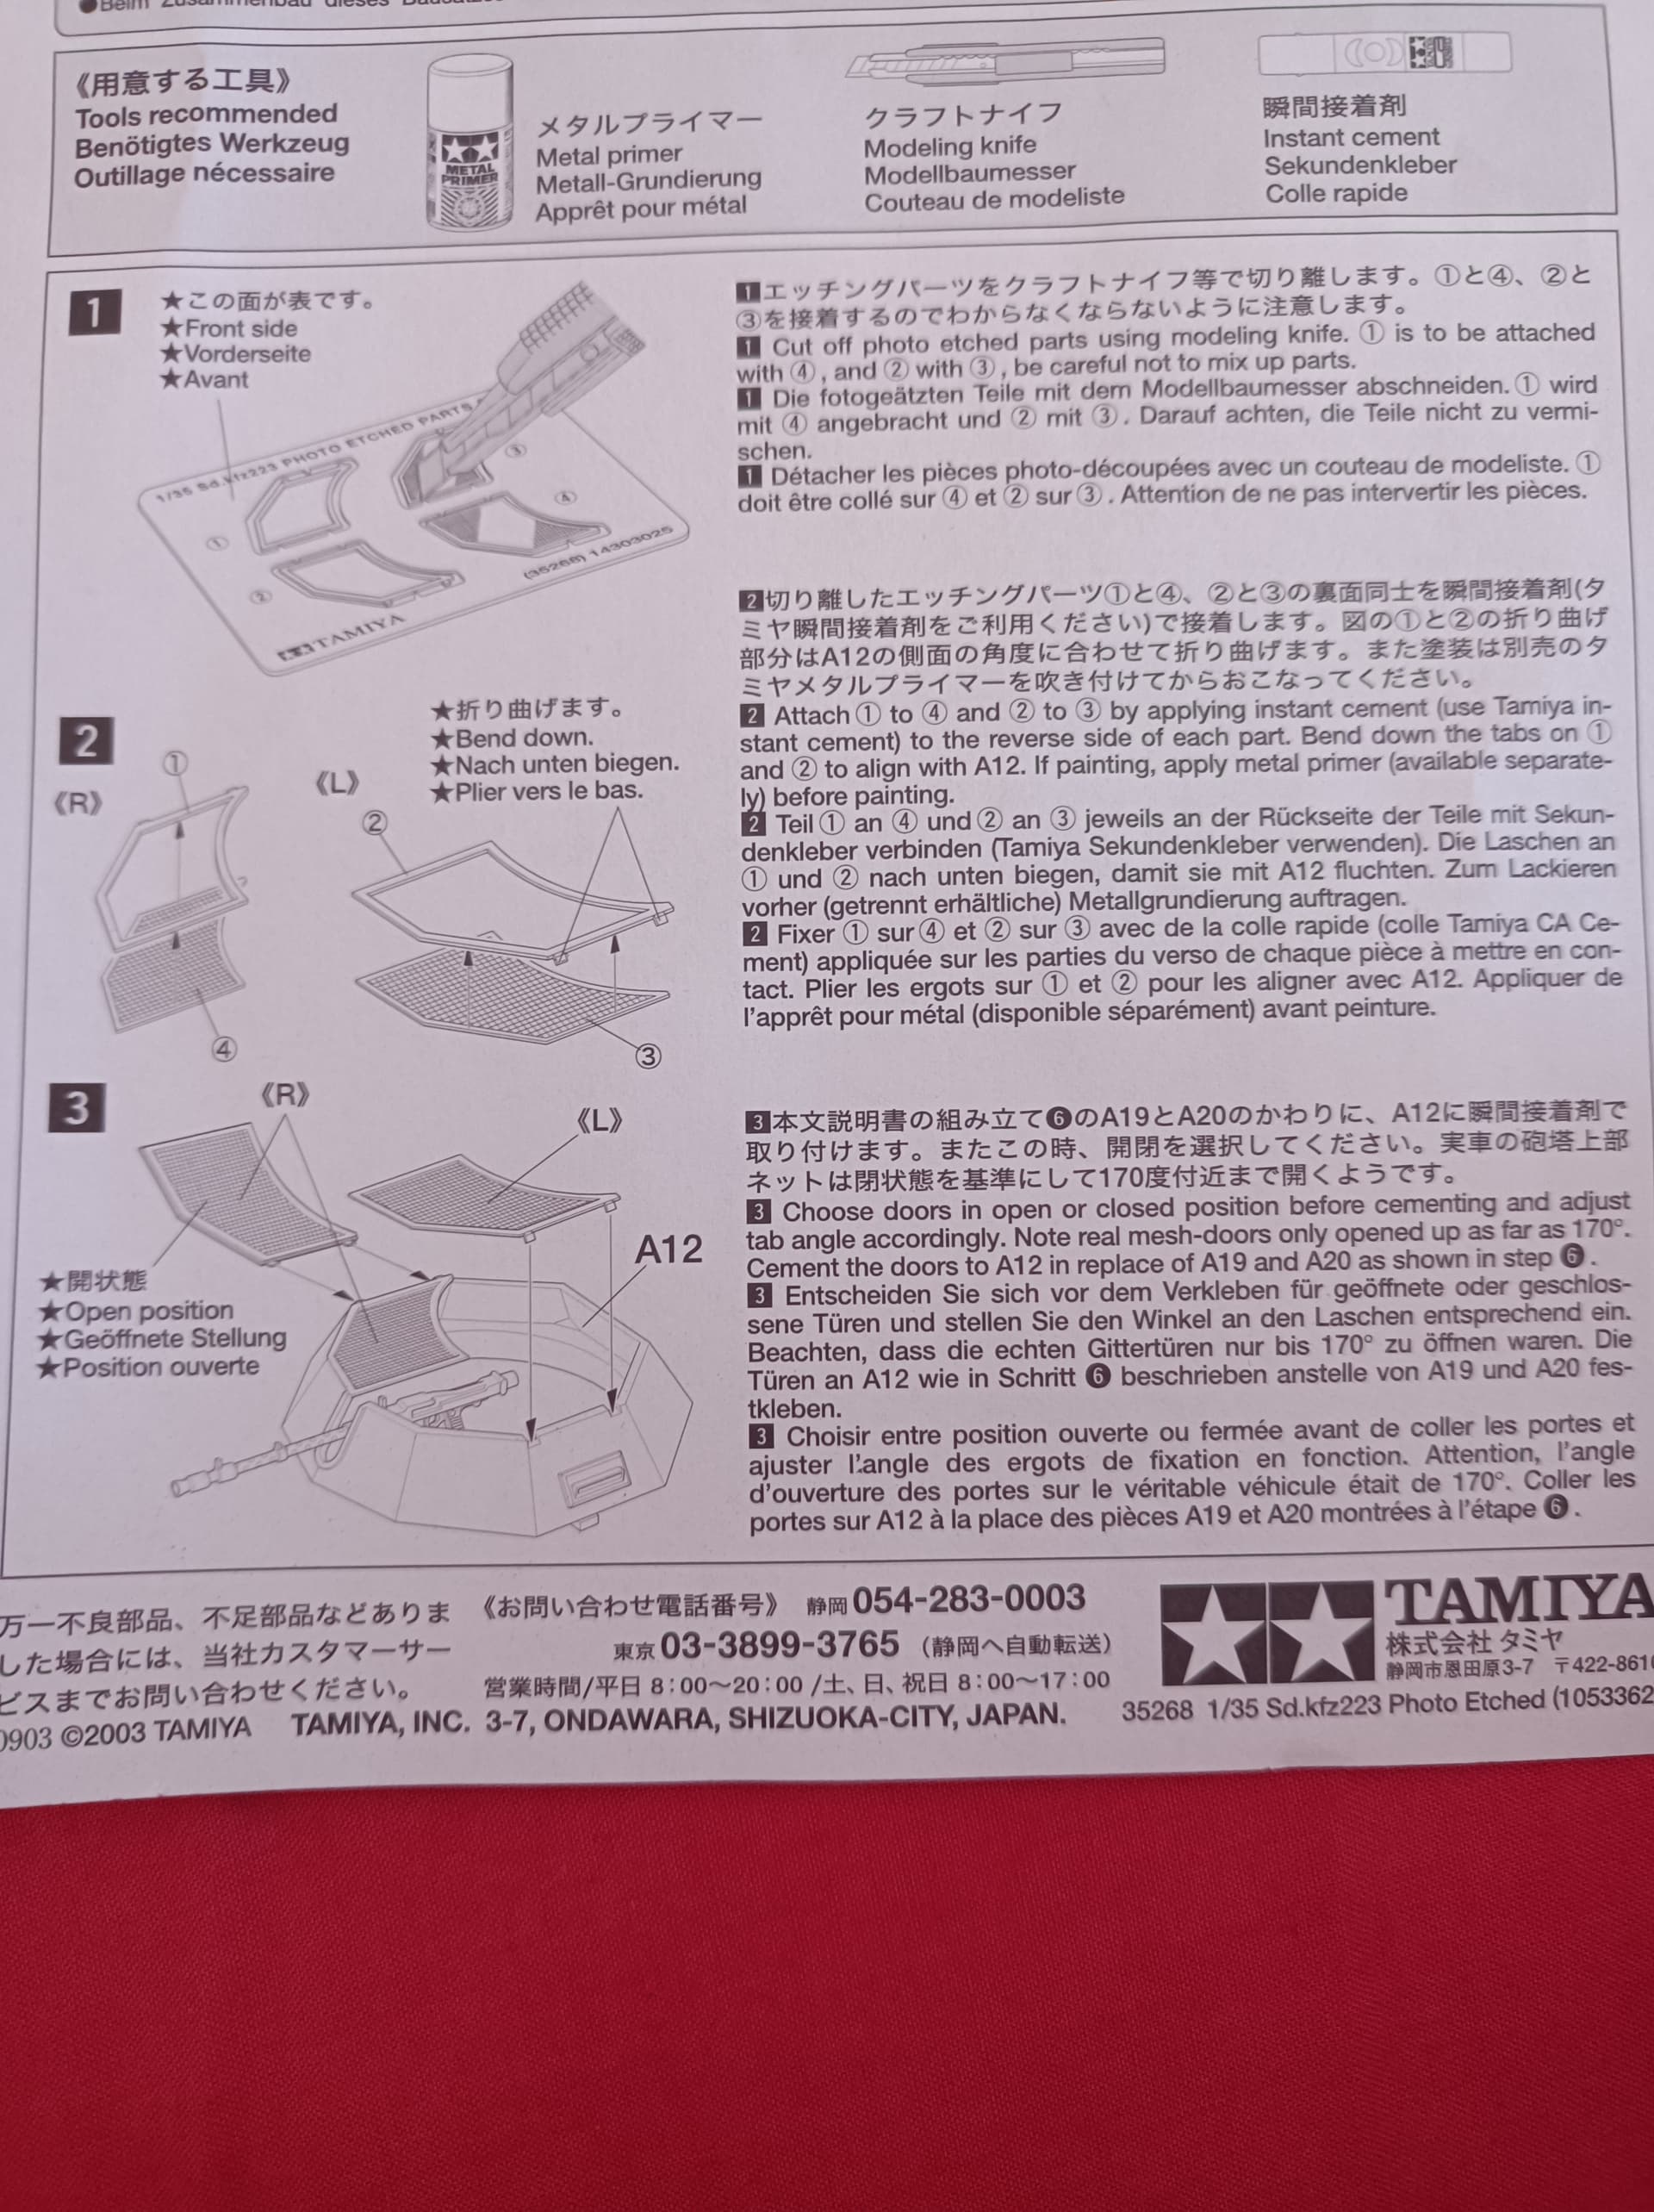
I am finding construction of the photo-etched parts really confusing.
I got these, 1,2,3 and 4:
And here are the PE instructions, which look pretty straight forward (except the “bending” part which I don’t get).
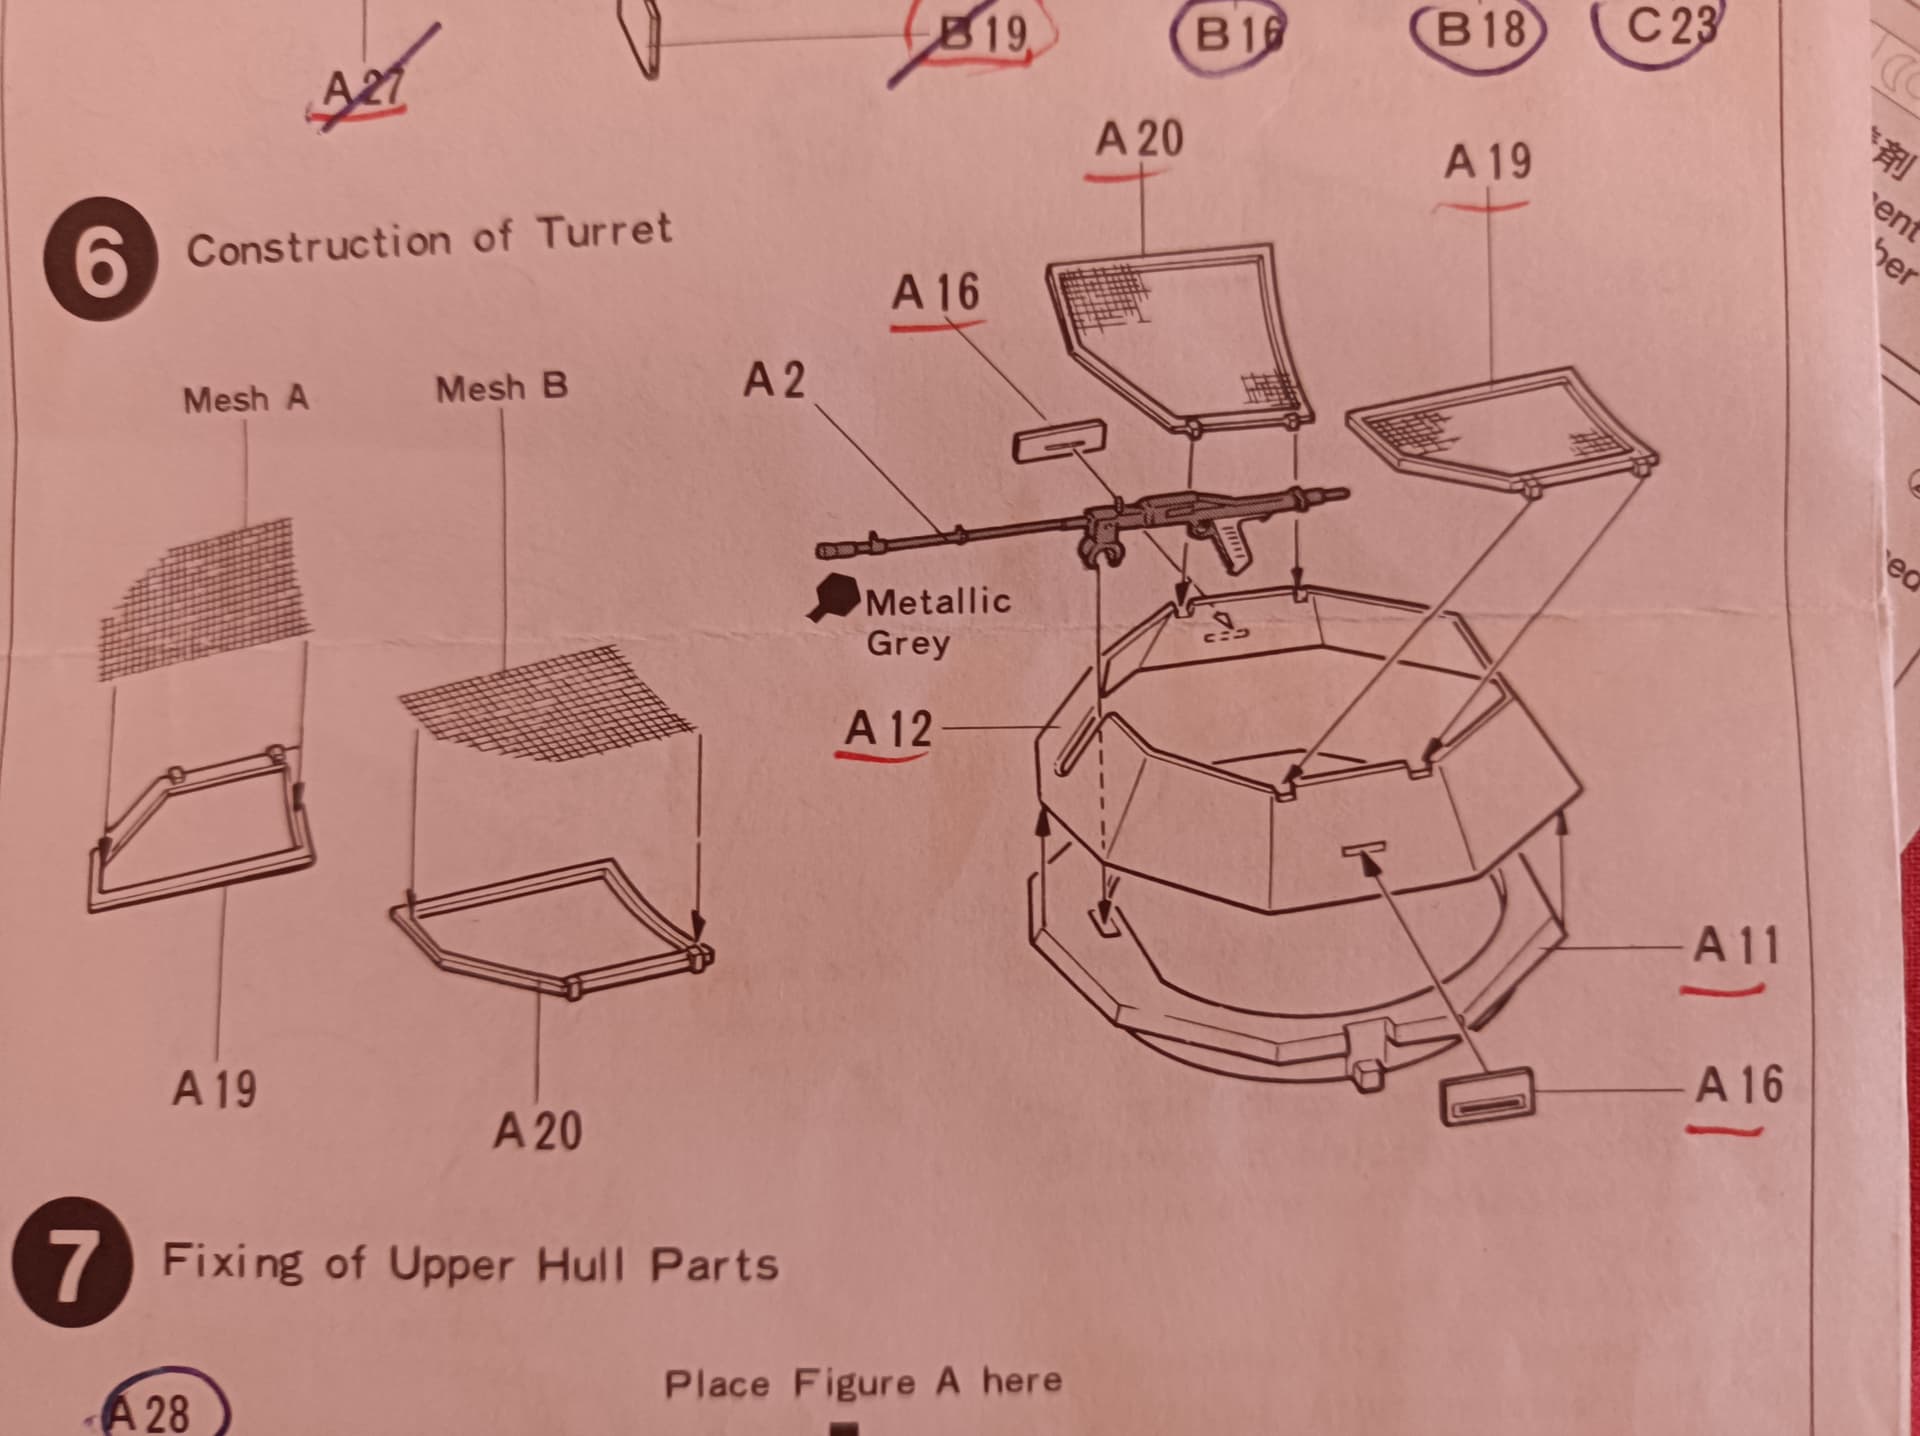
However in the kit’s instruction I have this:
Basically I really don’t have a clue on how to mount all of this.
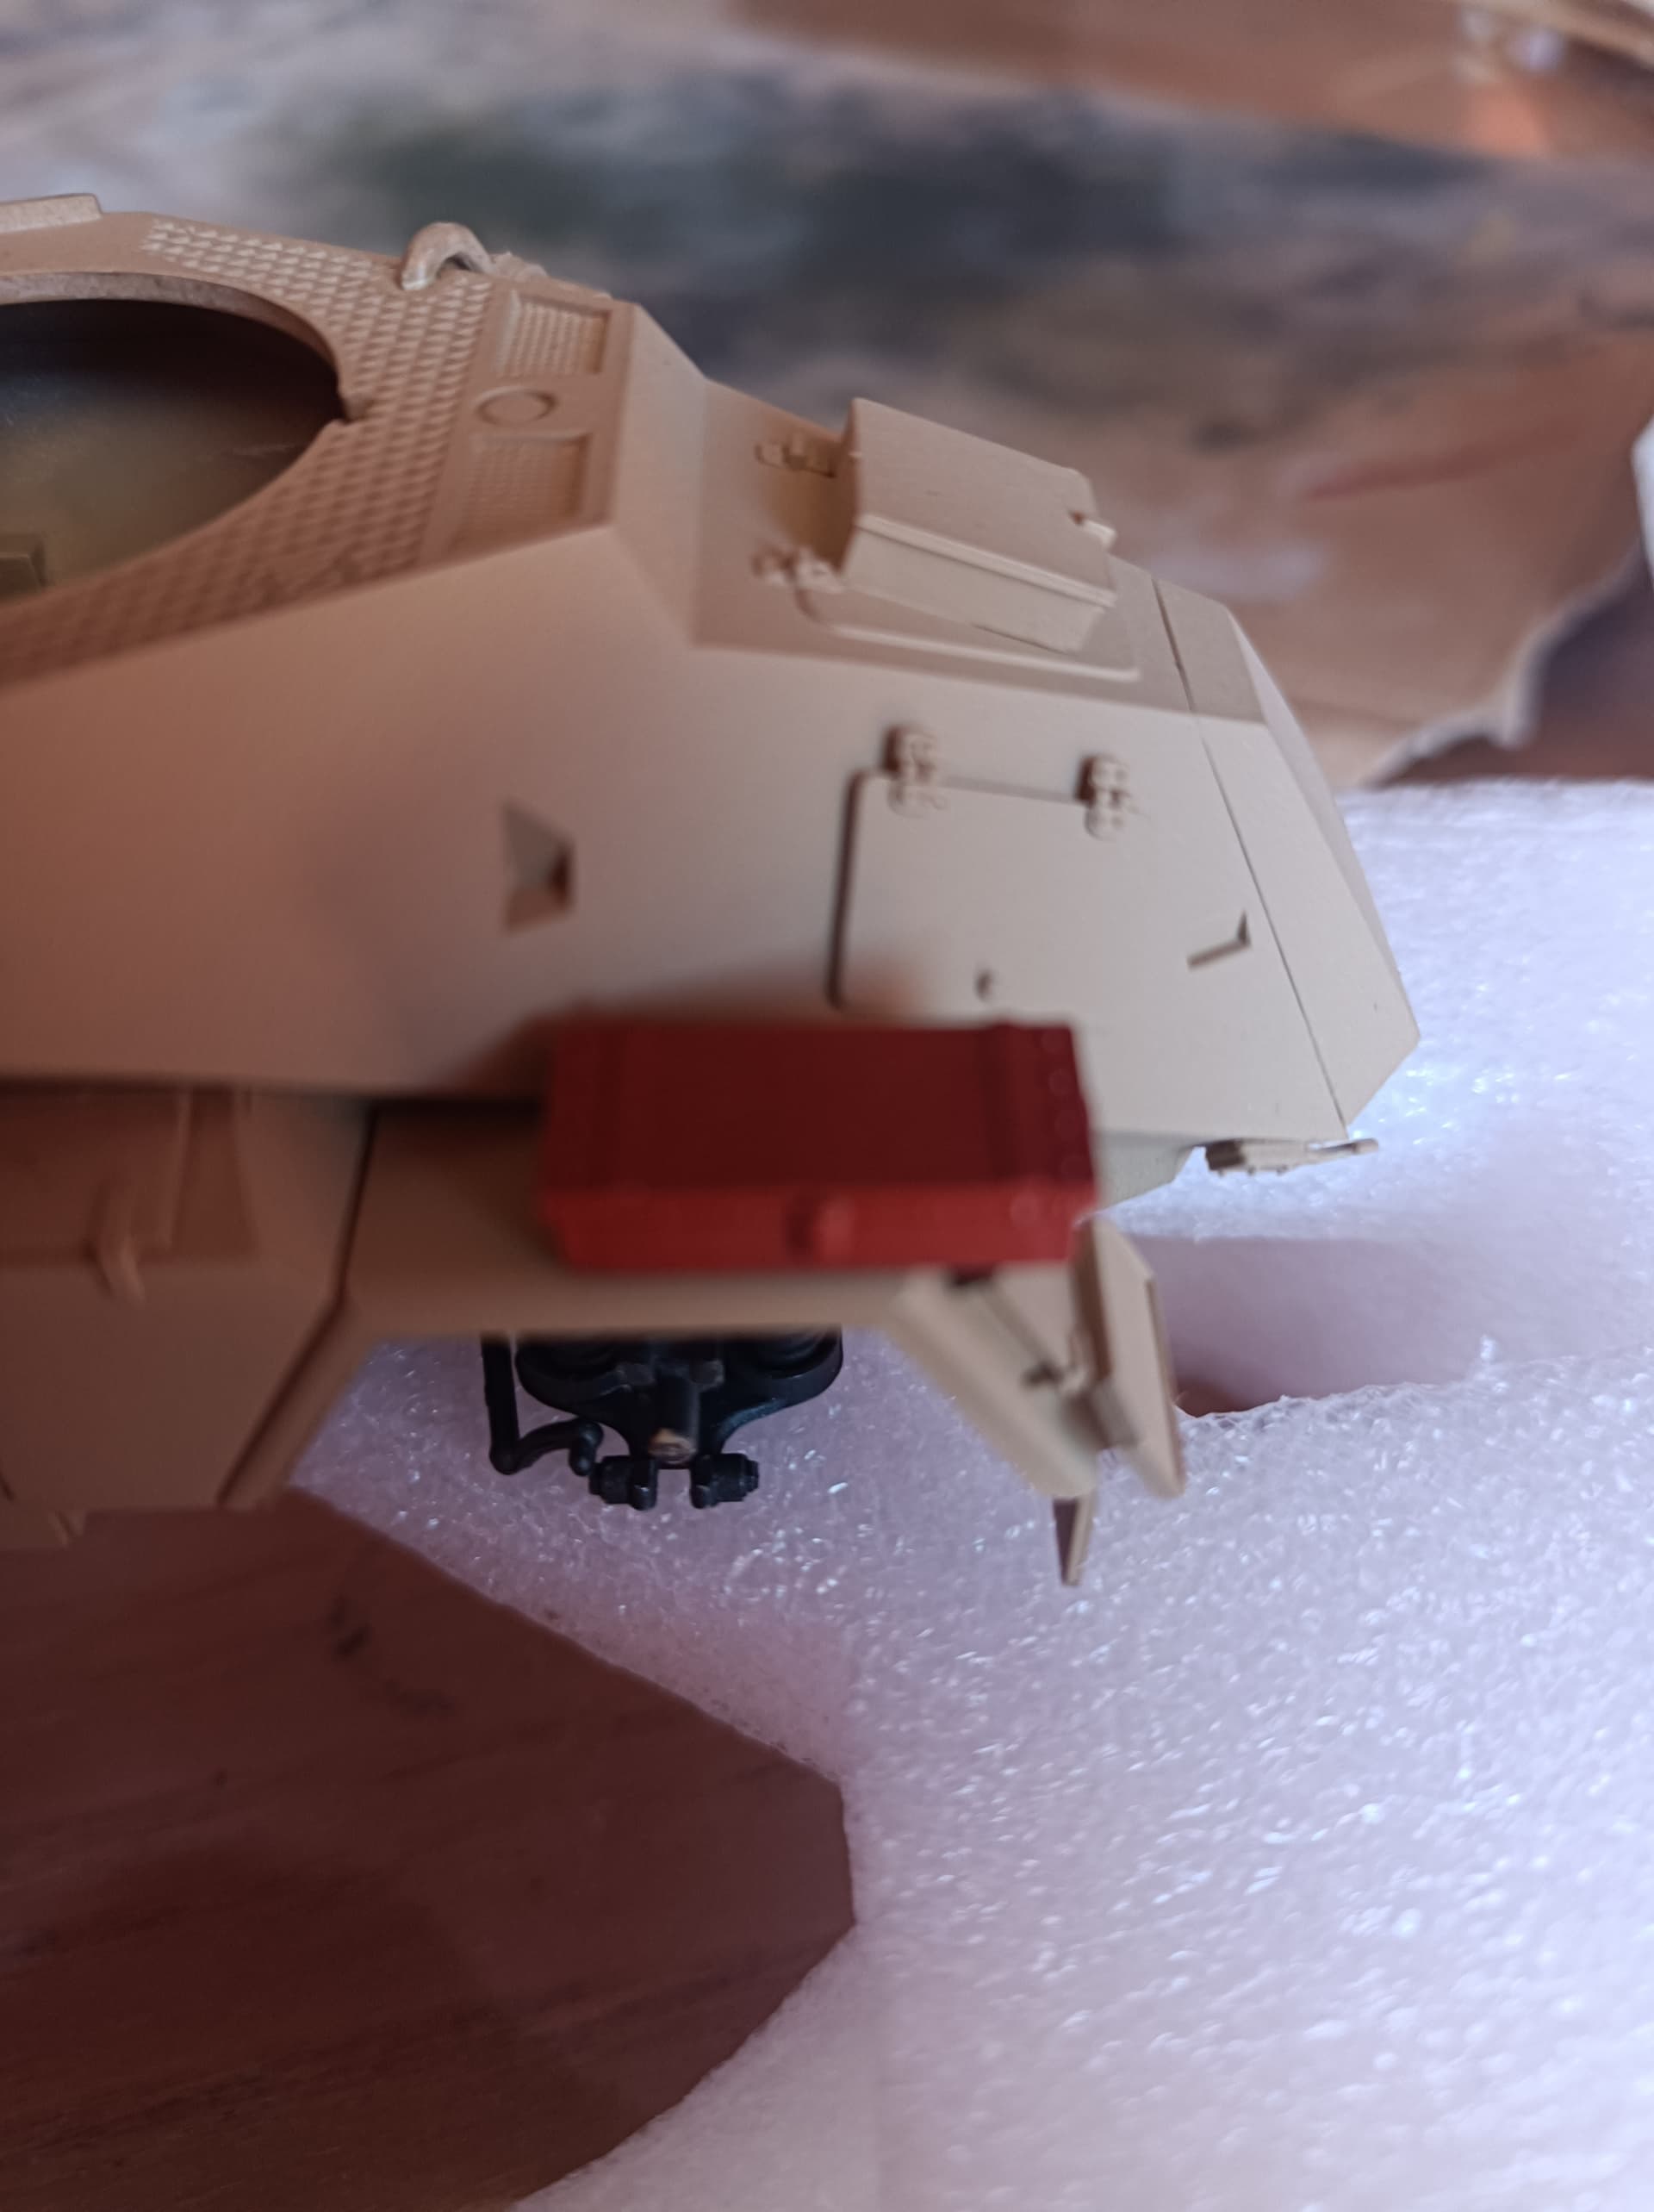
Another doubt:
this red (according to Tamiya instruction) box how is supposed to be placed? There’s no way to set it straight, so these are the only two ways:
Which one is the correct placement?
I think the first one looks more secure, as the entire box surface is sitting on the vehicle.
On the PE, the only part to be bent are the little square tabs on the sides of part 1 and 2. These are supposed to be the hinges for opening them. I’m not so sure on the box.
Ken
I guess they kept the old instructions for the plastic parts, however you can replace them with the new, thinner, photoetch ones.
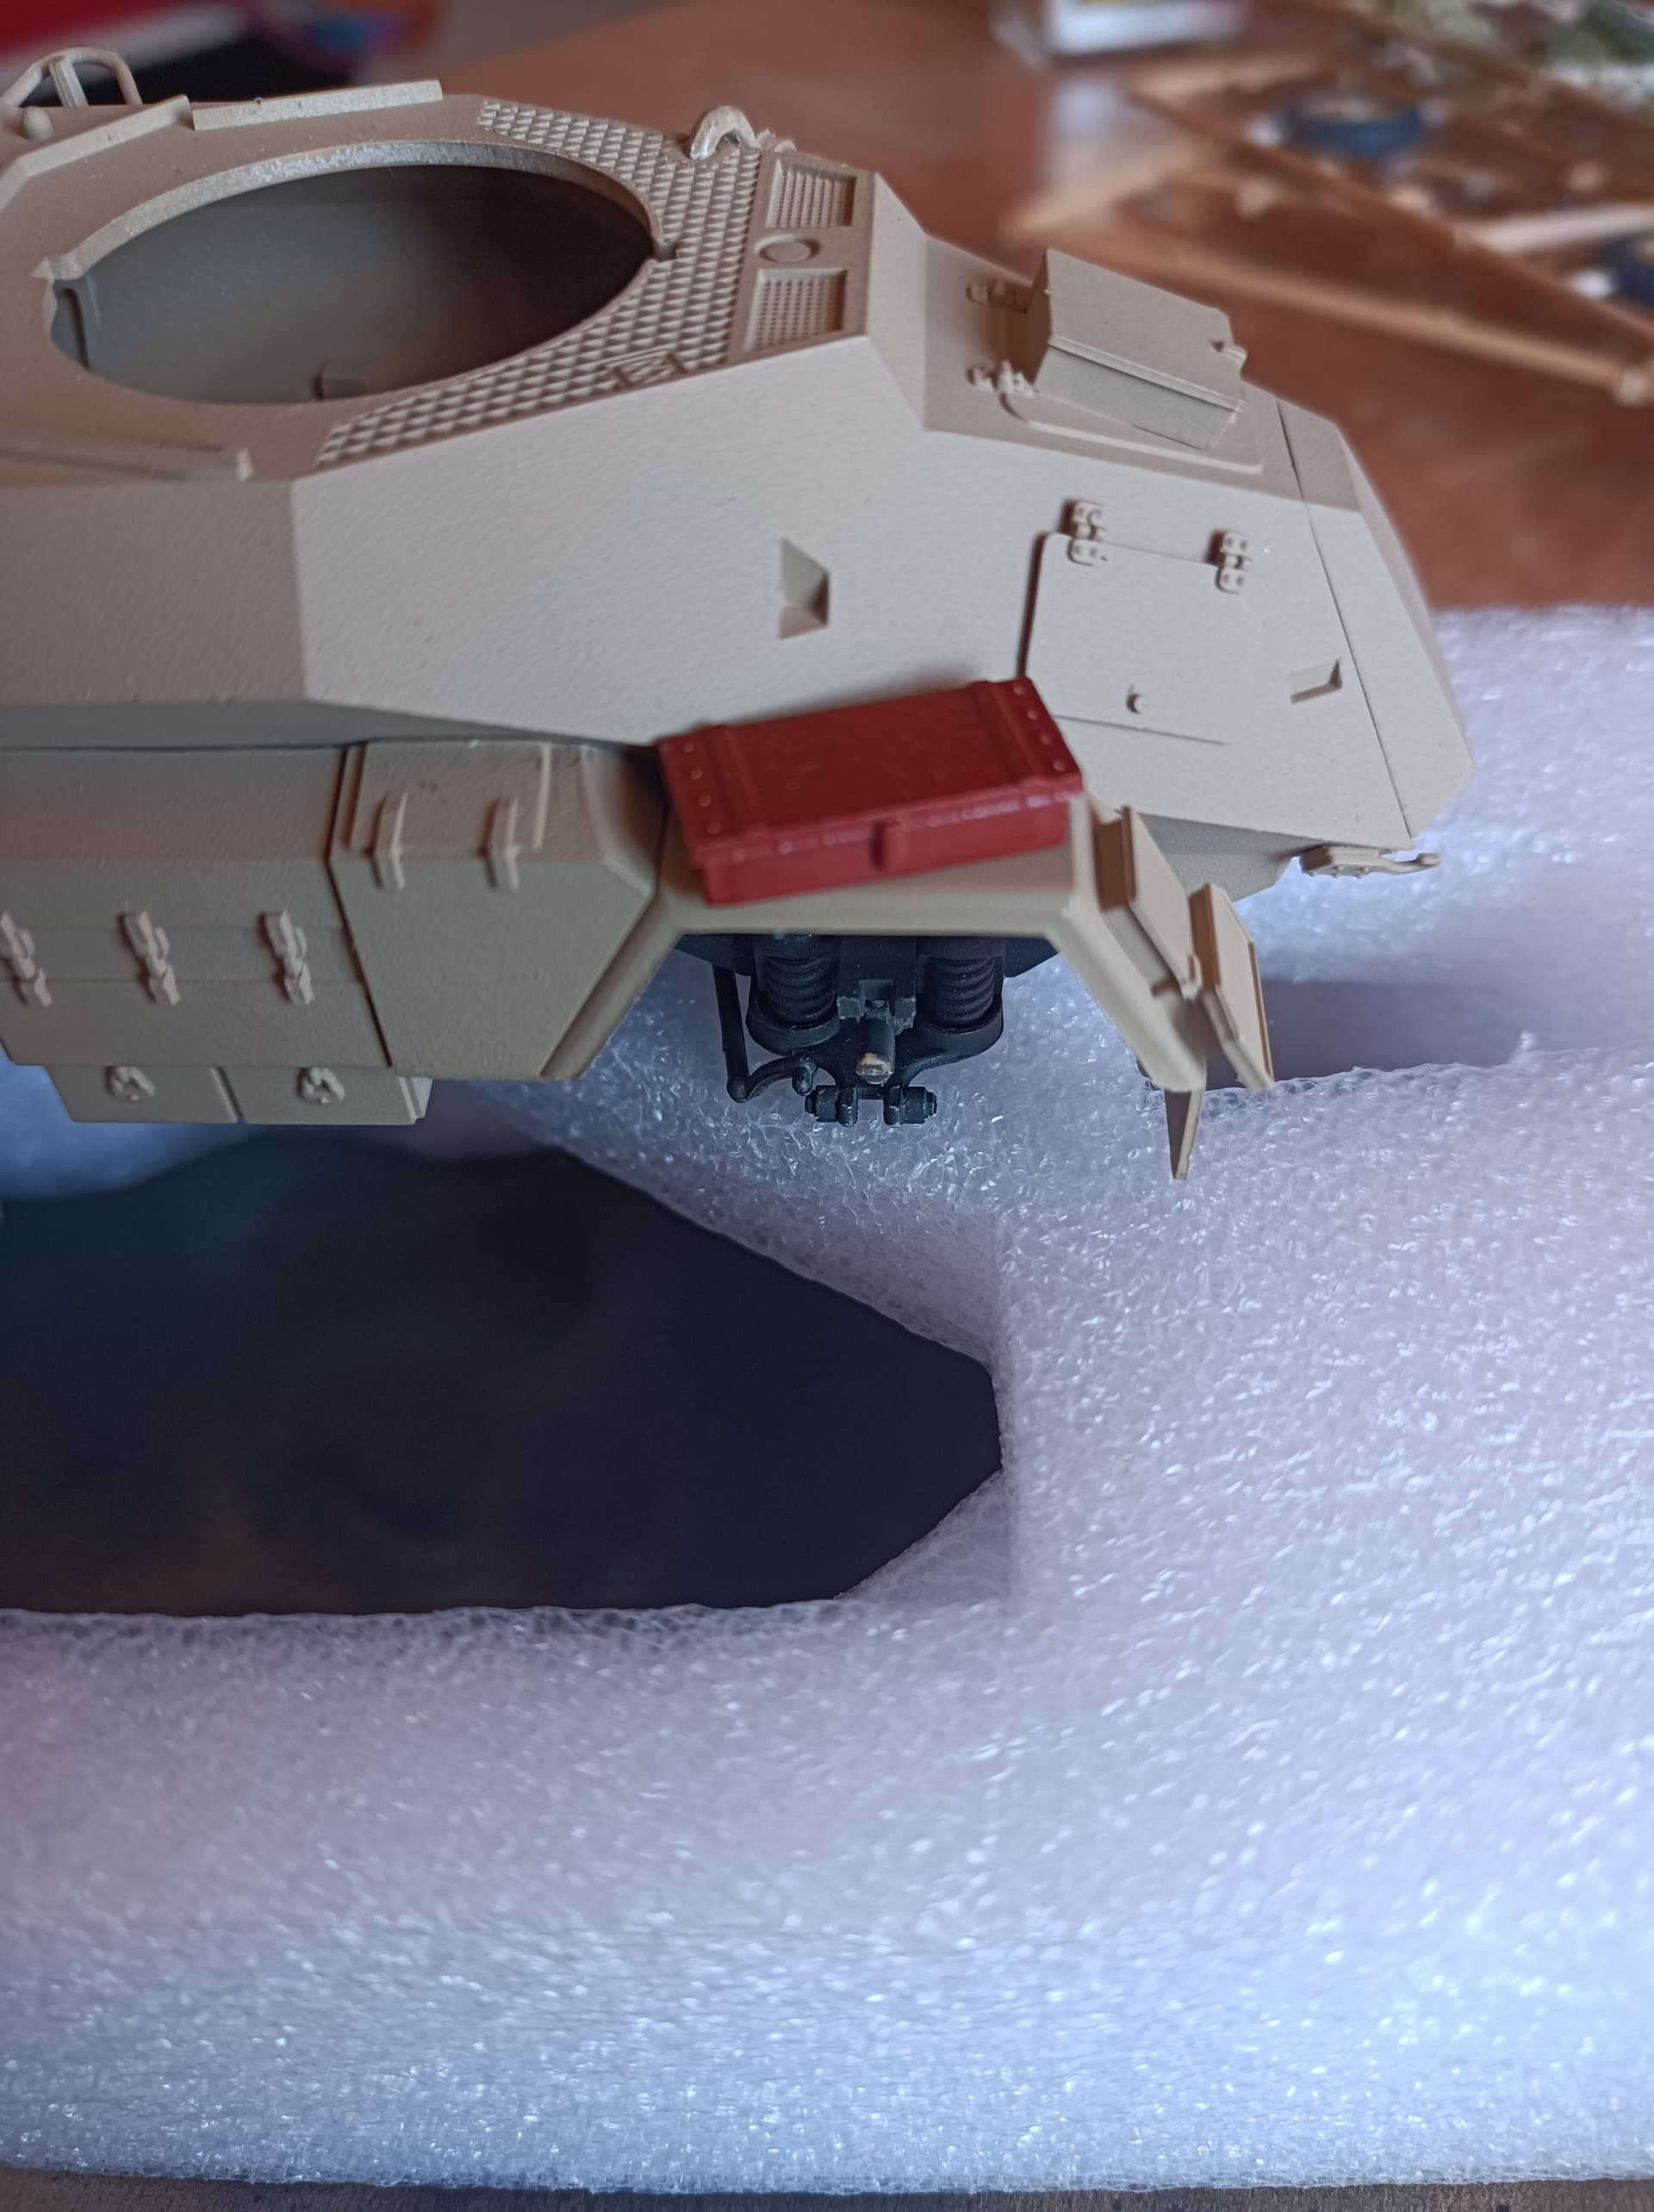
They took the chance also to correct the shape, which seems to be wrong on the old (plastic) parts:

Ok, it all makes sense now, thank you guys.
Much better now:
If anyone was wondering, AK AFV series paint goes very well with Vallejo thinner, I just added a couple of drops more and it sprayed very comfortably.
There are some traces of spidering on some, but it was just me being careless, I’ll fix that later (or cleverly hide them among the fine ones).
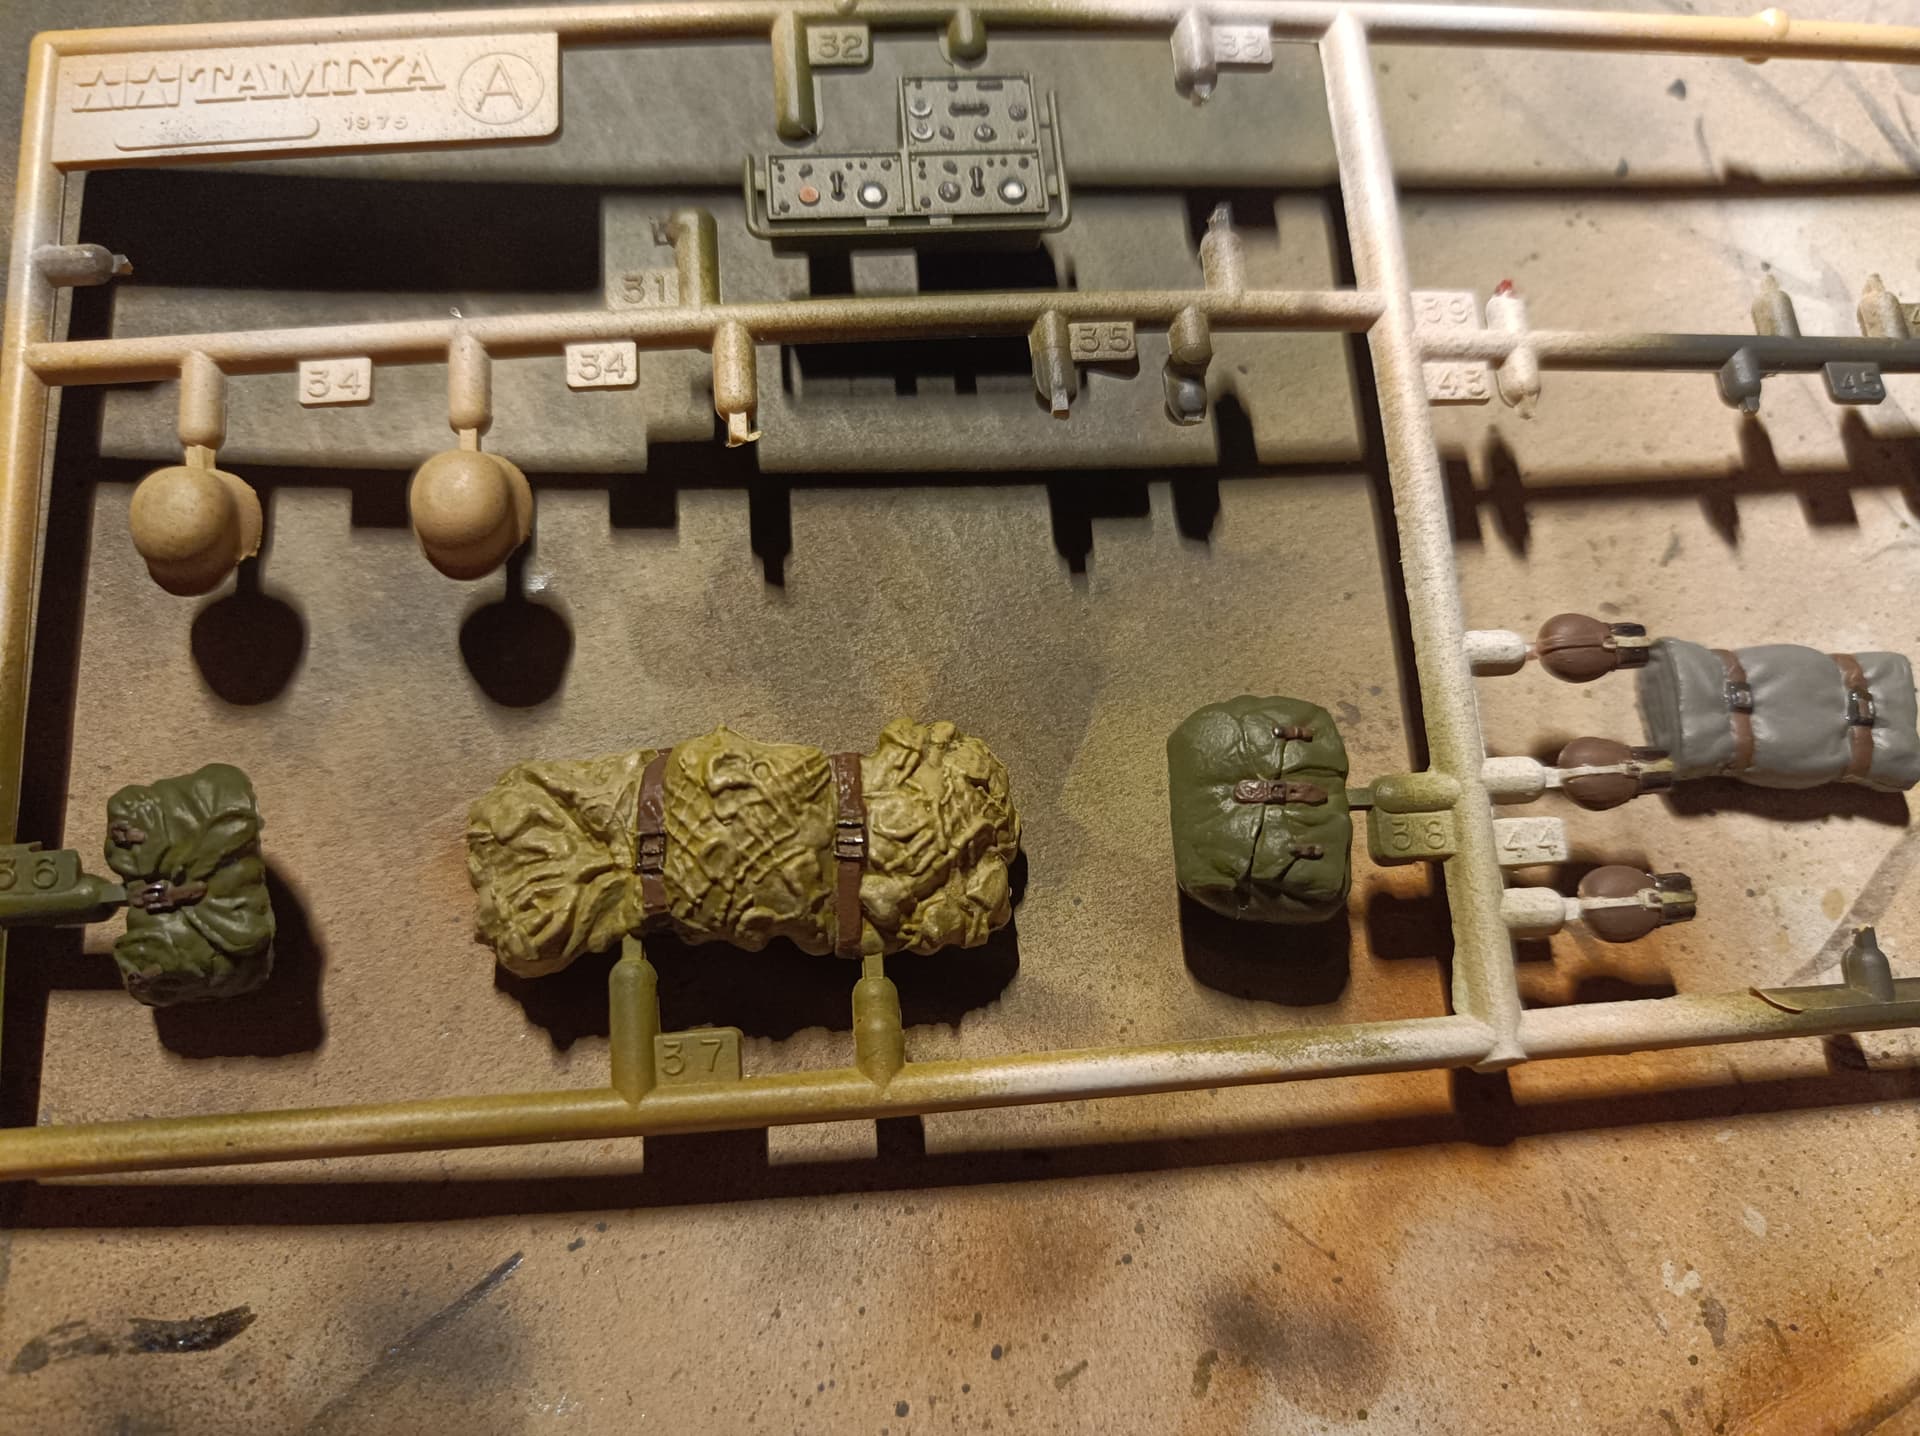
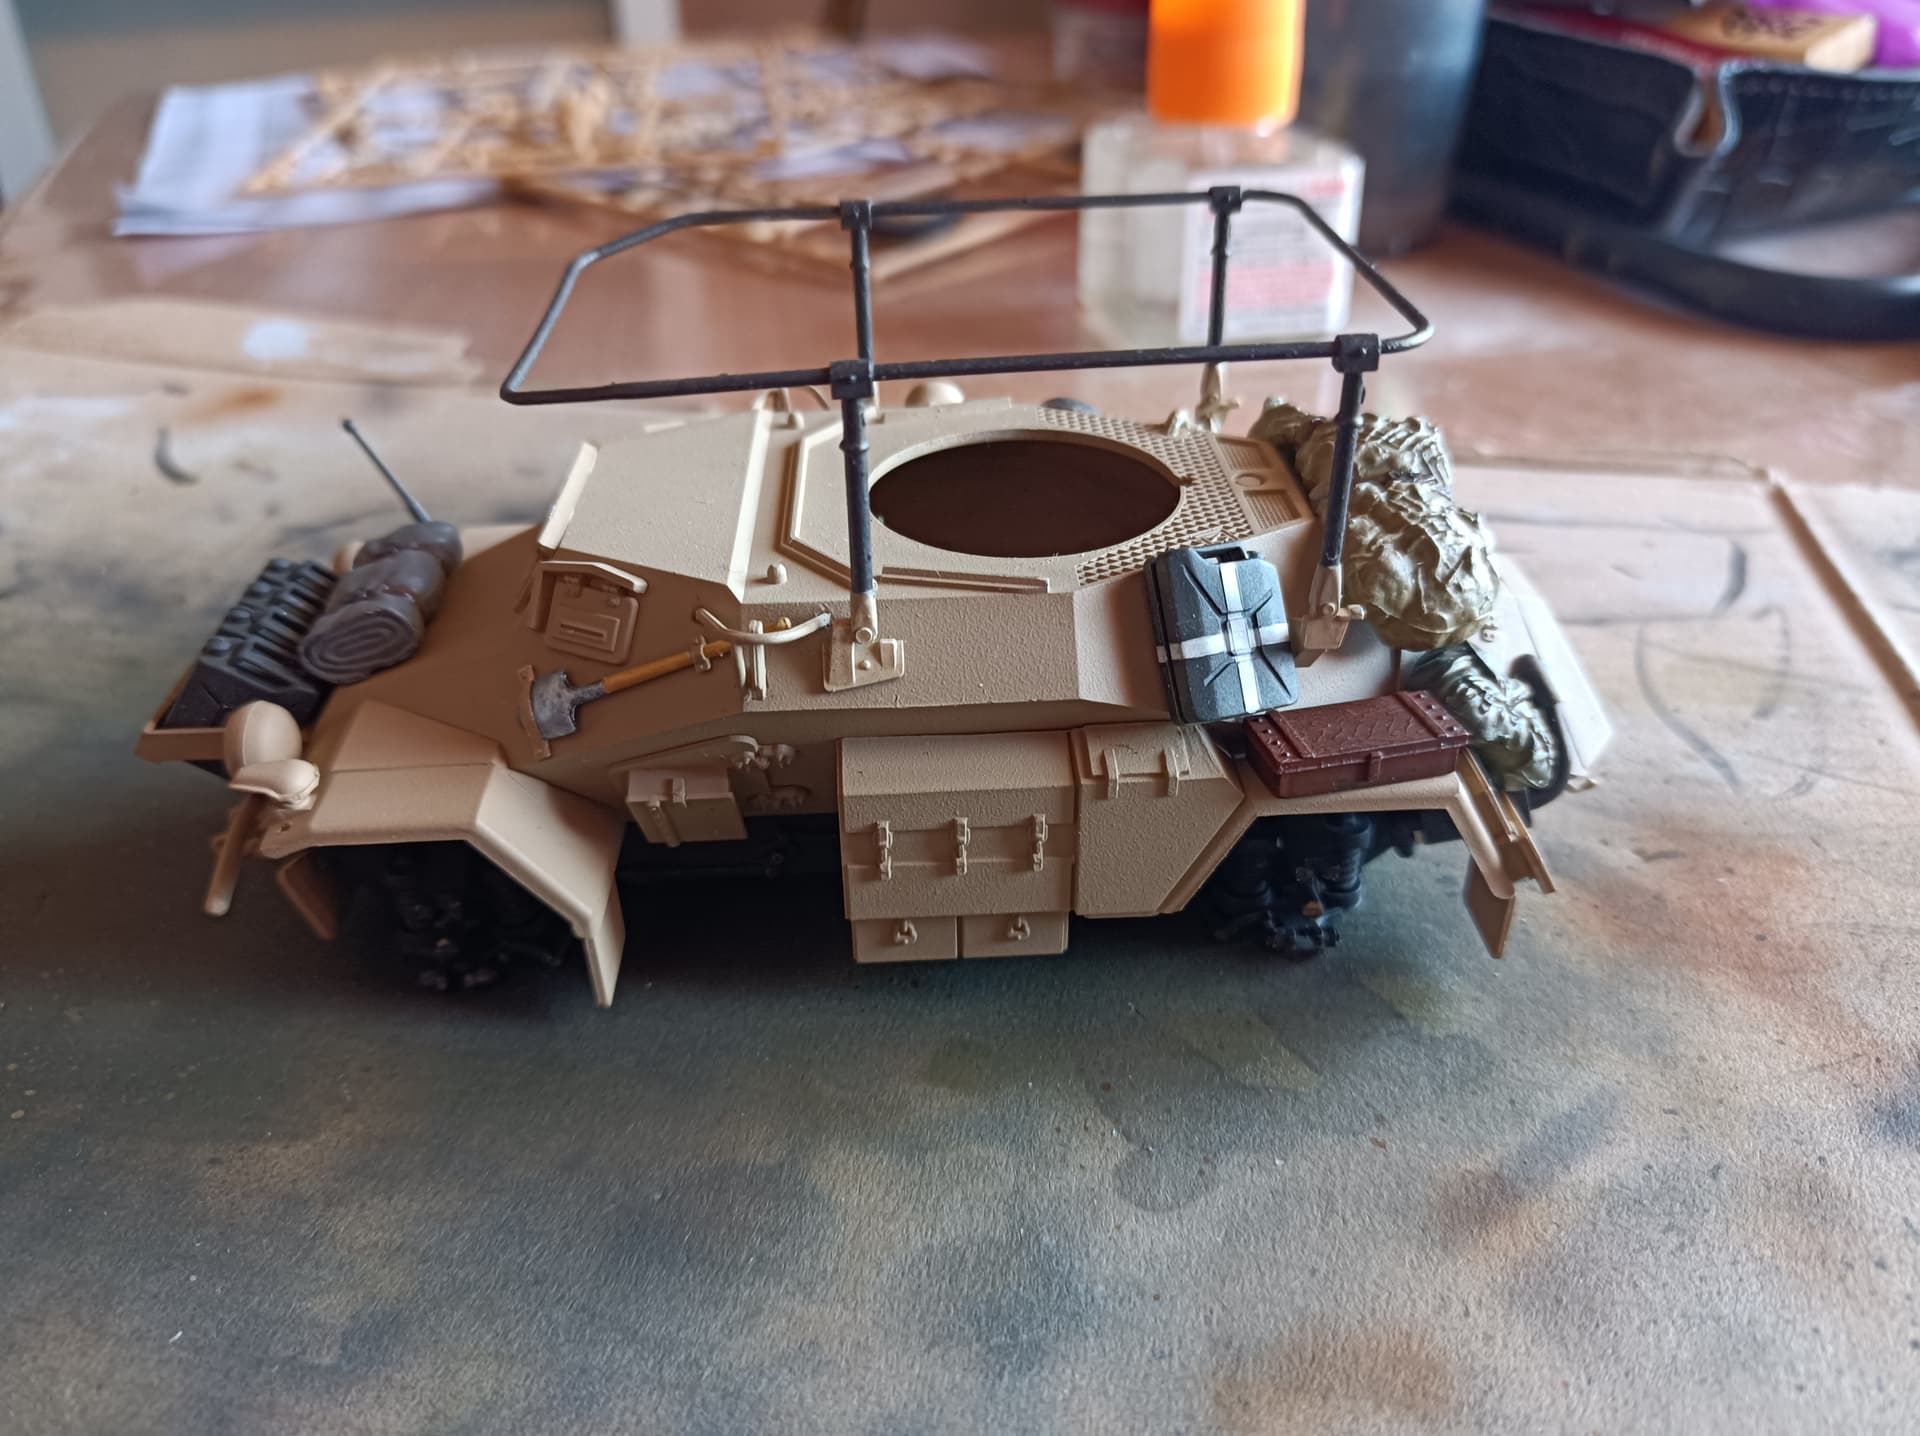
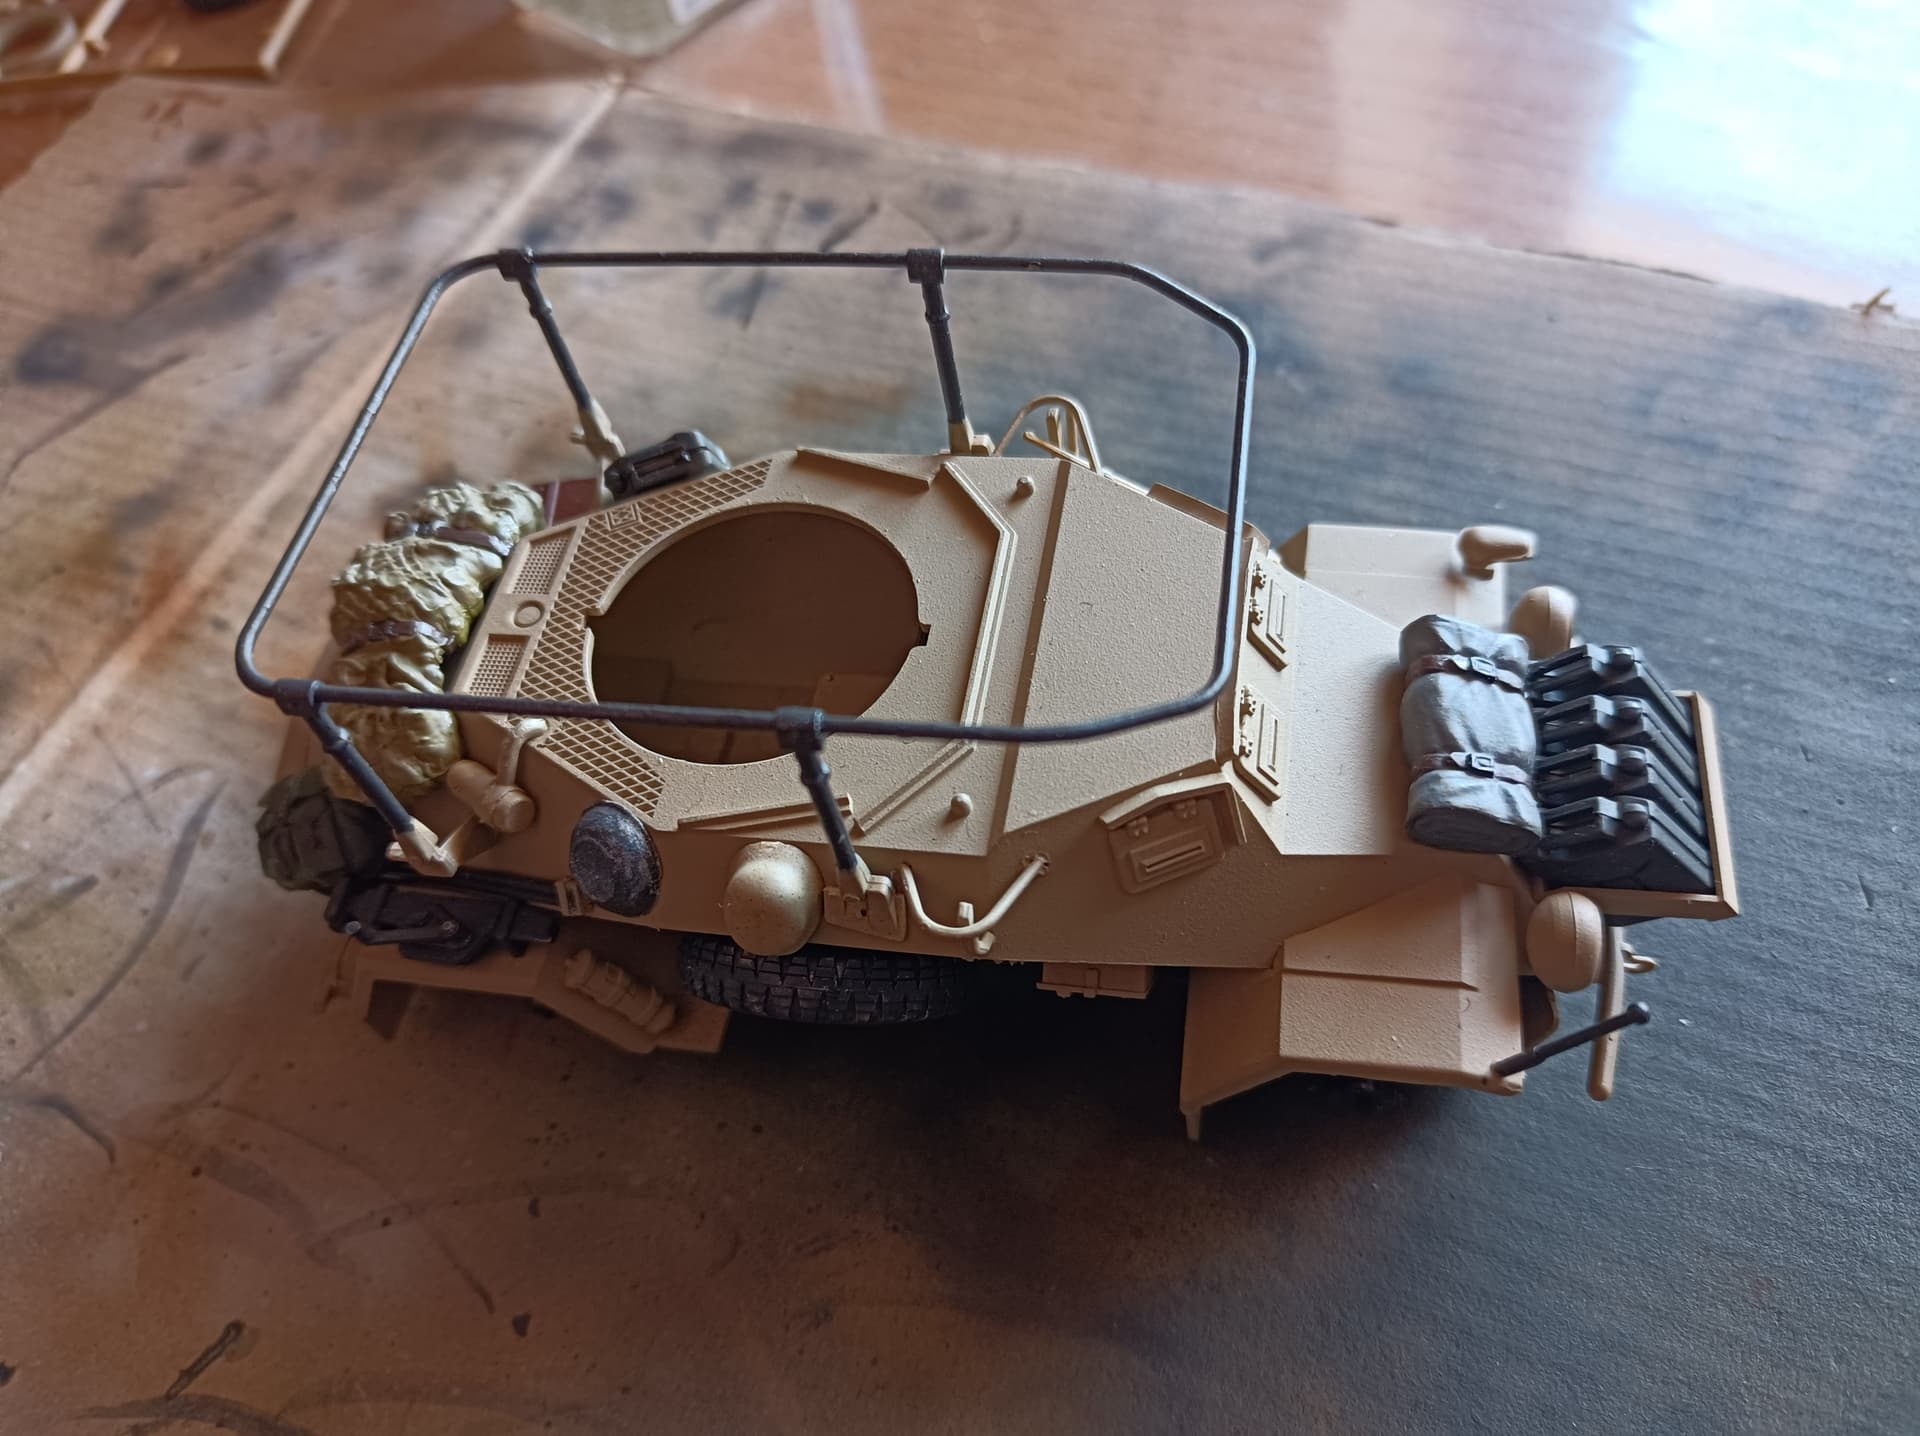
As you can see, I made the radio in field grau, same for the bags for which I increased the thinning.
For the camo net, I saw that everyone does it different, so I mixed feldgrau and dunkelgrau and ended up with this greenish-sandy look. It think it will look fine once I paint the straps and weather it with sand, but I am open to suggestions.
I am going to hand paint the bottles, already found plenty of reference photos.
I made the tarp in panzergrau as it’s the only grey I got…but looking at it now it looks so dark, maybe too much.
Is there any trick to make it lighter? Maybe adding some white to the mix?
Also, what about the various belt buckles, what color?
Find a lighter, medium gray in your paints, then dry brush that over the highlights of the tarp. The lower areas will remain dark for a shadow effect.
Sounds like a good idea.
I never really mixed colors before, this is a first for me, I suppose that adding some drops of white in the Panzergrau should end up with a lighter Grey.
About the camo net, would you guys do something or should I leave it as it is?
Start by painting the part black. then, counter-shade with the prescribed colour and then dry-brush with a lighter shade of that colour. Simples.
Here’s some of the stuff done, you can also witness my low effort attempt at the radio. I just need to finish the water bottles.
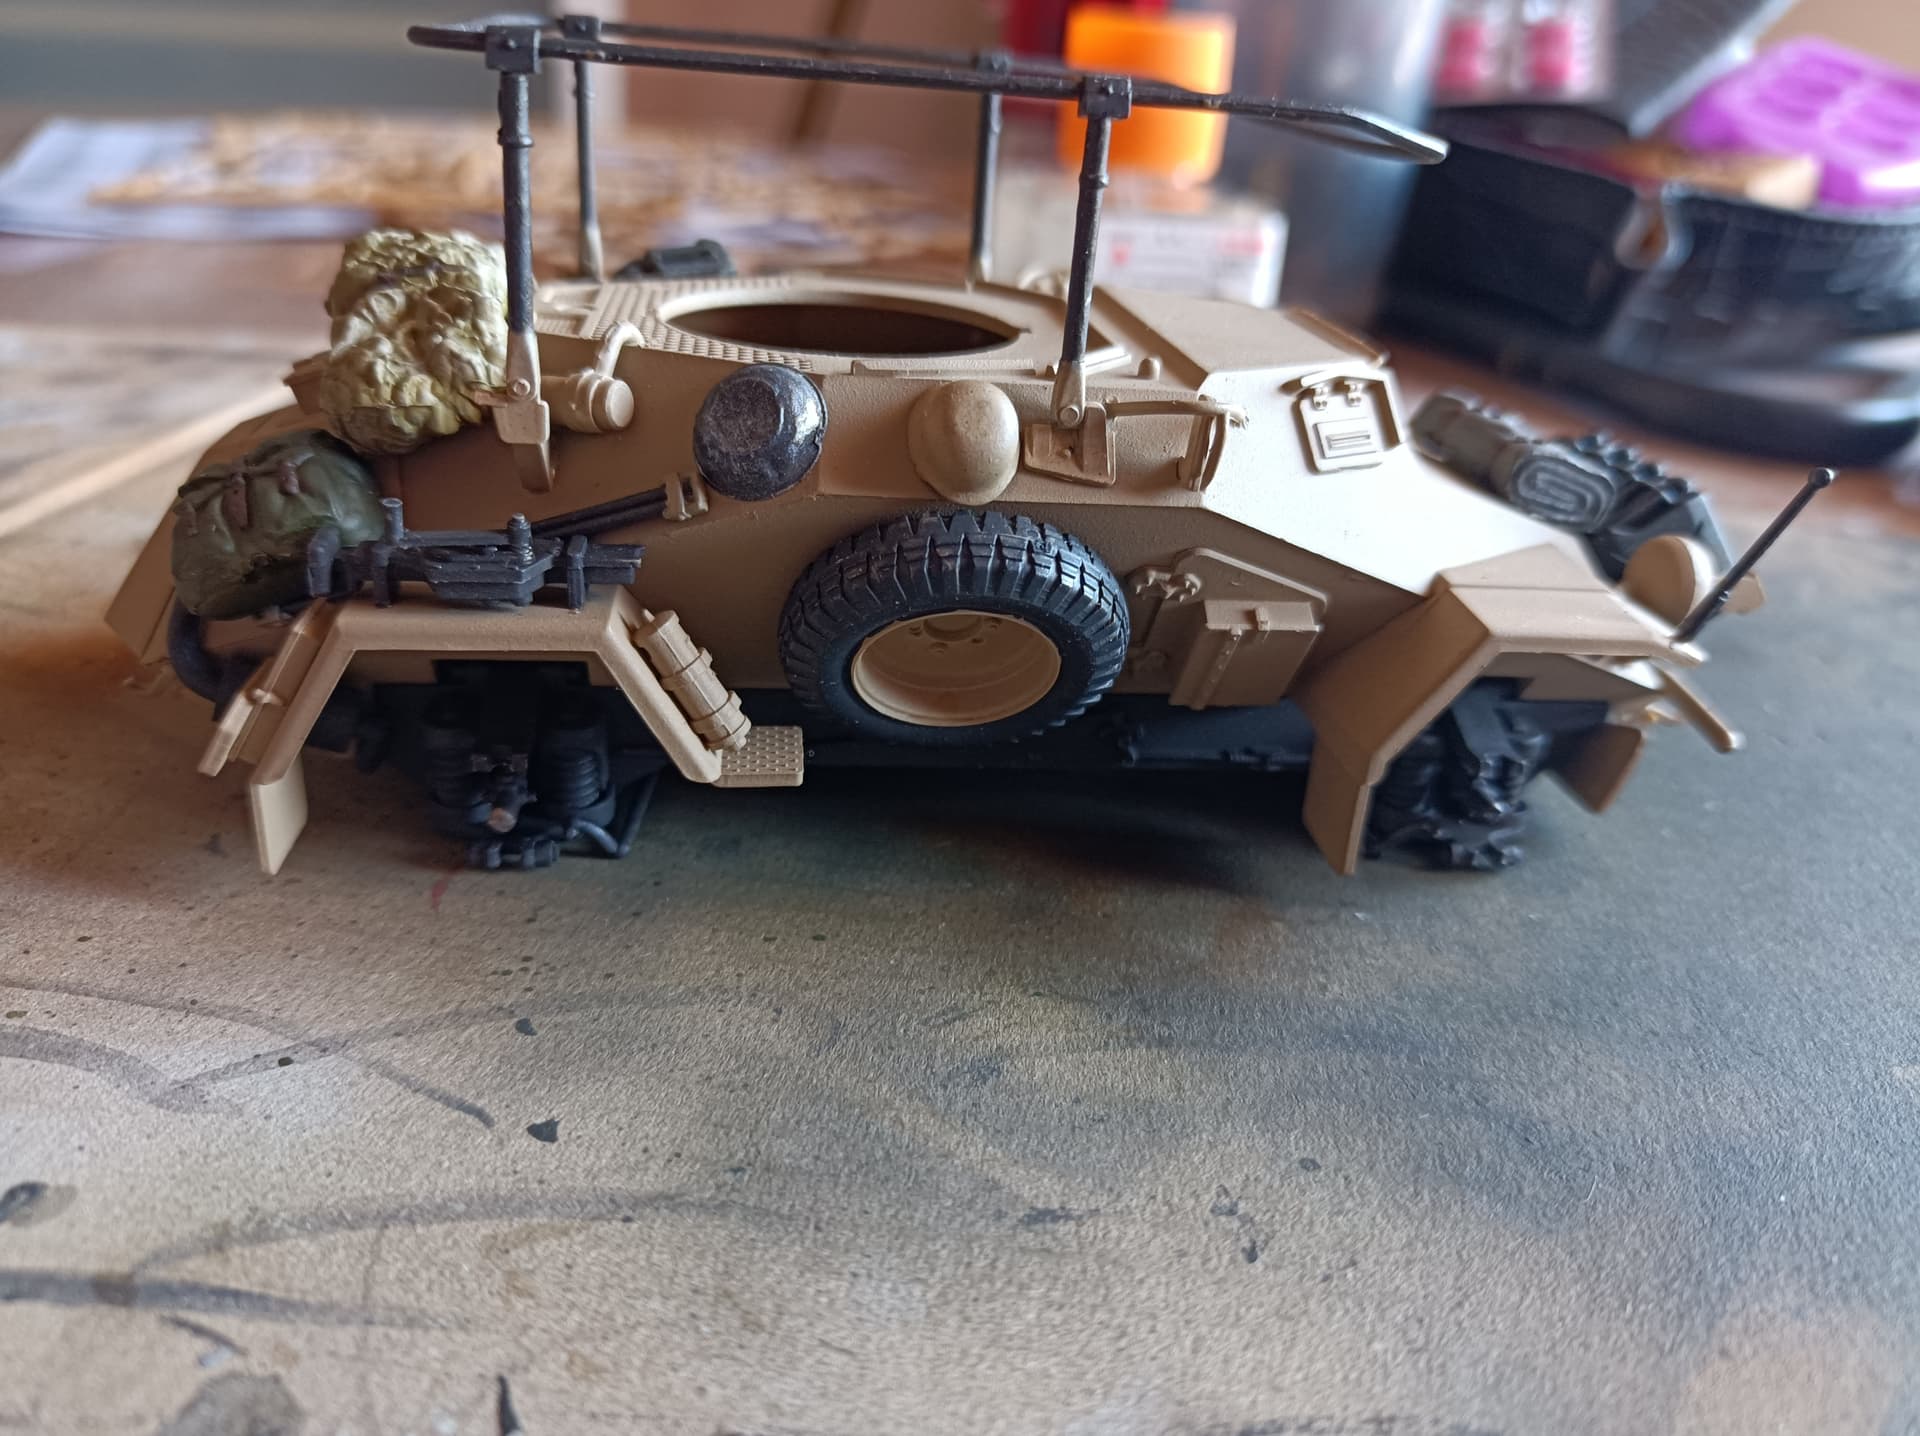
I fixed most of the garbage on the hull.
The antenna supports were a nightmare to fix, the slots allowed plenty of wiggling so I had to carefully adjust by eye.
Looking at it now seems fine but I bet there will be measurable disalignment which I don’t even want to acknowledge, to the benefit of my sanity.
As beginner, this is the thing I struggle most, slots that allows the pieces to move around and cause disalignments. I suppose this is a natural consequence of cheap kits (and most likely some errors on my part, maybe some of the pieces needed some filing)