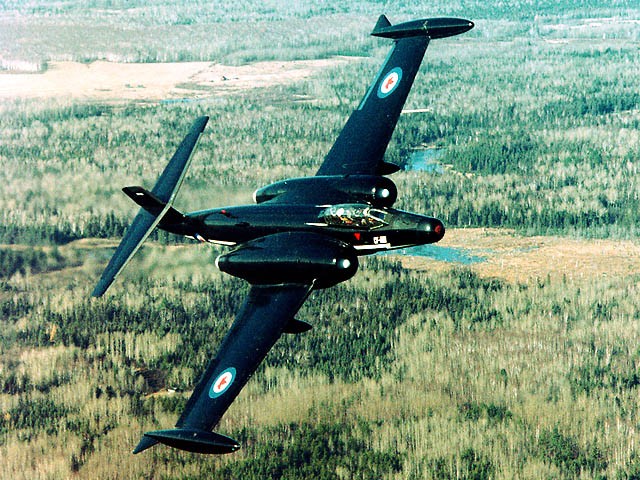
It served as an ECM platform until the early 80s.
Edit:
Very nice! I like the black but do not have the decals. I will go for an all metal scheme.
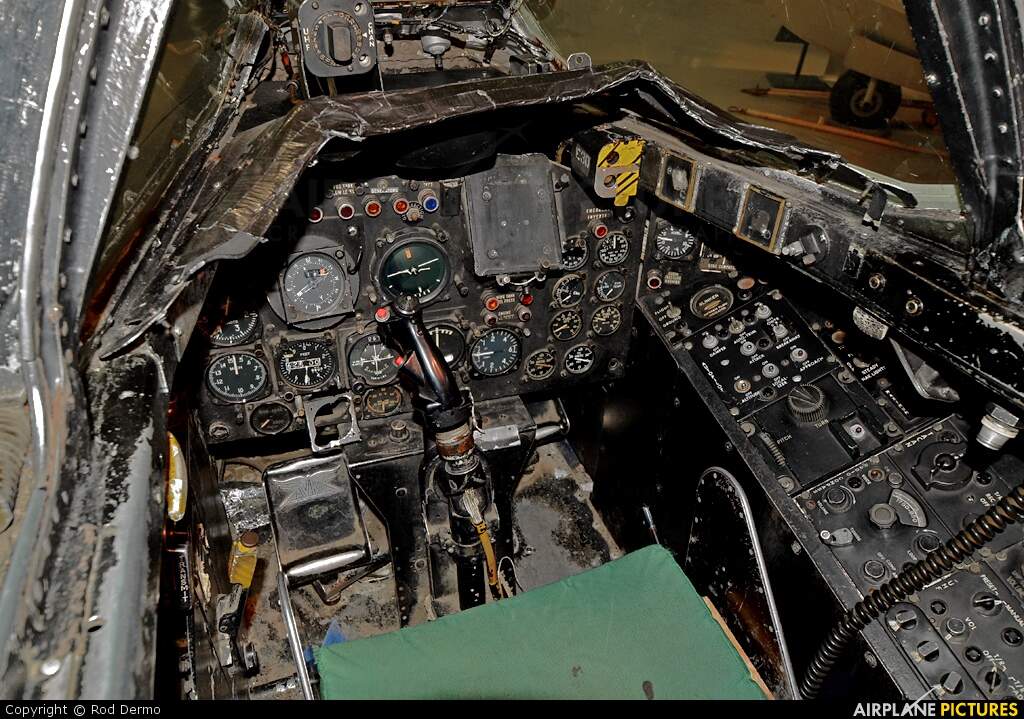
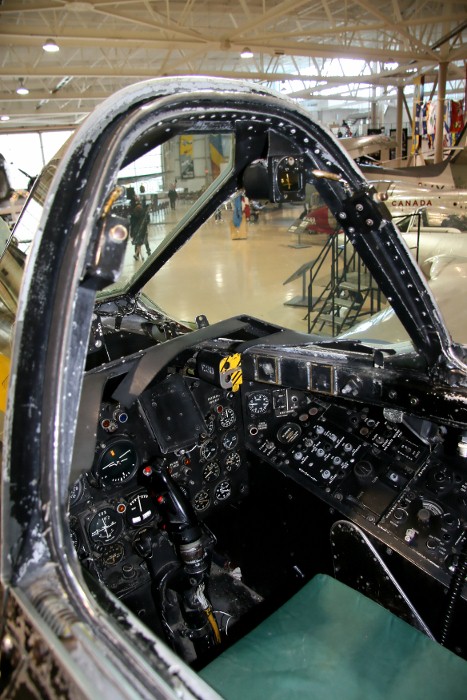
I probably need some help on the cockpit colors and the uniforms of the pilots. But let me first see what I can find online myself. ![]()
No ![]()
They also came in a weird dark blue-green colour.
Edit: Also Grey apparently
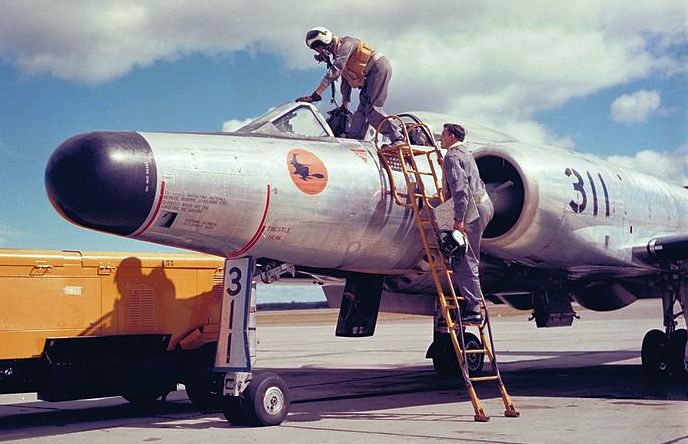
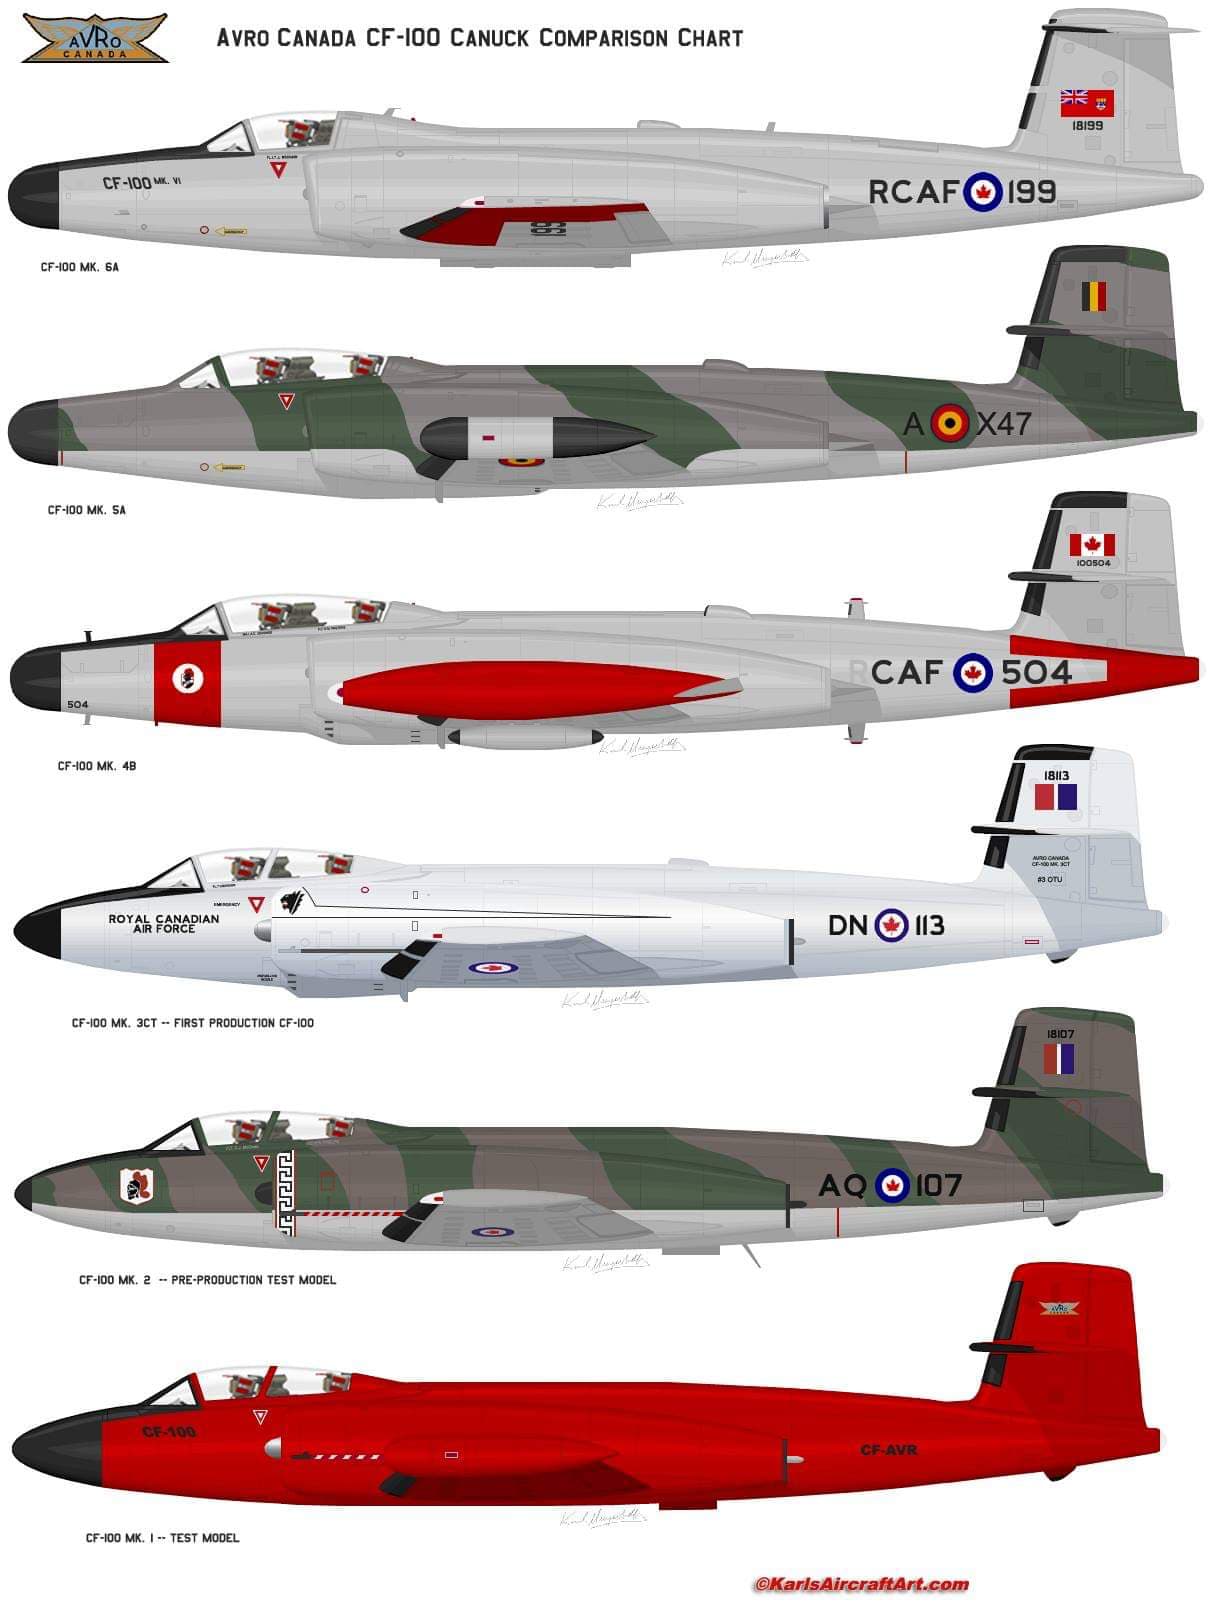
Many many CF-100 photos here for you Jesper
https://www.silverhawkauthor.com/post/canadian-warplanes-6-jets-avro-cf-100-canuck
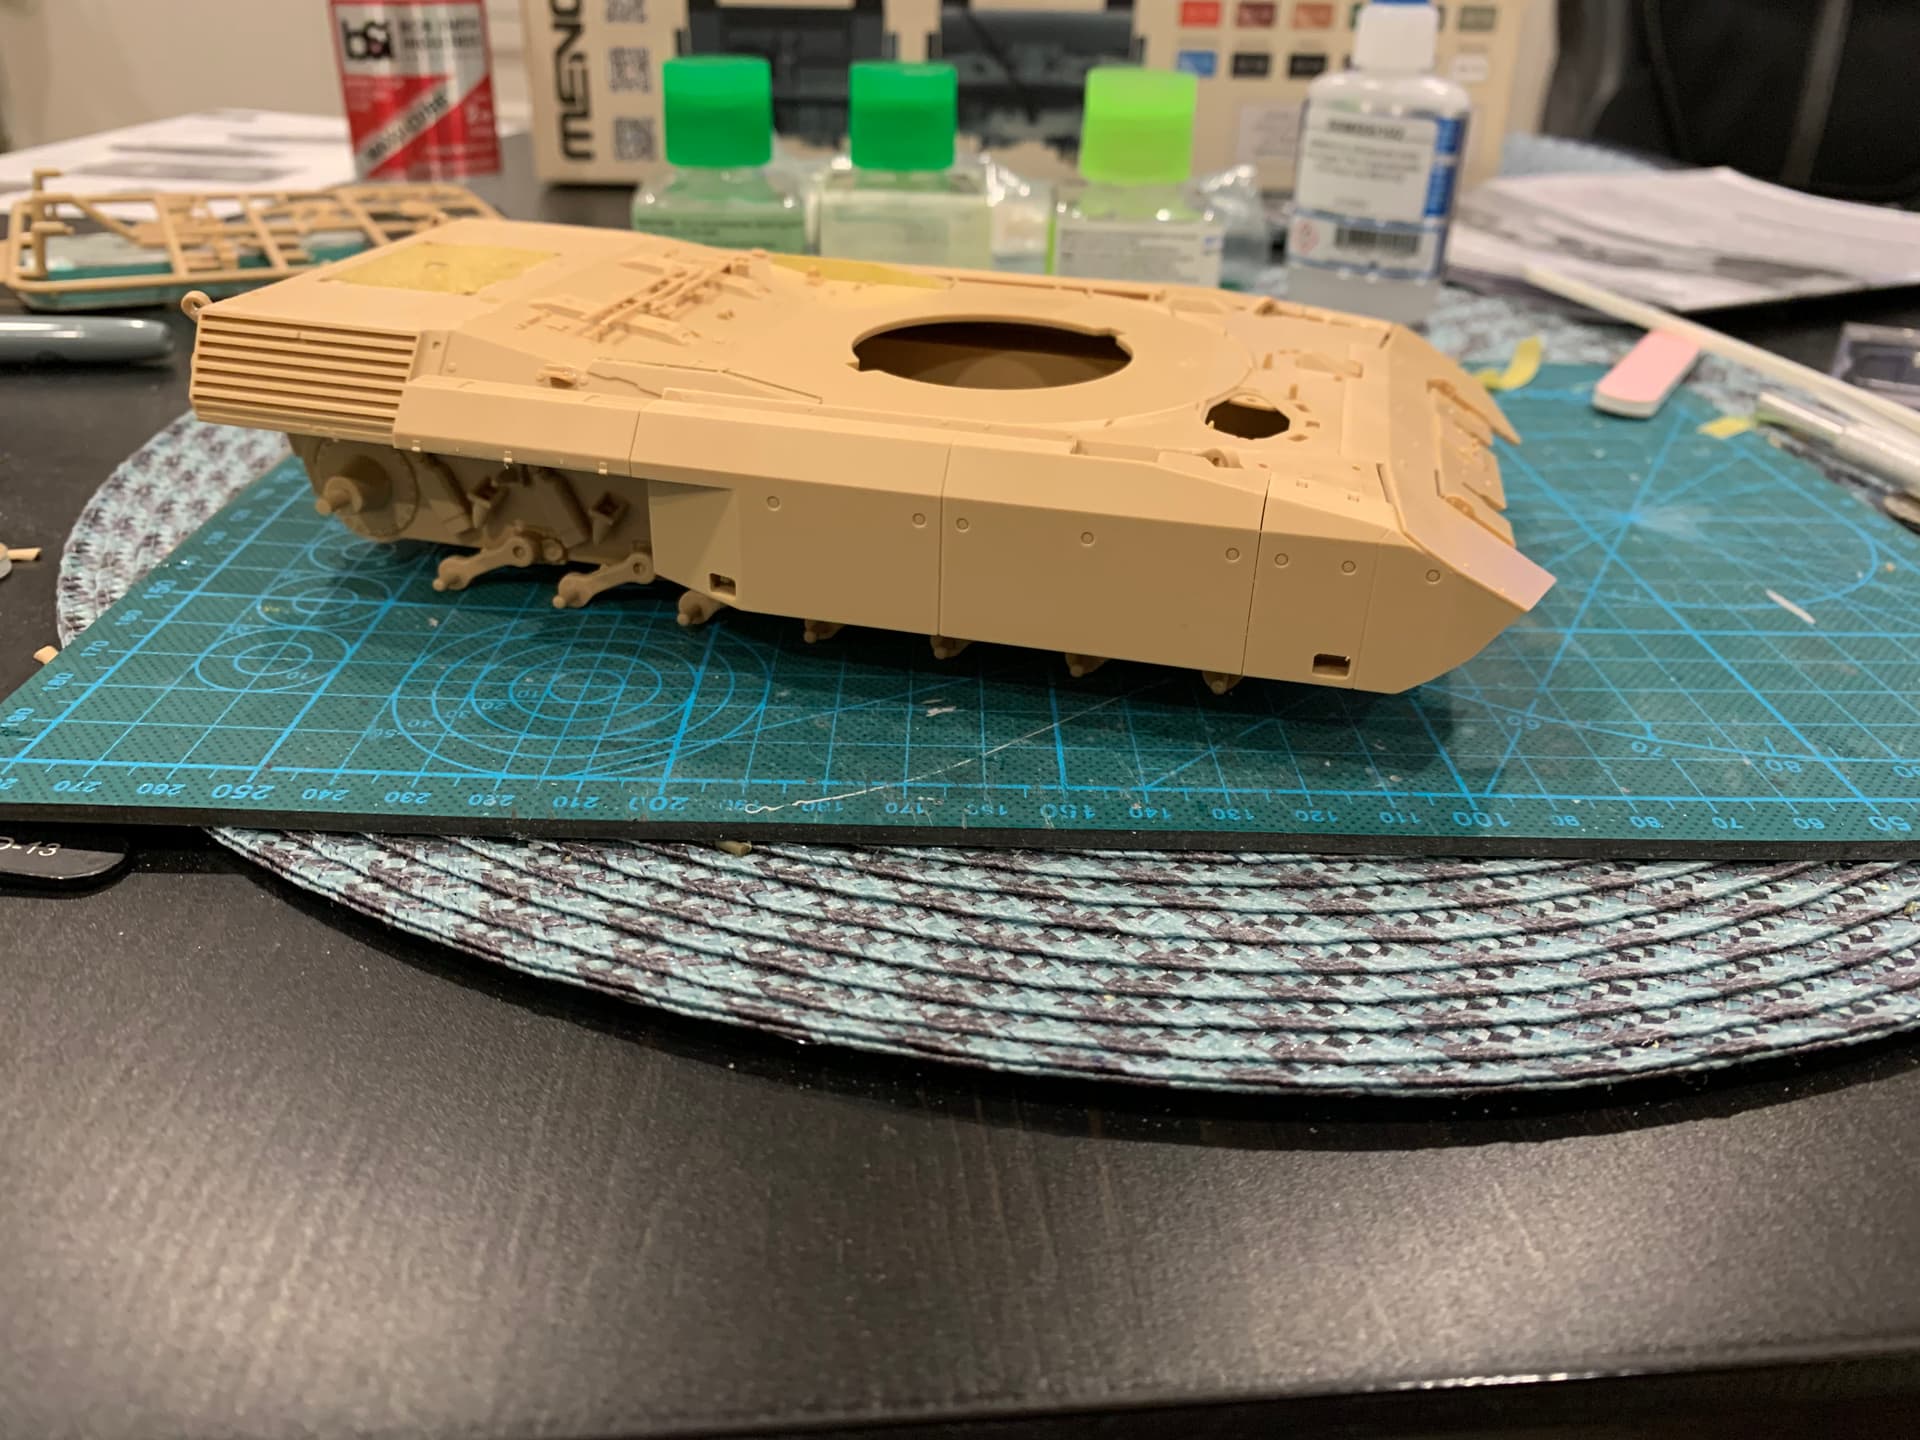
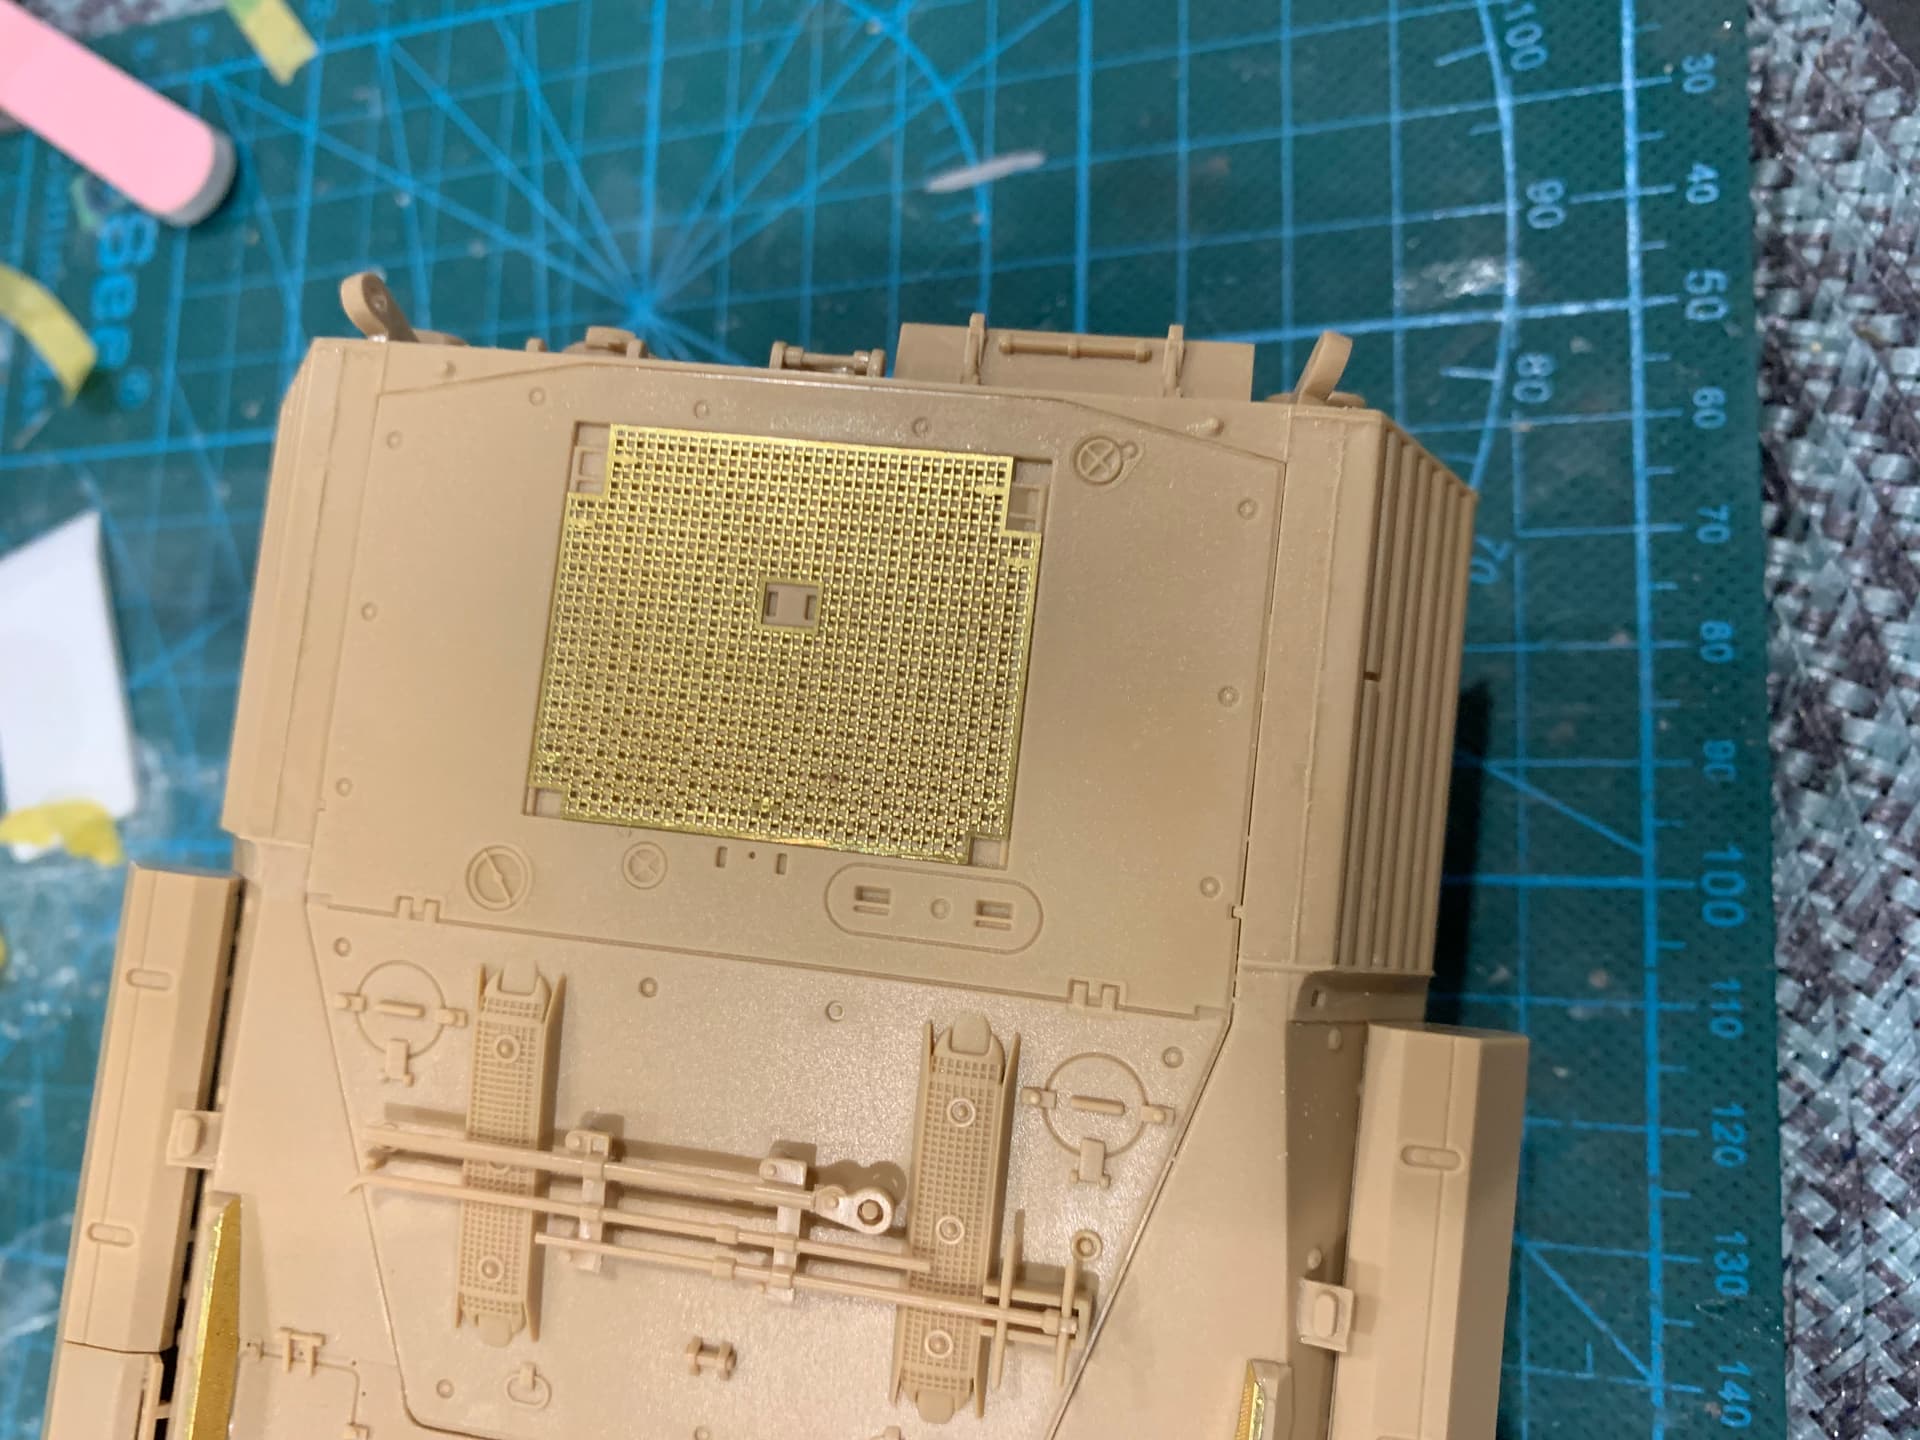
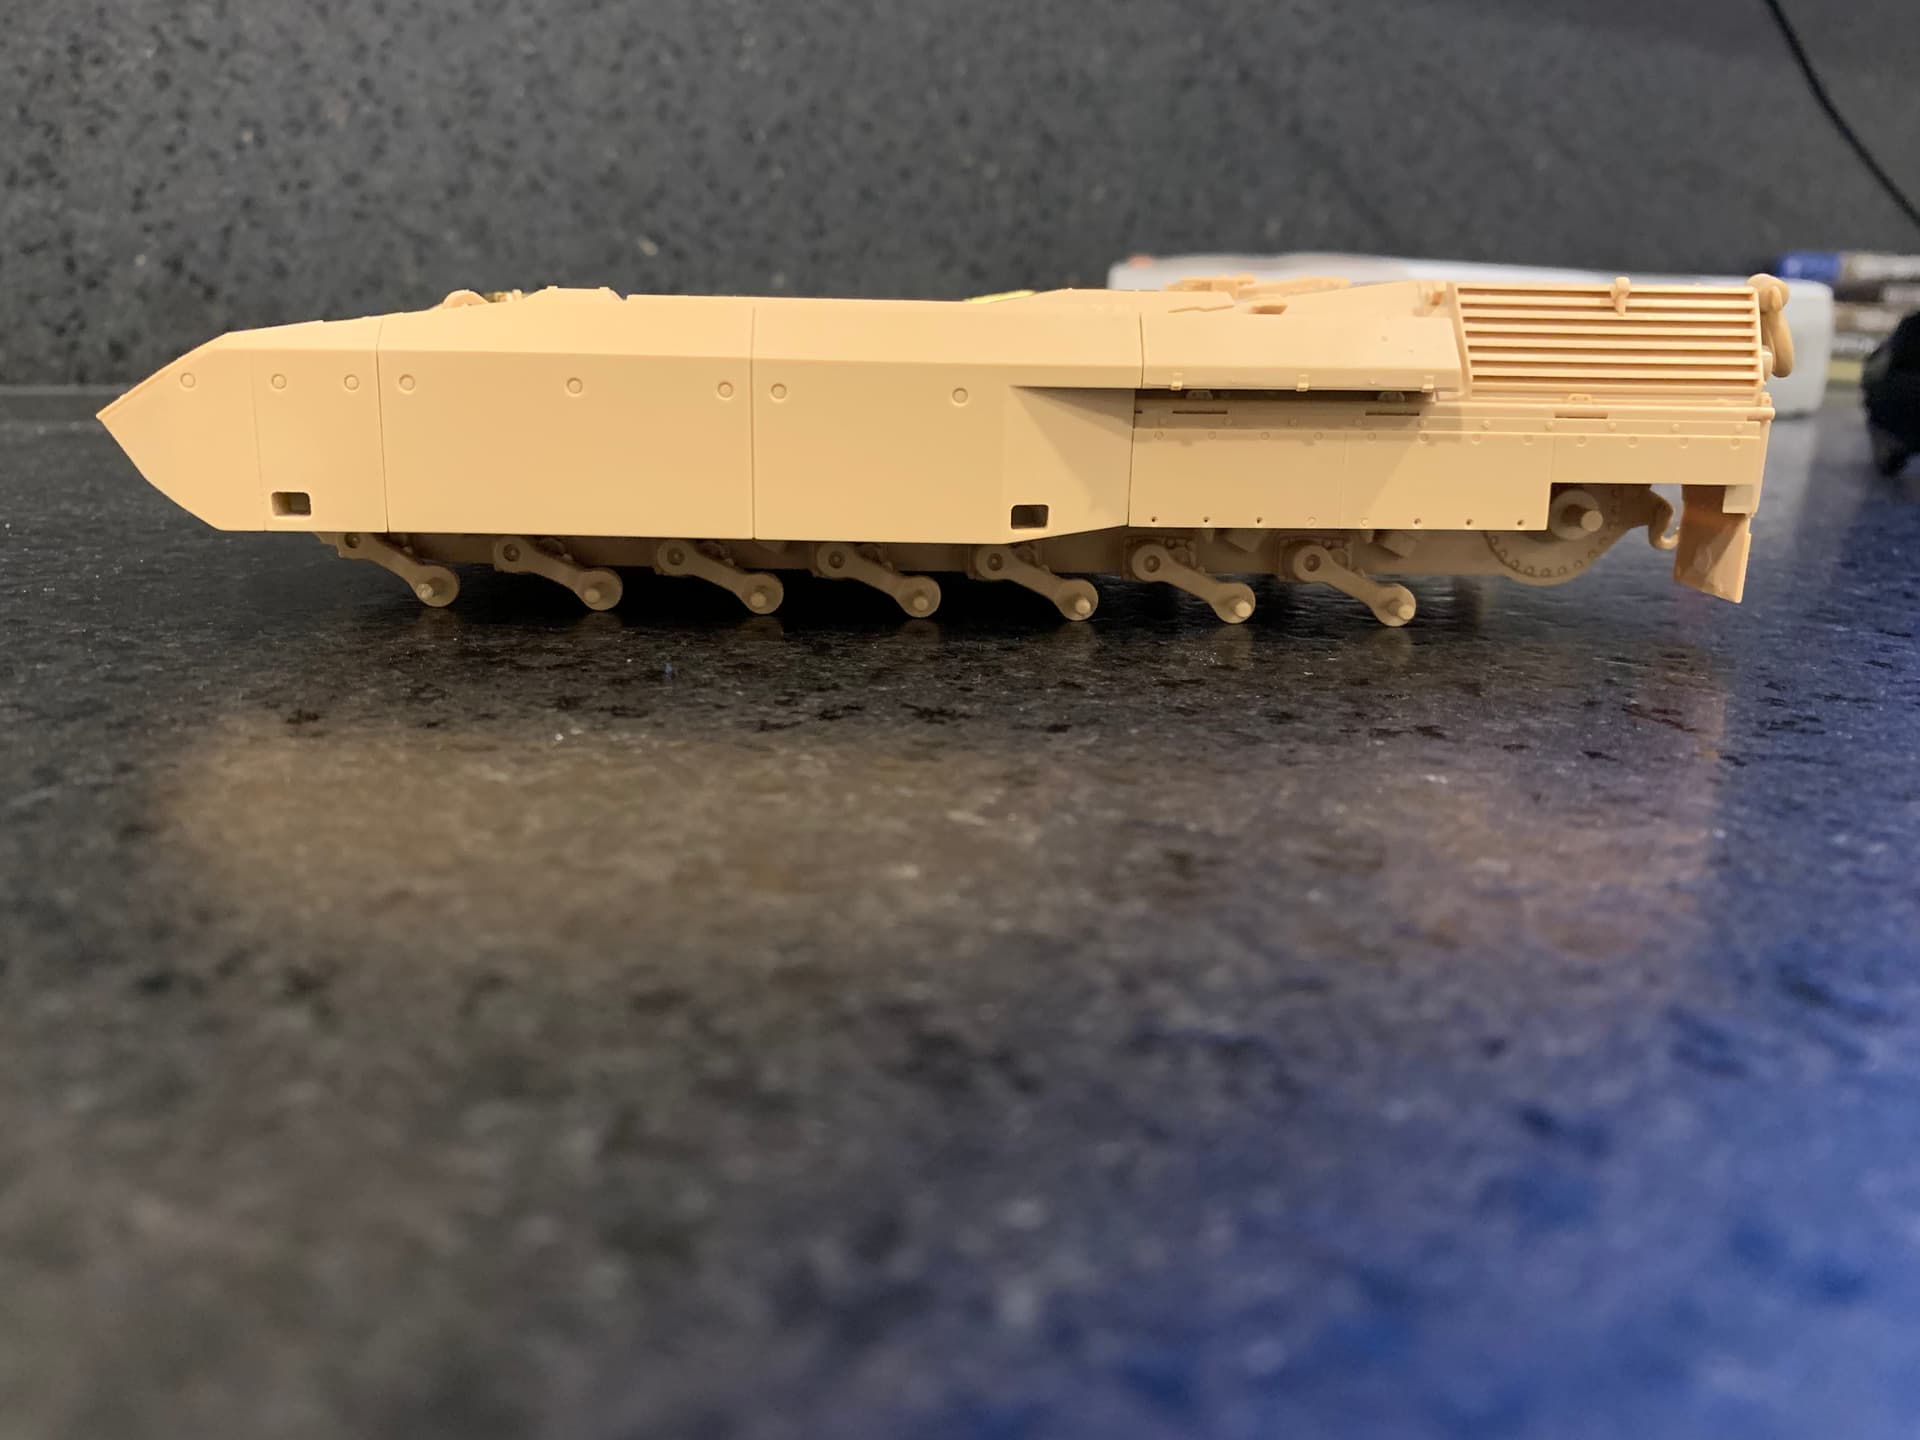
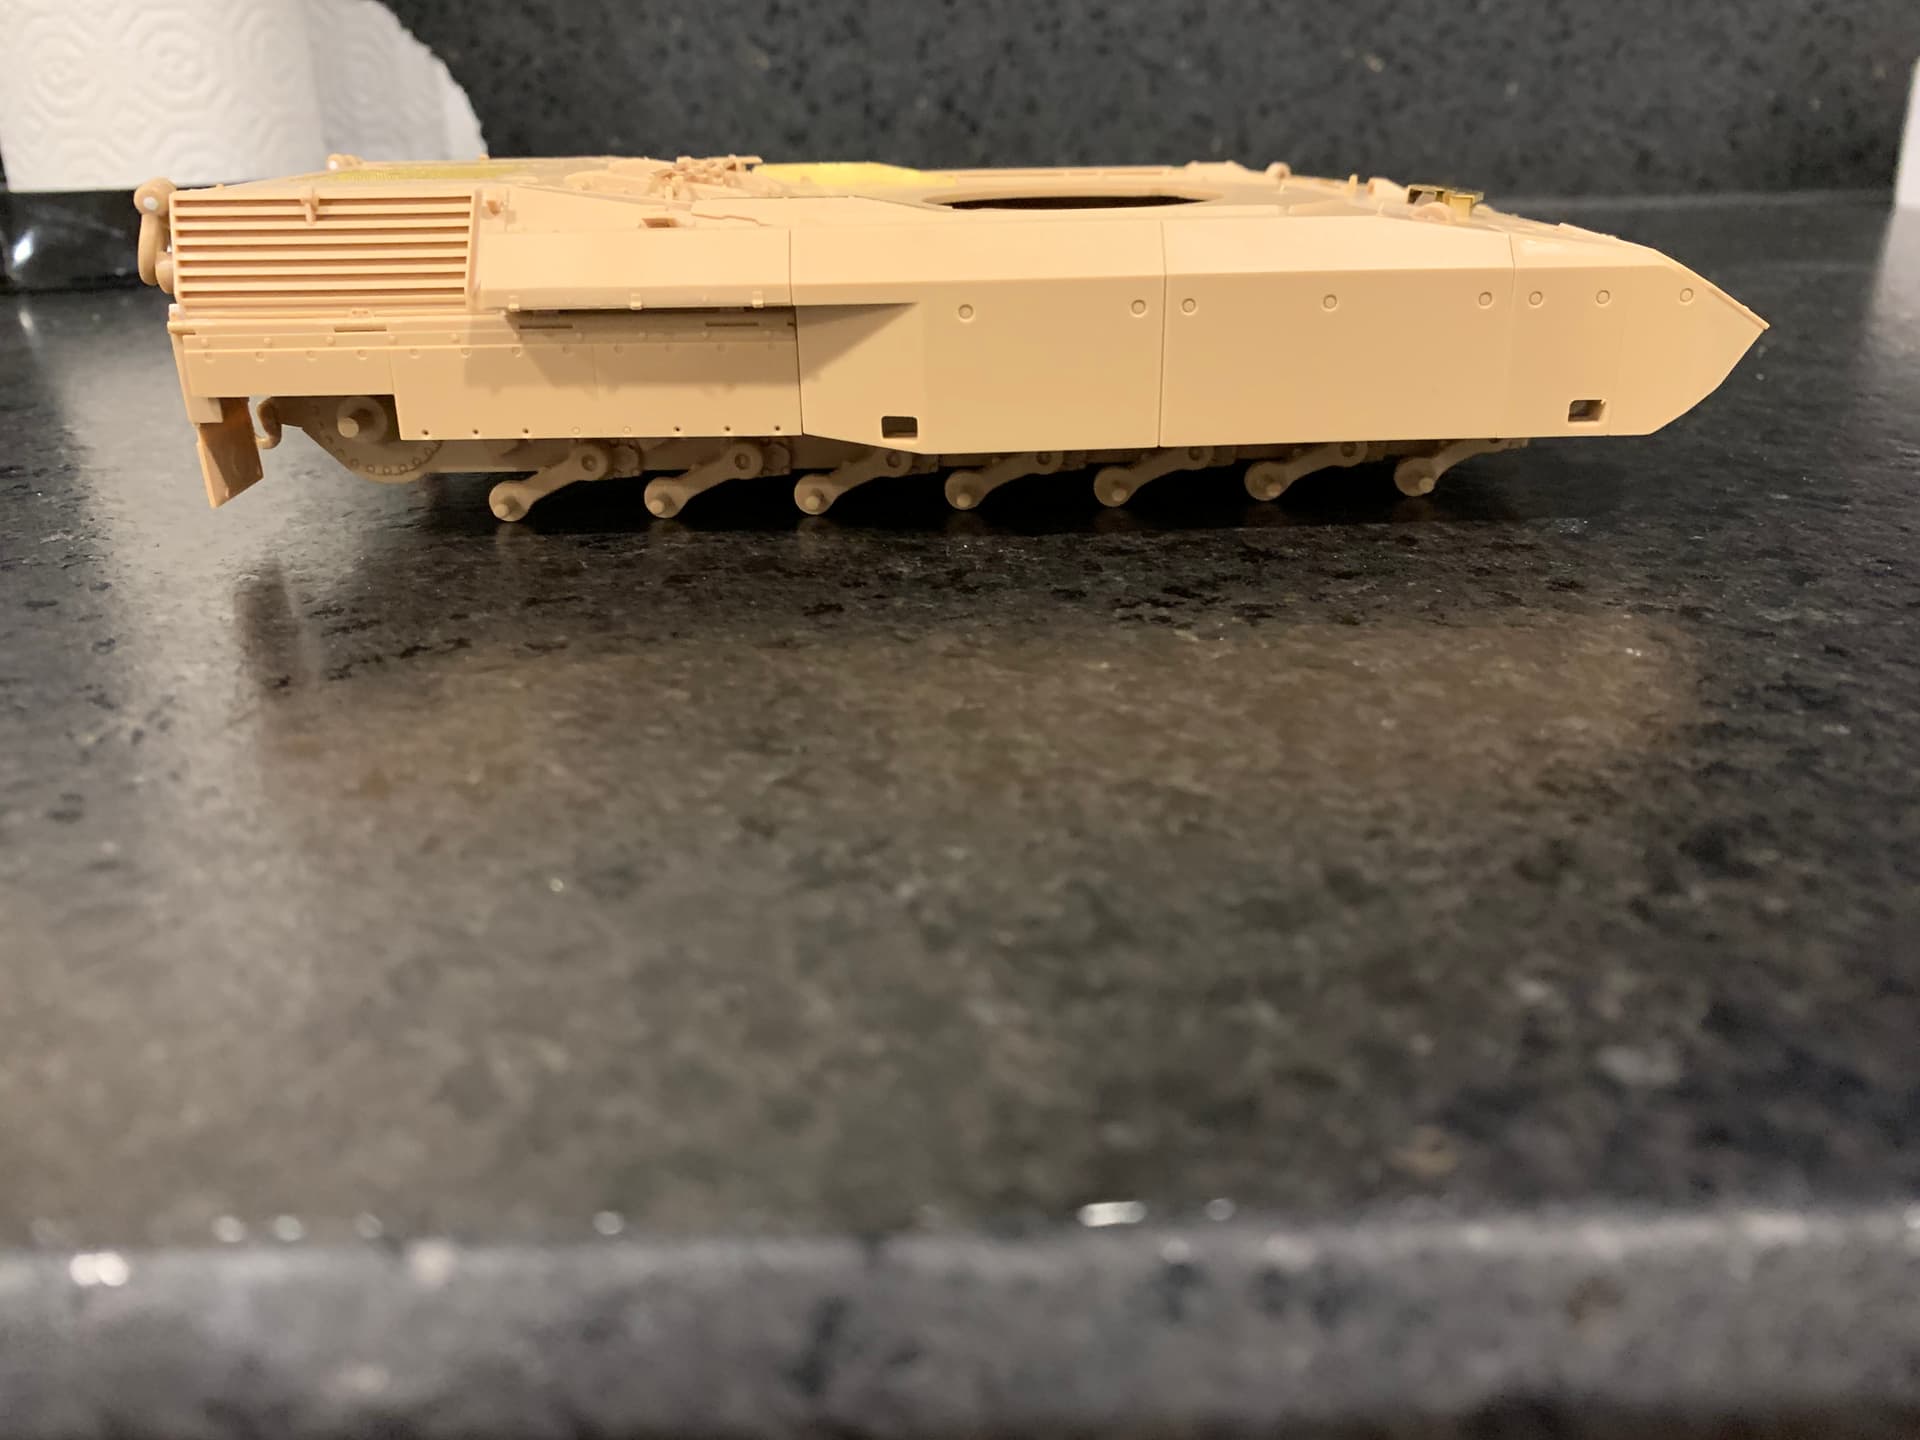
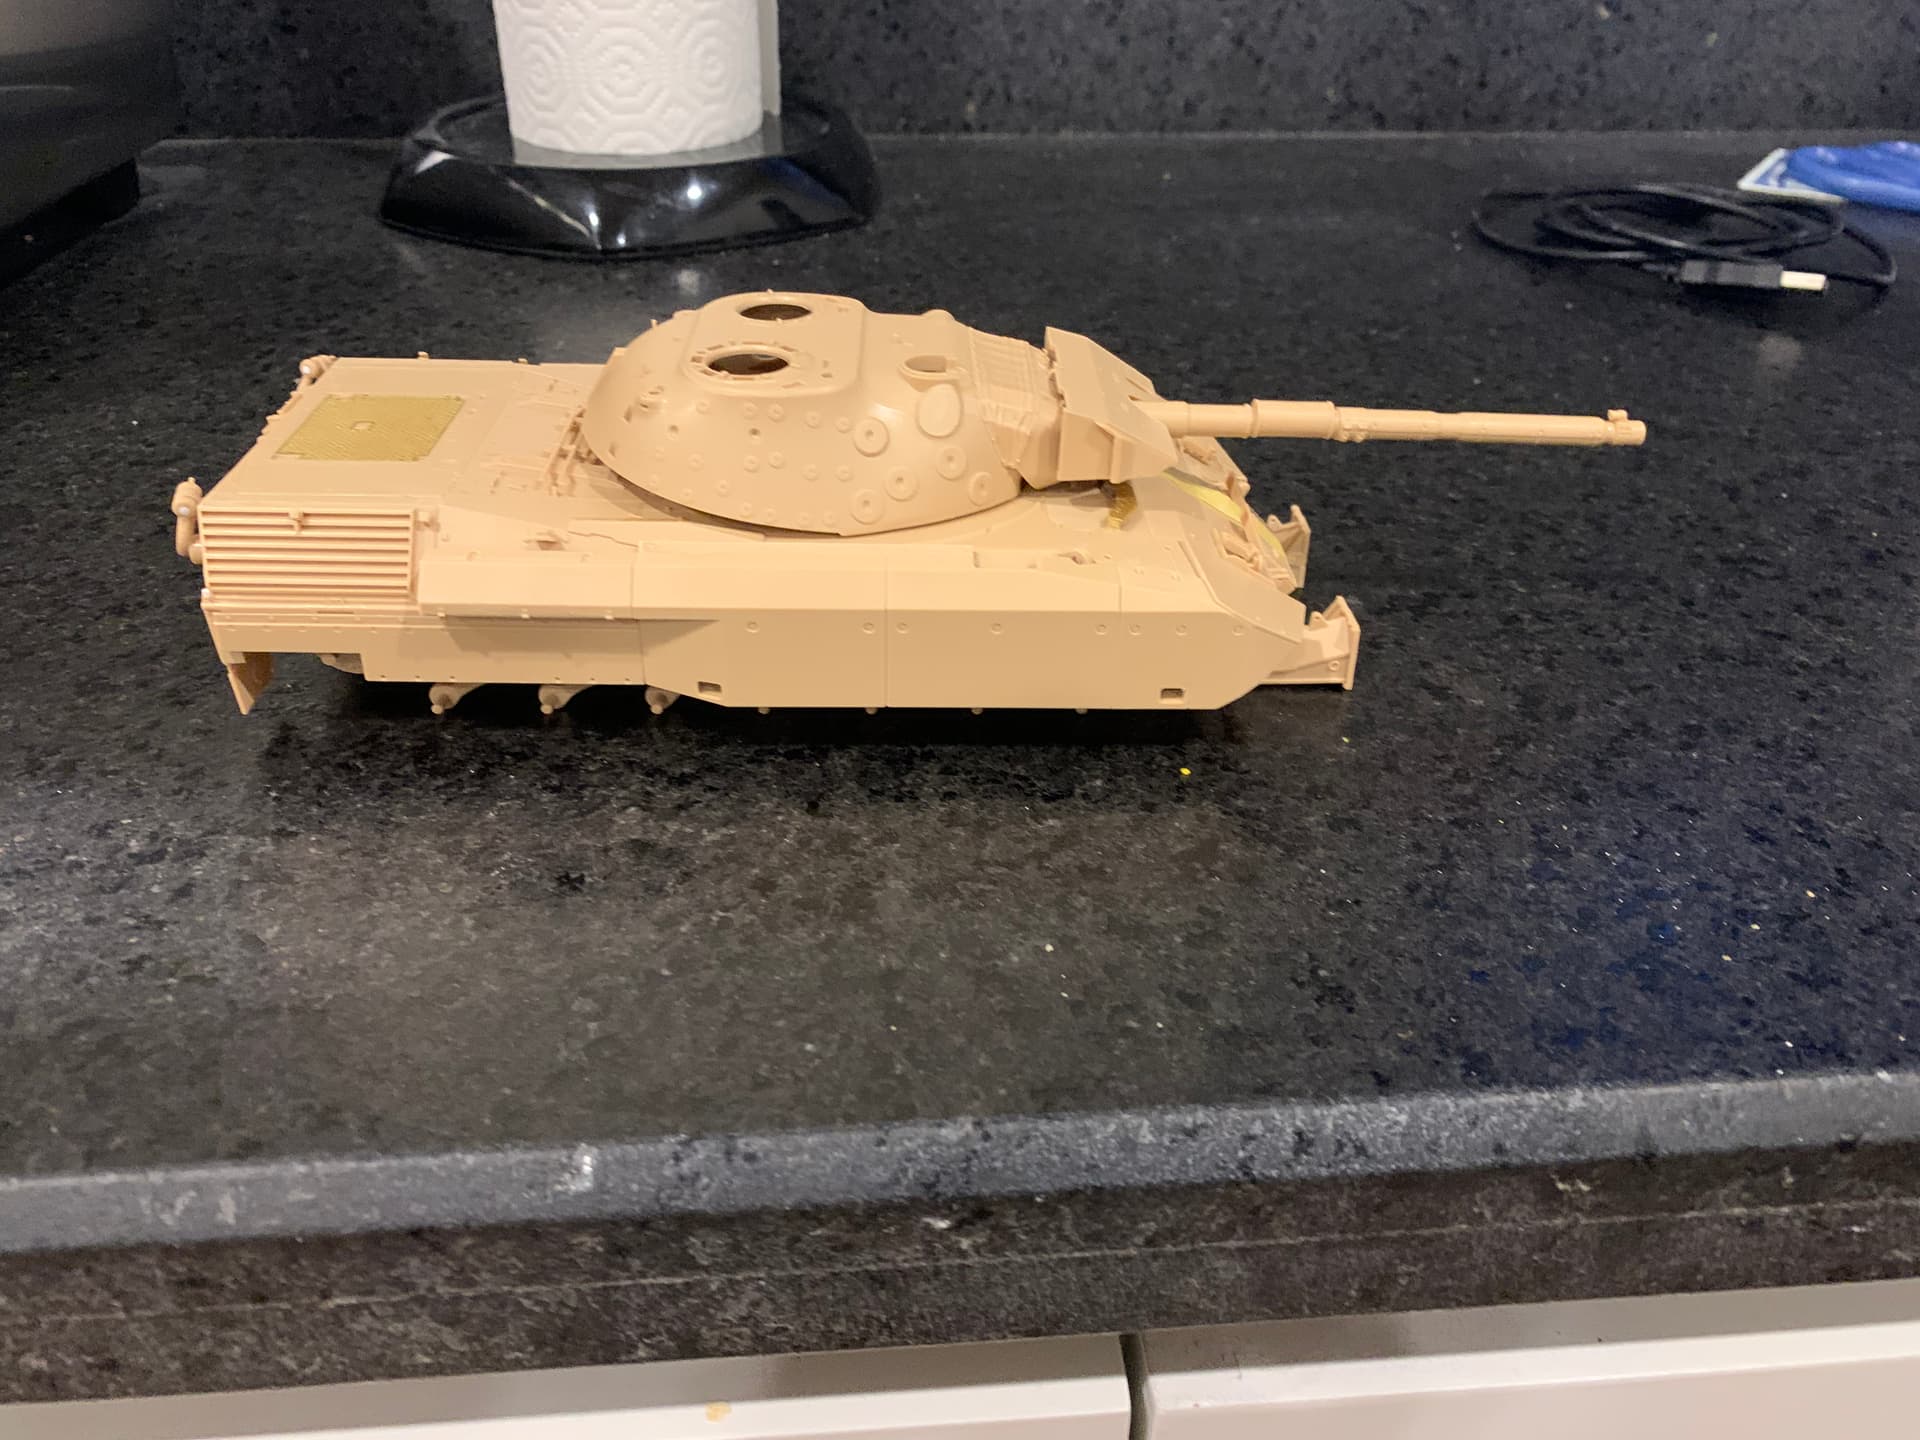
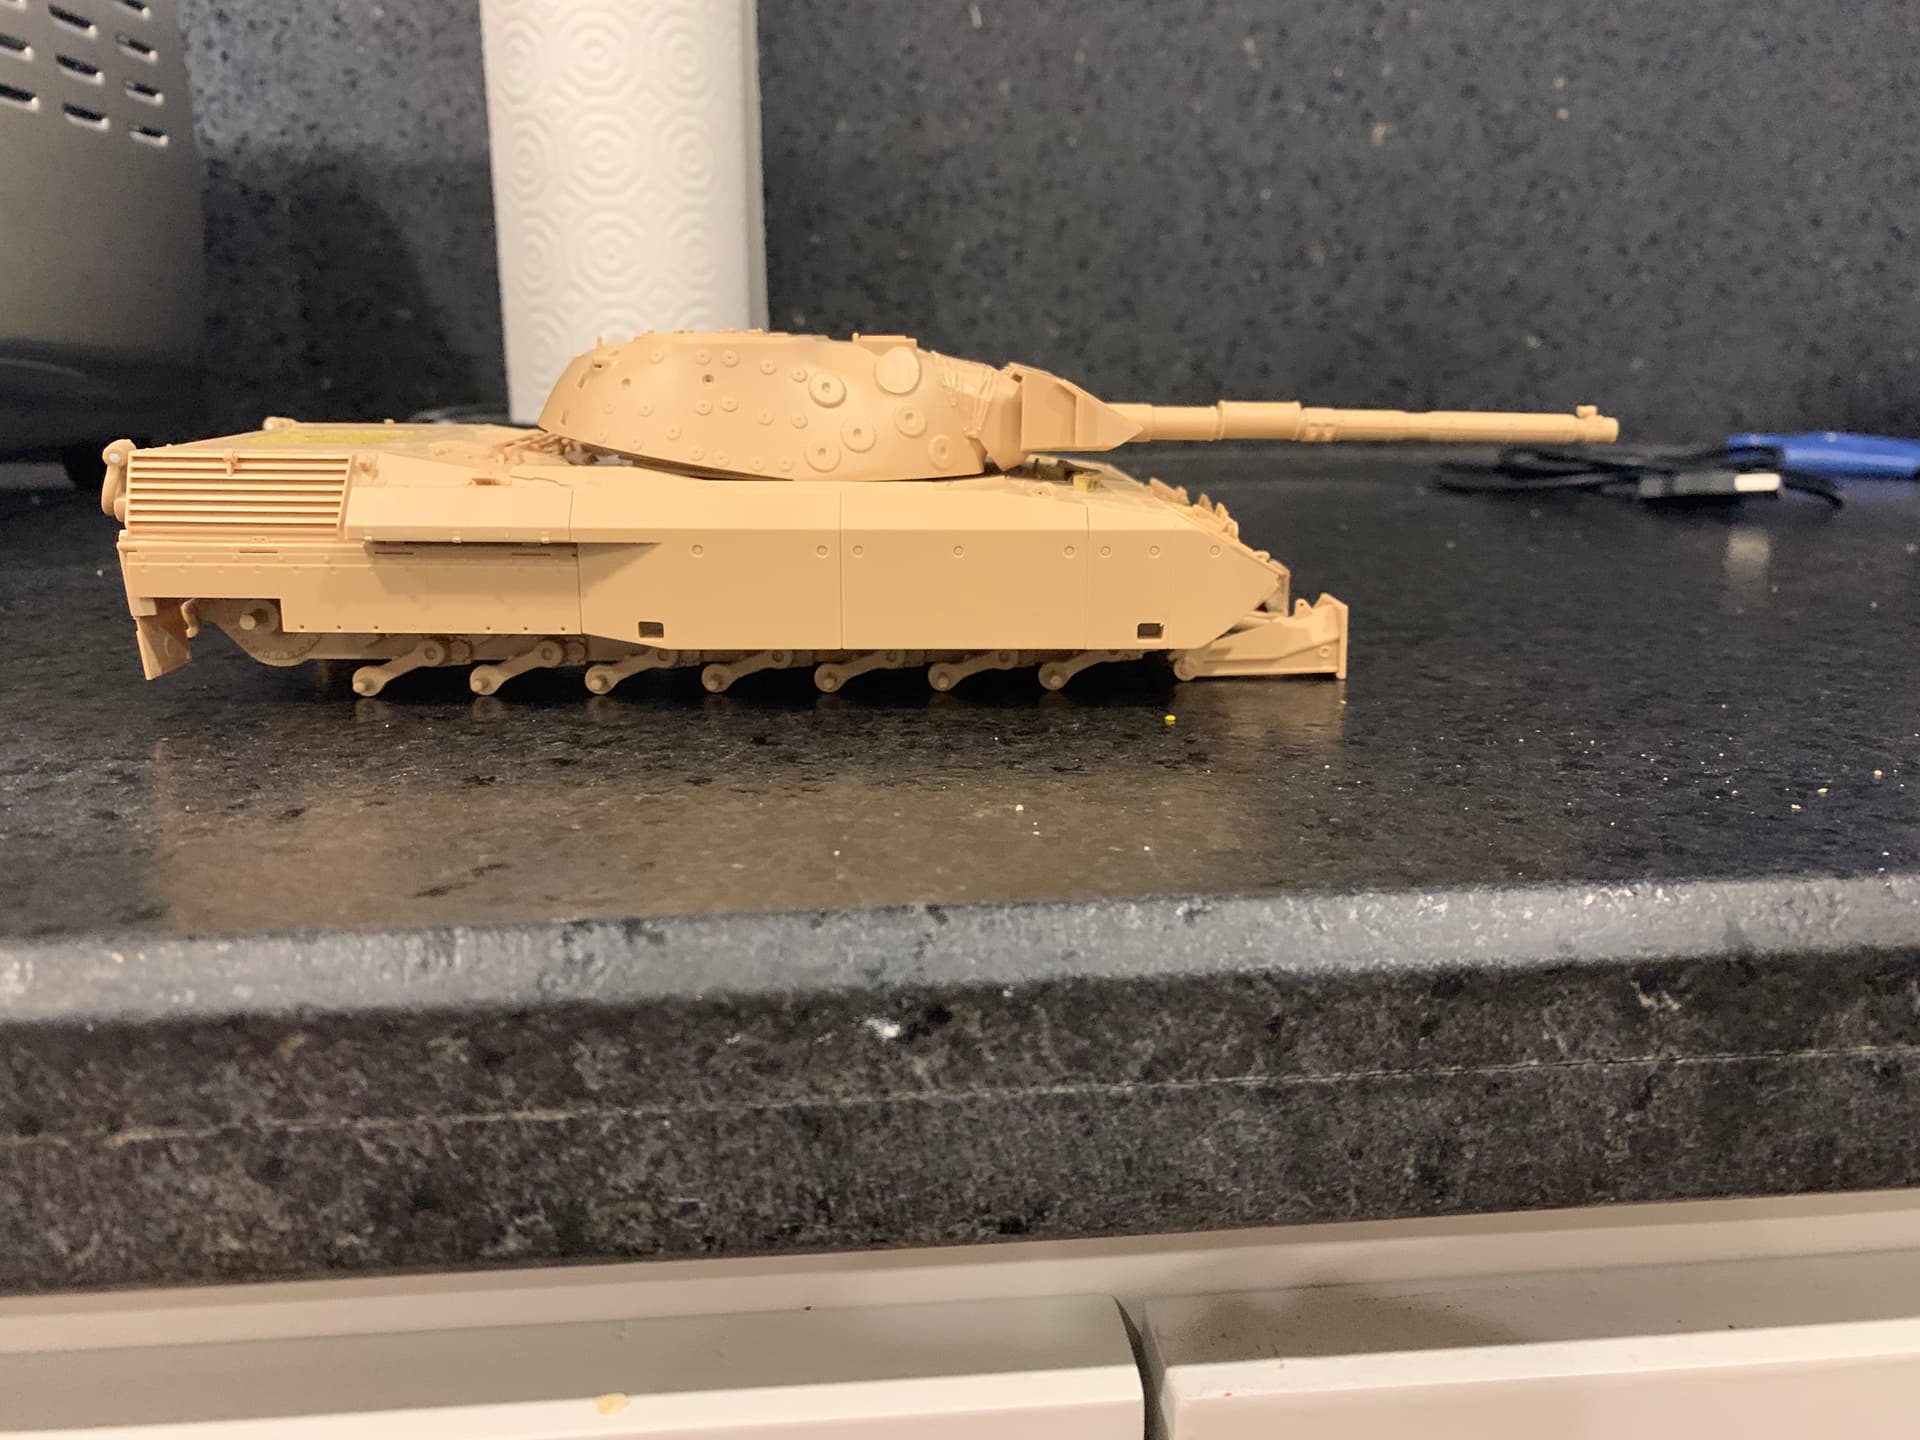
Leoaprd is getting PHAT. Added all the hull Mexas armor and the fit once again is great
Added weld seams to the engine exhausts as well based on photos. Might sand them down a bit but unsure. One thing I find tough about weld seams is getting them all to be the same size/pattern but I guess they wouldn’t be in reality anyway
Nothing like a thicc leopard!
I can’t believe how fat the Mexas makes it look. It’s almost comical. Looks like a leopard ate another leopard
my leopard 2a4 canadian this is my first time that i make scrach modifications to one of my models
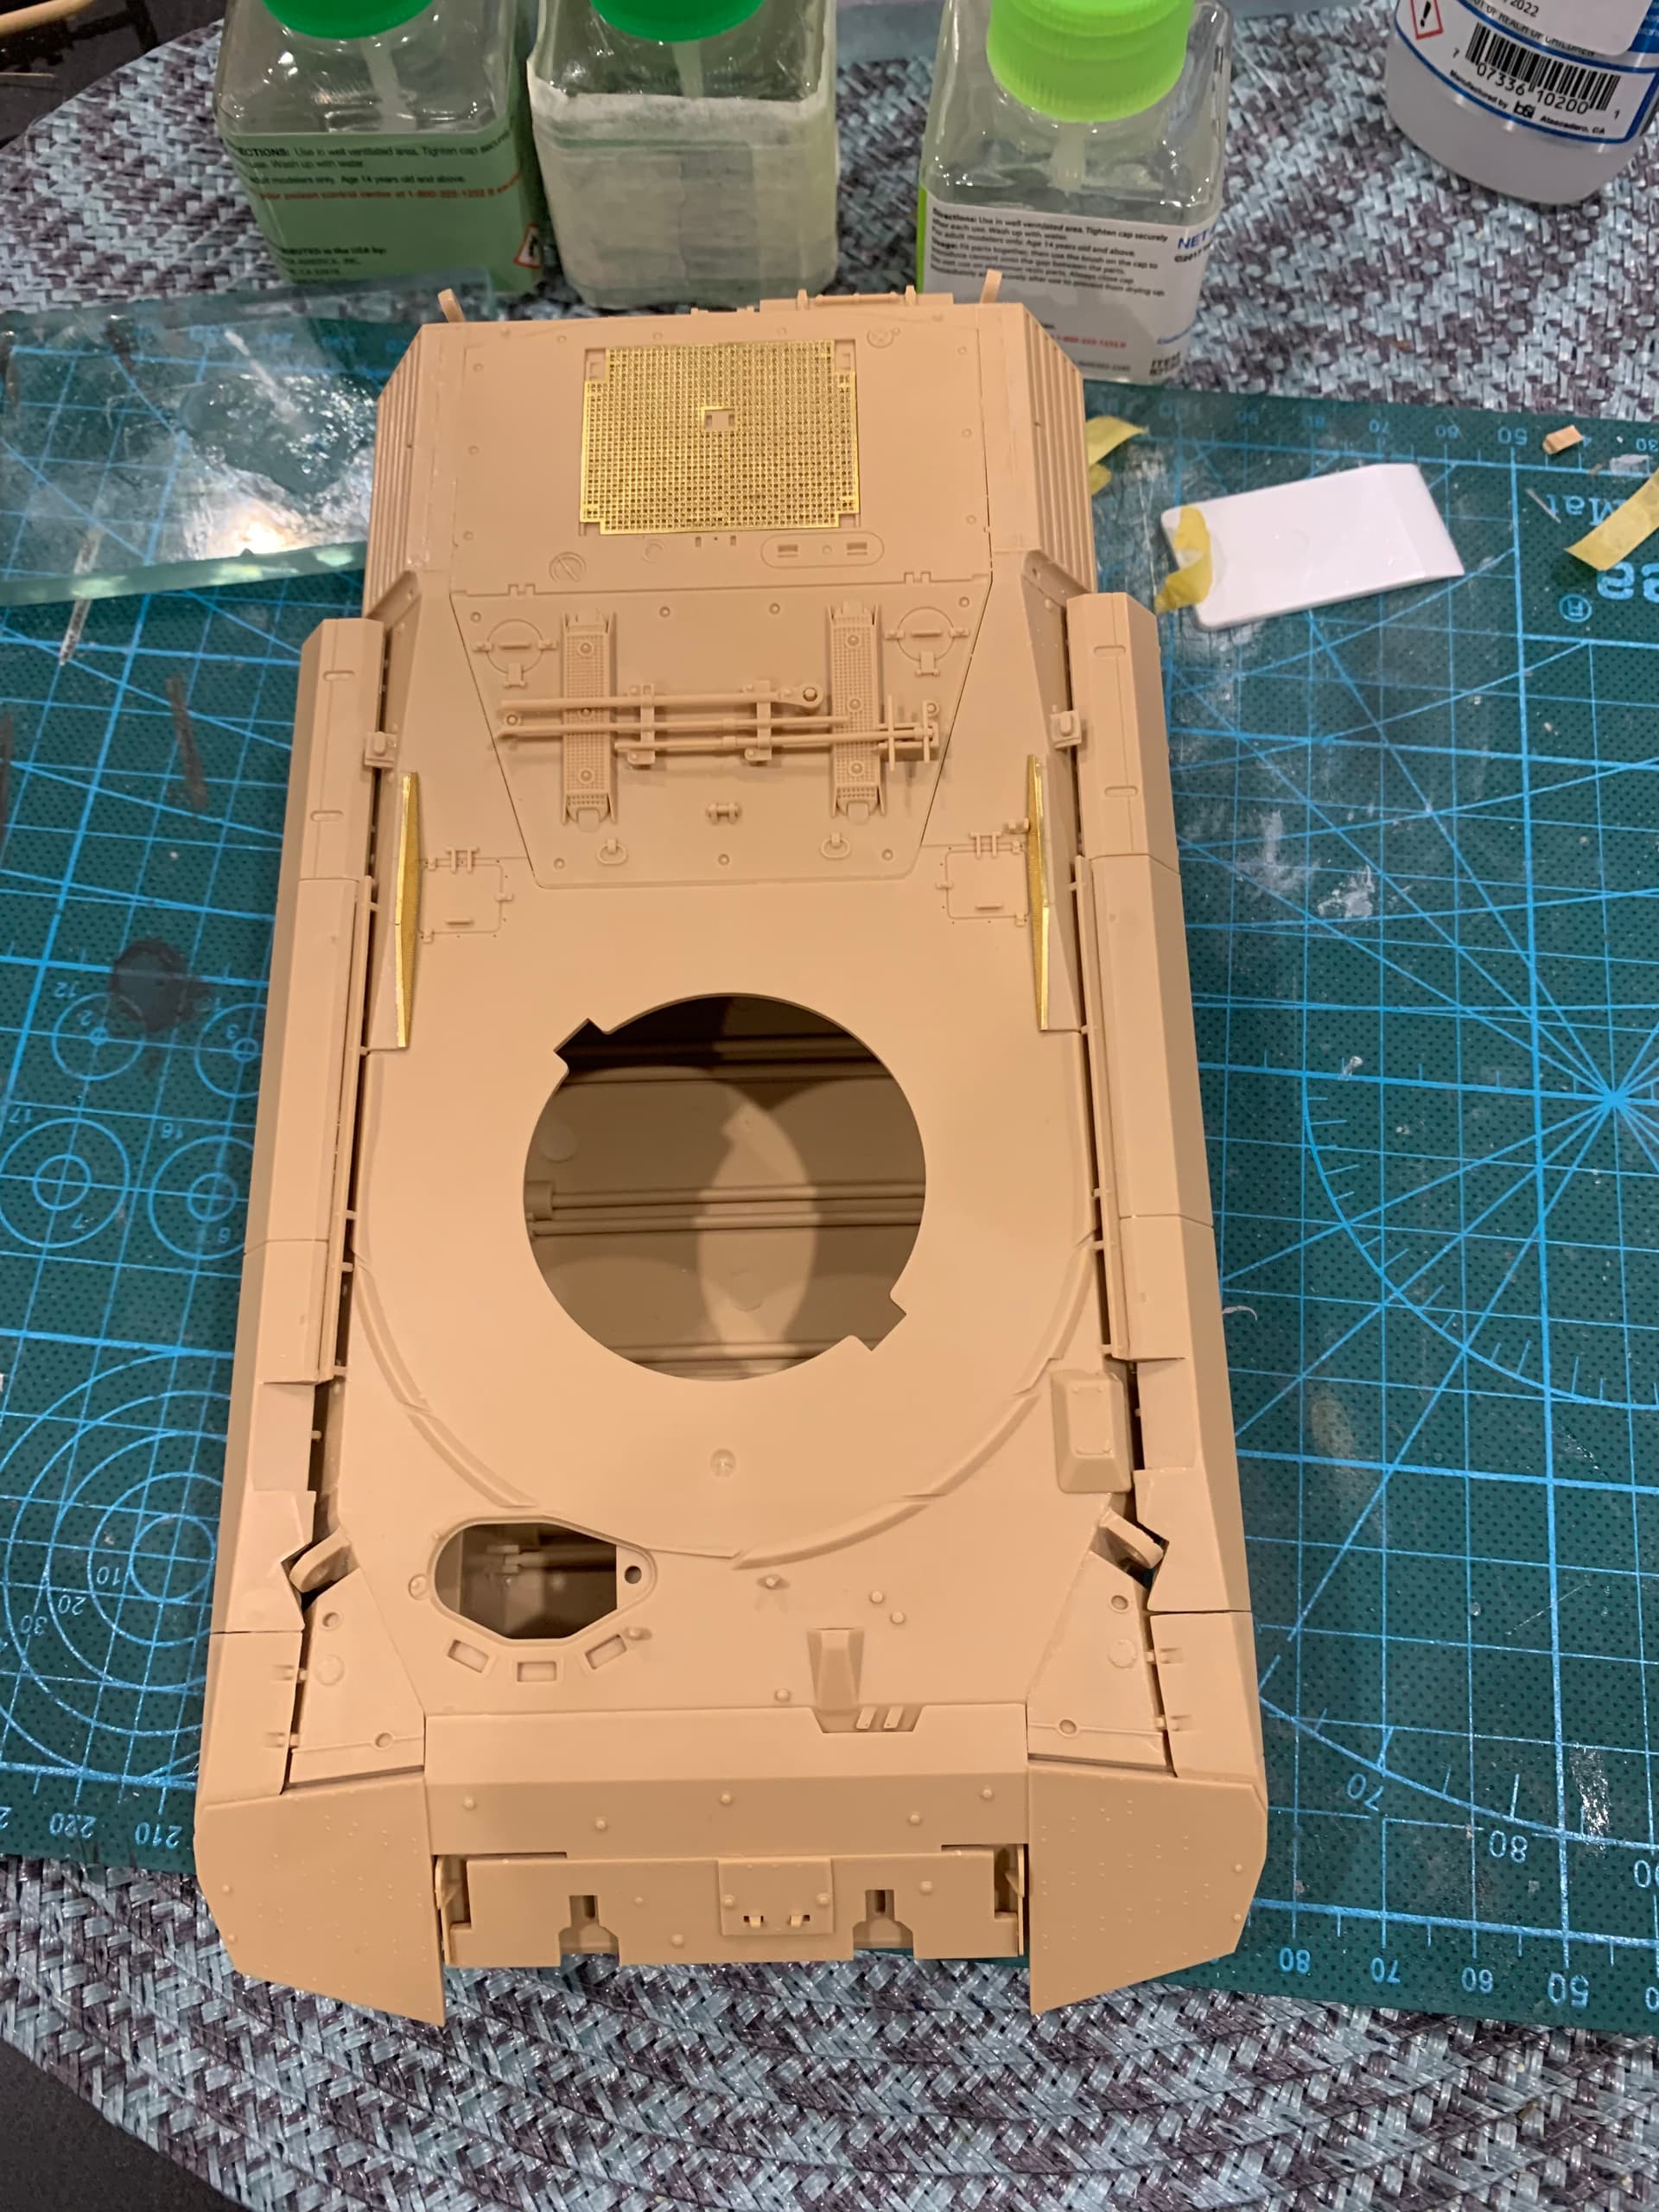
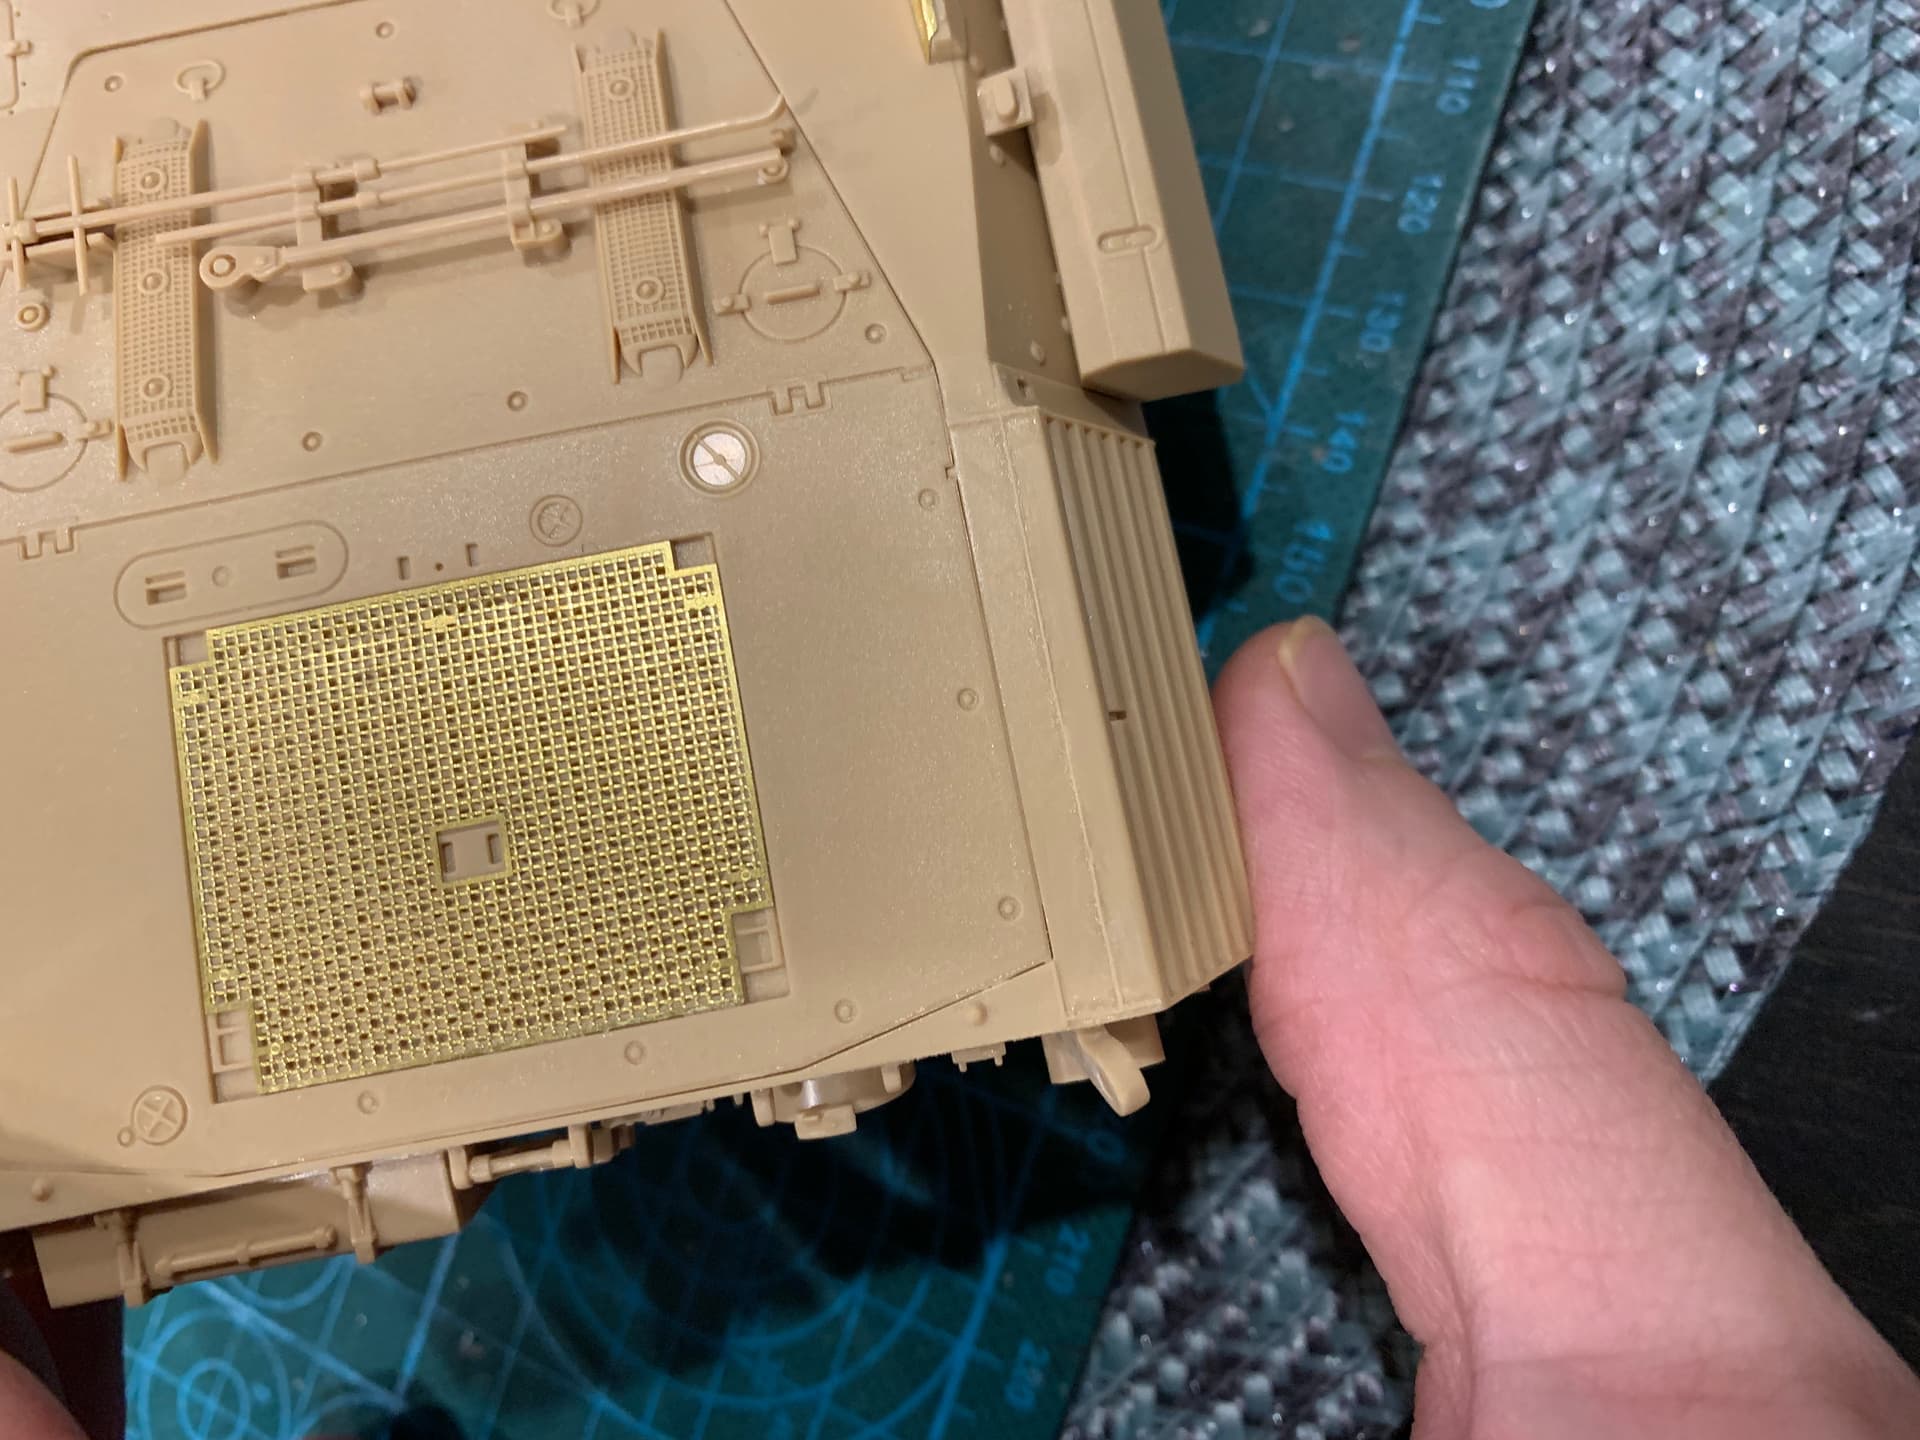
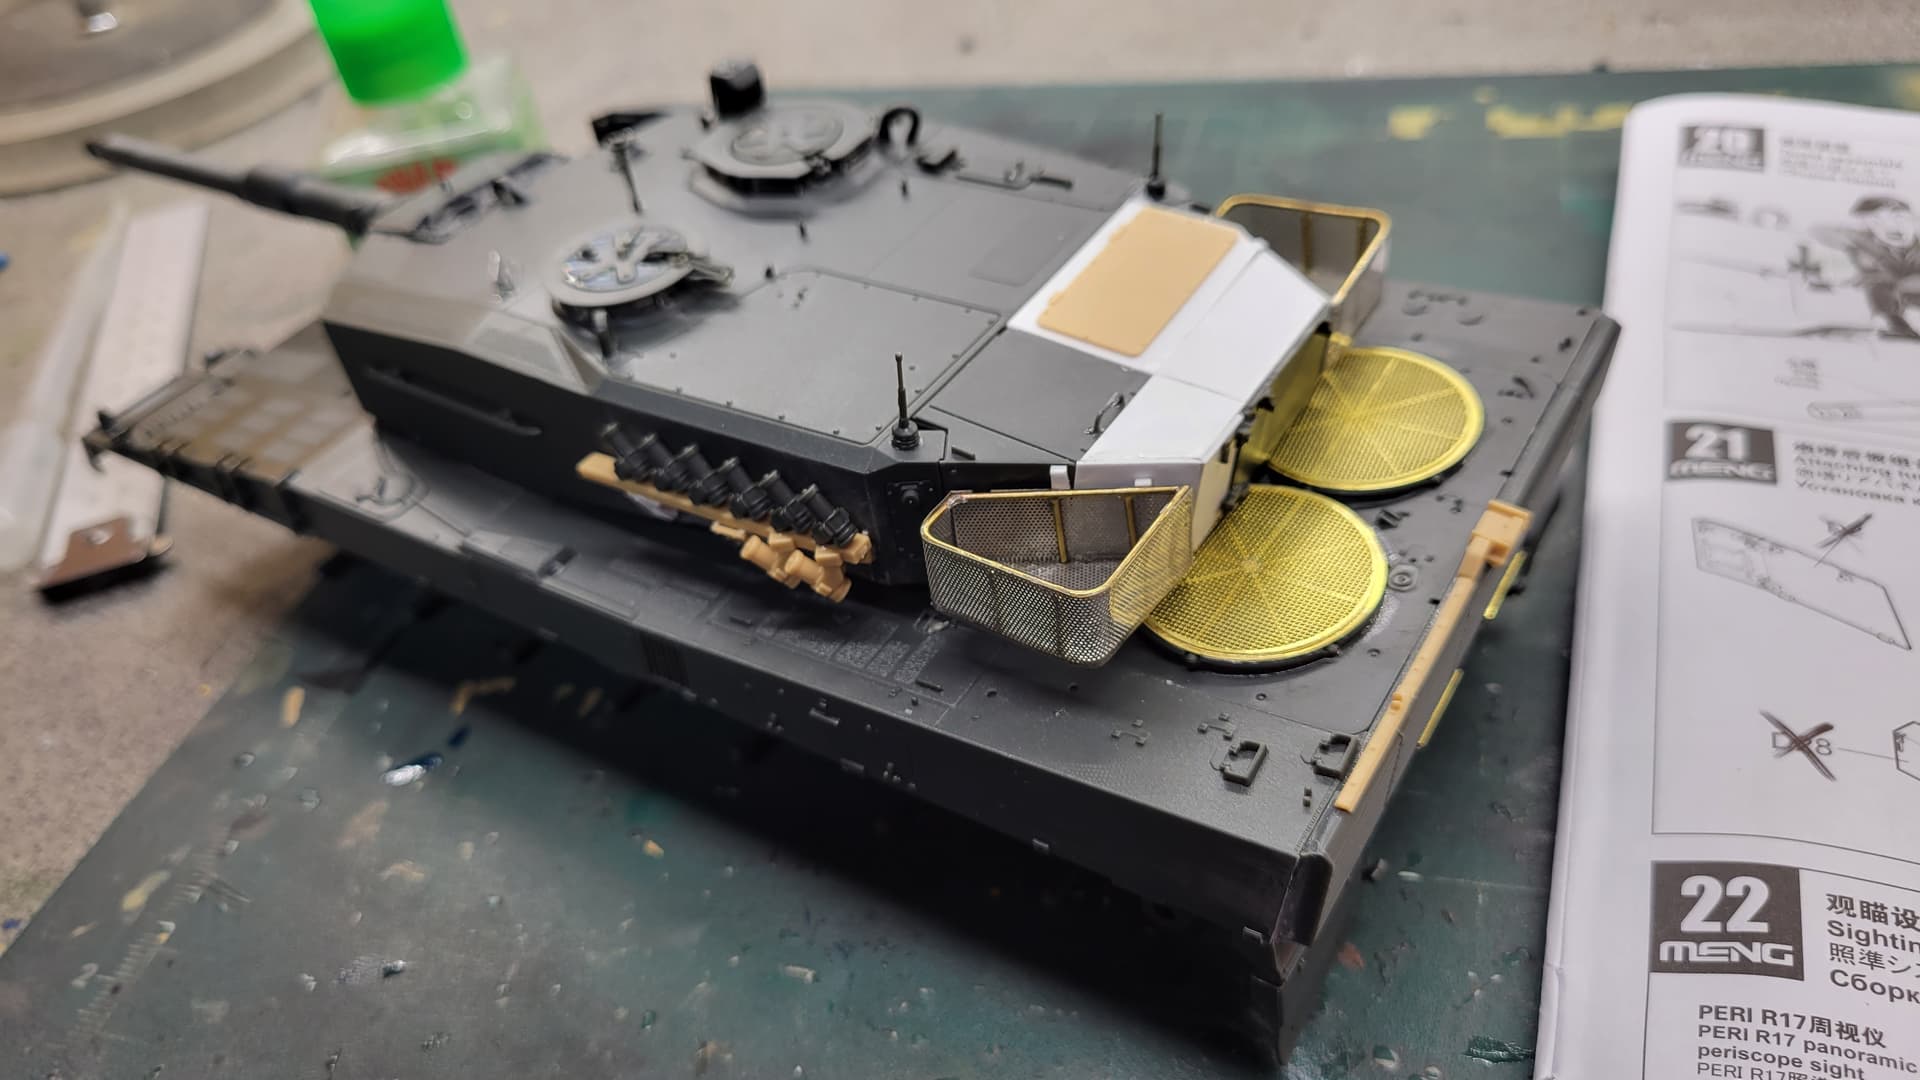
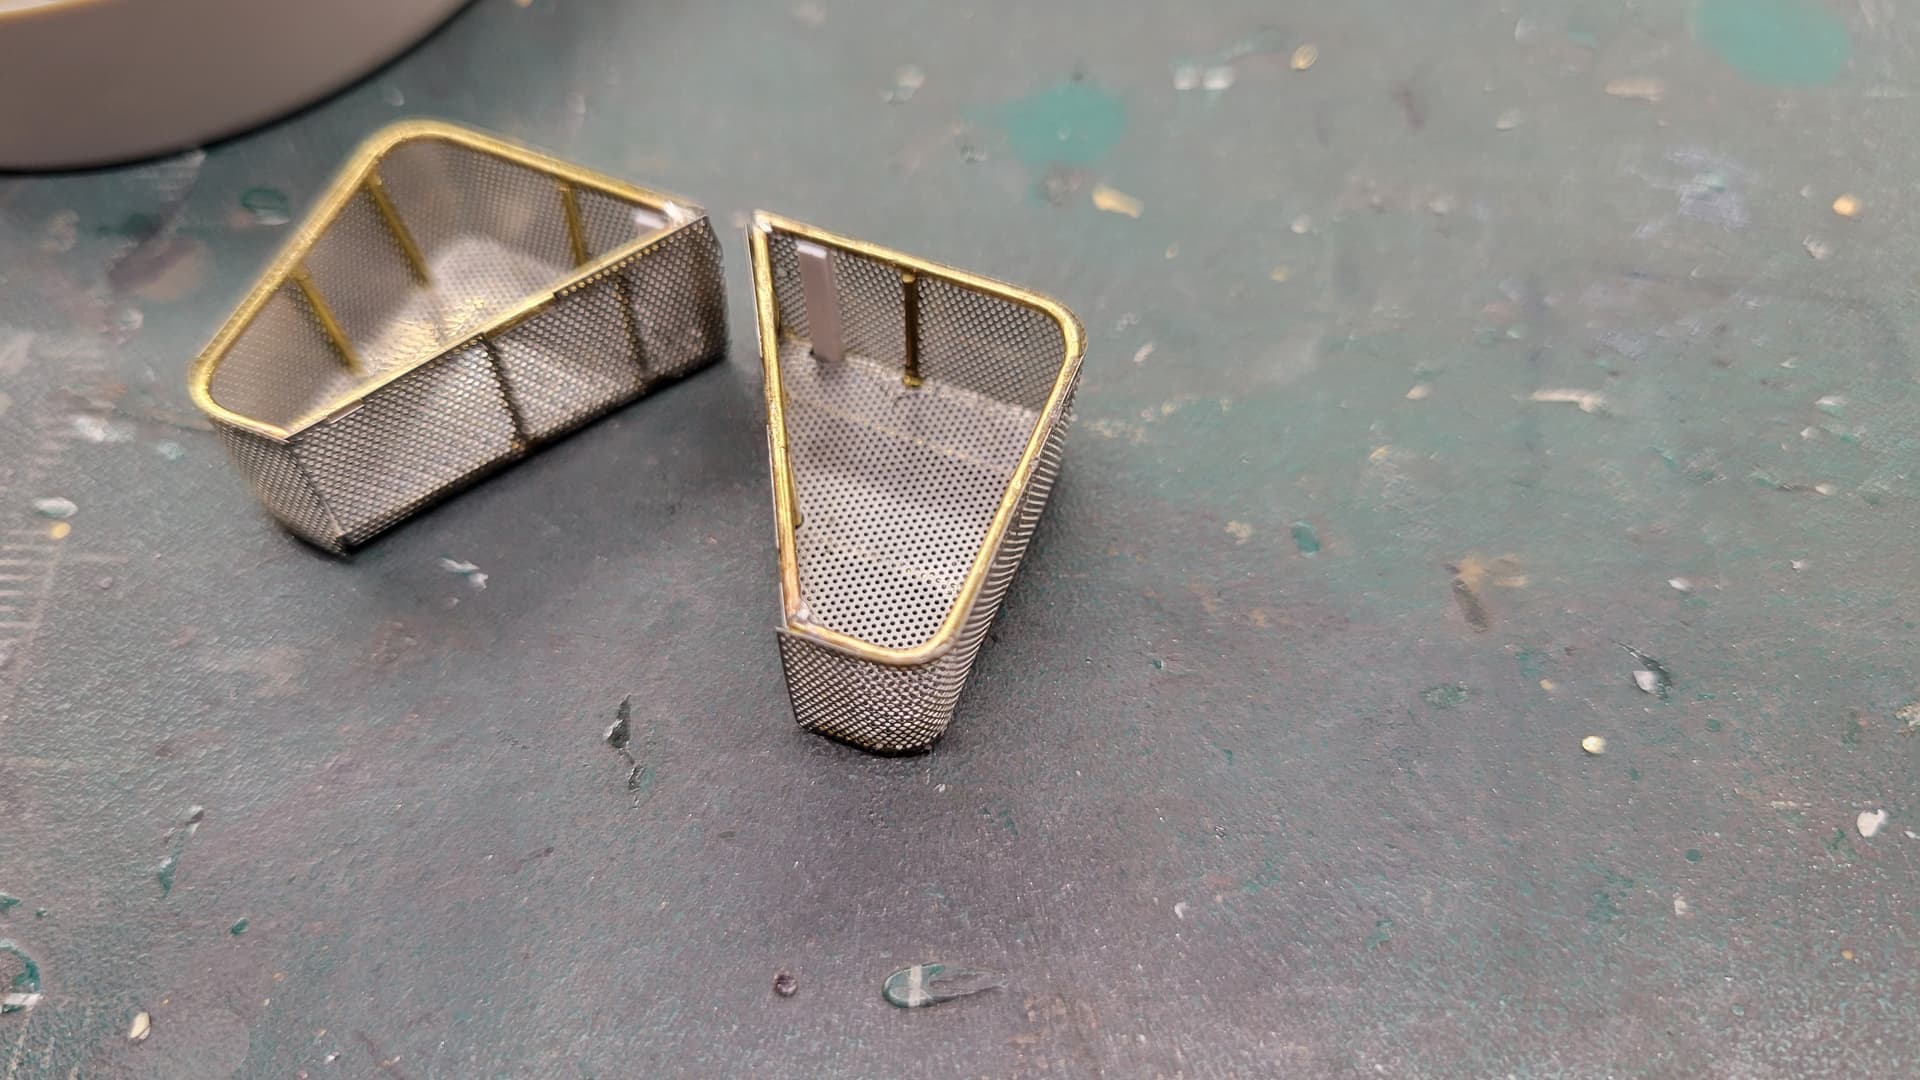
I made the baskets using tamiya photoetched
the grenade launchers and the rear camera are recovered from the leopard 2a7+ the rest of the turret has been modified with evergreen plastic I know that my modifications are not 100% accurate
I improvised certain details
Fantastic work!! How do you like the meng kit, I was thinking of getting it.
thank you i am a meng fan I just do modern armor or cold war I have around ten meng models assembled, they are very well done and detailed. this is the best leopard 2a4 models on the market
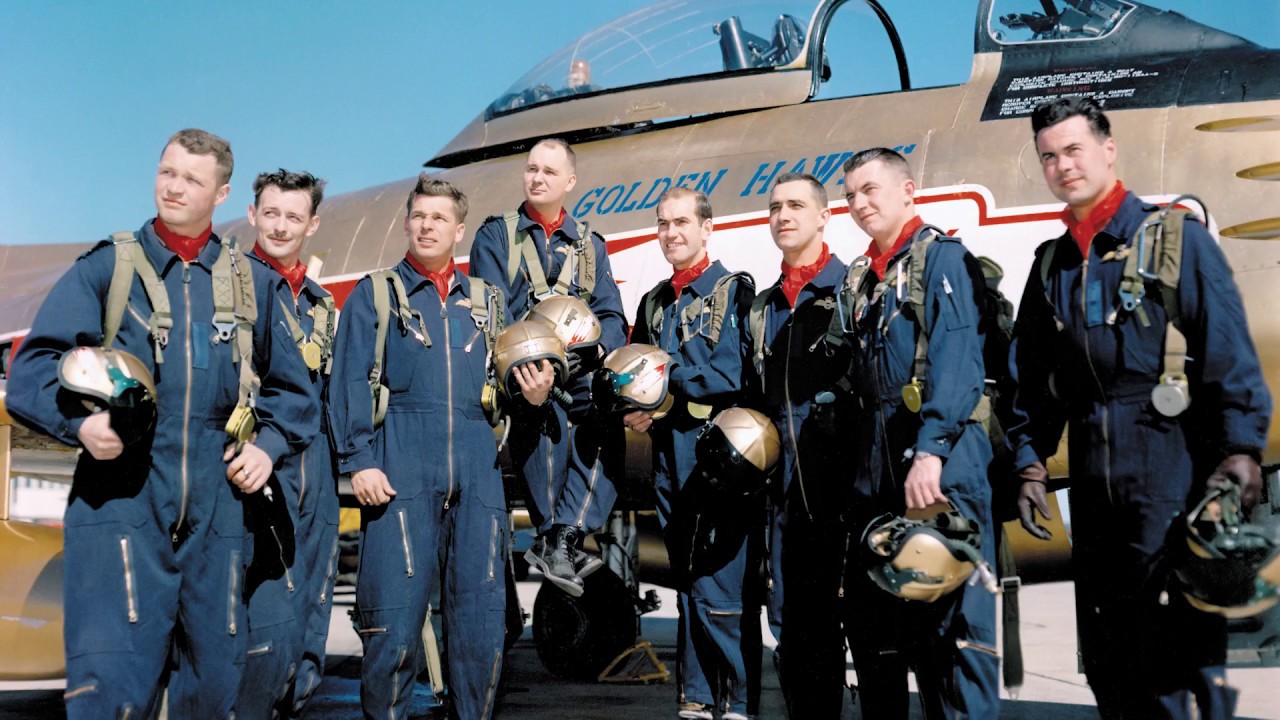
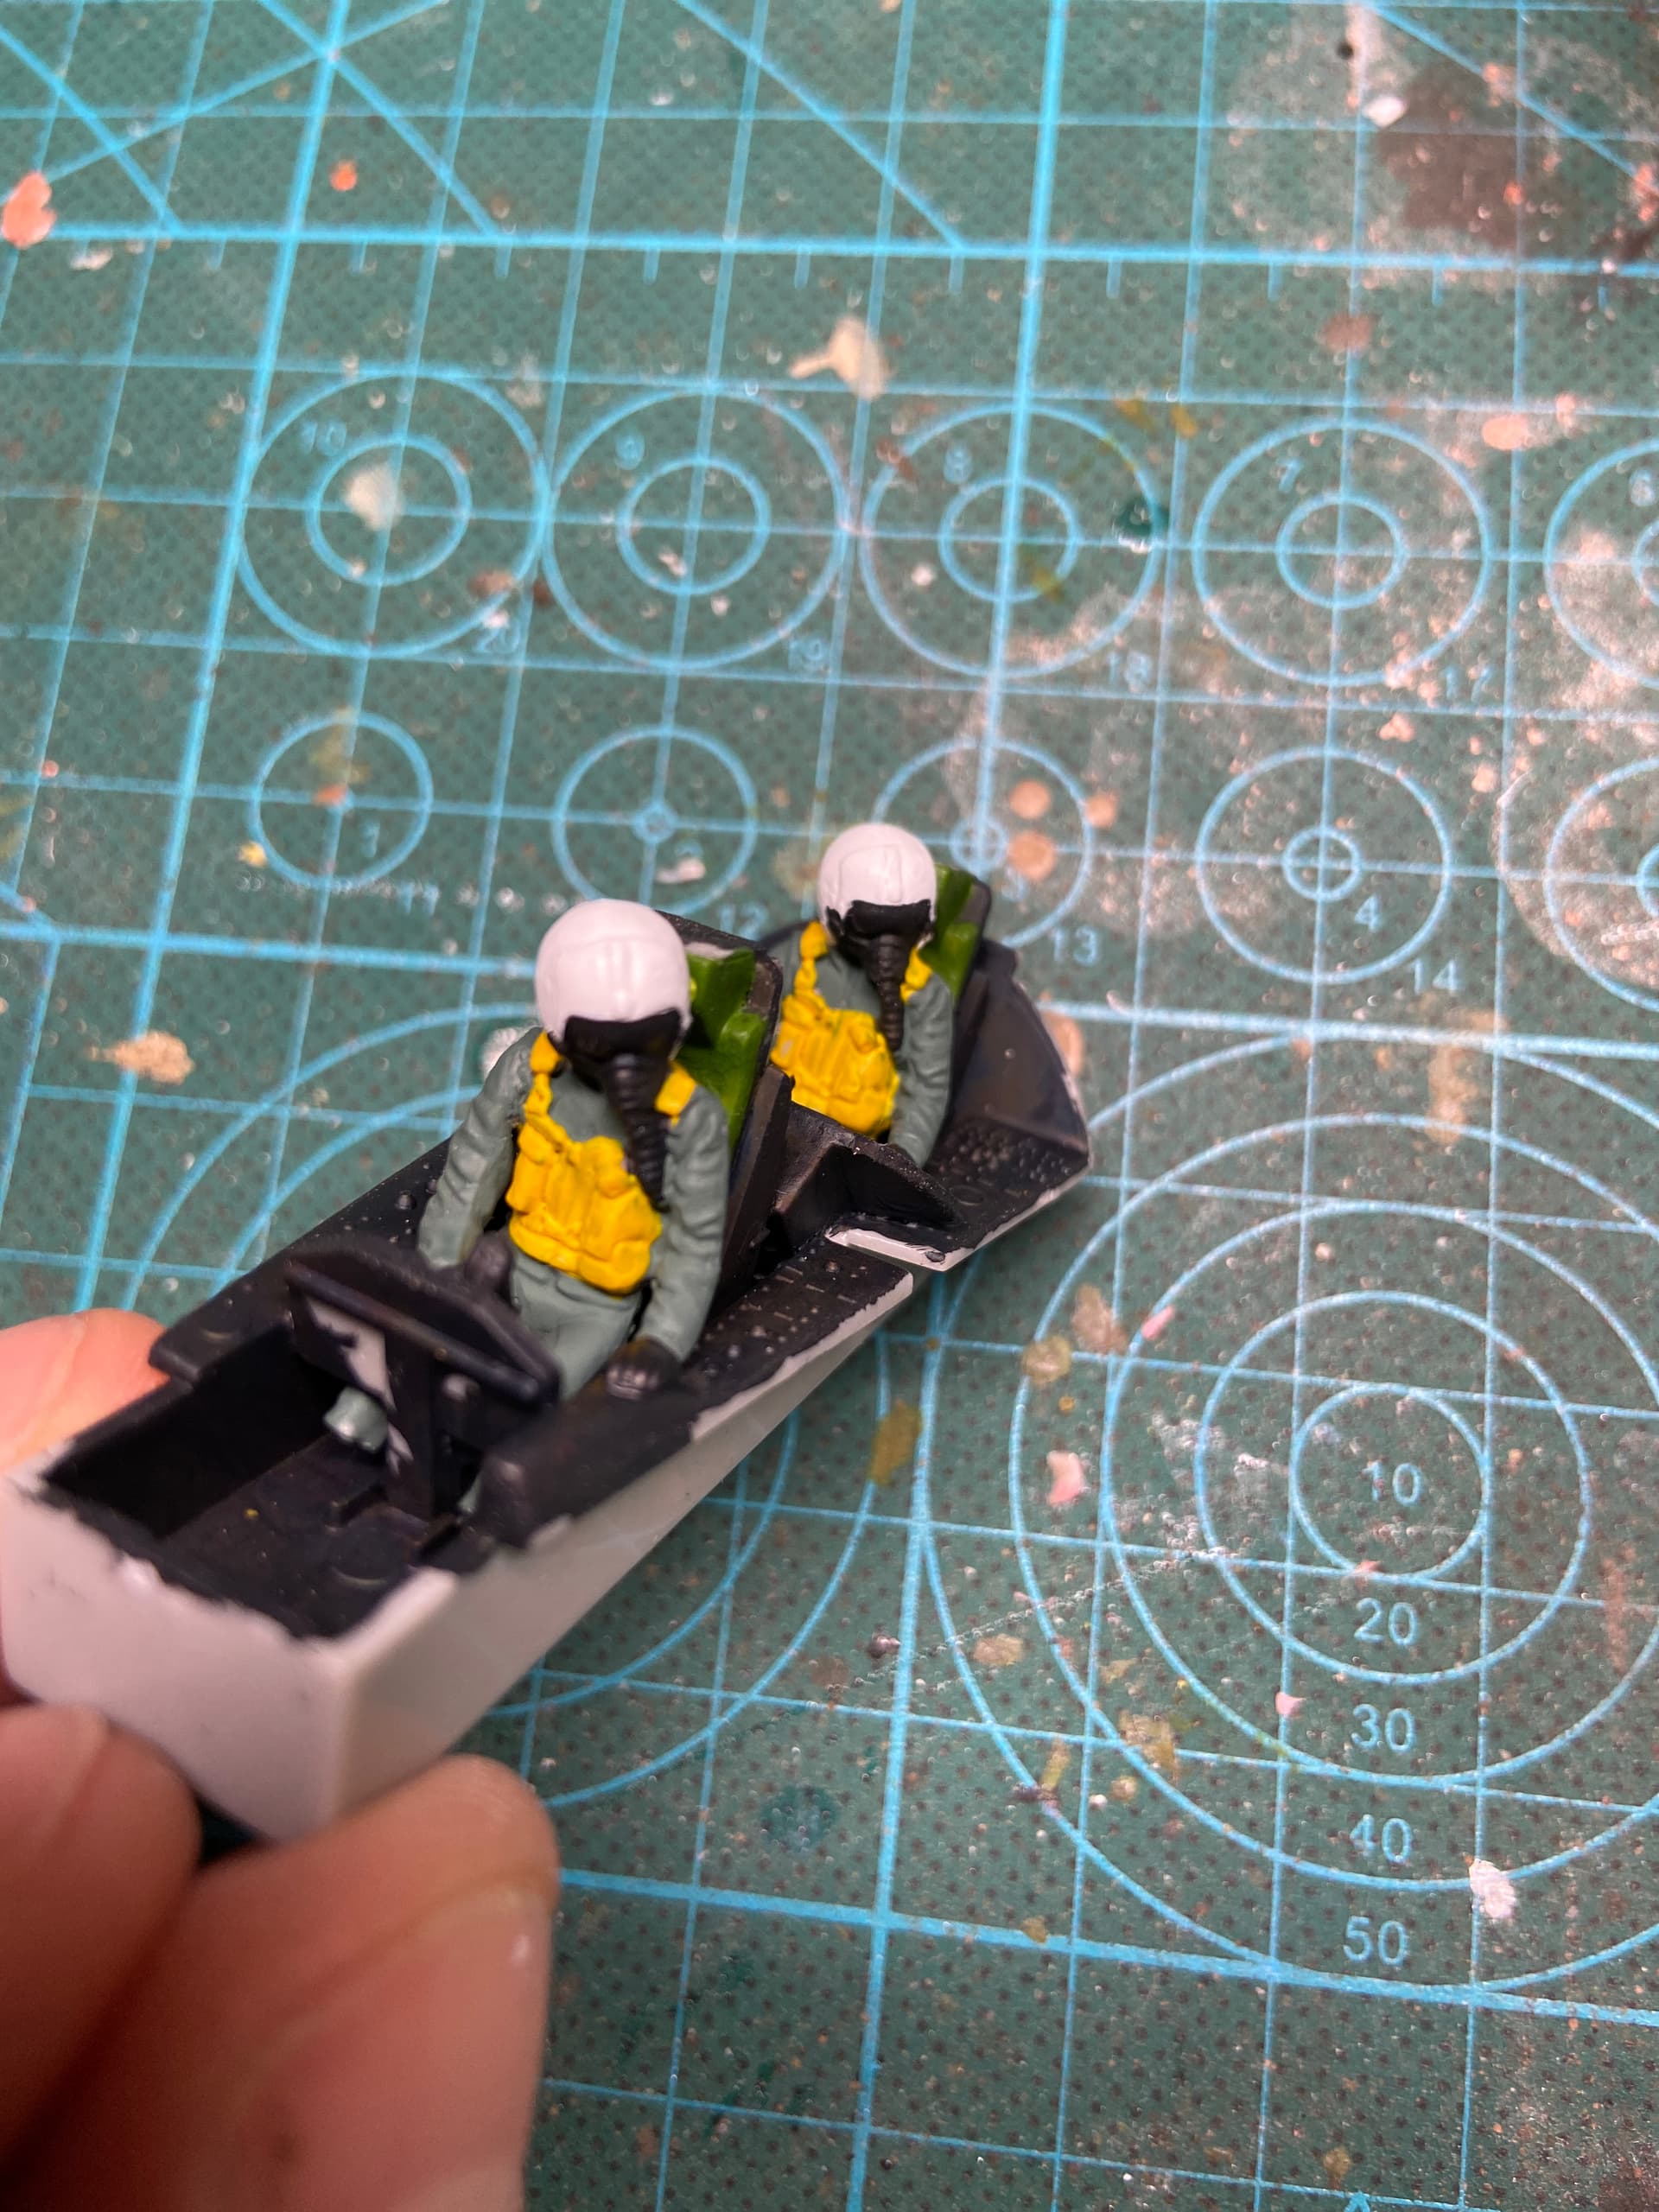
Thanks for the insights, Don! I am going with Light olive uniform, Yellow vest, and White helmet based on the below picture.
The cockpit seems to be overall black. So that is going to be easy. Black with dark grey drybrusing. Then a few details. Seats mid green.
Beautiful work on the leopards, guys! Looks great!
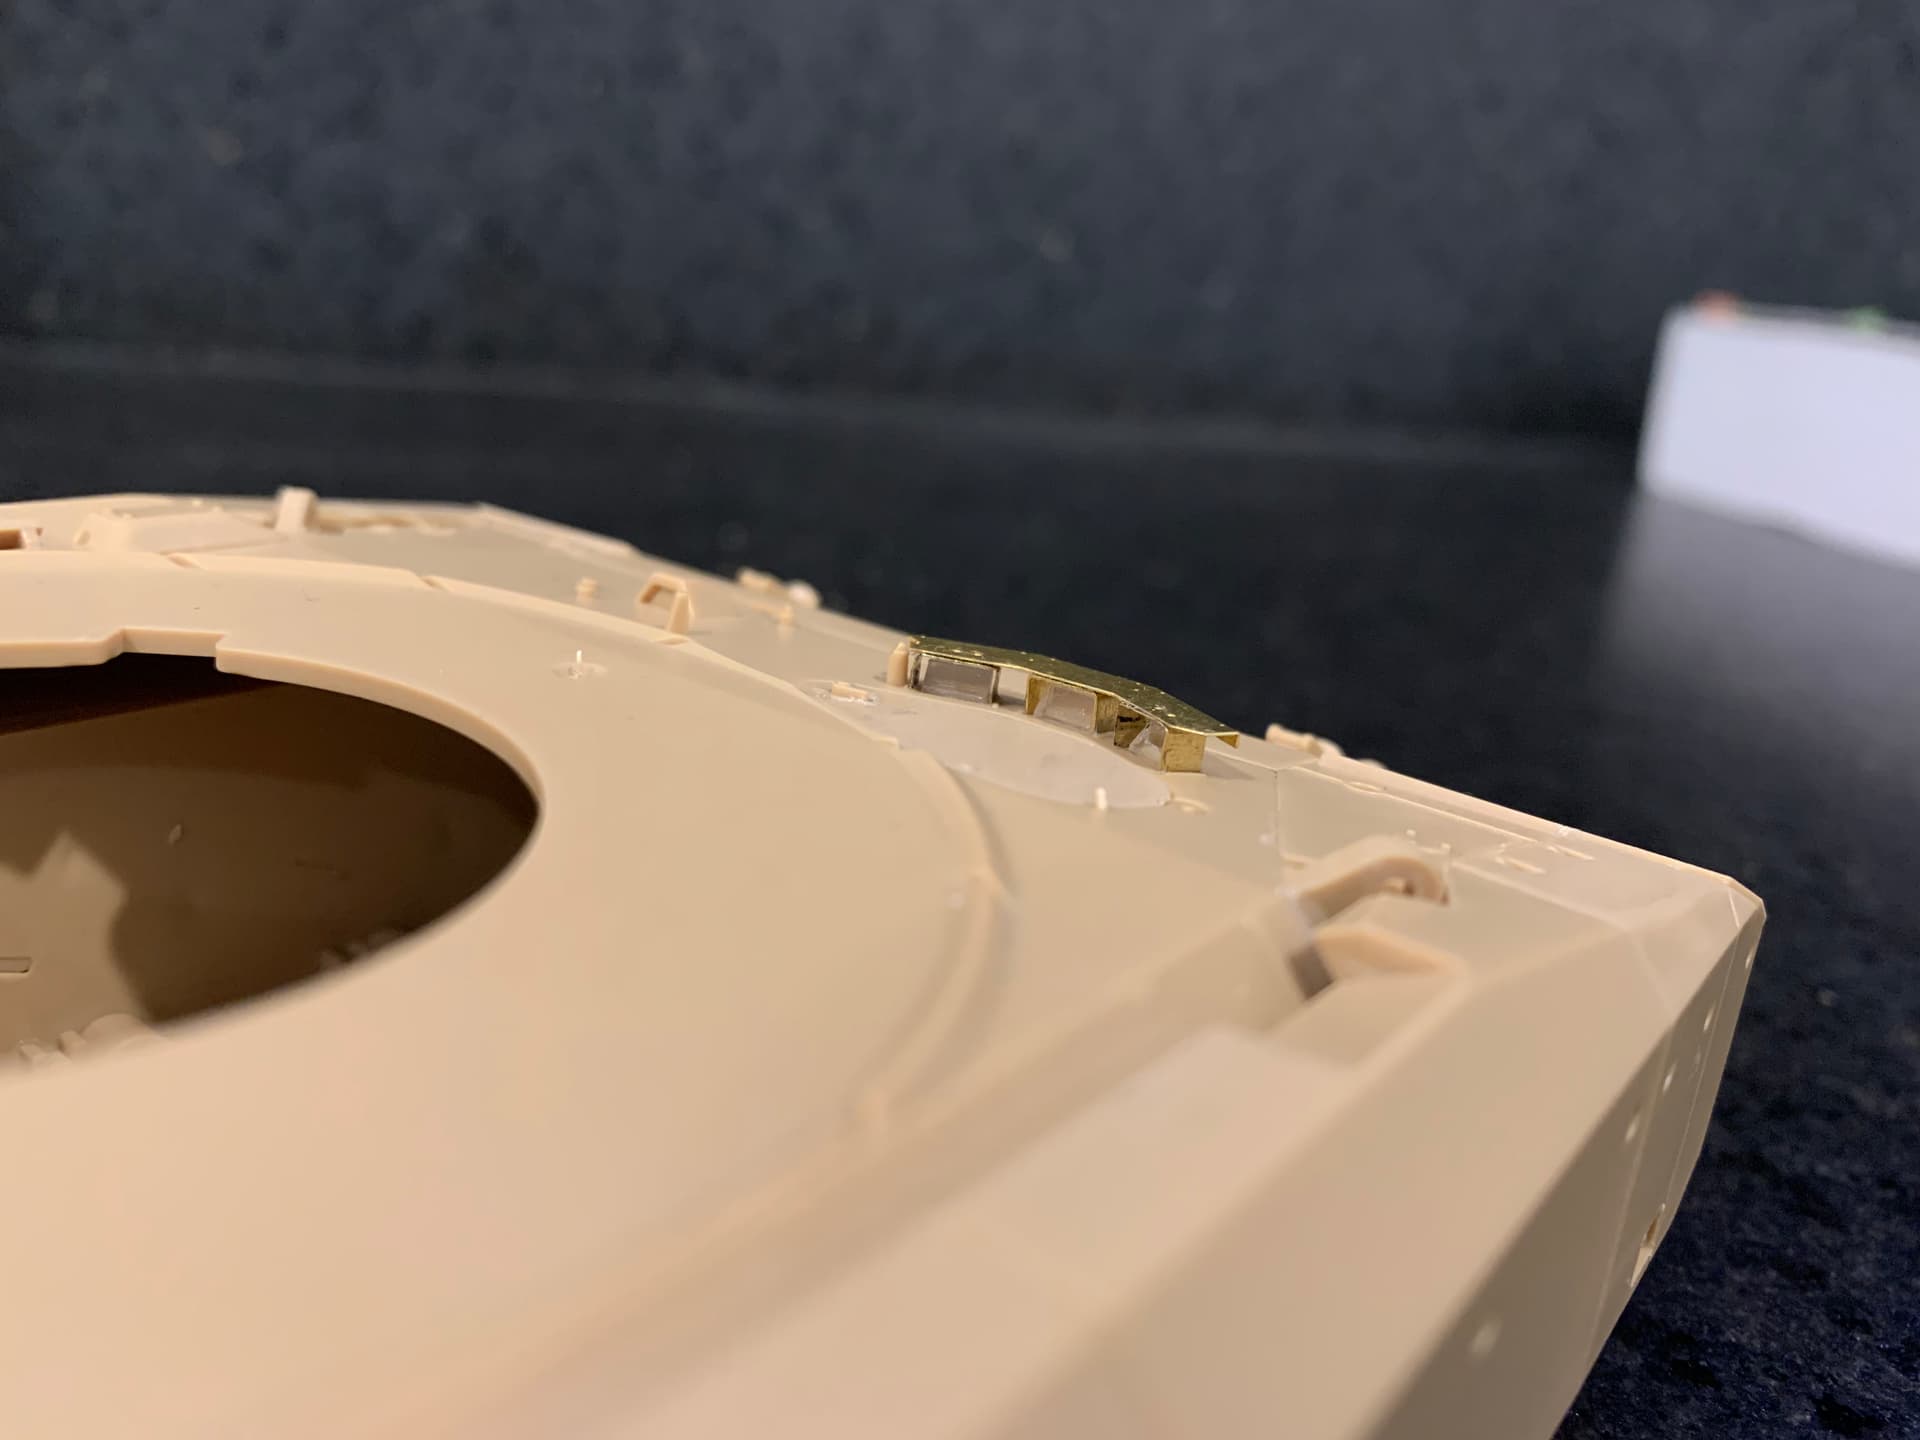
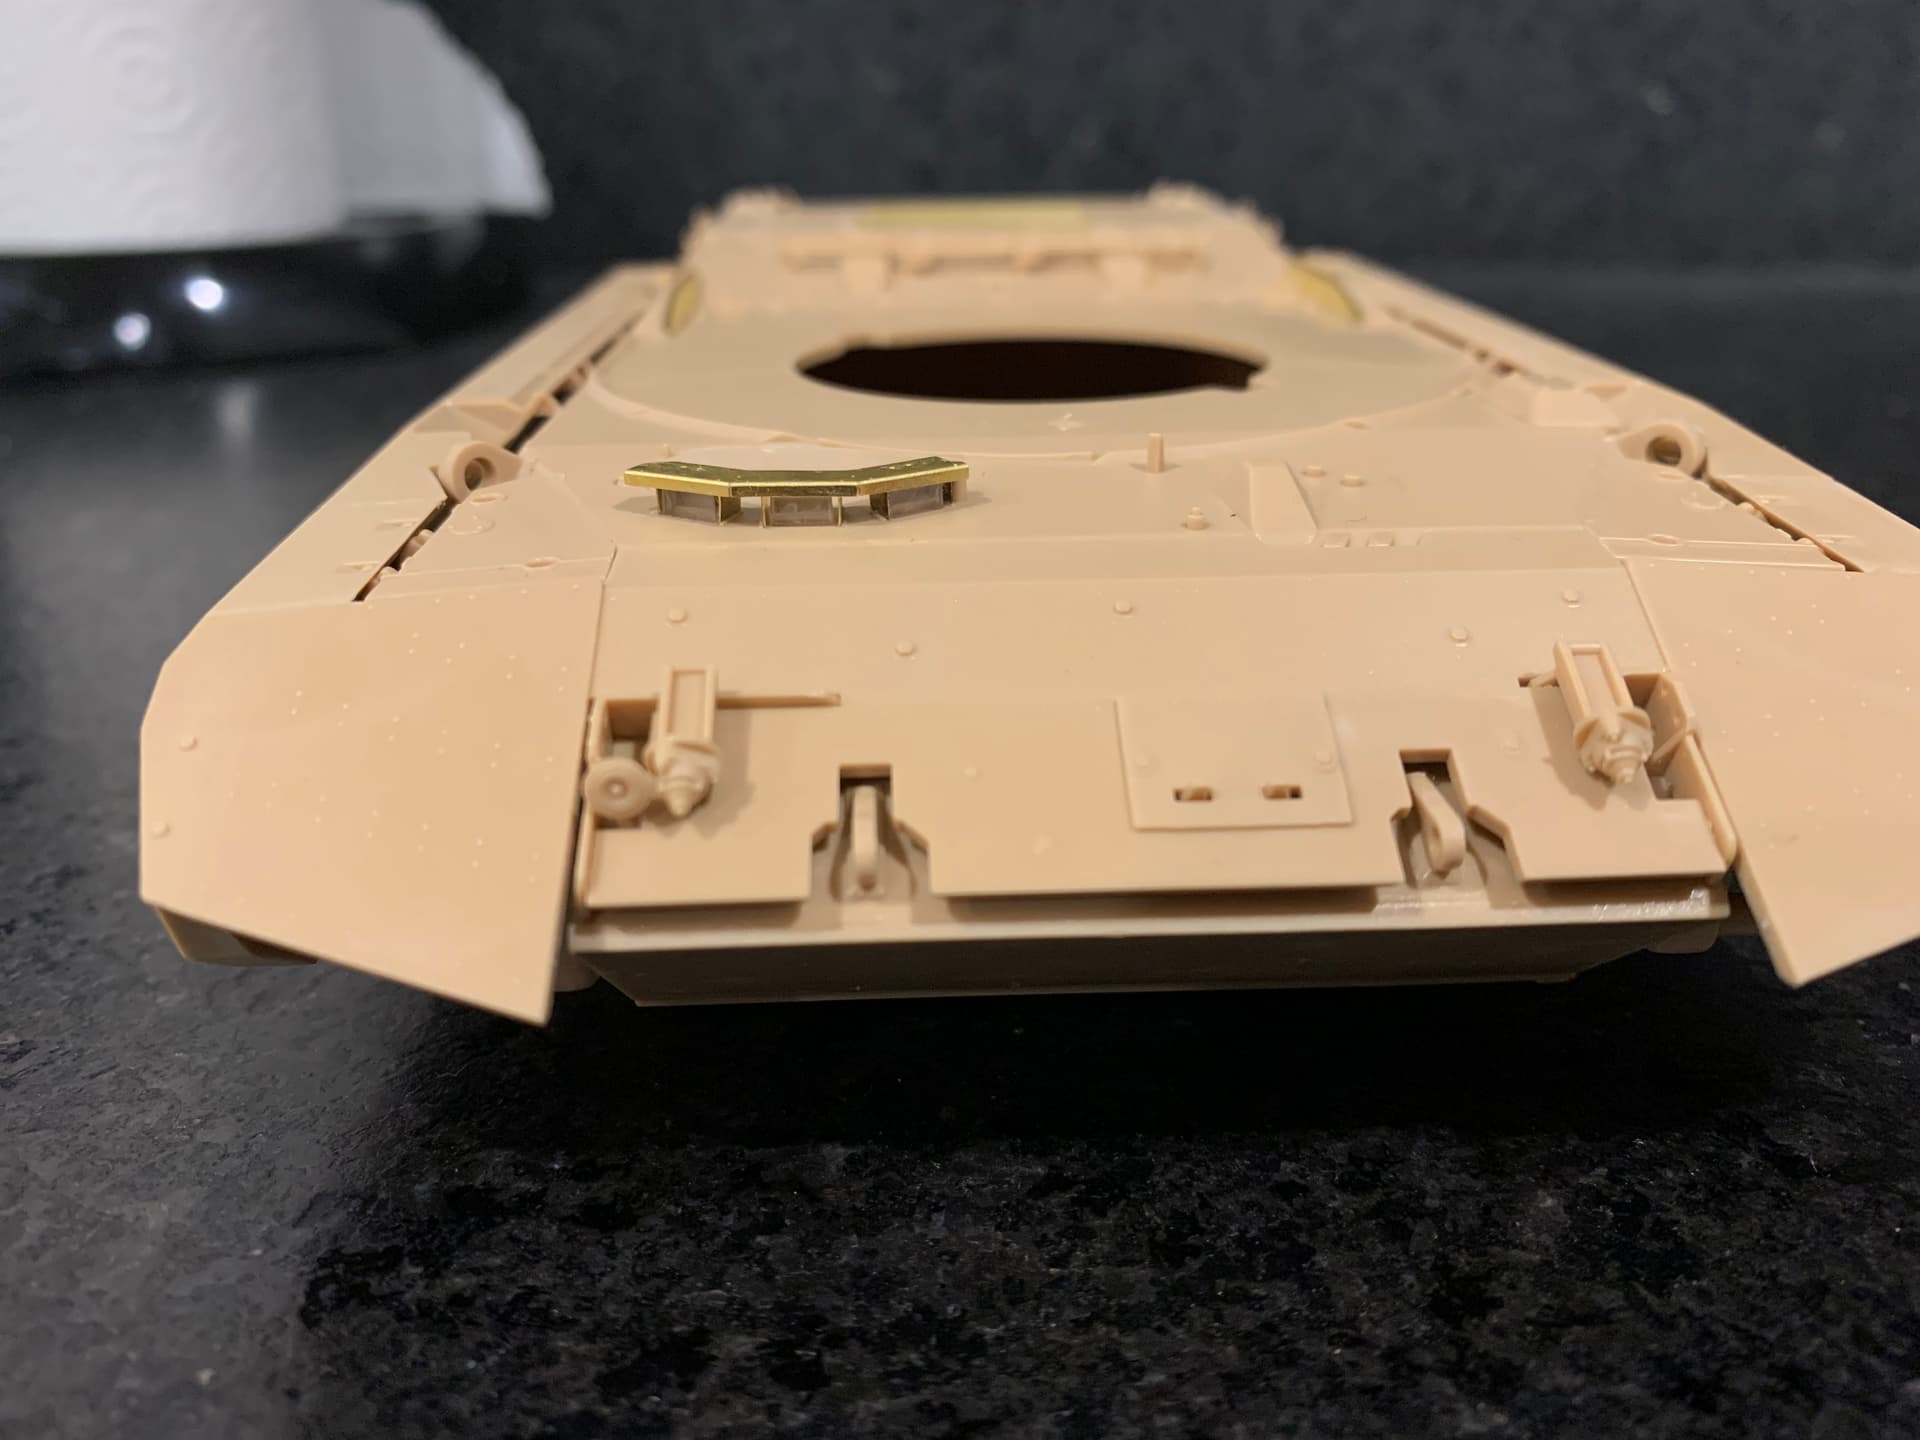
Hull done! The drivers periscope PE gave me an aneurism though. I broke the the two shields for the Two canted periscopes but over bending them. Had to remake them out of brass sheet. Due to the complex angles of the hull and the fact that the shield are sloped none perpendicular to the hull plate getting these shields level and the same height as the good kit one took all day
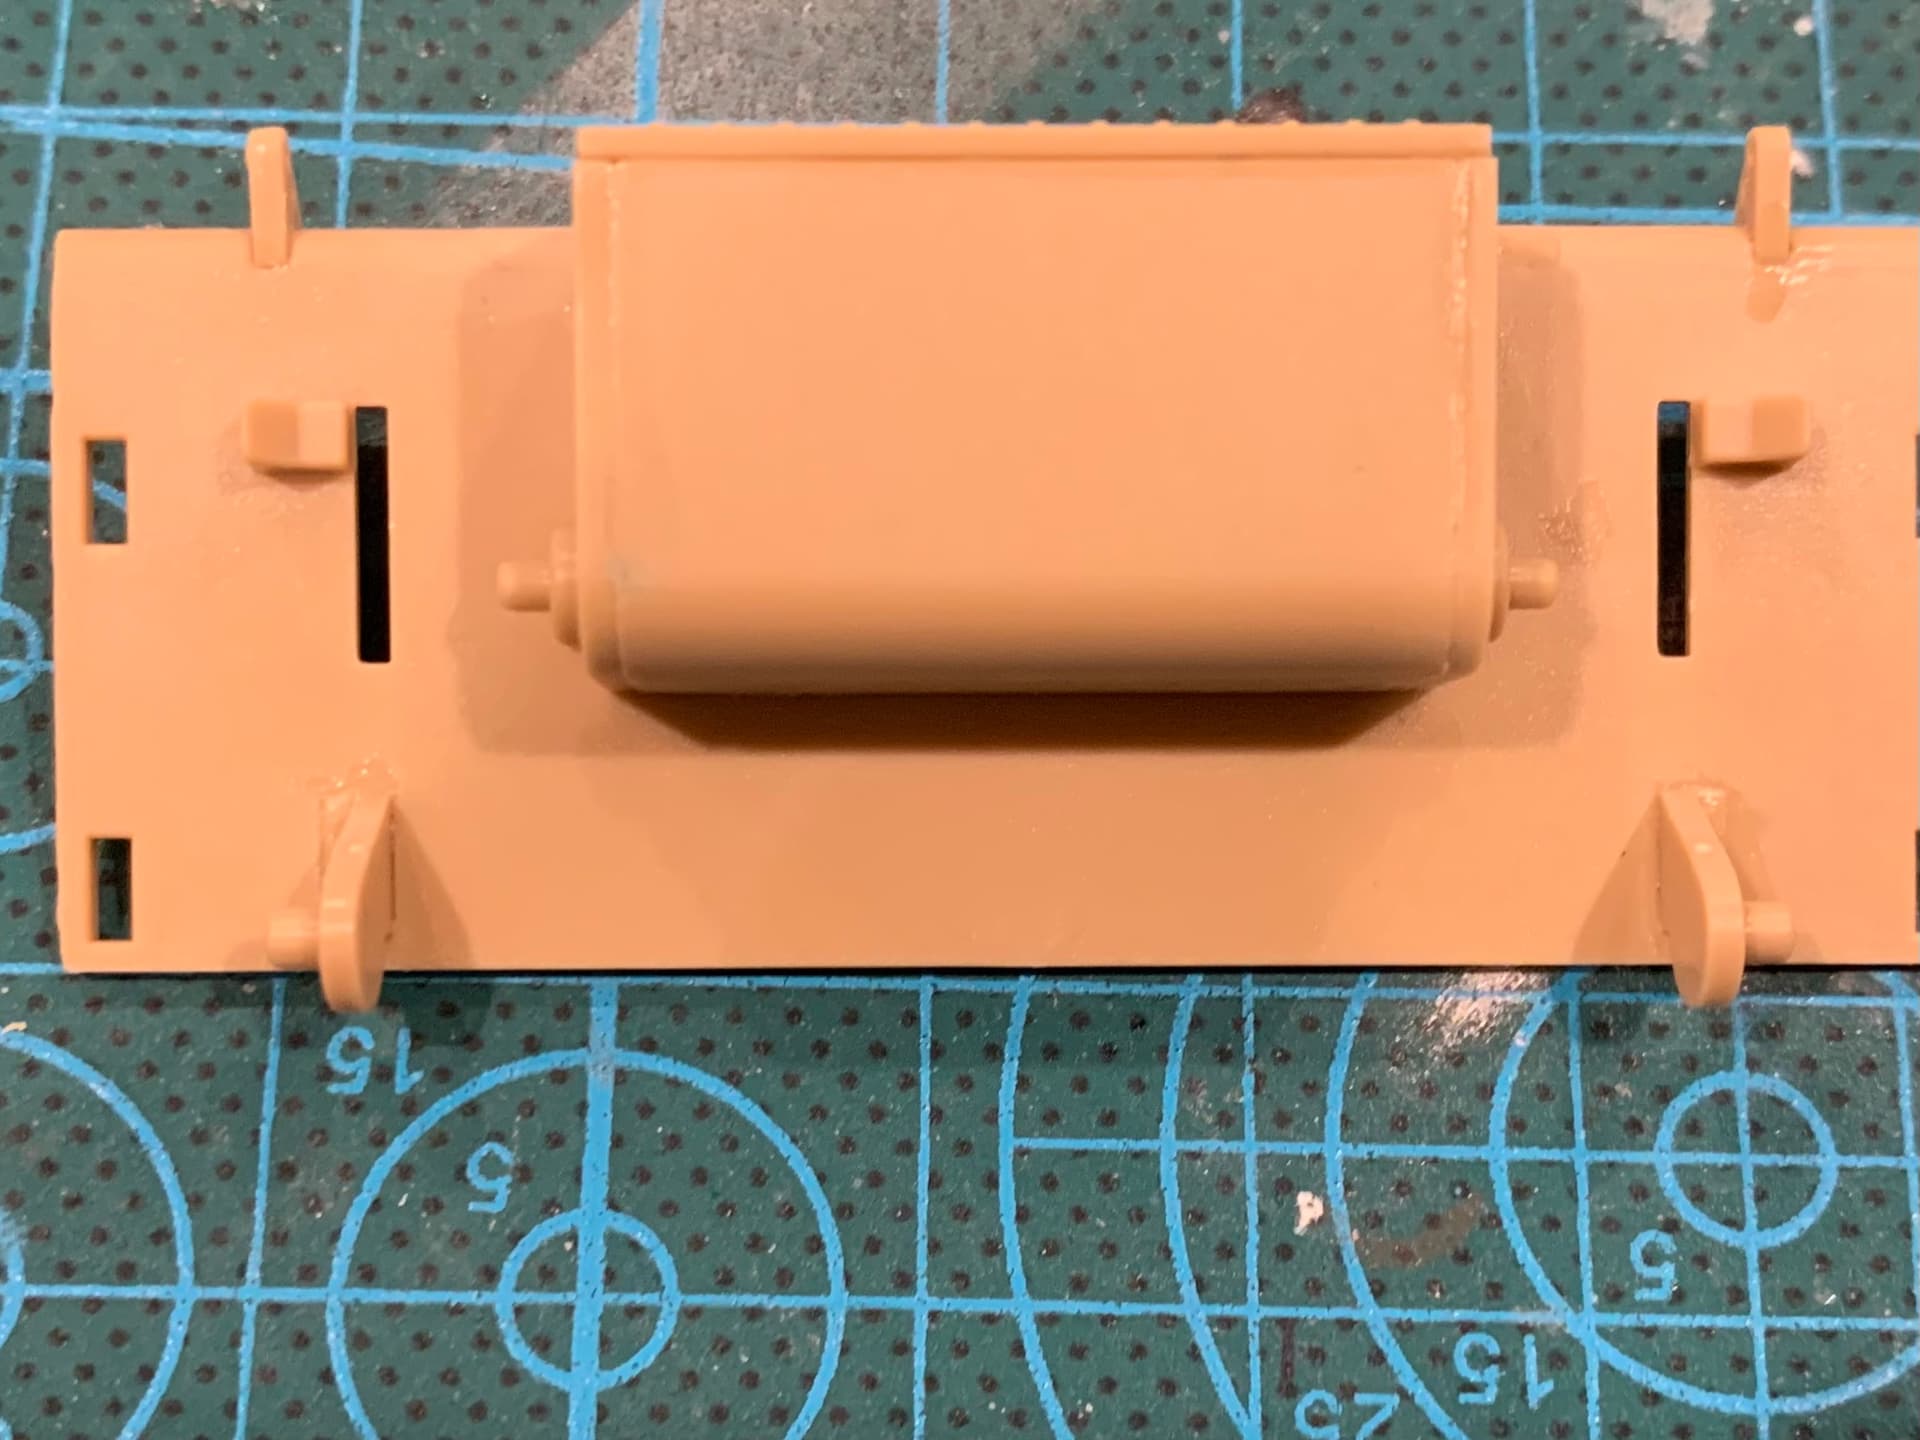
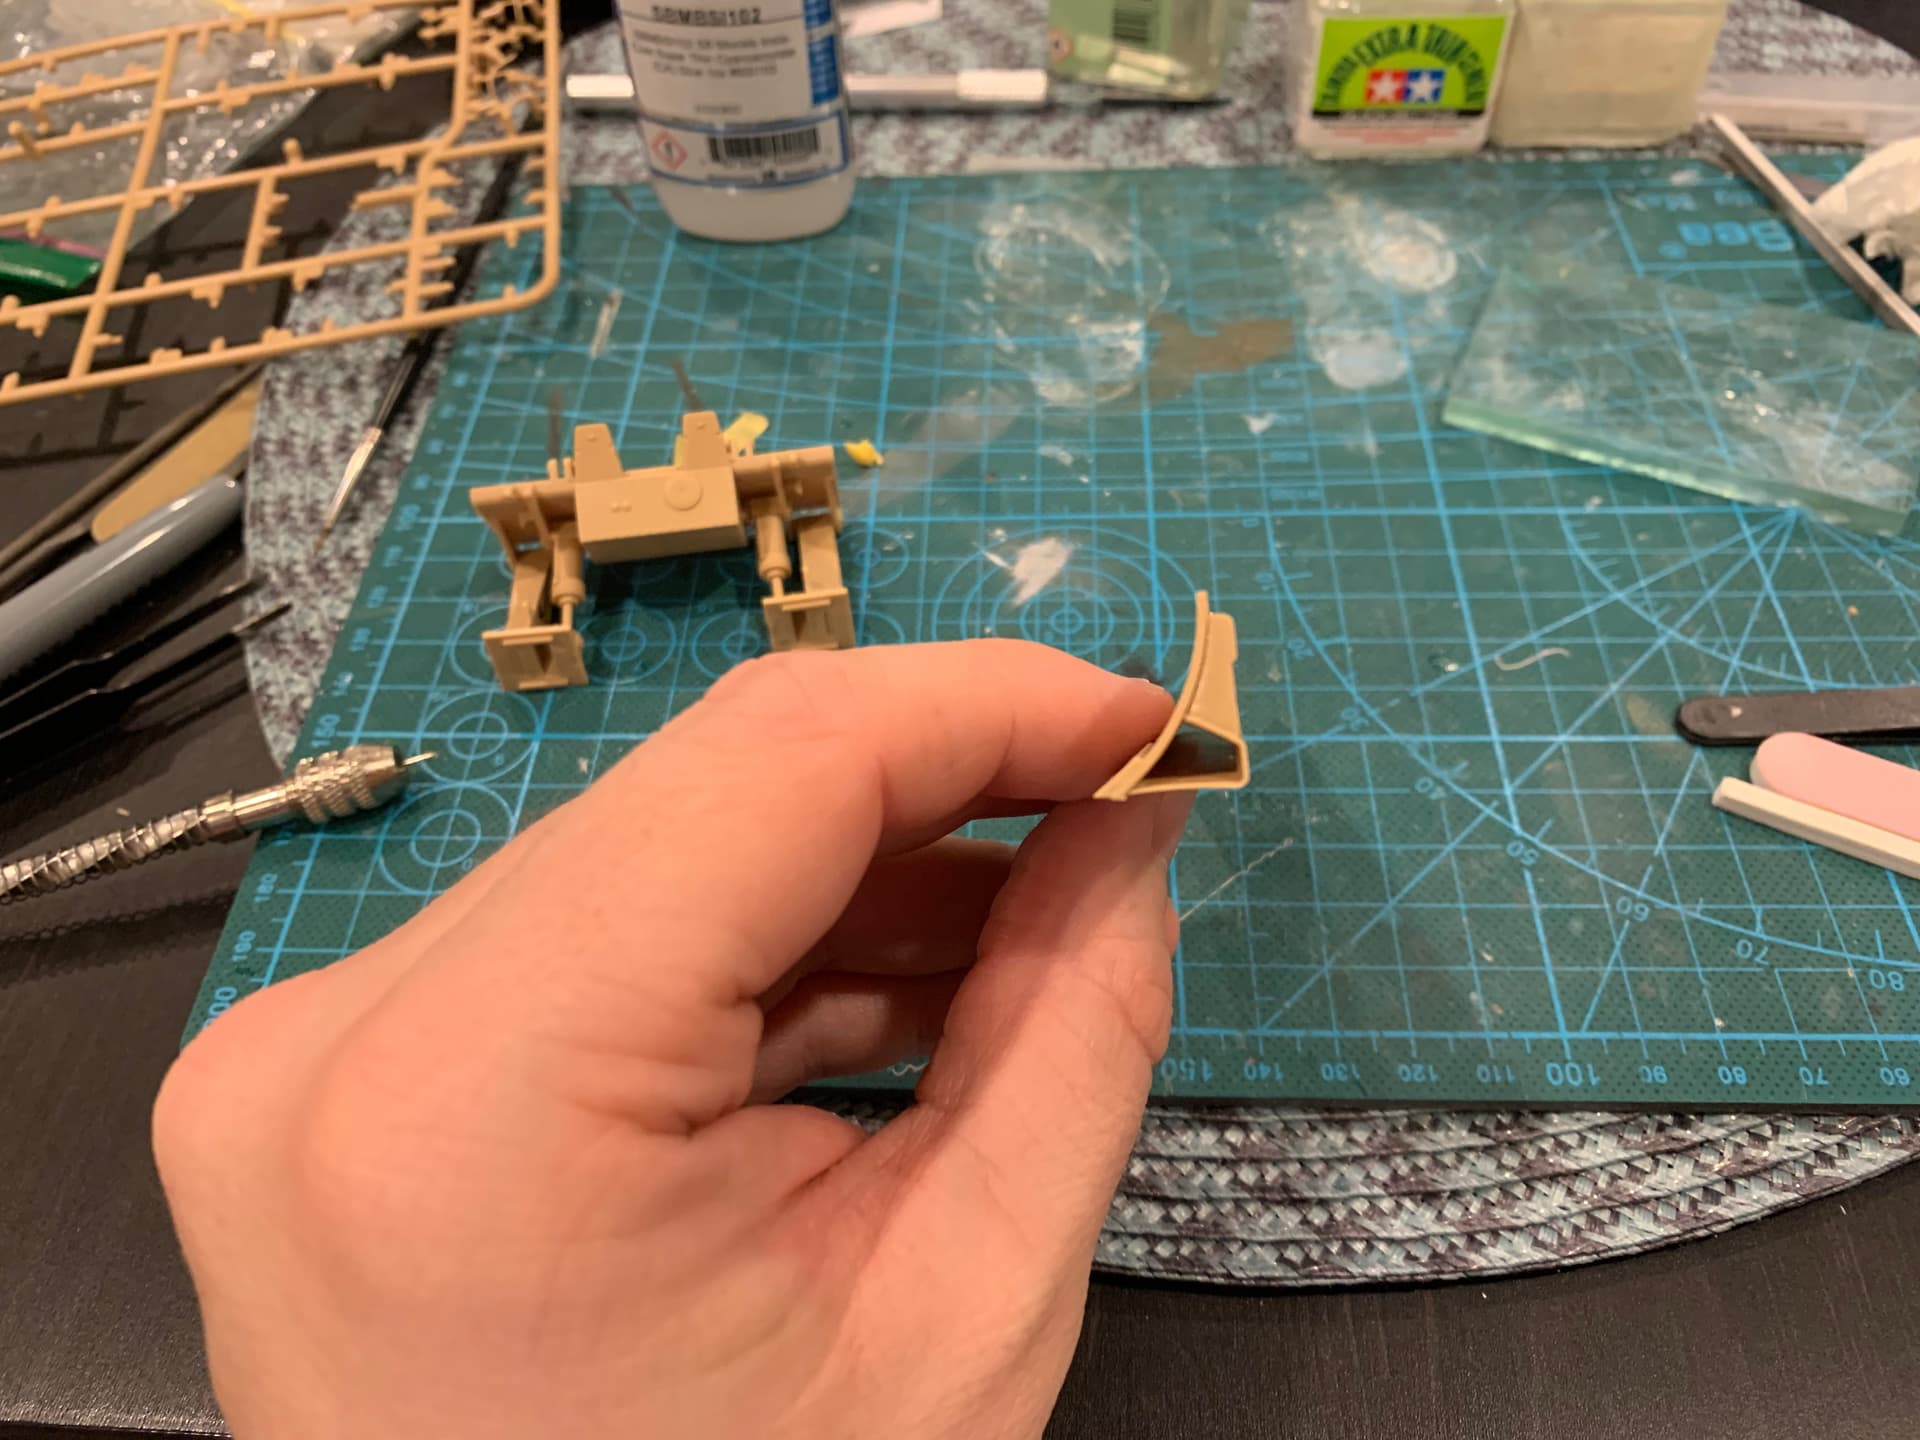
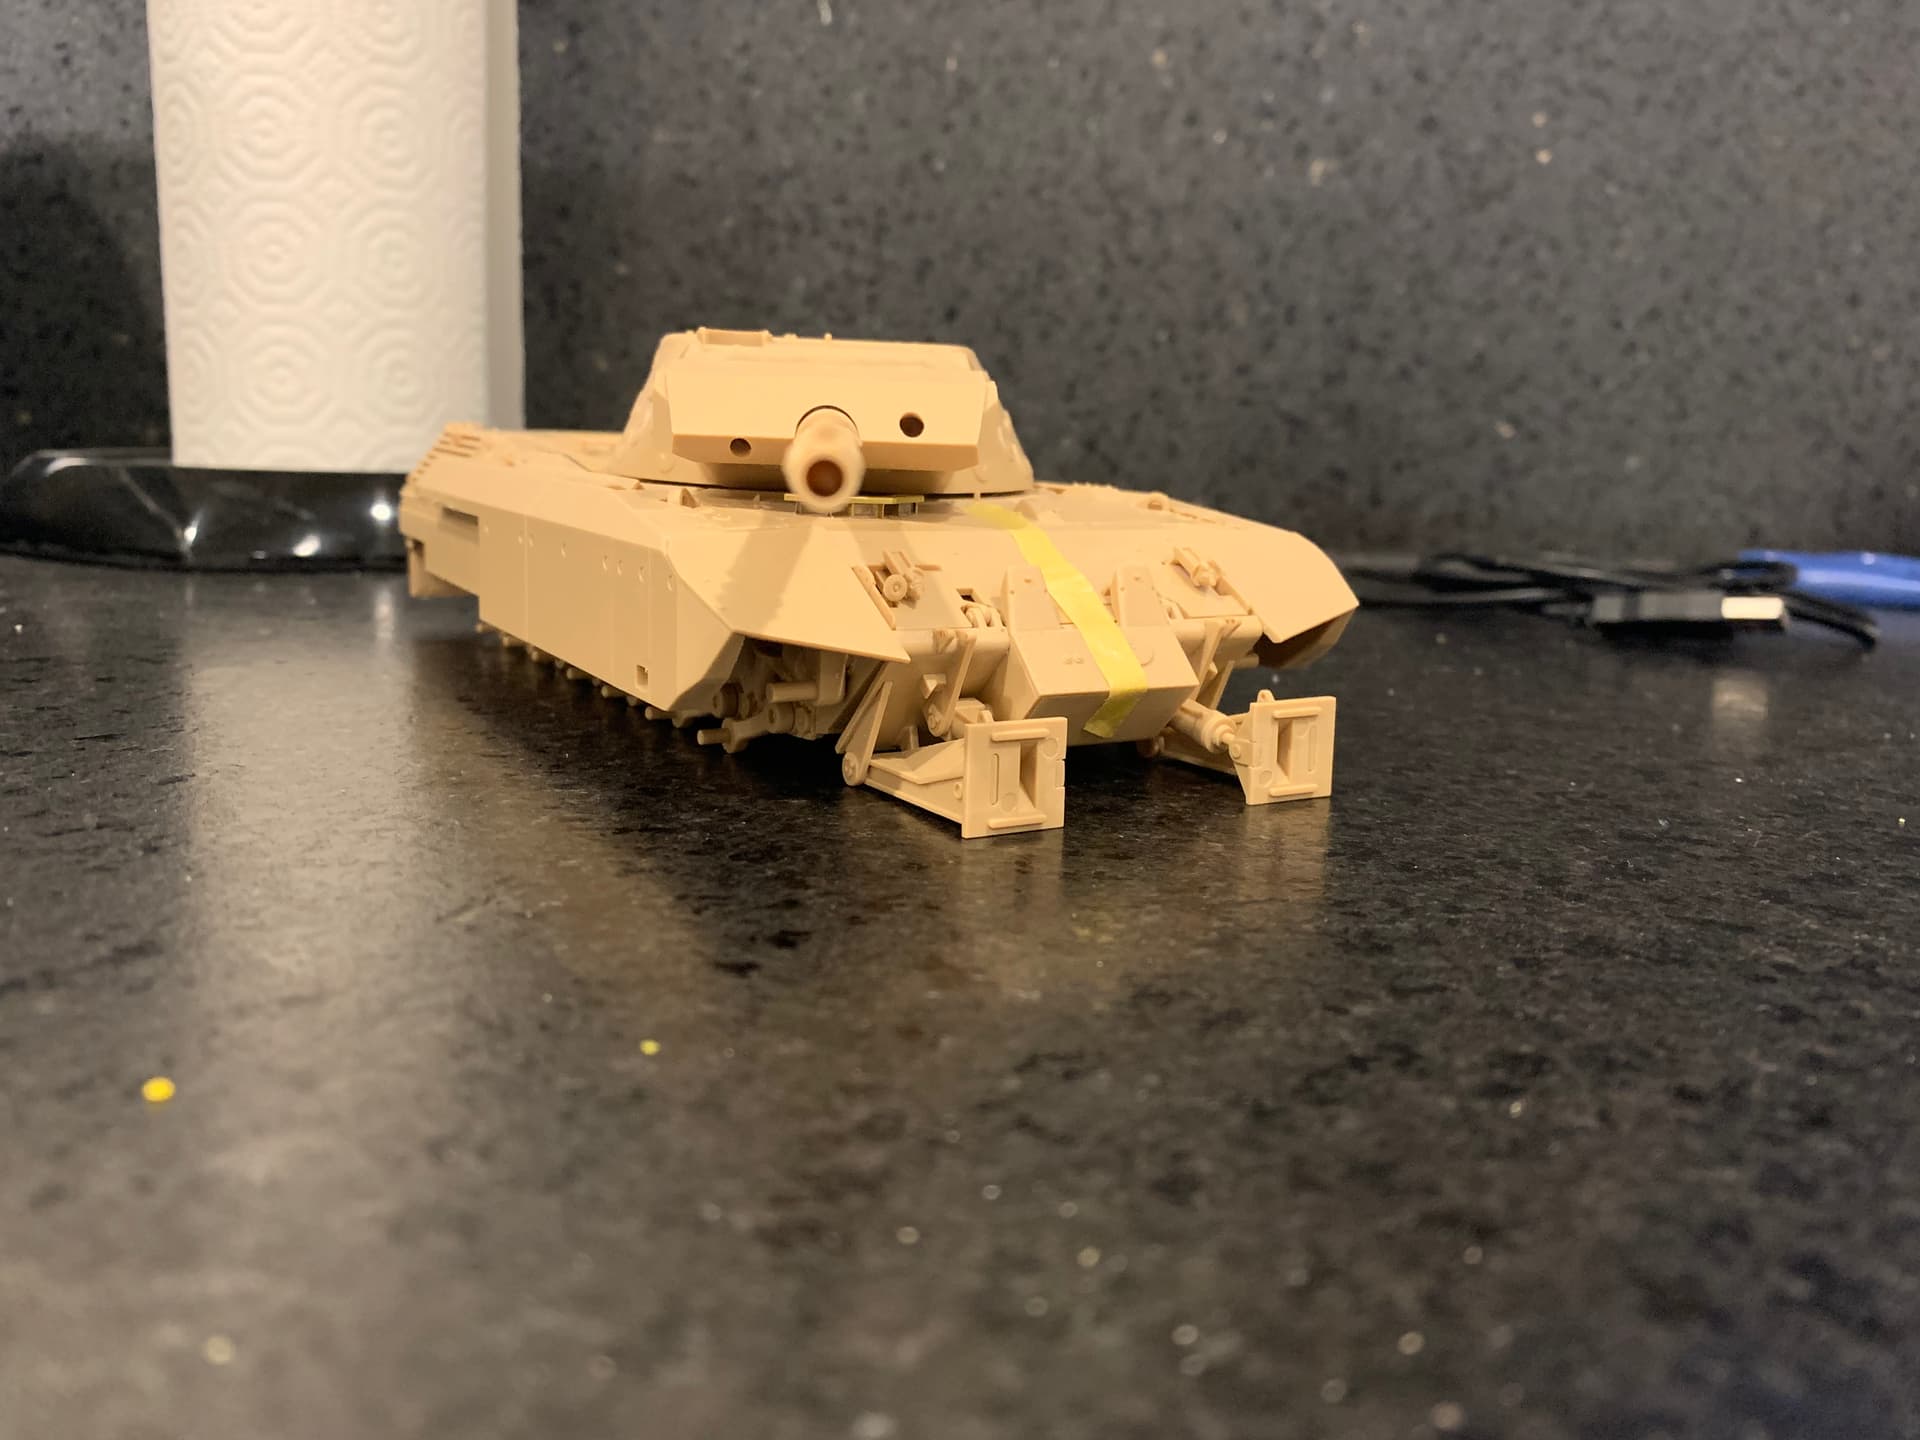
After that, started work on the dozer blade assembly!
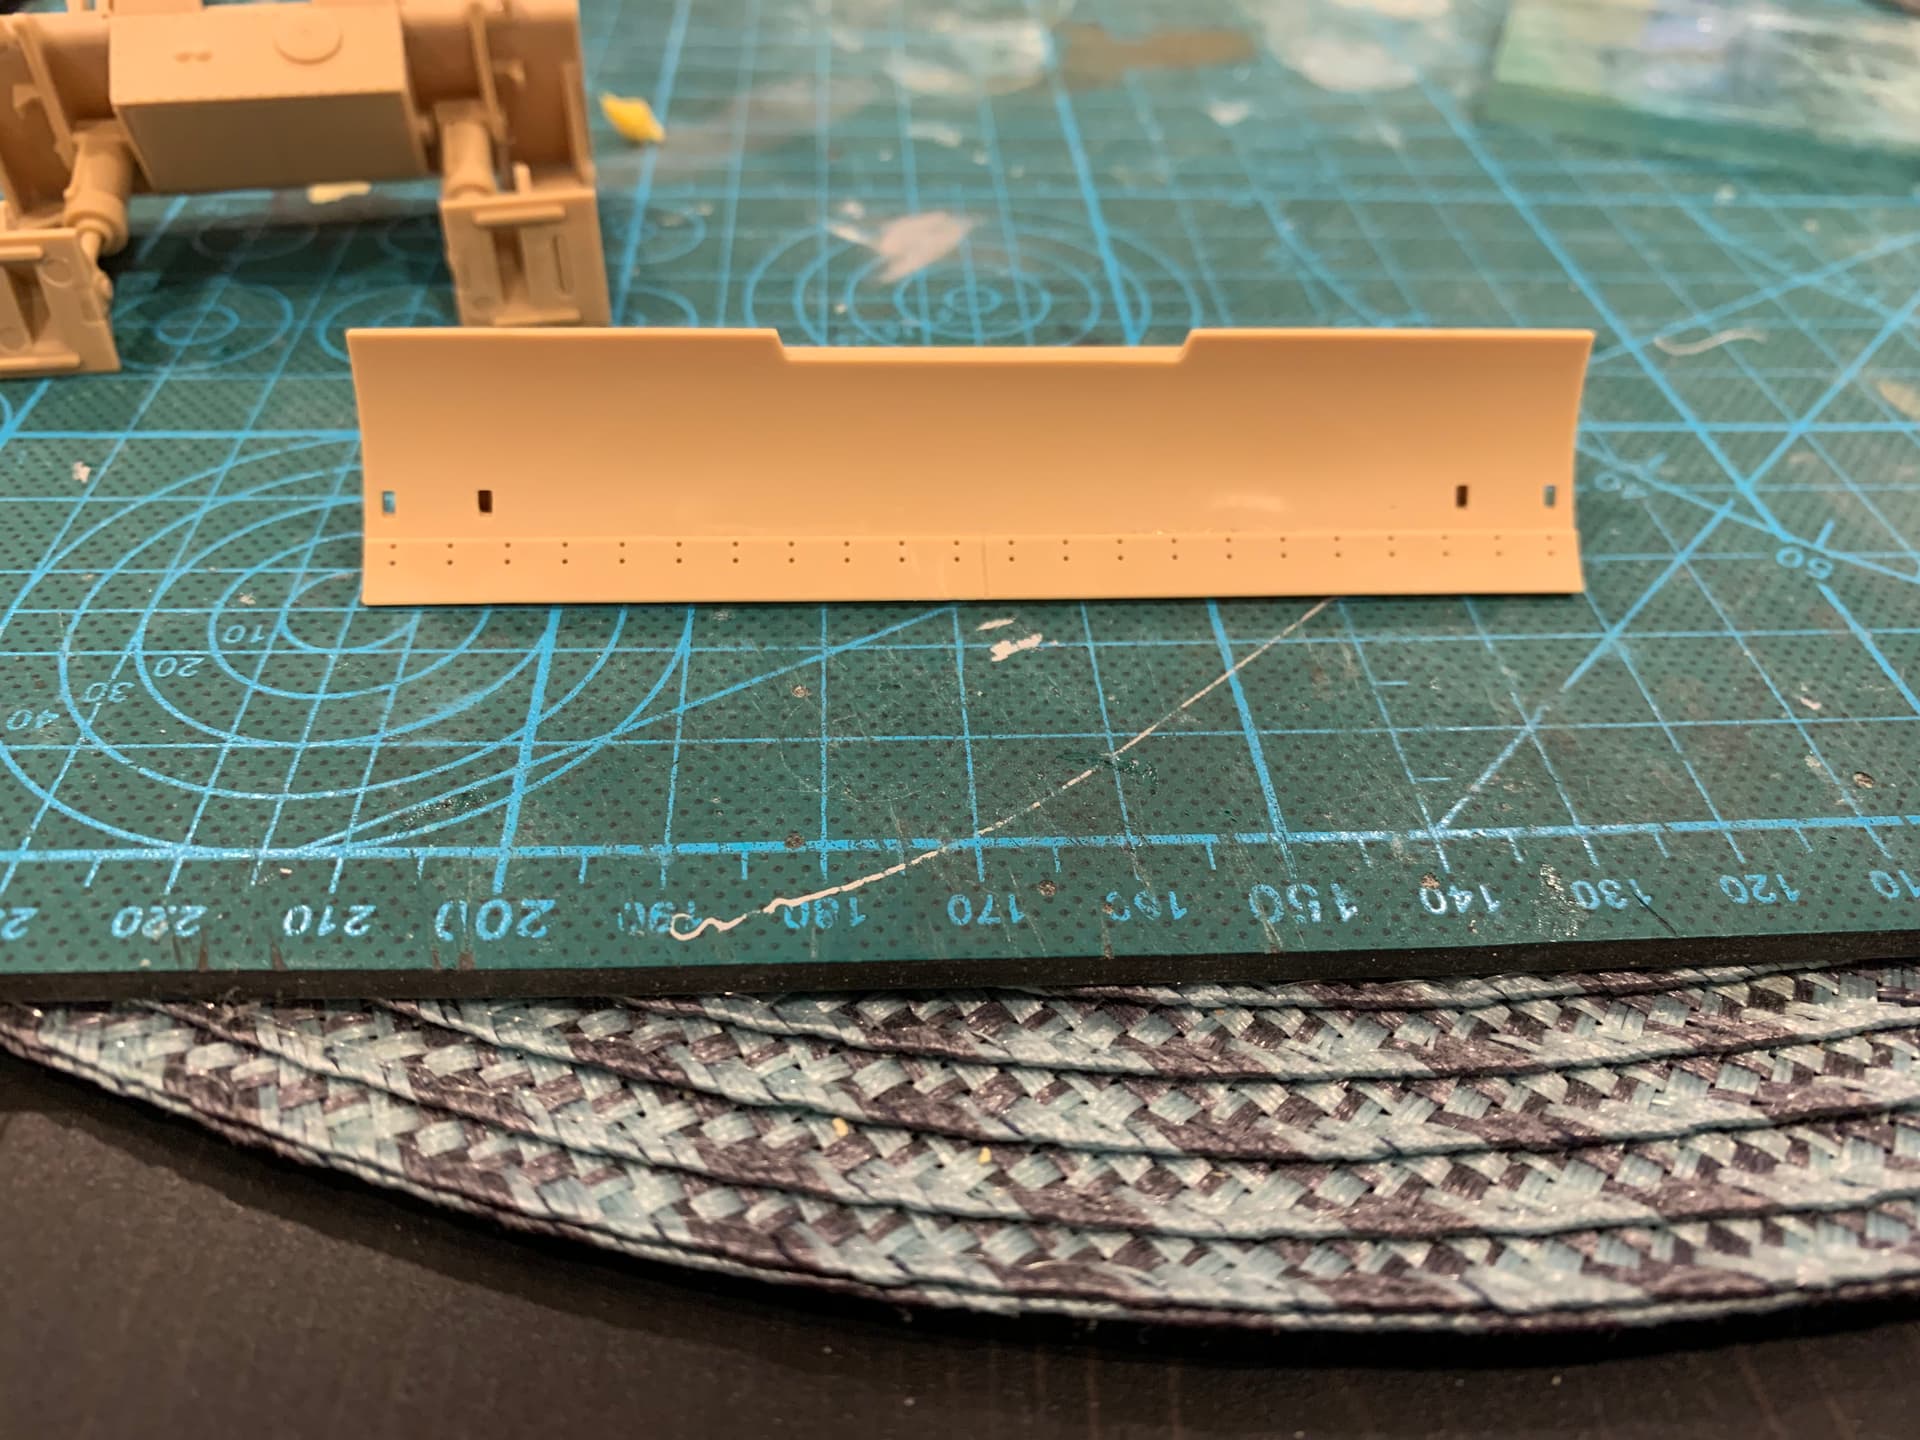
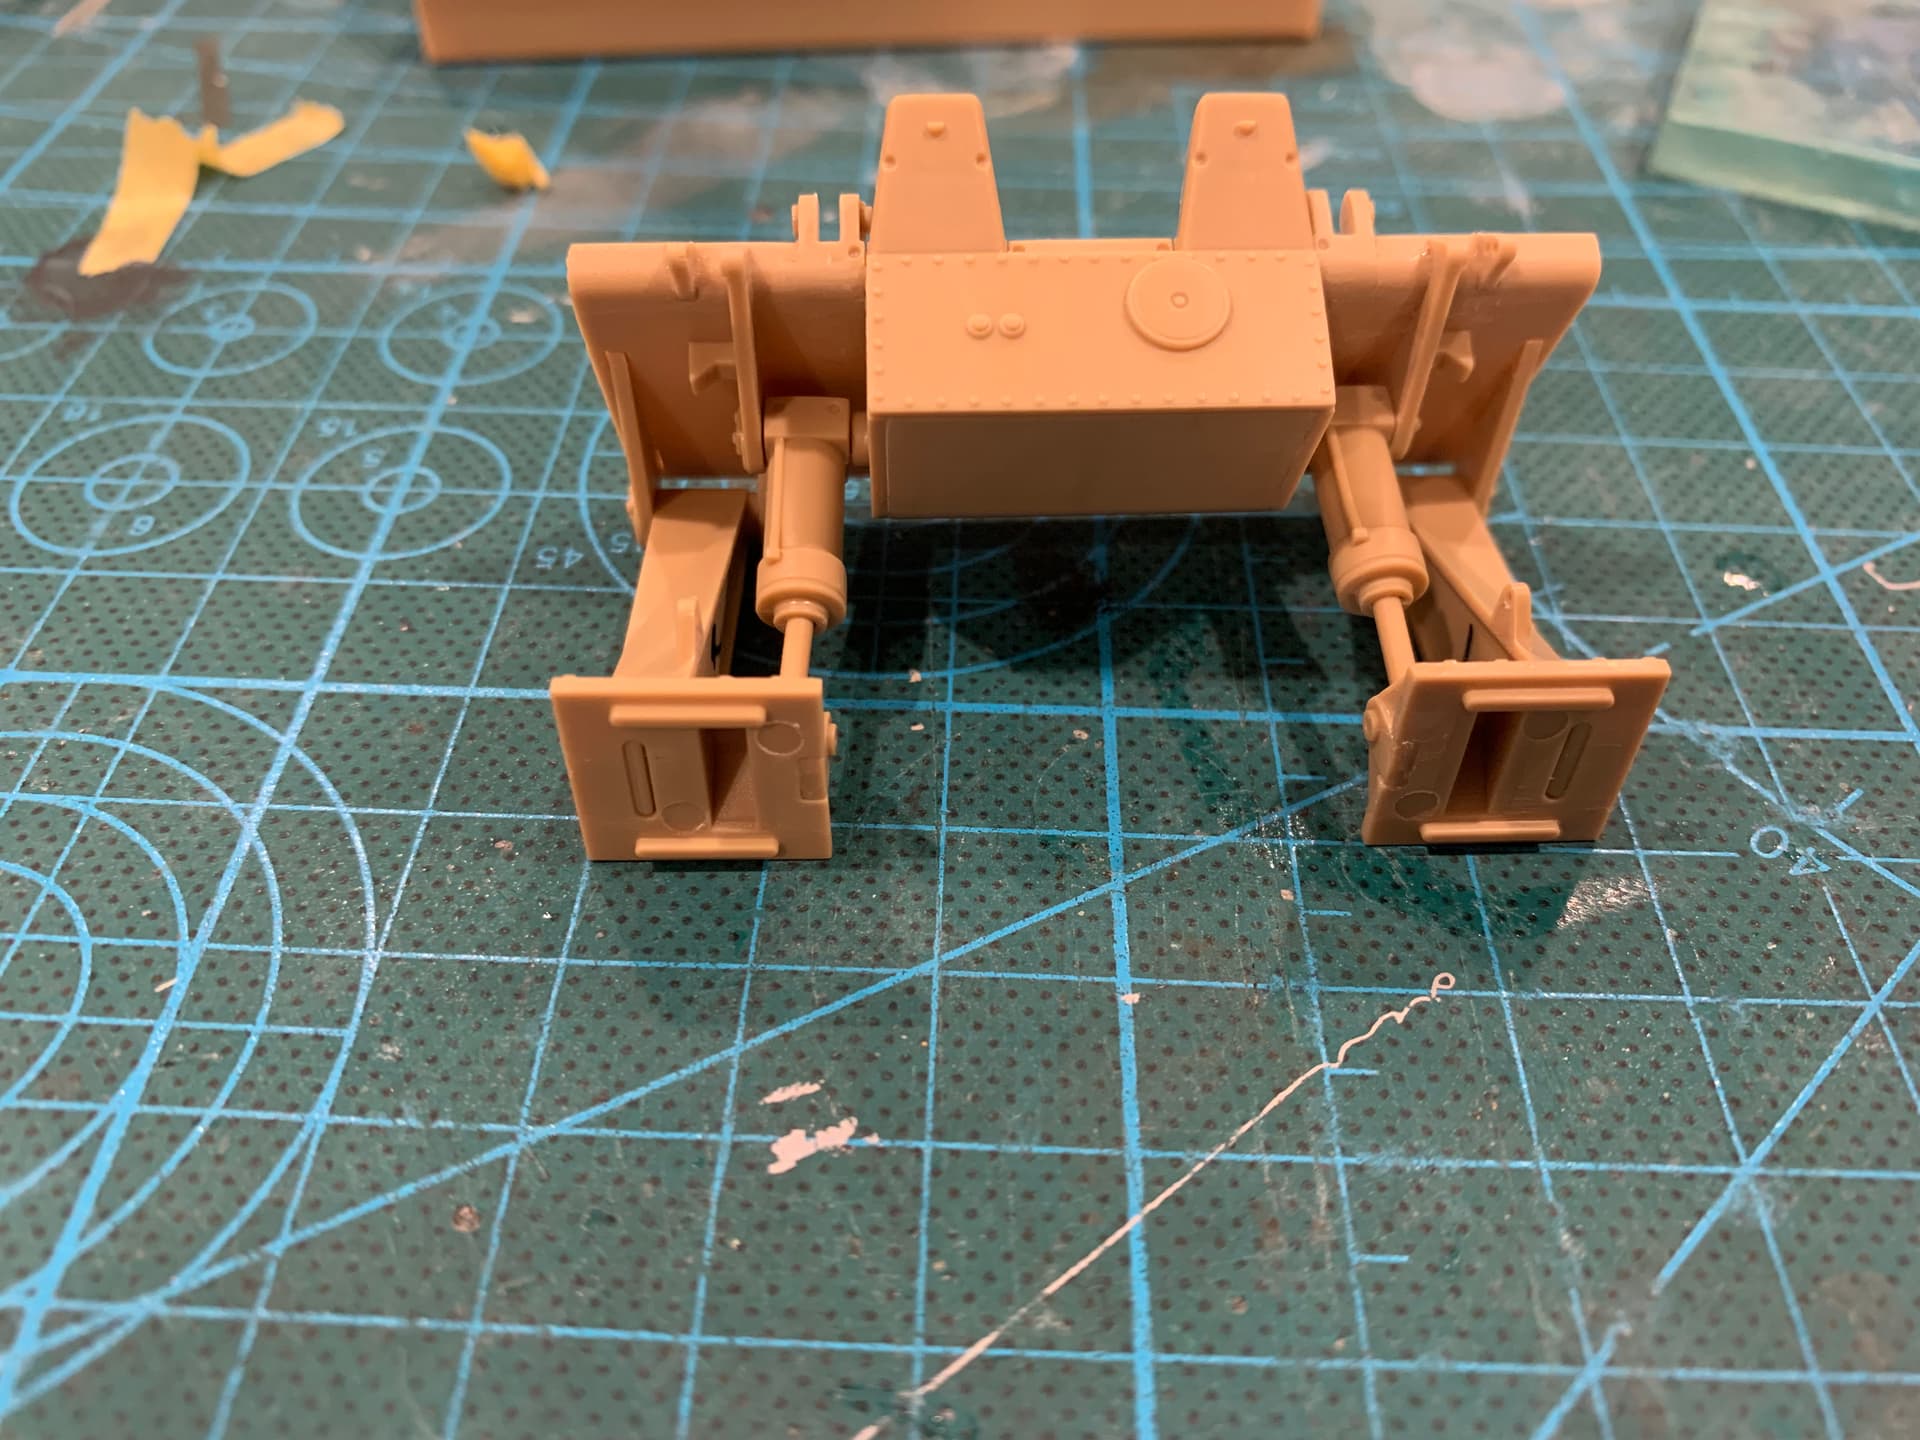
Dozer blade done! This was actually a pretty fun little assembly to build. It fully moves up and down once built! Debating if I want to attach the mount to the hull before or after painting. I’m leaning to before, the blade will remain off until weathering is done.
Just need to add the headlights too it
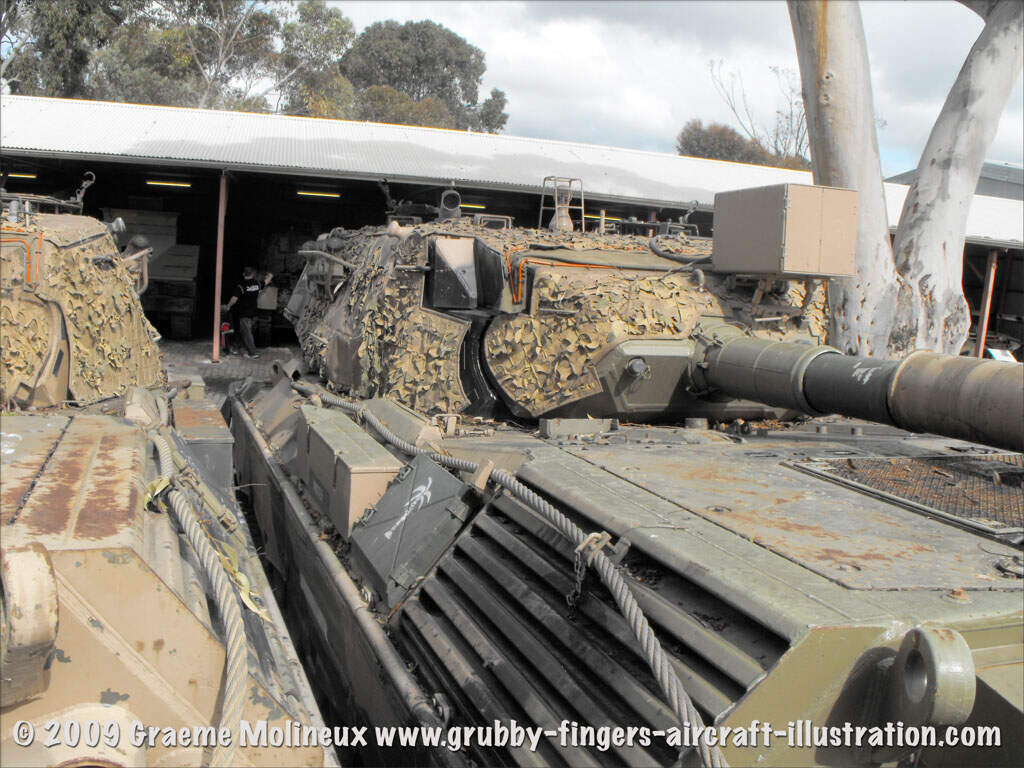
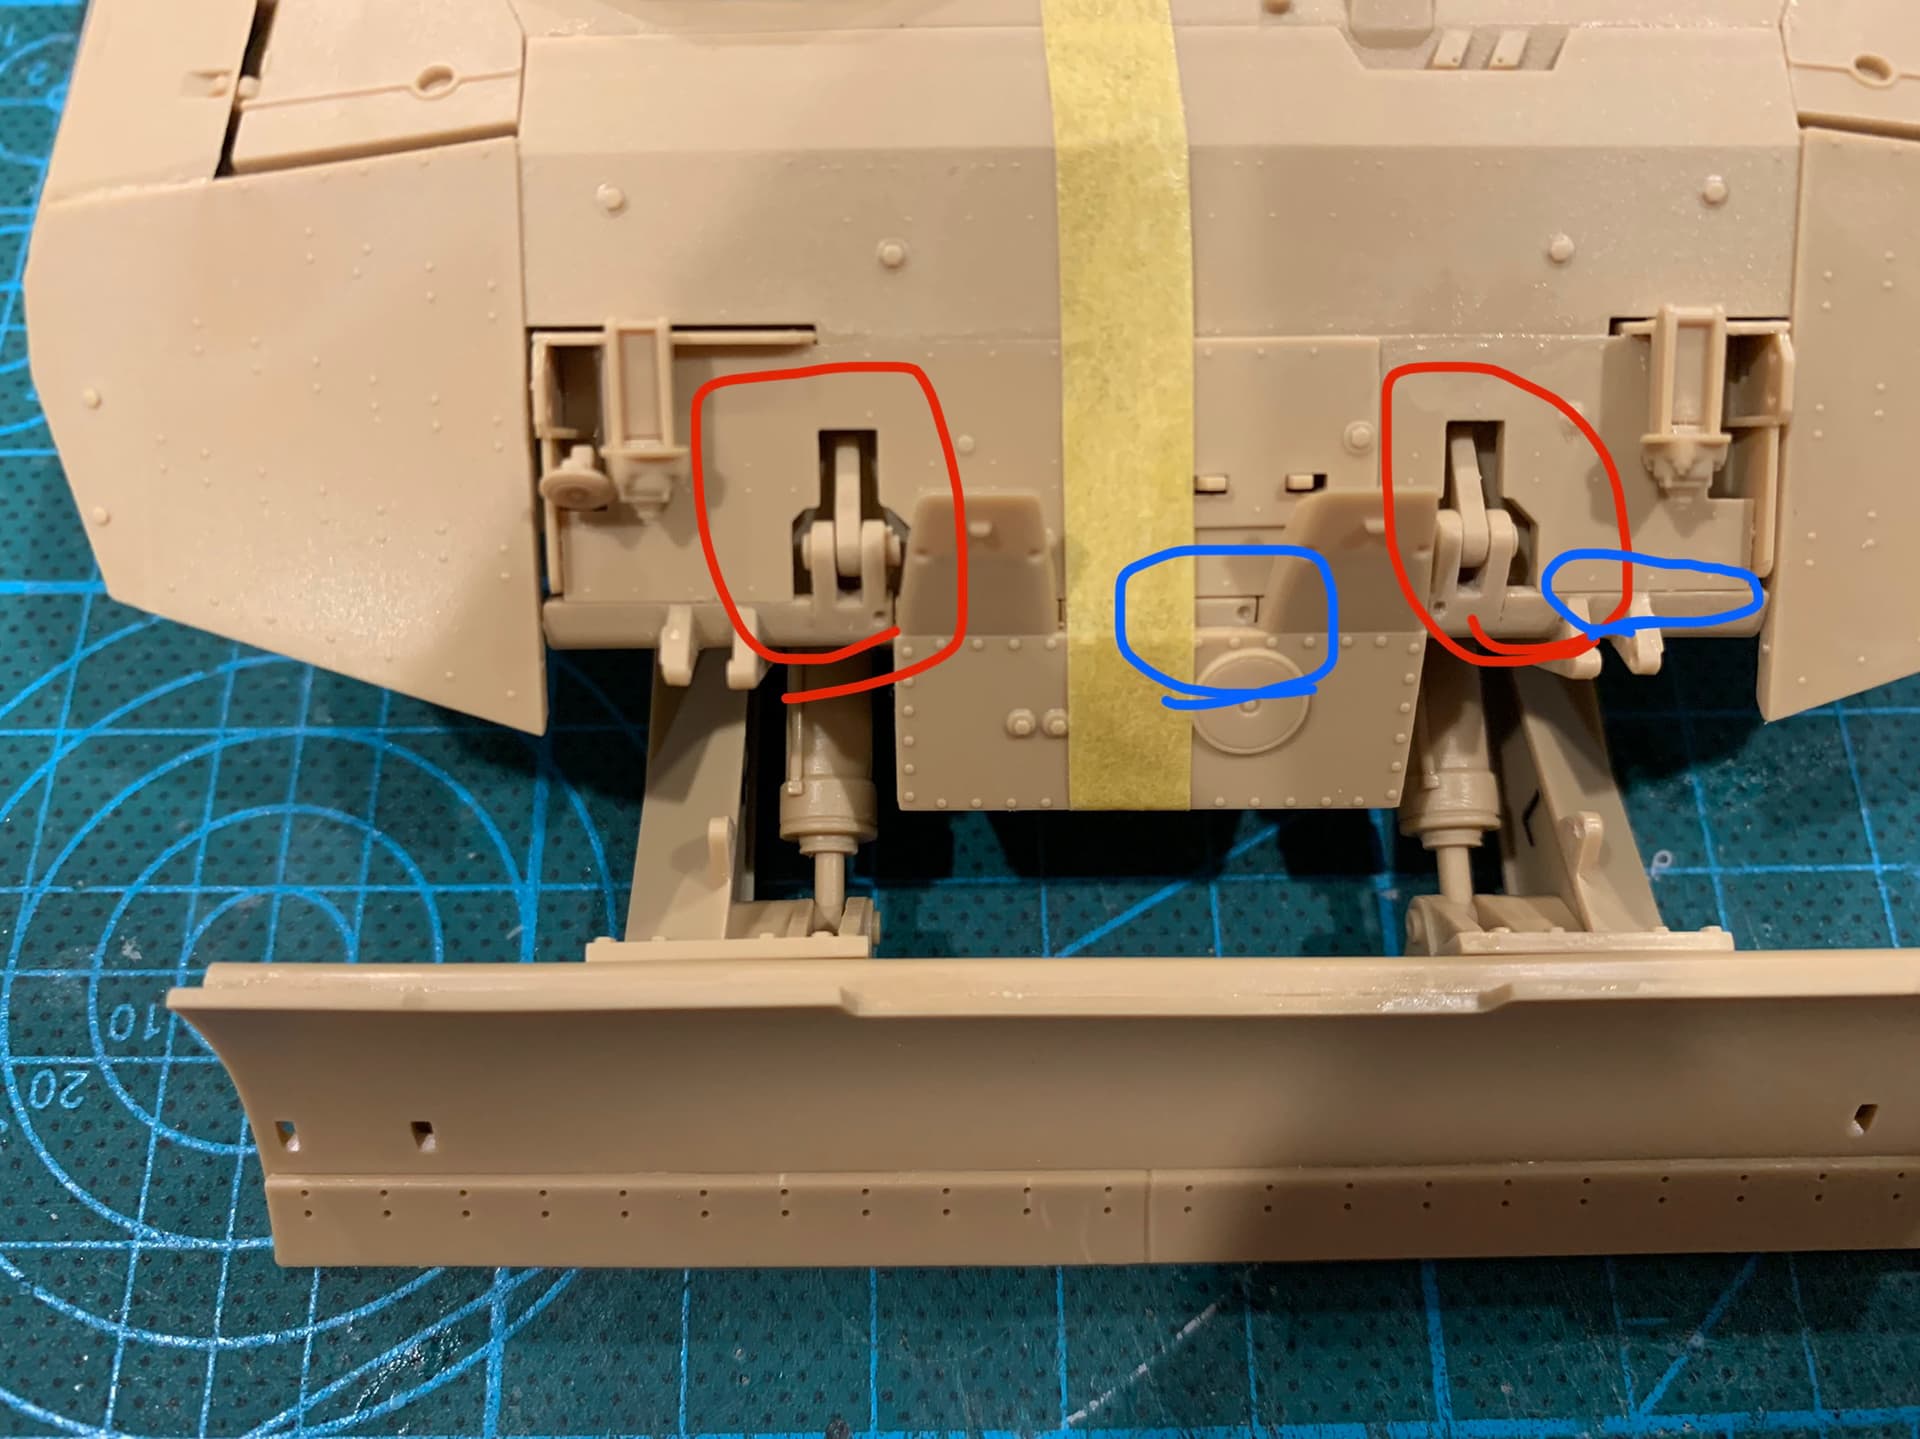
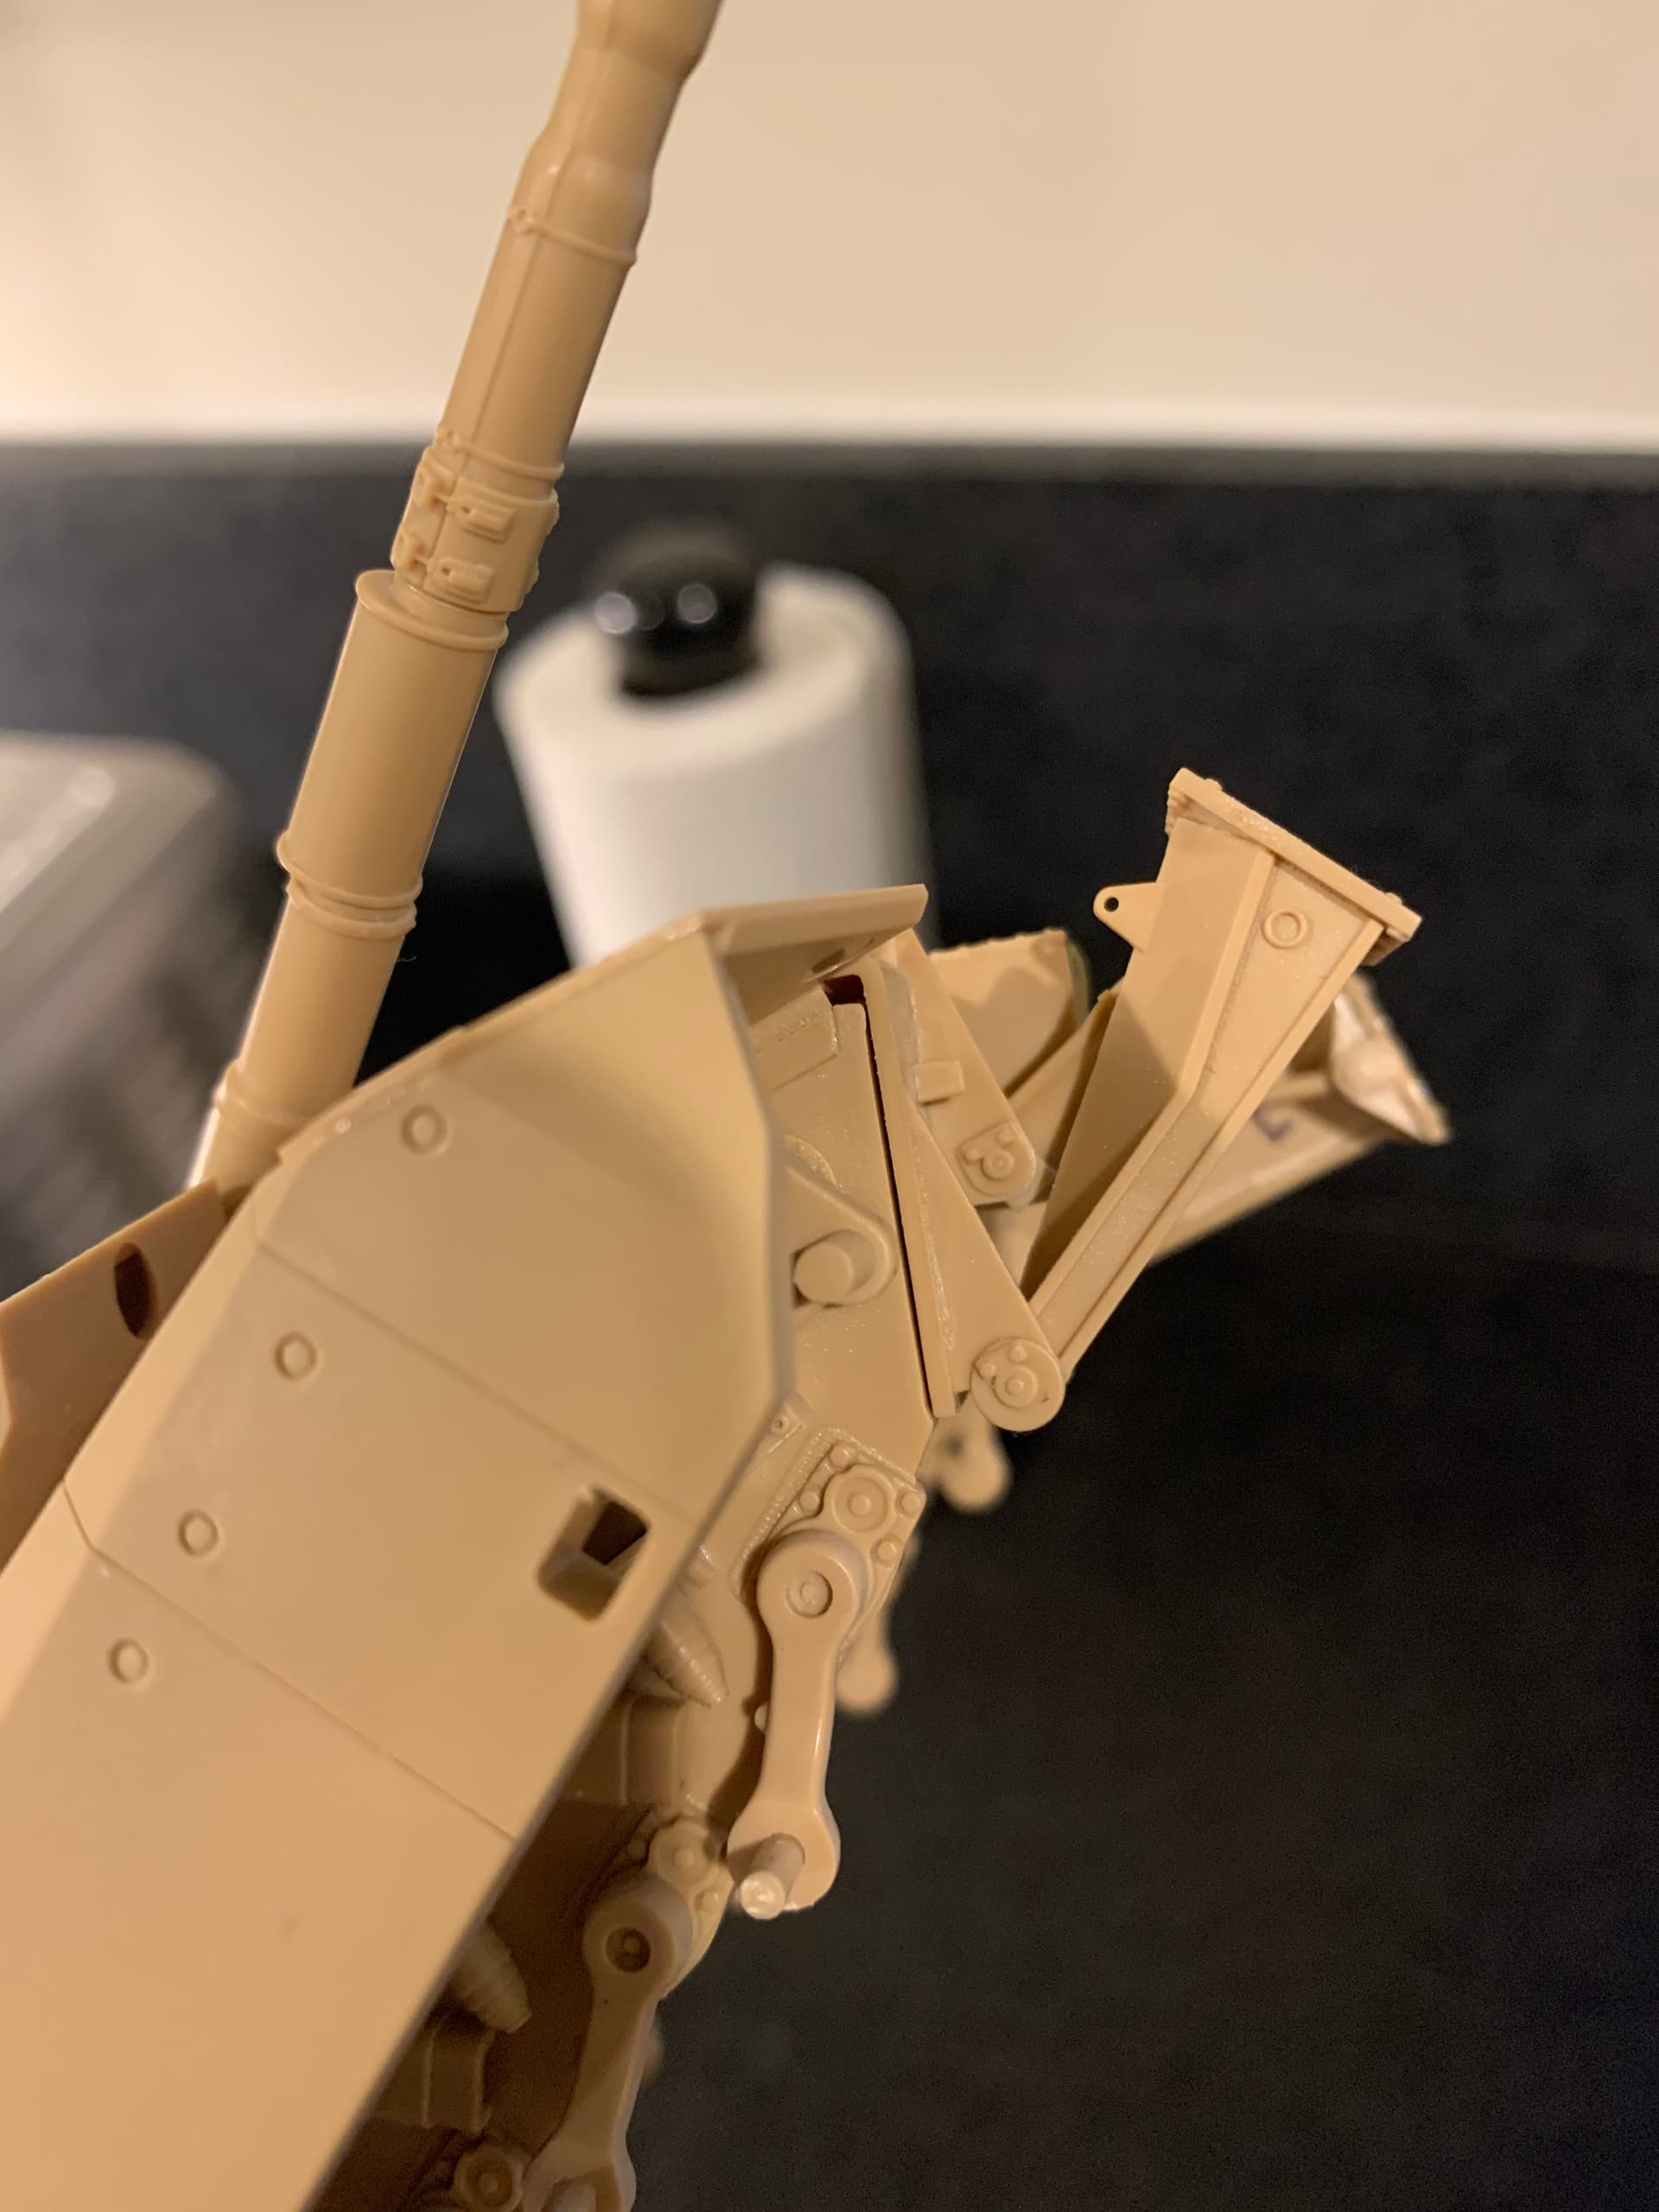
Curious if anyone knows how the dozer blades attached? At the top of the hull they seem to bolt into the two eyes. But I can figure out how it attached to the angled from plate. I assume it would be welded but also wonder if it wasn’t incase it got damaged and required removal.
Reason I ask is I have some small gaps in the blue circles but perhaps these are logical if it was only bolted
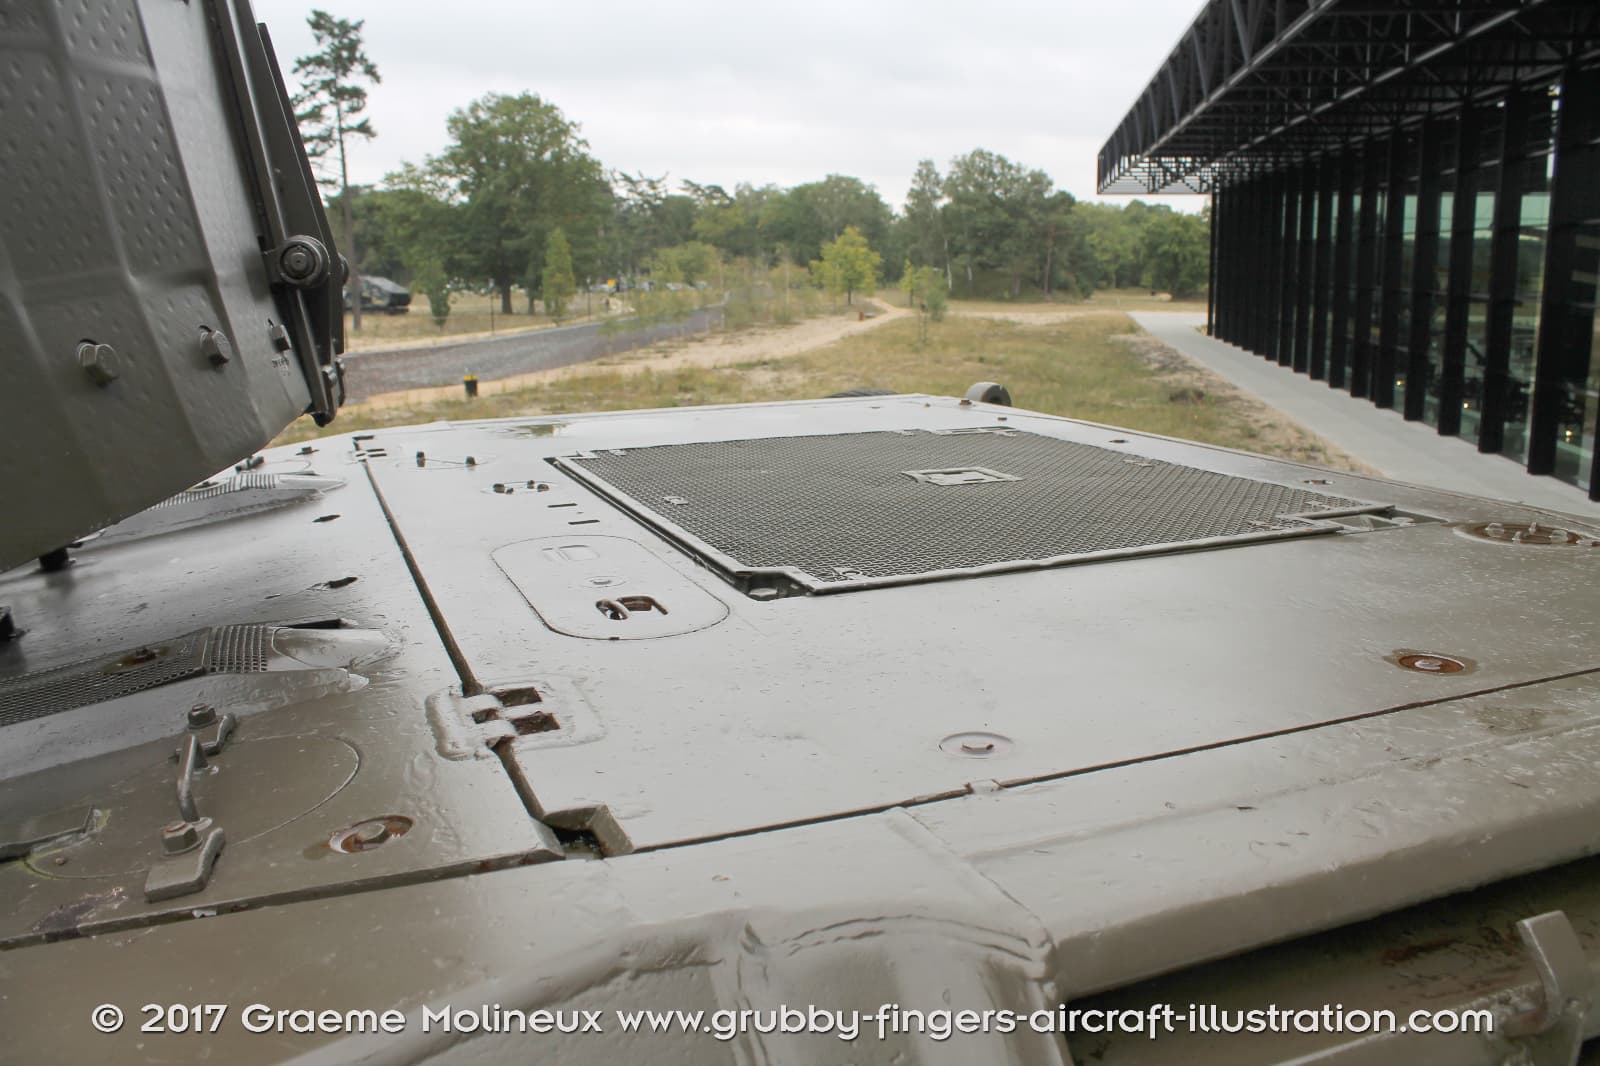
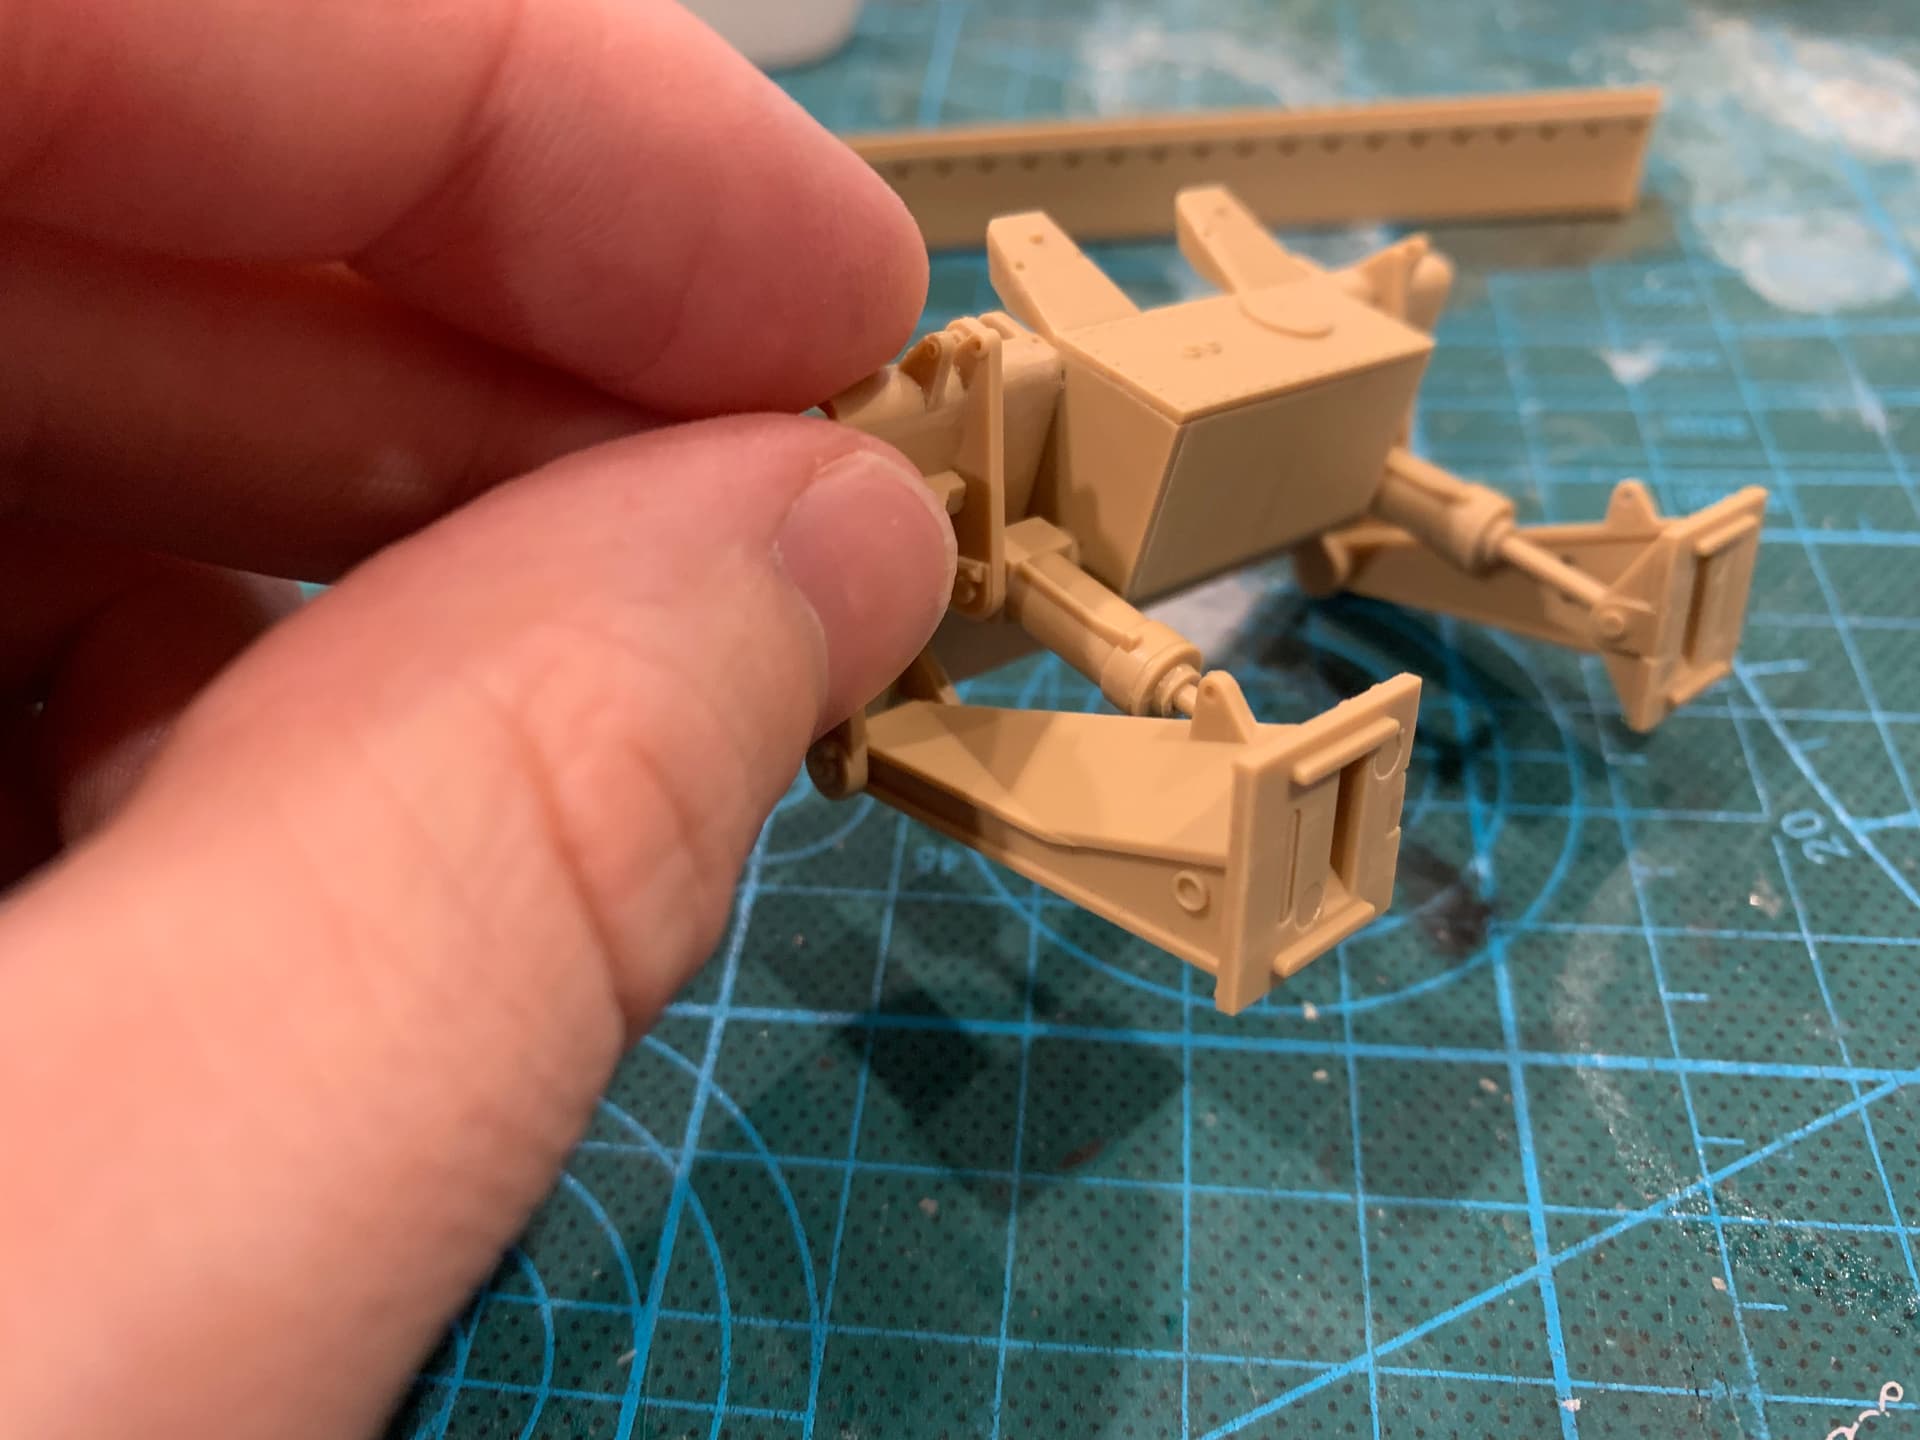
Looking at some photos I have of the C1 with a dozer, I don’t think it’s even bolted. The entire assembly seems to just hang off those two eyes. There are substantial gaps on the real ones between the dozer assembly and the front hull.
Interesting. So it’s not even attached the bottom? Any chance you have a picture handy you could post later?
the bottom of the blade mount sits/clips into 2 small mounting brackets at the bottom of the hull close to the outside. Most of the tanks had them (the mounts). If you look at the C2 on prime portal you’ll see the mounts.
Thanks! Found a picture of what you discuss! I assume this means it wouldn’t fit super tight and a bit of gap is reasonable. I’ll scratch the brackets
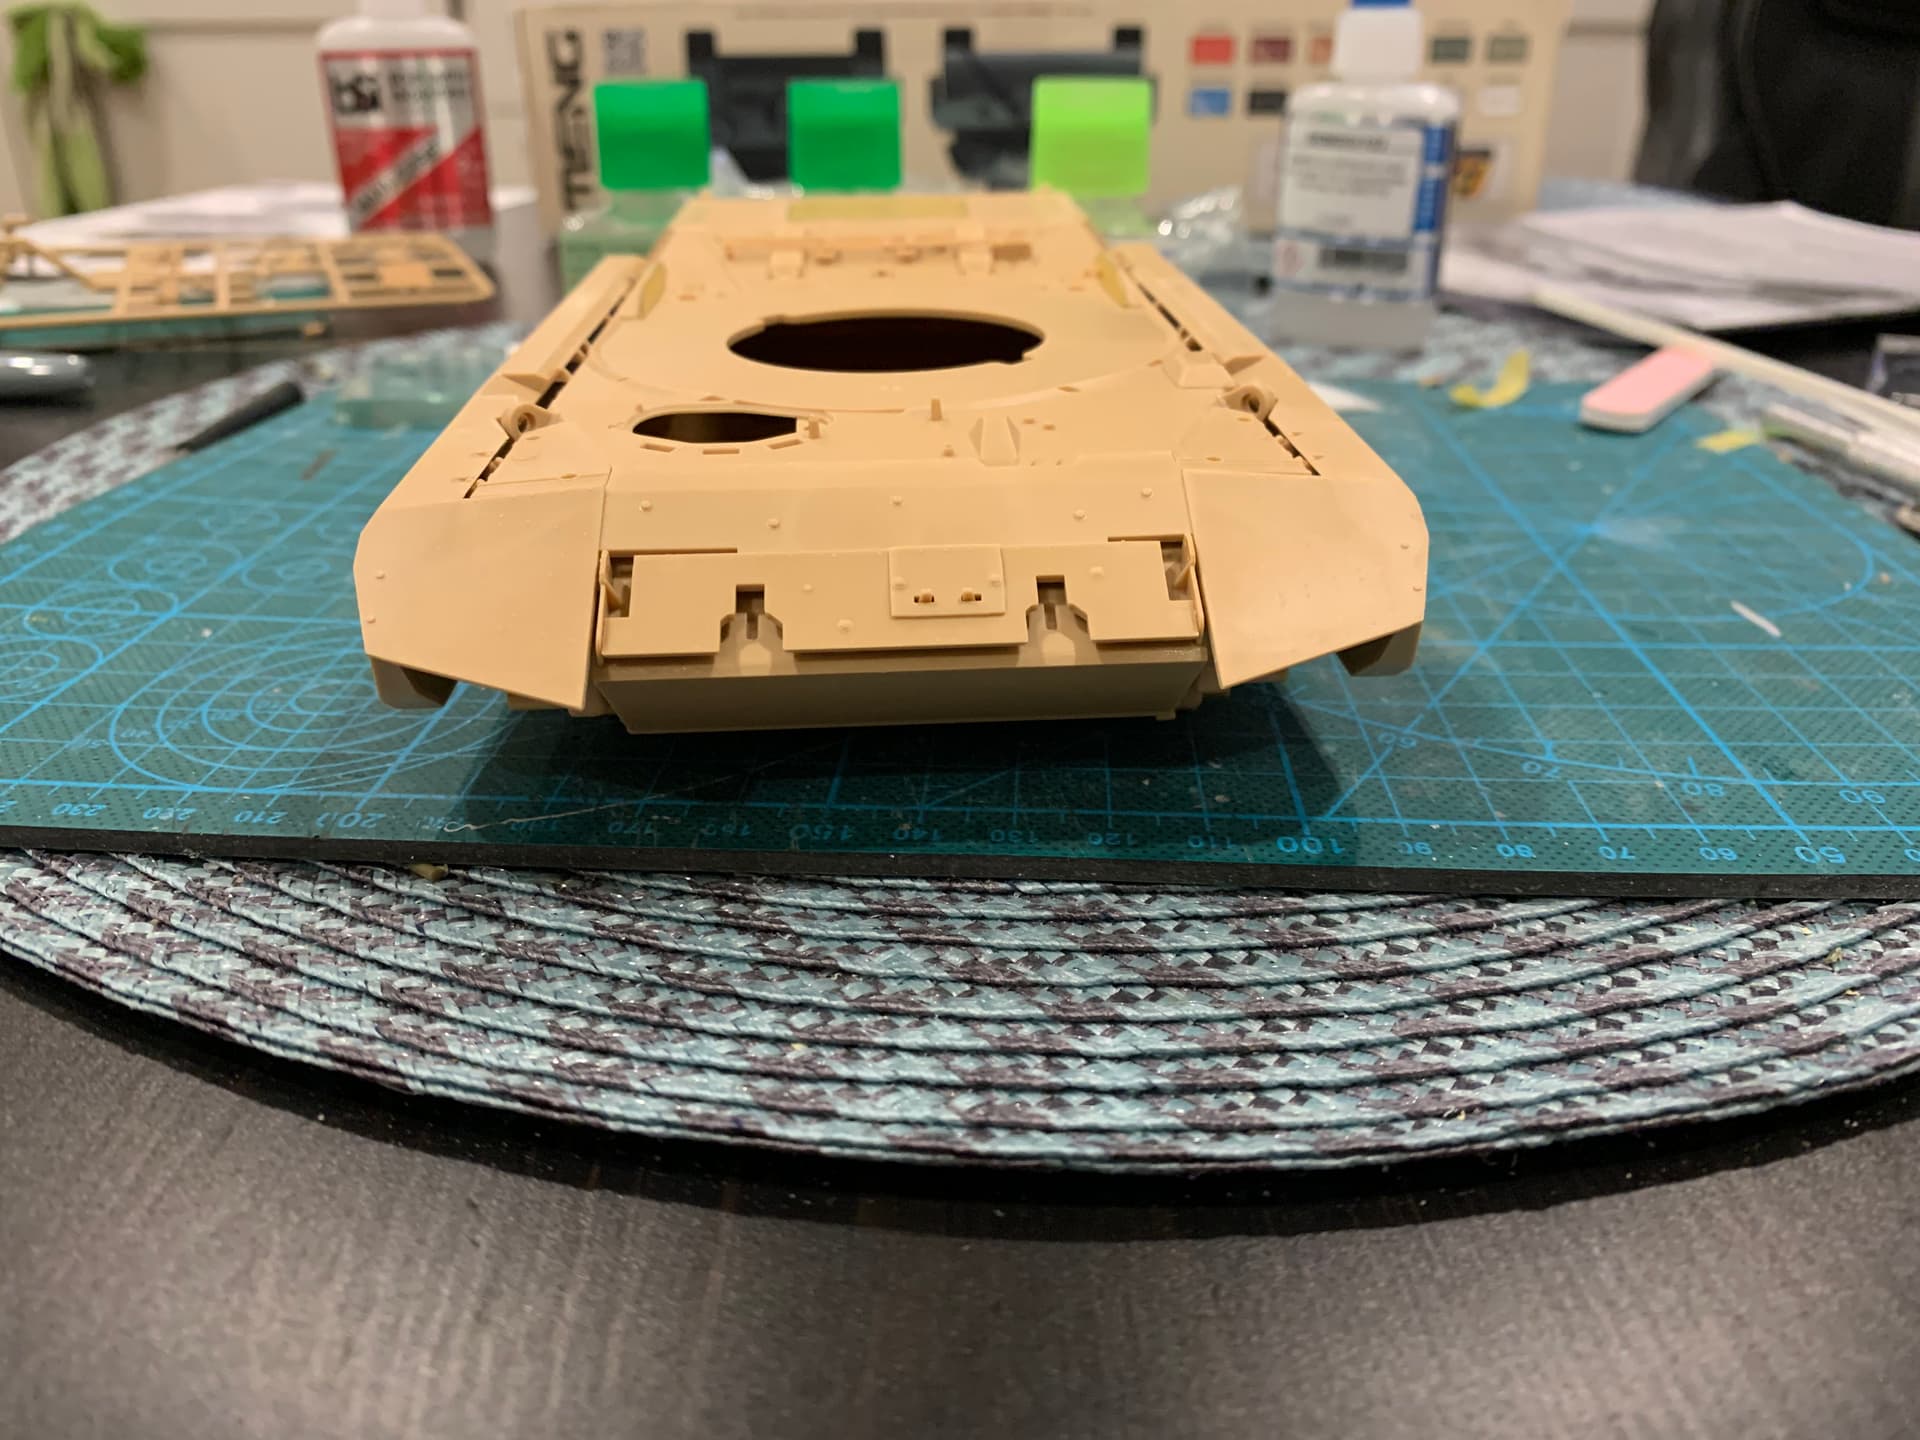
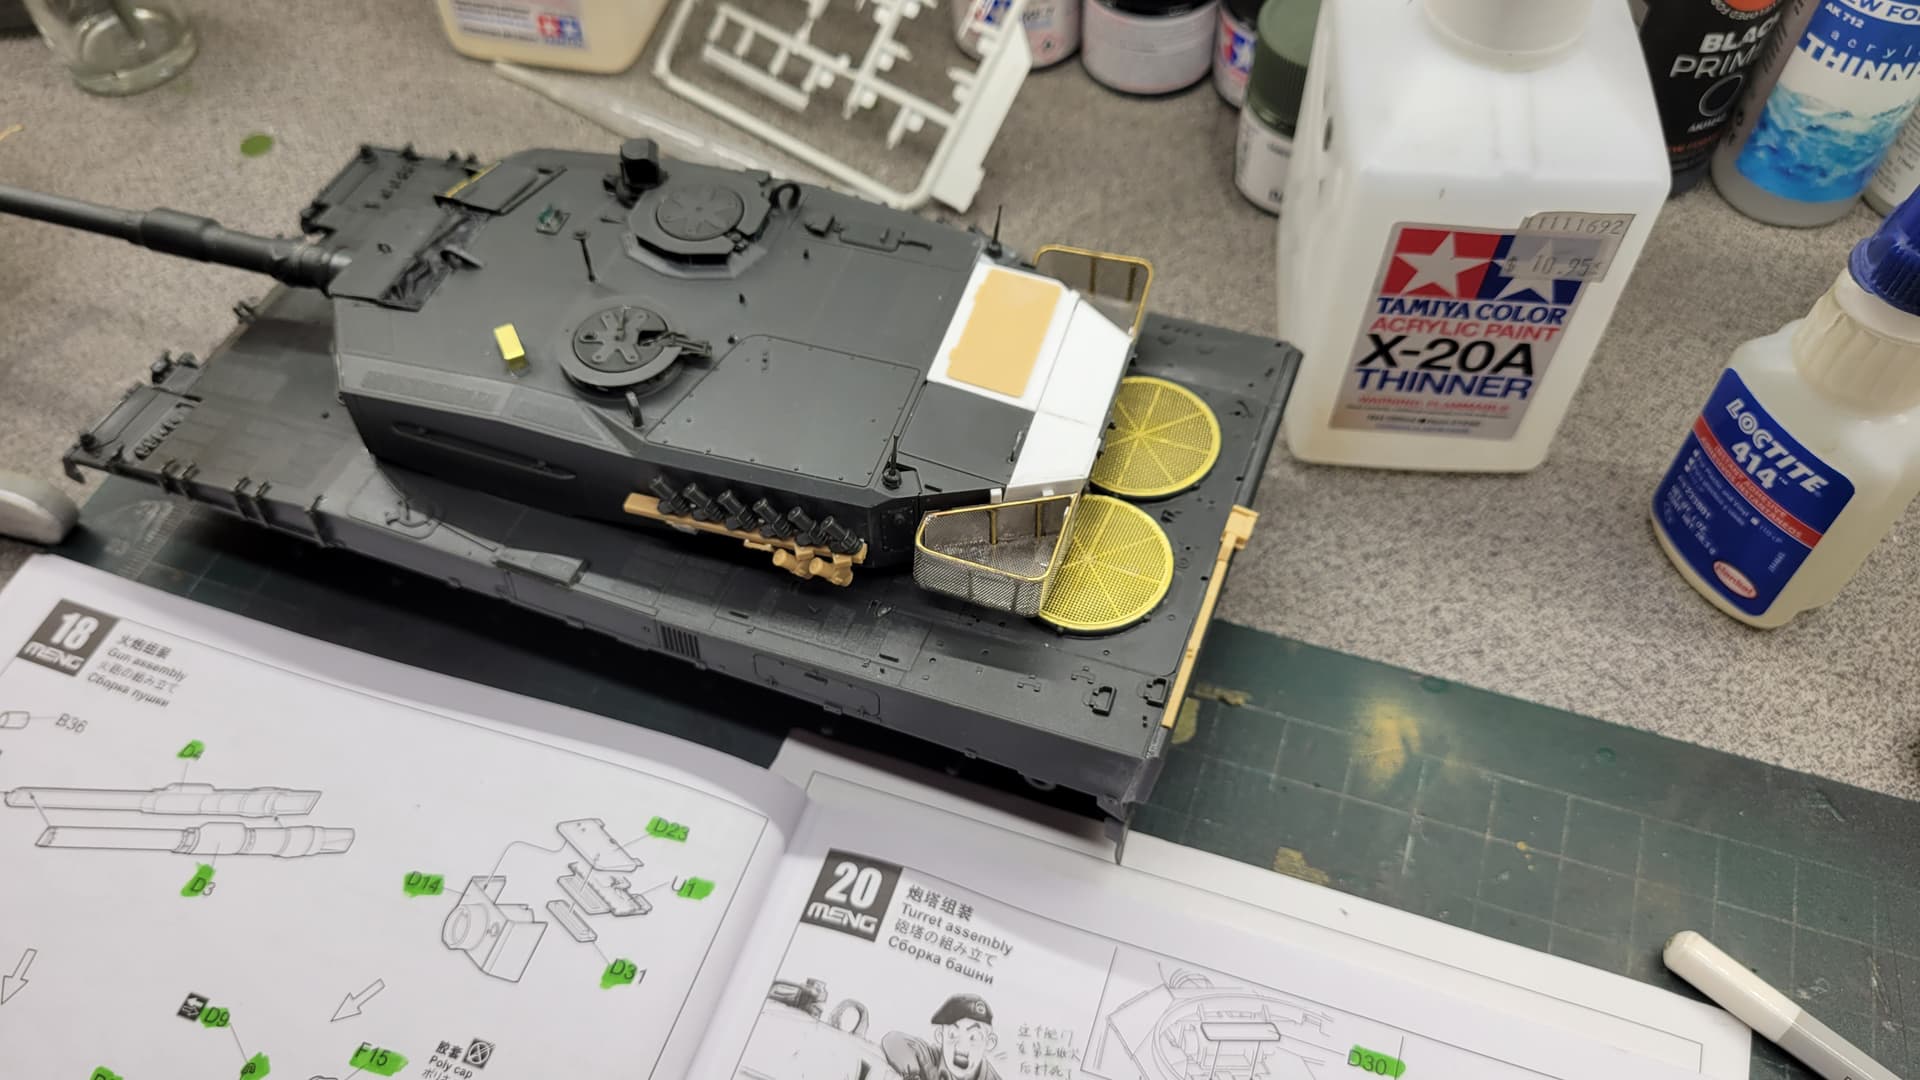
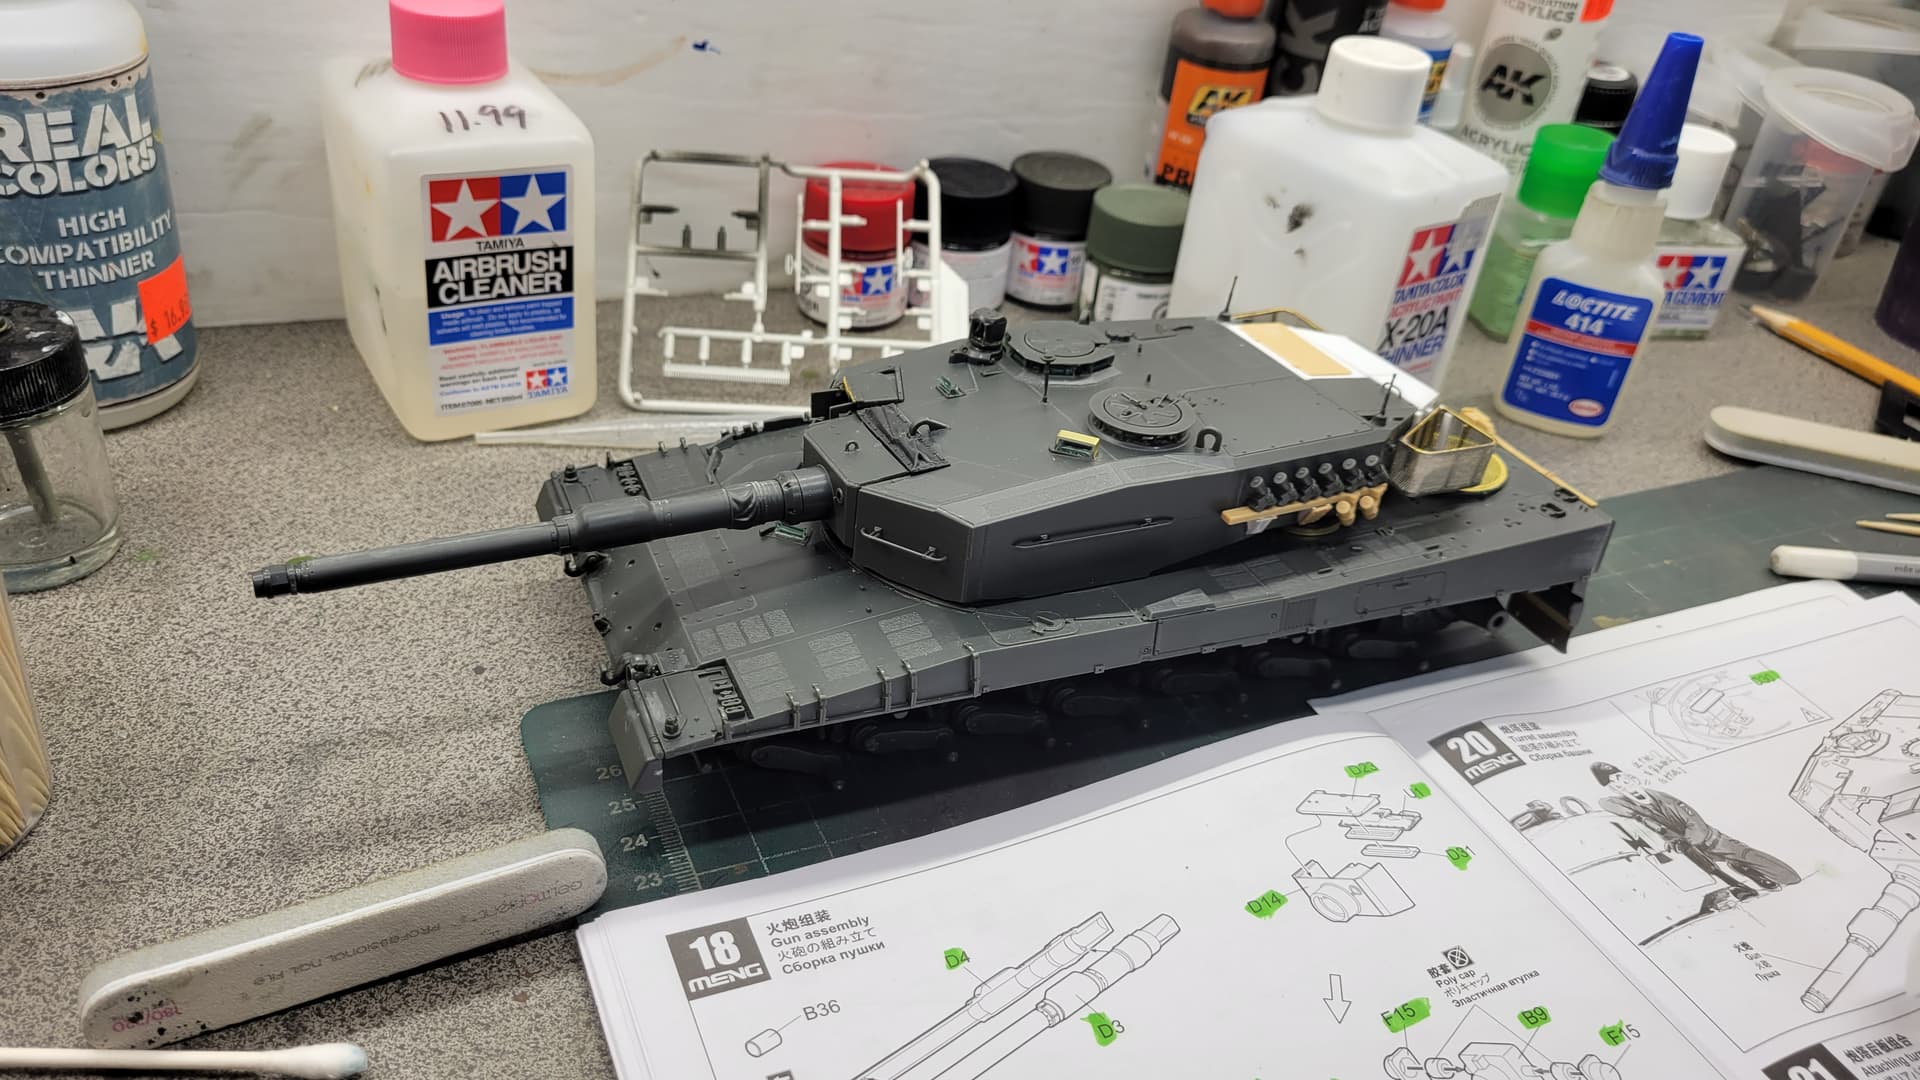
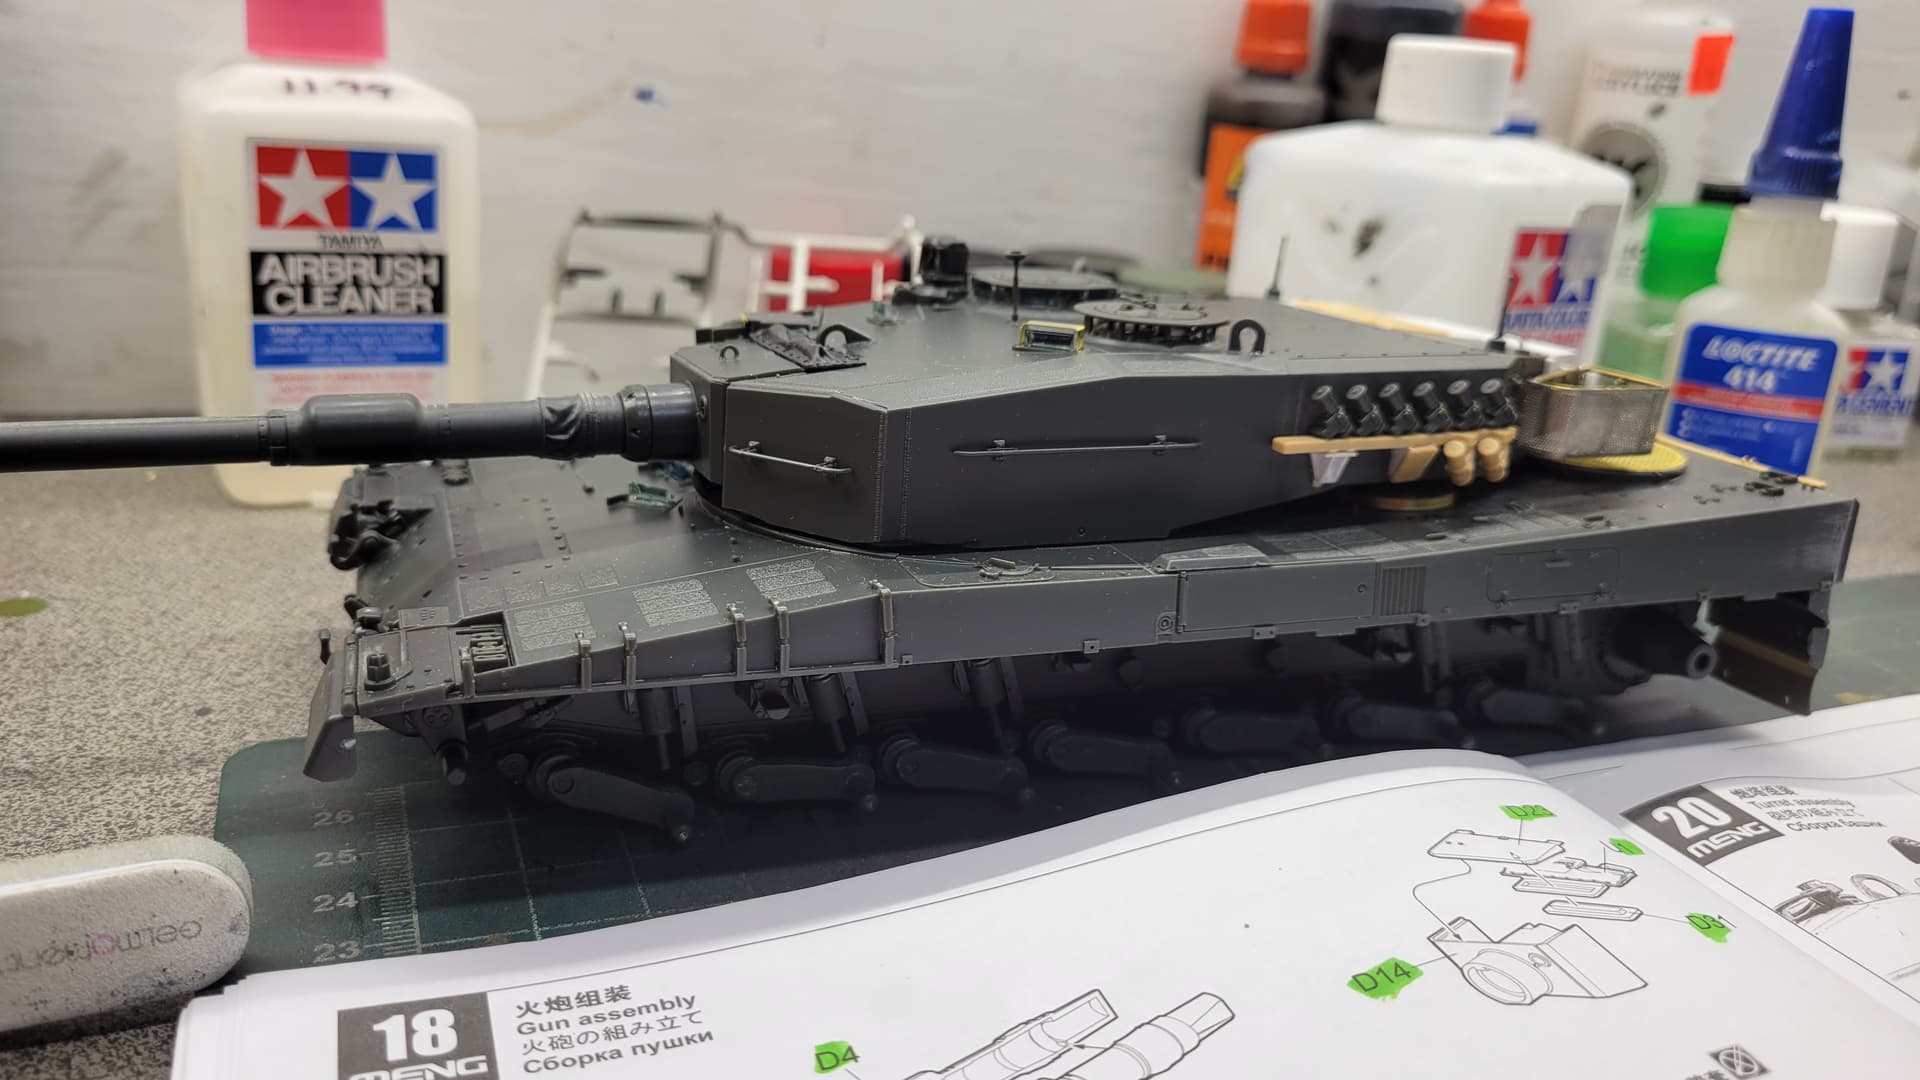
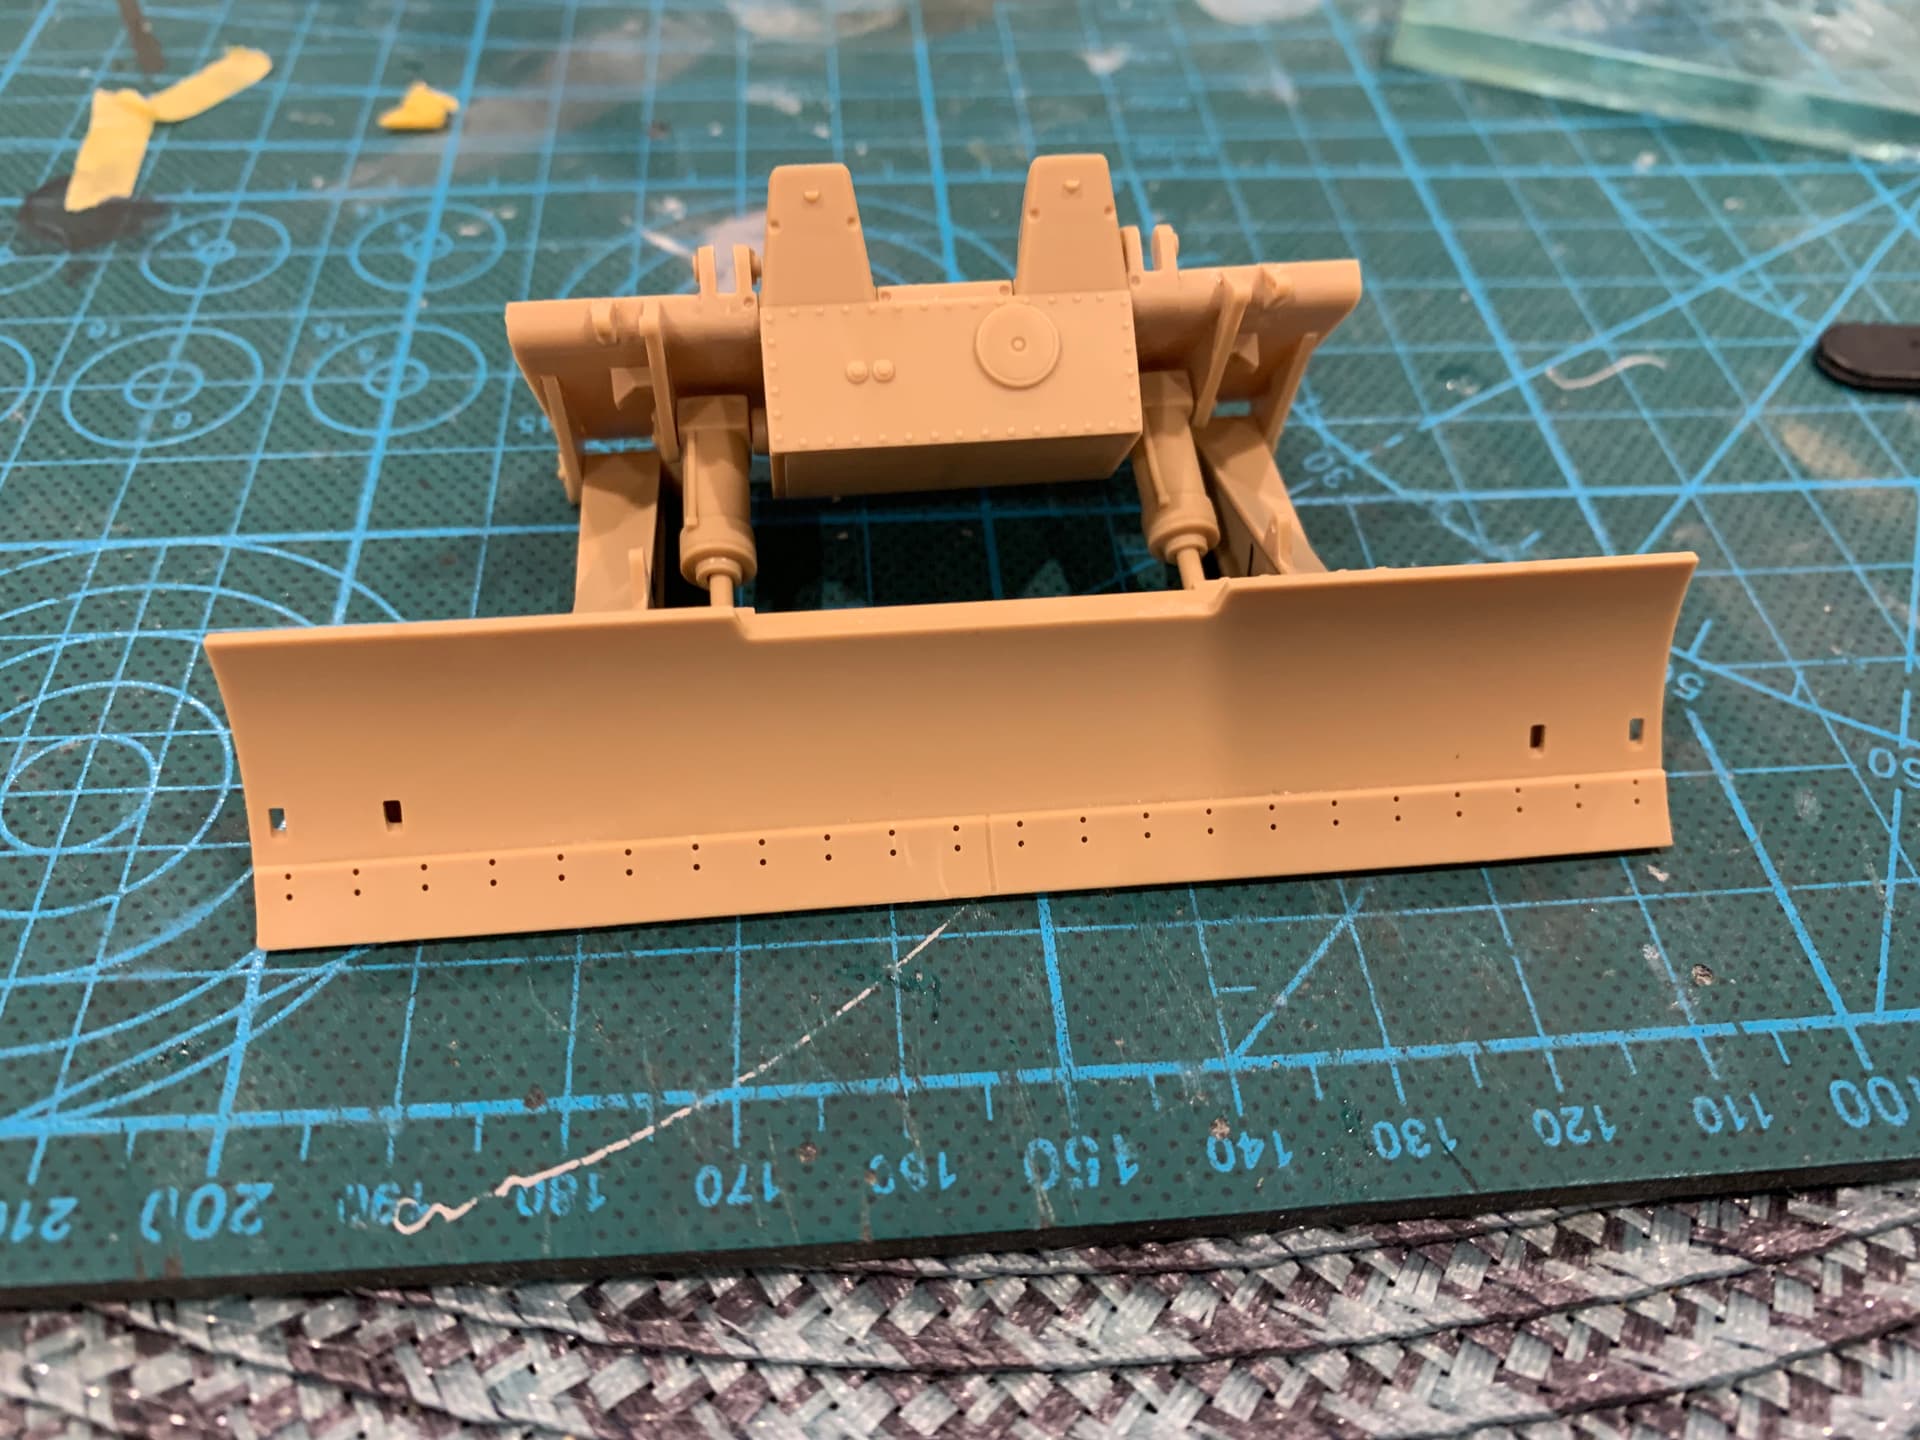
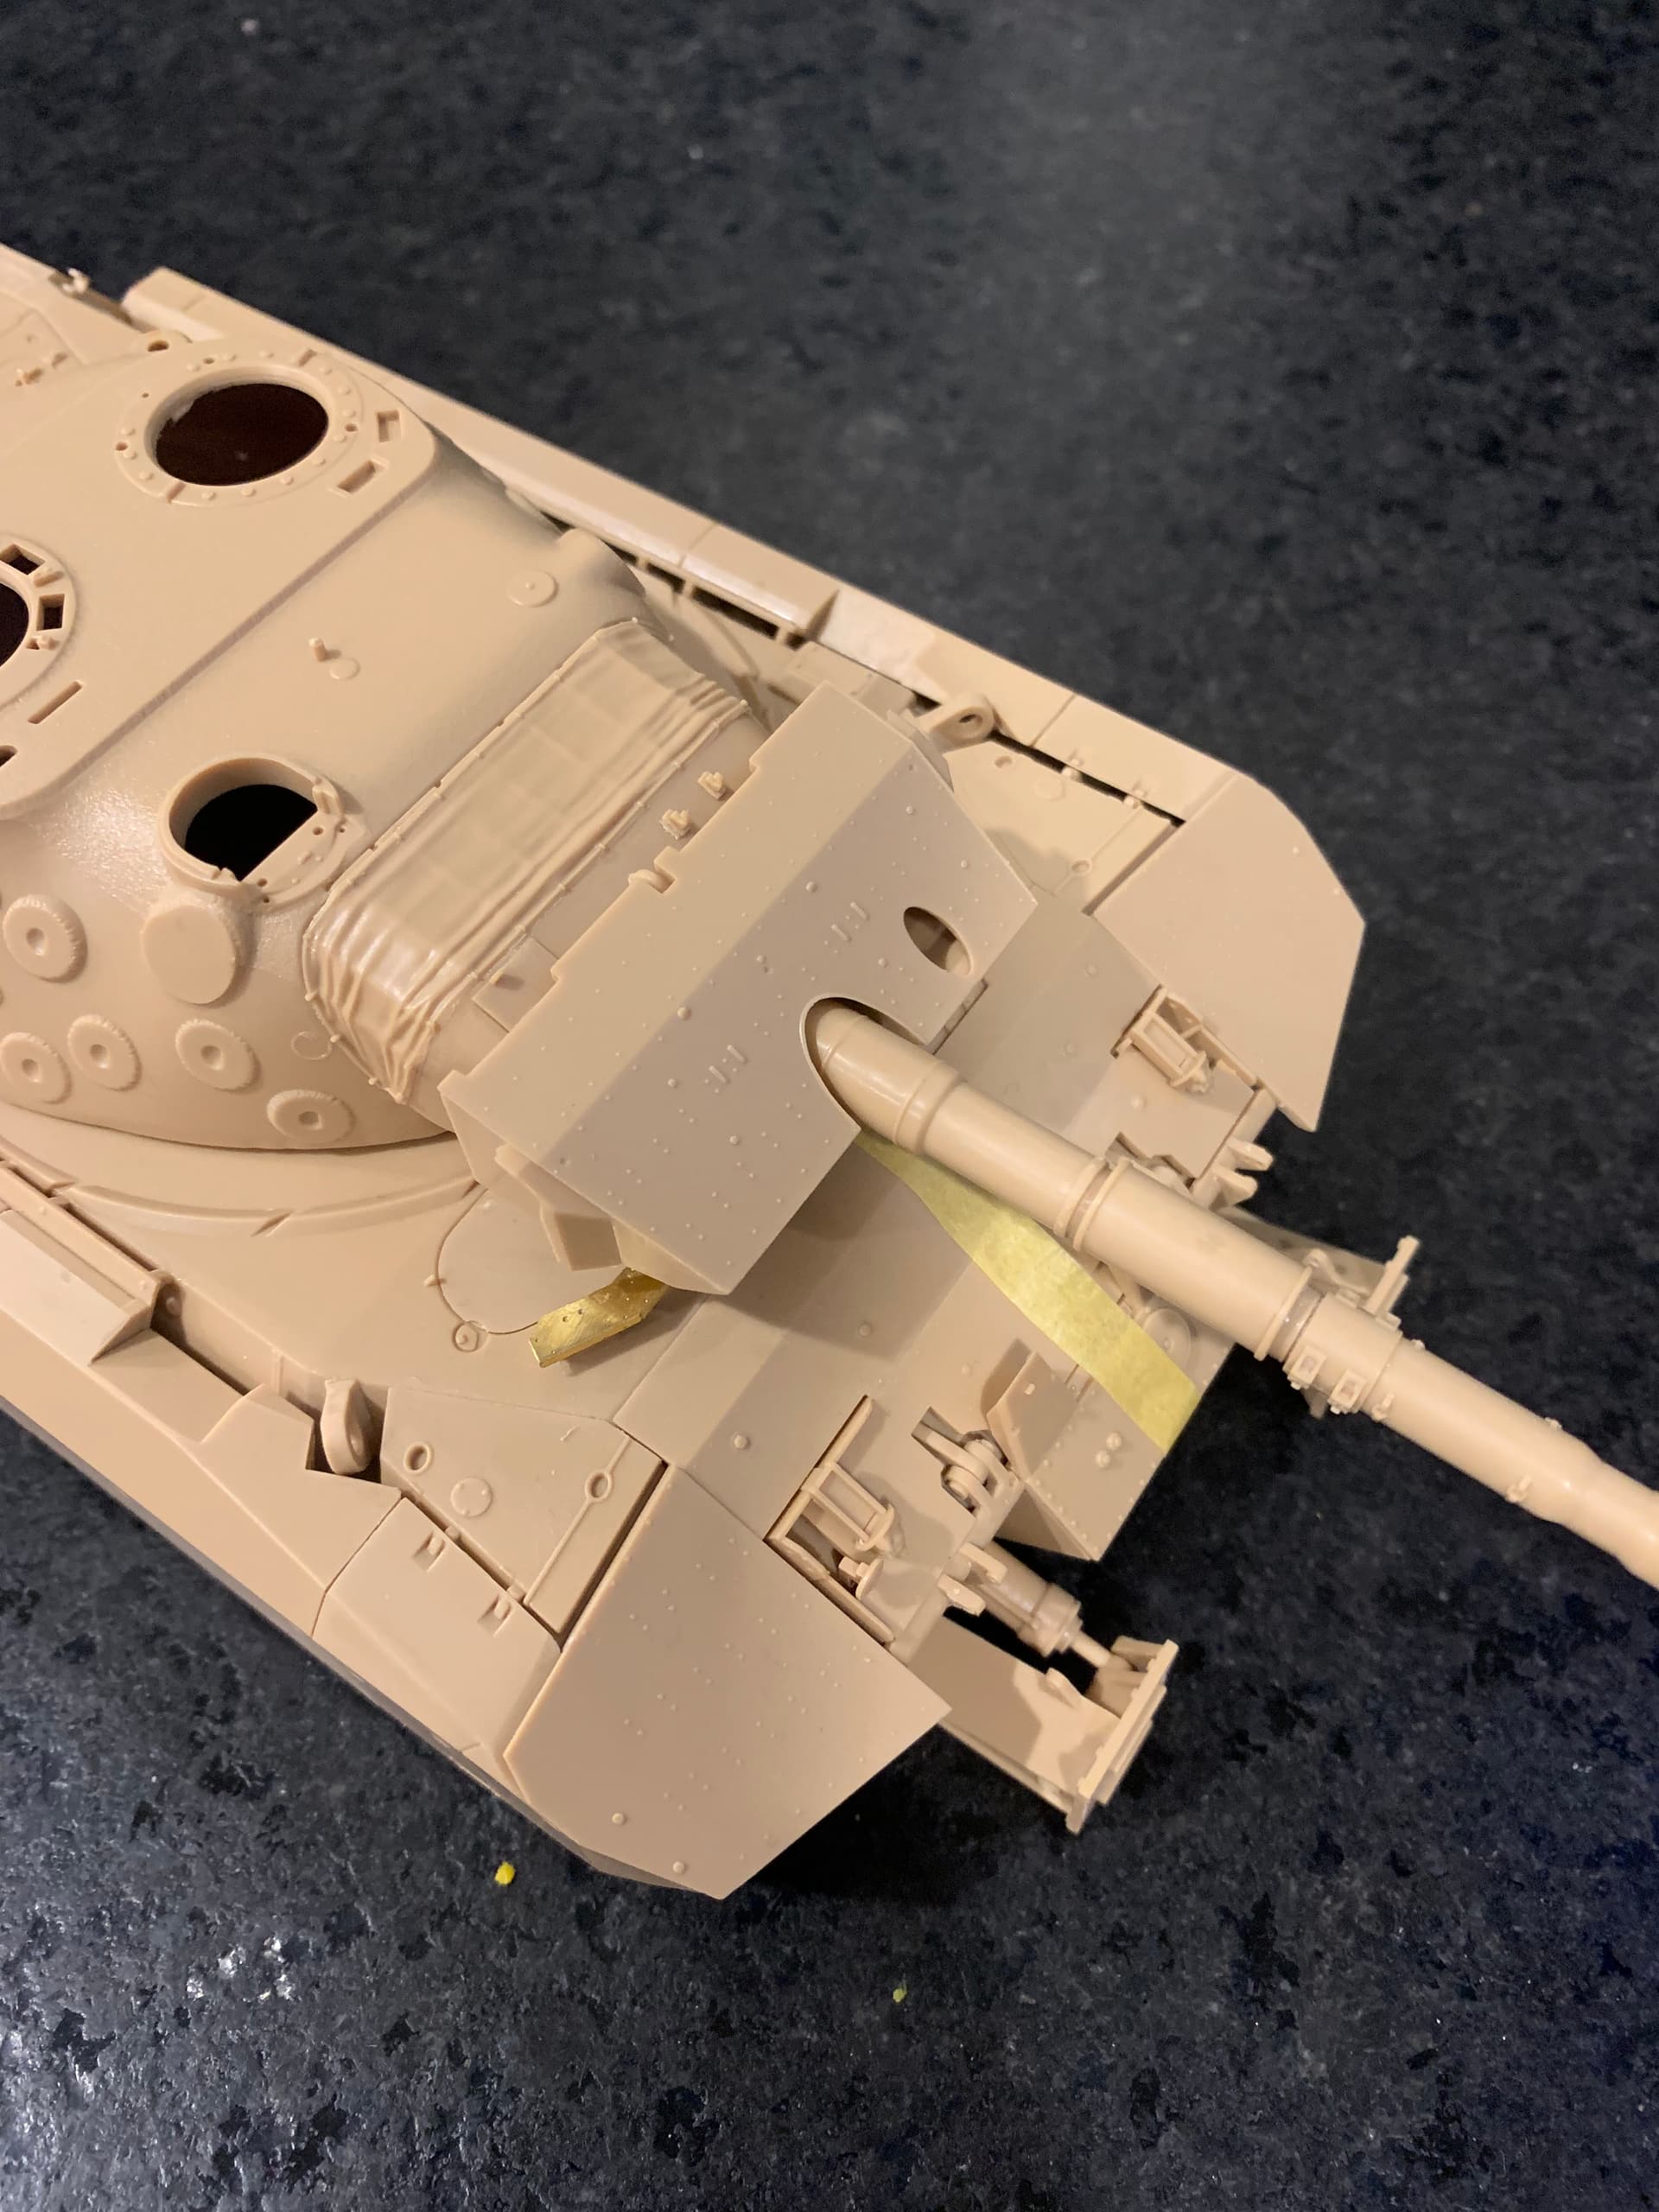
Started work on the turret today. Didn’t get super far. The two piece barre was a bit of headache due to all the detail on the barrel, sanding the seam away took careful patient work. Turret looks quite comical right now with only the front armor added. Hope to get the turret Mexas on tomorrow.
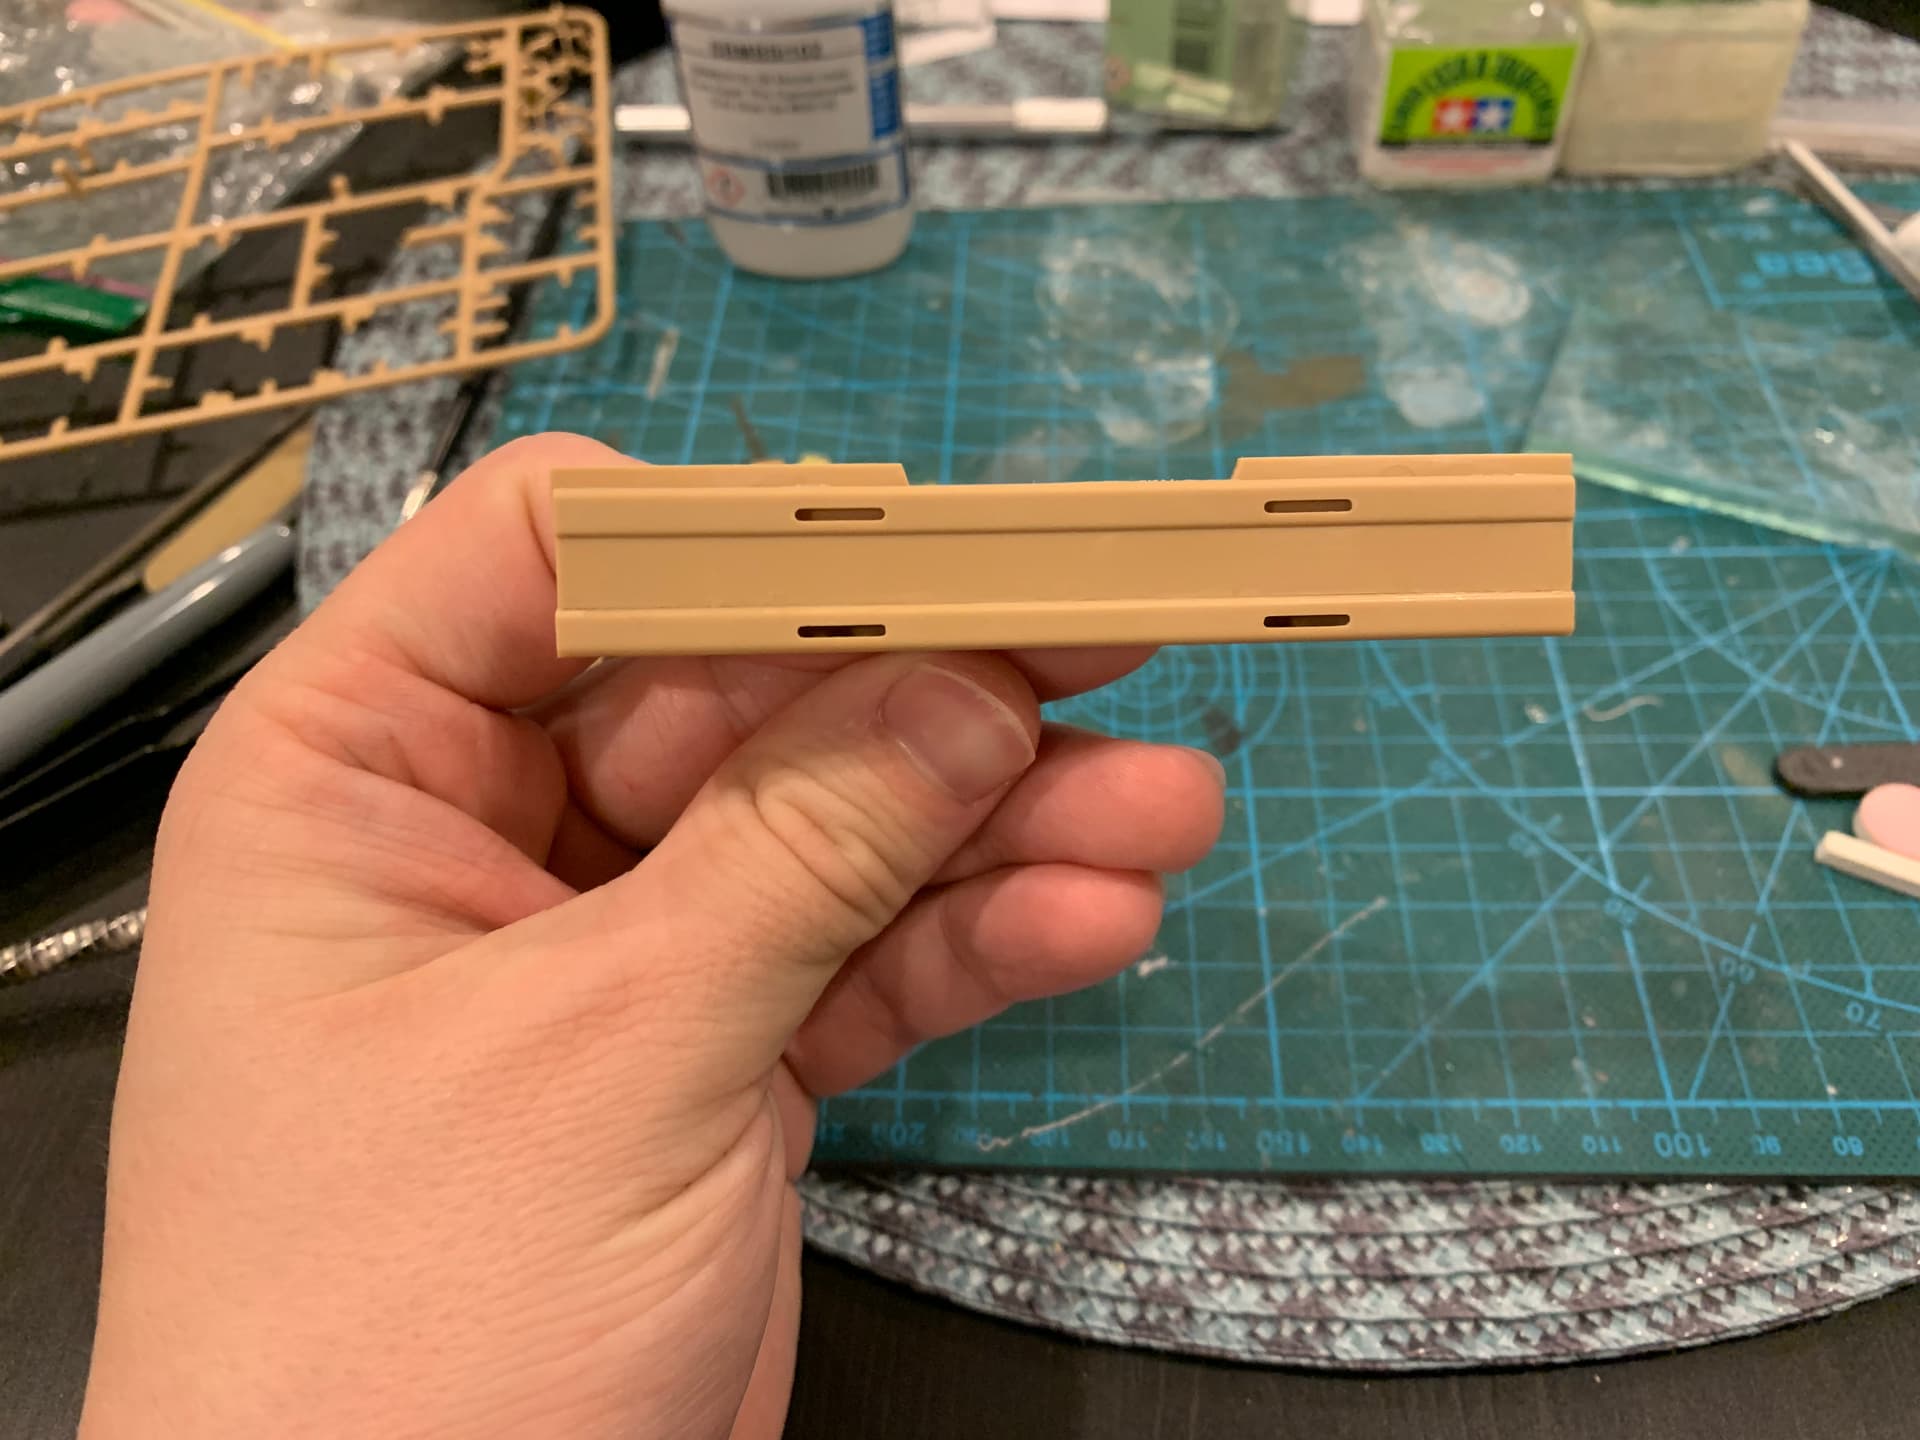
Also still need to attach the dozer blade. I’m trying to decide if I want to scratch the small bottom brackets or not. My dilemma is that I don’t think I can scratch them and put them in the spot as Meng seems to have made the dozer mount a bit long. The brackets on the real thing aren’t right at the bottom of the front plate and the only way I can scratch the brackets is to put them right at the bottom.