Hi Everyone!
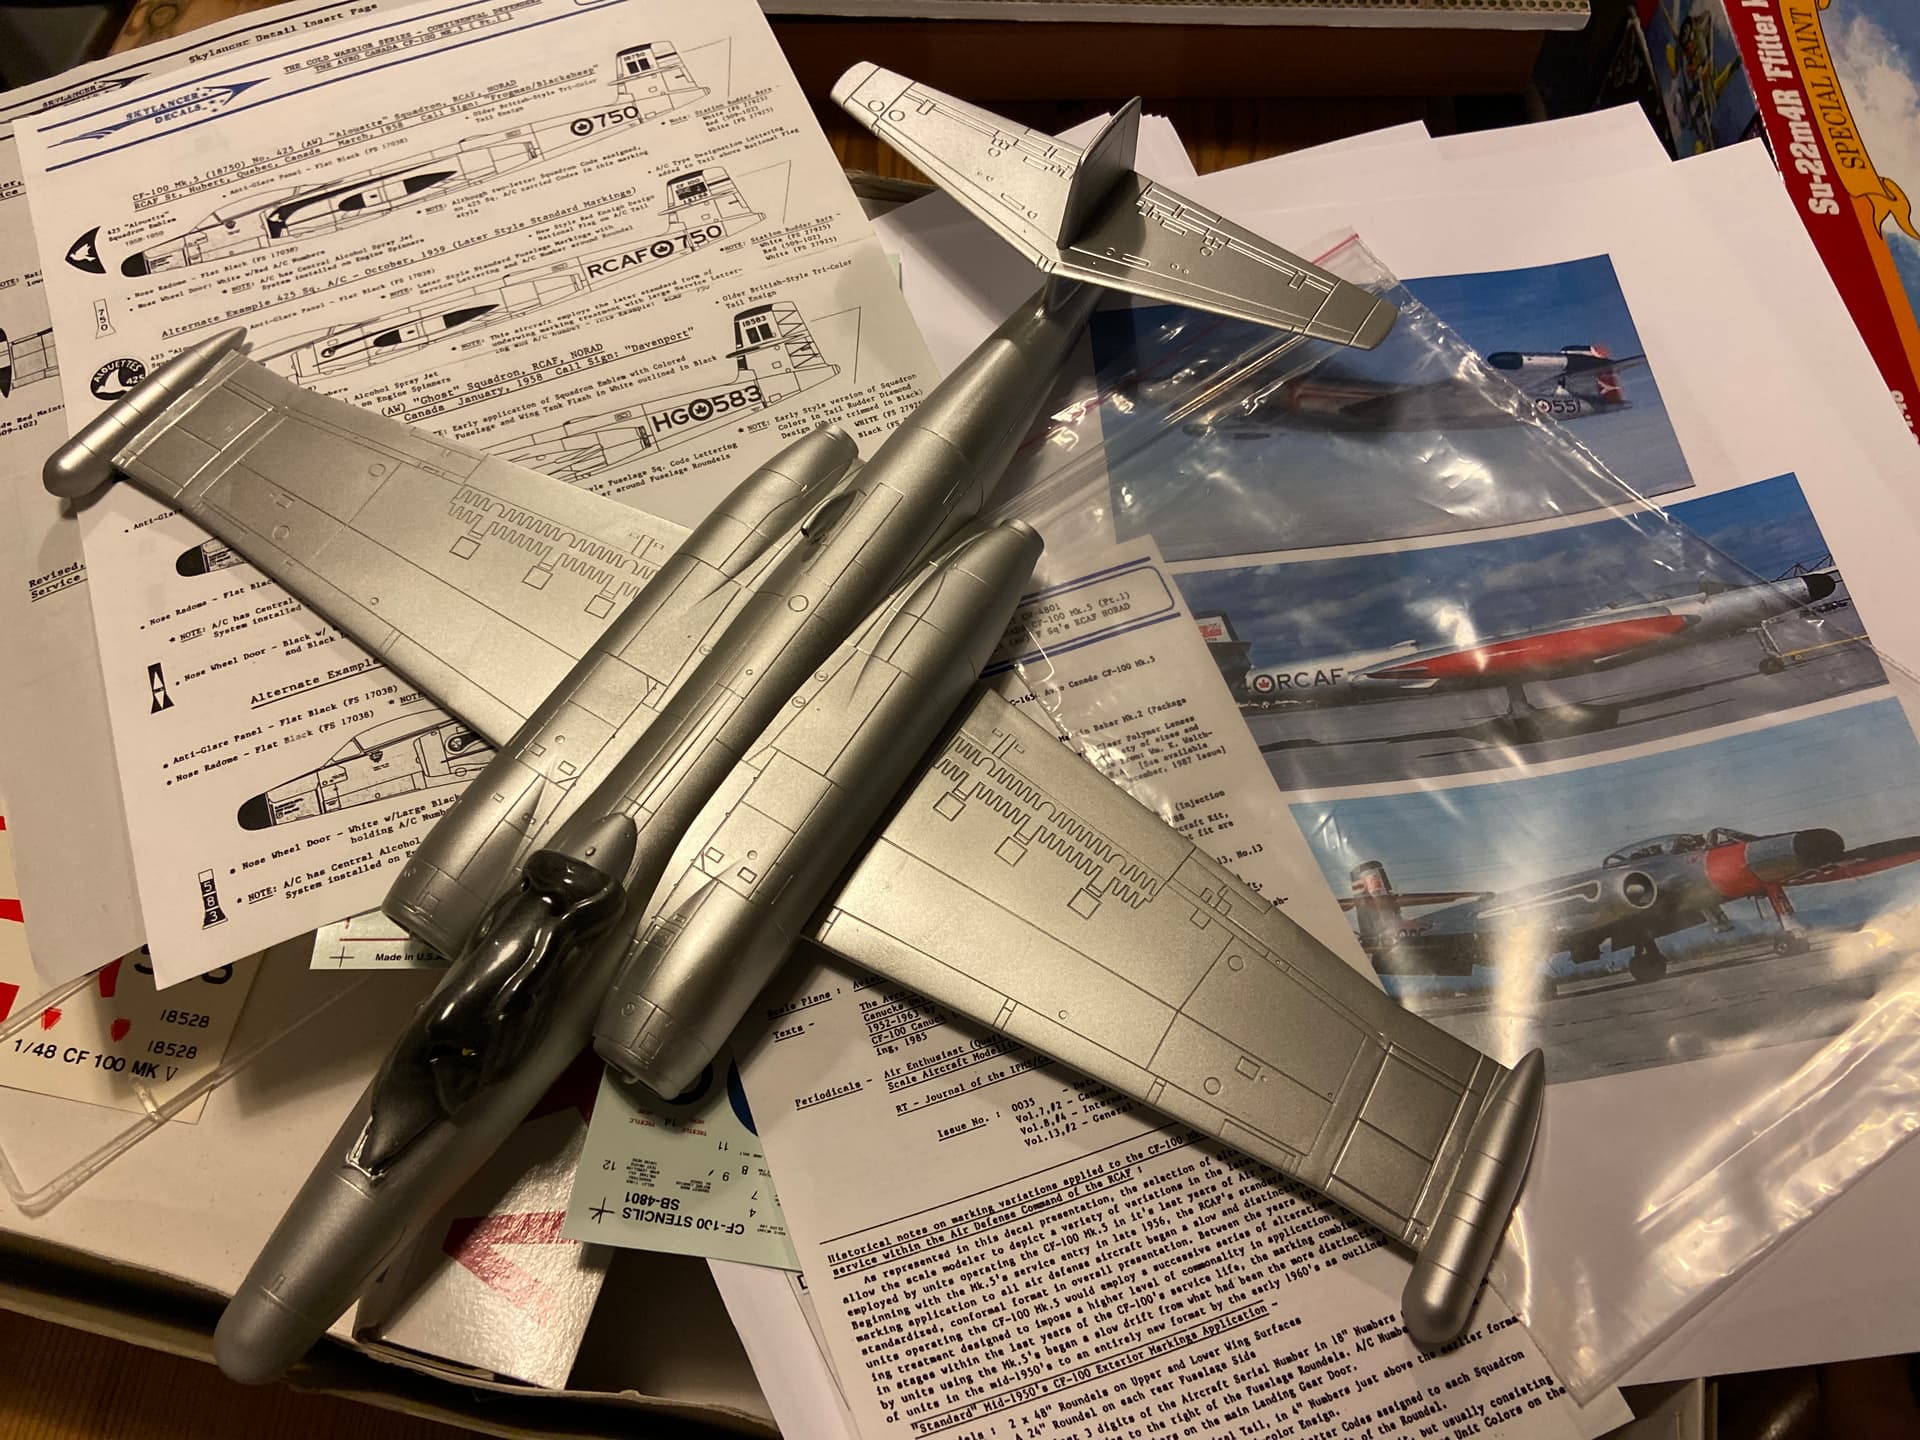
Jesper, really nice looking CF-100. Really like the NMF, looks quite realistic.
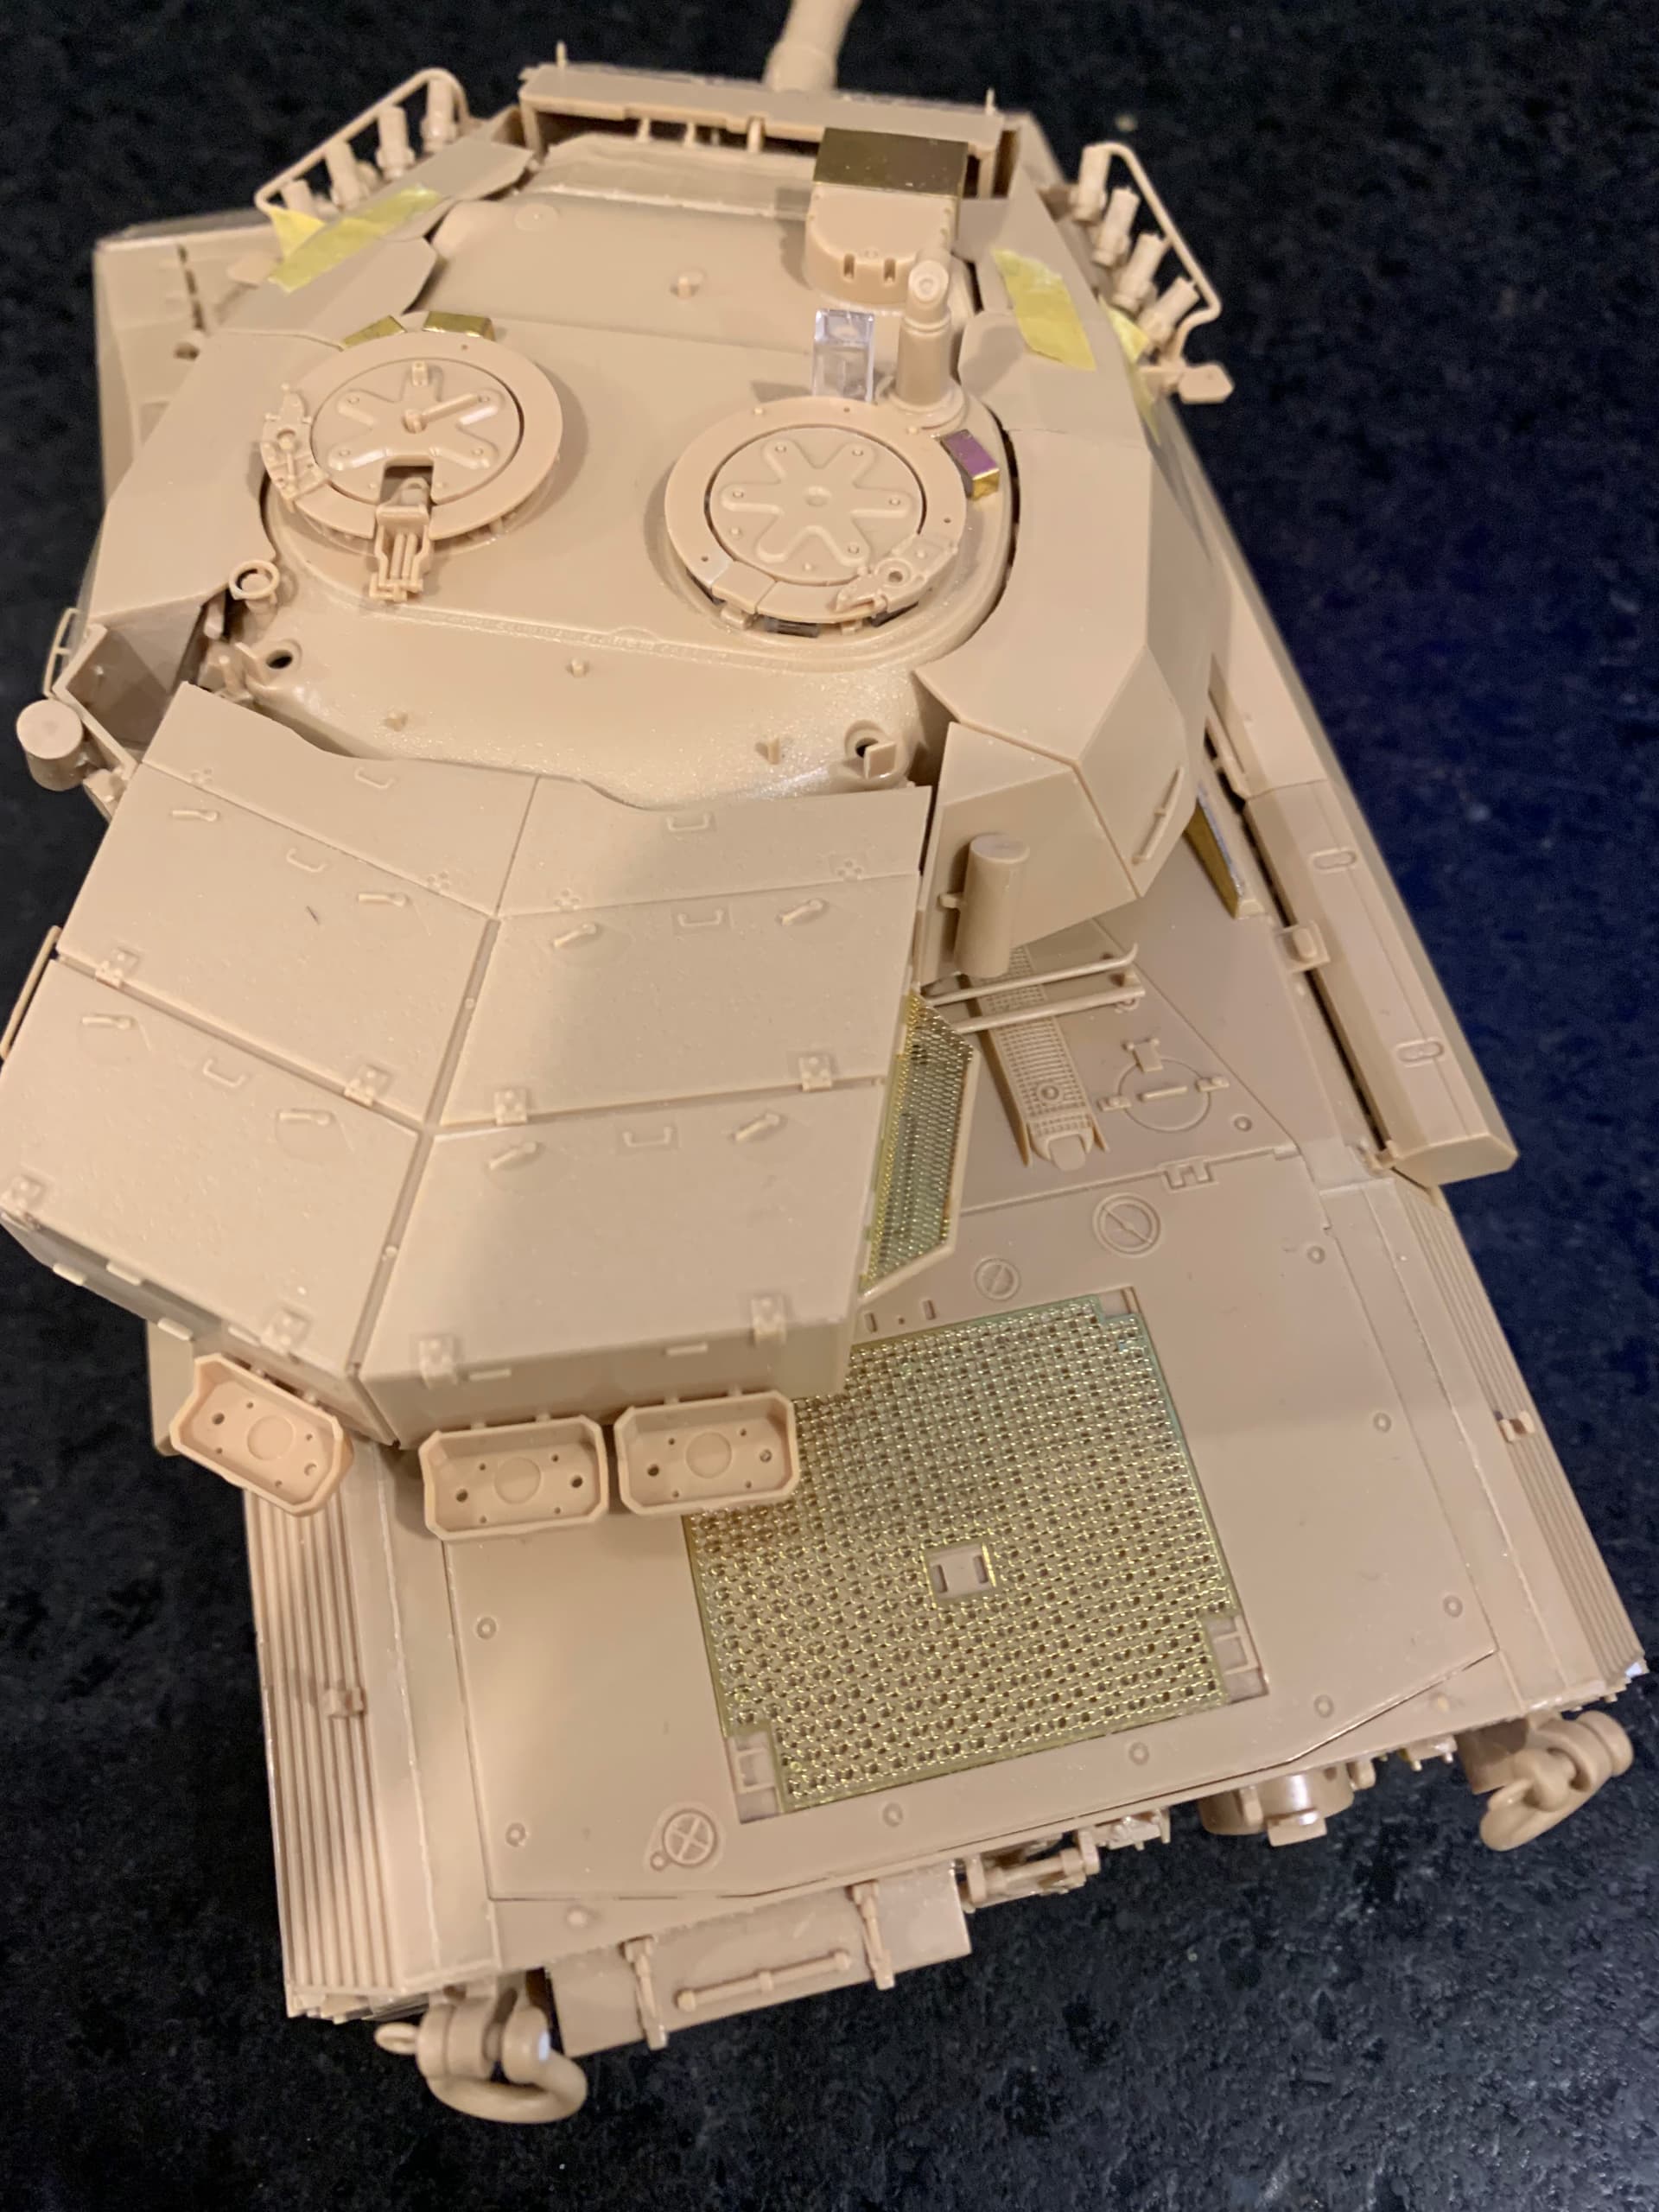
So, when I began this build I was thinking how hard can this one be? After all, it was to be a wheels up in-flight model on an oval stand. Boy did I misjudge this one!
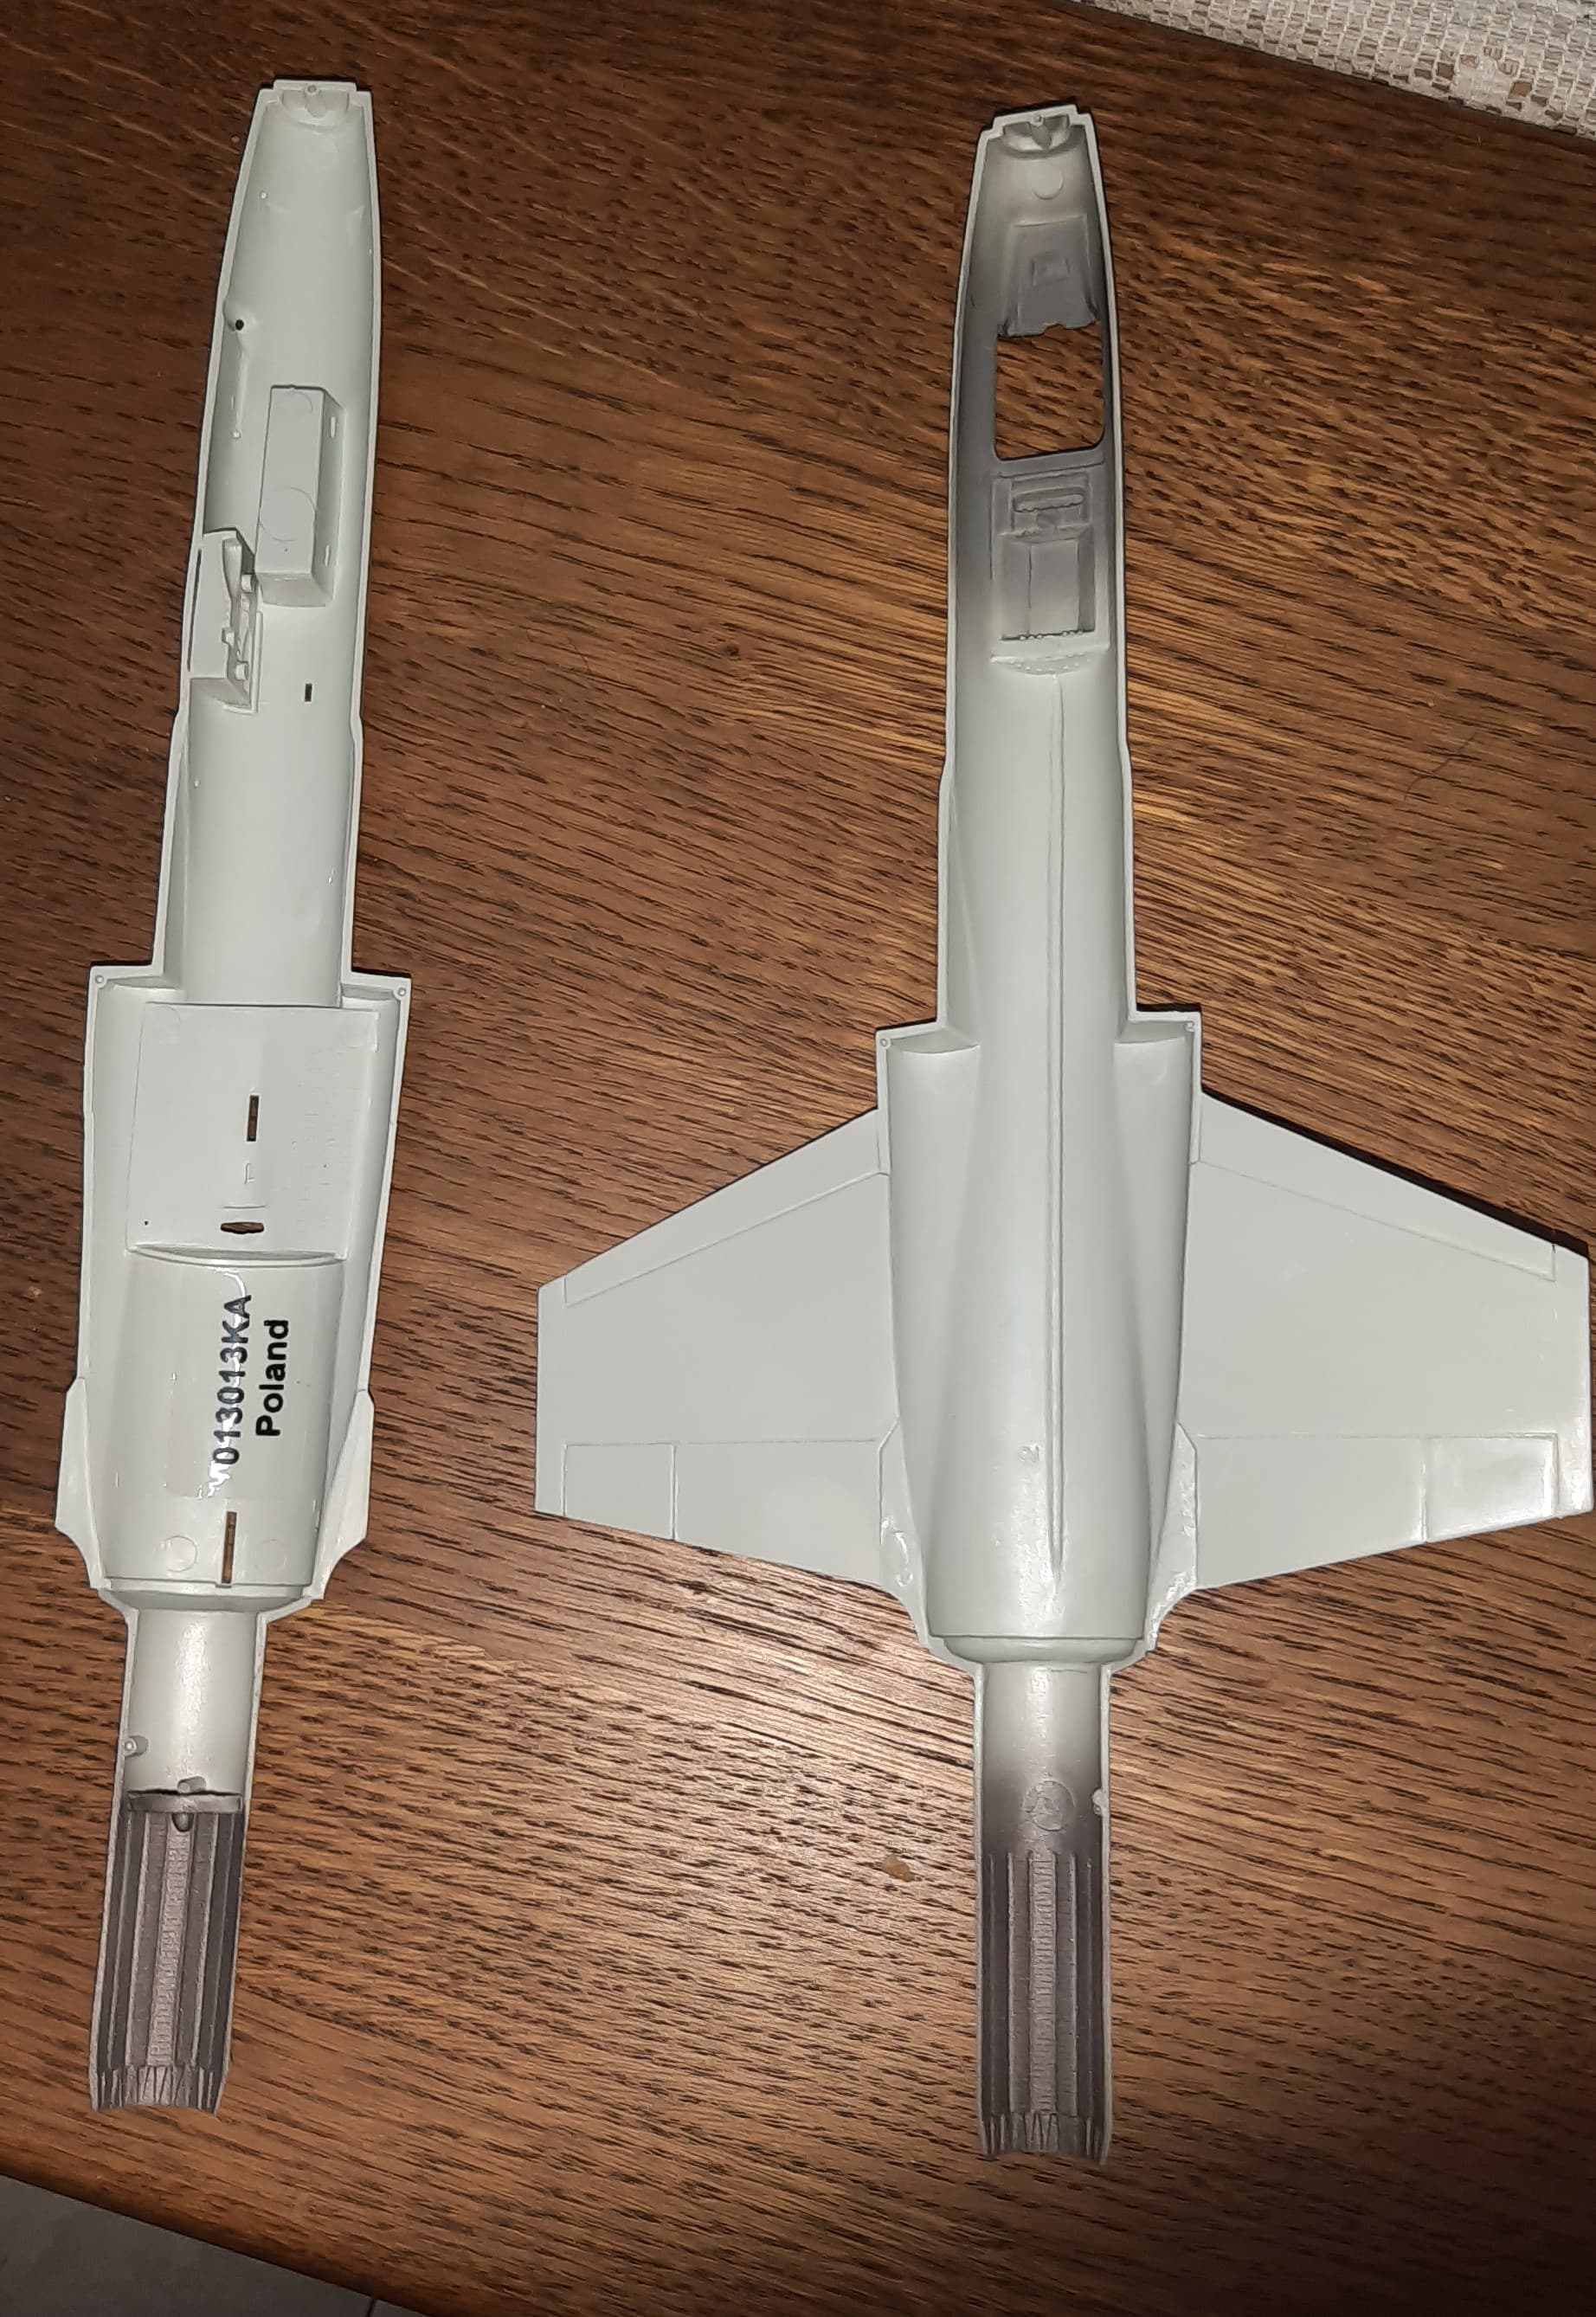
Revell’s 2013 release of the F-104G in 2013 is actually the Monogram kit first molded in 1978. This kit was the best 1/48 representation of the F-104 until Hasegawa released their kit in 2000. It looks like Revell cleaned up the molds somewhat following the purchase of Monogram, and it appears that the raised molded panel lines were greatly reduced to the point of being barely there. For me this would not present a major challenge. My first flyby and test fit showed that there would some fit issues, but nothing I’ve not dealt with in previous Monogram kits. So far, so good! On my last visit to the US in 2018, I was able to pick up some pine wood oval plaques for a steal at 2 USD! So, I had my things gathered to produce a pretty nifty stand model. Additionally, this being a CF-104G complete with decals, I plan to try a new paint to do the NMF finish.
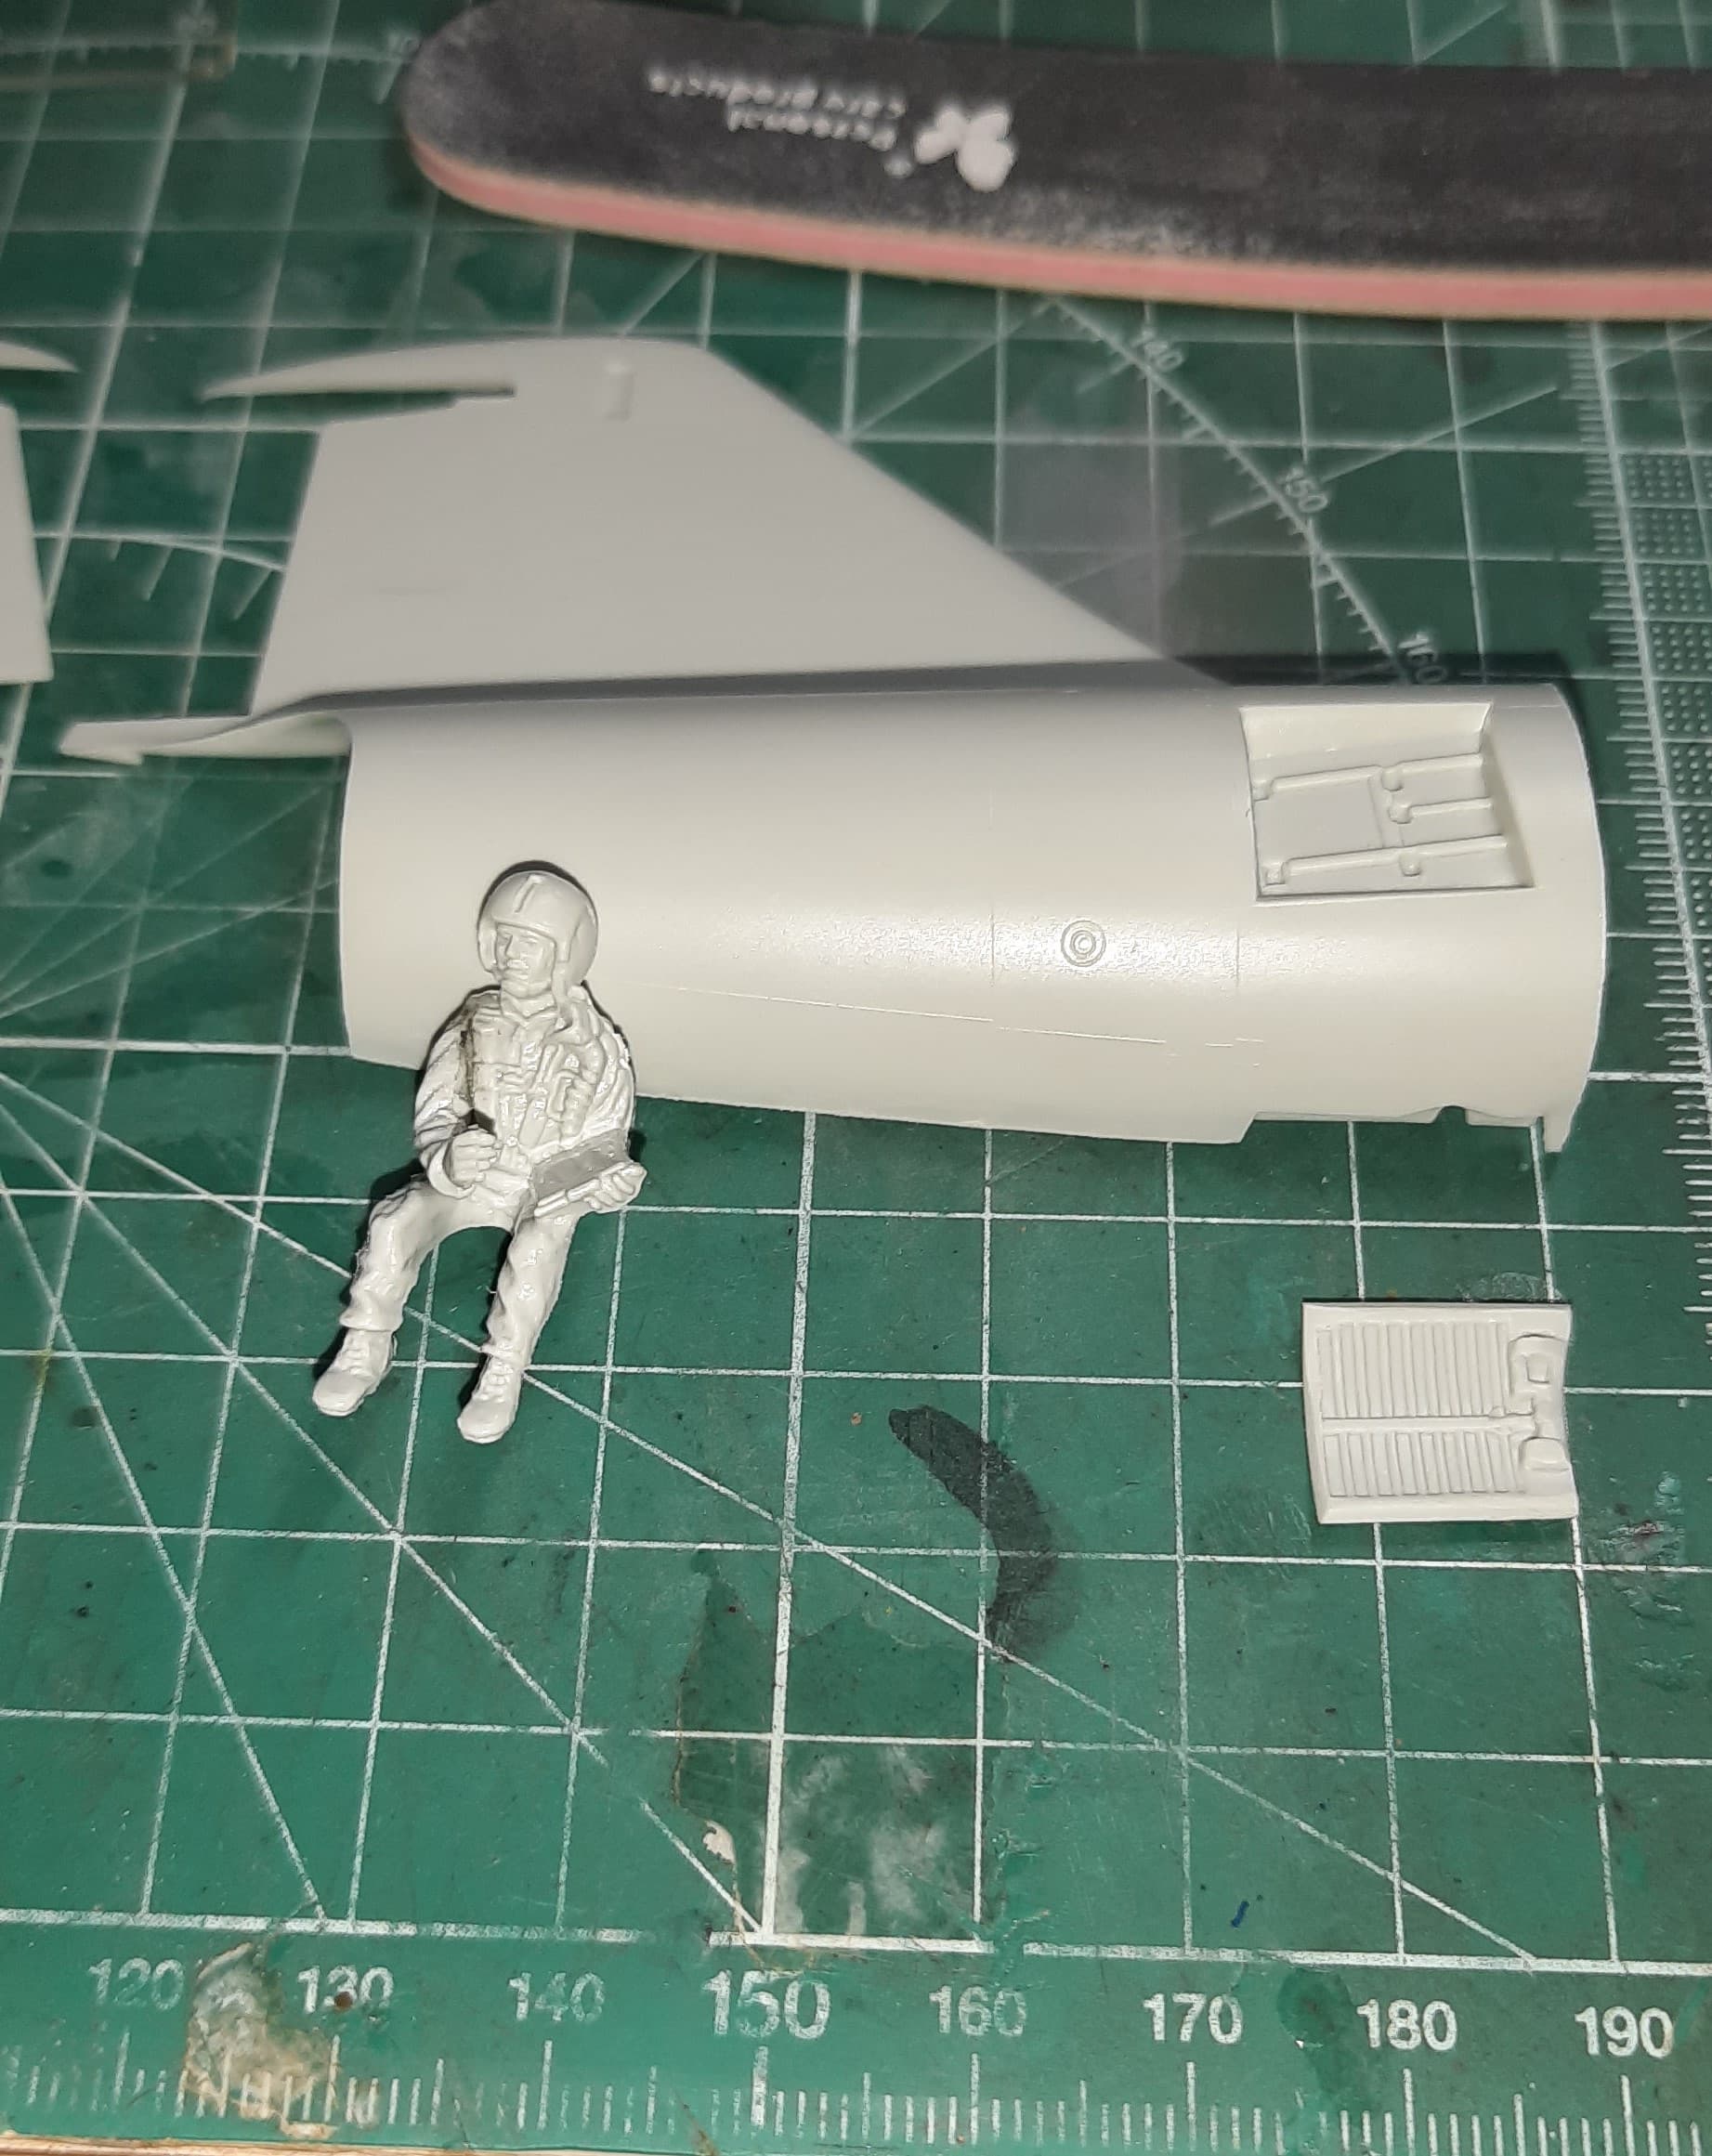
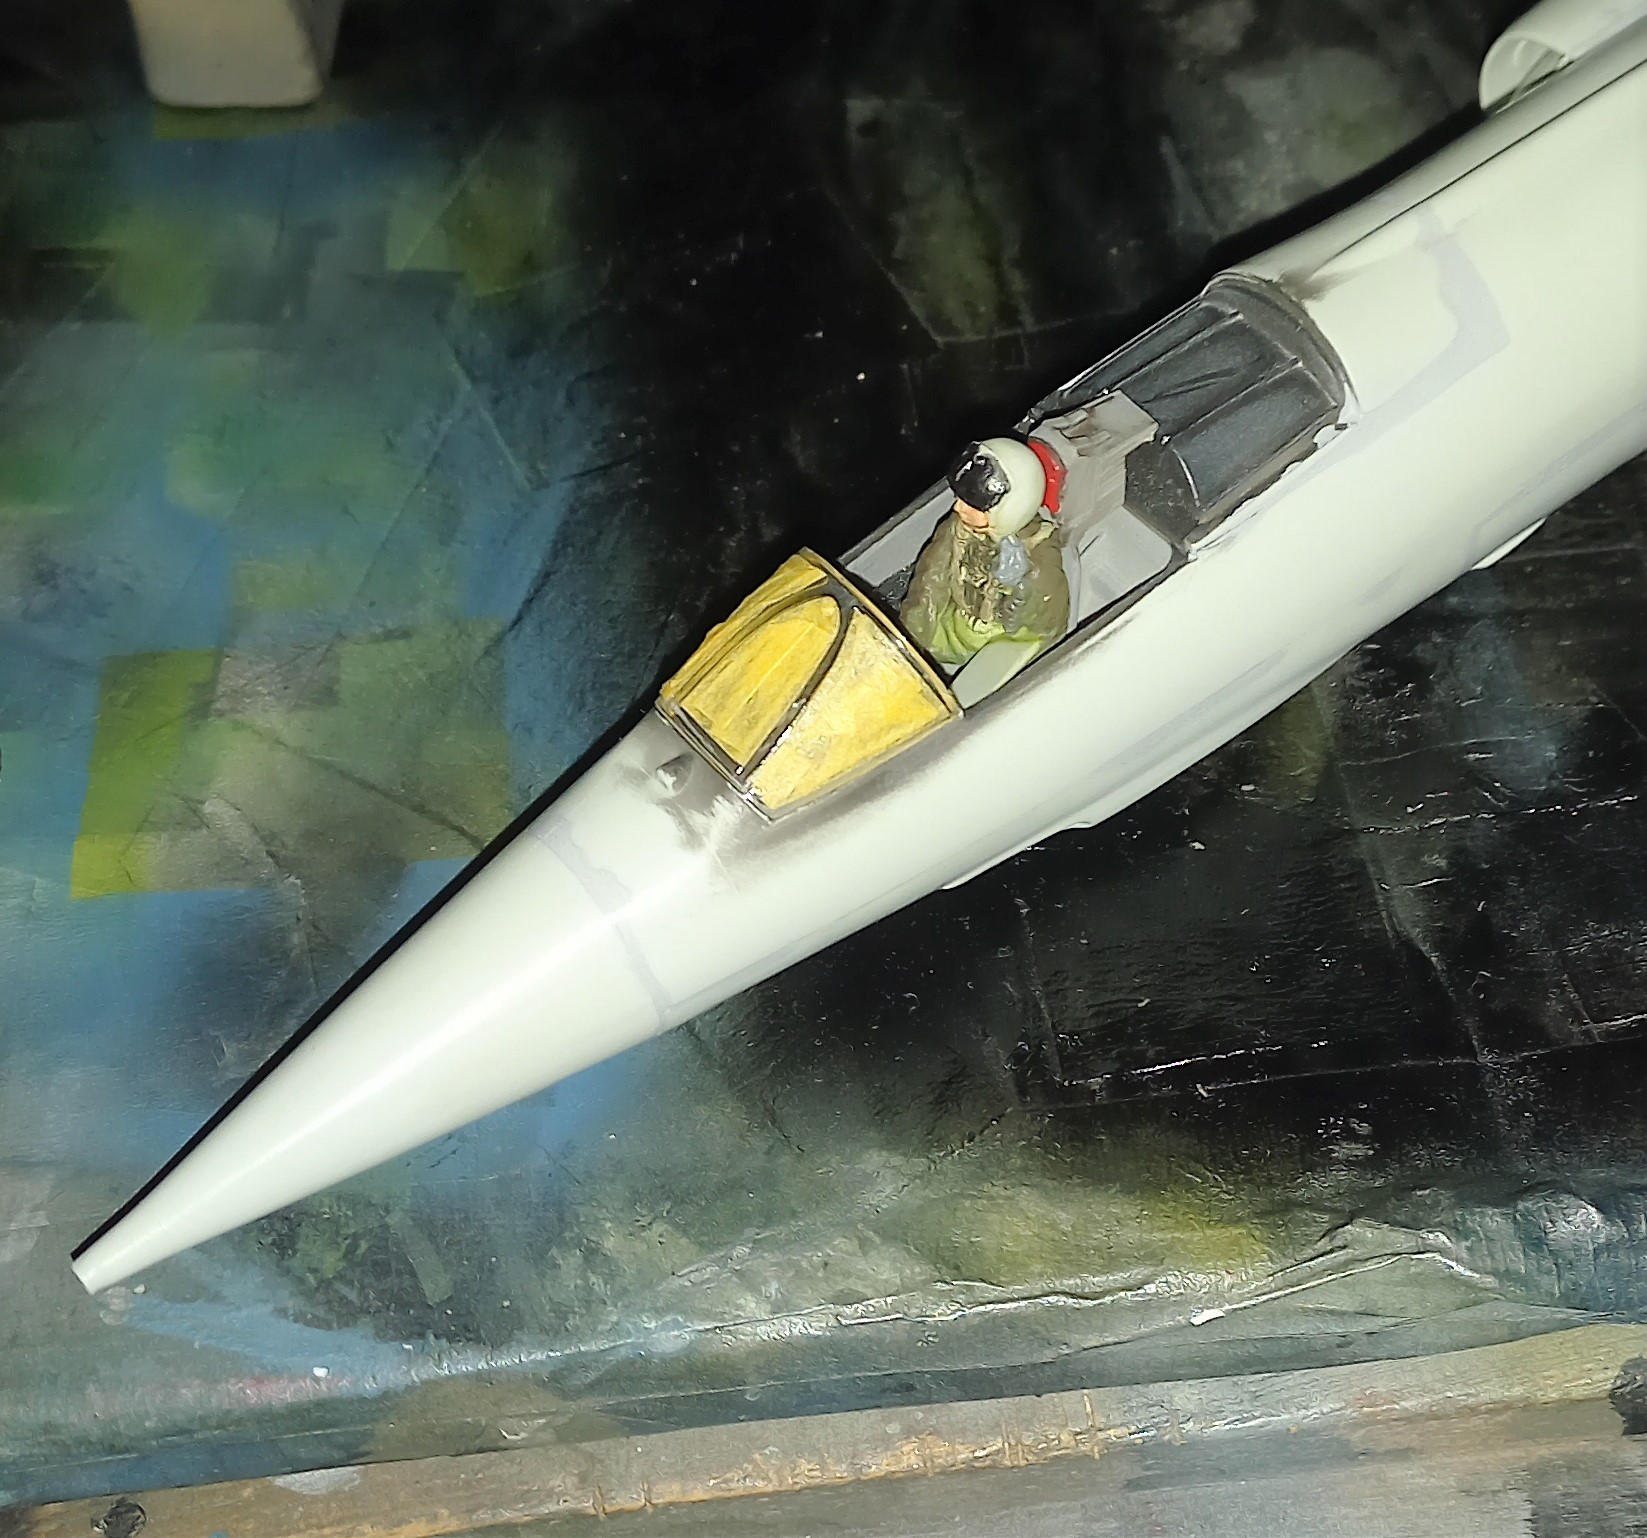
I began with the cockpit, and the decals looked pretty good considering that everything would be closed up.
Next it was time to move onto the fuselage. The insides were painted up, with dark gull grey up front, and metalic burnt iron in the exhaust.
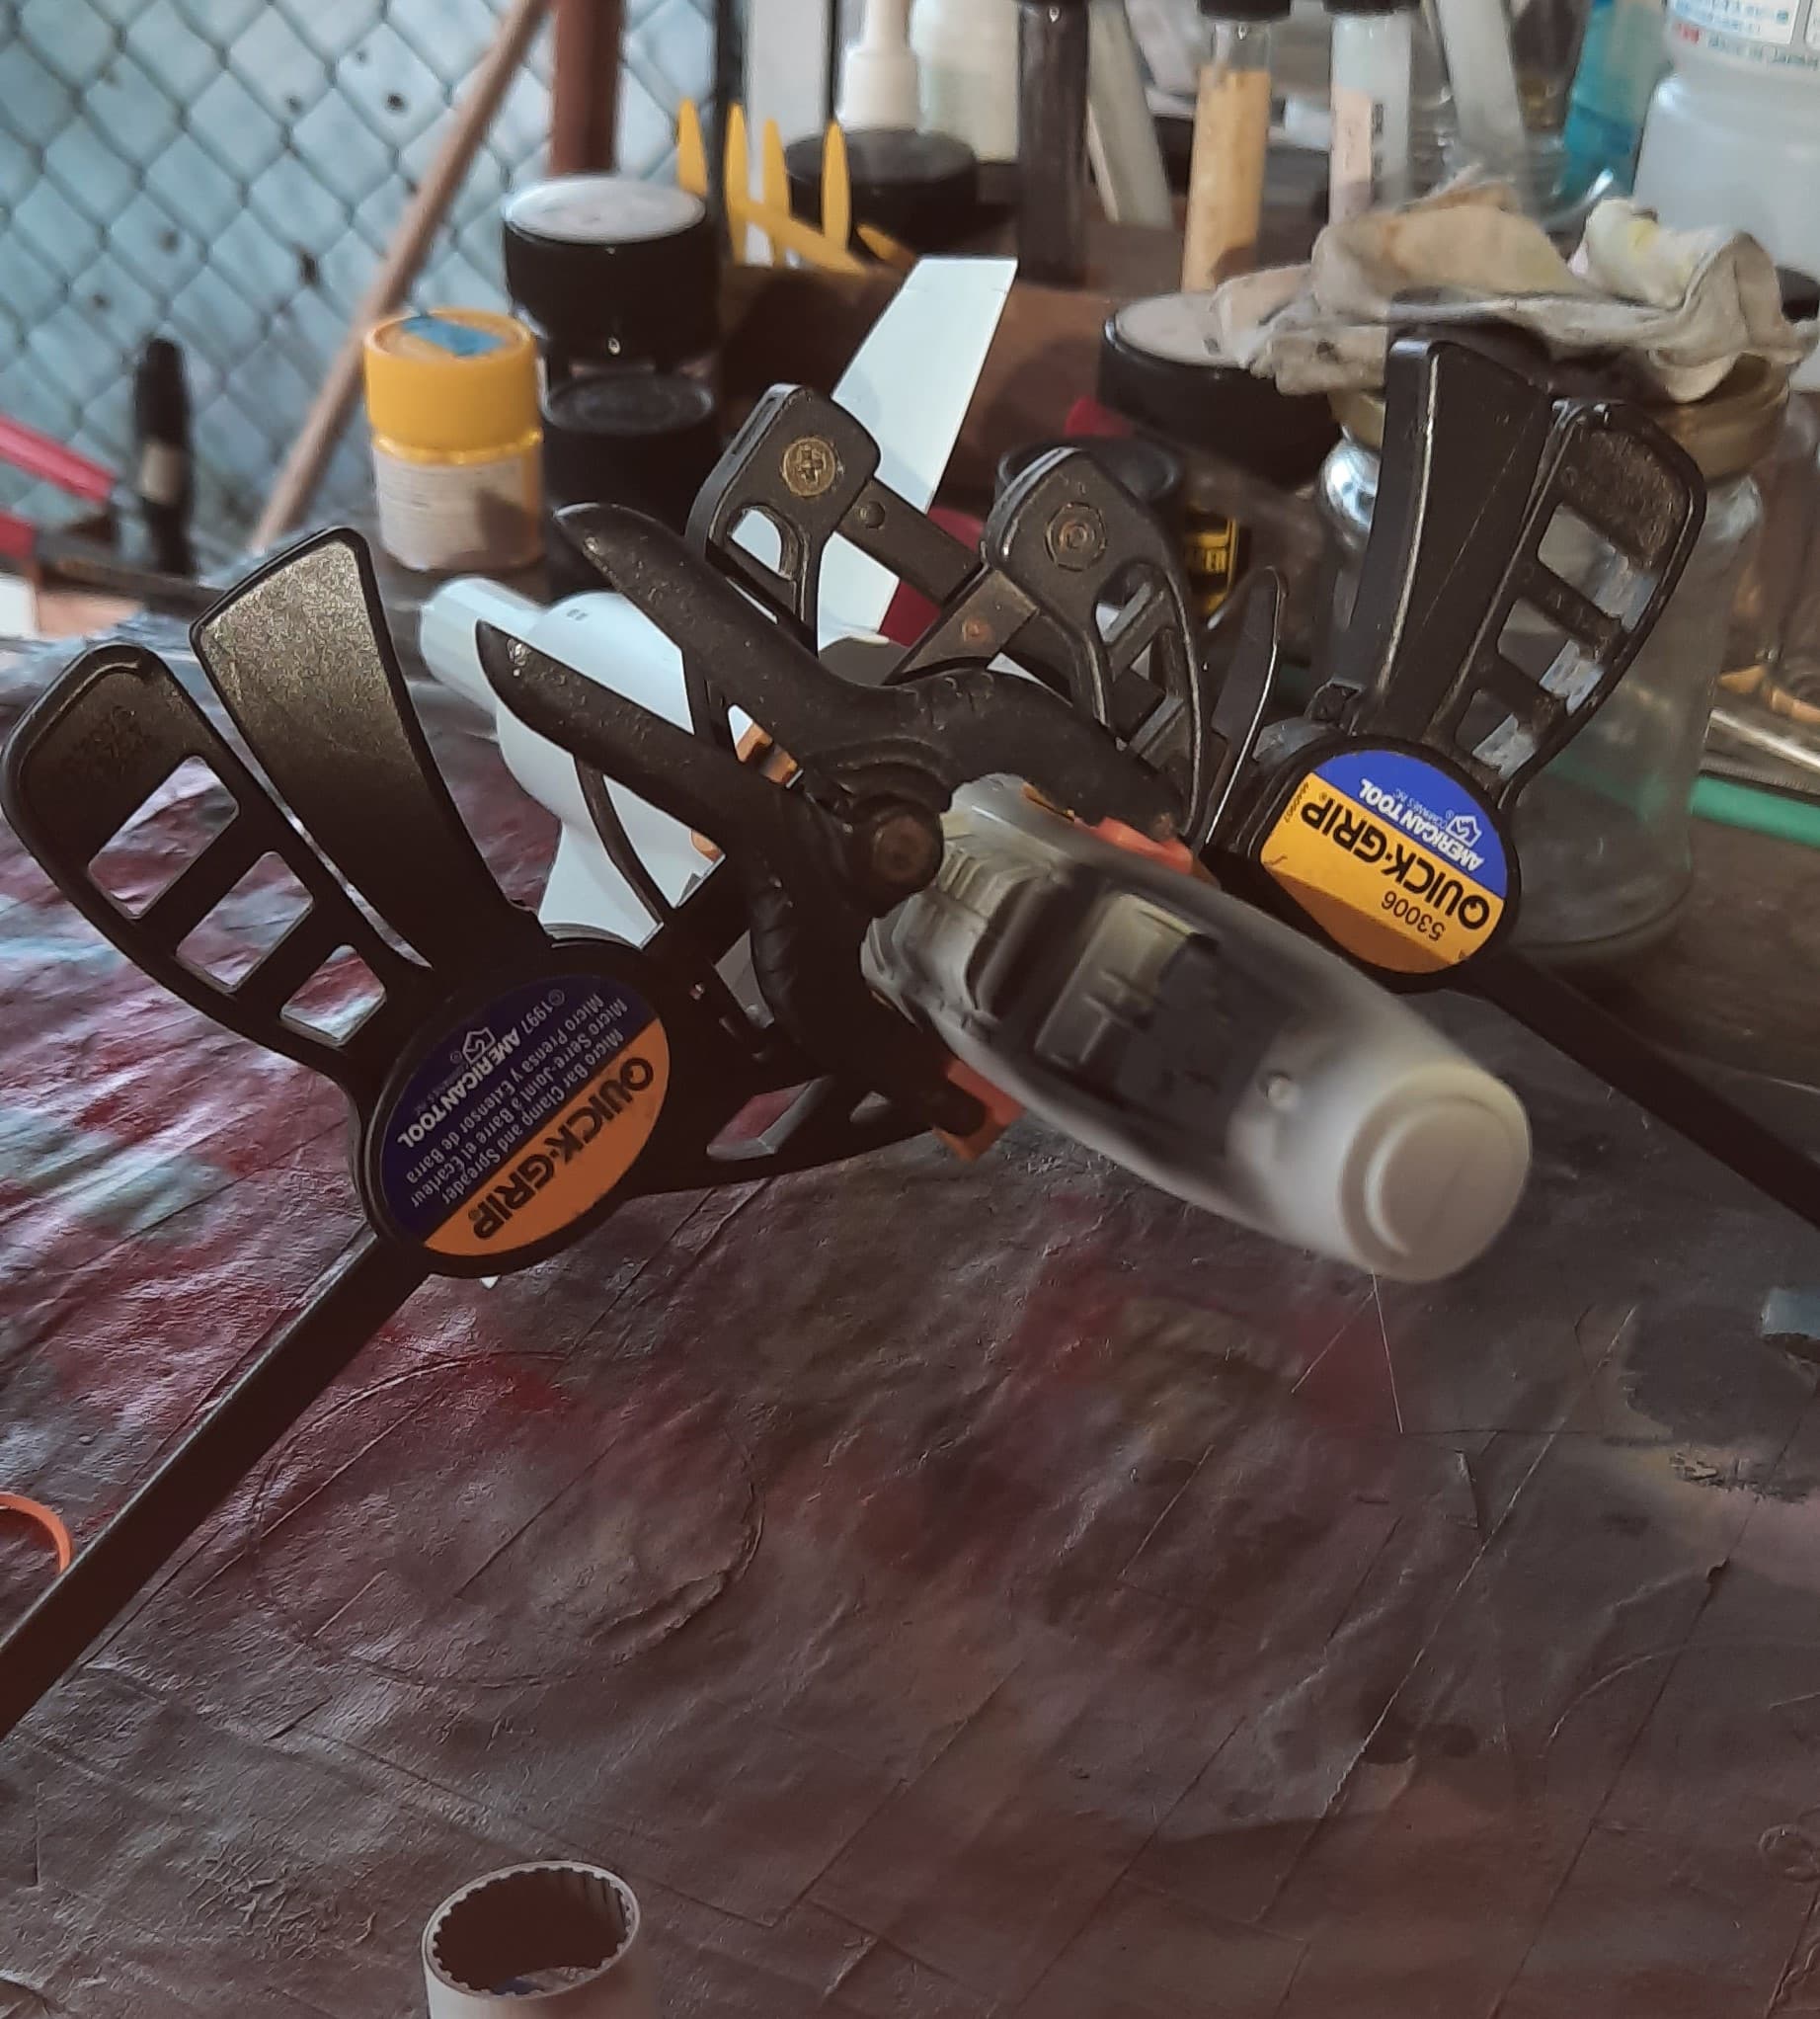
Then it came time to put the cockpit in, I opted to leave the ejection seat and pilot out so that I didn’t have to worry about them while doing the anticipated filling and sanding. This was a straight forward affair, despite a rather poor fit. The fit was addressed with the use of some clamps and gluing in a slow process from the exhaust up to the nose.
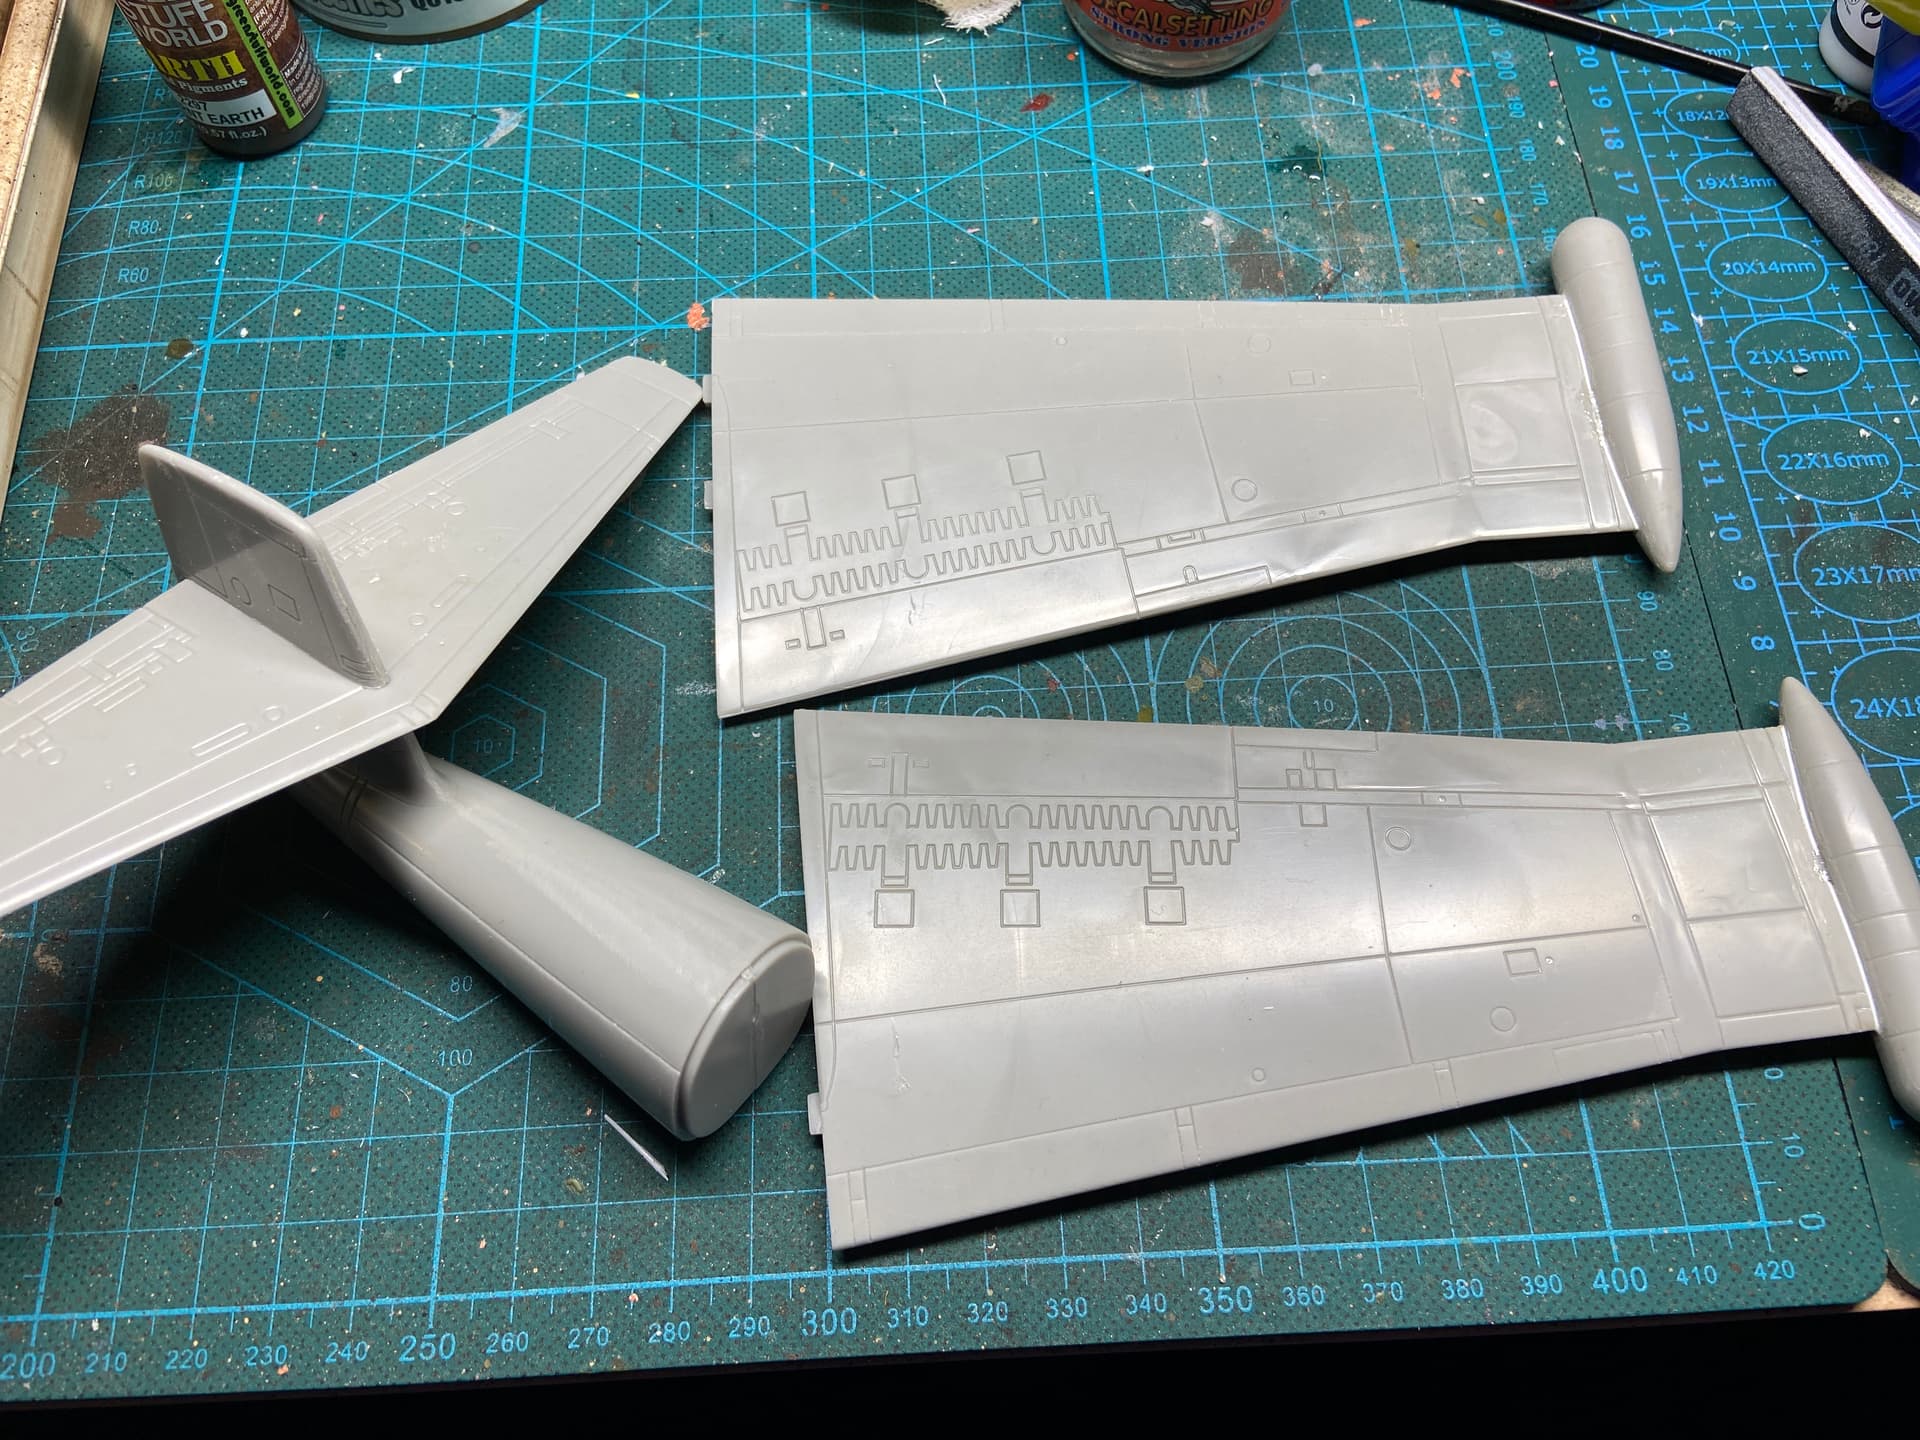
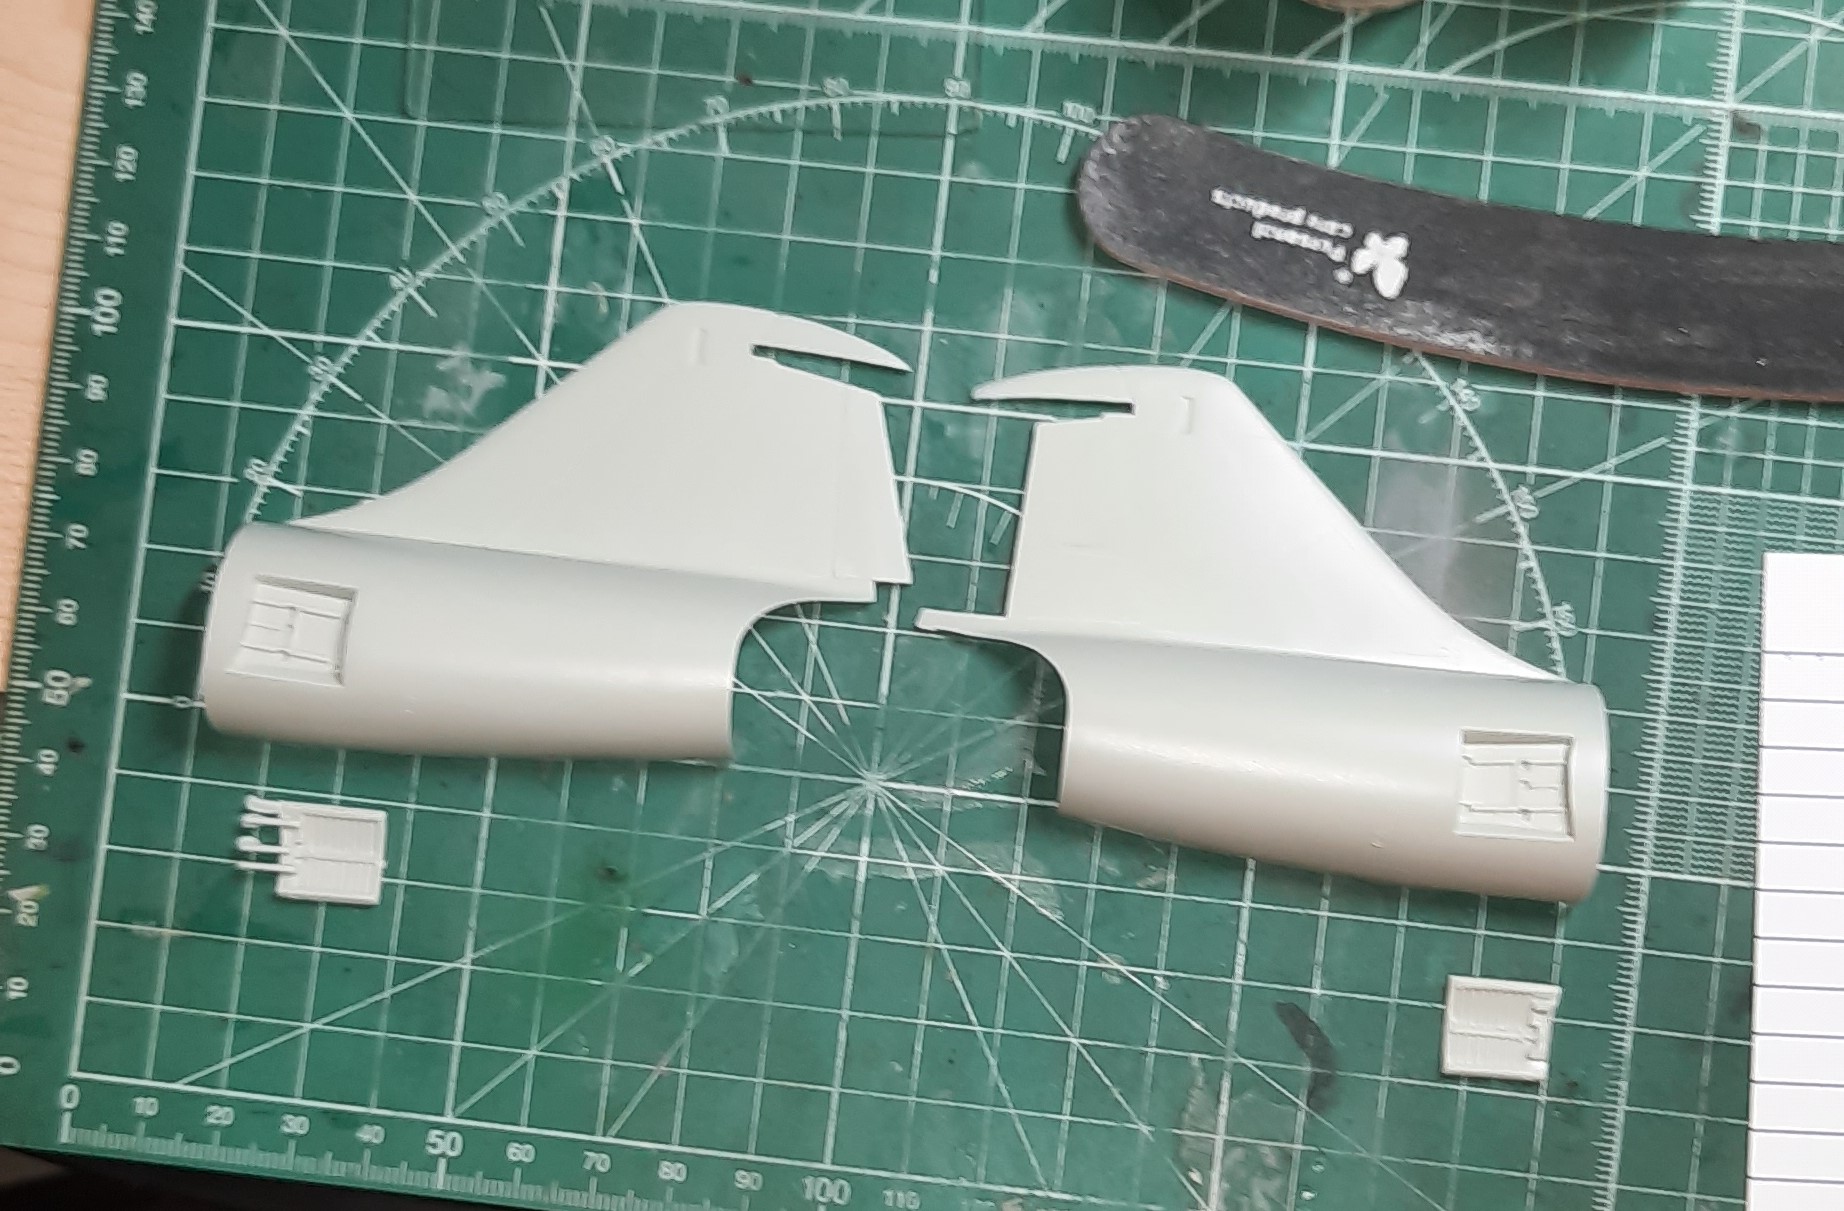
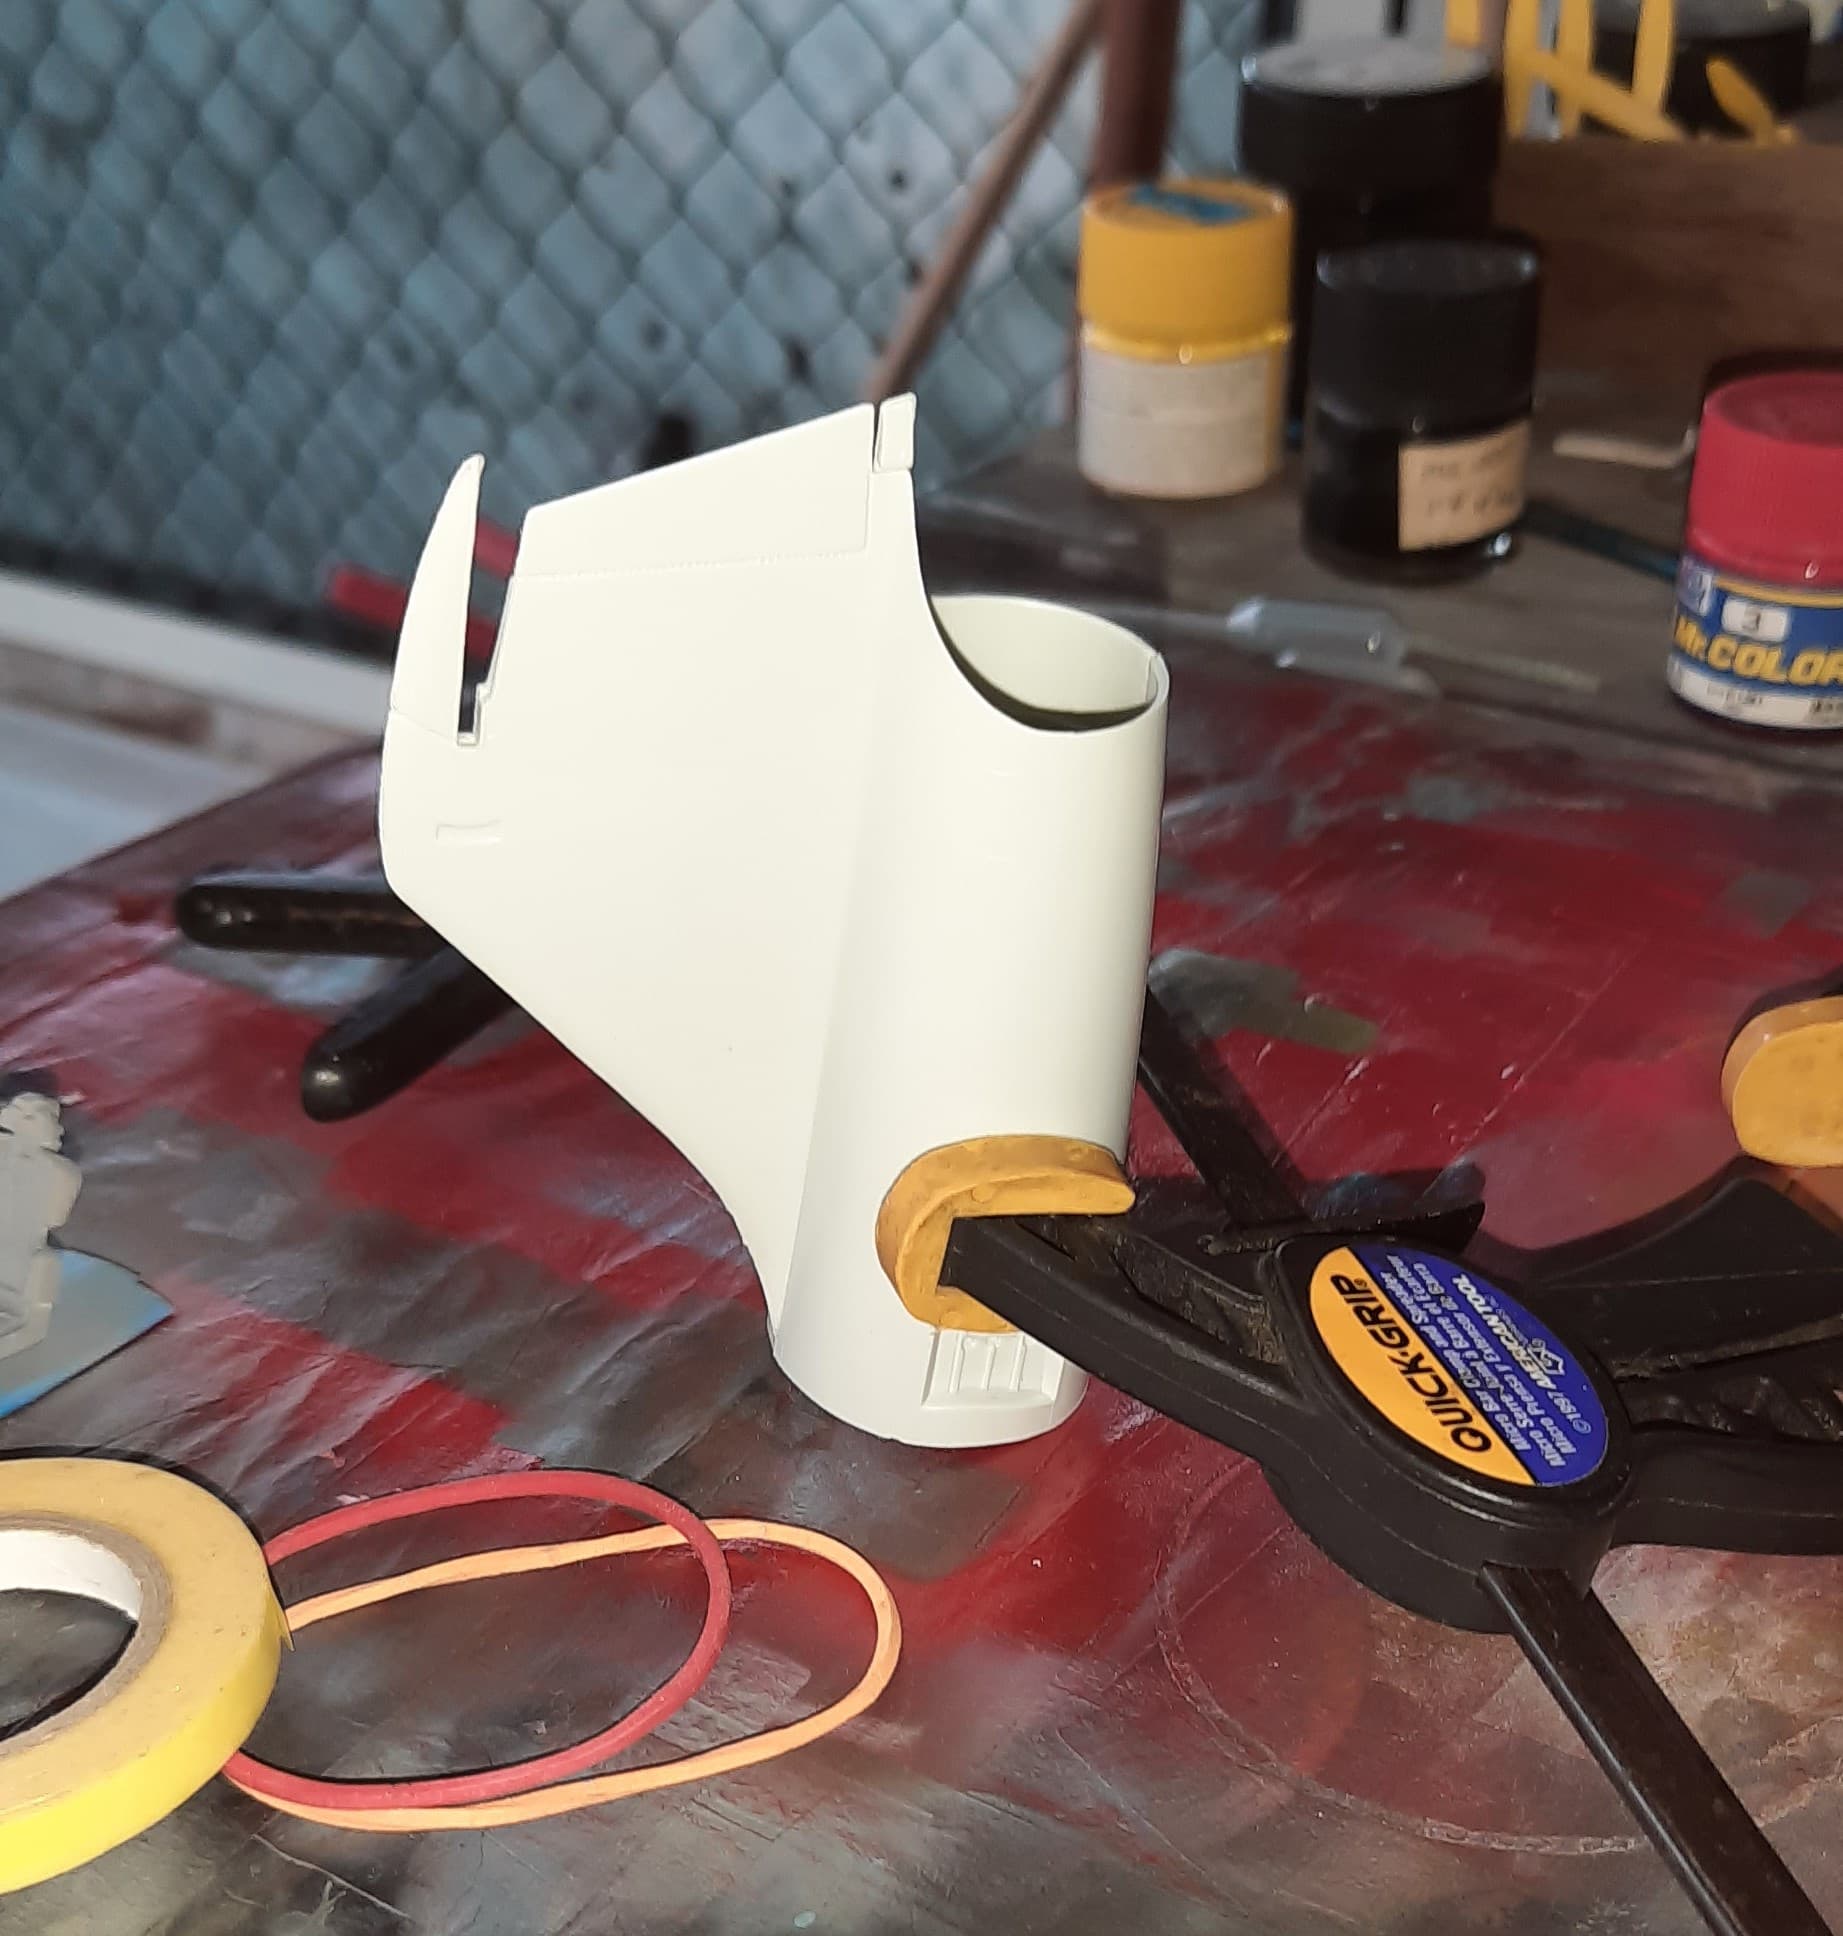
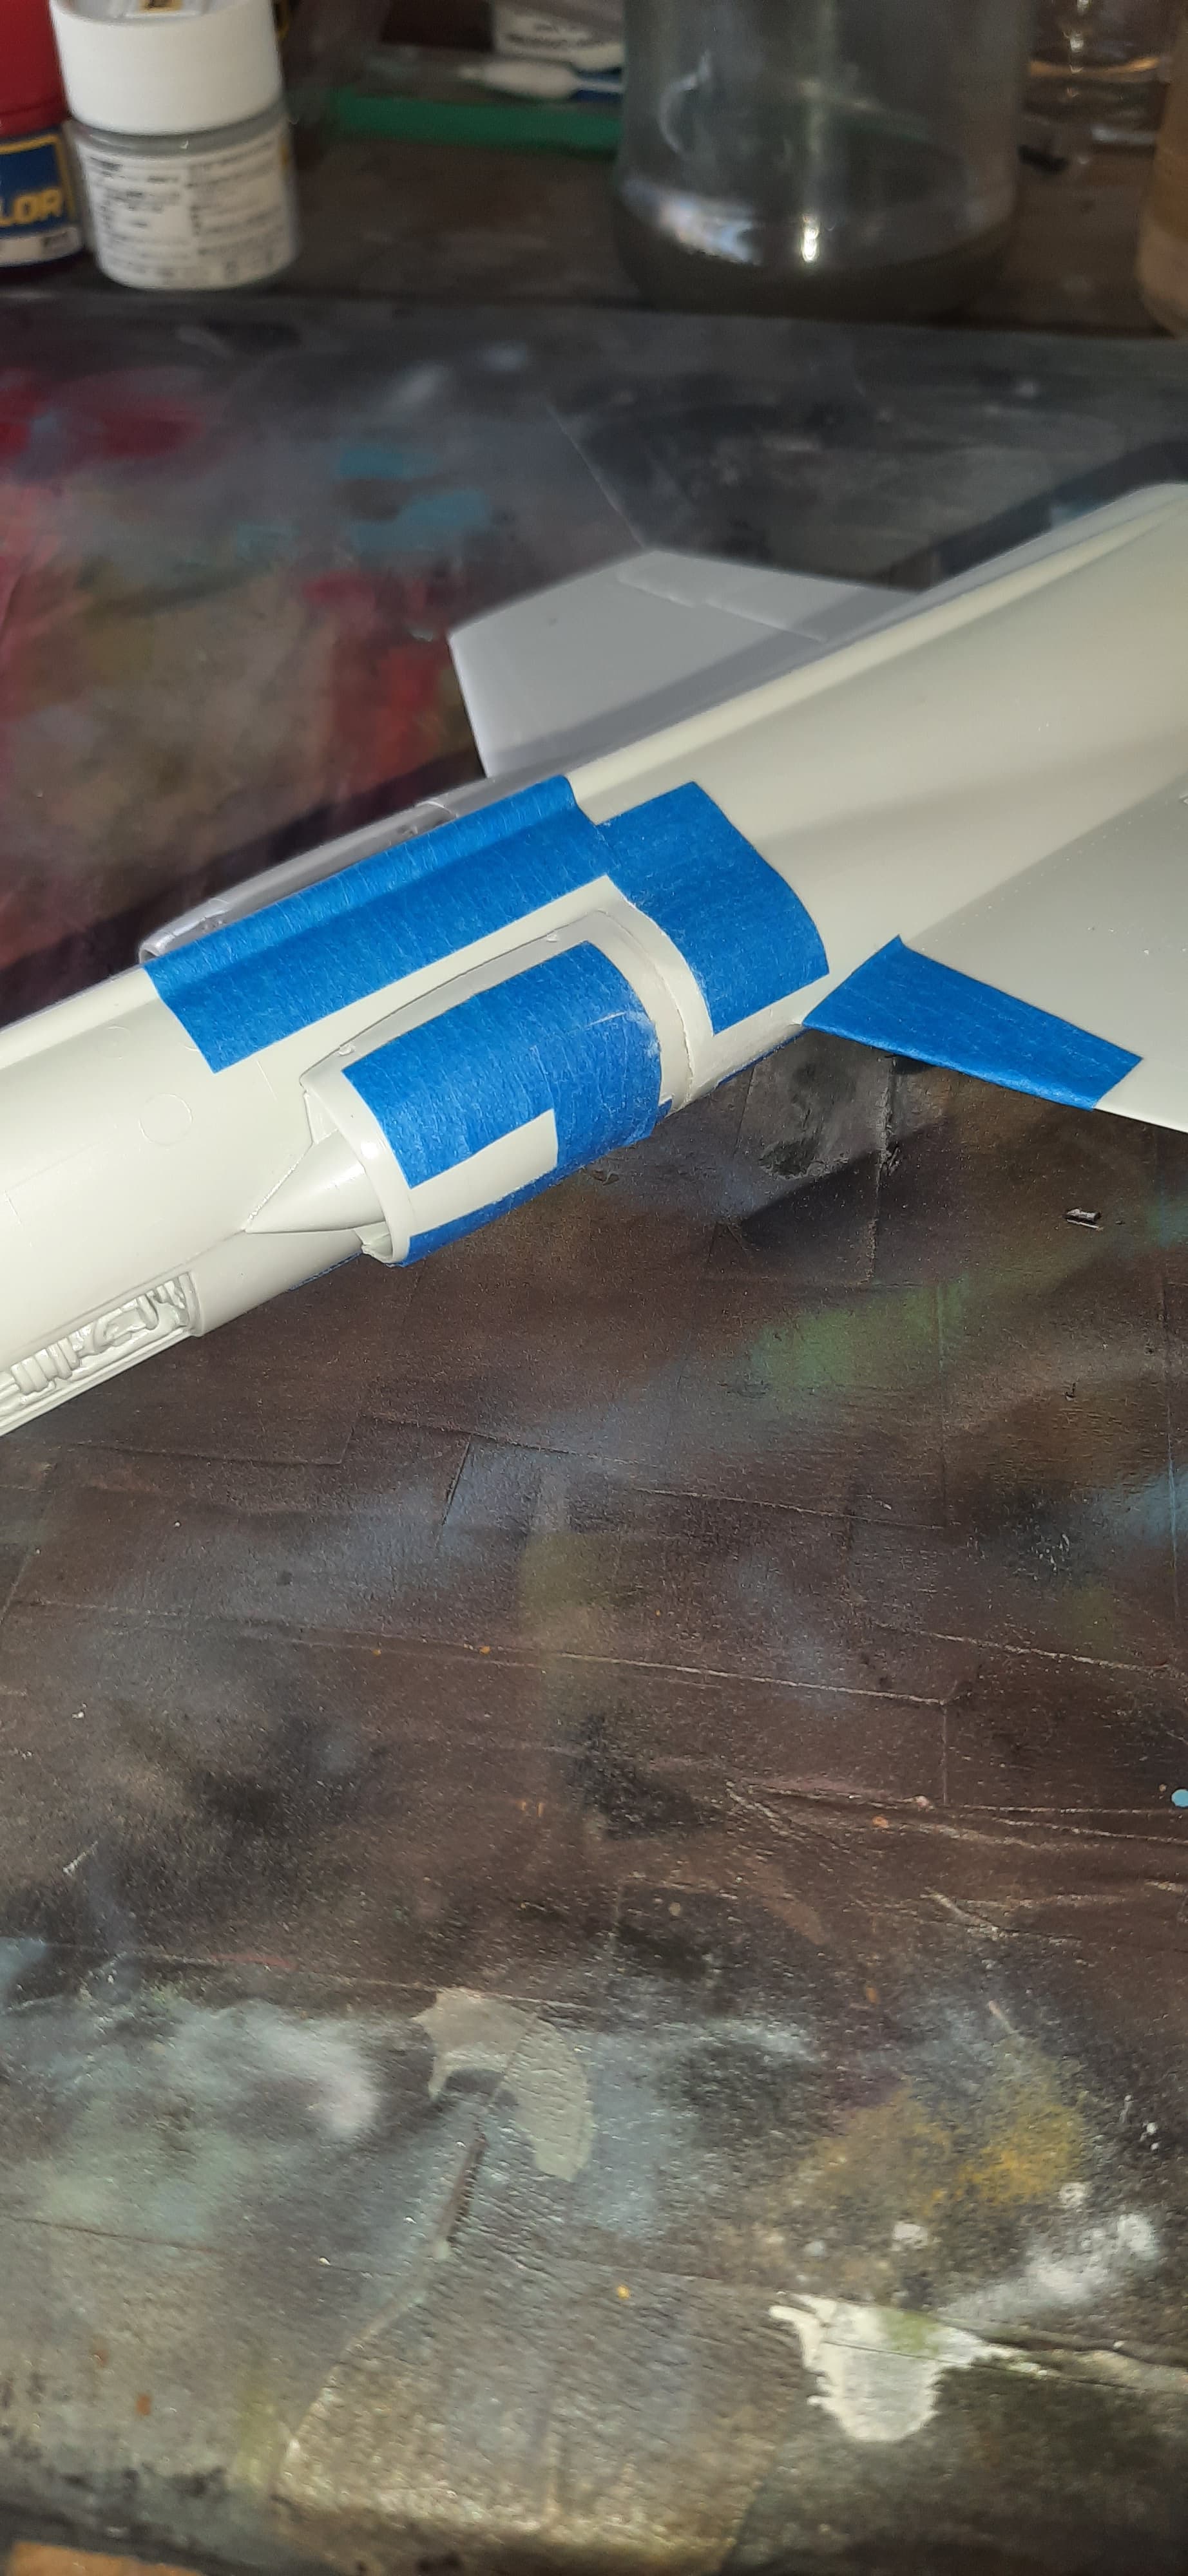
Next I moved onto the rear and assembled the tail section. This configuration was done to allow for showing off the rear engine area for diorama purposes. The airbrakes were also molded separate to be posed open, these were cleaned up and prepared for assembly.
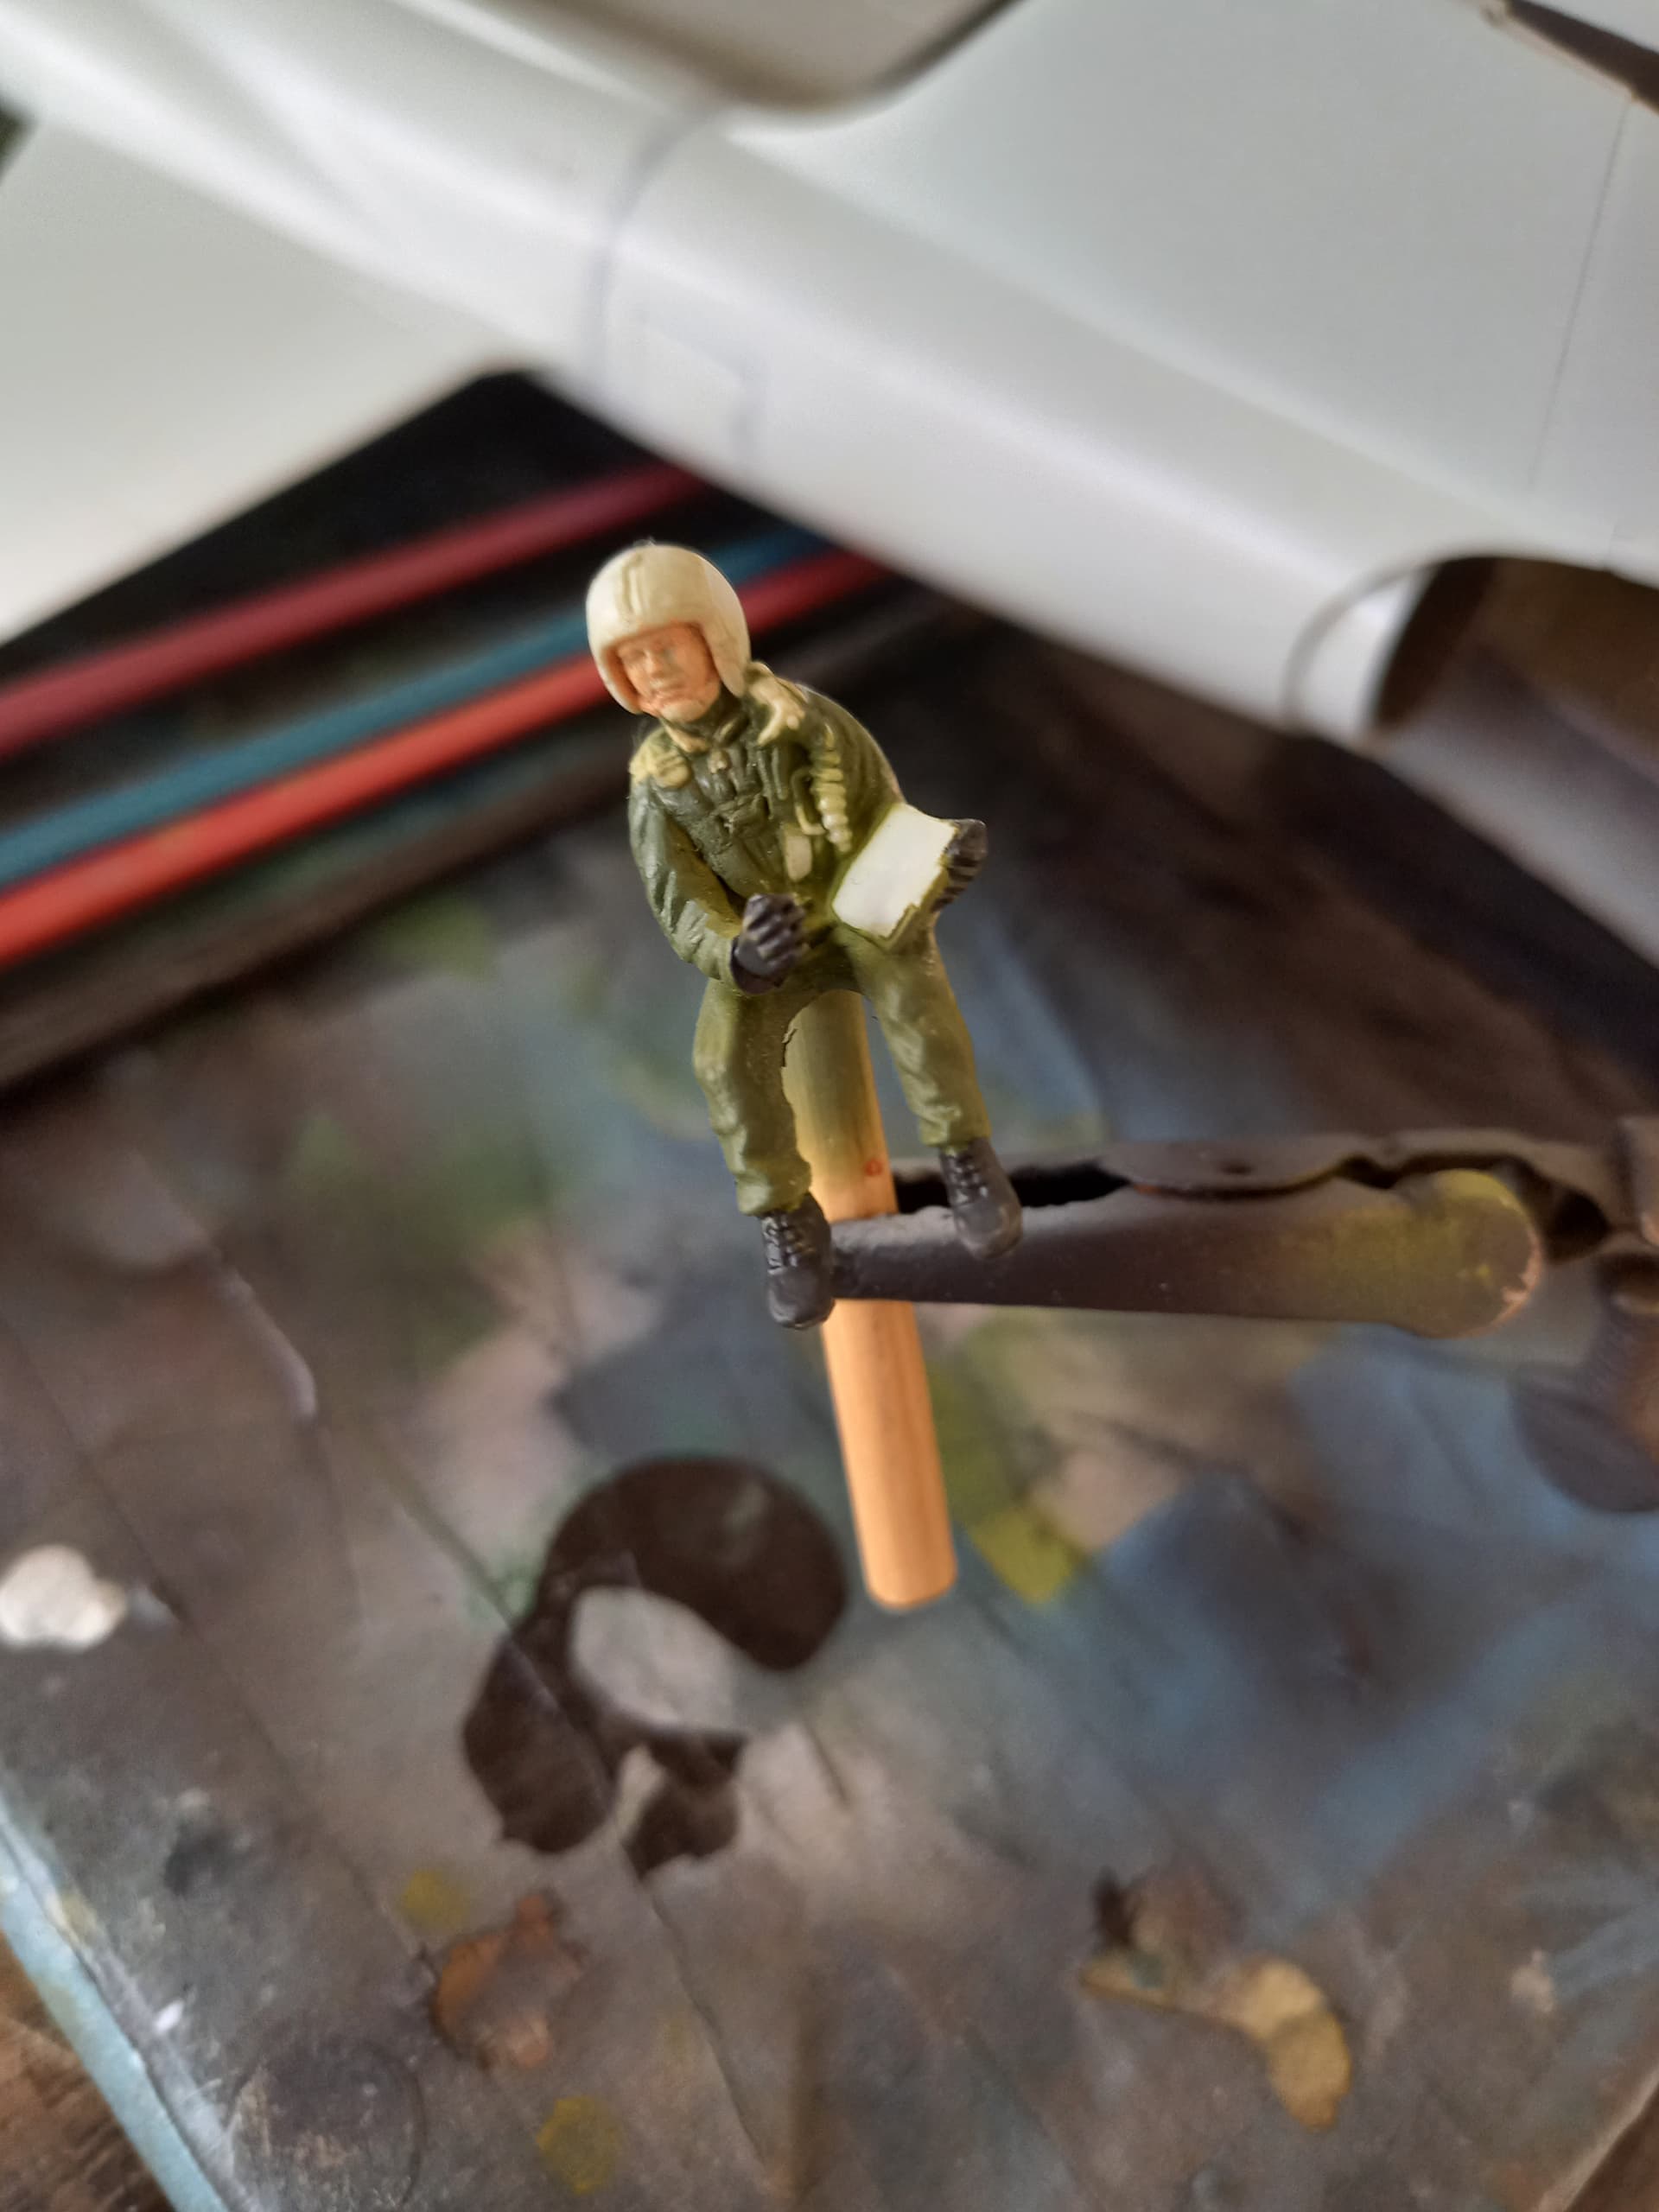
The pilot that came with the kit was a bit flashy, but a bit of time with a couple of sanding sticks and he looked acceptable. I started a naming contest for the pilot with the nieces, and that turned into a long process!
The tail halves were then glued together.
I could tell immediately that the tail fuselage join would be a real challenge, so I focused on closing up the gear bays and gun bay, and began the long and arduous task of filling and sanding these areas to smooth things out.
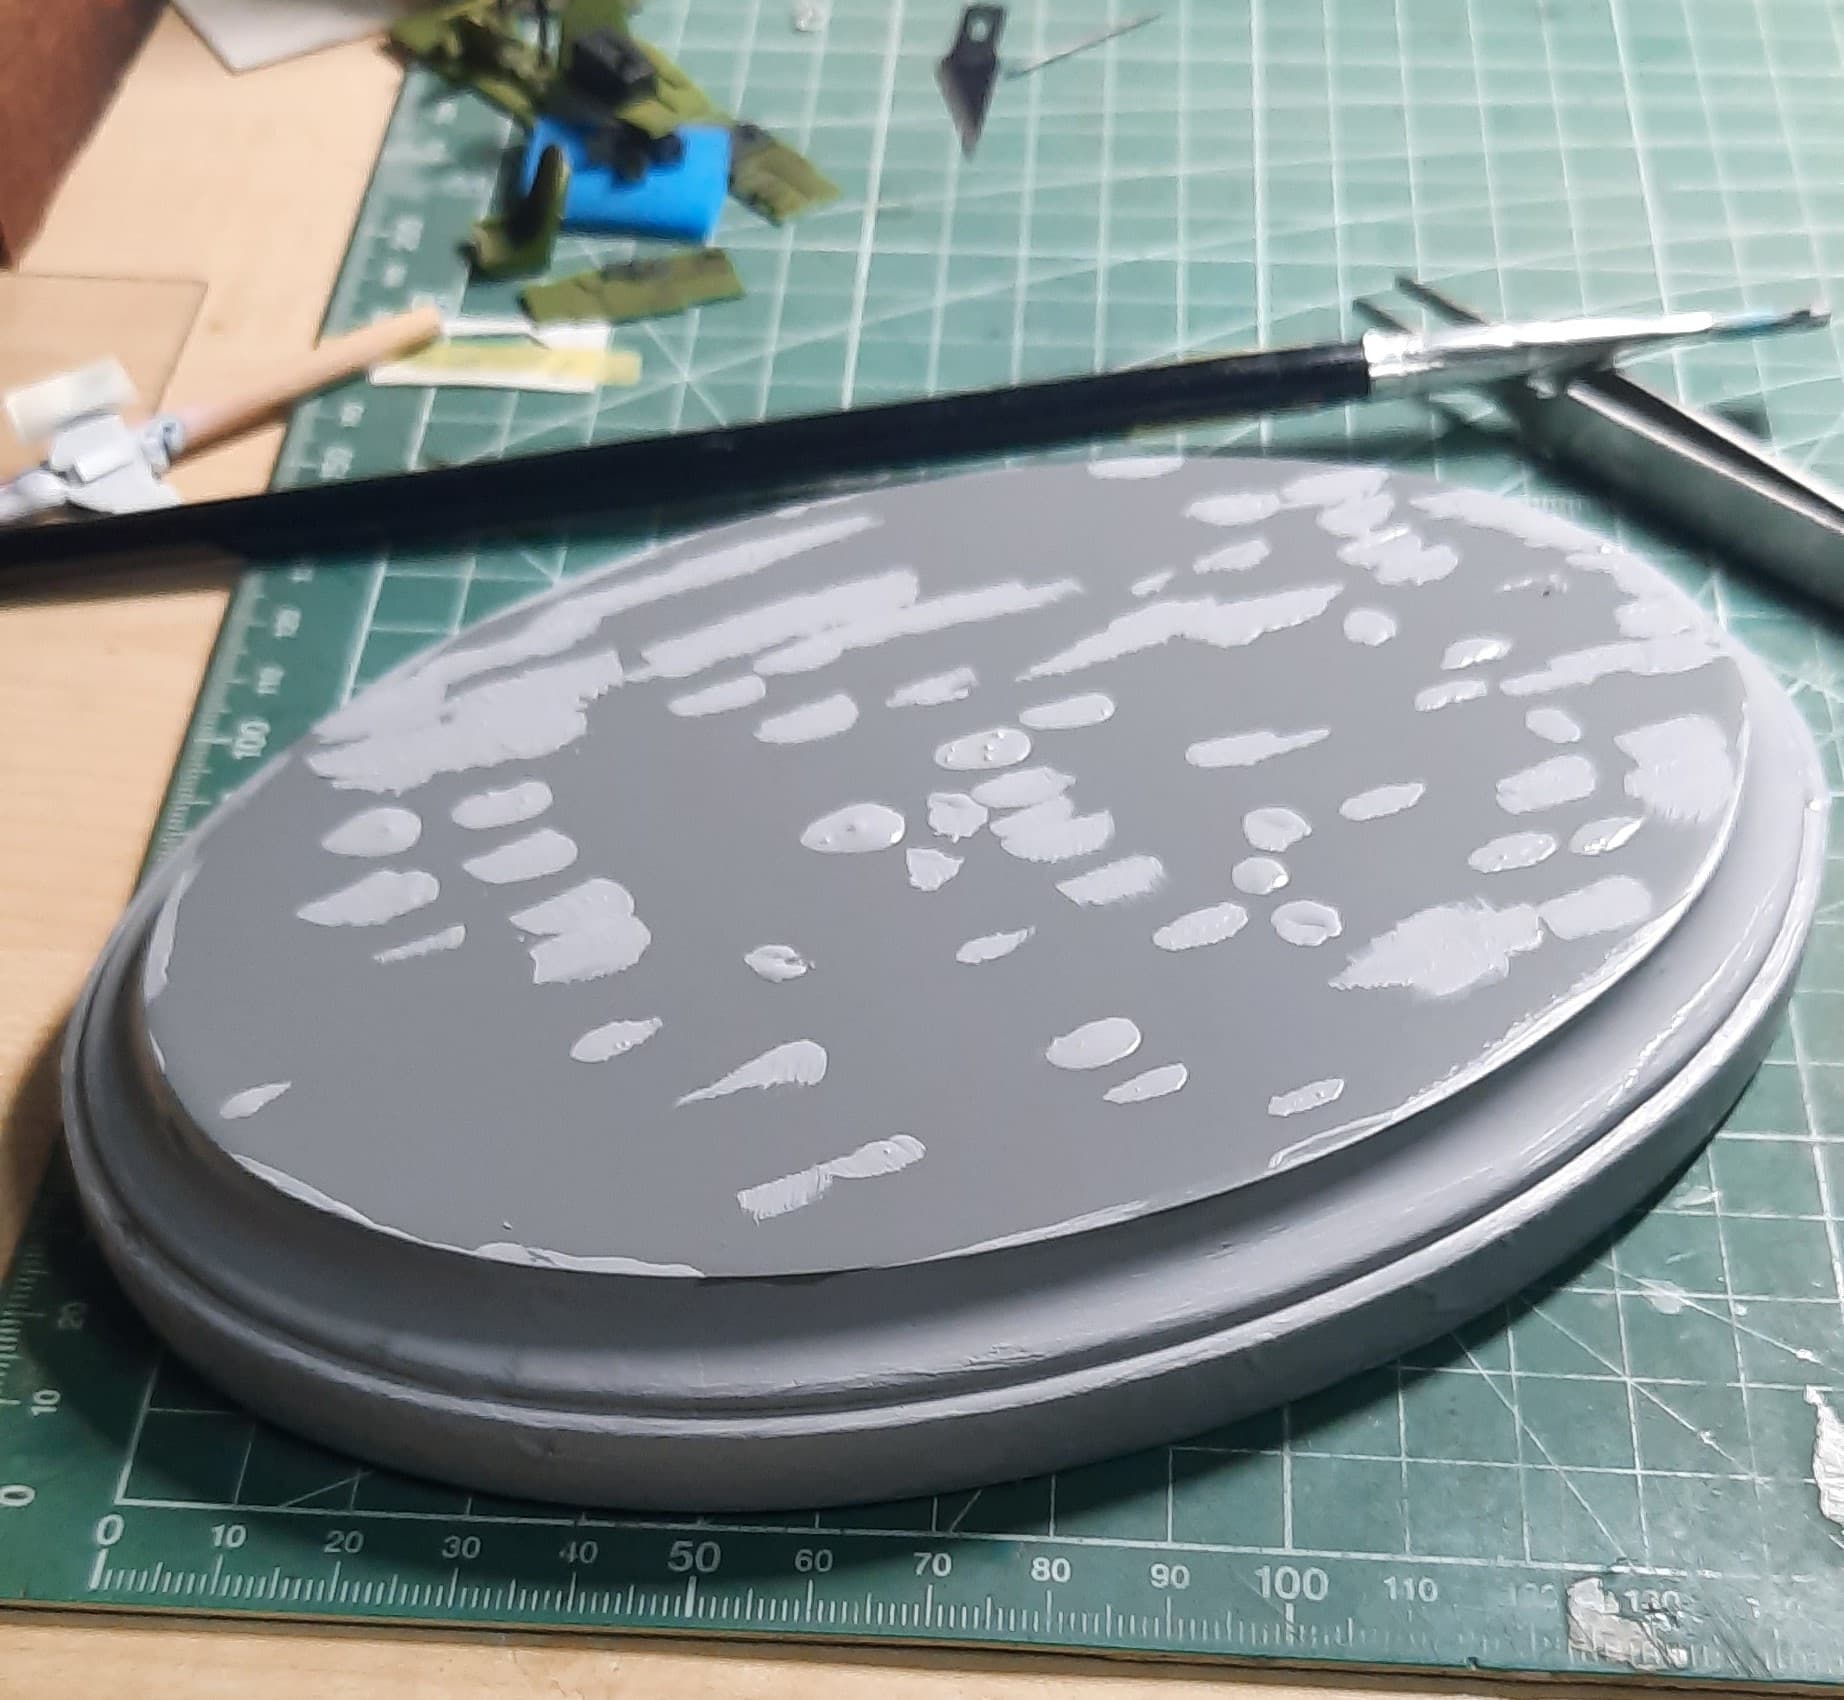
This is when the project went on hold, the bird went back into the box and I rethought this whole thing. So after doing some other fun things I began looking at the stand wood that I purchased and started to work on it. This would also become a project onto itself. One thing that I miss from the US is automotive primer. Here, there’s lacquer primer, though I think it’s really just primer colored paint as it has no real filling qualities.
So I would spray a coat, let it dry and then wet sand with 1500 grit sandpaper. After about 6 coats I could see some progress.
It became clear that some additional filling would be needed, so I gave Mr. Surfacer 500 a whirl.
This helped quite a bit, and following a few more coats of the primer things have improved. I’m thinking that a gloss black base would be a nice contrast with the kit. We’ll see.
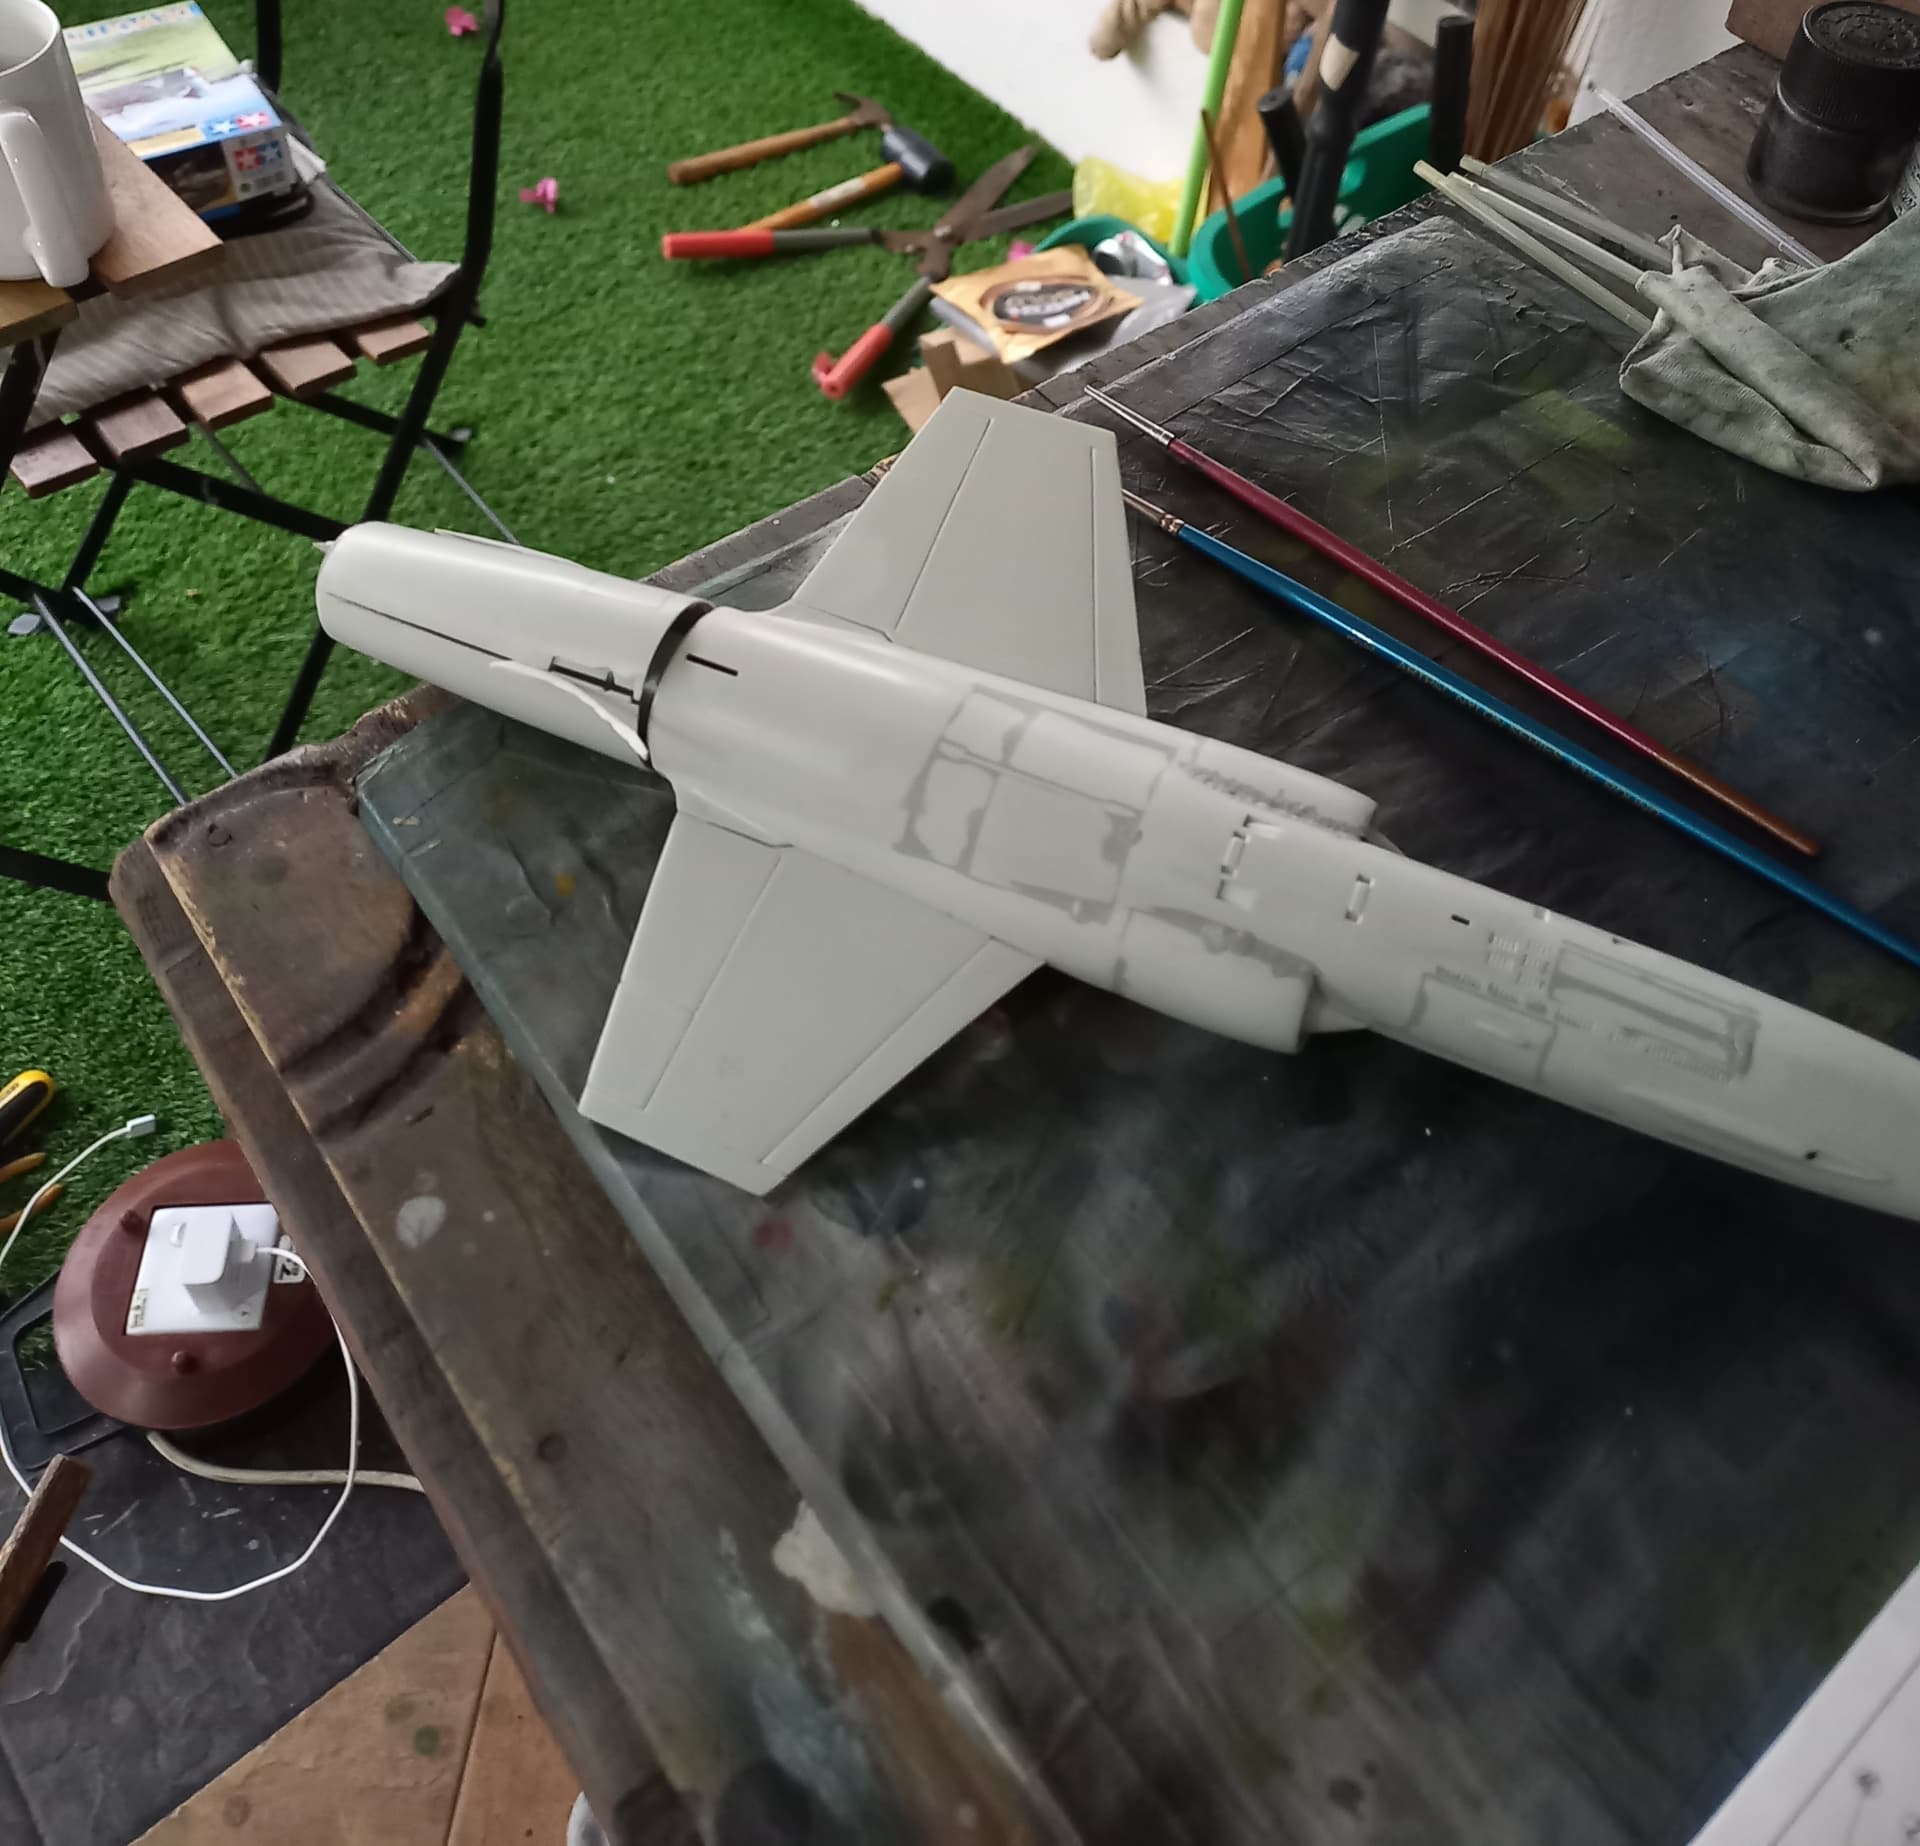
While working on a different Monogram kit (TBD), I got the motivation bug to get back on filling and sanding the bird. After repeated applications, things were taking shape without loosing the shape of the bird. I figured that this would be a good time to attach the tail section.
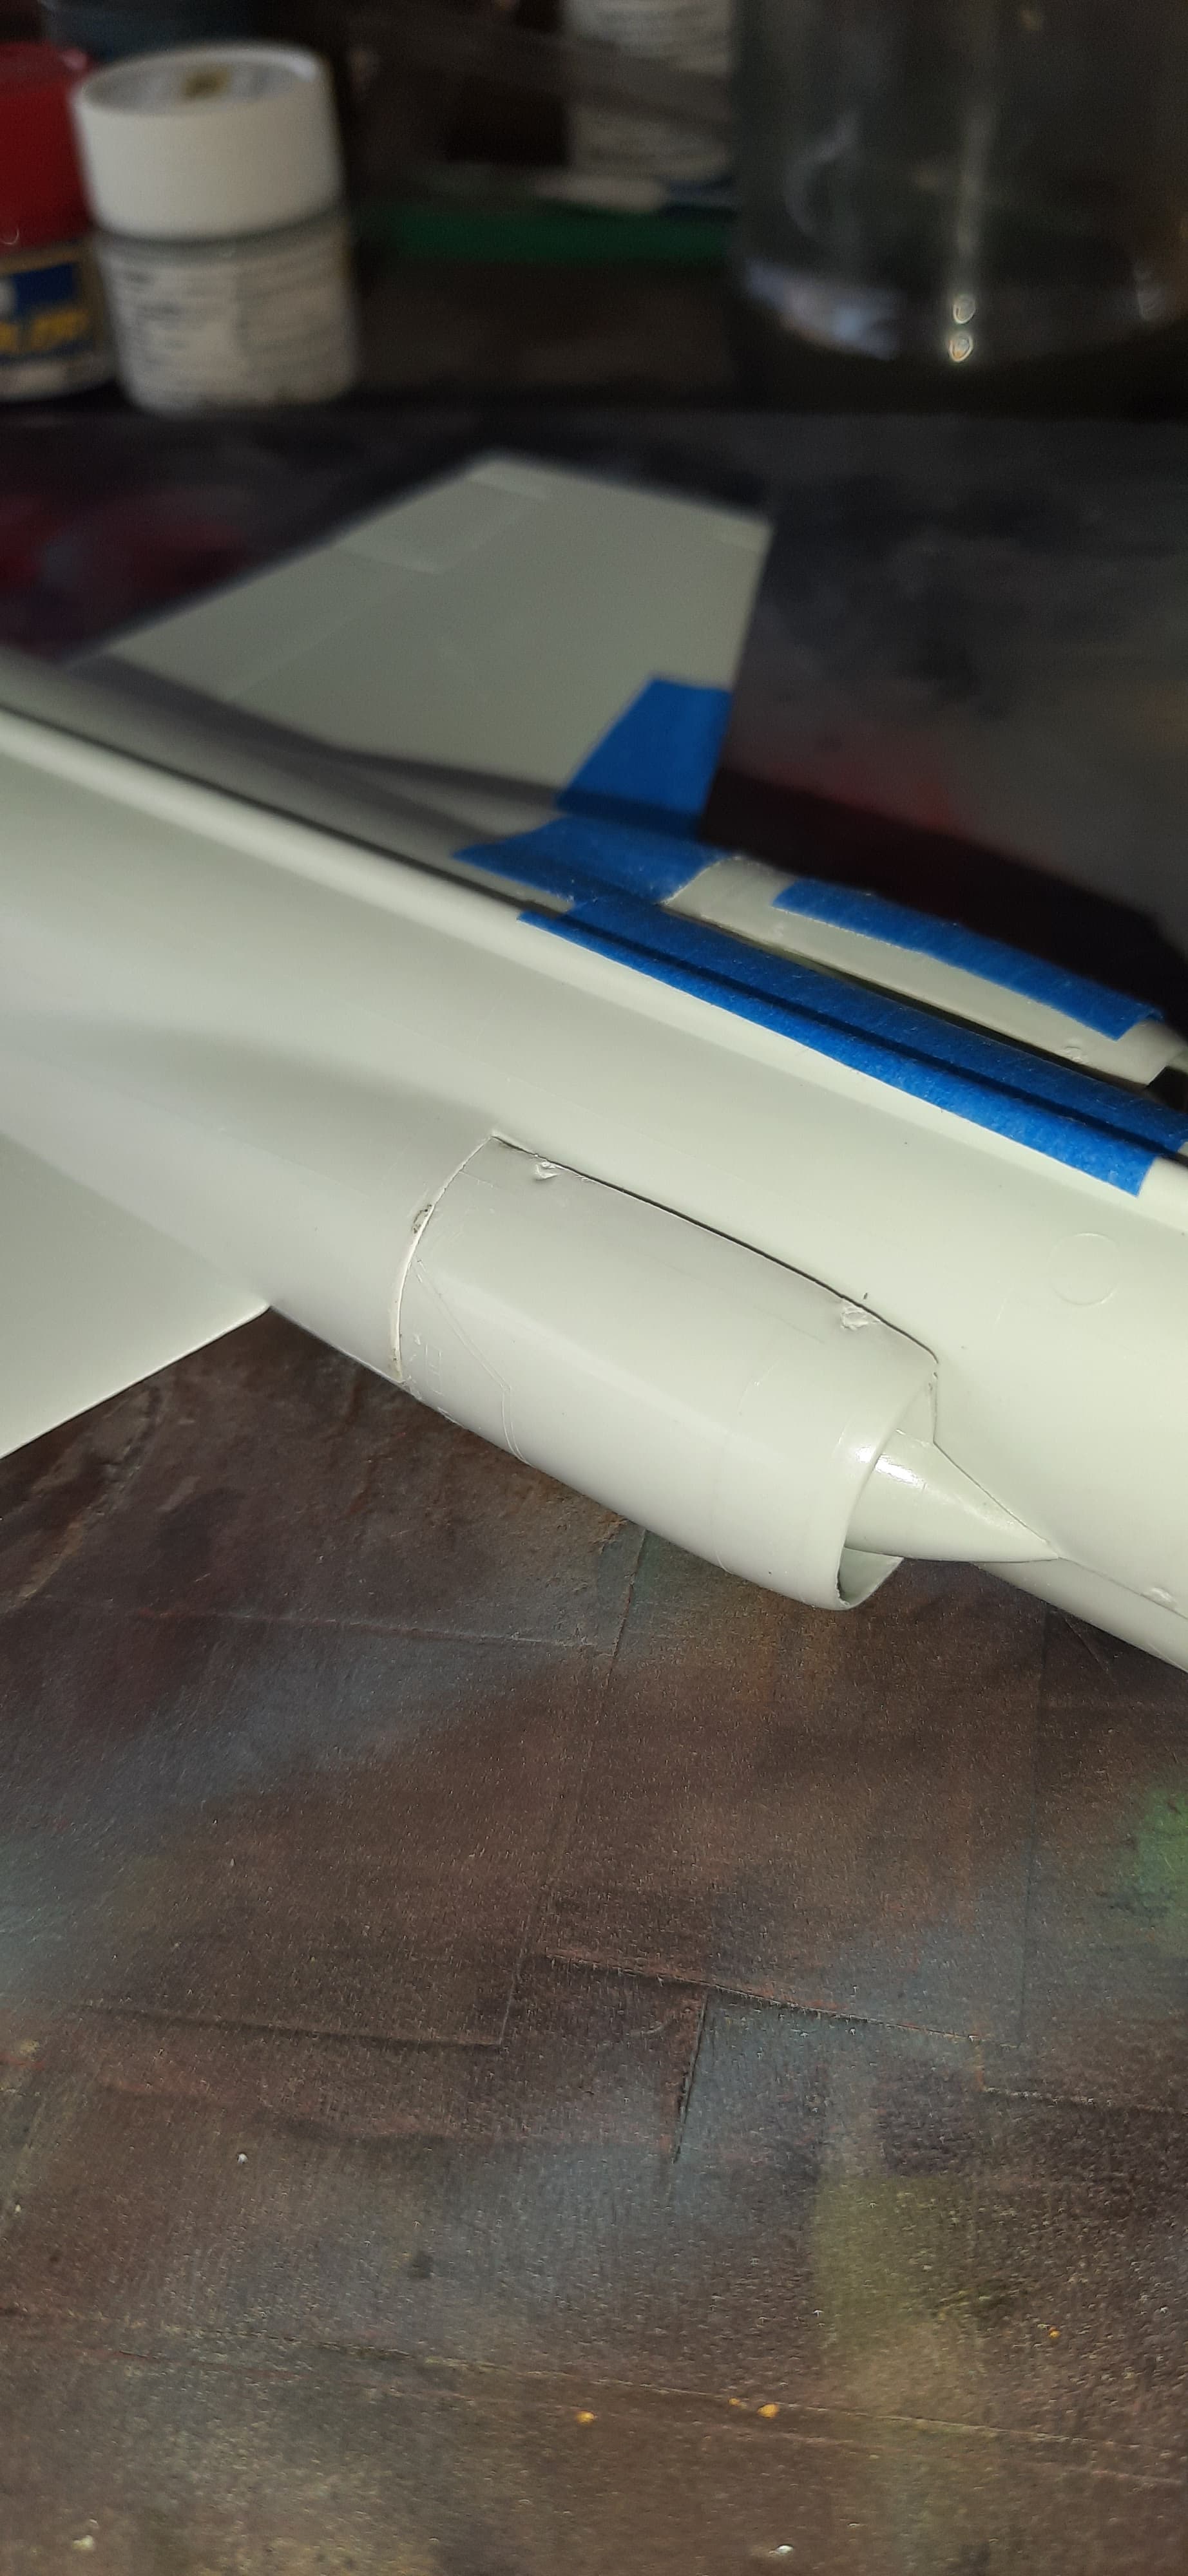
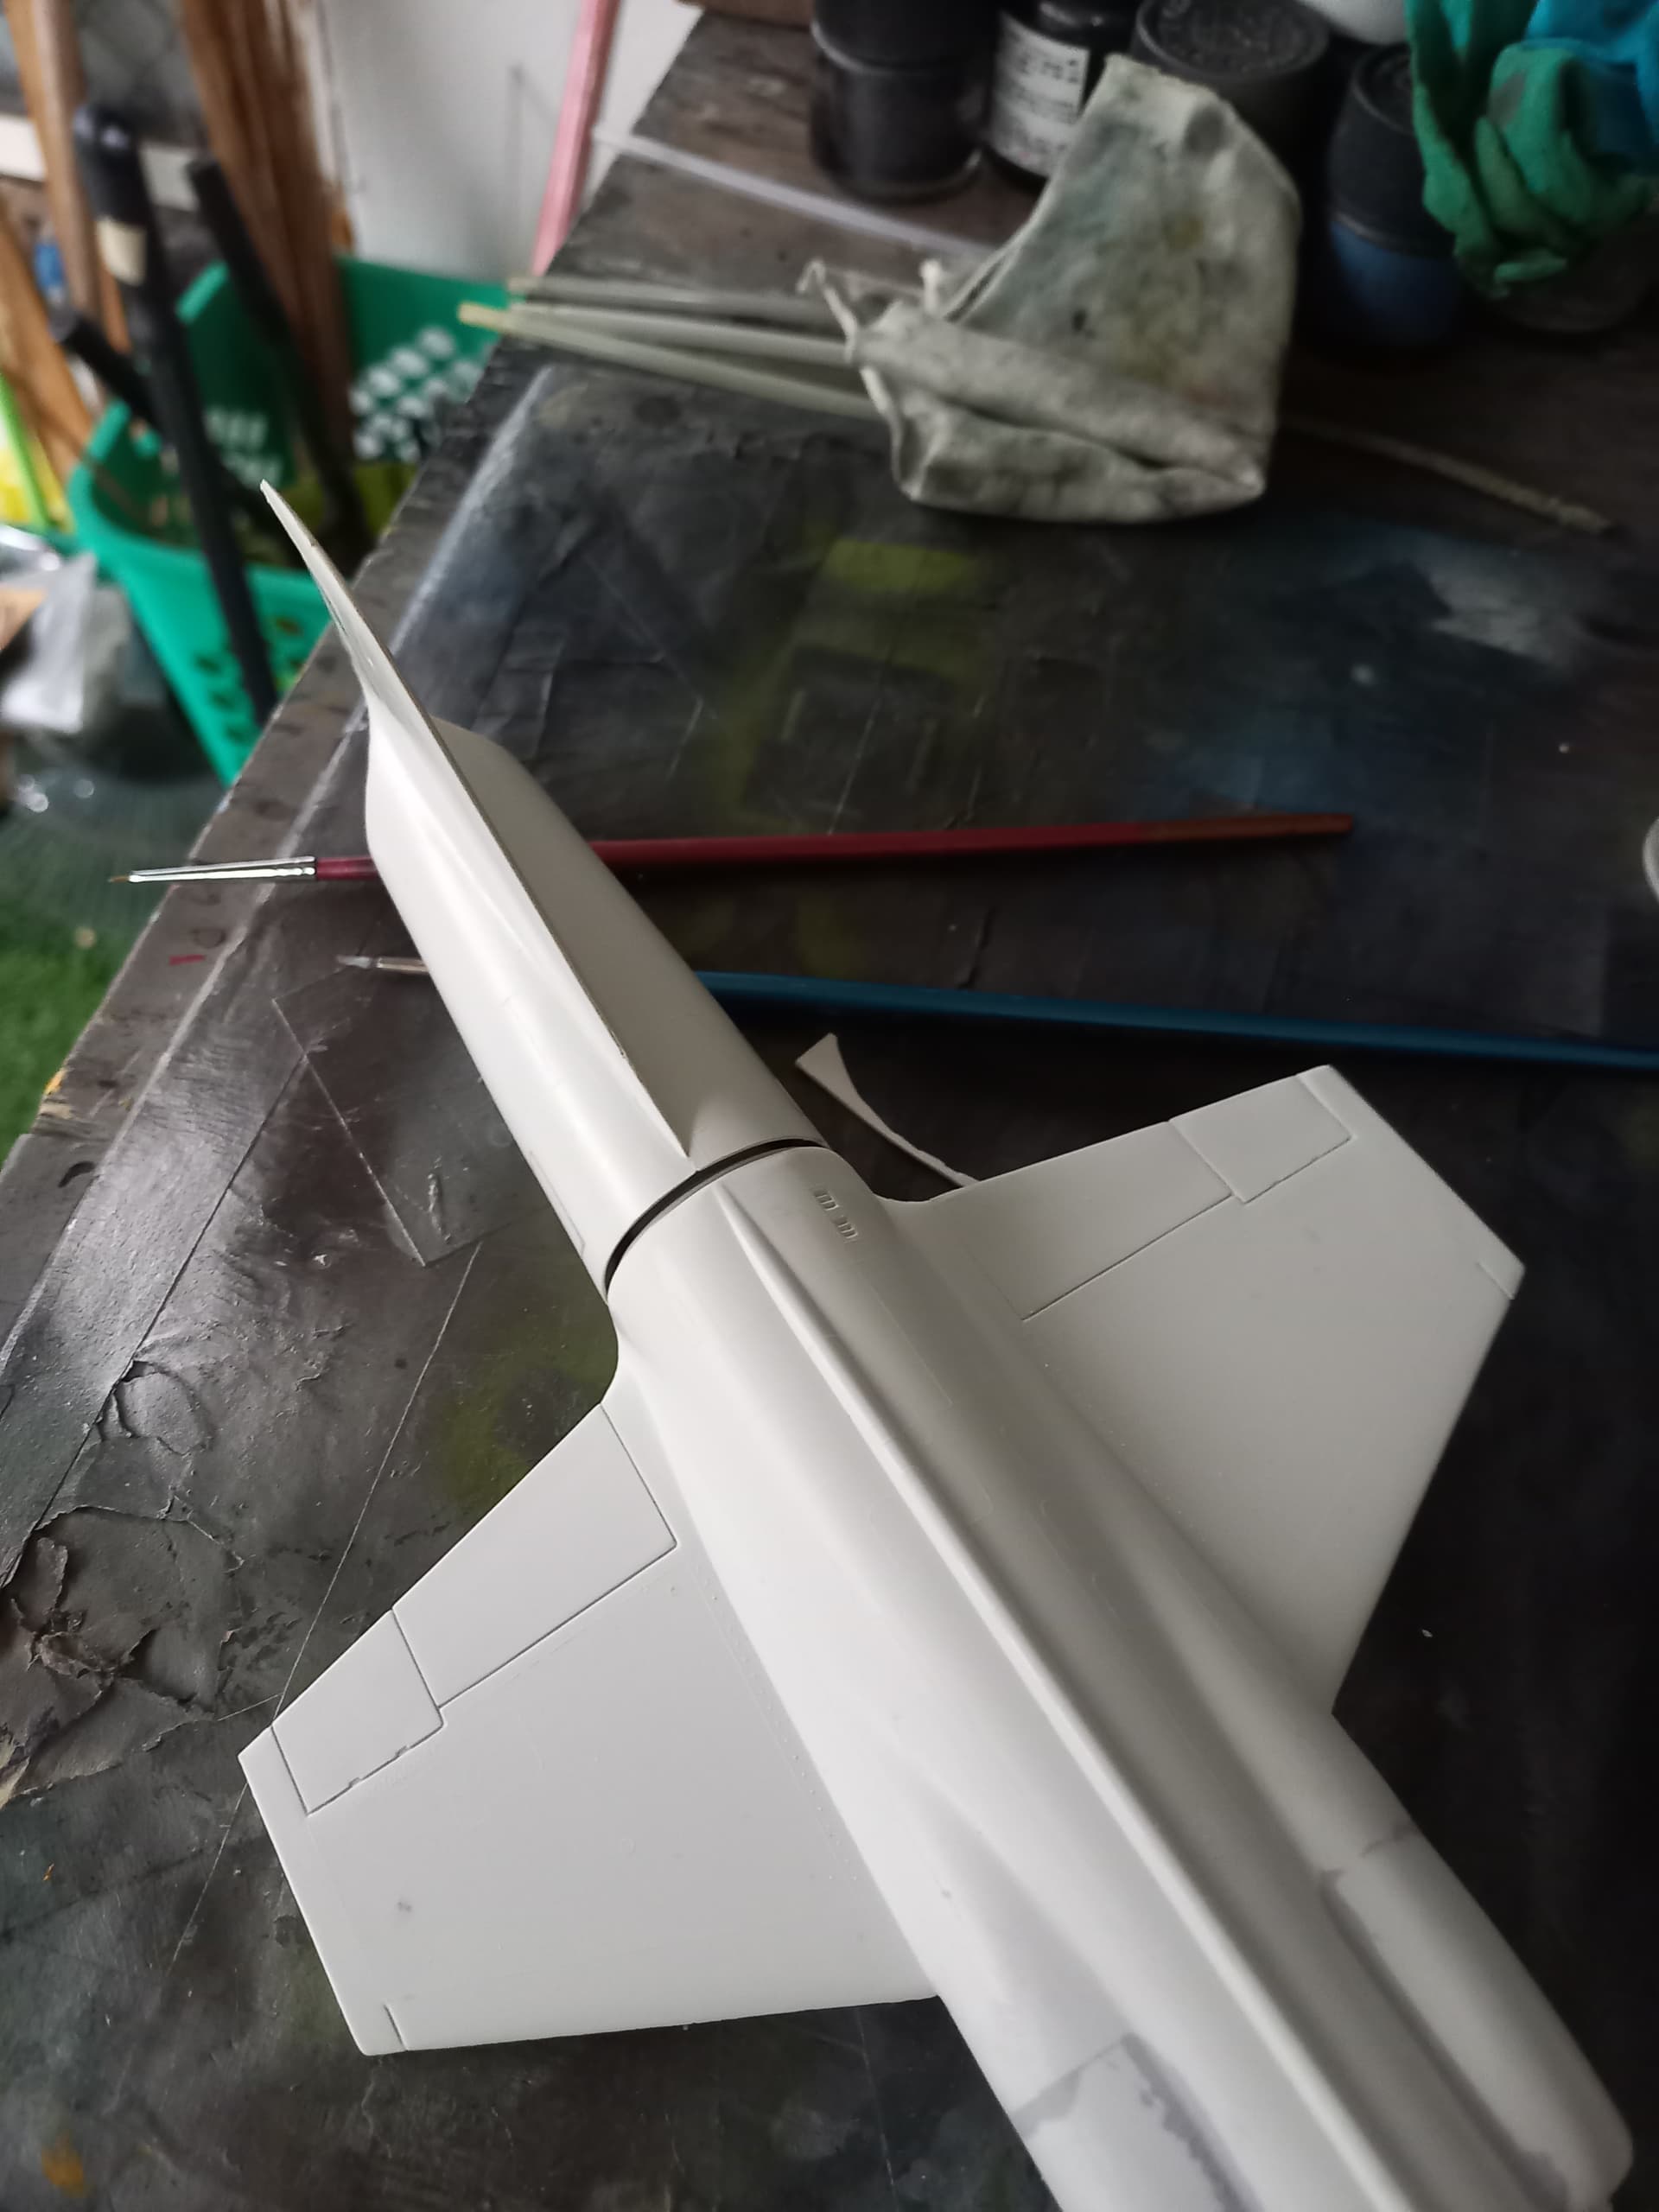
I found that by splitting the underside of the tail I could get a good fit topside, and work my way down, and then add some stock 0.20" and 0.10" width plastic. This actually went very well!
This was followed by more filling, having started with the gap filling marble/acrylic, Mr. Surfacer 500, 1000 and 1500 and superglue, I was getting really good at it! I masked the canopy, and started painting “Bob” the pilot.
Following some base coats, and the addition of verious greens, Bob got an oil wash of burnt umber, and looked ready to join his mount.
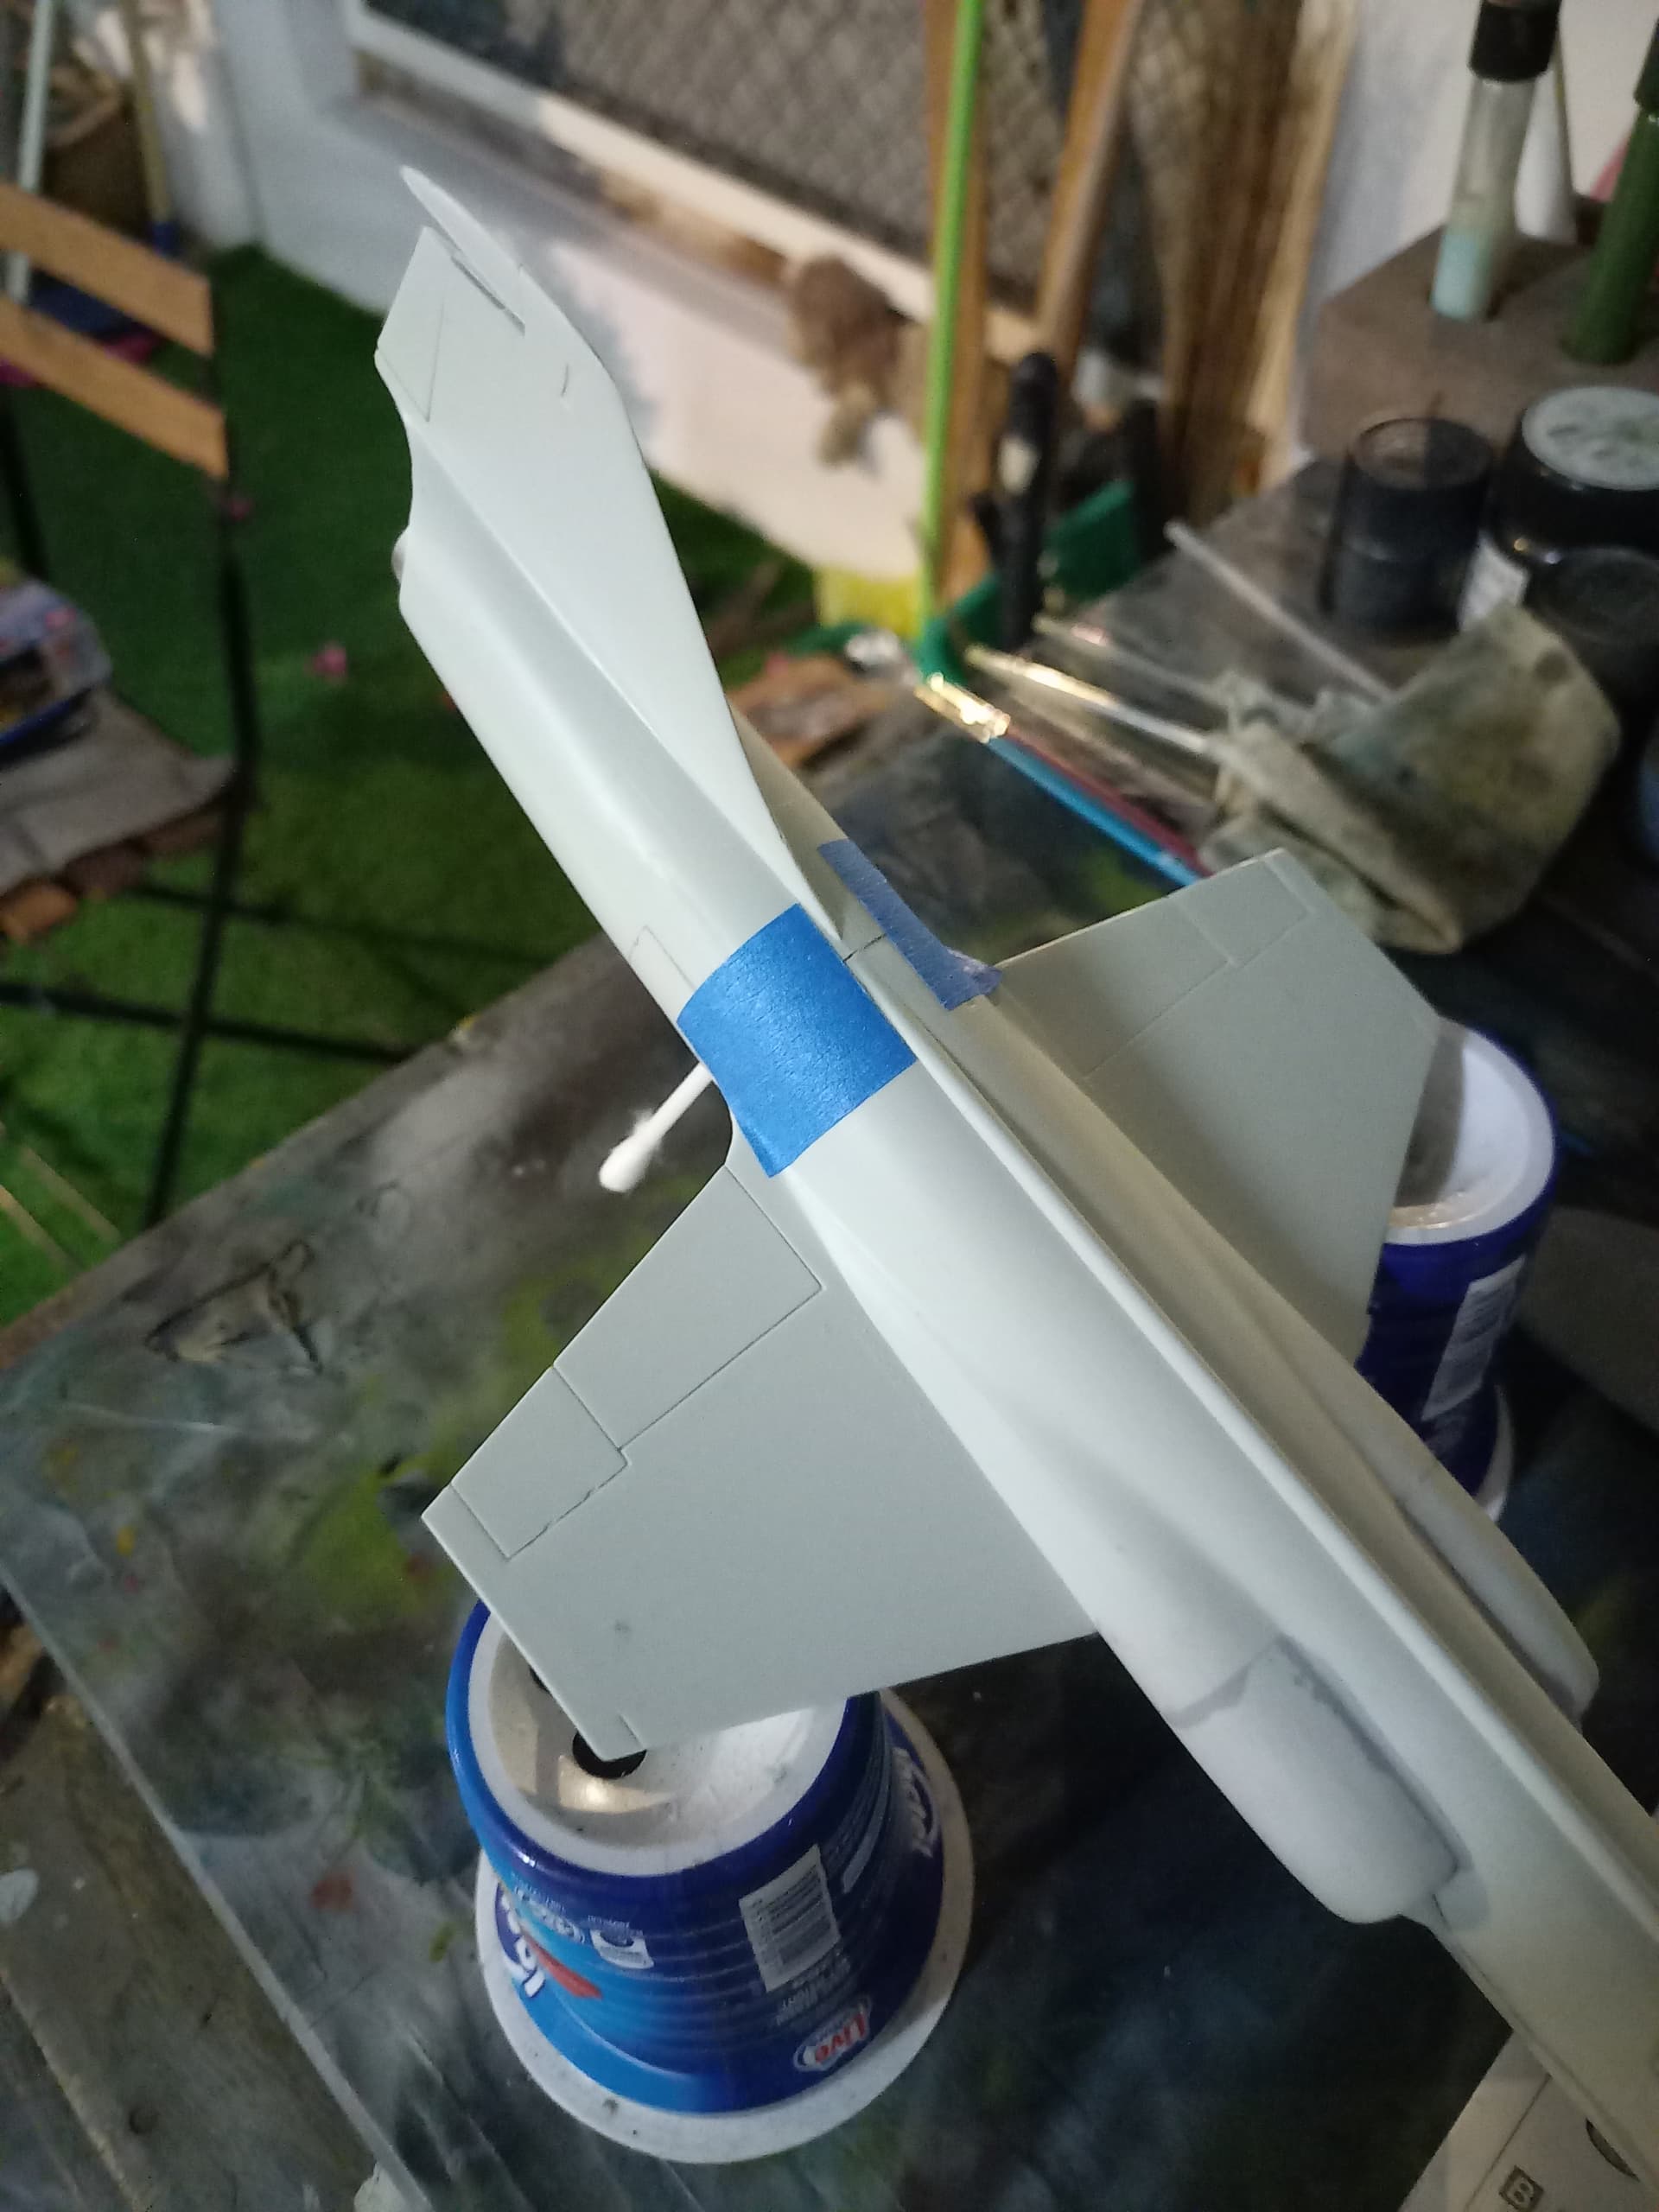
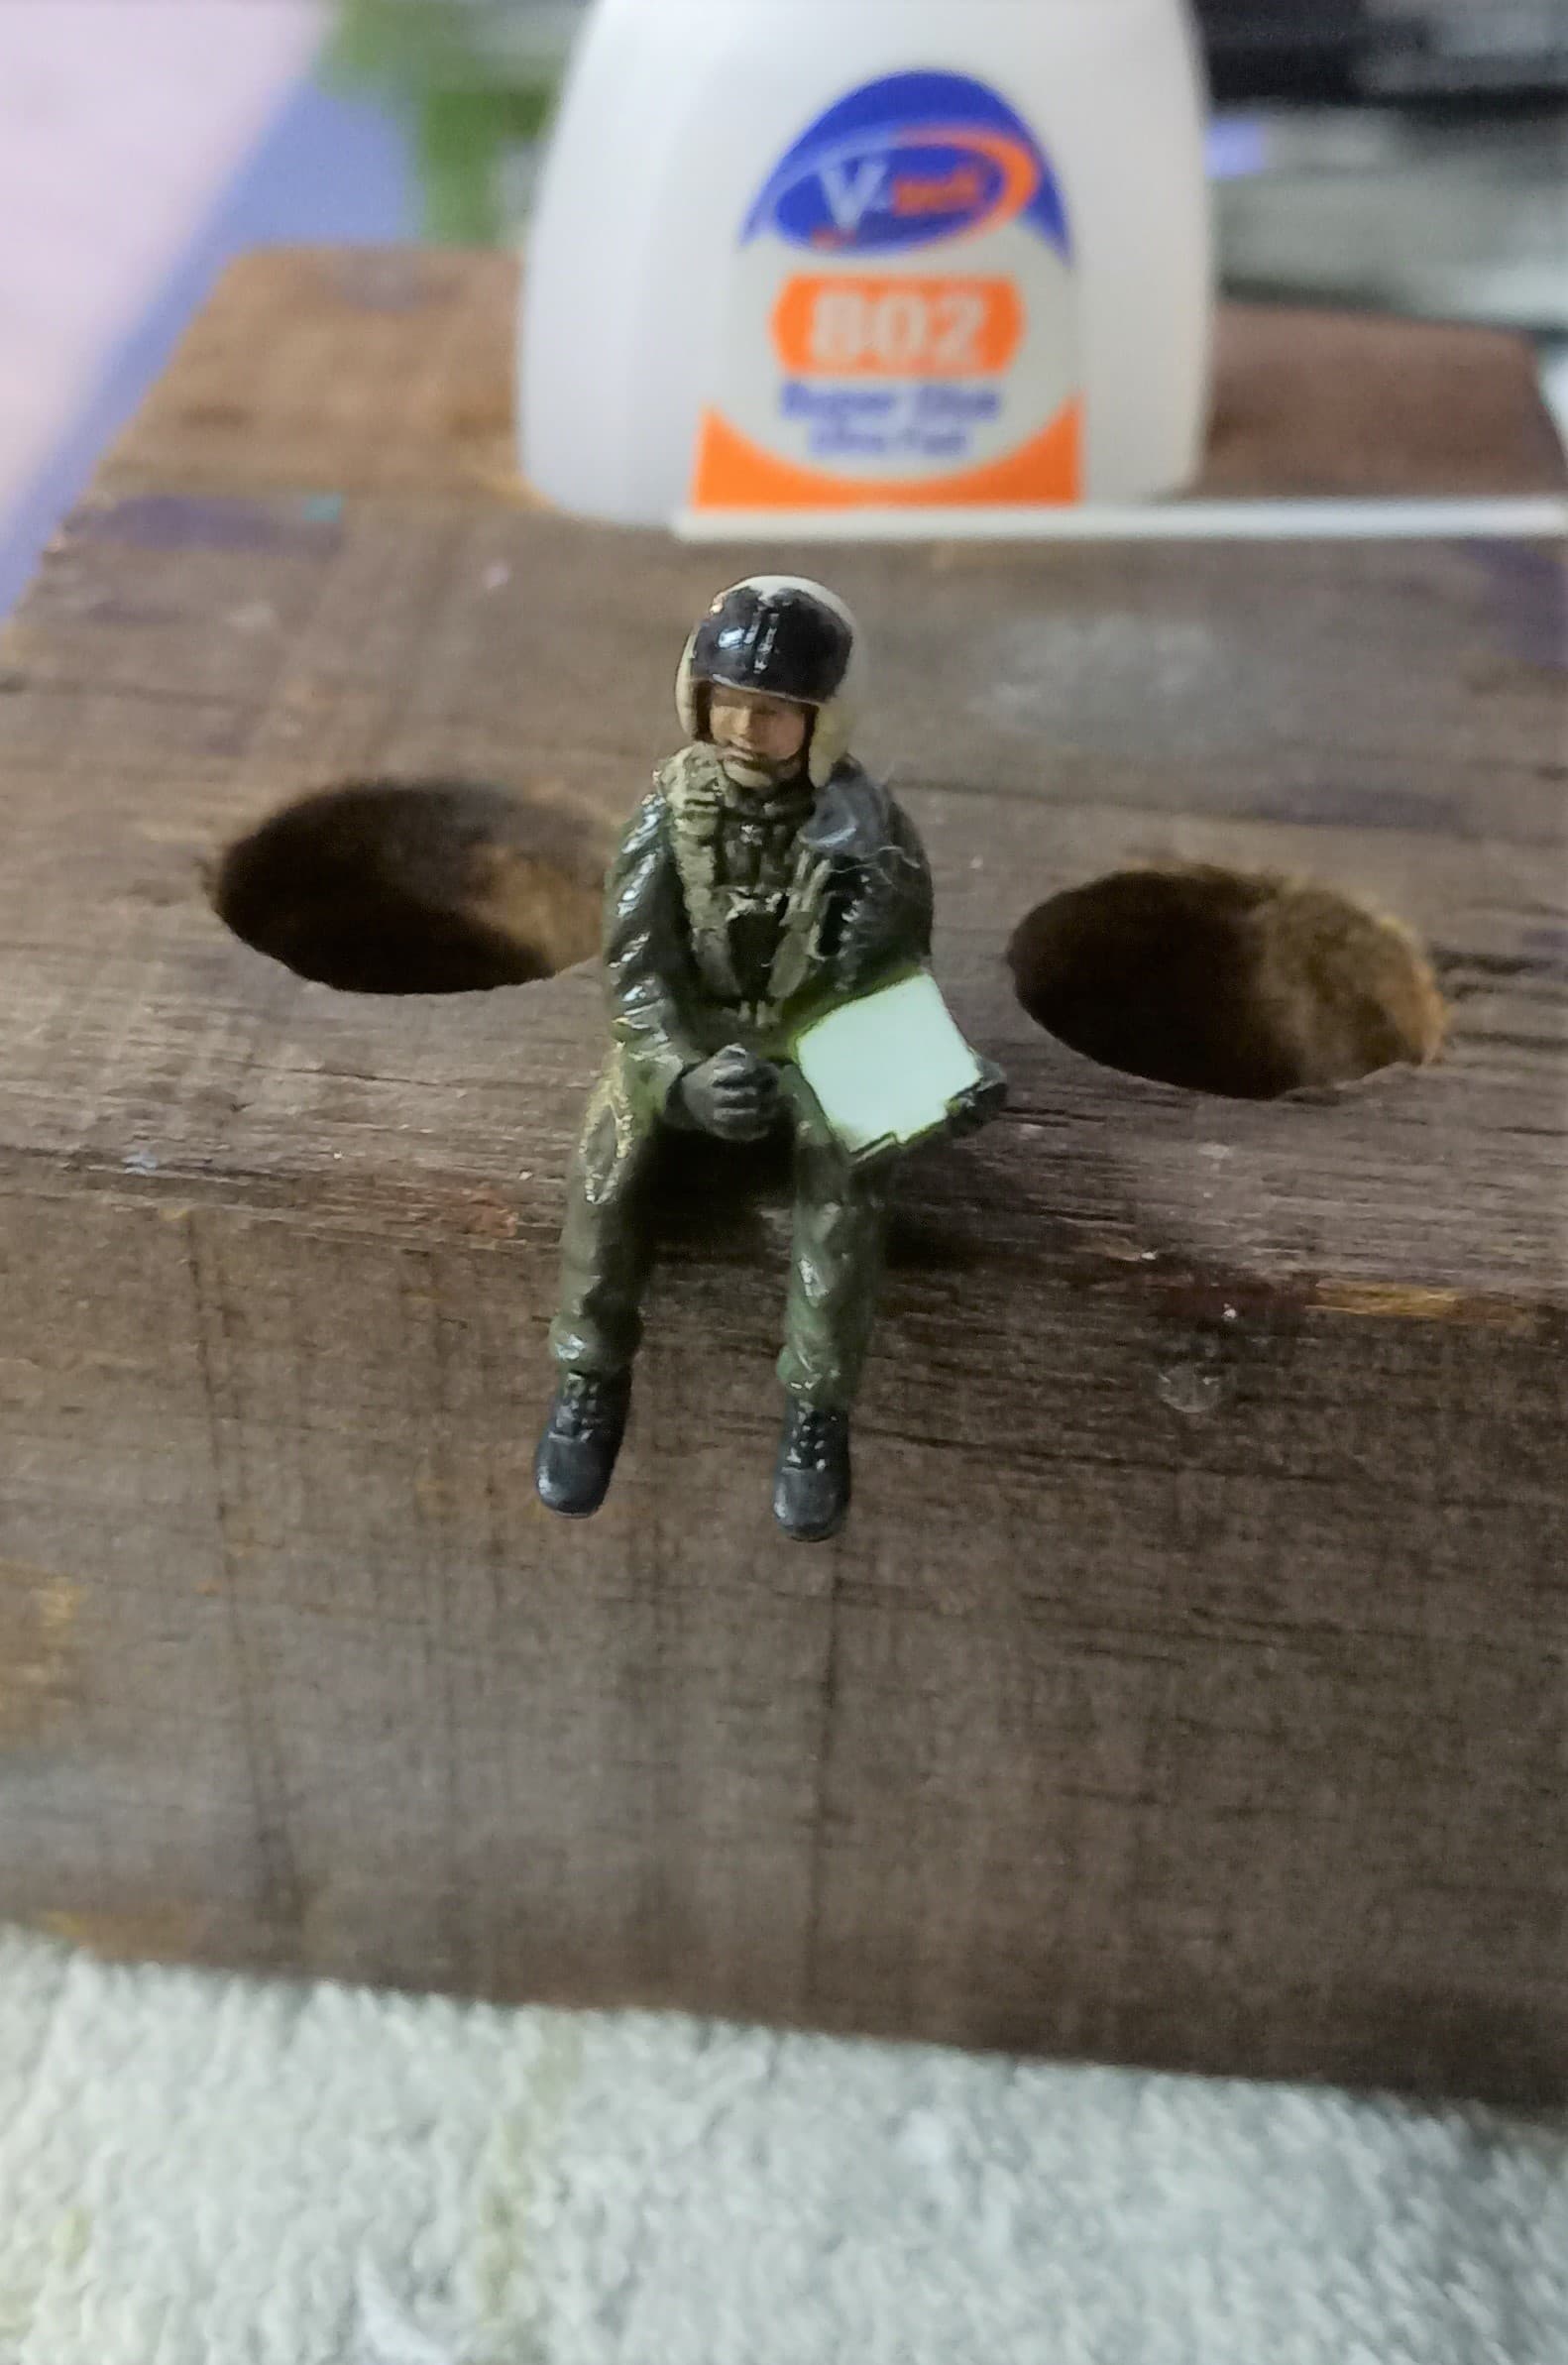
My first attempt to get Bob in the bird and close things up discovered that Bob was a bit too tall for his mount, so some sanding on his backside remedied this. The wife commented that Bob’s butt is just like mine, flat! I’m grateful and love that she takes an interest in the hobby, though sometimes her critique can be a little too frank.
So the canopy is drying now, and I’ll be filling gaps around it using some white glue. While it seems a never-ending process, I’m seeing light at the end of the tunnel. From the looks of things there’s to be a bit more light filling, and then some panel line restoration, adding the horizontal stabilizer, and then perhaps onto a black base coat to see how well I’ve done. Till then keep having fun, and despite the setbacks, this has been a learning and fun process. I’m starting to get a little perky with the filling and sanding!