Meng’s RR is only good for the one WW2 vehicle they have markings for, the one with the Boys rifle on the box top. It has the incorrect high turret, offset visors and oversize wire wheels for their 1914 optioned version.
Meng! That’s the one I was thinking of. Always get those confused. That’s pretty much what I’ve read in reviews. A new tool 1914 is needed.
Didn’t Roden provide the wheel spokes in etch that was really fragile?
What is good about it is a shorter list Ryan. Warped chassis parts, short shots, incorrect placement of parts meaning later attached parts don’t fit, no attachment aids for major pieces at all, soft and oversized detail, poor fit needing a lot of trimming (or filling), lots of flash and ejector pin marks, Vinyl tyres are impossible to clean up adequately and no lens for the lights (you have to punch them from acetate (if you can find the right sized punch). (Takes Deep Breath)…and …
Are there any thoughts on which WWI Eduard kit is considered the best, as in fit and ease of construction? I’ve got a few of their kits and seeking some thoughts prior to committing.
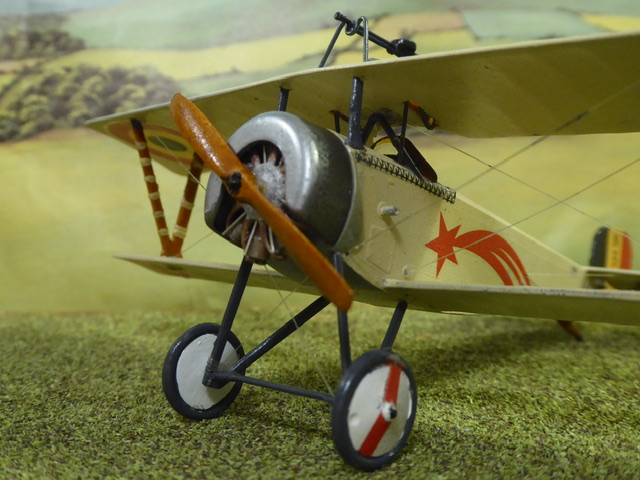
I’ve built the Nieuport kit and it is very nice. I currently have the new Camel kit in progress and it seems terrific. The parts I have dry-fitted so far fit together better than the same parts on their previous Camel kit.
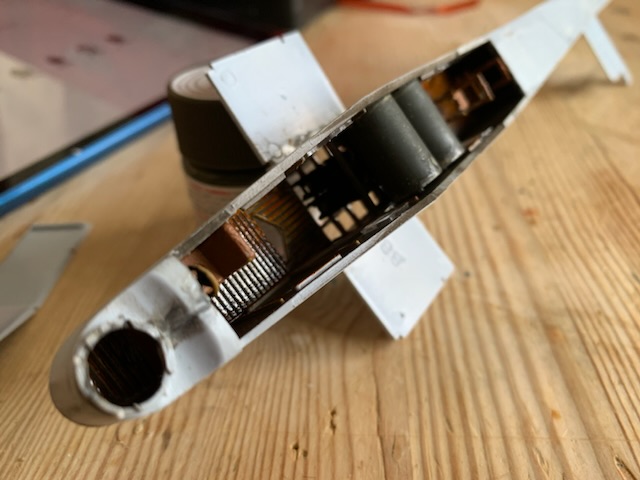
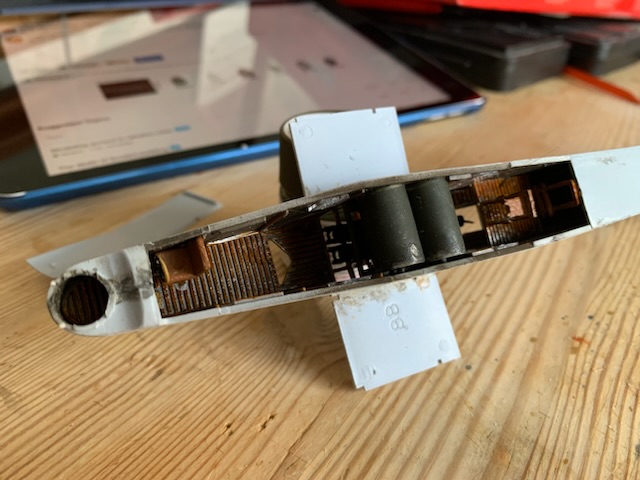
I started to build and got so engrossed I forgot to take pics. Anyway, remembered before I closed the fuselage. The kit is fairly old and there are all the usual faults, flash, ejector pin recesses and heavy detail, but there are some nice parts as well. Generally the fit so far is good, I only have one small area to fill. So far I plan to build without crew, but I can probably get them in later if I change my mind.
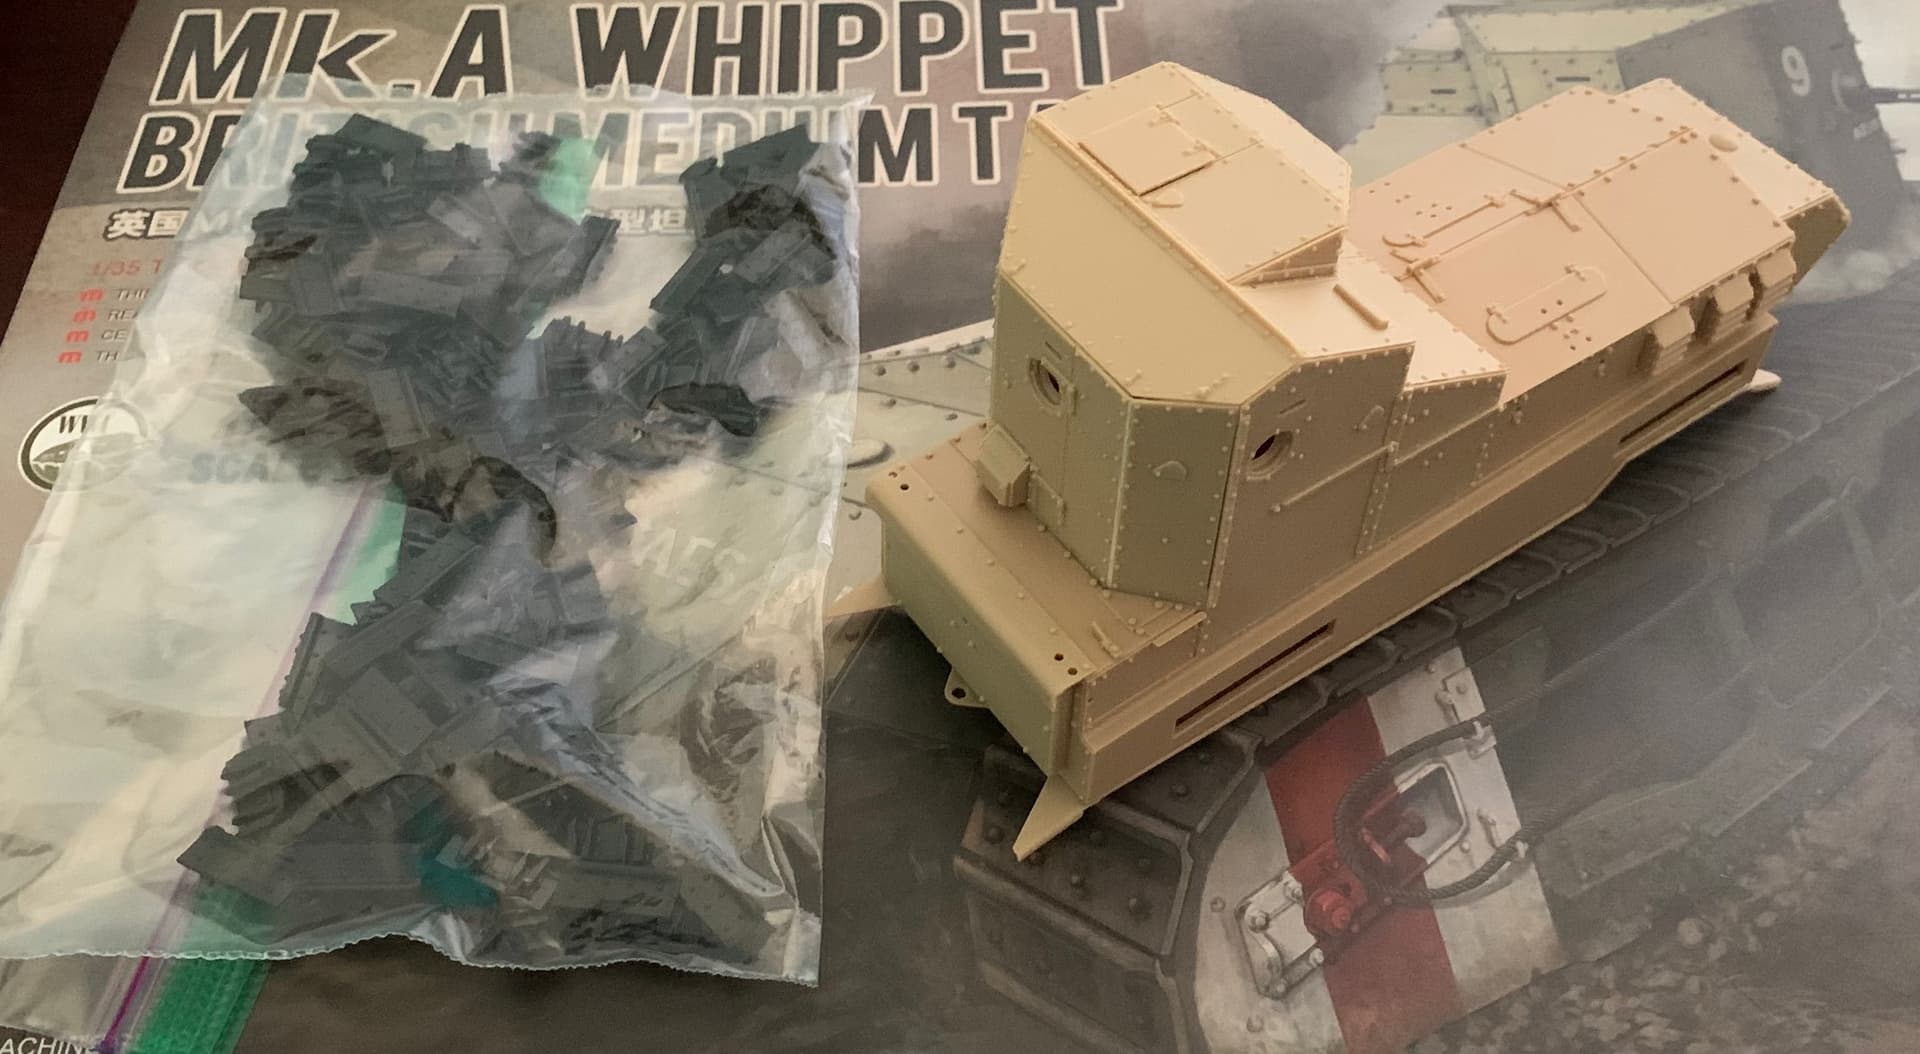
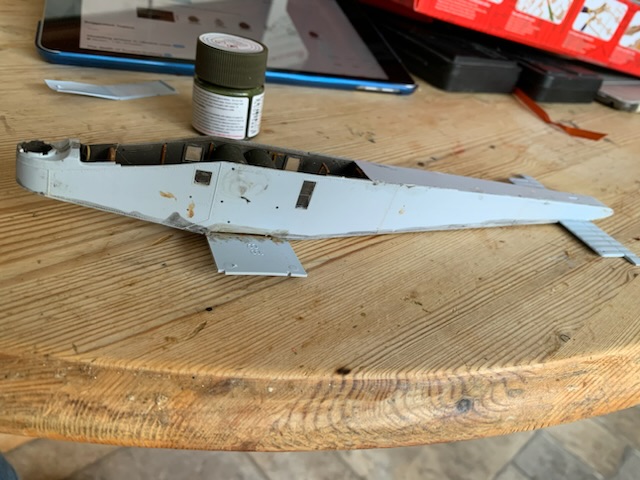
Most of the internal detail disappears once the top decking is fitted
Got some contamination in the glue or brush
Surprisingly elegant fuselage
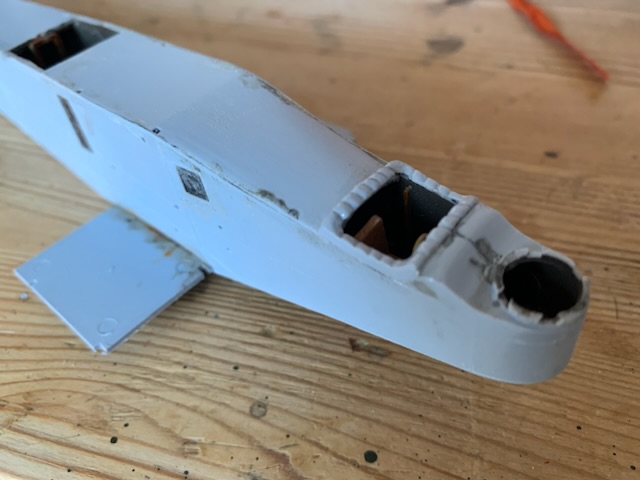
Little bit of filling needed port side behind the cockpit otherwise fit is pretty good.
Filled the gaps with Vallejo Plastic Putty. I don’t always use this product but its properties made clean up around the bolt head easier then say Tamiya putty or something else. I only added an evergreen strip to the top front section and filled the corners with VPP.
It’s definitely helped preserve the bolt details.
How do you use the Vallejo putty? I’ve not had much luck myself. Do you wait till it’s dry and wipe off the excess or while it’s still wet?
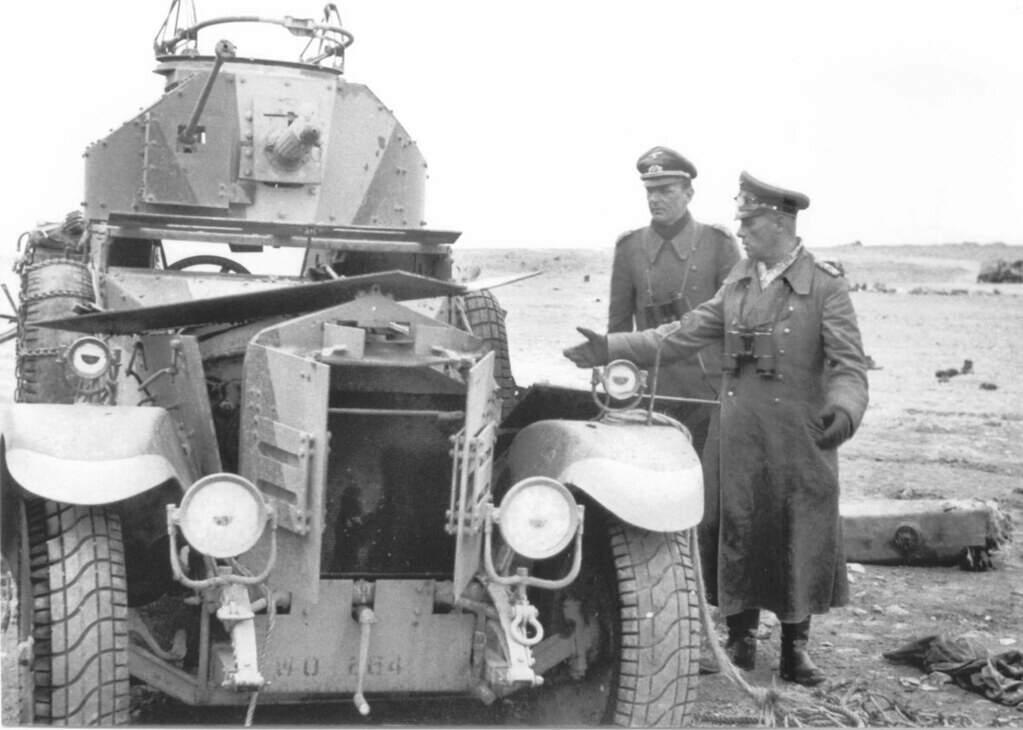
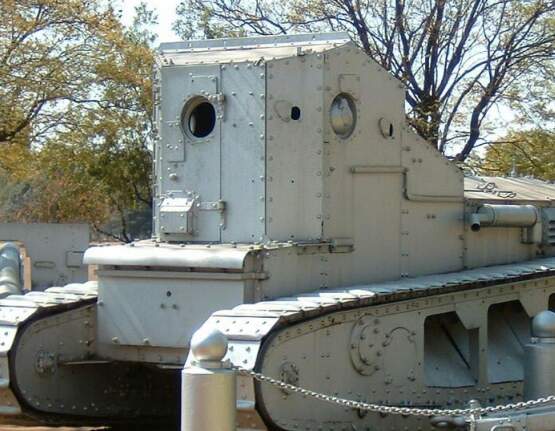
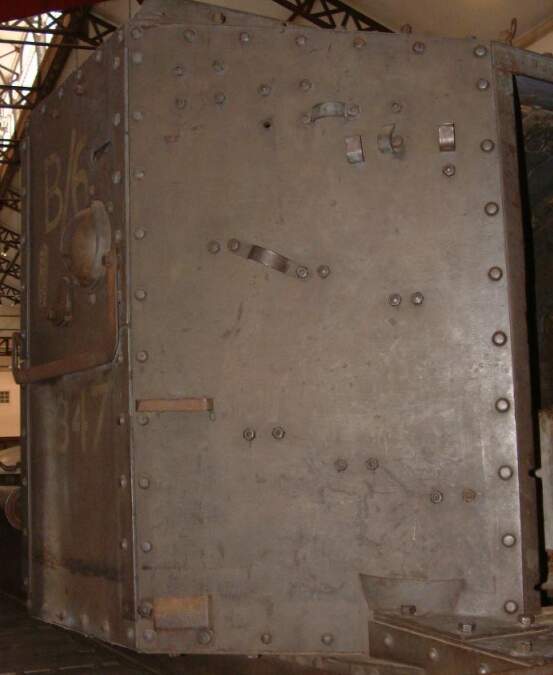
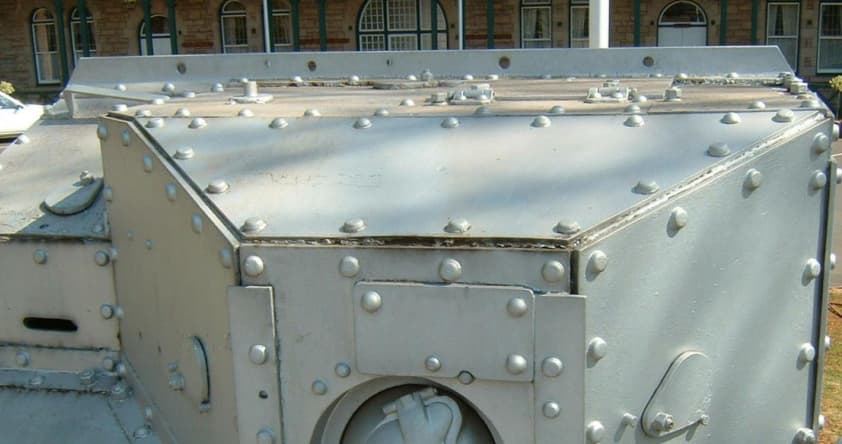
Hate to say it Ryan, but the gaps are supposed to be there. Each armoured plate was just a rectangle with 90 degree edges. These were bolted to an internal frame that had the angle, so there is a gap between plates:
I understand, this was best time I had with it and probably cause I shouldn’t have done it like Peter showed.
What I did was squeeze a bead along the seam. It was over the bolt heads but not by a lot. I waited about 30 secondish, using a throw away brush removed the excess, wiping in a paper towel before the next wipe. I had a paint palette with a few drops of water in it. Using a cotton bud dipped in the water (moist not dripping wet) slowly worked it around the bolts and extra. Using the dry side occasionally. I followed up if I thought it was needed.
Before if I waited too long, it would dry too much and any touching would drag the putty out of the gap.
Thanks for the information. I get the 1:1 but sometimes in scale it doesn’t look right, to my eyes anyway. I did have see through gaps which would have been too big in 1:1. Hard to film but these are not flush but probably still much based on your photos. If that is the worst I do on this build, I will be happy.
Thanks, I think I might have been leaving it too long and using too much water to remove the excess. I kept wiping it all out!
I might experiment with it on that Sukhoi I’m working on.