Seeing how well it worked, I plan to try it on the front windscreen on my plane builds. Would probably need two applications, with some extended time in between to ensure no issues, which for me fits perfectly with how I build.
2 Likes
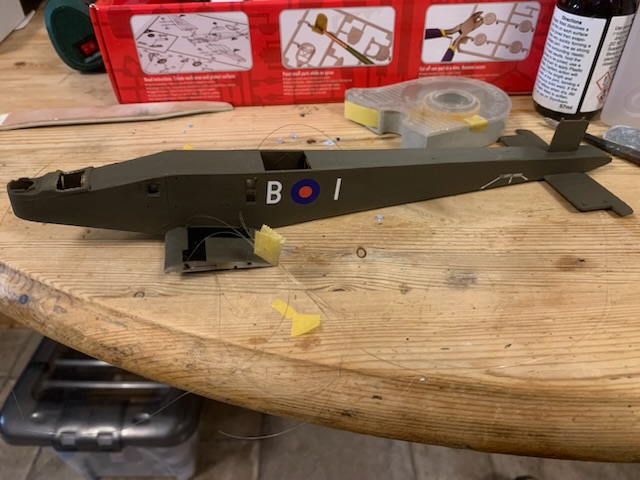
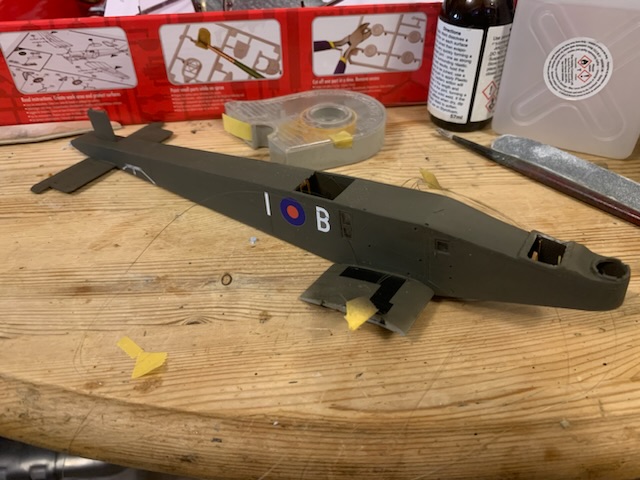
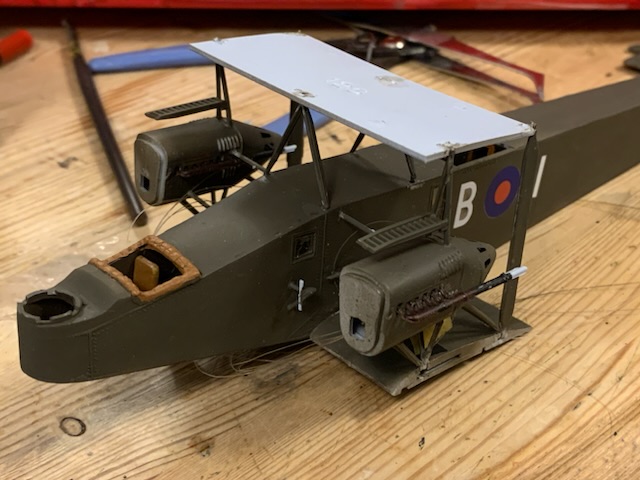
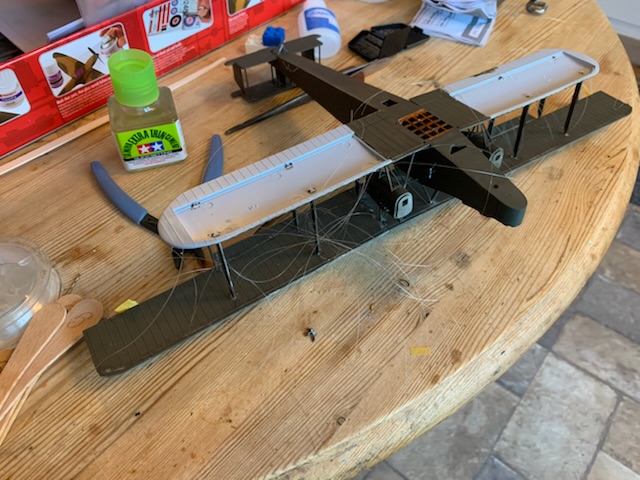
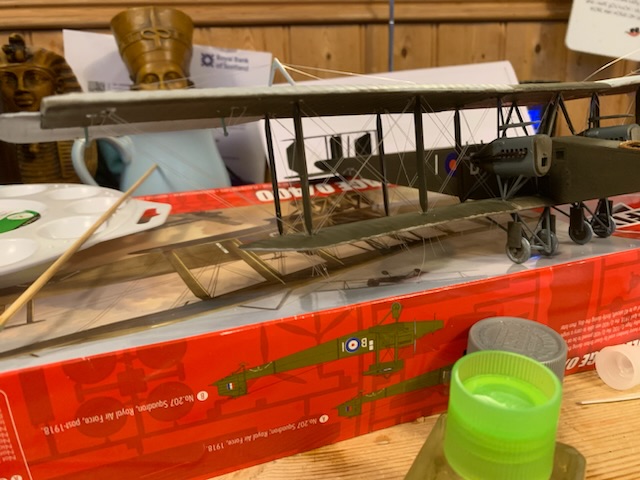
Pushed on with the O/400 today. Painted fuselage in Tamiya Khaki Drab, which is my favoured colour for PC10. Then added the first decals so the impossible decal under the engines would be done. Then found that part of said decal goes on the outer wing. Oh well, I will mask and paint that.
5 Likes
That’s gone together fairly quick! Lets hope the wings go together just as easily. Iirc Airfix moulded all the rigging points into the wings?
1 Like
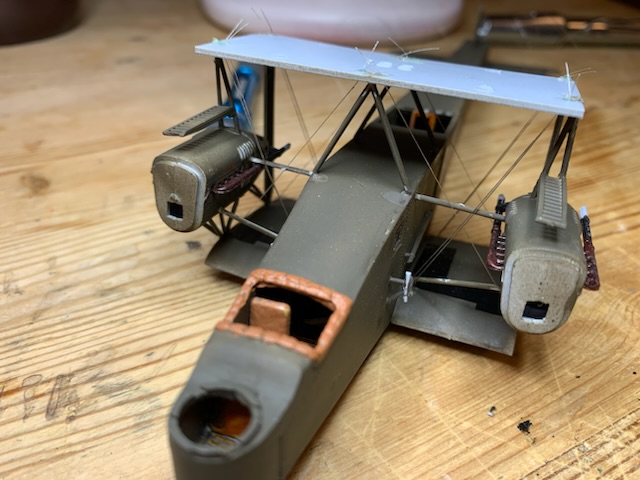
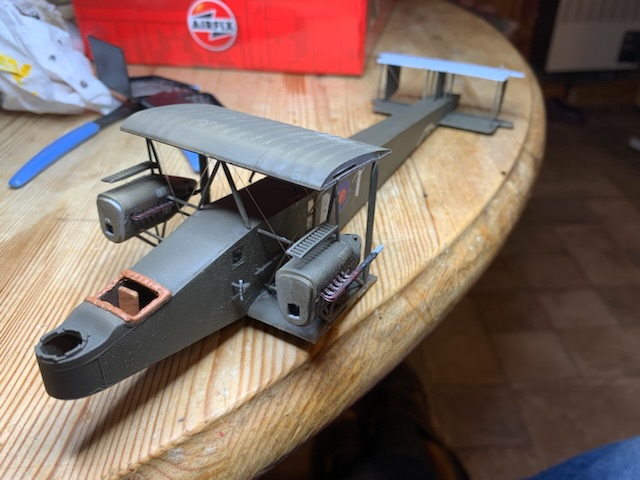
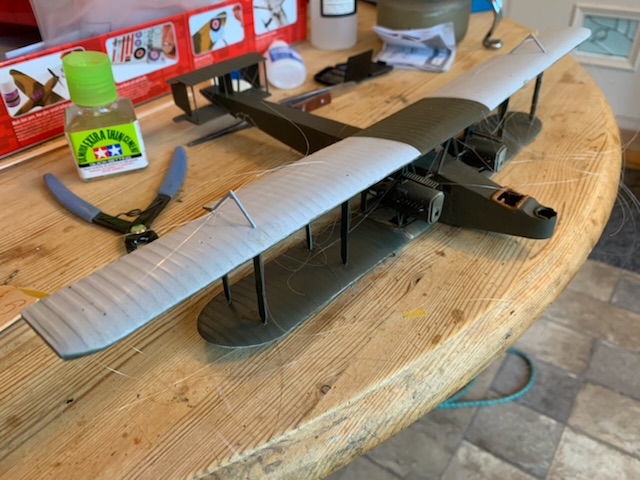
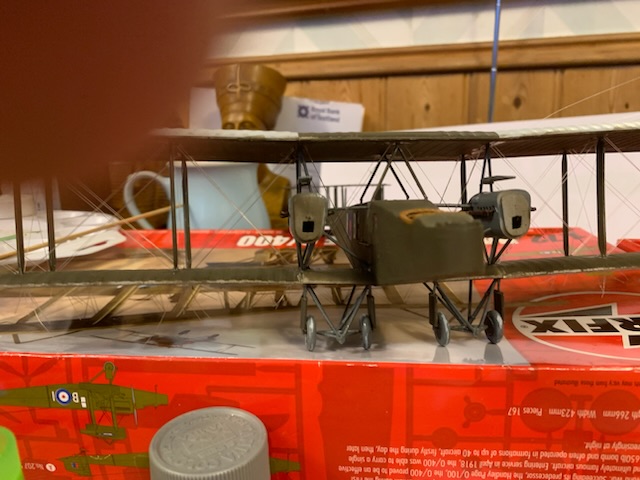
Bit more done tonight. Needed 3 hands to assemble this lot. That said the fit looks ok and the centre sections look square. Now I have to rig this bit.
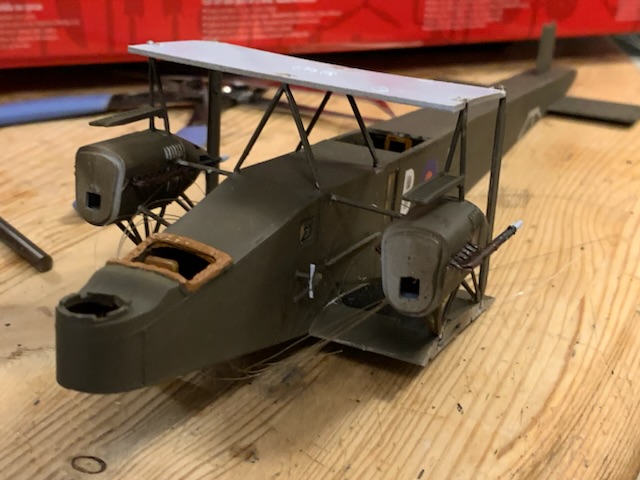
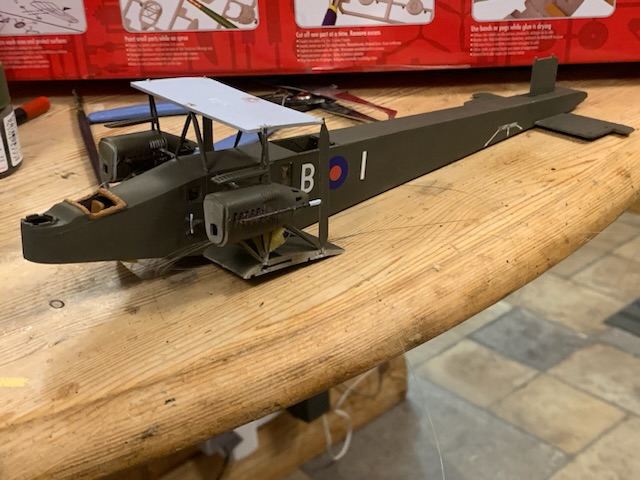
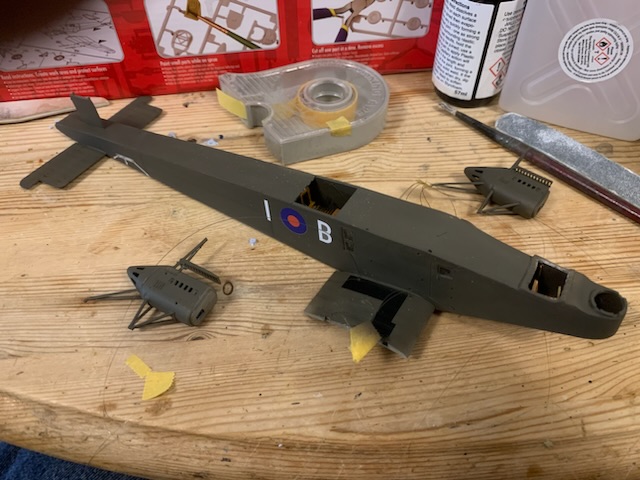
Radiators and props are done but not fitted, they would only make the rigging harder.
Yes basic rigging points are moulded in and quite well too but only points for single lift wires and RFC standard was to double them so I will be drilling extra and have already in the centre section. Landing wires I will leave single. Airfix didn’t mould rigging points into the tail. I have drilled it for single wires but something I read said they were double wires all round.
7 Likes
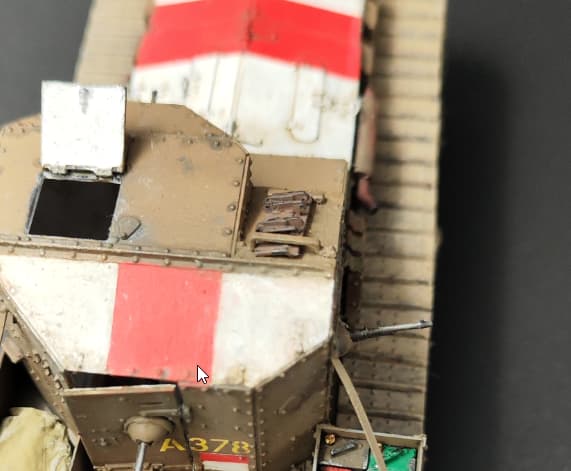
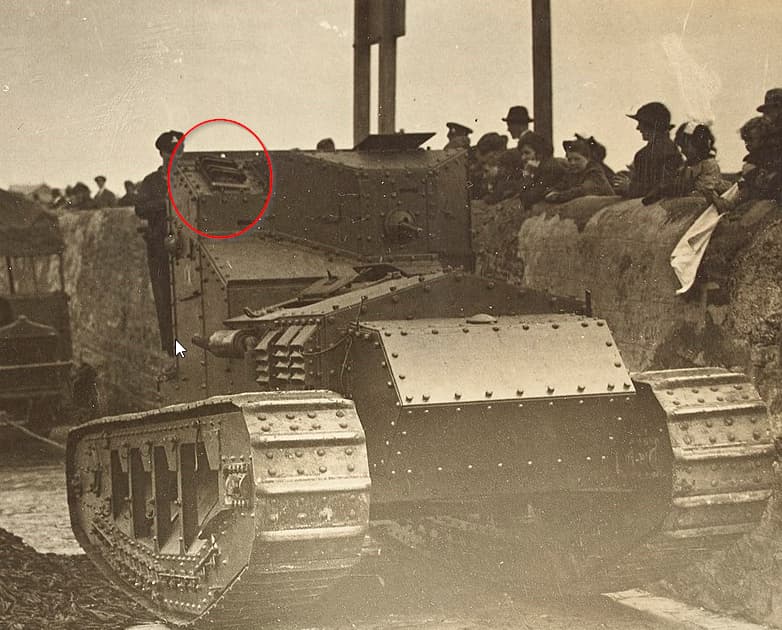
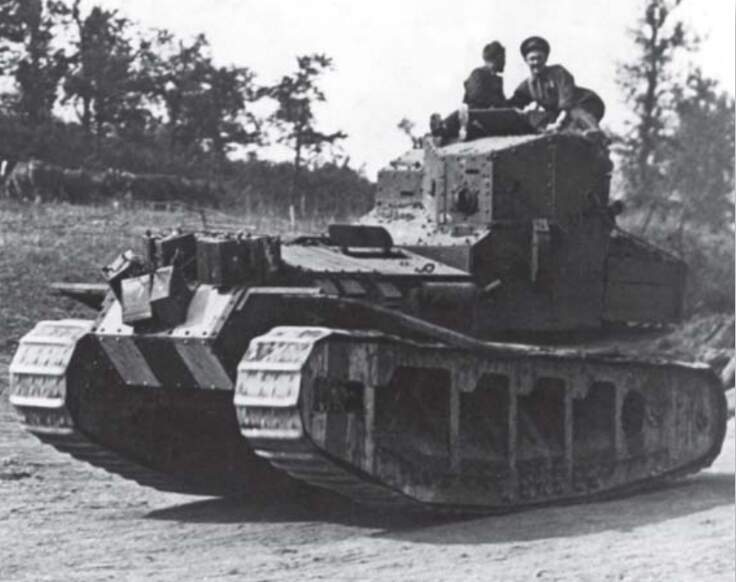
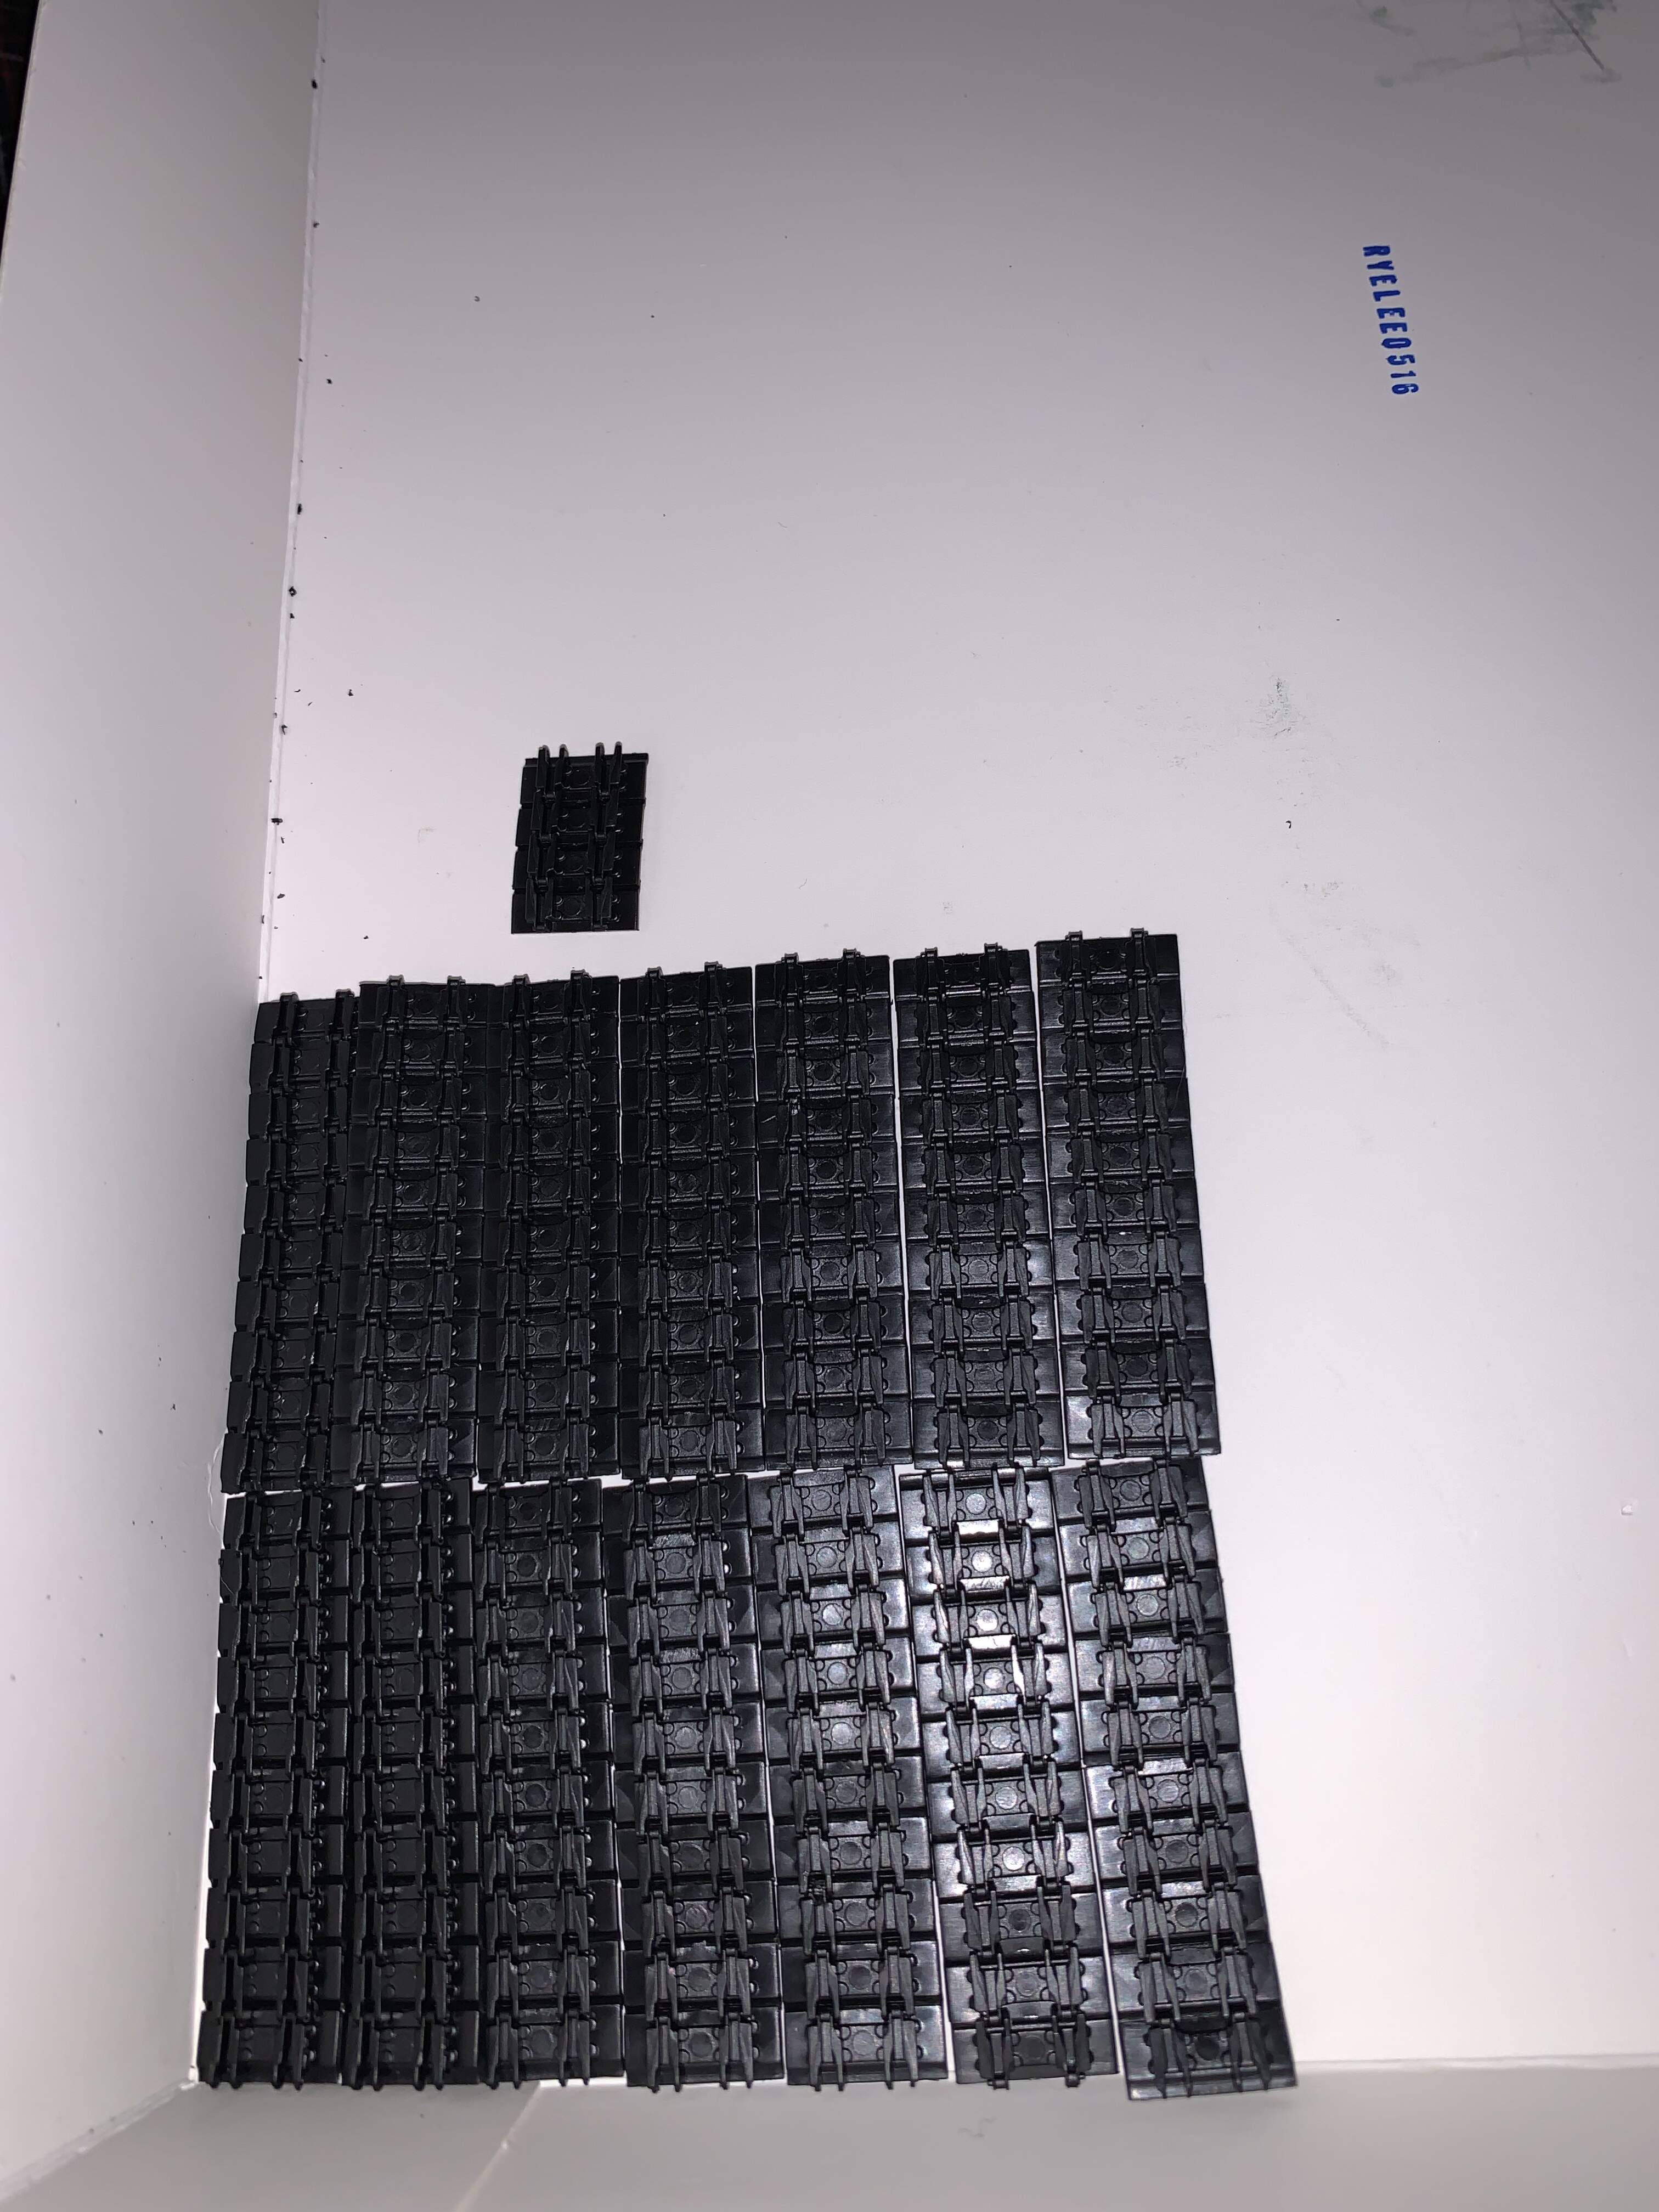
Do not forget to add a track link to the top of the superstructure… Meng doesn’t mention this in their instructions, but they were there.
2 Likes
Thanks for the reminder. I will do that with the storage boxes. Now I have the cans to help ensure proper fit. Working on the road wheels now.
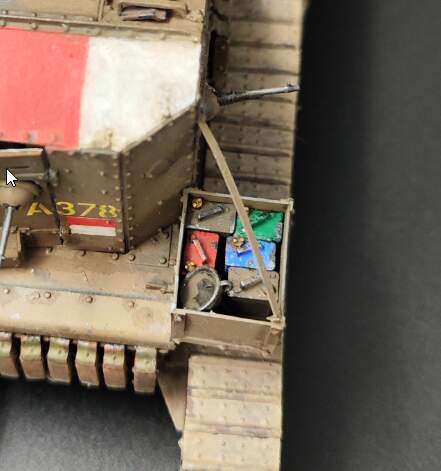
I did it the other way around: first build the box, then looked and see if the cans would fit. I have also seen vehicles that sported a whole lot of cans at he front…
As far as the link is concerned, I found out only later, so I added the top bracket first and had to correct this somehow…
2 Likes
What I meant to write was take the information you gave me, sketch out, test the can layout and adjust as needed to ensure fit before cutting.
With the dimensions I gave you, 6 cans will fit. The room that is left is too small for another 2.
6 Likes
Thanks Erwin. ![]()
2 Likes
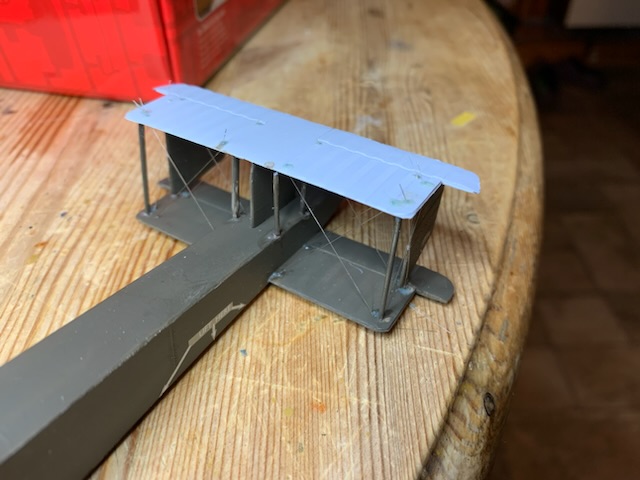
Finished rigging the centre section of the wing and started on the tail. I thought I would try something different. I saw something on this site that started the little wheels turning, using printer resin as adhesive, setting it off locally using a u-v torch. First impressions are good, quite controllable with a little practise.
7 Likes
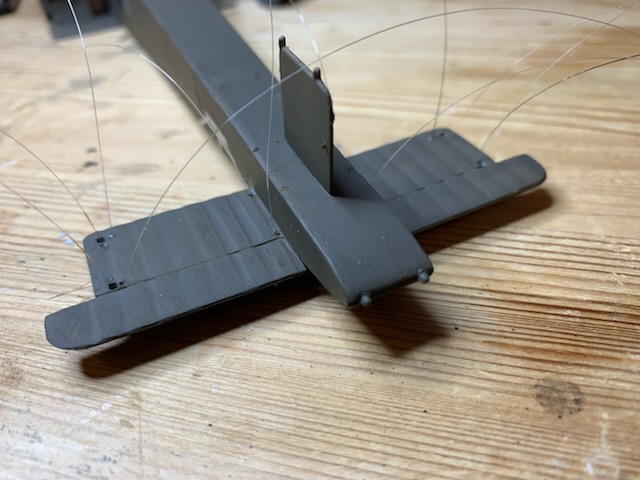
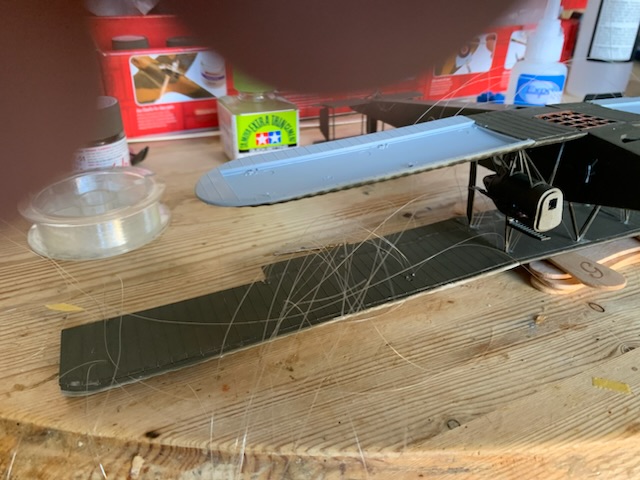
The tail went together fairly well and rigging completed. The lower wing centre section was rubbed down and the upper added. That night I noticed that two flying wires had come detached so I must have sanded all the resin off. Managed to reattach and secure from the outside, then went round and secured all wire on the outside
Need to find details of elevator and rudder control wires
5 Likes
Doing a great job there Andrew.
1 Like
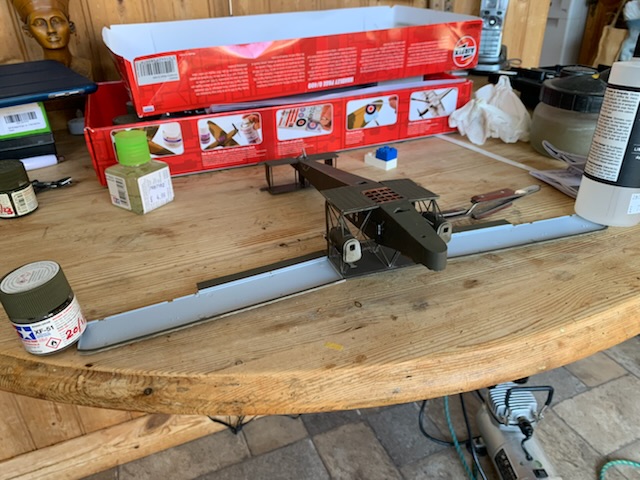
Some more process, a little bit more and I can black prime it before closing it all up.

Oh and @golikell, the track bracket is mentioned in step 5, part B11. ![]()
![]()

3 Likes
True, but not what it is for and a positive position is hard to find…
1 Like
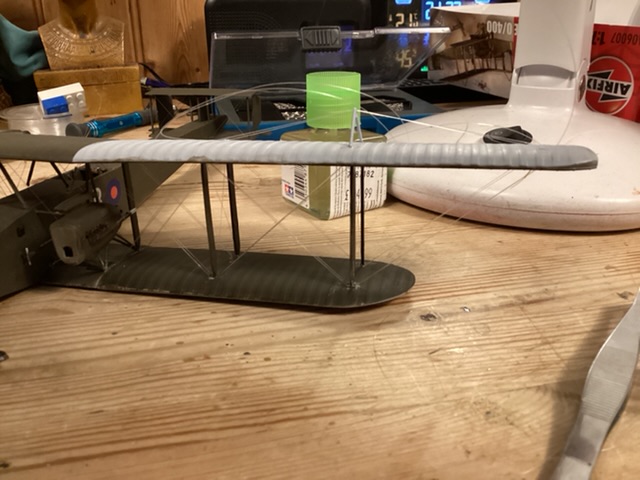
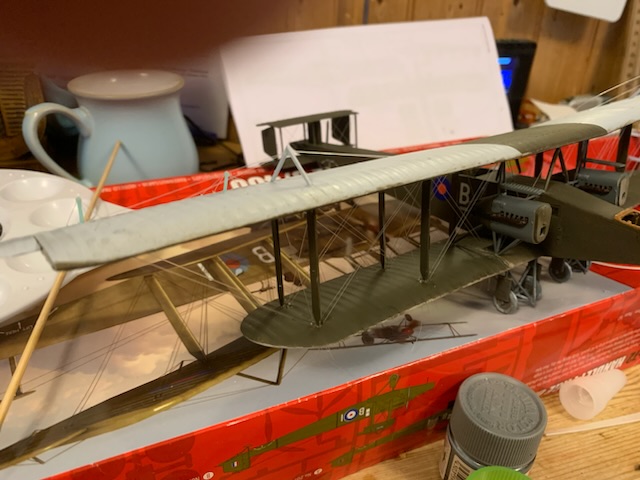
Spent today sorting out the outer wings. The Airfix method in the instructions was never going to work for me. So I fitted the upper wing tops, put in wires at every rigging point top and bottom of the upper wings and secured them with cyano. Joined upper and lower halves. Fitted the top of the lower wing and added interplane struts. Node by node sorted out rigging and secured it in the lower wing with printing resin, setting each node off with a UV torch. I will leave the bottom open till I am happy it works. Only 1 more set of wings to do now but my magnifying light just blew.
10 Likes
With no magnifier I couldn’t do any more rigging so started on the undercarriage. Airfix again suggested a sub-assembly, once again I decided to build onto the main assembly. Even doing this it was a fiddly job, especially with a damaged W strut on one side.
Then joy, the new magnifier arrived, so had to rig the other wings to test it, worked well! Yesterday I had also designed and printed control horns so fitted the first four of these with their rigging on the starboard aileron.
Two under the wing as well. That is starboard rigging finished. Just got controls on port side to do
10 Likes
Looking fantastic.
I’m going to need to you do a rigging tutorial!
4 Likes
New method using printing resin instead of cyano seems to work. Seems to be more controllable
4 Likes