Thanks, mate! ![]()
1 Like
…and with drop tanks at last

Thanks for that interesting and impressive campaign!
Greetings from Germany
Peter
7 Likes
Nice job Peter, that Malcom hood canopy is cool.
Cajun ![]()
1 Like
What a beauty!
1 Like
Thanks, mates! ![]()
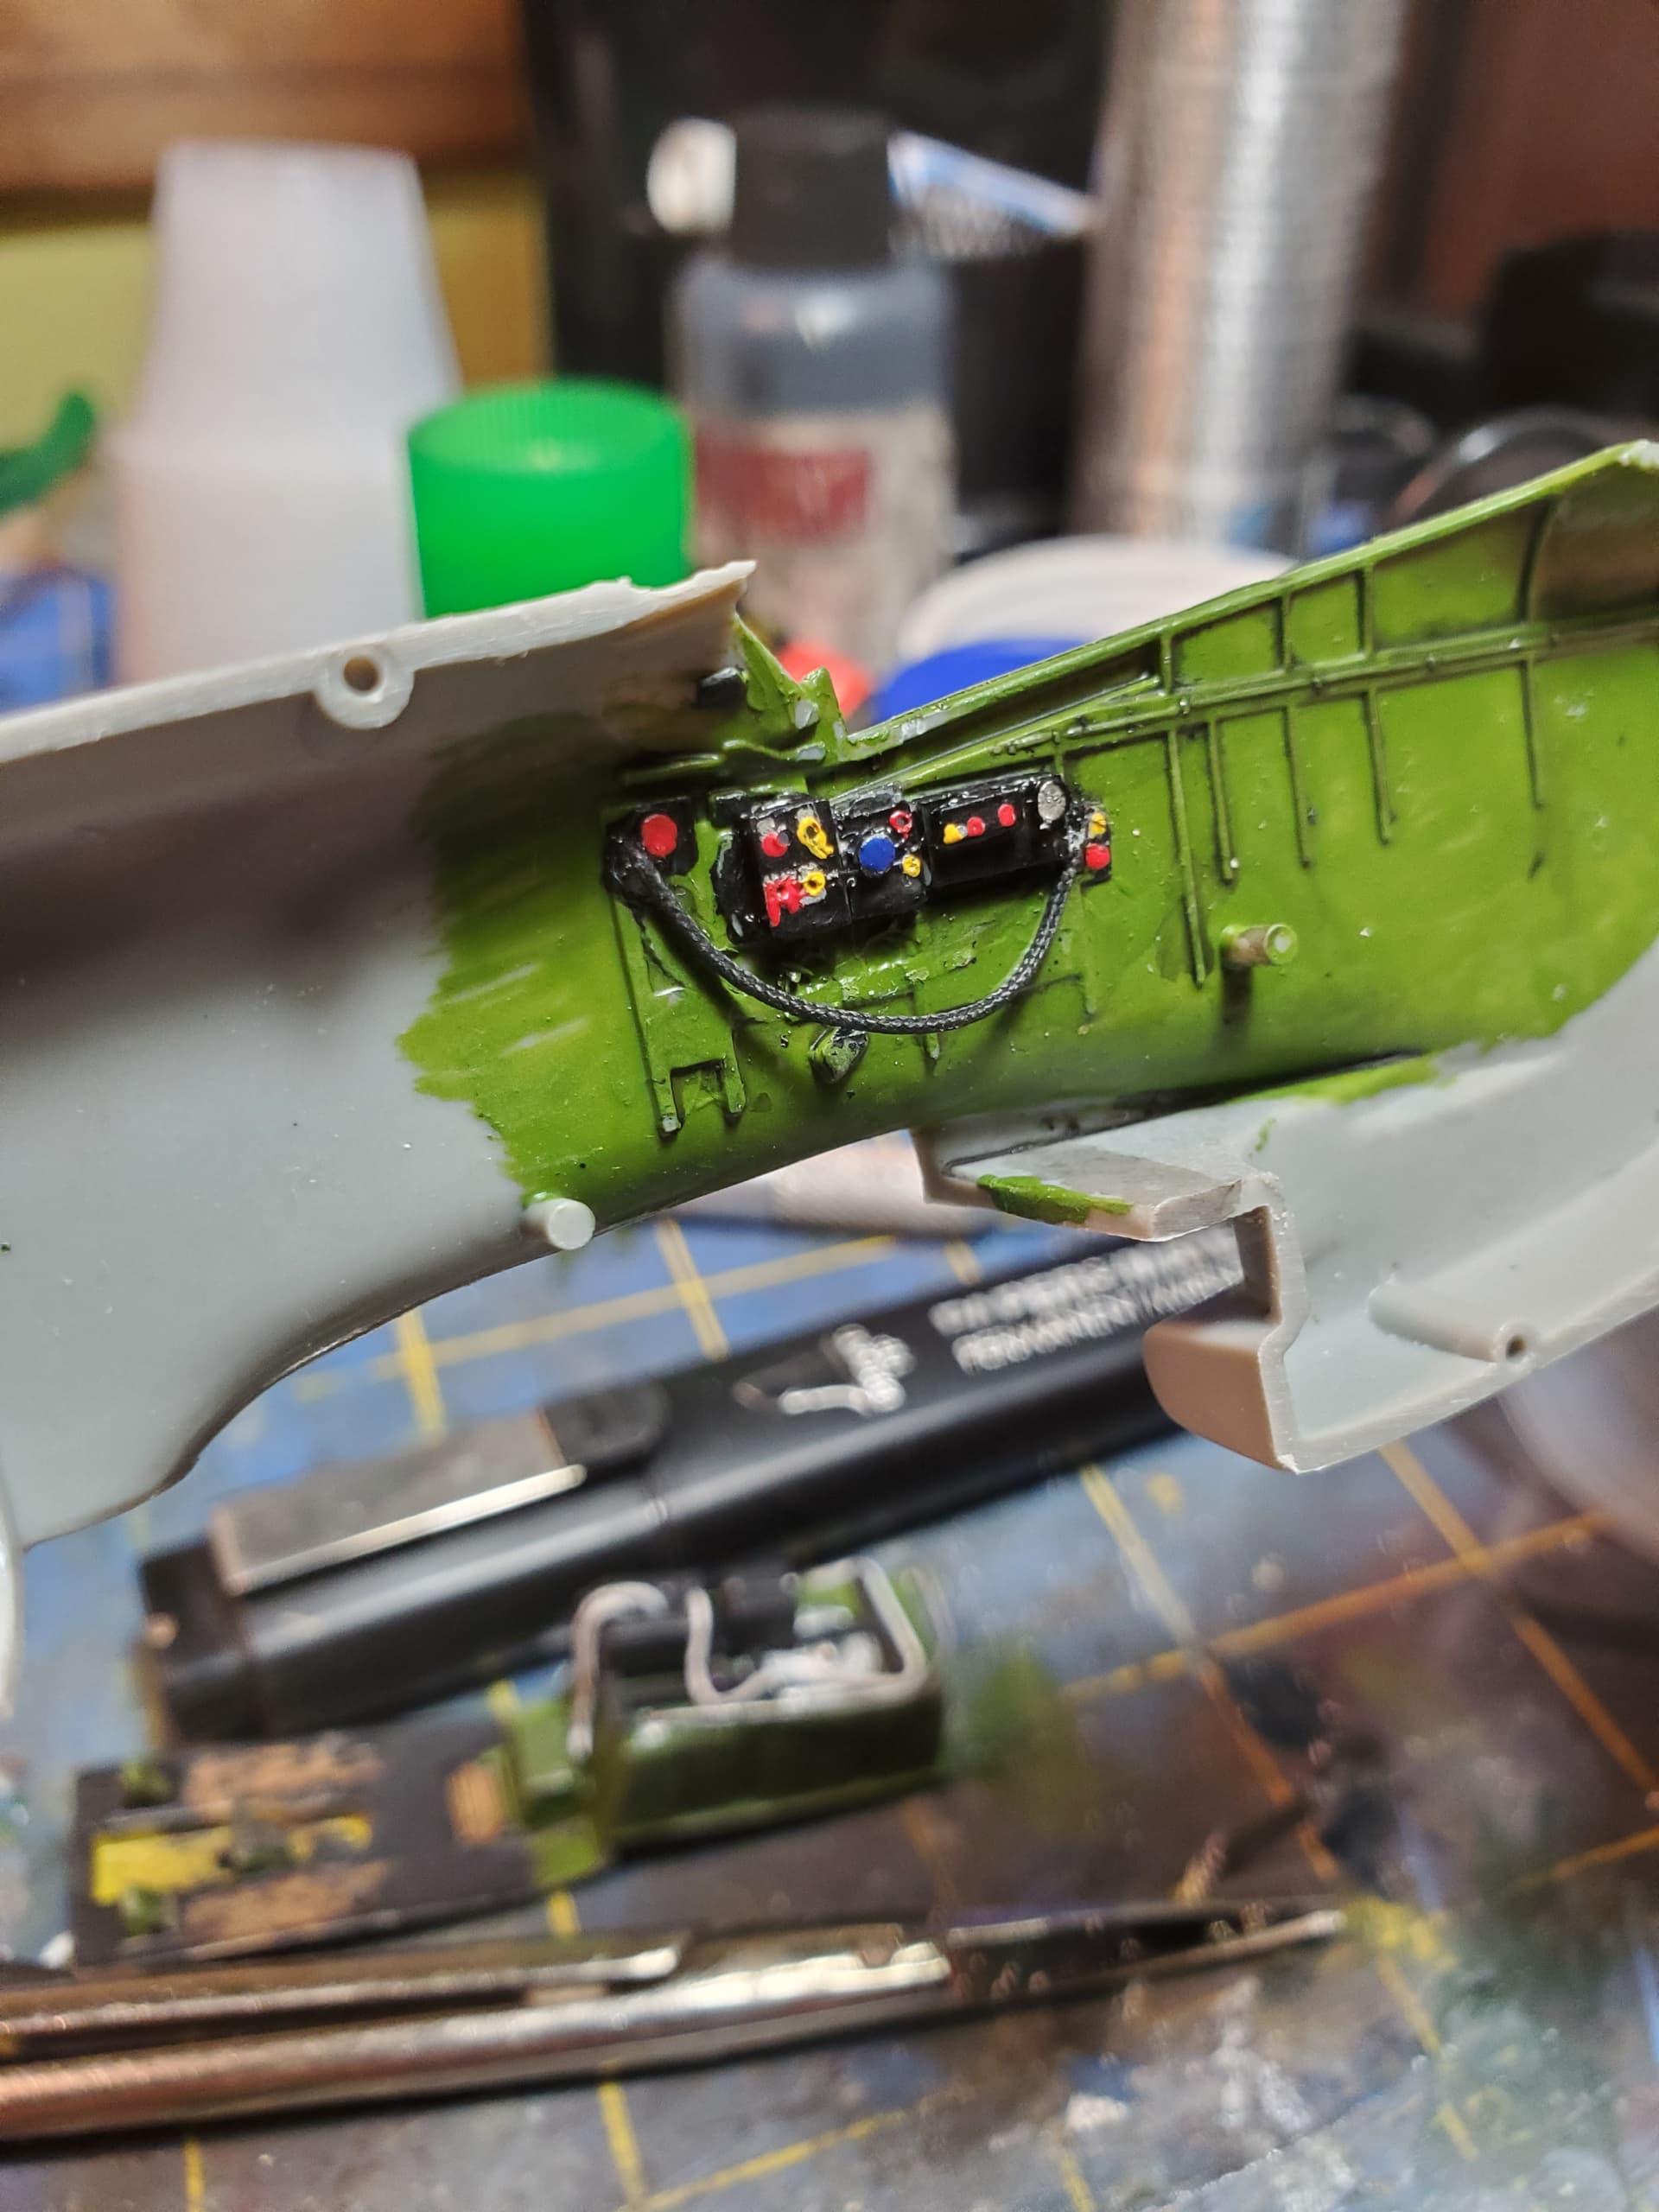
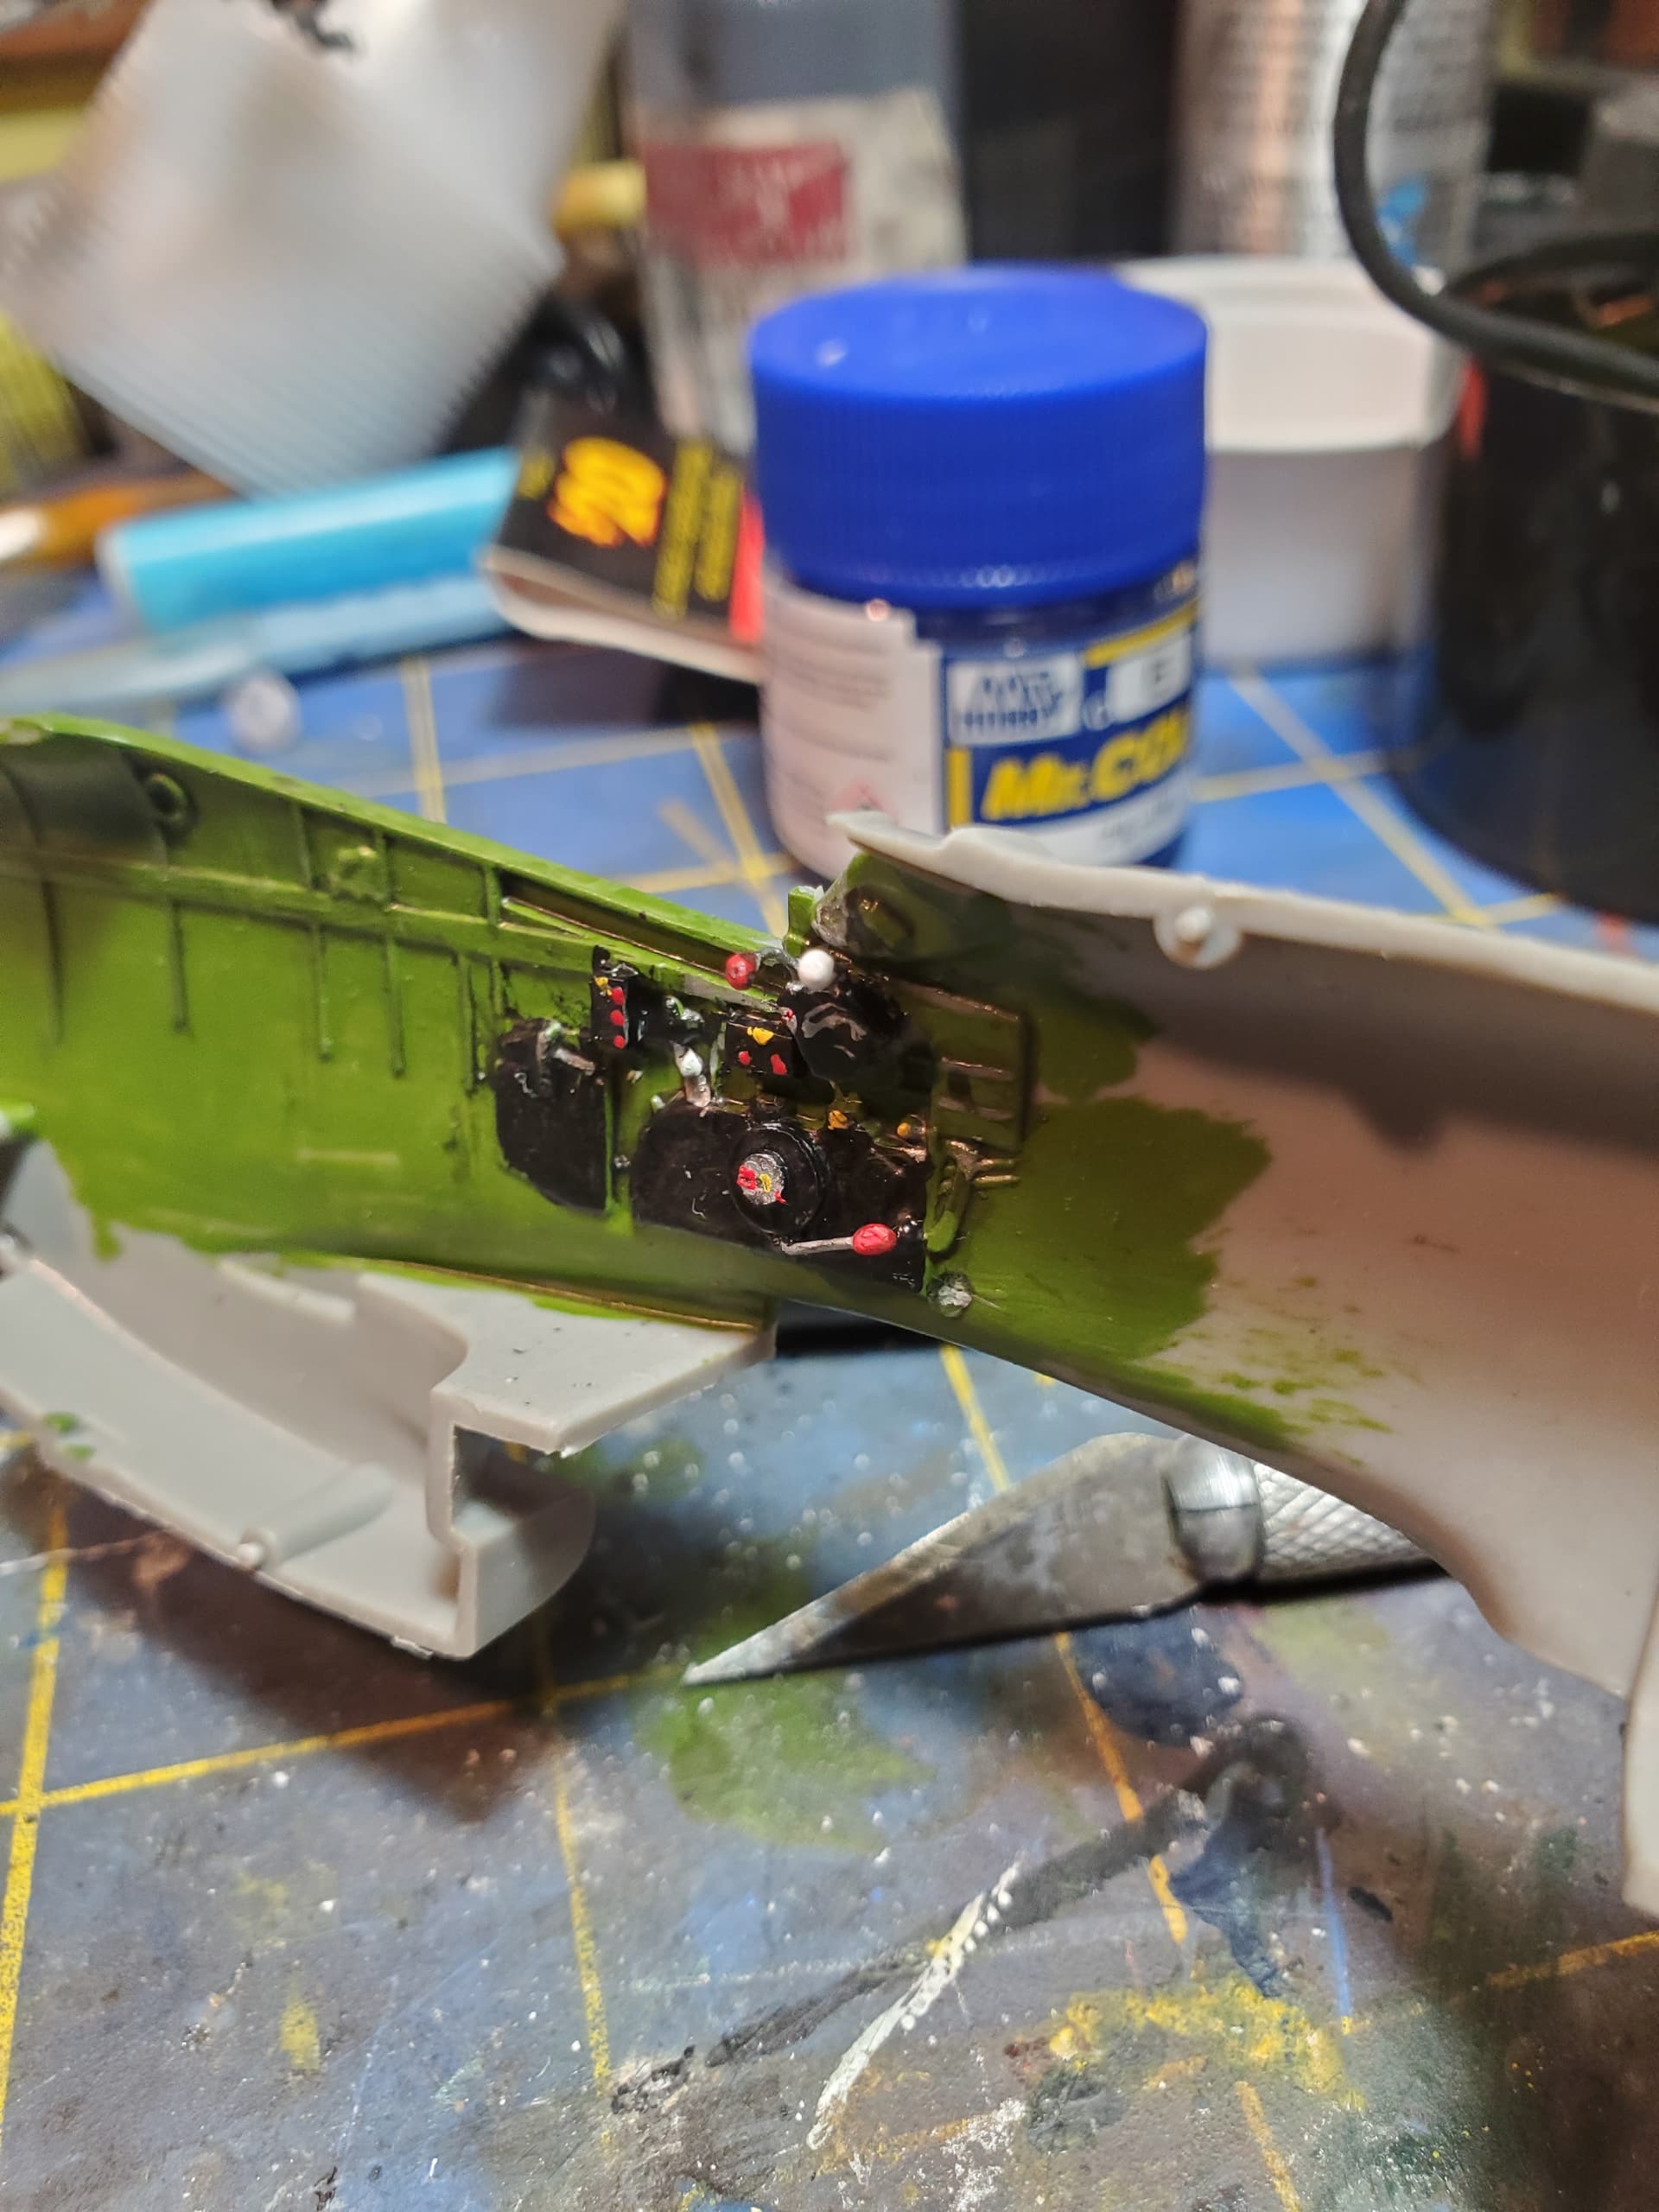
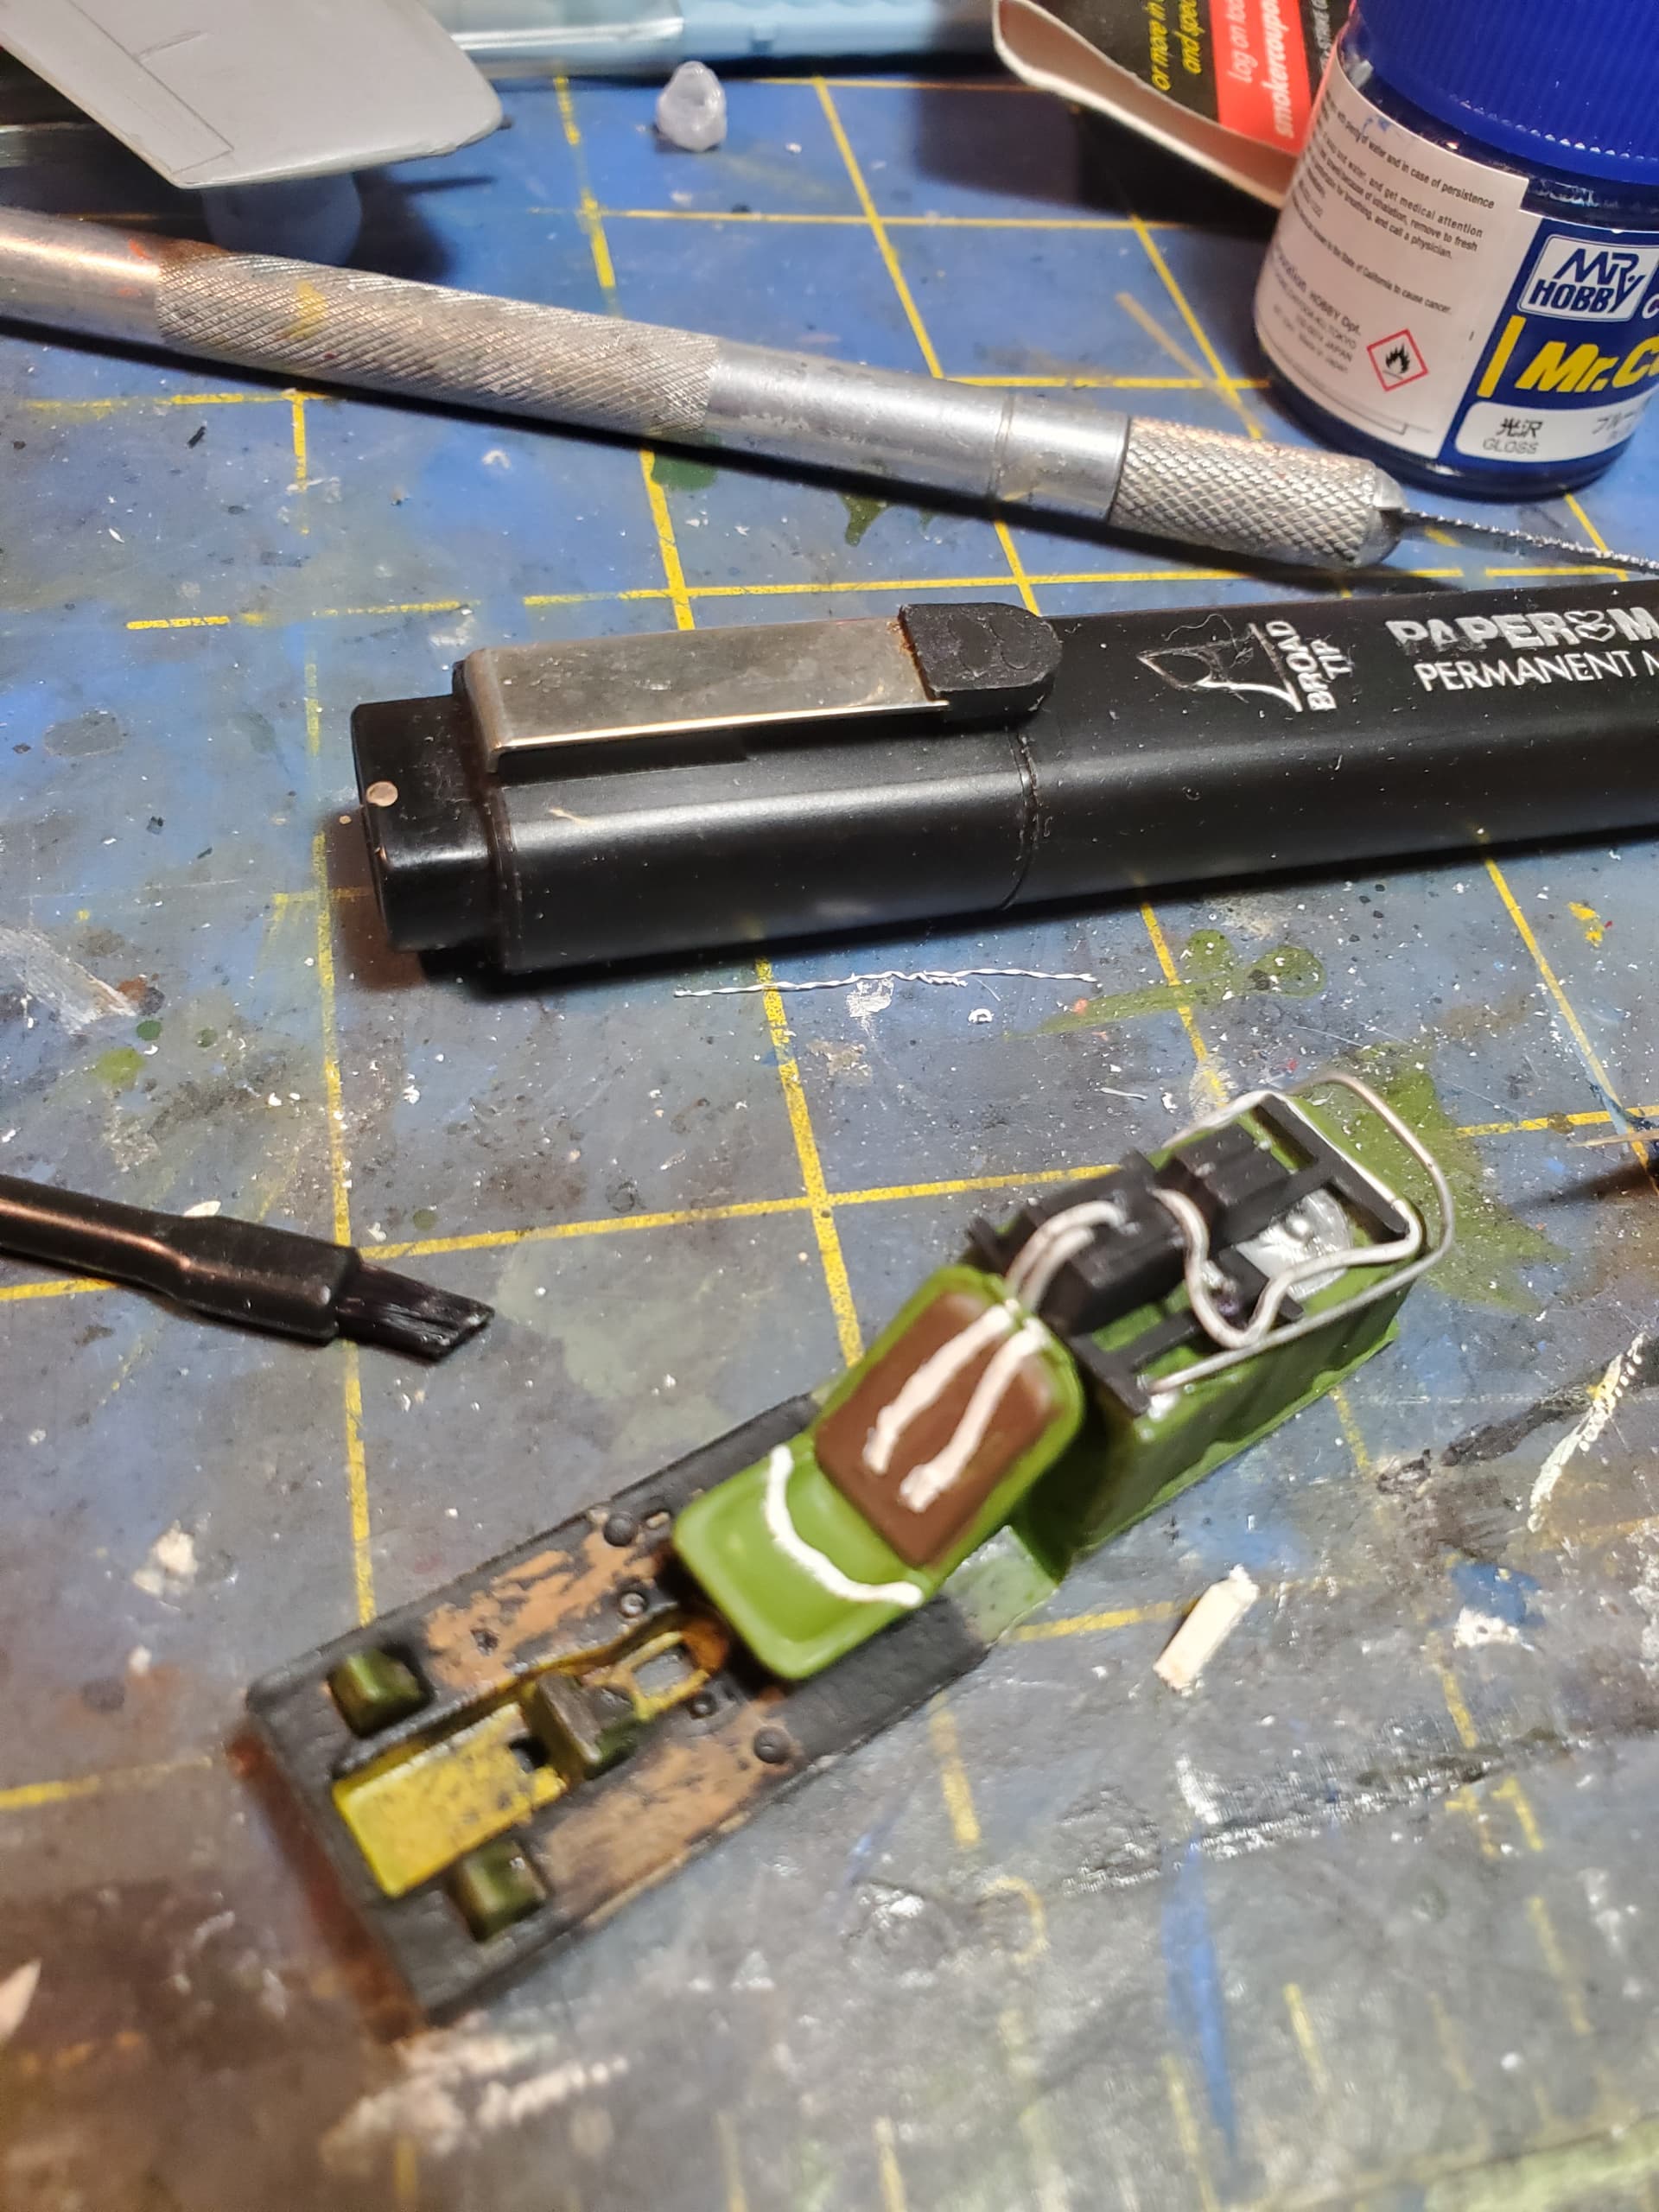
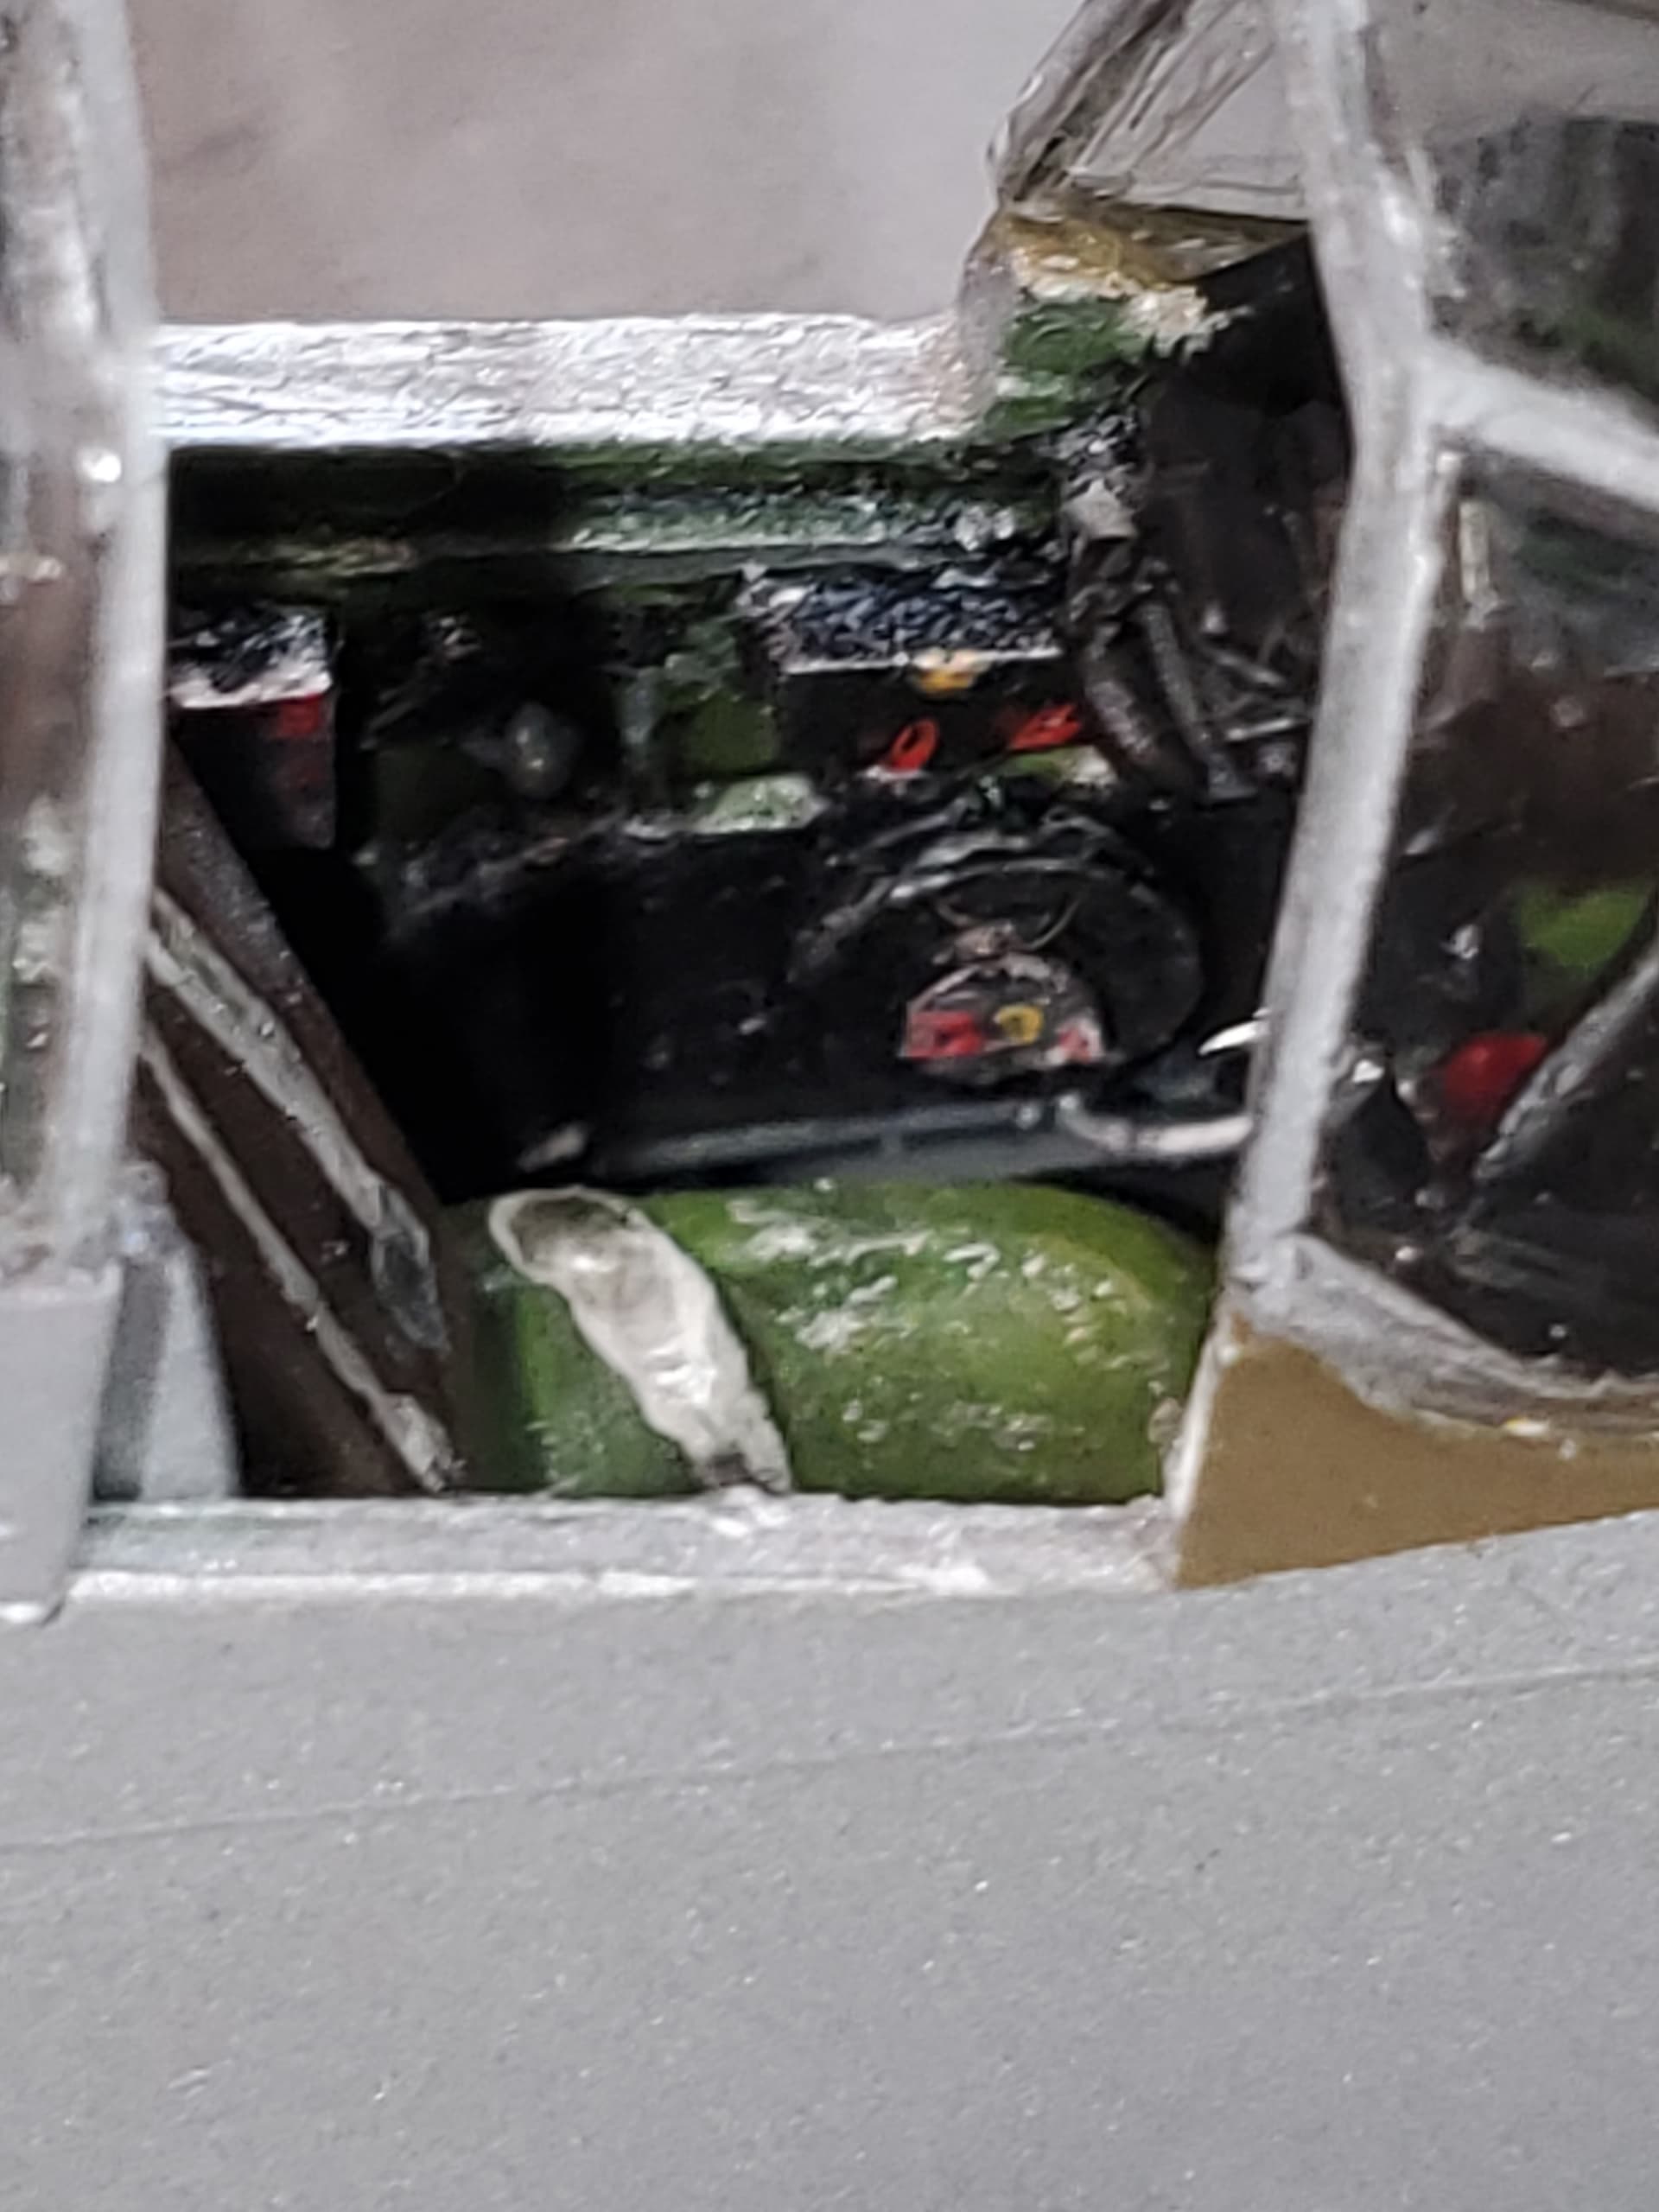
ready to close up the fuselage. here is what i did to the cockpit. i decided not to buy a resin seat and go with the kit one. i also spruced up the cockpit sides by cutting some strip plastic to represent components on the side walls and added a throttle. the instrument panel i painted and detailed adding some clear gloss for the gauge lenses

don’t know if i will make the finish line in time though, will be away the last week of december.
Joe
8 Likes
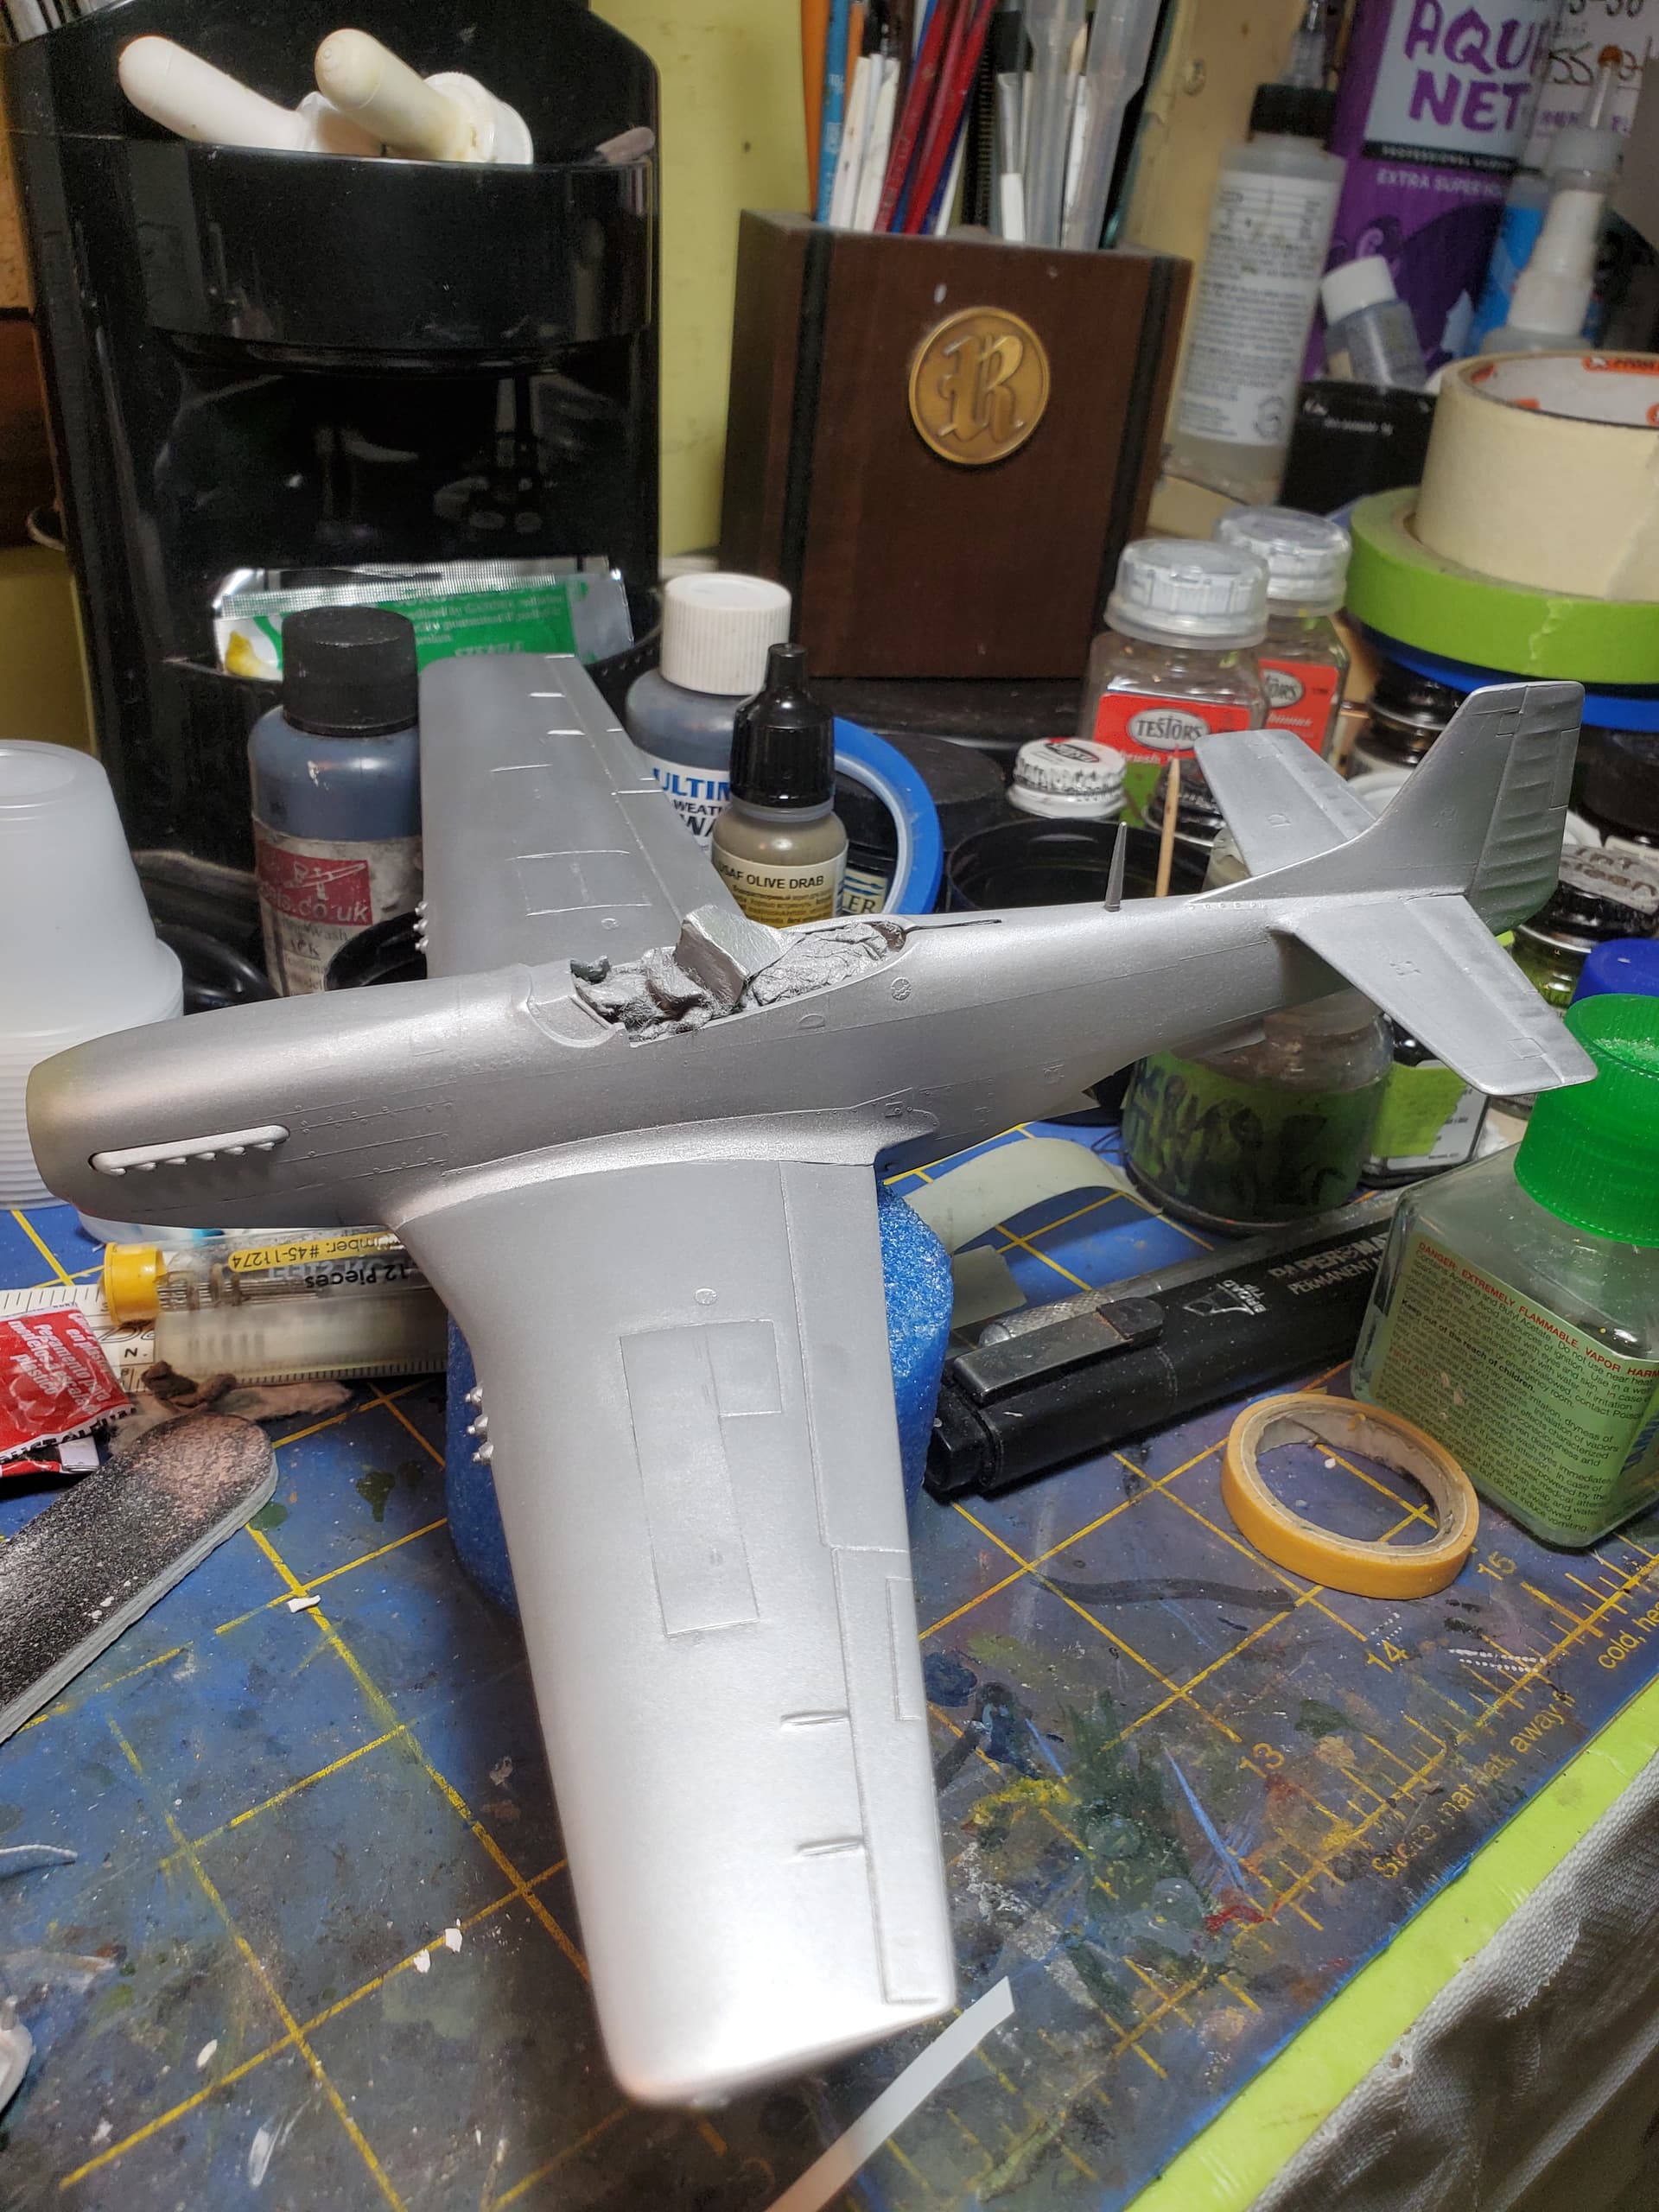
working hard to get her done. got the wings on, wing roots filled, sanded and primed. i drilled out the gun barrels and inserted brass tube. priming revealed a few spots that need more work. the wings will be sprayed with tamiya gloss aluminum and fuselage alcad dura aluminum.
5 Likes
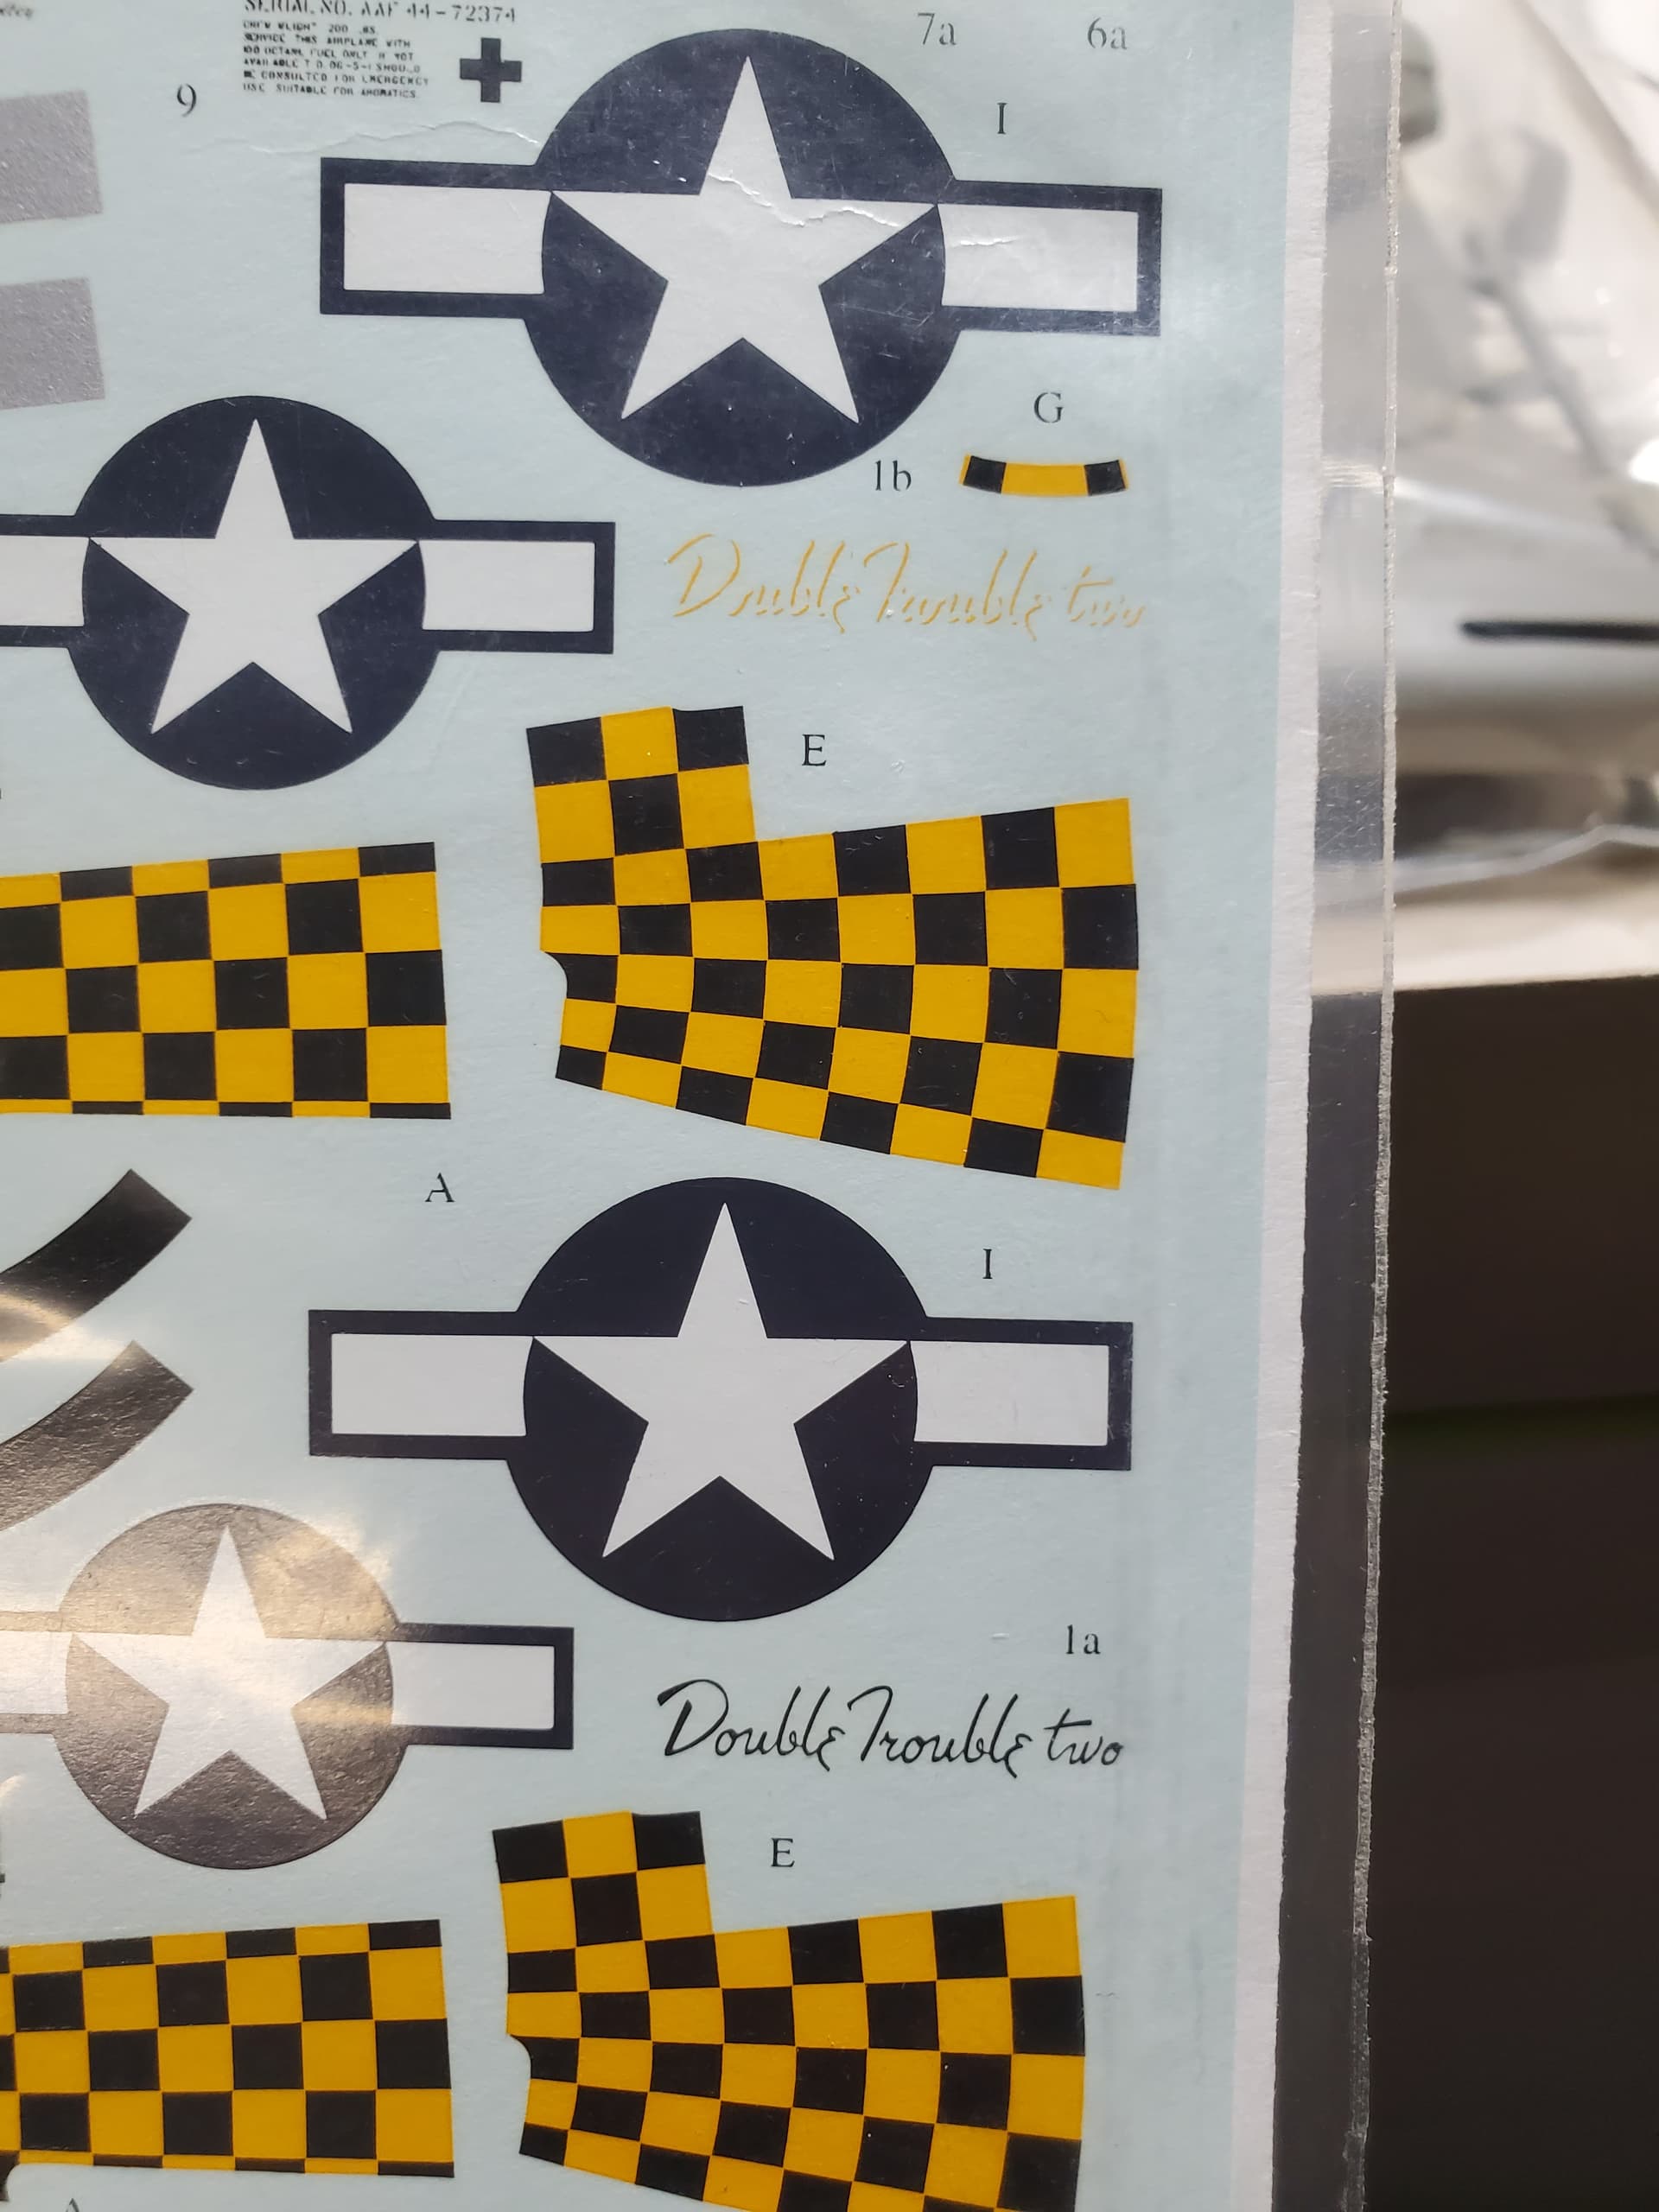
i didn’t realize those decals are that old, not saying your old of course ![]() , i hope they are still good!
, i hope they are still good!
Joe
Italeri P-51D Mustang

The year is almost done but my work desk is about to clear and I want to support this campaign as promised. Therefore, after evaluating my options, I have decided to join with an Italeri 1/72 scale P-51D. The model is small, light on parts, and includes a British marking option allowing me to avoid the challenge of applying a bare metal finish. If I do not make it, the project can roll into Hanger Queen or Unfinished Business.
5 Likes
Welcome aboard. Looks like a great kit.
I’d encourage you to try NMF. It’s not as hard as people say, particularly if you don’t use something like Alclad. But honestly even that is doable with a good airbrush. I had no issues first try.
Or just grab a can of Tamiya airframe silver.

3 Likes
That looks lovely but I want to maximize my chances for a completion. My goals for this project are to practice making panel lines, achieve a decent finish, and finish on time. ![]()
…
Four hours later…

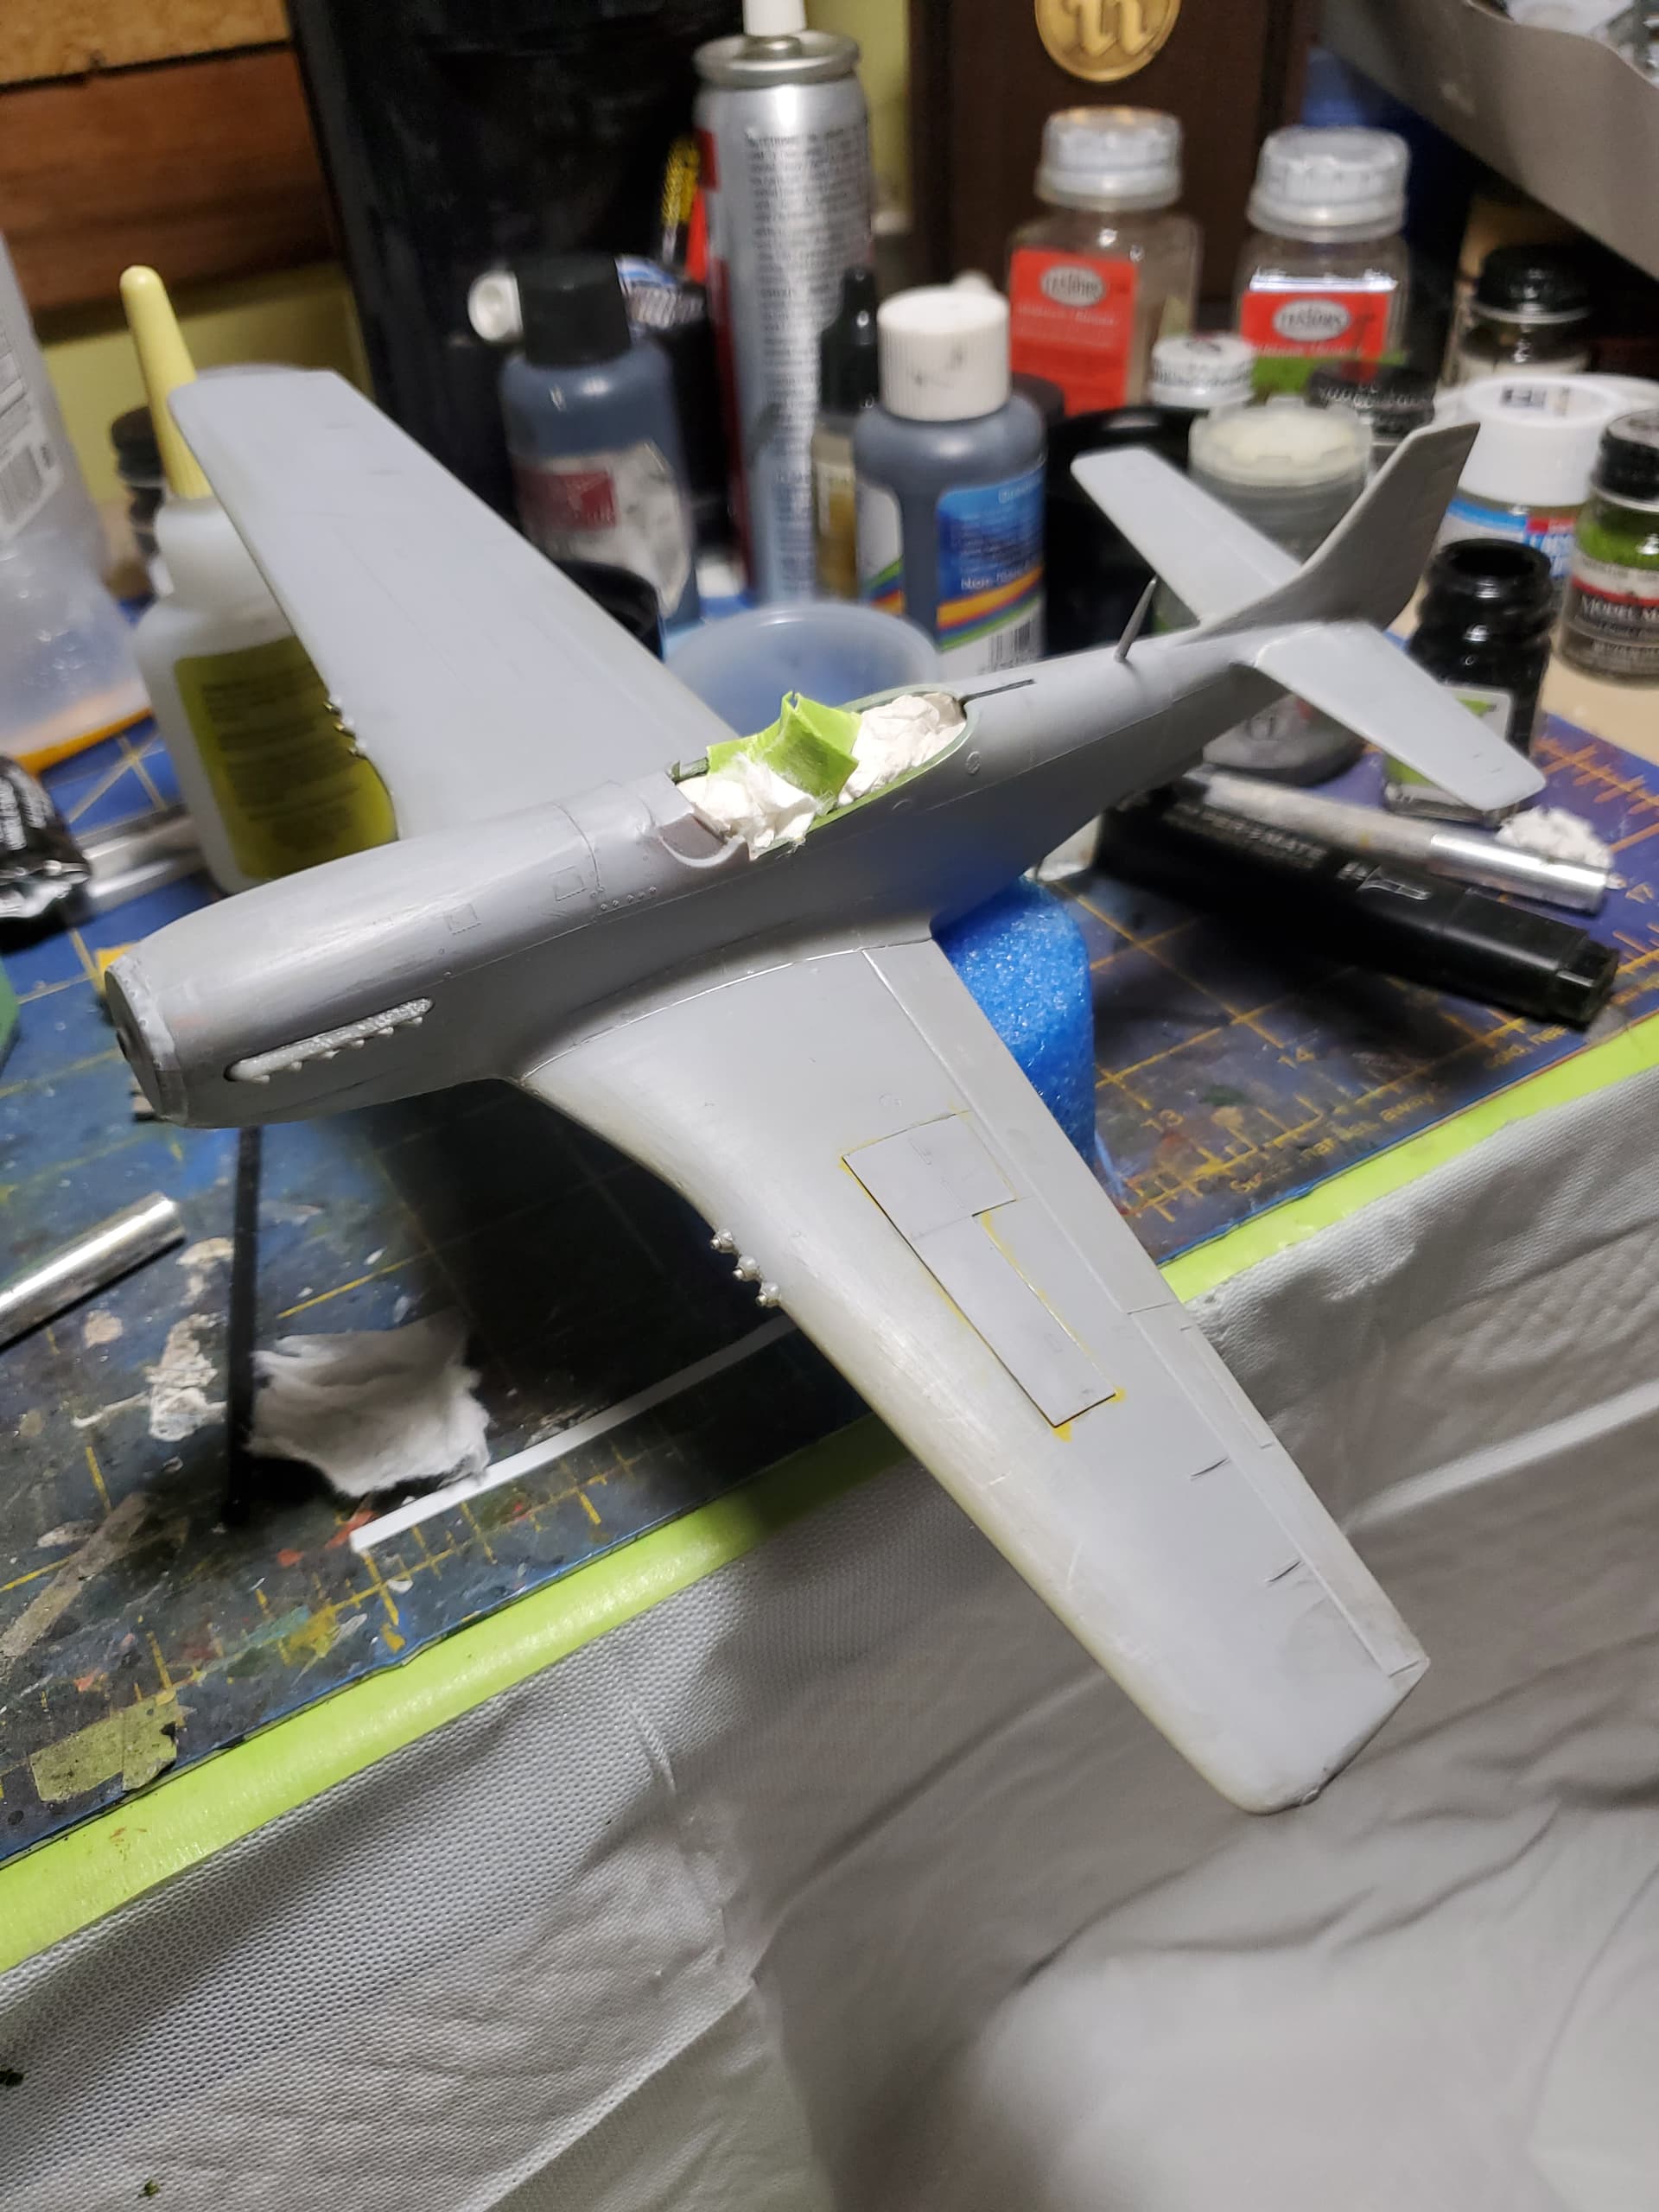
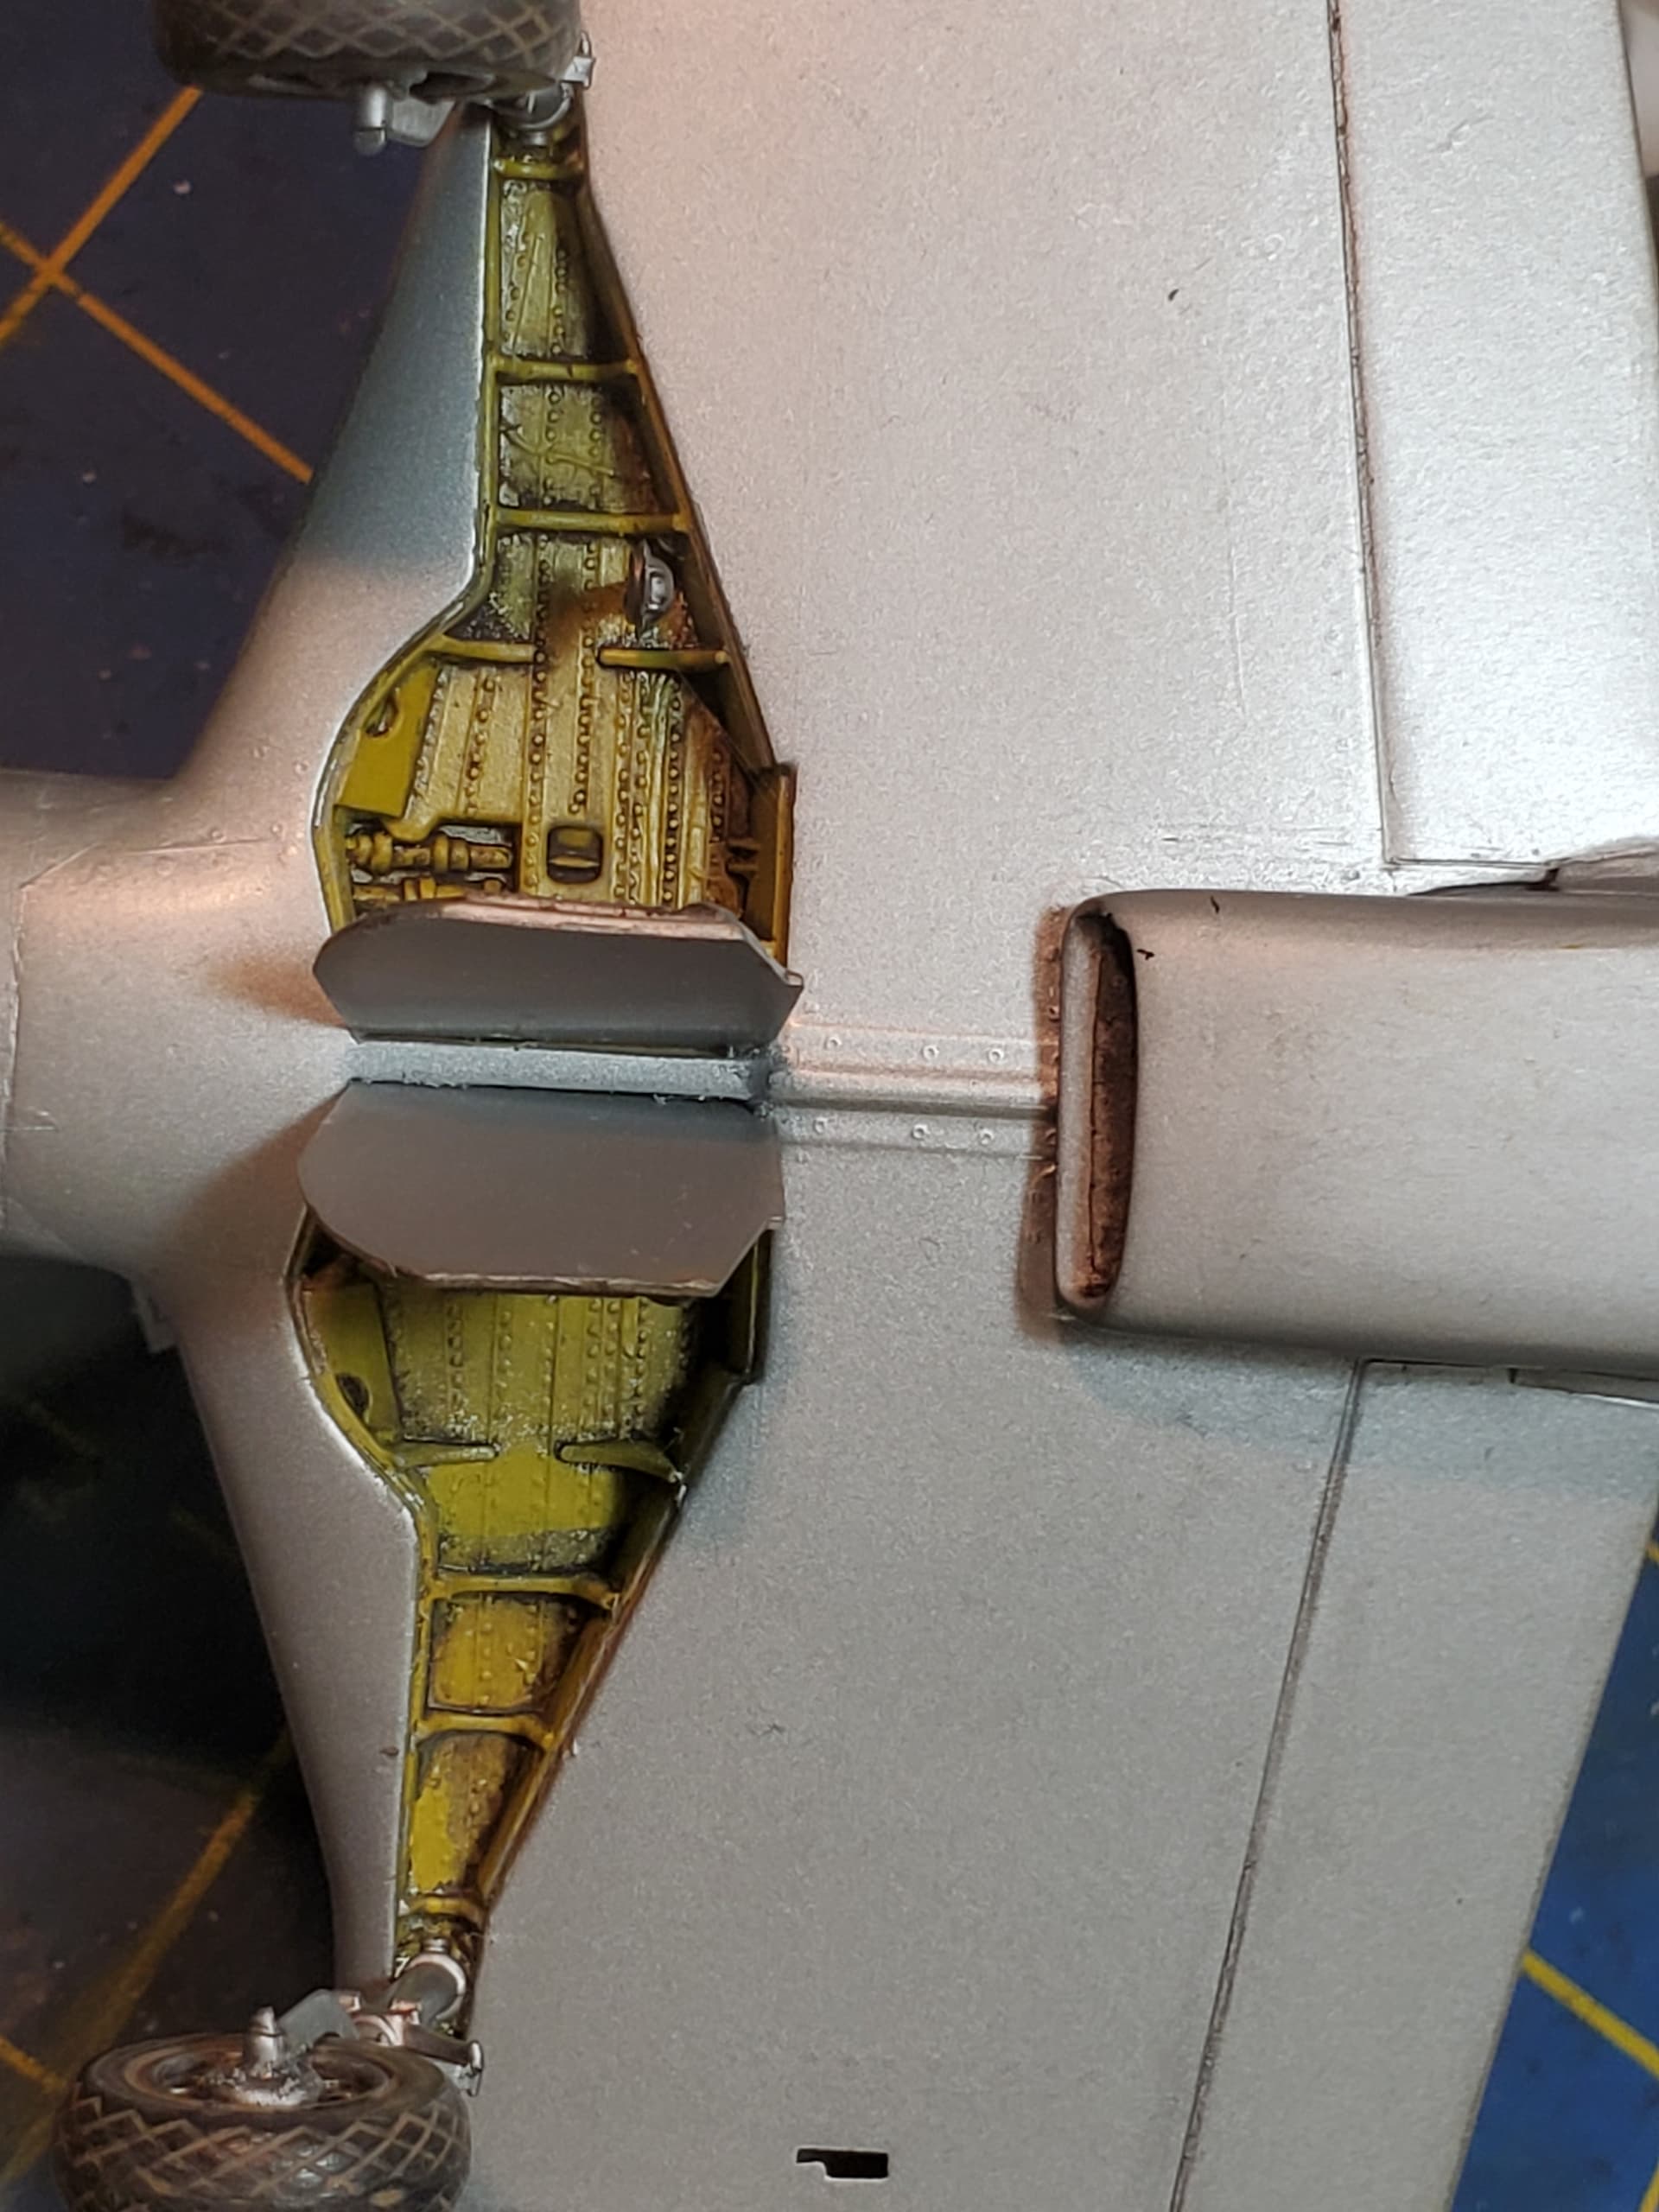
…this Mustang is ready for the first round of priming. Wing guns are represented by parts that do not fit very well. I drilled out the engine exhausts but the result is kinda bad. The spinner may require more sanding. There is nothing inside the tail wheel well.
5 Likes
Good luck! Seems to be coming along quite nicely.
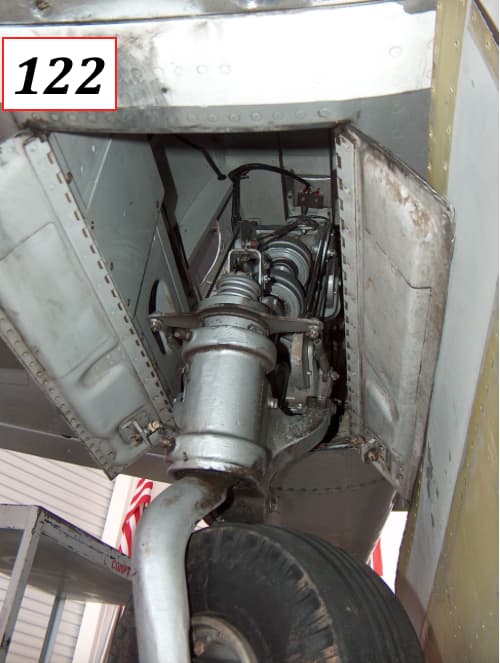
Please share your plans for the tail wheel bay as I am working that area also and looking for ideas. Found inspiration here on a P-51D from Pinterest (and have missed the creators name). Apologies for the stealing of this photo. Not mine.
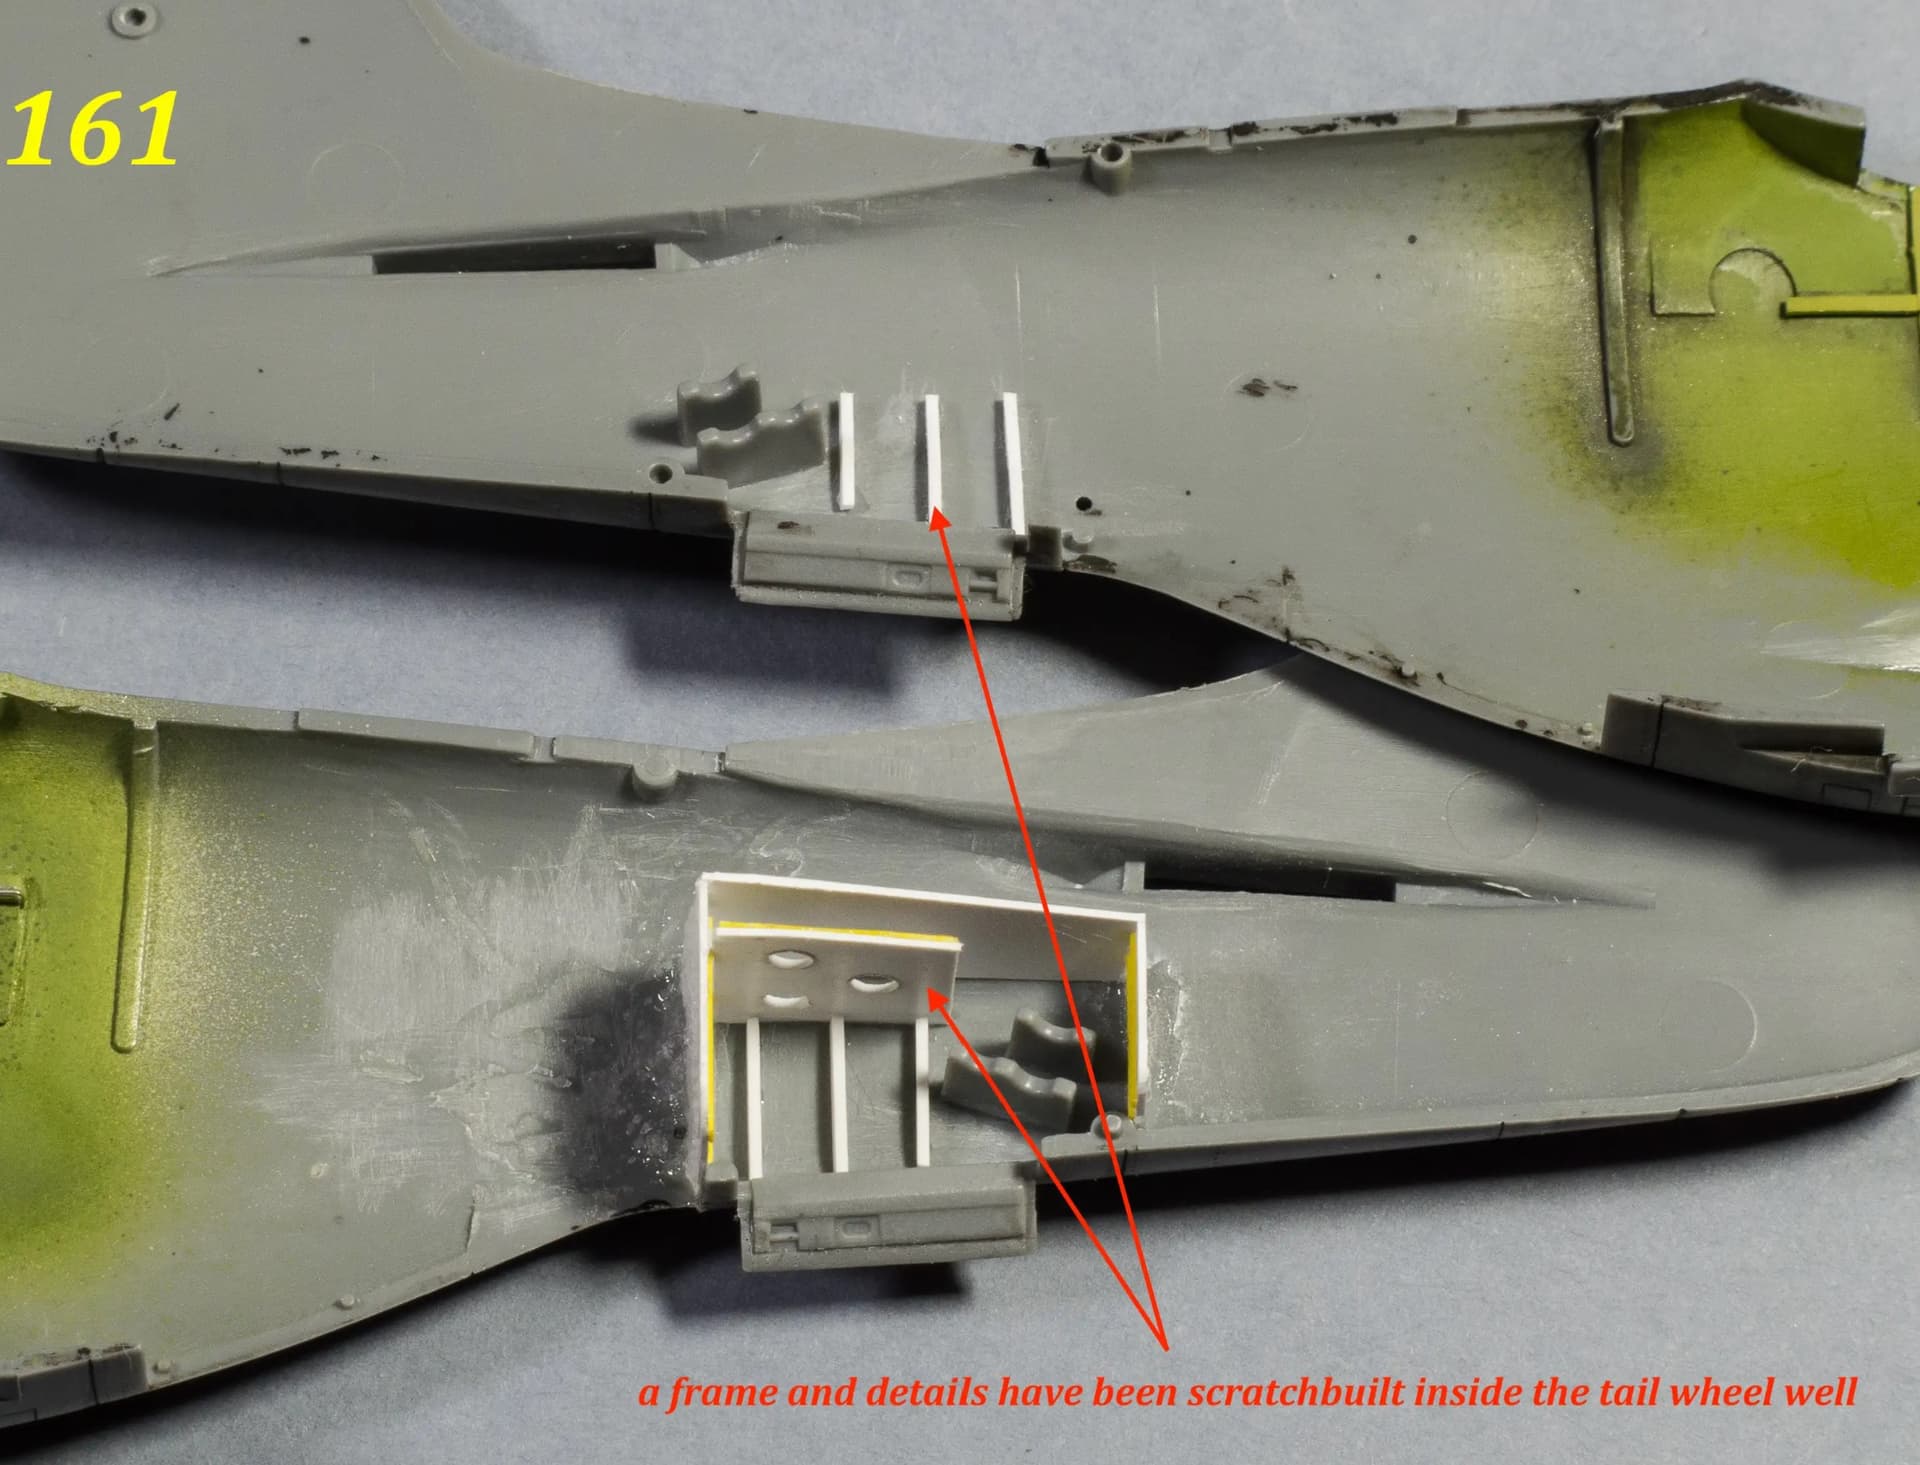
This is my attempt at the same for an Accurate Miniatures kit

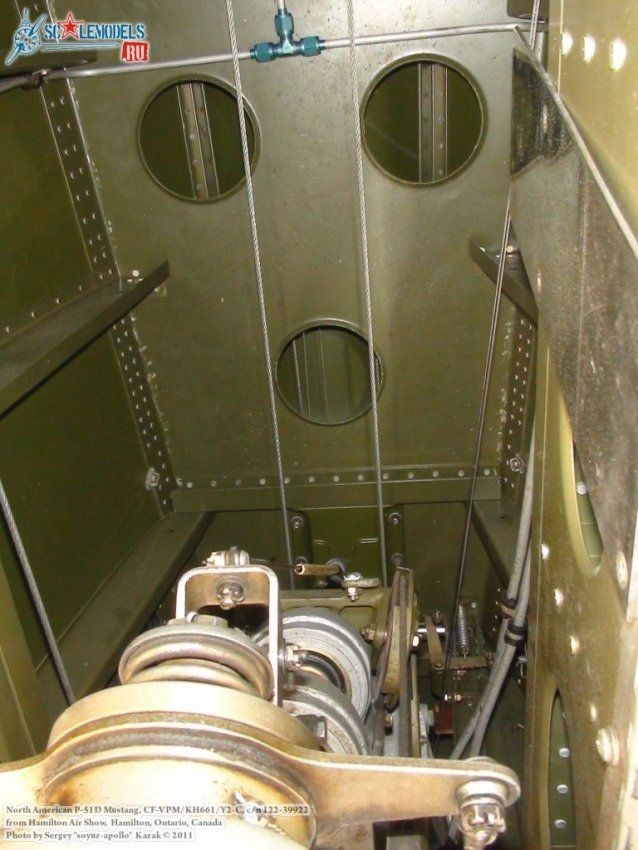
The goal in full scale:
3 Likes
This may seem cheeky but…I plan to follow the instructions. ![]()
I do not have the experience nor reference material to build an accurate or good Mustang. If I finish this project, it will be my second painted plastic model plane EVER. (The first was finished last year and has silvered decals. ![]() )
)
There are some really excellent model builders here (unlike me). Perhaps one of them can help with reference photos and ideas and such.
2 Likes
No worries here! All good. Only want to encourage all to keep building with or without instructions as that promotes our hobby and keeps it fun. Please share more of your efforts!

wings airbrushed with decanted tamiya Gloss aluminum and fuselage alclad dull aluminum
working hard to get this done in the next week or so. i will not be able to work on it christmas week. i need to spray the nose cone yellow and black and the rudder needs to be black also and then the od anti glare panel and then i should be ready for decals
planning on using model master semi gloss before the decals, hopefully it will not be too clossy.
Joe
7 Likes
damraskalooks good so far. you might have been able to add a little yellow to that green to get it close to zinc chromate
Joe
and so the decaling begins
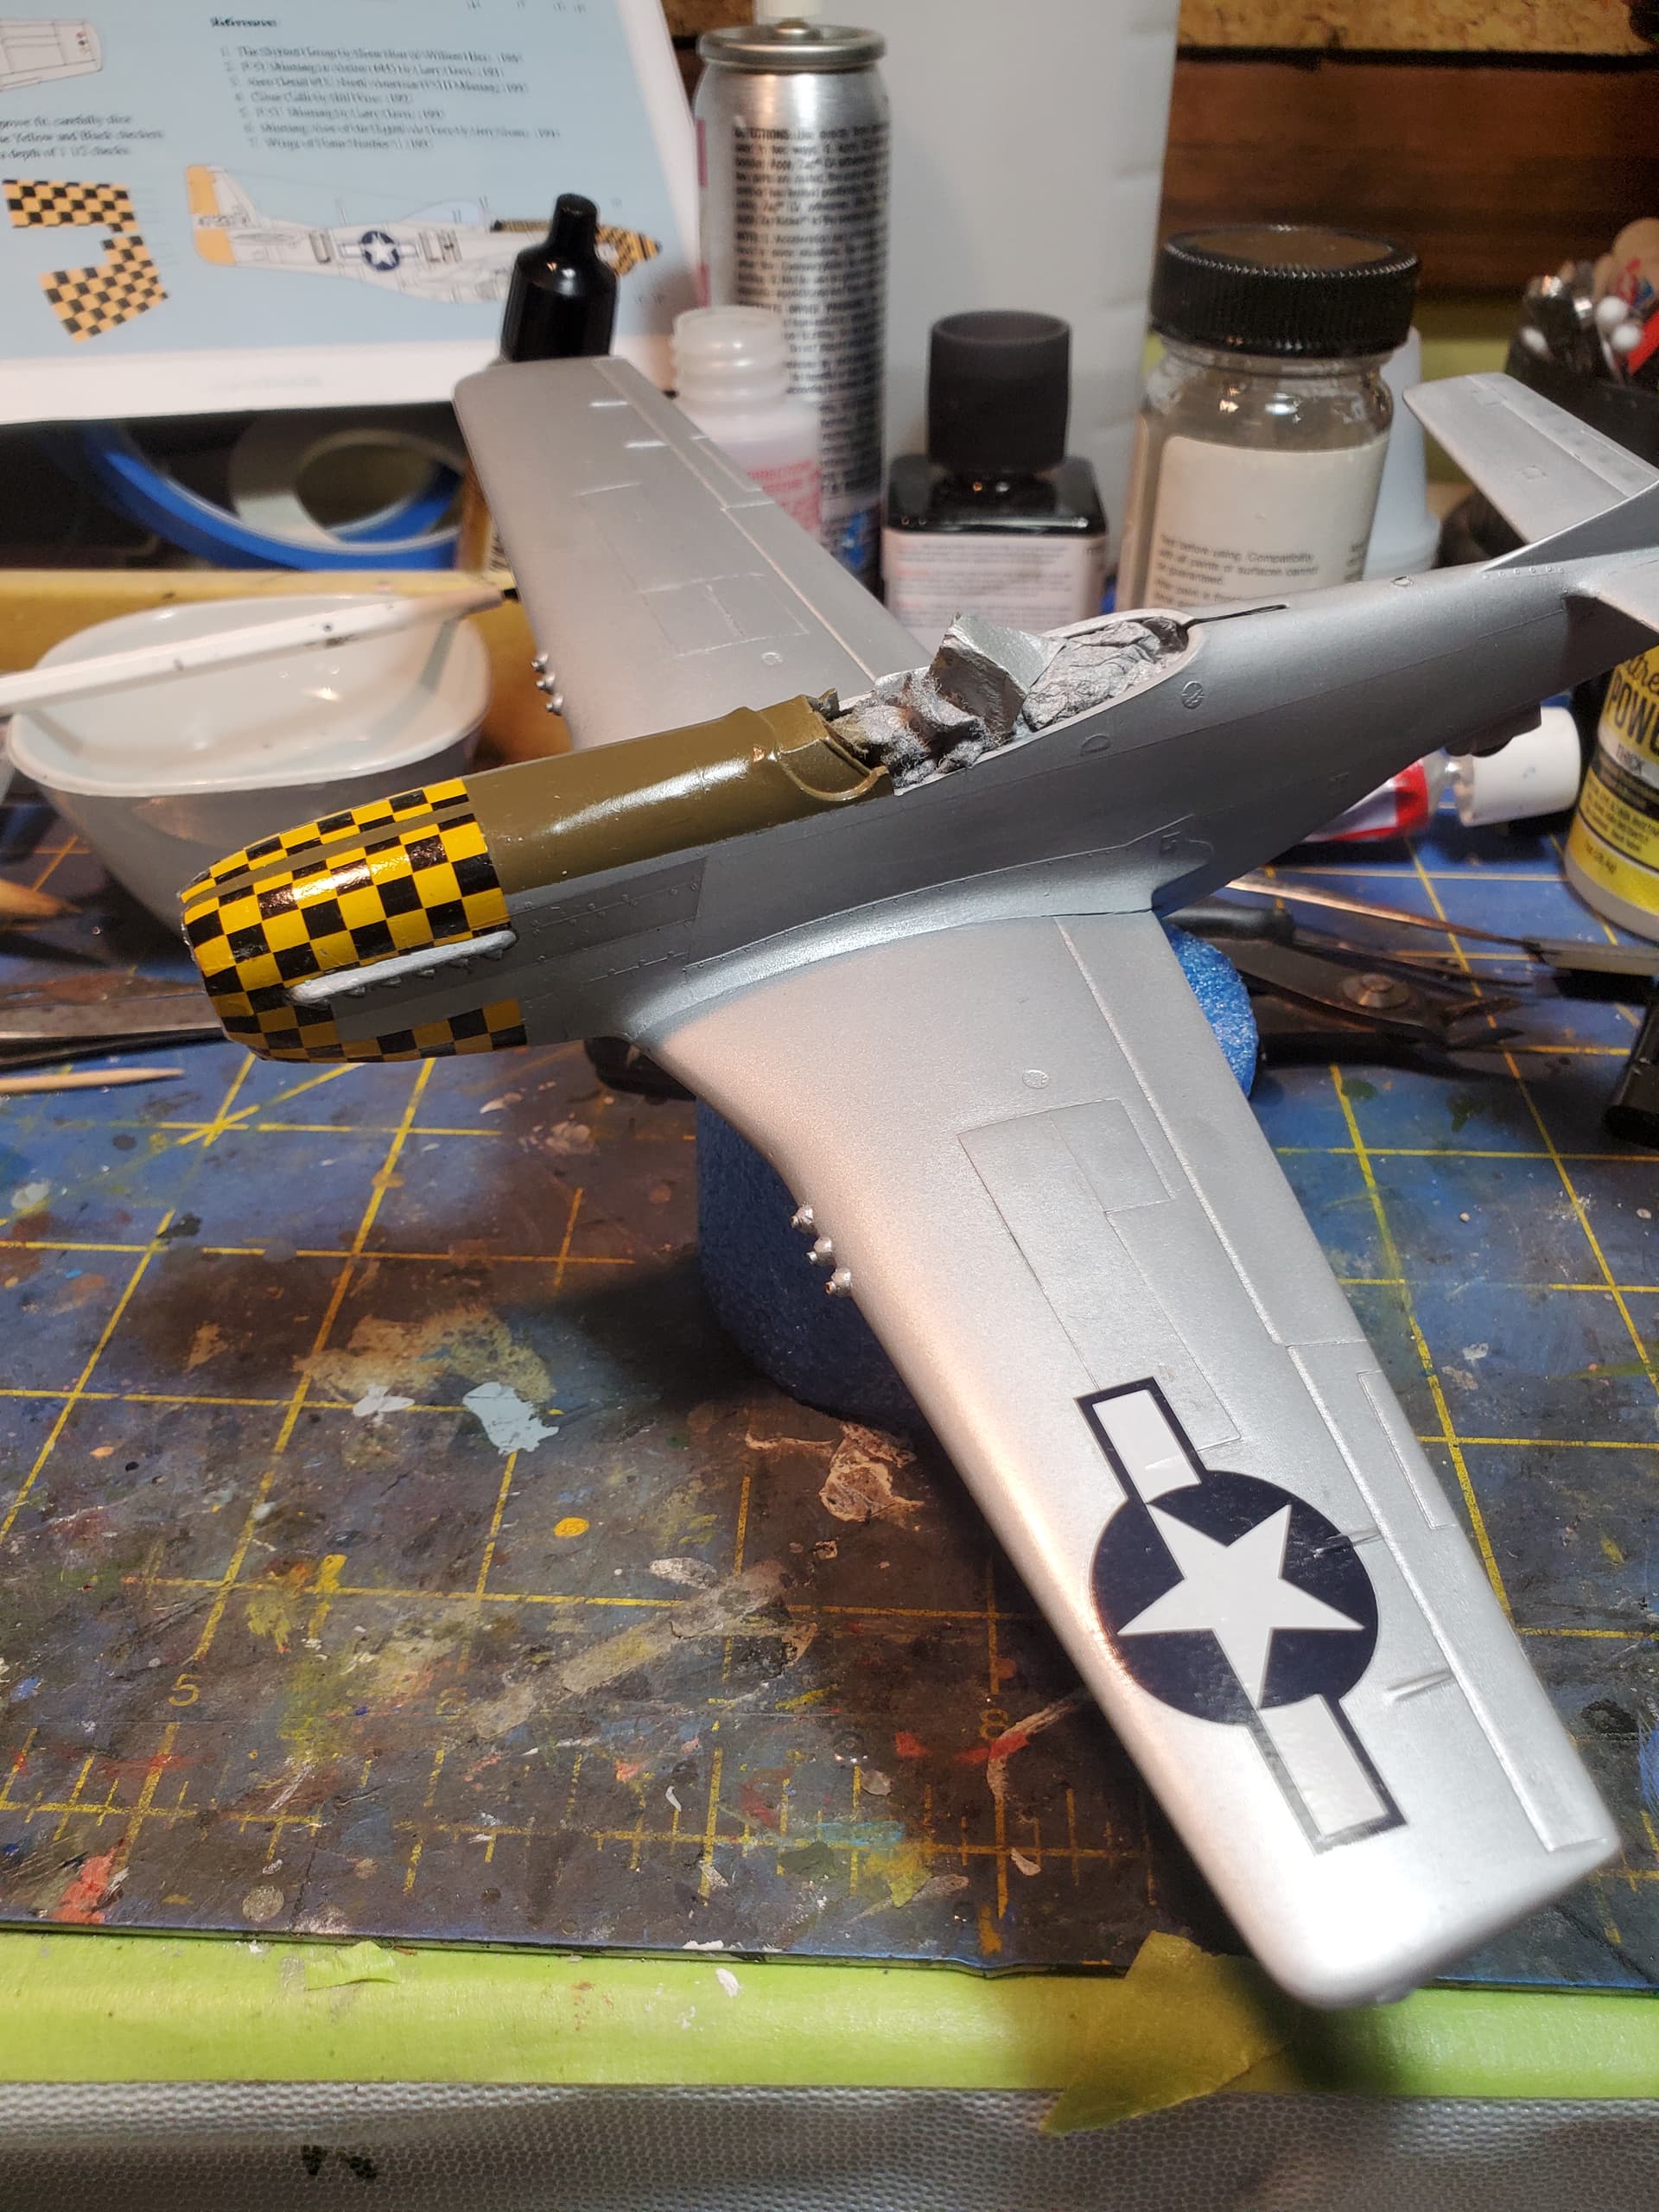
checkers went on ok i guess. not entirely happy with the results. i will need to replace some of the squares that got damaged, luckily i have two sheets that do 2 planes each so i have plenty of extras. i also need to close up the gap on the top of the cowl. the sheet gives you two thin strips of checkers to join the two sides.
Joe
7 Likes
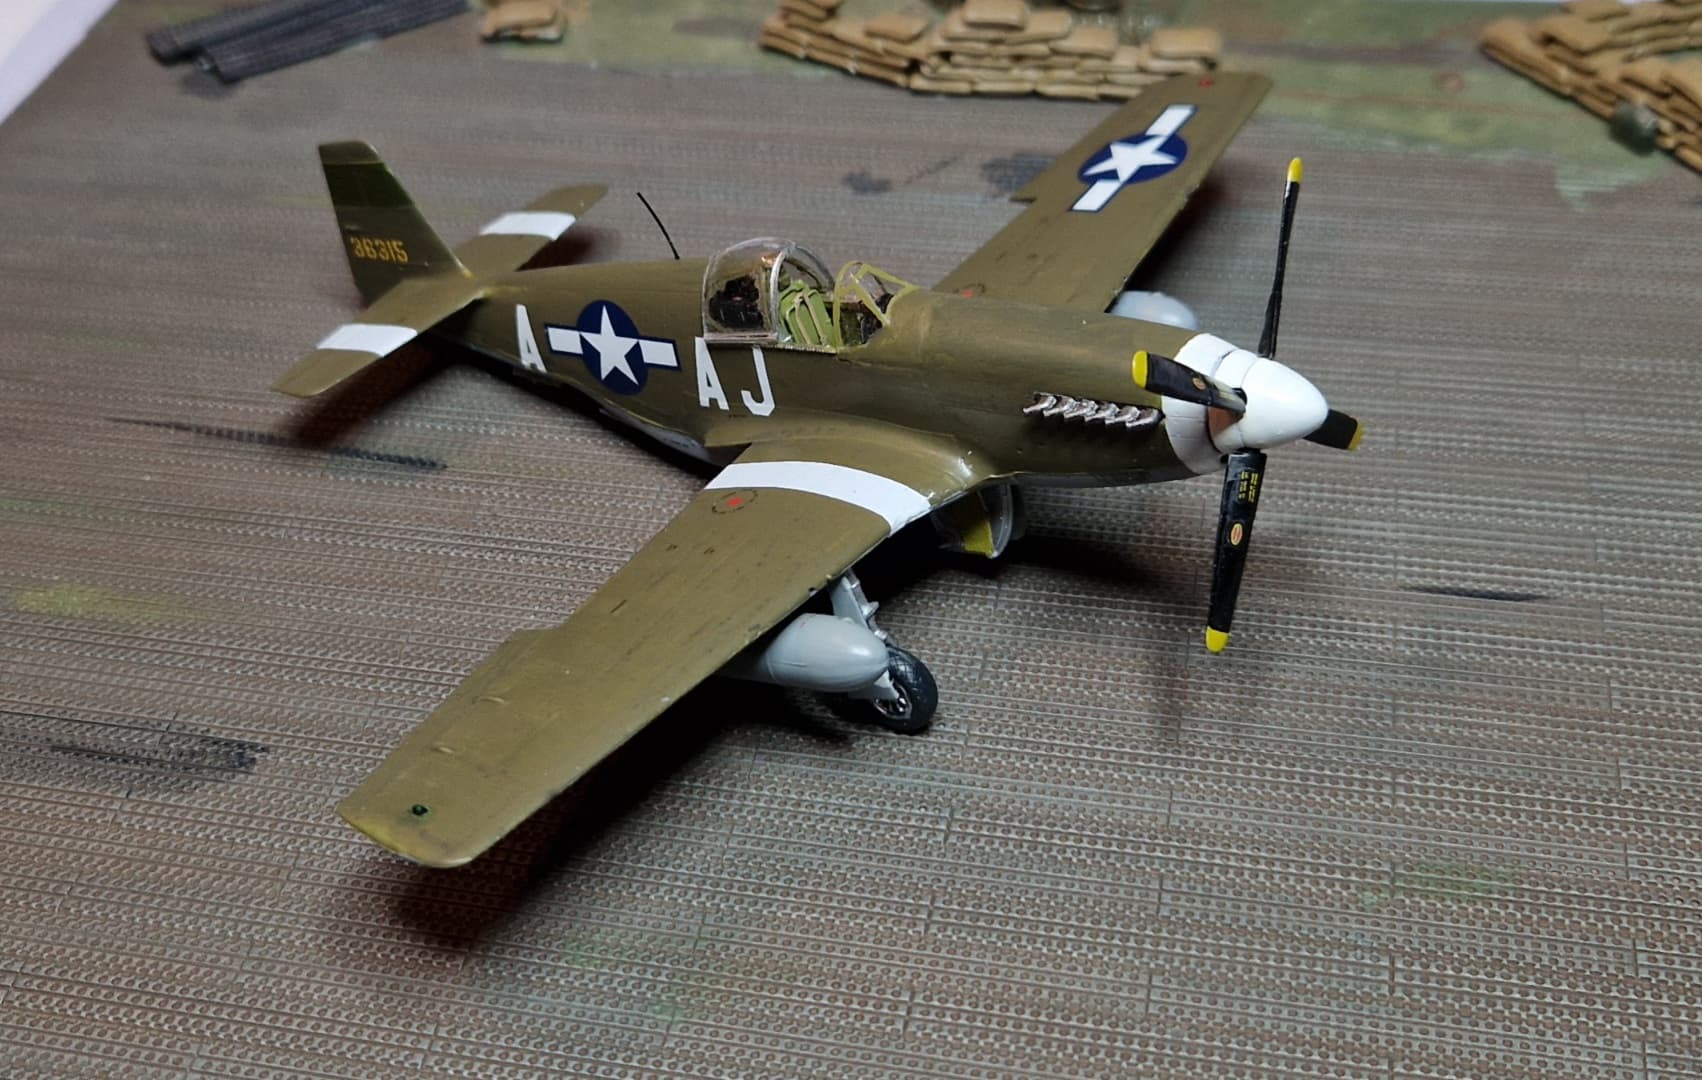
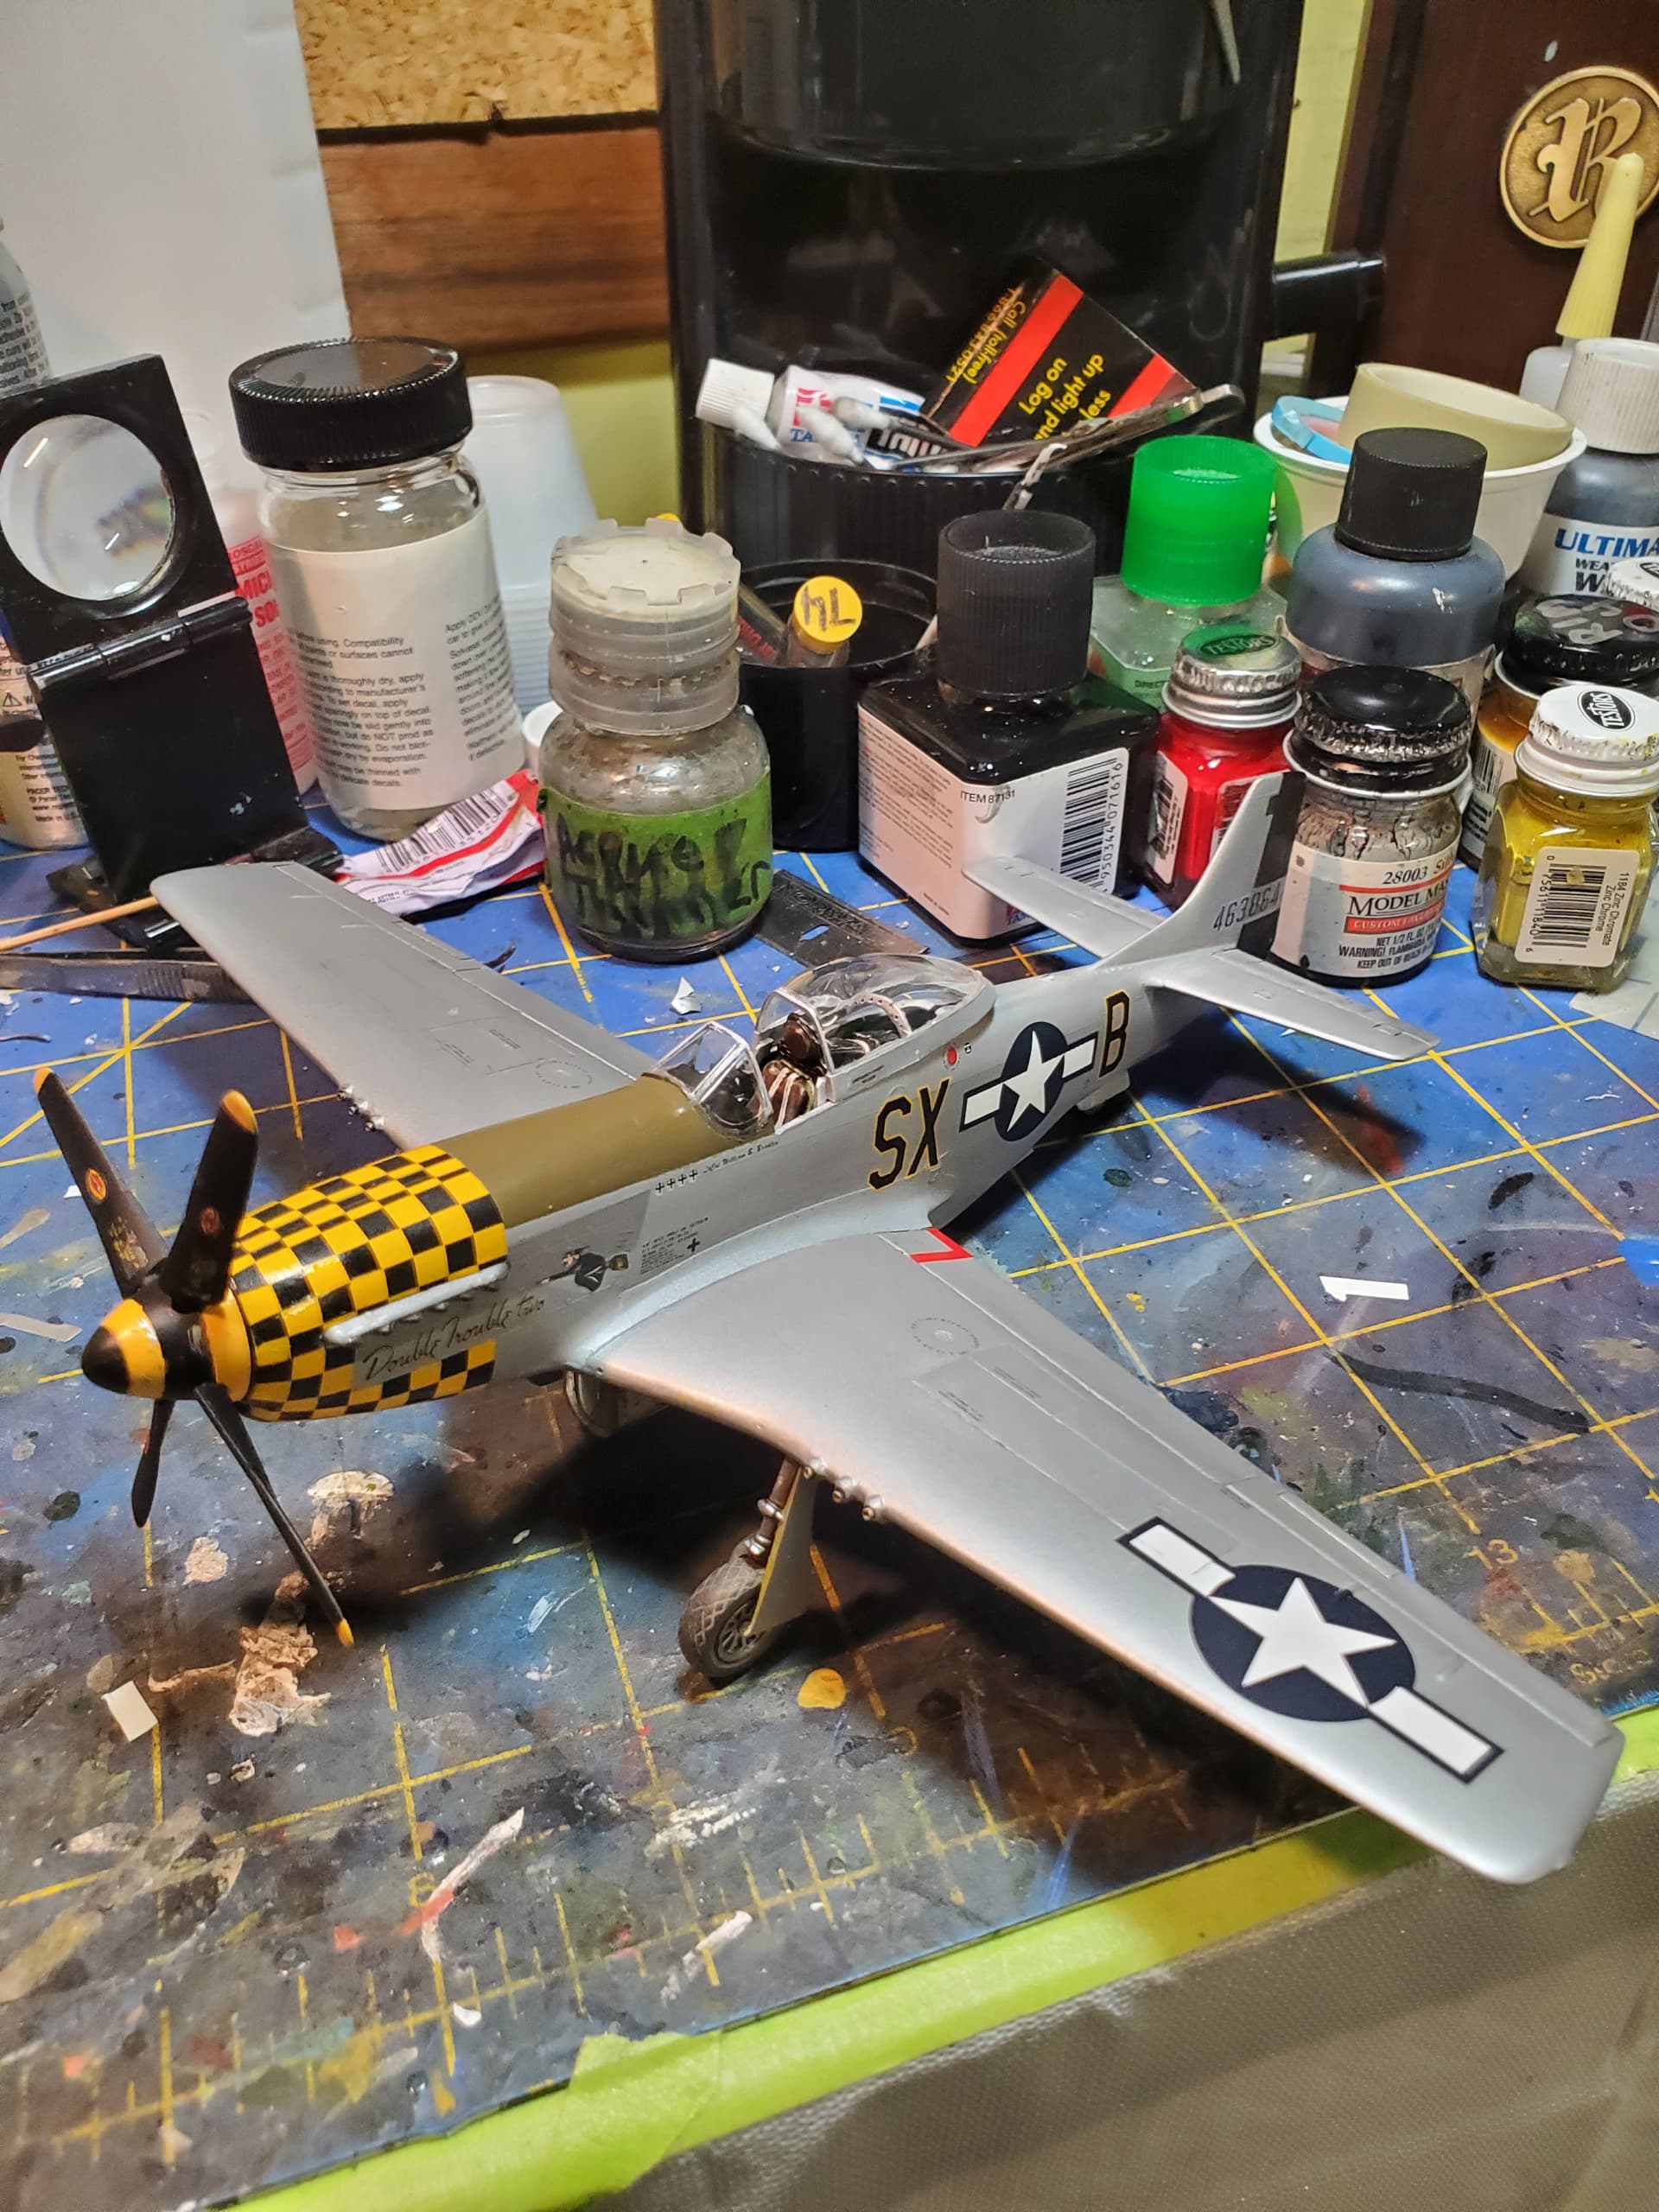
finished her up just in time
luckily i had a couple of decal sheets so i had extra checkers. i had to replace about 8-10 that ripped. then somehow i got a big spot of silver paint on the cowl. i used tamiys fine polish to take most of it off but still needed to replace 4 more.
i used decanted tamiya gloss aluminum for the wings and alclad dull aluminum for the rest. followed by a coat of MM satin gloss after the decals dried.
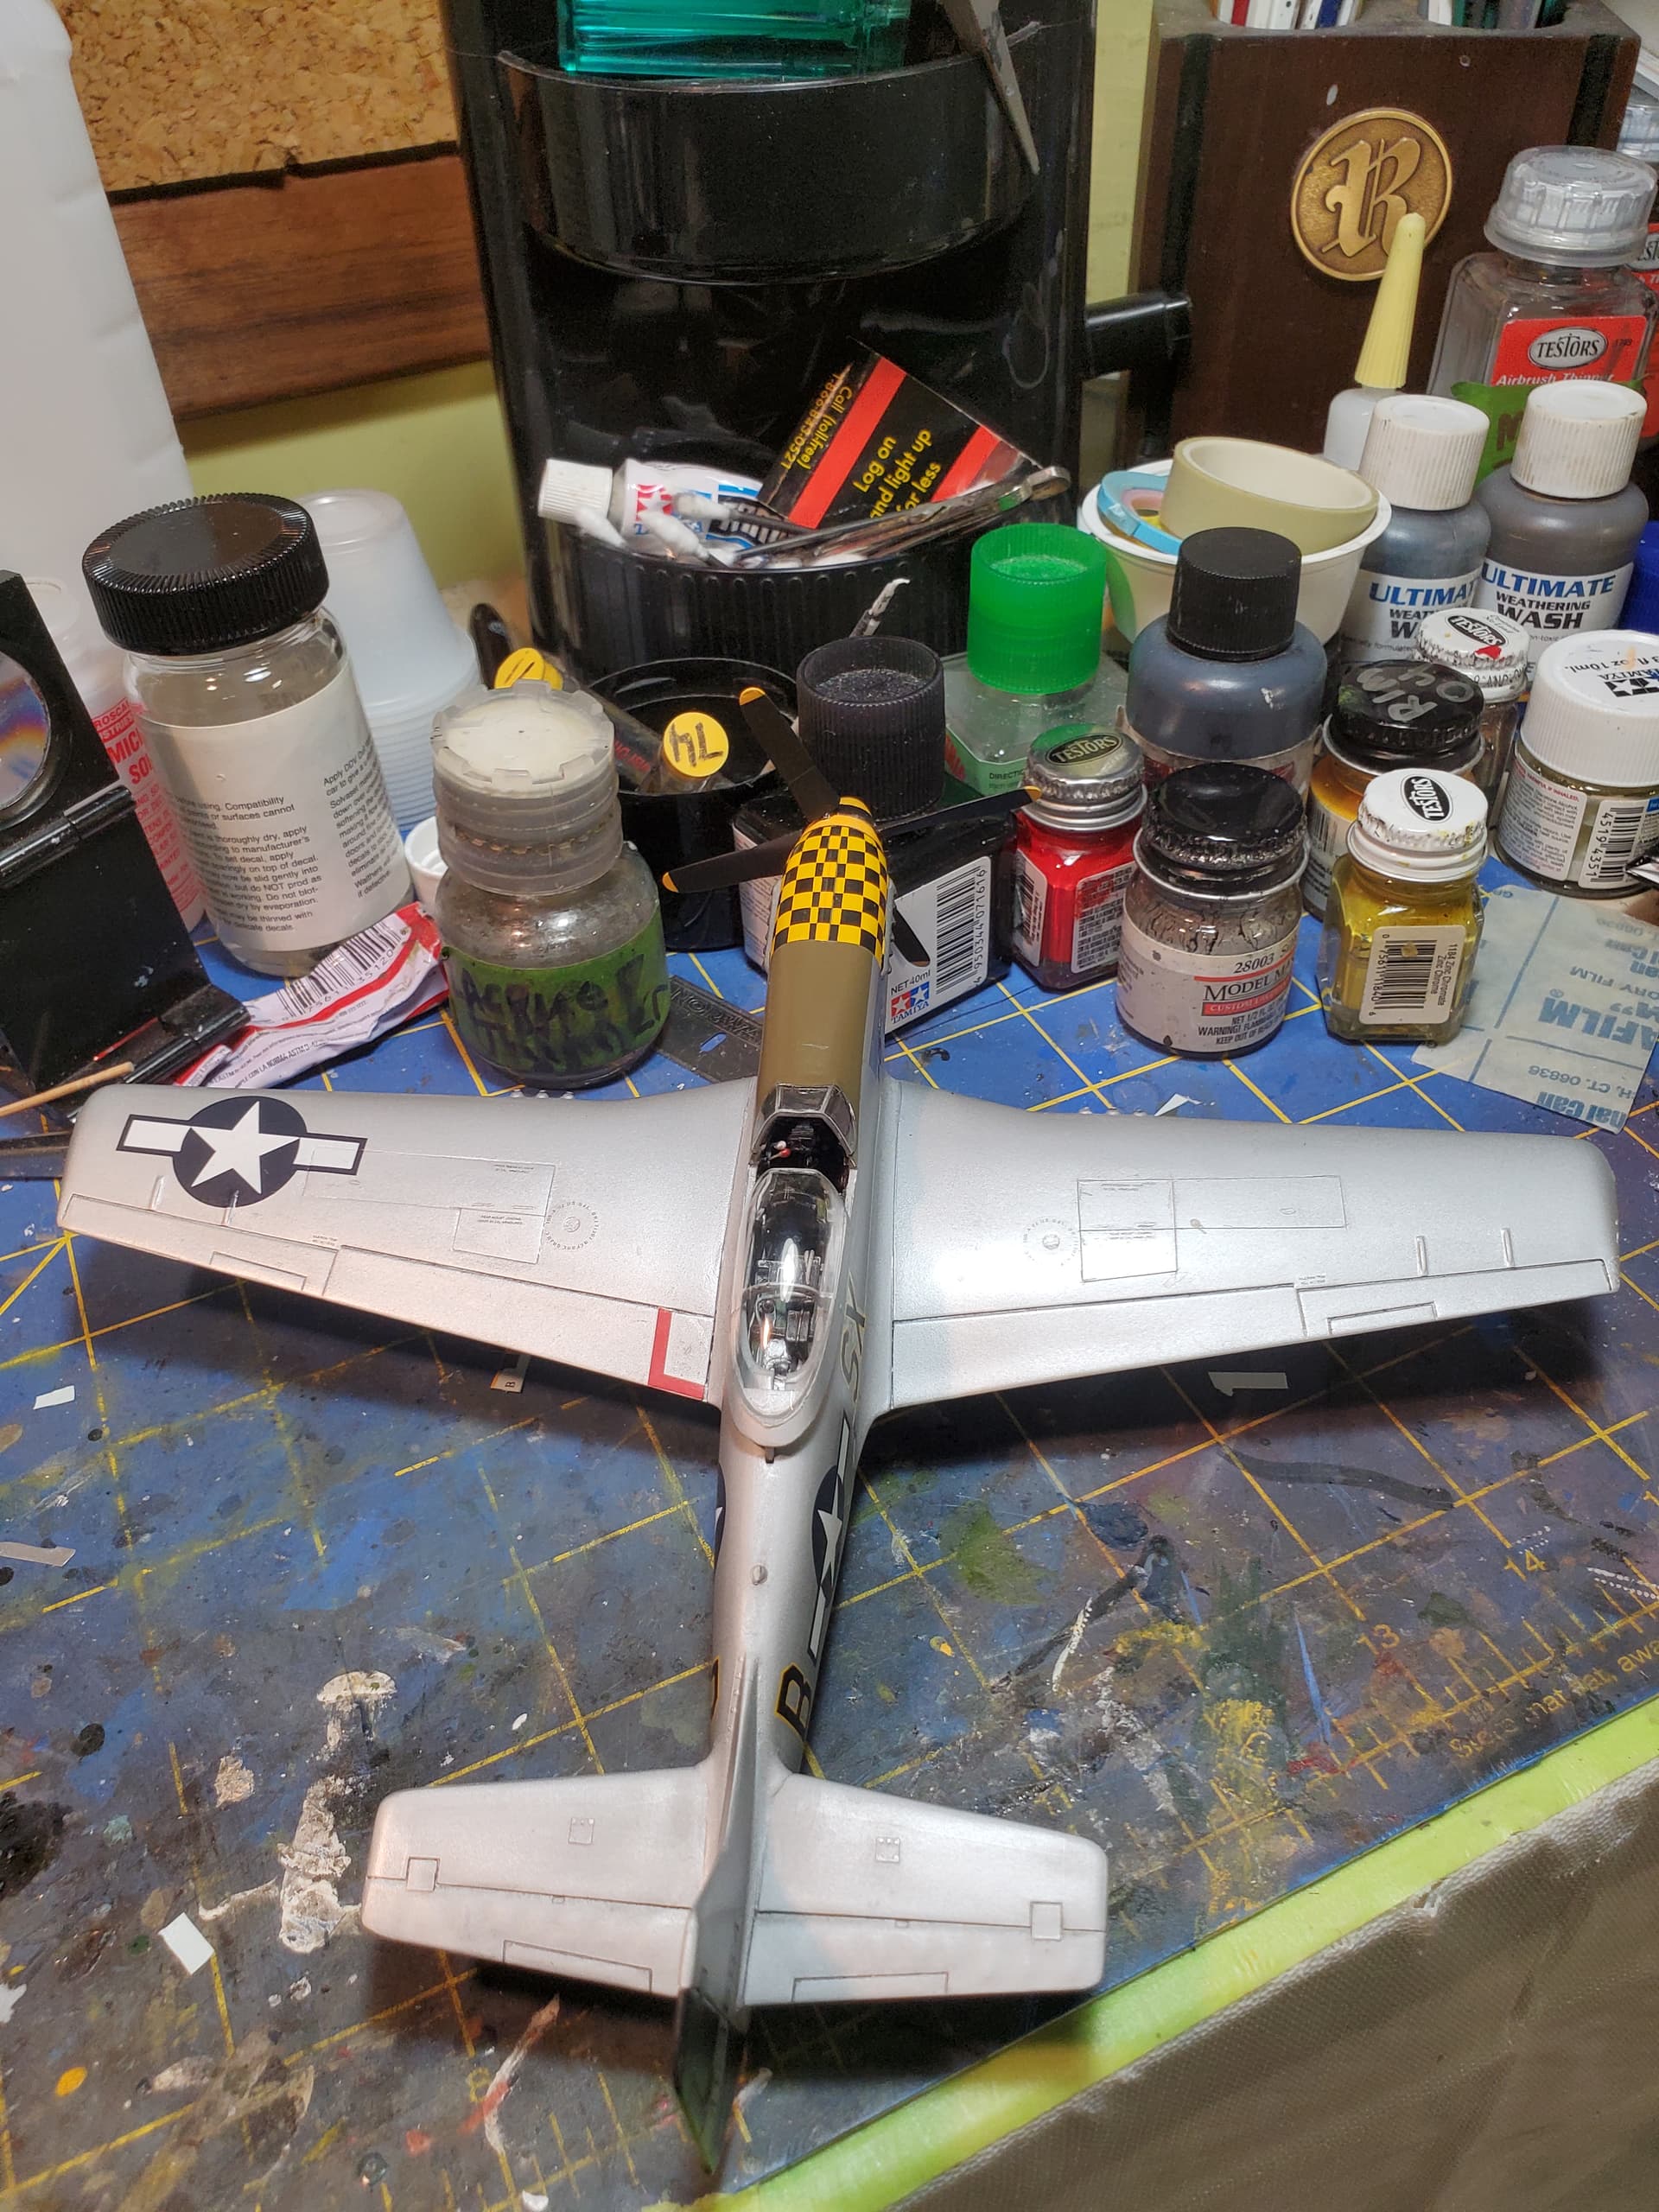
i sanded off the raised wing panel lines except for the gun bays. the left gun bay panels come off to show the 50 cals and i had to re scribe the fight gun bays which i didn’t do a good job. can anyone offer some tips and what scriber they use.
only things i added to the kit is some switch boxes and throttle to the cockpit, some wires to the radio and some brass tube for the gun barrels.
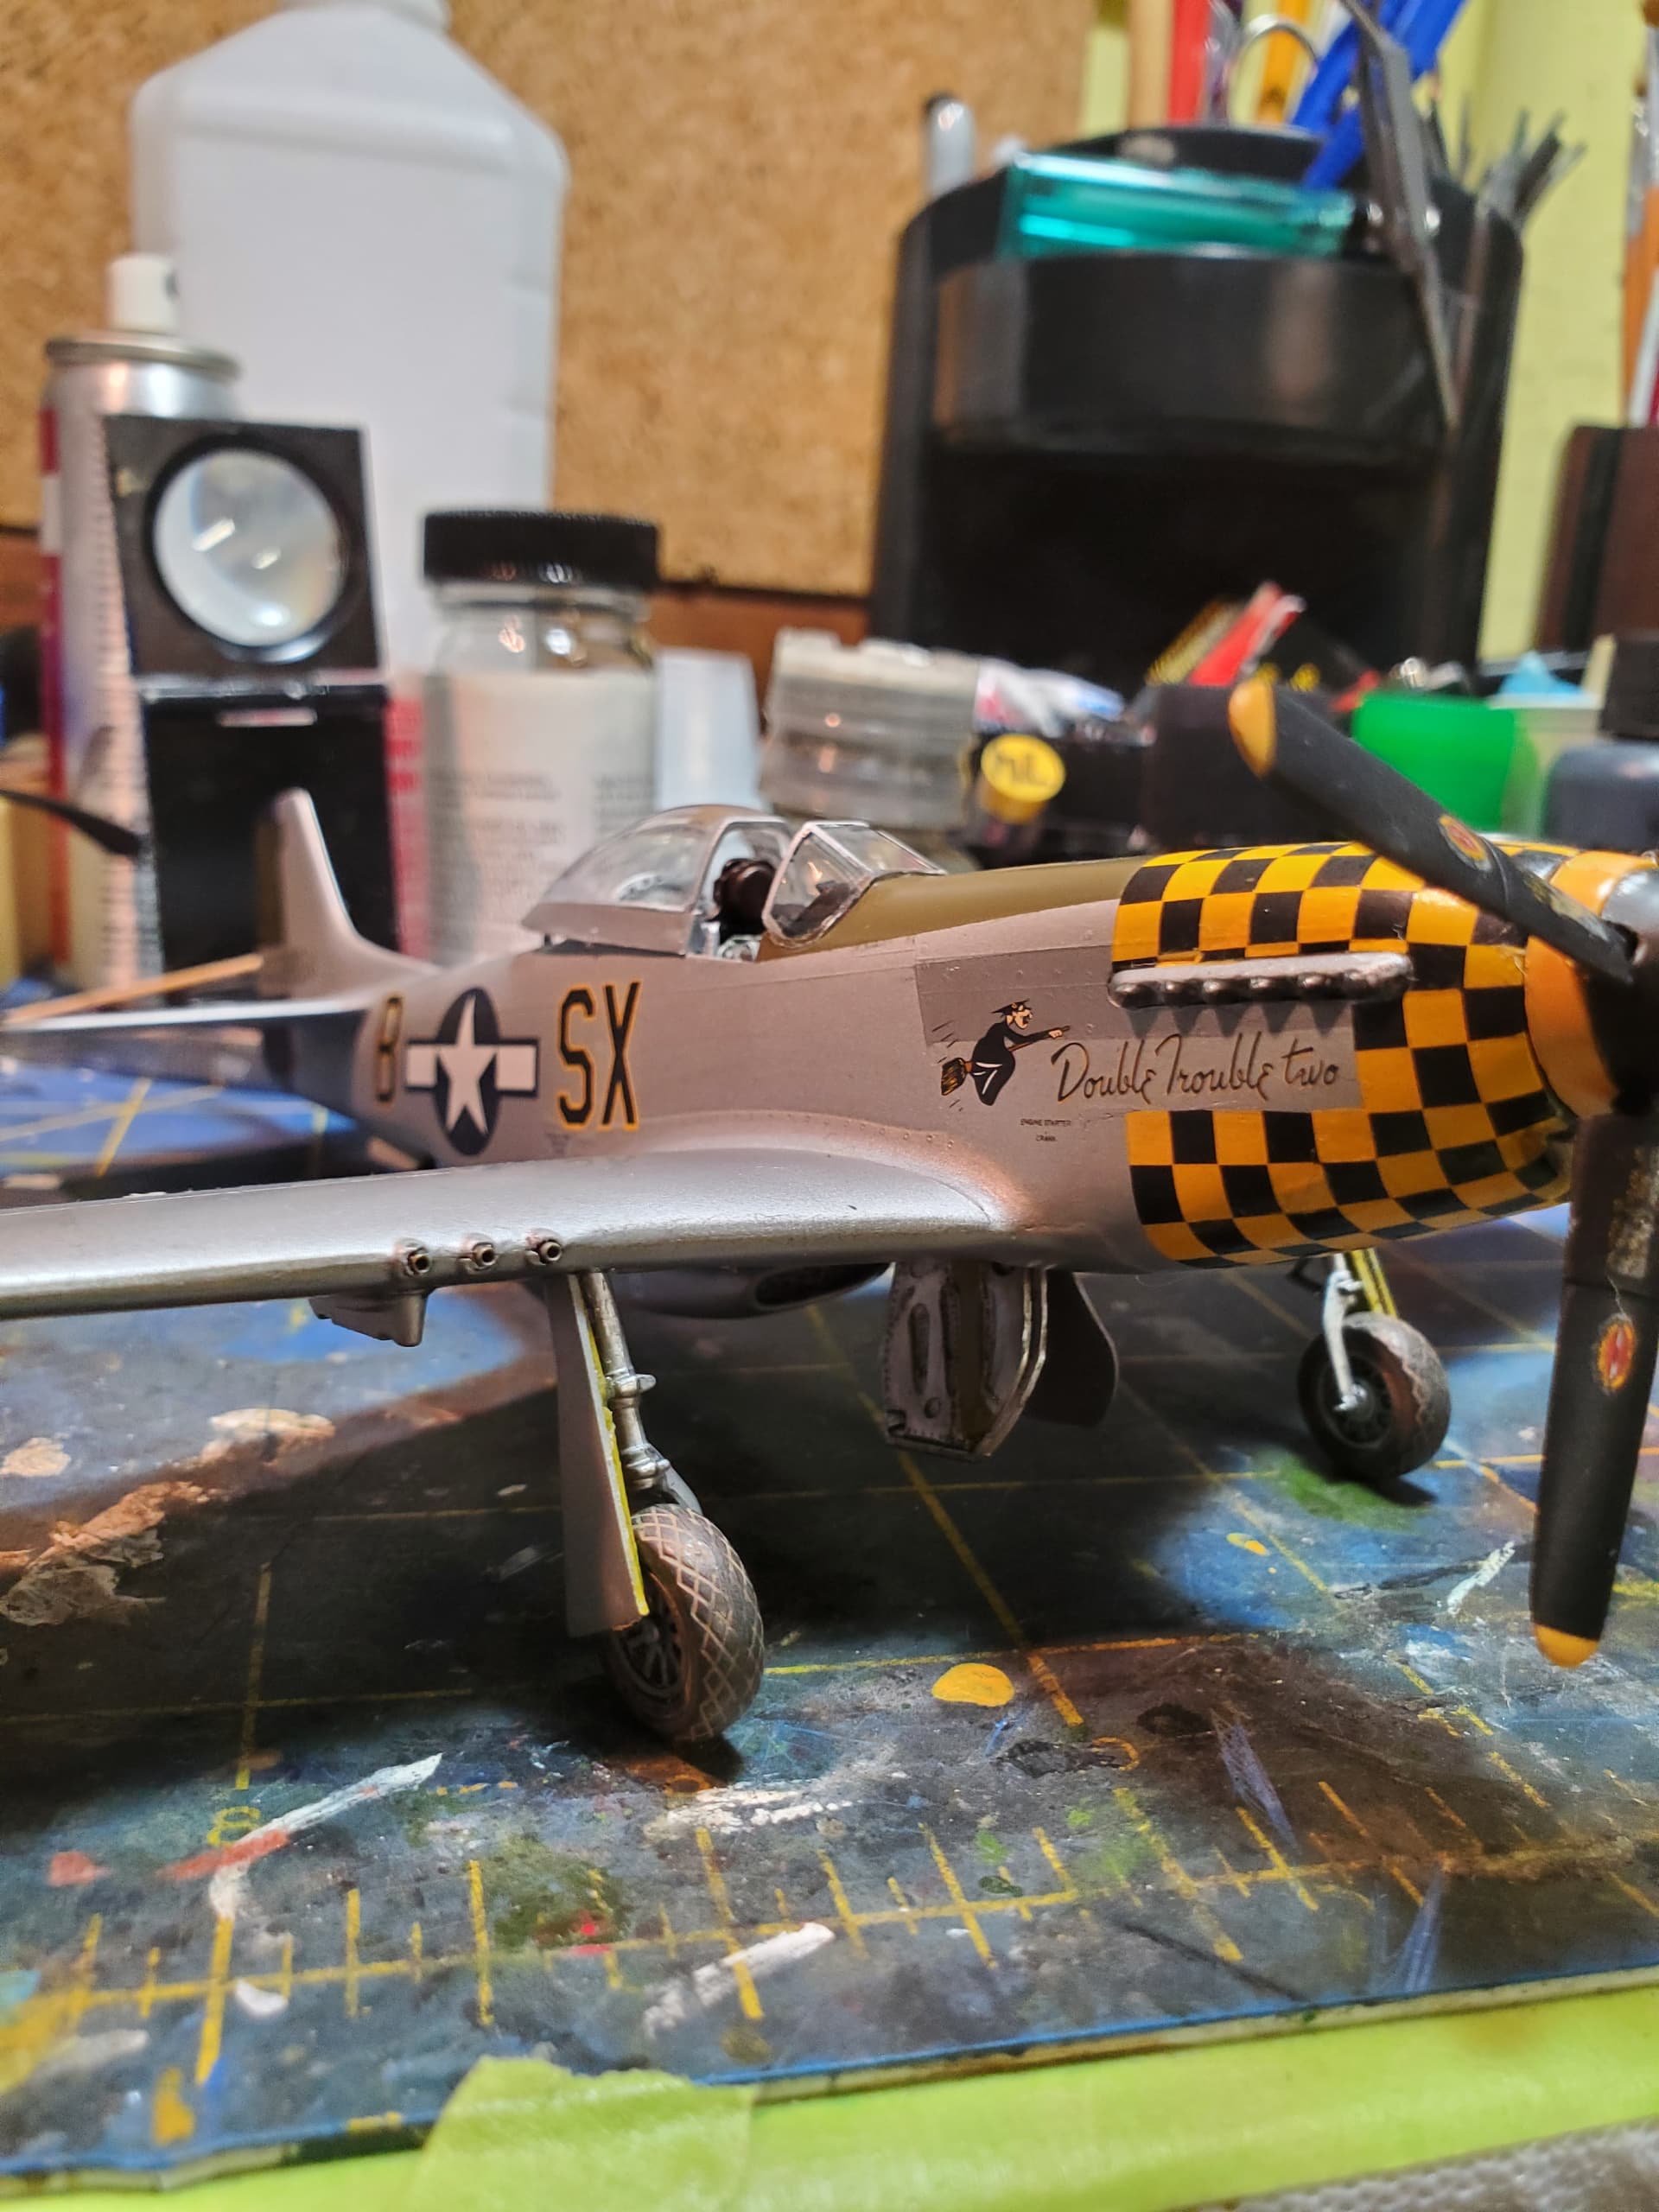

decals are from eagle strike i think and worked well.
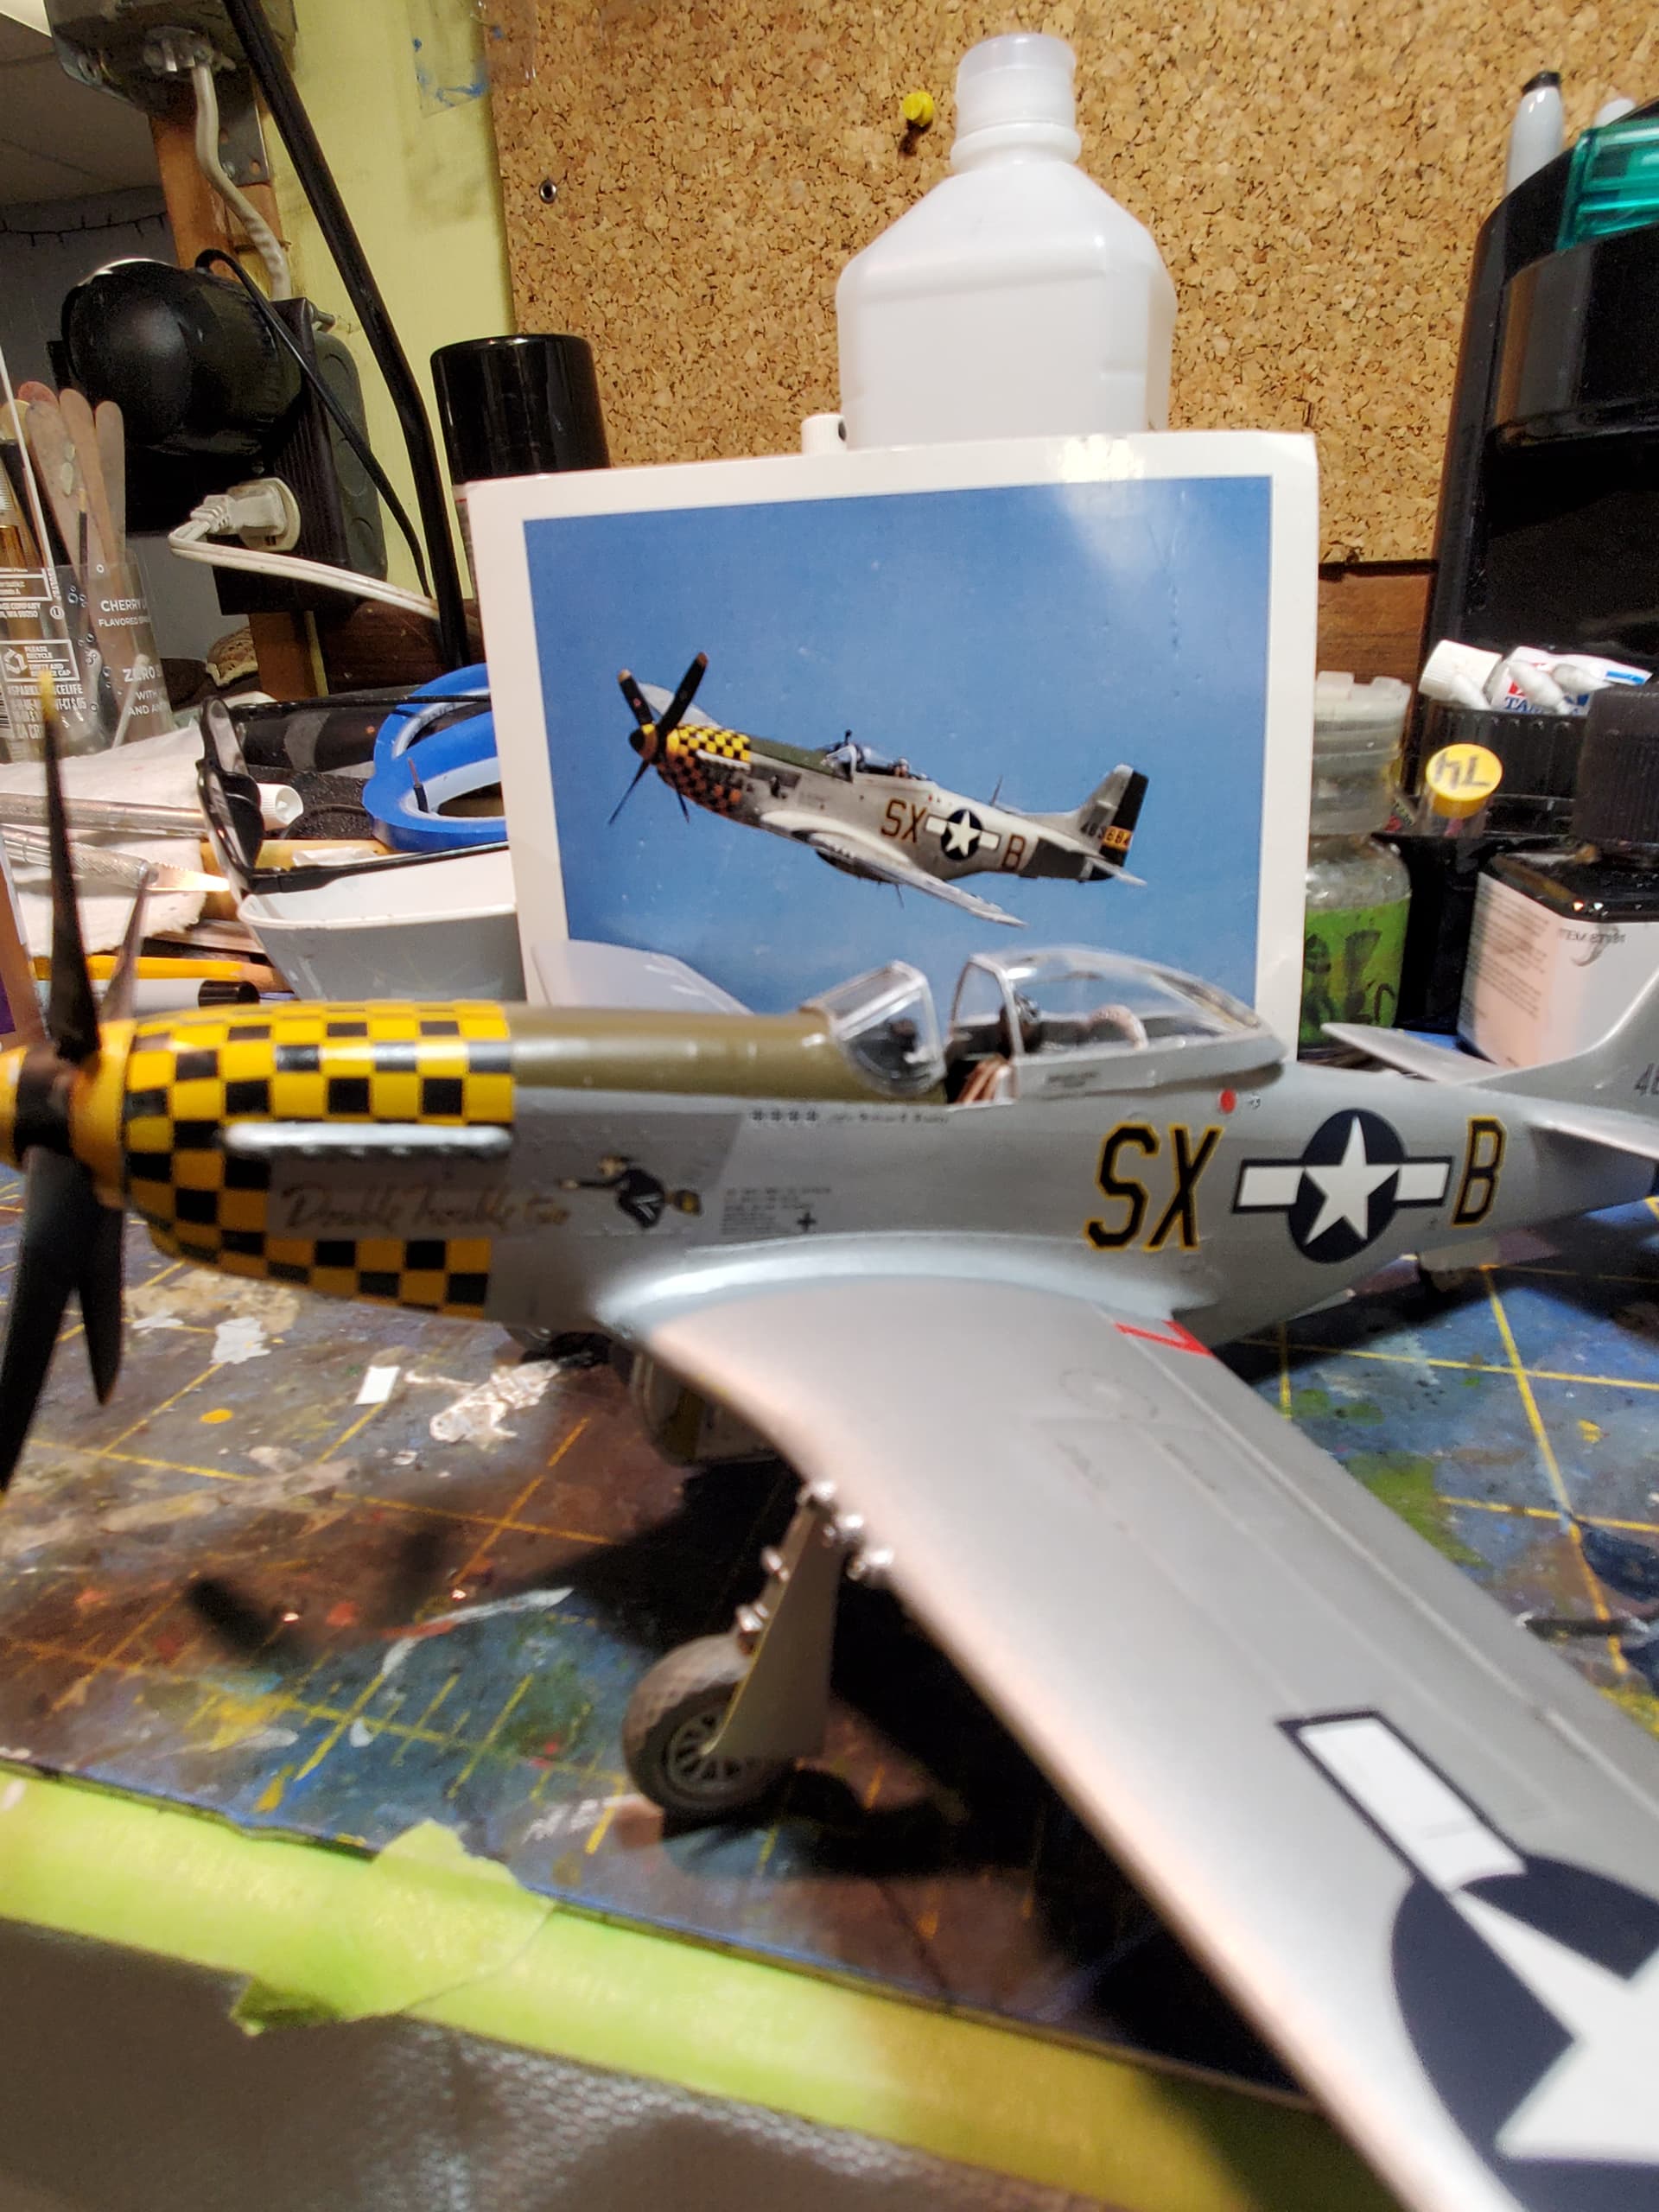
this aircraft is represented at the virgina aviation hall of fame in virgina beach. one photo i show the actual plane in flight.

this is one of the quickest builds i’ve ever done but it was fun.
lt cmd william, wild bill, bailey 353rd fighter grp slybirds.
Thanks to the organizers of this campaign, a fun campaign. i have several more mustangs for another.
Joe
10 Likes