She is getting there!
Alex, your Hatsushimo is progressing nicely. Nice details.
I managed to get a little bit done on The Sullivans. Here is the MK37 fire control system:

(got to do something about that ladder).
Jim
5 Likes
I’m in with my HMS Campbeltown!
The build log is over in the WWII section, but here’s the beginning:

How many of you remember the Revell Campbeltown kit from the 1970s? As a kid I loved the dramatic (and, I later discovered, wildly inaccurate) artwork showing the ship charging up, guns blazing, into the enemy dock! I never ended up building that model, but that wonderful painting did put the Campbeltown firmly on my “someday” to do list.
Not long ago Flyhawk of China released a smaller but far more accurate HMS Campbeltown in 1/700 scale. They even have a “Deluxe” version with extra photoetch, turned brass, and even a small spool of Uschi van der Rosten rigging.

How could I resist?

3 Likes
I was working on some railings for my USS The Sullivans, and after about 4 hours the railings around the fire control platform are finally completed! My question to you guys is: how do you do it? I realize this this is only my second 1/700 scale ship, and practice is a big part of it; but I struggled for 4 hours on railings on a little platform and the look like they went through Typhon Cobra! How do you guys get your railings to look so nice?
Jim
Hi Jim,
I find it easier if I paint the rails first and then cut them into short sections before applying them, that way each bend is less and mistakes (assuming you have enough spare etch!) can be easily corrected. I know many guys like to attach the rails with super glue, but I prefer white wood glue. It may sound unsuitable for metal to plastic, but the bond is sufficient for these delicate parts. I like it because it is very forgiving - you can even wet it again with water if you don’t like it after it is dry and try again without damaging your etch.

These rails on my Revell 1/720 Massachusetts were made in this way.
It does take a bit of time, though, so relax and enjoy yourself. Good luck with your destroyer!
3 Likes
Thanks, Tim. I’ve been using a combination for super glue & Gator Glue. Might have to look into the wood glue option.
Jim
I have managed to get the railings & doors onto some of The Sullivans. The foredeck is (mostly) complete. I do need to add the 20mm cannons to the gun tubs. The 5"/38 guns are just placed for the photo, as is the bridge structure.

I’m hoping that if I have it in subassemblies it’ll be easier to paint. Maybe.
Jim
3 Likes
jimb,
Looking sweet!
Mark 
It’s been a very long time since I have done an update on my USS Buchanan build. 2021 has not been a good year for me health wise, which prevented me from sitting at the bench. I am now doing much better and back to work and modeling. So here is where I am at with the build.
Just have to add the little stuff, railings, rigging and the stuff I seem to keep knocking off. I will make the end of the month cutoff.
This is my third back to back destroyer this year. I am more than ready for something larger, like another battleship.
Until the next post.
Mark
3 Likes
Thanks, Mark. Not sure I’ll finish for the end of the Campaign, but even if I don’t I’ll keep updating.
Your USS Buchanan is coming along nicely. I like the cradle you have it in.
Jim
Outstanding. She looks wonderful!
jimb, McRunty
Thank you for looking in and the kind remarks.
jimb, the cradle is from a company in the Ukraine called LMG; Laser Model Graver.
Mark
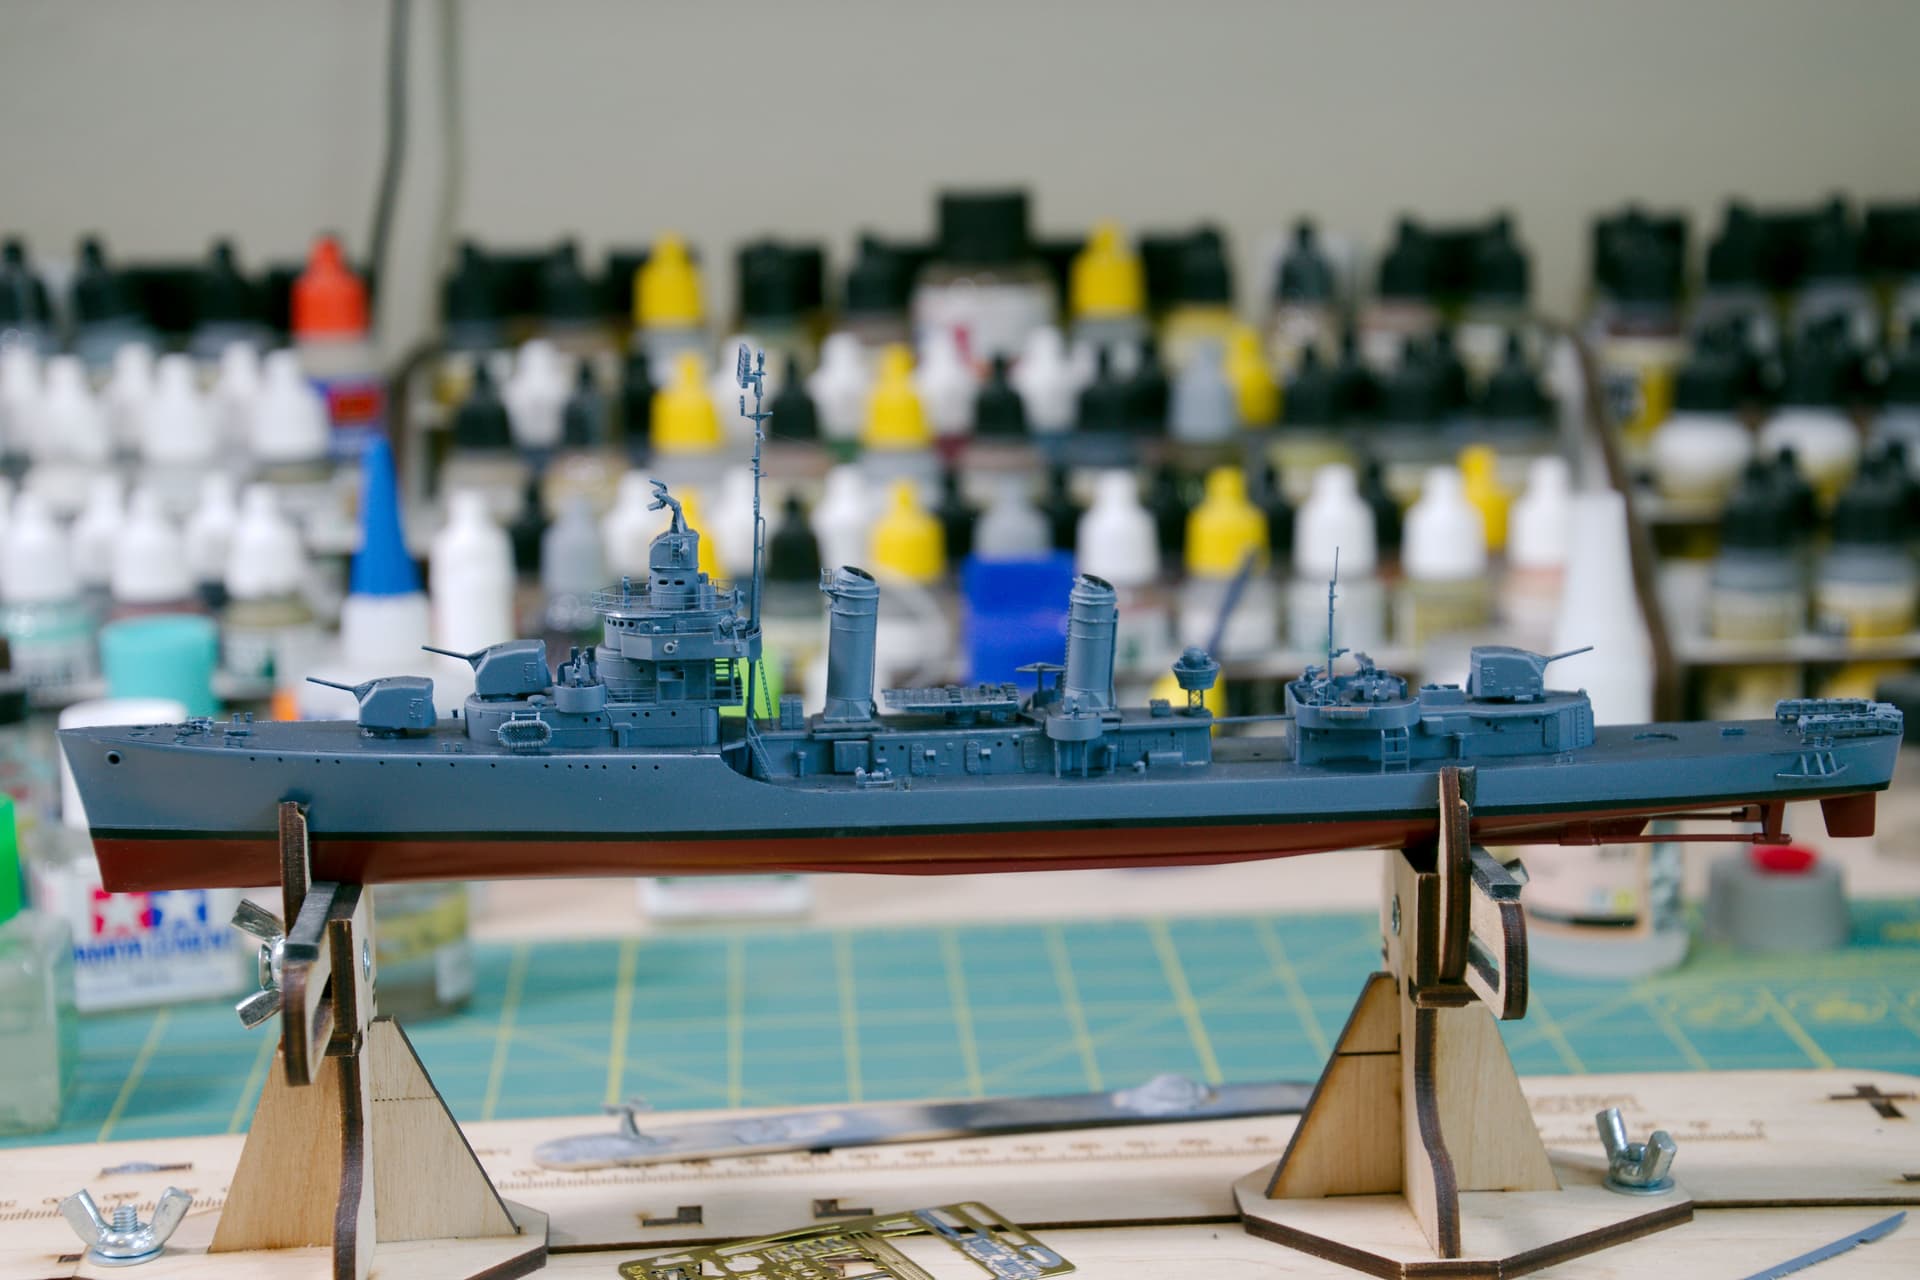
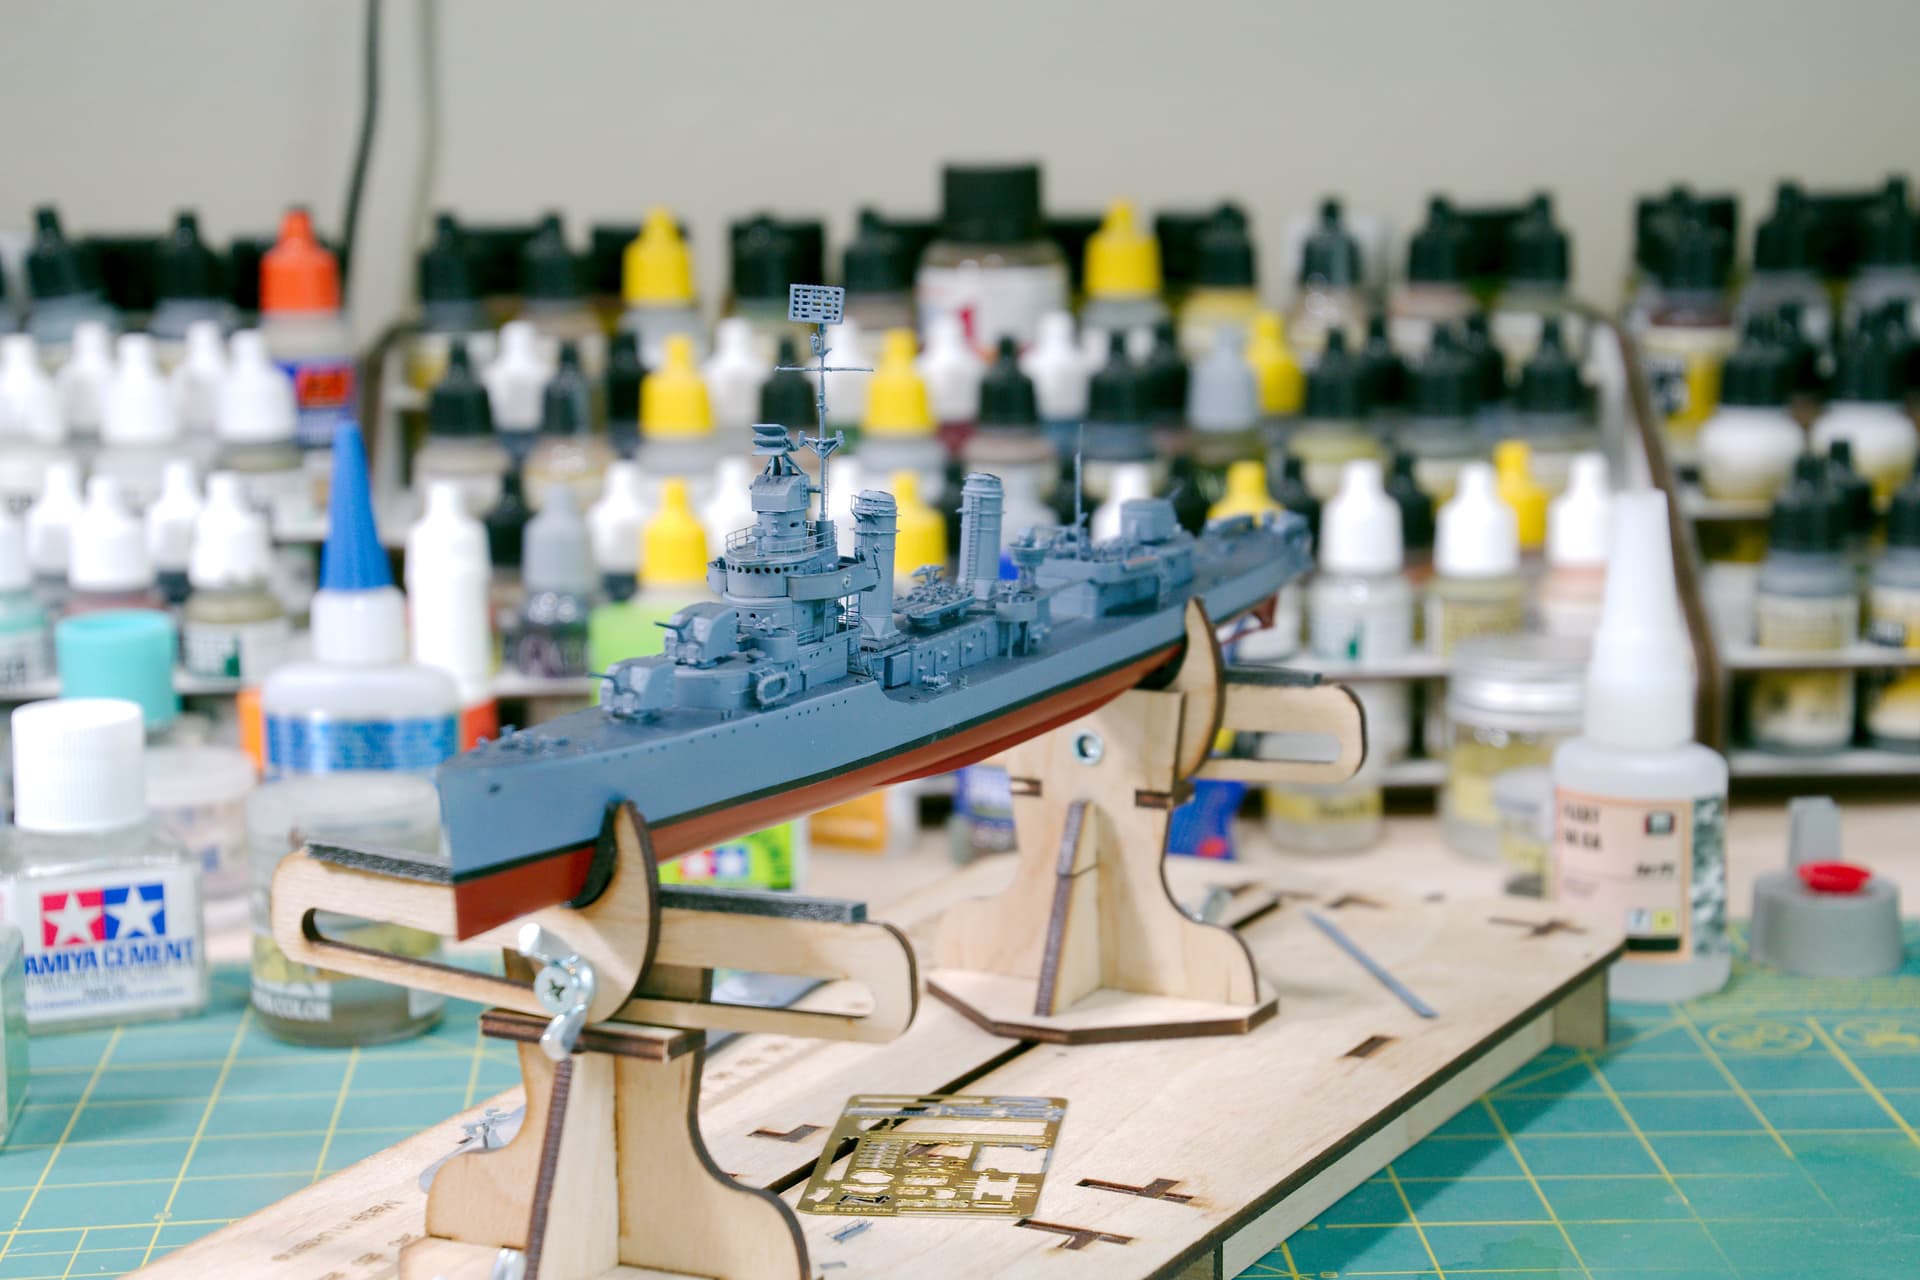
Progress on HMS Campbeltown:


Almost there!

5 Likes
Looking really good Tim. Loving that pink!
1 Like
Your Campbeltown is looking really nice. I’m guessing this is before she rams the docks at St. Nazaire.
Jim
1 Like
![]() McRuntyPatron
McRuntyPatron![]()
Looking really good Tim. Loving that pink!
![]()
Your Campbeltown is looking really nice. I’m guessing this is before she rams the docks at St. Nazaire. ![]()
Jim
Thanks guys! I’m getting used to that odd color… I notice in the pic that the black on my funnel tops doesn’t go down quite far enough:

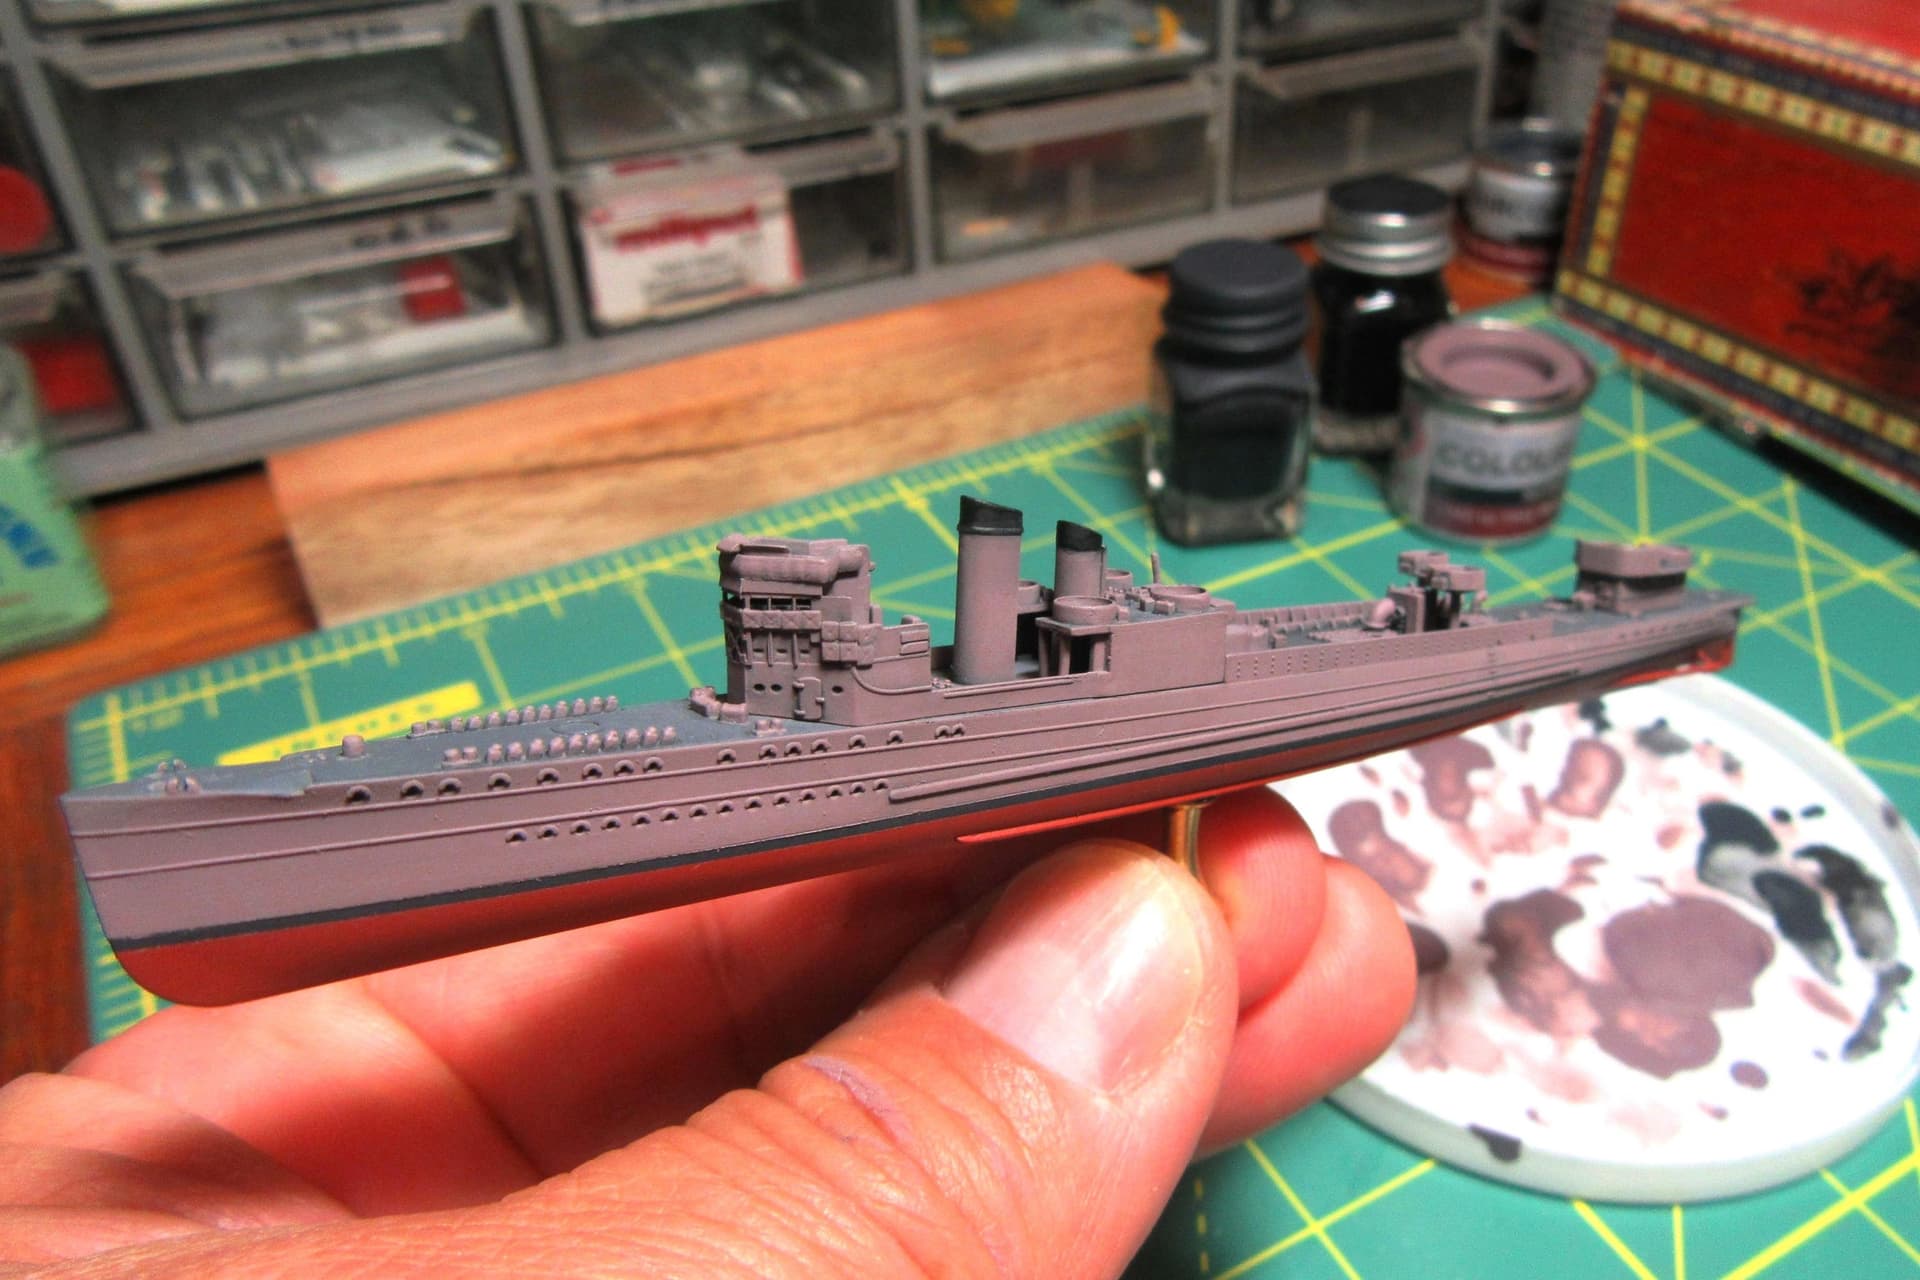
So a little more work with the hairy stick after work today!
3 Likes
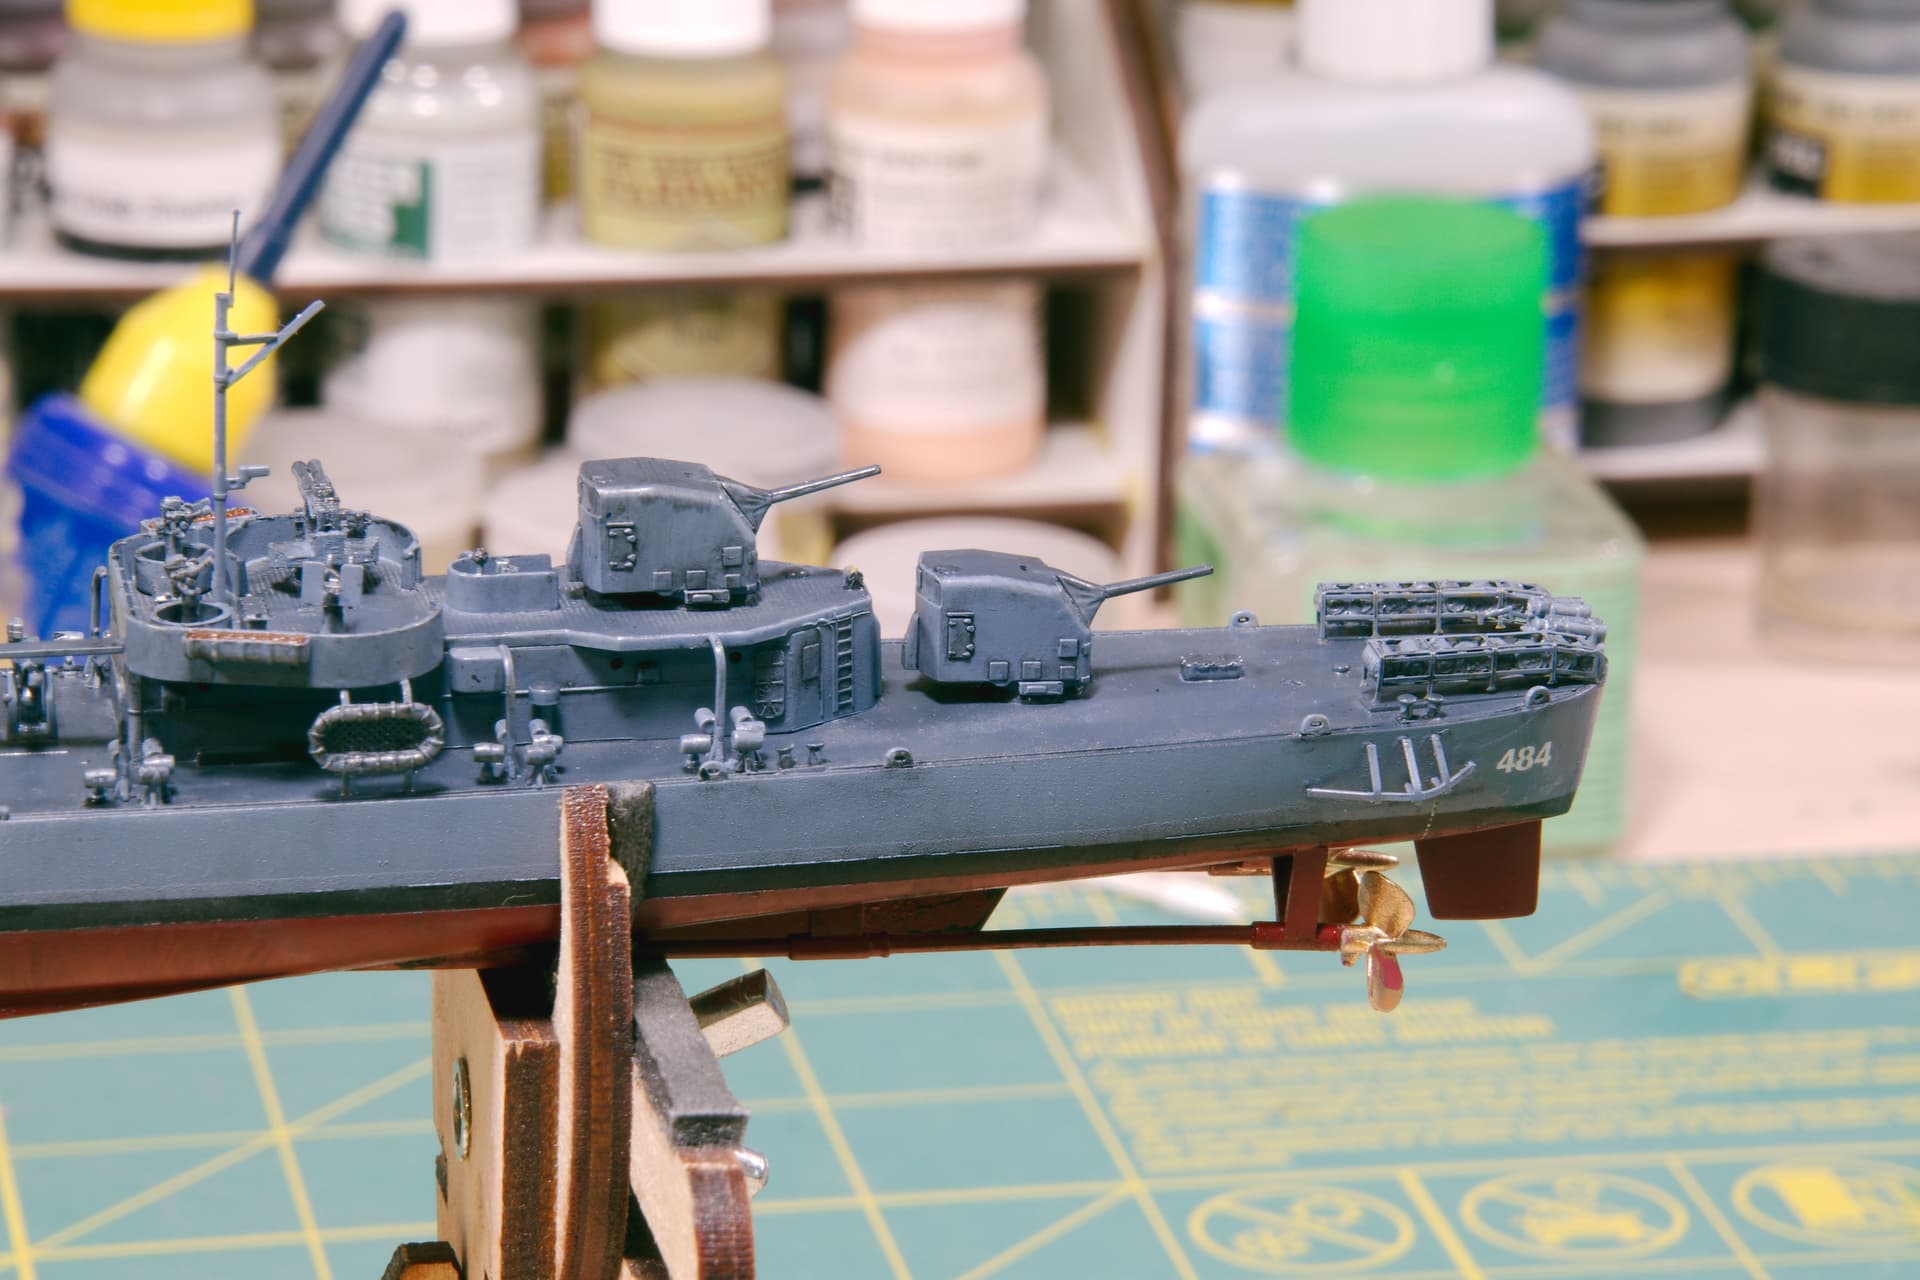
I attached the propellers and painted them with Testors Metallic Gold enamel.

The gold came out super bright, so I weathered the screws down a bit with thin washes of Tamiya NATO Black acrylic.
5 Likes
Quick update on the USS Buchanan build.
Only have to install the ship’s boats and railings and a little more weathering. I am not going to do any rigging. The main mast is so flimsy that it would twist with the any tension put on it. I was most glad that I was able to install it without breaking it.
Here are a few photos of her present condition.
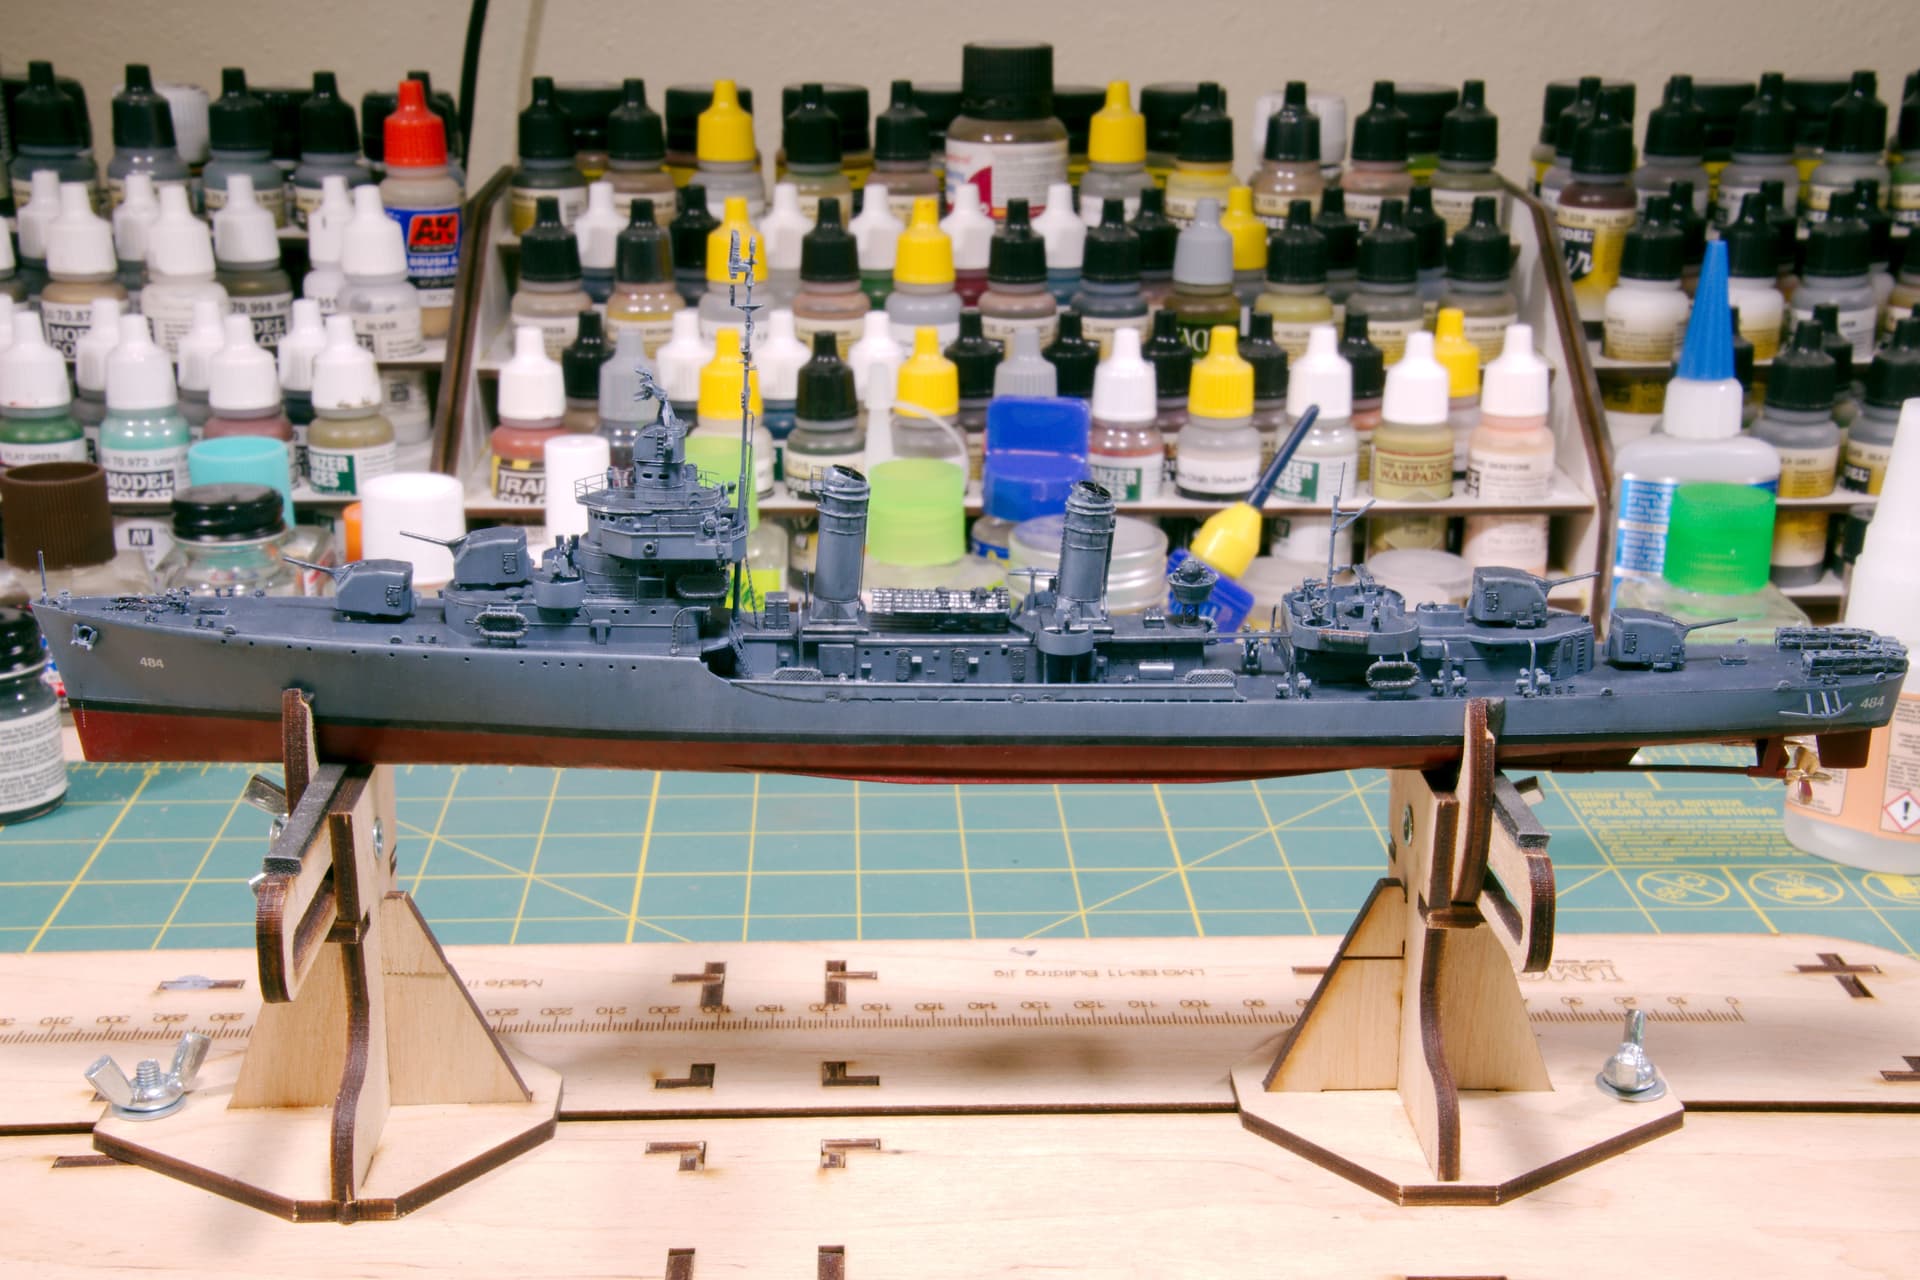
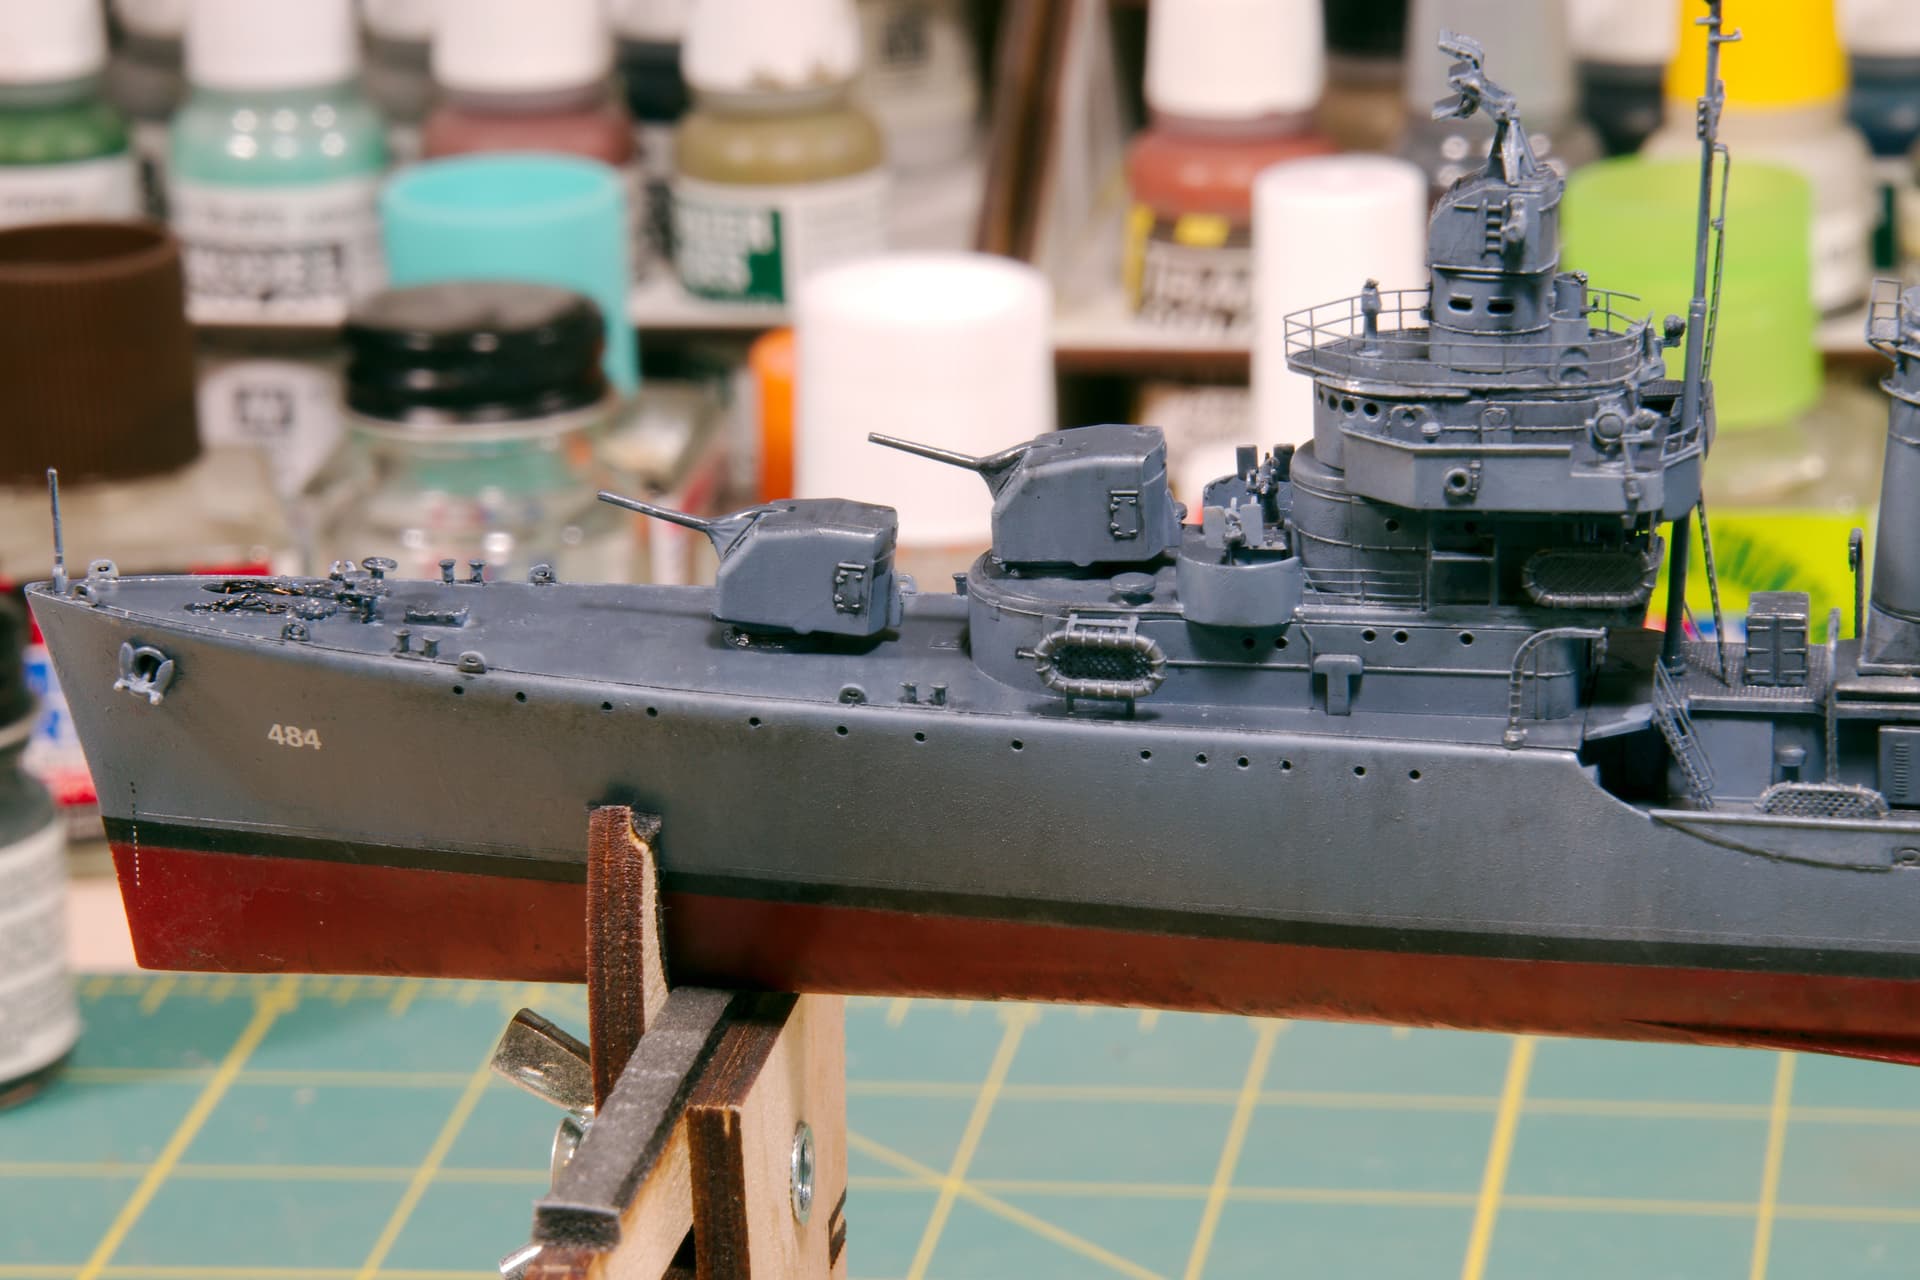
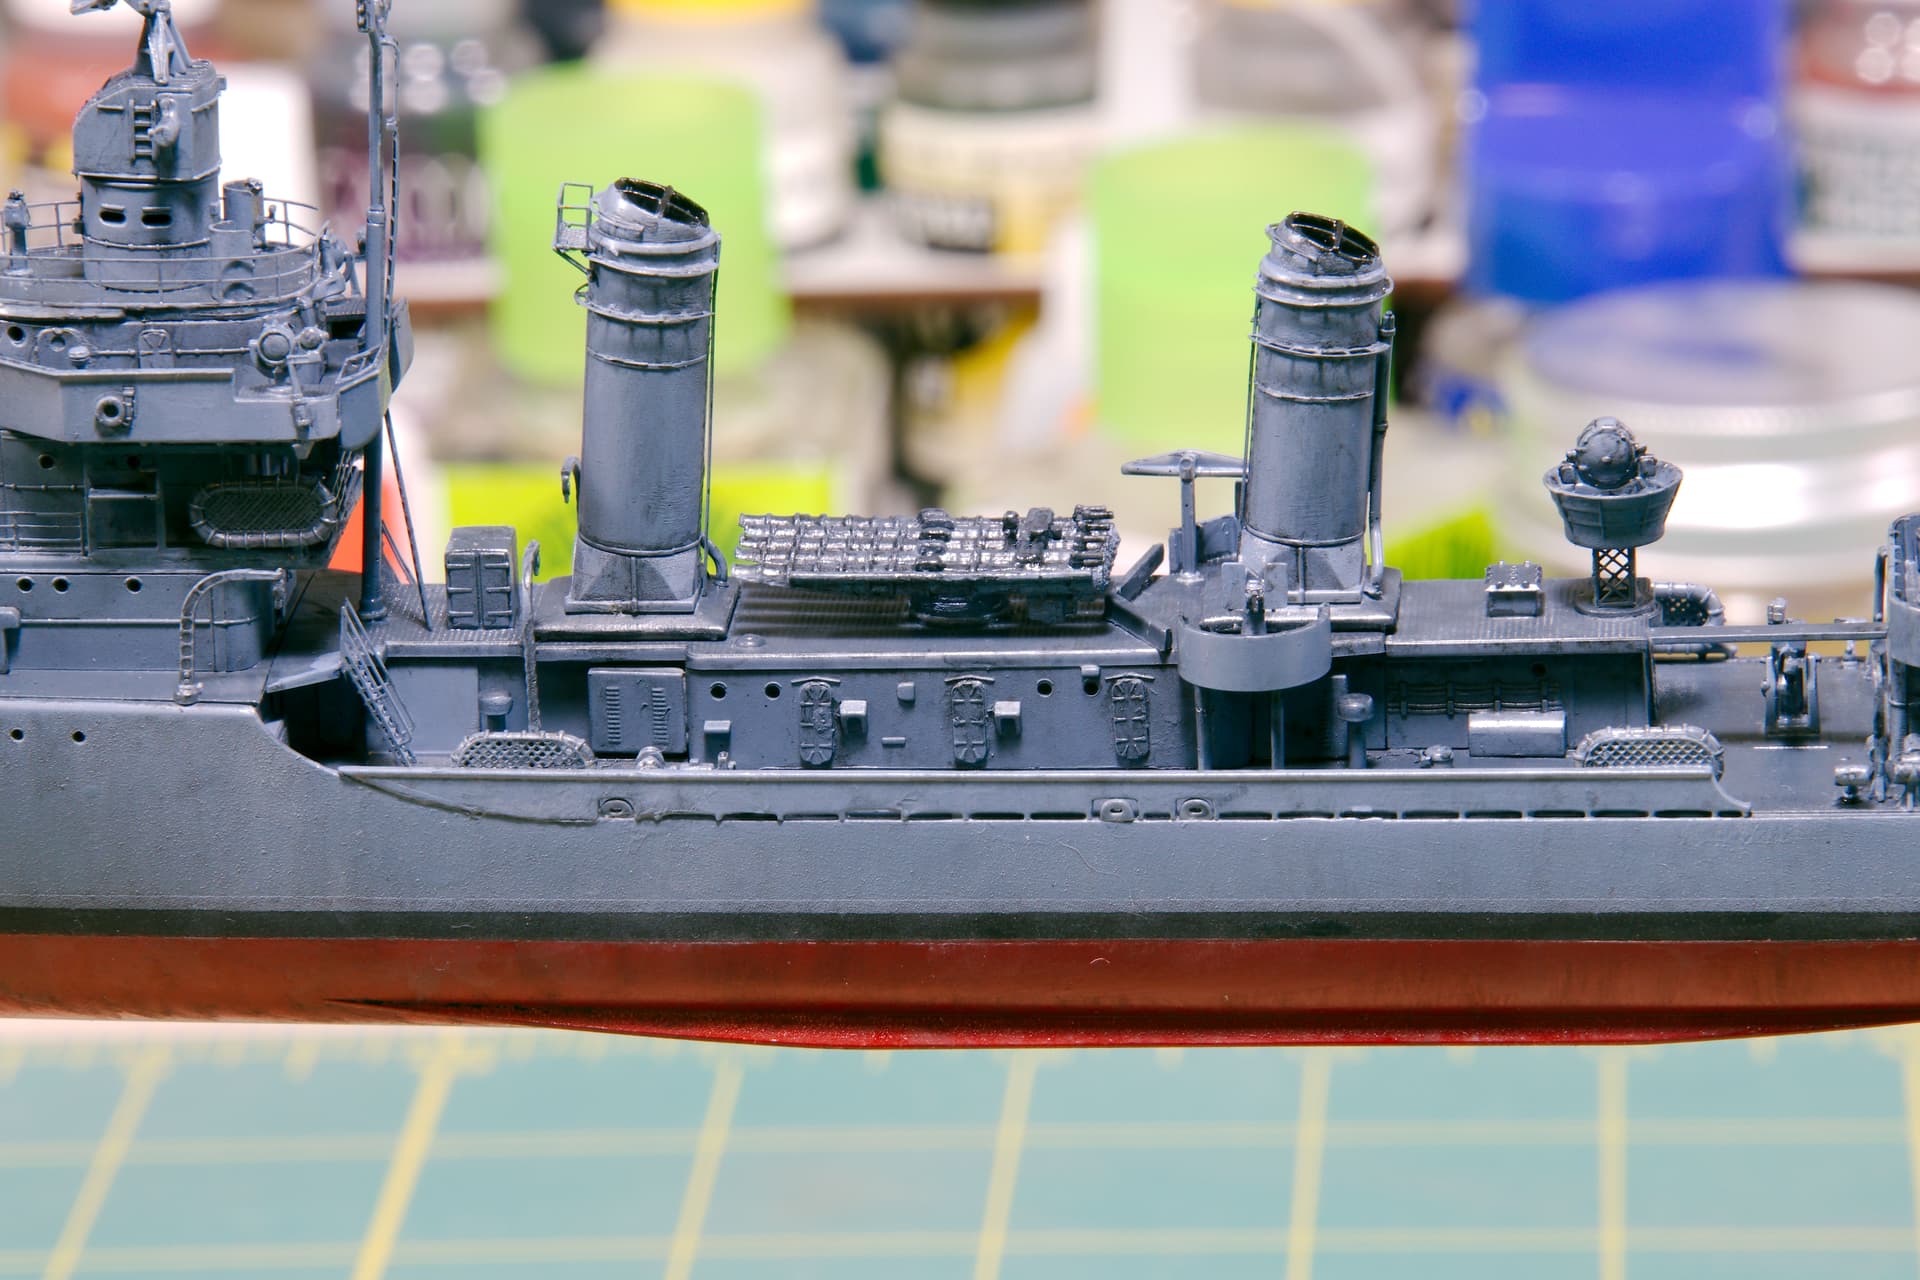
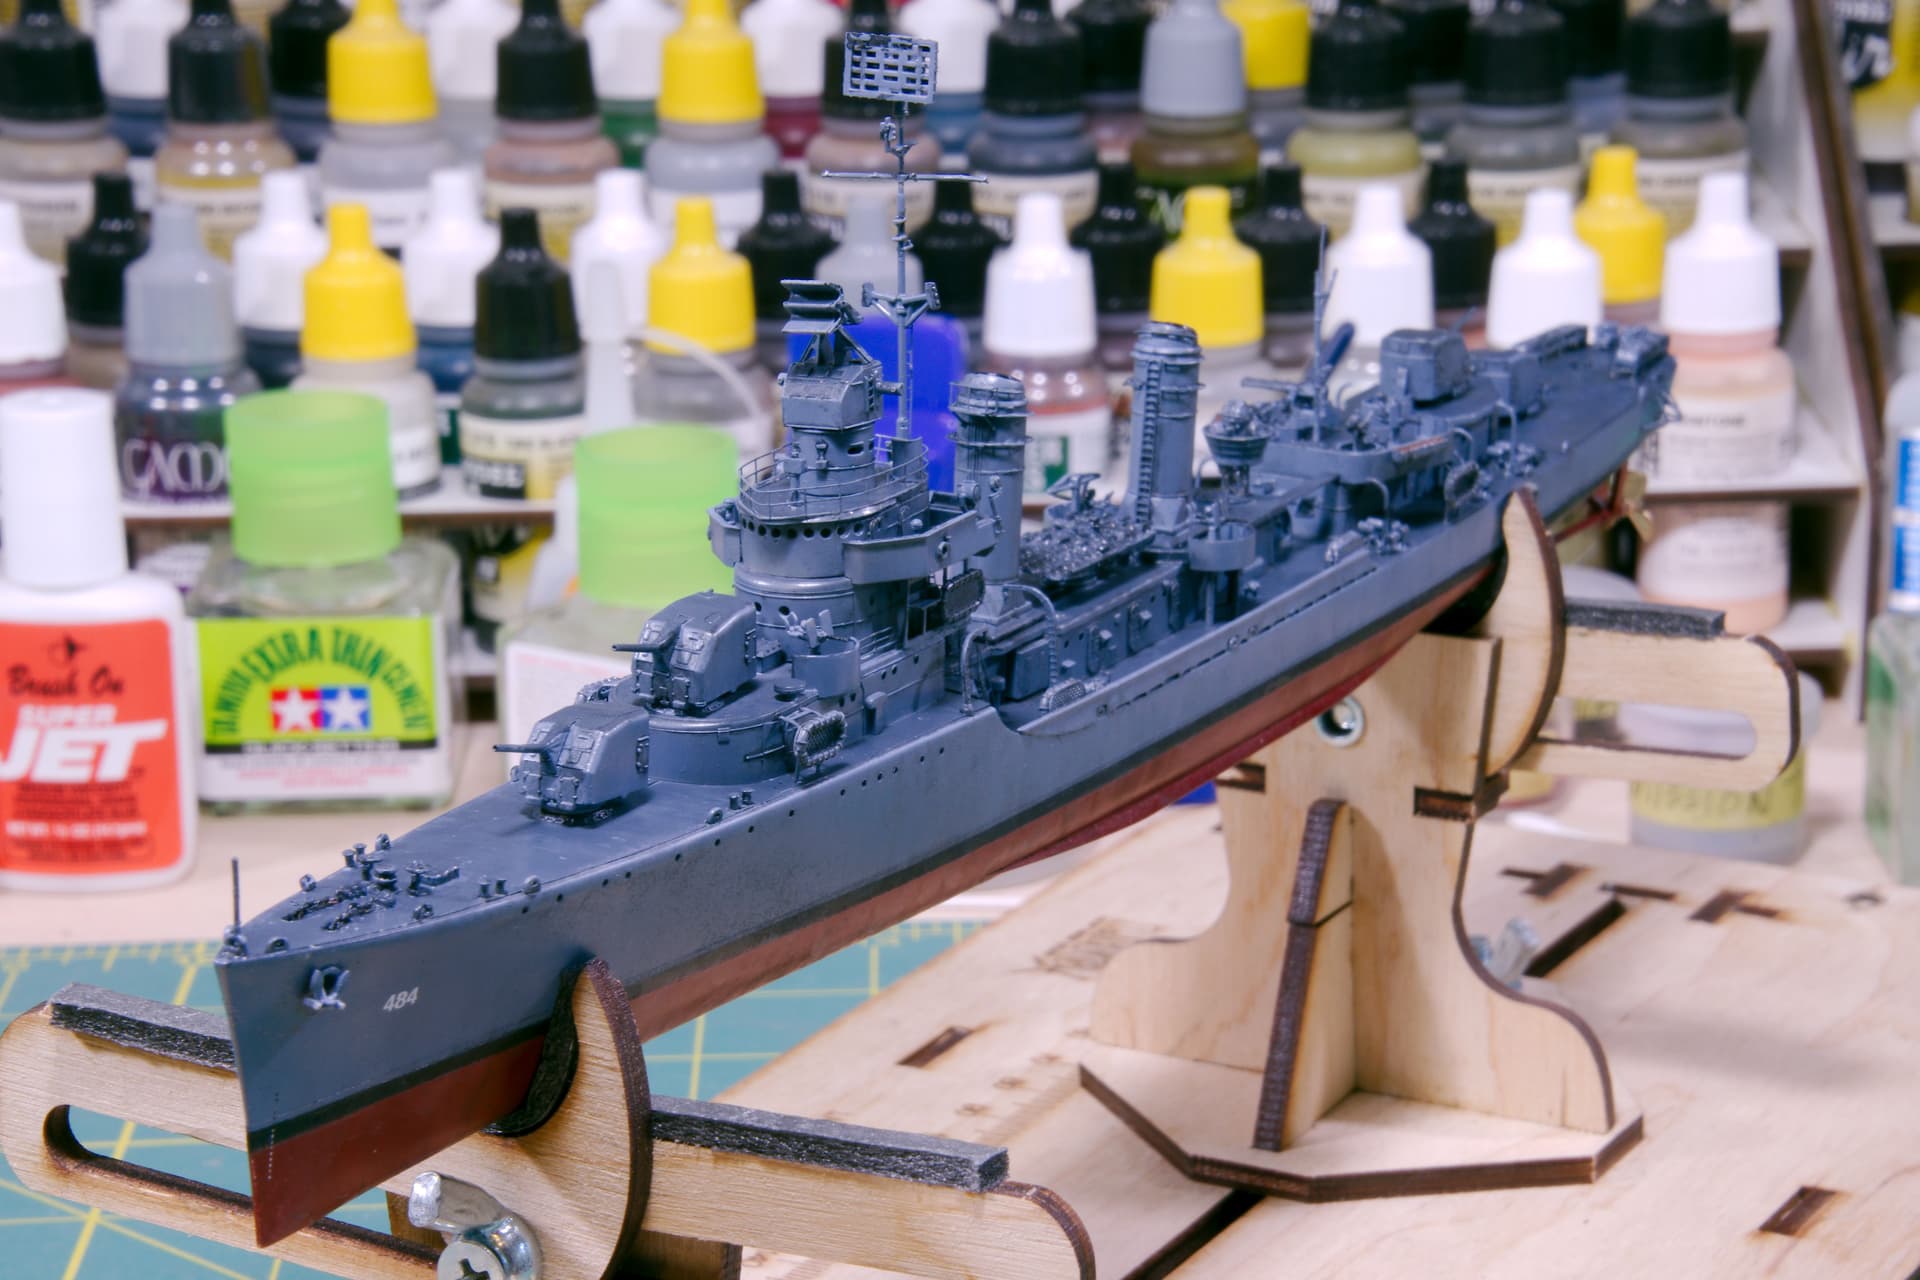
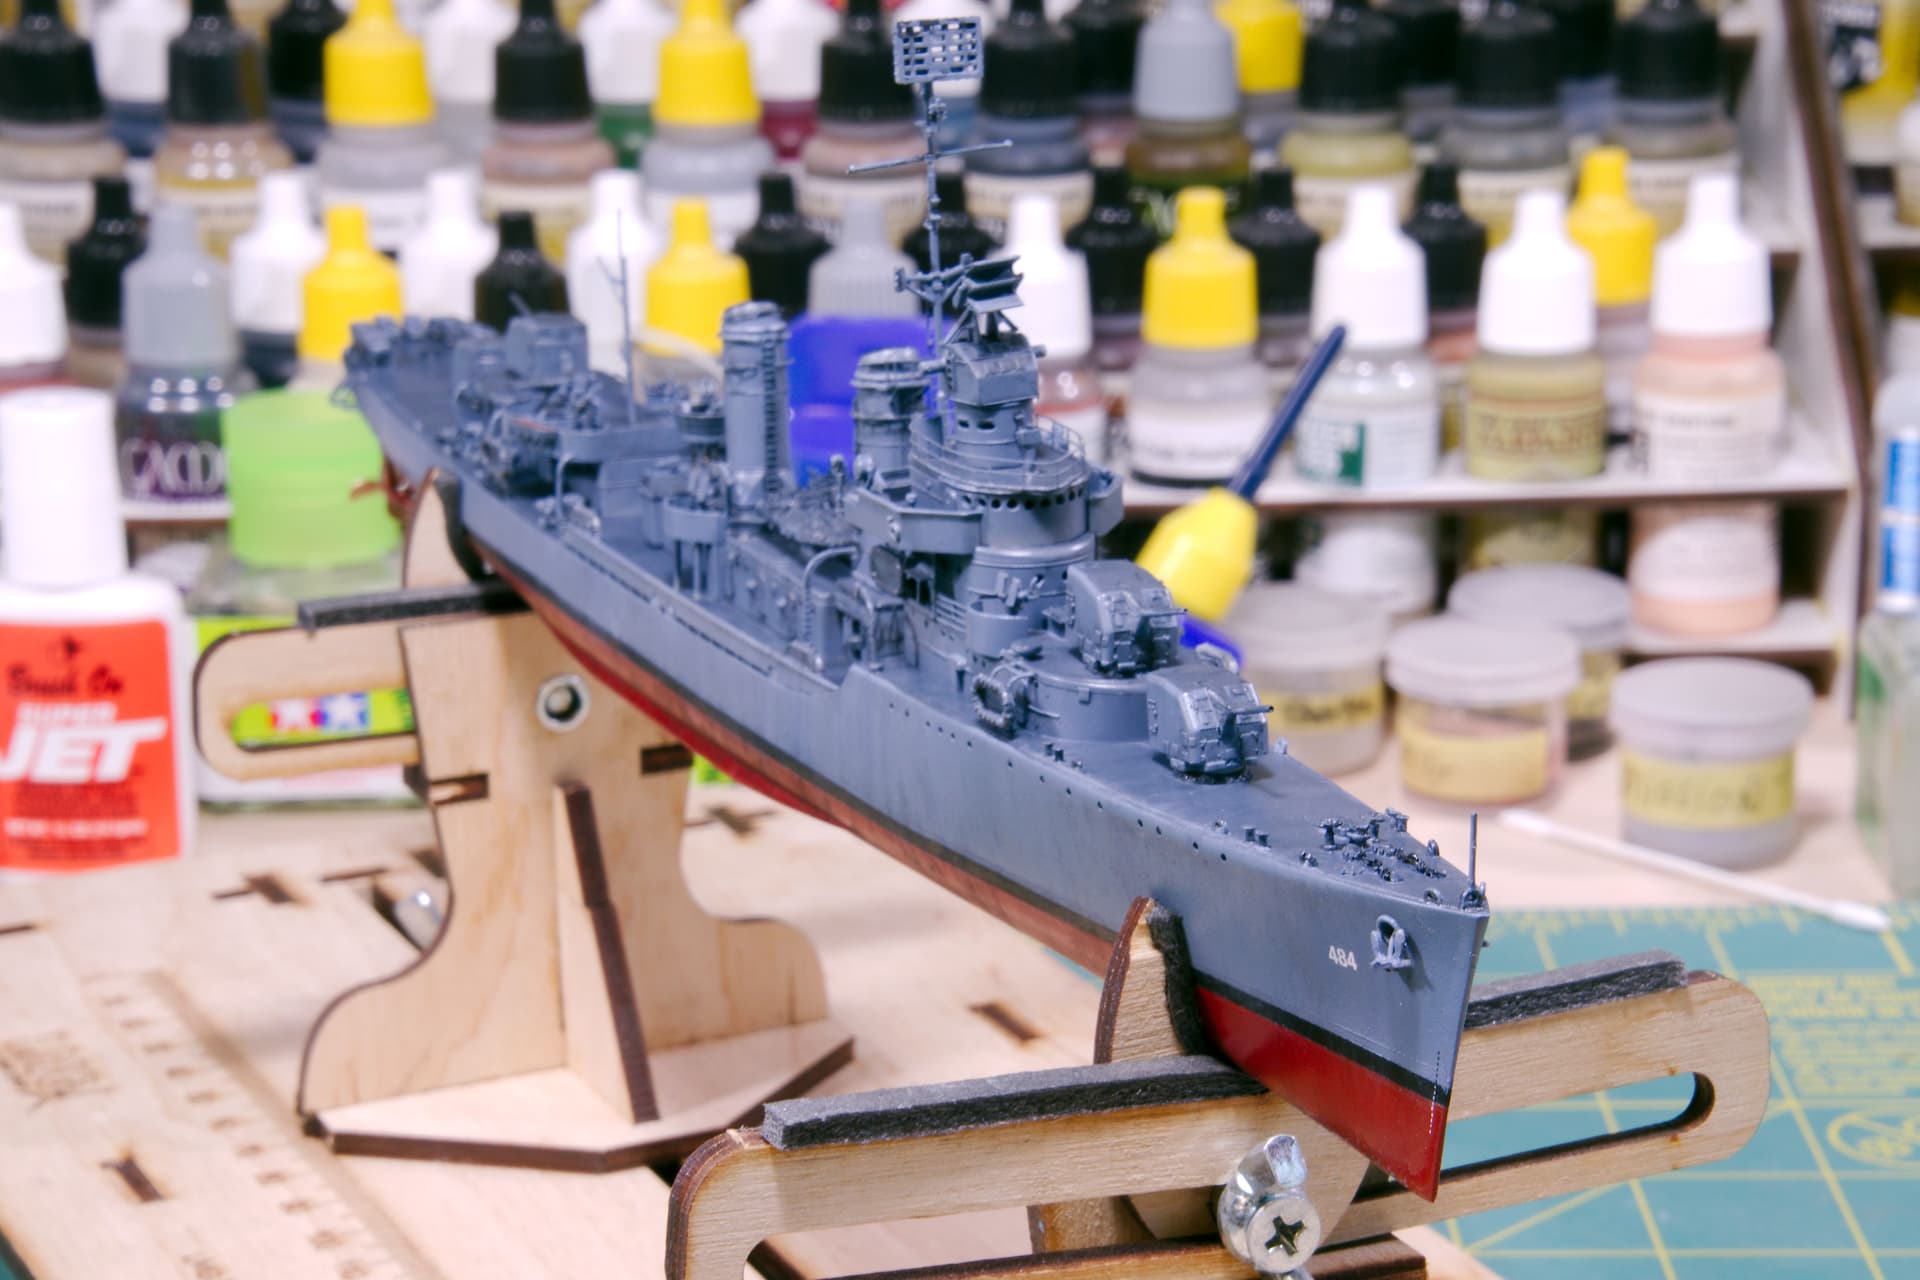
I used highly diluted oil paints of black, white and blue to weather the hull, decking, and superstructure. Plan on adding some brown to the mix and just some rust, nothing major. After all this work, I wouldn’t want her looking like a rust bucket.
Next post should be the finish.
Mark
6 Likes
Mark, your Buchanan looks great! I think your restrained weathering job is just right.
More progress on the ex-Buchanan (HMS Campbeltown):


4 Likes