After some pondering, I hope to leave a couple of panels open.
More pondering: I guess torpedos need to be kept away from maintenance work. Since I’m including the torpedo trailer on the tarmac anyway, that makes it logical to leave one wing pod empty. … Me, overthinking again.
PS: Will someone please pull me out of the research and aftermarket parts/purchase rabbit hole!
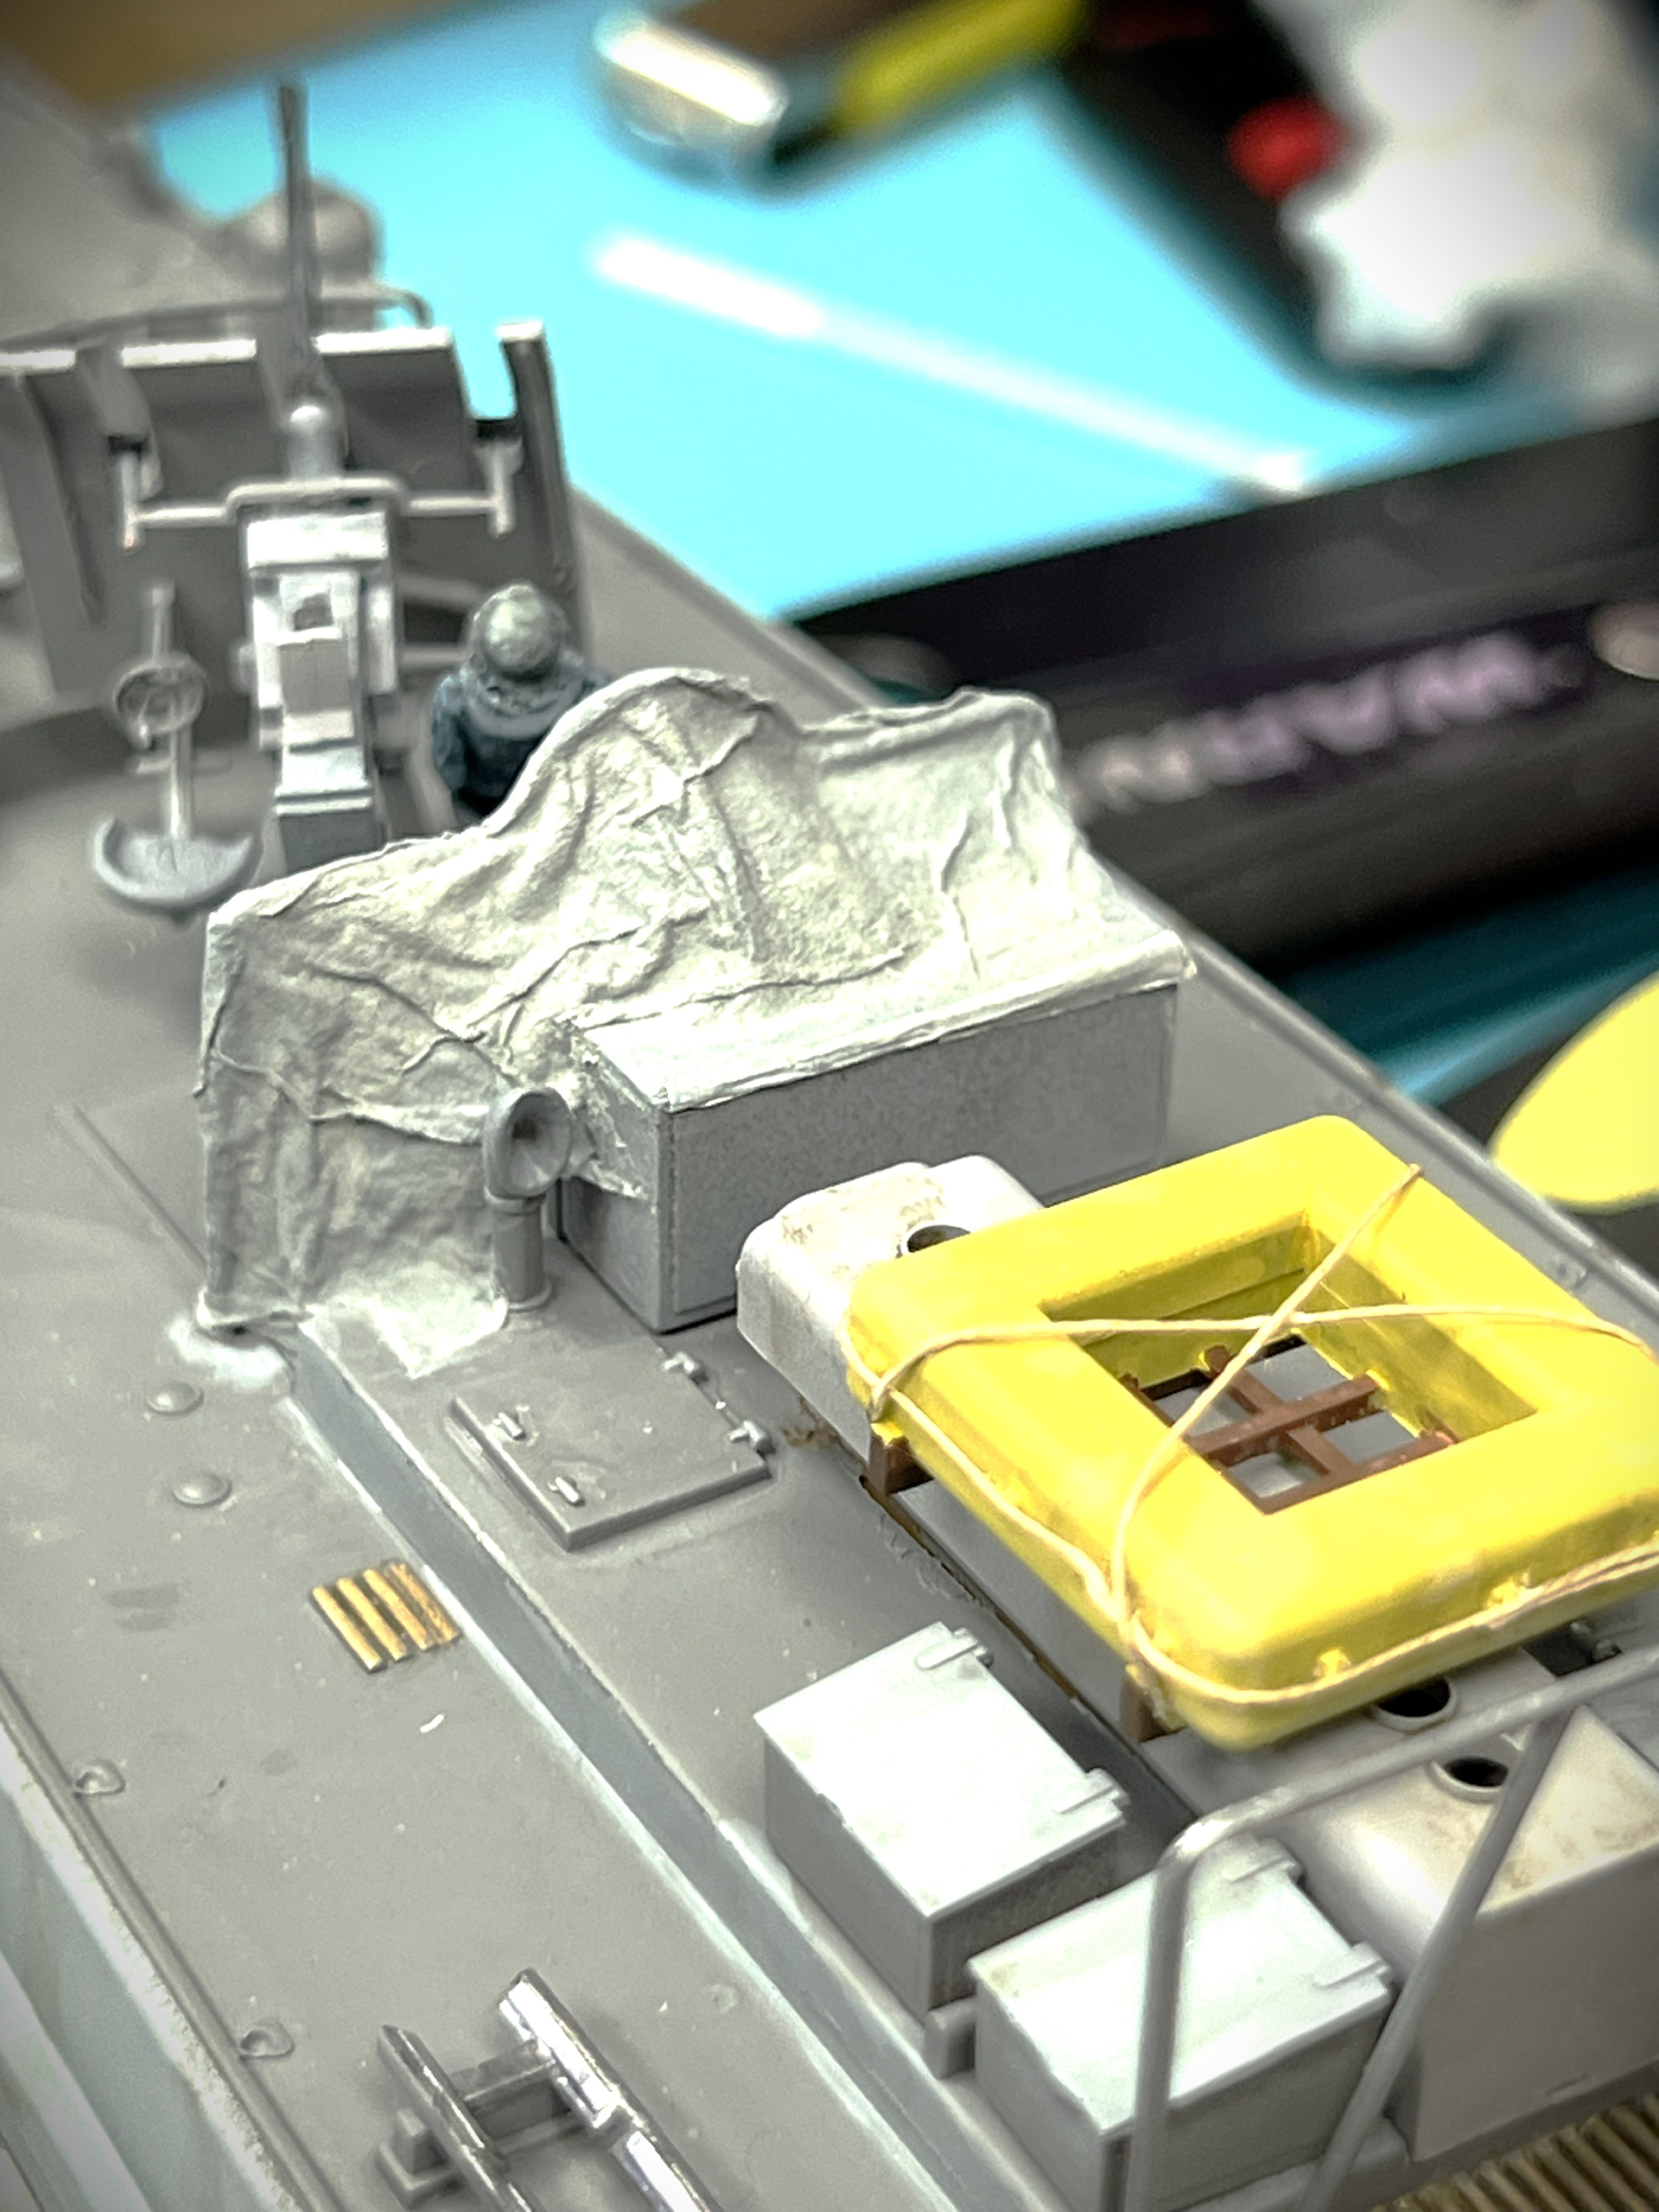
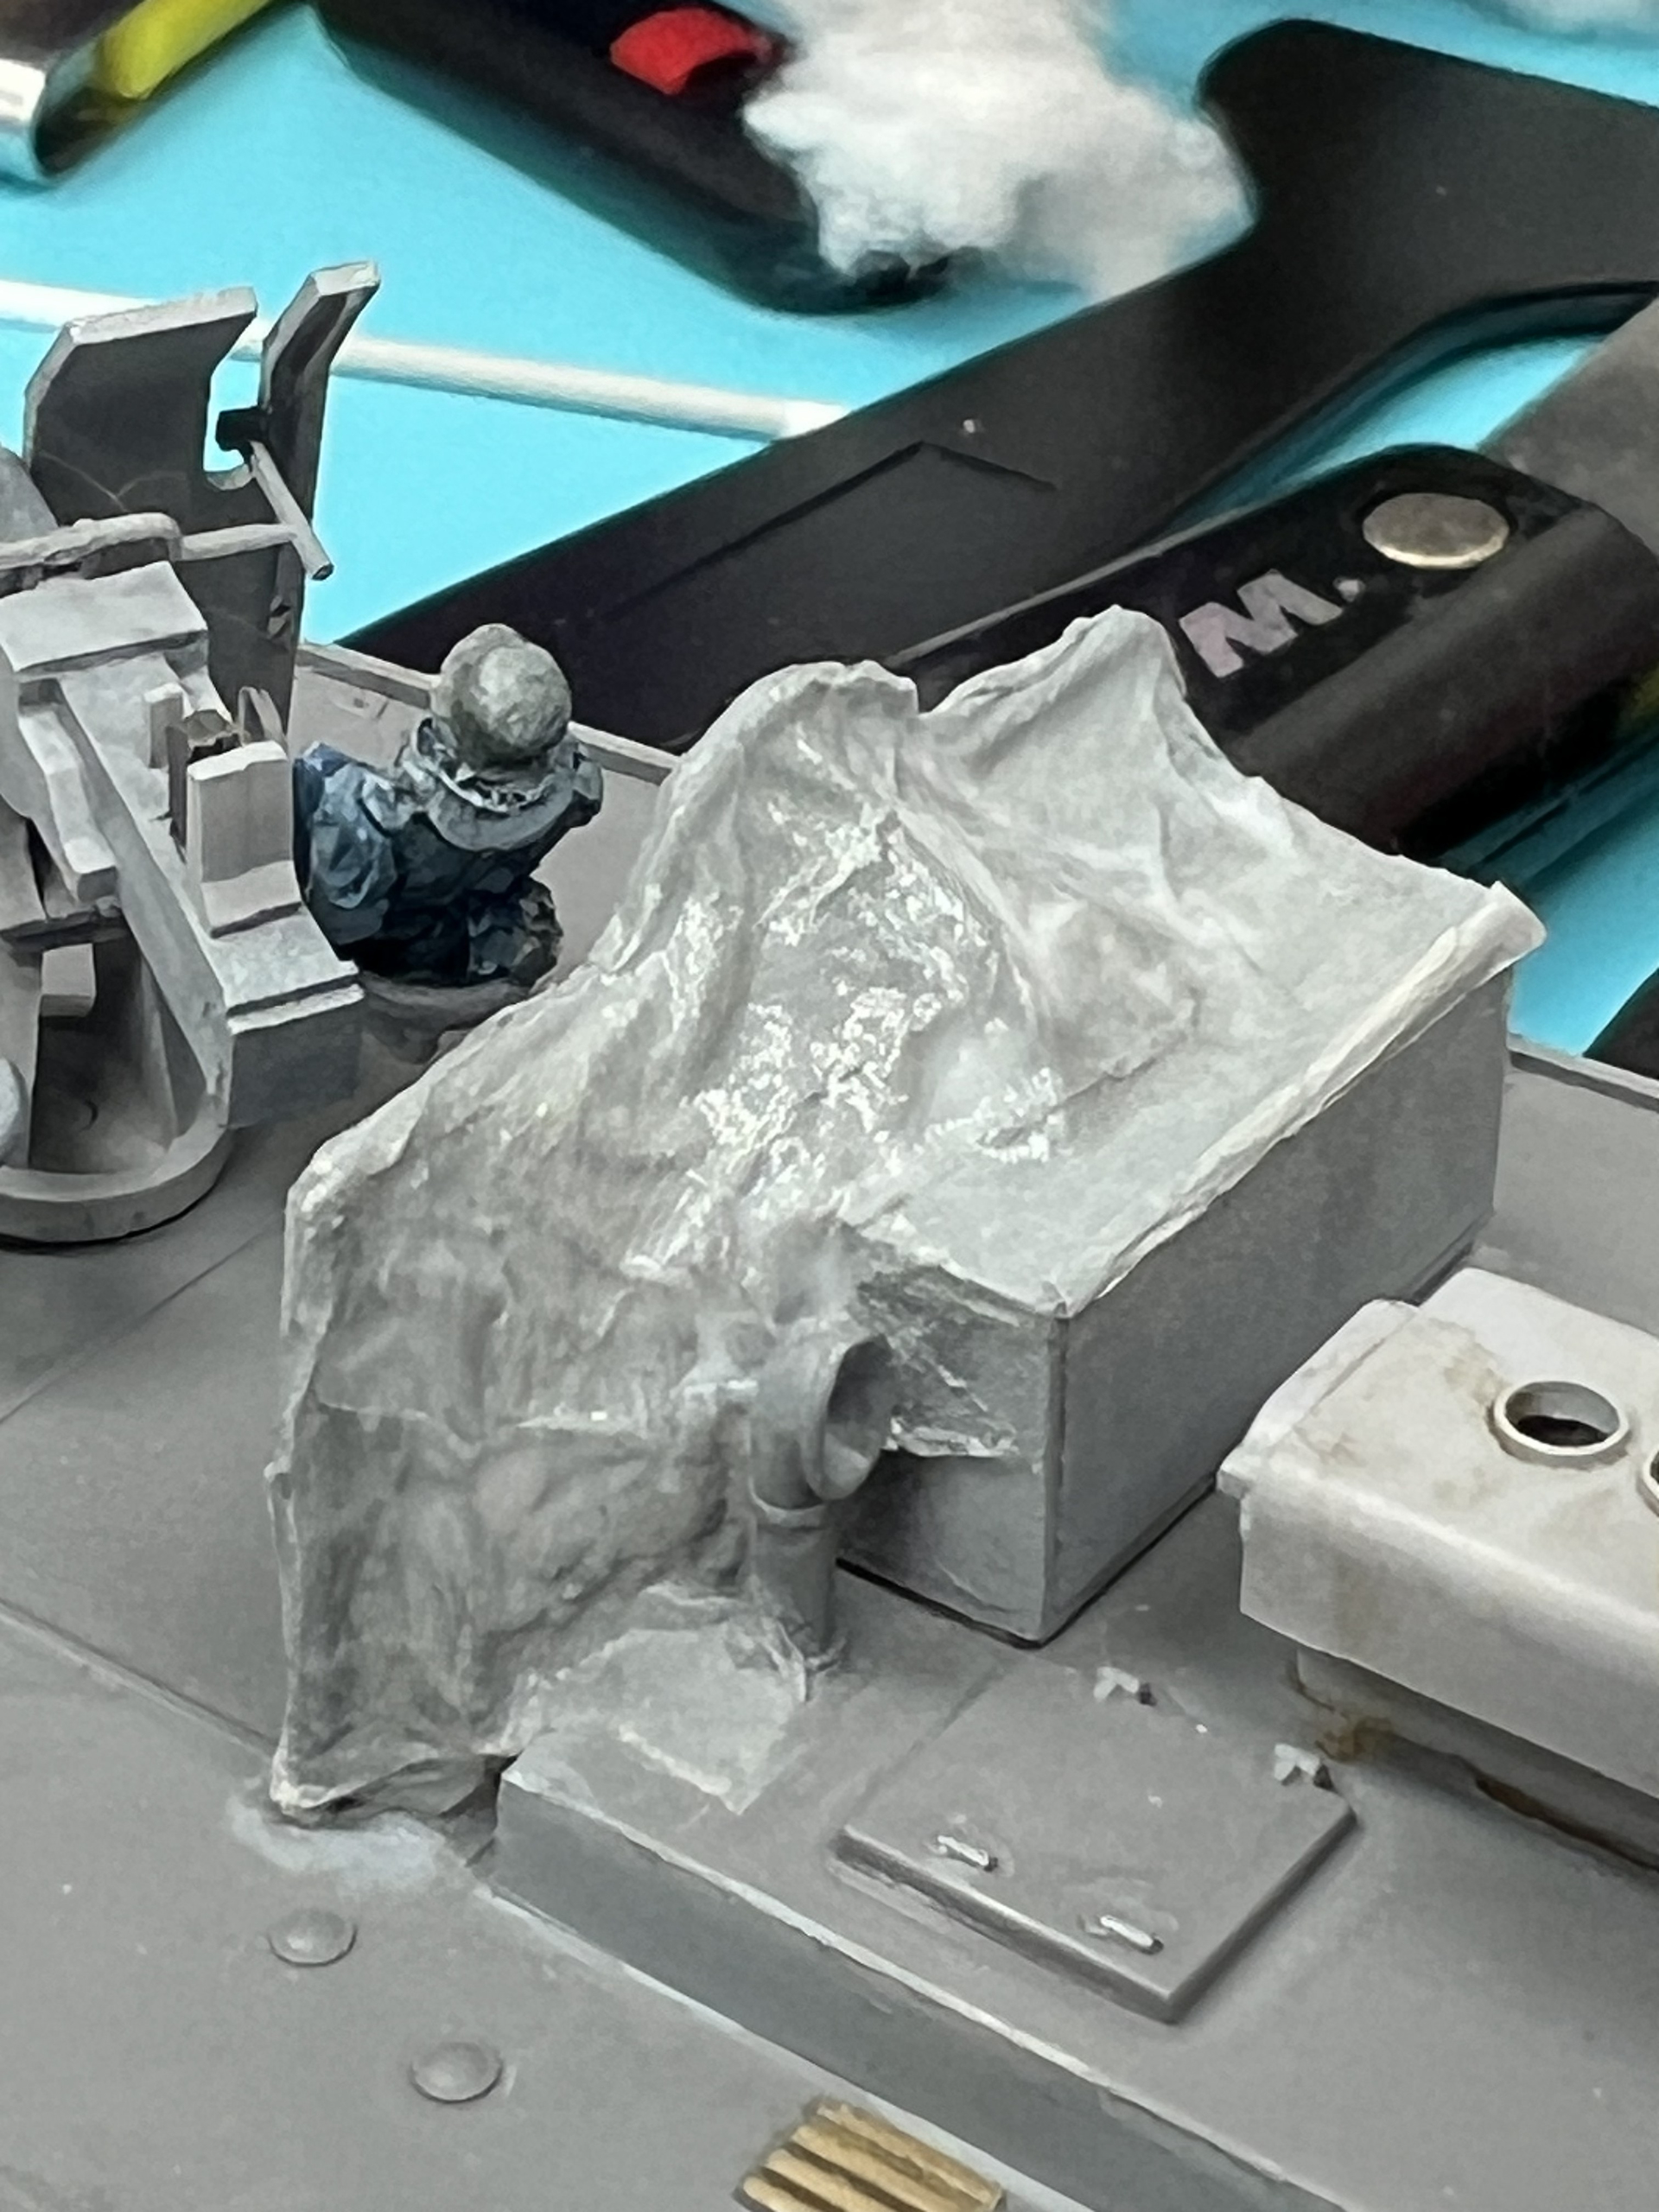
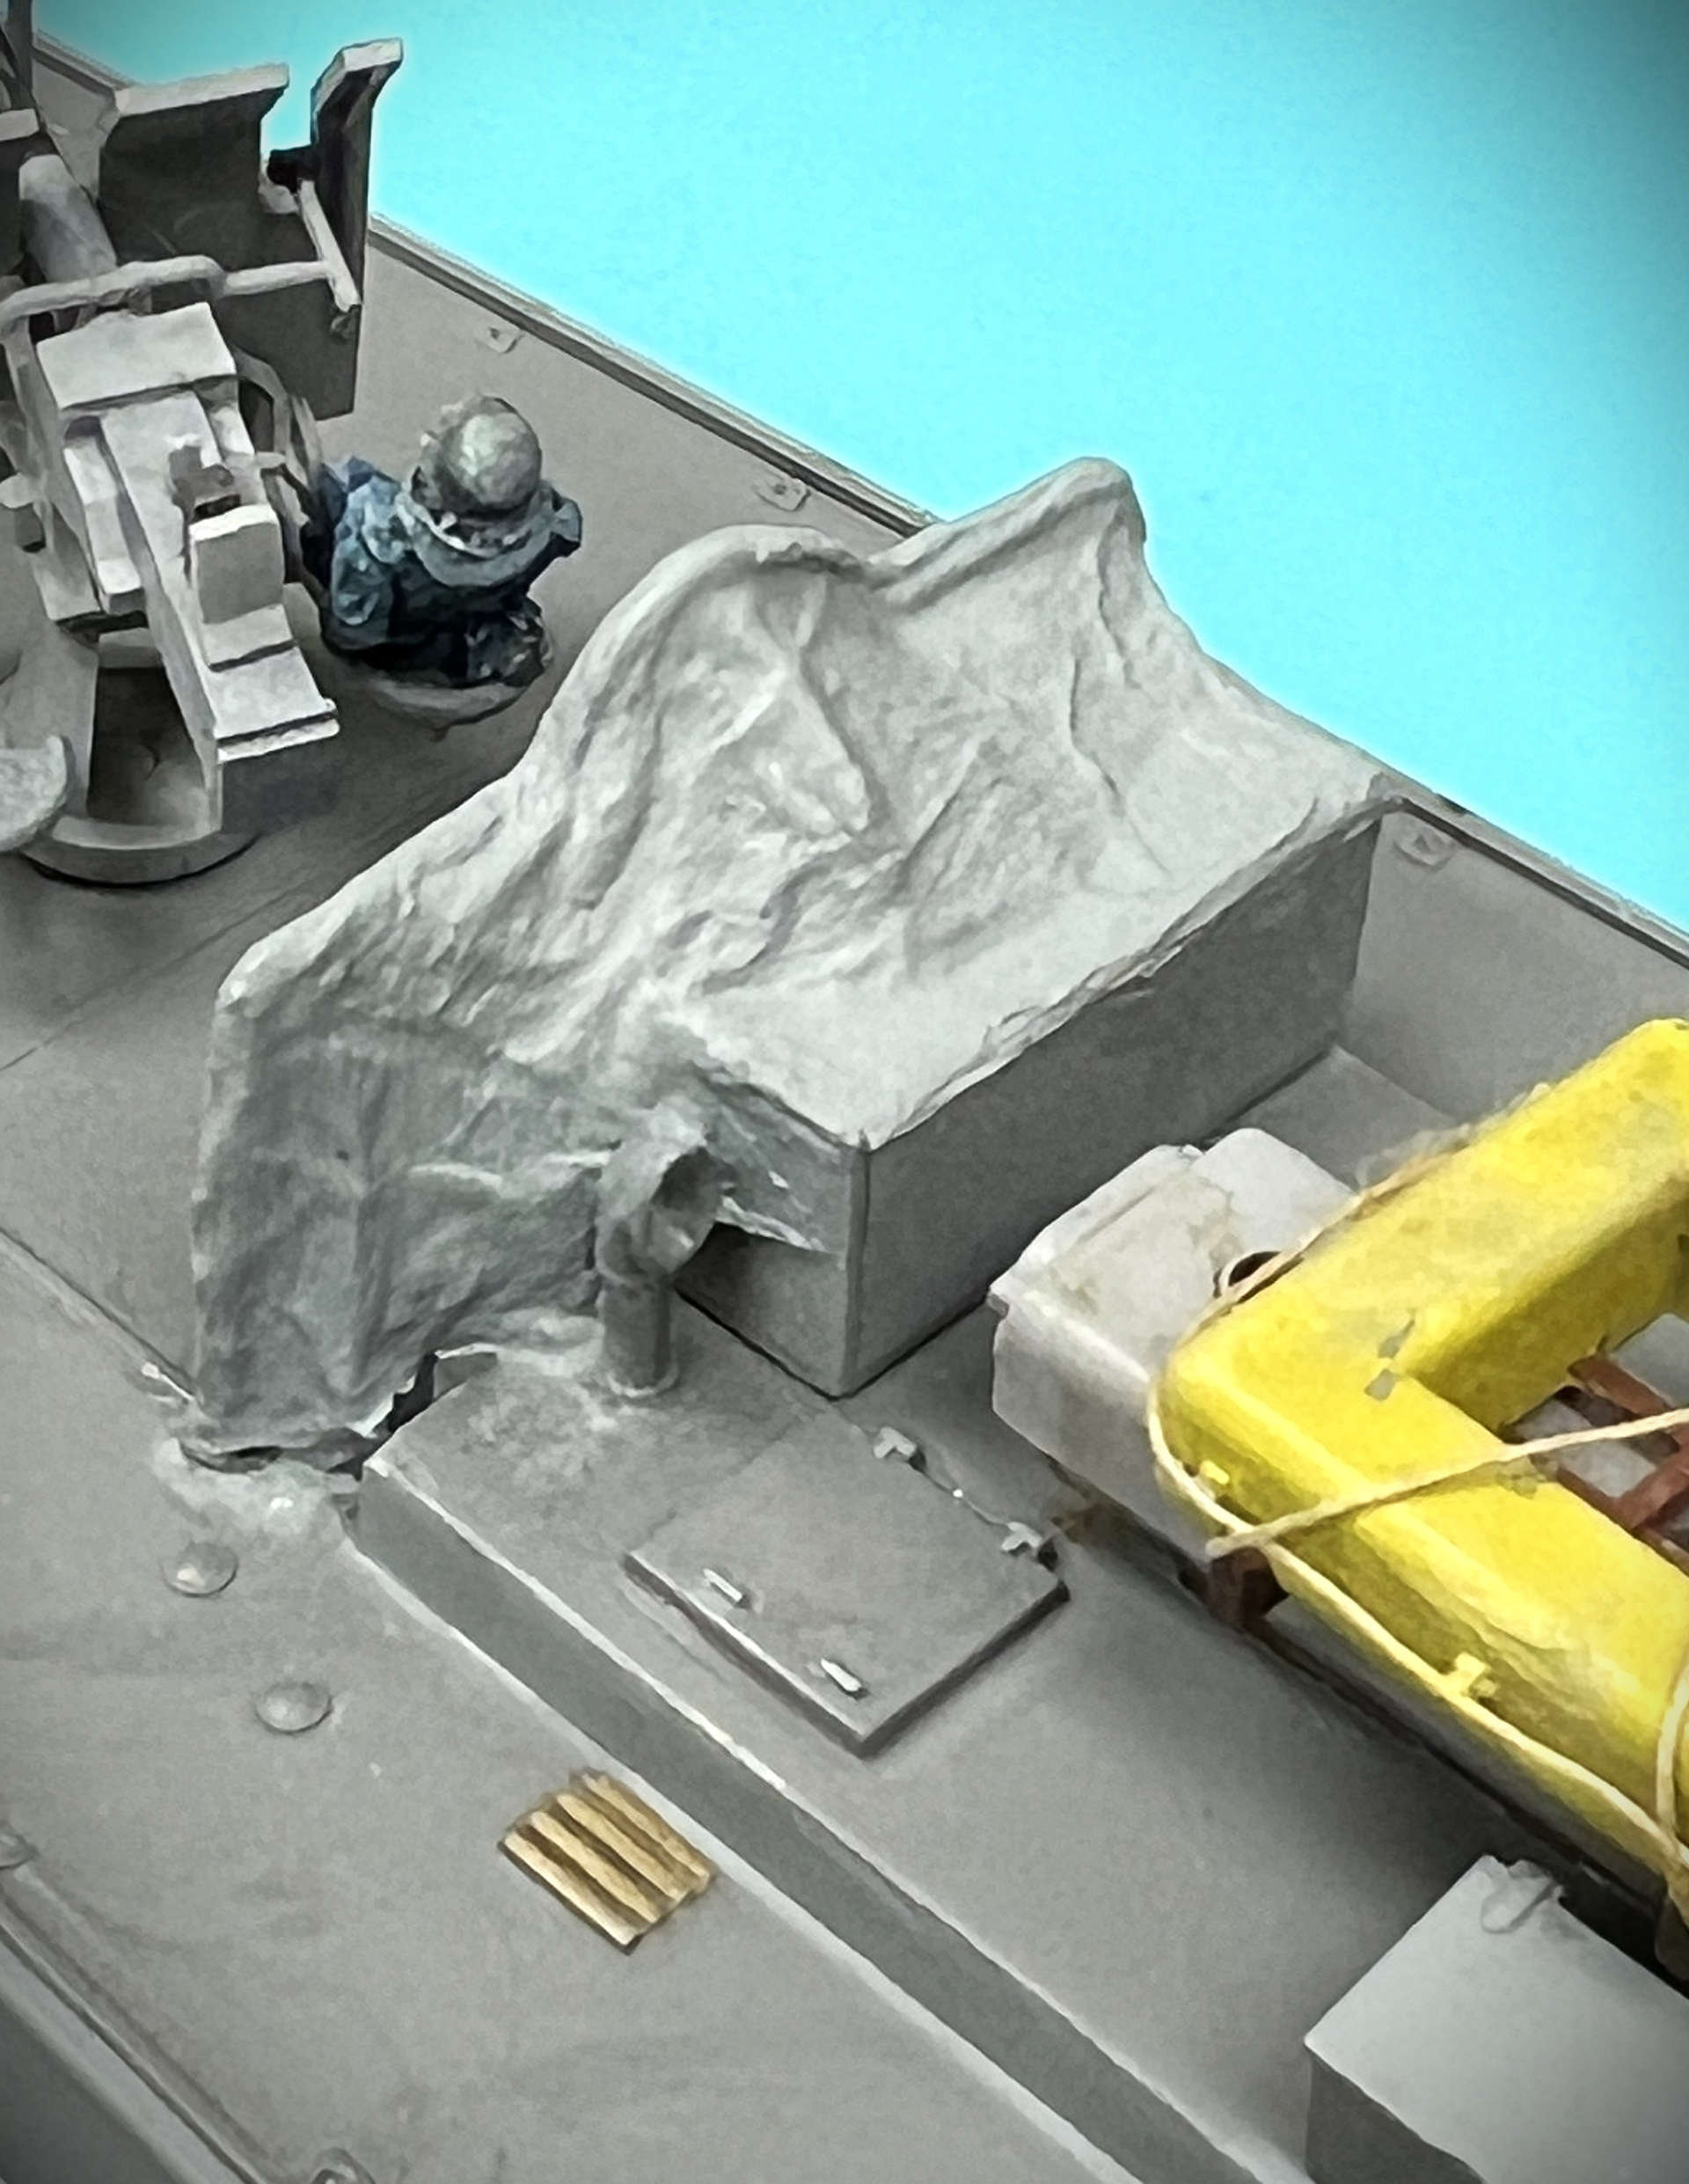
Not happy with this either, but shows promise. Not too difficult to brush away and retry, but this is the concept. Please share the secrets of 1/72 scale canvas? Always looking for ideas.
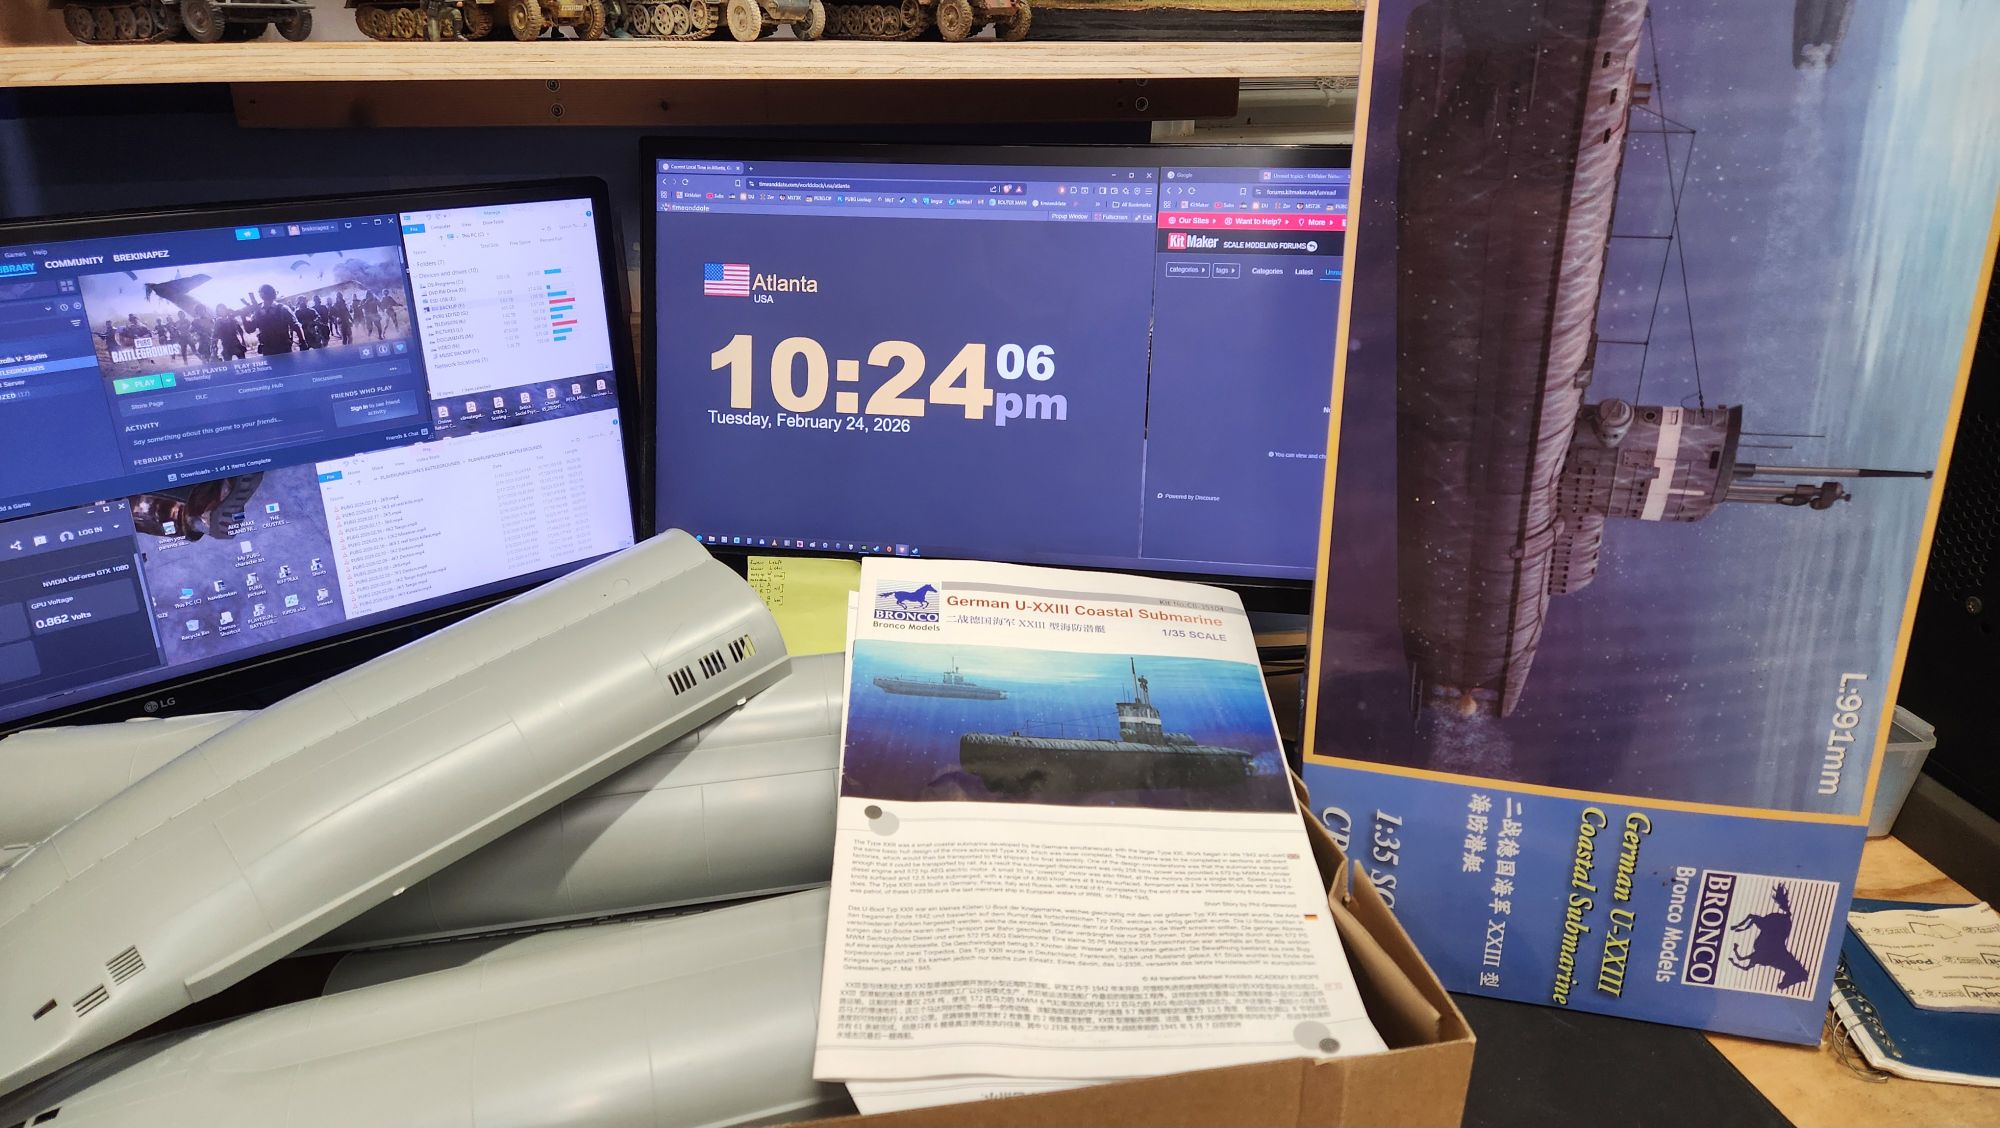
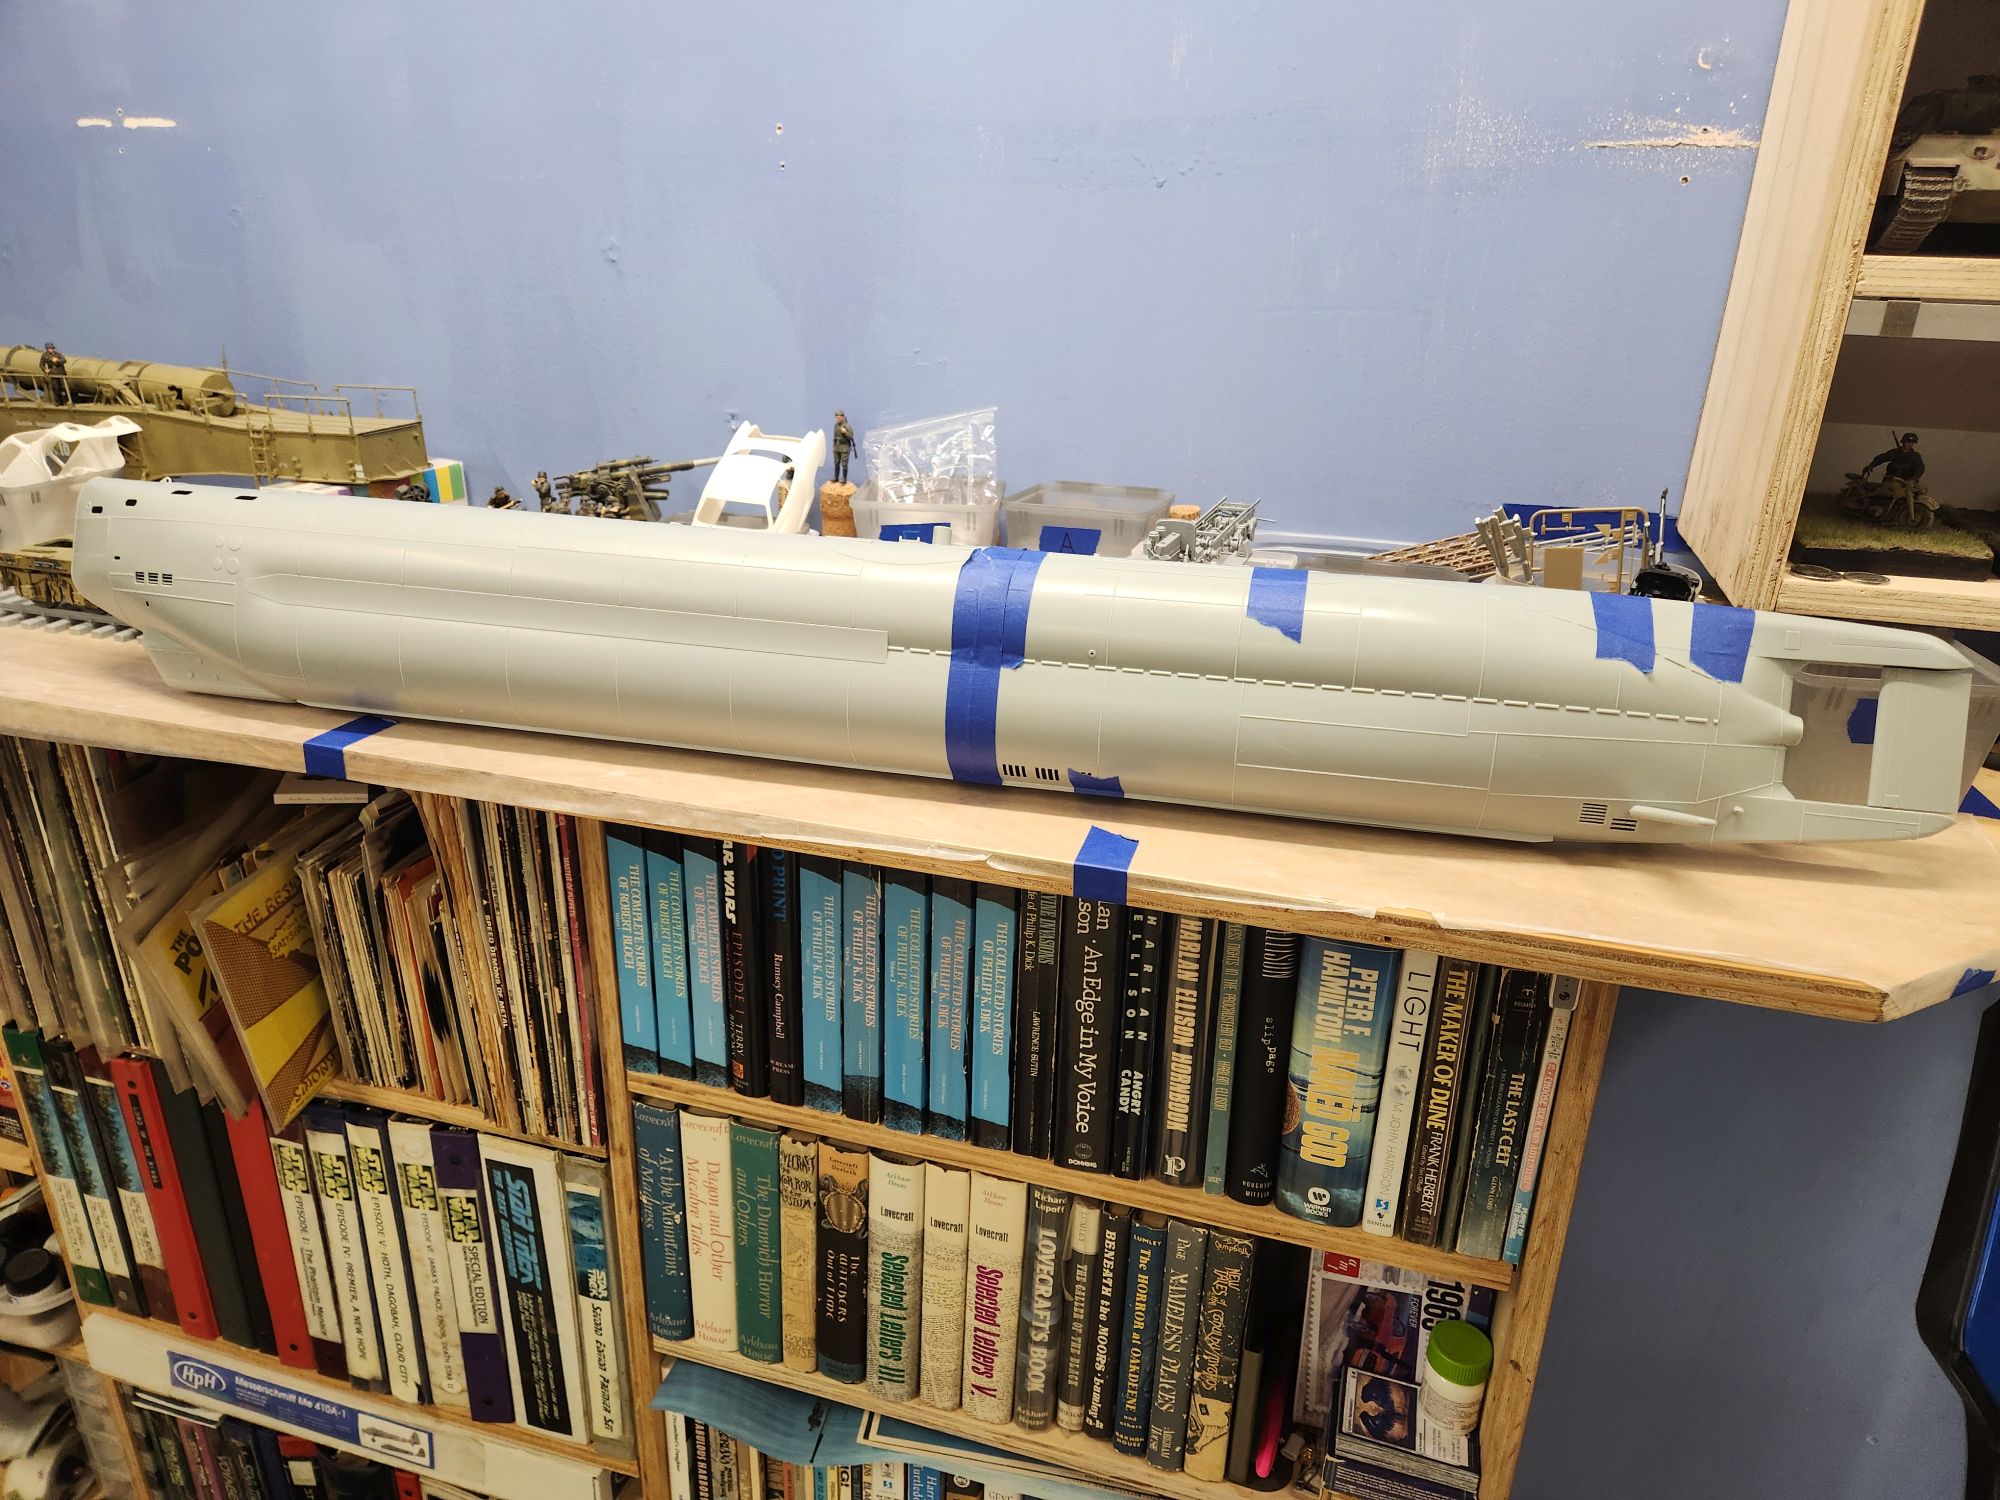
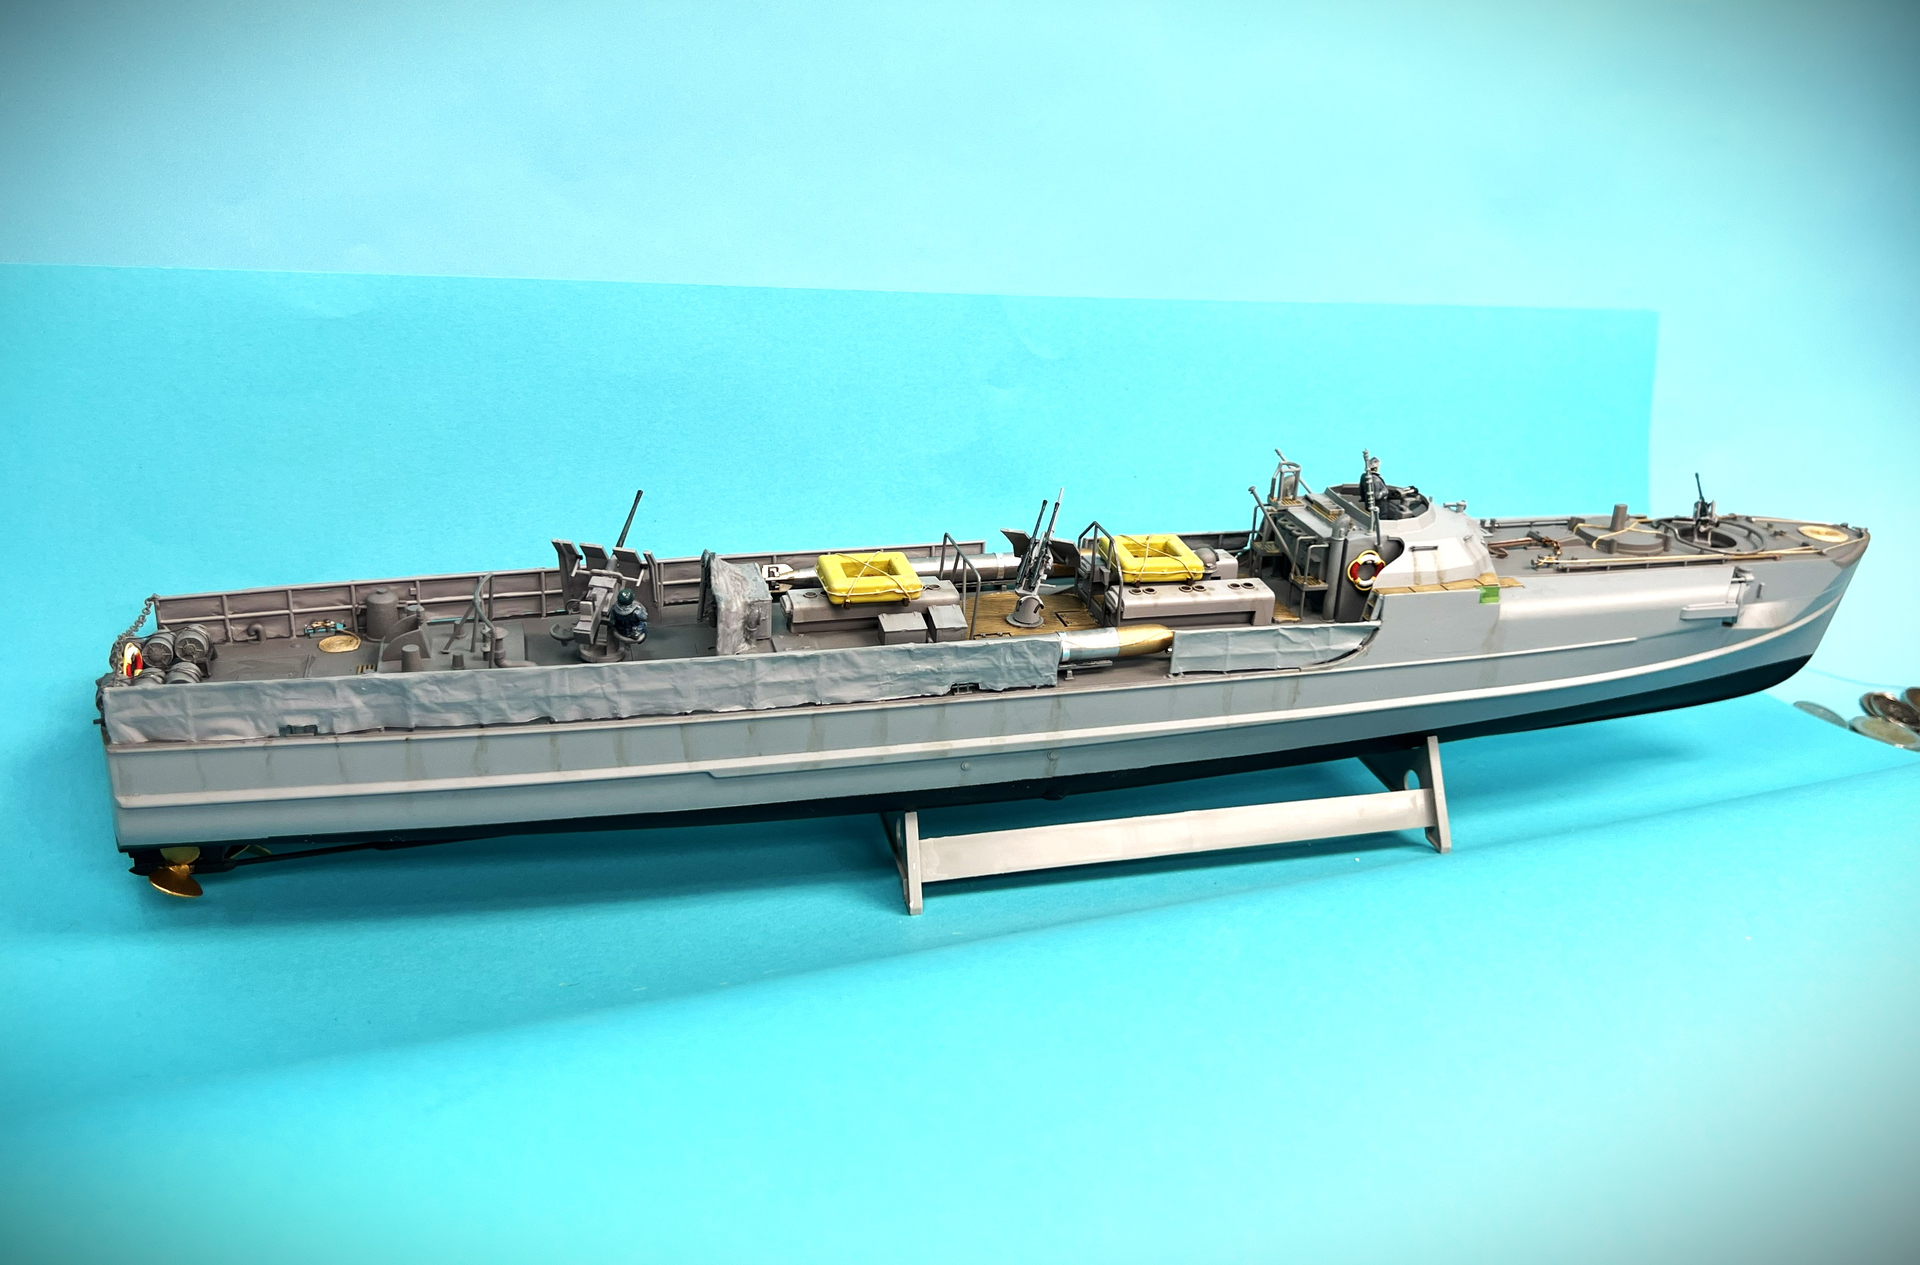
So I am at Step 8 at this point. The rest is the tower and base. Right now I am slowly sealing the hull due to the length making haste unwise. The front part hasn’t started yet; just using it to maintain the spacing at the forward end of the rear section. Hull was a bit warped on one half so that is making it a PITA but it will get there. Or in ten months you will be asking yourself, “Wasn’t someone going to do that big sub kit?”
Most of the other parts are assembled and waiting to go on after the hull is completed. The damn thing is pretty big, but until I decide on a better space it will actually stay on that shelf area once I complete those kits behind it and clear them out. Leopold there has a base that isn’t quite finished so it will also relocate.
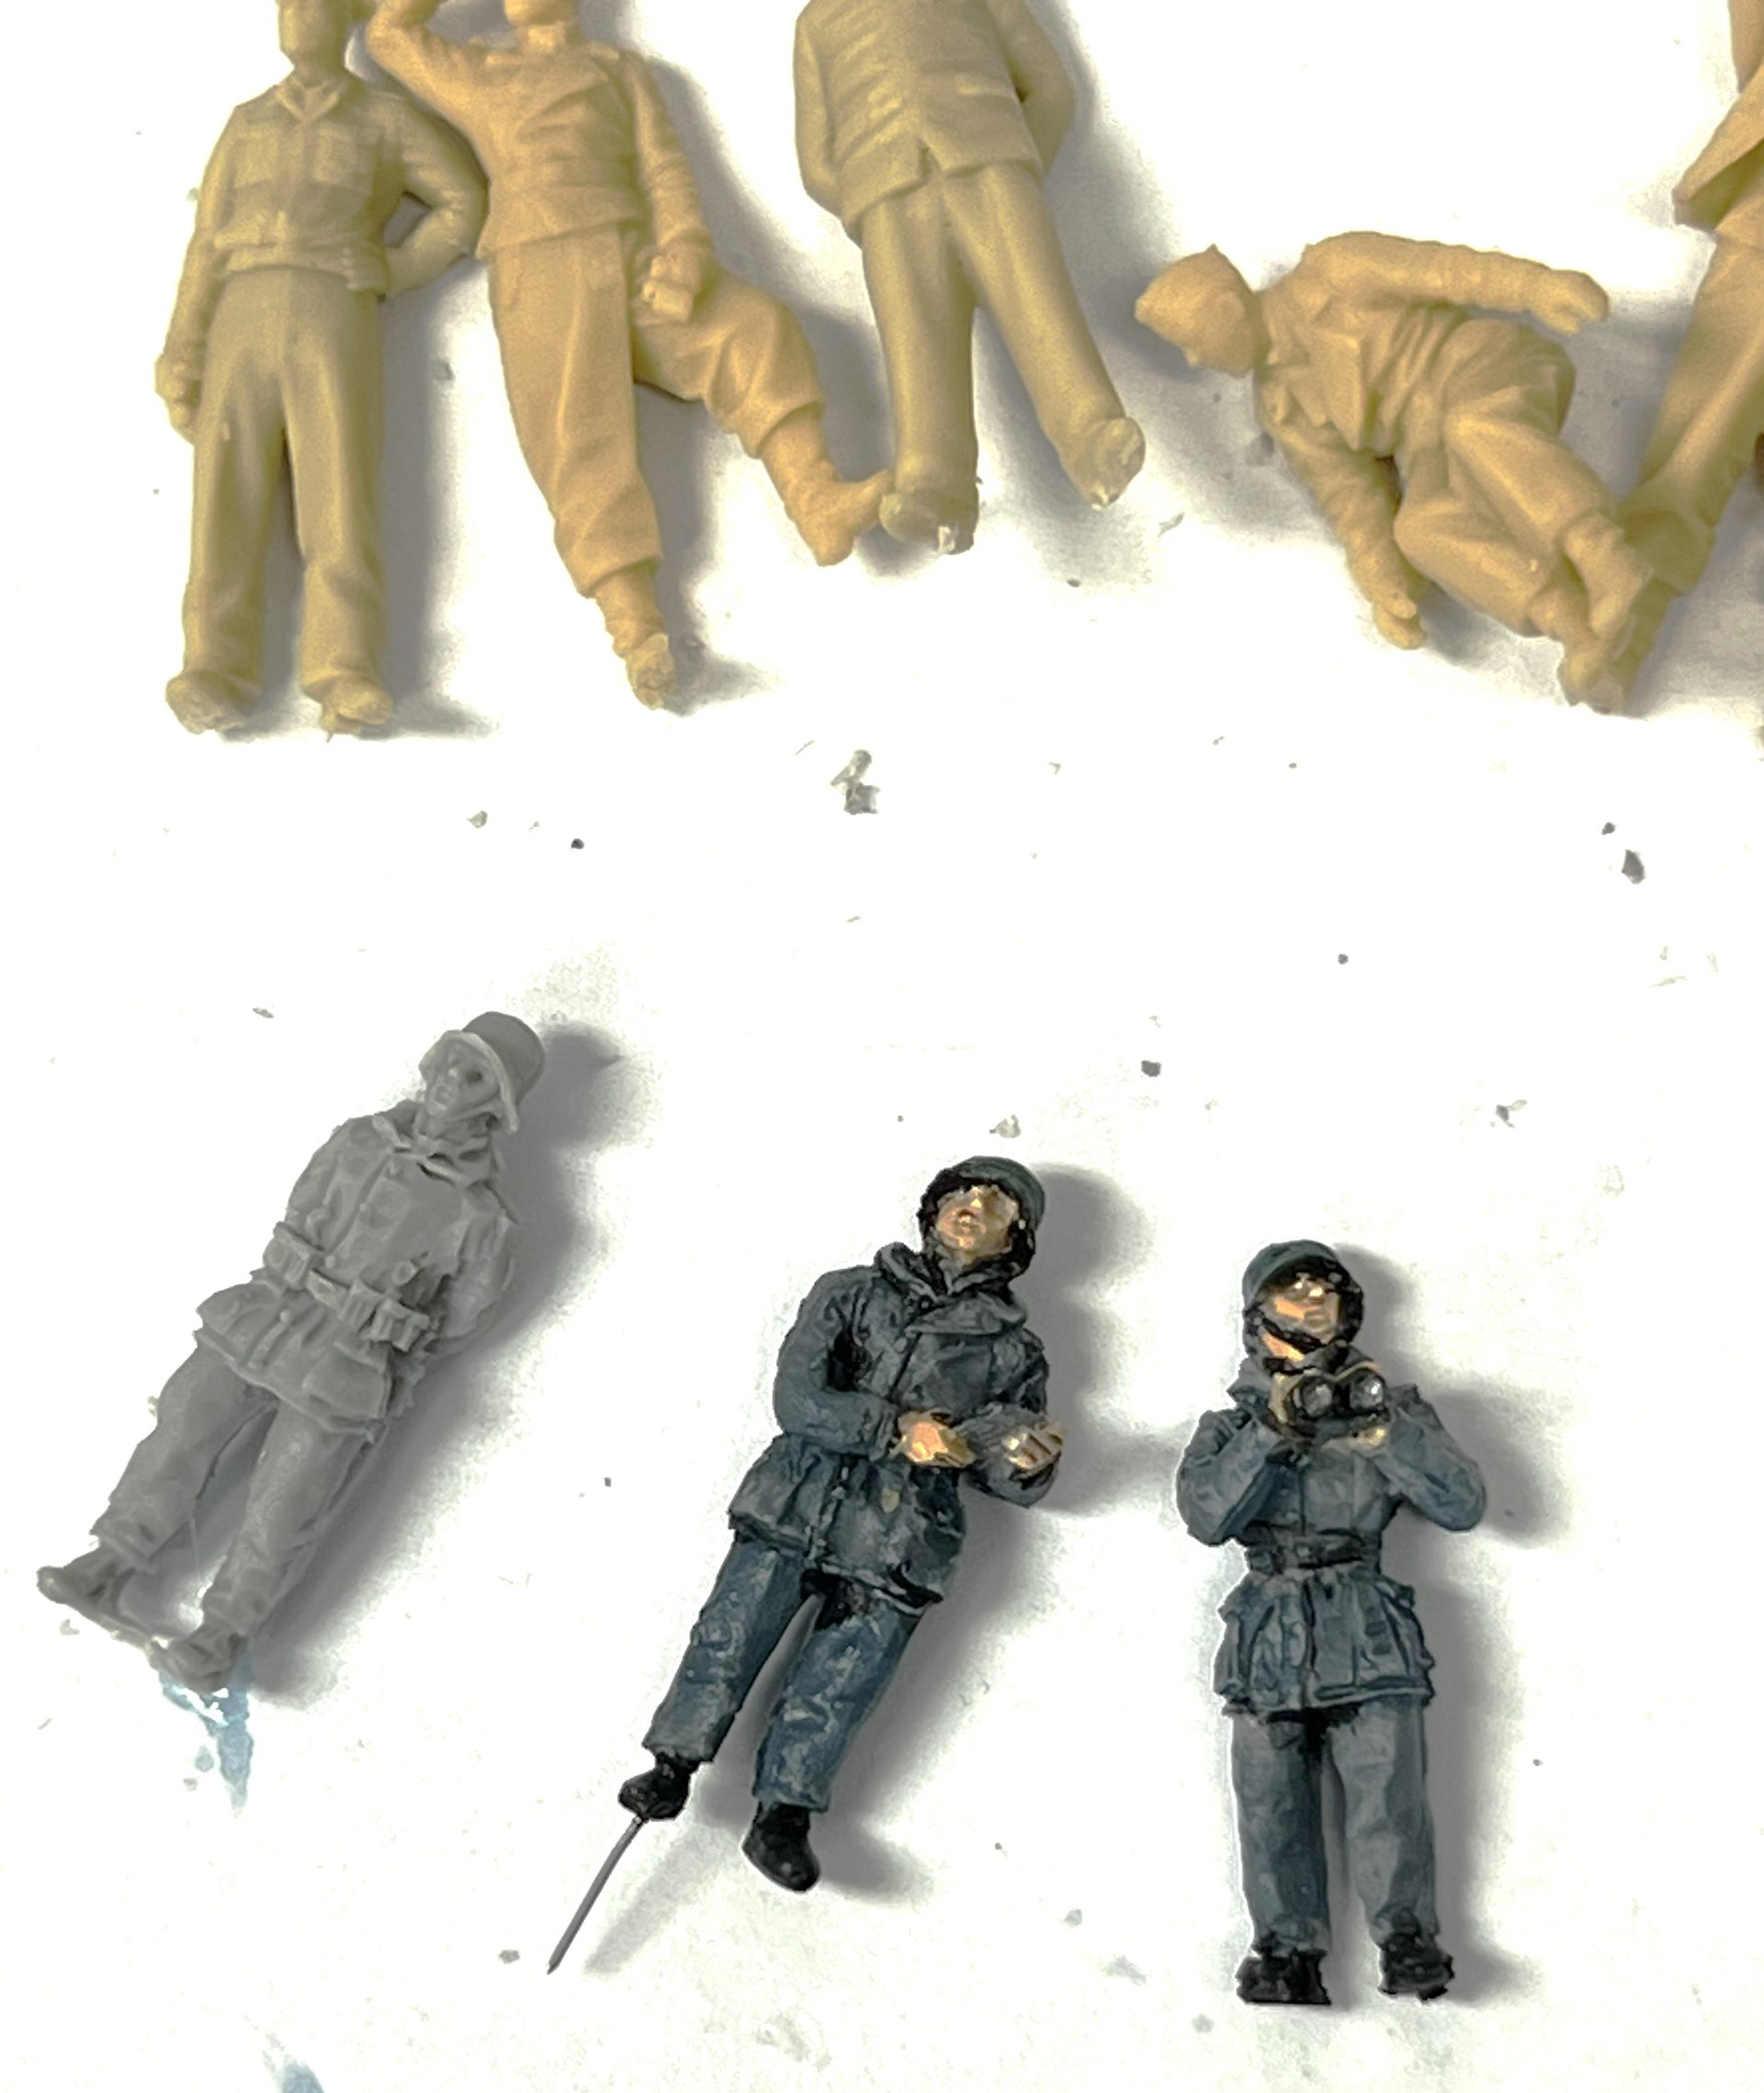
I have a resin crew I found at a show and am considering adding them but they are a bit on the thin side and look as though the crew ran out of rations a week ago. Thinking ‘bout it.
Really interesting work going on here, looks like this one hit a nerve!
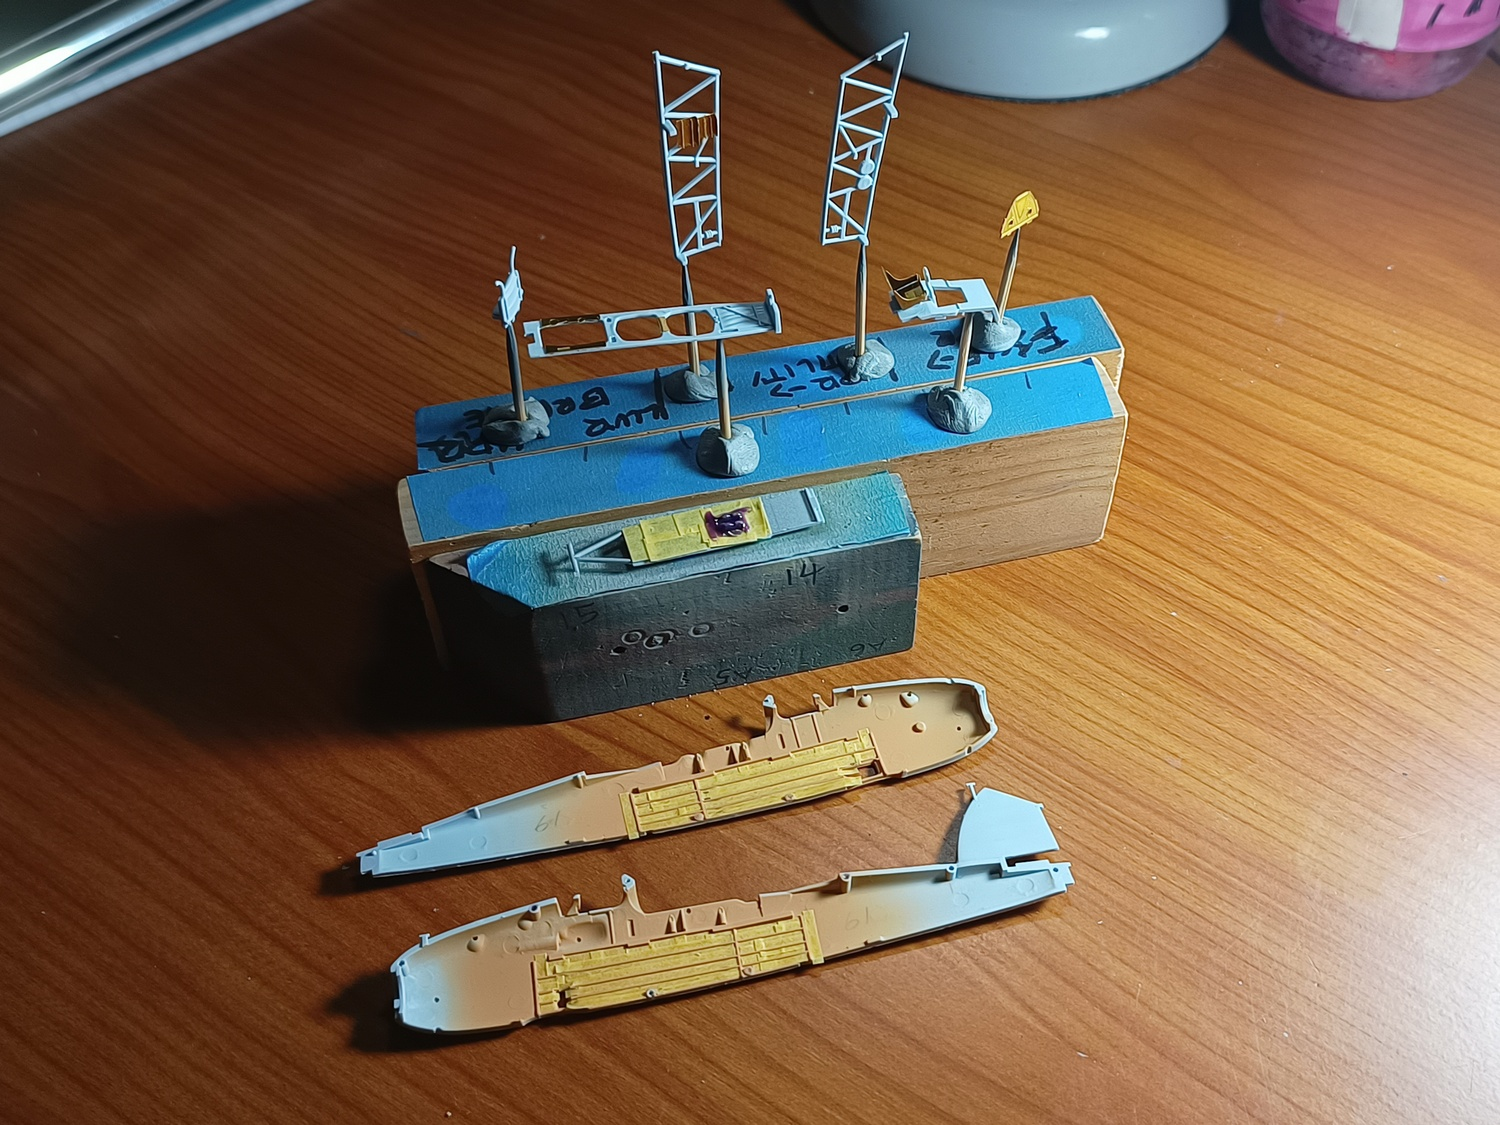
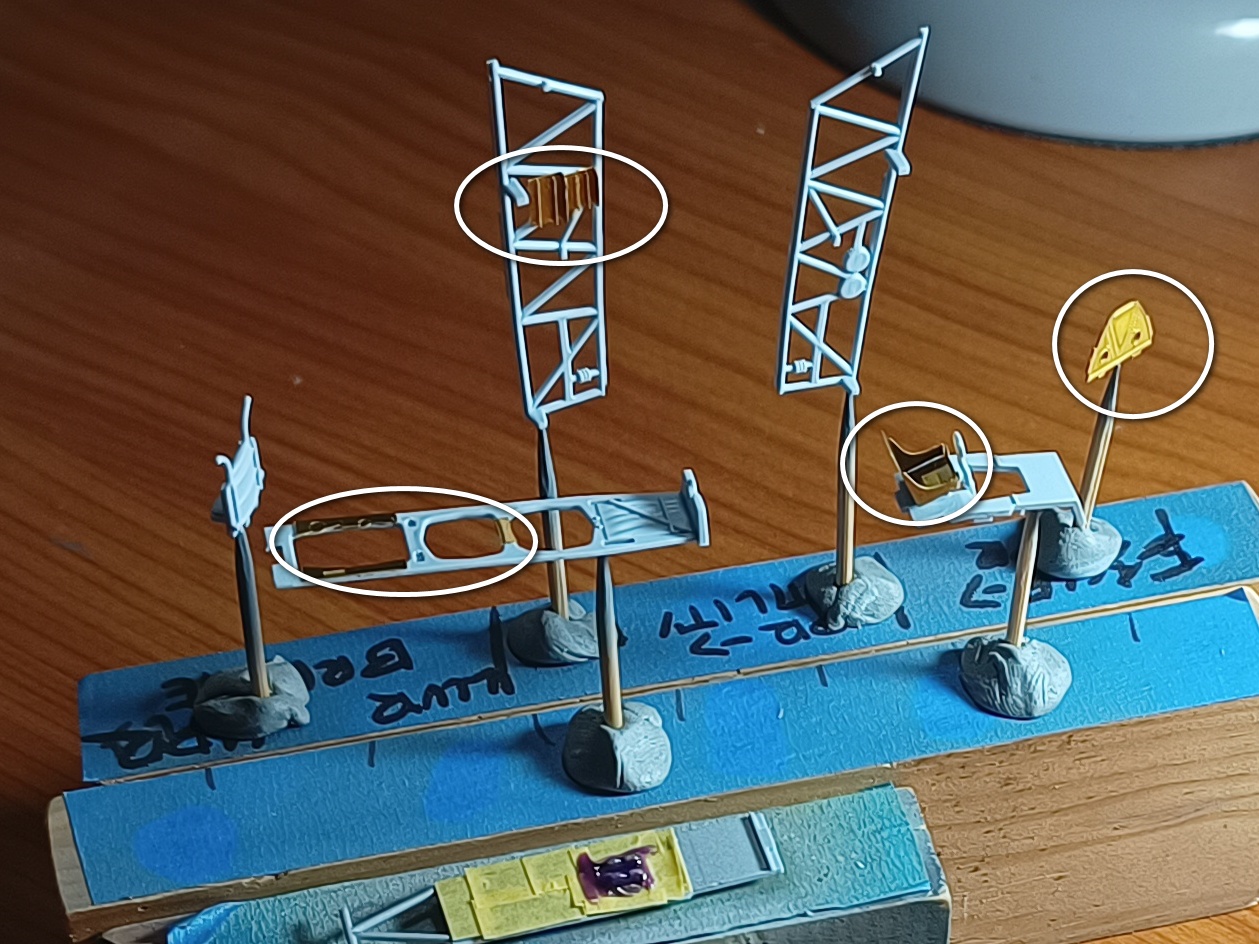
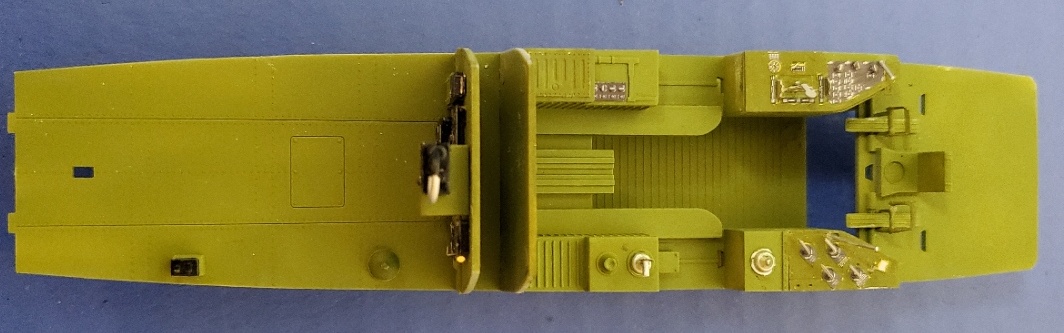
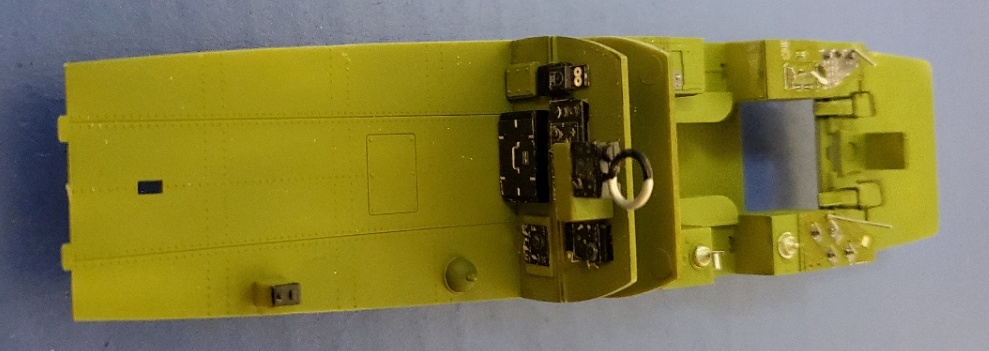
Making slow progress on the Trumpeter 1/32 TBD since I have to concentrate on the IDF campaign, which ends in May. I’m using the Eduard interior set on the TBD and all that PE definitely adds to the time spent, as well as detail. Here’s where I am so far:
The interior green on the PE parts wasn’t even close to what I used, so I managed to paint over some of the larger areas on the front consoles. I don’t think it looks too bad.
it’s been a long while since i posted. the b6n jill has sat idle for a month or so while i finished up a box stock buildoff in my nascar modeling outlaws FB group page.
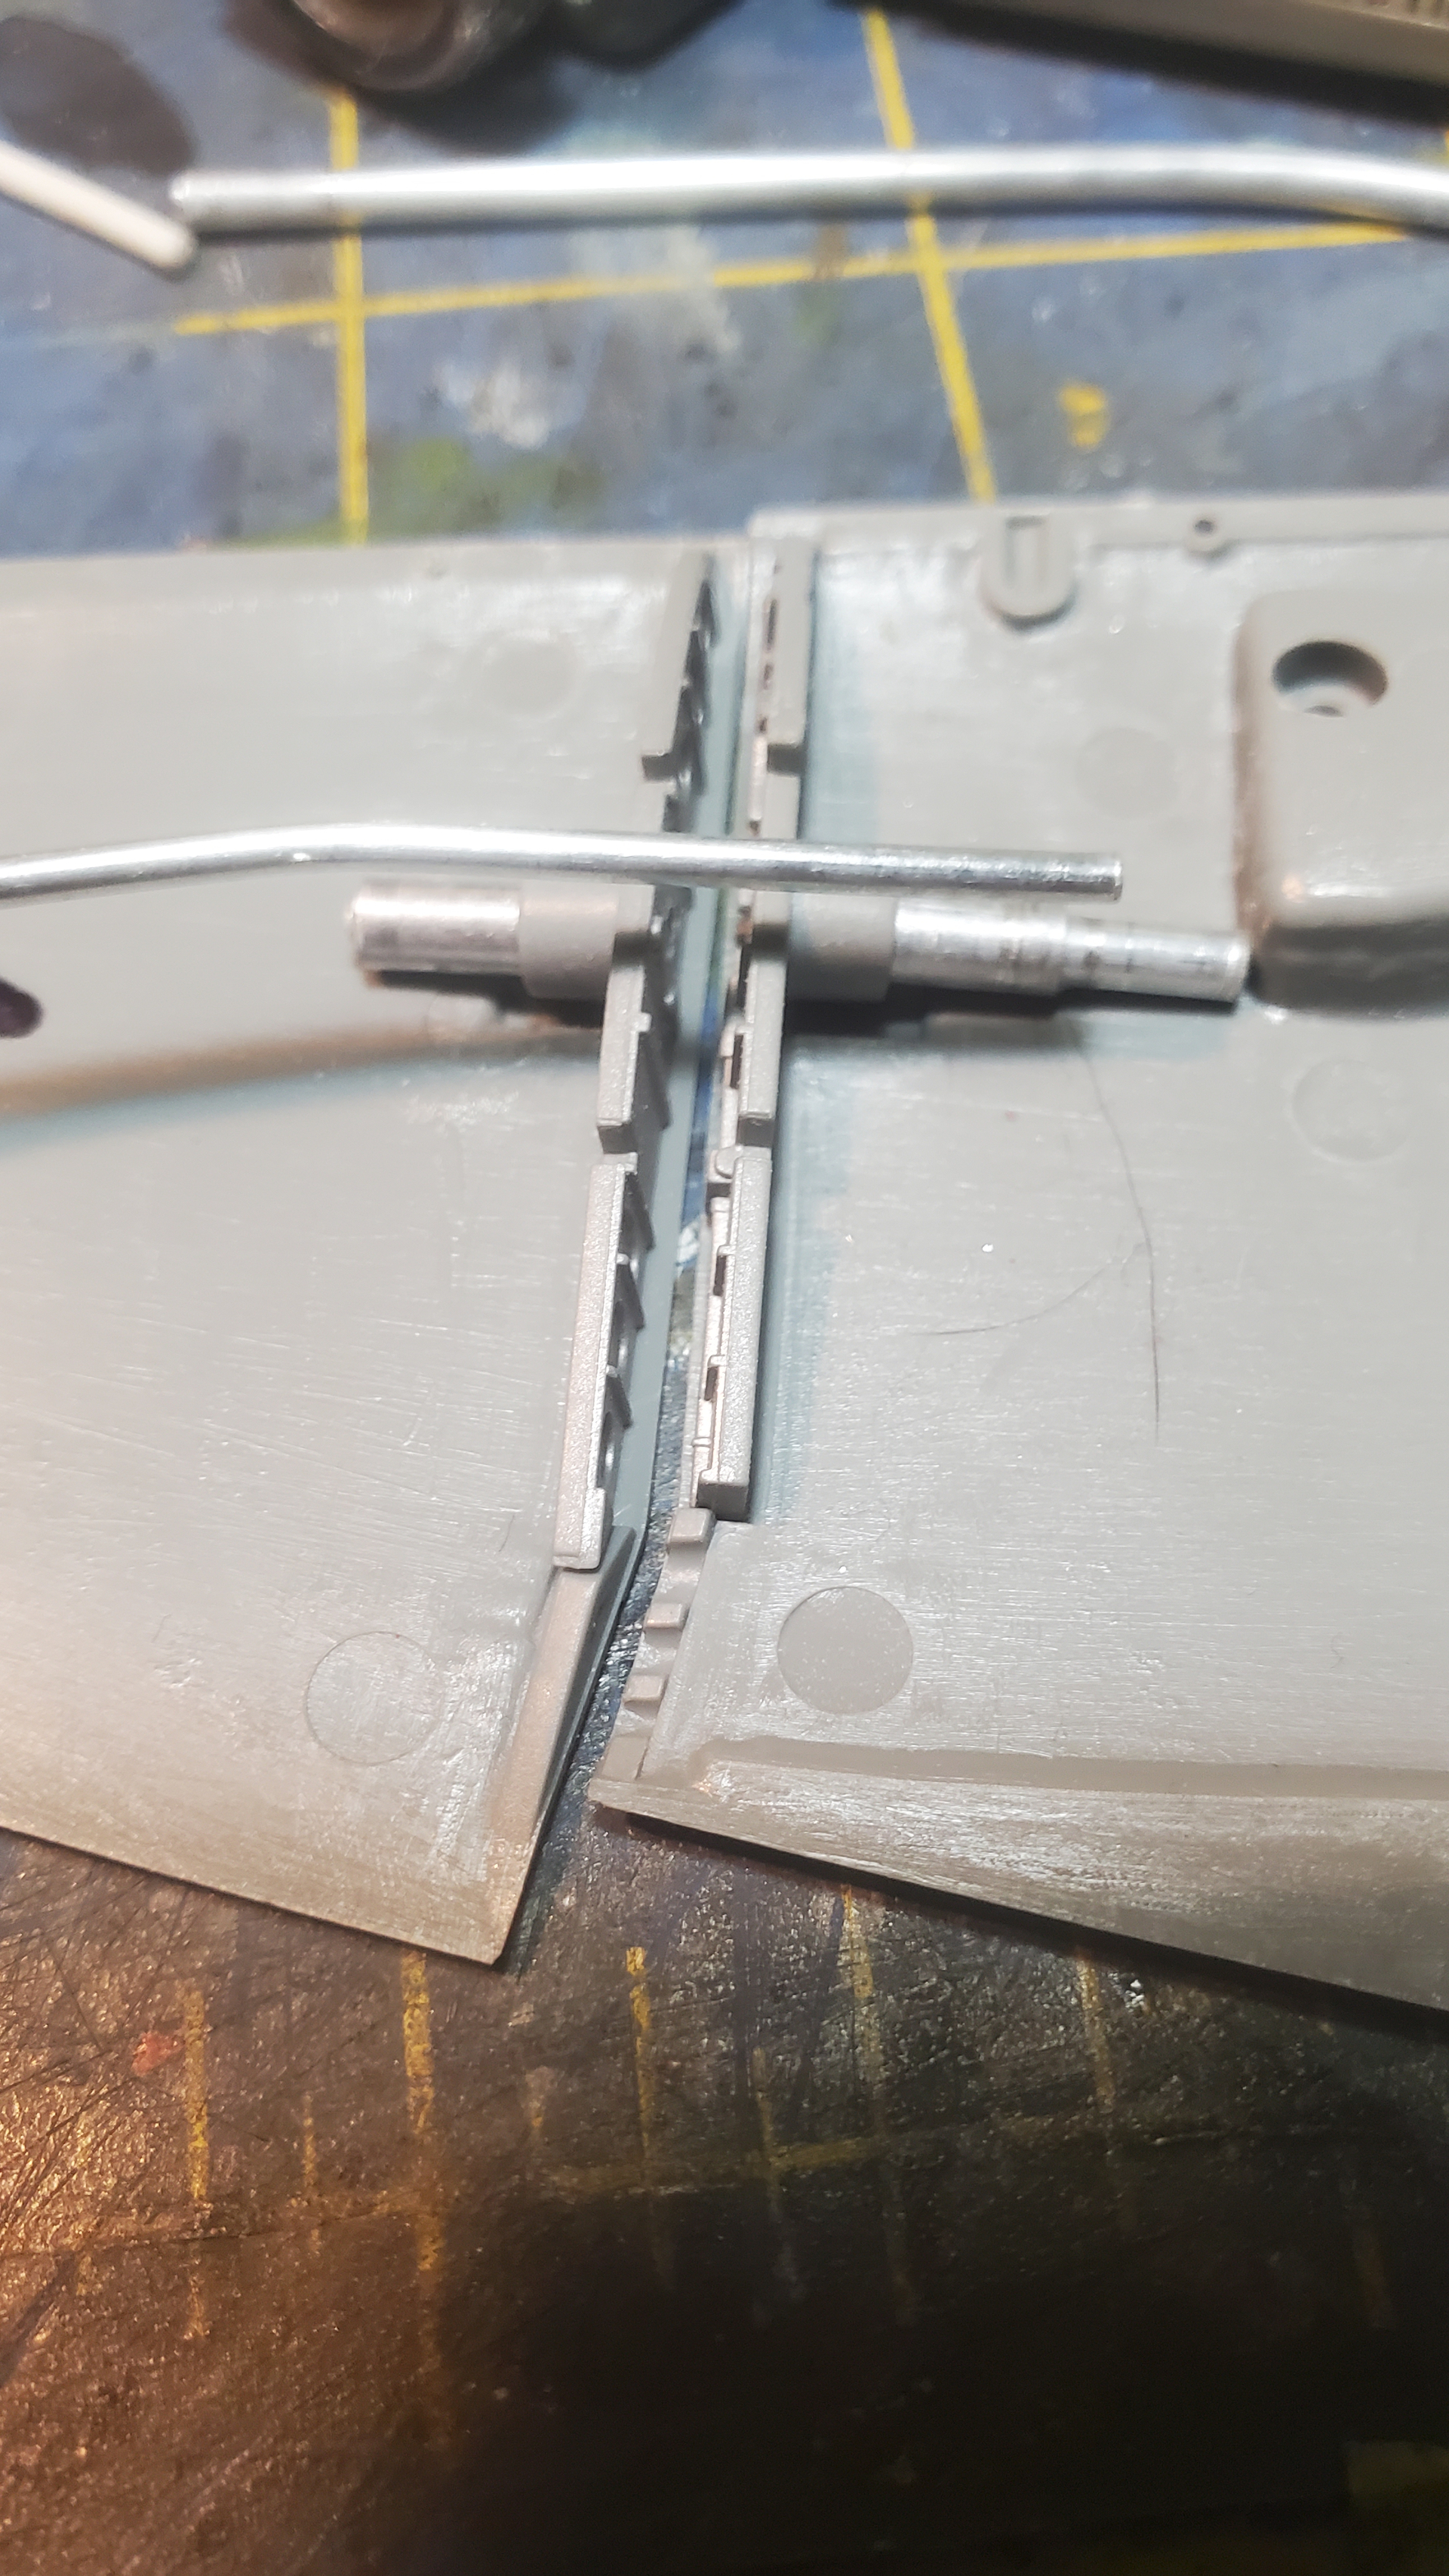
i am working on adapting the wing fold kit design so i could remove the wings when needed and display them extended when wanted without them drooping. this is what i came up with
in the picture above the inner and outer wing ends were fitted with aluminum tube, the smaller tube i am holding above will be trimmed to length and inserted into the wing mounted tubes and hopefully hold the wing straight and tightly together. i hope to have this done for mosquitocon in april too. i will be able to remove the outer wings for transport and it will save space in my display case if needed.
now can anyone direct me to some aftermarket decals for it? i can’t seem to find any.