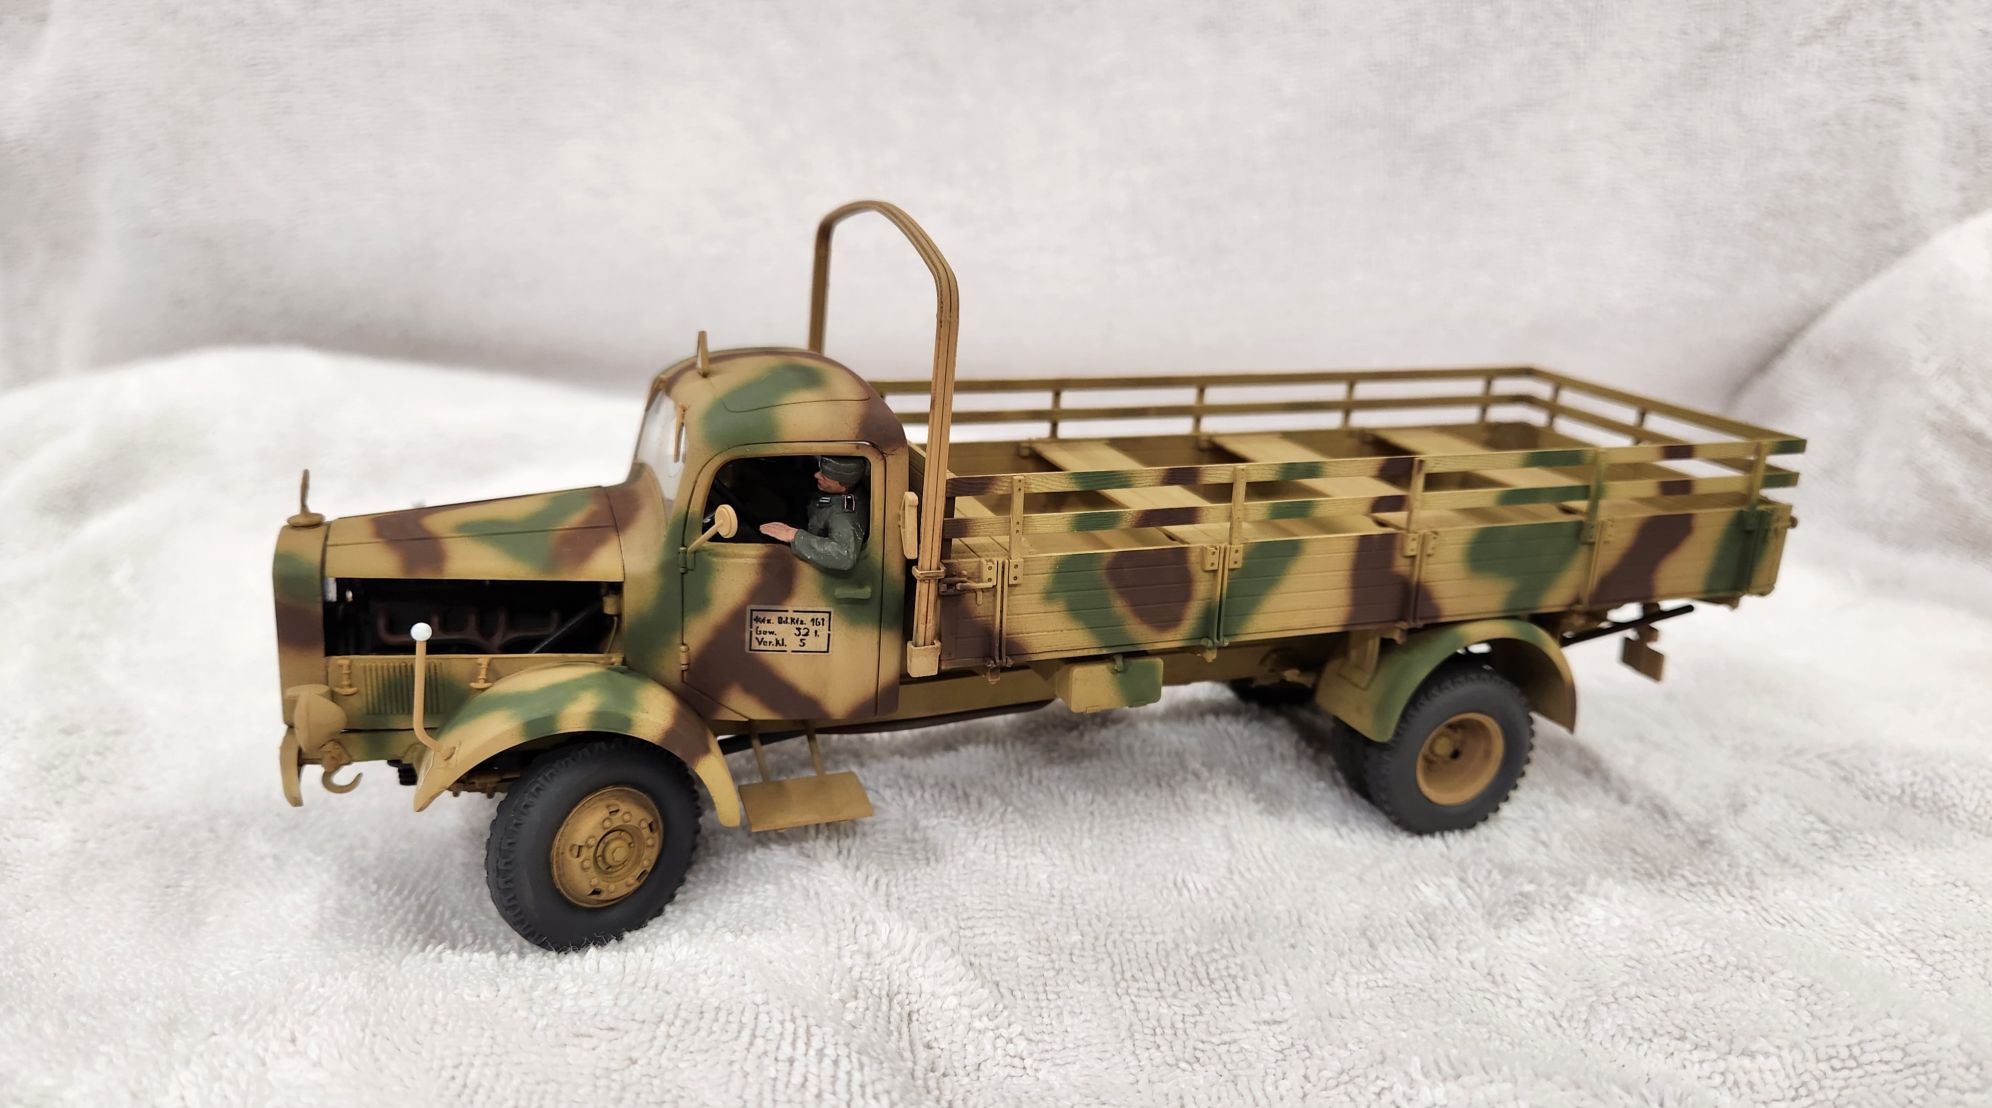
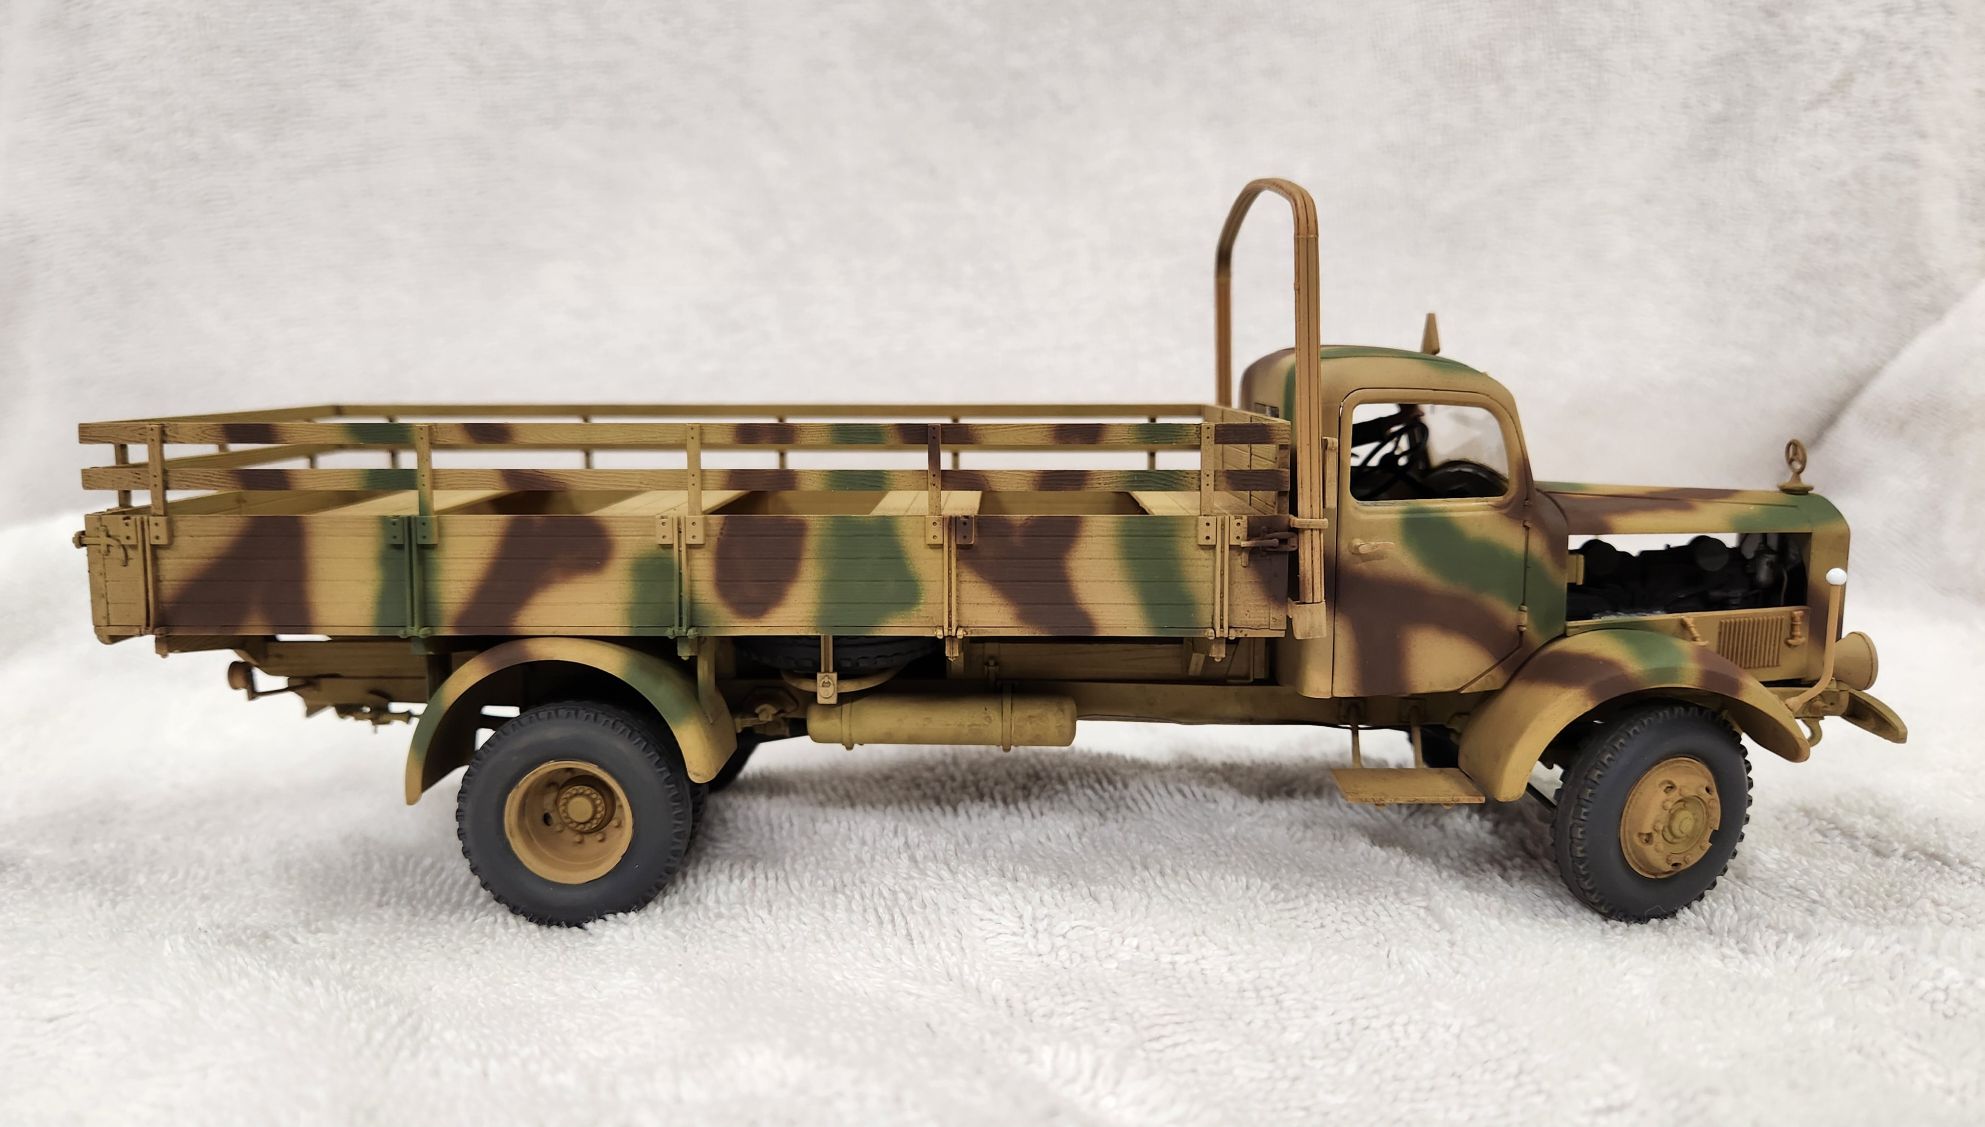
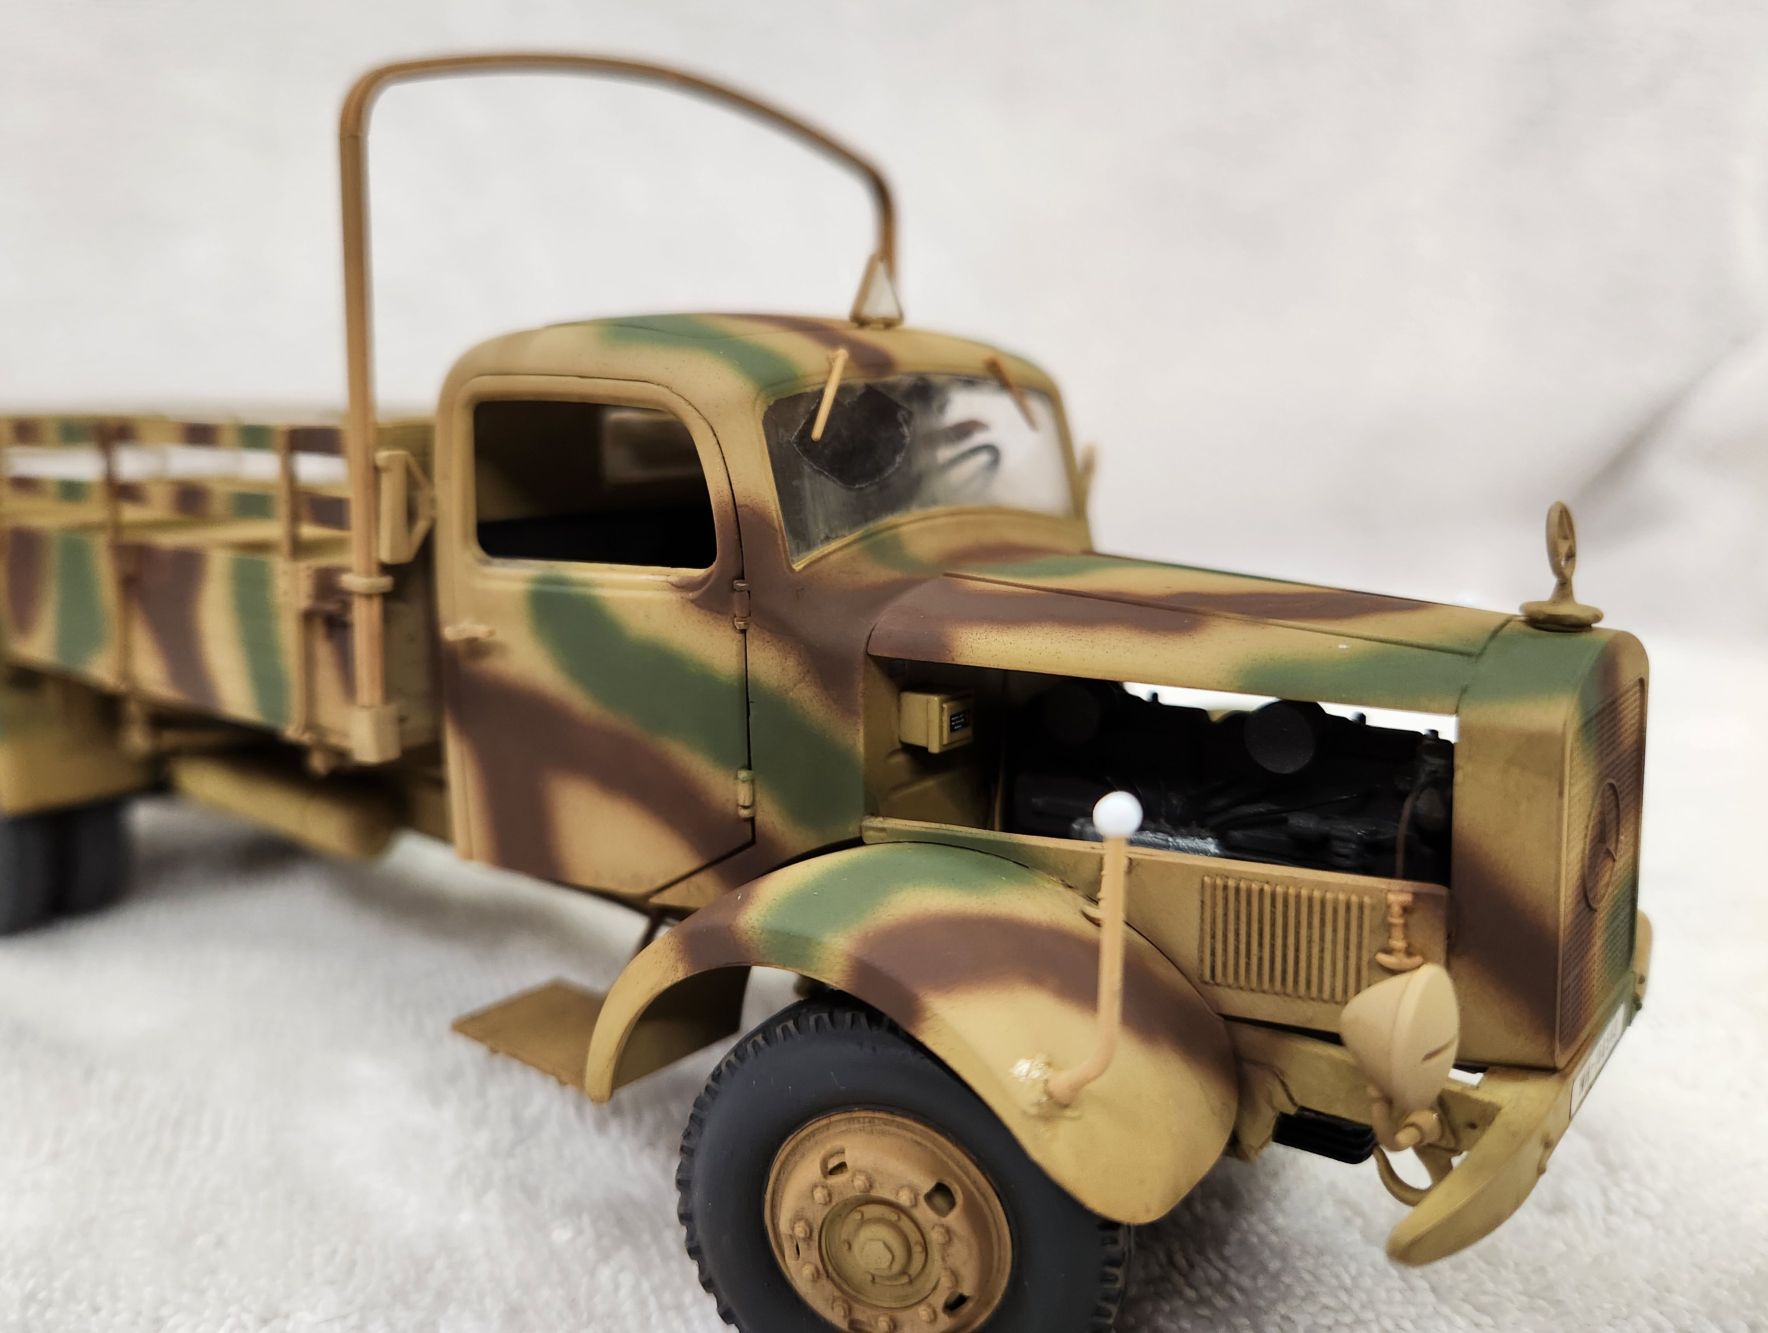
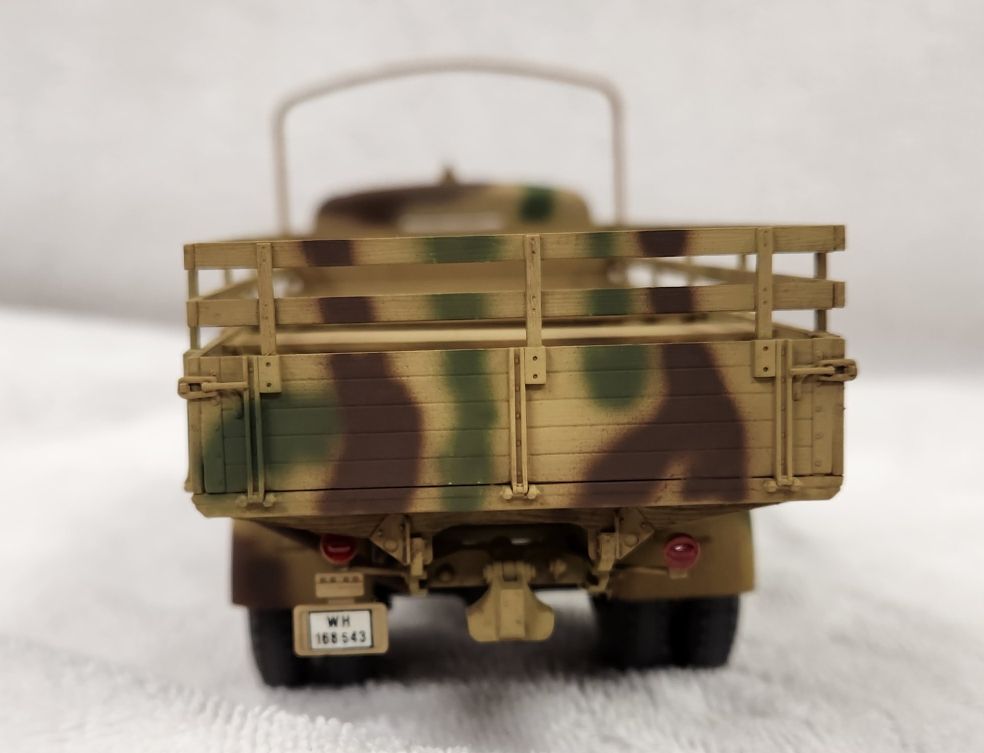
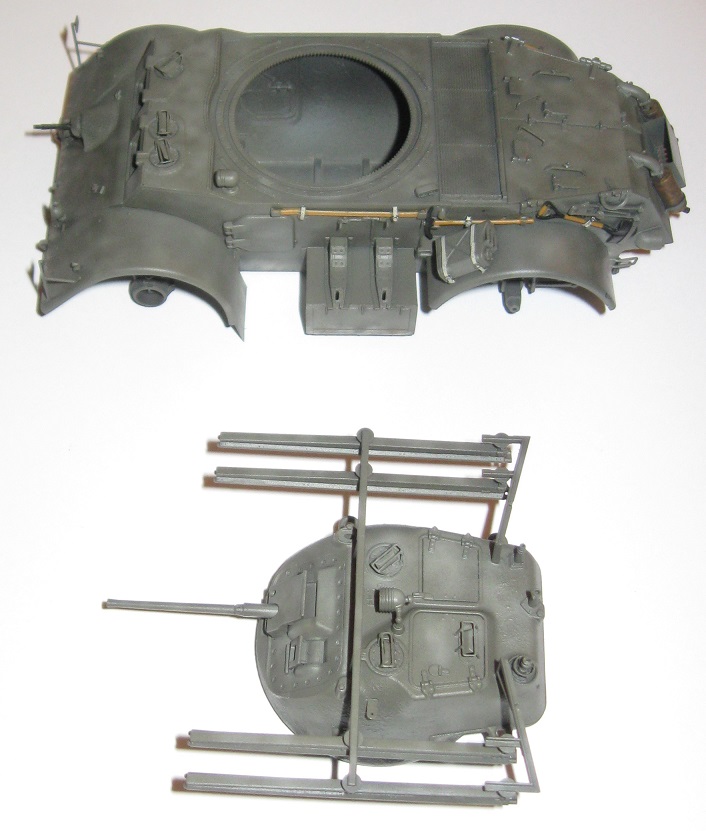
What I have accomplished today on the 4500A:

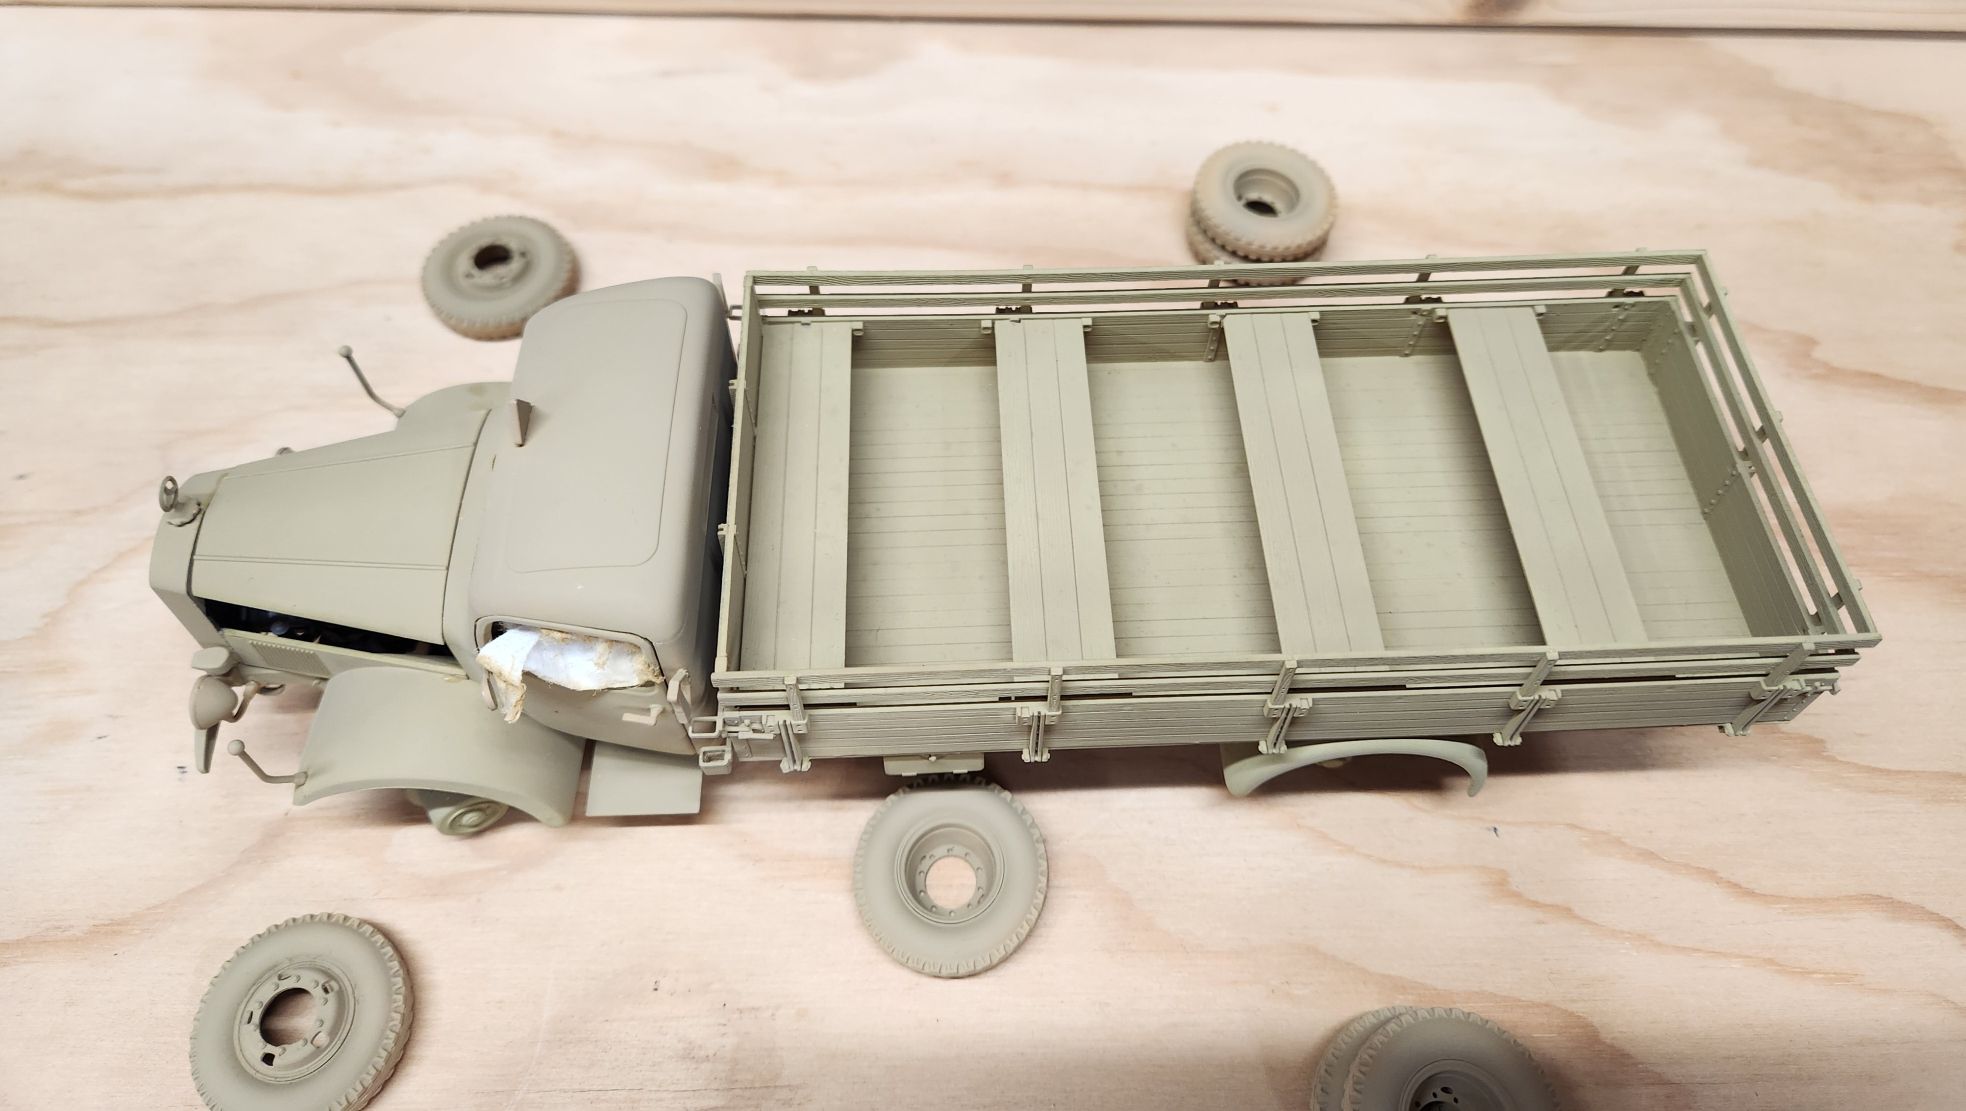
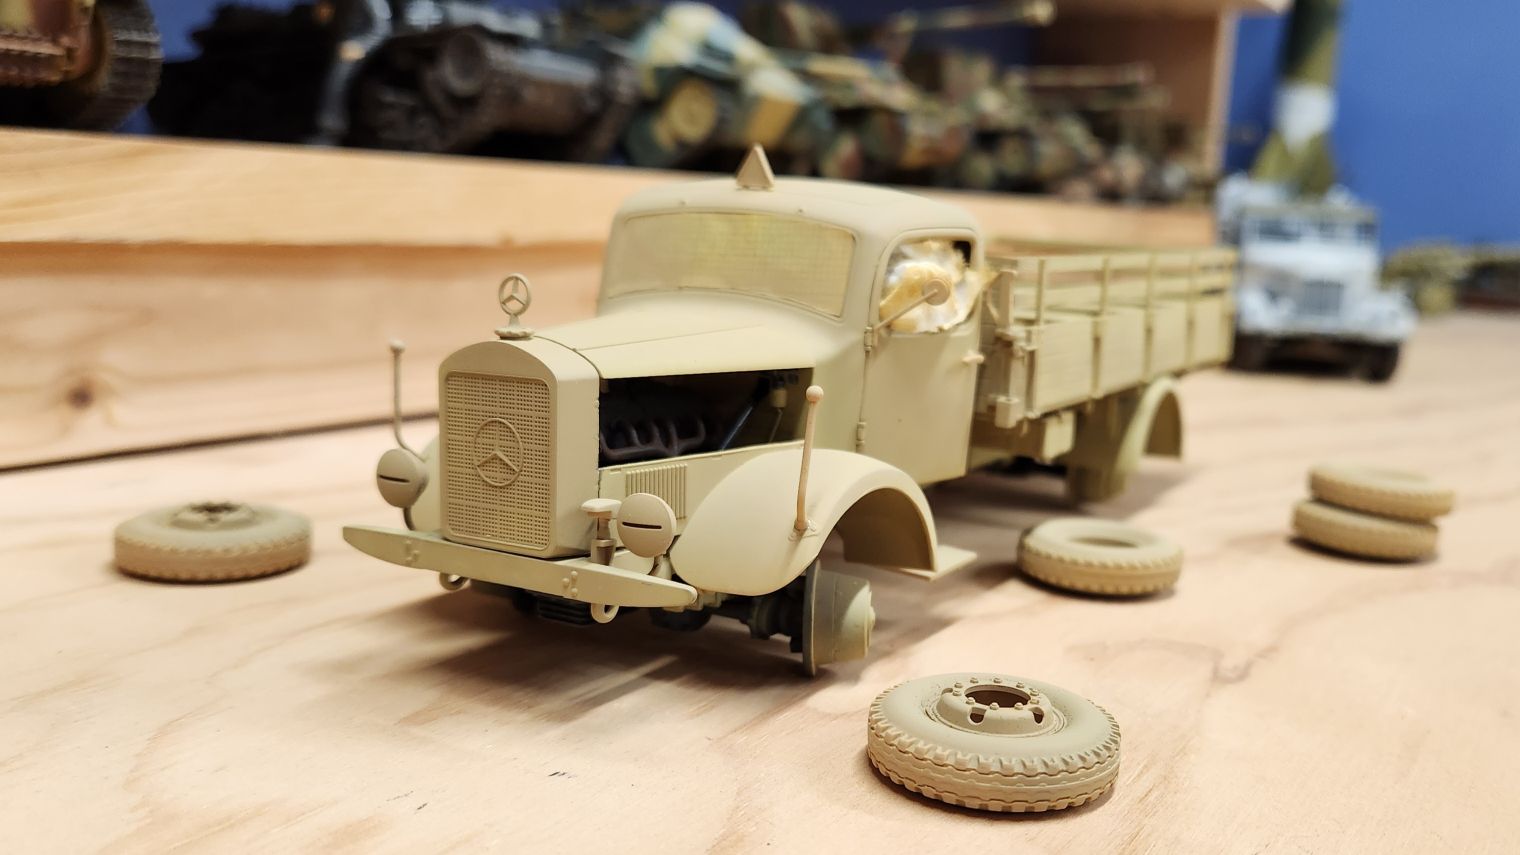
Just have to do the wheels and the bows for the tarpaulin. Then the red/green camo and the decals.
What I have accomplished today on the 4500A:
Just have to do the wheels and the bows for the tarpaulin. Then the red/green camo and the decals.
looking good … built up really nicely 
The 4500A looks like it has just pulled into the pits, ready for a full tyre change… 
Looks great with the subassemblies together.
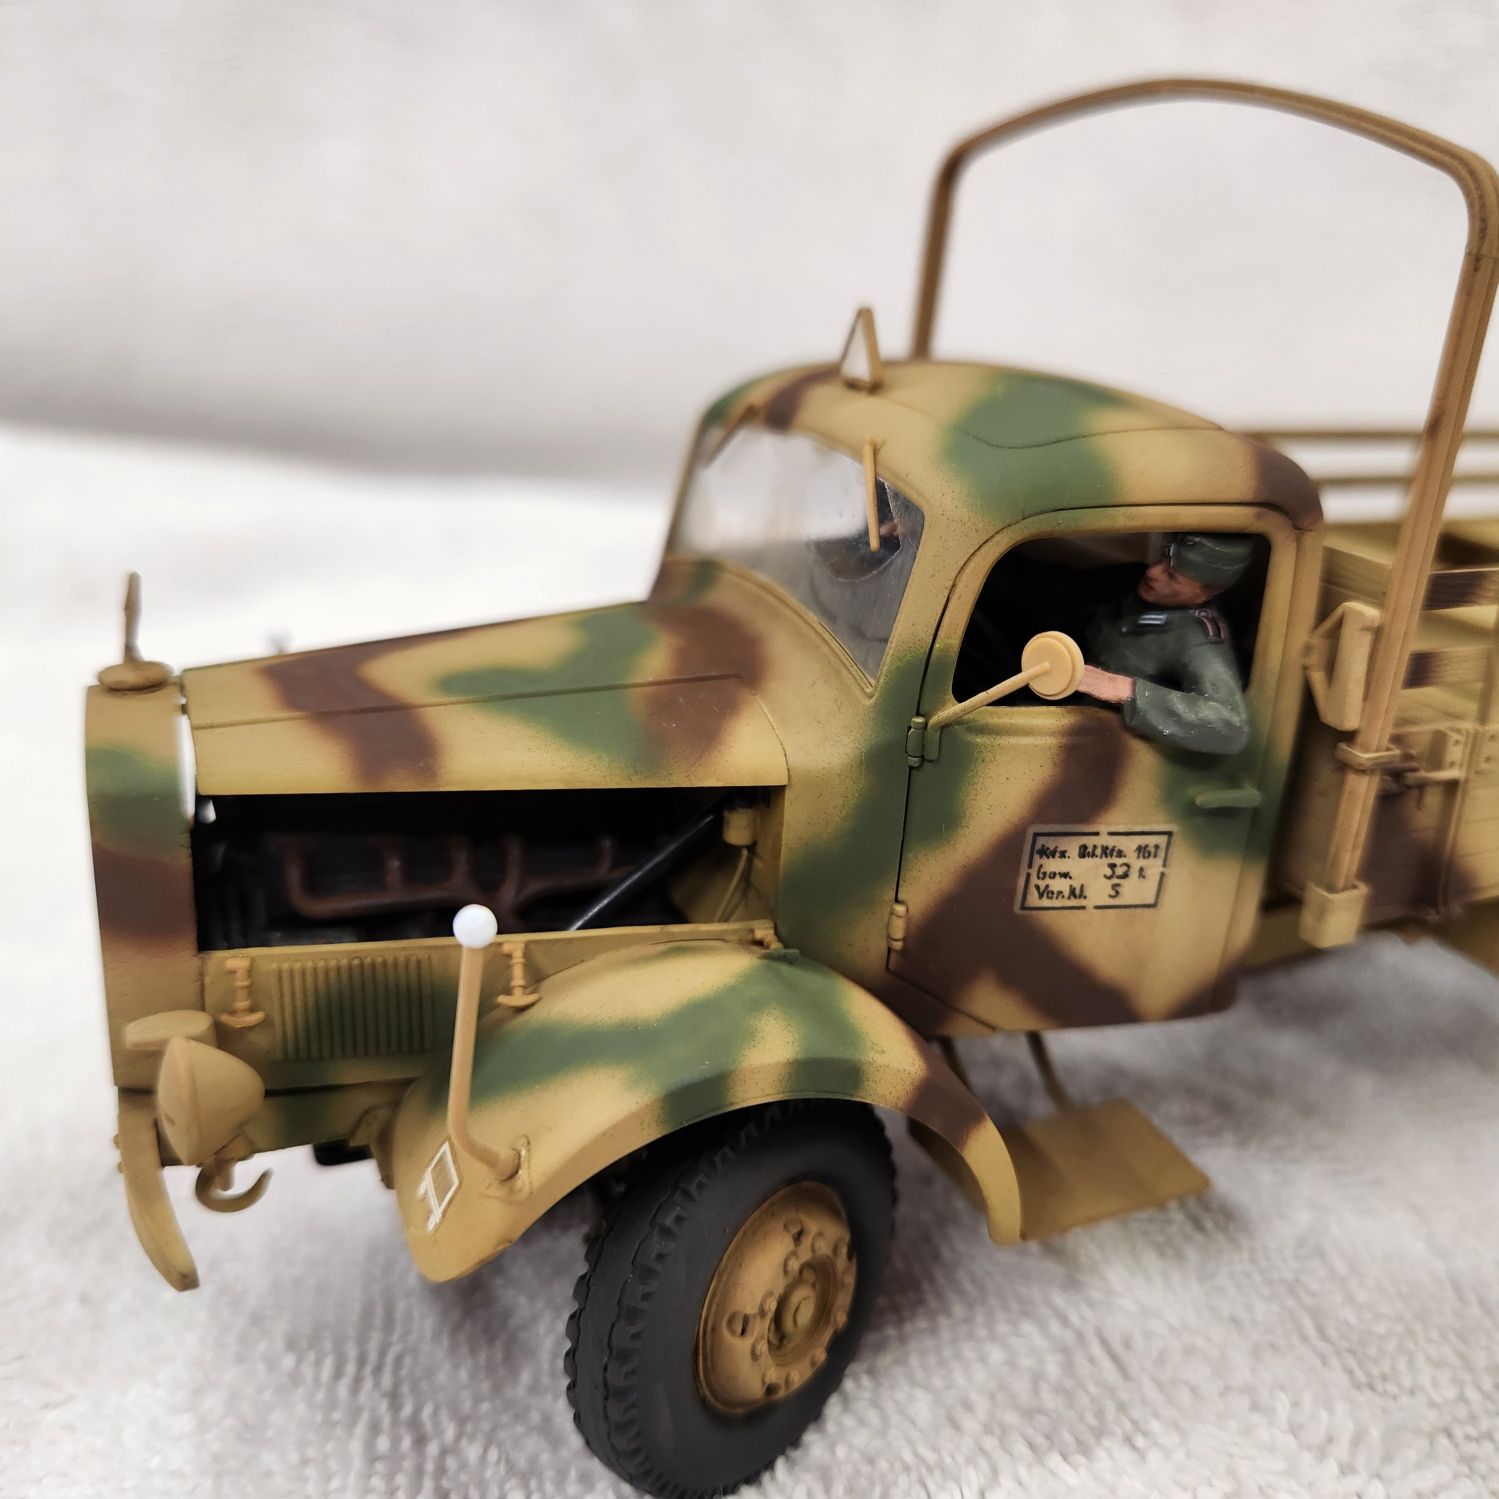
Okay, I’m calling this done for now.
A light wash to bring everything together but I have left it open to further work if I decide to make a base for it. I am also considering replacing the supports for the canvas with wire and making a tarp for it.
So what began on 6/6/2017 ends today, 5/12/23, nearly six years later.
Very Nice work. The camo scheme suits this vehicle well.
Great to see another one finally across the line.
That truck looks very clean and pretty. I am envious.
Meanwhile, I am also making slow progress.
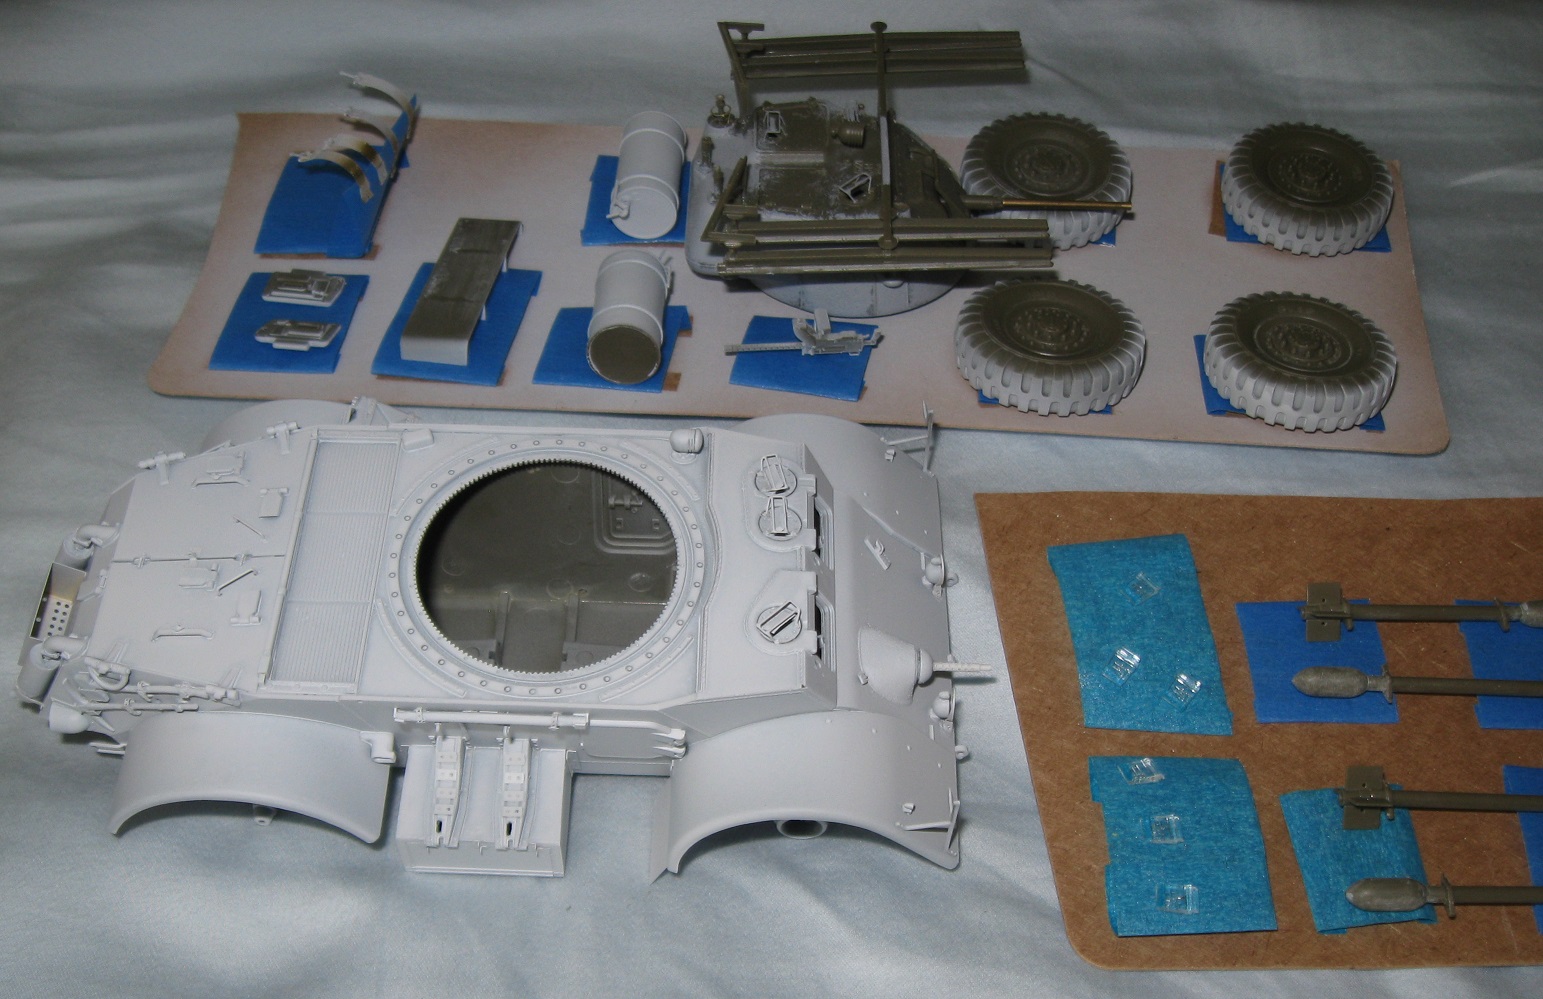
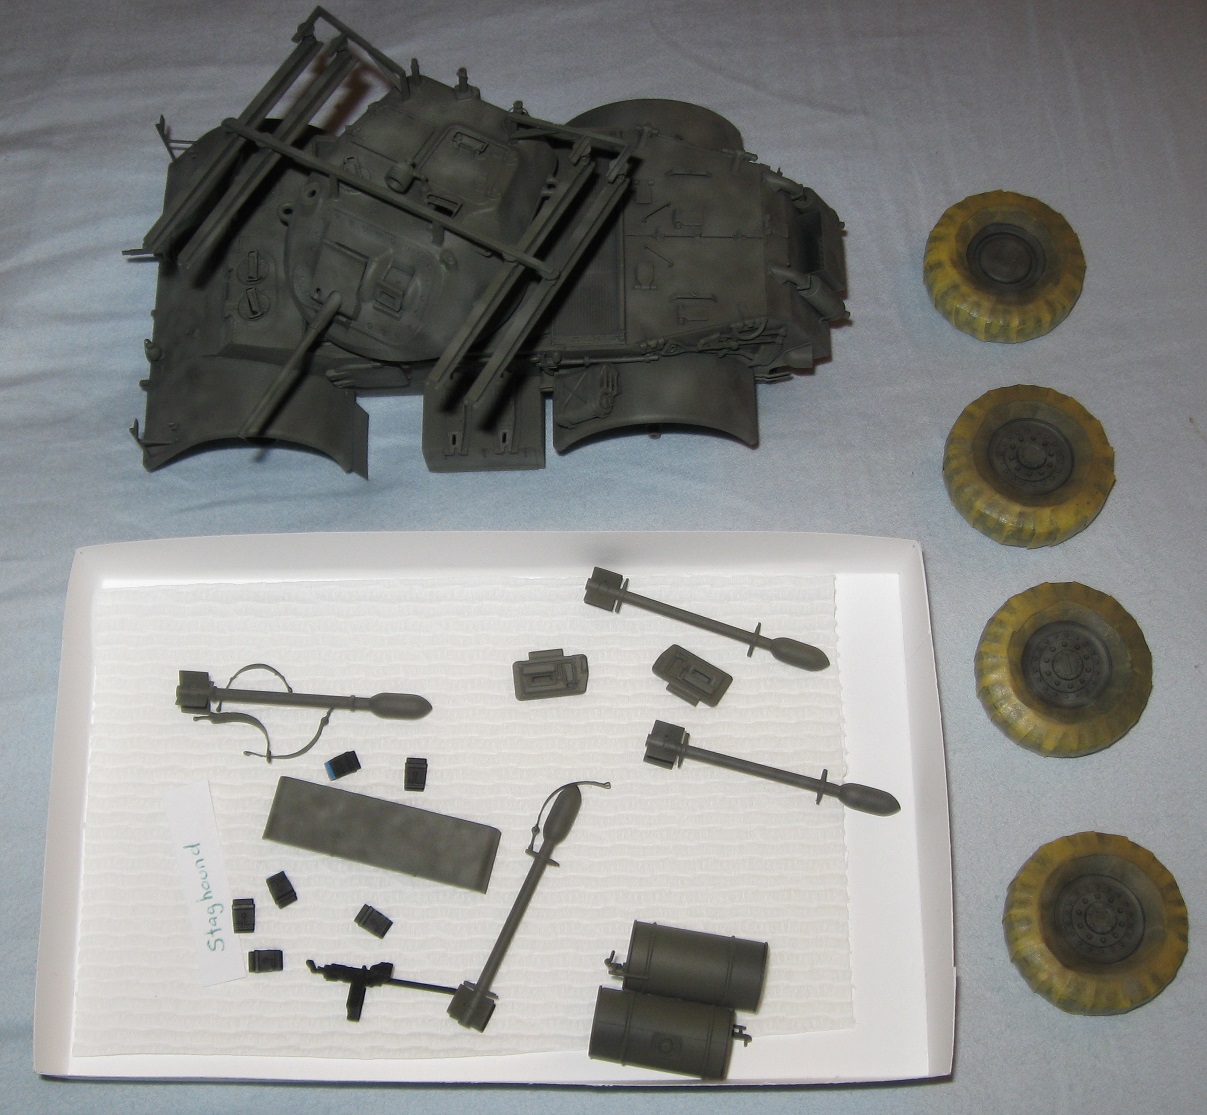
Much of my Staghound is now primed and ready for paint. The turret suffered significant damage while in storage, losing the rocket launch rails which snapped into three pieces. All known damage is now repaired. The turret and all remaining parts are now carded and ready for primer.
My original intention was to build a vehicle in service with troops from New Zealand but, after browsing many period photos, I decided to go with the kit decals depicting a Canadian Staghound.
Good to see the damage was salvageable.
I’m pretty sure the Canadians were the only ones to fit these during WW2.
ooh. only just seen this campaign. i did a couple of unfinished business ones on the old forum and still have a few shelf queens to finish. i’ll dig one out
It would be great if you joined in Colin.
Welcome onboard, Colin 
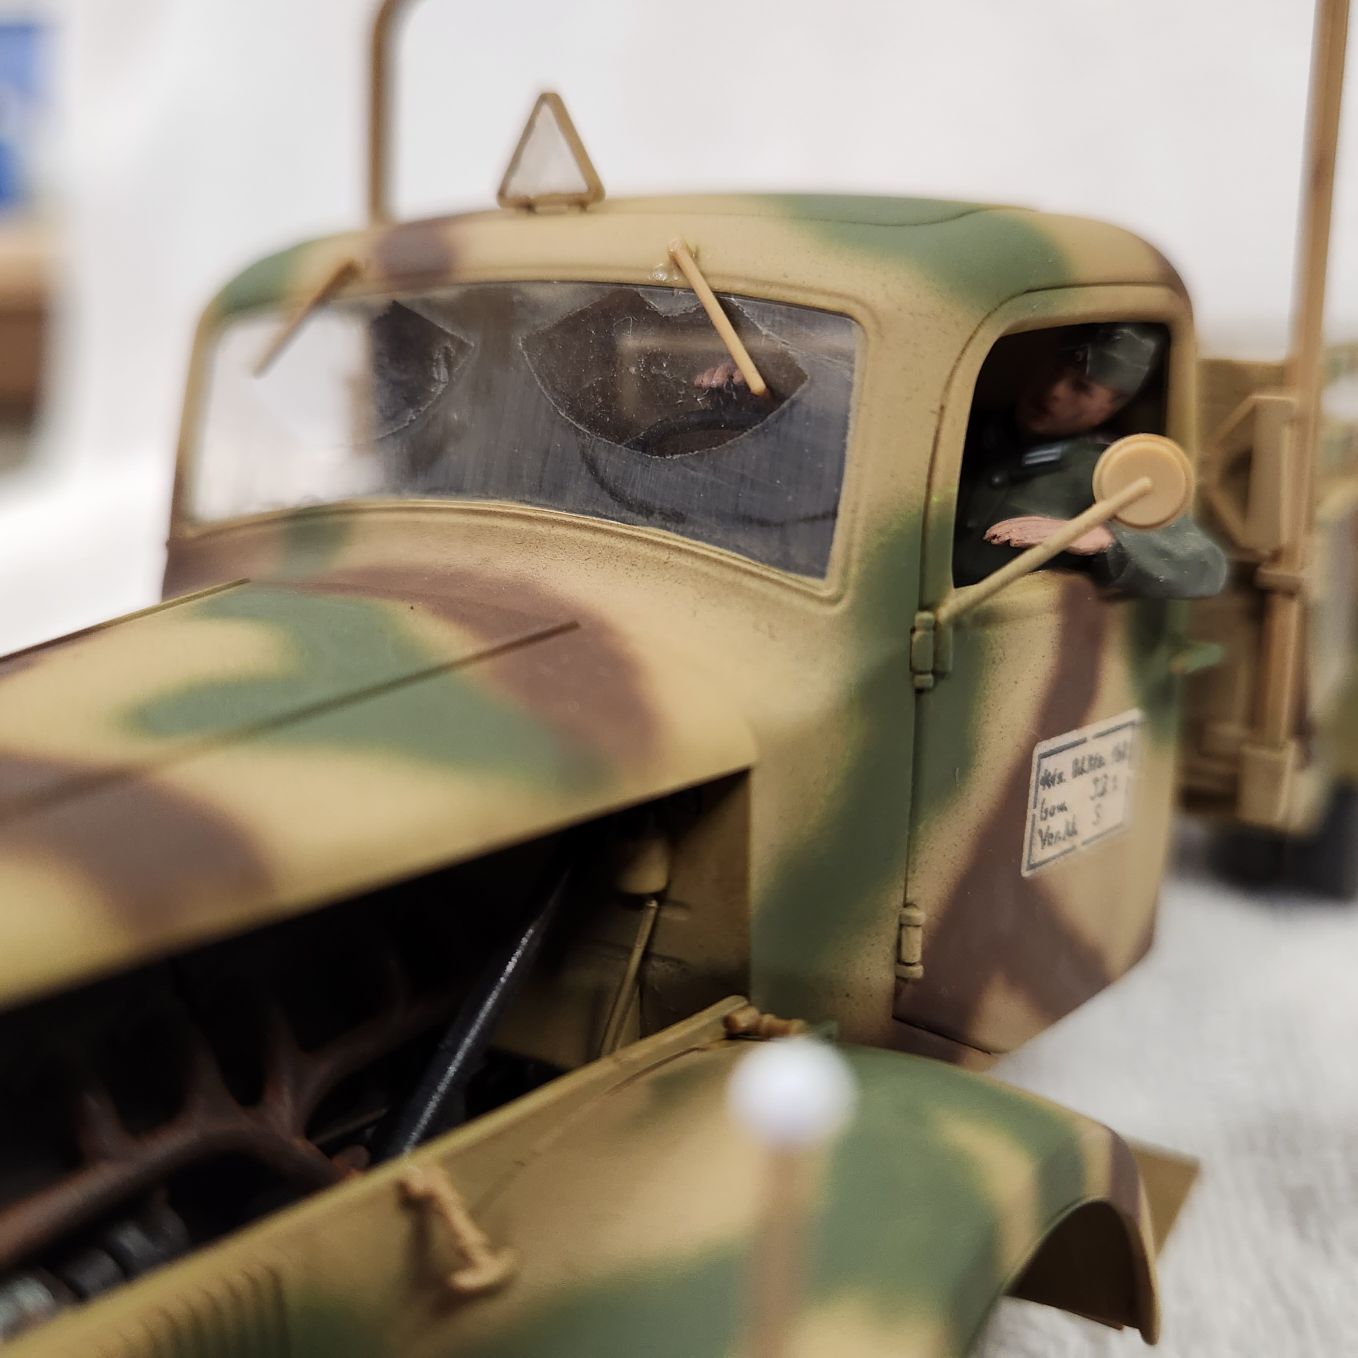
Love that dirty windshield! How did you get it so evenly clean? Was it a mask of some sort?
Paul
I cut circles in masking tape using the wipers for the radius, then cut a section roughly corresponding to the arc of travel for each wiper and attached them to the windshield before attaching it to the cab (so as not to accidentally push the window out trying to attach them after the fact).When I weathered the truck I just went over the masks with my products, and carefully peeled them up when all was dry.
It will be easier to do this before assembling the cab as you don’t have to worry about messing anything up while trying to lay the masks in the right spots.
Progress!
As I wrote in my projects thread, sanding out three paint flaws on the bottom of the Staghound resulted in three craters because Vallejo primer comes off in sheets when sanded. Priming and repainting the craters did not fix the problem. Removing all Vallejo primer and starting over is not an option because photo etch and small parts would not survive the process. Therefore, I am pressing ahead.
Vallejo primer also peels off photo etch parts with ease. Every time I taped the photo etch fuel drum straps to a card for painting, removing the tape took away the paint and primer underneath. Tape can remove primer from plastic parts as well but it happens much less often. Curiously, Vallejo paint applied directly to a surface, plastic or photo etch, is more resilient then Vallejo primer. Fortunately, I only used Vallejo primer on this model and a Tamiya Flakvierling. Unfortunately, I ordered 4 more bottles of the stuff before this happened. 
If nothing else goes seriously wrong I can finish in a week. If the Tamiya tape on the wheels pulls up the paint, it will get more interesting.
I hear you Doug. I read a lot of good reports on Vallejo when it first came out - after 2 models experienced exactly the same issues, I still have 1/2 a bottle as I only now use it on stowage, packs, etc, where it will never be sanded or taped.
The Stag is looking great though.
More progress…
After a week of procrastination I finally completed all the detail painting, then sprayed a satin clear coat in preparation for oil paints. Gloss clear coat was also added to decal locations. Vallejo acrylics are proving far superior to enamels for teeny weeny paint jobs because they thin so well and create very thin layers.
Unfortunately, I overlooked a few last detail parts which delayed the project. They are now cleaned up and in various stages of painting.
I need to move more quickly through paint stages because dust and hairs keep contaminating my work. When Joann’s next has a storage sale, I need to pick up one or two more Artbin boxes.
Coming along nicely Doug. I have some Plastic food storage containers I use to put models in between sessions. If I have just painted a model, I place the container upside down over it, but support it off the base using some timber slats to allow fumes escape out the bottom.
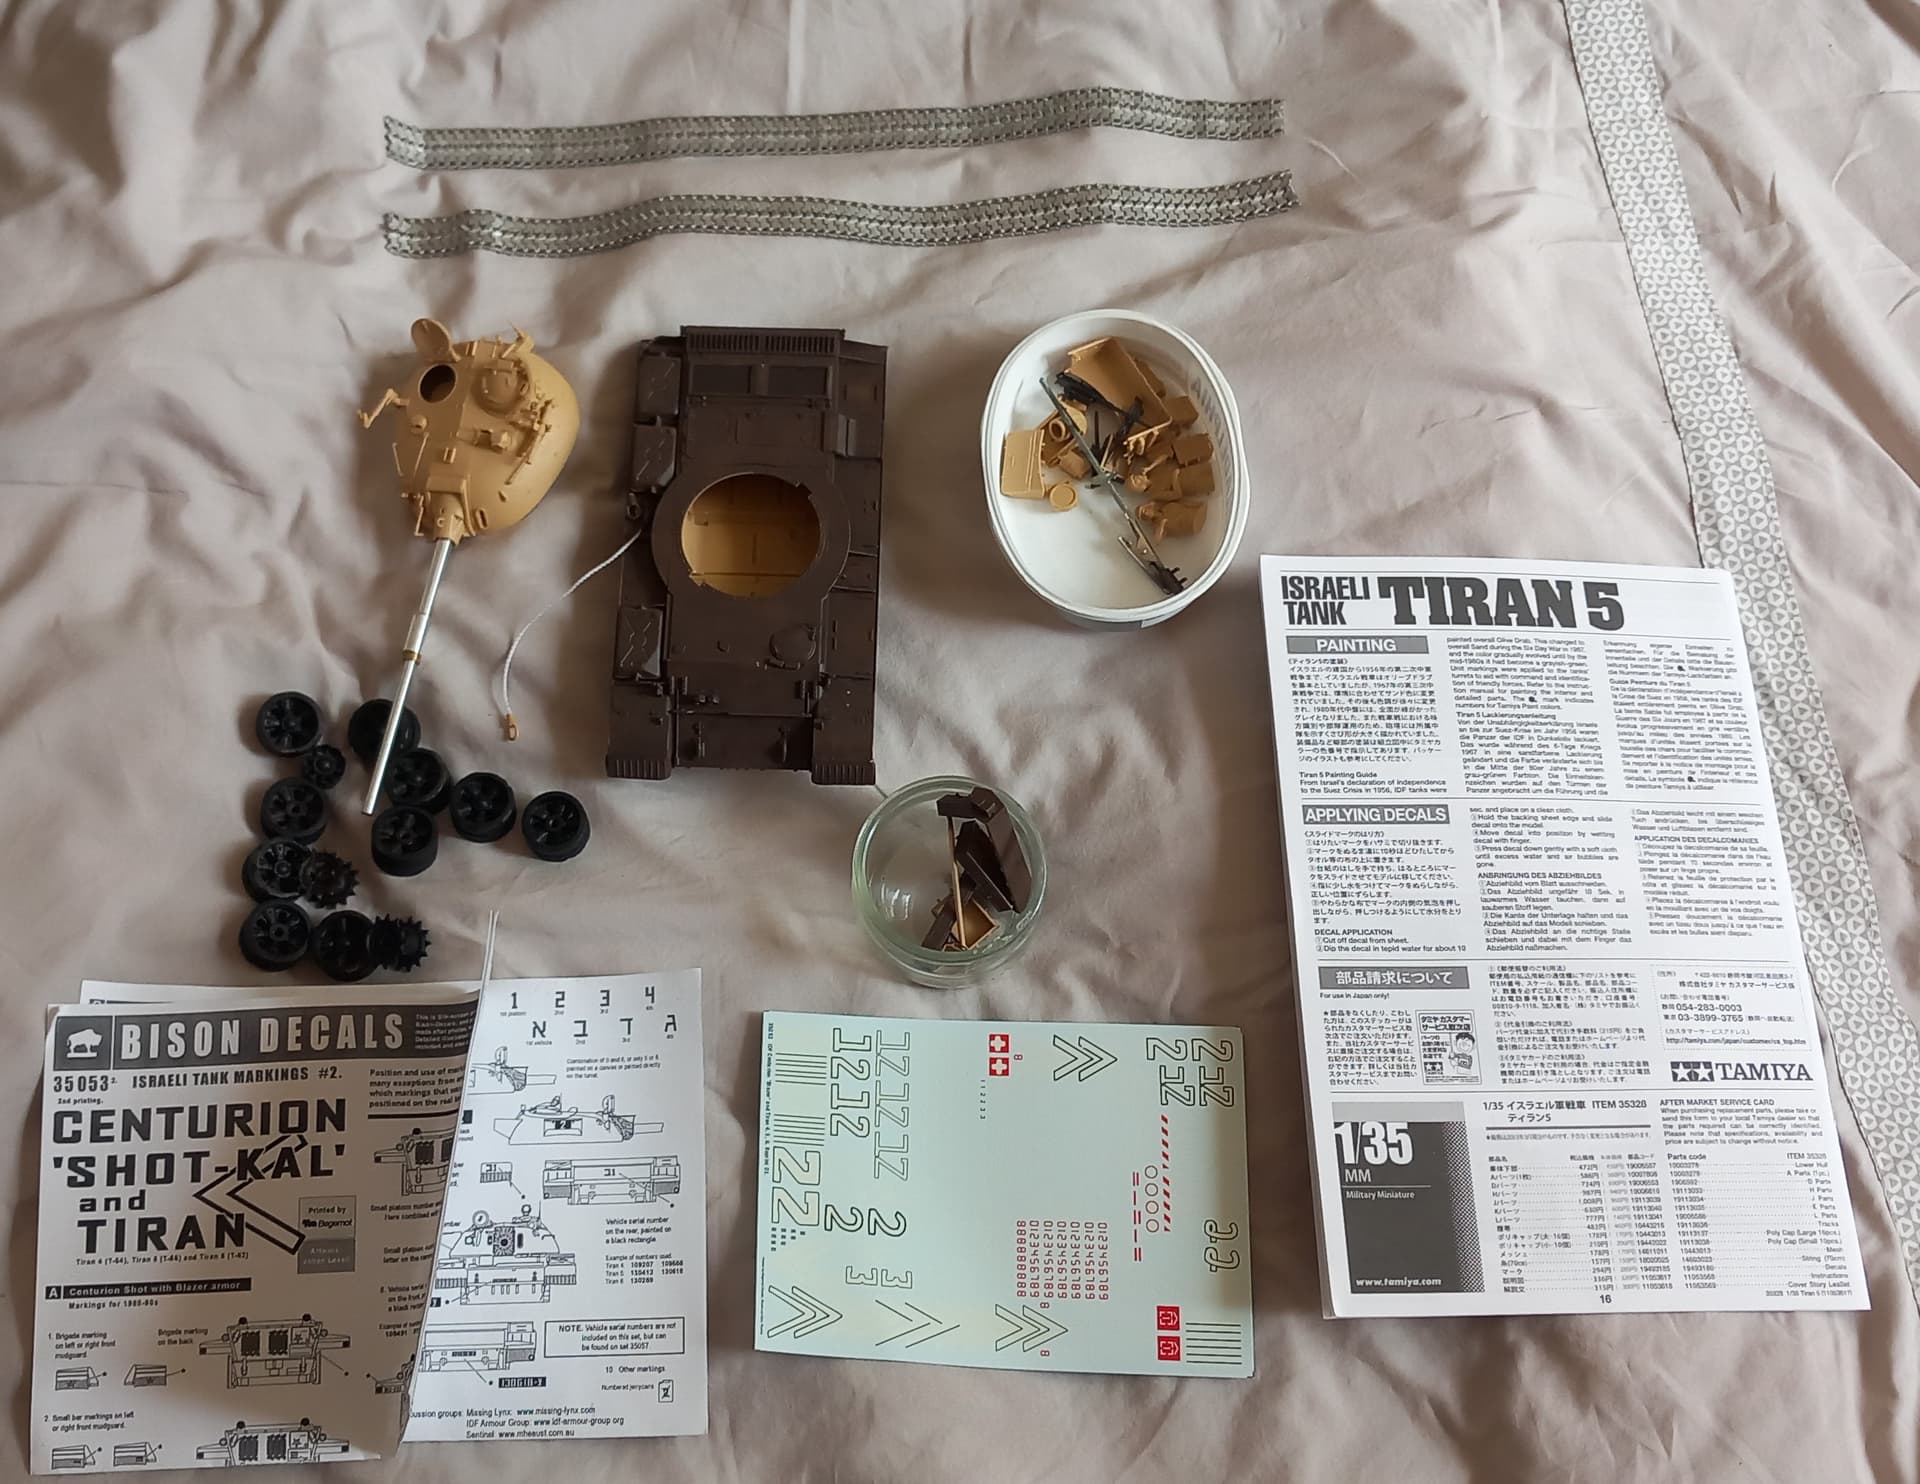
Hello, my entry for this campaign:
Tiran 5 from Tamiya.
I started 5 years ago during a burn-out. Barrel from Aber, decals from Bison decals and tracks from Friul.
Some details are a bit basic in the Tamiya kit, but even so, it does hold up pretty well. She does build up to a very nicely looking model when finished, especially with the Aber barrel. It is a very nice addition. Welcome aboard.
I love all the hard work and effort in this thread I don’t have anything to contribute as I am a one model at a time and won’t start another until that one is done builder.
Blashpemer!
Heretic!
Infidel!
How the heck do you do that??? You must have Teutonic disciplin!
Please, oh master, share your wisdom with us.