Good vender notice: Waaaay back in January '23 or so, I inquired on this log, as to a source for a 3D printed 1/16th M1A2 Trophy APS. Several contributors suggested DKLMRC out of Hong Kong. After viewing their web page, I E-mailed them w/questions, then proceeded to hem & haw about ordering the items I wanted. (I used to be indecisive,… now I’m just not sure!!) Well, on 6/2/23 I finally “pulled the trigger” and did an on line order for their Abrams Trophy APS & a LP CROWs. These items were shipped 6/7/23 via Hong Kong Express/USPS and delivered to my home 6/14/23. IMHO that’s great service. The APS 10 pcs of white 3D printed resin (which includes 10 micro screws to assemble the 10 pcs of resin. IMHO they are very nicely printed, requiring a minimal of cleanup. The LP CROWs is equally nice, There are another 10 pcs of equally well printed resin pcs, a machined barrel and 2 small screws. While neither item includes instructions, the web page has ample photos which can be a guide to ease of assembly. The quality of the printing, the outstanding customer service and great delivery by HK/USPS made this transaction a pleasure and a highly recommended vender. Thanks.
LAC
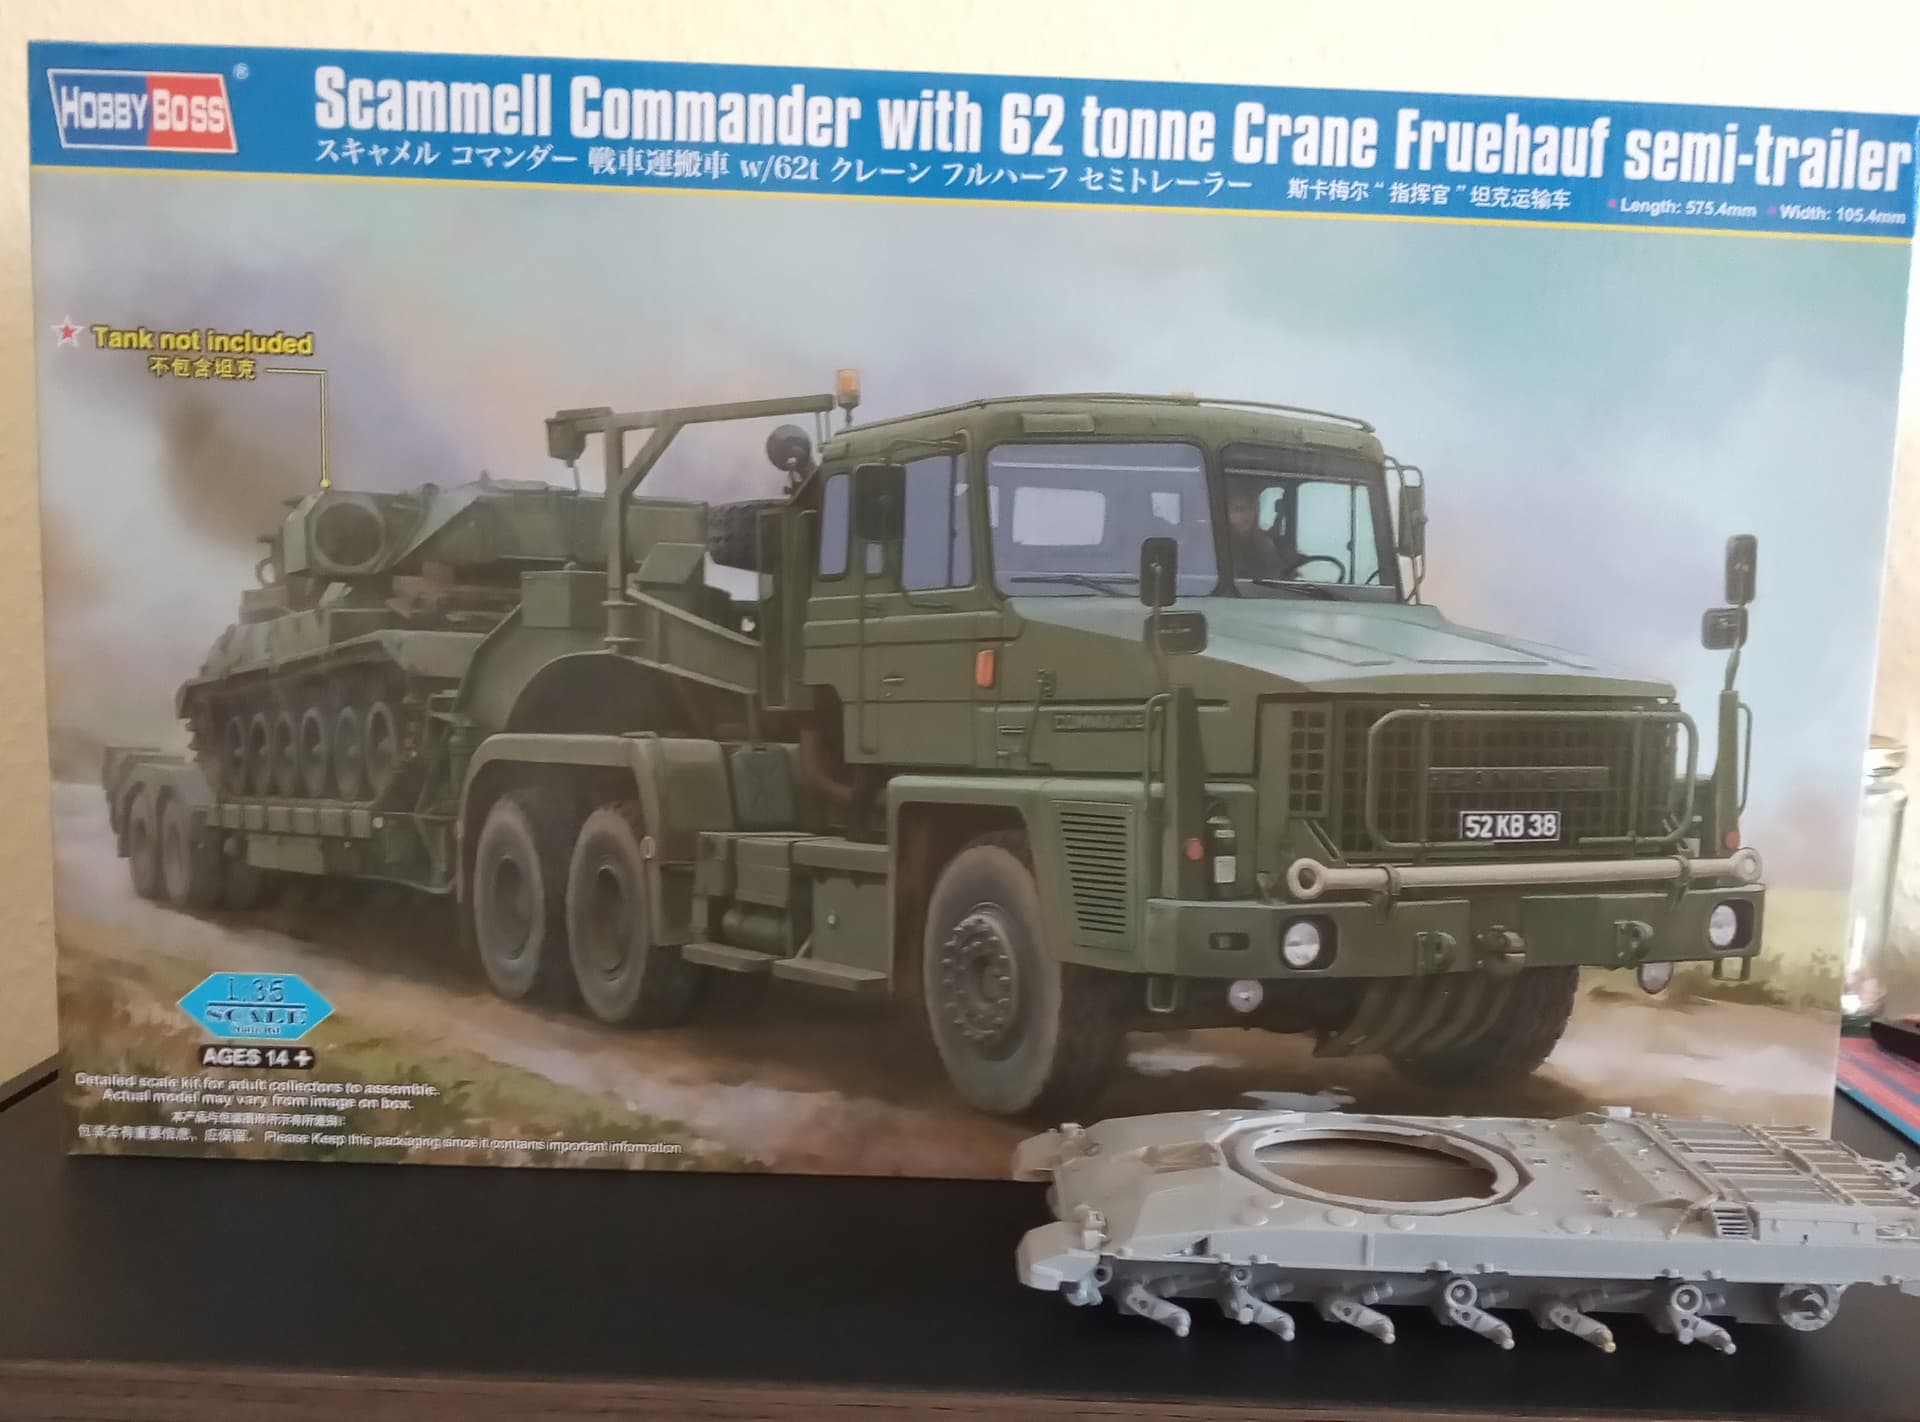
Was someone waiting for a Scammell Commander ?? ![]() …
…
Oh it was me ![]()
So, it is a birthday pressie for August… But SWMBO said I can check the contents for damage or issues then it’s going away …
So a quick glimpse …
My Cr1 CTT hull for size comparison against a very big box
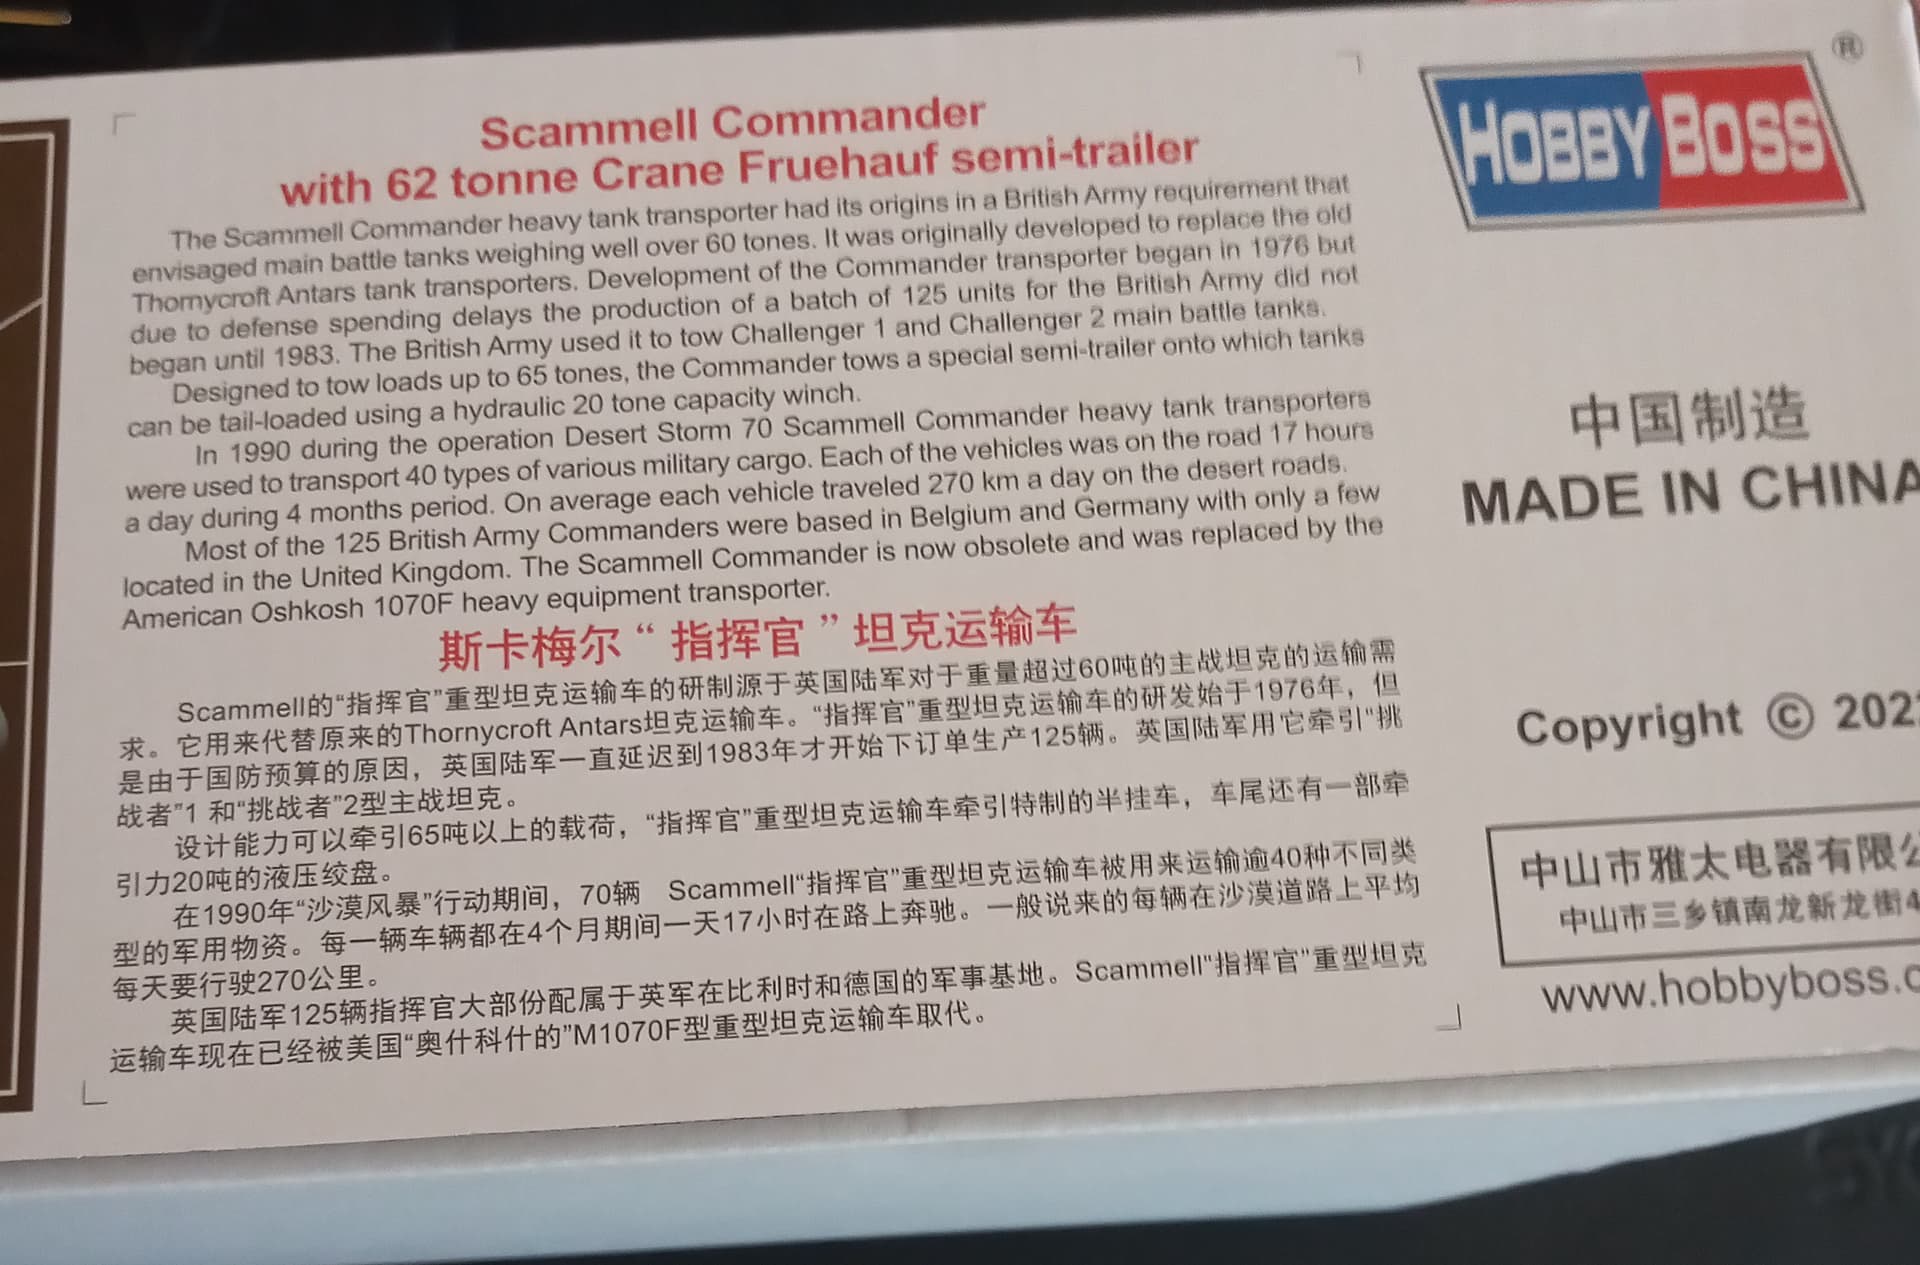
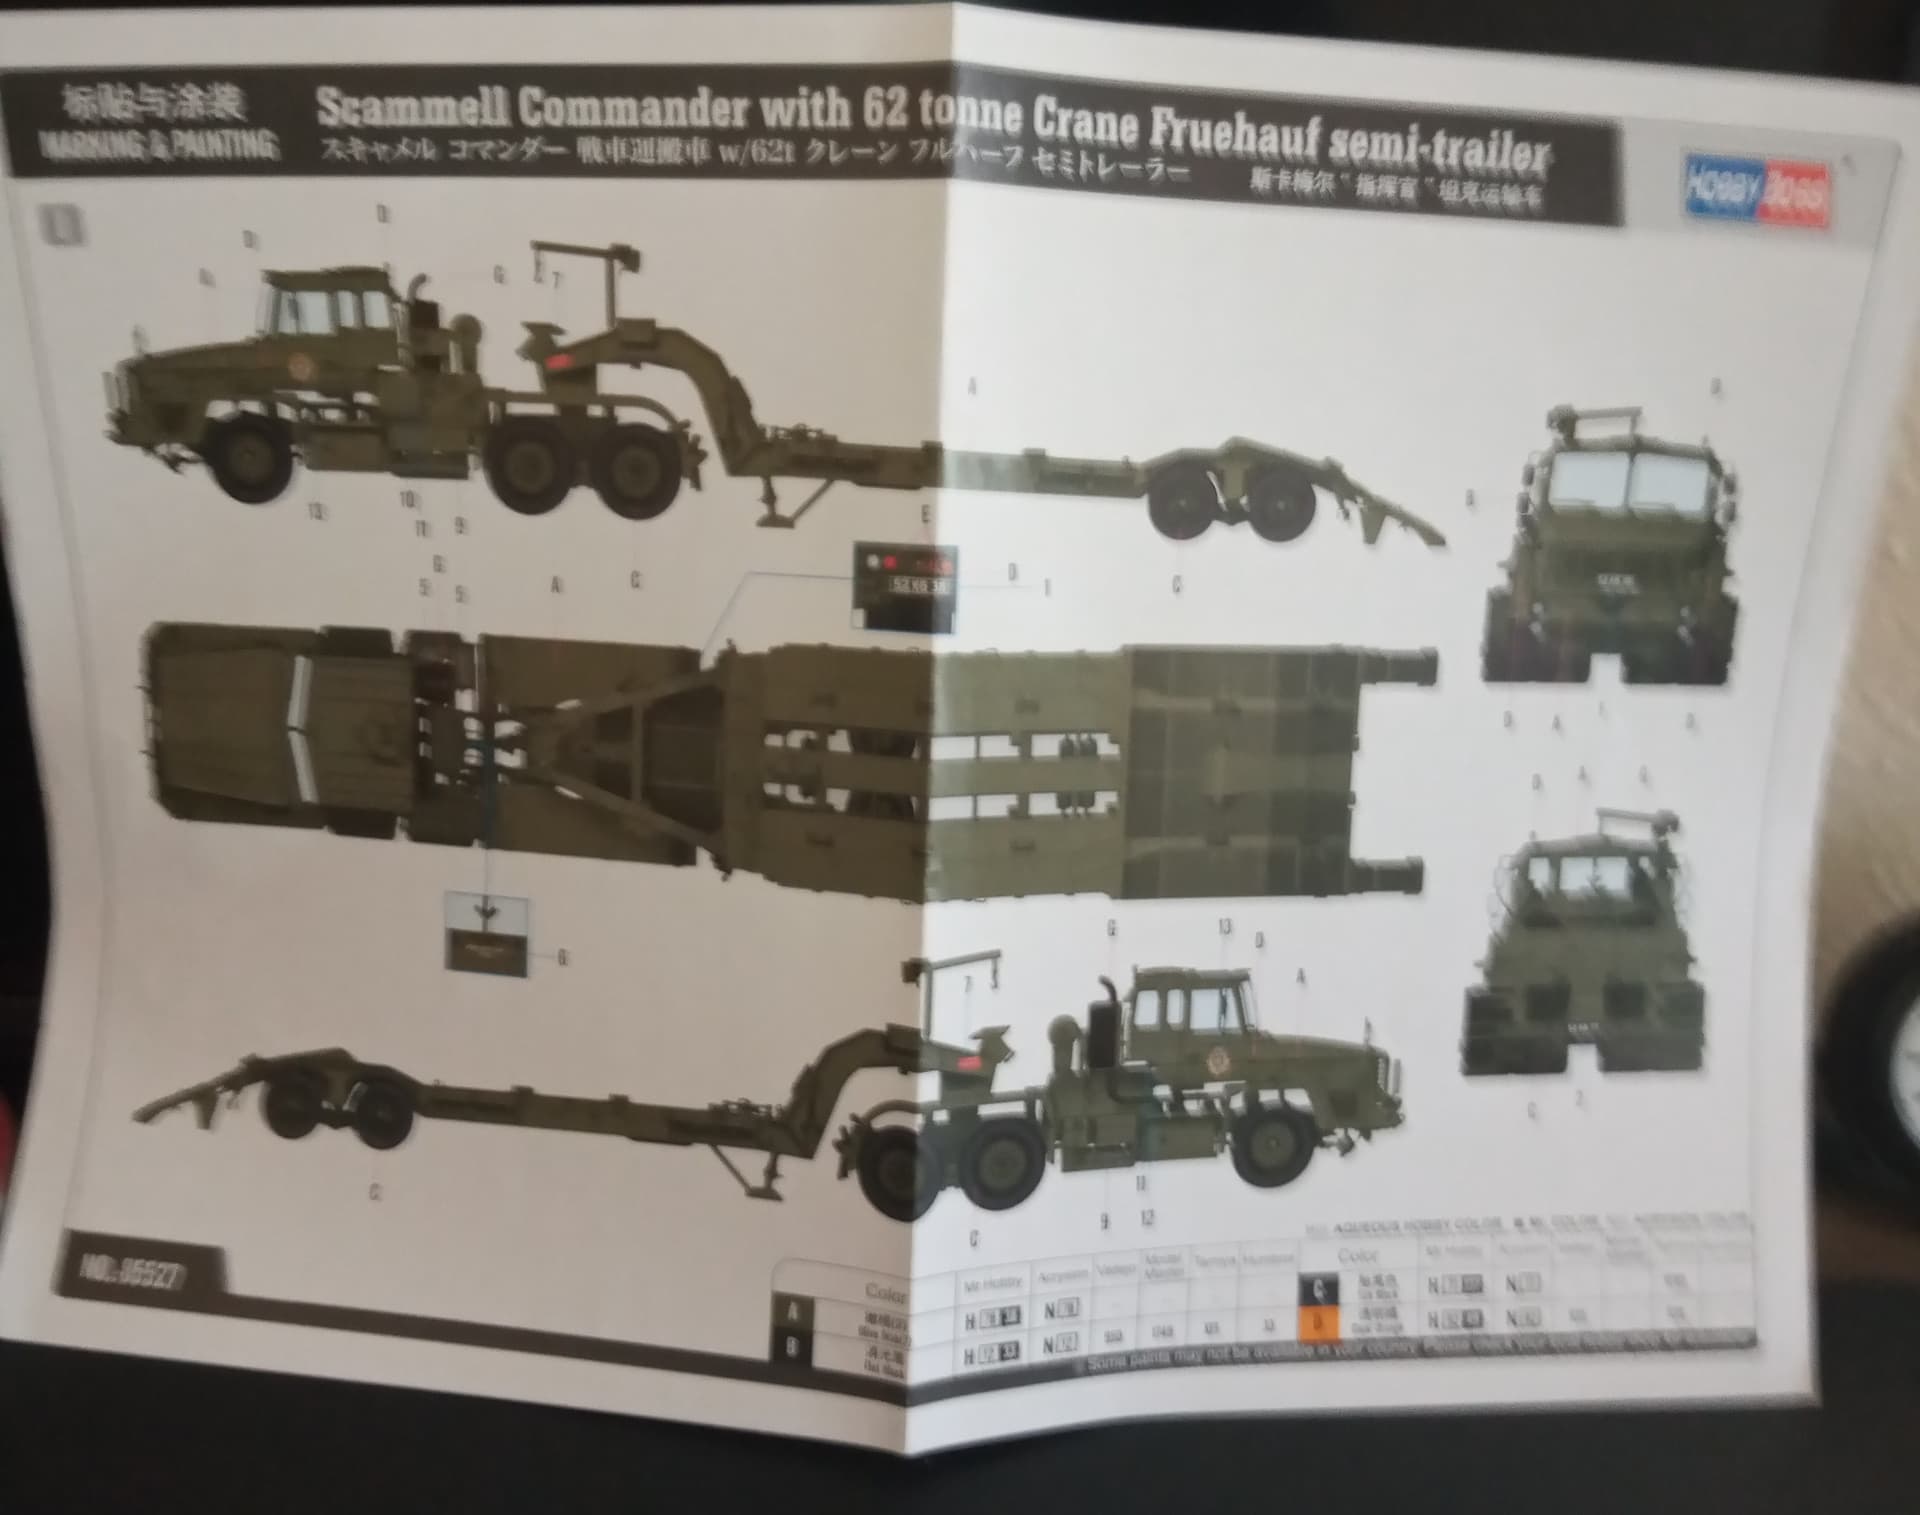
One side showing CAD views with PE and a bit of a write up

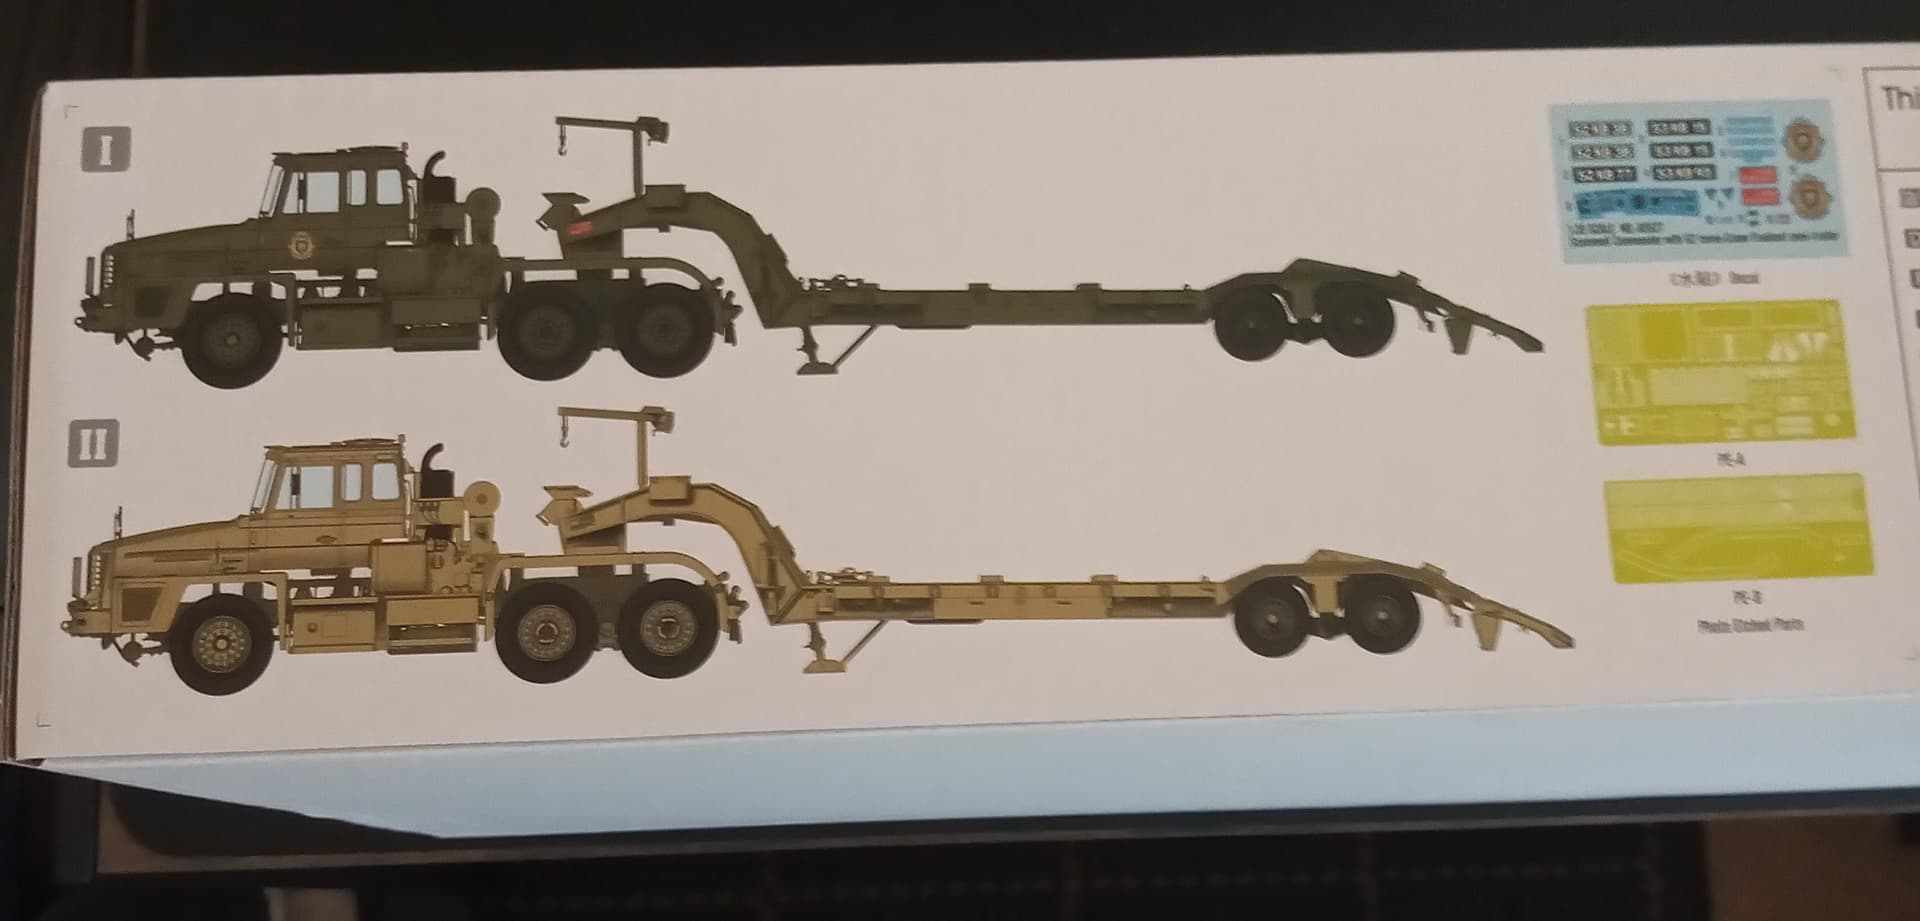
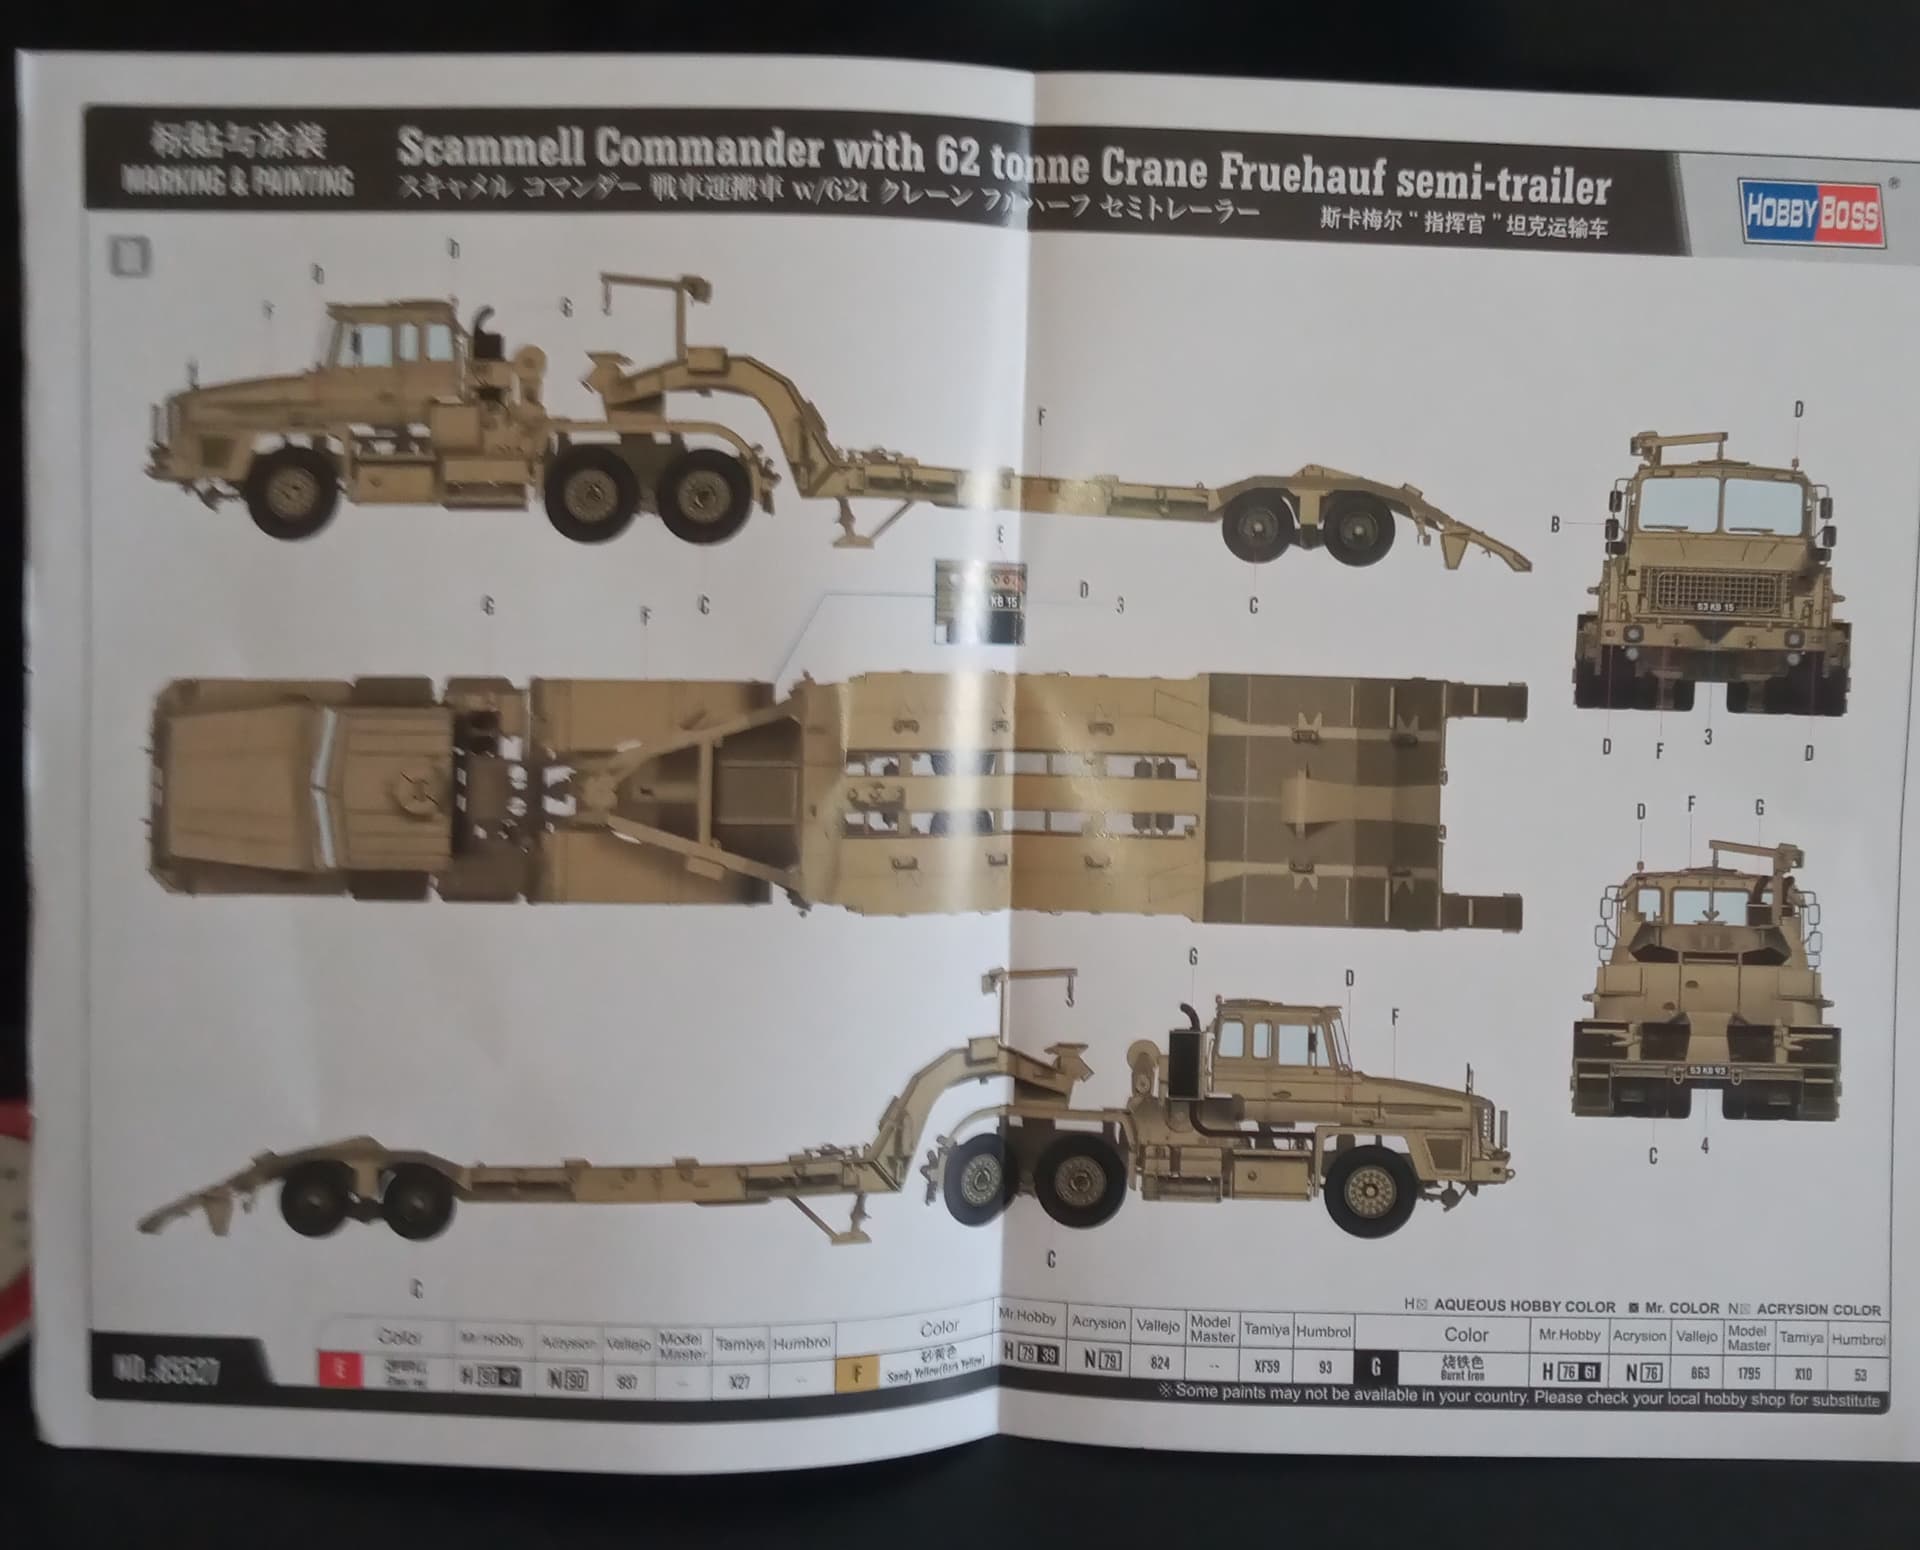
Other side showing the 2 colour schemes.
The open box with 3 separate compartments
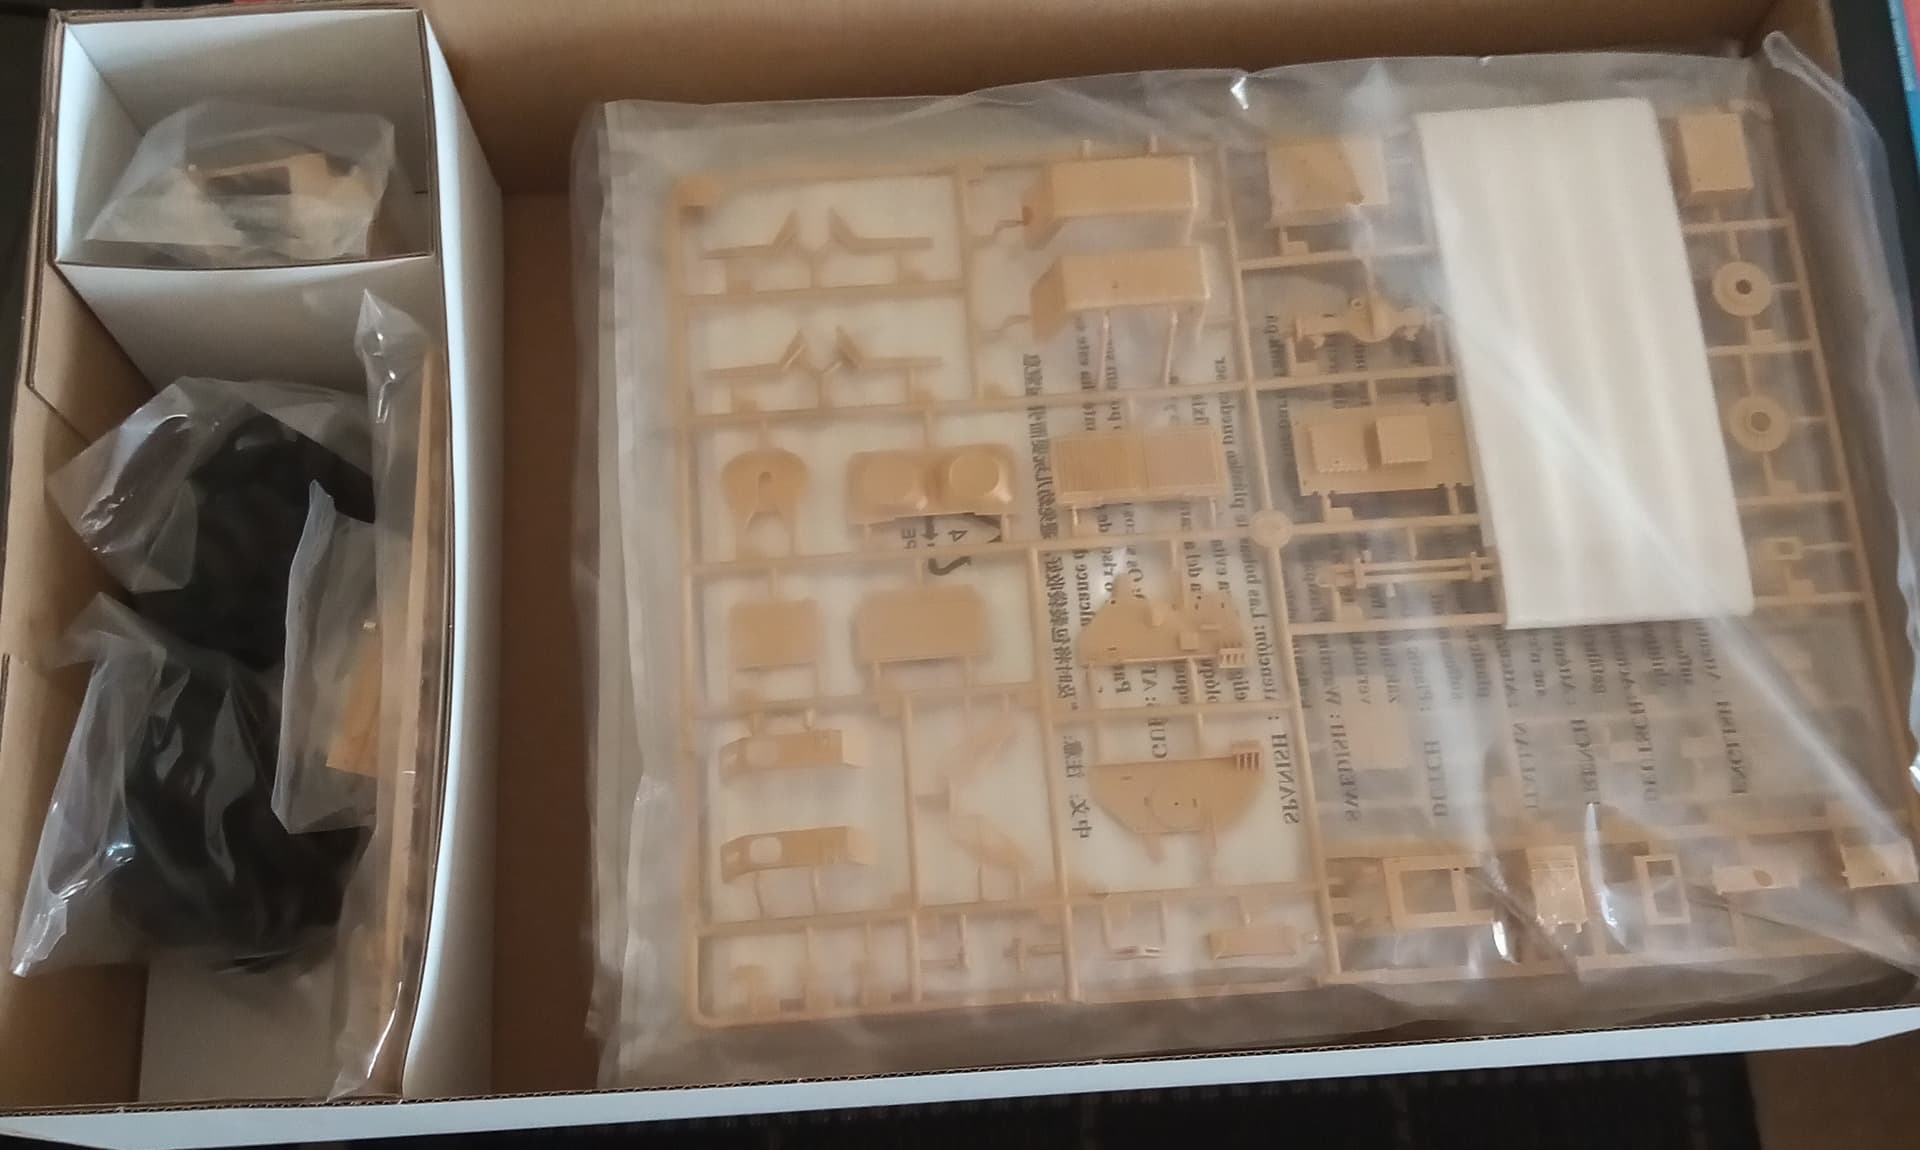
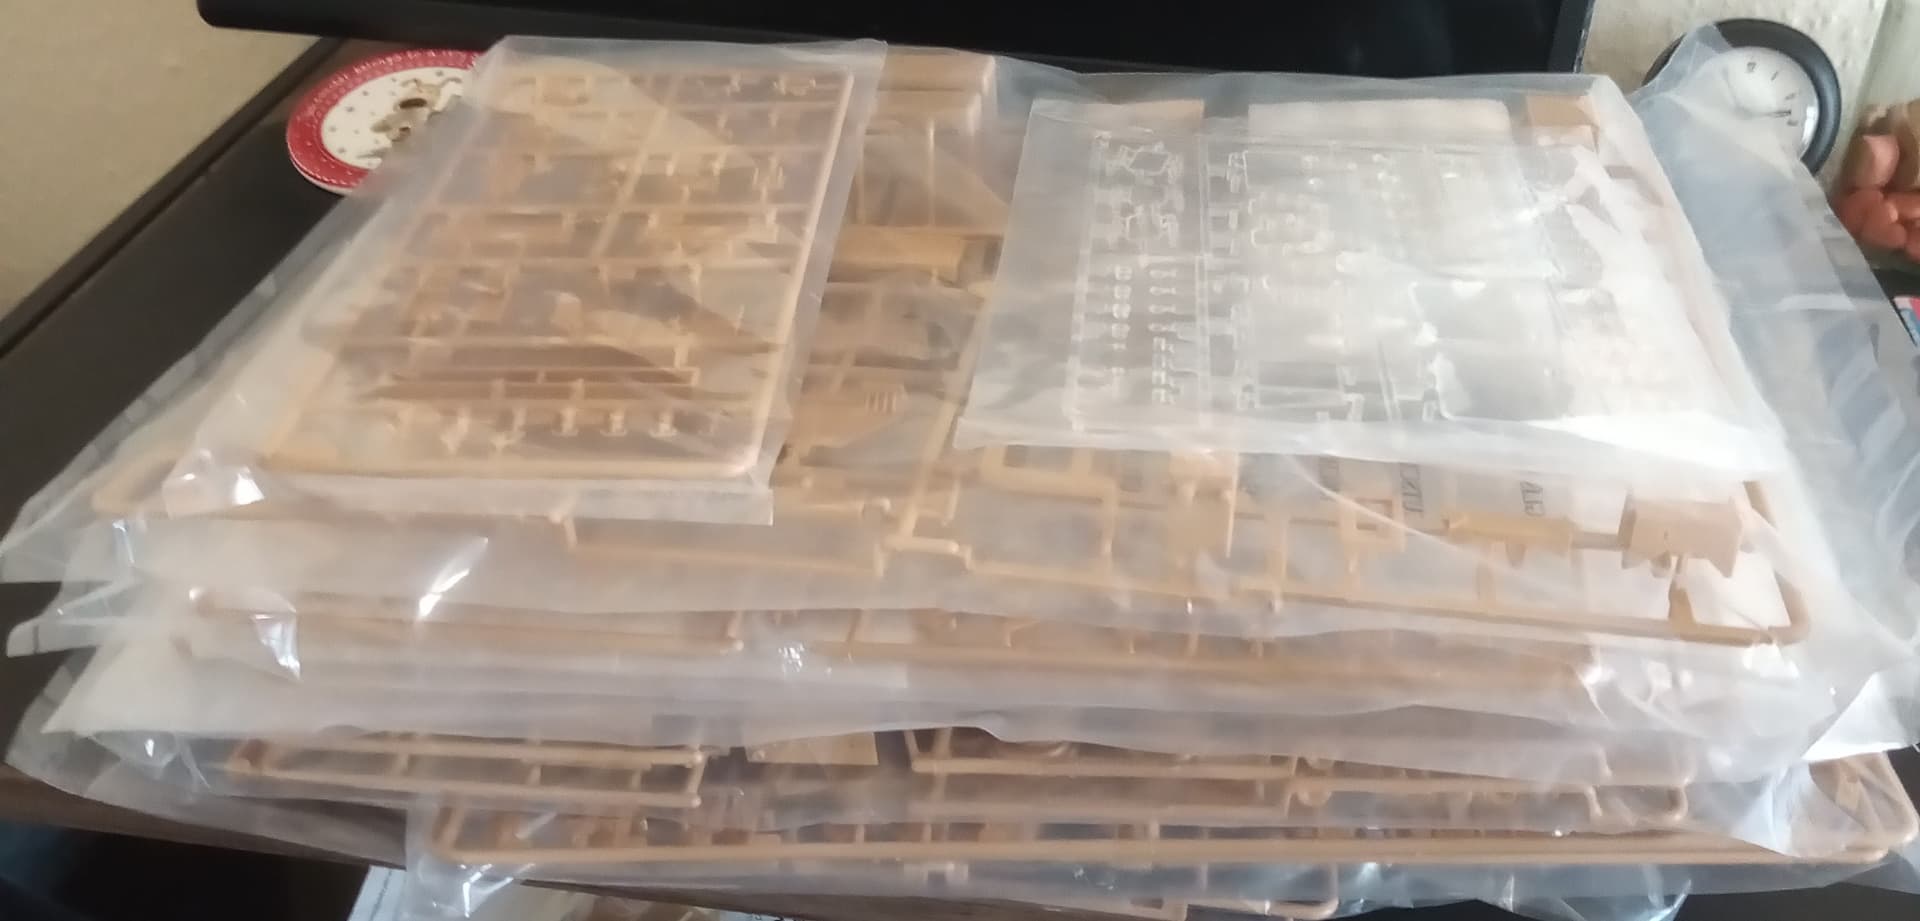
Main sprues removed, 12 in total including a nice clear parts one which look very clear and not distorted
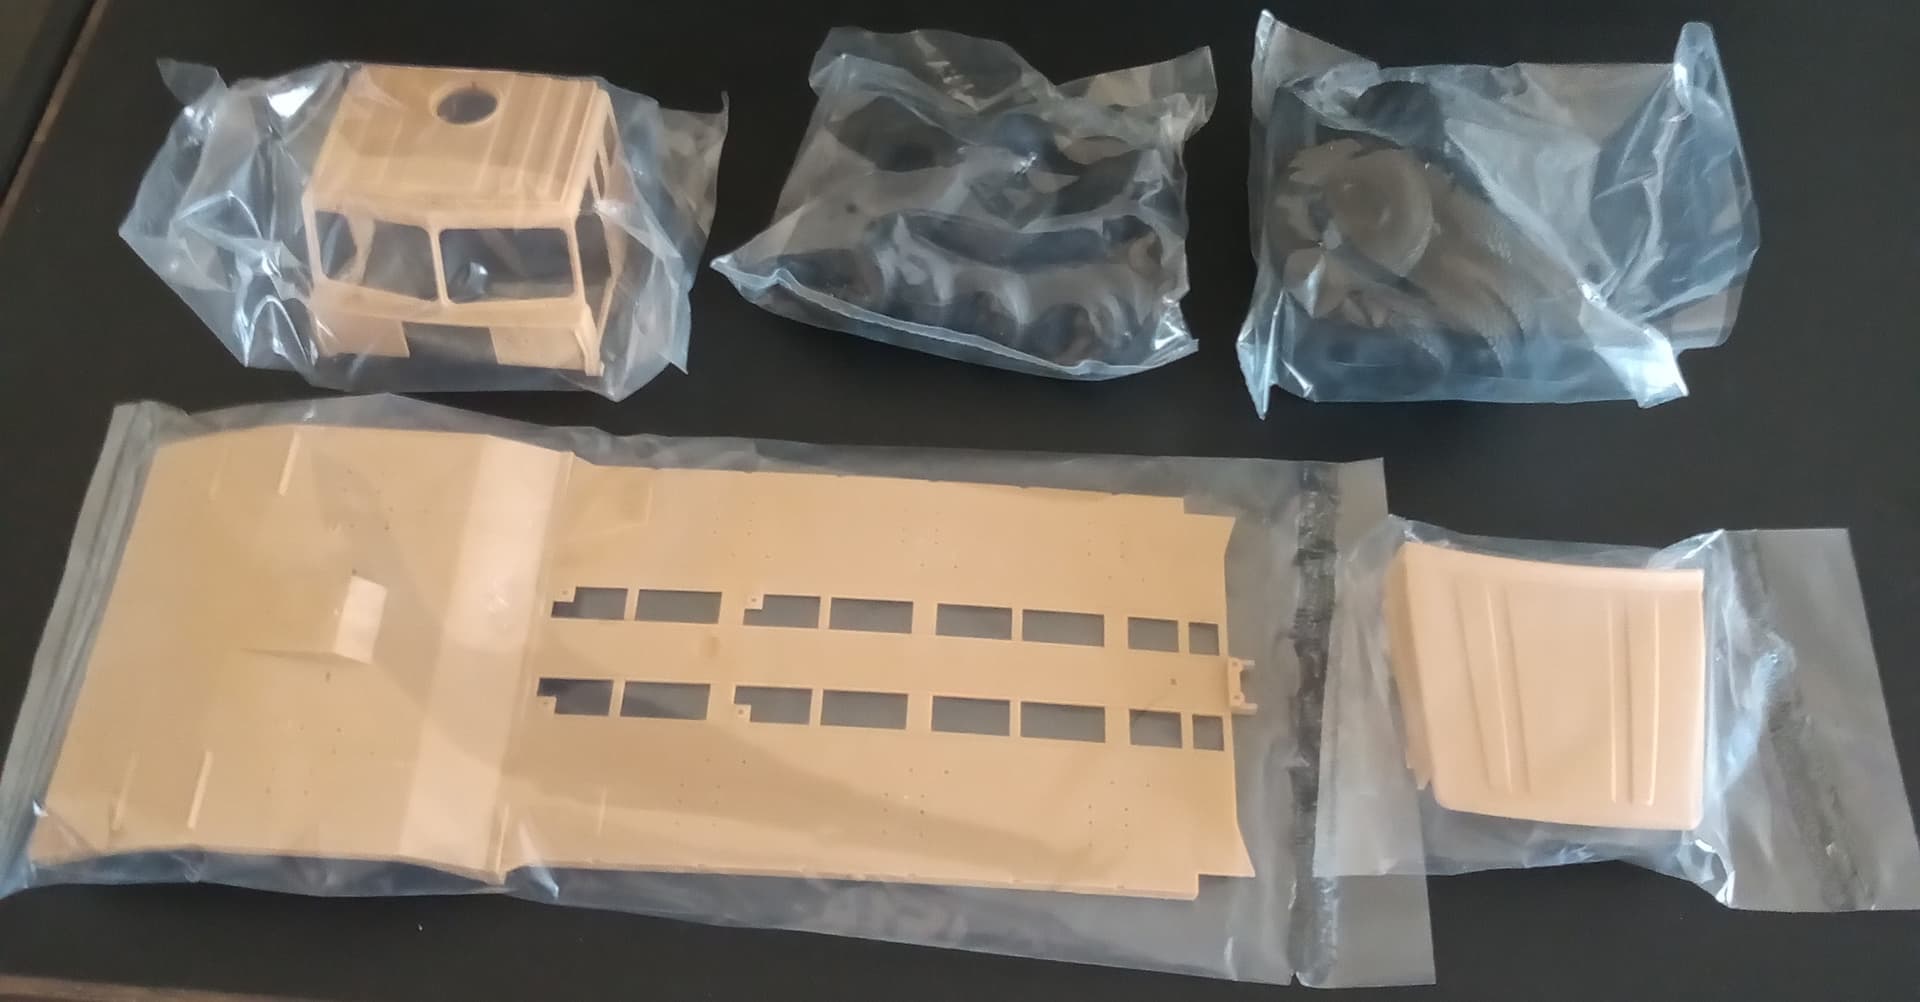
Then the trailer bed, cab with Commander moulded on the sides, a bonnet, 2 sets of tyres, ( only the tractor unit tyres have markings though although both tread patterns are nice), a decal sheet, 2 decent sized PE frets and a mask for cab windows, both inside and outside.
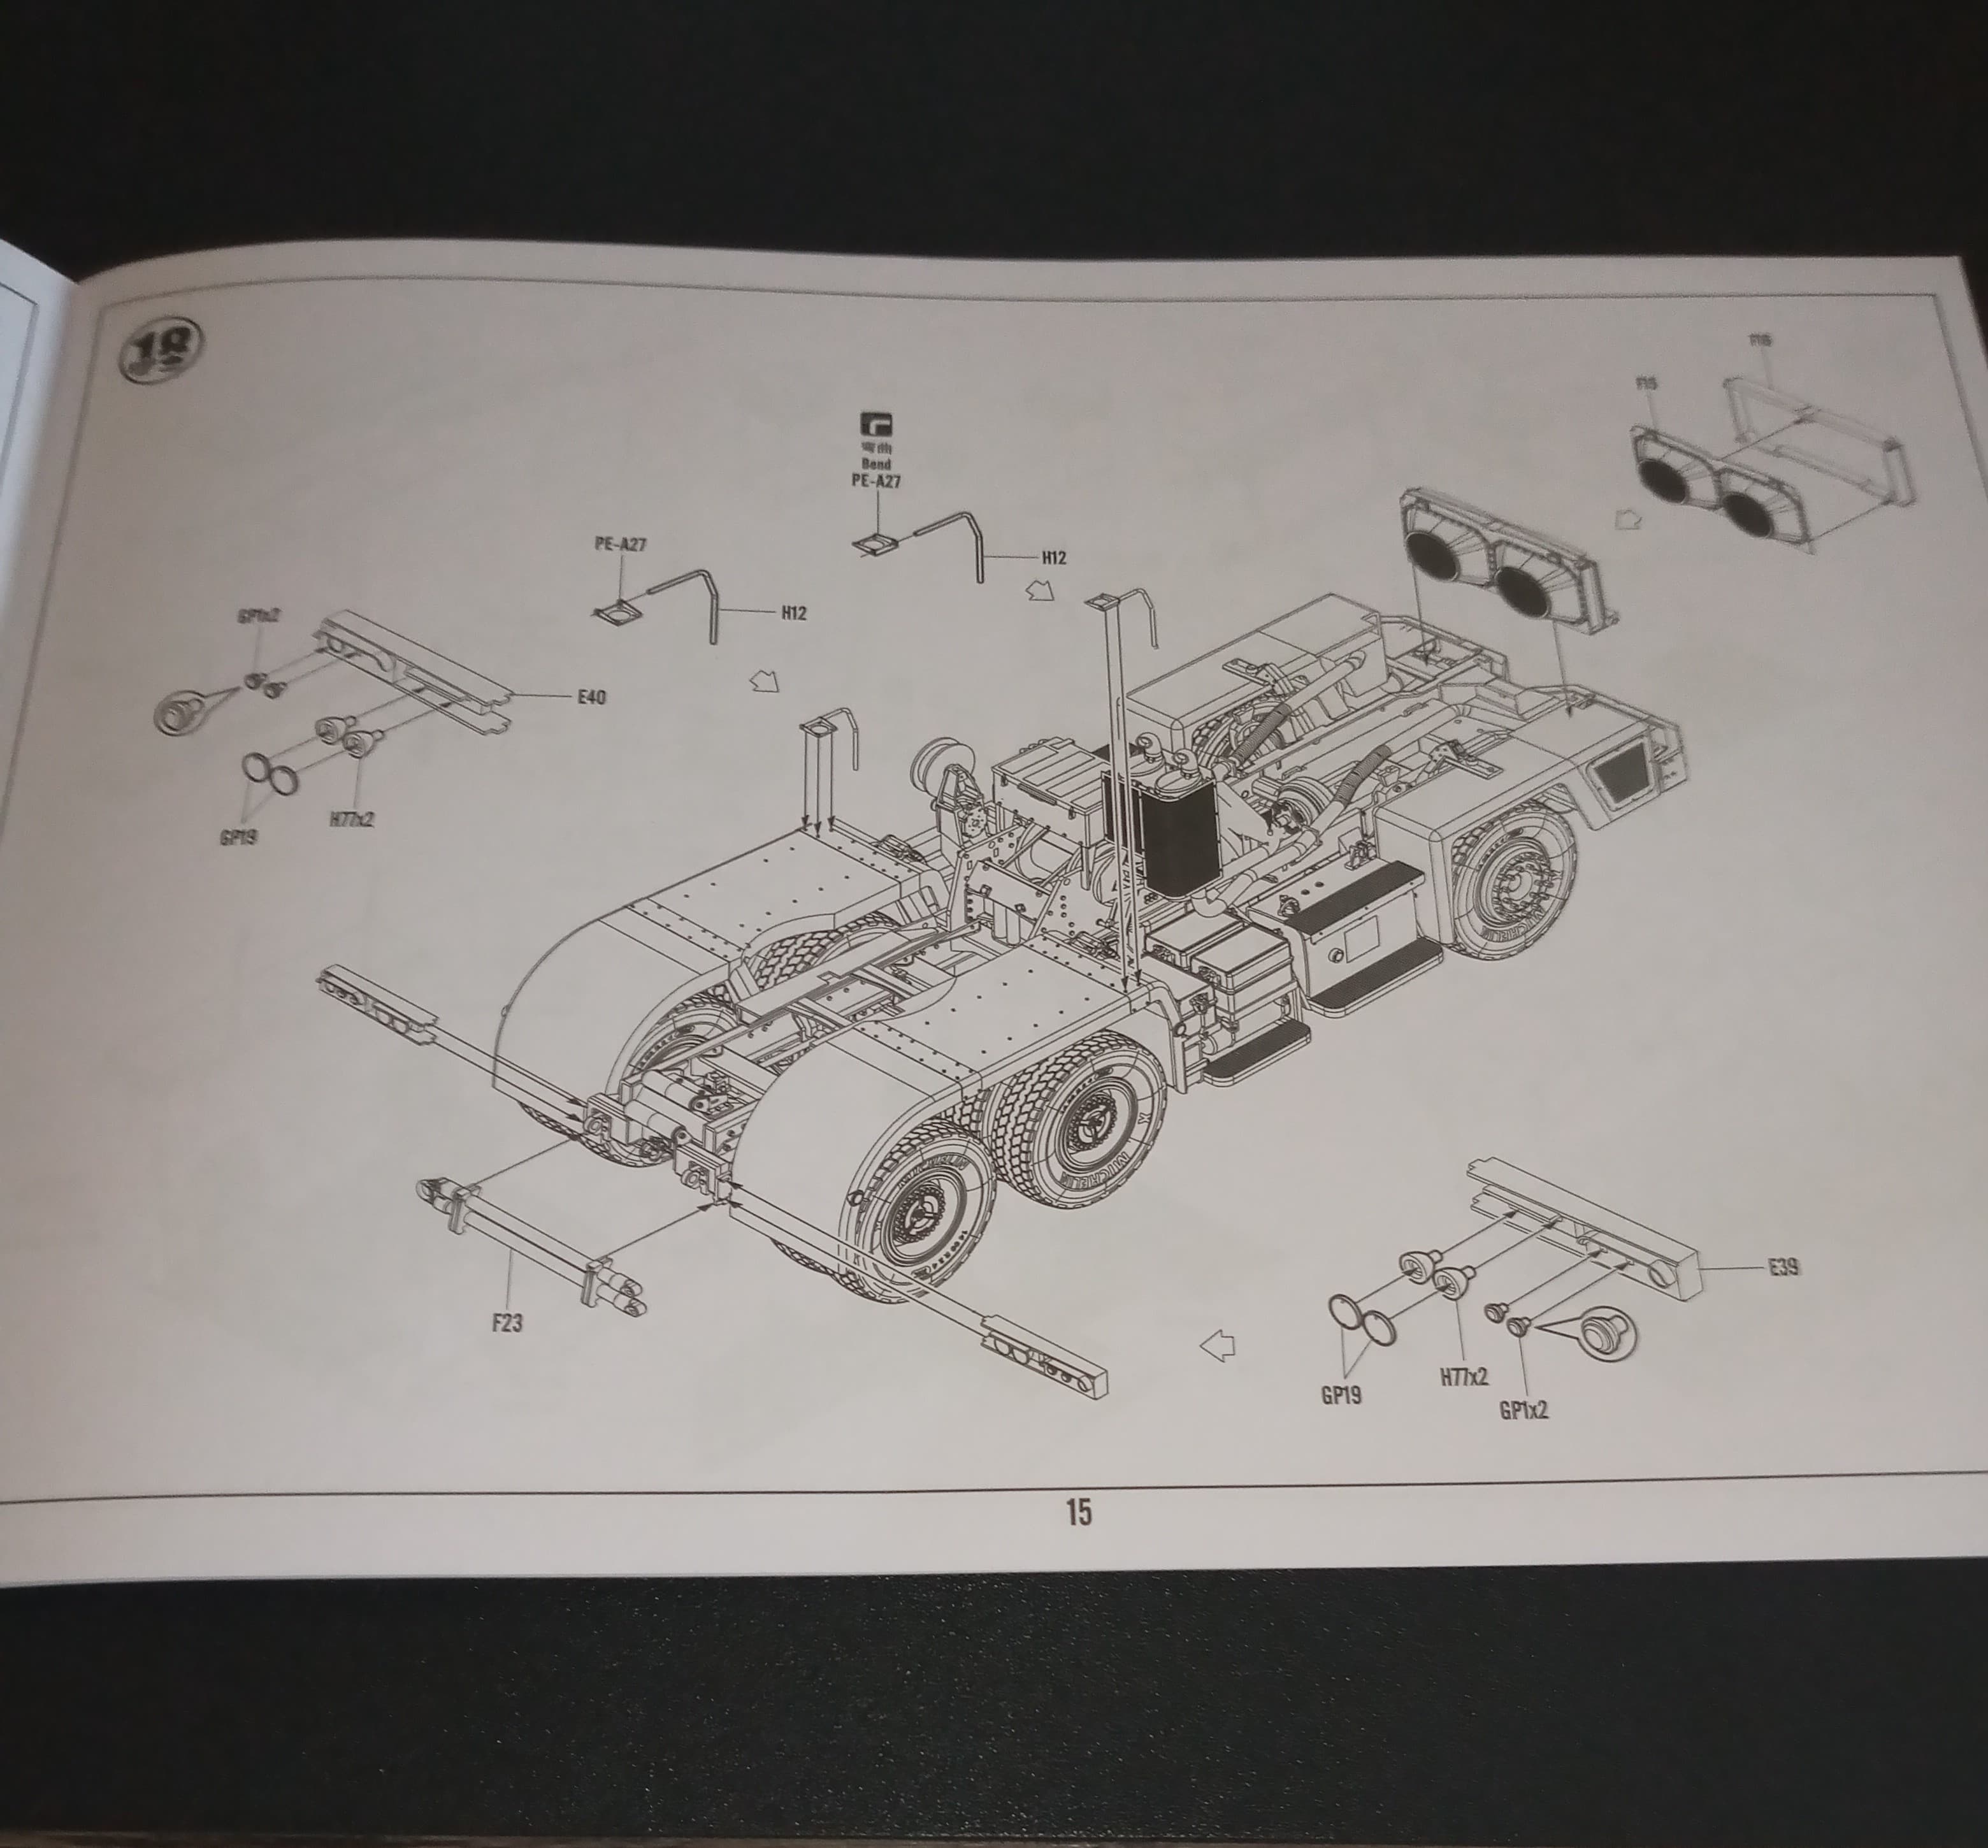
Nice clear instruction booklet, almost A4 in size.

A large colour sheet showing the green and tan version. No unit info, but they were limited to who had them and where they were used so it’s easy to find out.
Most of the parts look very nice, the moulded on tread plate should come nicely with a wash and some dry brushing.
2 main areas of slight annoyance are there is zero engine detail. Which in itself wouldn’t be a drama, but on this one, from the side once it’s all built… You can see straight through which just looks daft, so I will have to do something with that, blank it or see what I have in the spares box that might add some detail and depth…
The other one, this is crazy … All the trailer wheels have 5 obvious injection pin marks which you can see below
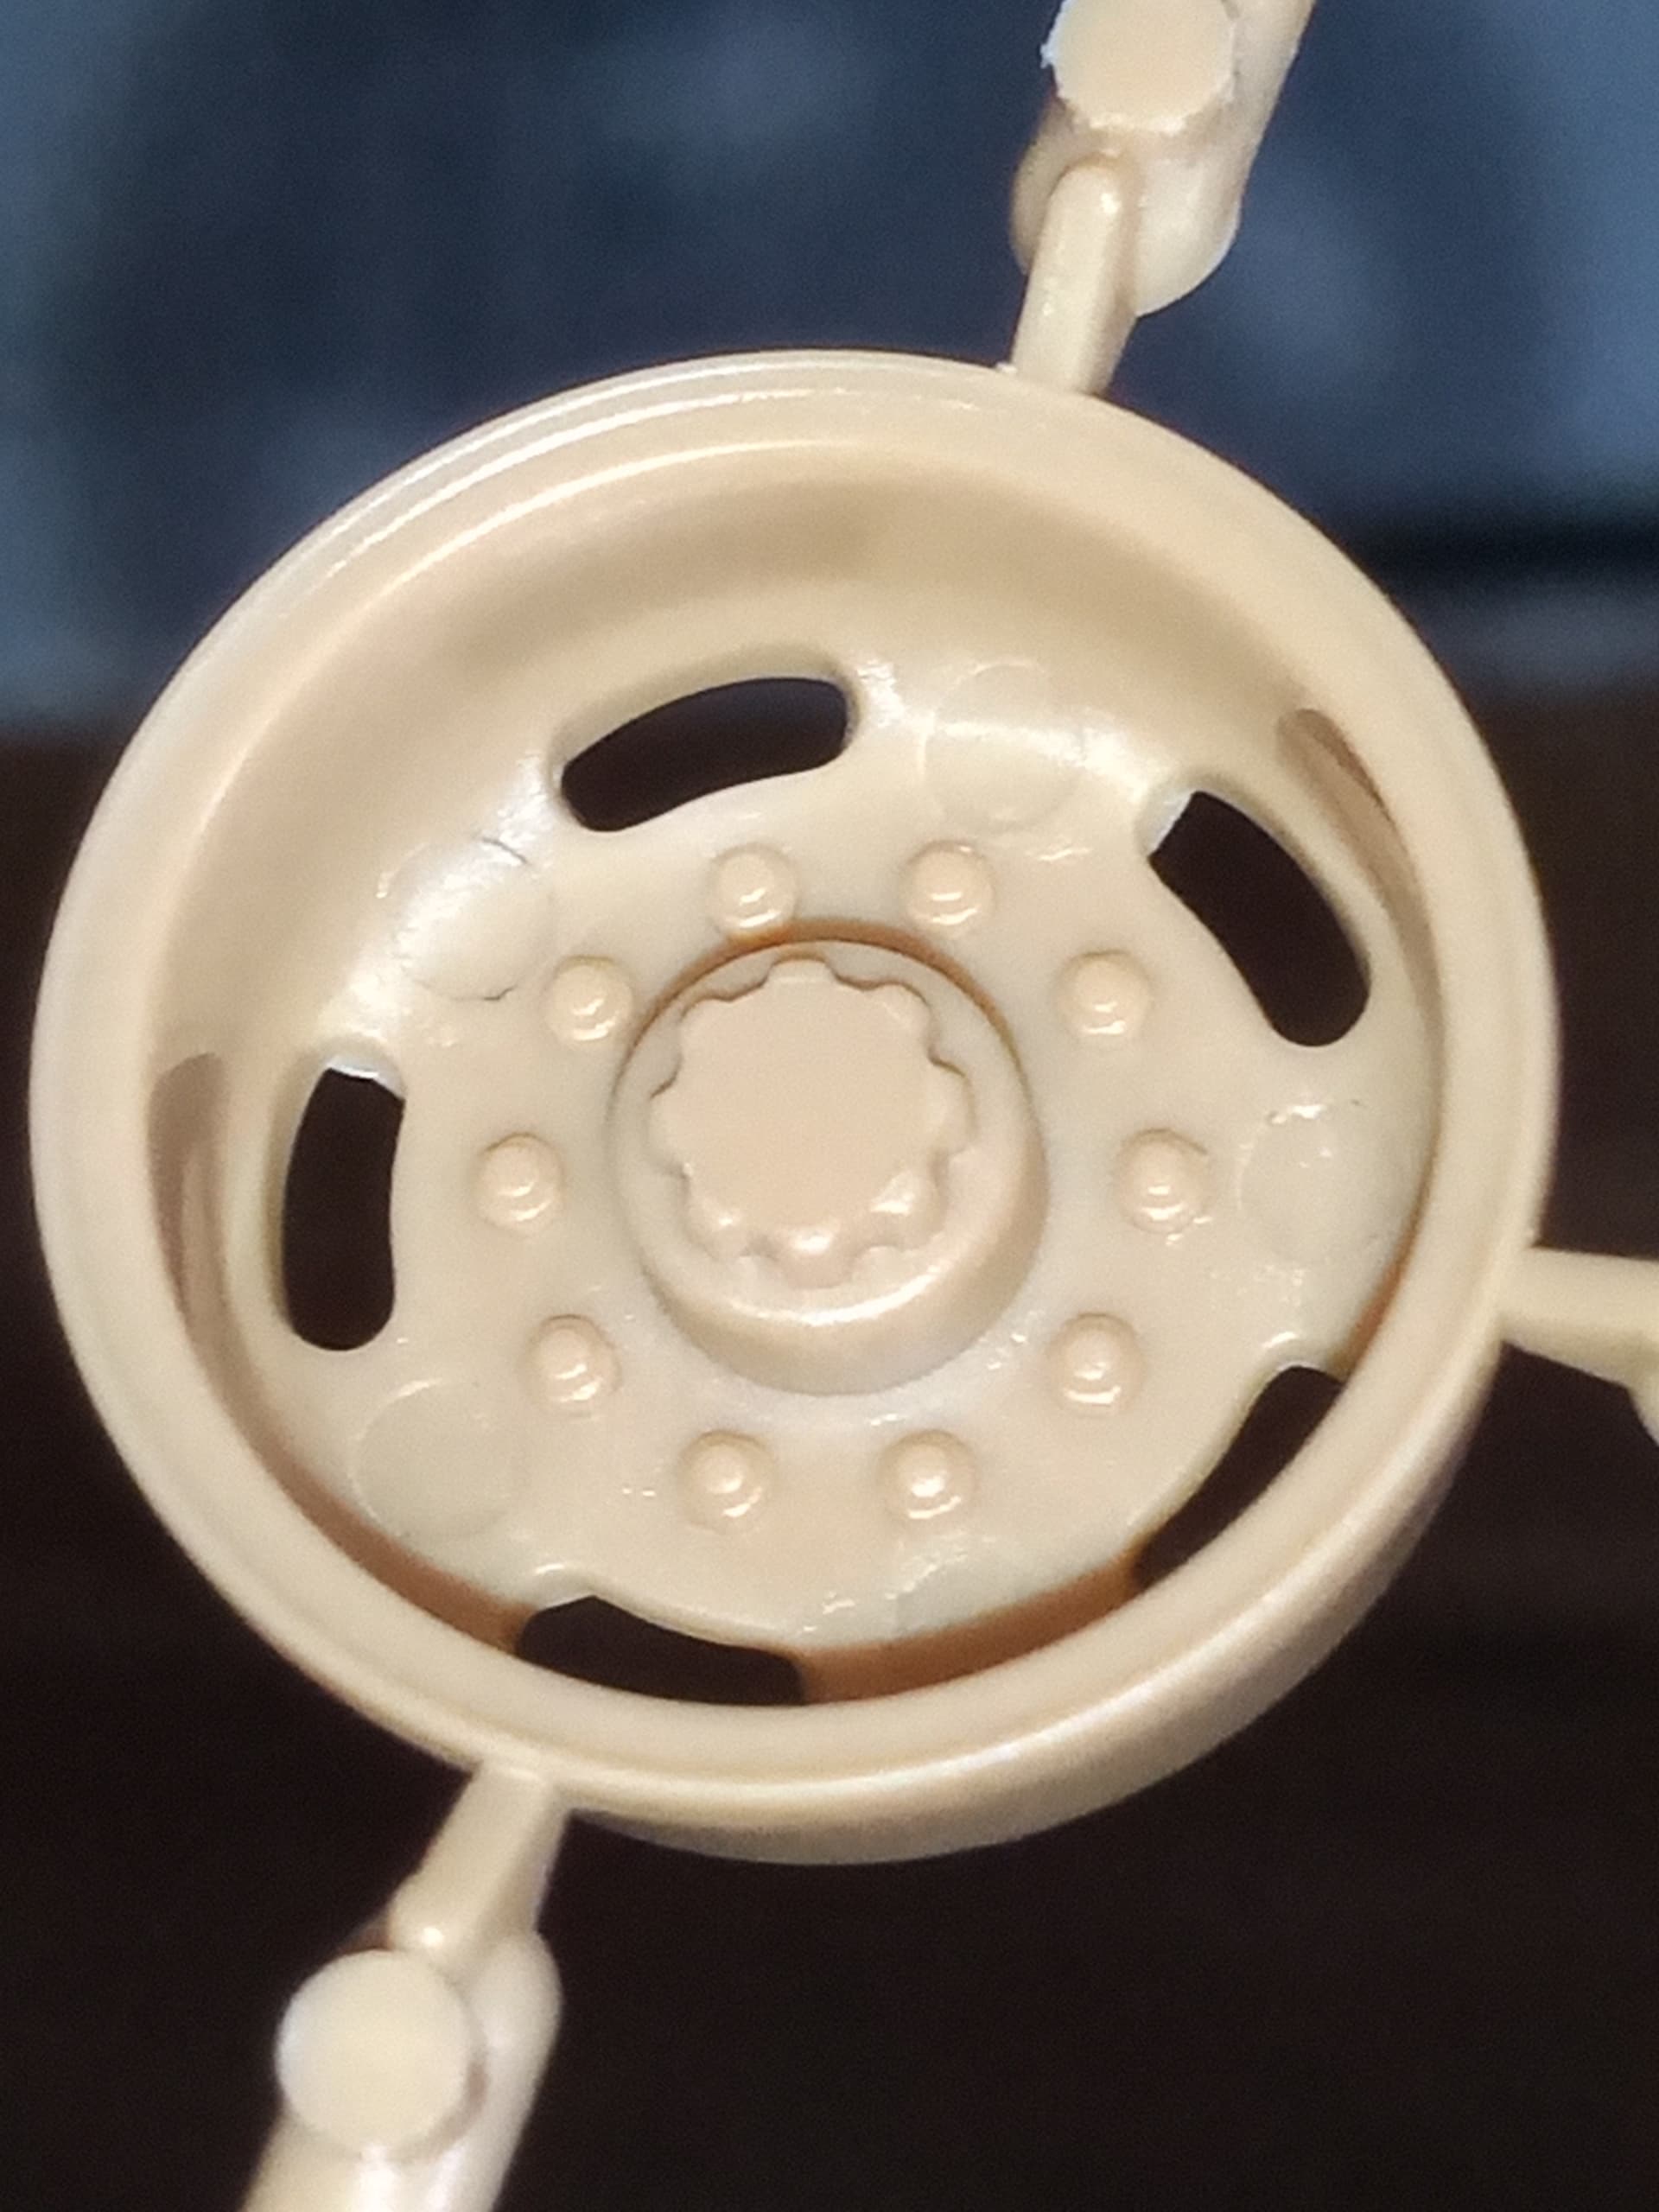
Not sure what madman thought that was a good manufacturing process…they look impossible to get to, but I’m hoping a sensible application of Mr Surfacer 500 may ease the problem…
Don’t think there are resin wheels out for this yet … but I would possibly consider them for the trailer only …not a full set as the fronts are ok.
General view… Apart from those 2 things, it looks a really nice big build with some very nice detailing. So looking forward to planning this build in the future and it’s load…
The price … Normally bangs out for about £137… I got it reduced but it still £117…I do think it’s a bit overpriced still… And unless you’re desperate for one, I reckon if you waited 12 months they will be south of £100 or near to it…
Now … Chieftain Mk11, Cr1 or Cr2 ???
P.s, forgot to say, there is a bloke on YouTube, Nigel, who is building it on there in stages, will defo be watching those ![]()
Thanks. Will check it out. I really love obscure cold war armor.
Don’t fret it John, by the time you get to the build, the resin wheel set and engine will be on the market, and since the kit was a gift, you’ll have the cash to invest in required aftermarket items…
Take a thickish one inch section of sprue, shape the end to fit the curvature inside the rims, glue thin fine grit sandpaper to the shaped end of the sprue and sand away.
A refinement of the above is to punch out suitably sized discs of thin styrene and glue them in the ejector pin marks. Ten use the home made sanding tool (see above) to sand the discs down to follow the contour of the rims.
Another option is to do what @SSGToms suggests ![]()
Something to try is sanding needles
https://ipmsusa.org/reviews2/misc/products/alpha-abr_needles/alpha-abr_needles.htm
Or cut up sanding strips
Or scraper
http://umm-usa.com/onlinestore/product_info.php?cPath=21_105&products_id=474
Just a few options to try.
Another option is fiberglass pencil like this:
Good points Matt @SSGToms definitely will be thinking of all these options …
I have done that method as well Robin @Uncle-Heavy … I used a bit of fine sanding paper probably 3 or 4mm sq on a length of sprue… It’s another option to definitely think about and adjusting the design to fit …
Cheers Ryan…I actually like the look of those sanding needles… I will be looking for those online from a UK outlet ![]()
Thanks for that option as well Carlos, never even heard of that before … Looks promising as well… Maybe all is not lost … ![]()
Fixing those hubs will definitely require some careful work. Last night, I ran into a very similar problem on the M41 I am building, on a muffler piece.
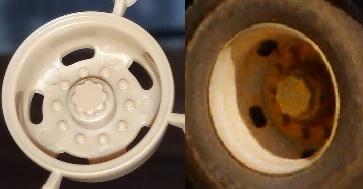
Out of curiosity, I looked up the real hubs. To me, it looks like the contours inside that hub actually need building up to represent a bulge into which the lightening holes are punched. The model designer also made the lightening holes somewhat too long and generally simplified the interior contours of the hub.
Stuff like this baffles me. Five seconds. It would take me five seconds in a CAD program to flip that part around so the punch out marks land on the back face. Making the lightening holds a bit smaller and adding the more complex contours would take an hour (and some really good pictures) so I can somewhat understand that simplification.
Edit: Having thought about this some more, the orientation of the part on the sprue makes some sense. The long vertical sides of the part must create significant friction with the mold. If the part were flipped around, it would probably stick to the top of the mold, making the situation worse. By orienting the part face down toward the ejector pins, those pins can push the part out of the deep well with near vertical sides. I now wonder if little pips attached to the outside of the hub, with ejector pins pushing into the pips, would have solved the problem.
I linked just an example, yo can get it also from many other suppliers (probably even locally)
Never knew it existed. Thank the Lord it does… ordered.

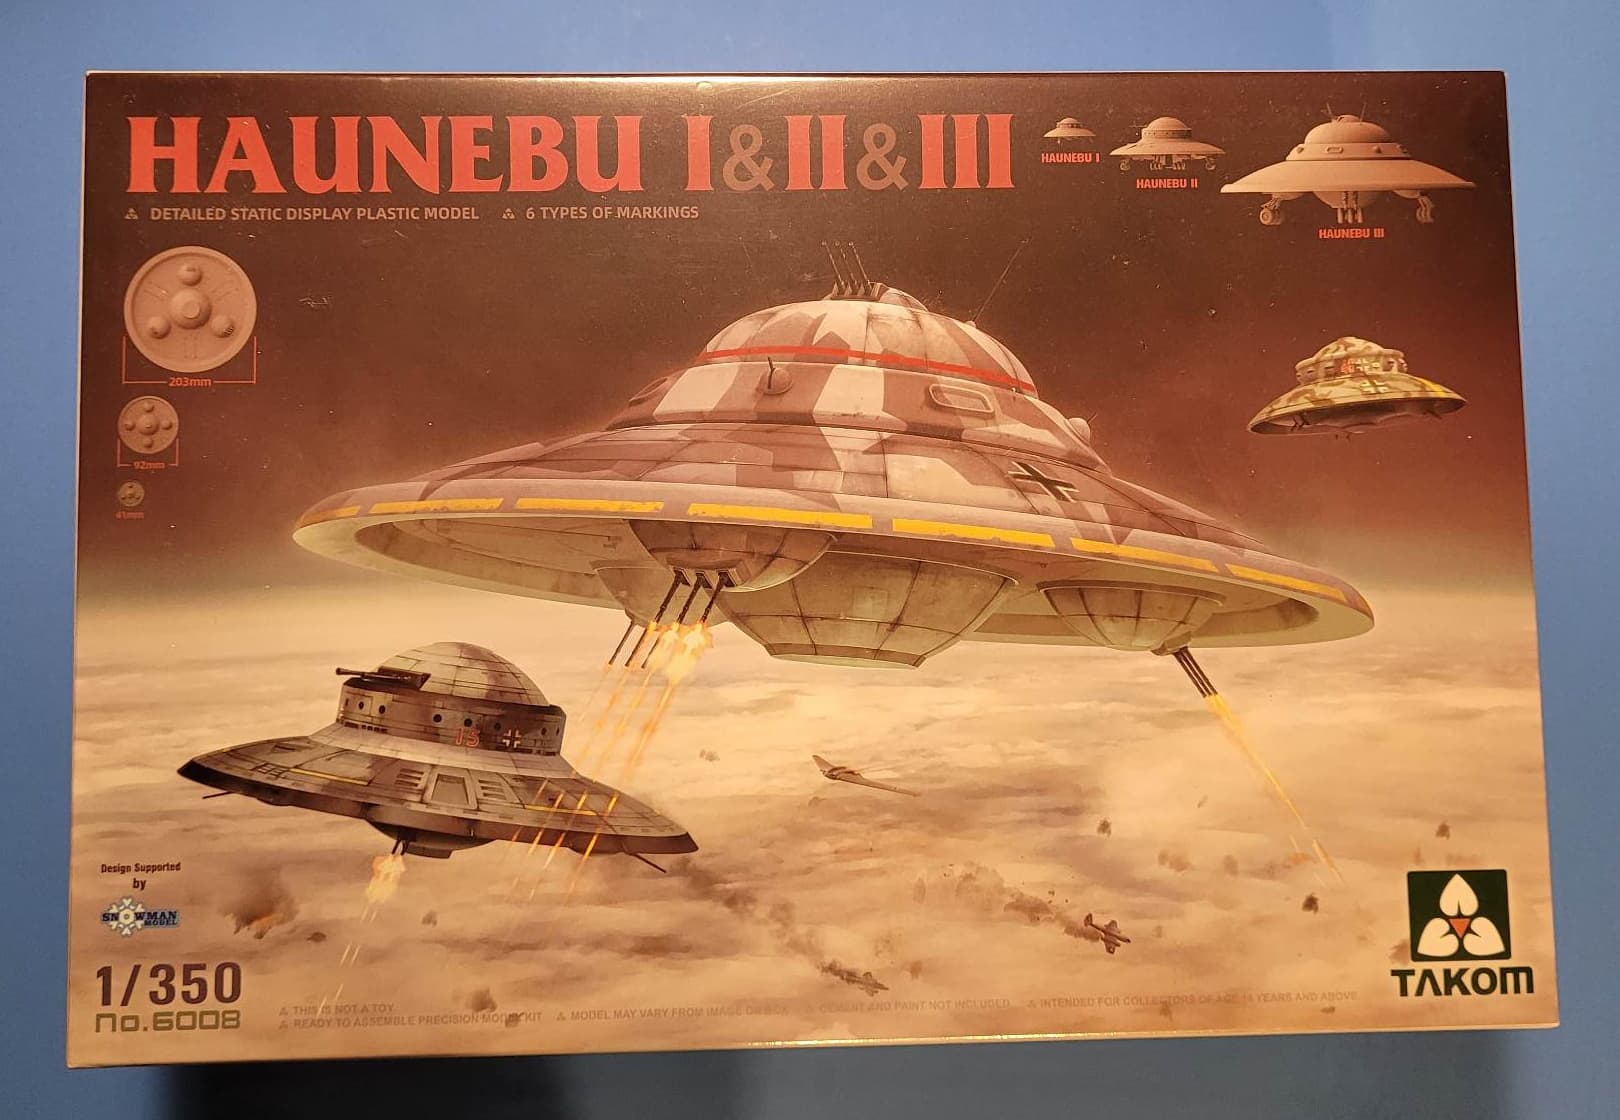
The agony of choice will be which variant to make

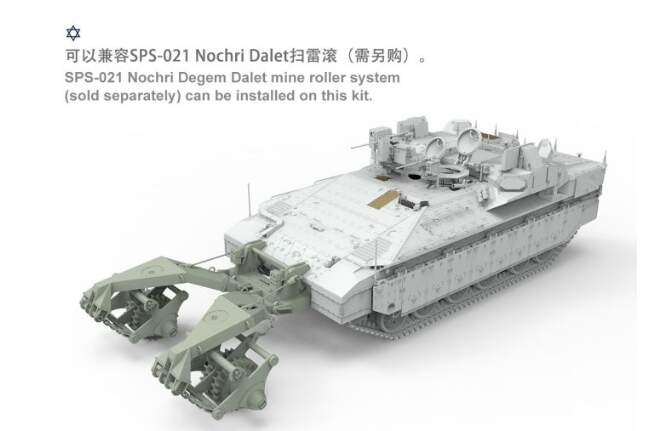
And whether to fit mine rollers…
Bit pissed off that I might not be able to get Friul tracks for it though.
Just saw these as well, another possiblity …??

Can you put a link up Johnny
to the image I just did ?
looks nice … and some good options for it.
Since I’m not a masochist I avoided the agony by buying three of them
and a set of minerollers. I think the rollers will be used for the plain Jane APC.
Well the kit provides options for all three, so just have to choose I suppose - plus the picture shoes the mine roller fitted to the Trophy APS variant - although i’d agree with you, it surely would be most likely fitted to a basic variant - certainly not the command variant!