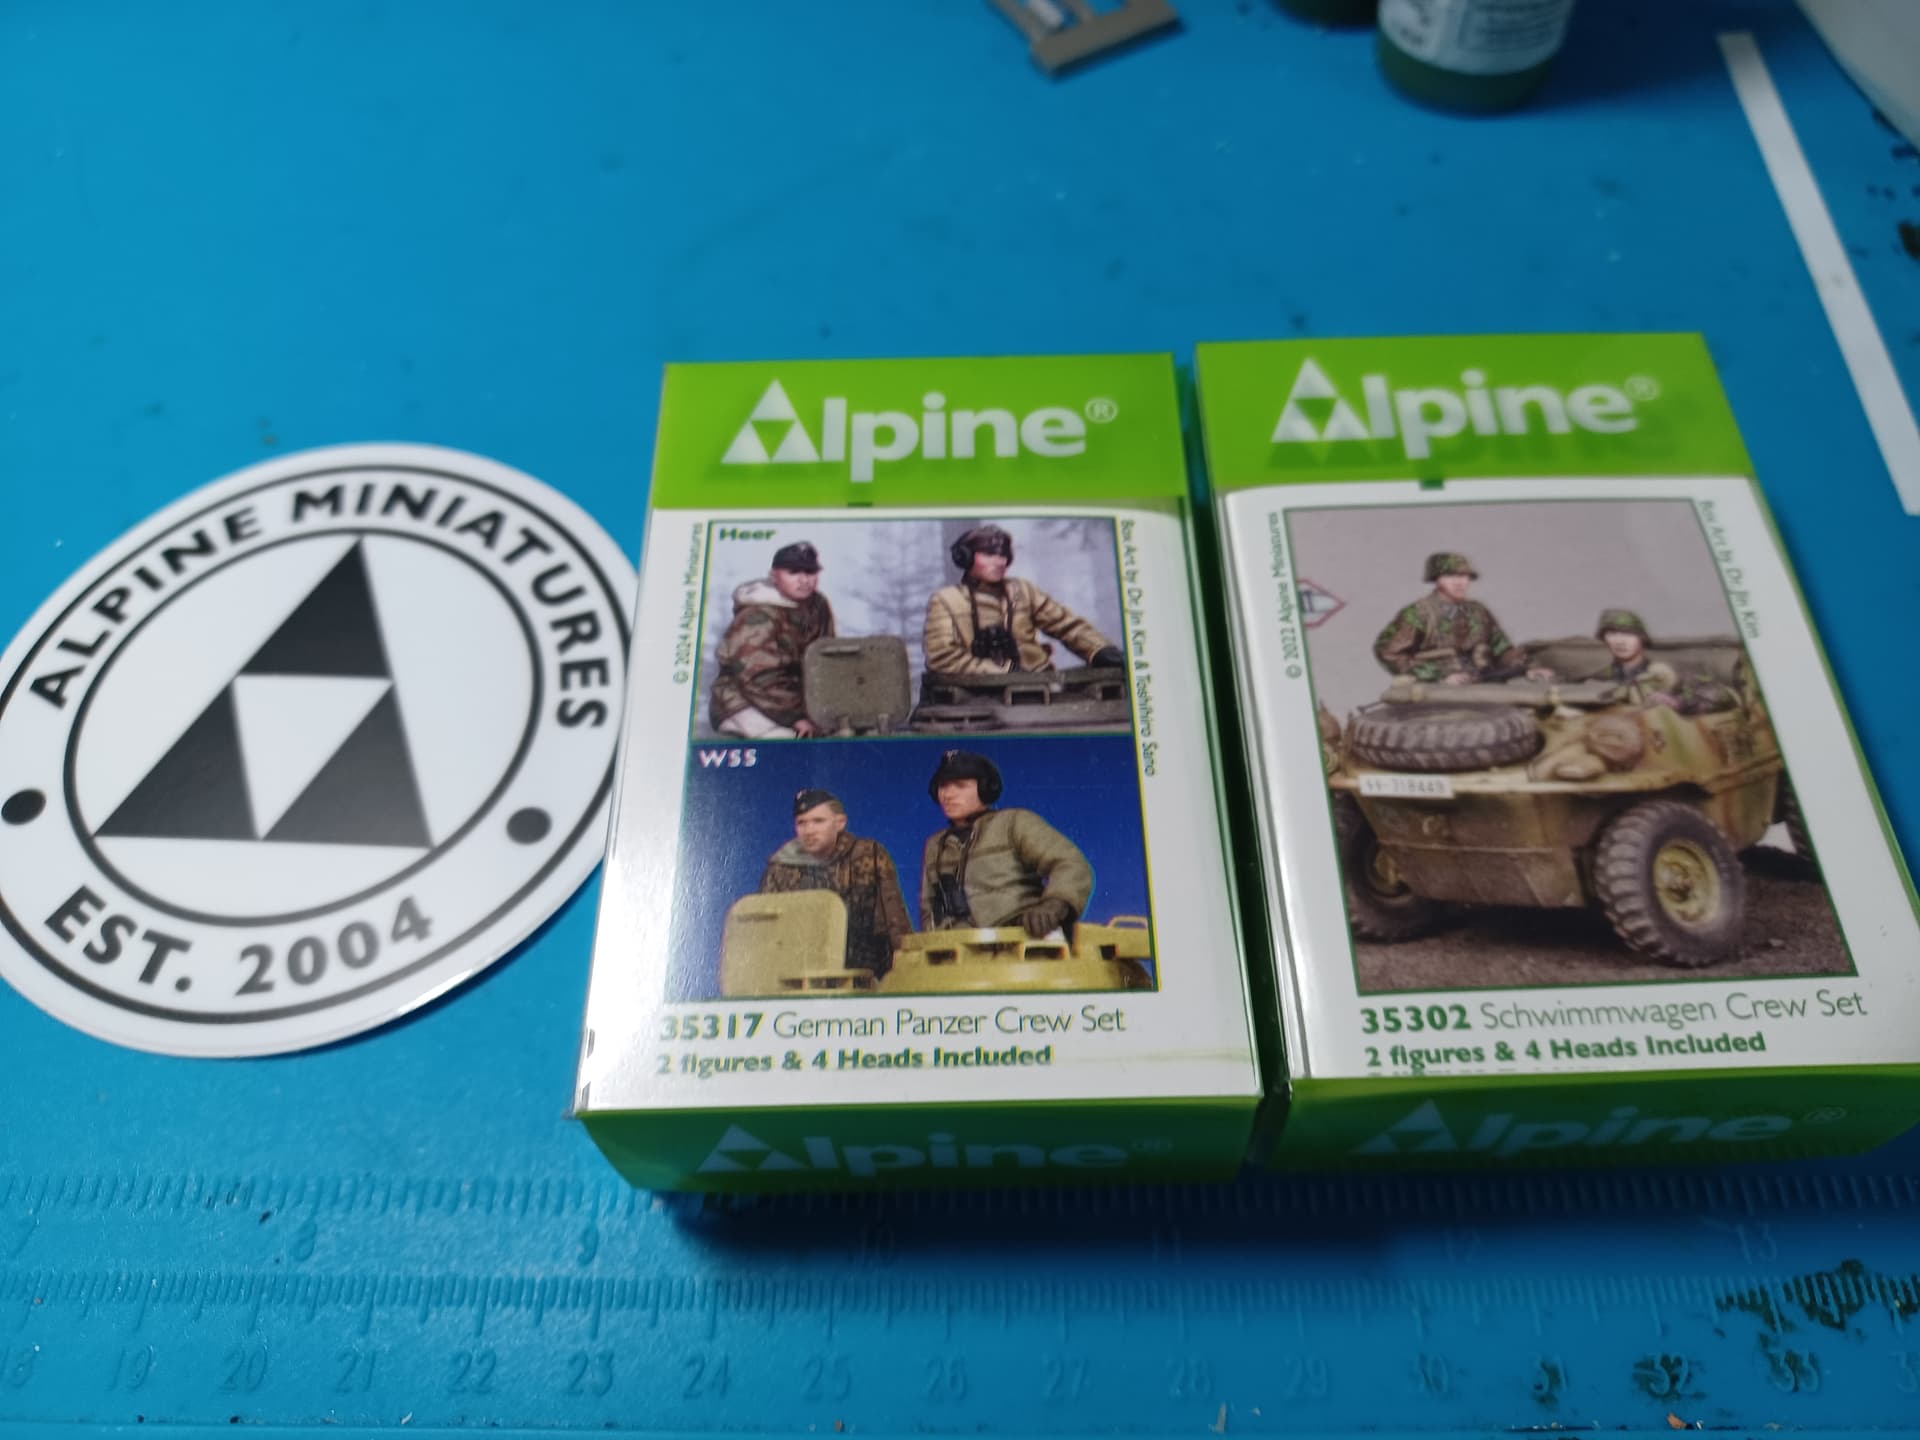
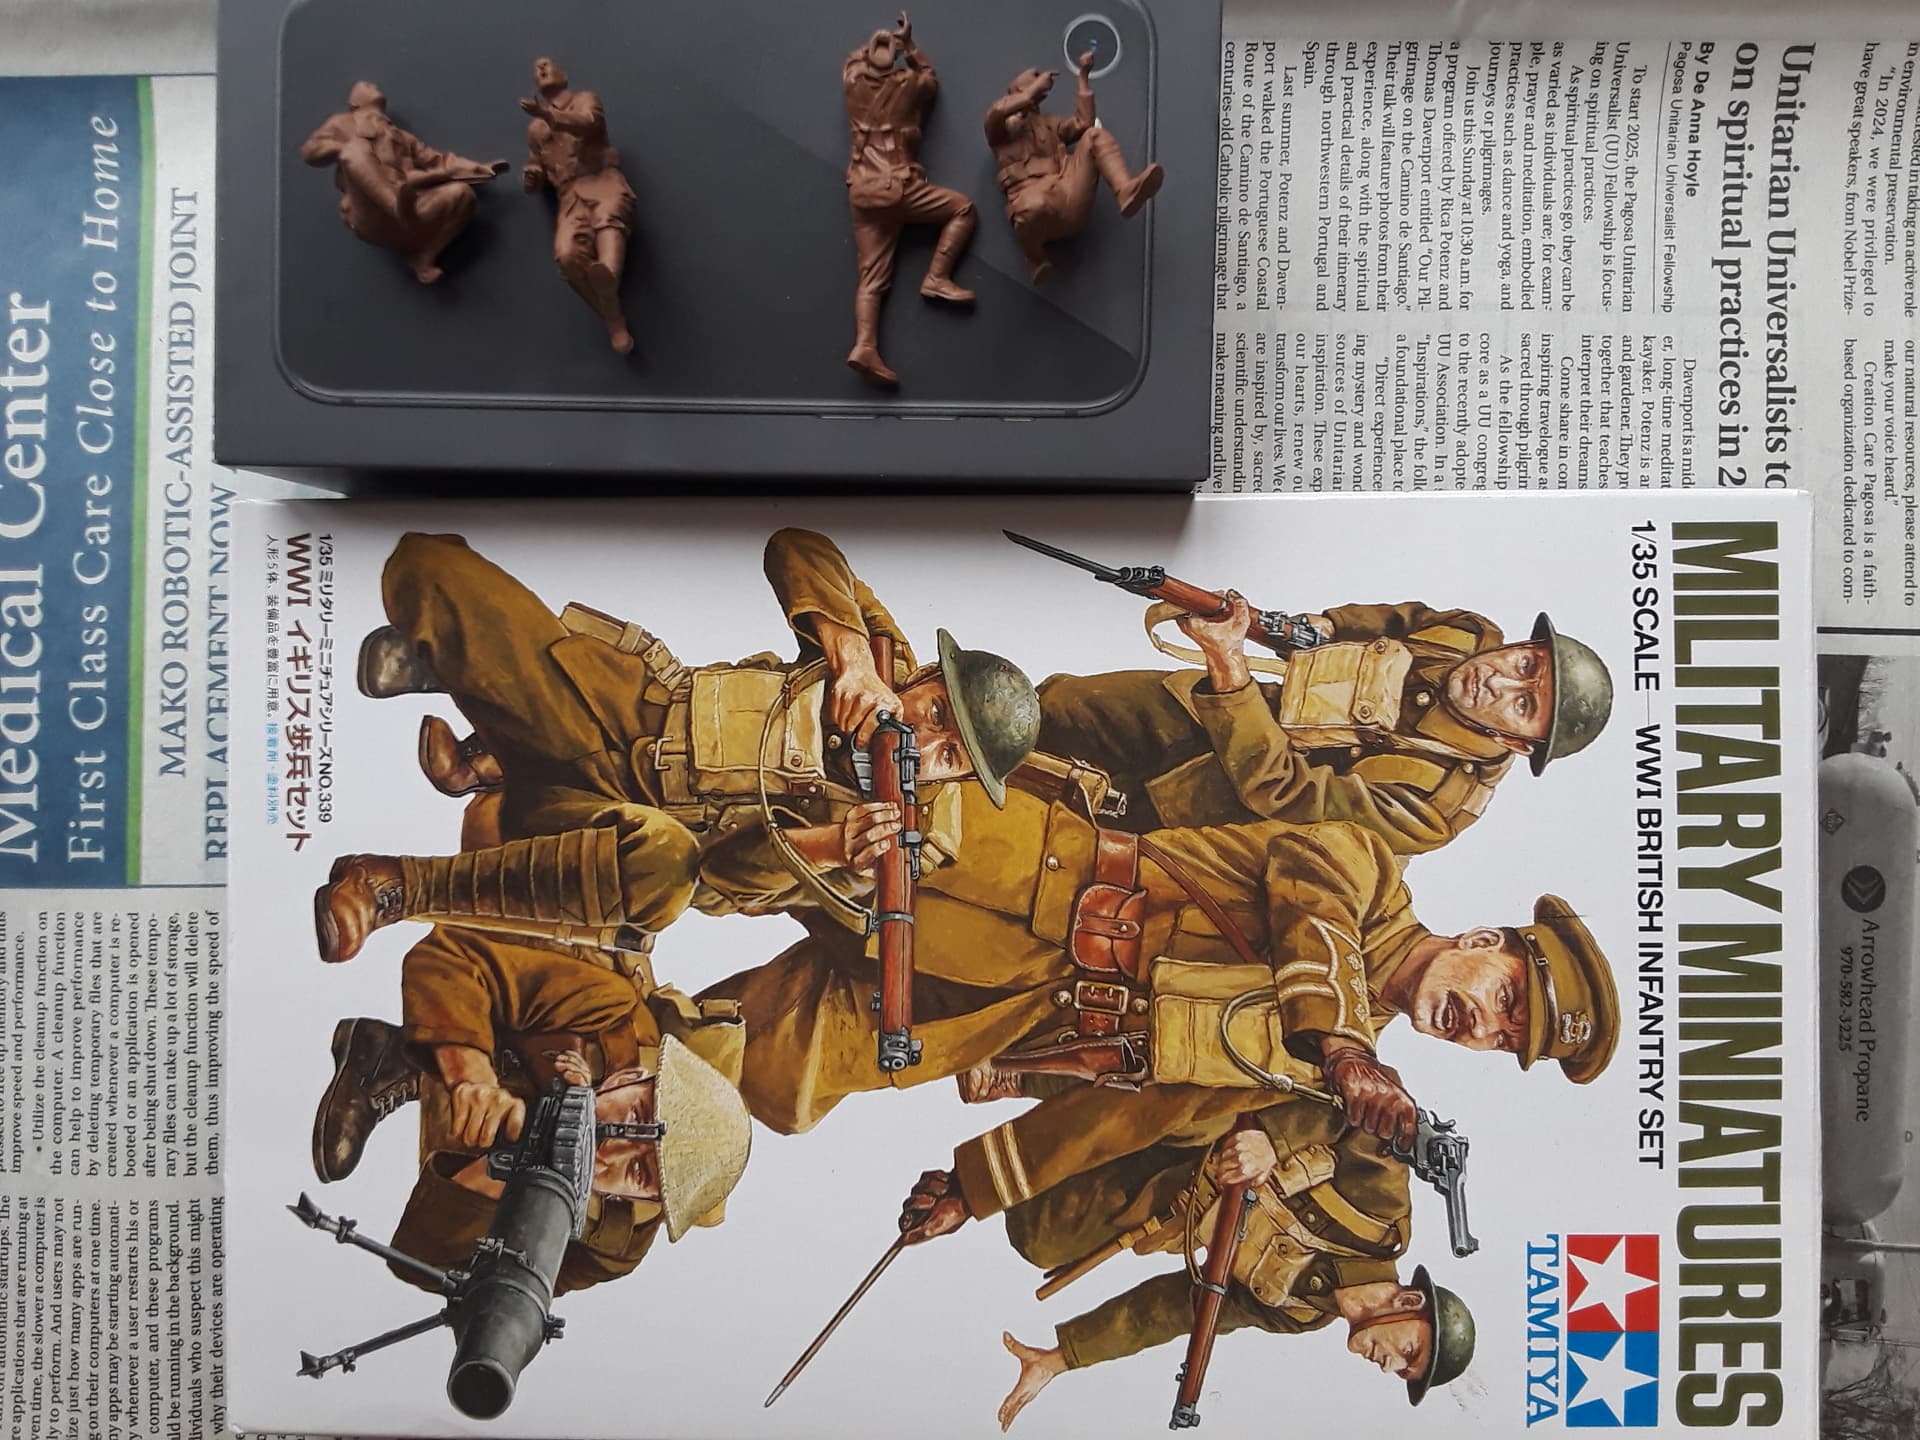
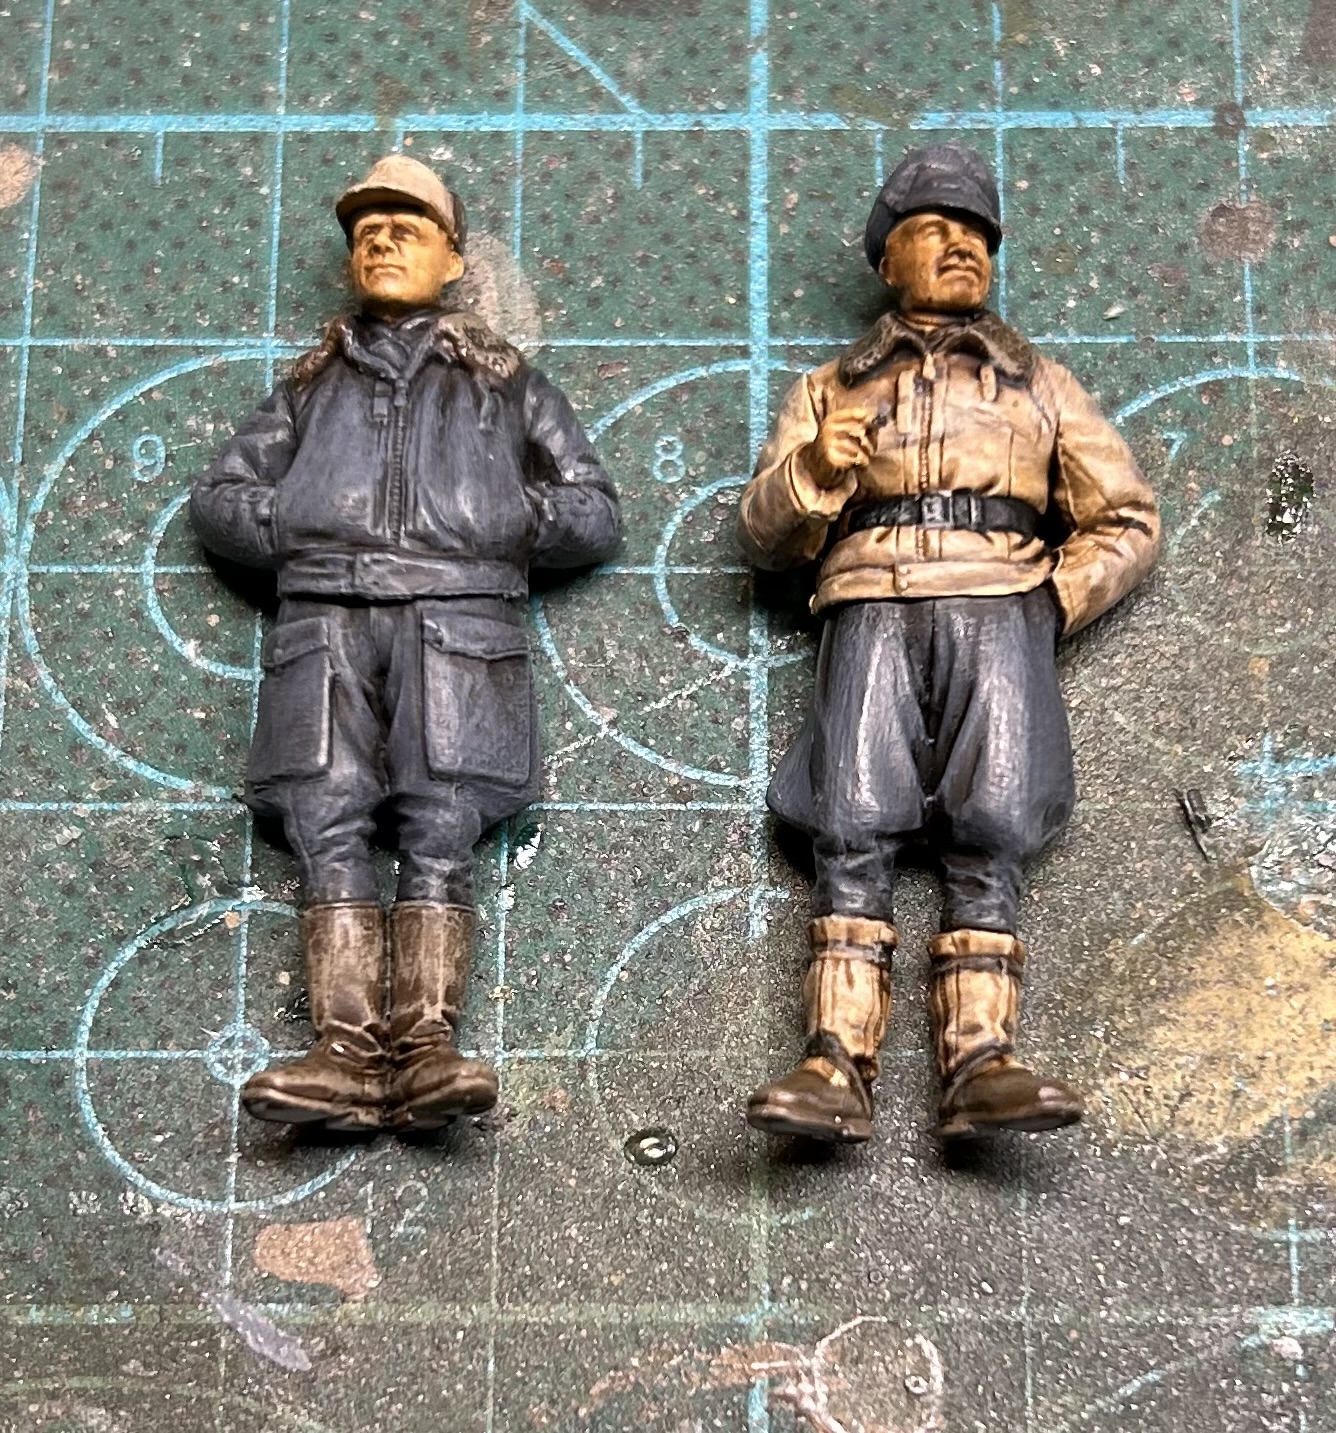
Our postal service leaves something to be desired. The status went from awaiting pickup (yesterday) to delivered (today).
I’m glad to have them. Now I have a decision about which pair to do. The schwimmwagen crew are for a build from last year. The panzer guys are for the Tiger coming this year…
Probably do the schwimmwagen guys.
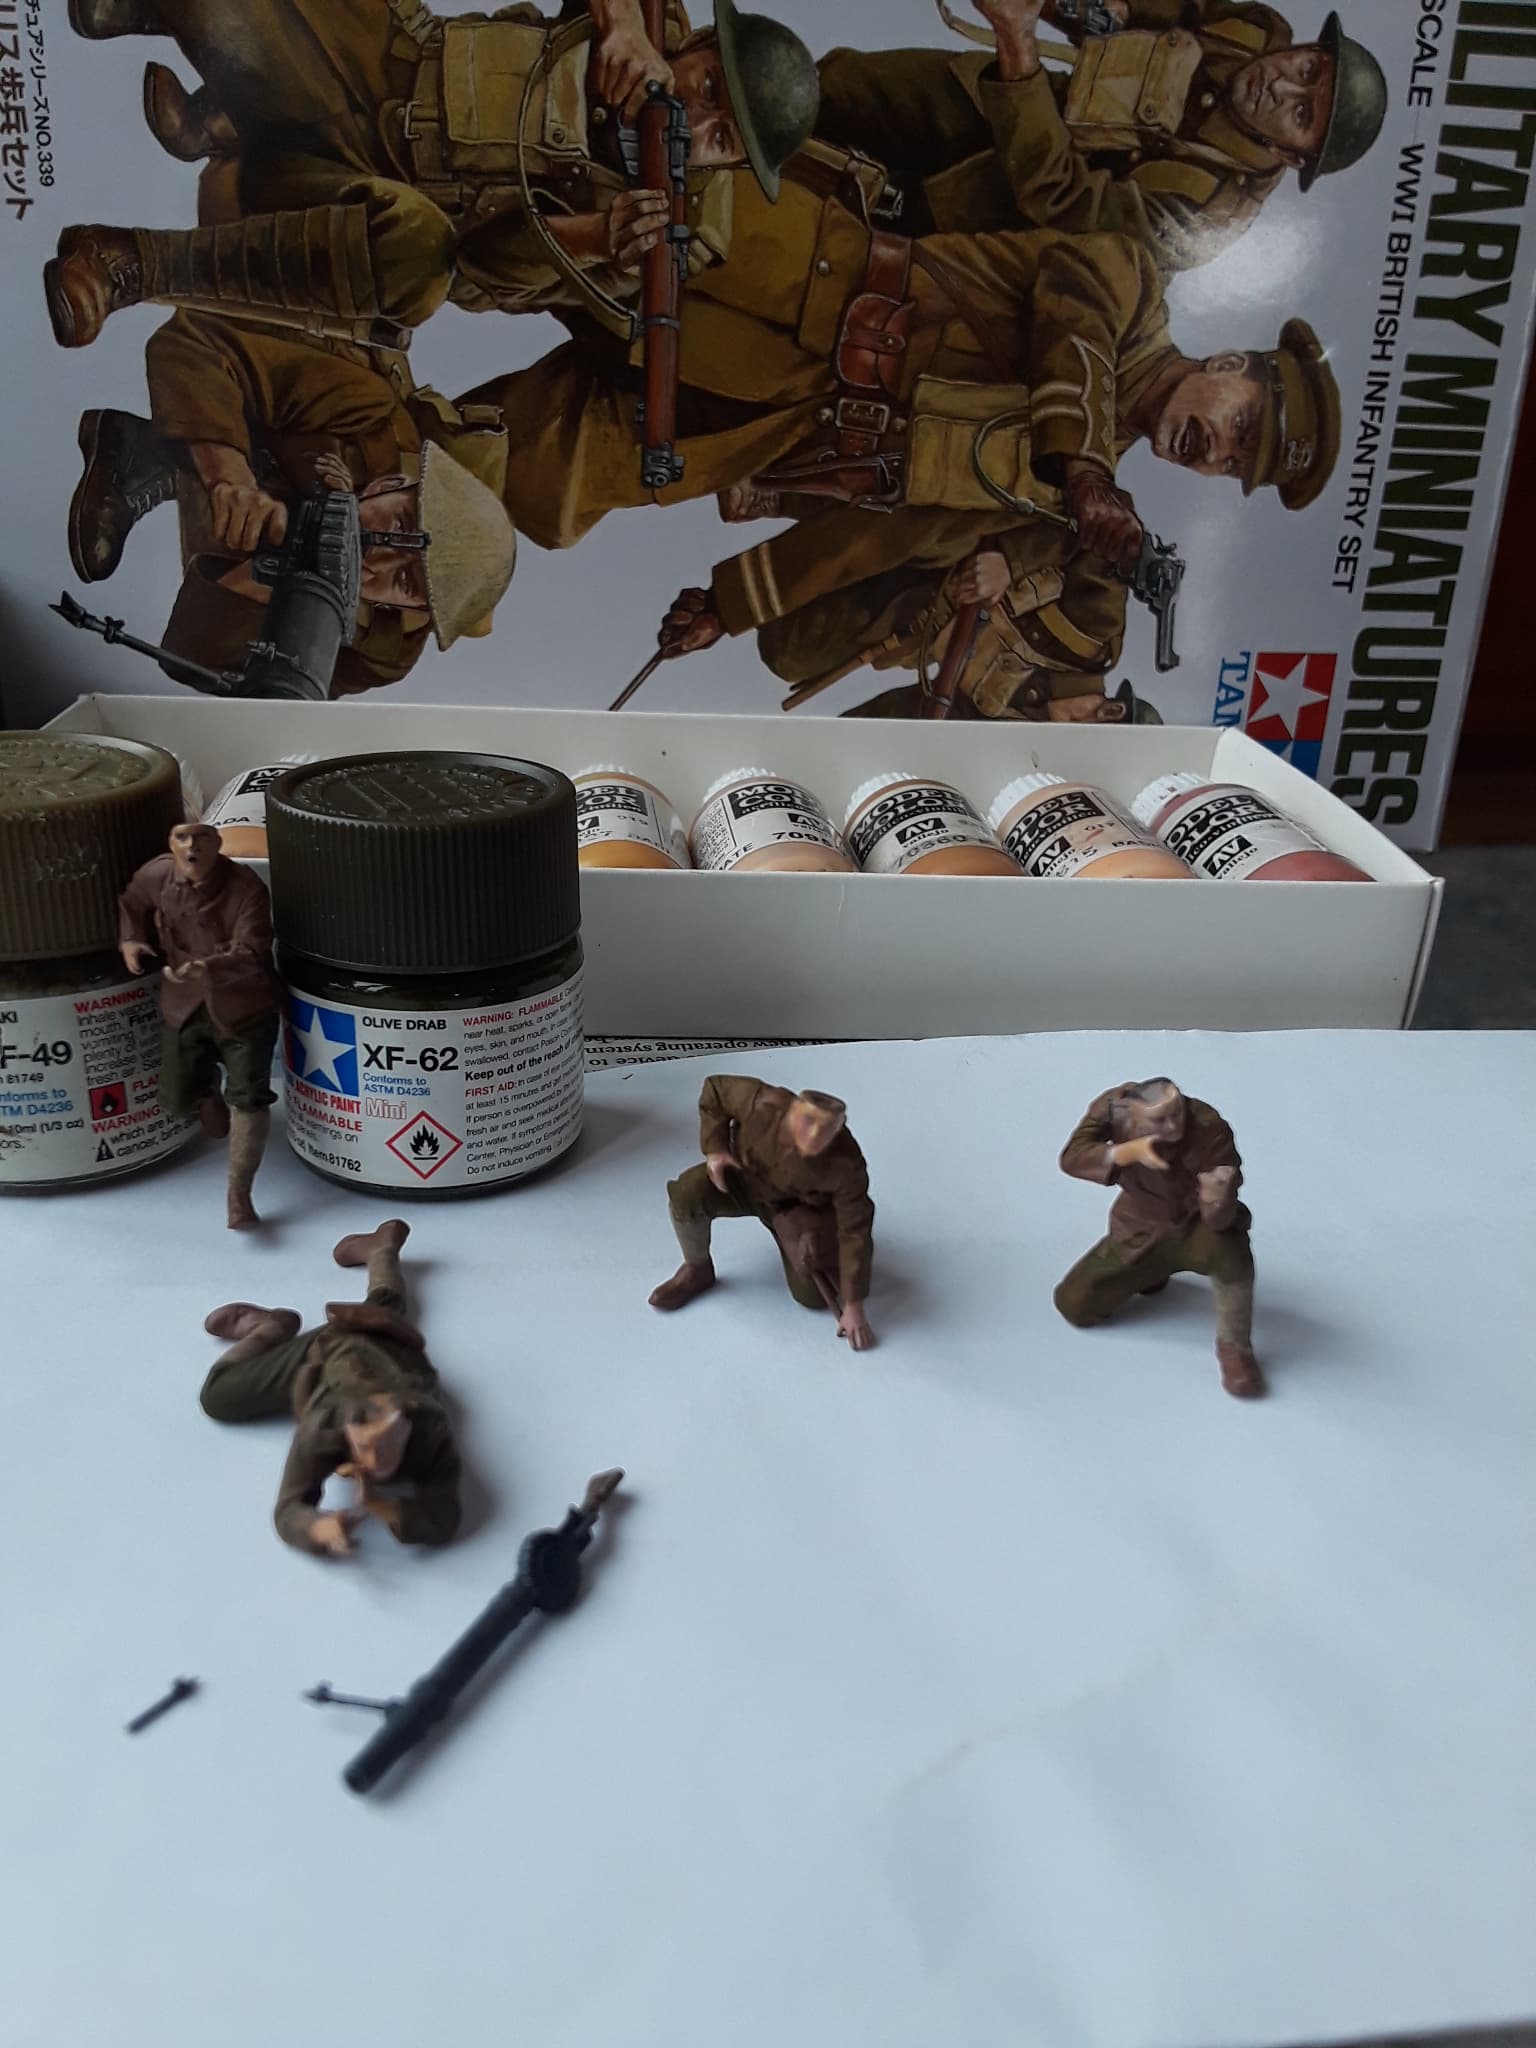
Now, what’s the drill for prepping resin figs? Wash them down first? in soap and water? scrubbing needed? then assemble and paint?
I have found with Alpine figures, either assemble and primer or primer, paint and assemble. Mine figures never had any chemical/film on them etc so I never found the need to wash etc.
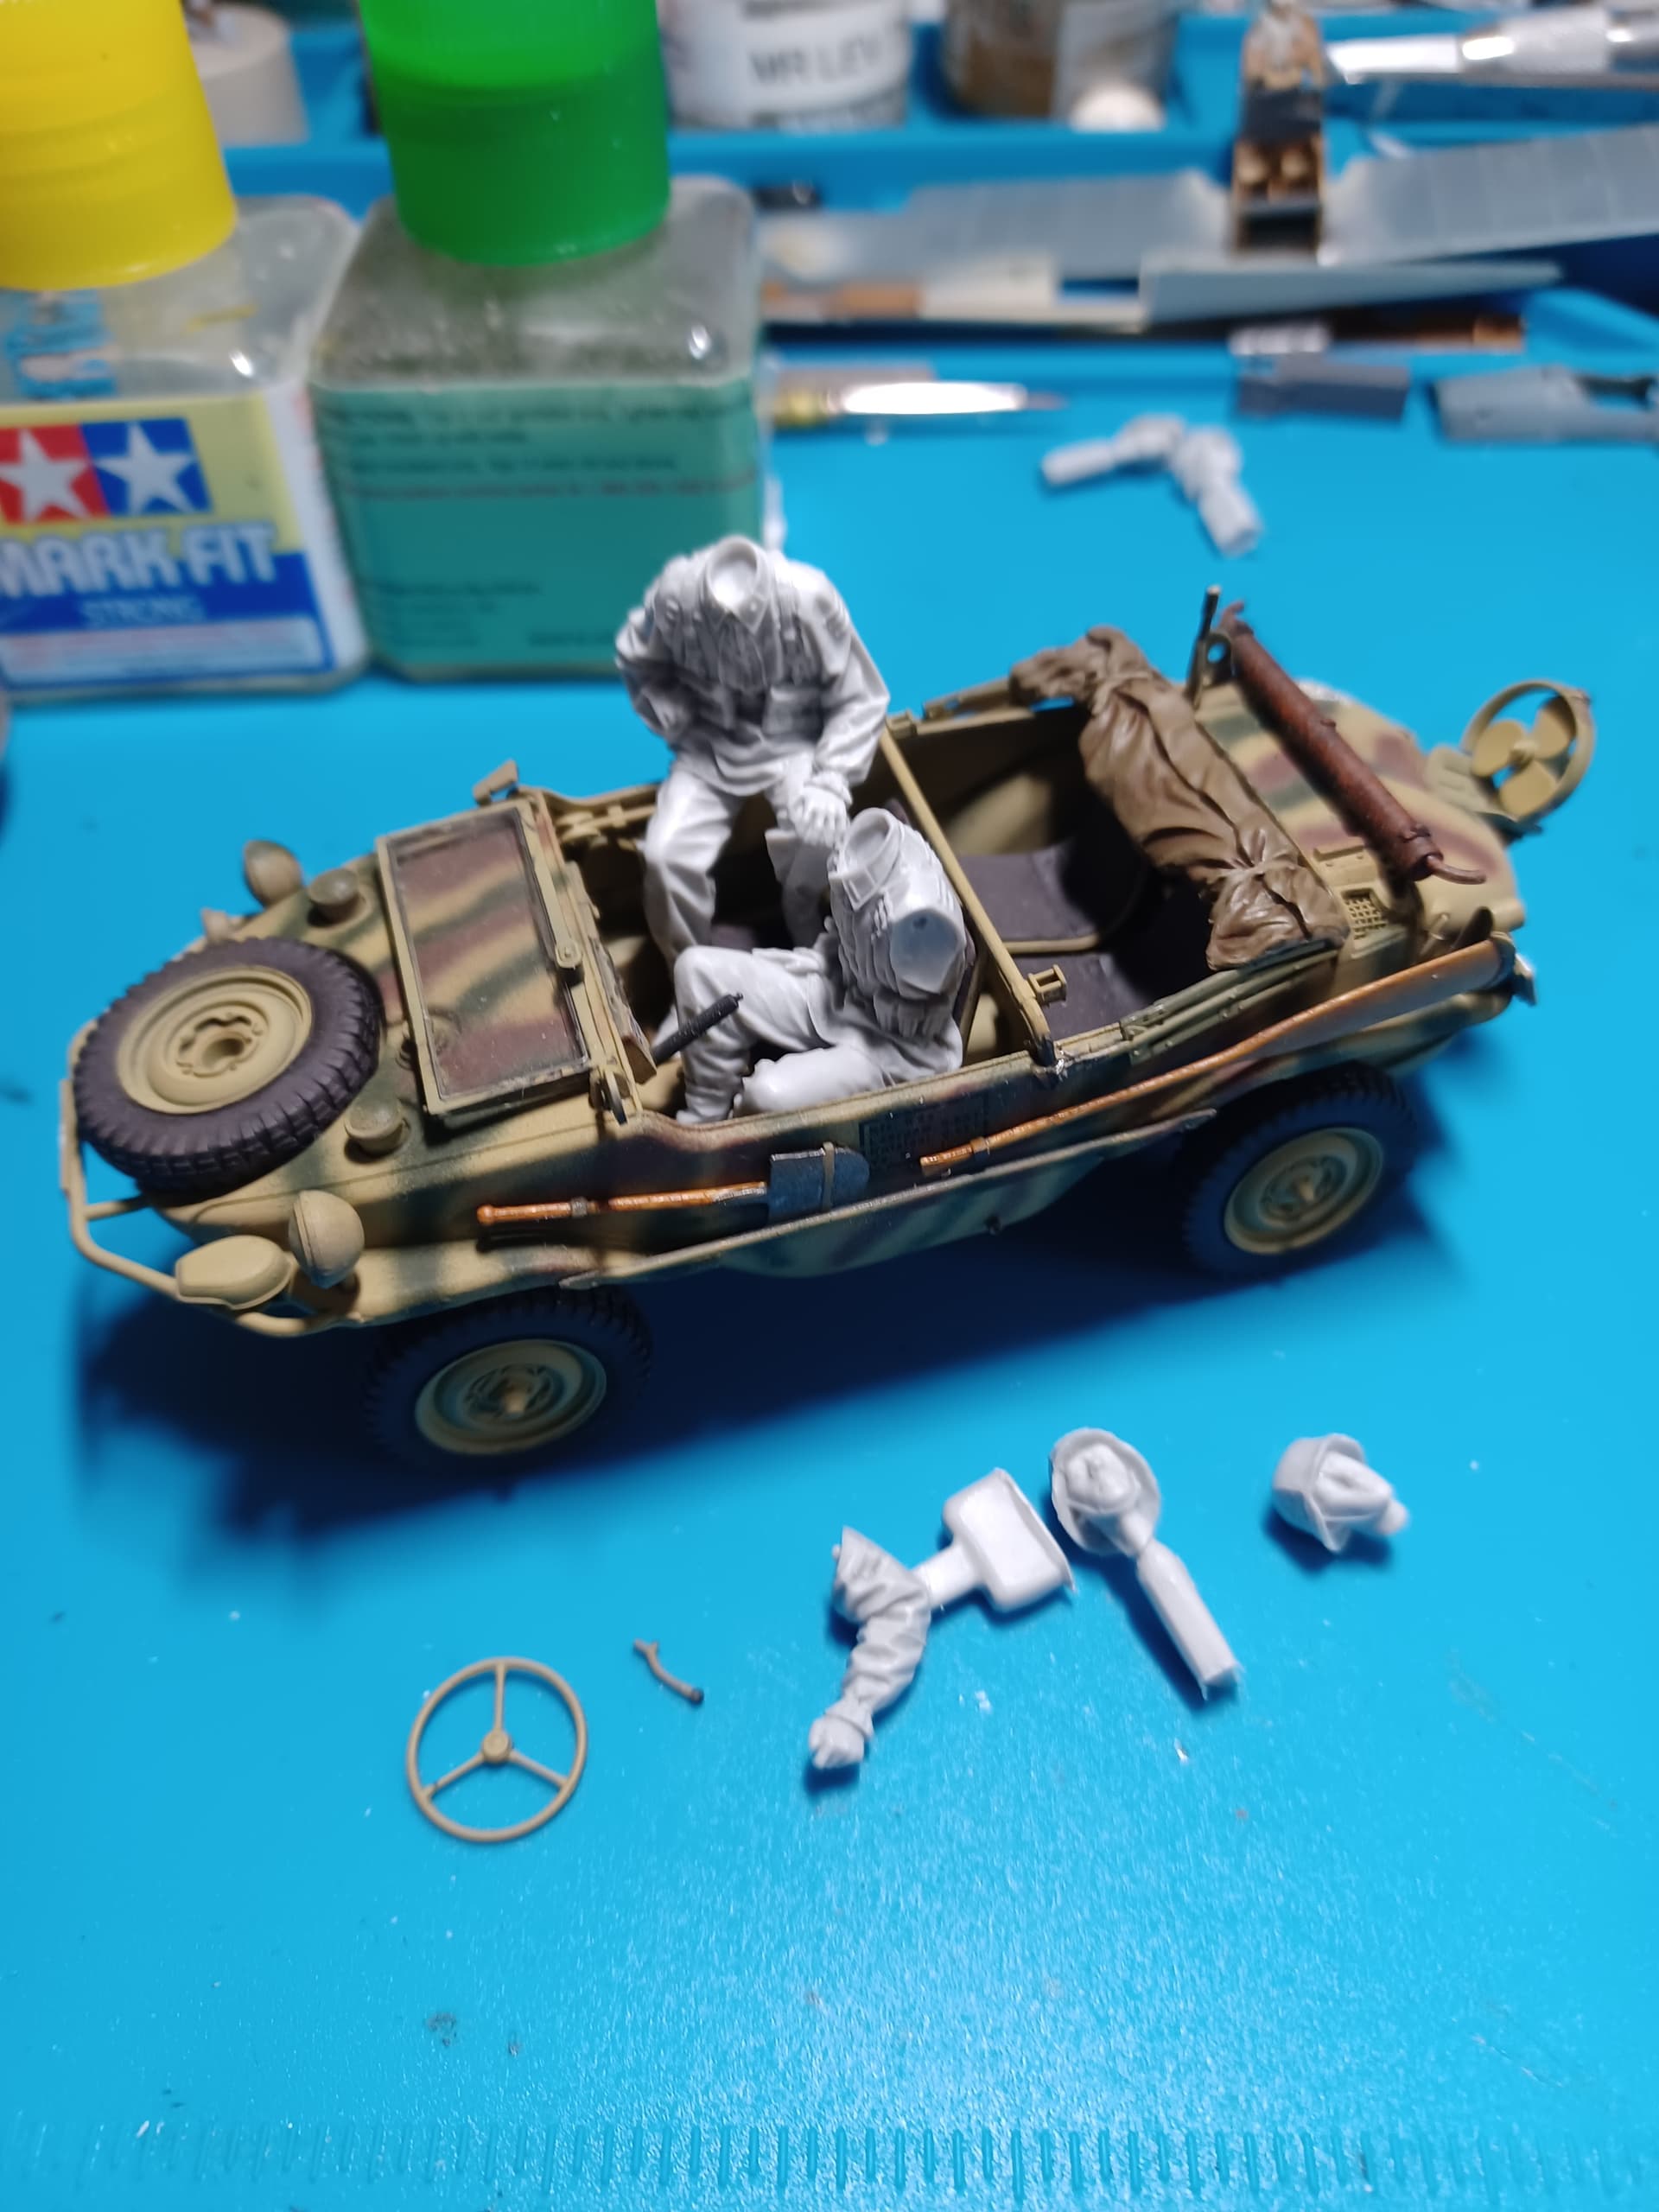
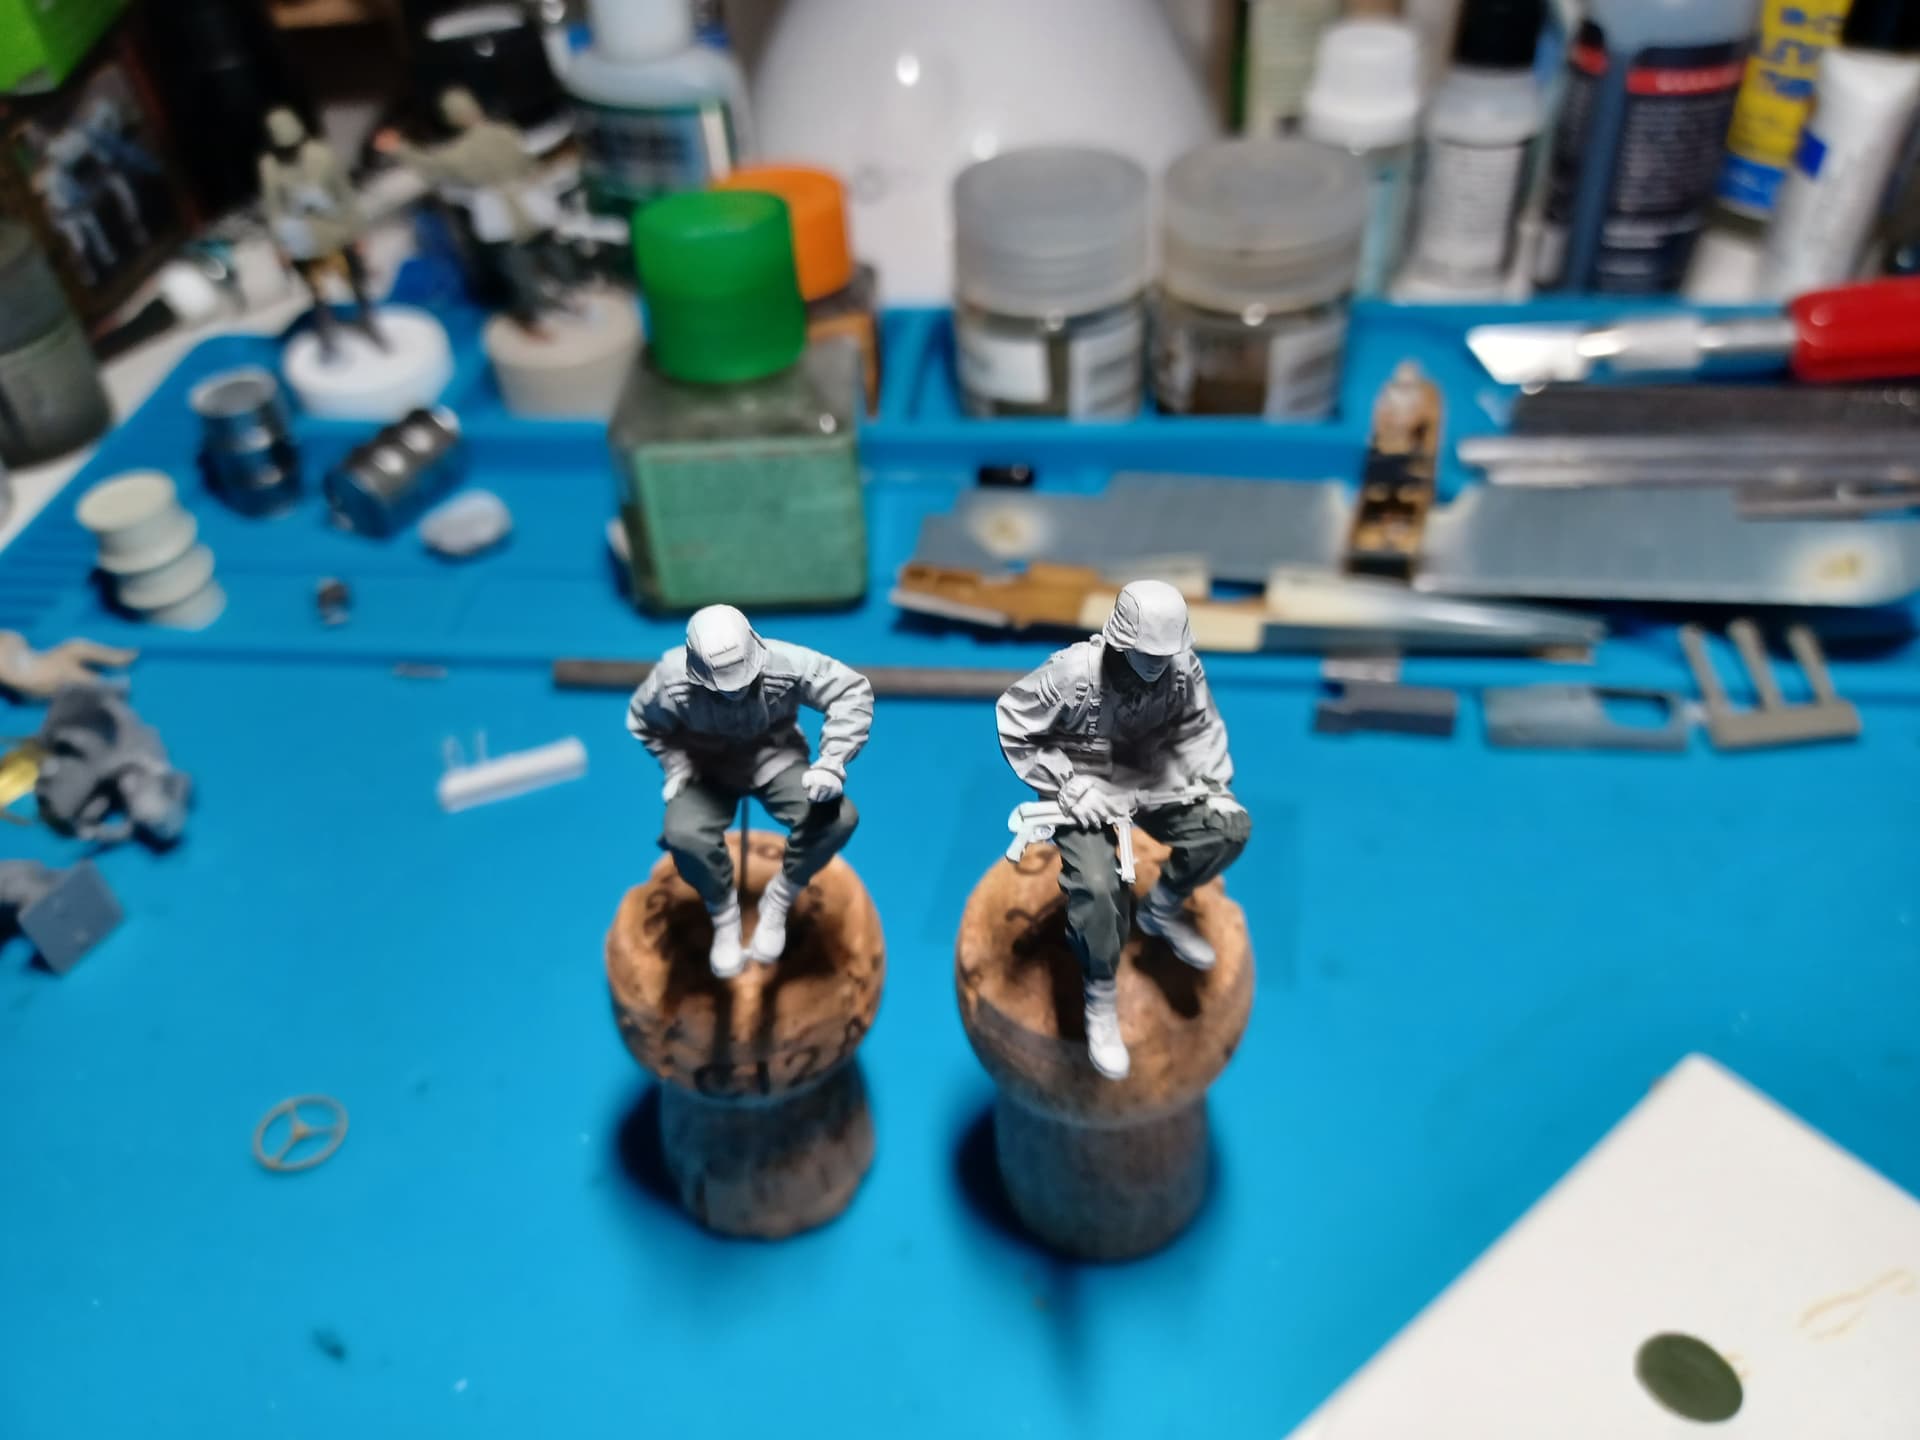
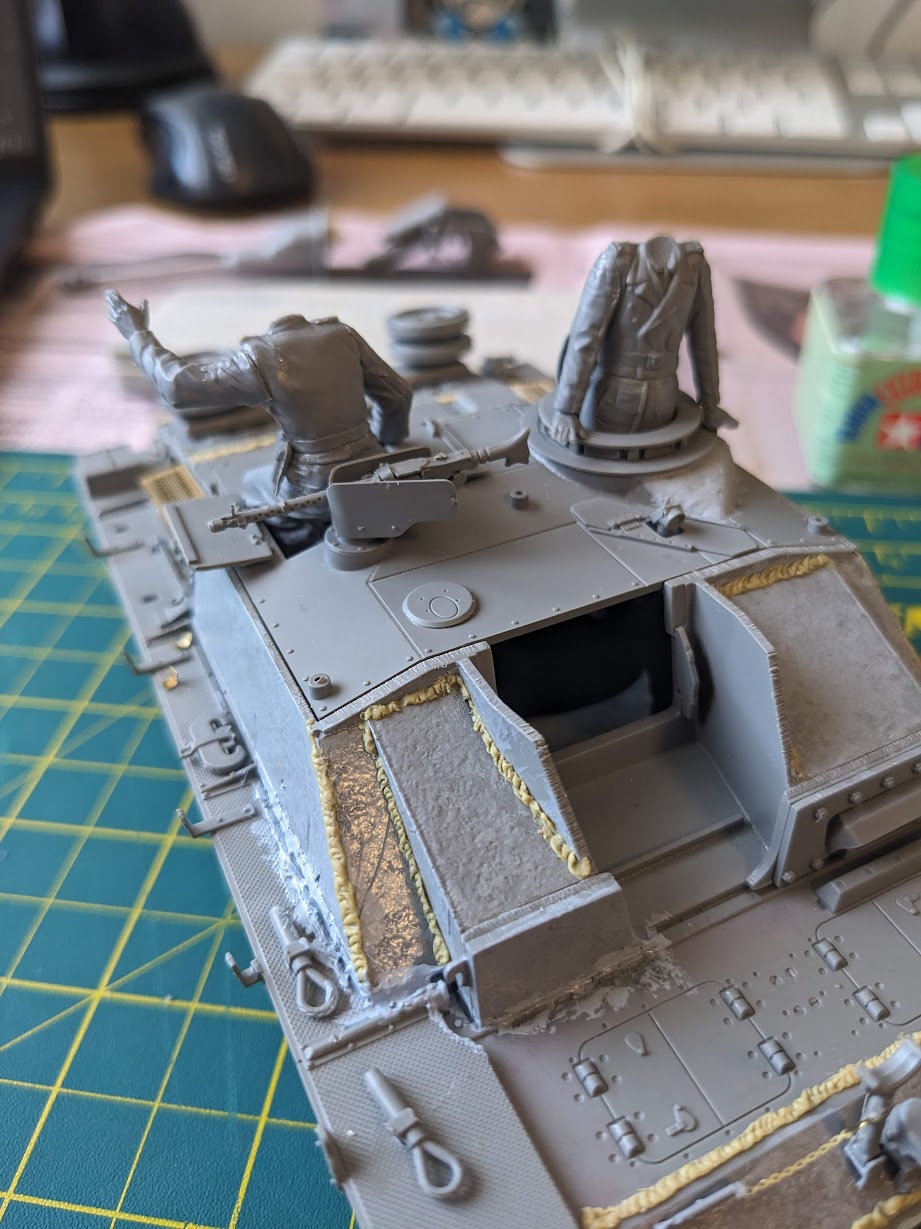
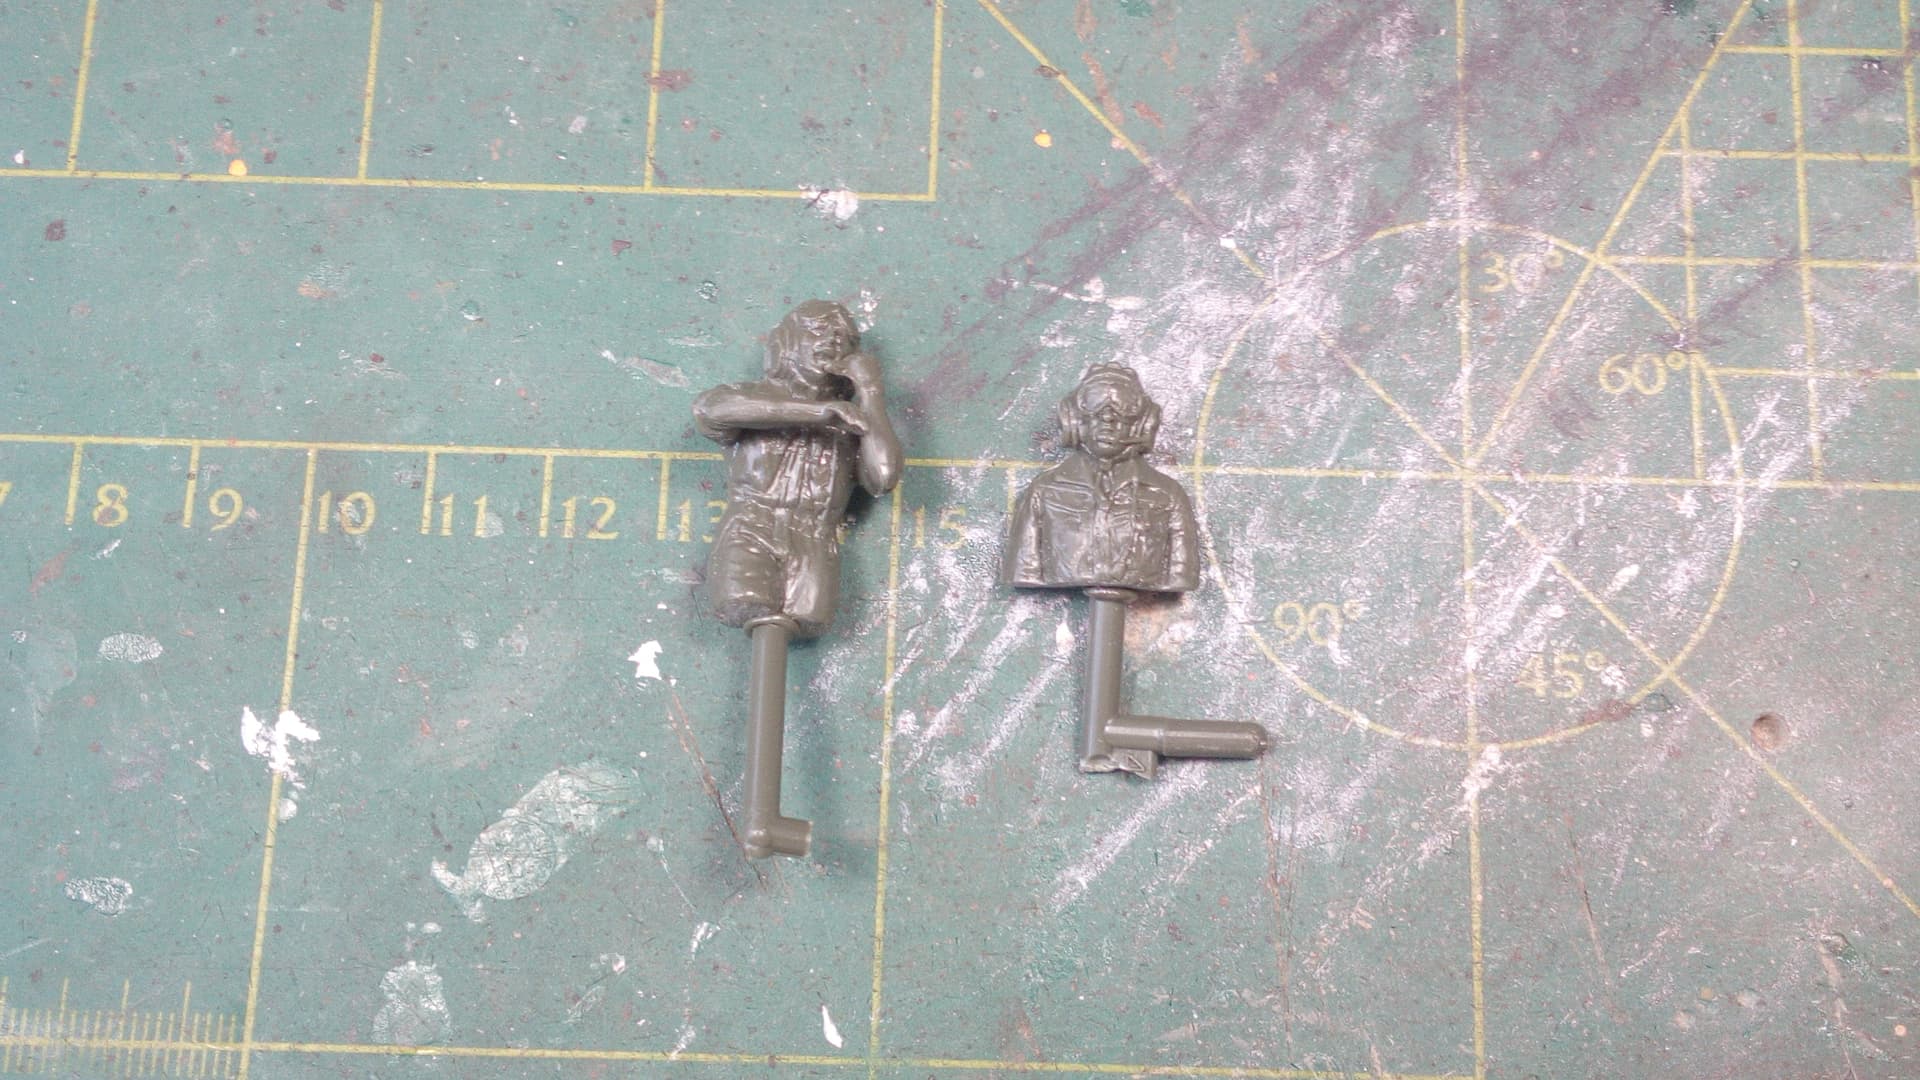
the figs fit my schwimmwagen perfectly. The guy sitting up on the side has an SMG on his lap. With a resin, very tiny, fold-out stock. Do folks usually replace those with something. His hand is attached to the smg so I guess I’m using that, but unsure about that stock…
Test fit the bits and they go together nicely. I’m a little unsure about how to assemble it with the wheel and get the sheel on the guy. If I put the wheel on the vehicle then try to slide in the driver I’m not sure how that will go. I don’t want to be painting the arm separately…
that tiny piece next to the steering wheel is carpet monster treasure. I dropped a part awhile back and while looking for it came across this. Have no idea how it got from the inside of the vehicle to the floor but now I’ll put it back.
White glue the steering wheel in and then set the arms. You can then pop the steering wheel off to paint the figure and reattach later when adding the figure back.
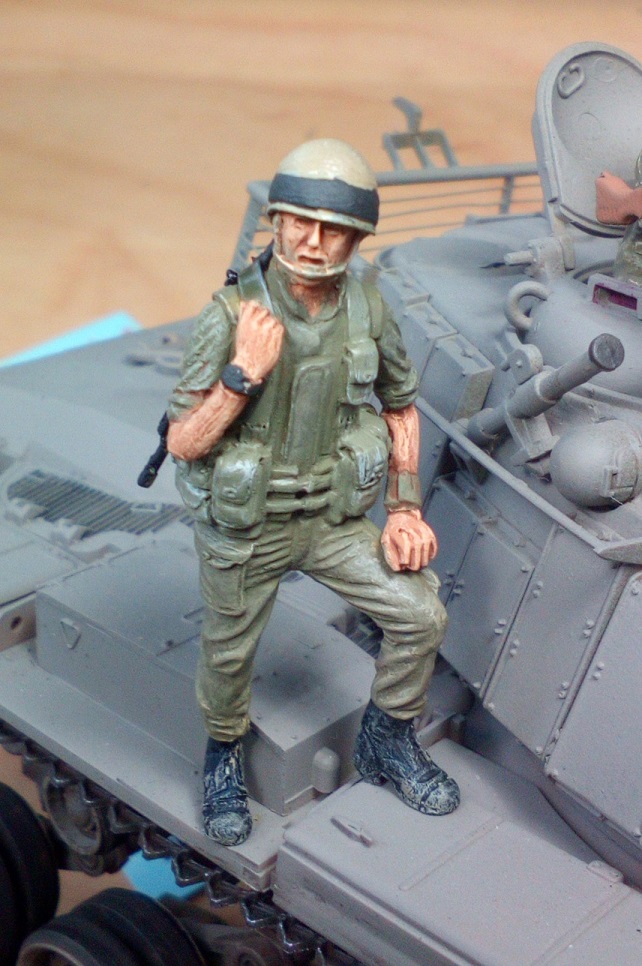
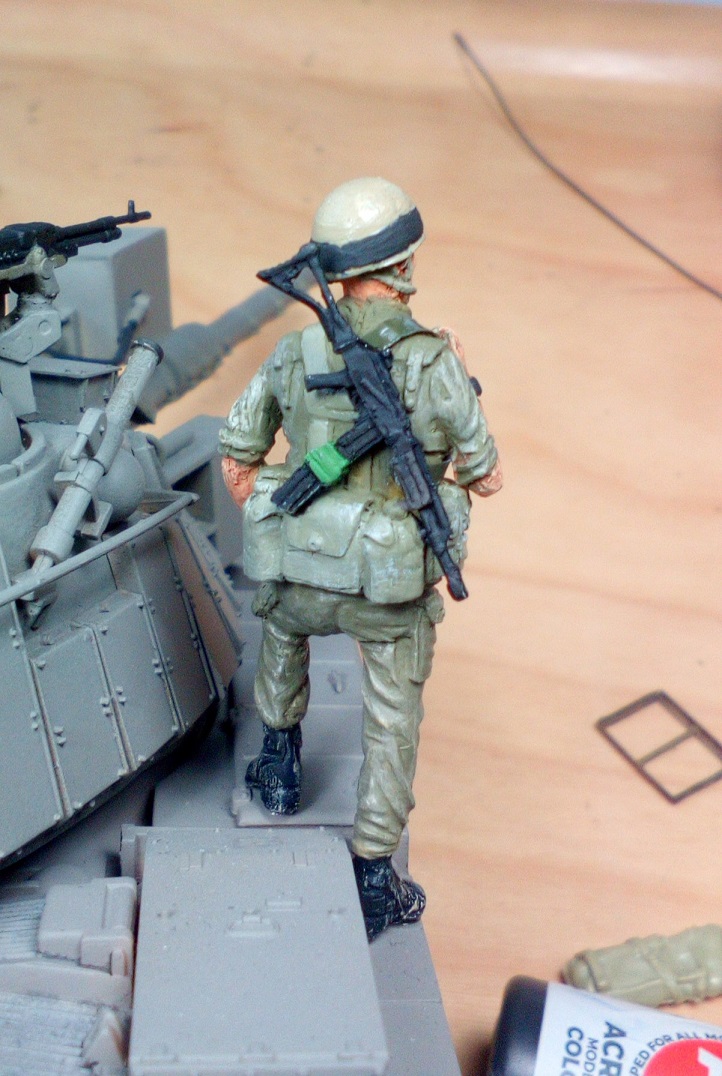
My first and modest contribution to this campaign are 1,5 soldiers. Bot needed for my IDF M-60 project.
One will be done in a darker skintone, using Andrea paints, the other in lighter Vallejo colours.
Skin basetone has been applied.
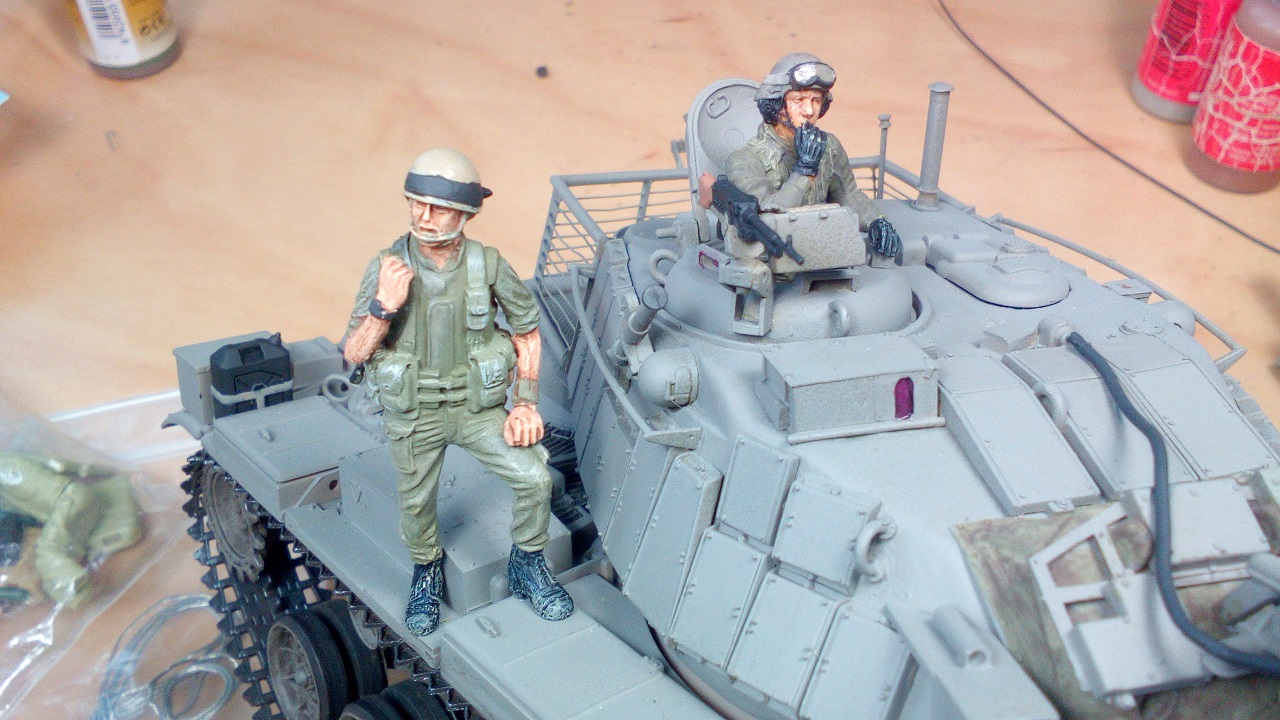
Well, the first figures for this campaign are done!
After an evening of frantic mixing, sloshing, splashing and biting my lower lip… I consider the figures done. All that remains is to dust them later on.
The uniforms are Vallejo’s “Russian uniform WW2” or shades thereof. I used brown and grey washes to vary in tone a bit more as well.
Drybrushing was done with lighter shades of the green and beige along the boots and webbing of the trooper. Which is an ADV Azimut-figure, as I was told.
I also added a mic and gogglestraps to the commander as well as clear gloss on the goggles.
Yep, they’d qualify. Sorry for the late reply, been taking a hiatus from the forums again so I missed this
@phil2015 , @Lakota , @SGTJKJ , looking good guys! I’ll prolly have my pics of my submission up soon (the figure’s been done for a while I just keep forgetting to post) @RonW , congrats! Those turned out great! I should probably start making a list of who completes this campaign…
Alright! You responded just in time for when I get to return to my scale models! I don’t know how much I’ll be able to finish in time for the end of the campaign, but we’ll see! (My main issue will be paint, but I do have some basic acrylics with me, and a store in my town does sell warhammer paints, so I’ll check it out soon.)
This guy in particular was somehow had the smoothest arm/hand attachment out of the older figures I’ve assembled so far. Luckily, it all works, and his hands fit (more or less) on the edges of his hatch:
This is an older MiniArt figure set, so I was wondering, is it easier to paint the head while it’s already on the body, or paint it,t hen attach it to the body?