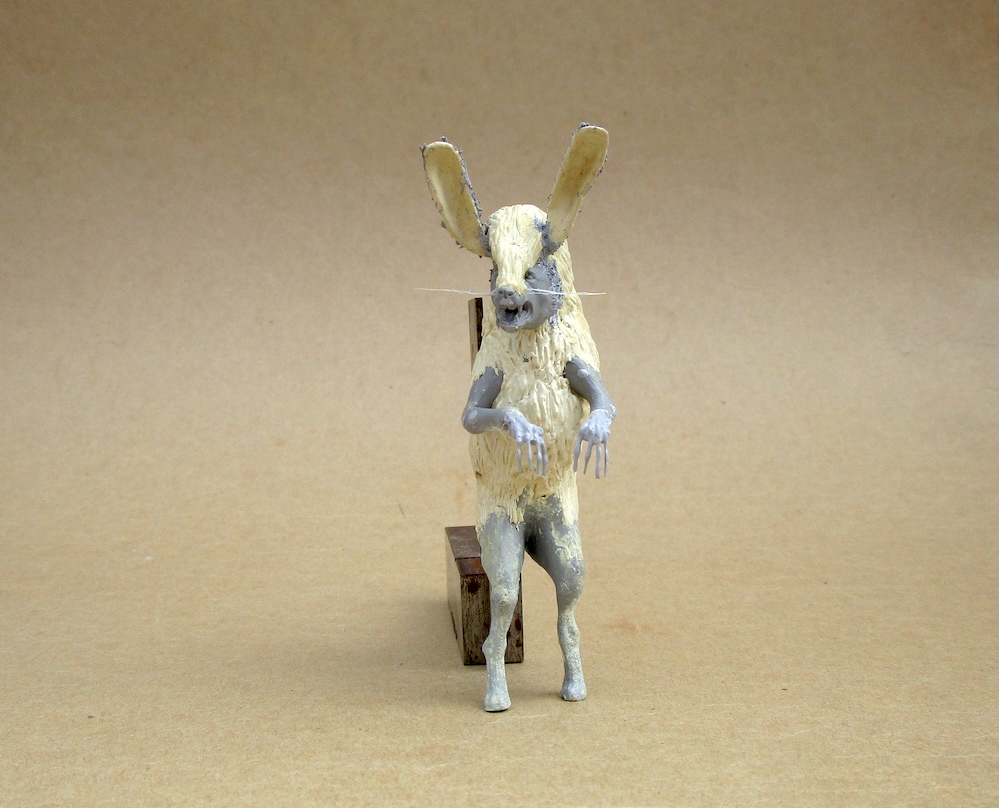
Haha, perfect easter bunny ![]()
4 Likes
I primed my figure, only to discover seam lines that I need to sand down. So I sanded them down and I need to respray primer again.
3 Likes
Excellent protocol. I use primer for the same thing.
1 Like

6 Likes
Figure sanded and primed. It’s not perfect as the enlarged photos revealed air bubbles on some of the large Live-Resin pouches and primer wrinkles and runs. I used a spray can outside and since there was a little breeze, I sprayed pretty heavy.
The shoelace and bikini loop ties need their resin flash removed and I knew this but was afraid of breaking the loops so I left the flash in. I need to carefully pick that away with a knife.
There’s also a seam line on the arm that I need to gently sand away.
As expert modelers said, it’s very hard to get a perfect smooth skin free of the air bubbles, blemishes, runs, and wrinkles. It still needs more work so I’m debating how much more time to invest before starting to paint the figure.
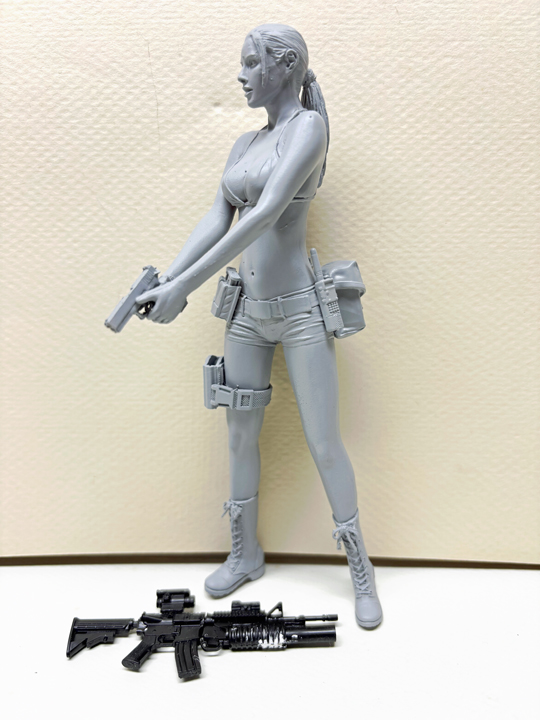
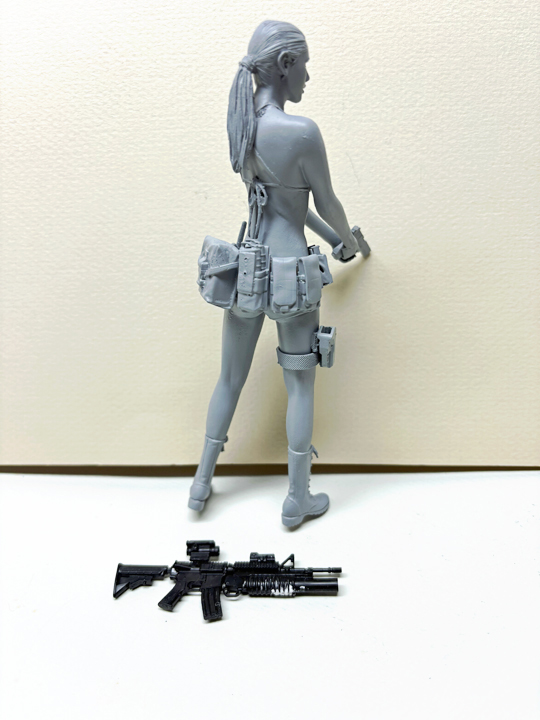
The 1/12 Little Armory M4/M203 is built and white putty added to the part I snipped off a little by accident to get the two halves to fit better. The fit of the gun is generally excellent as are pretty much all of Little Armory’s 1/12 guns.
10 Likes
Yes, that lacing string looks extremely fragile.
I can’t see any of these from the photos but my only suggestion would be to use a product like Mr. Surfacer. Then sand only with 1000 or finer. If sanding too much then more pin holes will appear.
2 Likes
I just wanted to post a finished photo of this project. To get it done on time I didn’t make better feet like clawed bunny feet or even weirder, human feet. I hid the feet behind the paper foliage.
I painted it Black & White to look like an old silent production set or those old penny arcade dioramas.

![]()
3 Likes
Our thread seems to have become the one that brings terrible things into our dreams at night.
“Sleep with one eye open…”
3 Likes
Is Mr. Surfacer better than Tamiya Fine Surface Primer? I use Tamiya primer because the spray can is taller, but I do have some Mr. Surfacer 1000.
I’m wondering if I shook the paint can vigorously enough, which I normally do. The mist is so fine that I really had to get close to the figure to prime it and it appeared fine. But I spray outside and the sun may have caused some bubbling of the paint, or there really are pinholes that I didn’t notice before. I suppose that is why many figure modelers spray primer and paint with an airbrush.
I shrunk the resolution of my photos, but max resolution does reveal a lot of surface flaws not seen with the naked eyes. I figure if I can’t really see them with my own eyes, then I shouldn’t really worry as I’ve other campaigns to build for. We’ll see…
3 Likes
That Tamiya primer is a great product for figure priming. I use this as well for the final coat before paint. Mr. Surfacer 1000 is used for pin holes and fine scratch filling on my bench. You can use this instead of MS500. I meant that it can be brushed onto/into tiny holes then sanded smooth but with very fine sanding paper of 1000 or finer.
You probably did shake the can enough. I spray outside as well and that’s why I like the fine-ness of that primer because the surface is scale smooth after spraying.
YES, exactly. If looking too closely you’ll find things forever. Just like you say, if you can’t see them with your own eyes (in my case with readers) then don’t worry about the microscopic stuff. Just build and paint on. I use readers for model building so whatever I can’t detect with my eye or the readers, then is good enough to move along the project.
With that said, I think it looks good and you’re ready for base coat colors on that fig ![]()
6 Likes
Afternoon all! Am I able to join this campaign? I’ve messaged Colin to ask him as the campaign coord but no reply yet as he must be busy. Apologies for the tardy request but I am still finding my feet here. Thanks in advance for consideration.
4 Likes
Yes. Click the going button in the first post and start posting away photos of the build.
5 Likes
Lovely! Thank you!
1 Like
Thanks for the info! I haven’t had time to really examine the figure in detail, but when I do, I’ll take your advice and see what needs to be fixed and what I can pass on.
3 Likes
Ok so I’ll dive in now with two figures. I’m just really getting into modelling now that I’ve got some extended time off work to recover from cancer treatment. Figures are a real weak spot for me. For context, I use a brush and acrylic paints.
By the way, please feel free to let me know if I’m not following the campaign guidelines. I would also very, very much appreciate any advice as I proceed, on how to improve.
I actually have quite a stash of figures, partly from having put off doing many of them to prioritise vehicles which are my other weak spot. So I’ve chosen two for this campaign; one from Alpine and one from a Miniart set.
I found it interesting to compare quality of the figures right at the start, as it really reflects the respective price points.
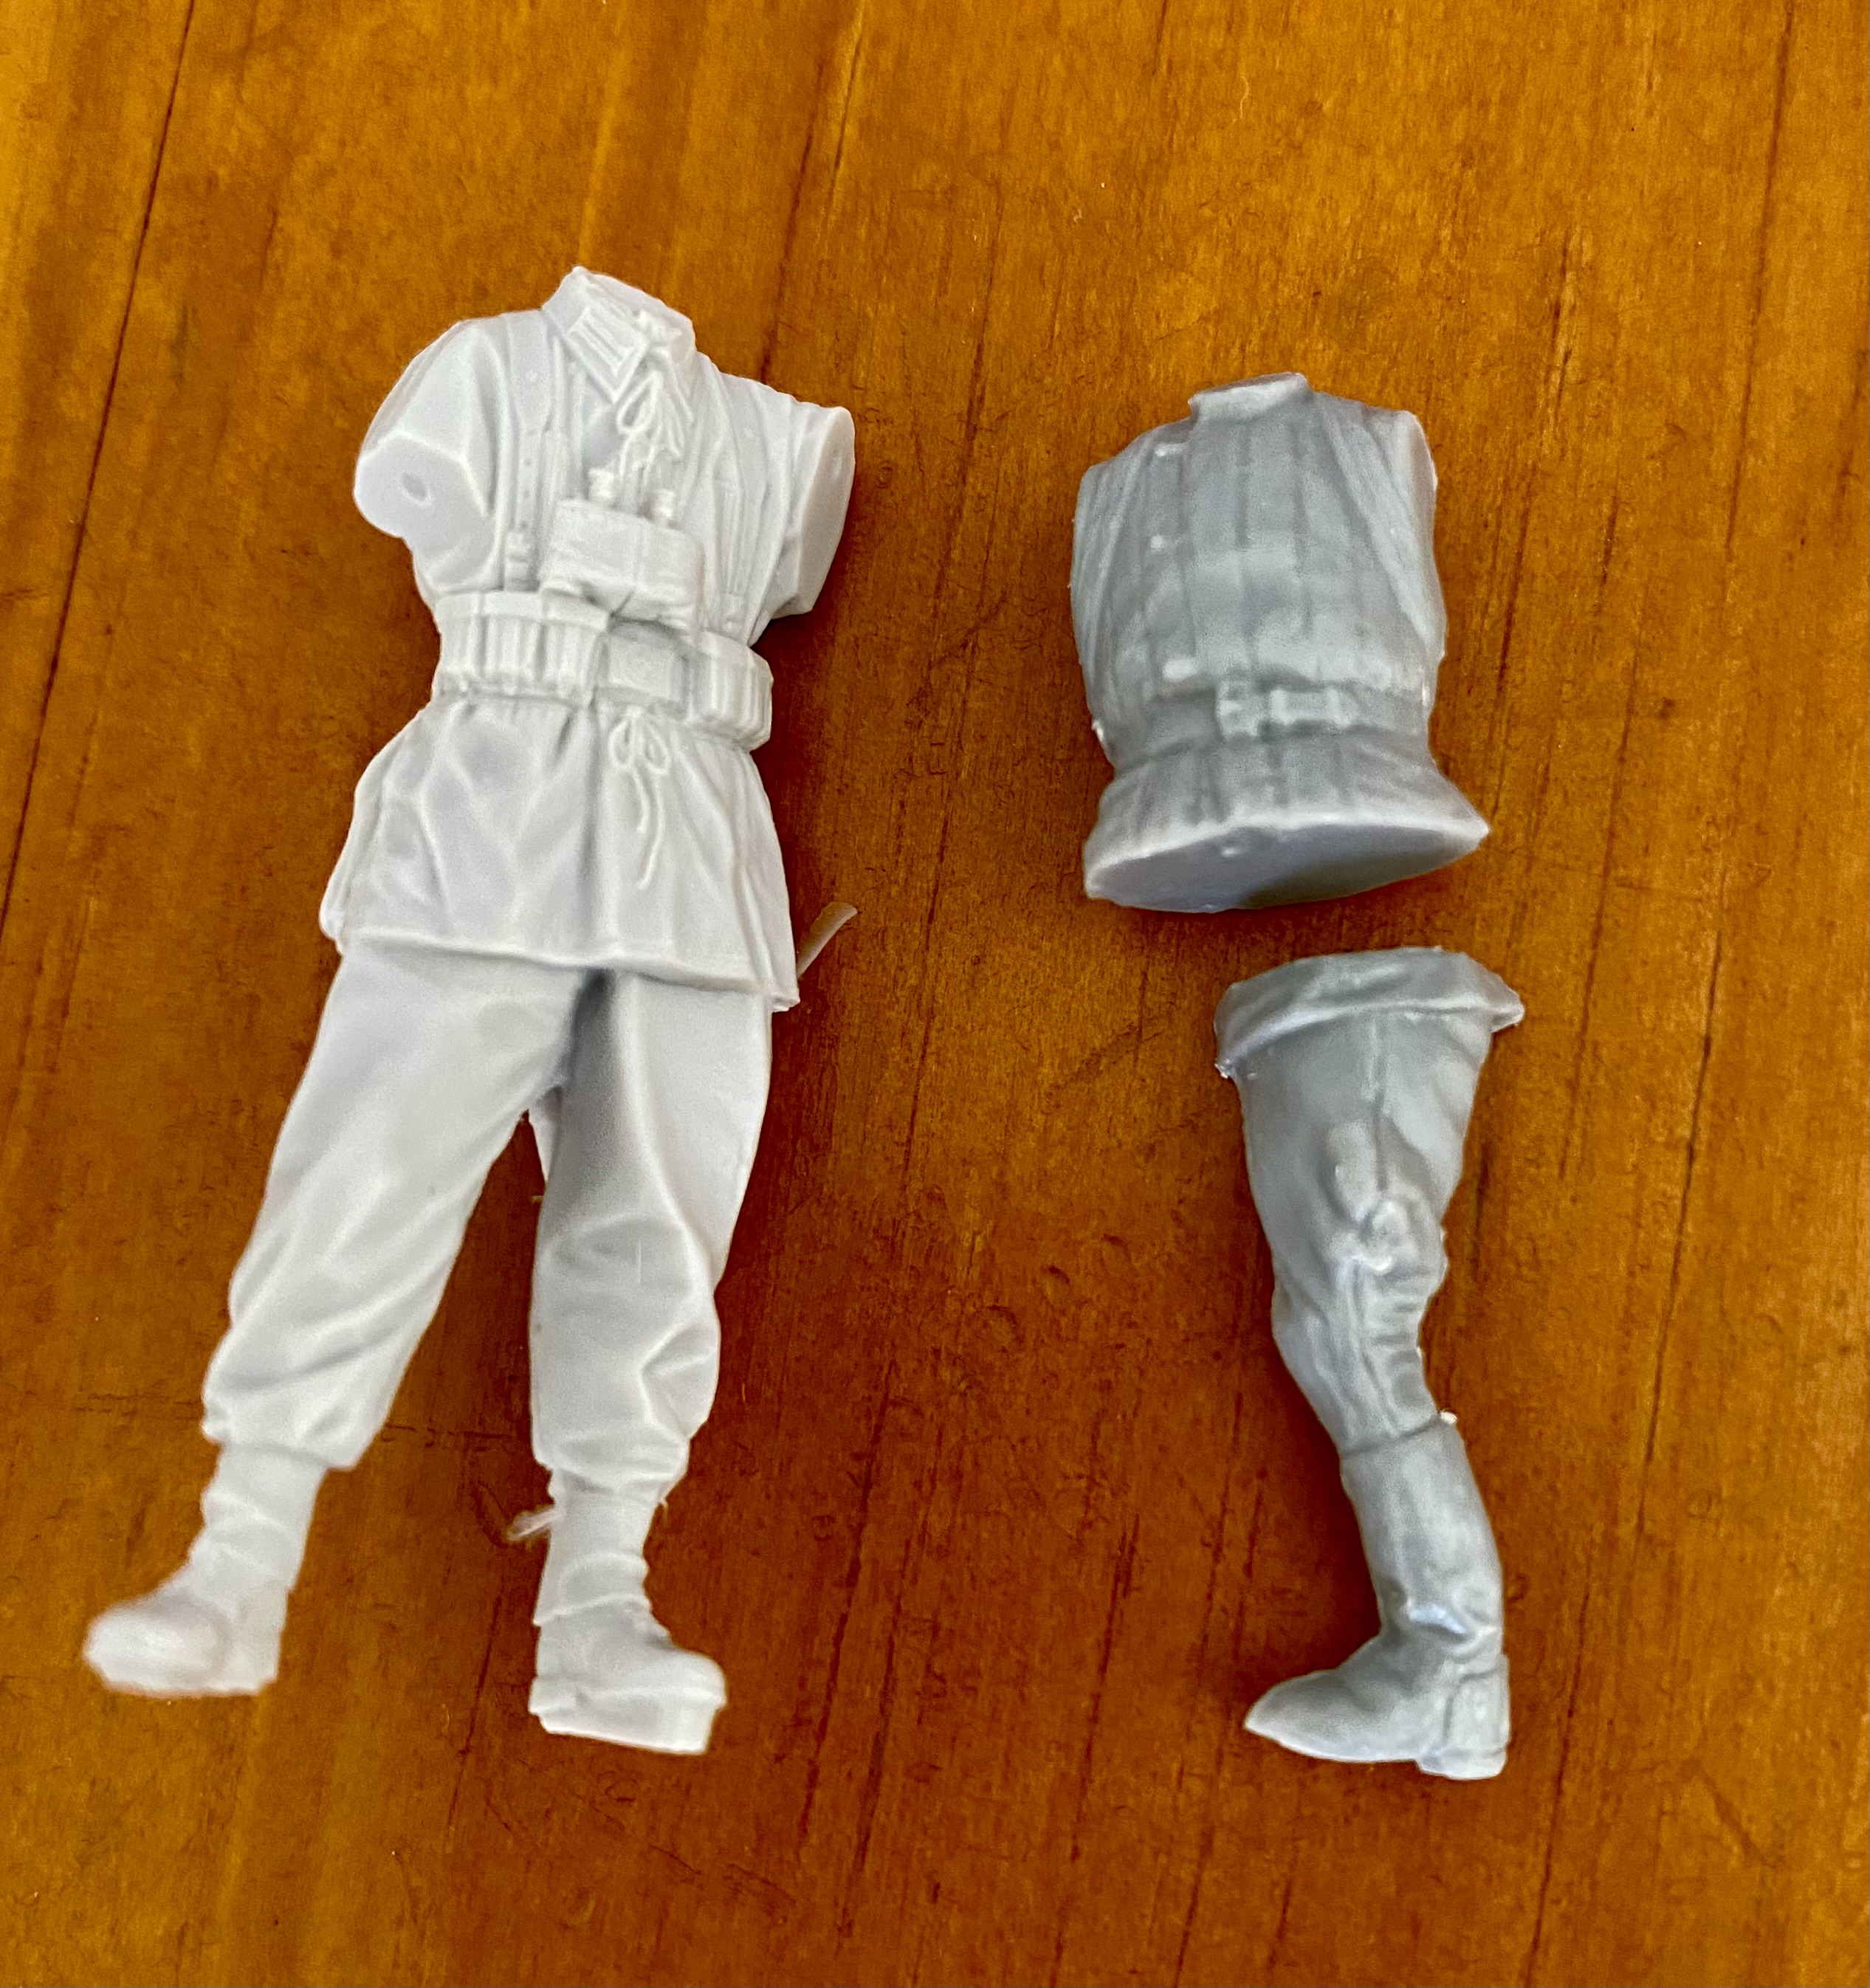
Alpine 35194 : German Grenadier NCO

Miniart Russian soldier from their early WWII kit of walking Russian soldiers.

4 Likes


First steps for me are clean up. That includes defining some of the lines like straps, seams, etc…. I also carve out sleeves and neck holes to better define those areas.
The Alpine figure is very clean in terms of crisp detail as you’d expect.
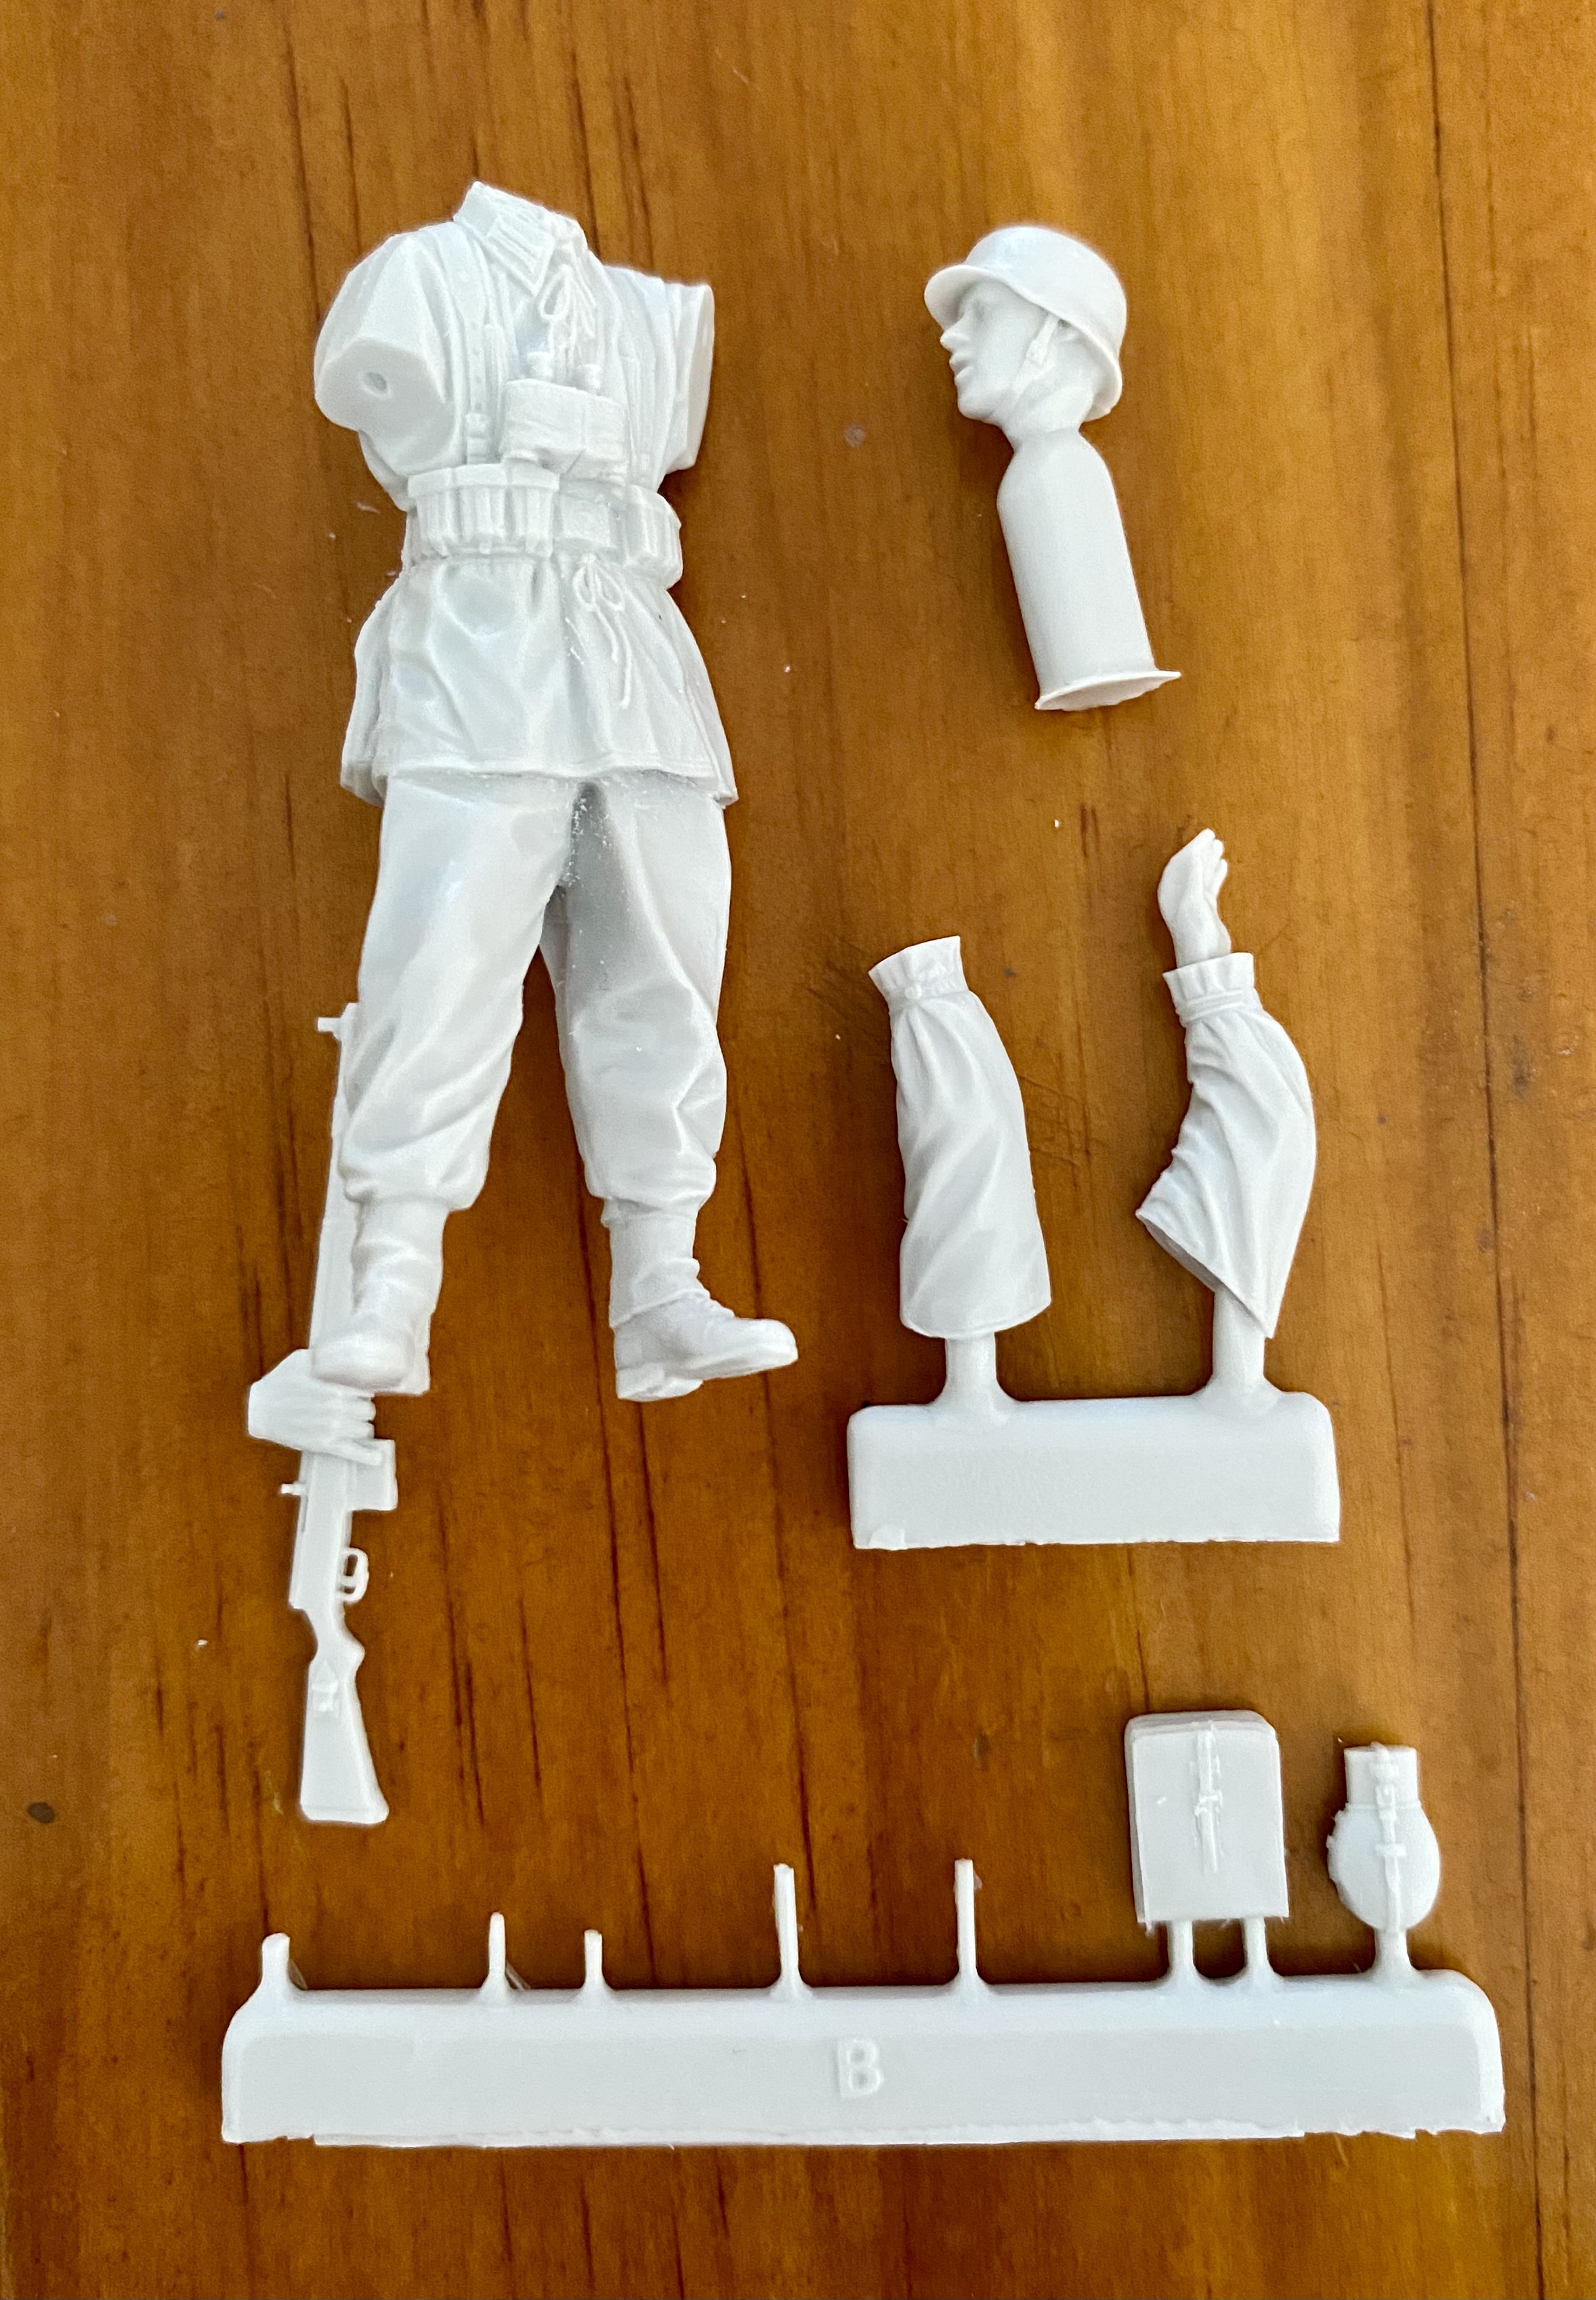
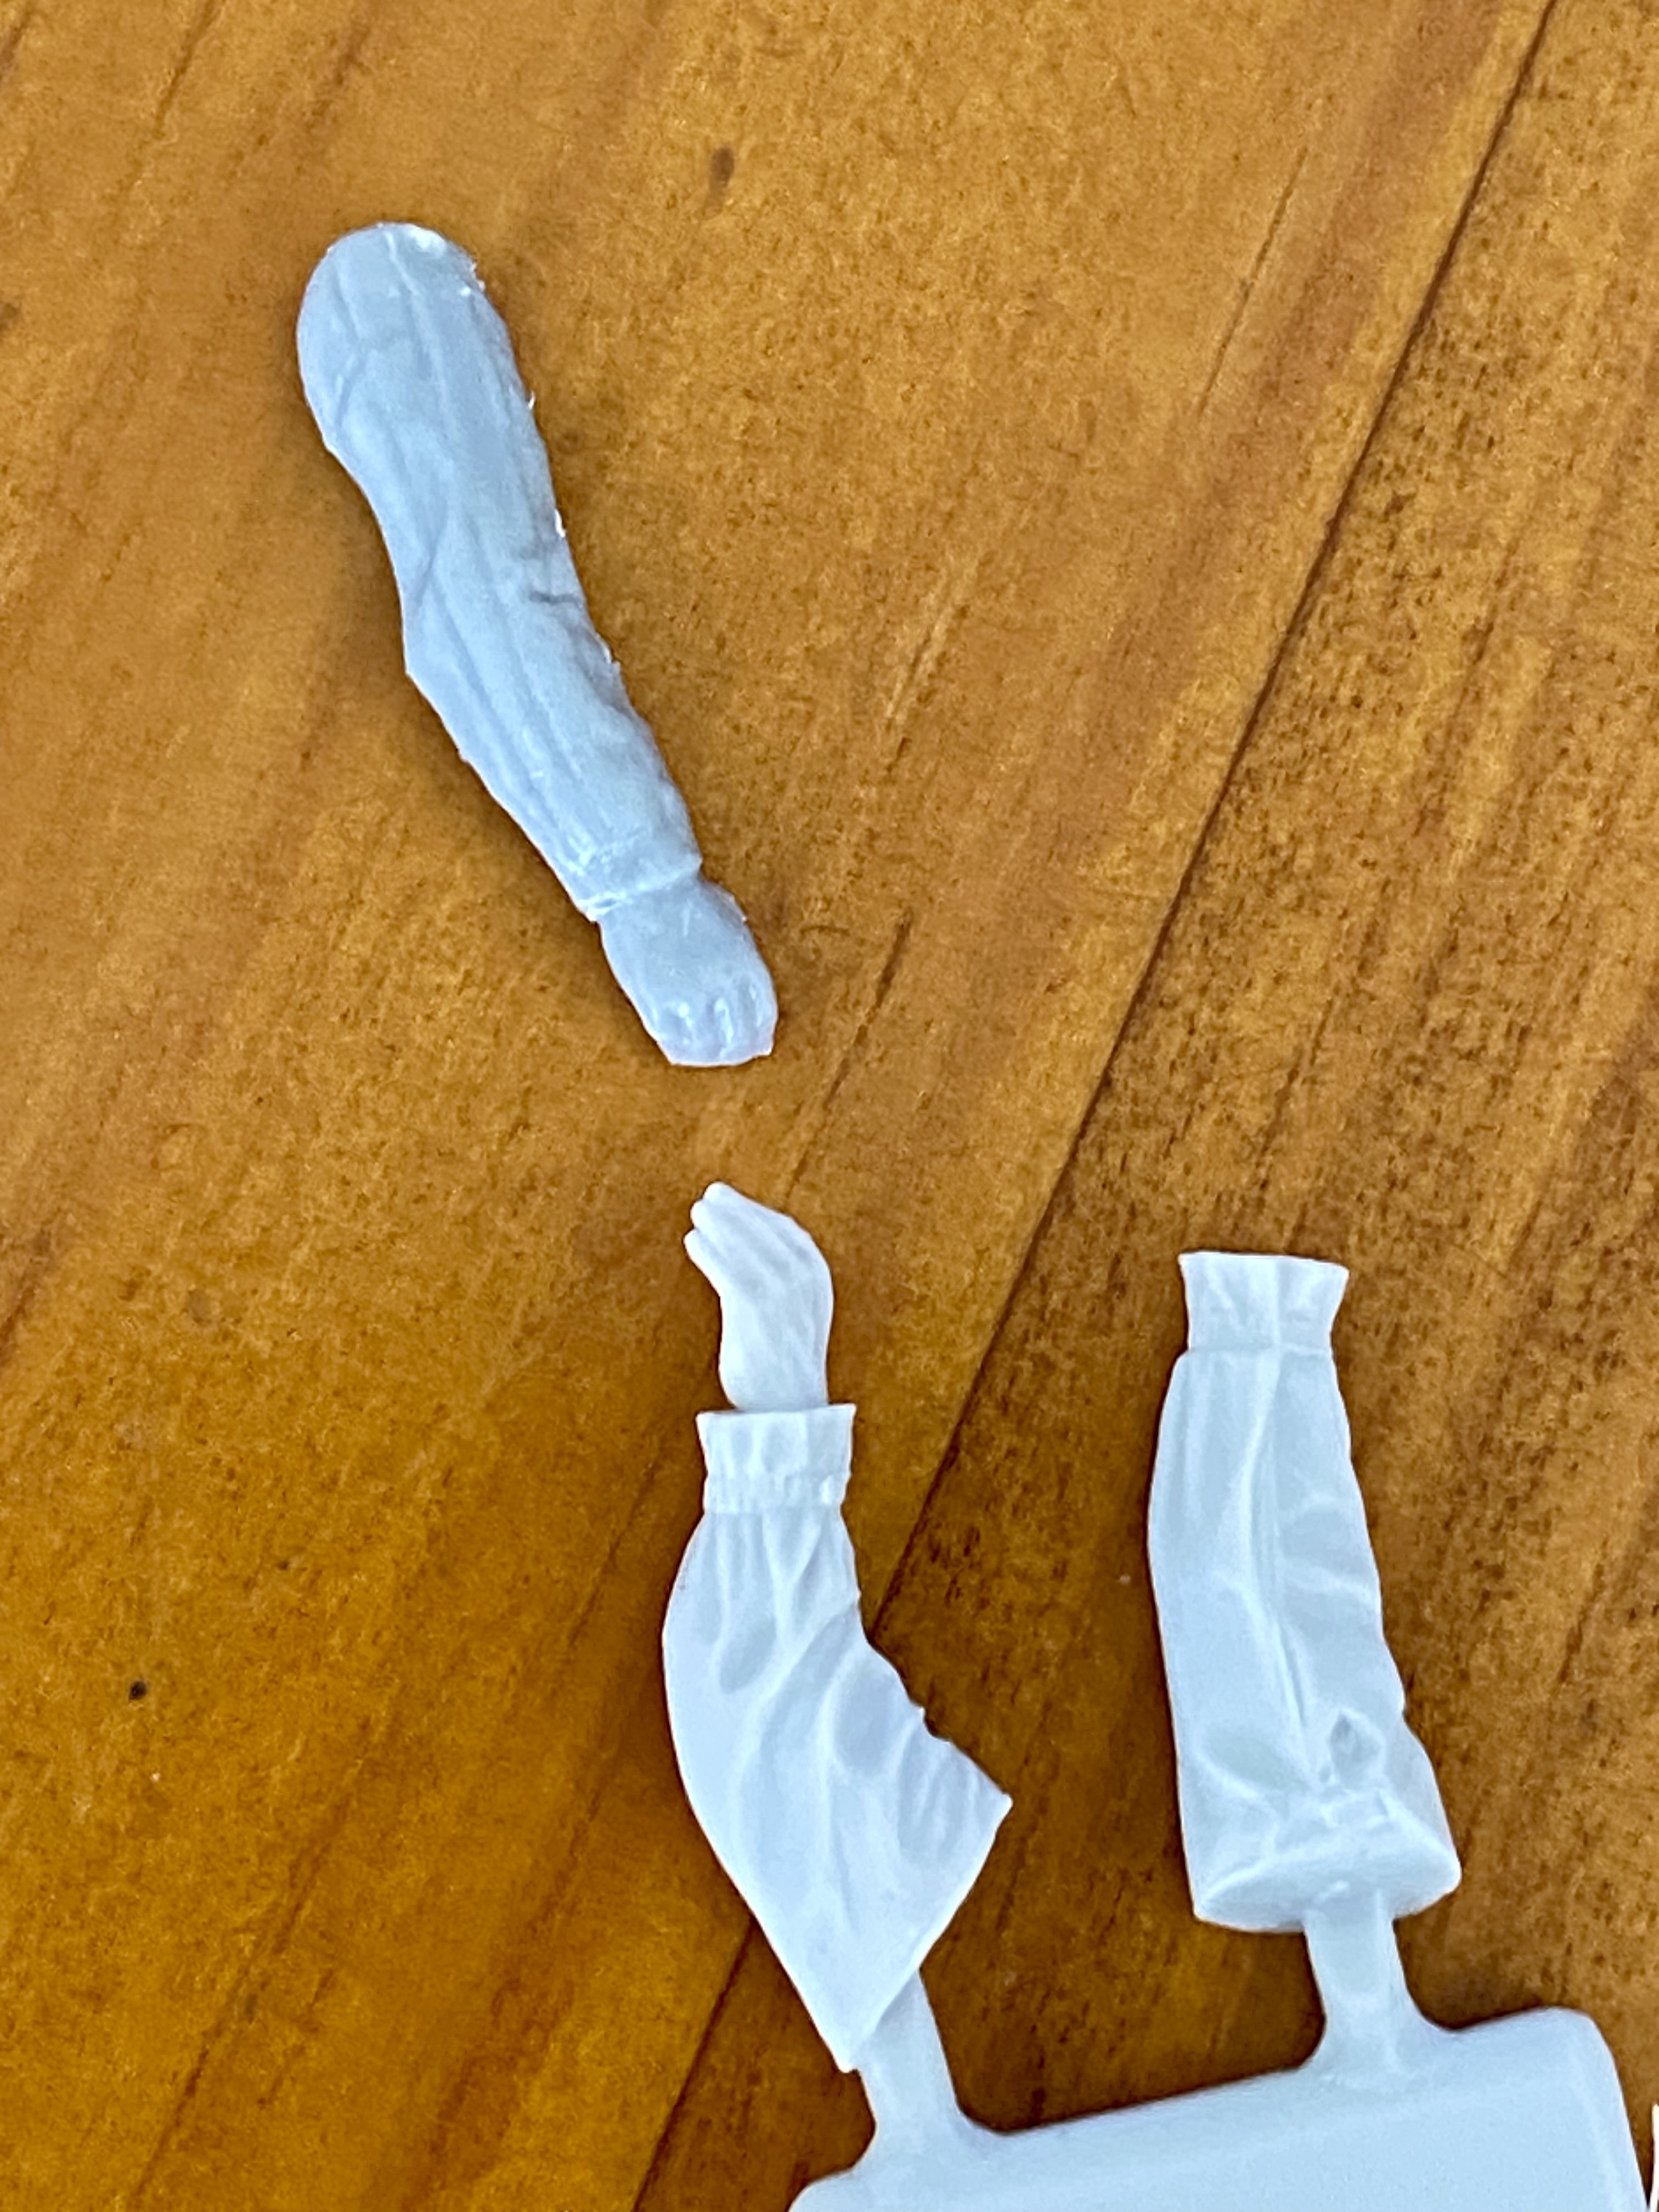
The Miniart figure is not too bad but some of the details are a bit soft. Also the hands aren’t great and one of the arms is going to be replaced. I’ll replace the hands with some from Royal Model.

6 Likes
I sanded down some more seam lines, bumps, and bubbles that showed on the primer, and I did some puttying. I need to respray the primer and then hopefully get to painting.
I forgot that the deadline was in August. I thought that it was at the end of 2025…
6 Likes
Be careful not to sand too much or deeply. This will just expose more bubble pin holes.
3 Likes