Generally almost finished building the kit. Fit was very good.
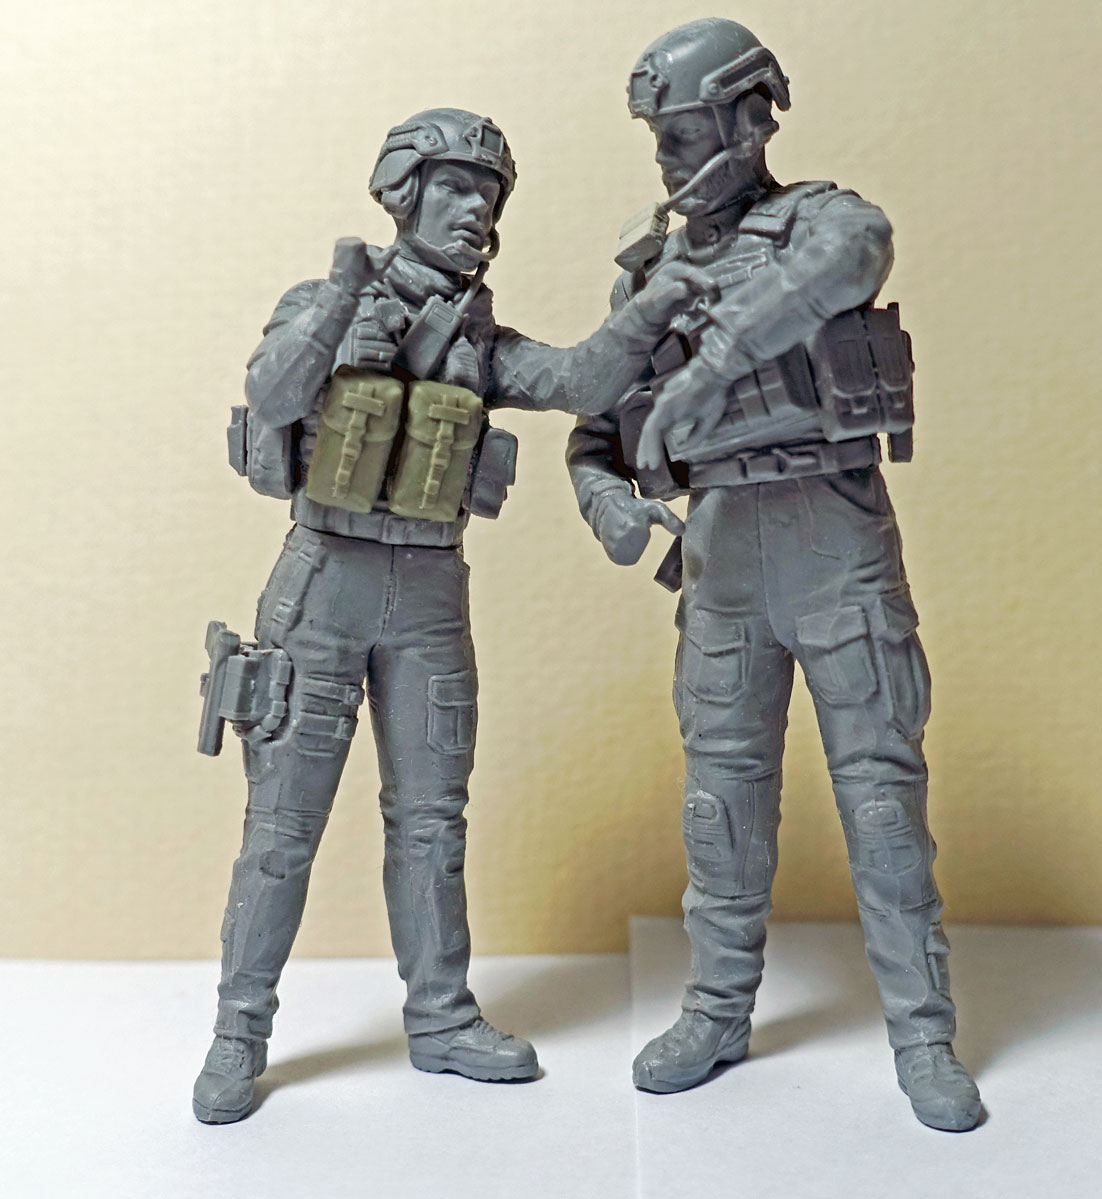
I changed the weakest part of the kit and that was the MP5K by substituting the ammo vest pouches on the female figure with larger resin ones. I will replace the MP5K with a M4/M203.
Generally almost finished building the kit. Fit was very good.
I changed the weakest part of the kit and that was the MP5K by substituting the ammo vest pouches on the female figure with larger resin ones. I will replace the MP5K with a M4/M203.
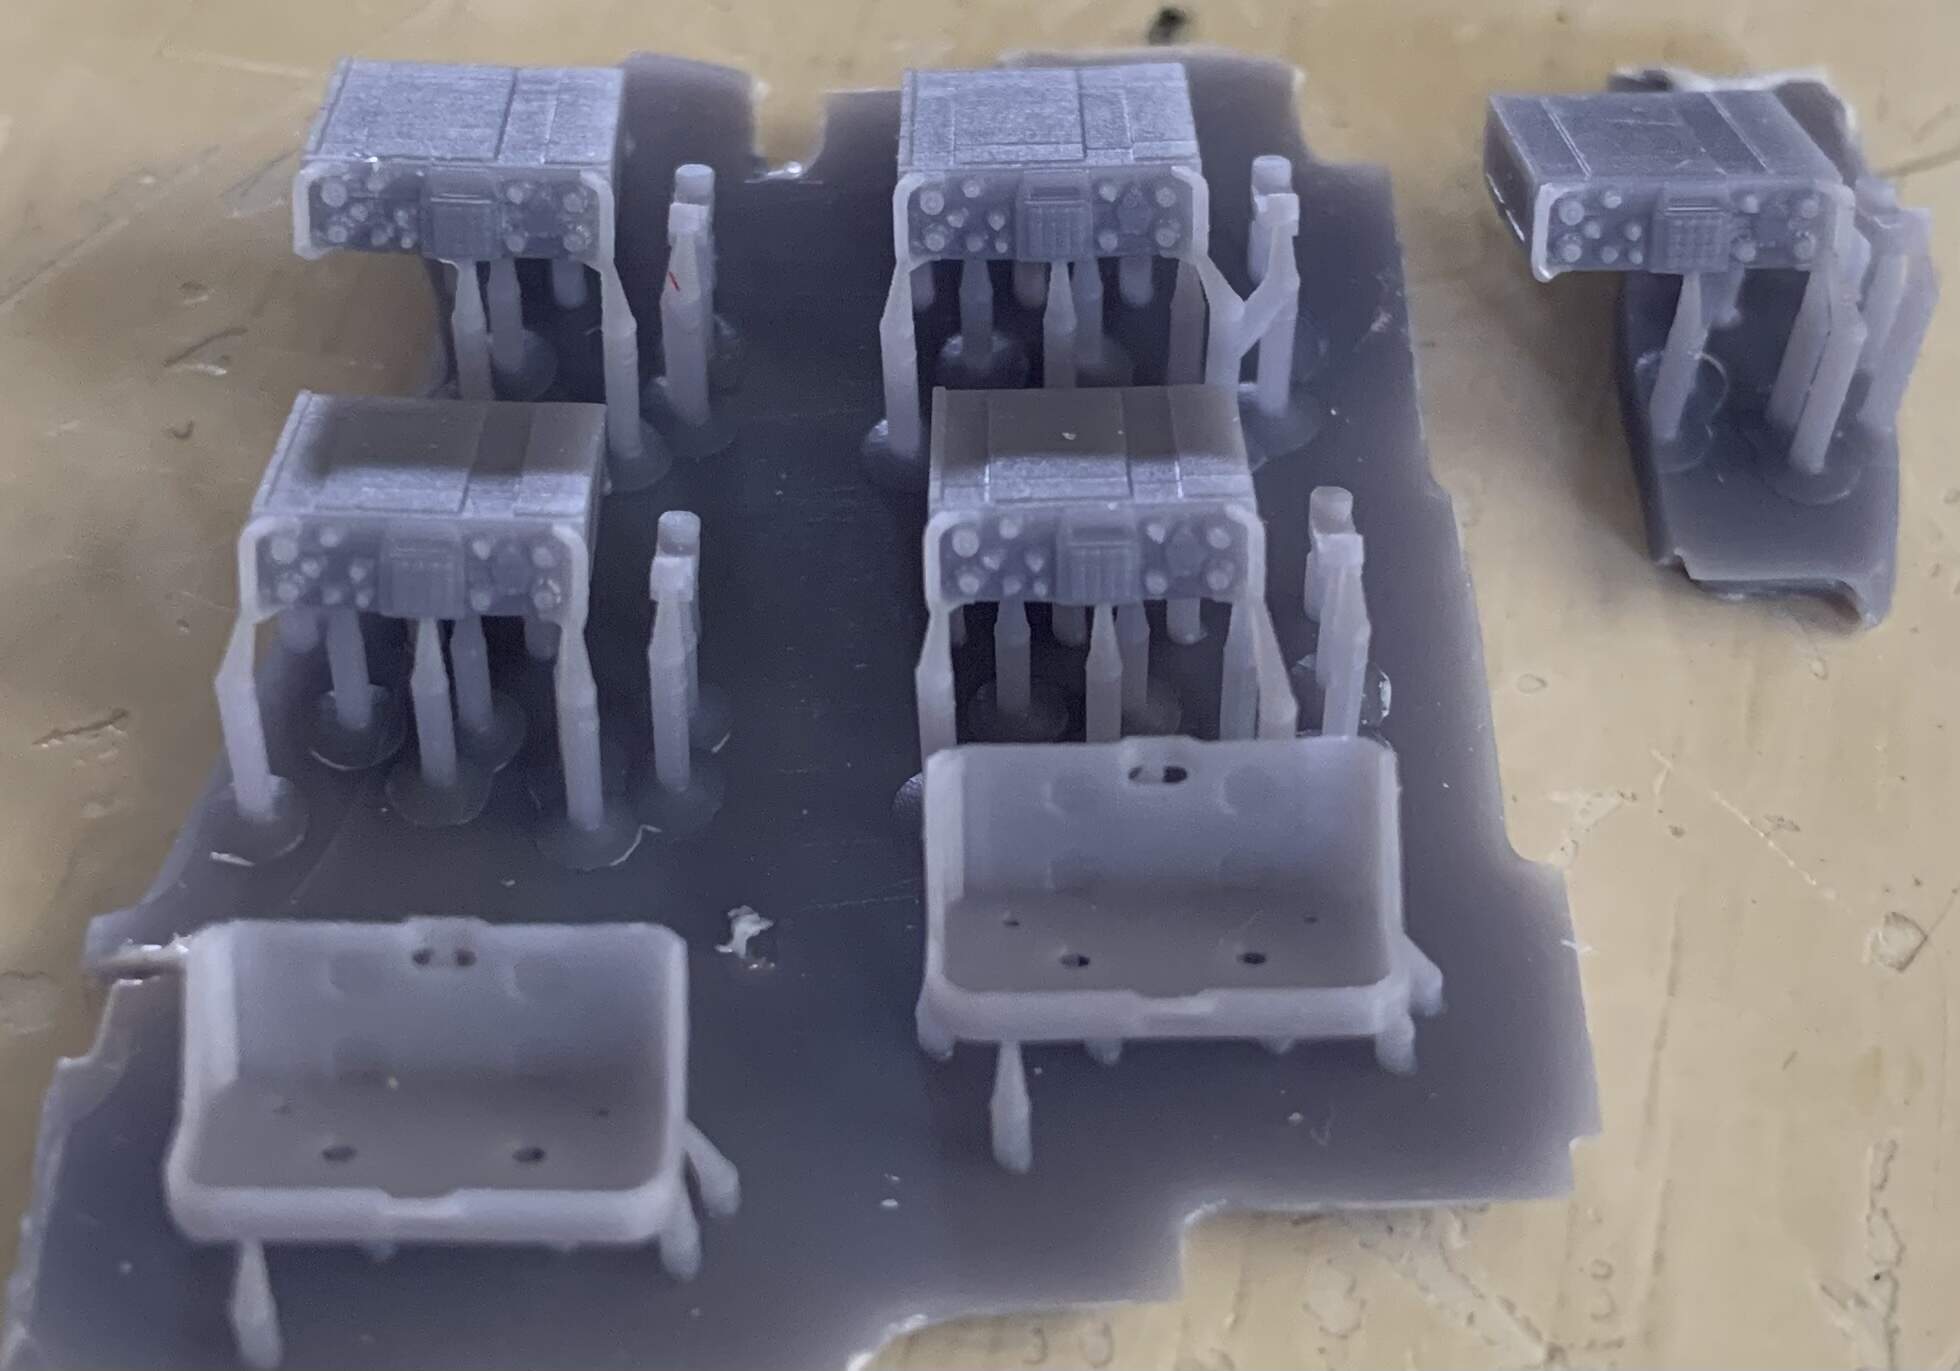
My radios for the shack from @Petition2God have arrived.
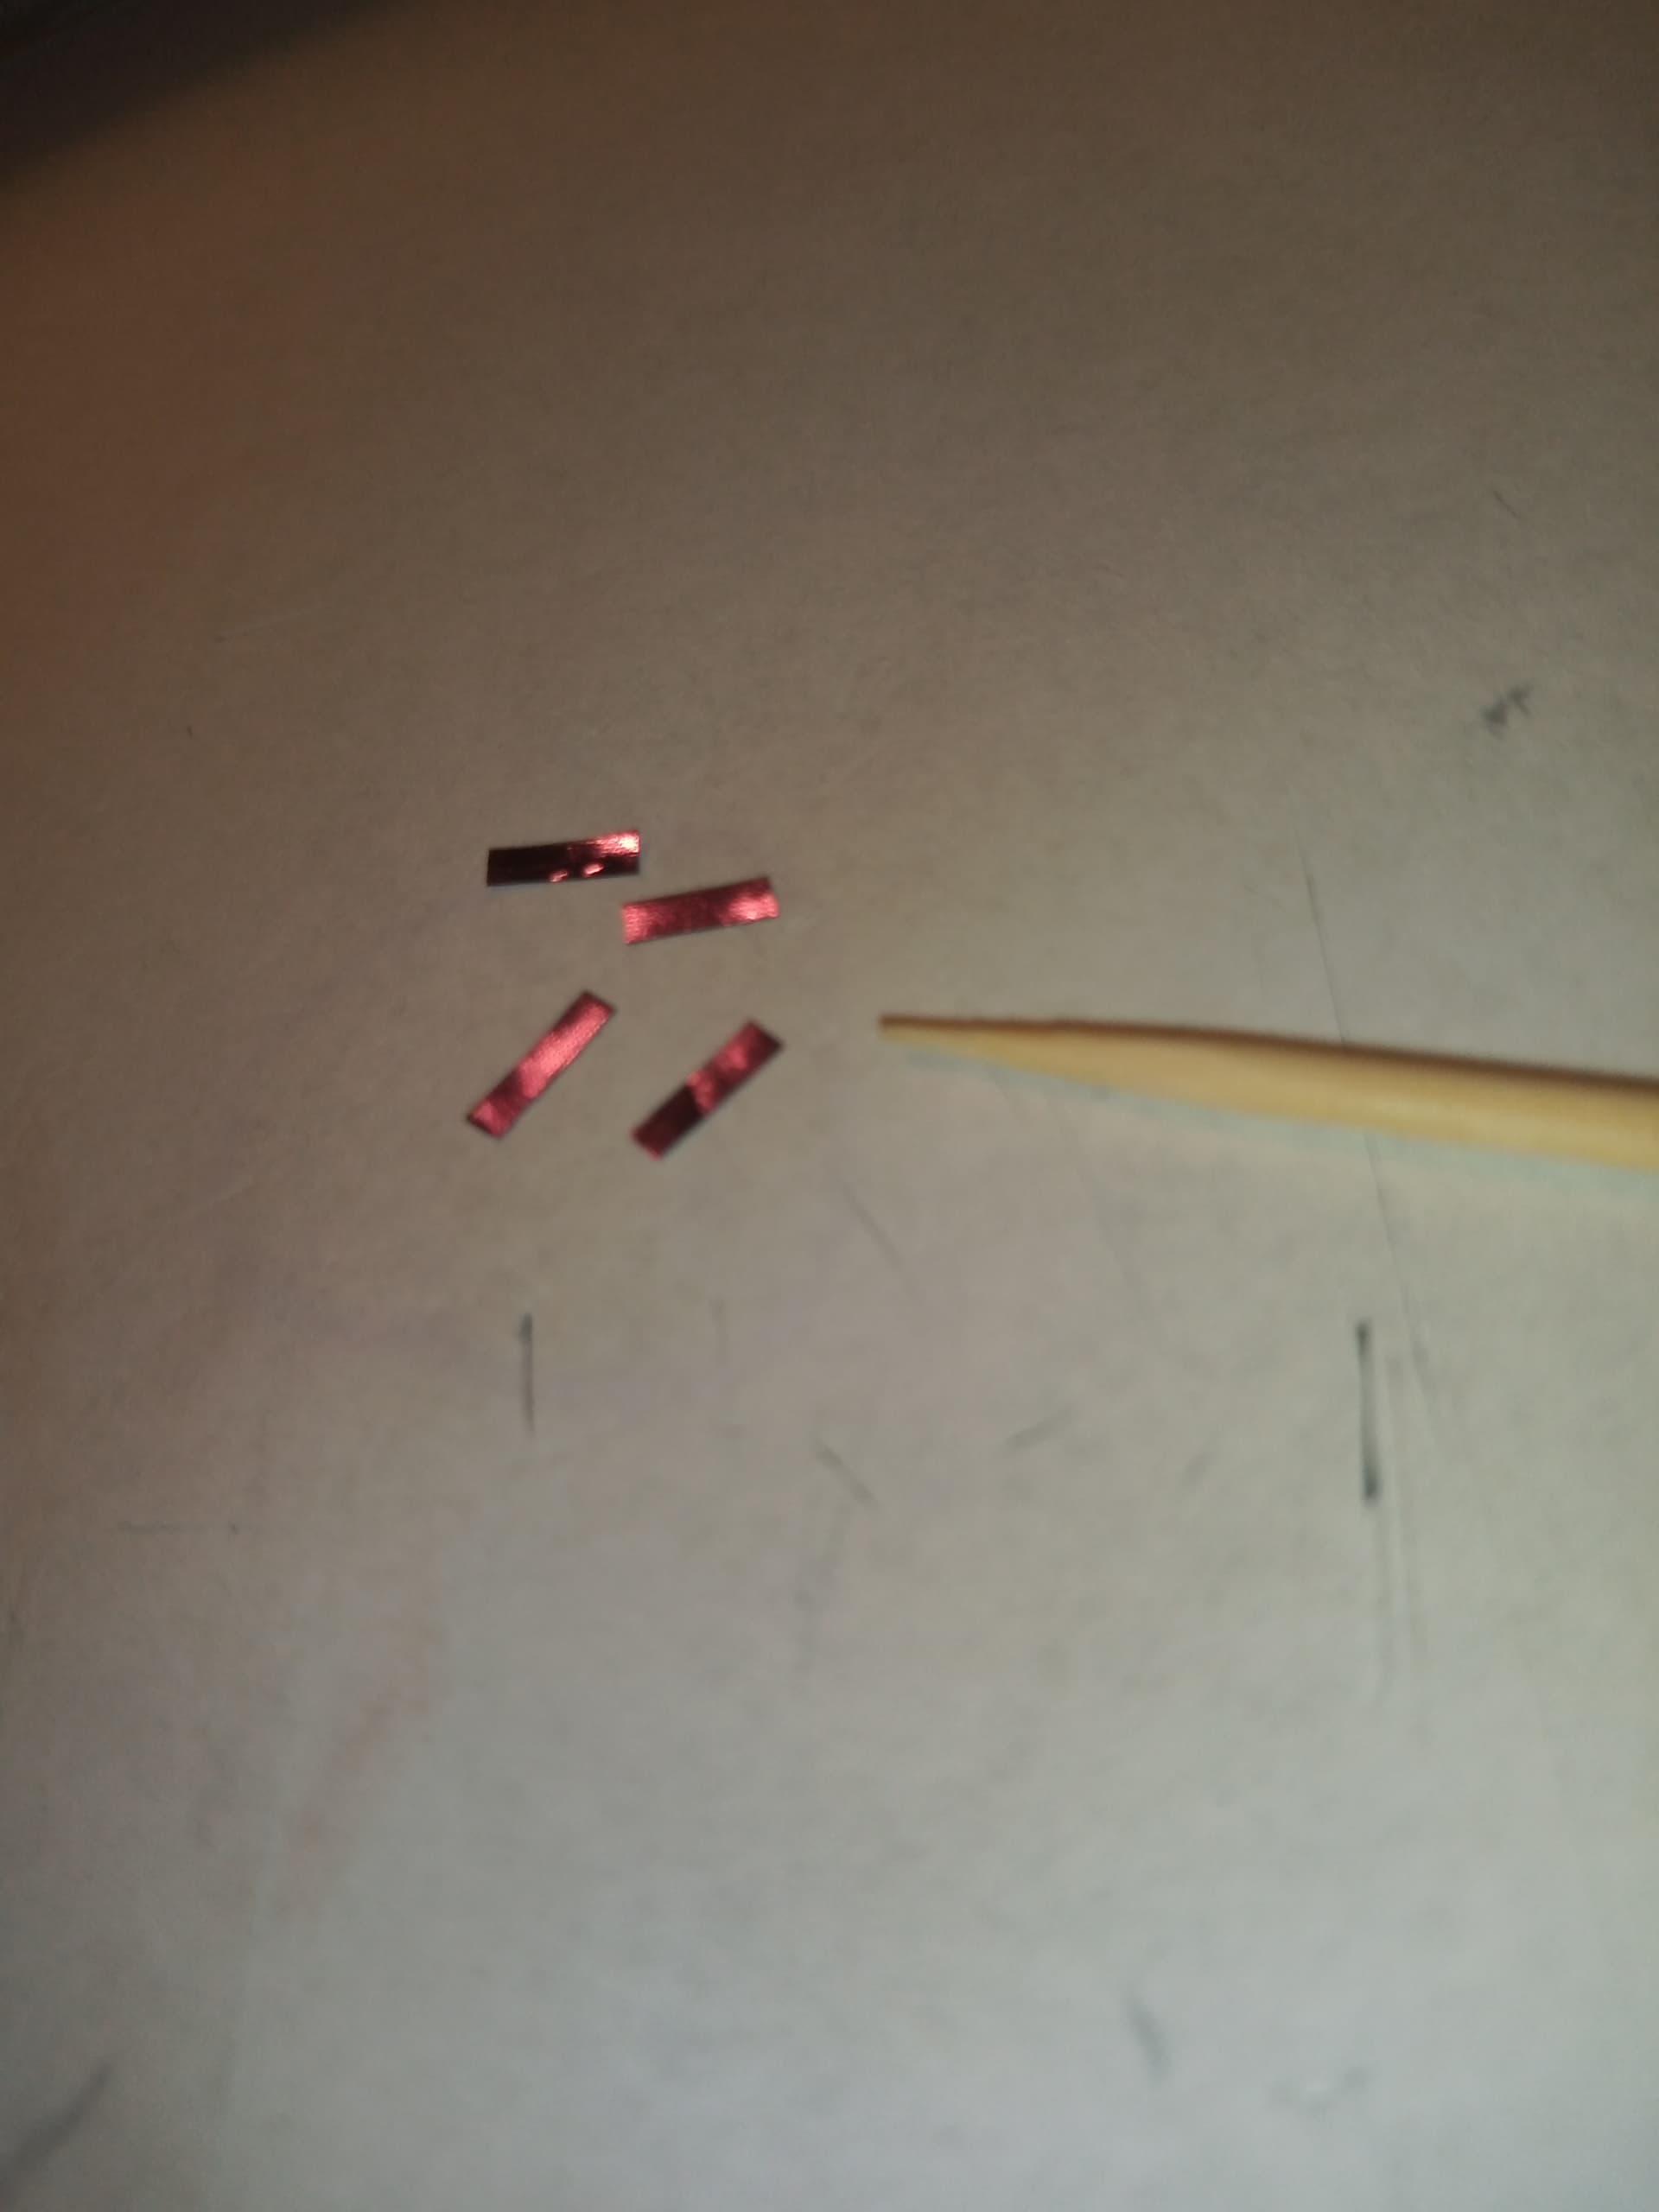
Radios means cables… And lots of them ![]()
Aren’t you just a ray of sunshine. ![]()
Thanks for the reminder.
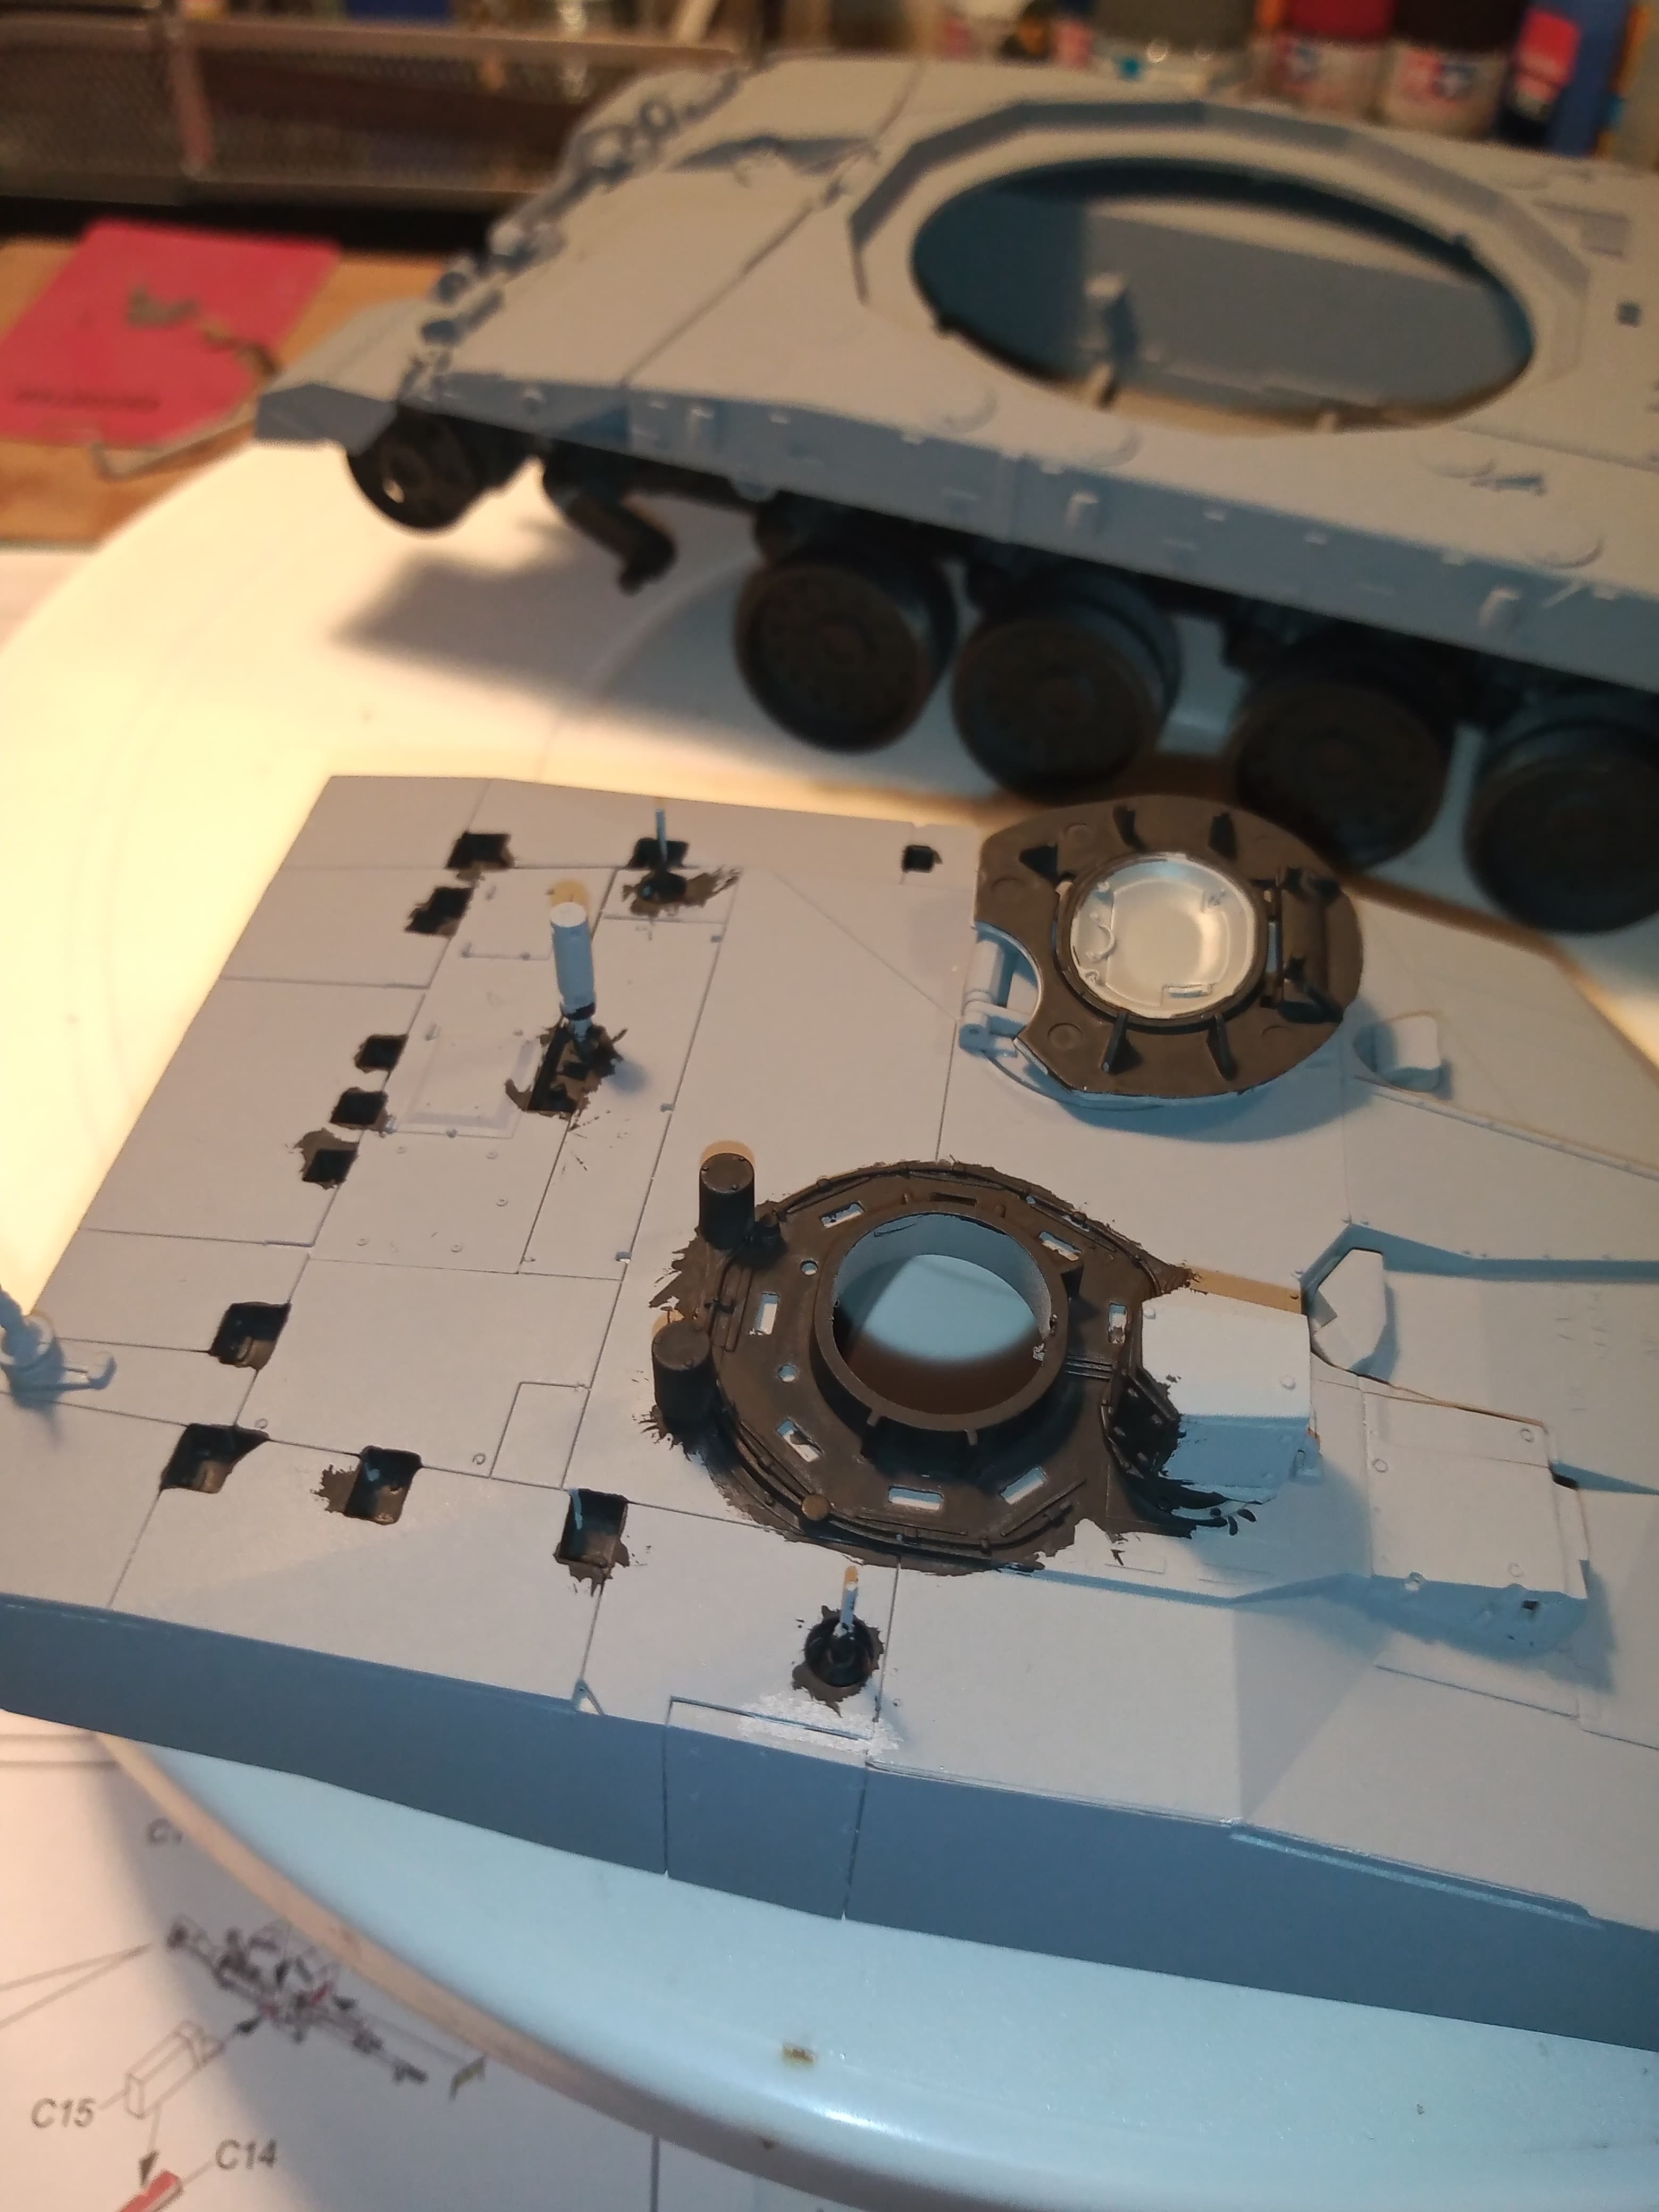
Was able to get a few bits done.
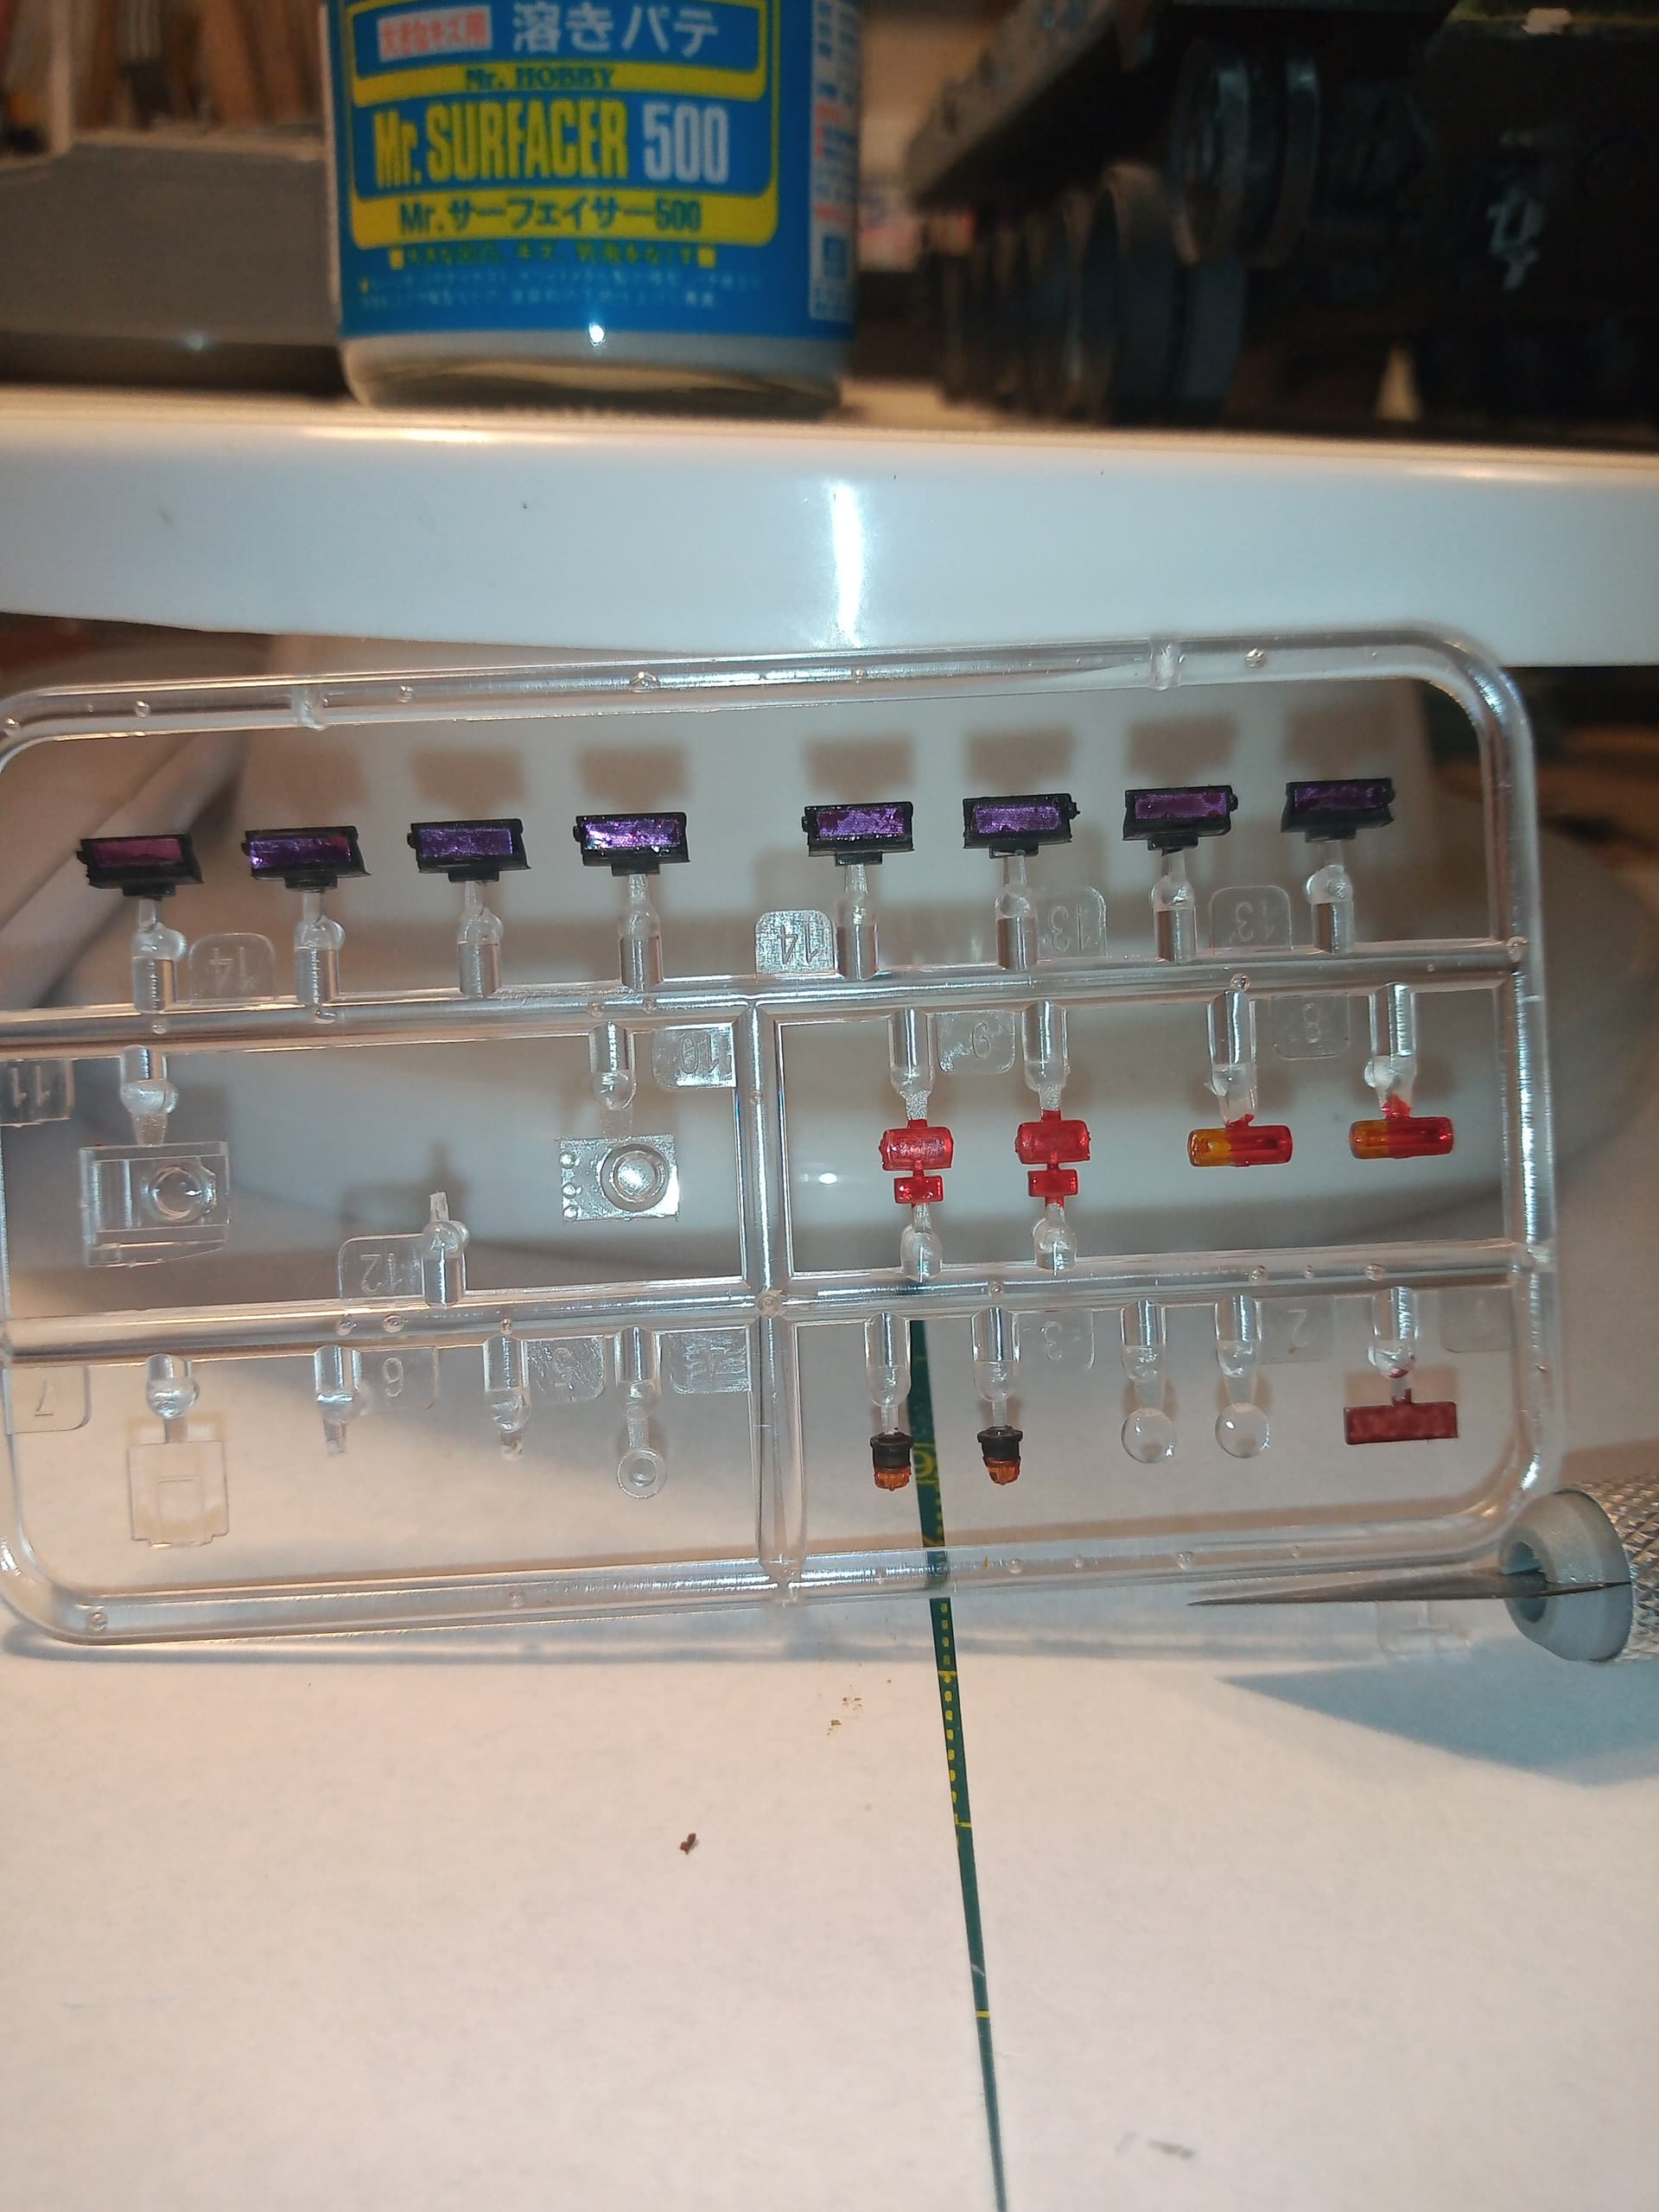
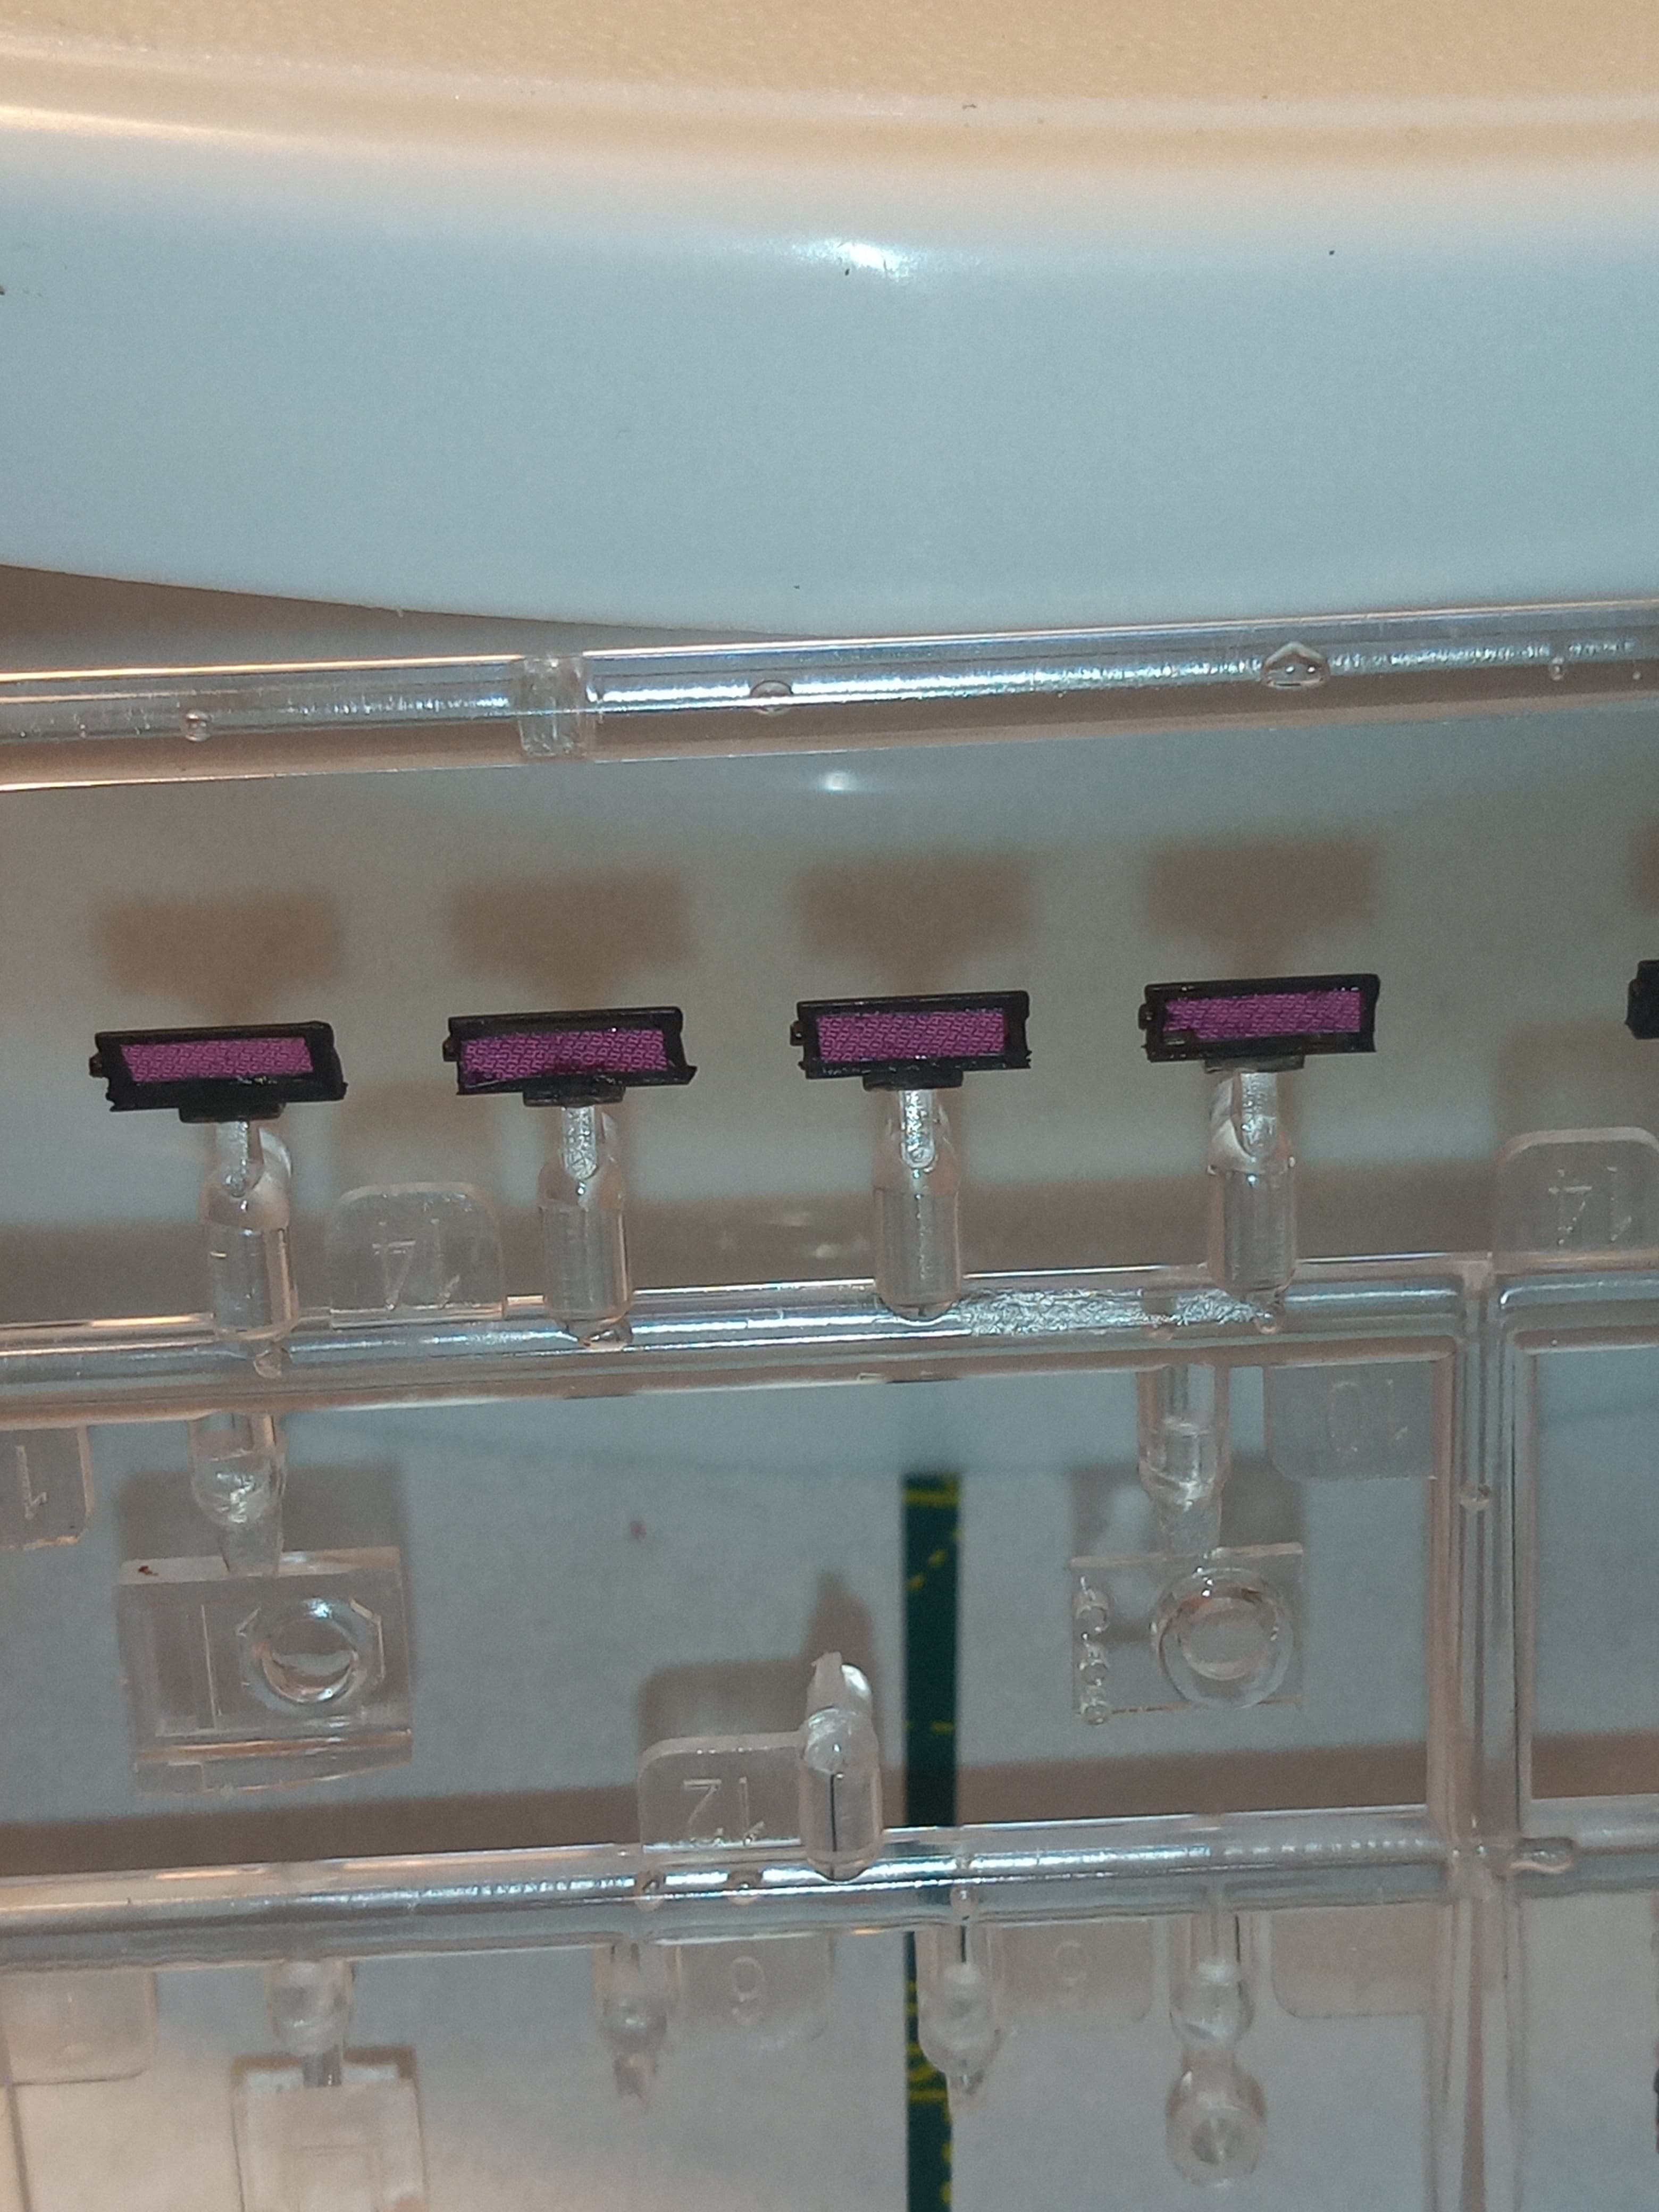
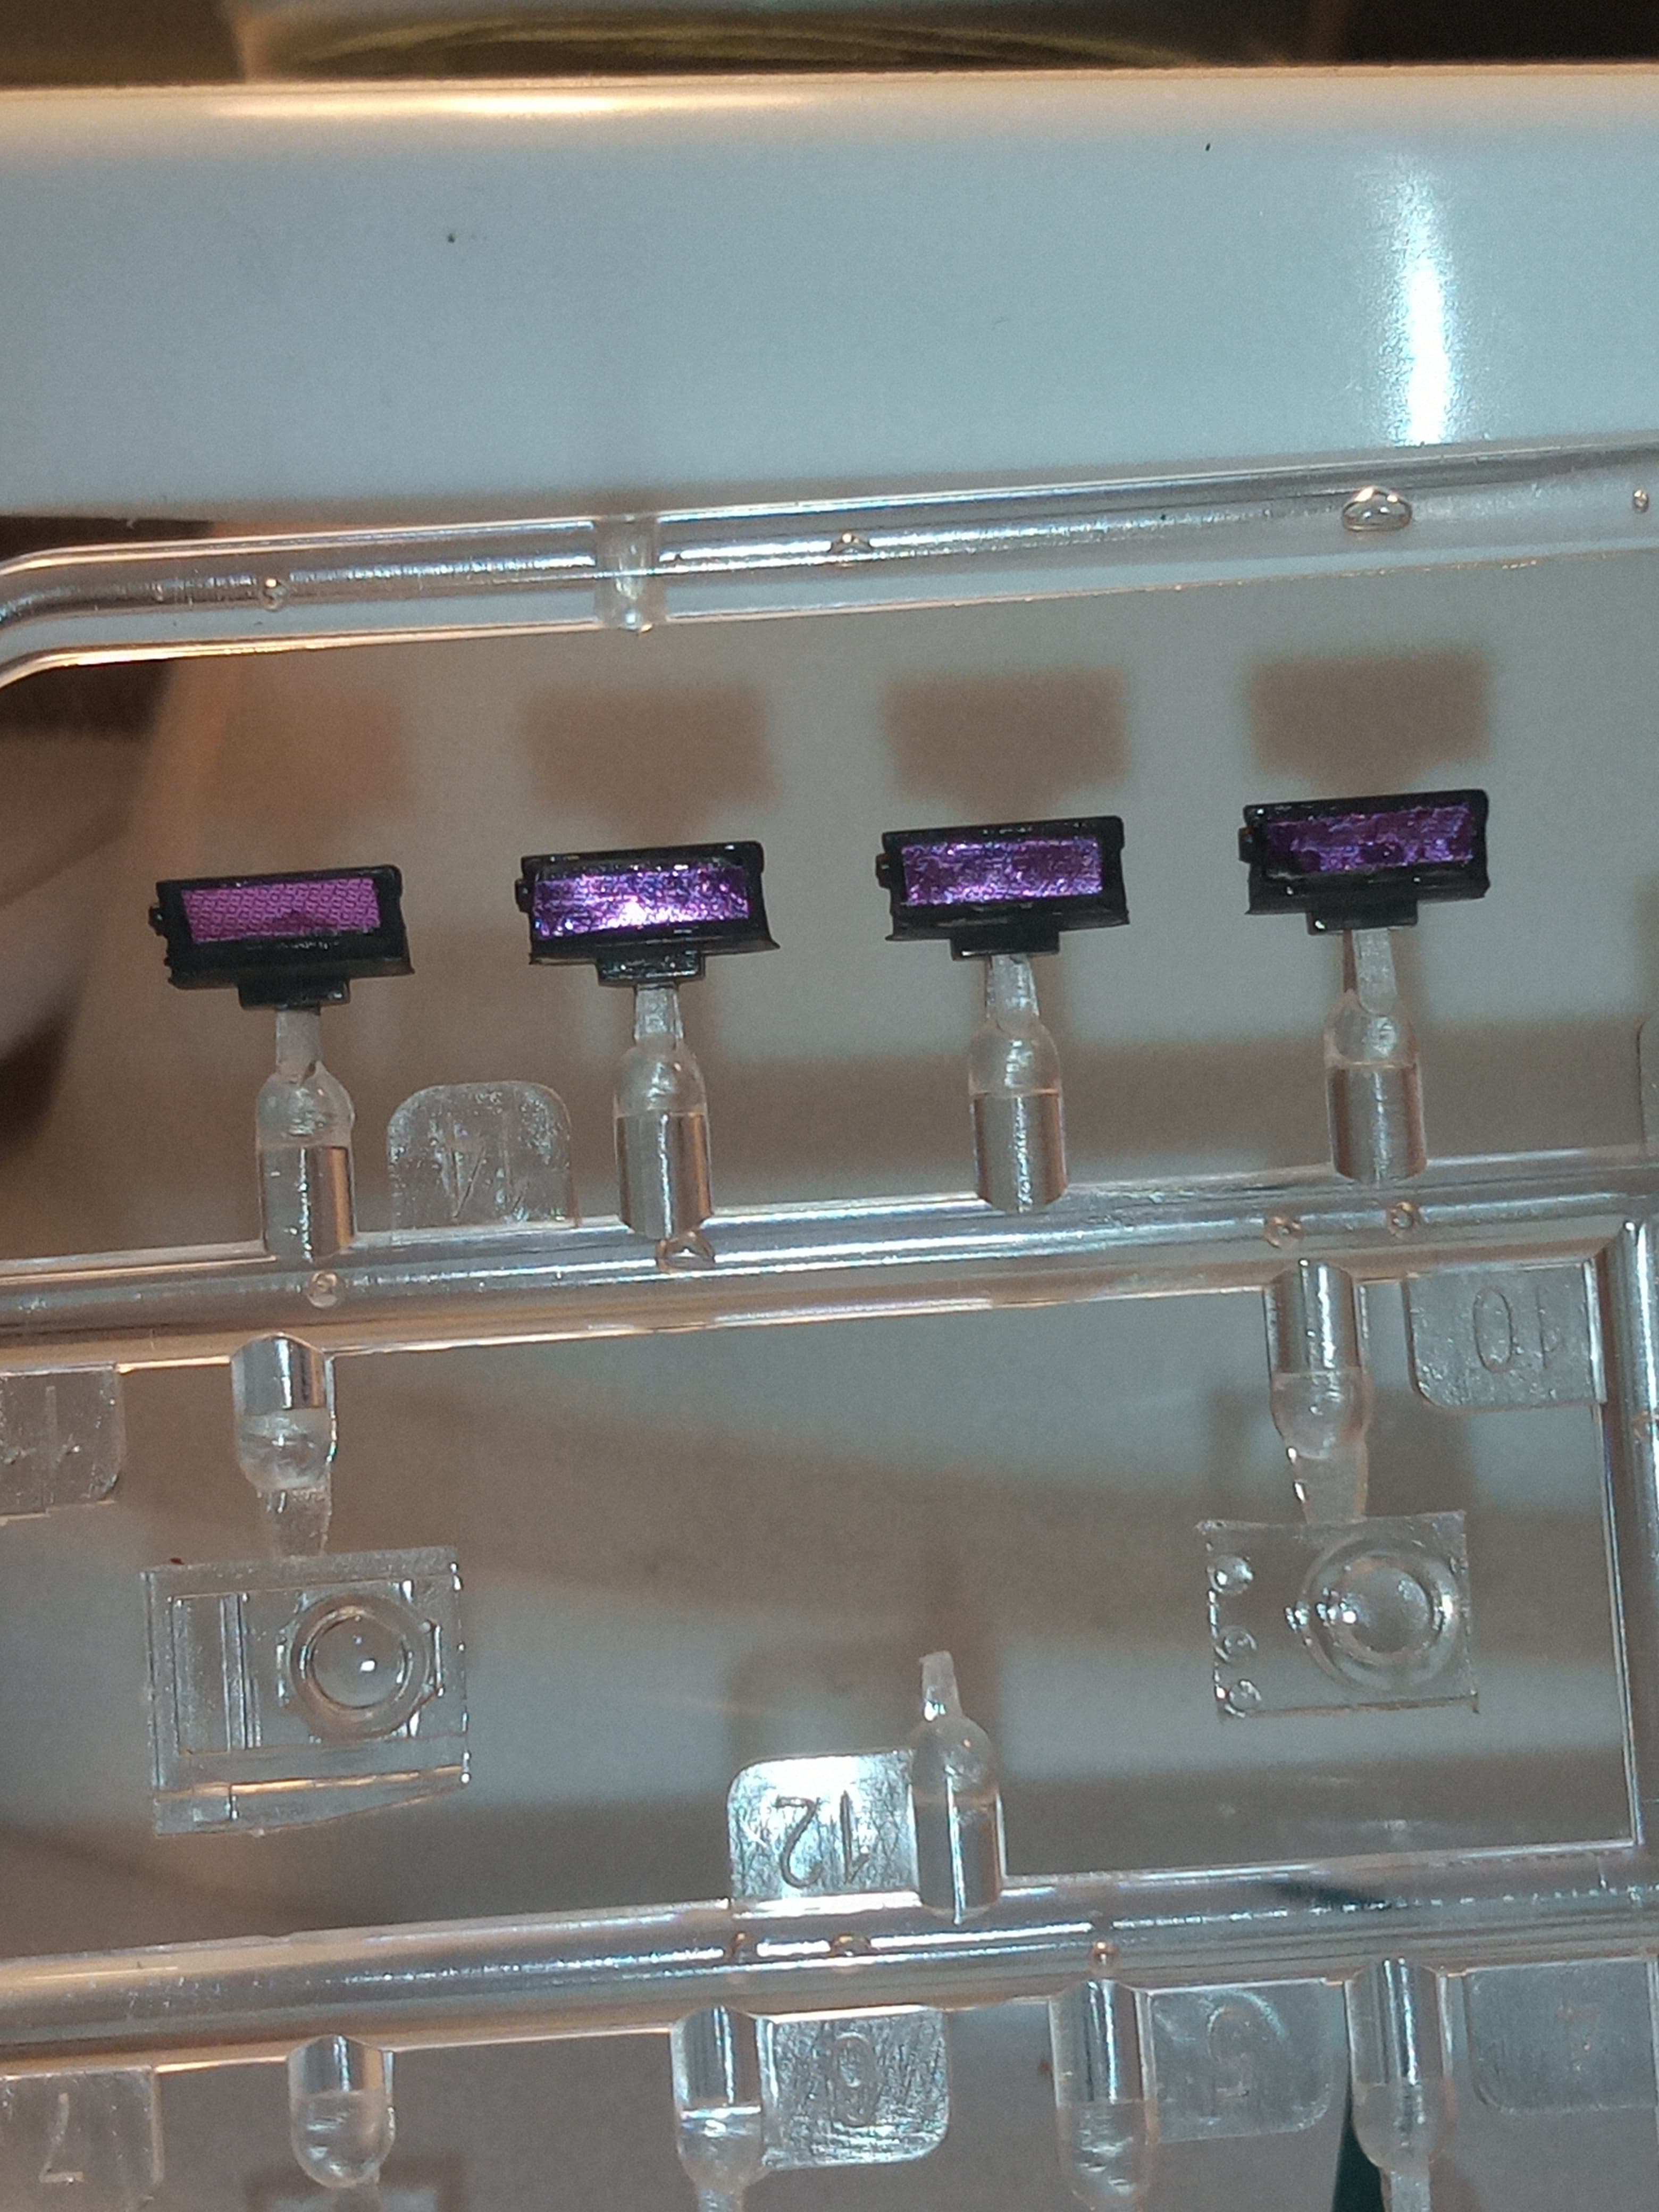
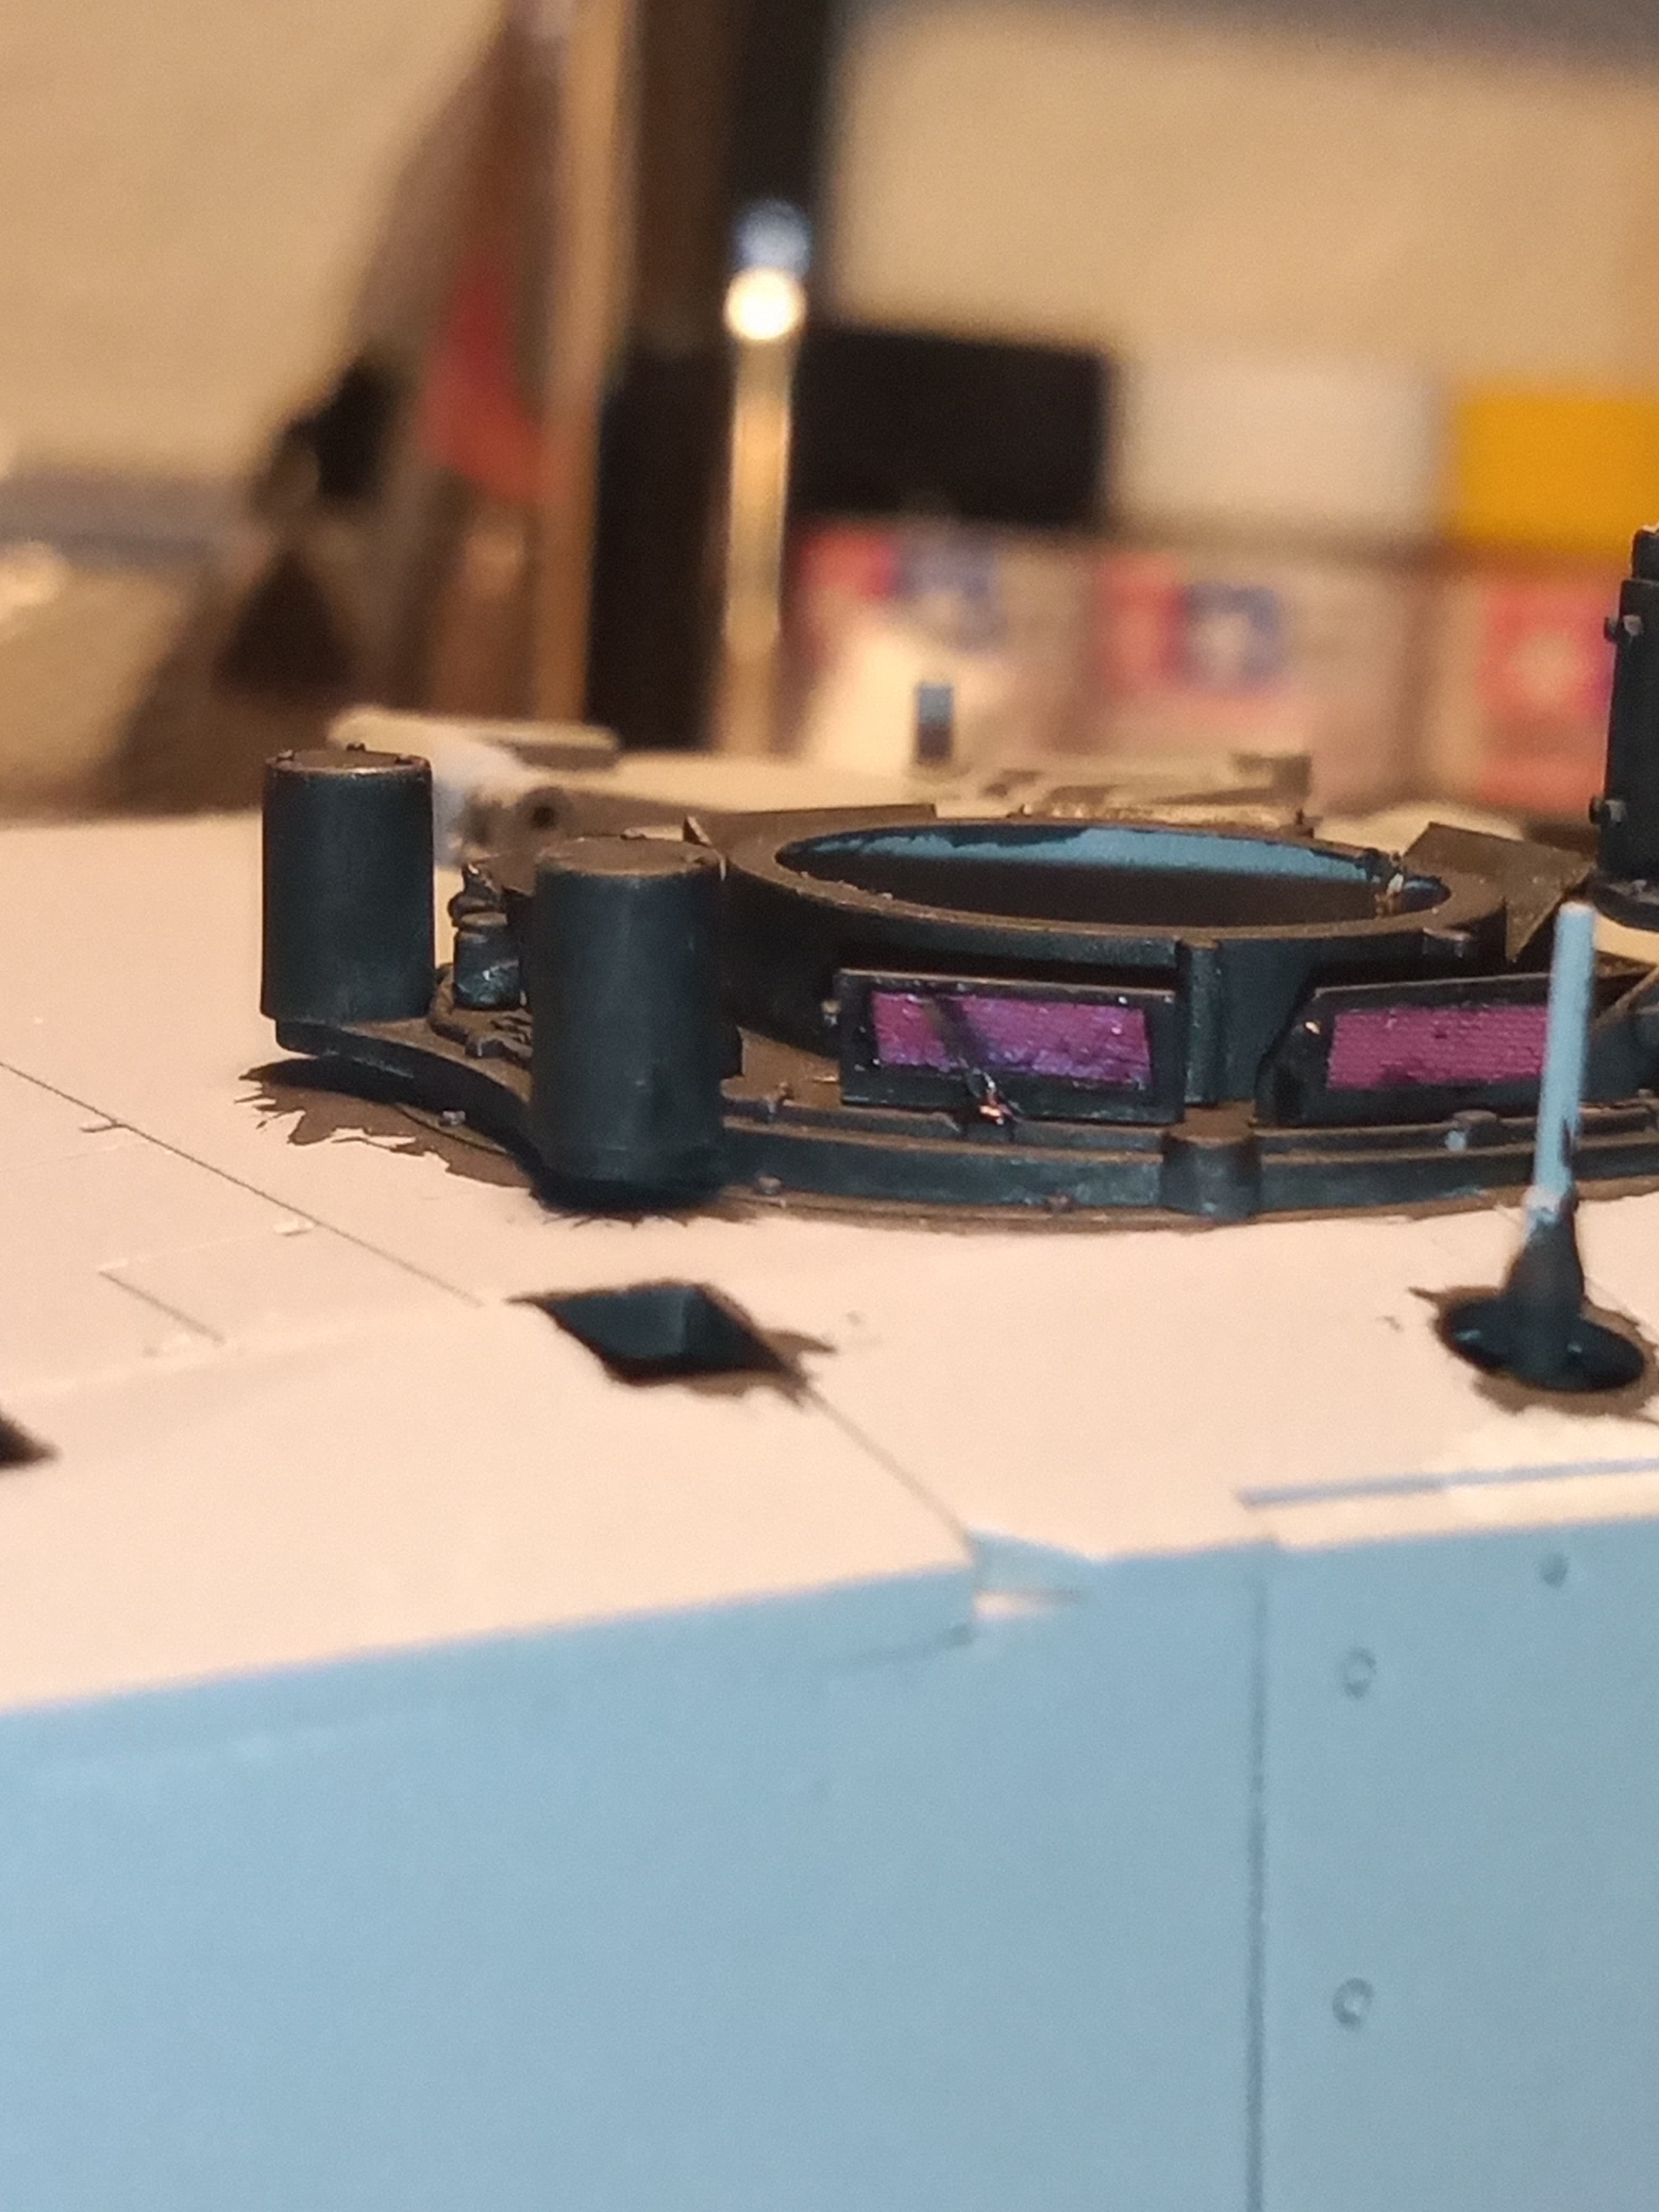
Thought it will be easier painting all the lights and clear parts on the sprue.
Also doing the Comd cupola vision blocks as well.
Painted them flat black and the lenses on the real ones have a purplish tint so… Back to my go to method… Confectionery wrapper ![]()
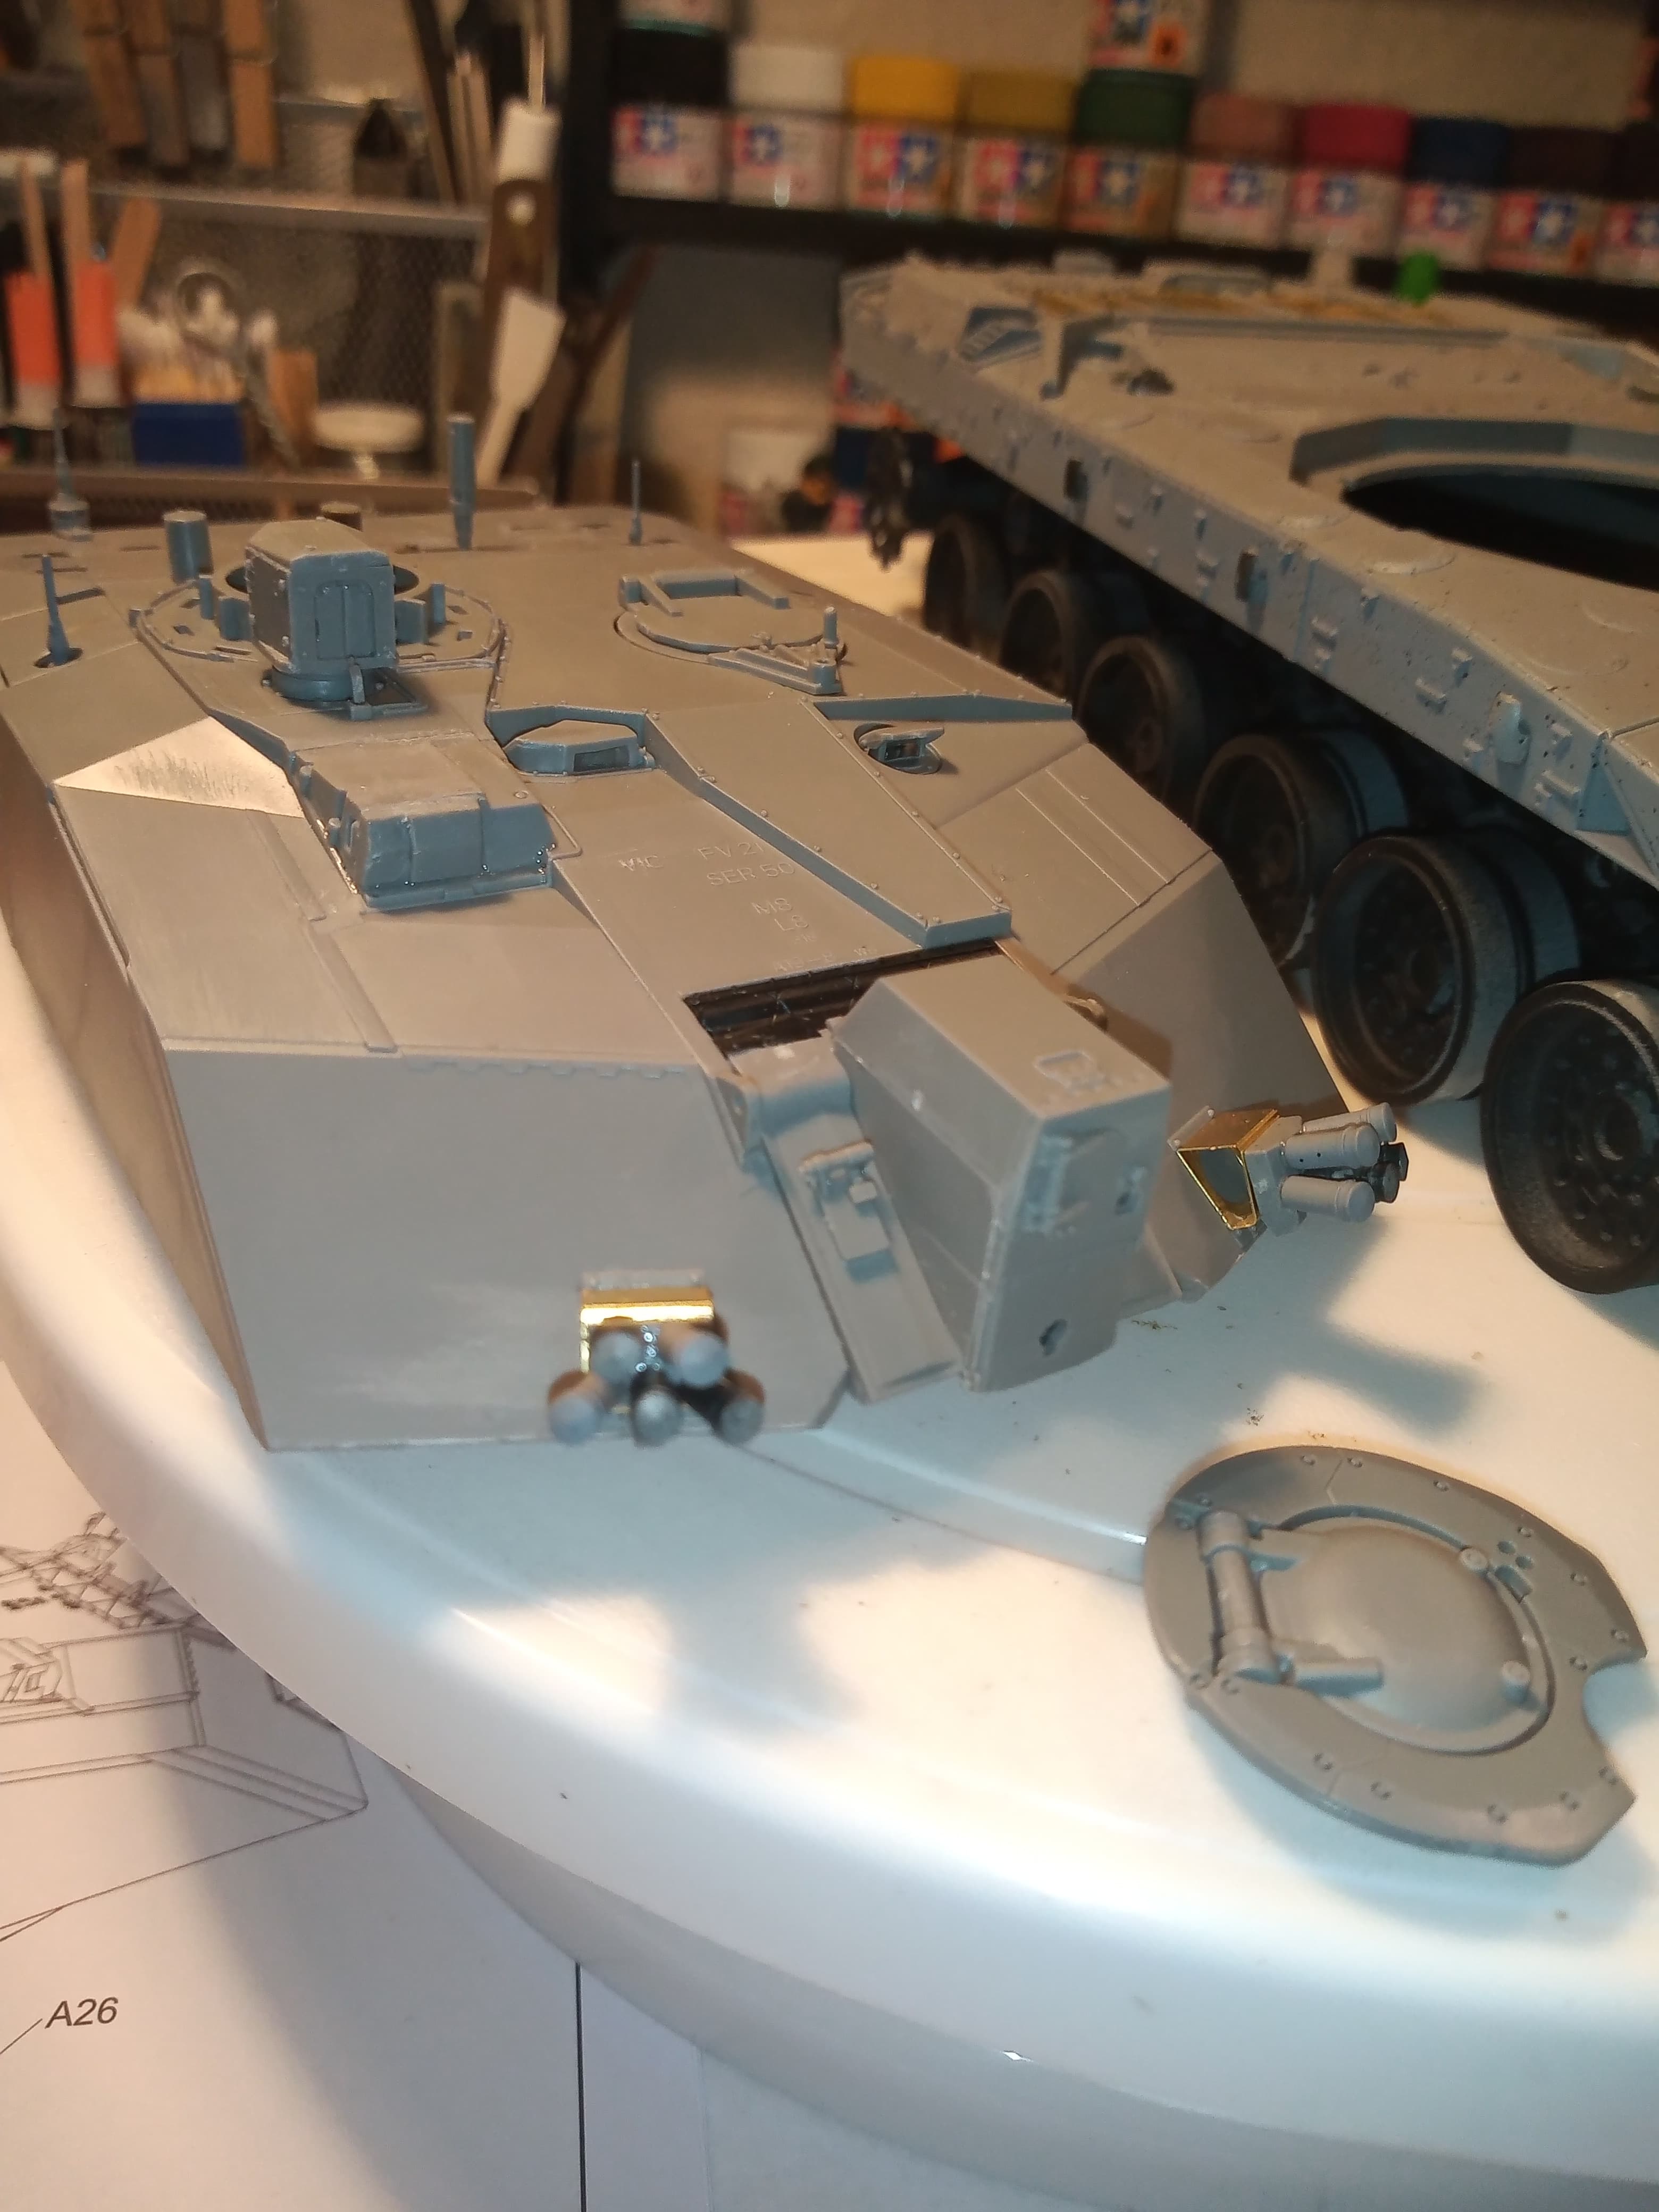
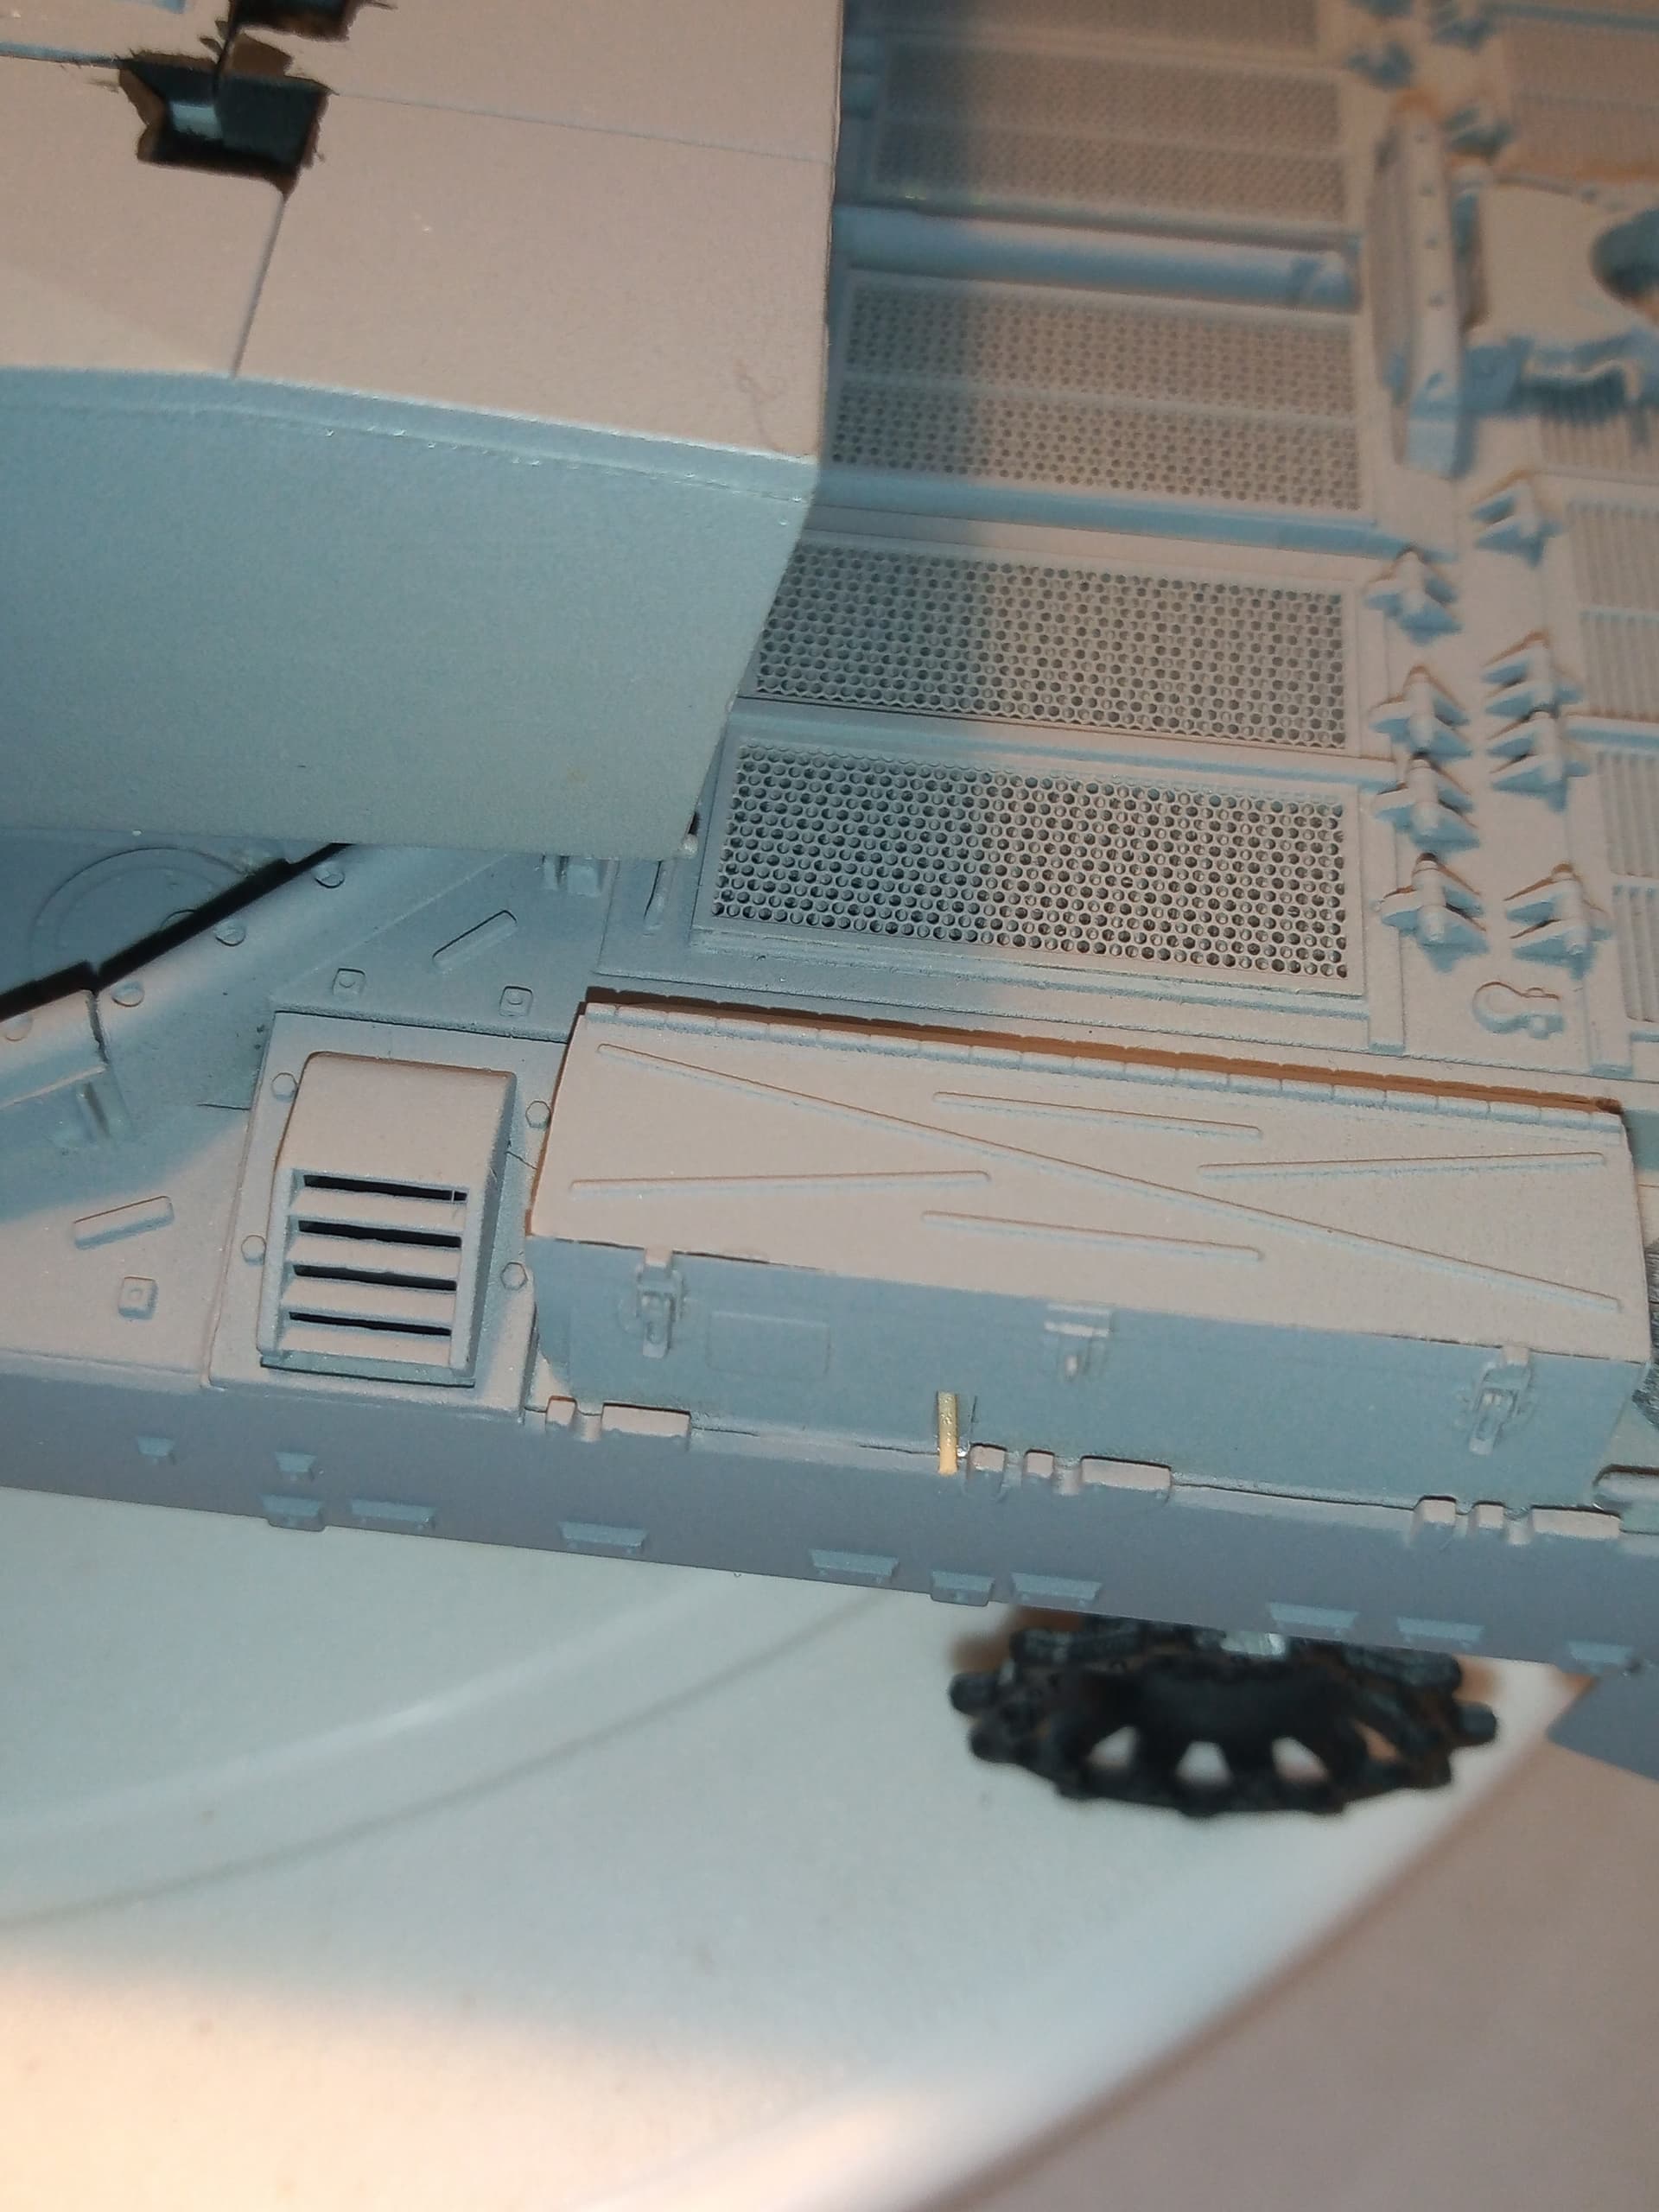
Most of the turret fittings are now on.
Did the MBSGDs and built the Comds cupola up, but won’t fit that till everything is primed and painted so will paint that inner area where the blocks go by brush.
And the hull less recovery ropes which I will make using spares from the old cables I have laying around.
Lol… Aren’t I just ![]()
![]()
![]()
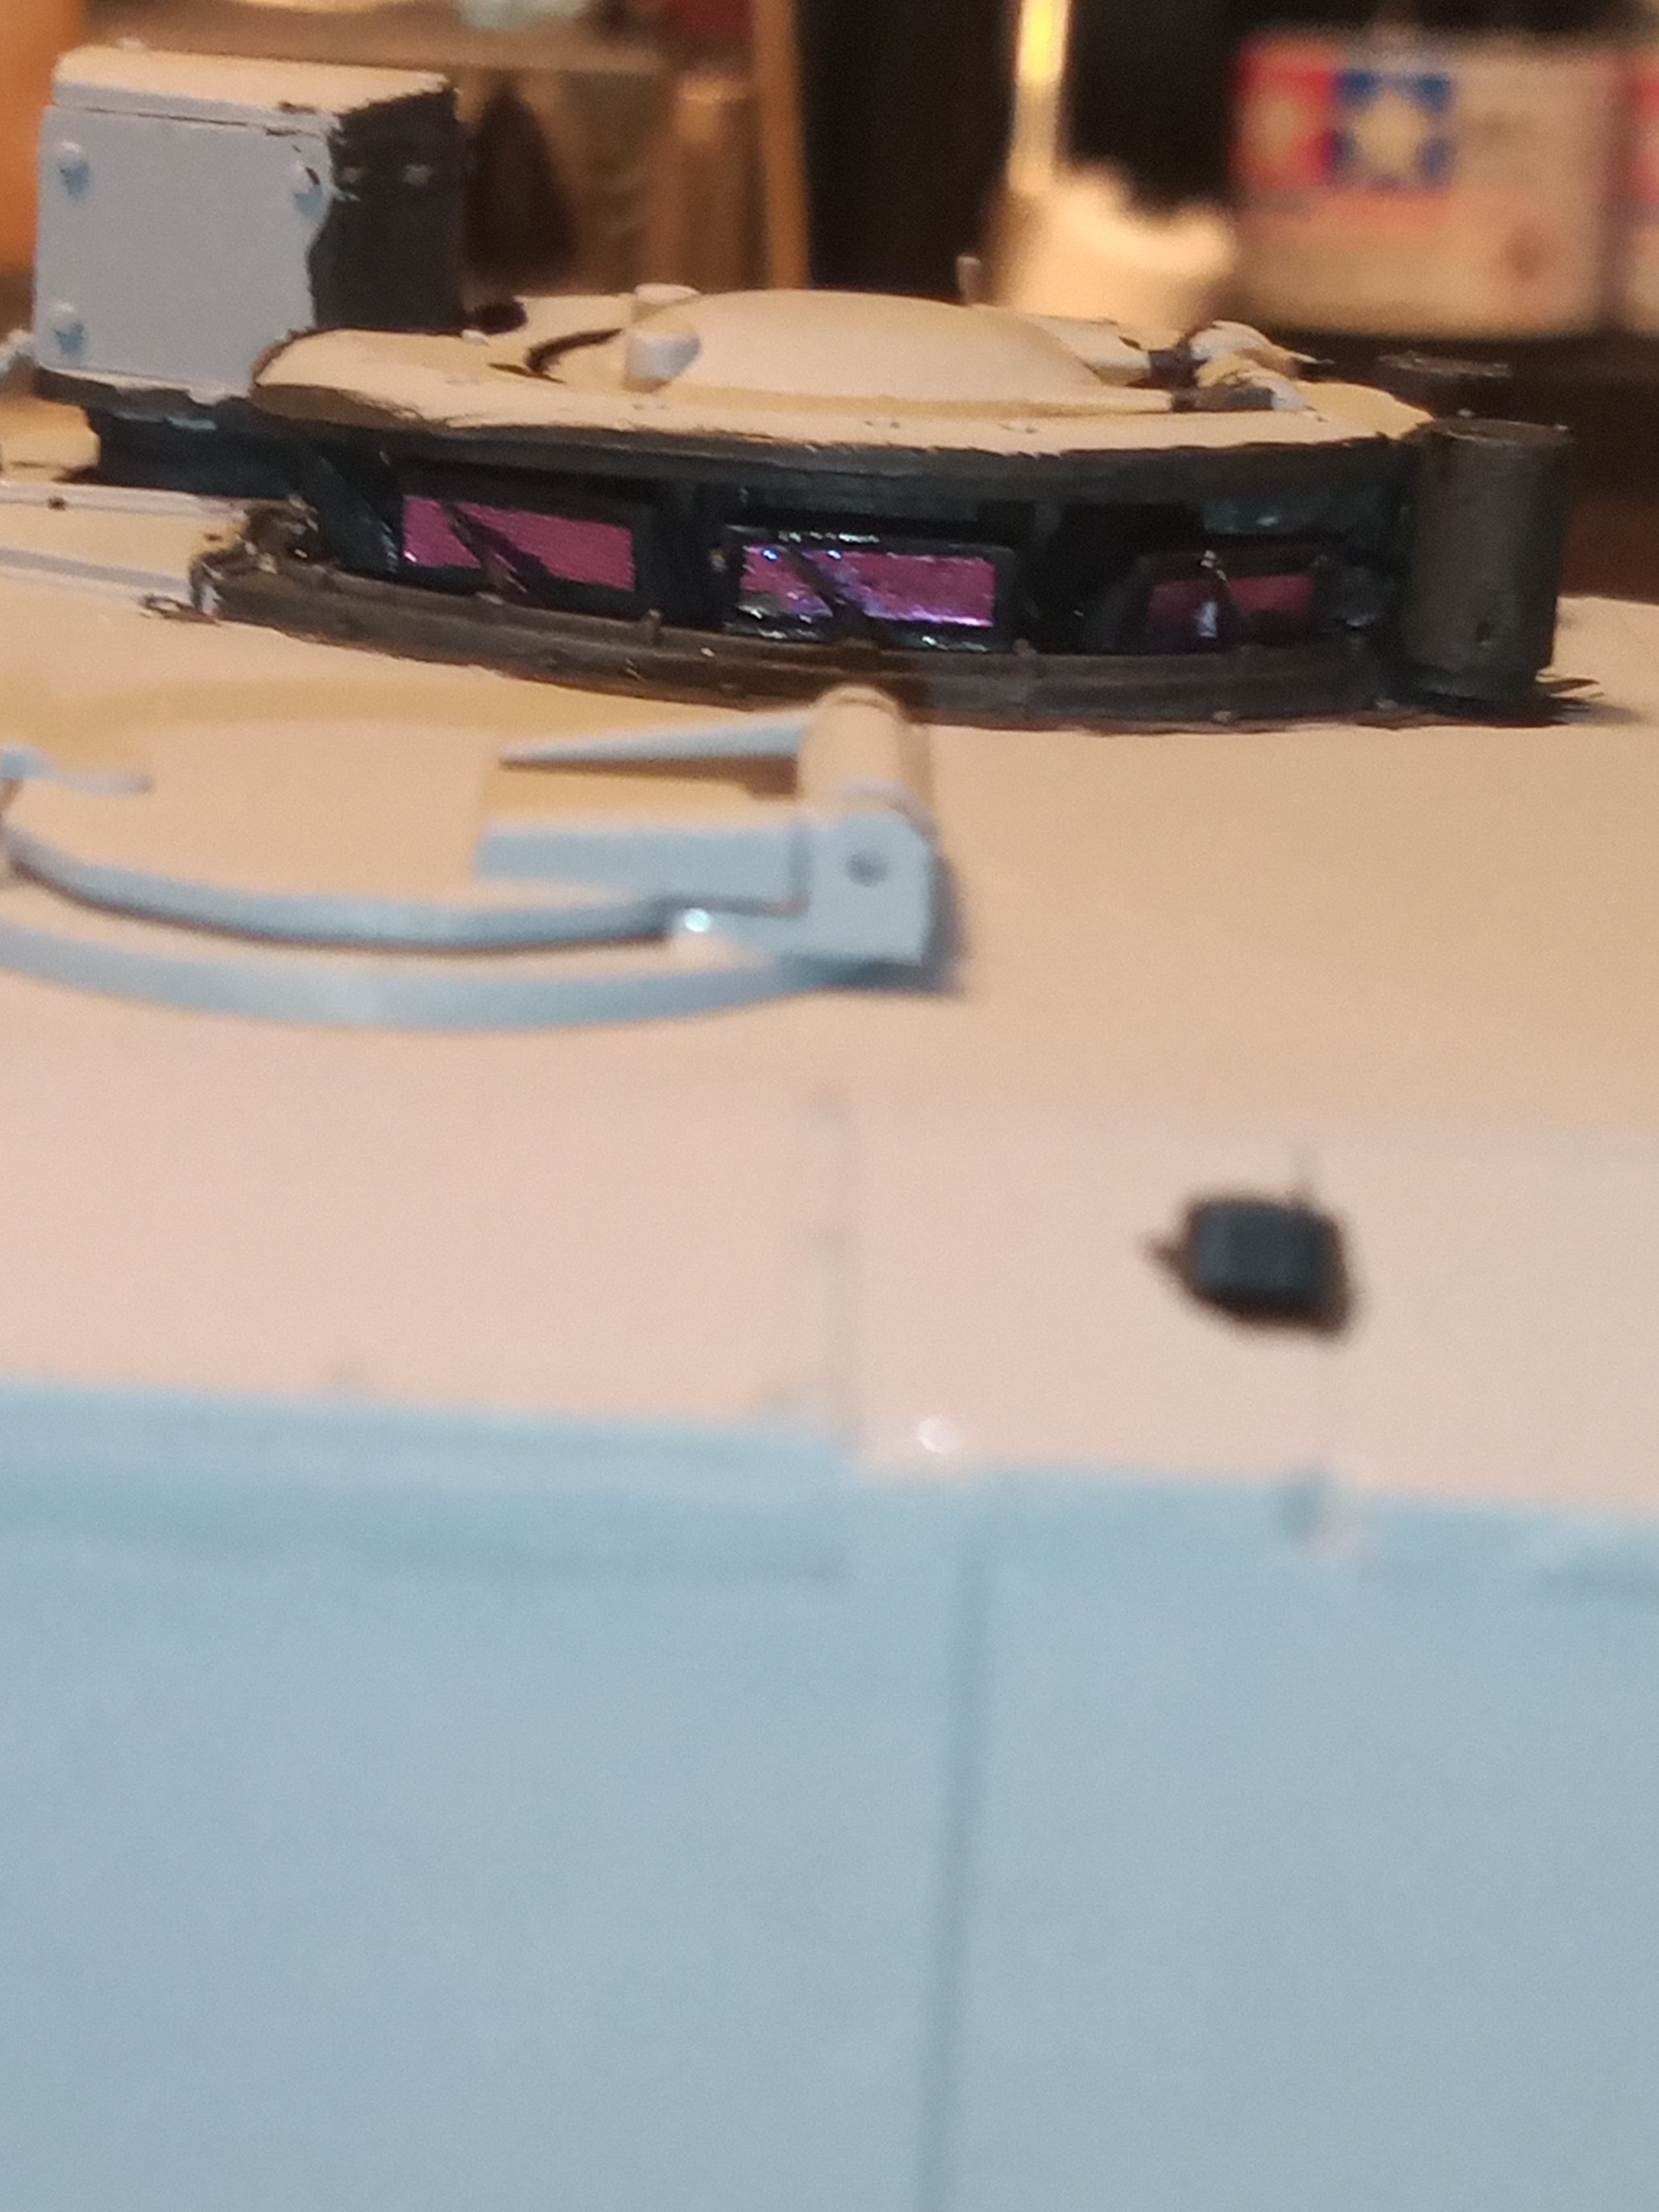
Yeah John you’re just a laugh a minute. But your Challenger is coming out Aces. Your detailing is impeccable. I love those vision blocks - perfect look.
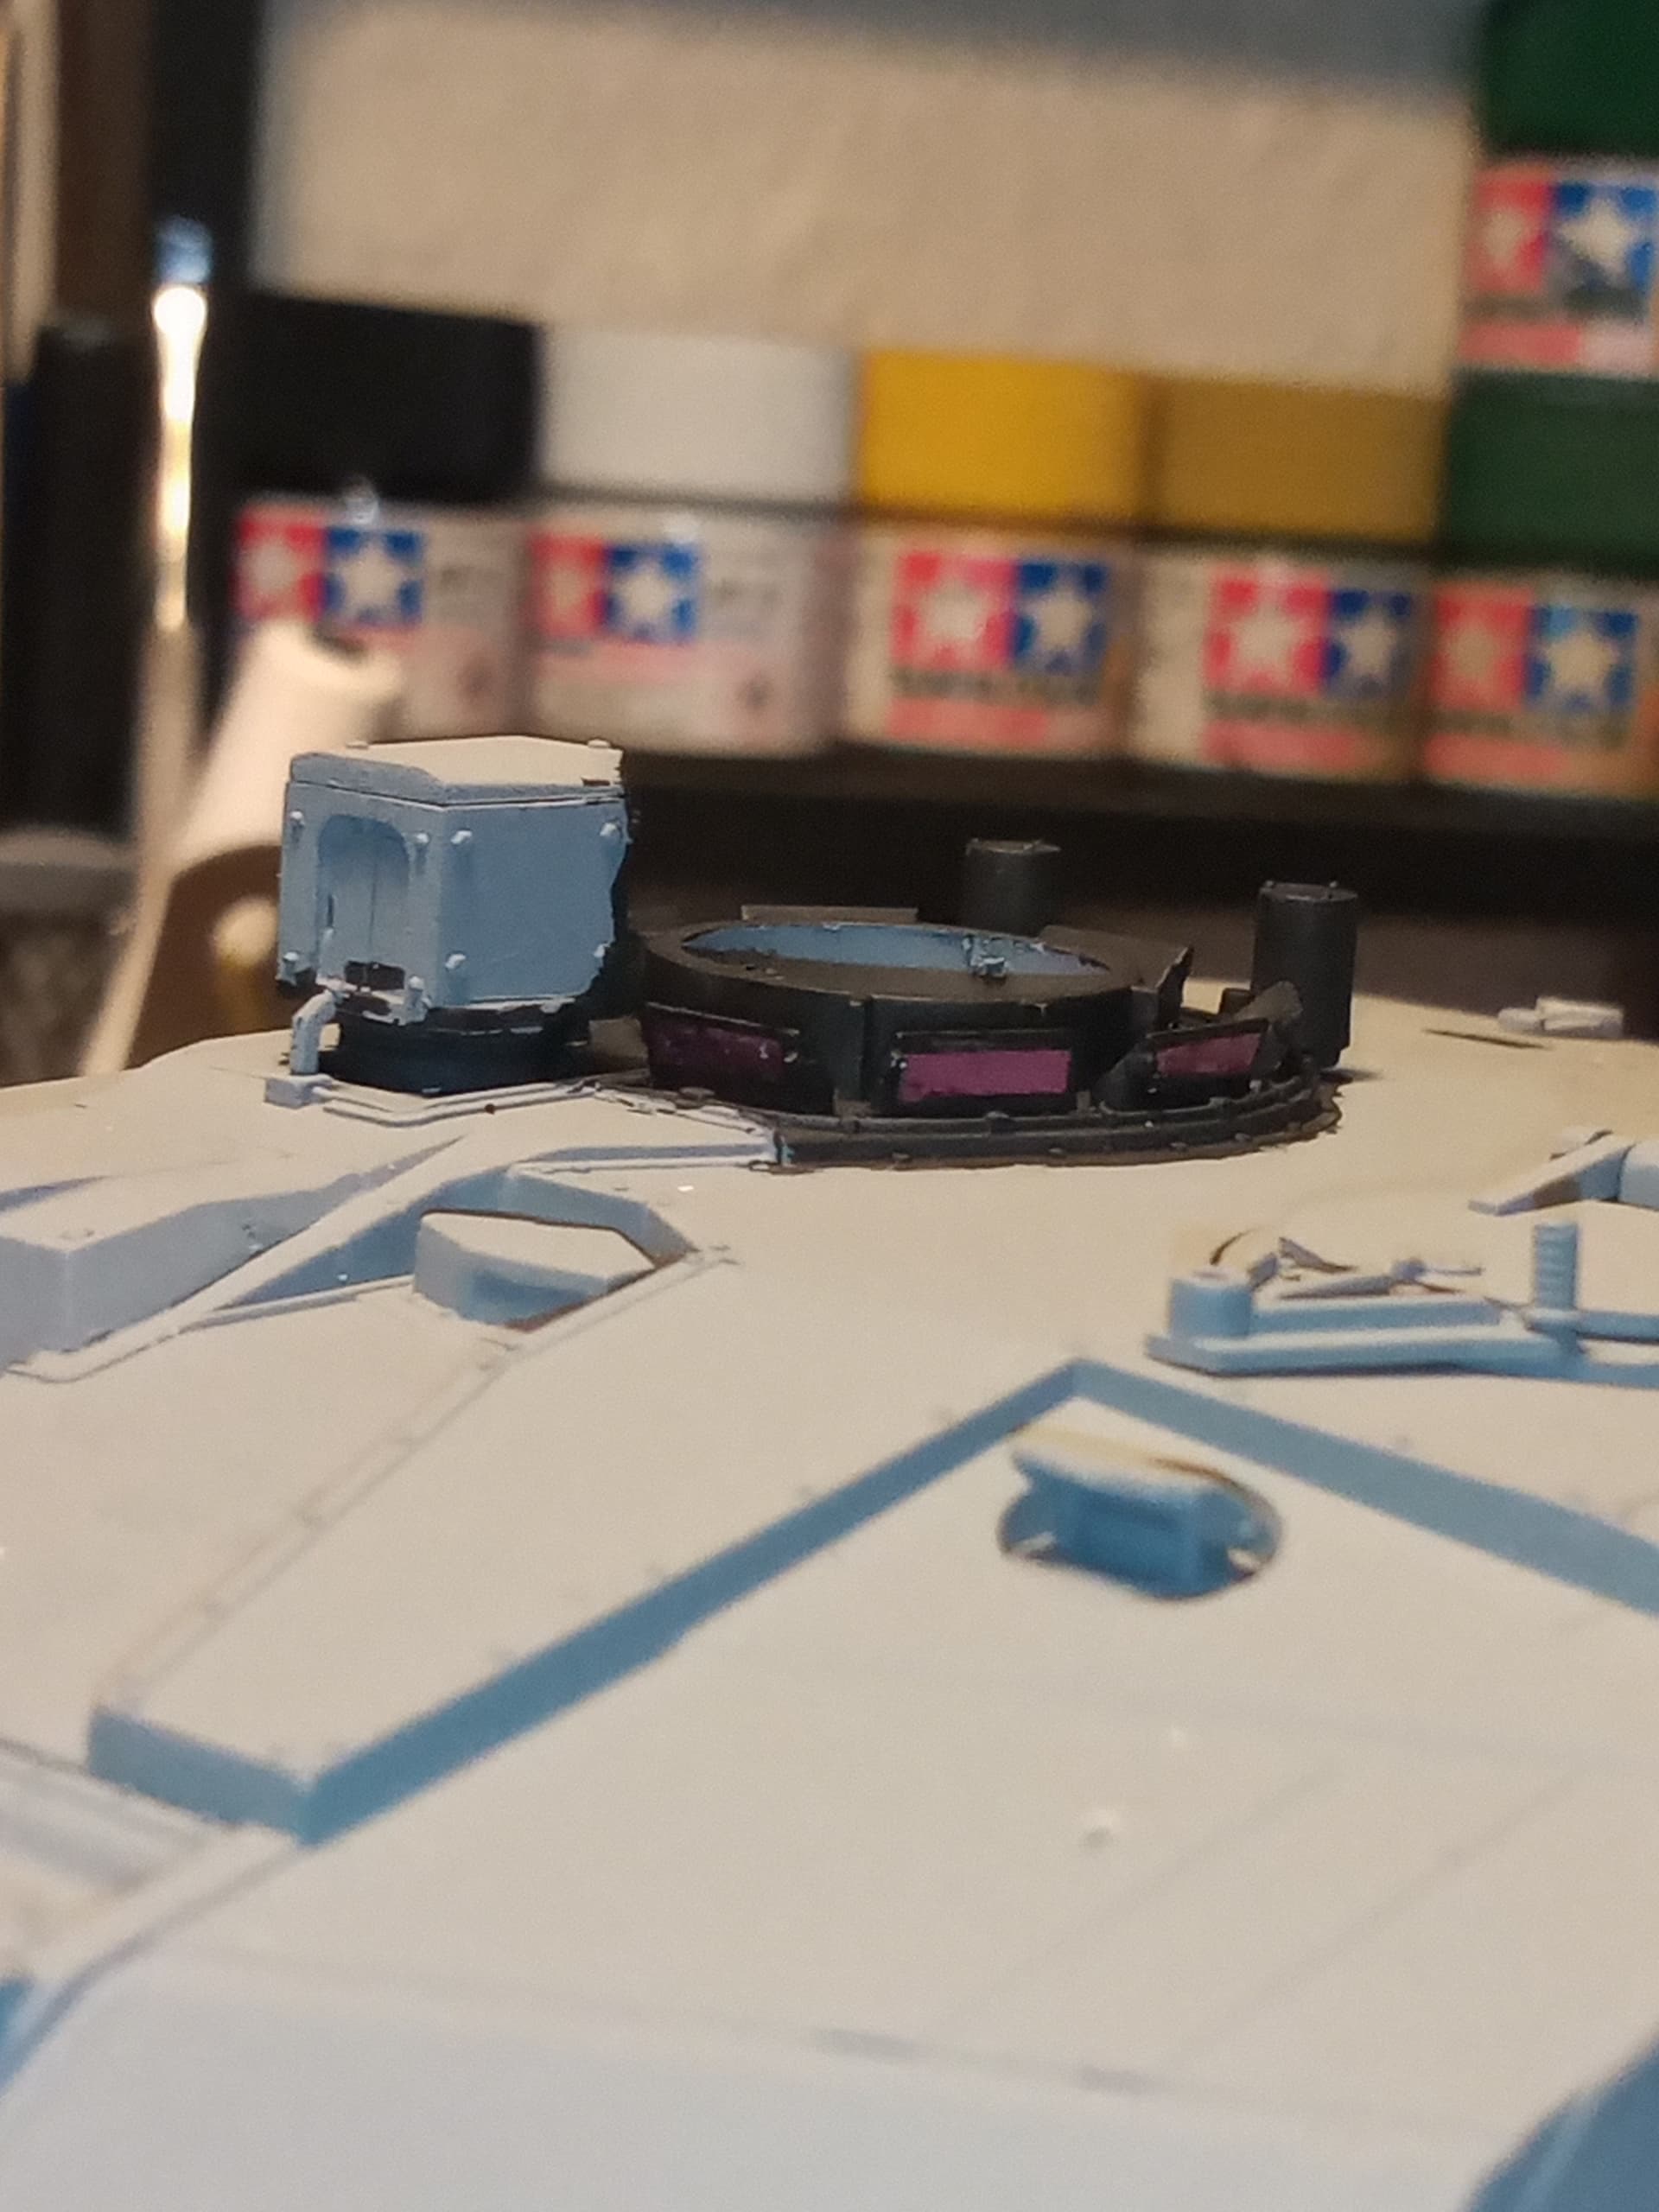
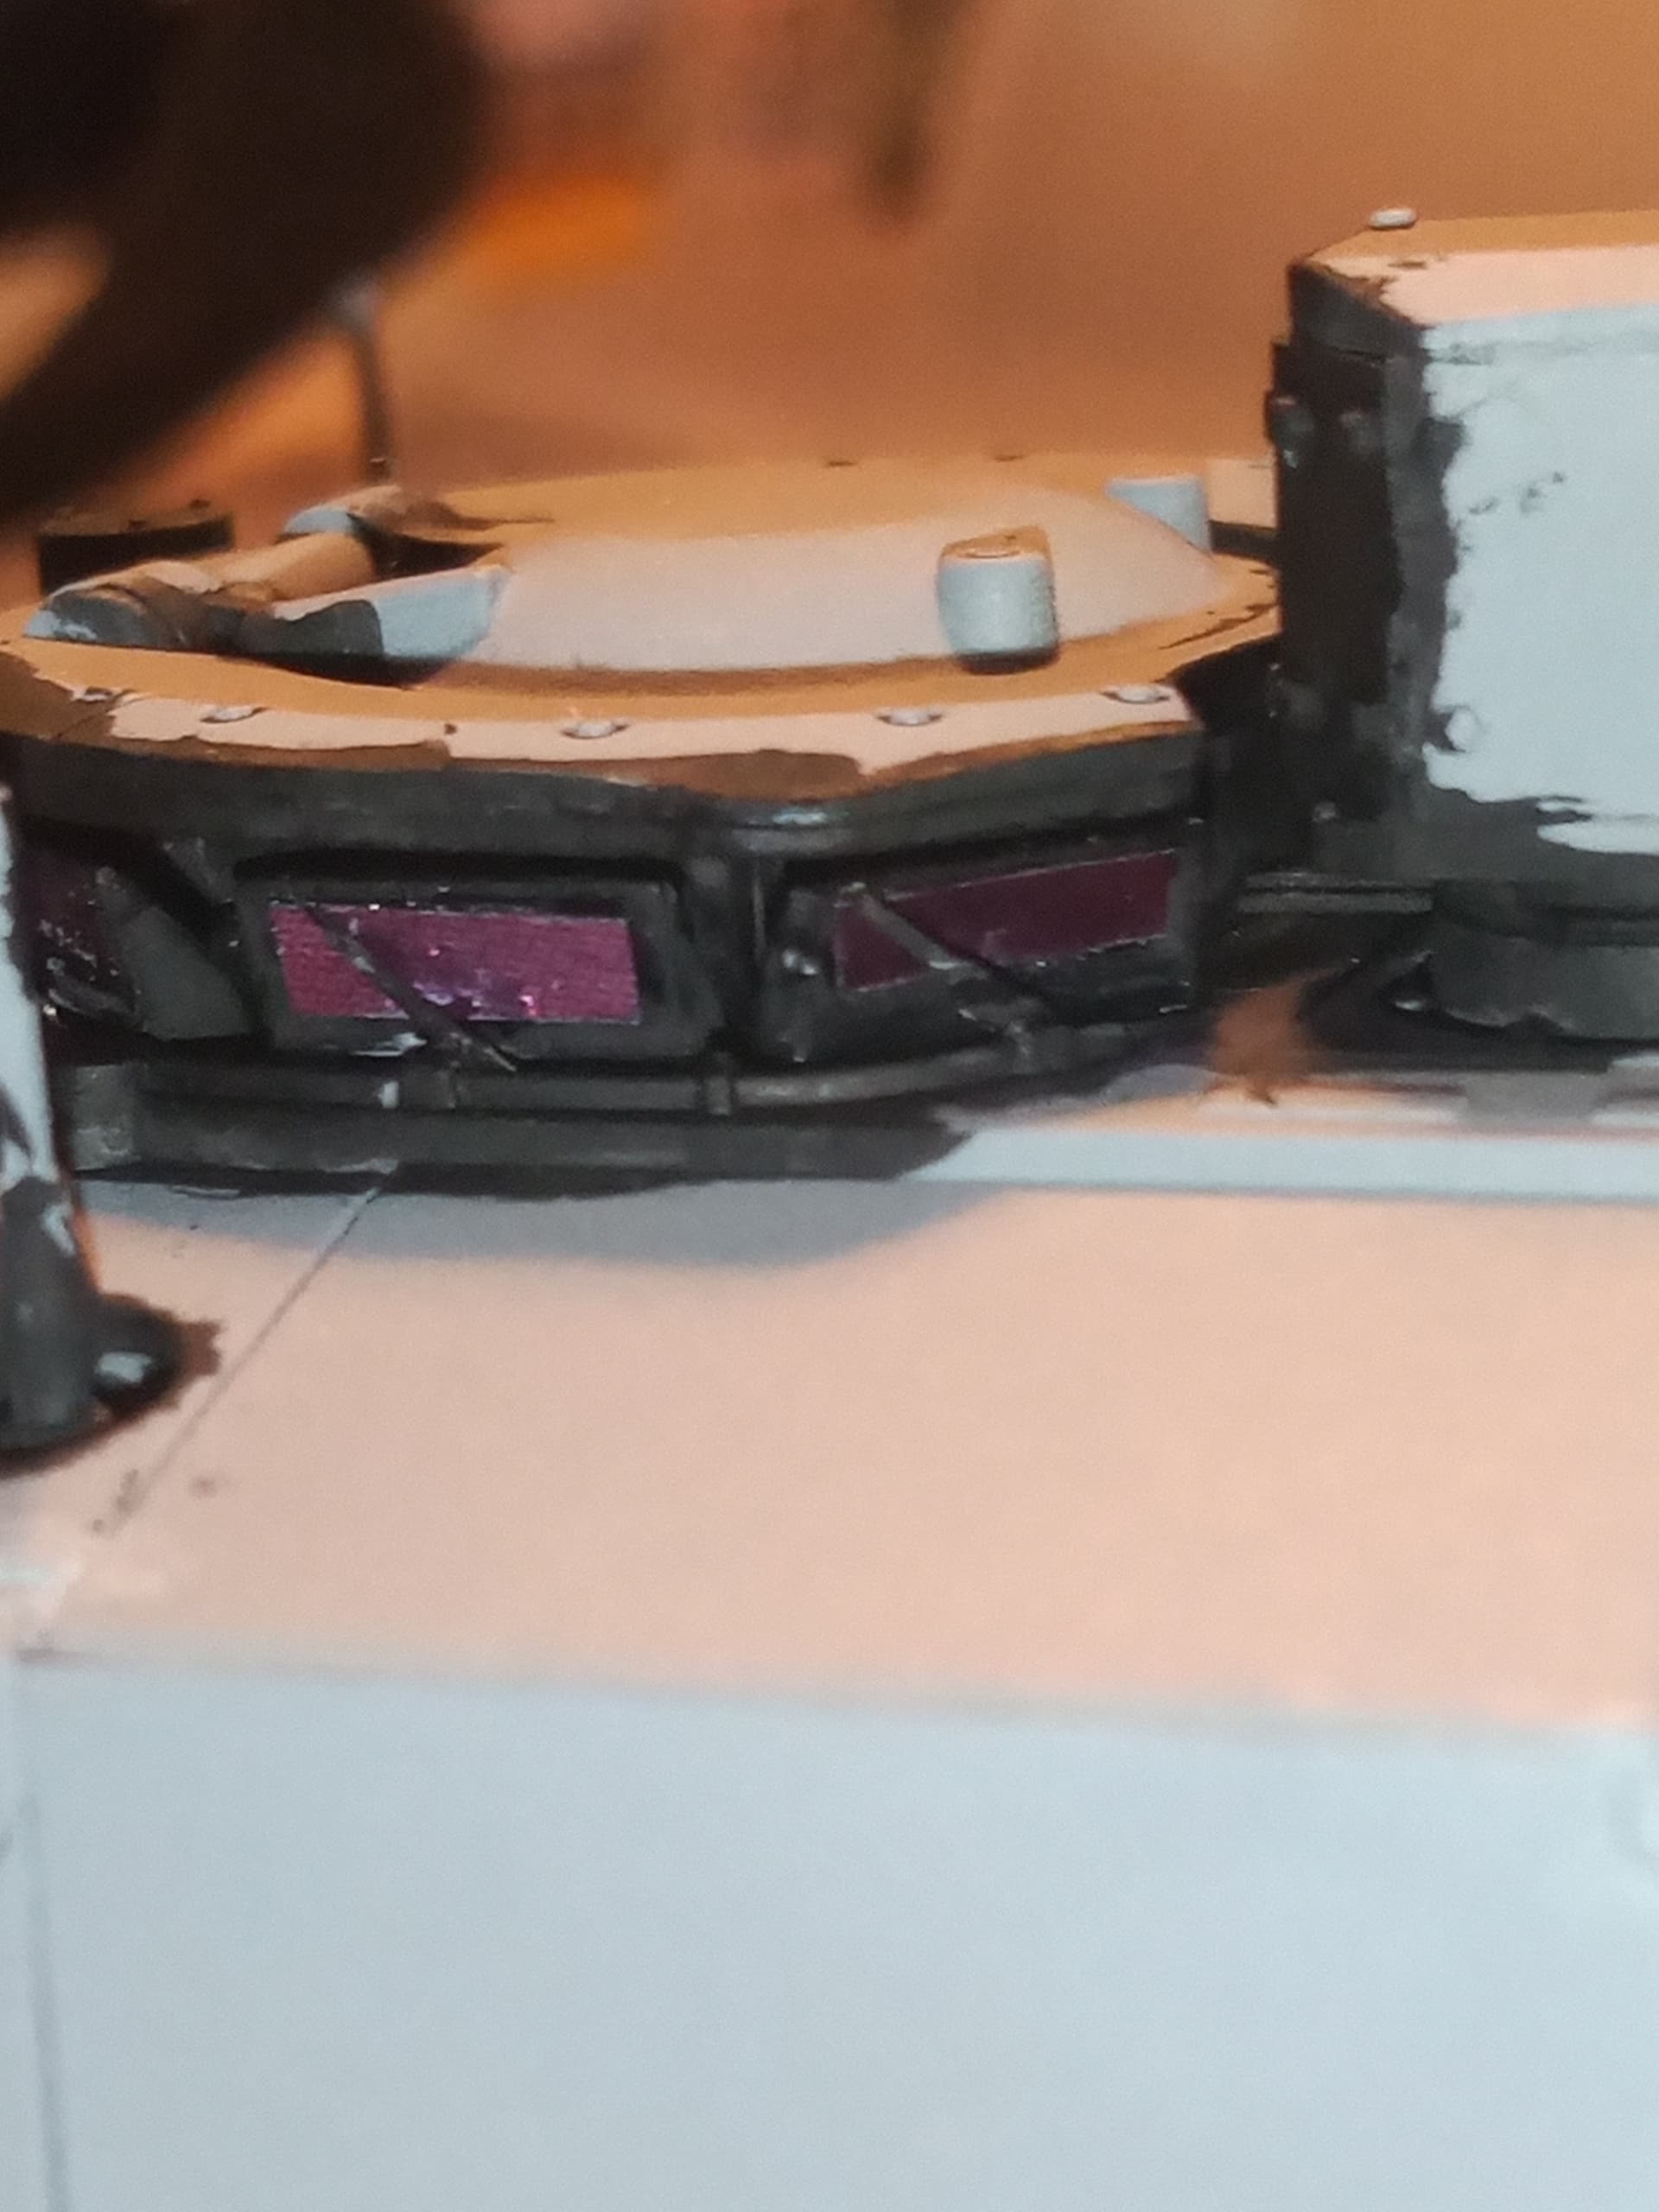
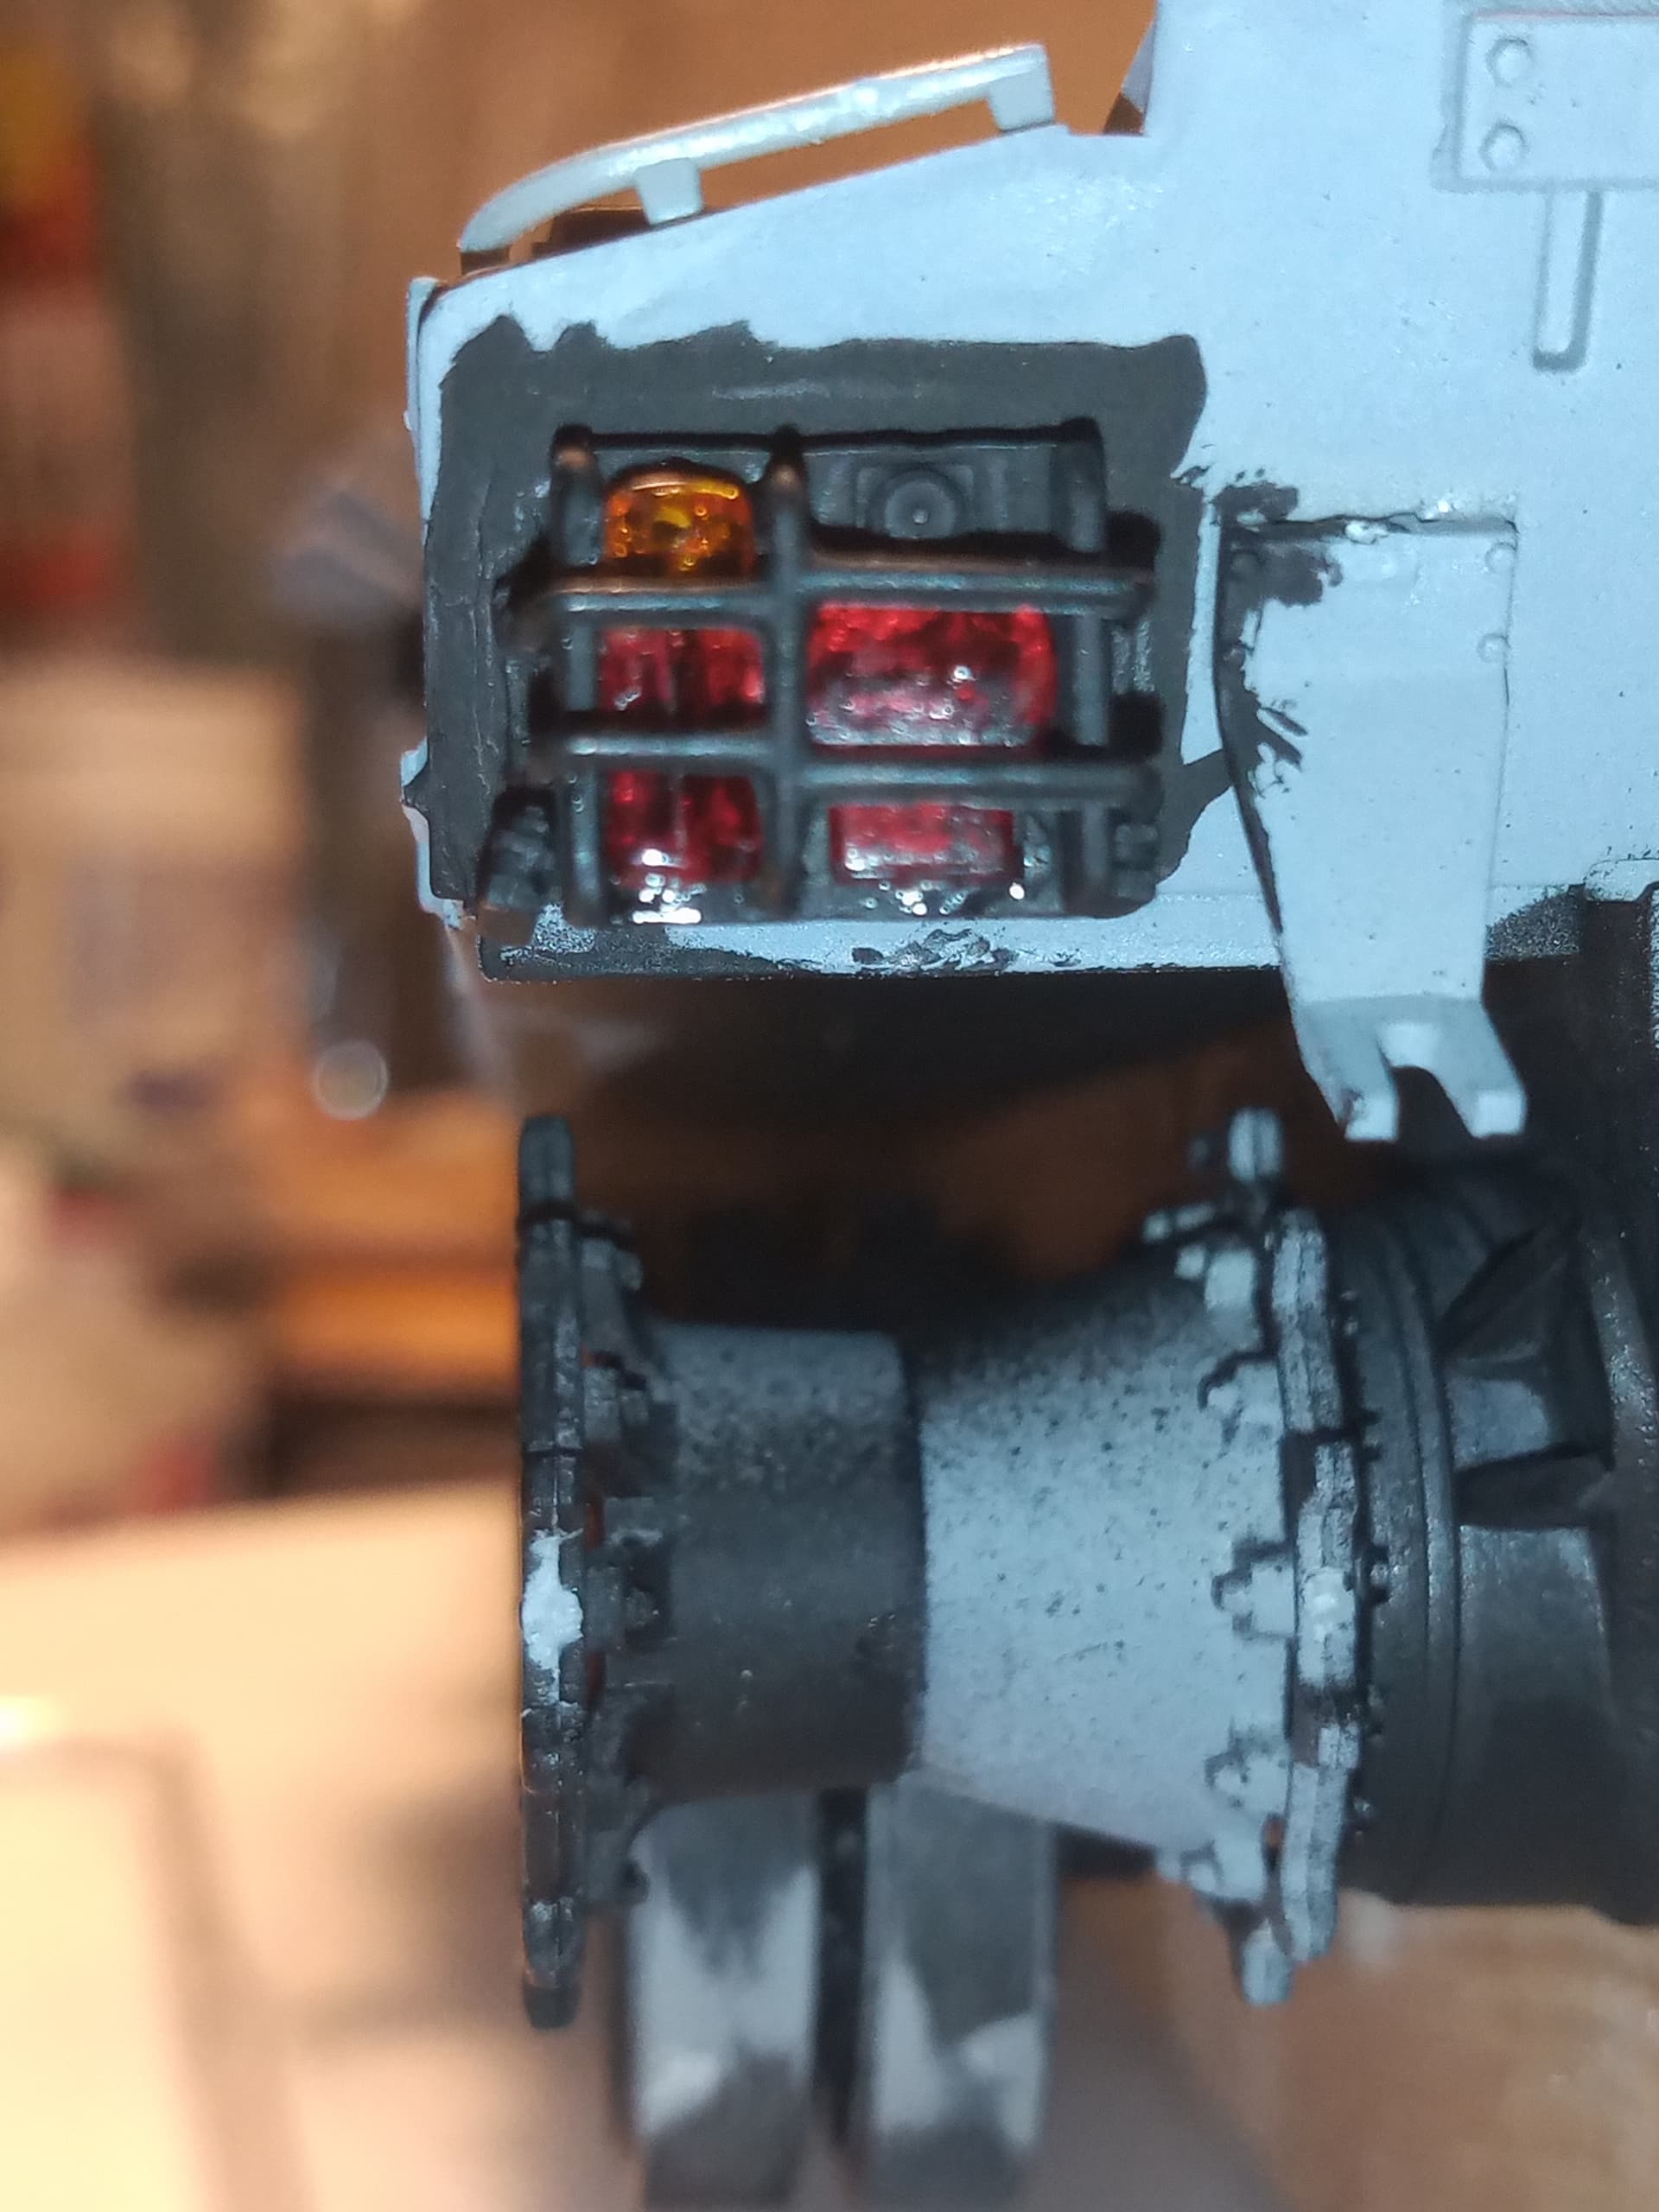
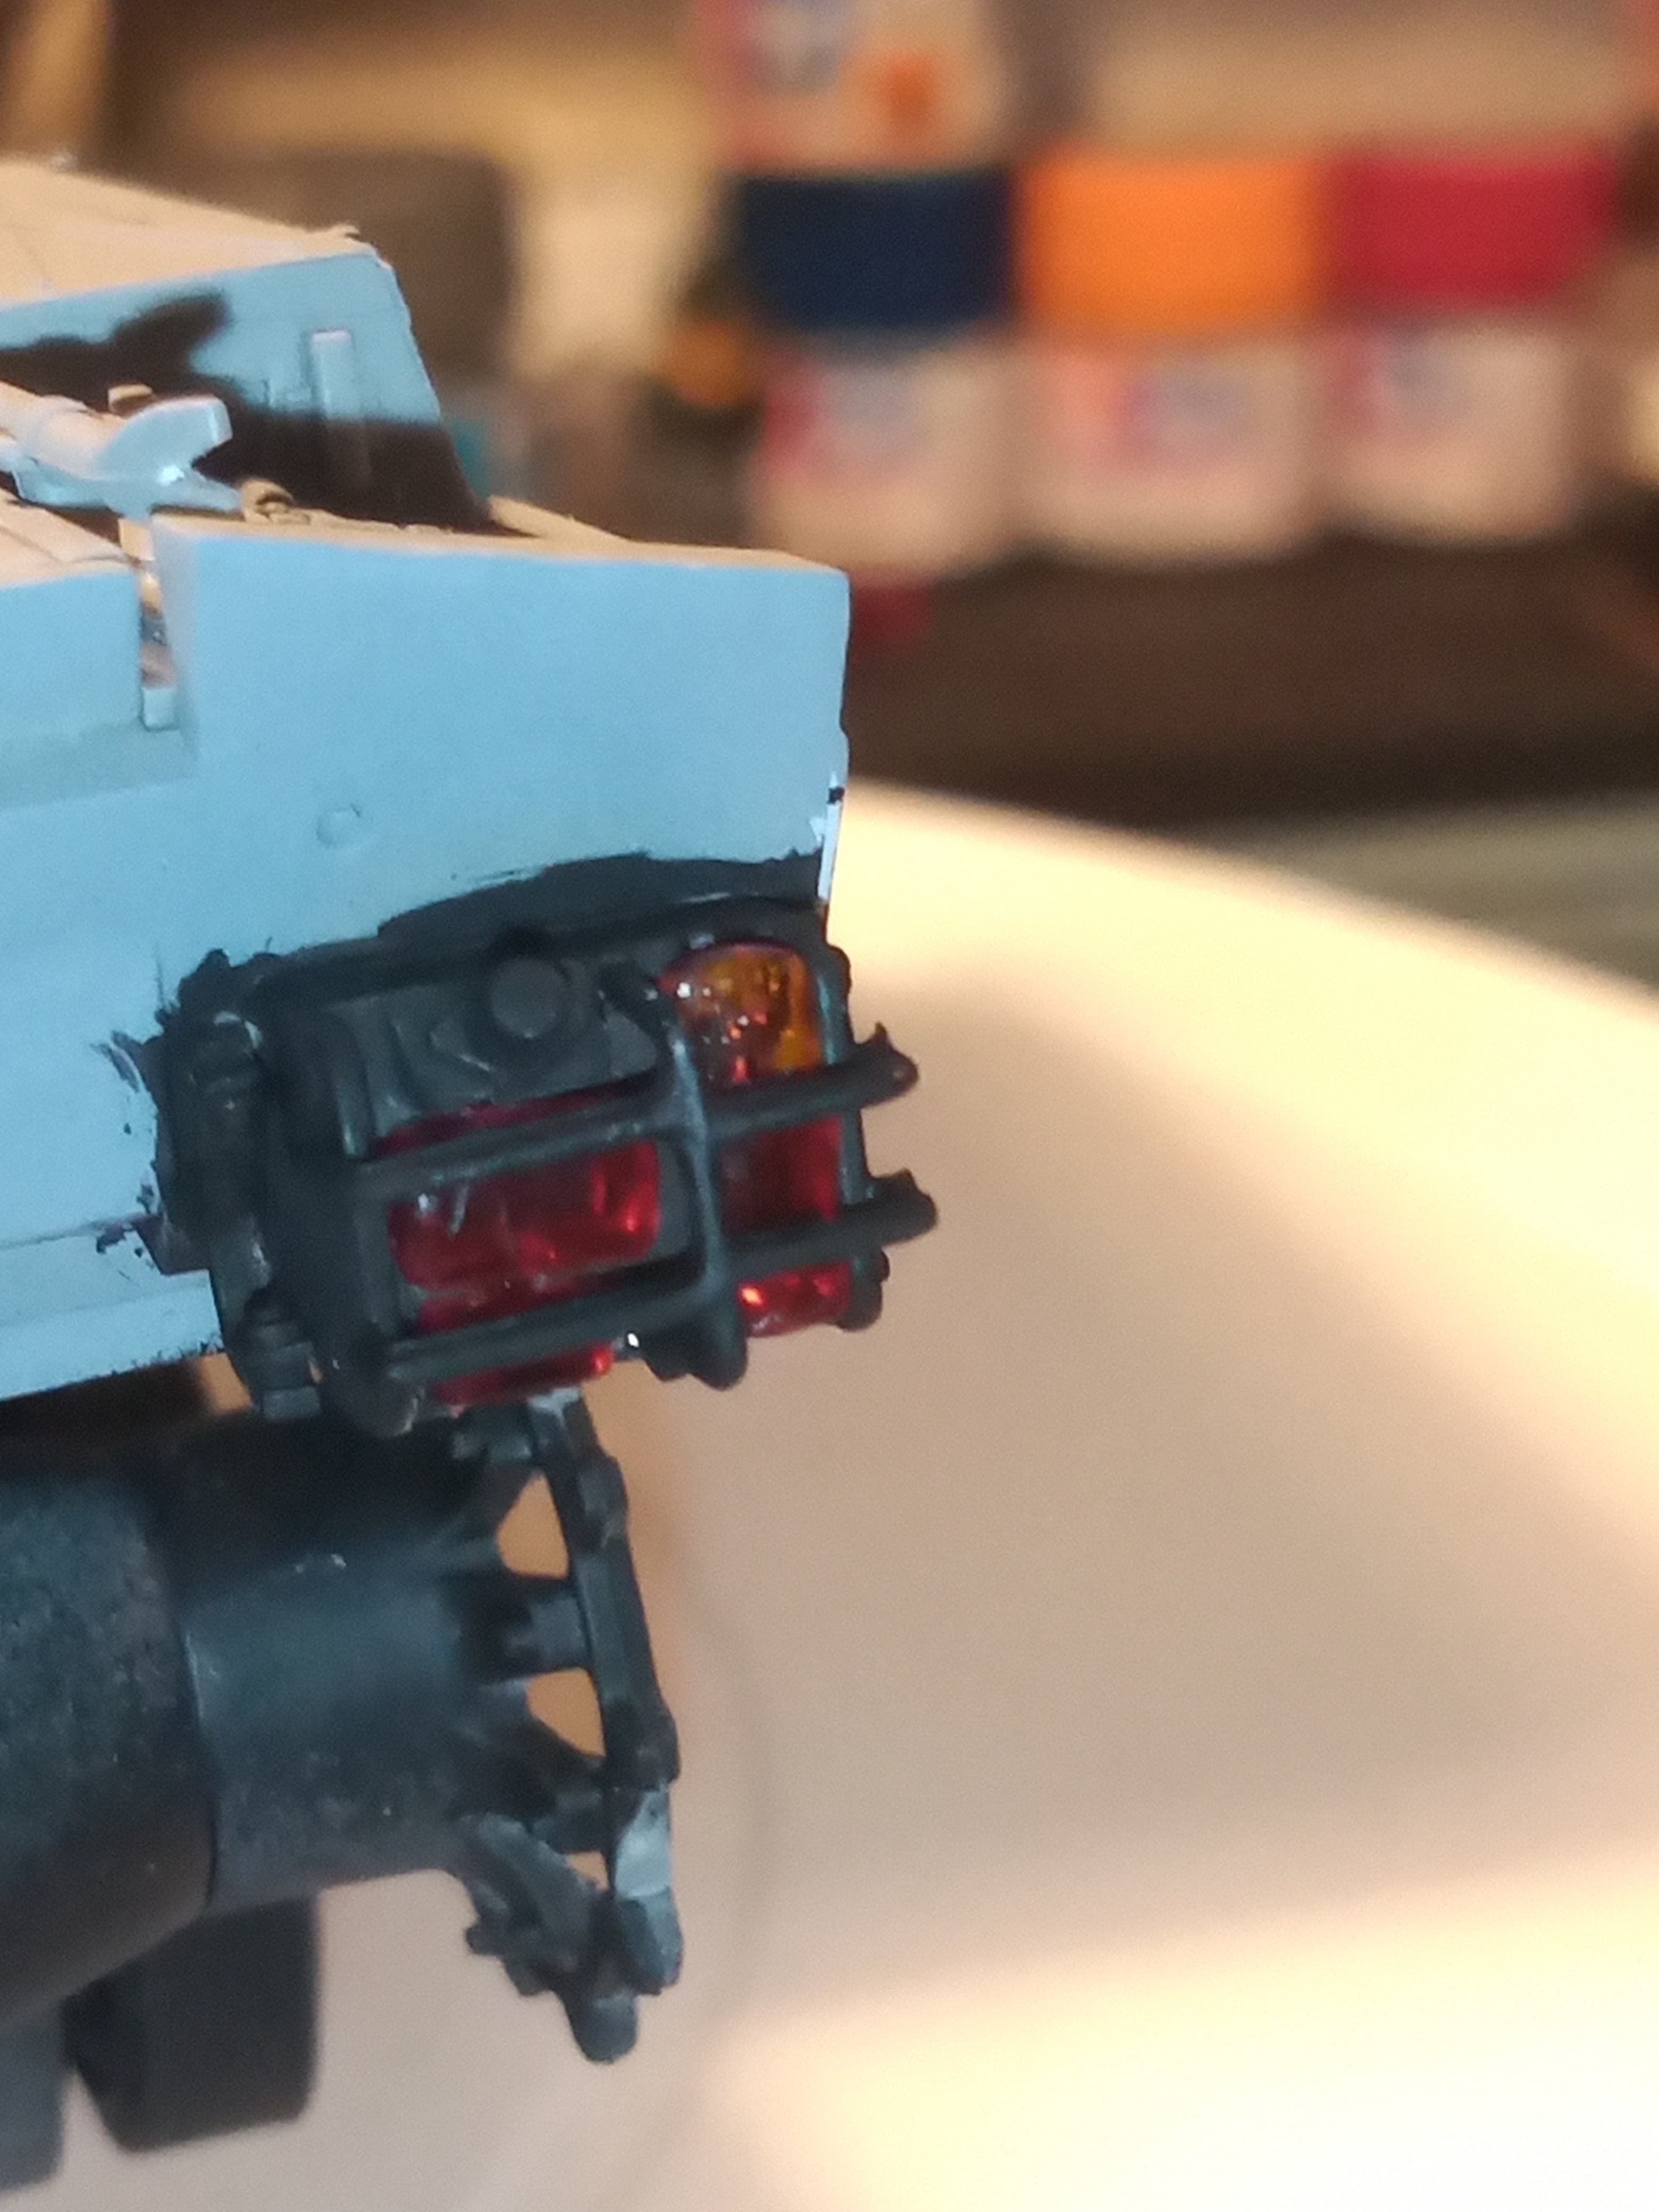
Pre painted the Comd station, the various recesses and the rear light clusters in Matt
/Flat black.
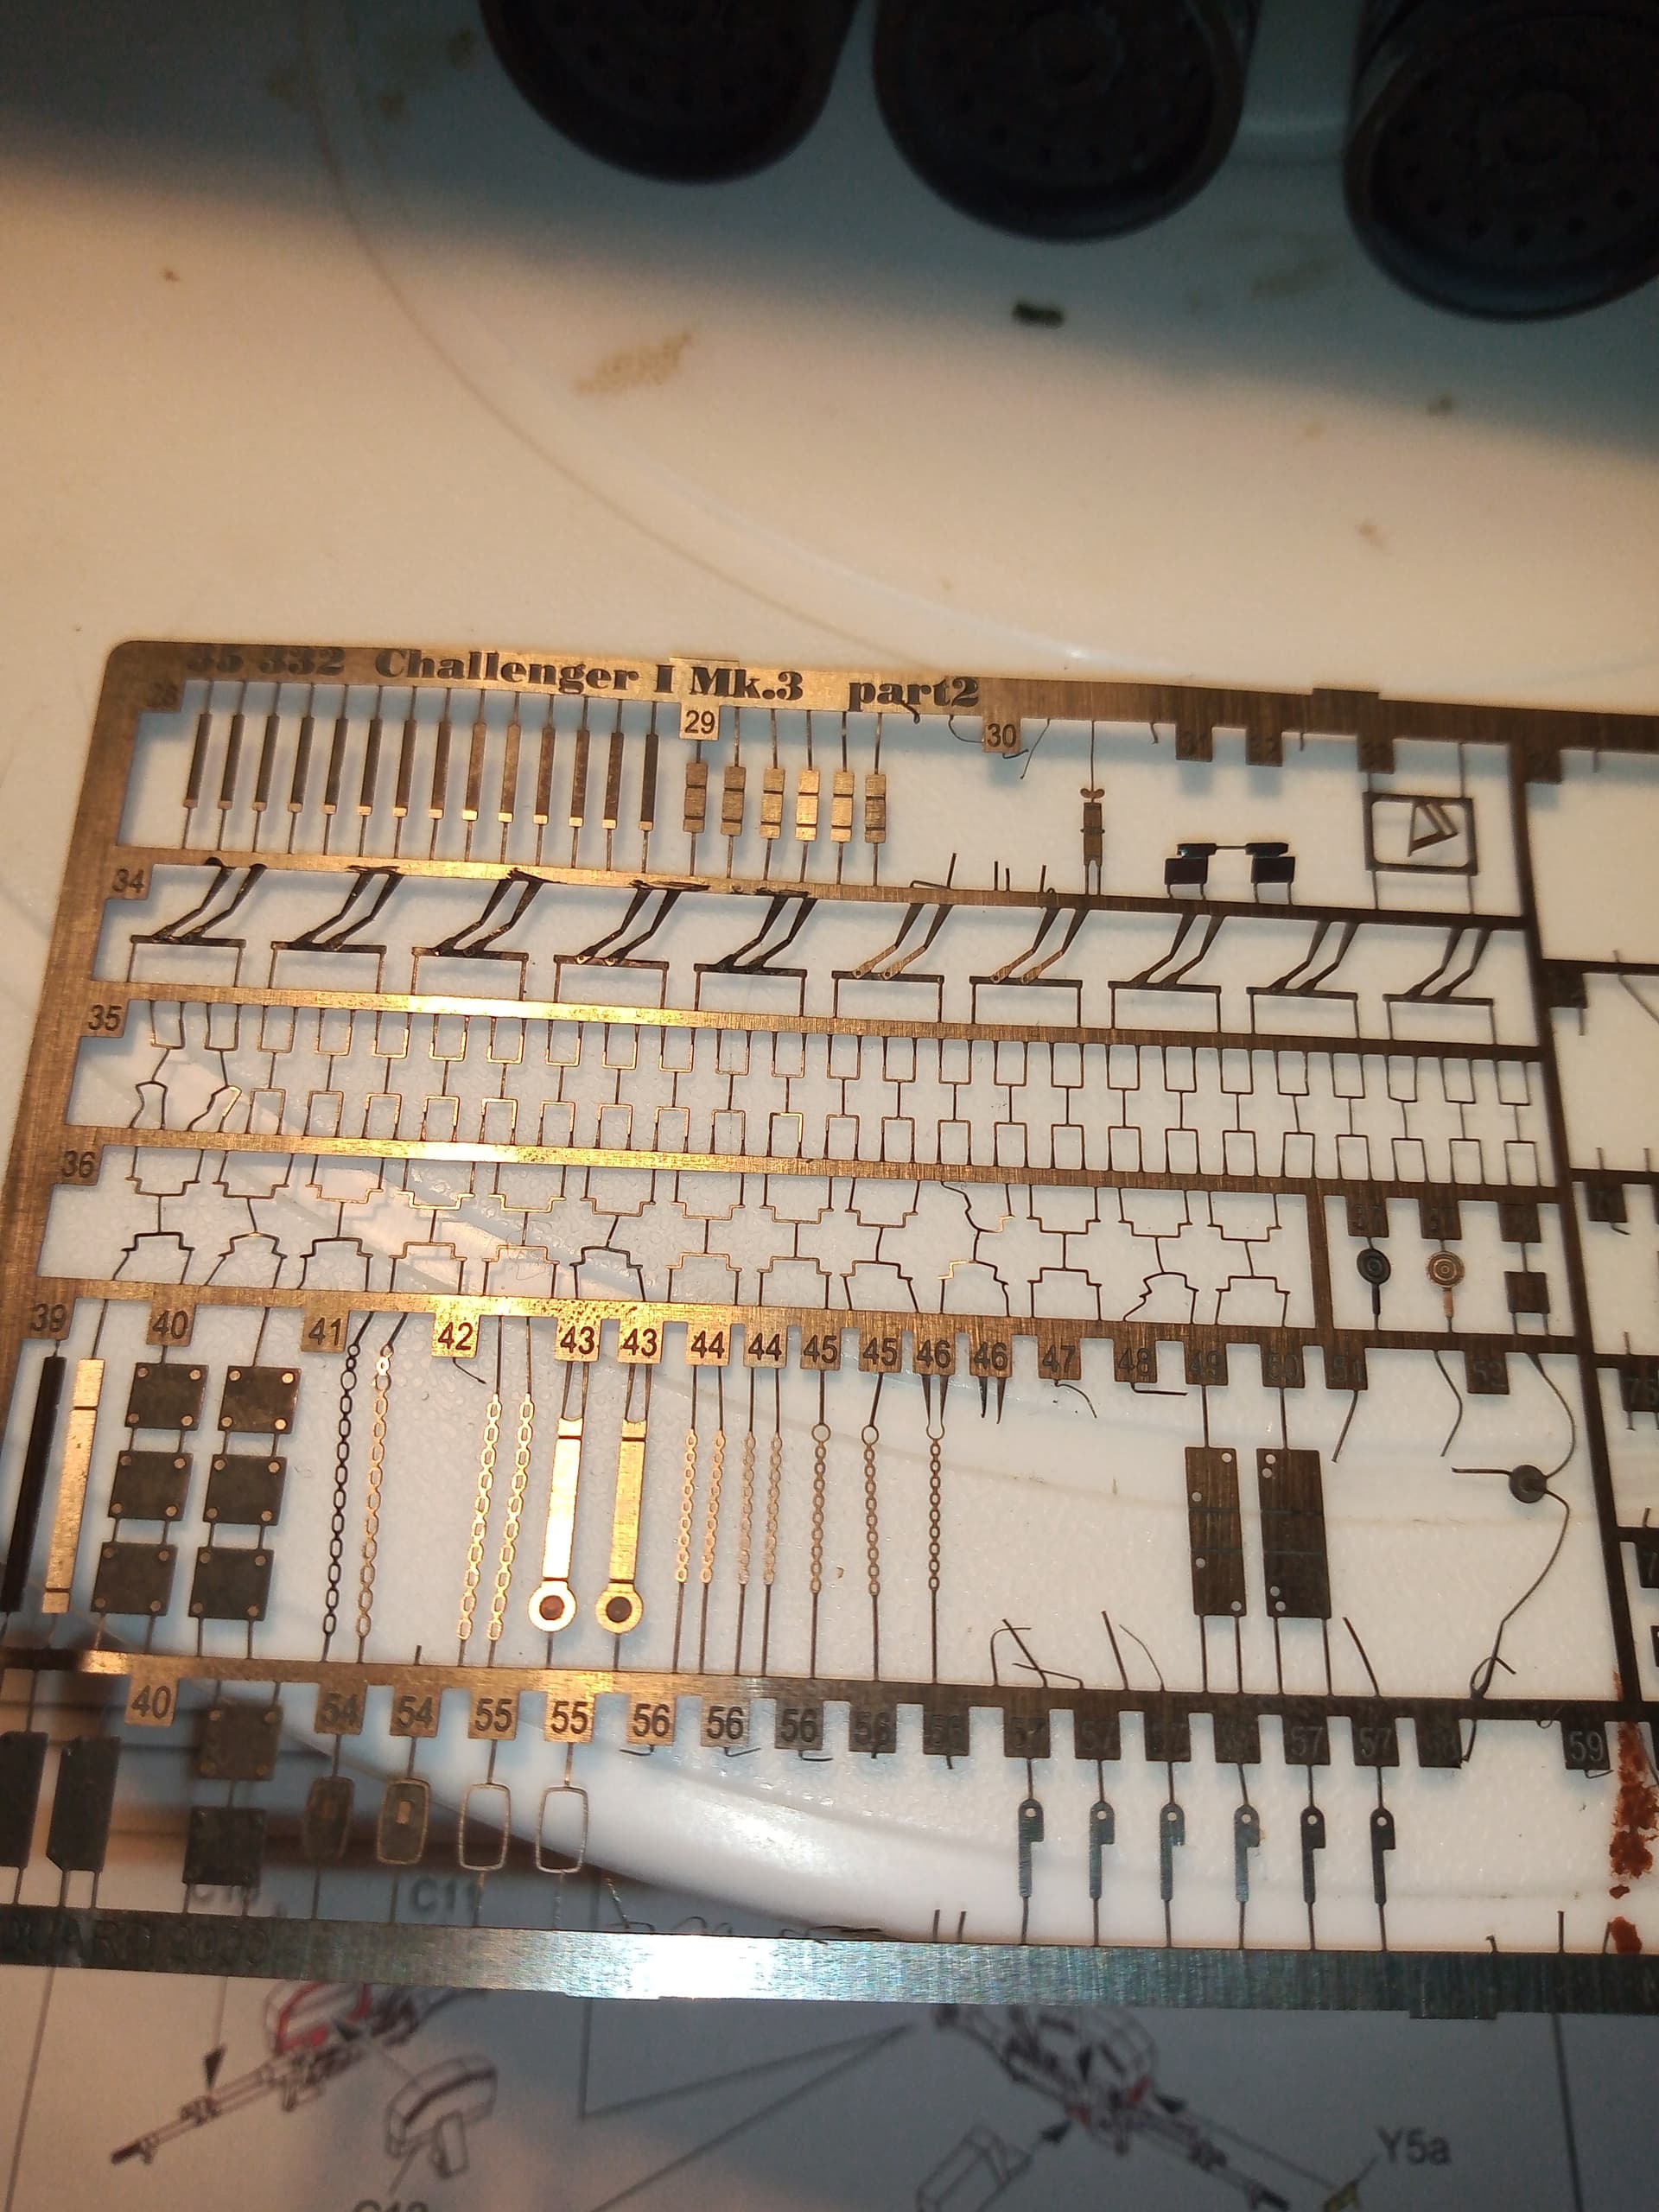
Found the old PE left overs from my Chally 1 I did ages ago.
Thought I may as well use the wiper blades on the Comds vision blocks
You’re pushing my limits John! ![]()
![]()
He does it just to piss people off.
I now have it down to a fine art ![]()
All the wipers in place and Comd station assembled.
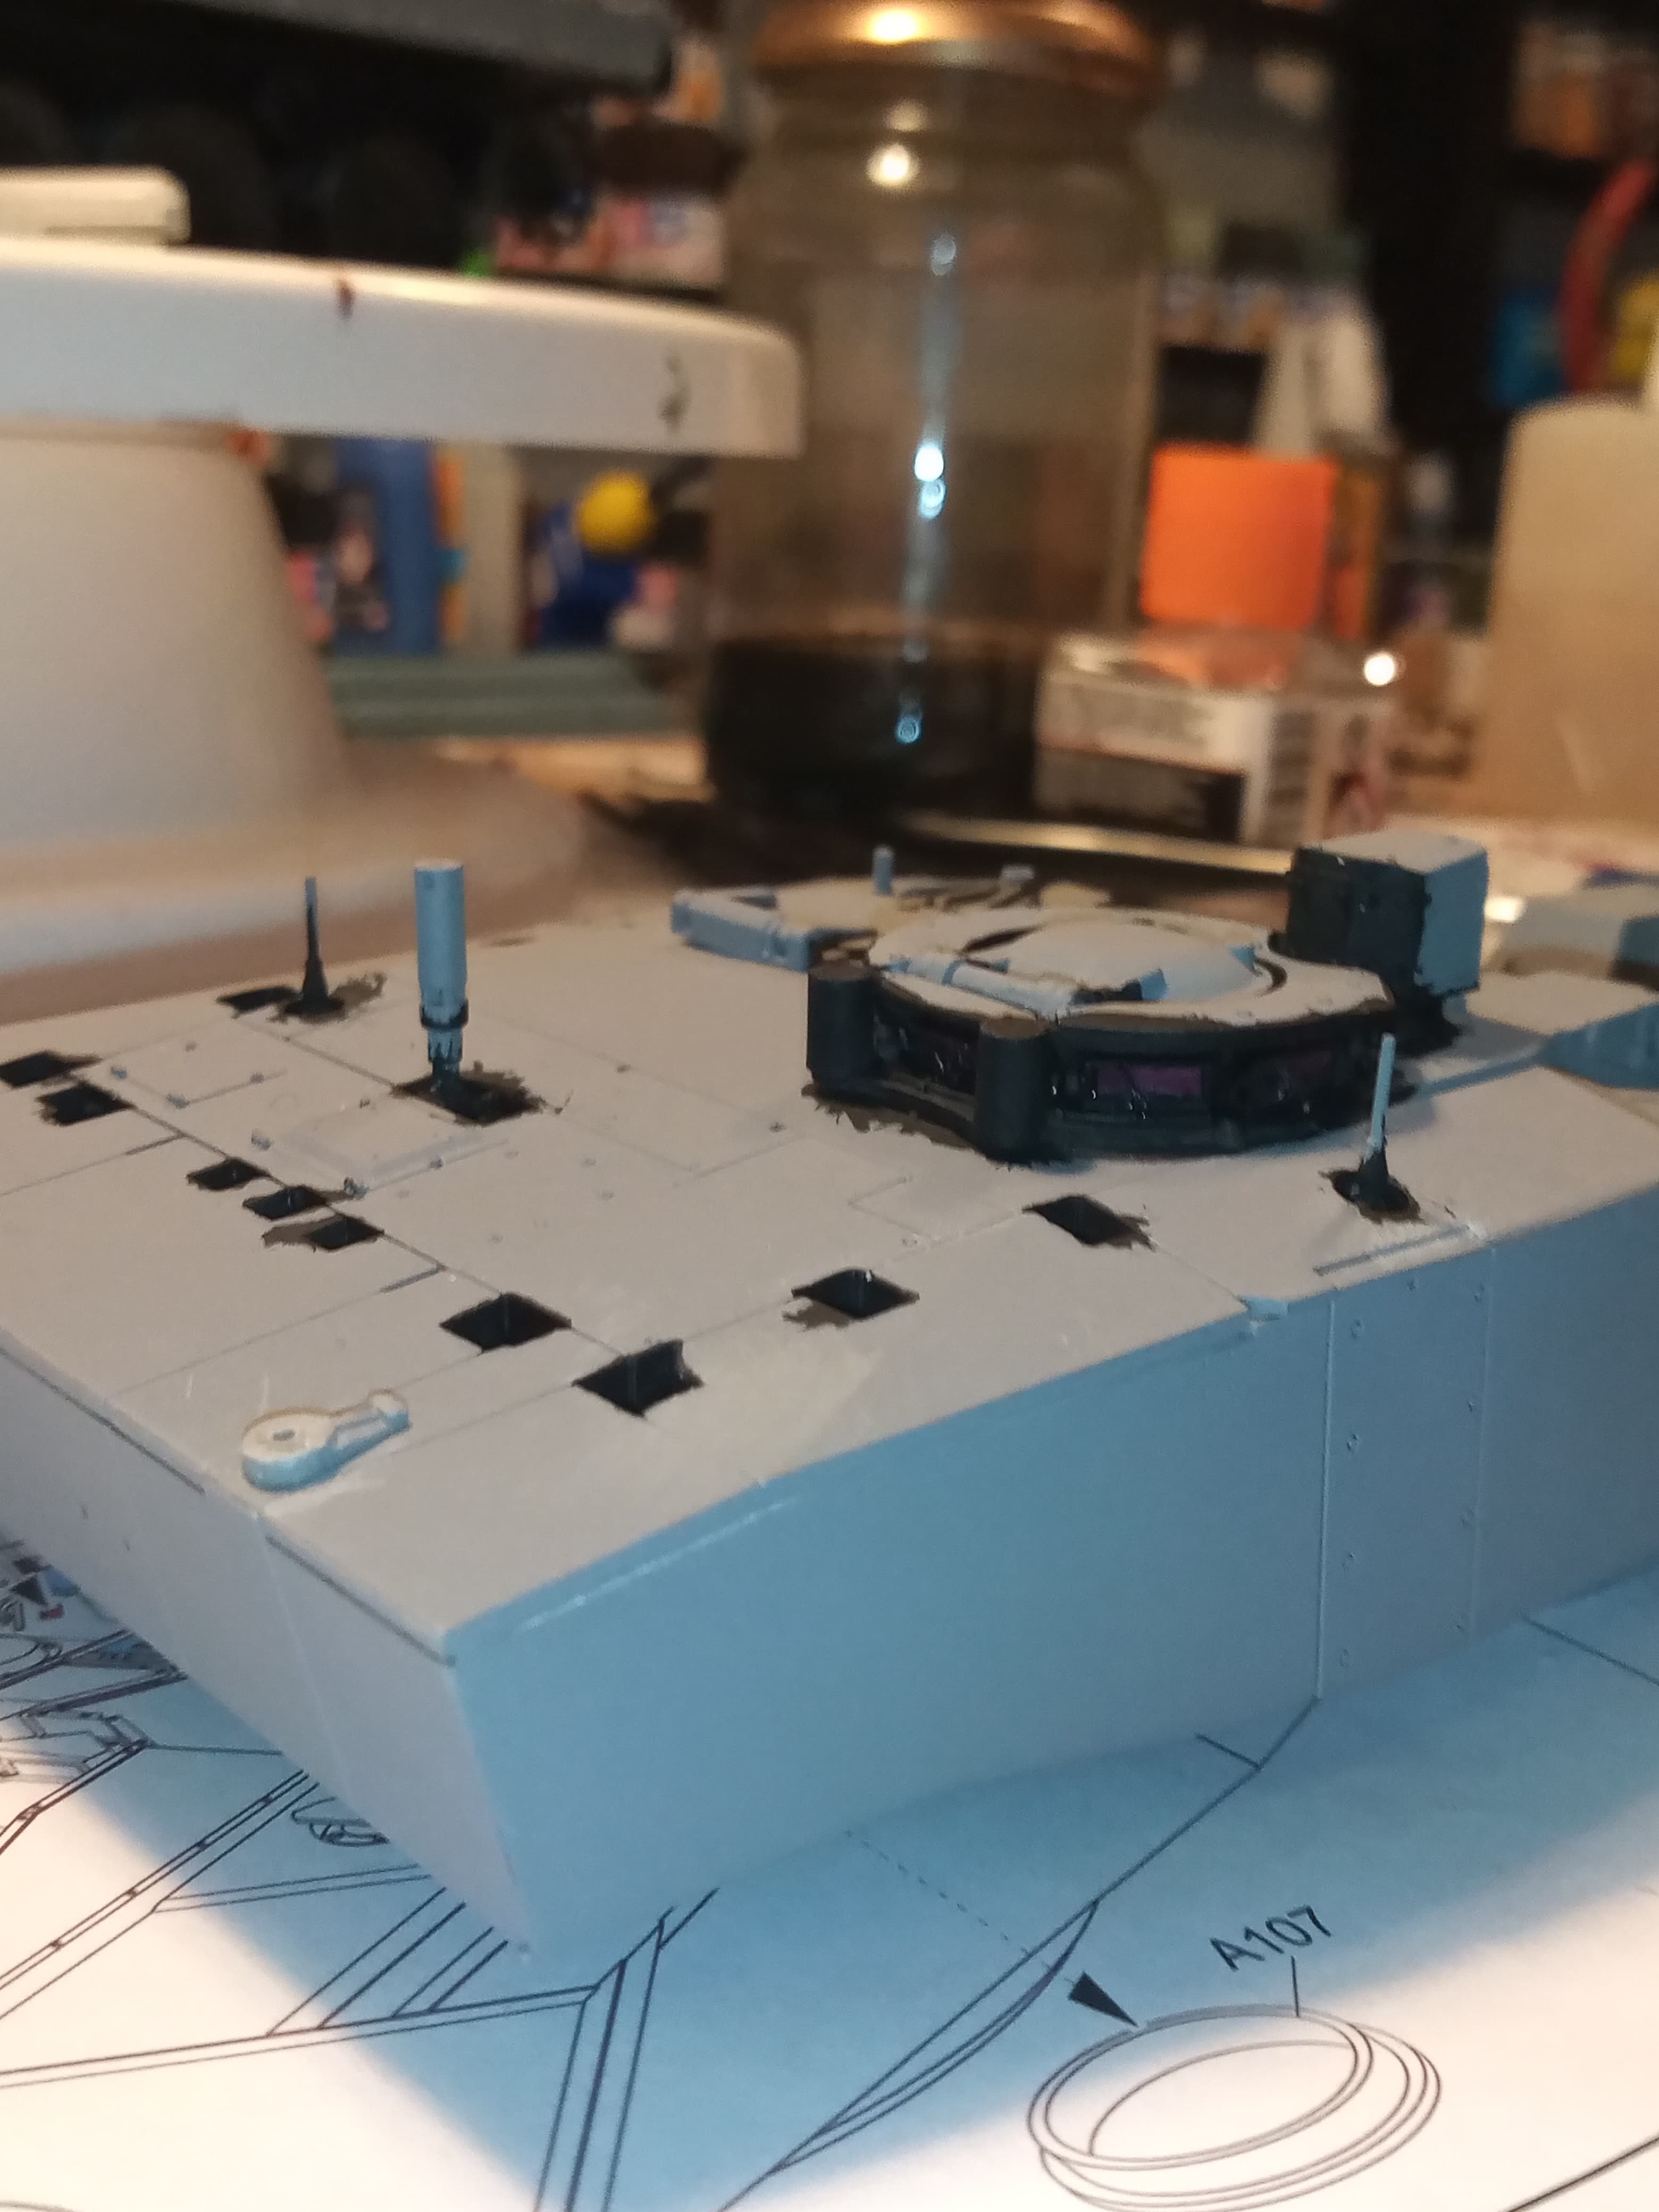
Next up will be masking it all to protect the vision blocks when it’s sprayed
Had to razor saw off the rear Bowman’s antenna base as that’s where the makeshift flag pole goes. On the plus side I now have a spare Bowman ABA ![]()
Next up, rear light clusters and then masking them up once done.
And now those…
Will start on the track painting and making the recovery ropes tomorrow ![]()
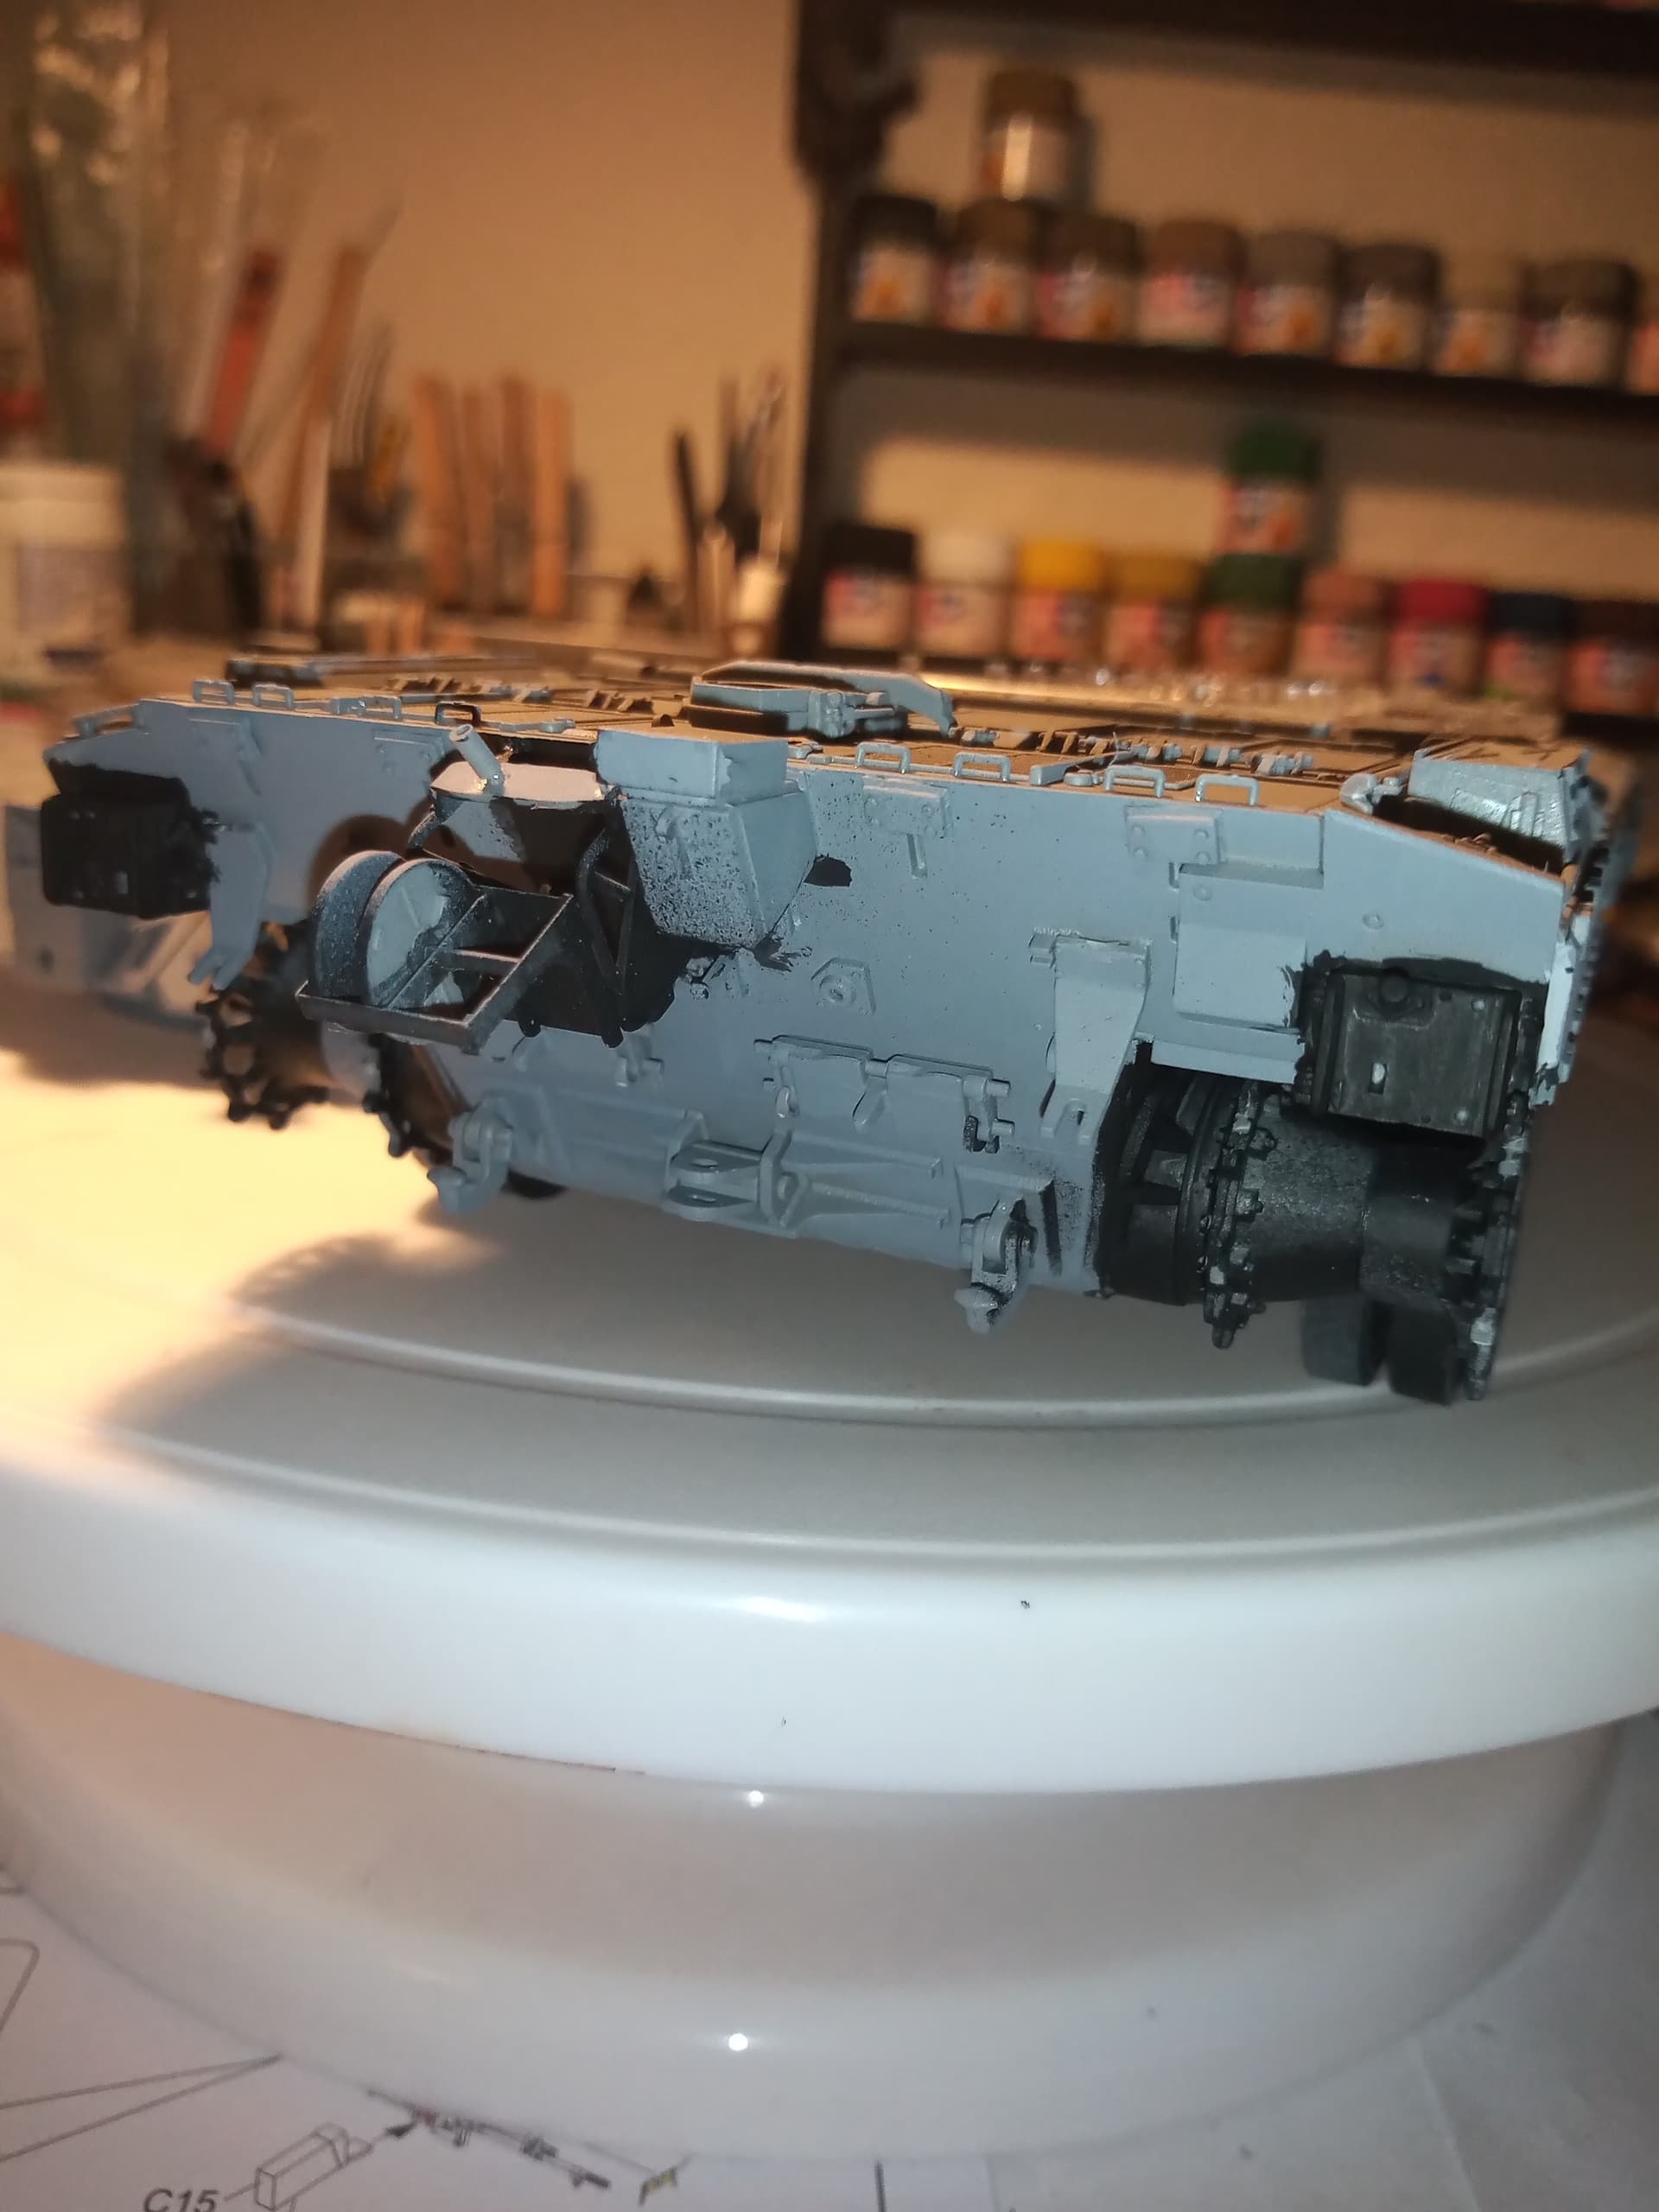
Added the 2 overflow pipesunder the rear bins.
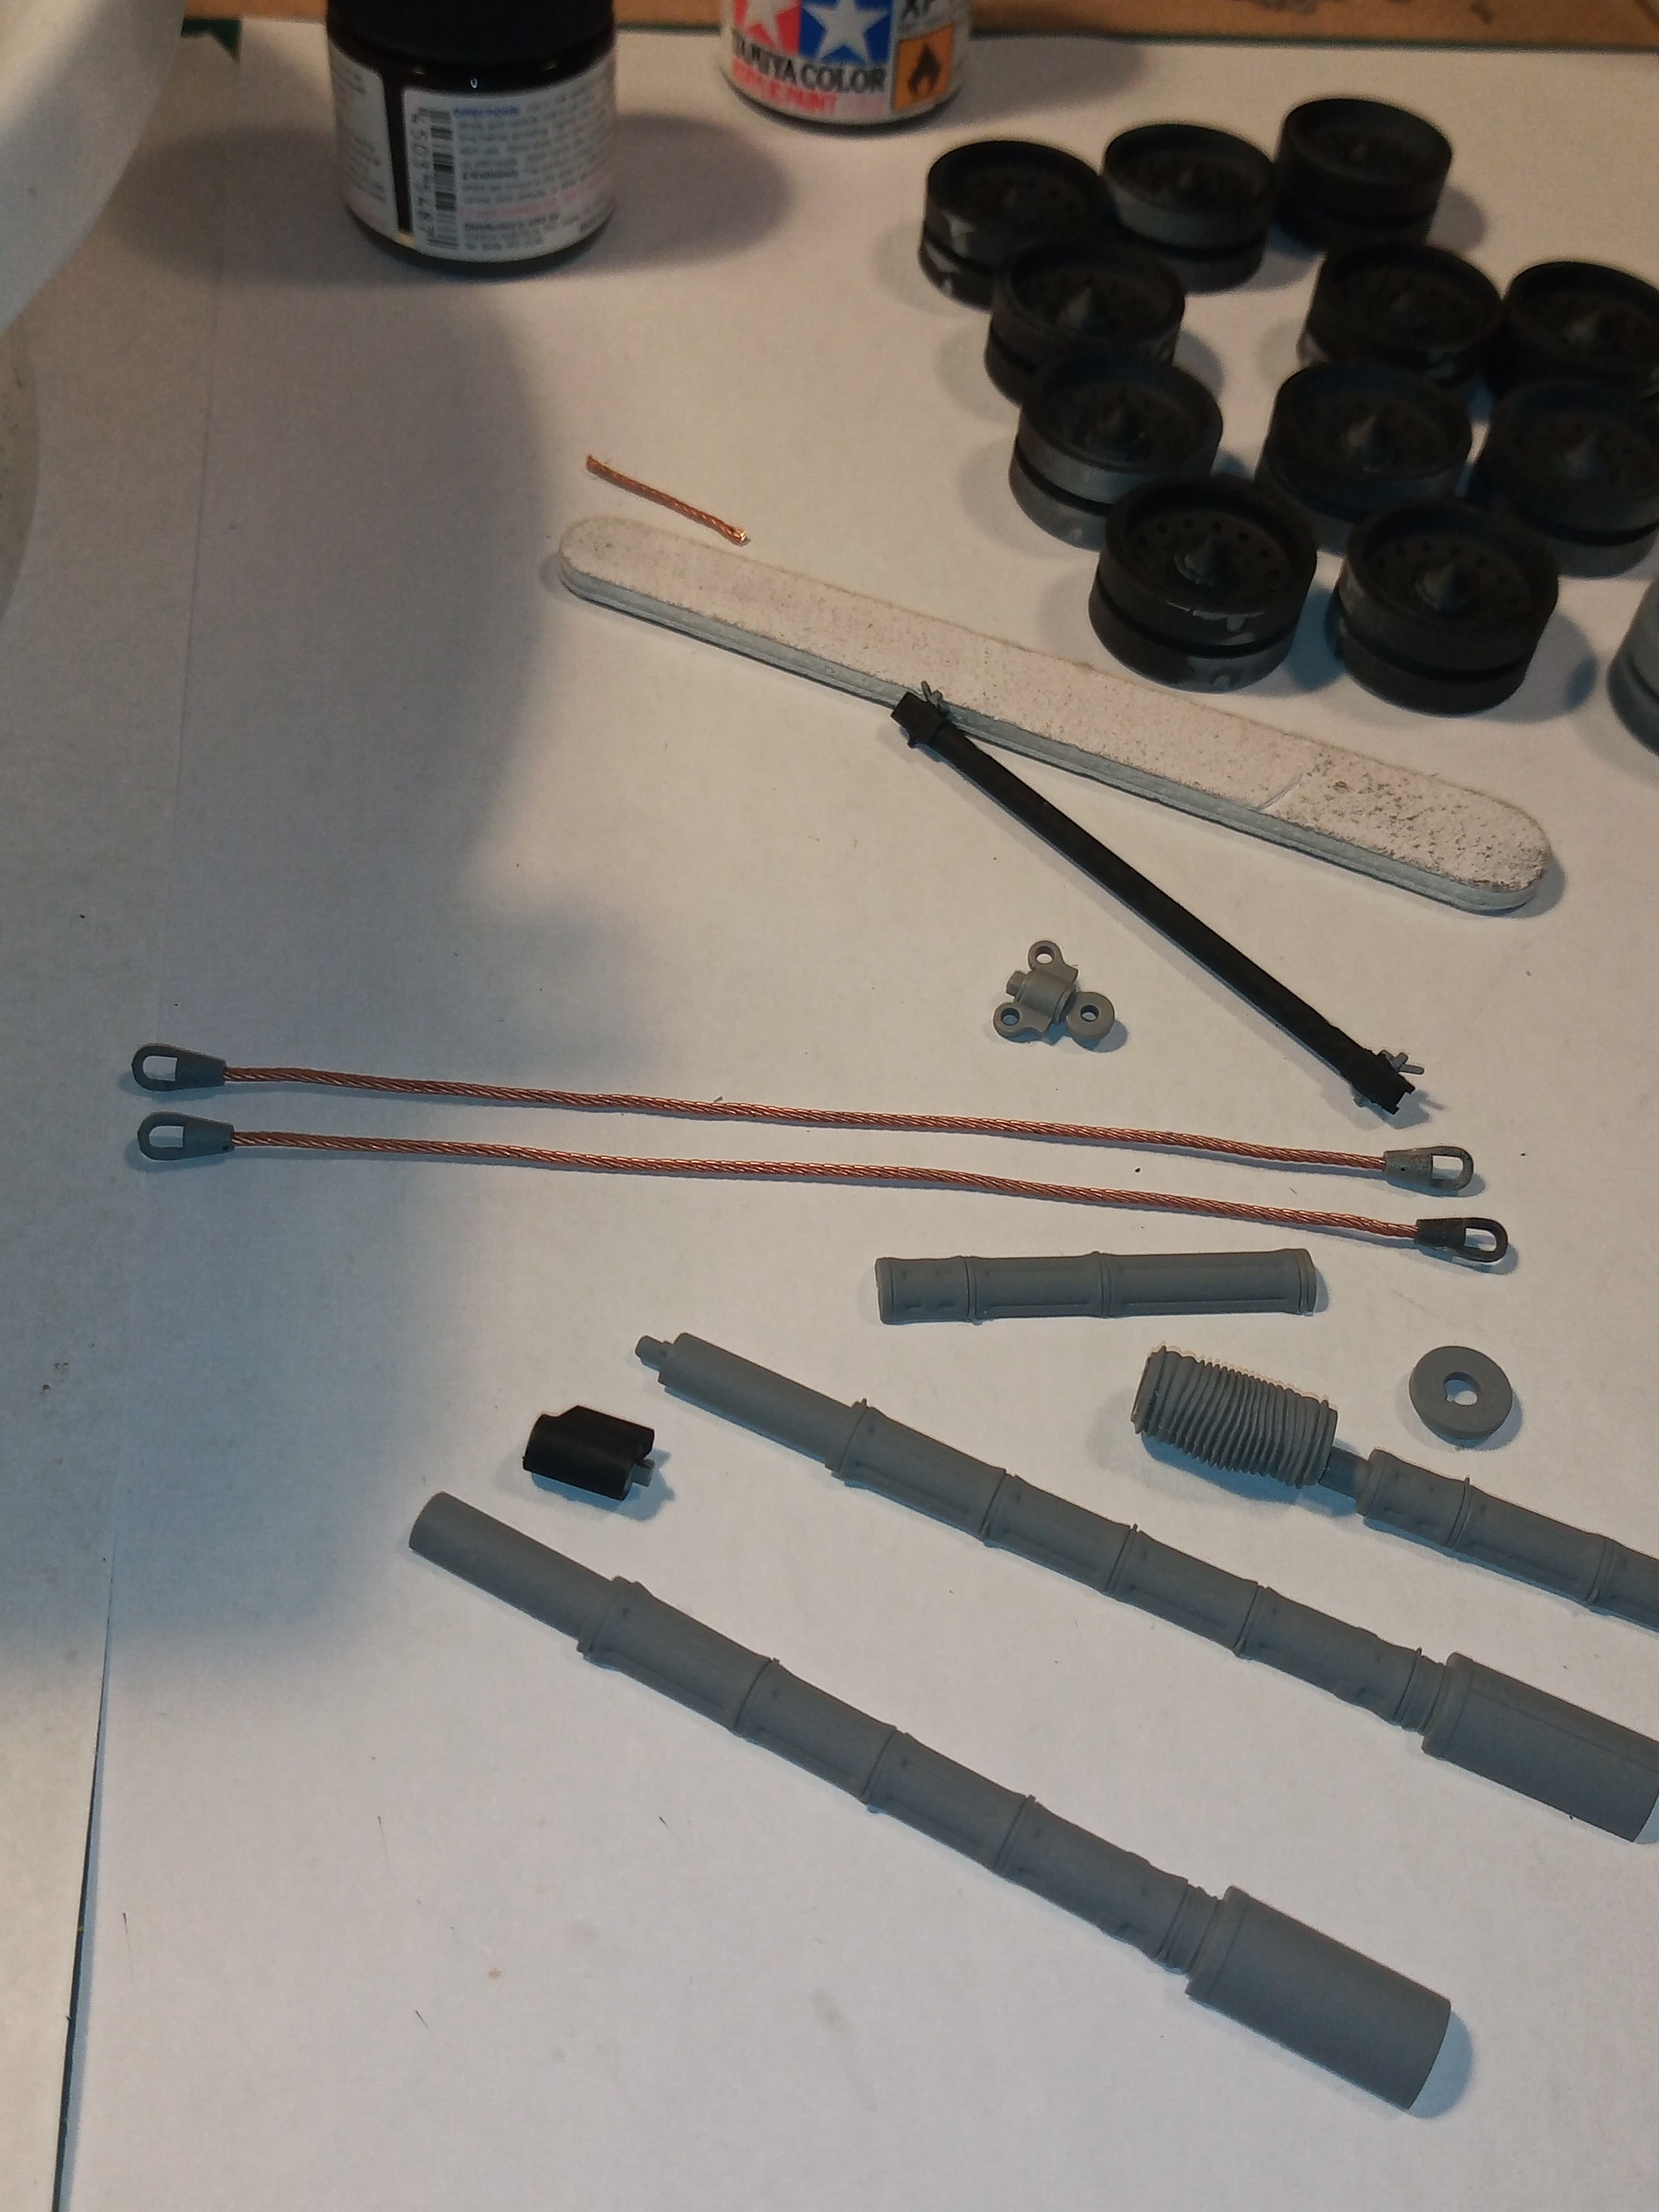
Also opted for different recovery ropes. The kit soft cord/string ones looked a bit to thin, so used some spare cabling cut to length with the eyelets drilled out a bit.
Have to paint the butterfly and weather the straight bar and put barrel together… Not really convinced the barrel has to come in 7 pieces ![]()
![]()
Barrels together.
Bit fiddly and still can’t see the need for a 7 part barrel but hey ho…
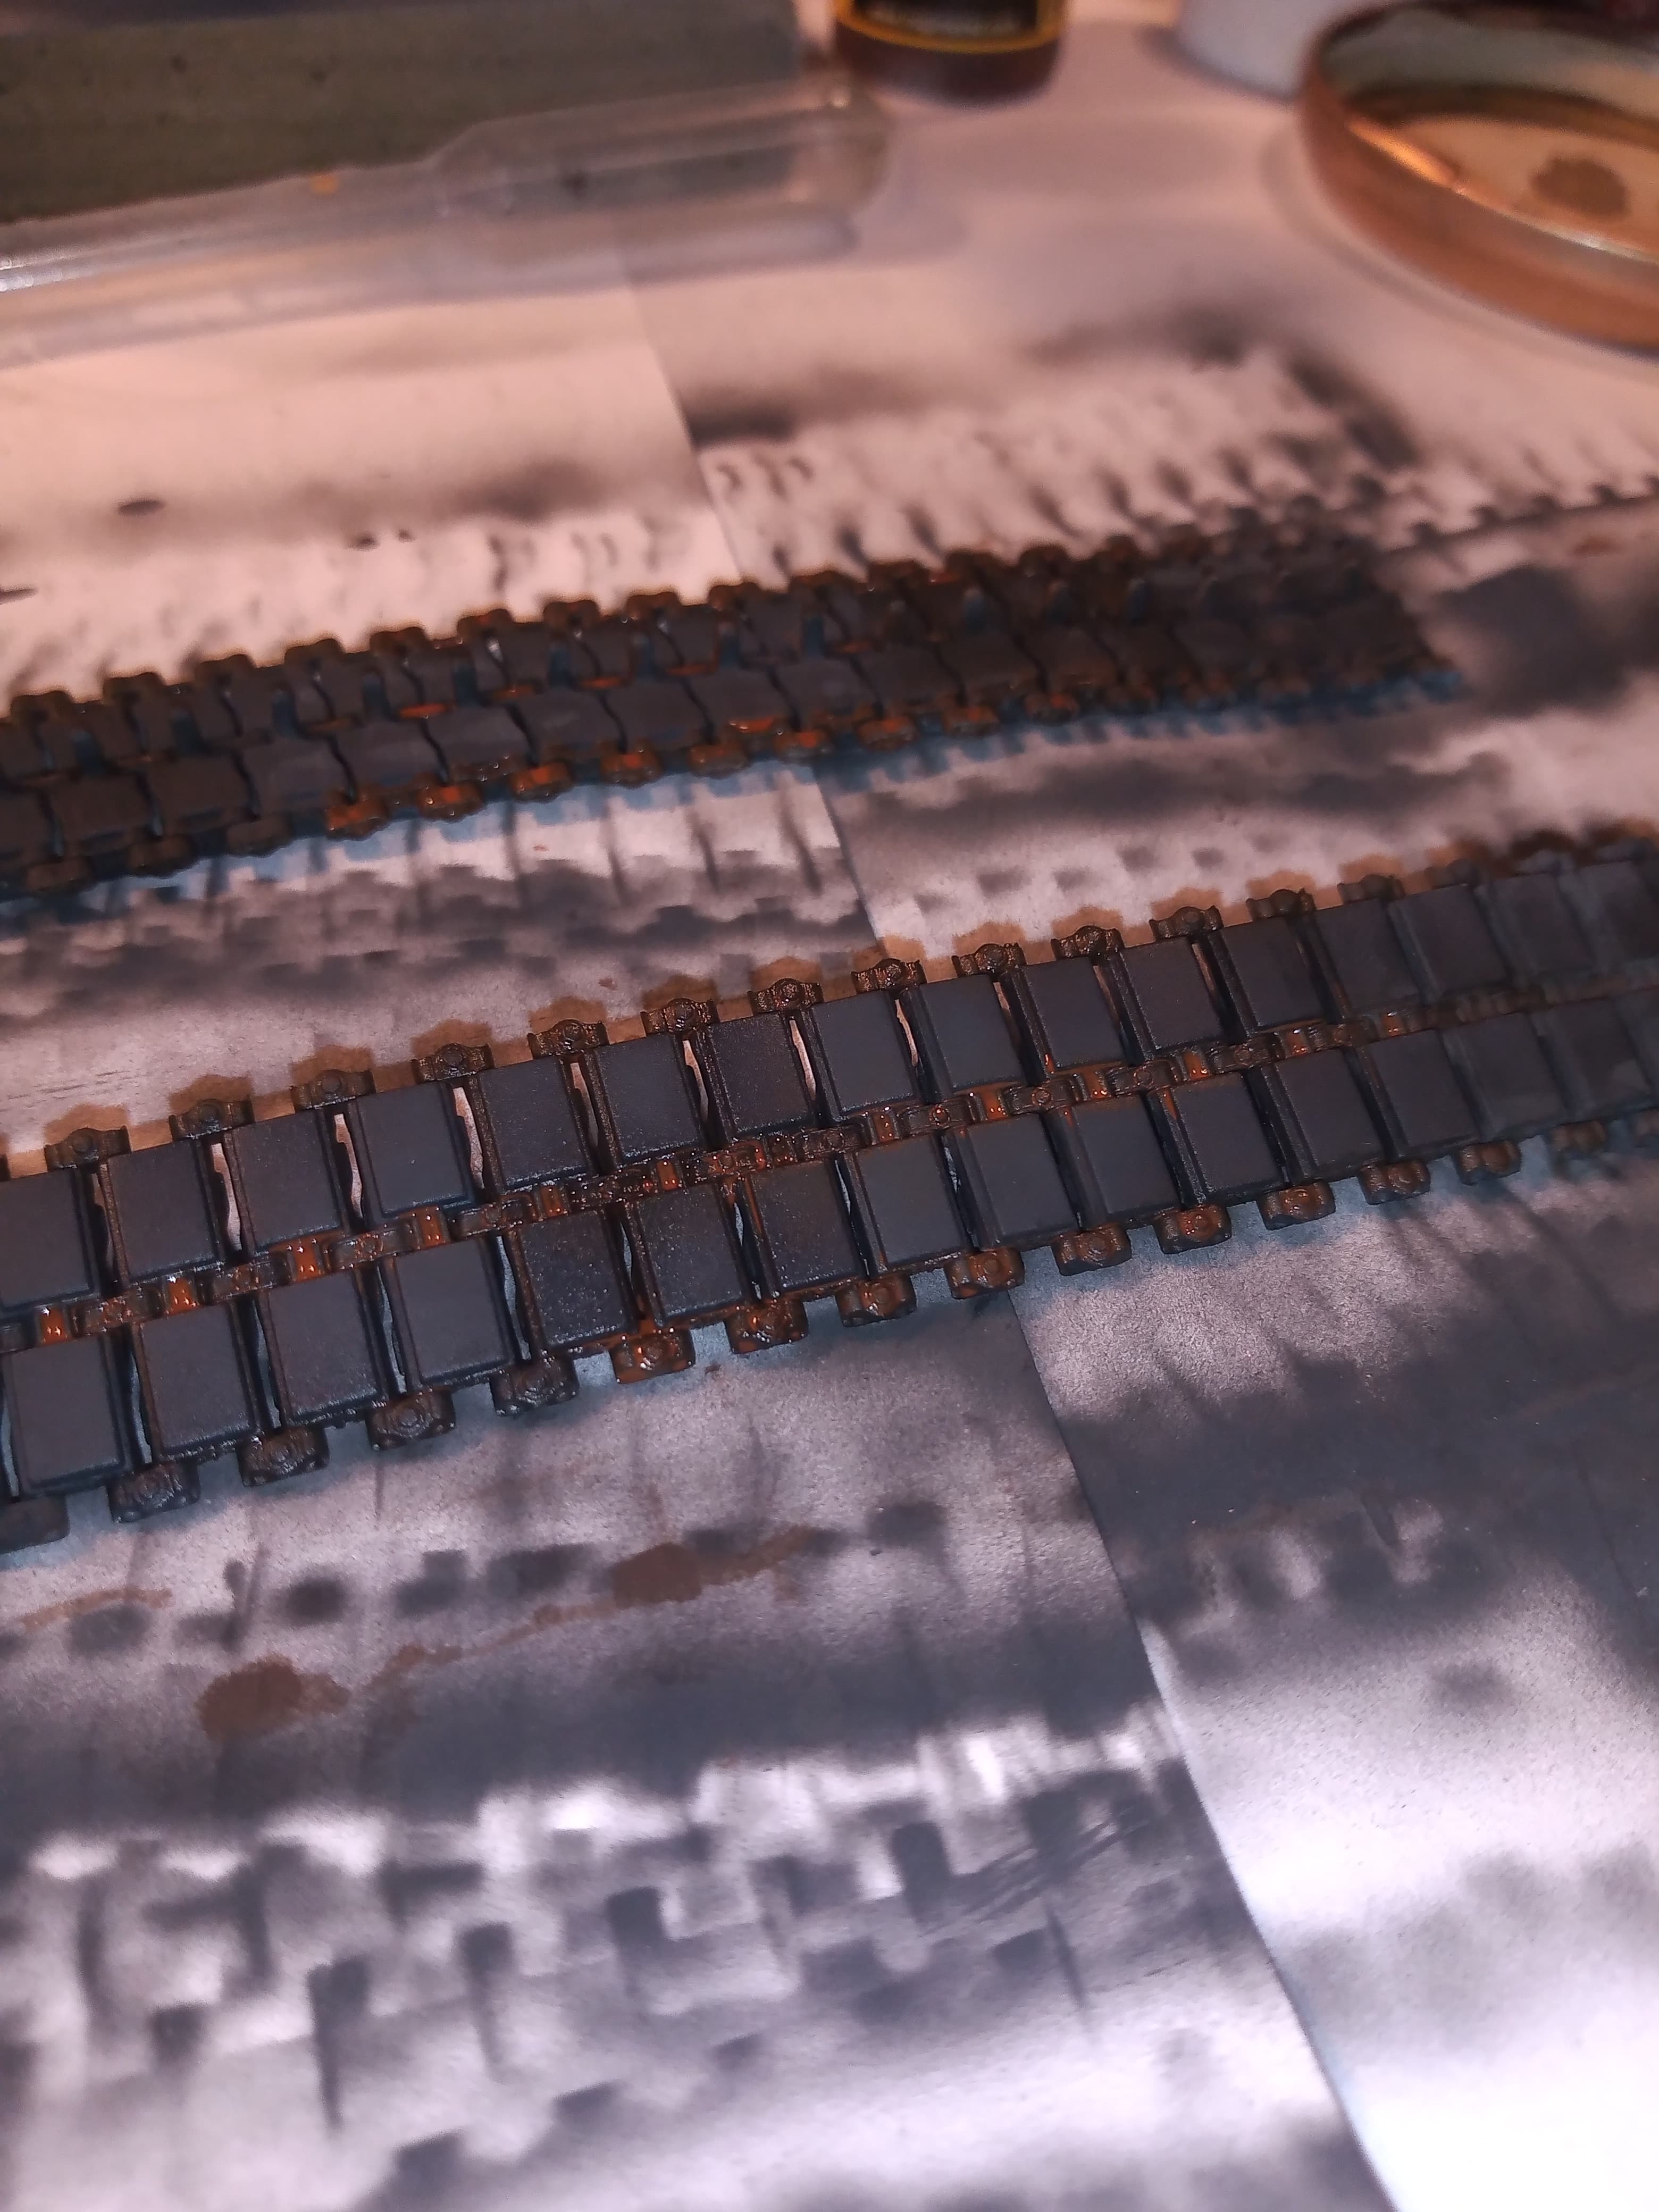
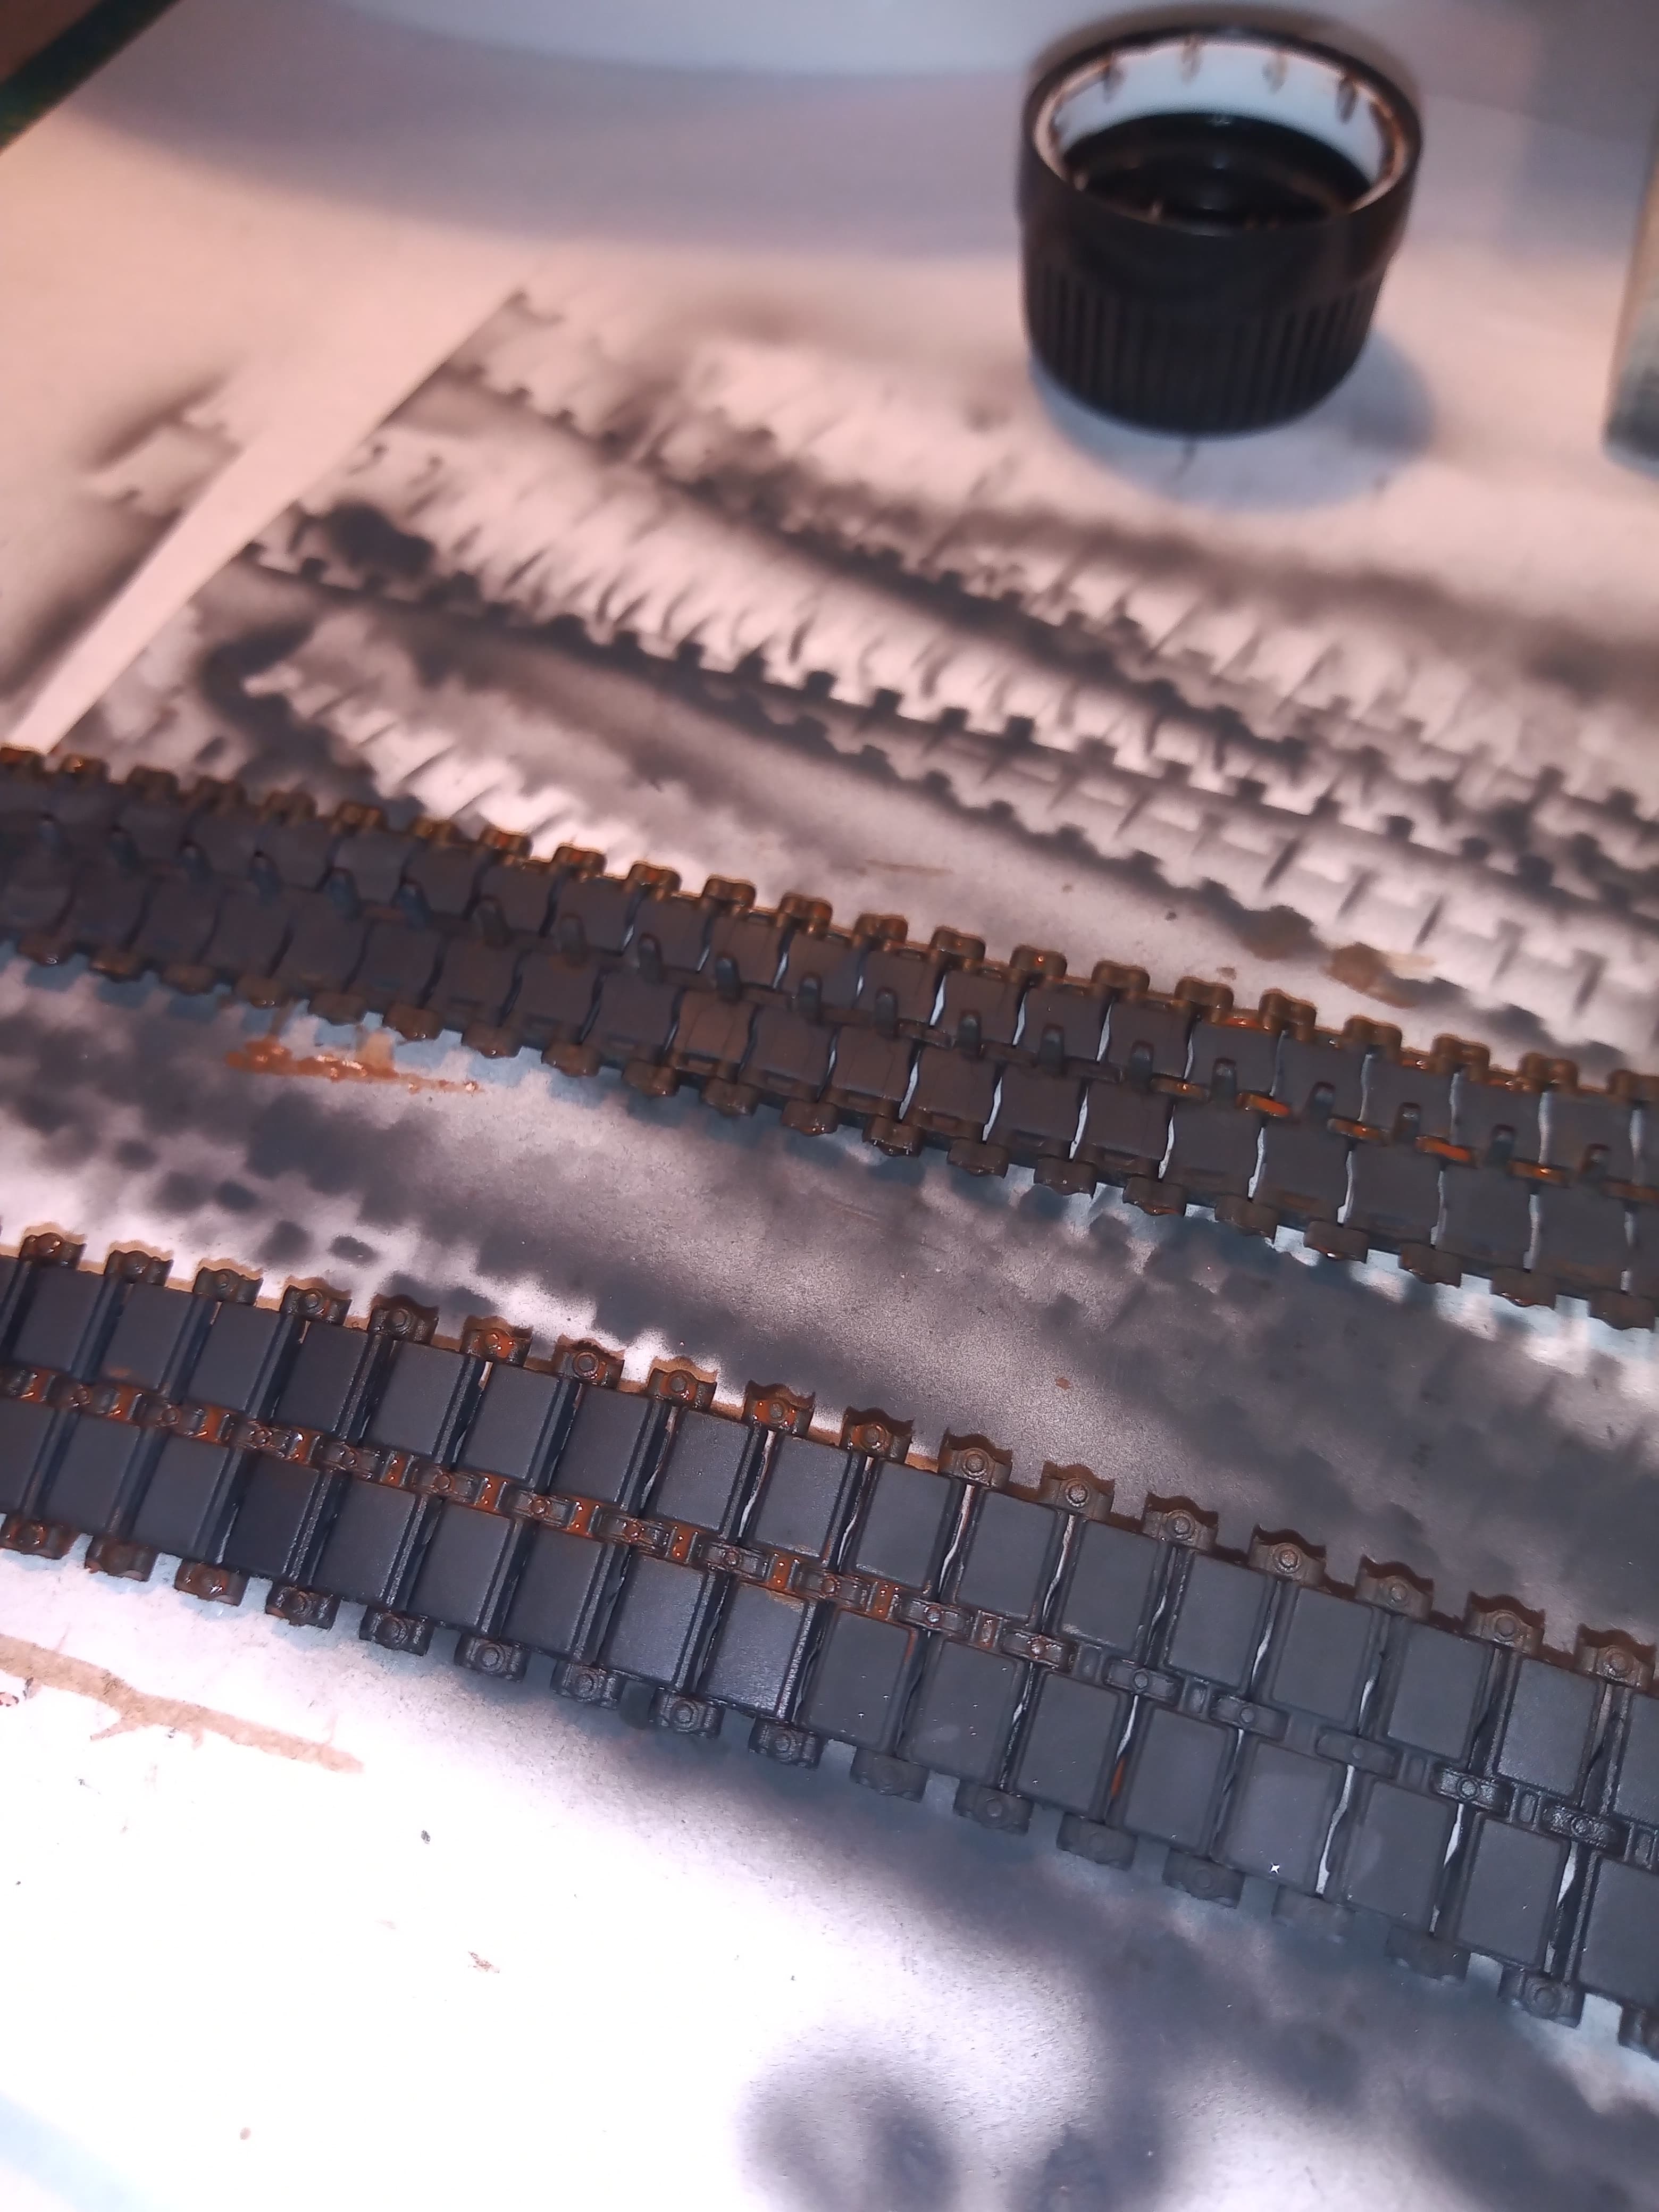
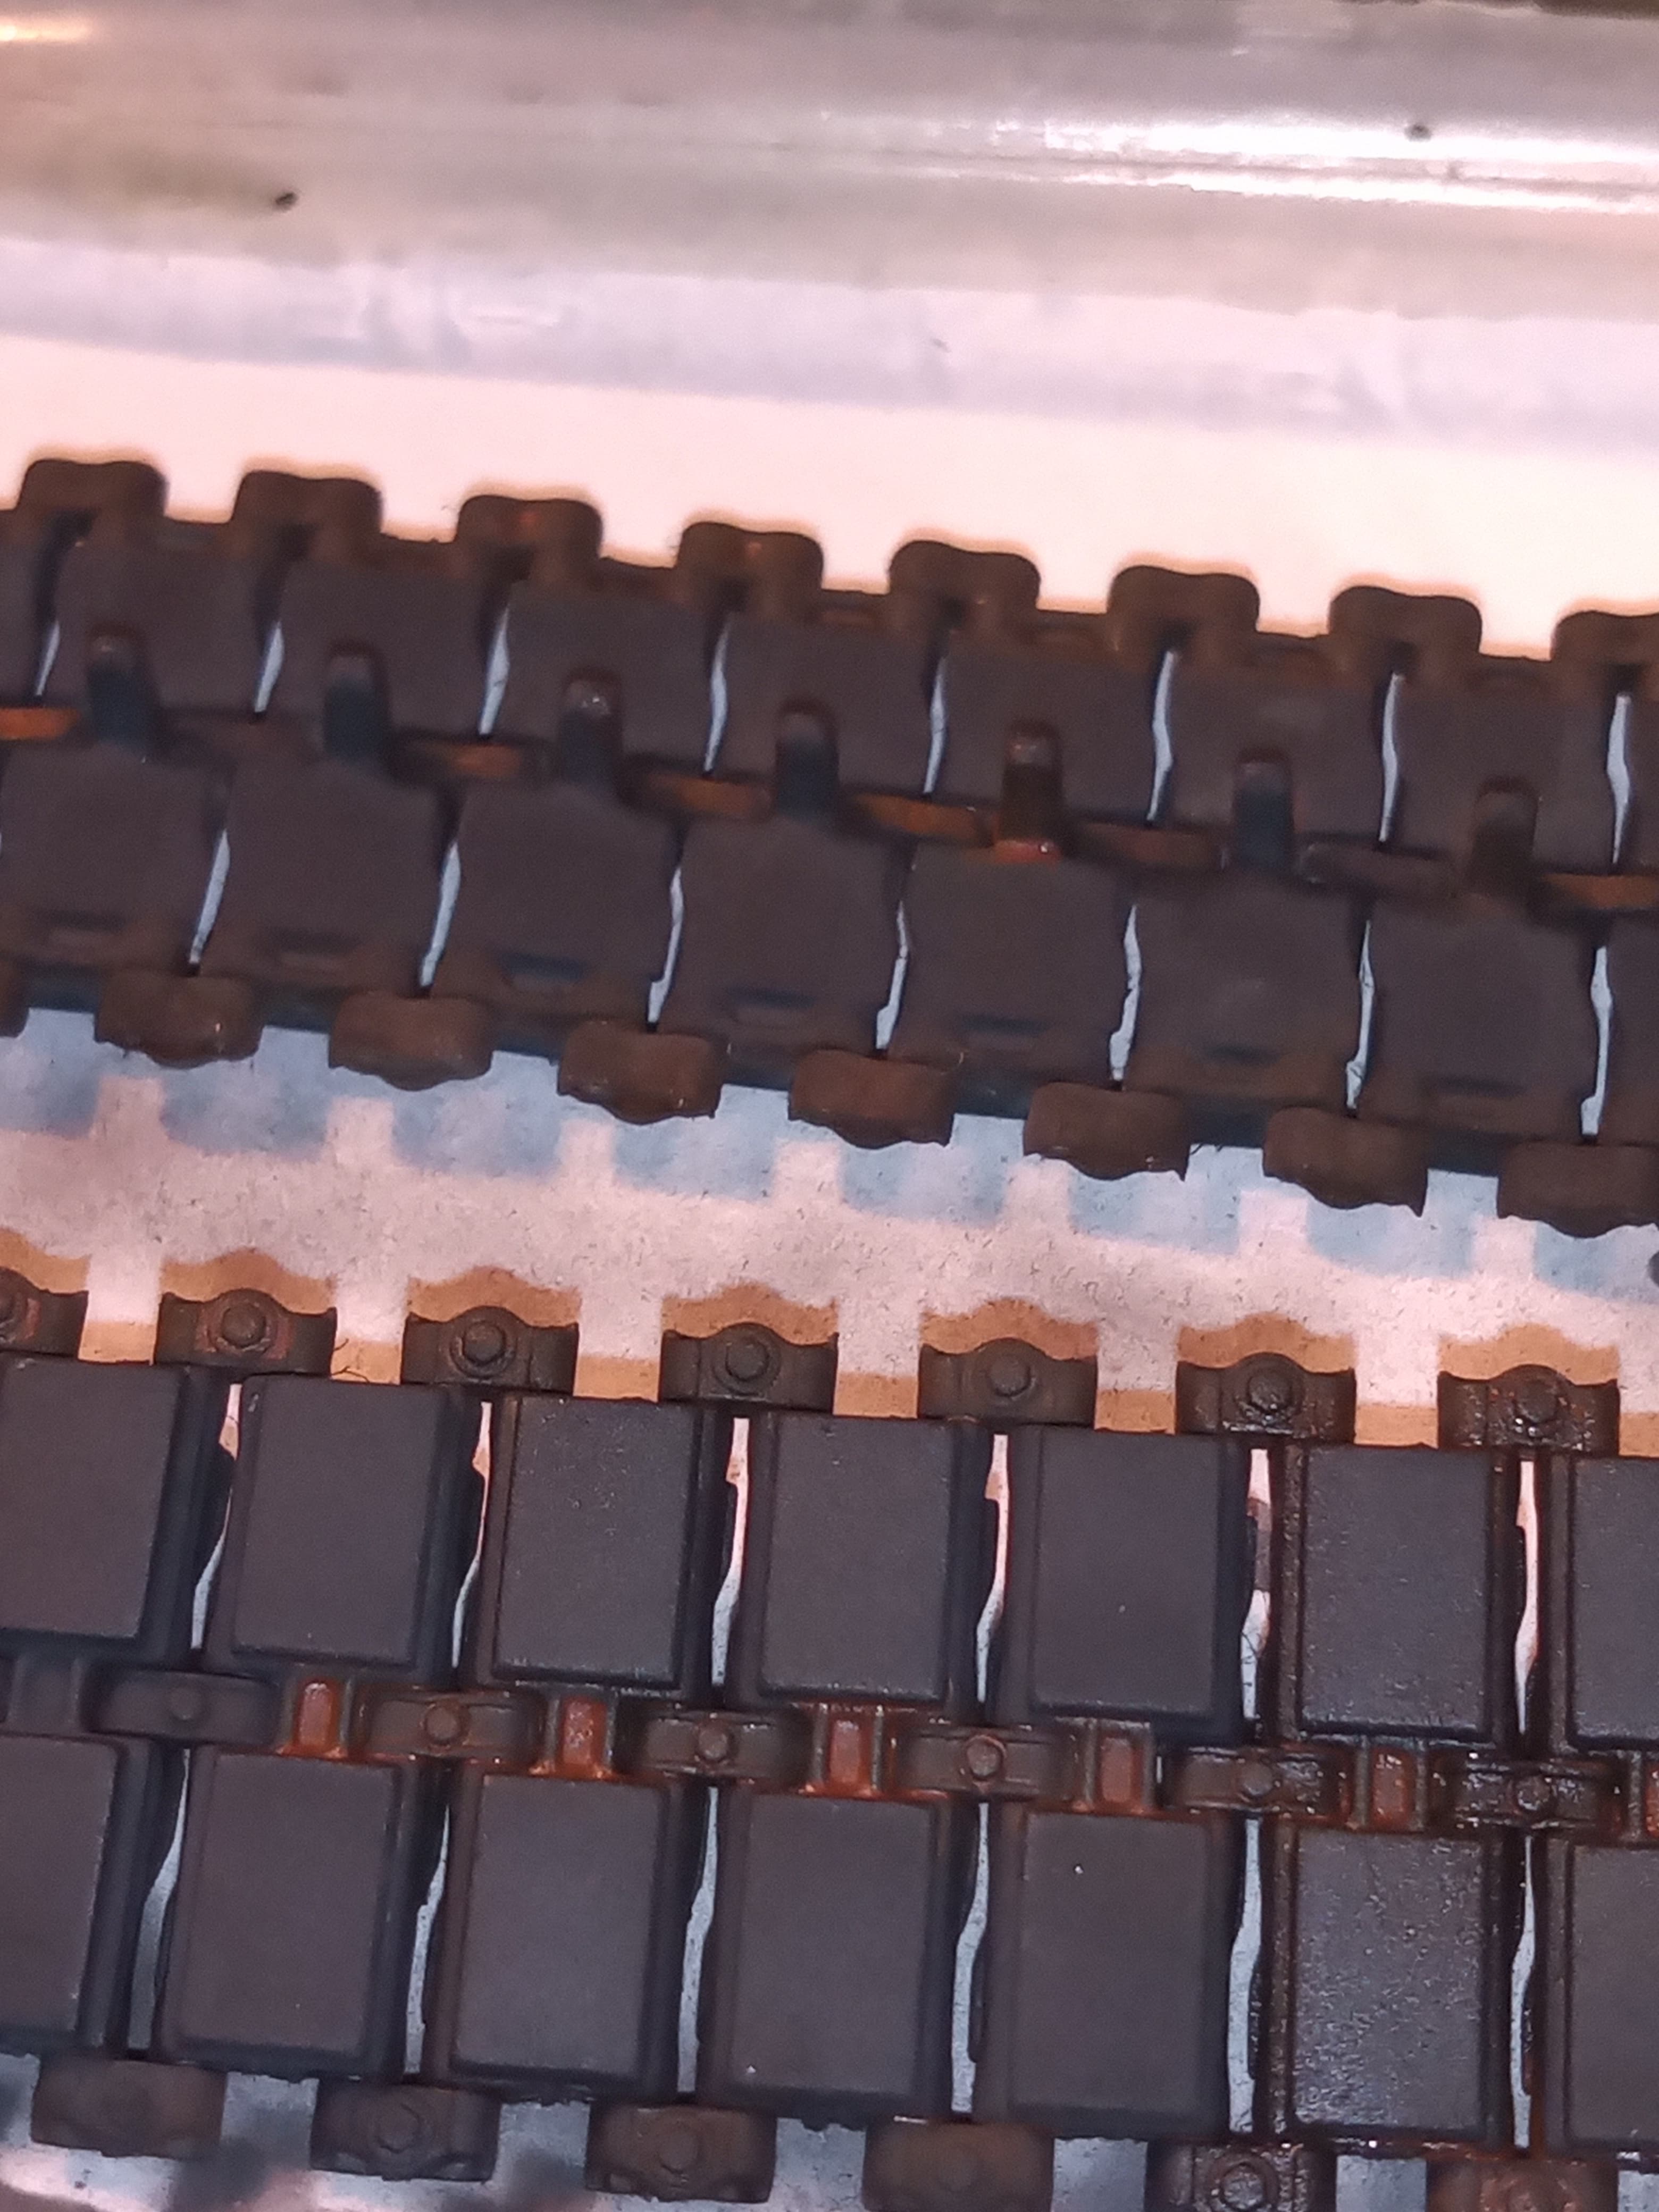
I like the way it came out, gives a real used old track look.
Hey kids!
I’ve been a bit checked out lately. Haven’t even looked at my bench this month.
I’m still keeping an eye on things in here though and as always, I’m impressed. This campaign is generating some really unique builds as I hoped it would.
Keep it up! I’ll be back at it sooner than later.

The manufacturer’s lucky number John…
Looking good mate. Tracks are very nice.
Thanks Peter. Now they have fully dried I think they look even better than in the posted images. I would say overall, after the Dragon smart kit late Panther G I did for the Bulgarian build, this Ch2 is probably the nicest and best fitting kit I have done. I hope the RFM M1A2 SEP V2 is equally as good. There are no real issues on any front with it, and that is with indi 3 piece track links, a 7 part barrel and a 5 part turret !!
In fact that’s wrong, it’s an 8 piece barrel as there is a bit of PE that is meant to be the MRS access cover. ![]()
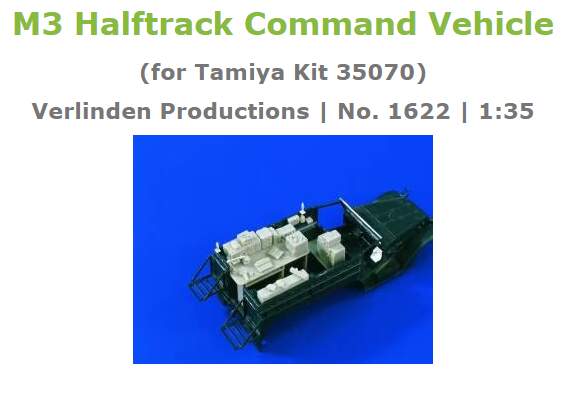
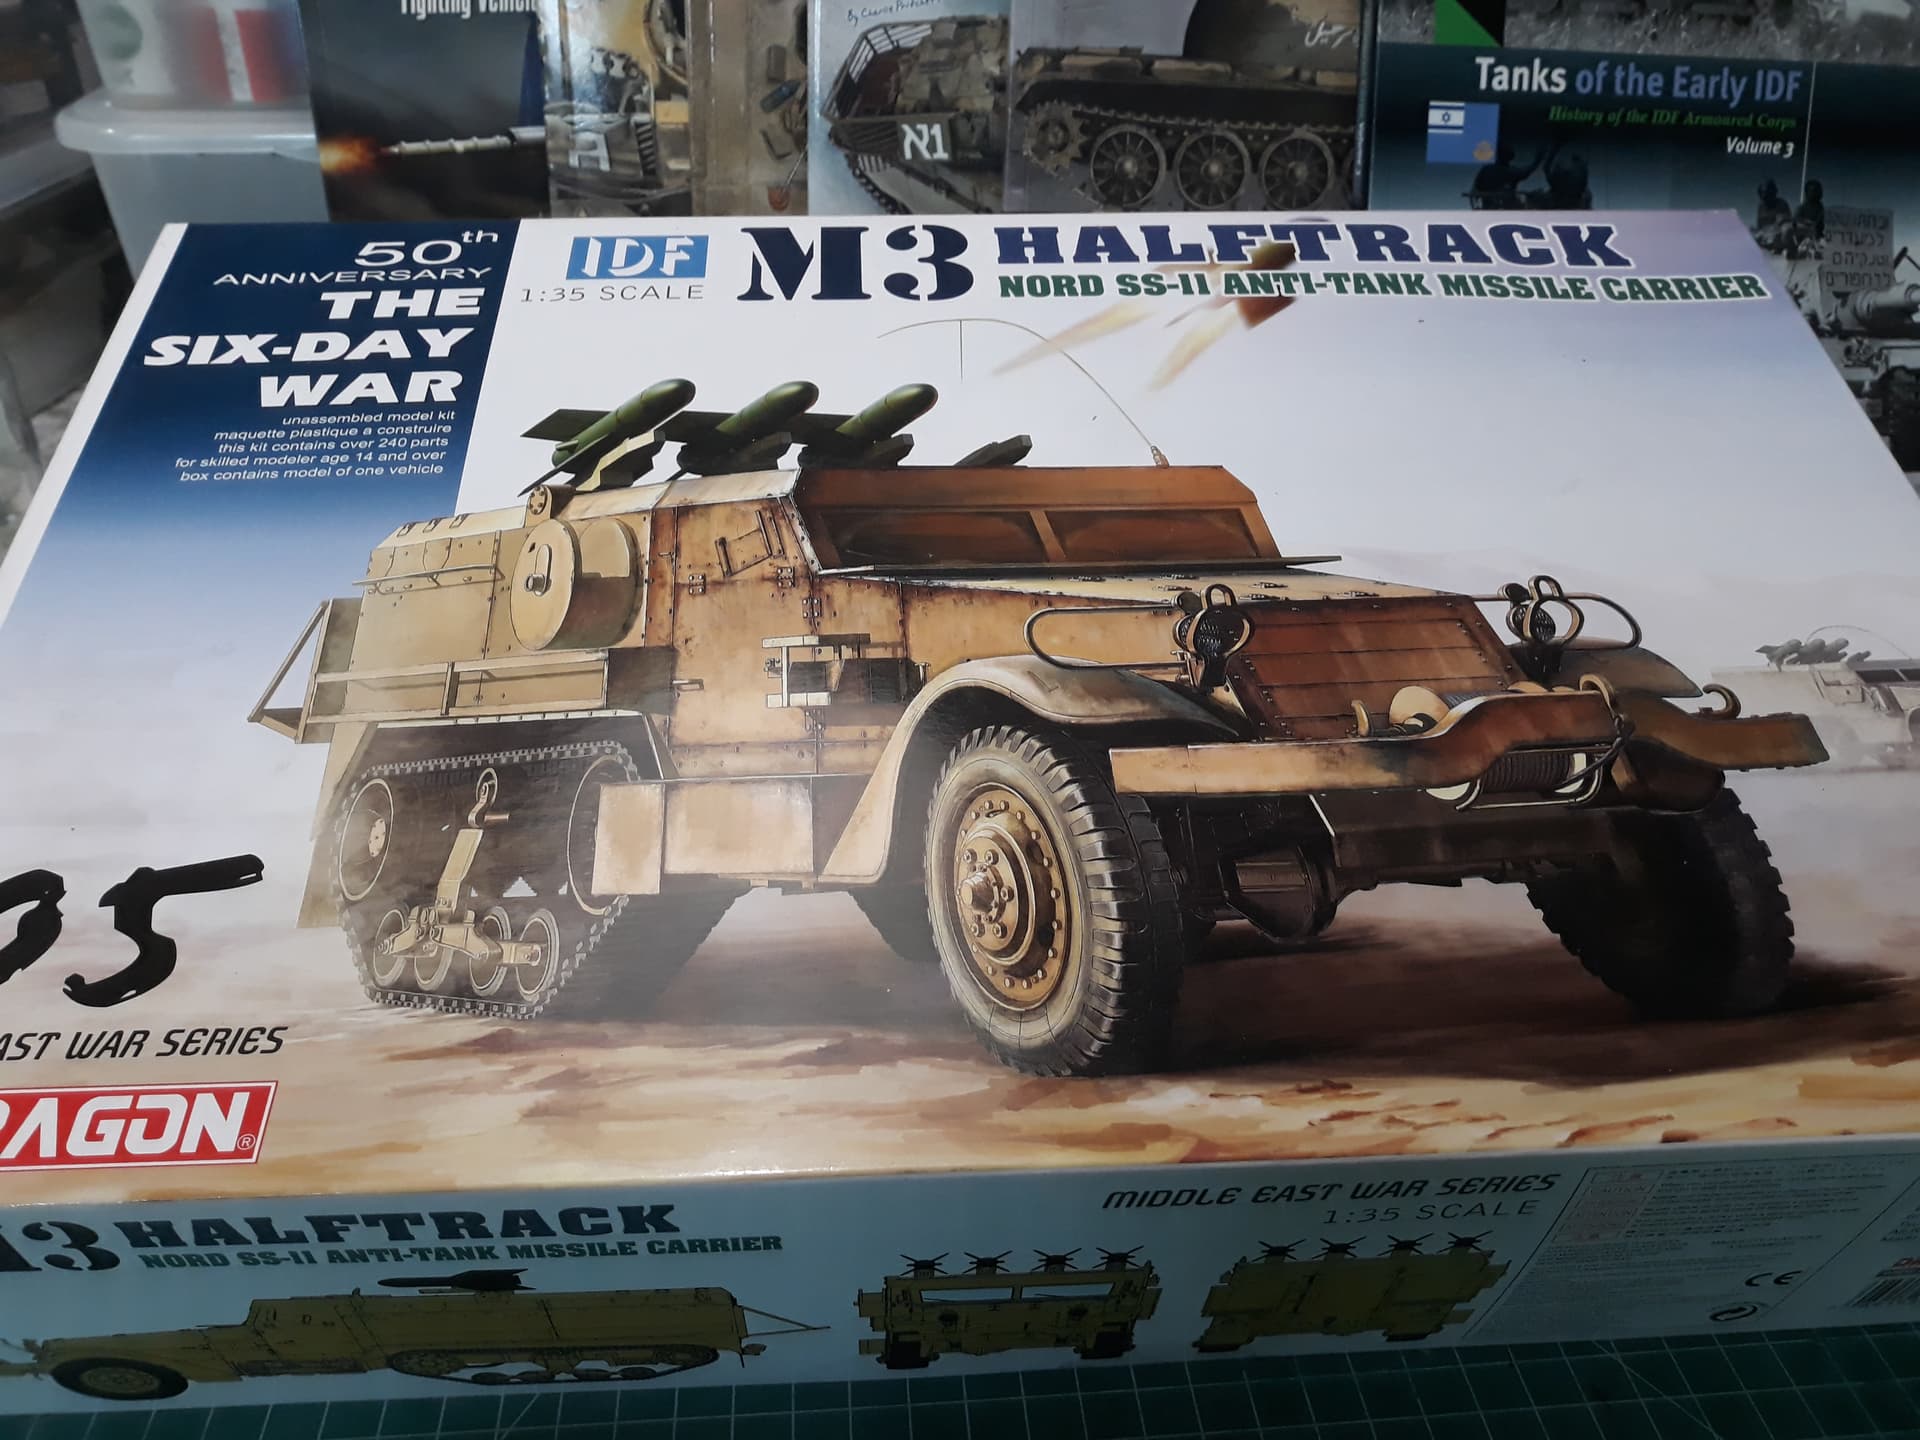
As I have finished my M10 Achilles entrie for the Tank destroyers 2 campaign I will be starting my M3 command car, I just swapped the starting kit from the earlier mentioned Tamiya M21 for the Dragon IDF M3 #05, this version: