Are they really that visible? I’m the kind who tend tonot correct mistakes if it’s not visible on end result.
From what I can tell, it has a few, very minor, “issues”. They are all either easily fixable or not an issue to me.
-
The rear armor plates behind the storage boxes on the rear of the hull should have two spaced armor plates with a void between them. There is only one solid plate.
-
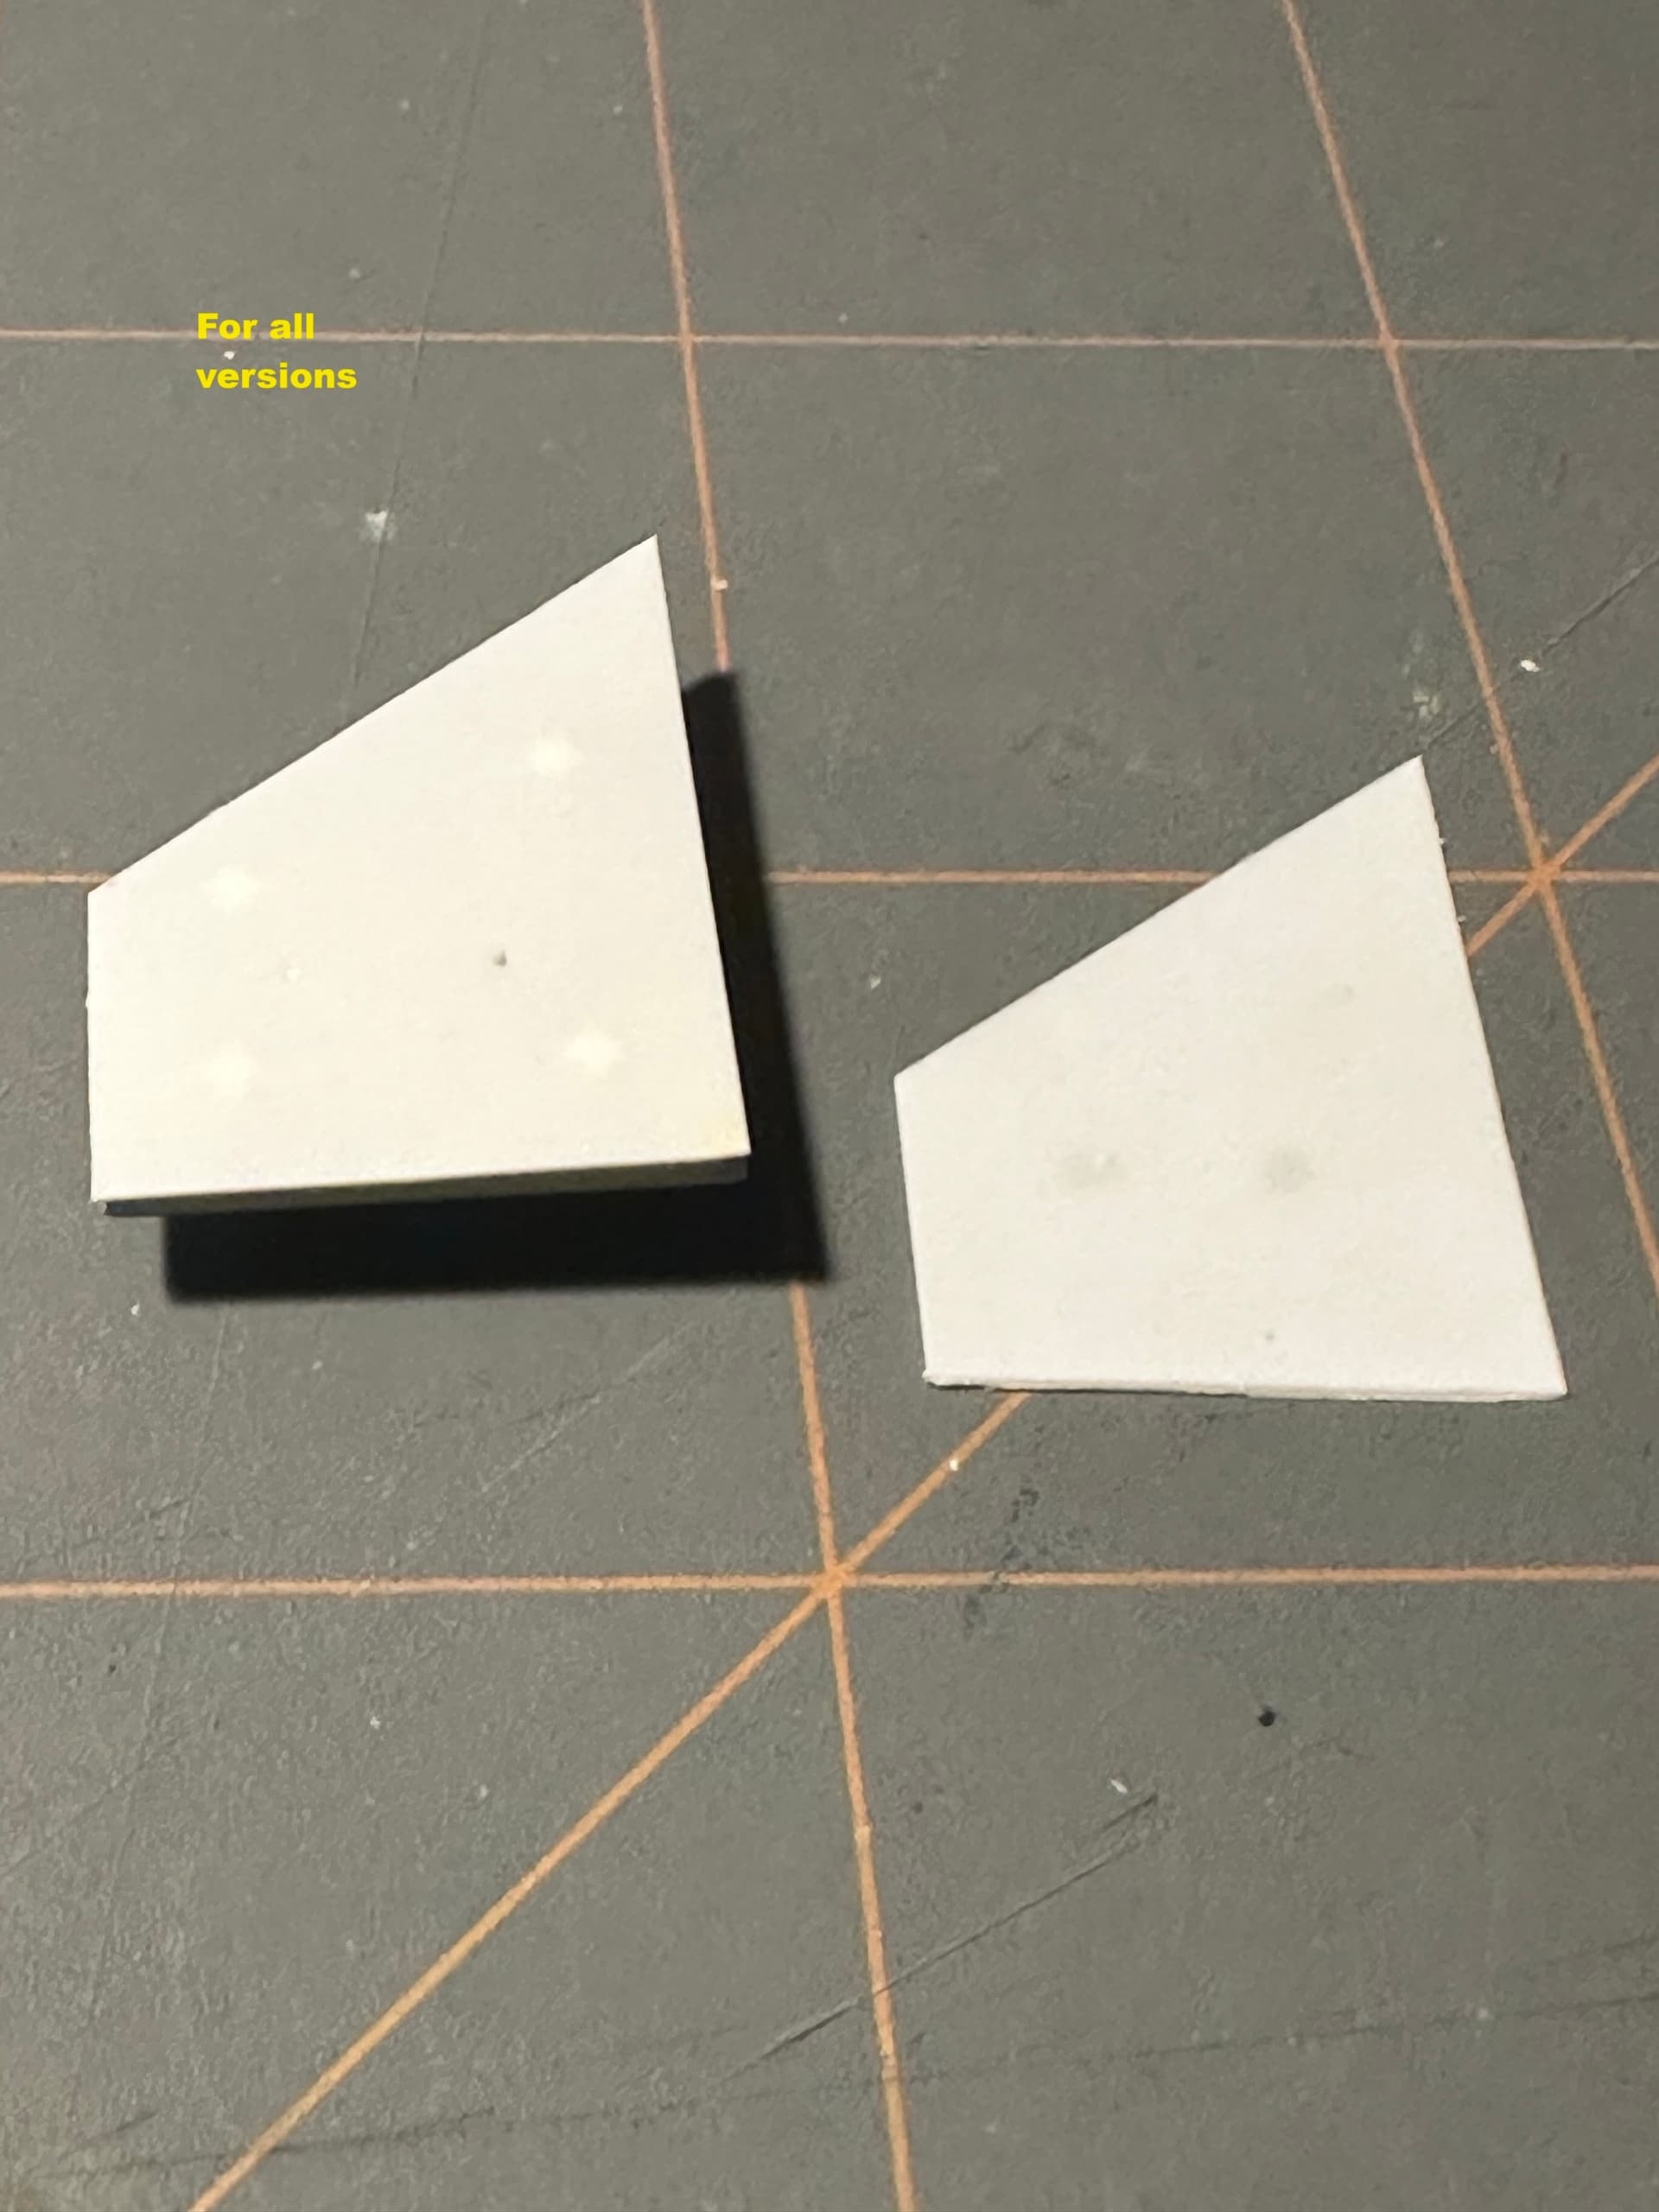
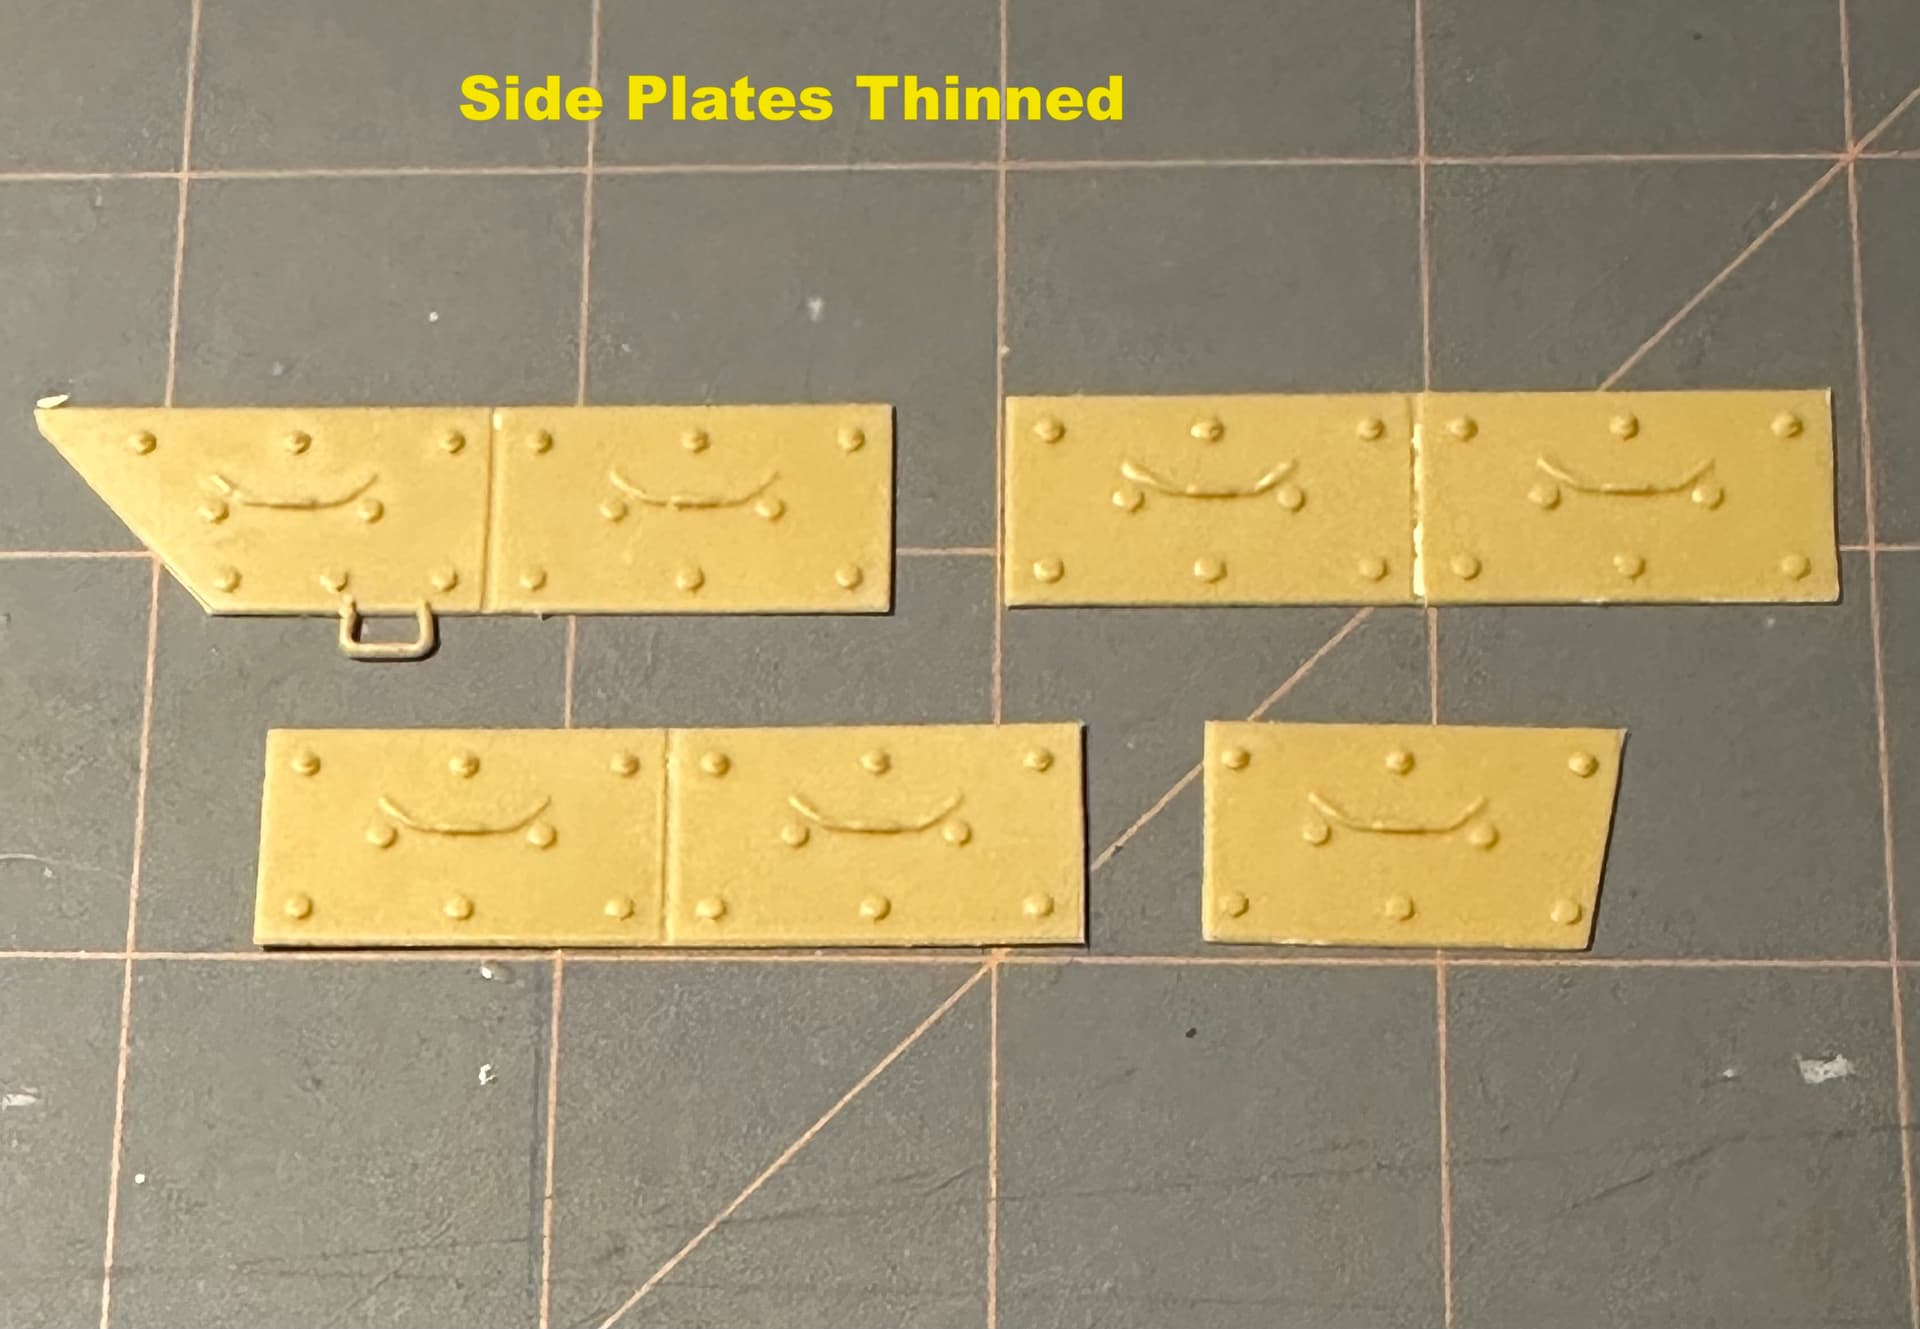
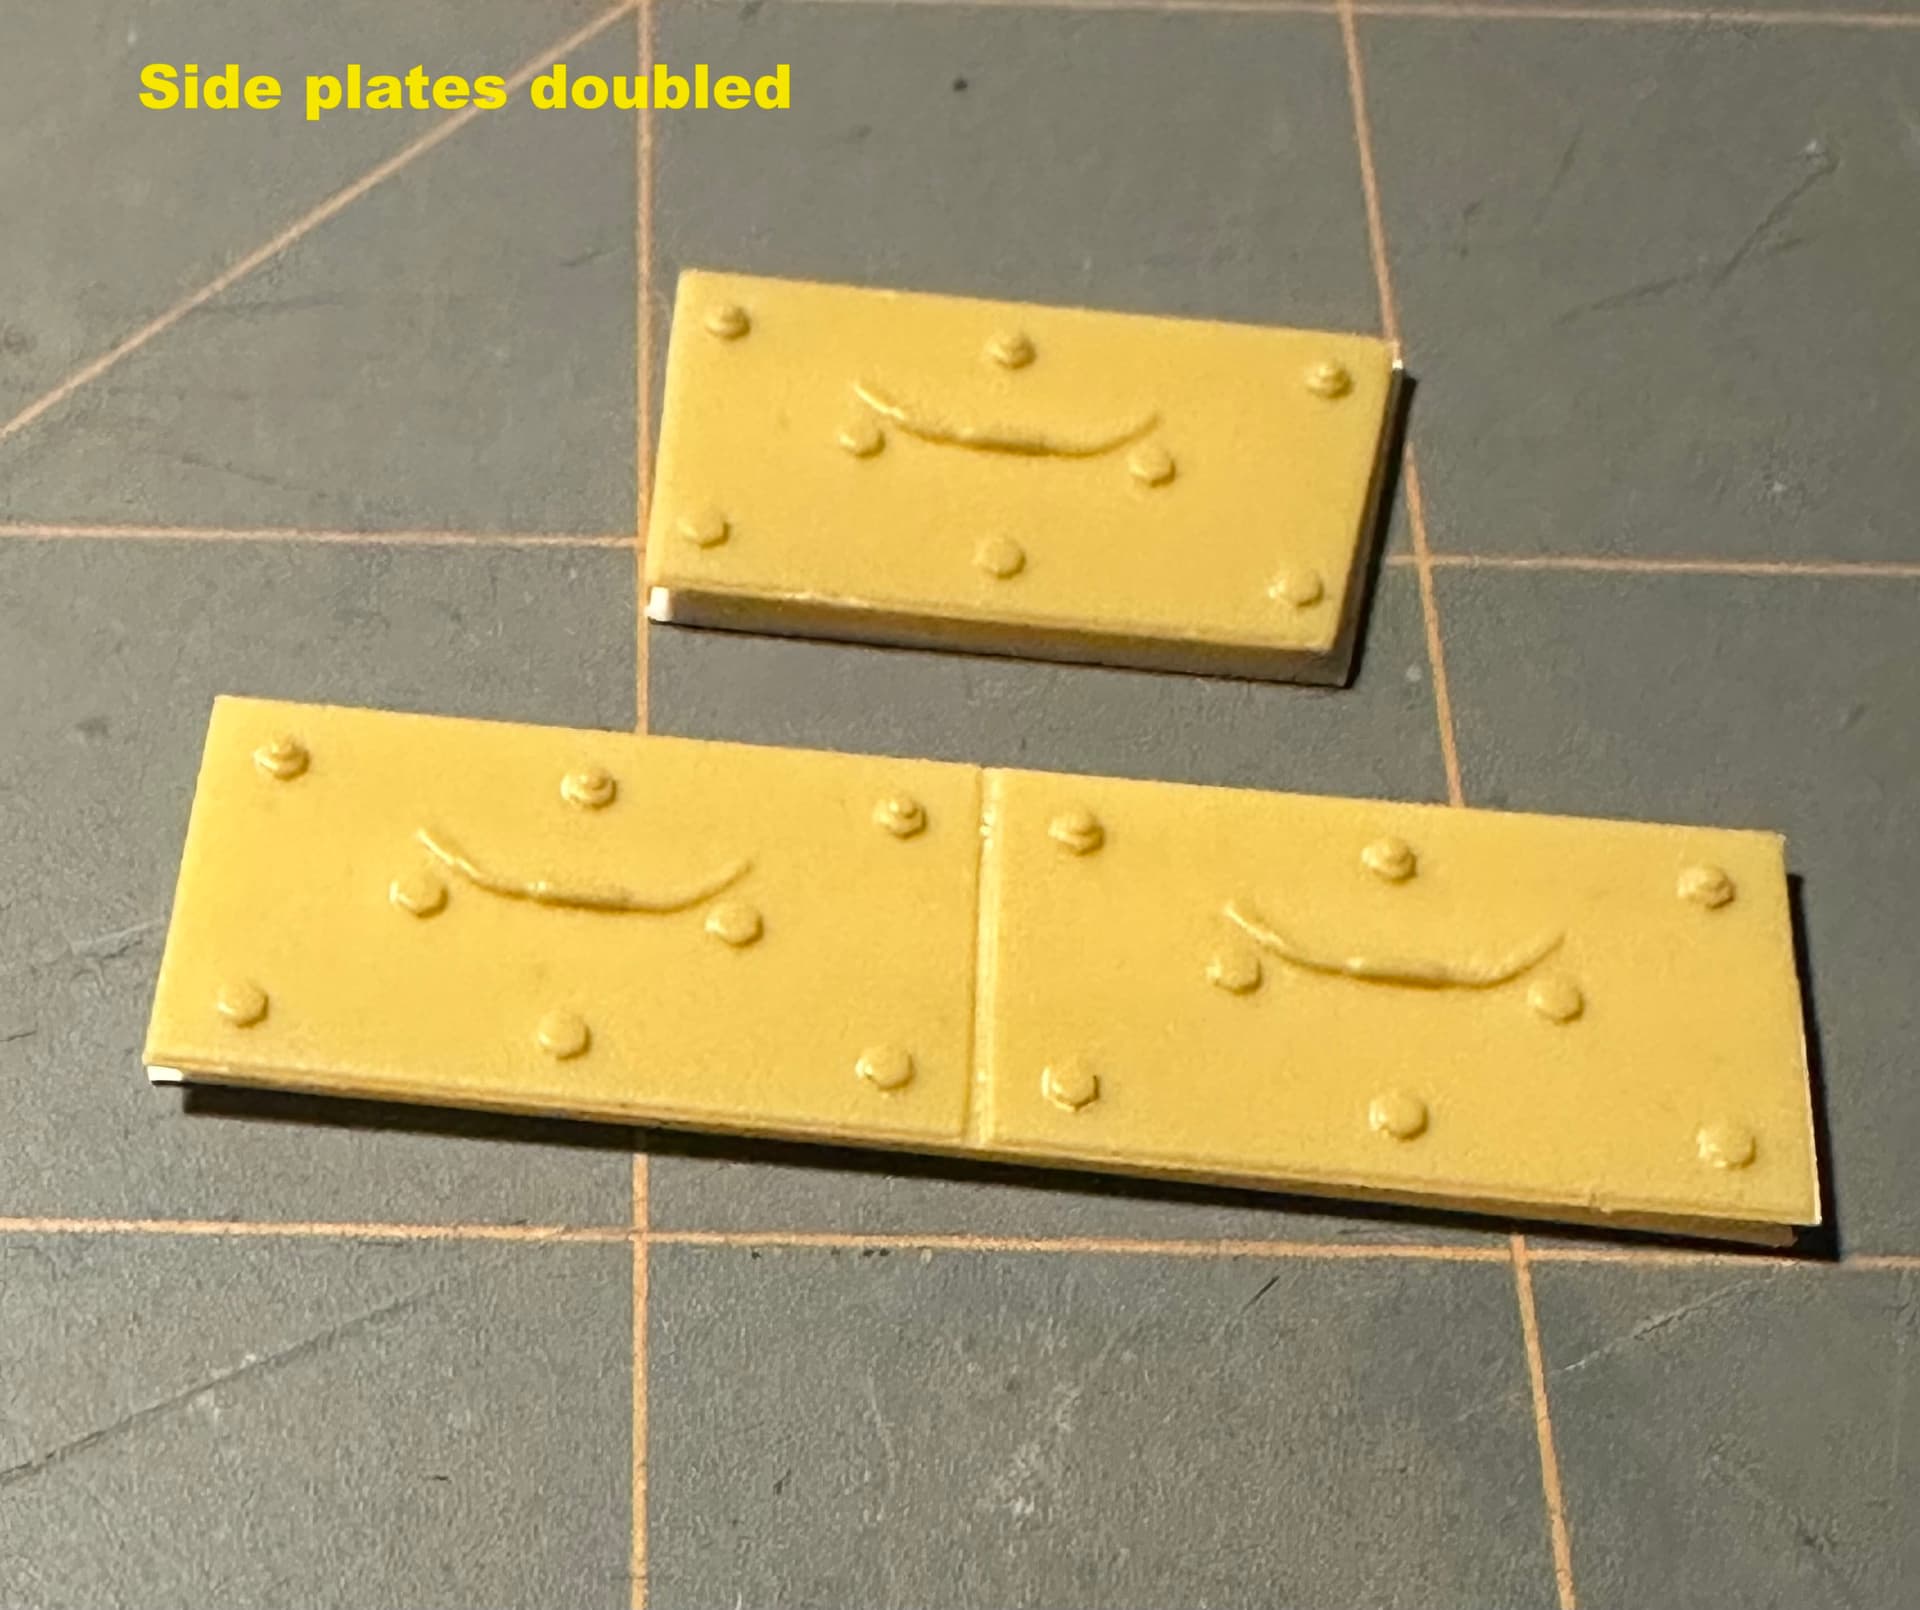
The lower portion of the side armor plates should have two spaced armor plates with a void between them. There is only one solid plate.
-
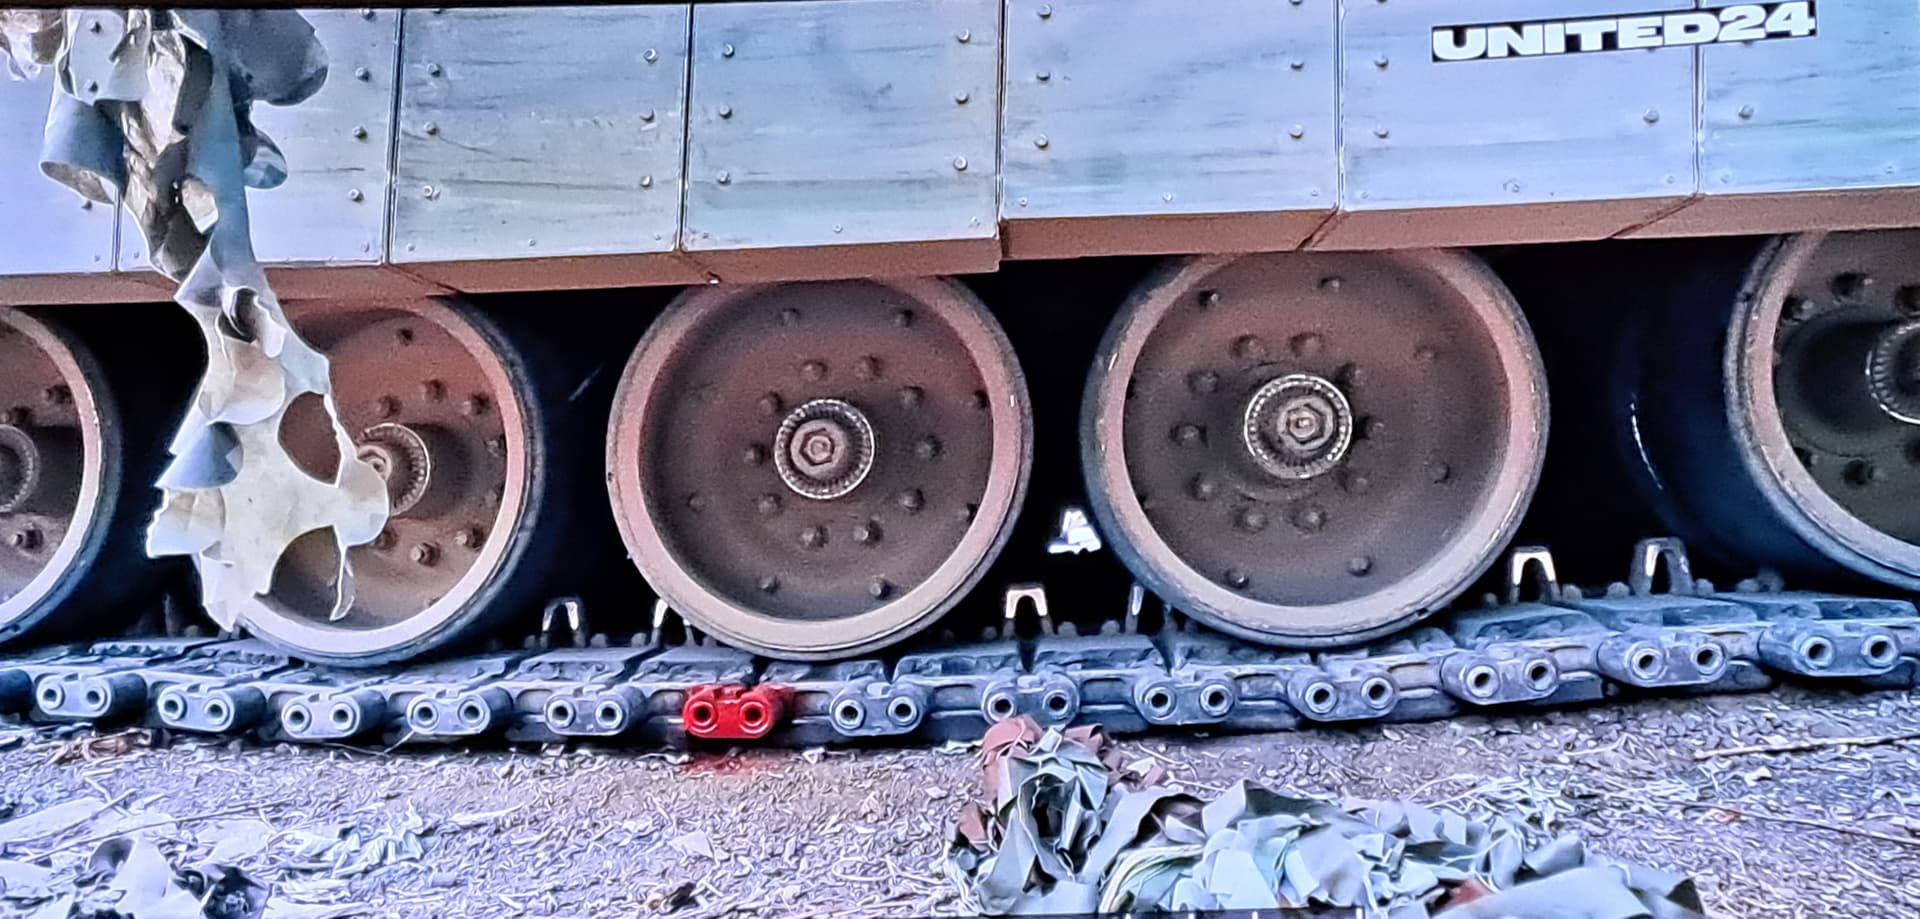
The tracks should have open center guide teeth. They are molded solid. Jacques Duquet has a solution for the tracks.
NEWS: 1/35 3D Printed Bradley update sets - Armor/AFV / Modern - KitMaker Network
- Some say the front sprockets and road wheels don’t look right. They look fine to me.
I don’t see any issues with the rear turret bin, with the exception of some missing footman-type tie-down loops.
Apparently, there are a few other “issues” that I can’t ID.
To me though, it is a great kit and the most accurate and complete Bradley kit to date. I haven’t built the full kit yet, but I have used the M-SHORAD parts on another kit and they are great. They went together well and look awesome.
2 Likes
Your 1. and 2. I count as one thing.
I hadn’t been able to see the track well in photos, probably because I wasn’t looking. I won’t be using them as I plan to do a much earlier build. But your point is valid so that now makes seven things.
Since you bring up the turret bustle, it has a few “needs to improve” areas as well. If building an A3, (or earlier, in my case for at least one) you only get four ammo box holders. You need five or six depending on which particular vehicle you’re doing. If by “missing footman-type tie-down loops” you mean standard weld on loops, I’m not talking about those. However. behind each ammo box holder inside the bustle are metal reinforcing plates that also have a tie-down point at the top. They are obviously not footman loops though. Oddly, Magic Factory thought to include those on their 3D printed Ukraine version, so they definitely had the right references. And it is a noticeable detail. Noticeable enough that Voyager included them in their basic Bradley update set PE35442. But again, I’m not counting that as a deficiency. (although it should count) The reason: on the A4 version they are not there any more, because-
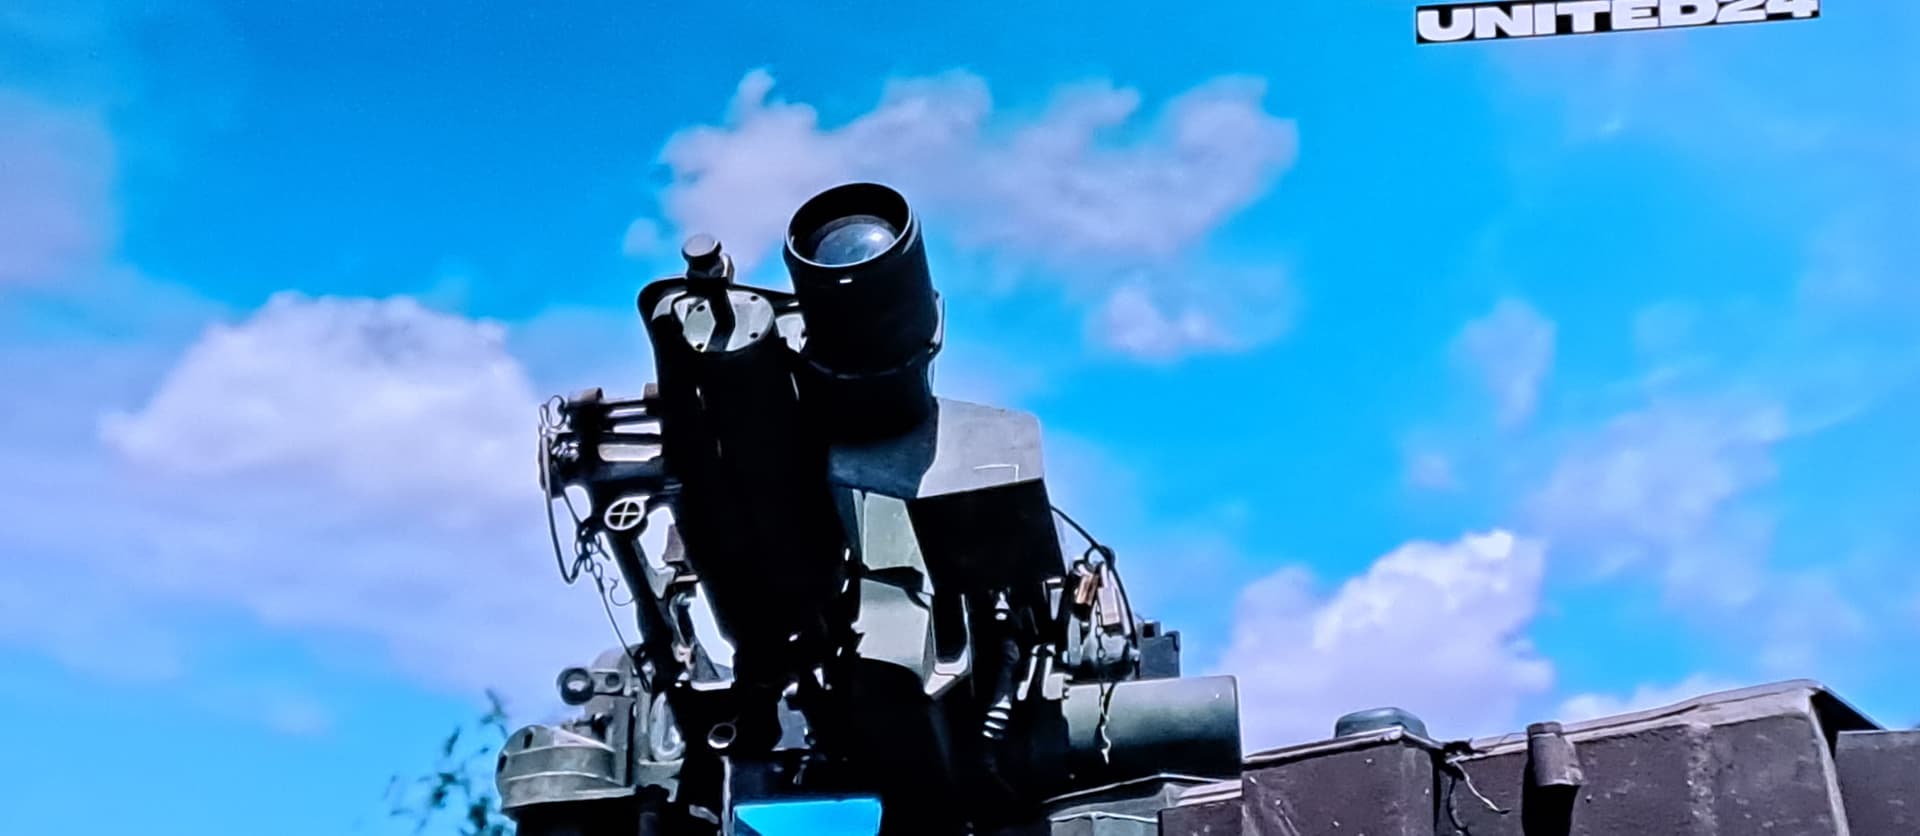
That’s actually not a sensor, it’s part of the CREW 3 IED Protection System. That’s only one component, the rest is in the bustle, along with some other very noticeable missing items needed for the A4
So we’re still at what? Six, seven things?
Some guys may not care about the armor panels not being doubled up, and that’s fine. Howere, I still don’t consider it “very minor.” This is something that could easily be done by model companies. It’s bothered me since around 2009, and all of my builds since then include them.
Plus, I can’t really expect everyone to have a virtually endless supply of Bradley kits lying around to cut parts off of.
Who knows, maybe once the kits arrive there’ll be a few more things to notice.
2 Likes
with the braldey tracks, I think it can be hidden with the weathering. I think the kit has those tracks:

Who actually are on ukrainian bradley like this one:

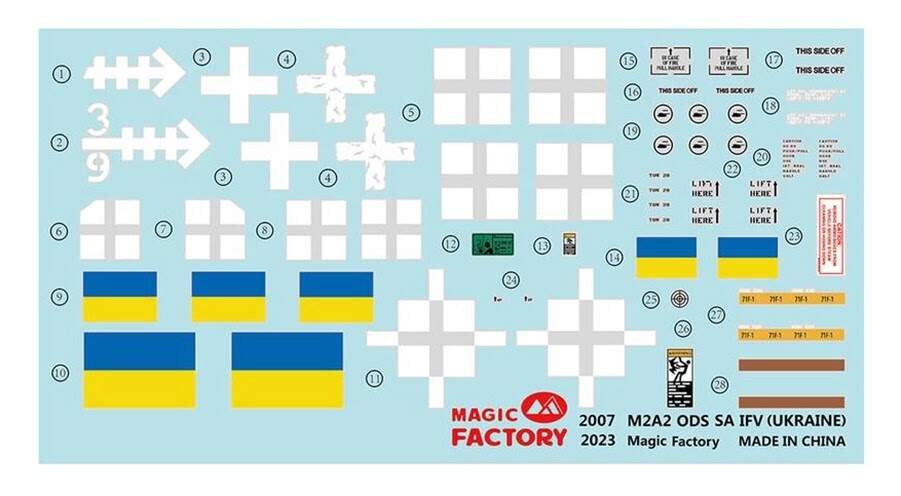
I think it’s actually one of the kits option looking at the arrow decals:

1 Like
Yes, both Magic Factory kits have the T161 tracks like listed/shown above. The center guide teeth can be hidden and are not very noticeable in the long run.
Also, the above pic is one of the decal options in the M2A2 ODS-SA Ukraine kit. You can see the decals better here.
2 Likes
Again, didn’t notice the teeth as I’m not using the track for two builds, although I will definitely do an A4 version for the third. And as mentioned, they’re hard to see in the build photos I’ve seen. However, now that’s it a known issue, when I do use them my plan will be to test fit the two angled and bottom runs to see which teeth are visible. Then I’ll just cut them off, clamp them, and add the slot with a razor saw. Then just reattach. I can’t imagine there’d be more than a dozen or so visible.
1 Like
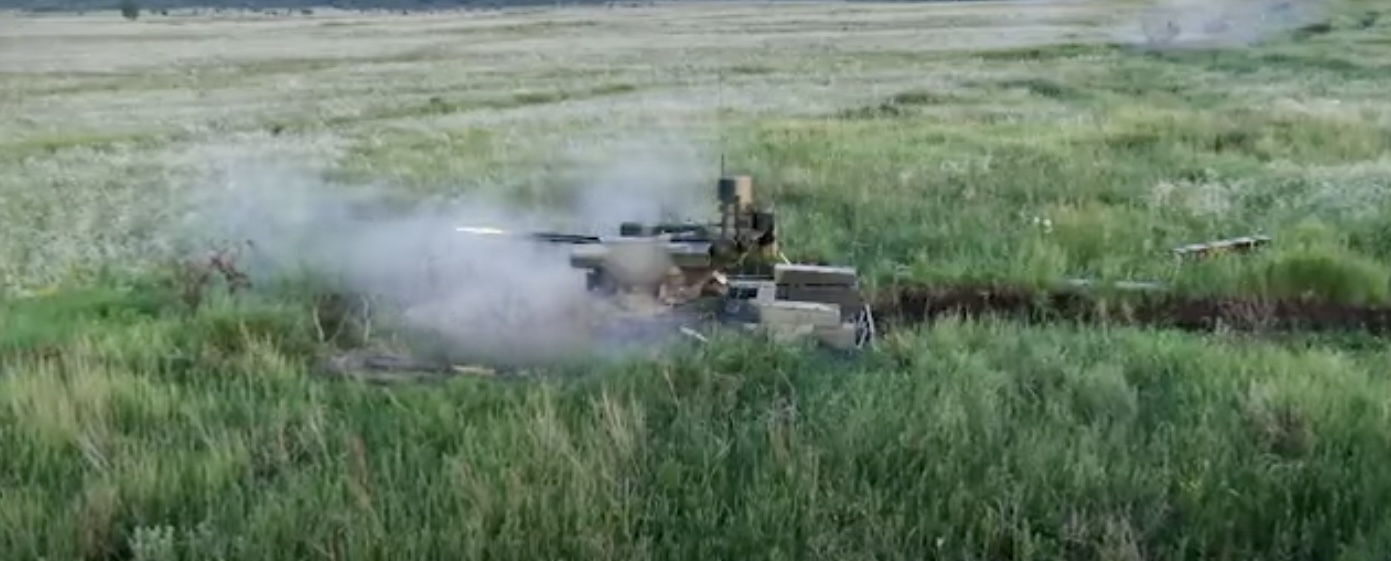
You mean, the vehicle, or the coverage? The tank is the CV90, as been told here. The coverage is the Barracuda cammo, developed by SAAB: Barracuda MCS | Saab
On a side note, .E.T. Models makes PE side skirts for Meng Bradley…Don’t know if the would fit the Magic Factory one ![]()
![]()
set #E35324

H.P.
1 Like
They fit just fine as Edward_Krott showed on his recent build.
Magic Factory M2A4 IFV Bradley - Armor/AFV / Modern - KitMaker Network
I have the Voyager set in the stash - PE35443. No longer available in the US that I know of. Like the E.T set it’s very CA glue intensive. Needless to say you have to have everything align perfectly, or it’ll look like azz.
But like most things there’s a trick to it. If you know what a plug weld is it makes it much easier. The other plus to using it - nobody (so far that I’ve seen) has enough OCD the make sure all of the bolts are all oriented on the side plates the same way on a 1:1 Bradley. So it stands to reason they shouldn’t all be oriented the same on a 1/35 kit. I like to turn a lot them slightly. Shaving them off of plastic is one way. Gluing with CA you’re almost certainly going to get them oriented differenly. But again, as long as you can align them correctly it looks good.
Having said that, there is a half track inside the auto repair shop at Fort Carson that has all of the flat head screws turned exactly the same way. I actually can feel that guy’s pain. Some people don’t suffer from OCD, they enjoy it. I tell people that about my PTSD anyway. ![]()
2 Likes
Thanks!
Ken
Looking forward to your build. Not to beat a dead horse, but there’s another “cheat” for simulating the double spaced armor plates. It costs nothing, but only works if you use the BRAT. If you do use it, the only place the doubled armor is visible is at the front and the rear. All you have to do is secure your scribing tool to your work surface at the appropriate height. Run the front and rear edges of your armor pieces along the scribing tool, which remains stationary. Don’t try it the other way around - it doesn’t work well. Run it several times at slightly different heights and you’ll get that nice separation. Trust me, it is worth the effort.
One of the interesting things about all of the Bradley kits - the length of the armor panels is identical no matter the producer. Seems they’re all working off of the same sheet of music.
It’ll fit.
So the main corrections are related to the side armor. AFV club is releasing a YPR 765 from a unit tied to azov it seems
https://www.scalemates.com/fr/kits/afv-club-af35361-ypr-765-pri50-apc--1563961
1 Like
On the Magic Factory Bradley, sort of. If you want to tackle the side skirts, you can. I think it can come out looking great straight out of the box. It is up to you though.


As I said, there at least five other things, six if you count the track. I want to actually have it in my hands first, but I’m fairly confident in my observations.
At least you won’t have to worry about the missing Crew 3 and other equipment in the bustle.
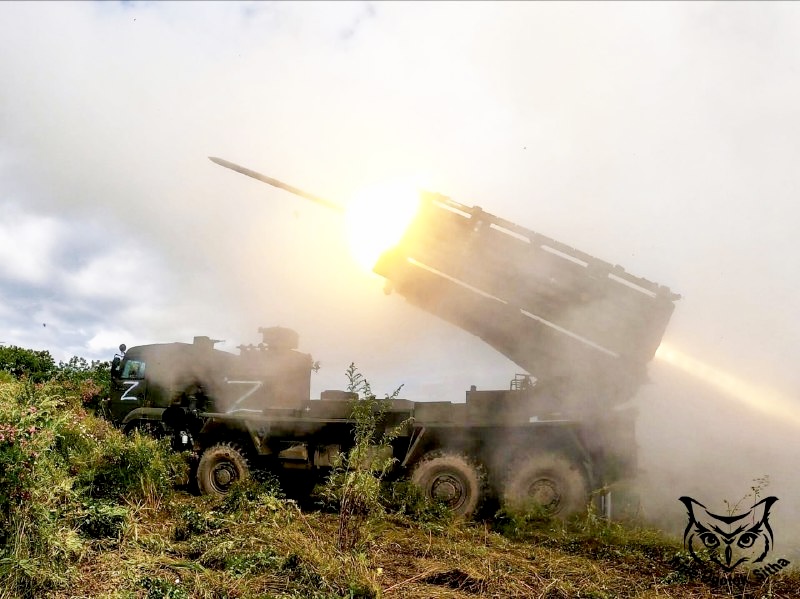


RM-70 Vampire MLRS


H.P.
1 Like