Been a long time since I tried a build log, 2015? Thought I’d try it again with this little gem. Here’s the original post:
OK, I’m off and crawling. Tactical change of plans. The guy that held this kit for me challenged meto have one of them built by the next club meeting.
Build Day 2:
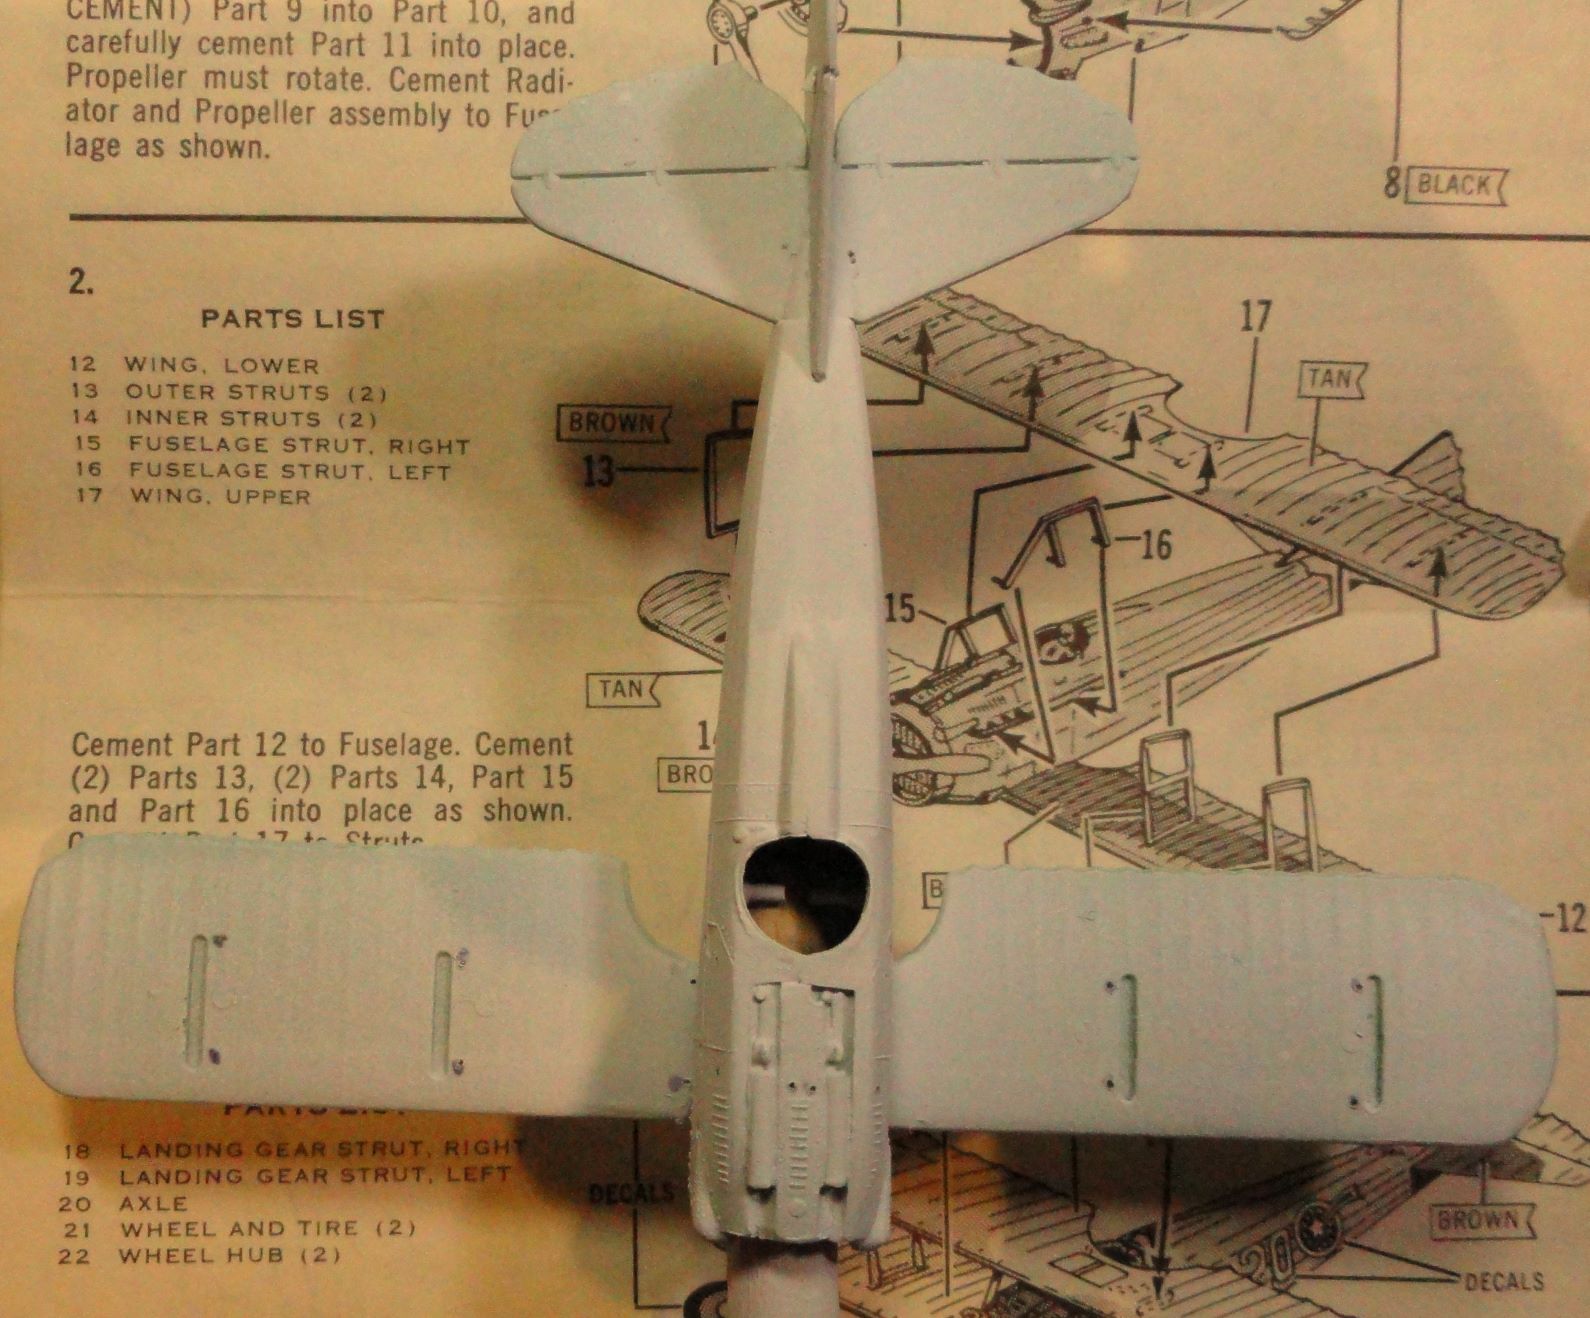
Fuselage glue up. it’s small and seems to line up pretty well. Mold halves shifted over time so one side is thicker than the other. Might only be a problem in front of the cockpit, the reast of the exterior surfaces seem to align
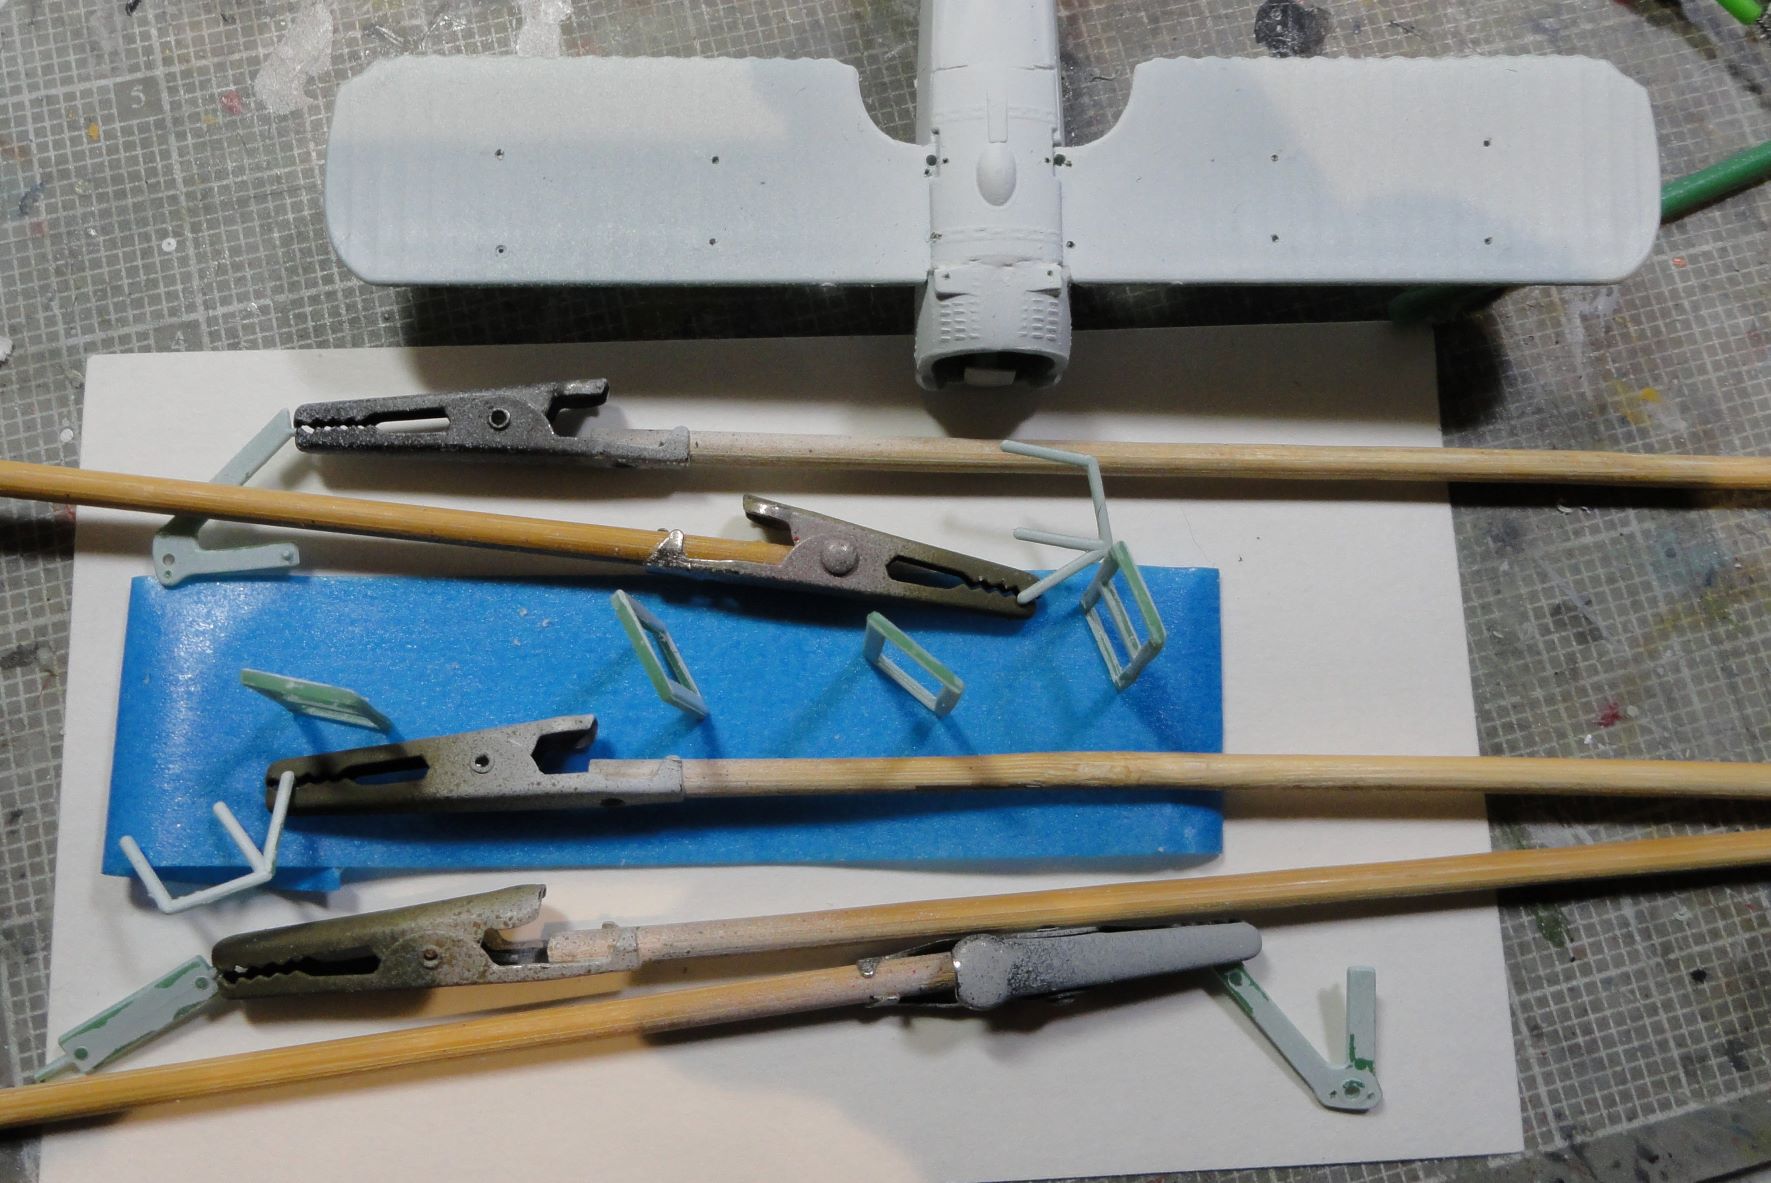
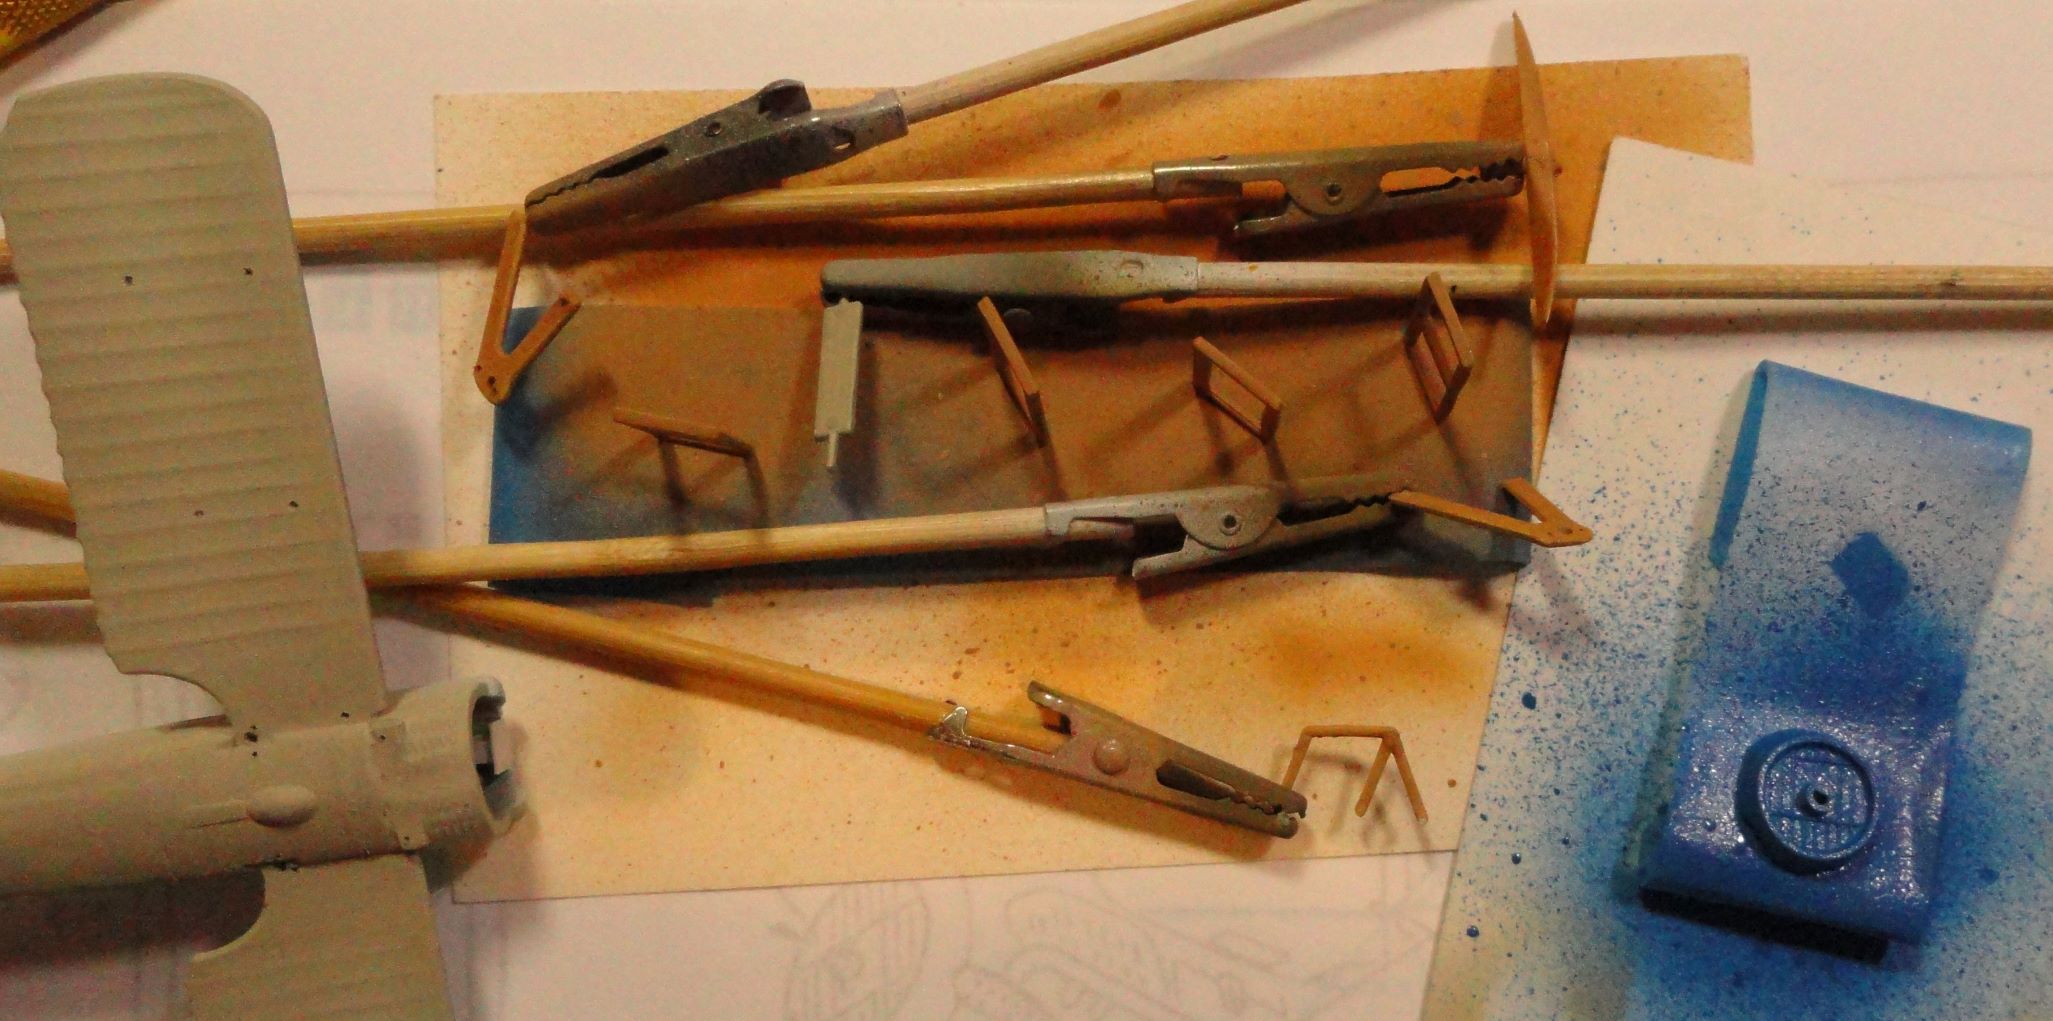
Patience, Grasshopper. The struggle of starting the rigging leads to the Zen of pulling the rigging.
Day 2 did not end well, I was unable to put two threads into one hole so that two lines appear to come from the same place. Quit and went to bed to think about the problem.
Build Day 3
Drilled out some more holes for the rigging. Got about 1/2 the lines placed.
Unclipped the fuselage and sanded the seam. It’s going to need to help to cover the seam.
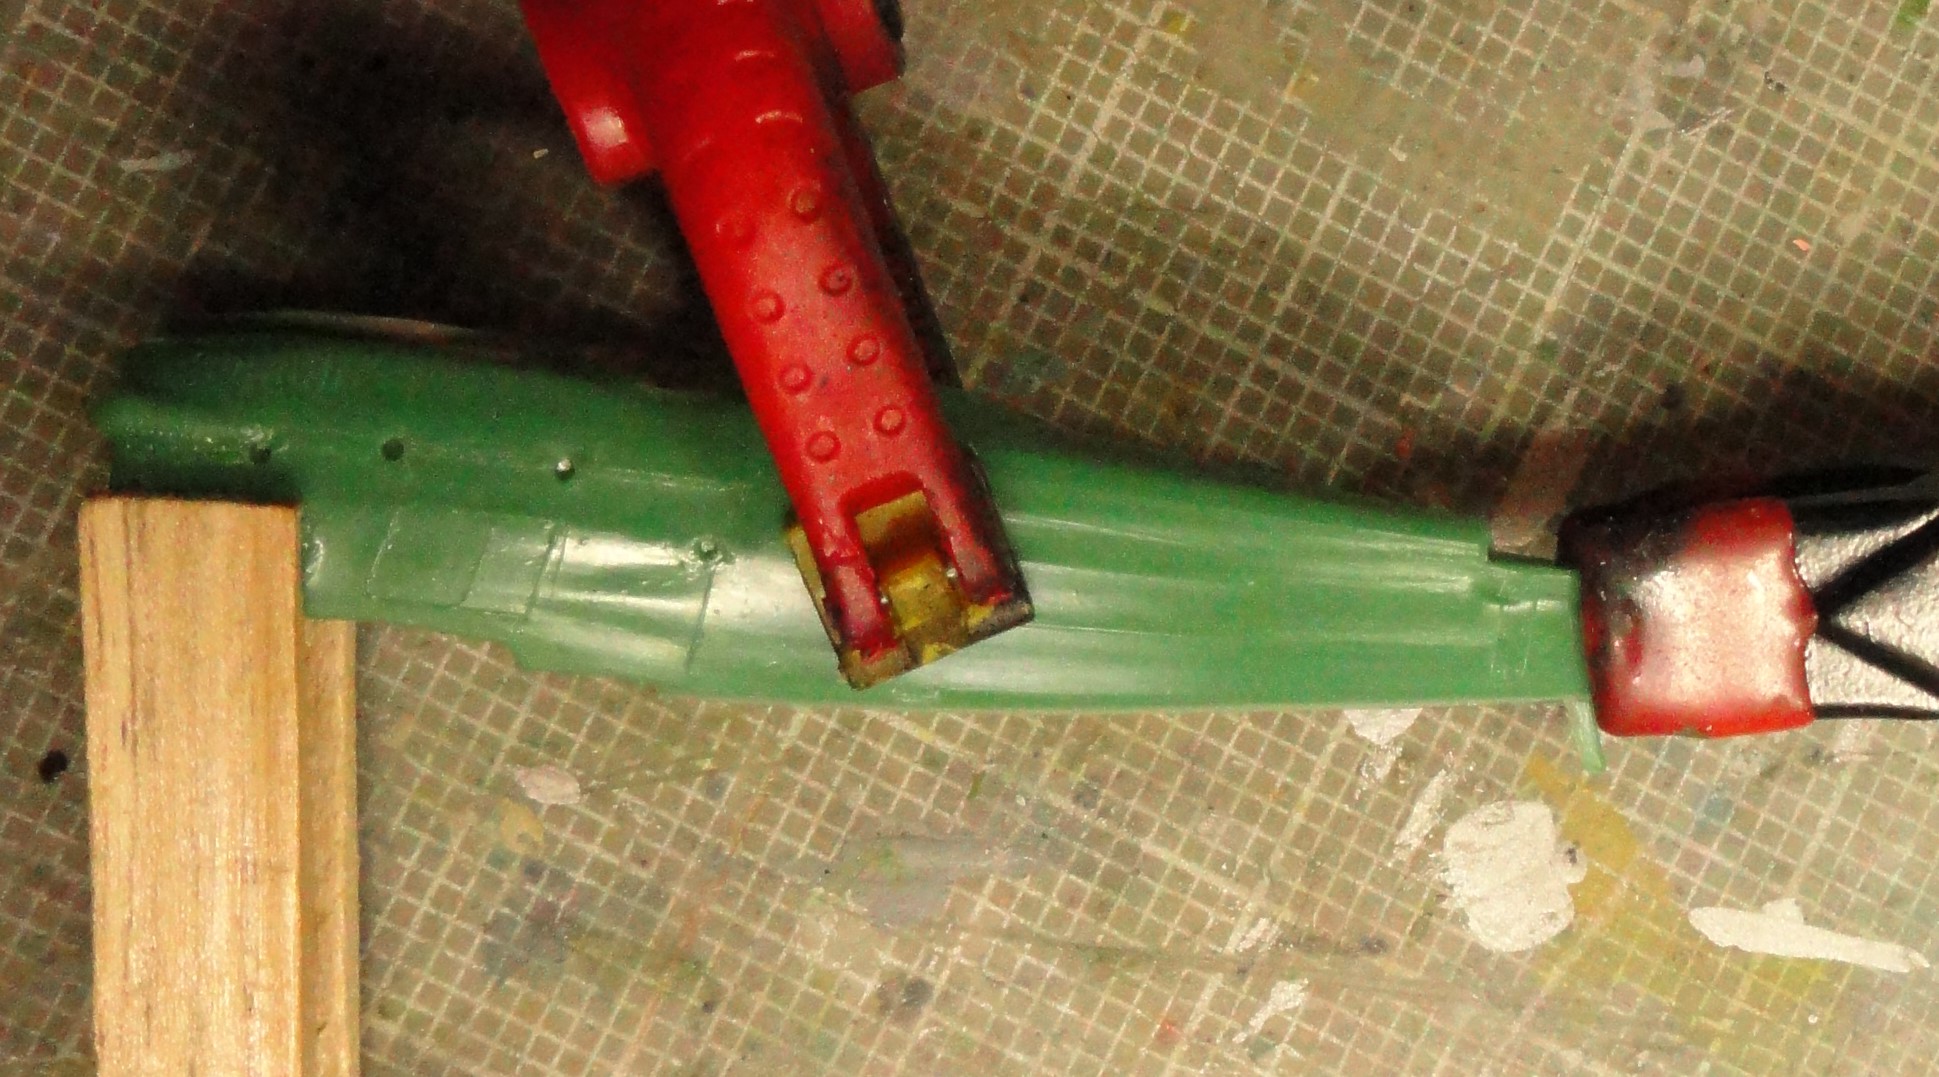
Installed the top front fuselage and guns, Some how managed to break off the tail skid.
Applied some Mr. Surfacer 500 over the seams and fashioned a new tail skid from some strip stock.
Build Day 4.
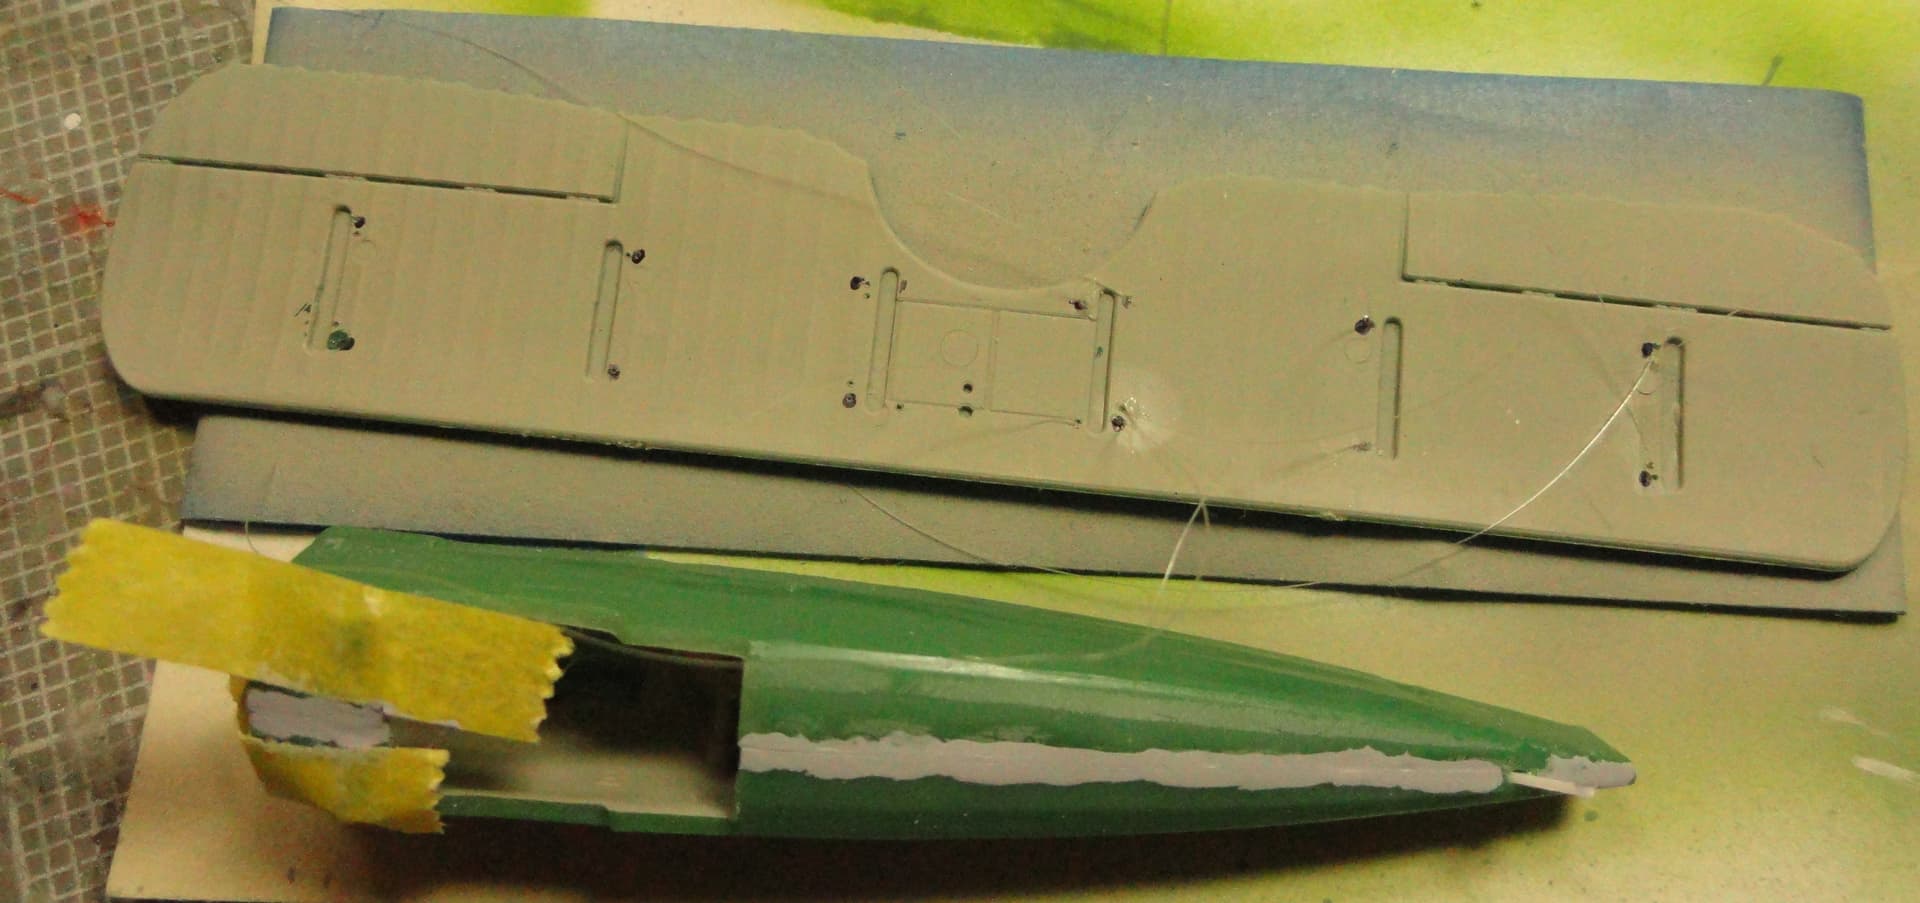
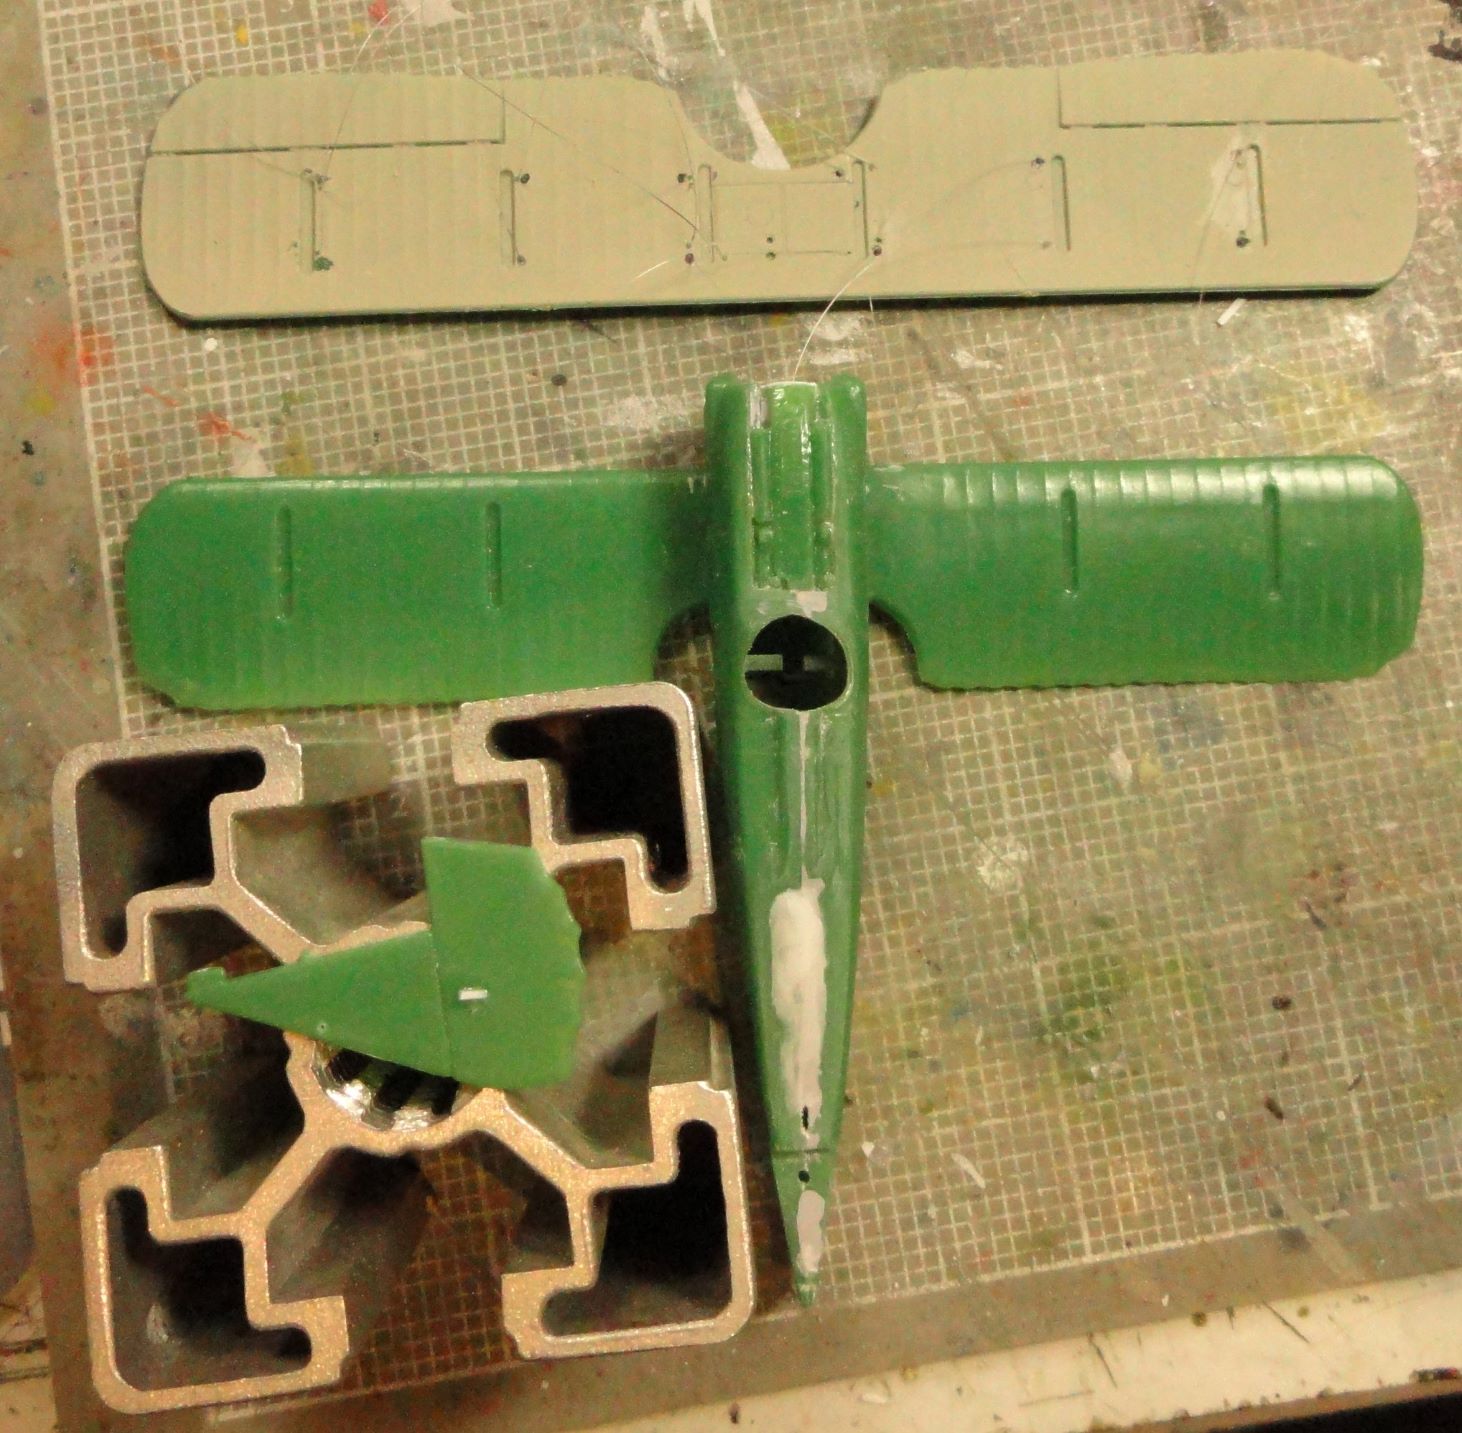
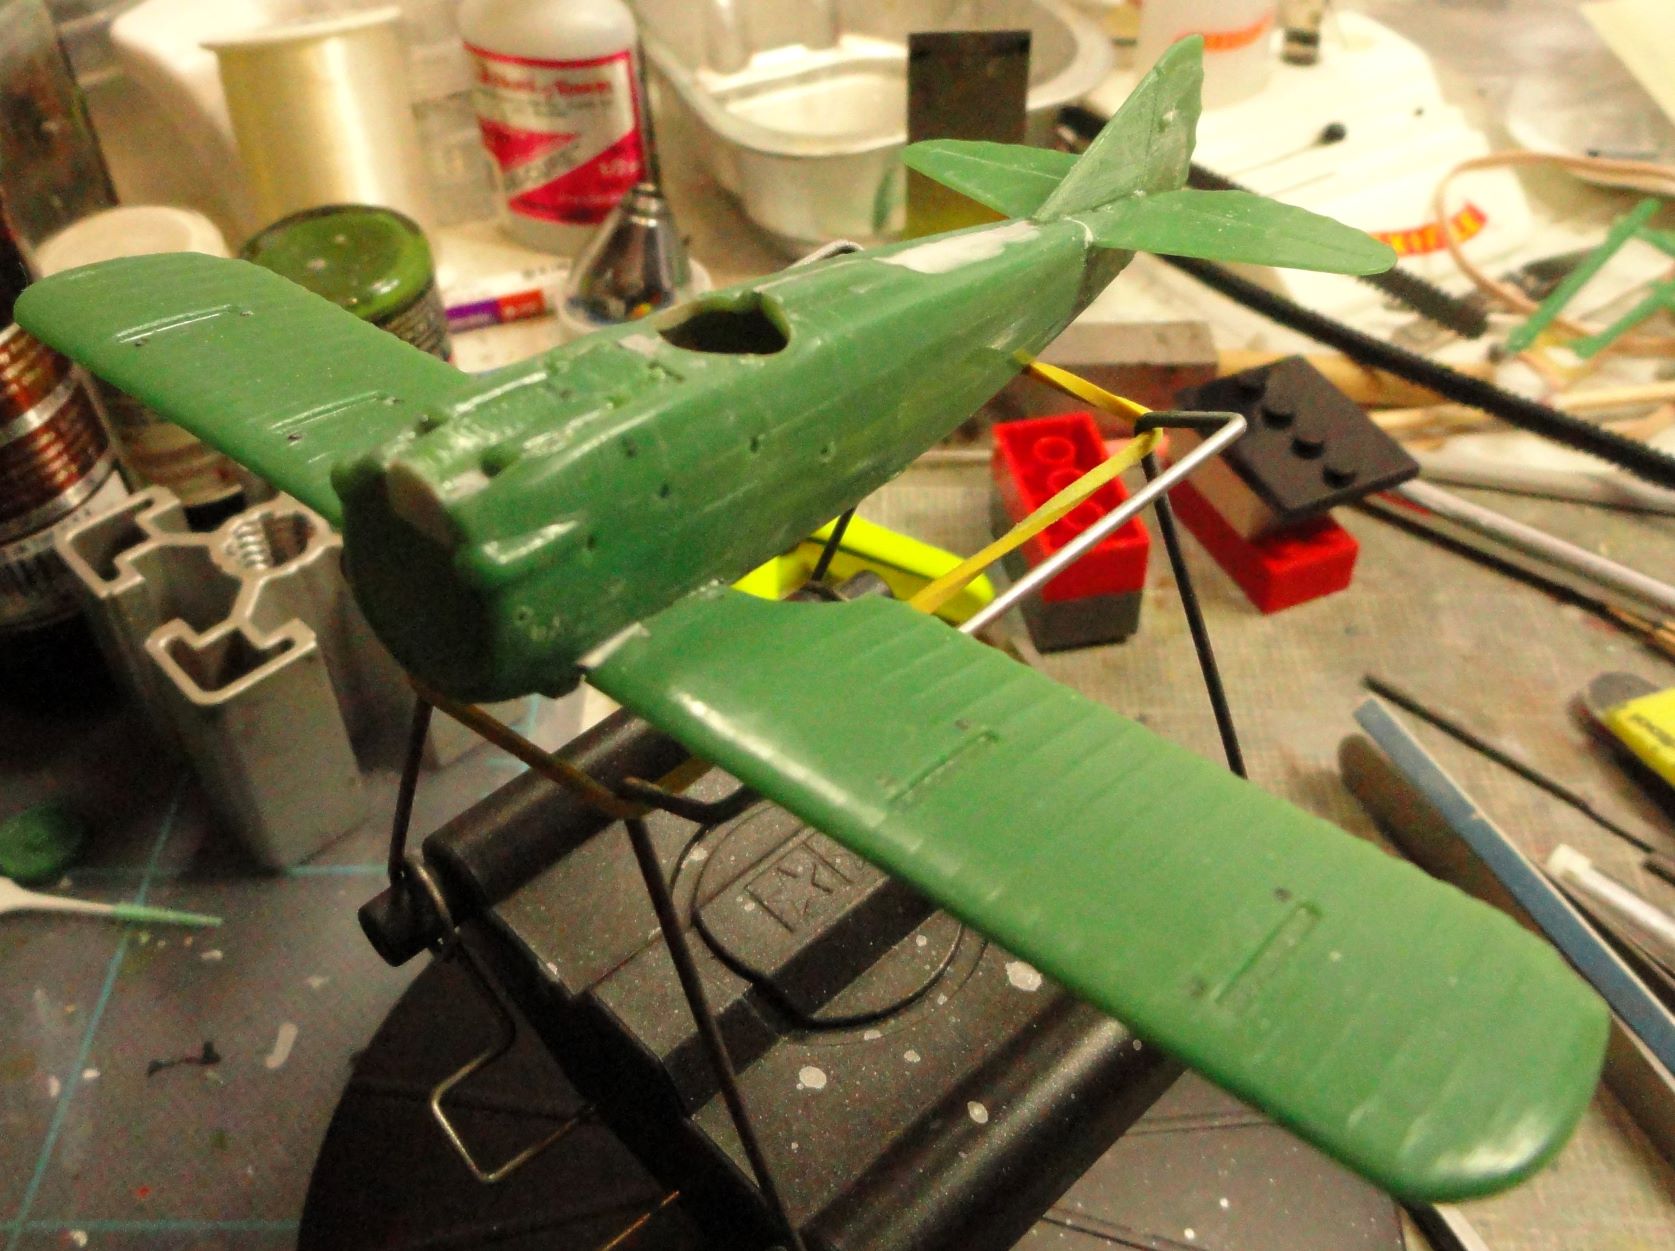
Didn’t get any threads placed. Got some holes drilled for more threads. Mounted some control arms on the rudder. Mounted the lower wing, looks like there’s going to be a big gap to fill there. Sanded and re painted some of the fuselage gaps.
Build Day 5
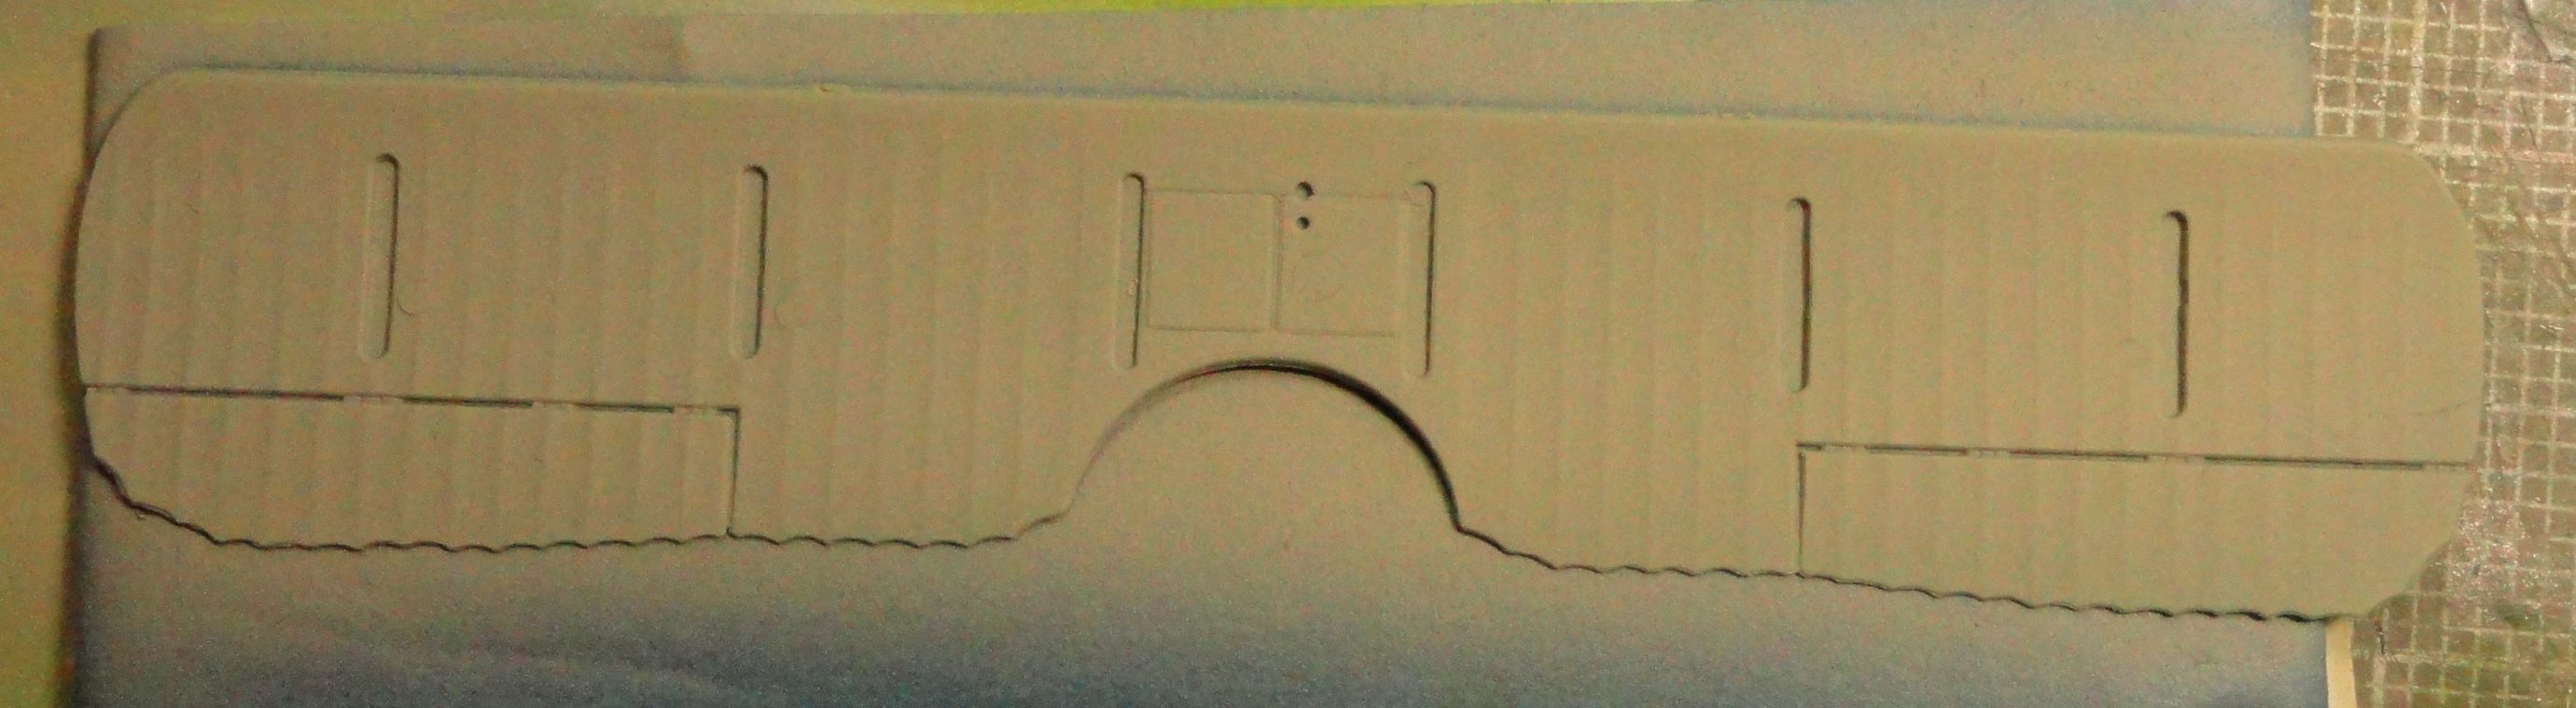
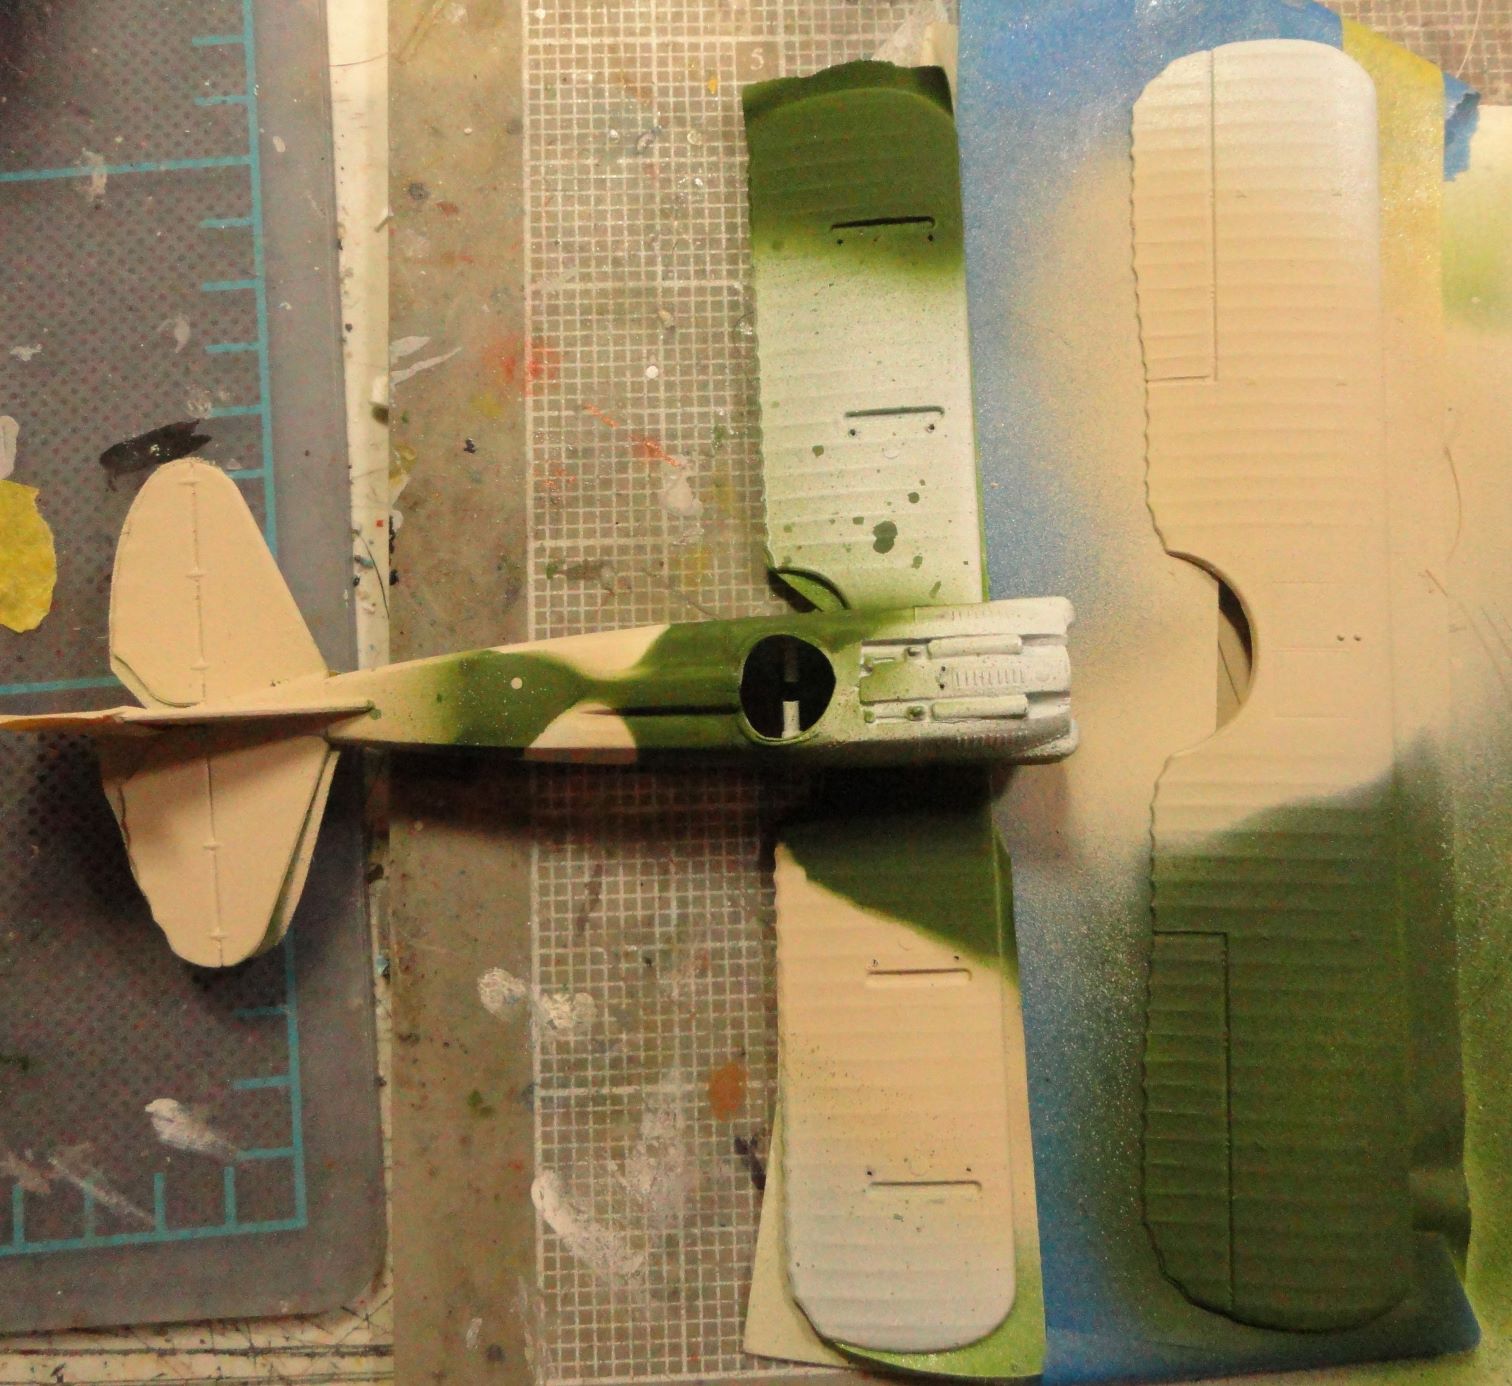
No photos, but I got all the wires attached to the top wing, filled the gap at the back of the bottom wing. Tried to fill the gap behind the cowling. Made copies of the camo to scale for masking if I ever get to painting. Need to fill the gaps at the front of the bottom wing and around the wing to fuselage join.
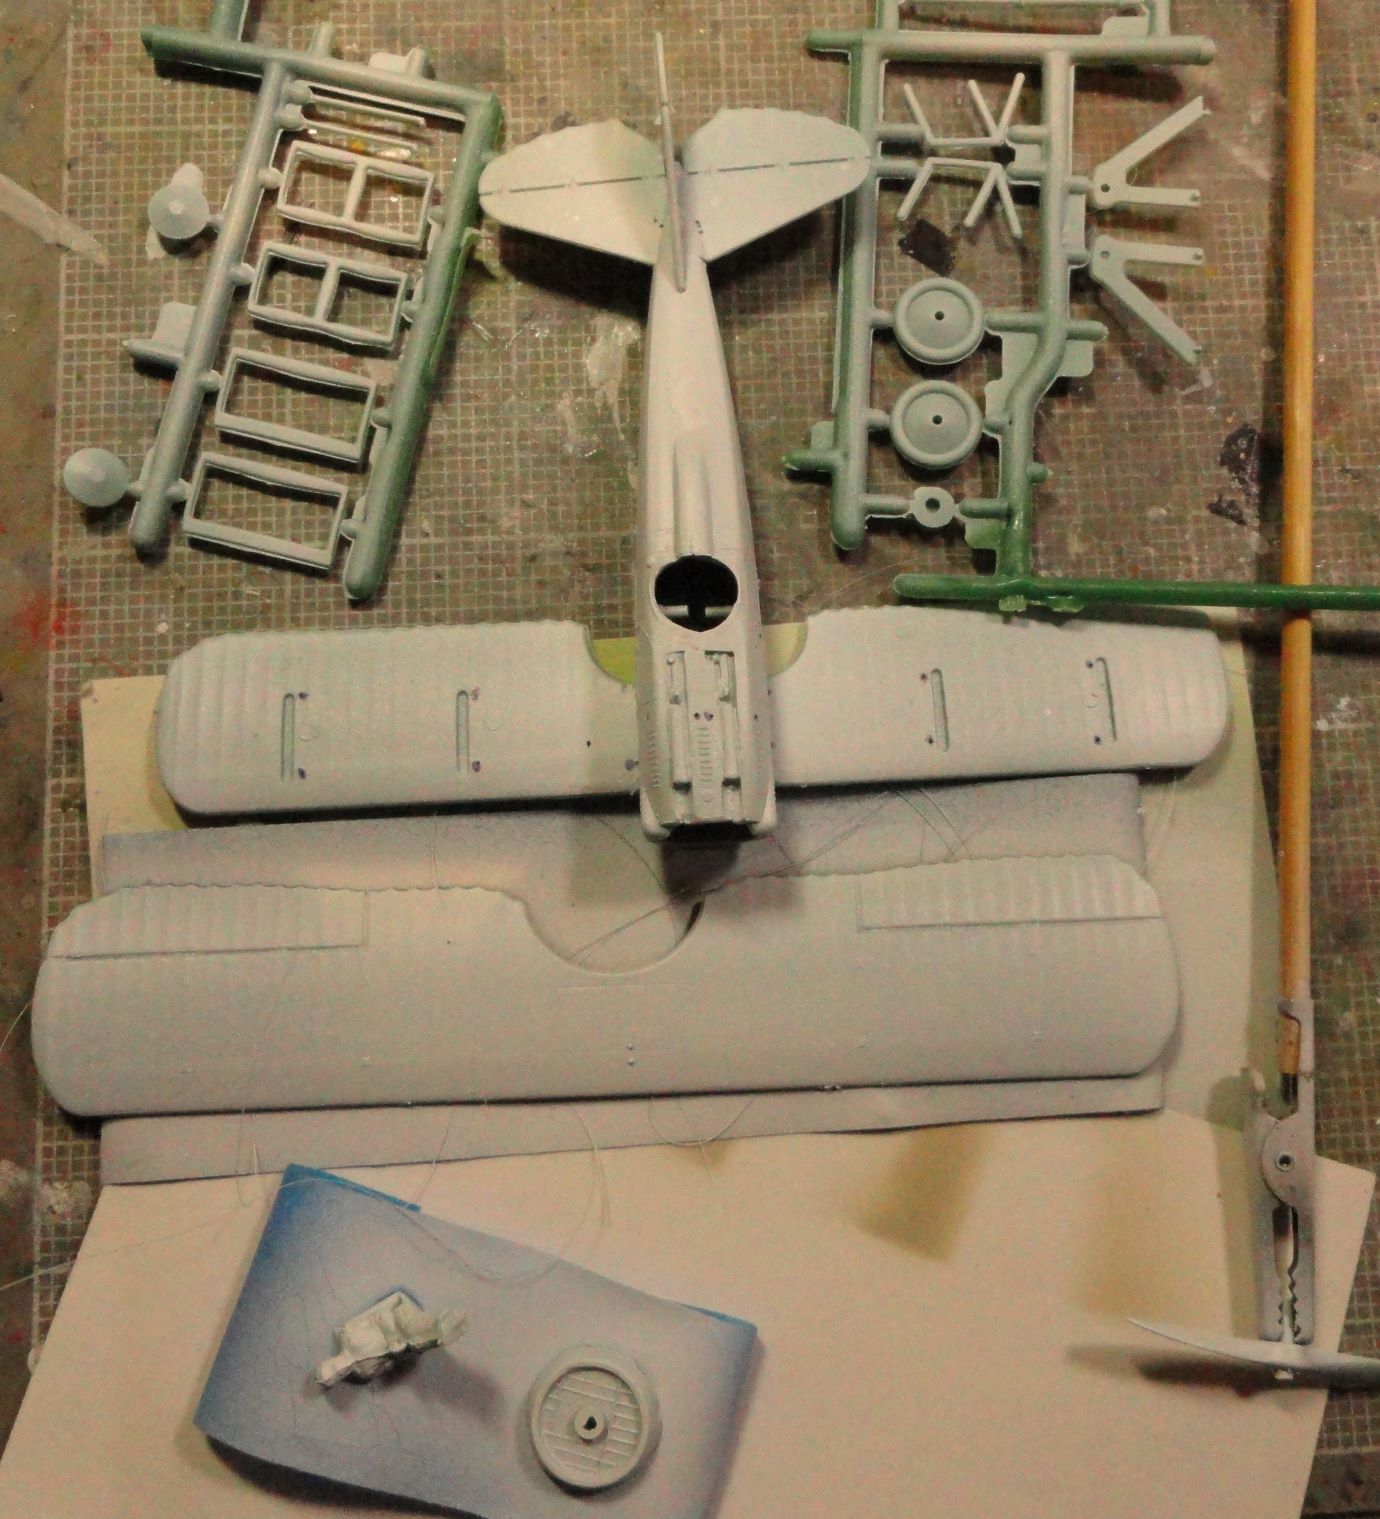
This green plastic is something else. I’d spray it with the white primer and it still looked green. Get the light behind it and it shows through like there was no primer in place.
Wow, 8 days in and it’s not even all together yet. Instructions have a 1966 copyright date. Back then I’d have built it and flown it to destruction in 8 days.
Build Log Day 11
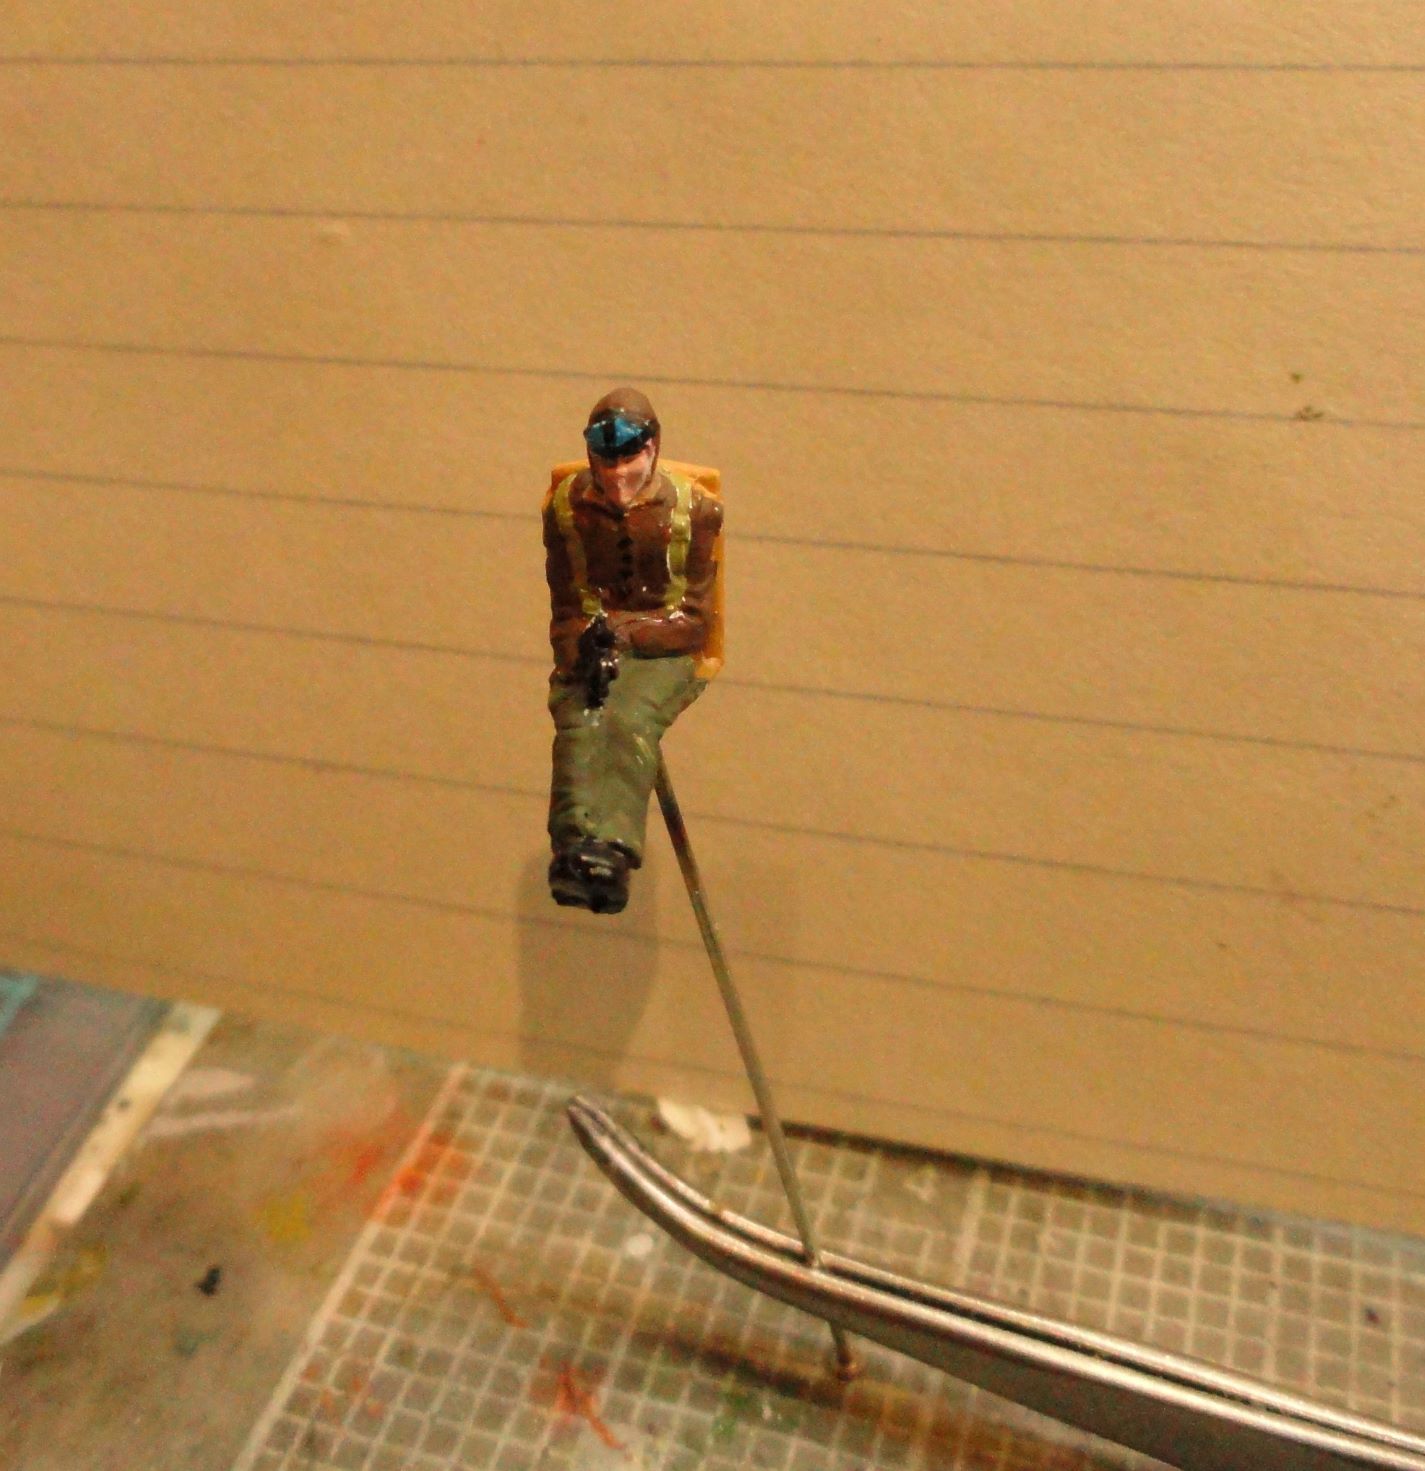
Started too late to be able to run the airbrush, so I started on the pilot.
Hard to photograph the little bugger, If I get too close the colors deteriorate and grow green spots in the brown and brown spots in the green.
Build log Day 12
Another late start so all I did was finish up the aviator. At least everything is colored in. Now for some touch ups, highlights and lowlights. Maybe tomorrow I can start blowing paint.
Ah, memories. The way pilot figures were moulded for kits back then. The left arms shorter than the right, and it must have been very uncomfortable for pilots to fly in this ‘wrapped mummy’ position…
I’ve often referred to the Airfix versions as the praying pilot. Head bowed, hands clasped in the lap and heels together, if not ankles crossed. I think that’s why I always look for the resemblance of new tool Airfix pilots to James May.